The iPhone is an ideal camera for landscape photography, but often the photos straight out of the camera don’t look as impressive as the scene appeared in real life. Learning how to edit photos on iPhone will help you improve your landscape photos. From subtle lighting adjustments to dramatic alterations in mood, editing your photos will make a huge difference. But there are so many photo editing apps and photoshop apps that it can be difficult to know where to start. In this tutorial, you’ll discover how to enhance the natural beauty of your iPhone landscape photos using the very best apps and techniques.
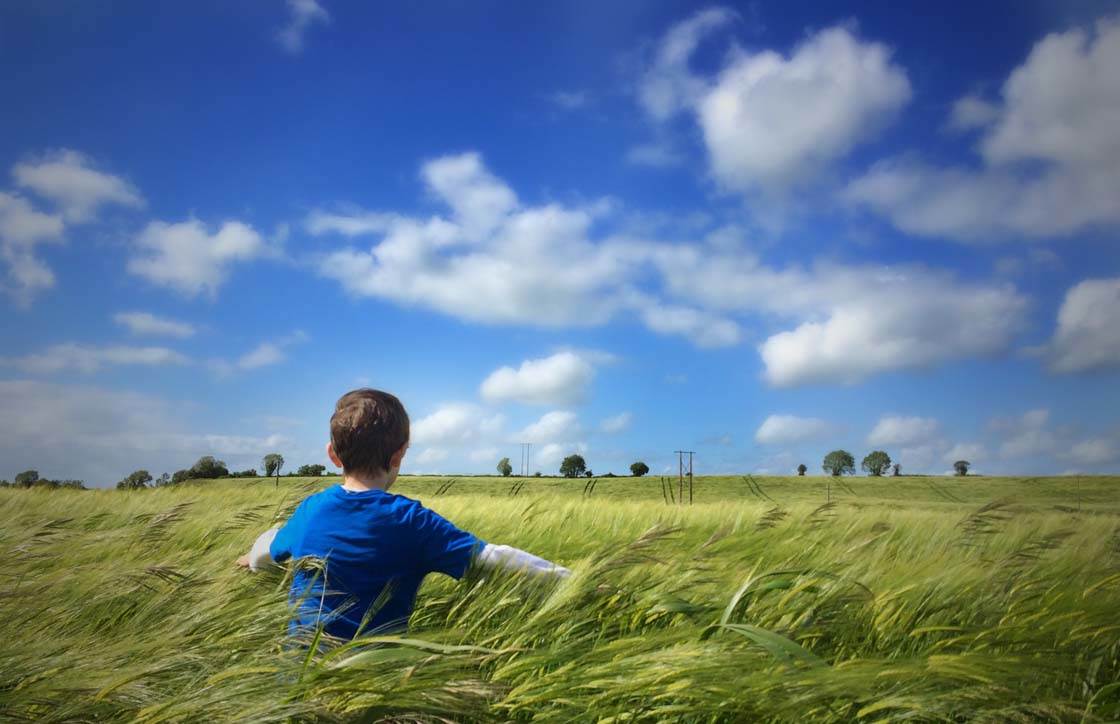
1. Take Good Photos To Start With
This tutorial is about editing… So why are we starting with a tip about shooting photos? That’s because the golden rule when it comes to editing your photos is that no amount of post-processing will turn a bad photo into a good one.
Any photos that you take should work in their own right – even without editing. Editing is important for enhancing details and the overall mood of the image, but you have to have a good photo to start with.
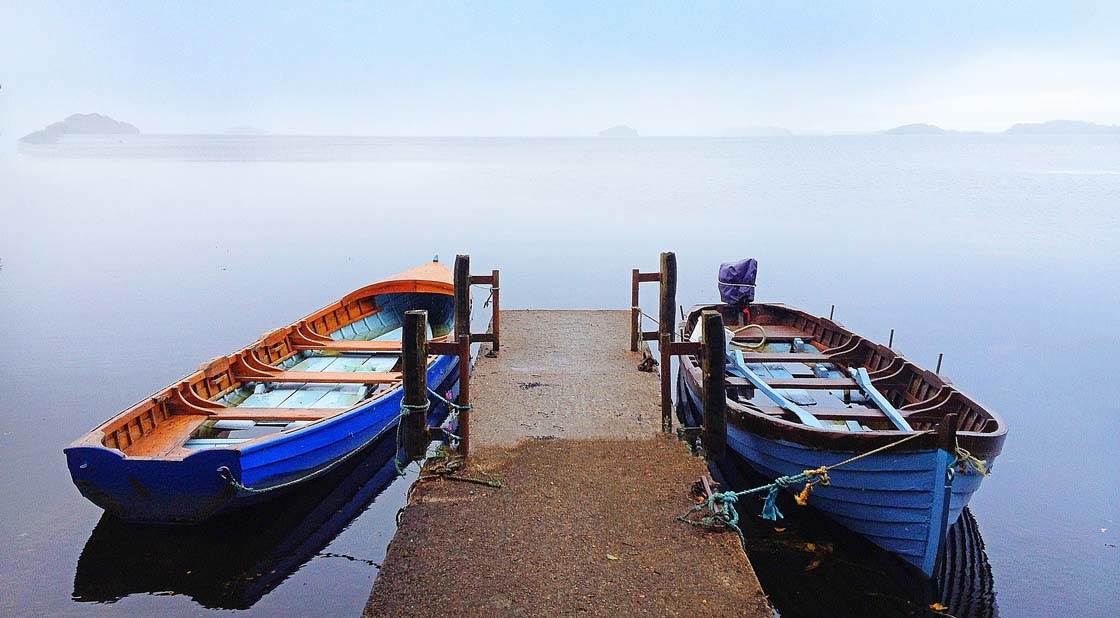
So when you’re out shooting landscapes, take your time to ensure you capture the best images possible. Make sure you’re shooting in adequate light and that you adjust the exposure in the camera app to create a well-exposed image.
Use good composition techniques such as the rule of thirds and leading lines. And most importantly, make sure your shots are in focus. If a photo is out of focus, there really is nothing that can be done to fix that in post-processing.
It can also help if you have a good idea of the final look and mood you’re going for, as this can influence how you take the shot.
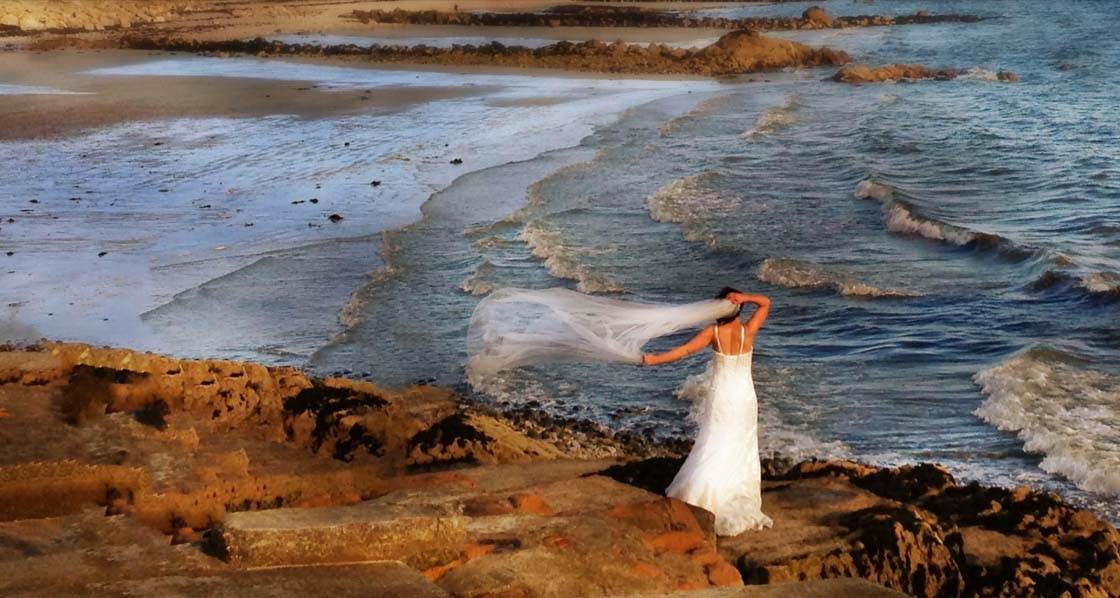
So before you even think about editing your photos, make sure you have some great images that are sharp and well-lit, with excellent composition. I guarantee this will make editing your photos a much more enjoyable process.
2. Crop & Straighten
Taking a landscape photo with a perfectly straight horizon isn’t as easy as it sounds. If you’re not holding your iPhone perfectly level, your photo will end up being slightly tilted.
You can use the grid in the camera app to help you line up the horizon (Settings > Photos & Camera > Grid), but you probably won’t always get it perfect.
So the first thing to do when editing your landscape photos is to check whether the horizon is level. If it’s not, you can easily rotate and straighten the image using an app like Snapseed, VSCO, or PhotoToaster.
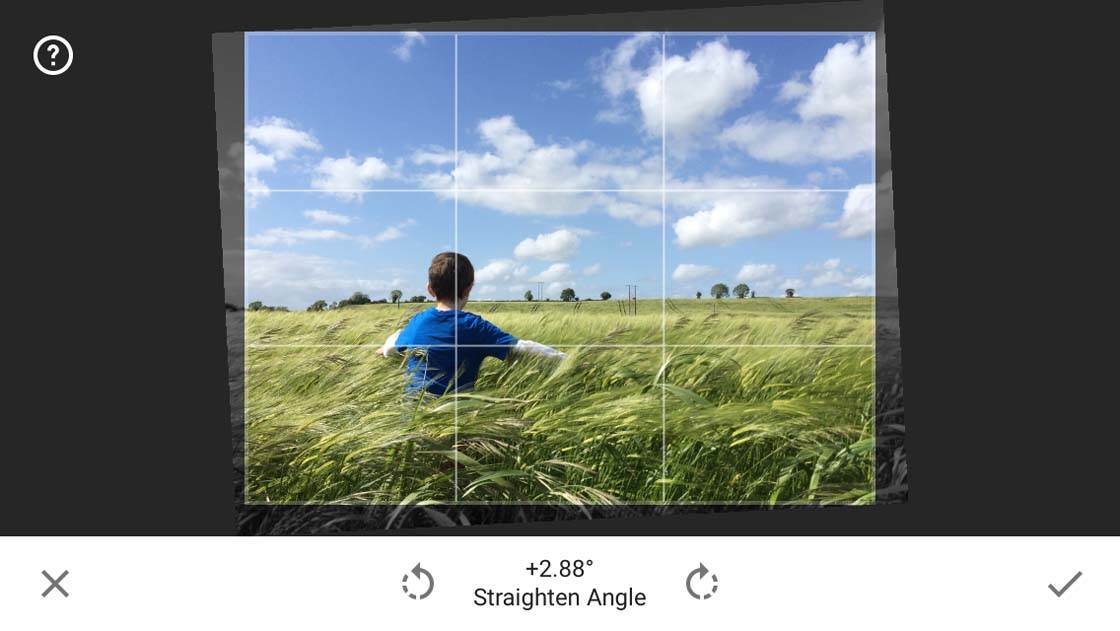
Once you’ve got the horizon straight, you might also want to perform a simple crop. Most editing apps have a cropping tool of some sorts. Again, Snapseed and PhotoToaster both have great cropping tools that are easy to use.
There are several reasons why you might want to crop your photo. Maybe there are distractions around the edge of your photo that you want to get rid of.
You might want to alter the overall composition of your photo. For example, your subject or horizon might be too central in the frame, but by cropping the photo you can alter the composition to be more in line with the generally accepted rule of thirds.
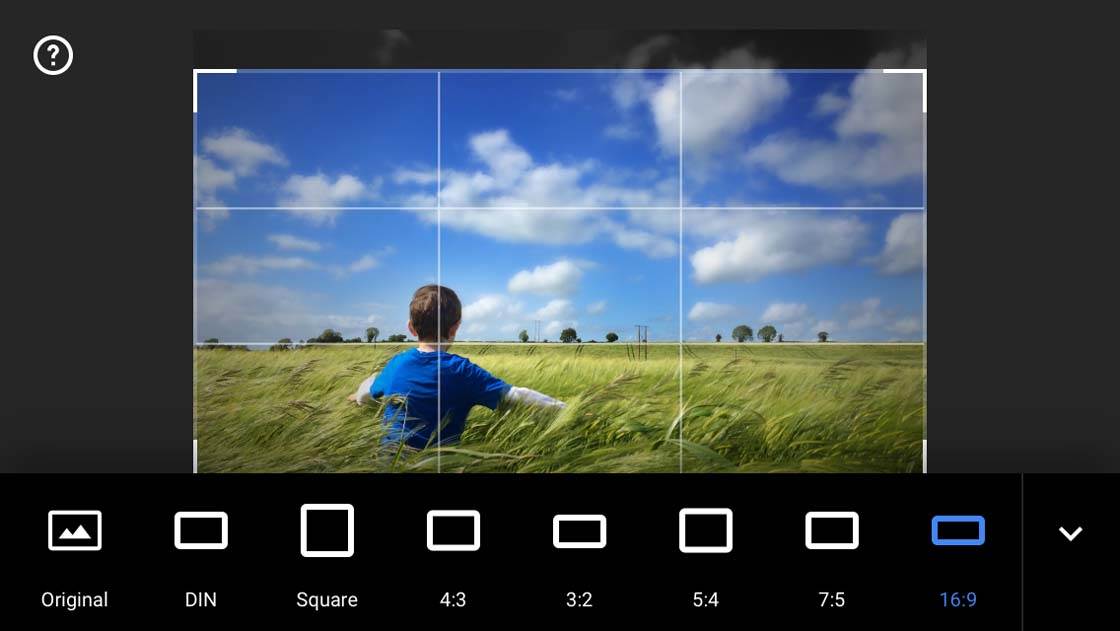
You might want to adjust the aspect ratio for display or print purposes, for example, square, 7:5, 16:19, etc. Just select the aspect ratio you want to use from the bottom of the screen, then drag the corners to adjust the area that’s cropped.
Finally some people use cropping rather than using zoom when taking a photo. The zoom feature on the iPhone isn’t good and should be avoided if at all possible.
So if the subject of your photo is far away, the best thing to do is take the photo as normal (without zooming in), then crop it afterwards to enlarge your subject within the frame.
3. Start With Simple Adjustments
The temptation when you first start working with editing apps is to use as many tools as possible to enhance and manipulate your images. Or you might attempt to emulate the style of a particular photographer you admire.
But jumping in at the deep end doesn’t usually turn out well. If you apply all sorts of filters, textures and effects to your image without thinking about basic edits first, your photo will often end up a complete mess!
The first thing you should always do, especially with landscape photos, is to start with simple edits to fine-tune the color and exposure of your image.
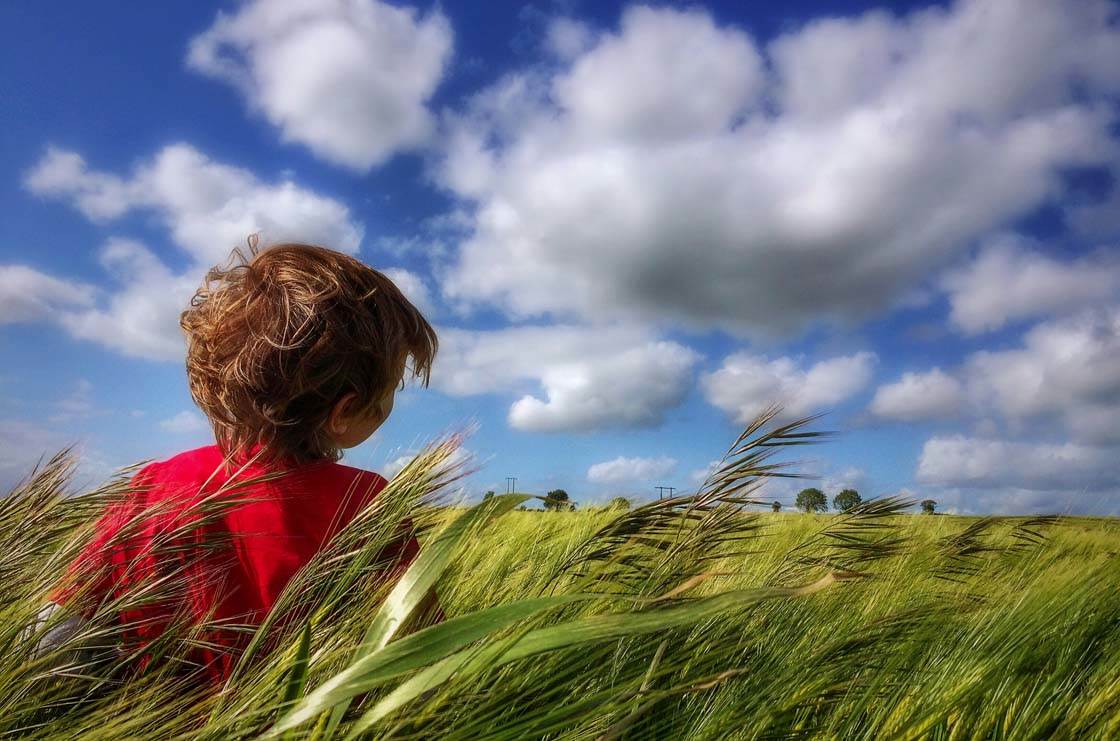
Before you start editing, study your photo carefully. Is it too dark or too bright? Are the colors accurate, or do they appear too warm or too cool? Are the colors too vibrant or not vibrant enough?
Once you know what changes you want to make, you can then select the right tools for the job. Apps such as Snapseed and PhotoToaster have editing tools that allow you to alter settings such as brightness, highlights, shadows, contrast, color saturation, warmth, etc.
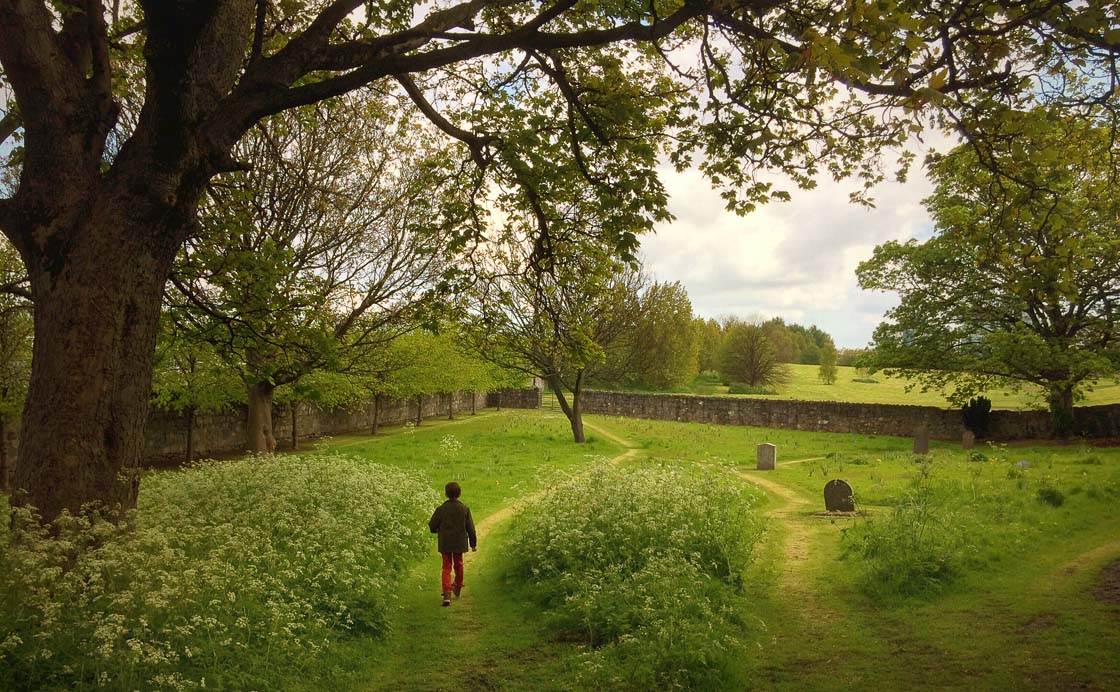
If you’re not sure what a particular tool does, experiment to see what effect it has and how it alters the overall atmosphere of the image. Just be careful that you don’t go crazy with lots of effects!
The idea with this first stage of editing is to get the lighting and colors as accurate as possible. Often, this is all you need for creating a beautiful, natural landscape photo.
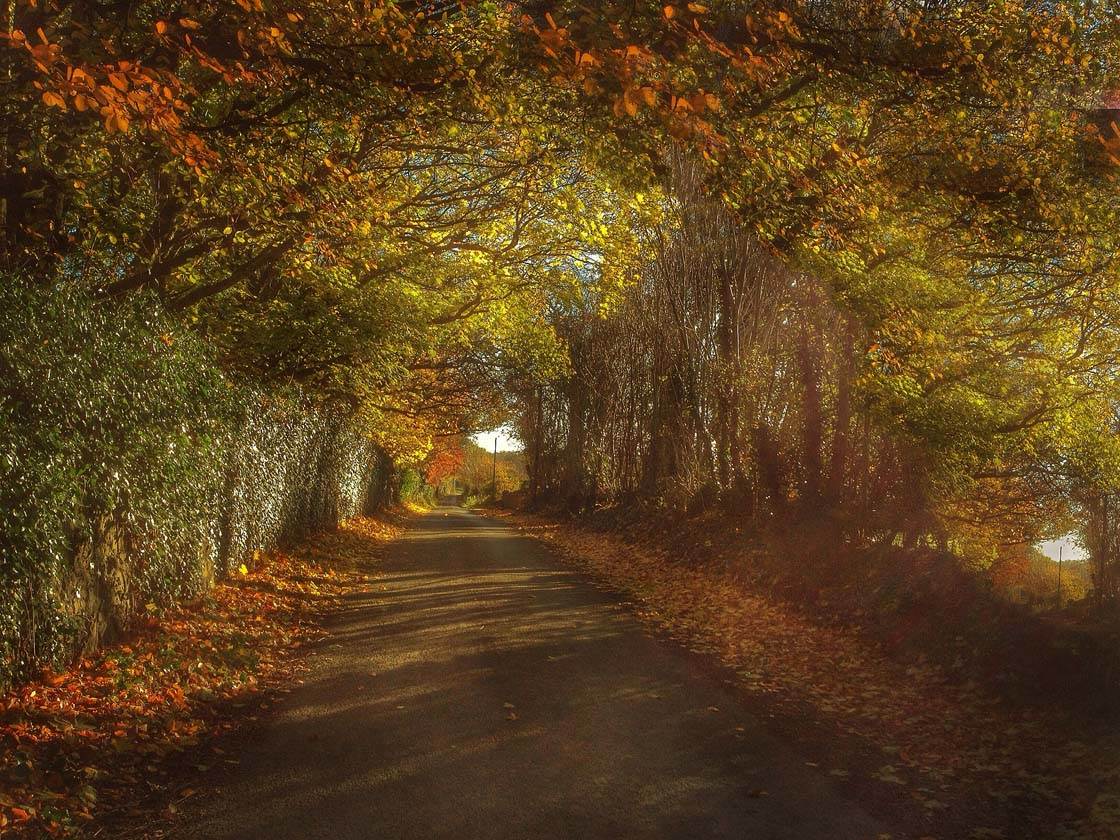
If you wish, you can then start looking at further adjustments to fine-tune your image. You might want to apply selective adjustments and filters, as well as textures and other elements to create your own unique look. We’ll explore these options in the rest of this tutorial.
4. Use Brushes To Even Out Light
Once you’ve cropped, straightened and made basic adjustments to exposure and color, you can now start to explore more advanced editing processes.
One of the biggest issues you’ll face as a landscape photographer is the contrast between the brightness of the sky and the darkness of the foreground.
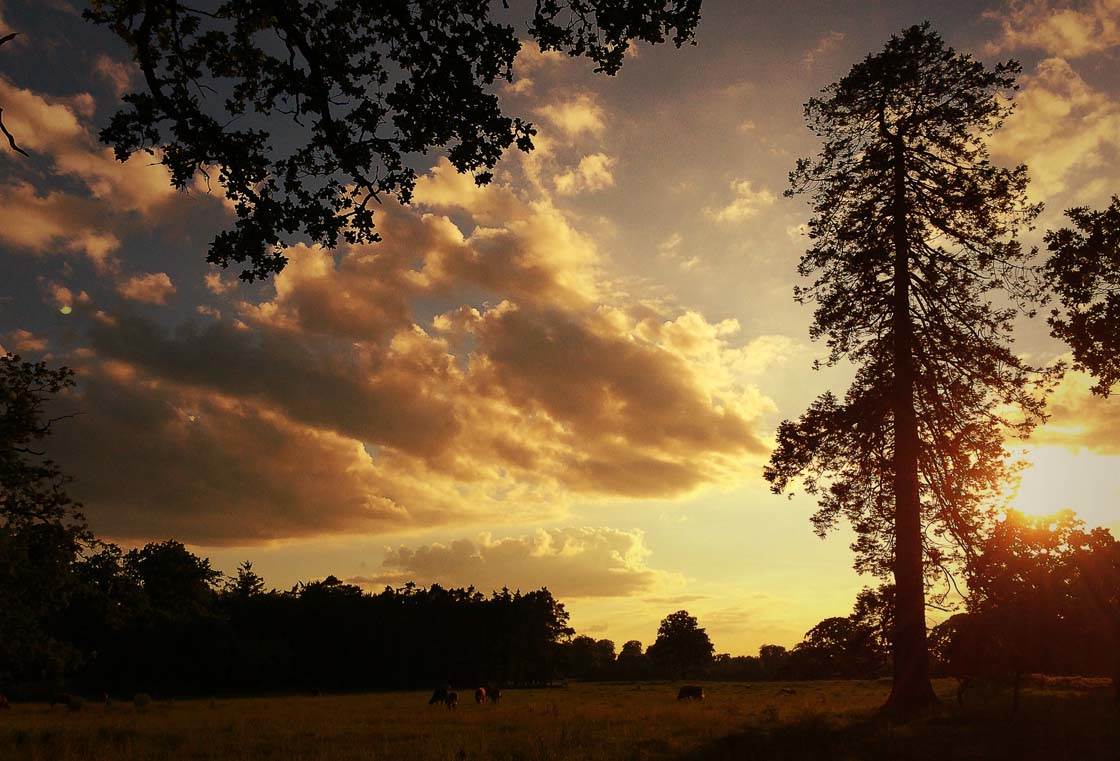
When you take a photo, you tap on the screen to set focus where you want, and exposure will be automatically set for that area. You can then swipe up or down on the screen to adjust the exposure (image brightness) if necessary.
But even then, you’re unlikely to get a completely balanced exposure. You often have to settle for a well-exposed foreground but a sky that’s too bright, or a well-exposed sky but a foreground that’s too dark.
You can use the camera’s HDR photo mode or a dedicated HDR app when shooting to even out the light, but this doesn’t always produce perfect results.
Luckily, several editing apps have tools called “brushes” which allow you to selectively brighten or darken certain areas of the image, thereby evening out the light in your photo. Both Snapseed and PhotoToaster have these brushes.
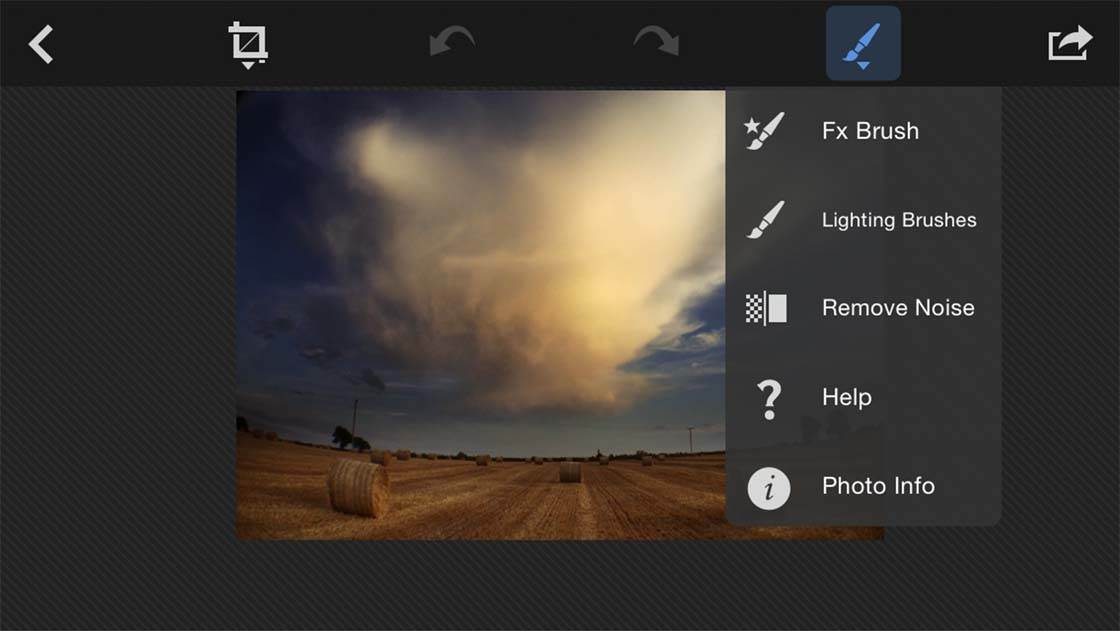
My preferred option in this case is to use the Lighting Brushes in PhotoToaster. You access the brush tools by tapping the brush icon at the top right of the screen.
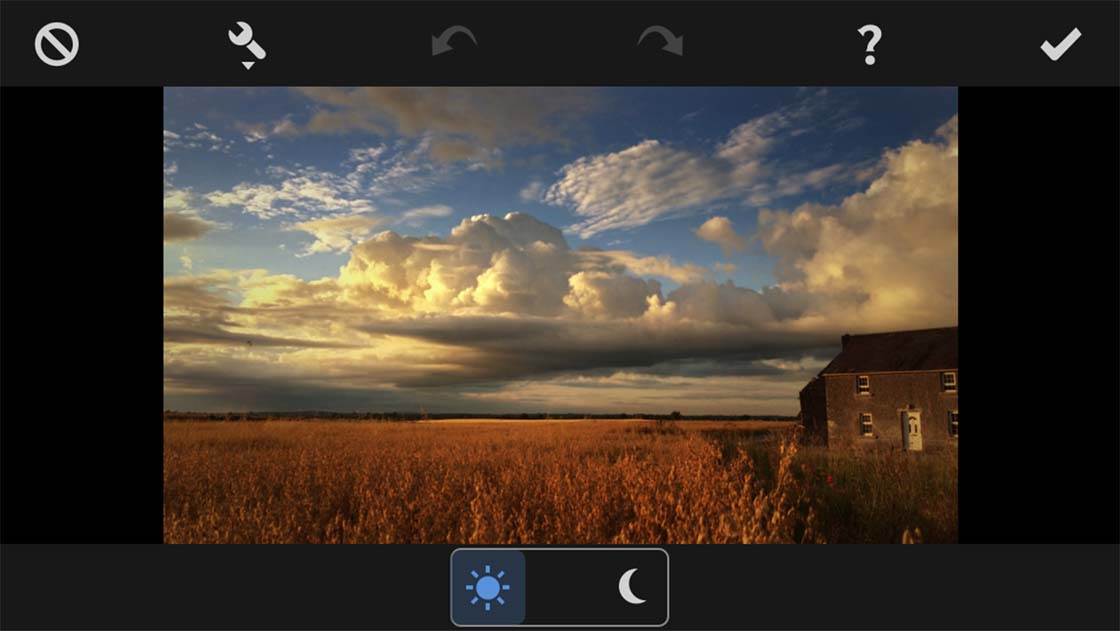
You can alternate between brightening and darkening brushes (sun and moon icons at the bottom of the screen), and then just use your finger to brush over the areas you want to adjust.
Normally you’d want to brighten the foreground to bring out the detail, and darken the sky to create more definition.
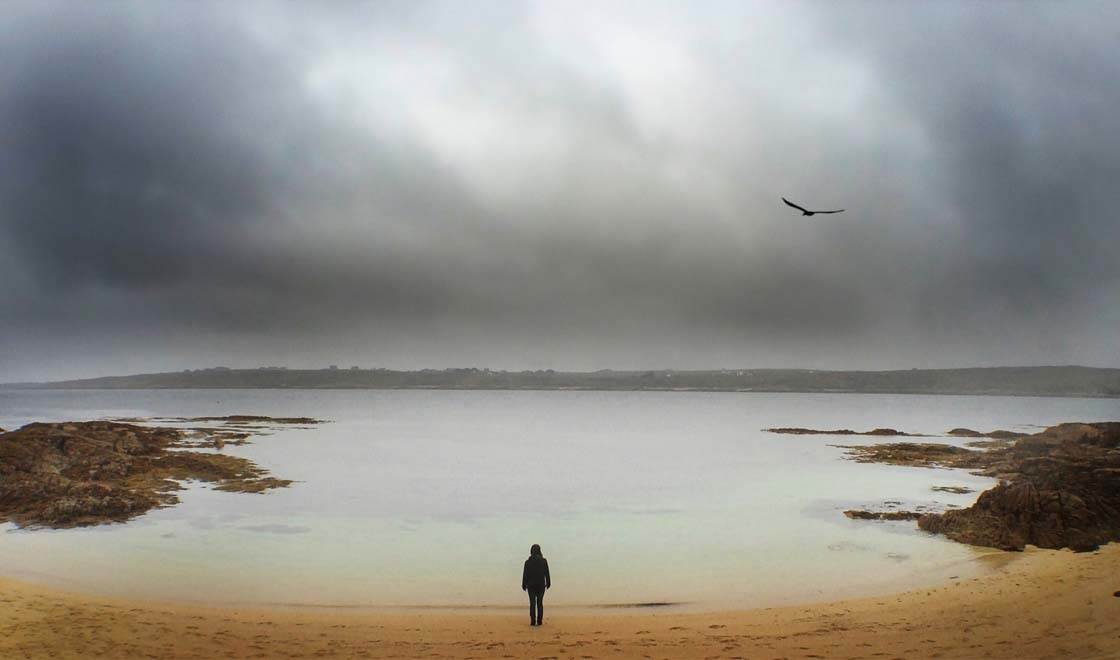
The result should be an image that’s closer to the scene that you originally hoped to catch. Or if you wish, you can use the lighting brushes to add more drama to the sky by applying extra darkening to the clouds.
5. Use HDR Filters To Bring Out Detail
Another great tool for bringing out lost detail in the shadows of high contrast images is the HDR filter. Quite a few apps have HDR editing tools, but my favorite one is the HDR Scape filter in Snapseed.
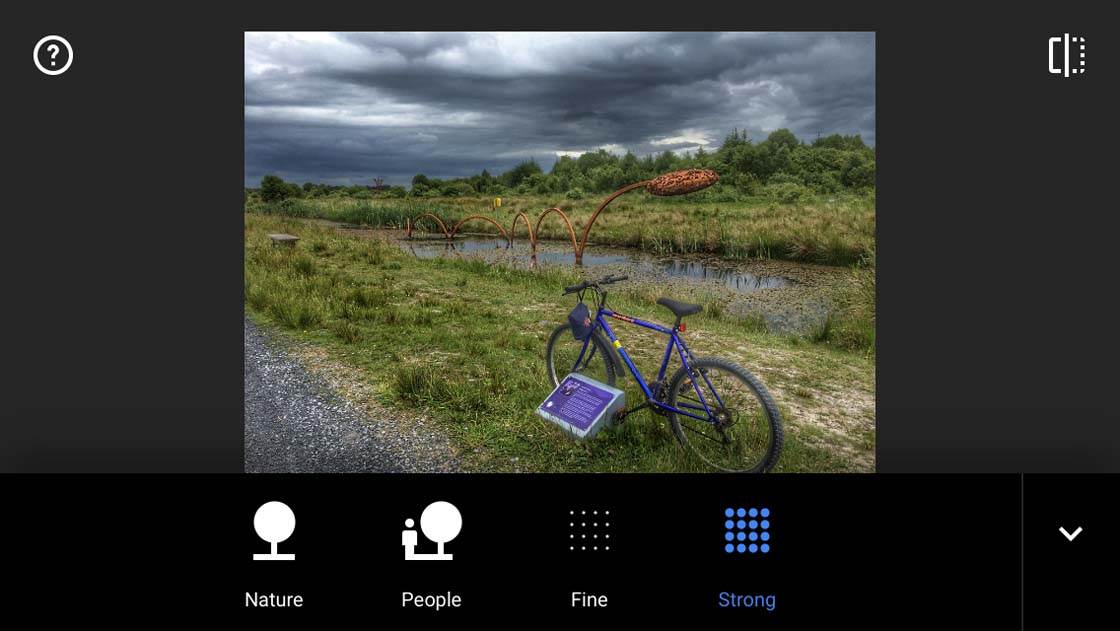
The reason I prefer this HDR effect is that it’s fully customizable. In a lot of cases the default setting on HDR effects is far too strong, resulting in very unrealistic looking images with a lot of digital noise (grain).
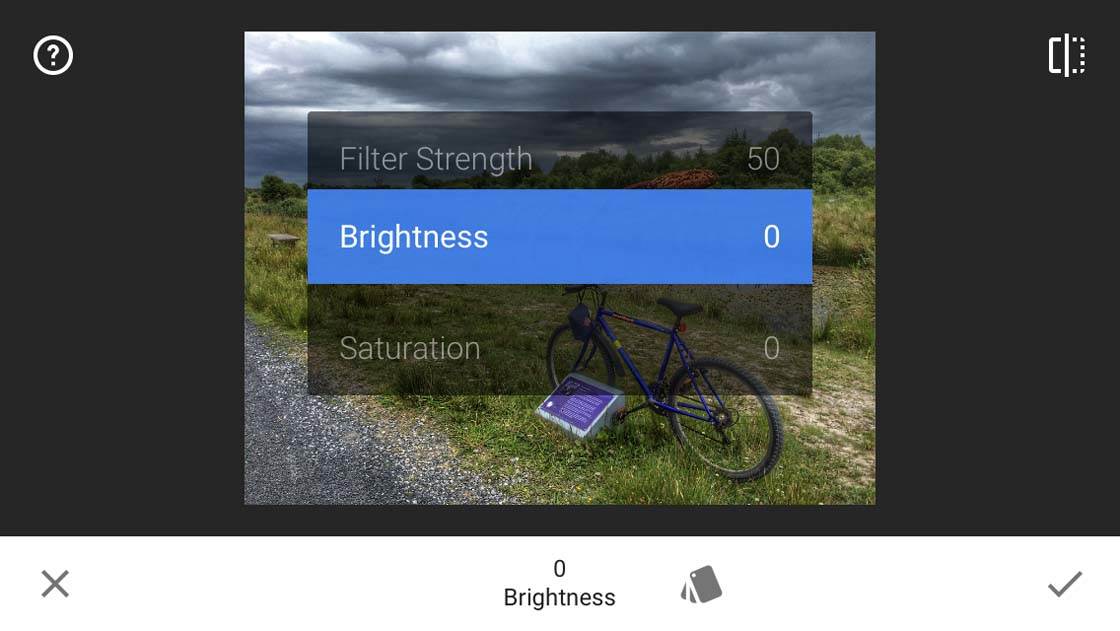
But in Snapseed you can fine-tune several aspects of the HDR filter to tone down the effect. If you get it right, you can end up with a more realistic looking image, while still recovering some of the detail that had been lost in the shadows.
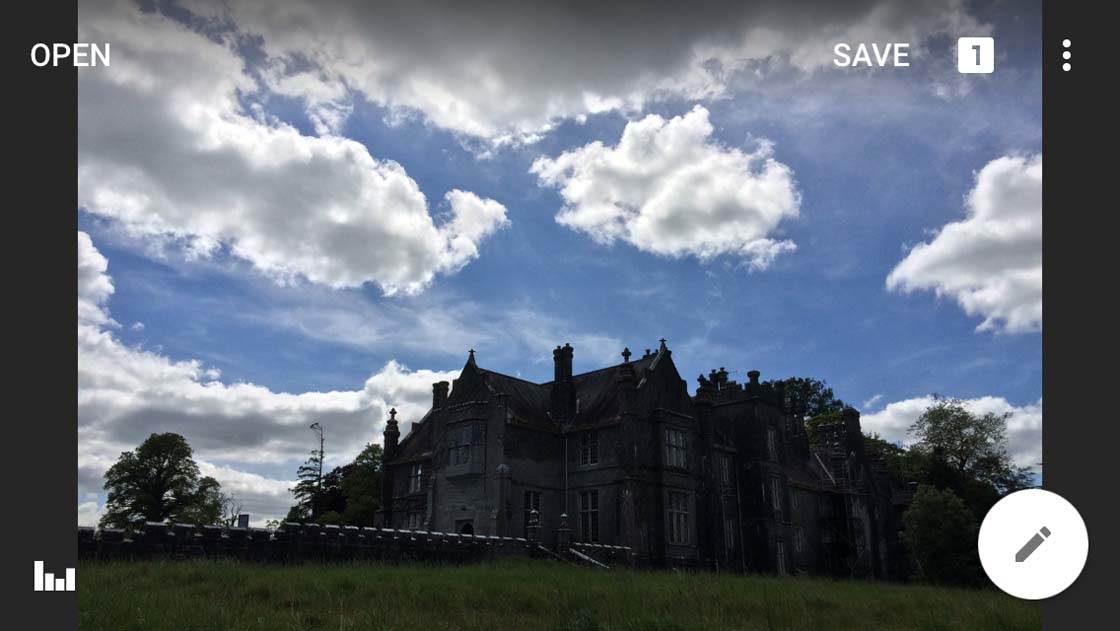
Above you can see the original image that I opened in Snapseed. While the sky is well-exposed with plenty of color and detail, the foreground is very dark.
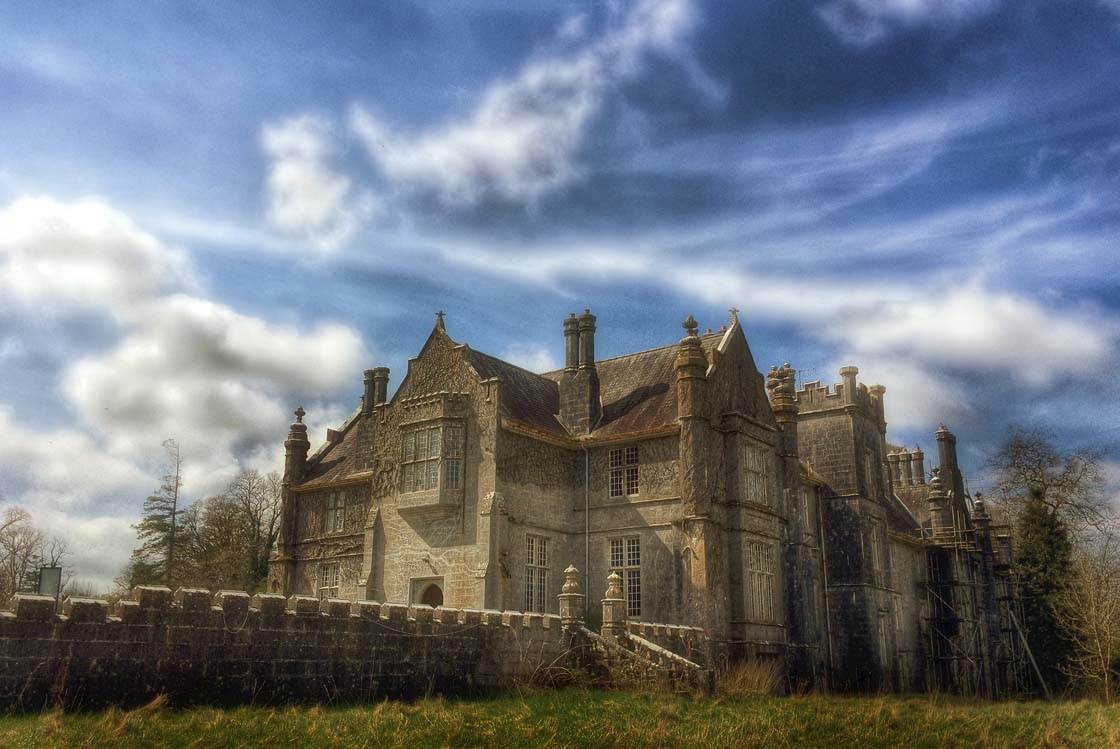
Below is the image after using the HDR filter. It allowed me to reveal a lot of detail in the foreground that would have otherwise been hidden.
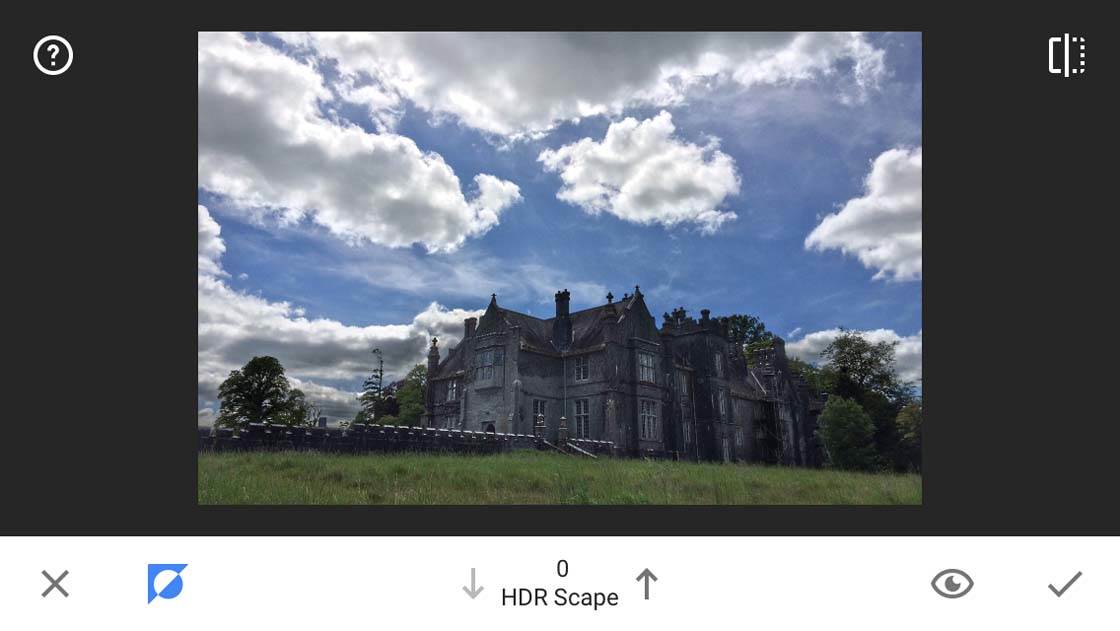
And if you access the Stacks feature in Snapseed, you can use a brush to select which parts of the image you want the HDR effect to be applied to.
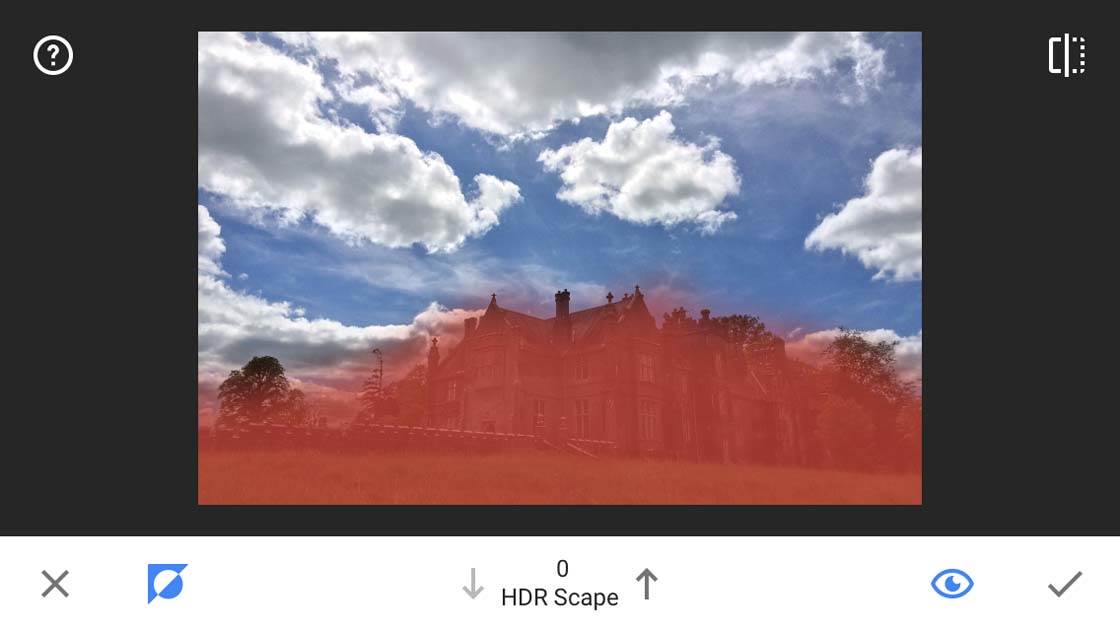
Many people steer clear of HDR filters because they believe it will ruin their photos. If you just stick with the default filter settings, this will likely be the case. But if you take a little time to fine-tune the effect, you can get some great results.
6. Enhance The Colors Of Golden Hour
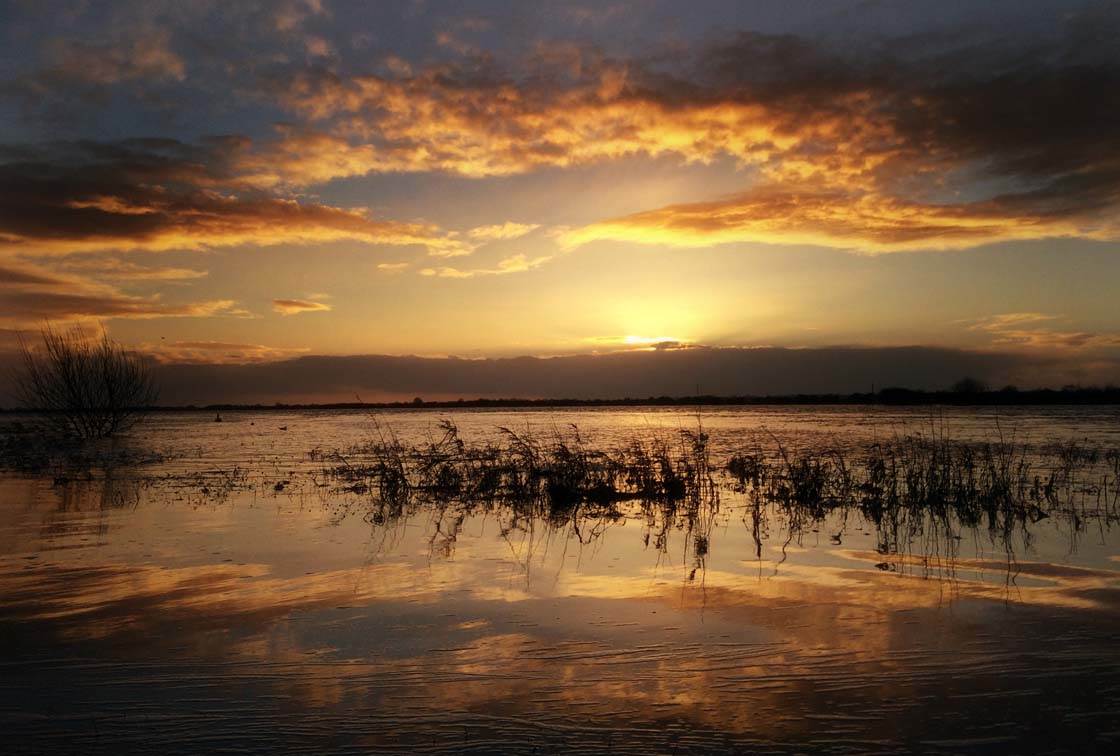
The golden hours of sunrise and sunset are often the best times of the day to shoot landscapes. The soft light reduces the chances of harsh shadows in the scene, and the warm colors add a beautiful golden glow to the landscape.
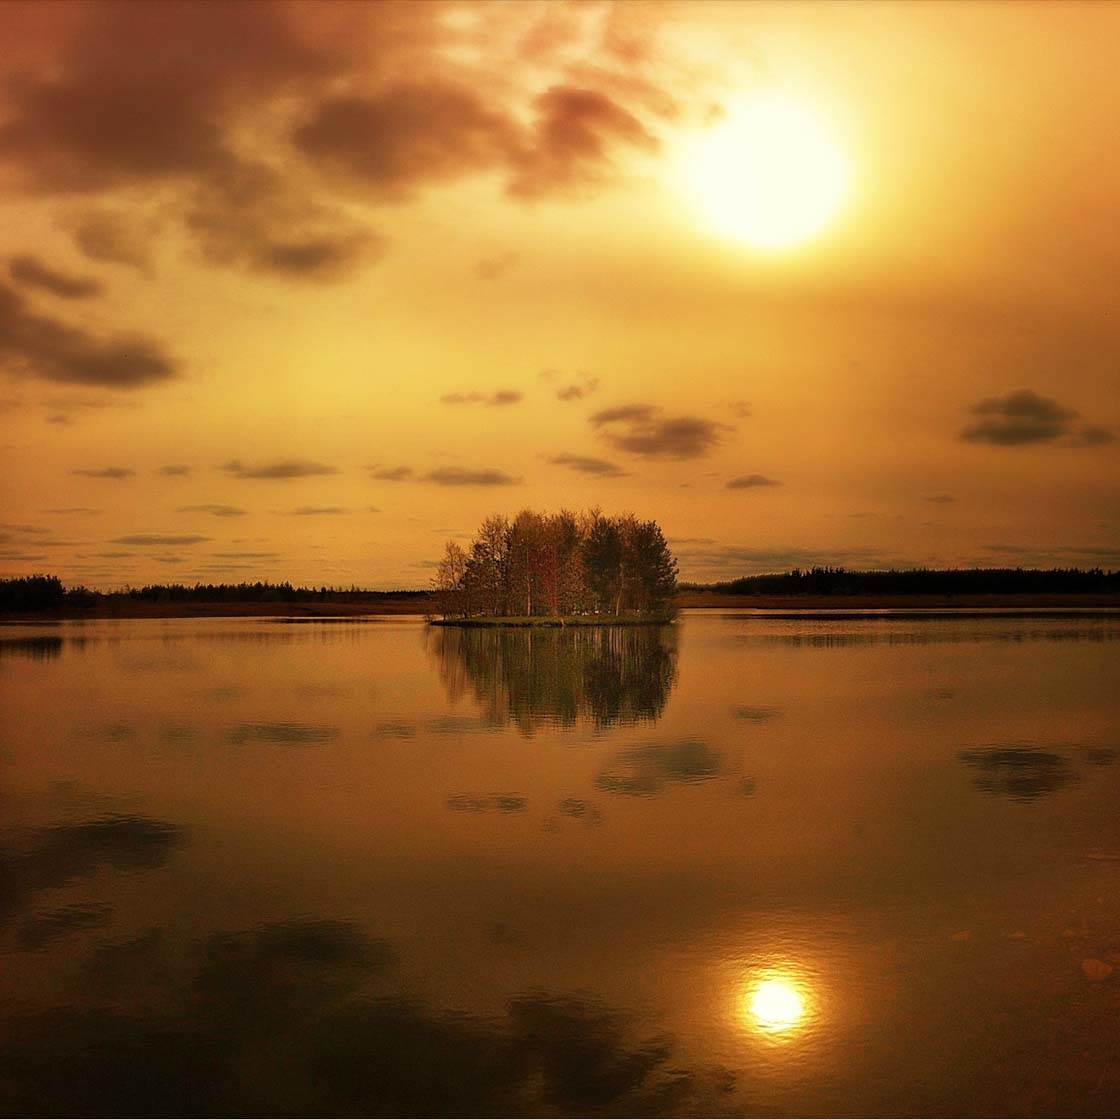
However, your camera doesn’t always capture the colors accurately, and the scene can often appear less vibrant than it looked in real life.
So with landscape photos shot around this time of day, you might want to enhance the warm golden colors to really bring the image to life.
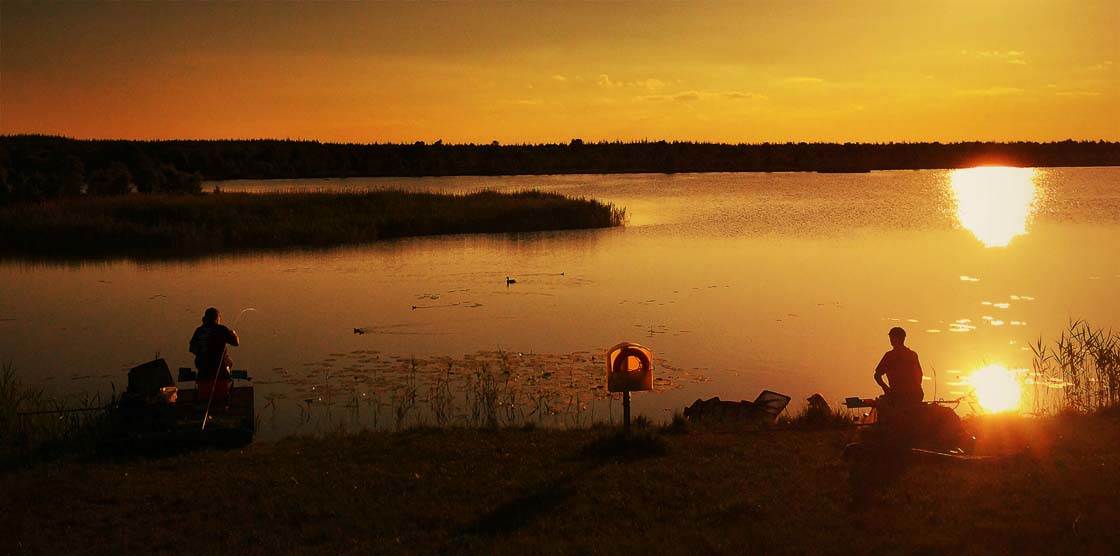
Again, many apps allow you to adjust the colors, including Snapseed and PhotoToaster. Simply find the Warmth setting, then increase the value to add more warm orange tones into your image.
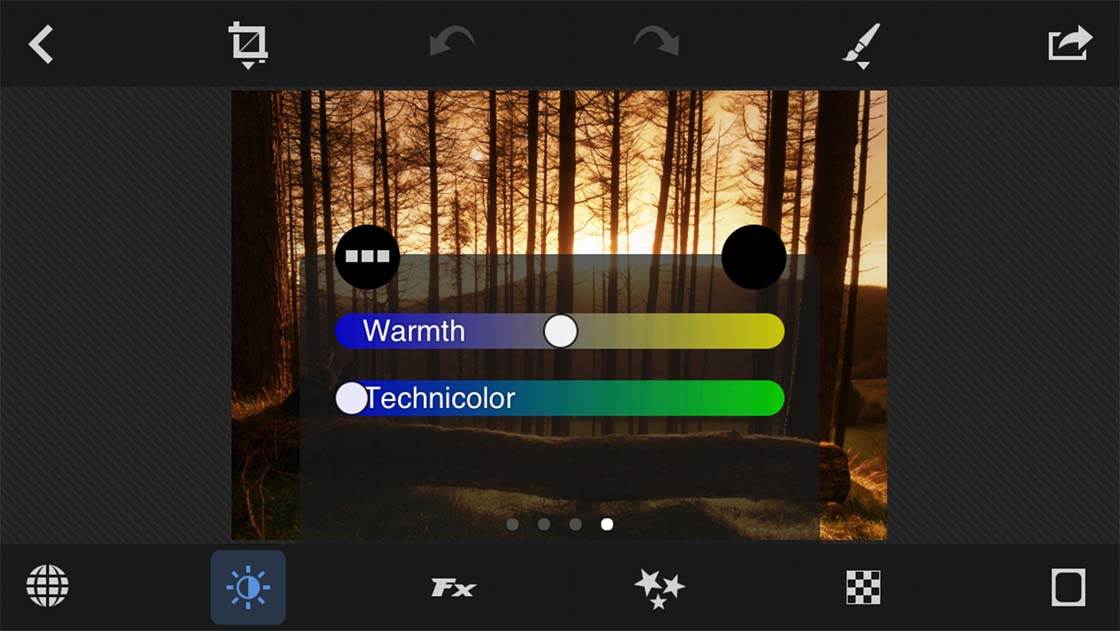
After setting the warmth, you might also want to tweak the color saturation to make the colors slightly more (or less) vibrant.
7. Apply Filters
Many people start off their editing process by using preset filters. But I think it’s best to make your basic adjustments using some of the tools we’ve looked at so far, and then apply a filter to add a particular mood to your photo if necessary.
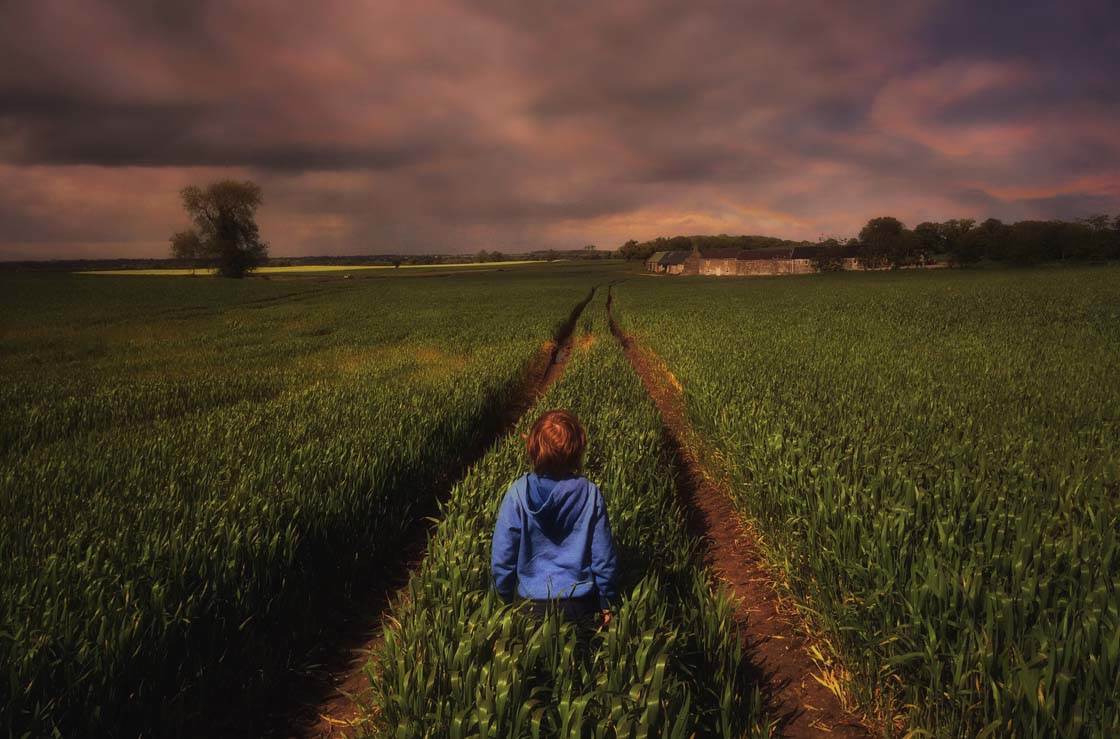
So what exactly is a filter? A filter is simply a set of adjustments bundled into a preset that you can apply with a single tap. You could create the same effect using individual adjustments, but a filter offers a quicker and more convenient method.
The problem with some photo filter apps is that they don’t allow you to adjust the intensity of the filter. This can result in a photo being ruined by a filter that’s too strong.
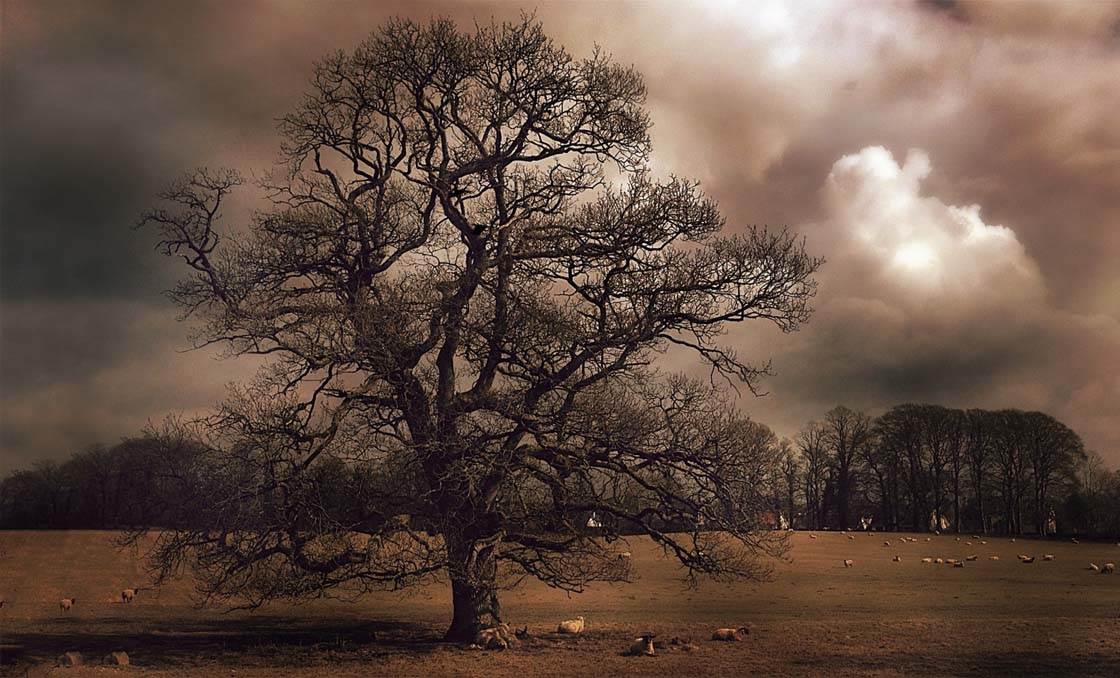
So if you’re going to use filters, make sure you use one of the best photo filter apps available. Snapseed, PhotoToaster and VSCO offer a great selection of adjustable filters.
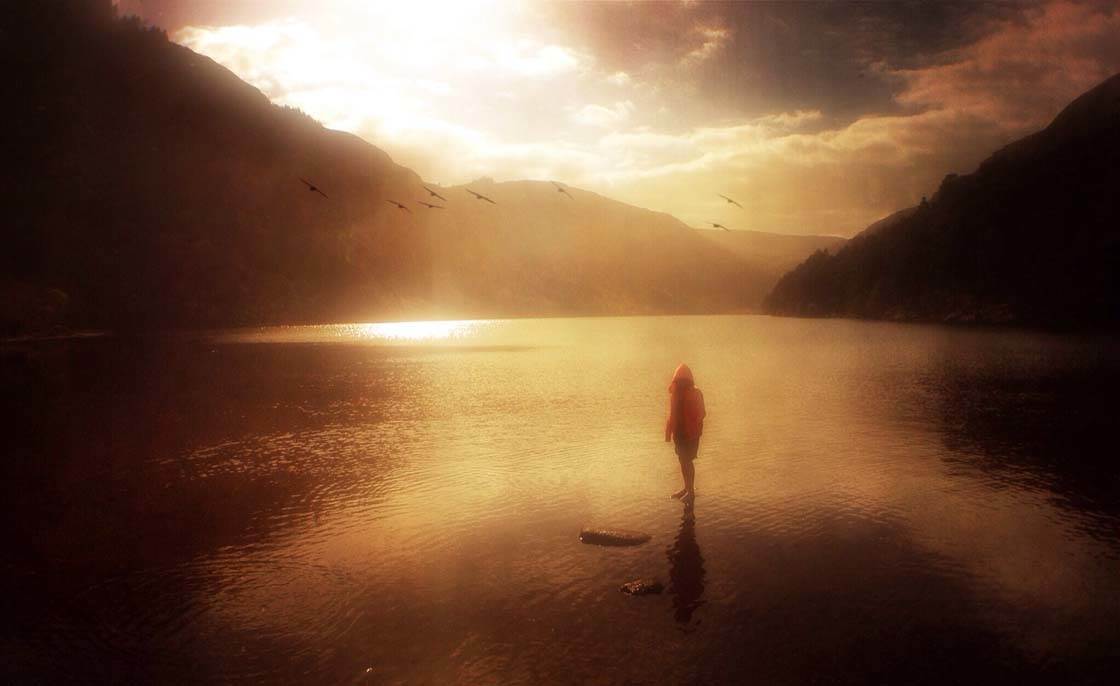
Once you’ve selected the filter that you like, simply use the available slider to adjust the intensity of the effect. The idea is to enhance the mood of your photo without ruining the quality of the image.
8. Add A Vignette
Applying a vignette allows you to darken the edges of your photo, and it can be quite an effective technique when used in the right way.
By darkening the edges of the frame, the viewer’s eye will be automatically drawn to the brighter part of the image in the centre. So if this is the area you want the viewer to focus on, applying a vignette can work really well.
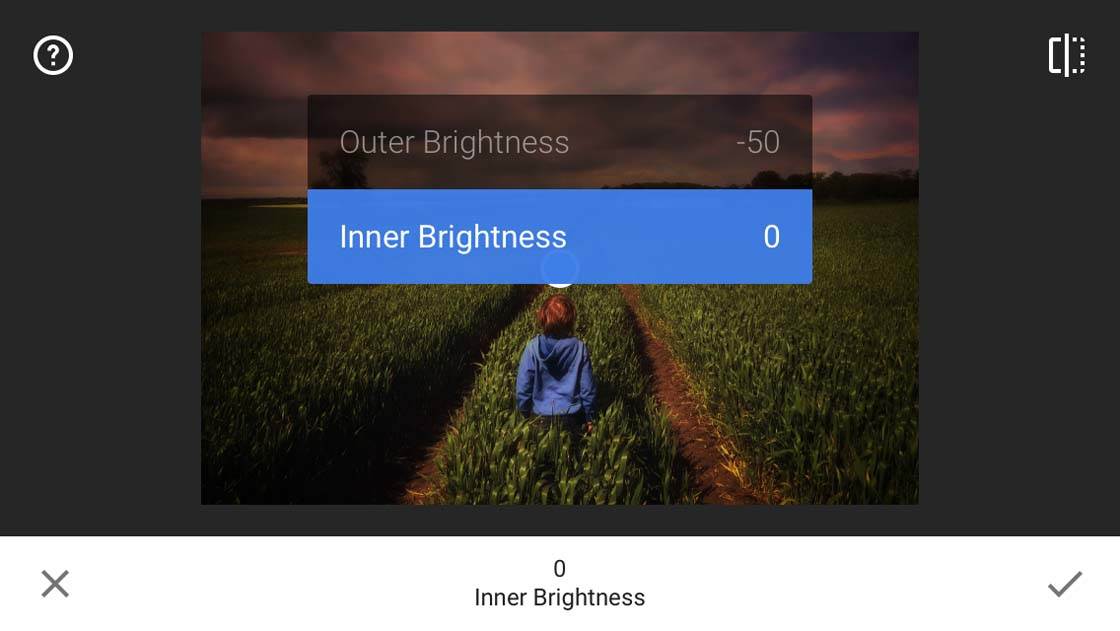
A lot of editing apps include a vignette tool, but the one in Snapseed is particularly good as it lets you customize the inner and outer brightness.
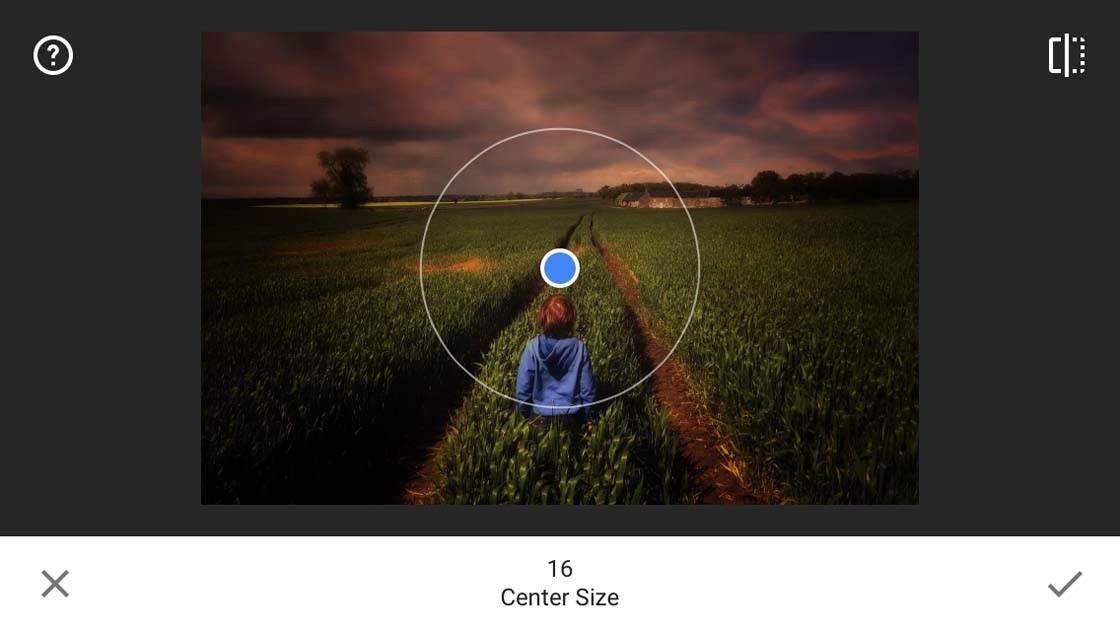
You can also adjust the position of the vignette by dragging the circle around the image. This means that you don’t need to have the vignette perfectly central, giving you more flexibility over the effect.
When you’re applying a vignette to an image, bear in mind the suitability of the vignette for that particular scene. Often just a very subtle vignette that’s barely visible is all you need.
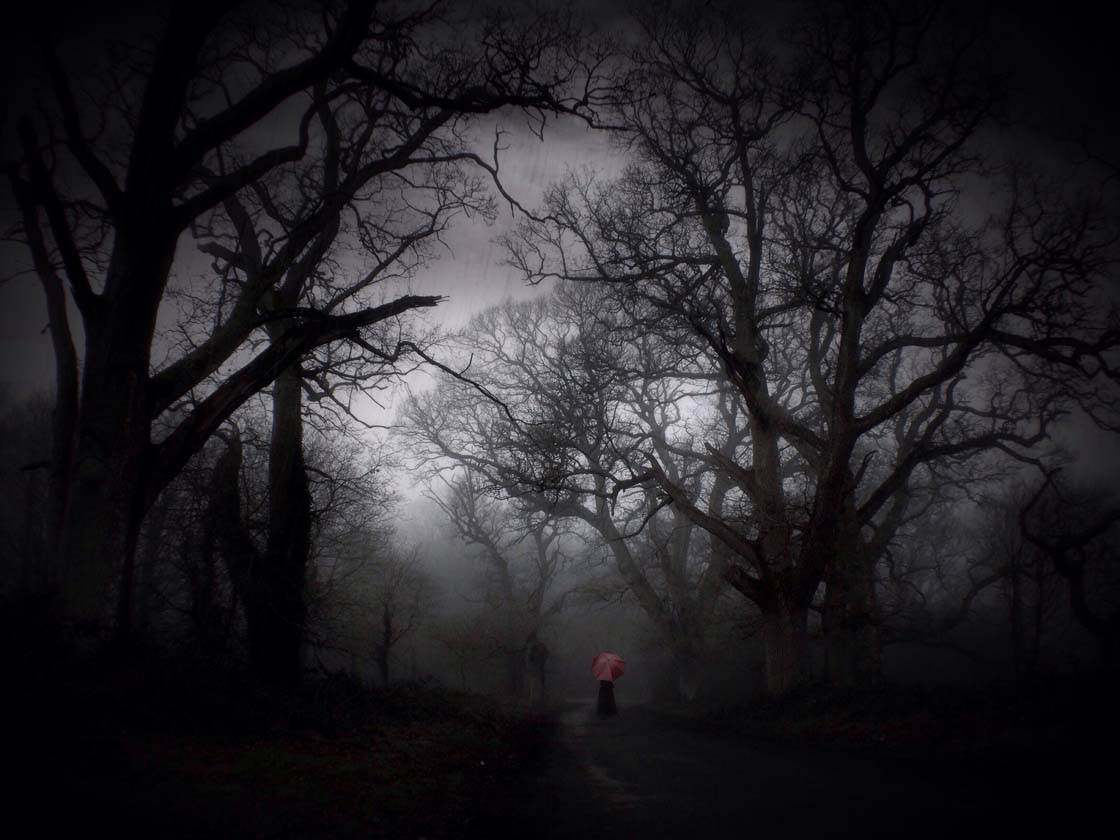
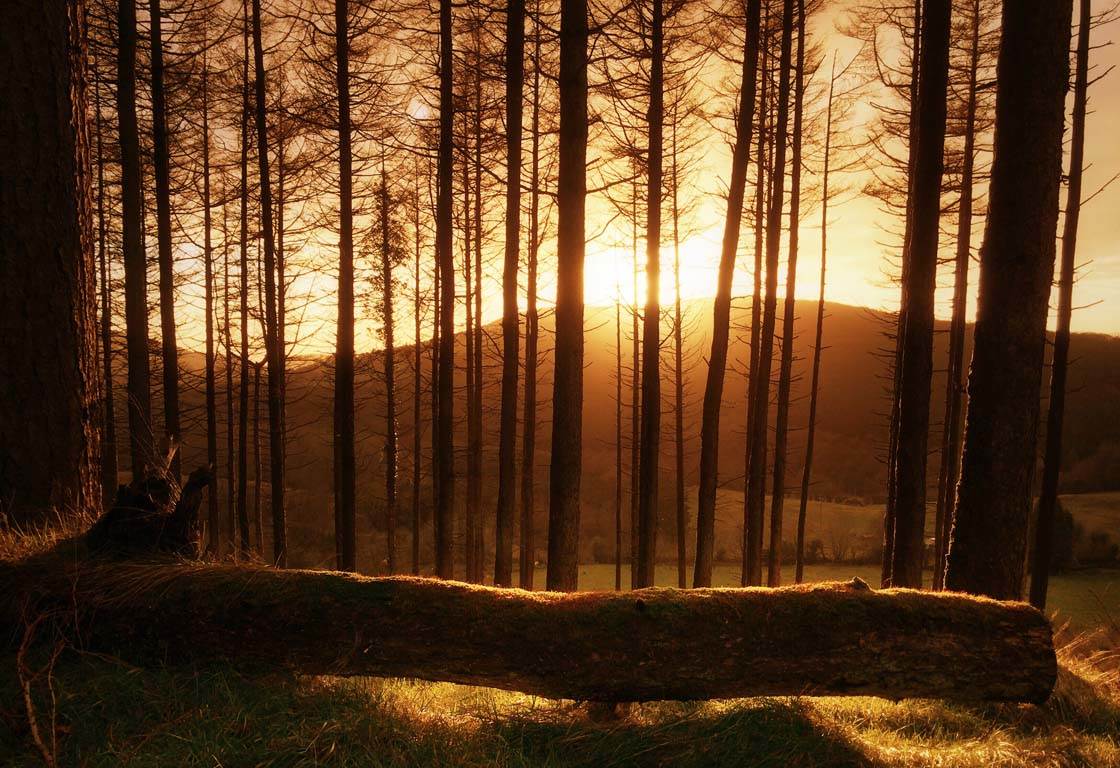
But in other situations, a dark vignette can add to the dramatic or mysterious mood of an image. This can work particularly well with forest photos, as can be seen in the moody forest shot above.
9. Convert To Black & White
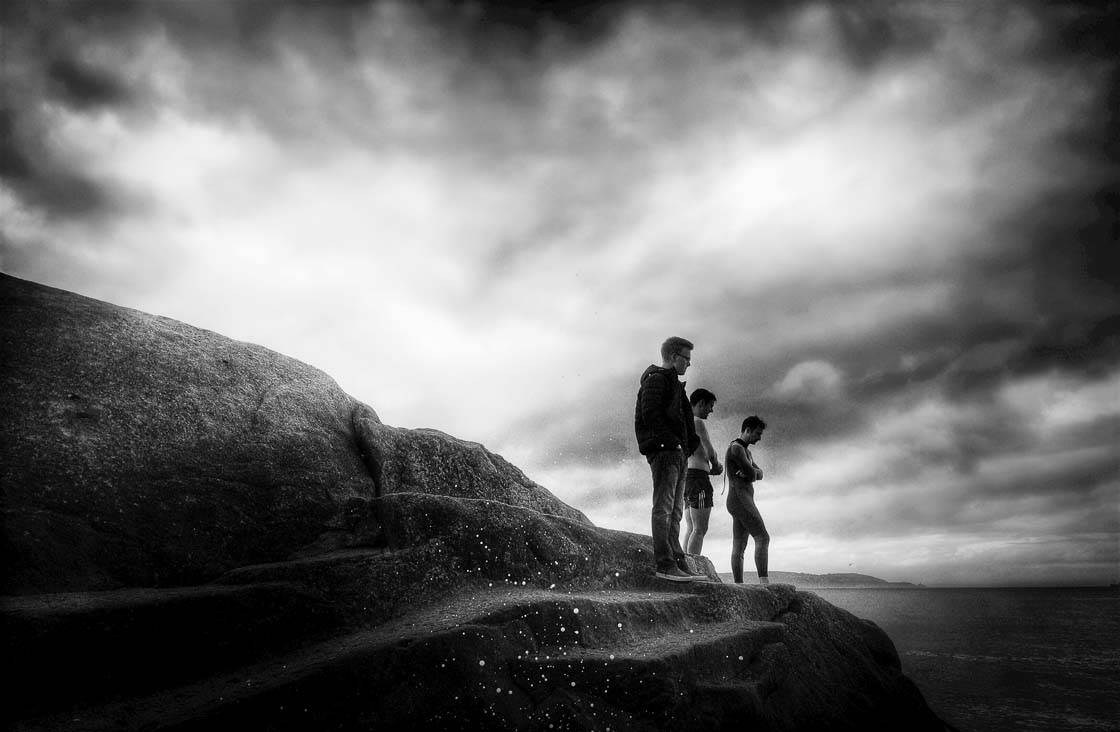
Black and white photos can be extremely visually powerful. Removing all color from an image forces the viewer to concentrate on the basic elements of the photo such as dark and light, lines, shapes and textures.
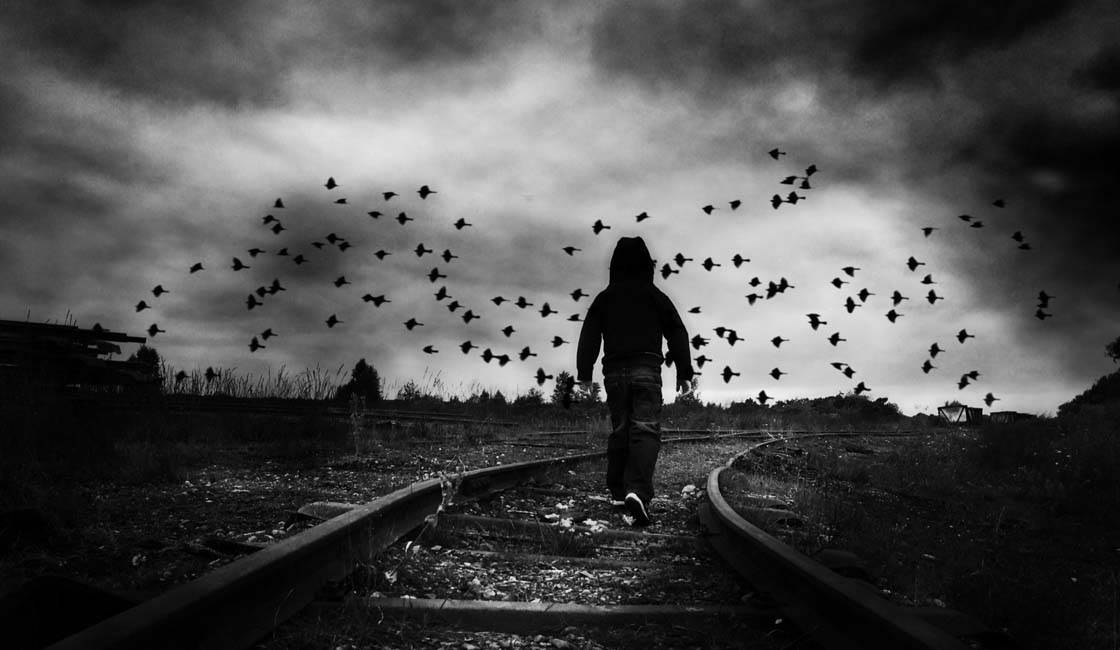
A black and white conversion can add a wonderful sense of drama to a photo, as well as creating a timeless feel.
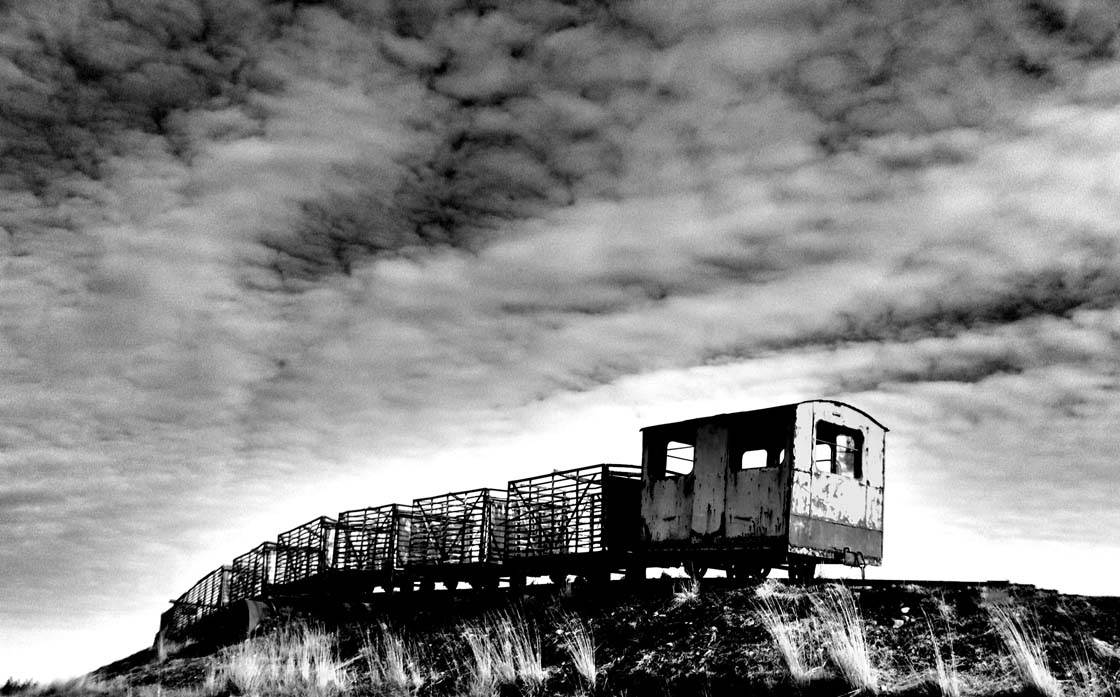
However, not all images look good in black and white. The skill is knowing which of your landscape photos will look great as a black and white picture – and which ones won’t.
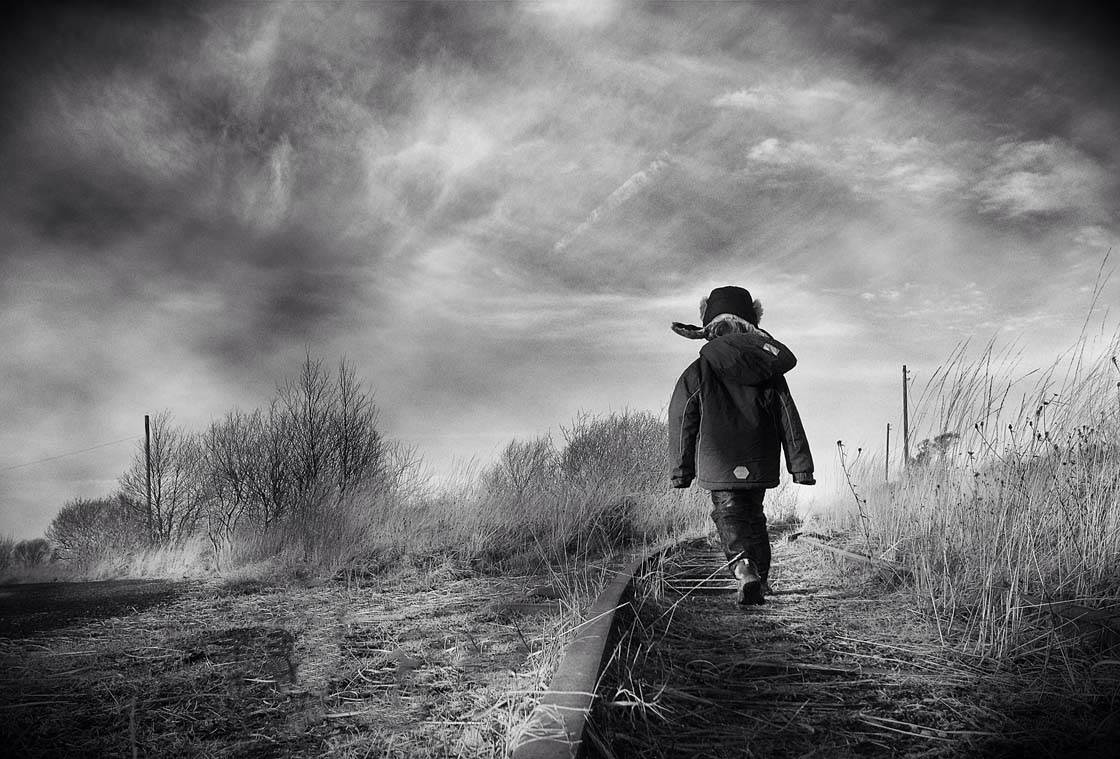
In most cases, high contrast images work best in black and white. So if your photo has good contrast, with dark and bright areas, a black and white conversion will probably look good.
With landscape photography, black and white works better when you have plenty of definition in the sky, in the form of clearly defined clouds.
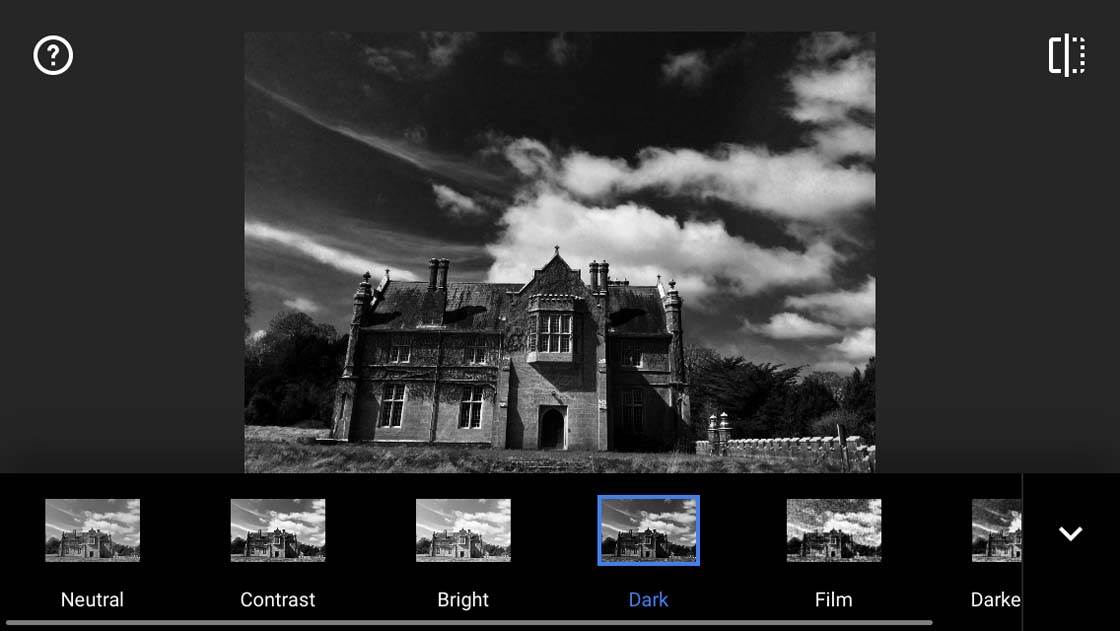
Almost all photo editing apps allow you to convert an image to black and white, including some dedicated black and white apps.
But plenty of all-round photo editing apps like Snapseed, PhotoToaster and VSCO offer a great selection of options to create different black and white styles.
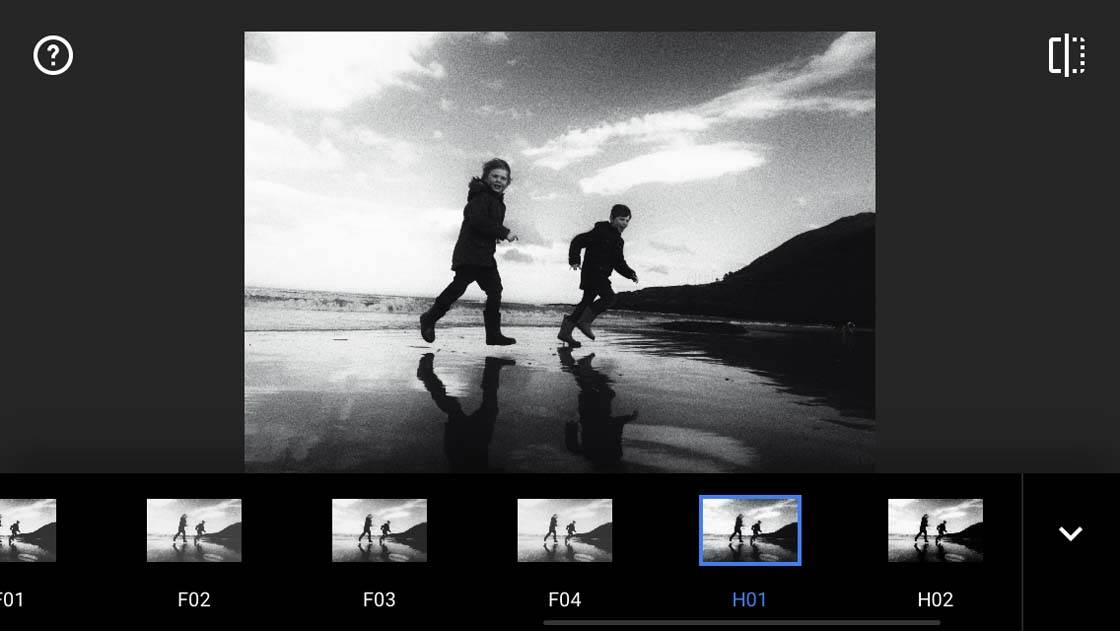
Just experiment with the different filters and adjustments until you achieve a look that you’re happy with.
10. Create Depth Of field
DLSR photographers often adjust the aperture of their lens to produce a shallow depth of field. This creates a blurred background which helps to isolate the main subject.
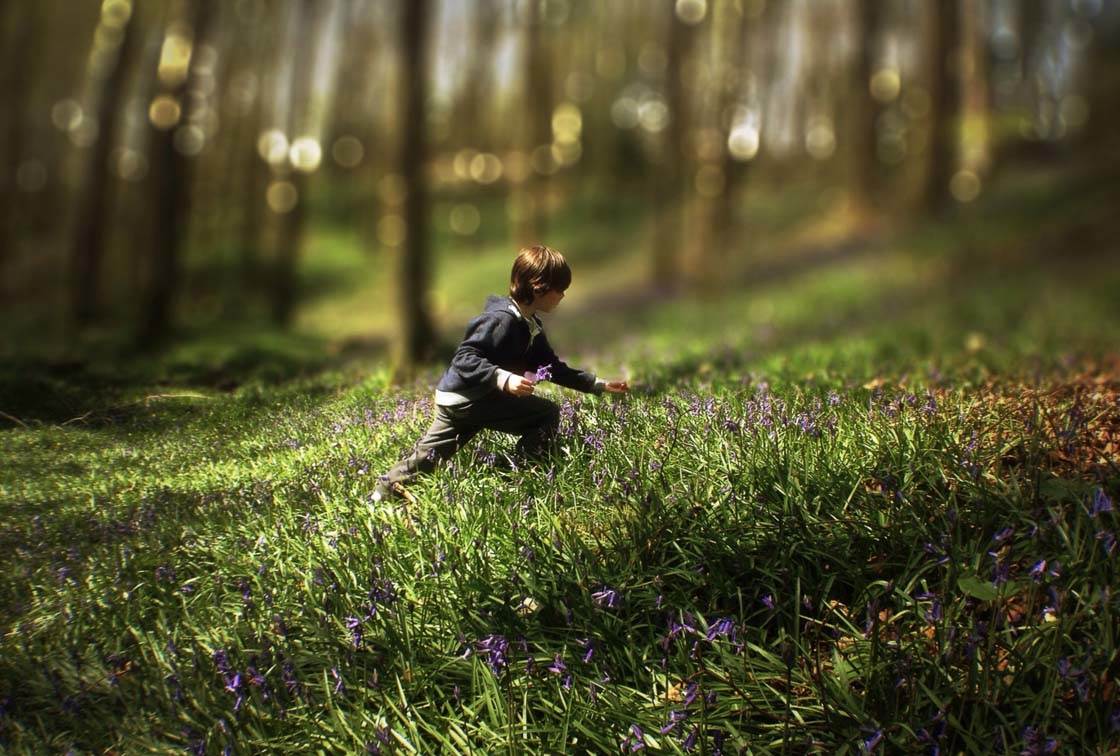
It’s not possible to adjust the aperture on an iPhone camera, however, there are several apps that can replicate this effect.
In landscape photography, we often aim to get everything in sharp focus, from the foreground right into the distance. However, in certain situations a blurred background can work really well.
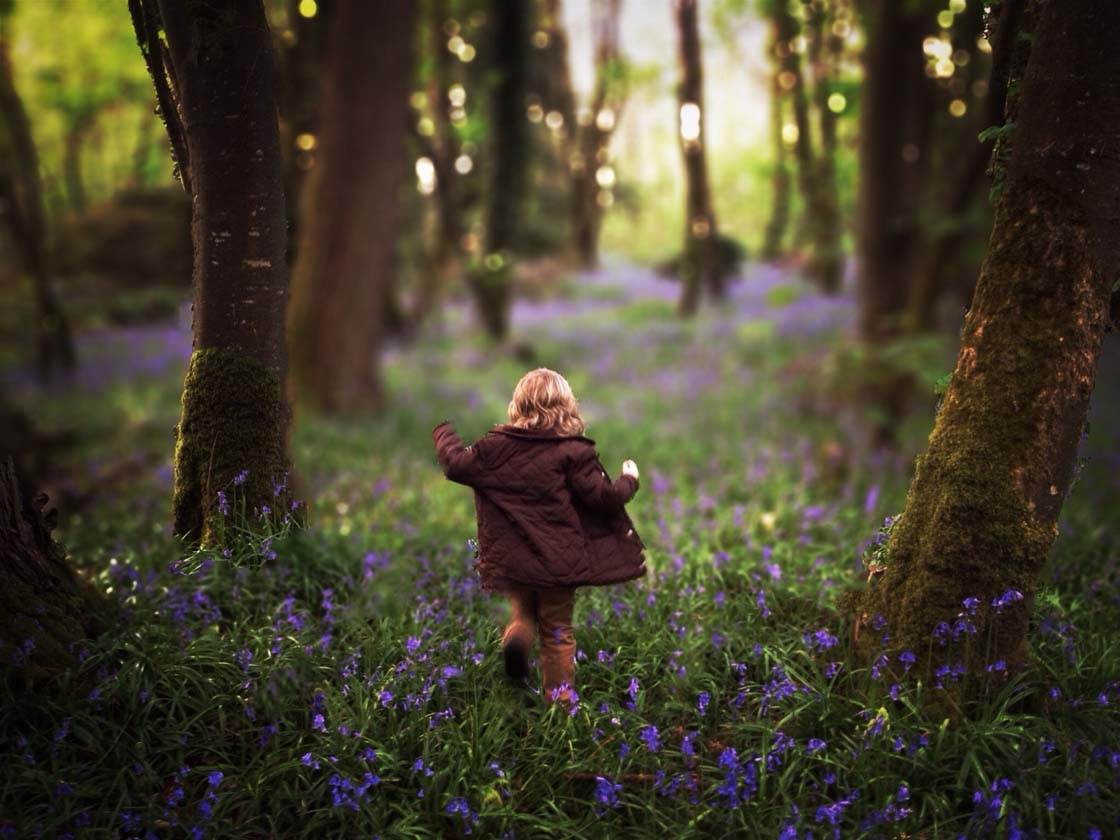
For instance, if you have a person as the main subject within the landscape, blurring the background will help focus the viewer’s attention on the person. It will also prevent your subject from become lost against a dark or distracting backdrop.
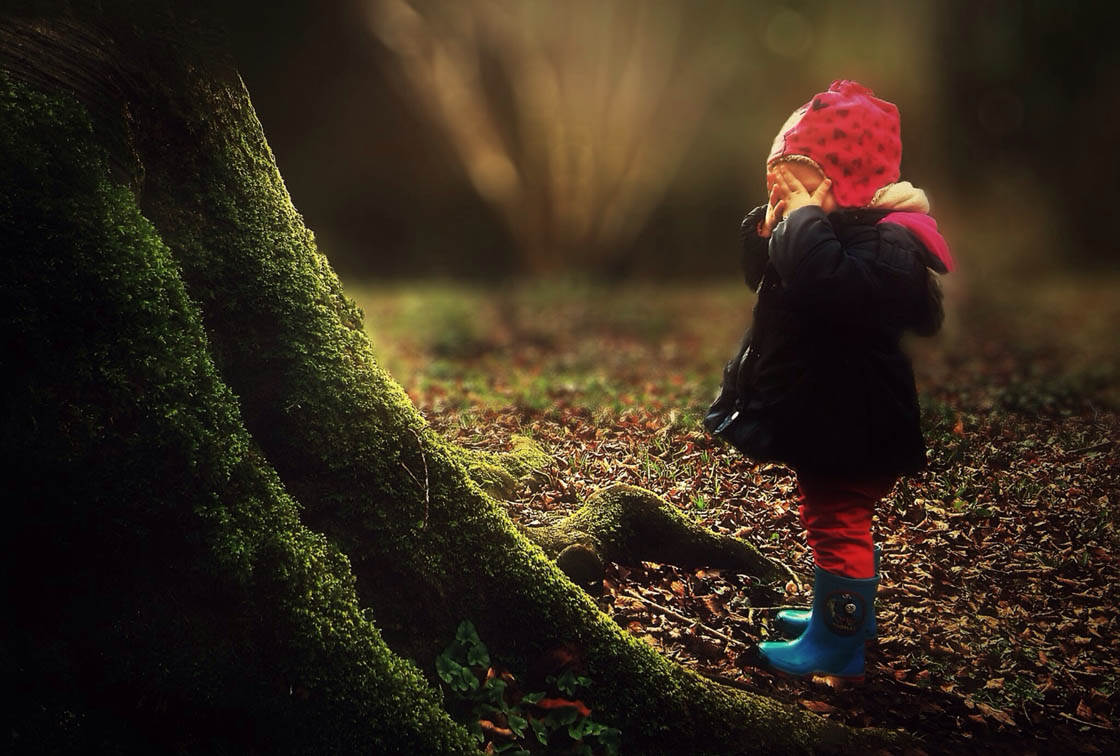
To create this kind of effect, you can use an app to blur background in your photos. Apps included AfterFocus, BlurFX, and my personal favorite Tadaa SLR. With a lot of these apps you use a mask to isolate your subject from the blur effect to help it stand out.
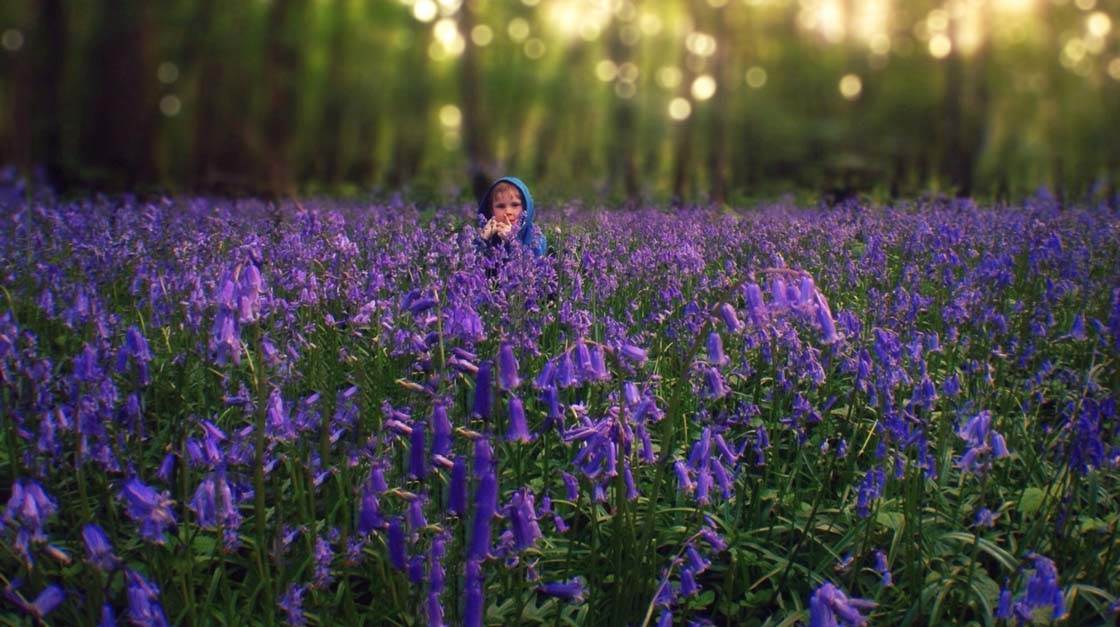
One of the reasons I prefer the Tadaa SLR app is the adjustable bokeh effects it creates. Bokeh refers to the blurred circles of light that you get with a shallow depth of field. This app creates quite striking bokeh effects if the light is right in the original shot.
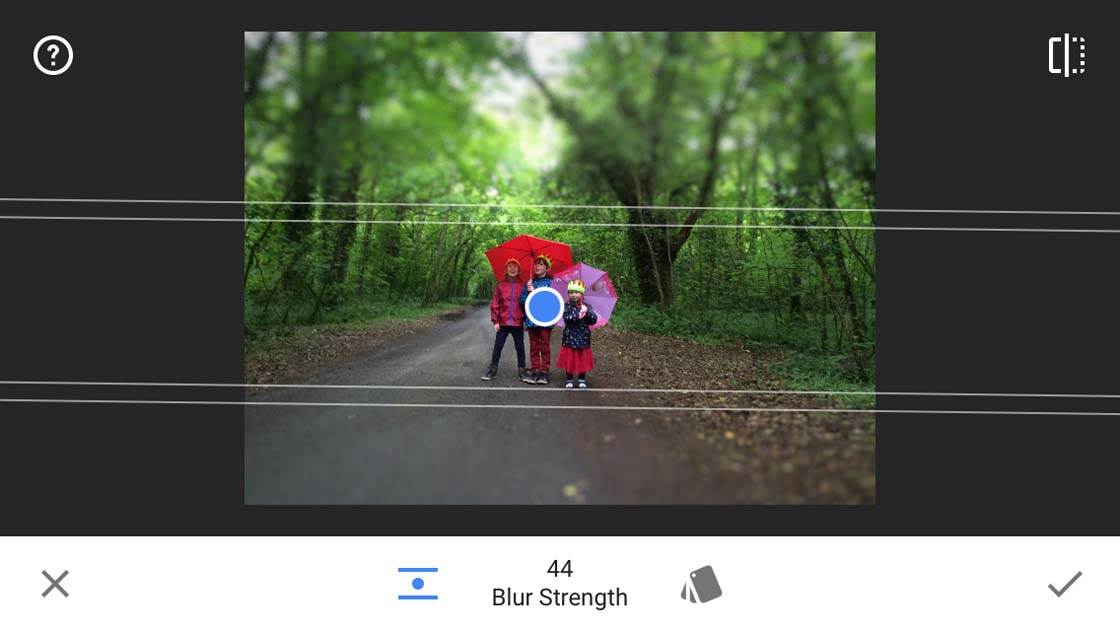
Another slightly different technique that you could use to blur the background is to use the Lens Blur filter in Snapseed.
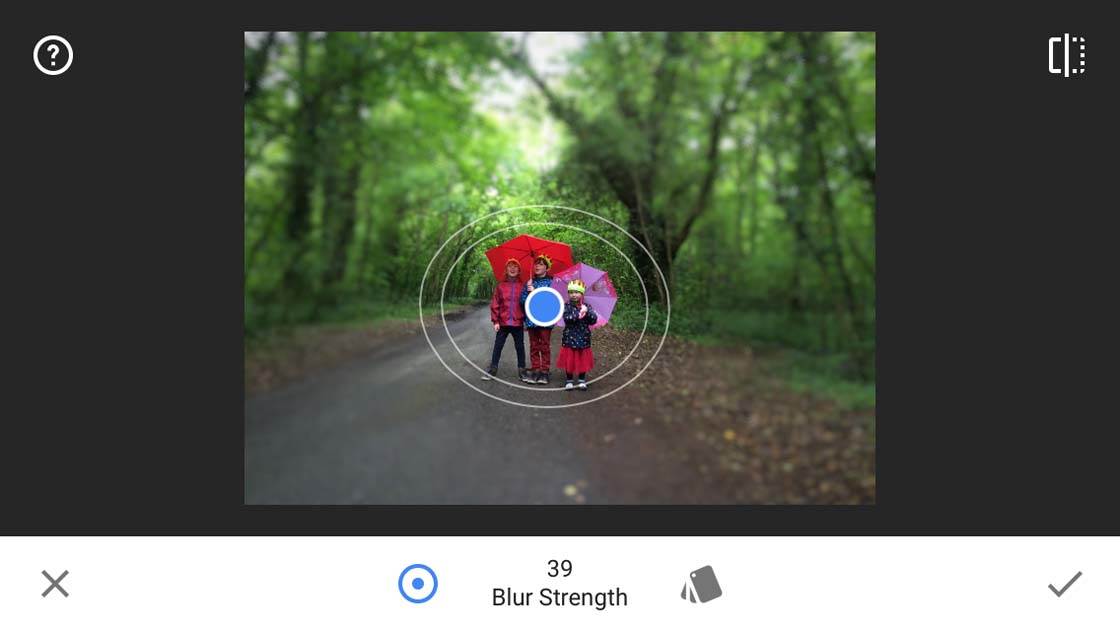
With this filter, you have the choice of an elliptical or linear blur effect, and you can adjust various settings such as the blur strength to get just the effect that you want.
11. Add Textures
If you want to get a bit more creative with your image editing, you could try adding texture effects to your landscape photos.
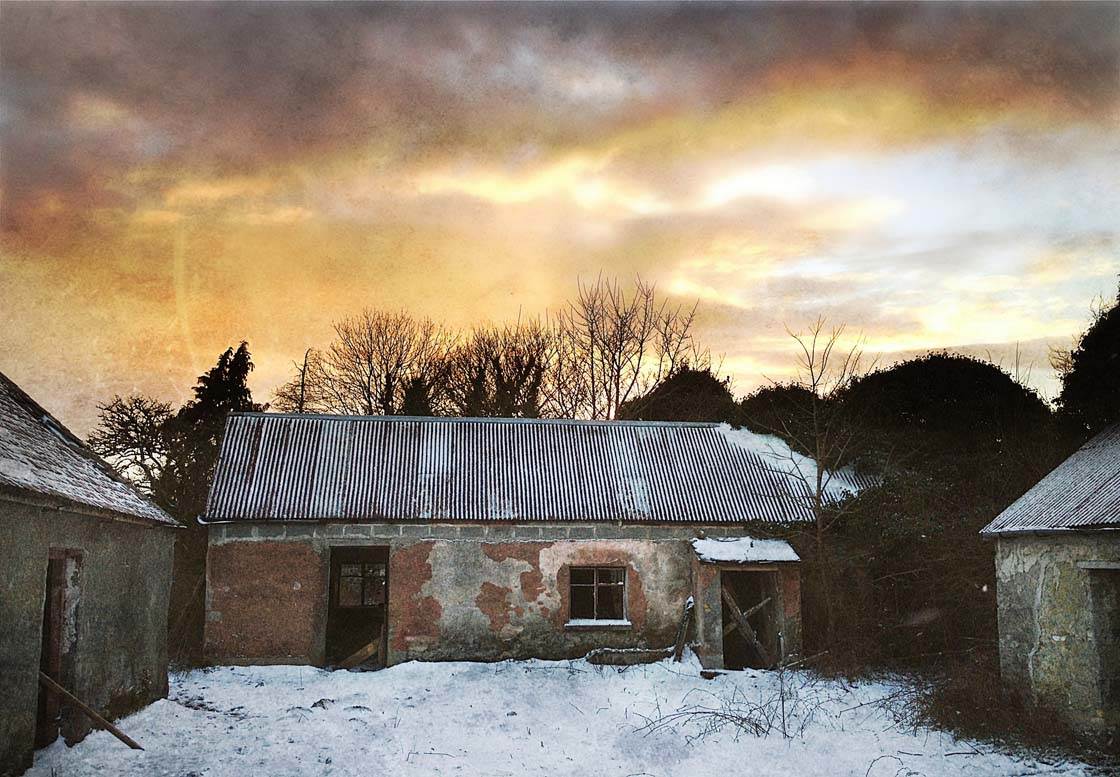
Distressed textures are great for adding an extra element of visual interest to your photos, giving them a more tactile quality.
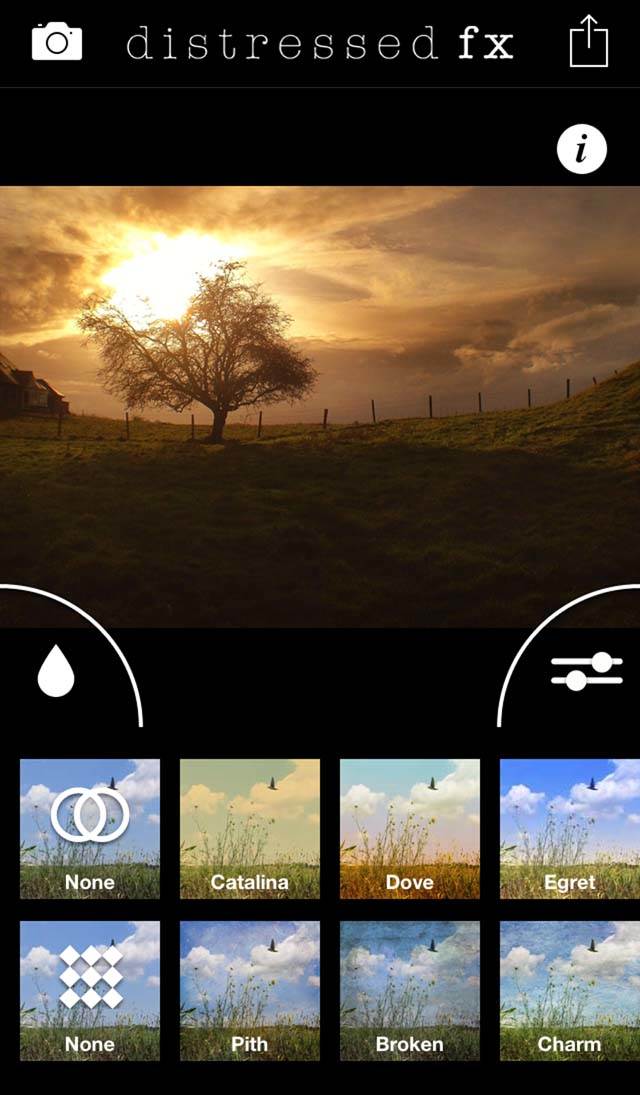
There are many apps available for adding textures, but among the best are Distressed FX, Mextures and Stackables. Snapseed also has several filters, such as Grunge and Retrolux, that allow you to apply textures to an image.
Textures don’t look good on all photos, but they often tend to work well on images with a large expanse of sky. The texture can create interesting features where previously there was little or no detail.
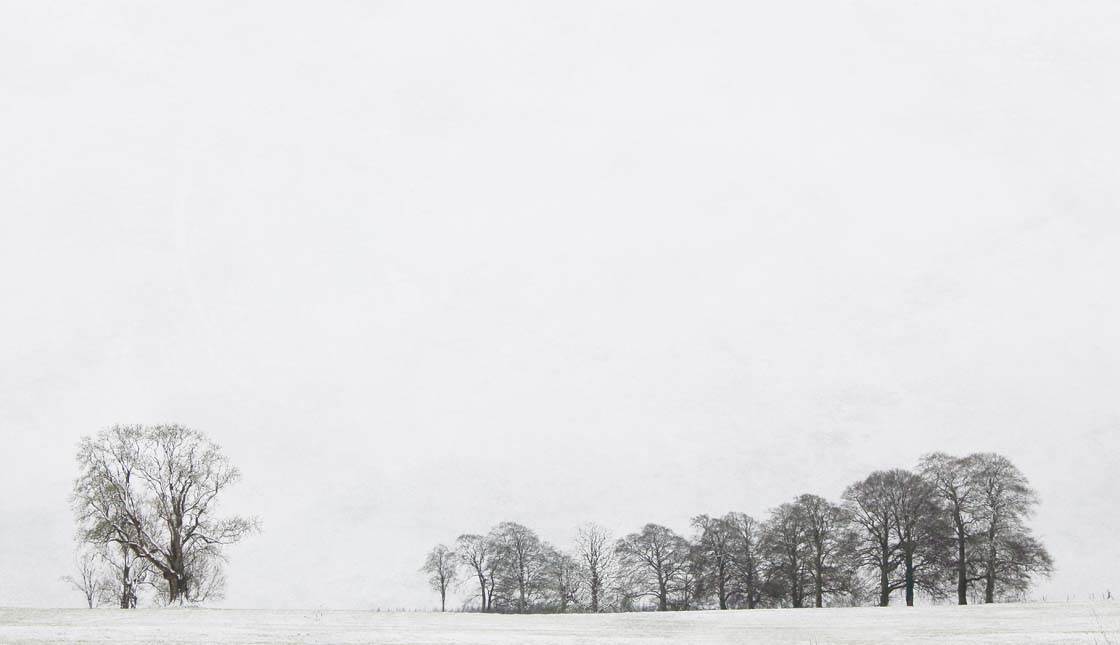
Just like when using filters, you should make sure you have the option of adjusting the intensity of the texture. Often just a very subtle hint of a texture is all that a photo needs.
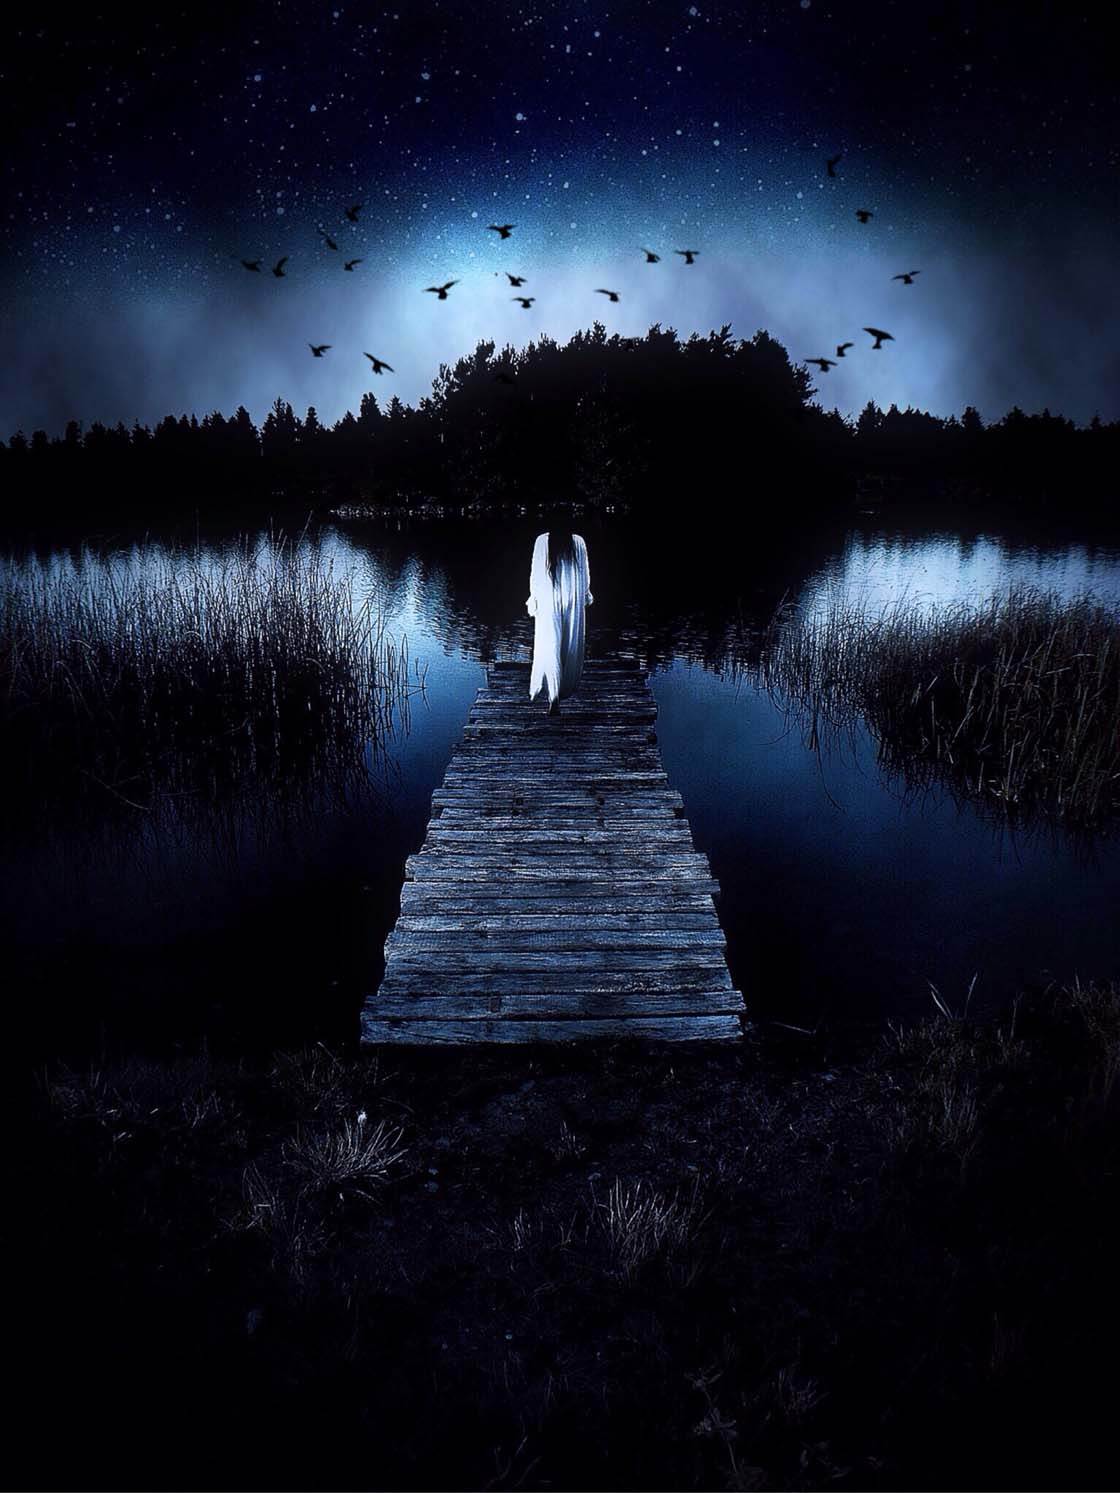
Of course, there are no rules with photo editing. So if you want to apply heavily textured effects, go right ahead. It might just turn your photo into a work of art!
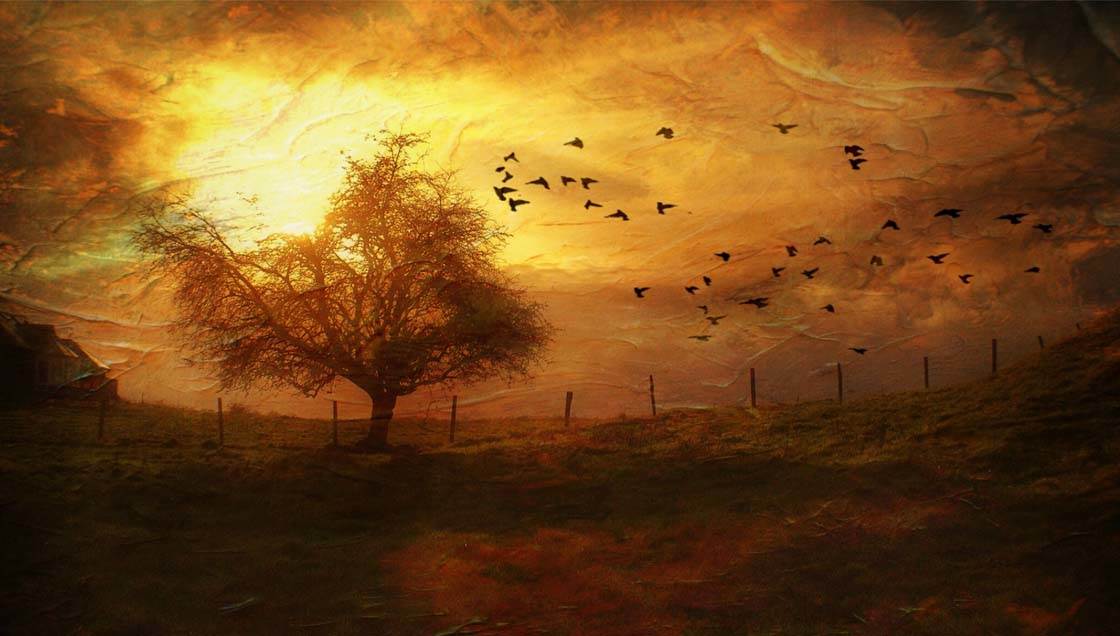
With this image I used Distressed FX to apply a particularly heavy texture, along with a flock of birds to add some extra visual interest to the sky.
You probably won’t want to apply this level of texture to every landscape photo that you take, but it can be fun to create this kind of image occasionally.
The best advice I can give is to experiment with the effects until you create a look that you’re happy with. Once you’ve found something that works, concentrate on that and try to incorporate it into your editing style.
12. Add Fun Elements
If you want to have a bit of fun, and you’re not trying to create anything too serious, there are many apps that allow you to spice up your photos by adding in extra elements.
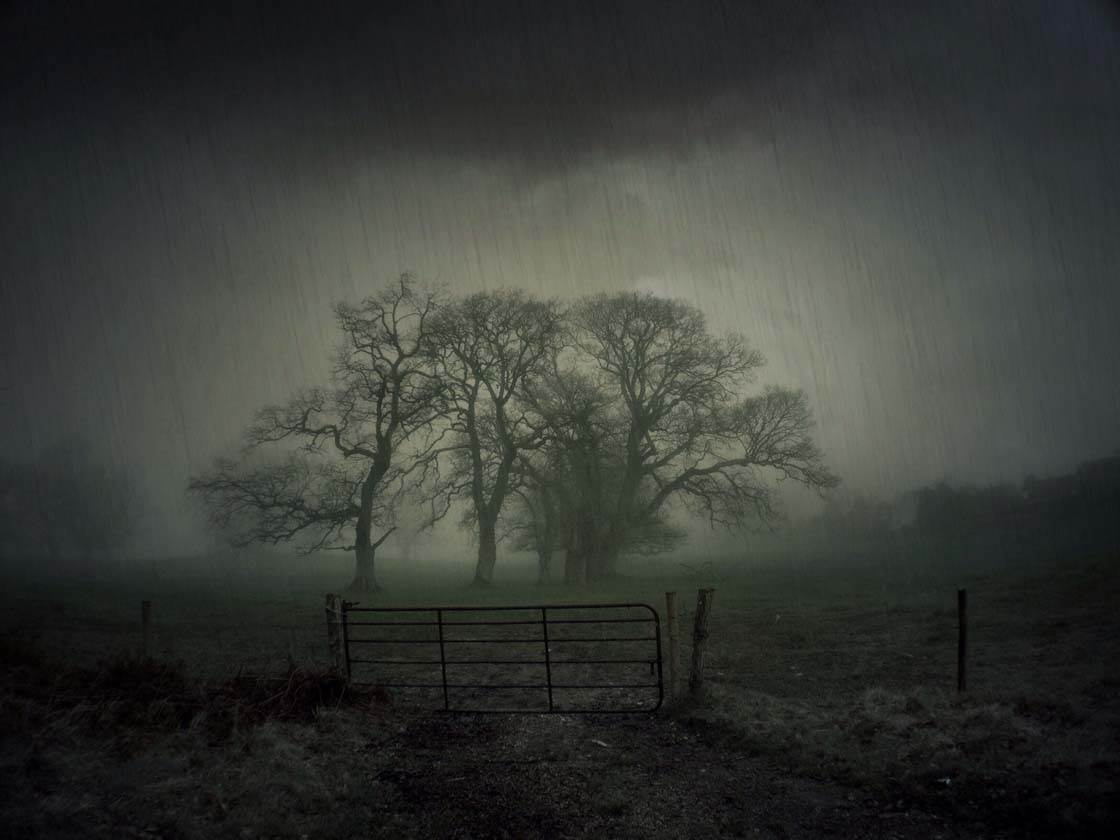
Sometimes you’ll look at the photo you’re editing and think to yourself, “It’s good, but there’s something missing!” Maybe the mood of the image would be enhanced by adding in some weather effects such as rain, snow, lightning, fog or sun flares.
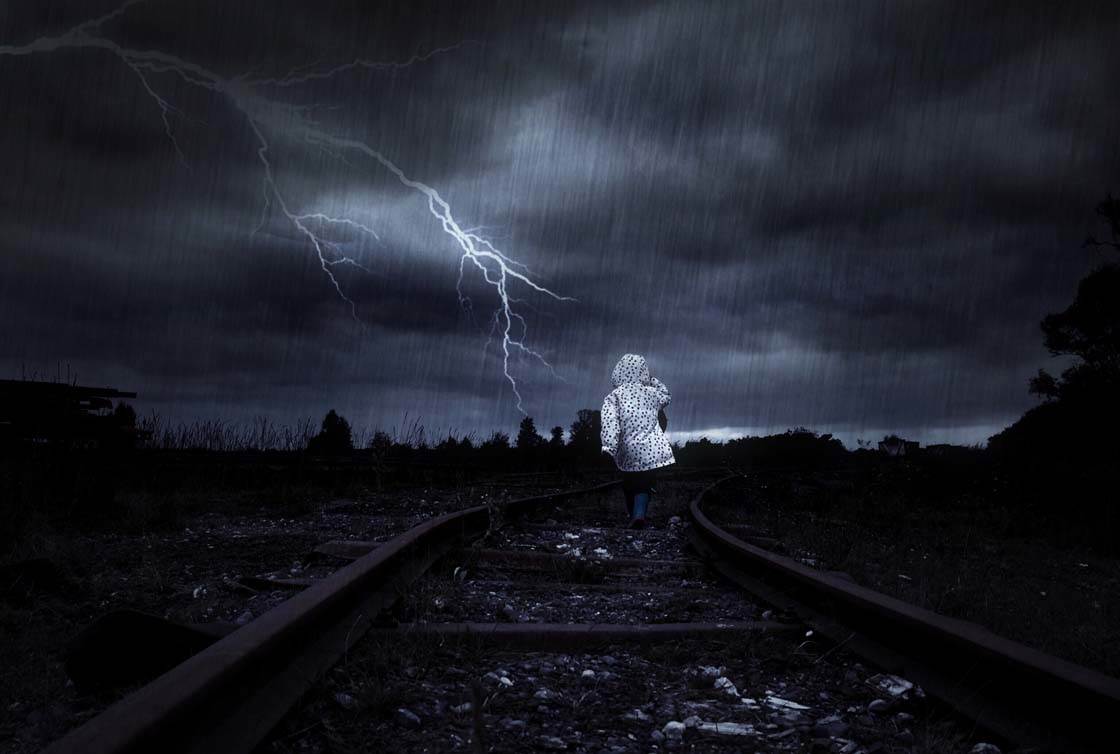
Rainy Daze is great for rain effects. And Lens Distortions has some very realistic fog and lens flare effects.
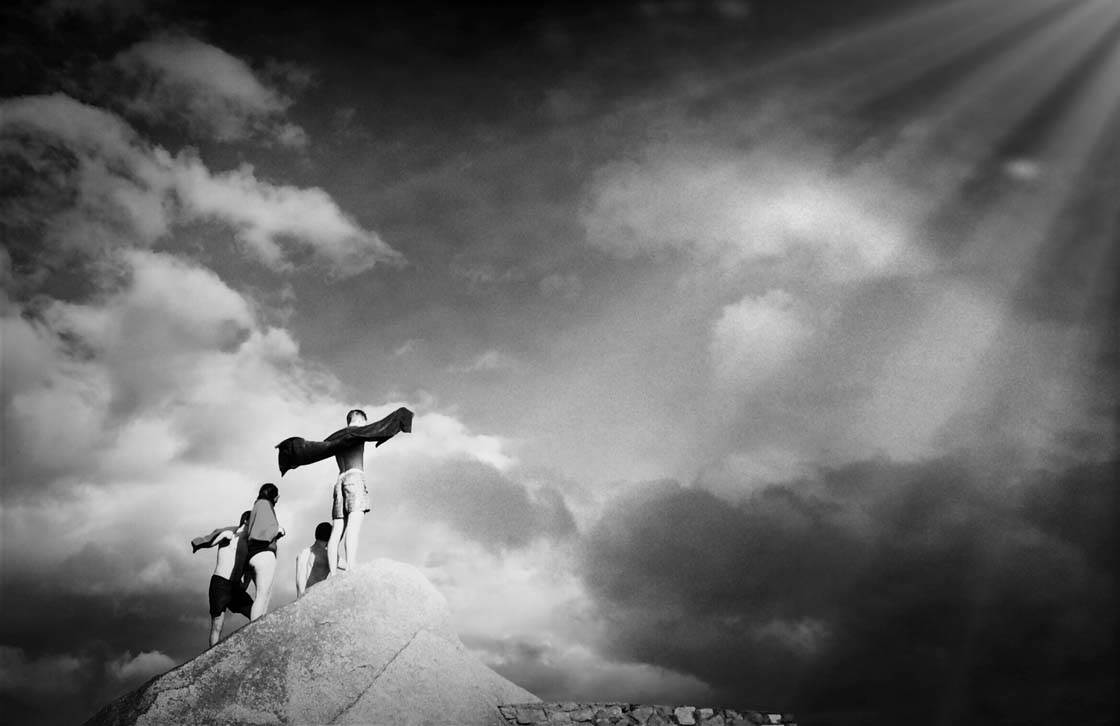
LensLight and LensFlare can be used to add a whole range of lighting effects. And there are many more apps that offer all sorts of special effects elements to create fantasy-style edits.
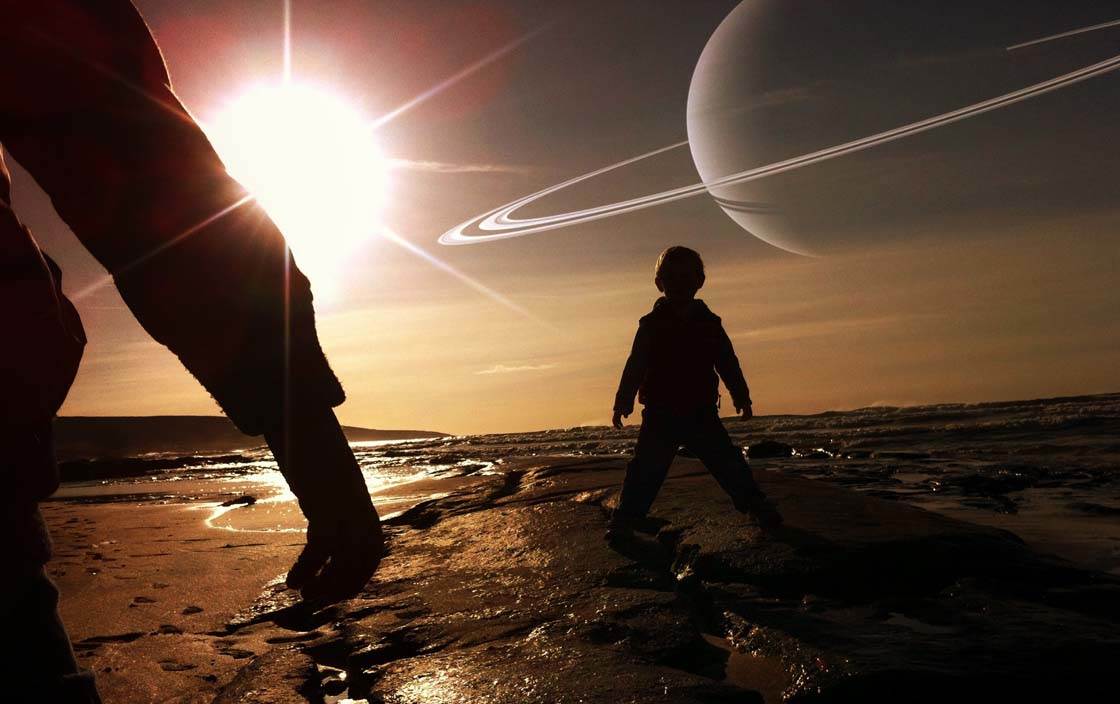
Alien Sky can be used to add various celestial bodies such as planets and moons to give your photos that sci-fi look.
Apps such as Juxtaposer and Superimpose X allow you to add elements from other photos into your current image. Really the only limit is your imagination! However this brings me to my final tip…
13. Know When To Stop
When editing your landscape shots, it’s always advisable to have a good of idea of what the final edit should look like before you start.
If you don’t, the temptation is to just keep adding effects, filters and textures in the hope that you’ll end up with something good. But this rarely works, and the result will often be a very cluttered images that doesn’t do the original landscape justice.
Also, most apps save your edits as JPEG files which results in some compression of the image file. The more apps you use for editing a particular image, the more compressed the image file will become.
This will result in a loss of overall clarity and quality. So you should pick a few apps that you like, and just concentrate on using those to edit your photos. Try to find a look that you’re comfortable with and stamp you own mark on it.
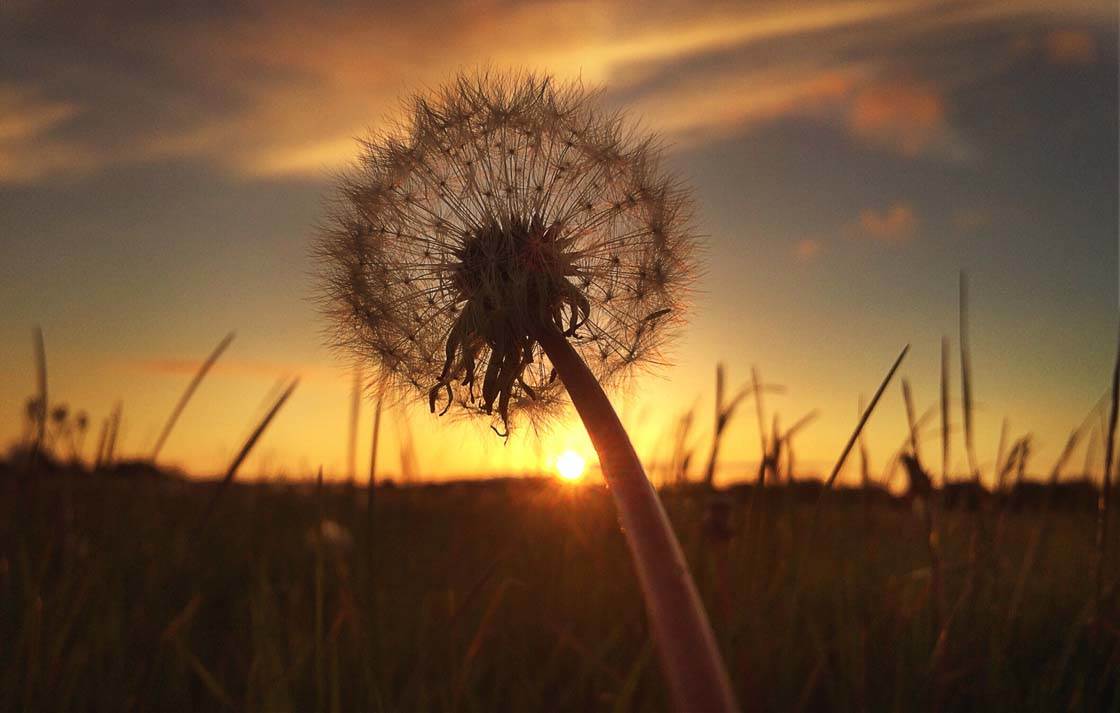
As with most things in life… Less is more. Remember, that landscapes and nature are beautiful in themselves, so always preserve this beauty in your edits.
Your aim should simply be to enhance the beauty of the wonderful scenery that you captured with your iPhone.

great tutorial Mr. Moore.
I really enjoyed reading and learning from this…
Thanks very much Scallie. Delighted you found it useful 🙂
Thanks for this in-depth tutorial Paul. Really great tips! 🙂
Thanks very much Kate. And thanks for your help in putting it together.
Now this is a great tutorial!
Good to hear Ranc. Landscape photography is a particular favourite of mine and it is nice to be able to share what I have learnt over the years I have been doing it.
keep going 🙂 u are the best
Thx for every thing 🙂
Thank you so much Khalid. Glad you enjoyed it 🙂