Do you lead a busy life? If so, you won’t have much spare time to learn new photography skills – but you don’t need to spend a lot of time studying photography to make significant improvements. You just need to set aside a few minutes to learn the most essential and effective techniques. And now is the perfect time. In this tutorial you’ll discover 25 quick and easy ways to dramatically improve your iPhone photography right now!
1. Swipe To Access Camera From Lock Screen
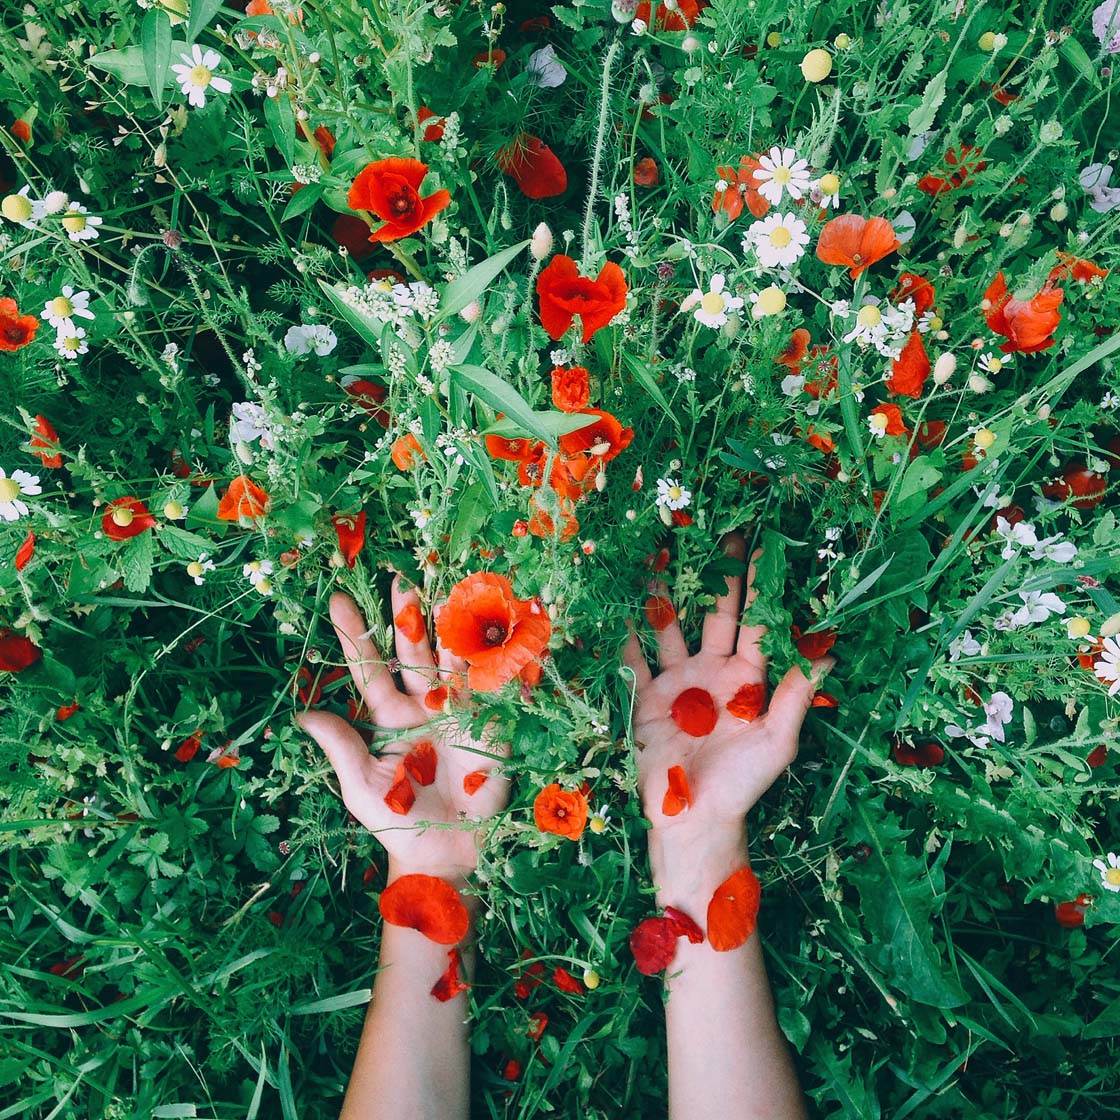
When photographing fleeting moments or moving subjects, you’ll often miss the shot by the time you’ve unlocked your iPhone and opened the Camera app. But did you know you can open the Camera app without having to unlock your phone?
Simply press the Home button to wake up the phone, then swipe up from the bottom of the screen to open the Camera app. Within a second or two you can be shooting!
2. Set The Focus
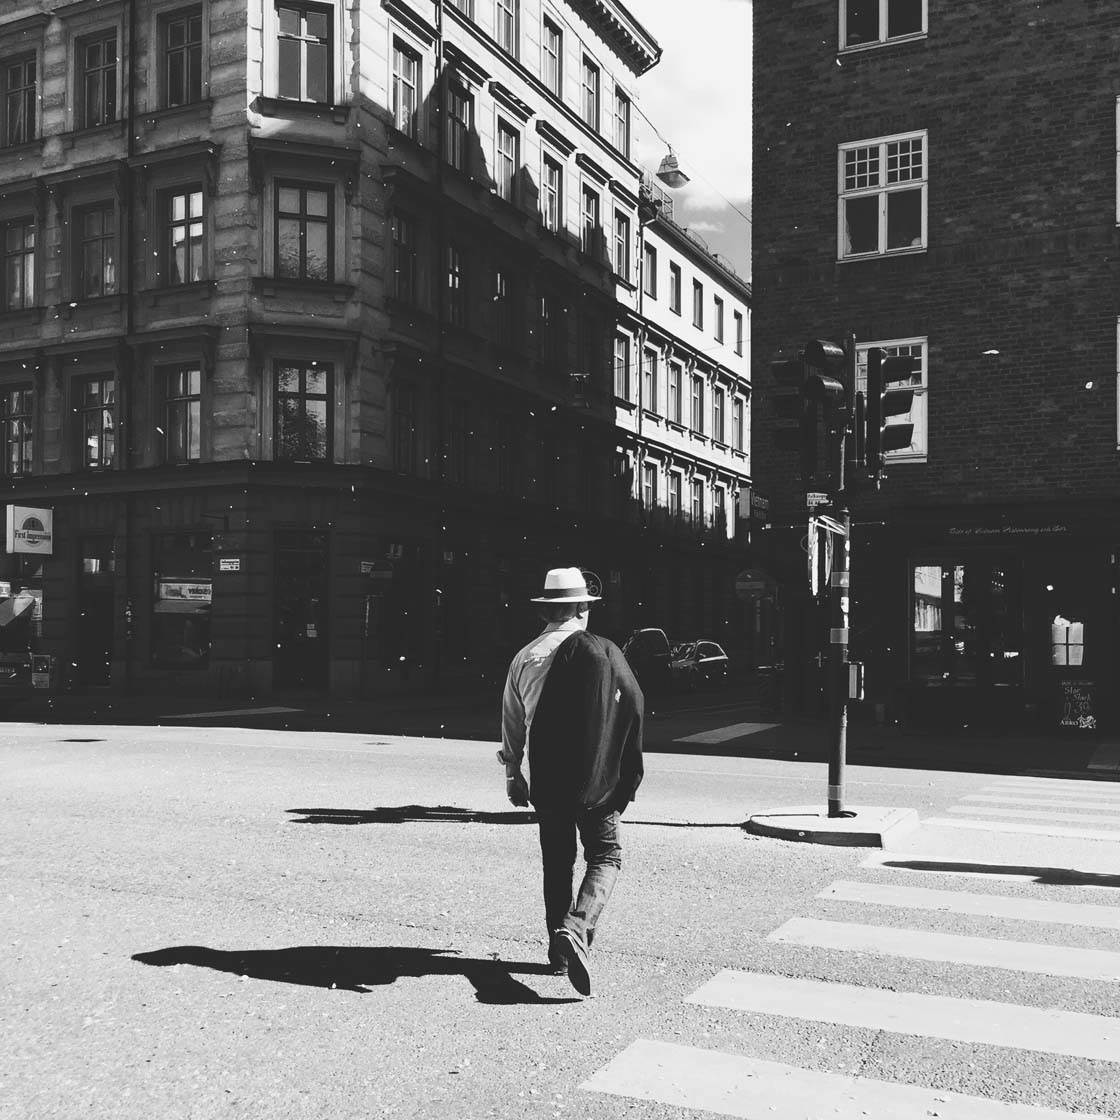
To ensure your main subject is perfectly sharp, you should always set focus manually rather than letting the camera autofocus. To do this, simply compose your shot then tap on the screen where you want the focus to be set, e.g. on your main subject.
Anything in front of or behind that subject may appear out of focus, especially when shooting close-up subjects where the depth of field will be very shallow.
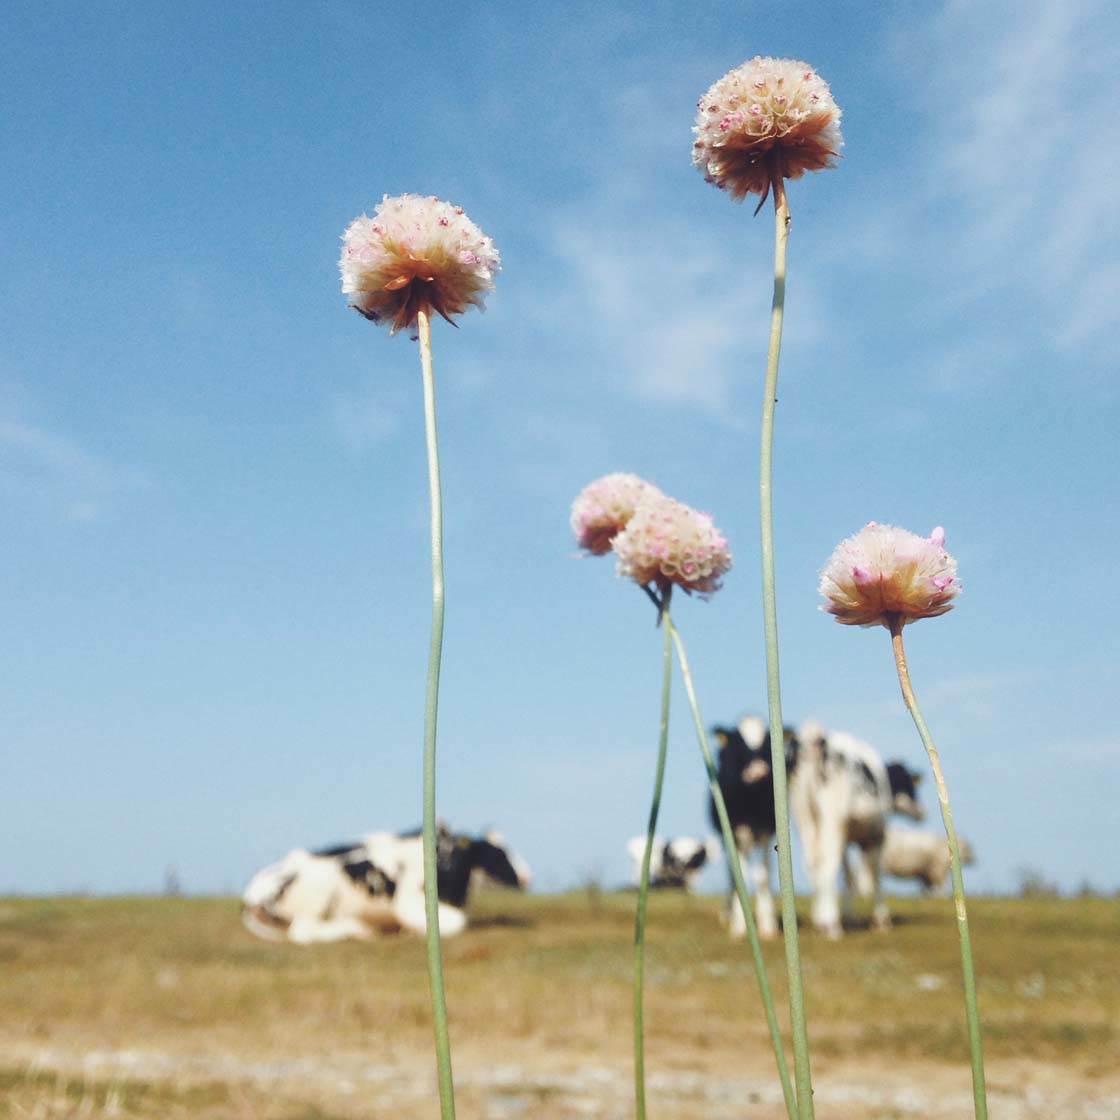
Click here to find out more about how to blur background in photos on your iPhone.
3. Adjust Exposure
Exposure refers to the brightness of the image, and it’s important to get it correct at the time of shooting. If the image is too bright (over-exposed) or too dark (under-exposed) you’ll end up losing detail in the bright or dark areas of the photo.
After tapping to set focus, check the brightness of the image. If you need to make it brighter or darker, swipe up or down on the screen to access the exposure slider. Swipe up to make the image brighter, or down to make it darker.
4. Keep The iPhone Steady
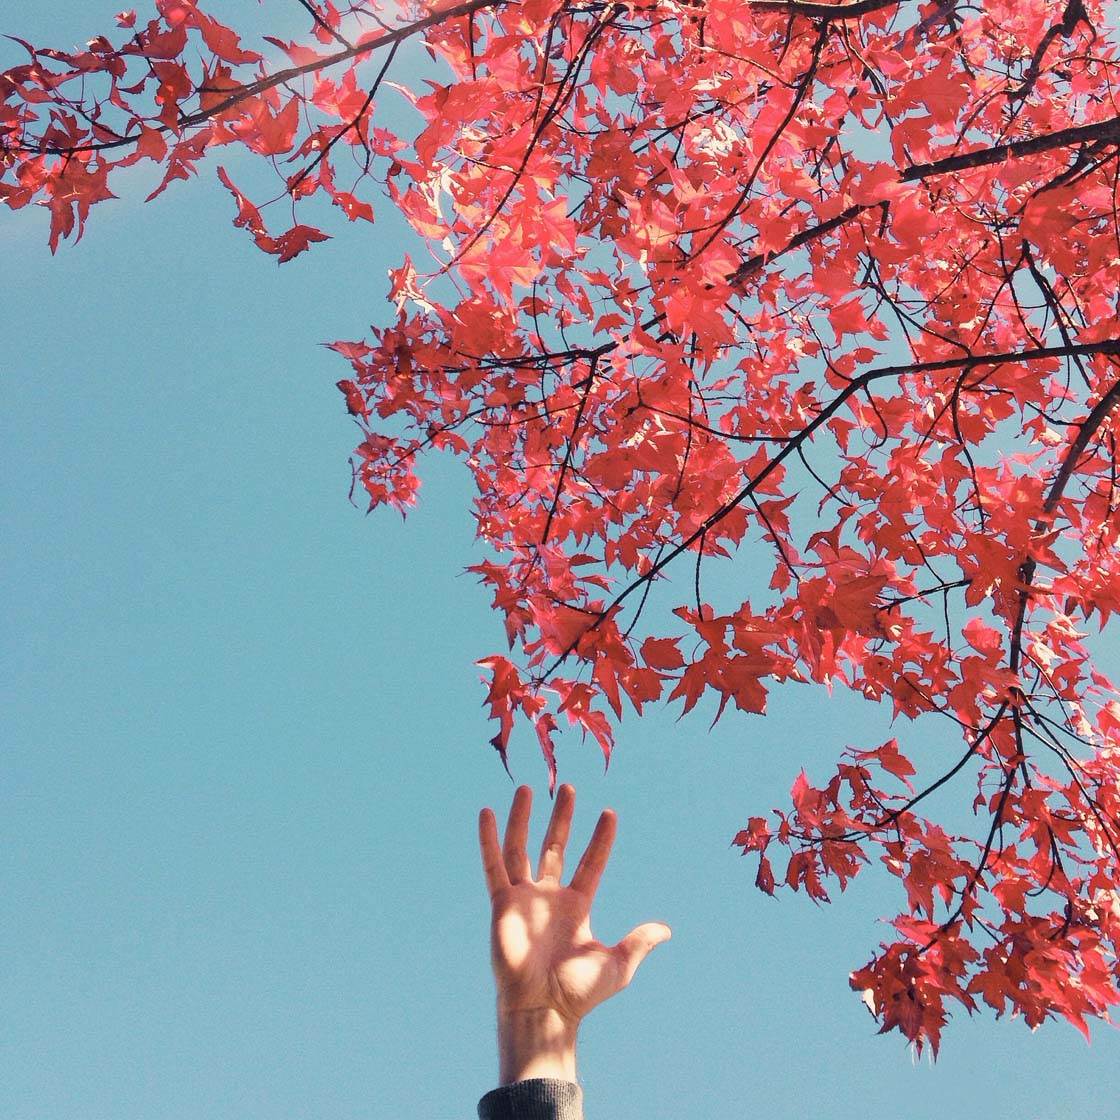
If you move the iPhone (even very slightly) when you take the shot, your photo can end up blurred due to camera shake.
This is a particular problem when there’s not much light in the scene because the camera will use a slower shutter speed to allow enough light in to expose the shot correctly. During this longer exposure time there’s more chance that you might move the phone.
If you can’t hold the iPhone steady enough, use an iPhone tripod or steady your phone on a solid surface. Then use the self-timer to fire the shutter without you having to touch the screen. You can also fire the shutter using the volume button on your Apple earbuds.

5. Use Burst Mode For Moving Subjects
If you’re photographing a moving subject, use the Camera app’s burst mode to fire off a series of shots in quick succession. You can then choose the best photos from the sequence and delete the rest.
This is particularly useful if you’re photographing children, sports events or music concerts. To activate burst mode, simply keep your finger on the shutter button in the Camera app, then release when you’ve finished shooting.
6. Turn The Camera Grid On
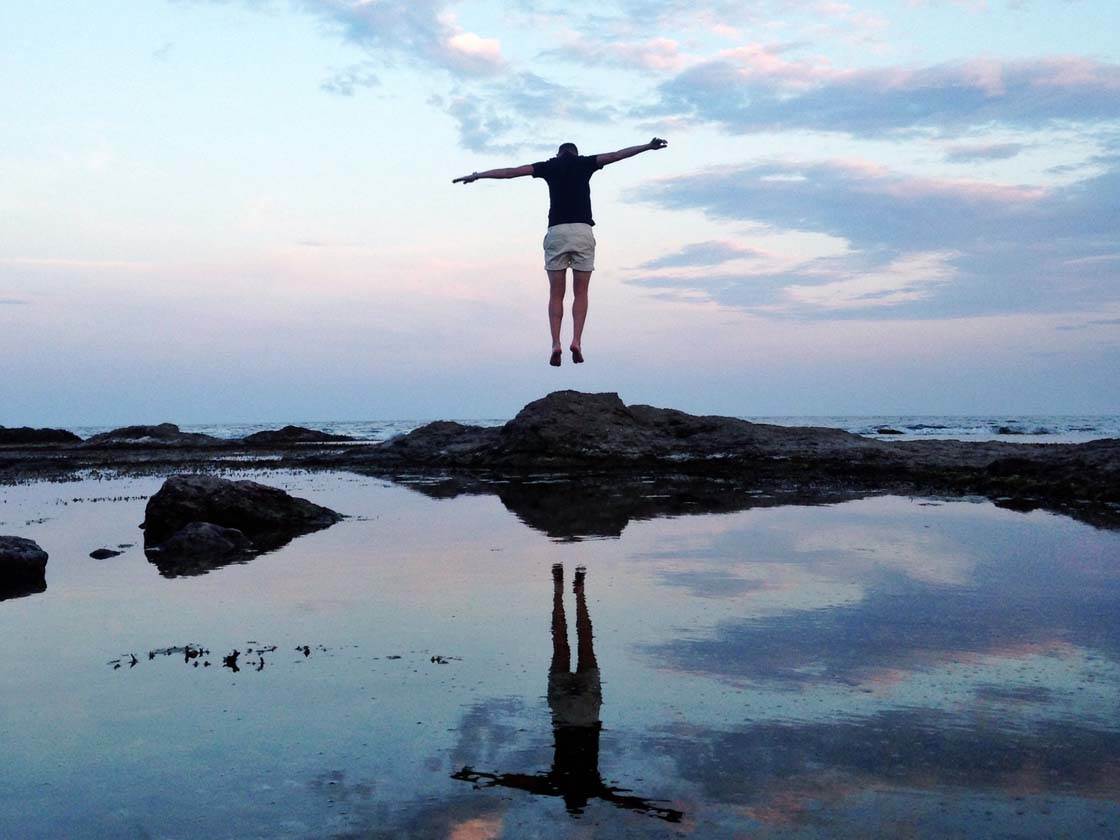
Use the on-screen camera grid to help you compose your pictures and arrange the key elements in the scene. The grid is really helpful when you want to compose your shot according to the rule of thirds, or make sure your subject is perfectly central when shooting symmetry.
It’s also great for landscape photography as you can use the grid to ensure your horizon is level. To turn the grid on, go to Settings > Photos & Camera > Grid.
7. Use The Rule Of Thirds
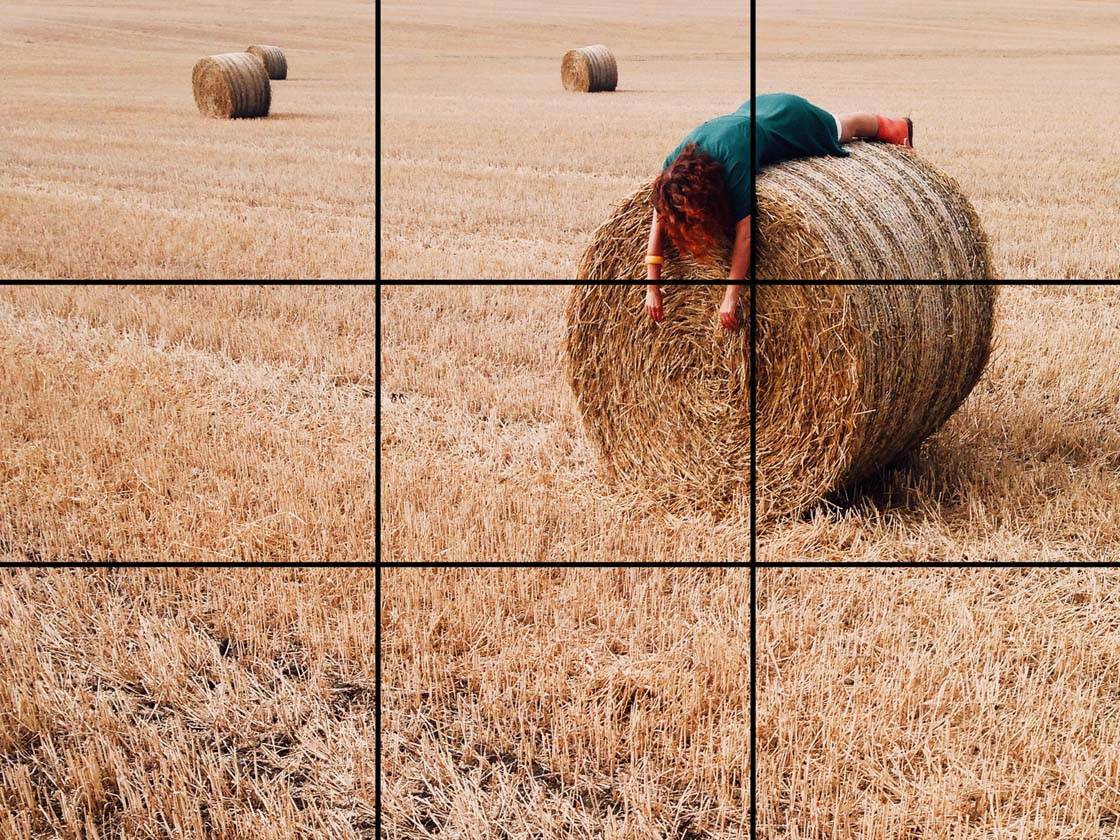
The rule of thirds is a composition technique that states you should position the key elements off-centre within the frame. This helps to create a harmonious and naturally balanced image that’s pleasing to the eye.
Use the on-screen grid to help you position your main subject at one of the intersections where the gridlines meet. The horizon can be positioned along one of the horizontal gridlines, and tall subjects such as trees can be placed along one of the vertical gridlines.
8. Shoot Symmetry
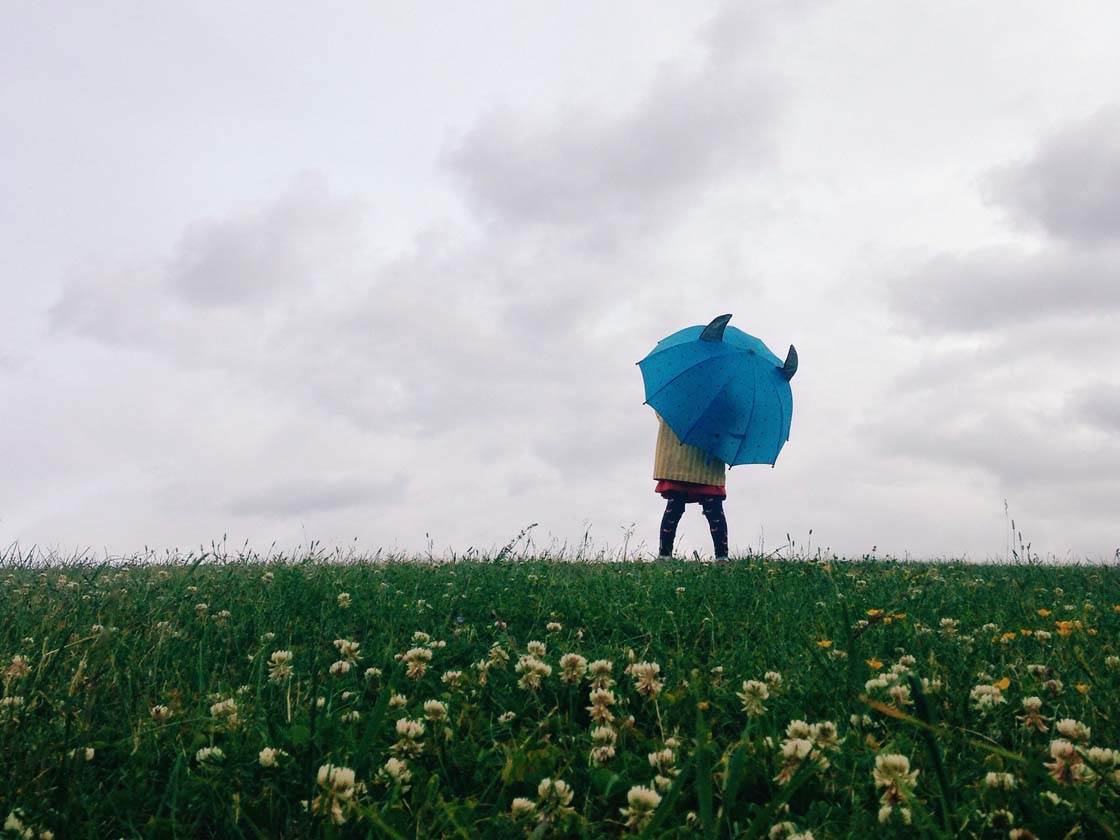
For a more dramatic composition, use central subject placement to create symmetry. Symmetrical compositions are extremely visually powerful and will instantly catch the viewer’s eye.
When creating symmetrical shots, ensure you compose your shot so that the line of symmetry runs through the middle of the frame. The aim is to create a photo where one side mirrors the other.

9. Use Leading Lines
Leading lines are lines in the picture that lead your eye from one part of the frame to another. They’re a great way of creating a very strong and distinct visual experience.
Leading lines help to create a sense of depth by leading the eye deeper into the scene. They’re also useful for drawing the viewer’s attention towards the main subject.
Try to compose the shot so that the line leads from the foreground of the scene towards the main subject or point of interest.

10. Create Simple Compositions
Simple, minimalist compositions are often the most powerful. The simpler the scene, the more eye-catching a photo becomes, and the more emphasis is placed on the main subject.
Keep the background simple, use as few colors and objects in the frame as possible, and leave plenty of negative (empty) space around the subject.
Make sure the color of the subject contrasts with the backdrop color. If possible, keep your shots down to one, two or three dominating colors

11. Use Blue Sky As A Backdrop
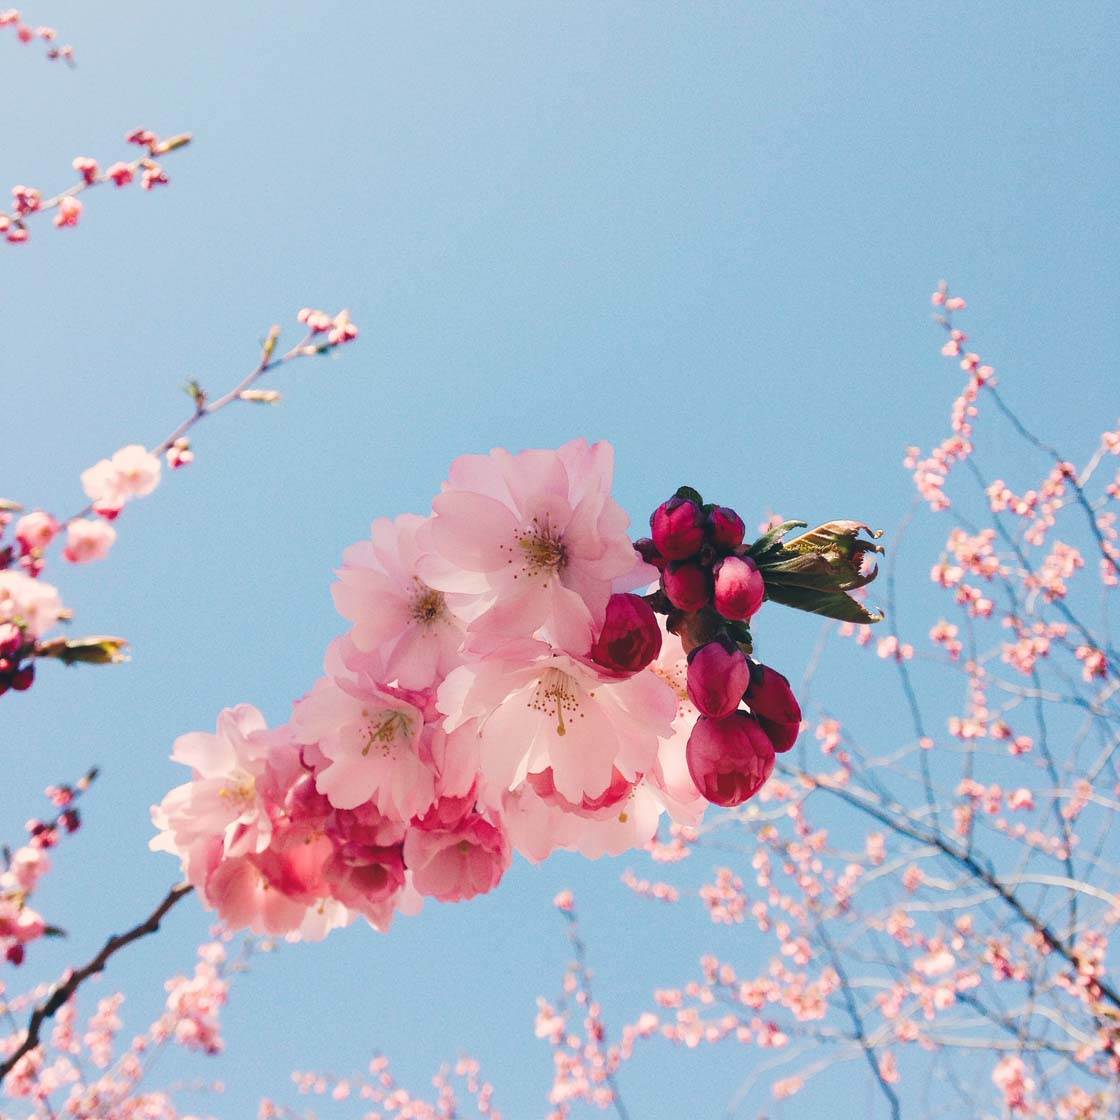
A clear blue sky makes the most gorgeous backdrop for a photo. When shooting outdoors, look for a flower or whatever eye-catching object you can find, then get down low on the ground so your subject is the only thing in the frame except for the sky.
This is especially useful when there are a lot of distractions in the scene, allowing you to create a clean and minimalist feel in your photos.
12. Capture Dramatic Clouds
To add a sense of drama to your landscape photos, shoot on a cloudy day. Large clouds will create a vivid backdrop and add extra visual interest to your image.
Large white fluffy clouds look great against a blue sky, but dark storm clouds will have the most dramatic effect. Be brave and go out when the weather is bad!
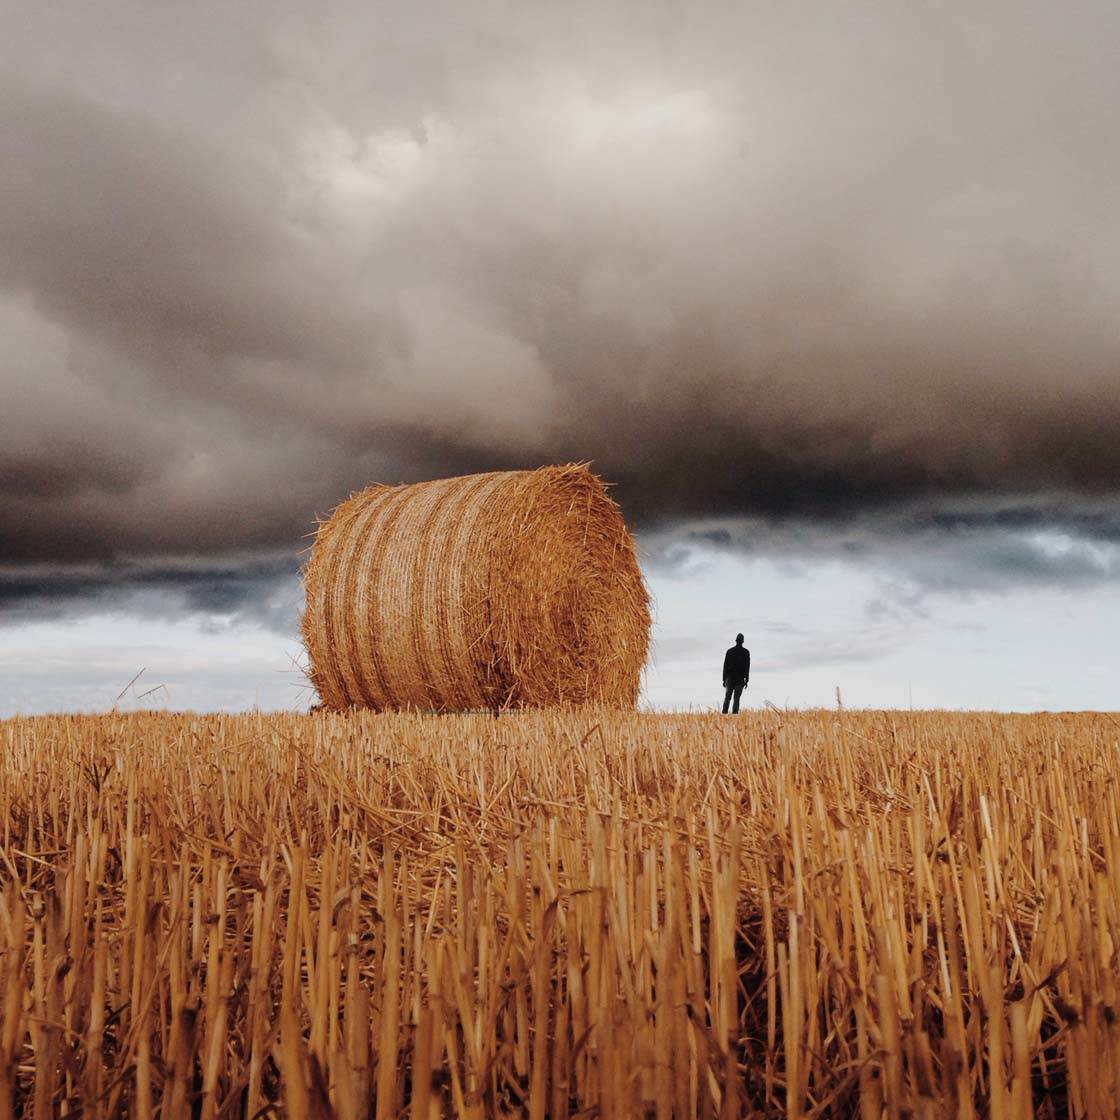
13. Shoot During Golden Hour
Avoid pointing your iPhone at the sun during the main part of the day. In strong sunlight, your shot will often end up with exposure and color problems, and the sun will appear as a bright blob of light that ruins the photo.
If you want to take beautiful photos of the sun, wait for sunset or get up at sunrise. During these golden hours, the light will be less harsh and contrasty, and the colors of the sky will be more stunning.

14. Create Silhouettes
Silhouettes are one of the most powerful ways to grab the viewer’s attention. Their dark shape is visually striking, and they often create a wonderful a sense of mystery in a photo.
To create a silhouette, position your subject in front of a light source such as a bright sky, the setting sun, or a window if shooting indoors. Set focus, then swipe down on the screen to reduce exposure until the subject appears as a dark silhouette.
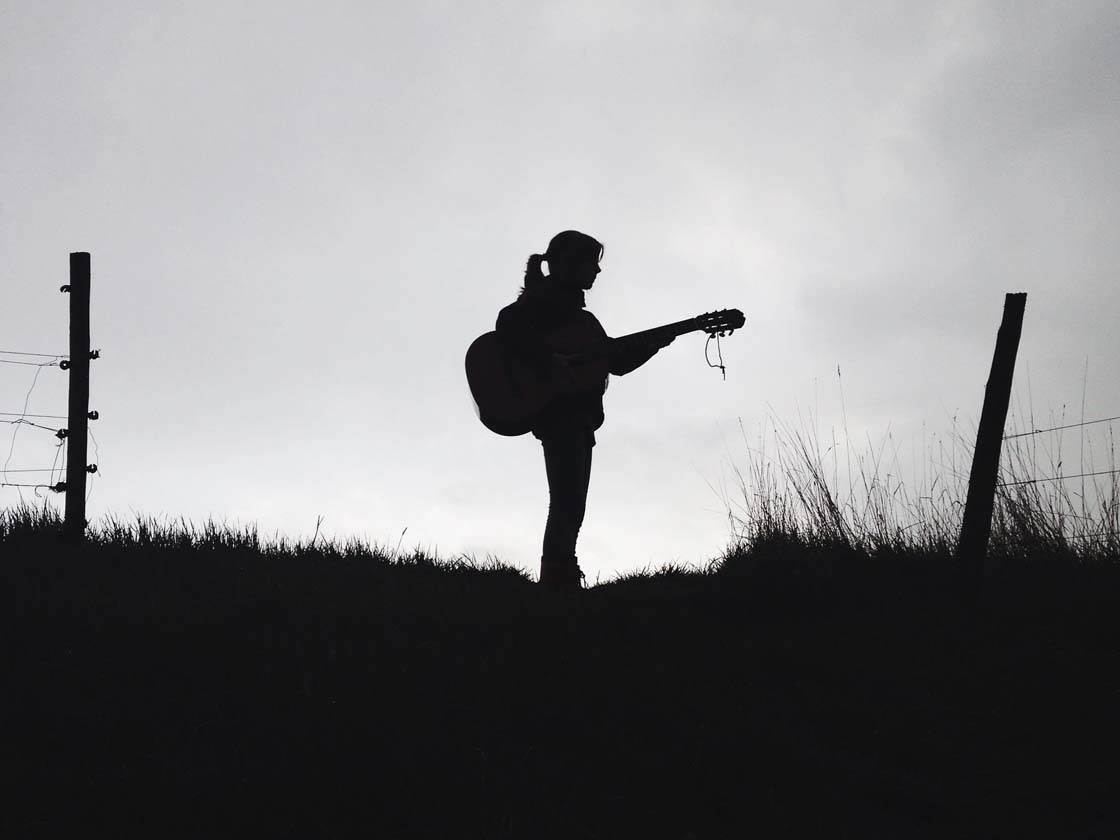
15. Capture Reflections
Reflections are beautiful and intriguing. Whenever there’s water in the scene, look out for reflections and try to capture them in your photos.
Reflections will add an extra dimension to the scene, allowing you to create beautiful symmetry in your images. Whether you’re shooting reflections in a large lake or a small puddle, you’ll always get stunning results.

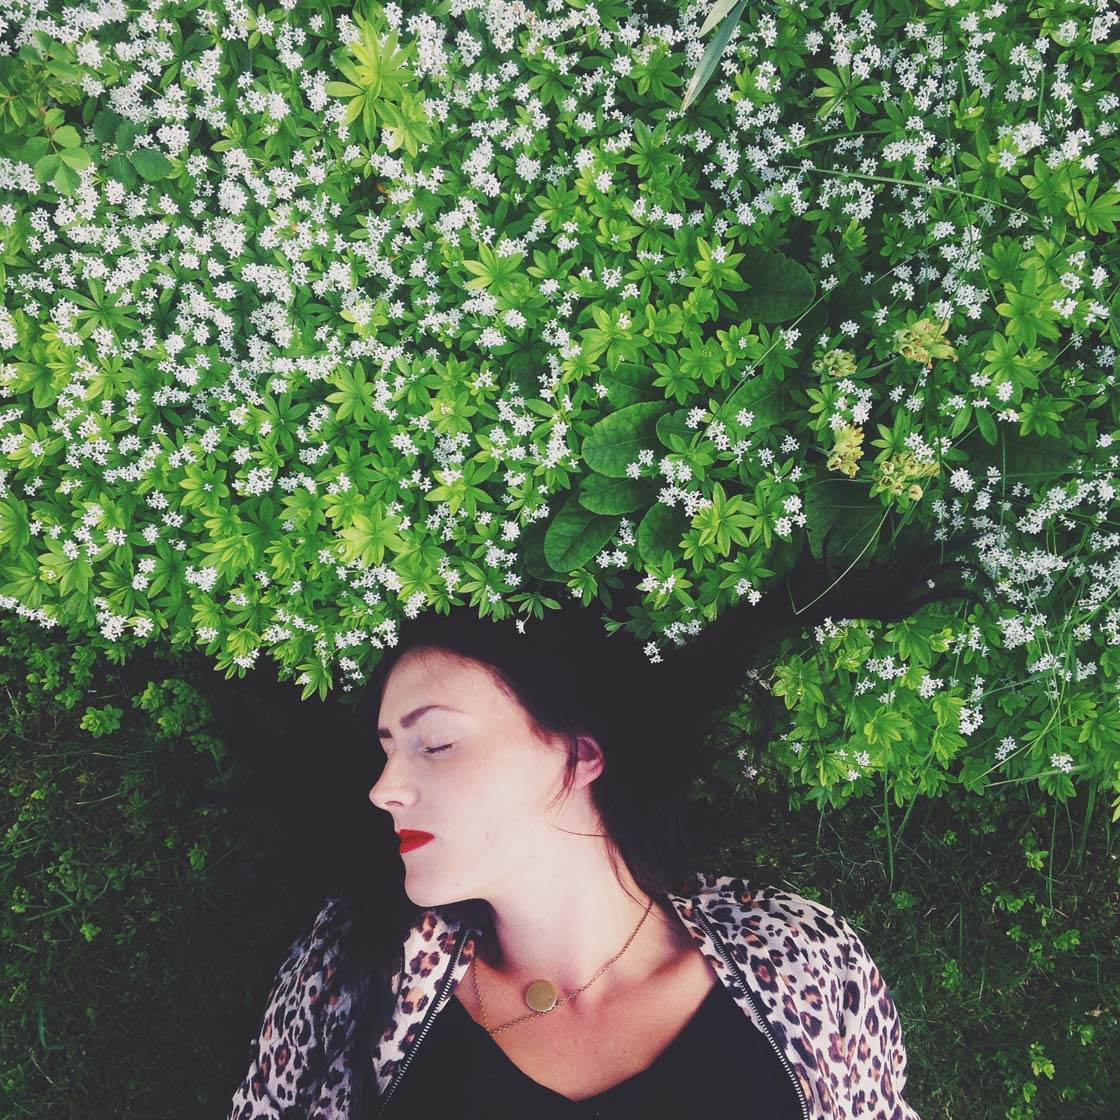
16. Include People In Your Photos
While your shooting location might be interesting or beautiful, it will often look much better if you include a person in the scene. This adds a strong focal point and helps tell a more interesting and powerful story.
If you don’t have another person to photograph, use yourself as the subject. Mount your iPhone on a tripod, then compose, focus and expose the shot. Turn on the self-timer, then run to where you want to place yourself within the frame.
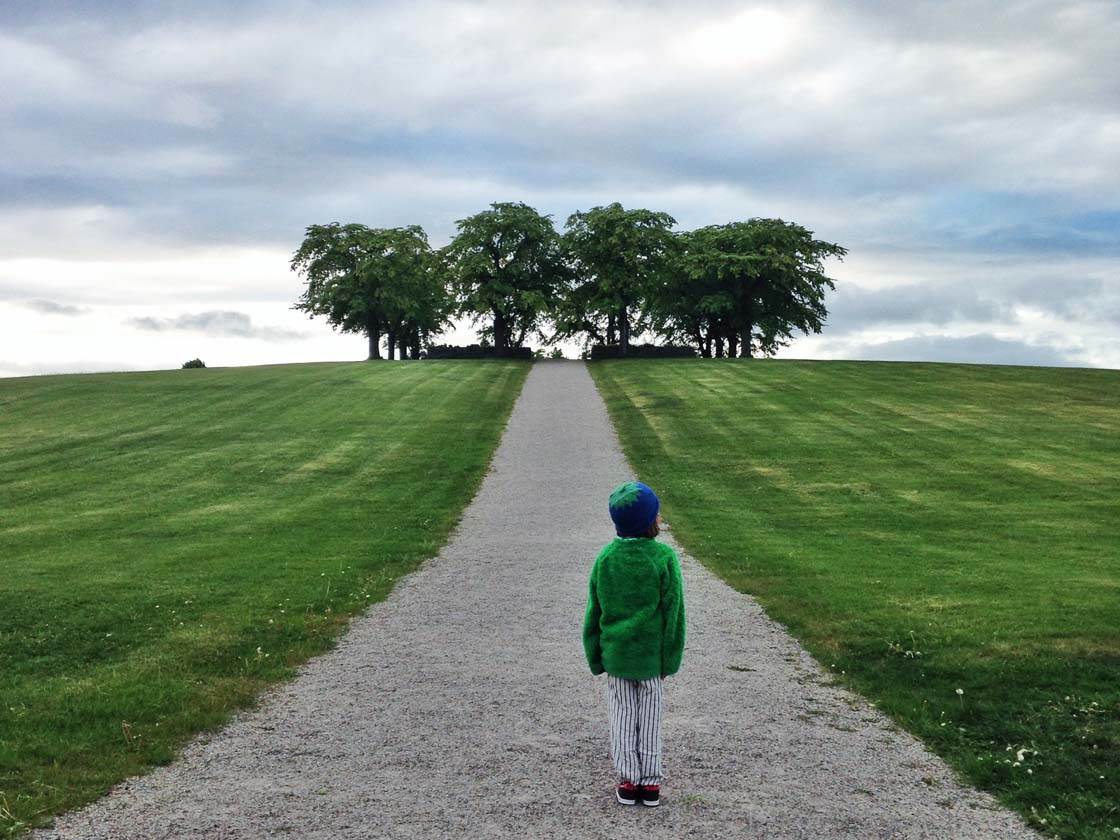
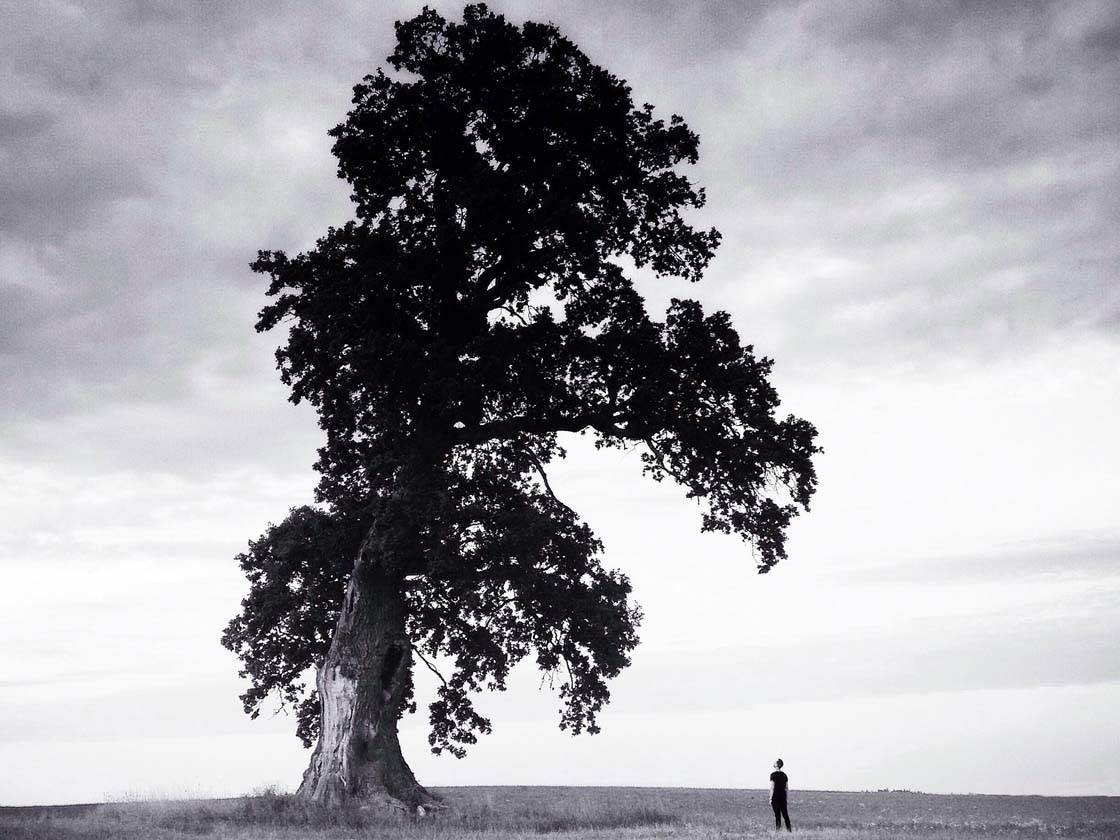
17. Convey A Sense Of Scale
Add a sense of scale to the scene by including an object of a known size, such as a person. For example, when photographing a large object such as a building or tree, have a person standing next to it.
Or if you’re taking a photo of a vast landscape, include a person in the scene to convey just how big that space is. A well-executed shot where you can really feel the scale can be the most beautiful and powerful thing.
18. Capture Small Details
Get closer to your subject and capture the smaller details that tell a story. For example, the rough texture and peeling paint of an old wooden boat, dew drops in the grass, or the wrinkled skin of your elderly subject’s hands.
We often forget the small things when we’re out hunting for great photos, especially in landscape and street photography. But capturing the smaller details gives the viewer a more intimate experience of your subject.
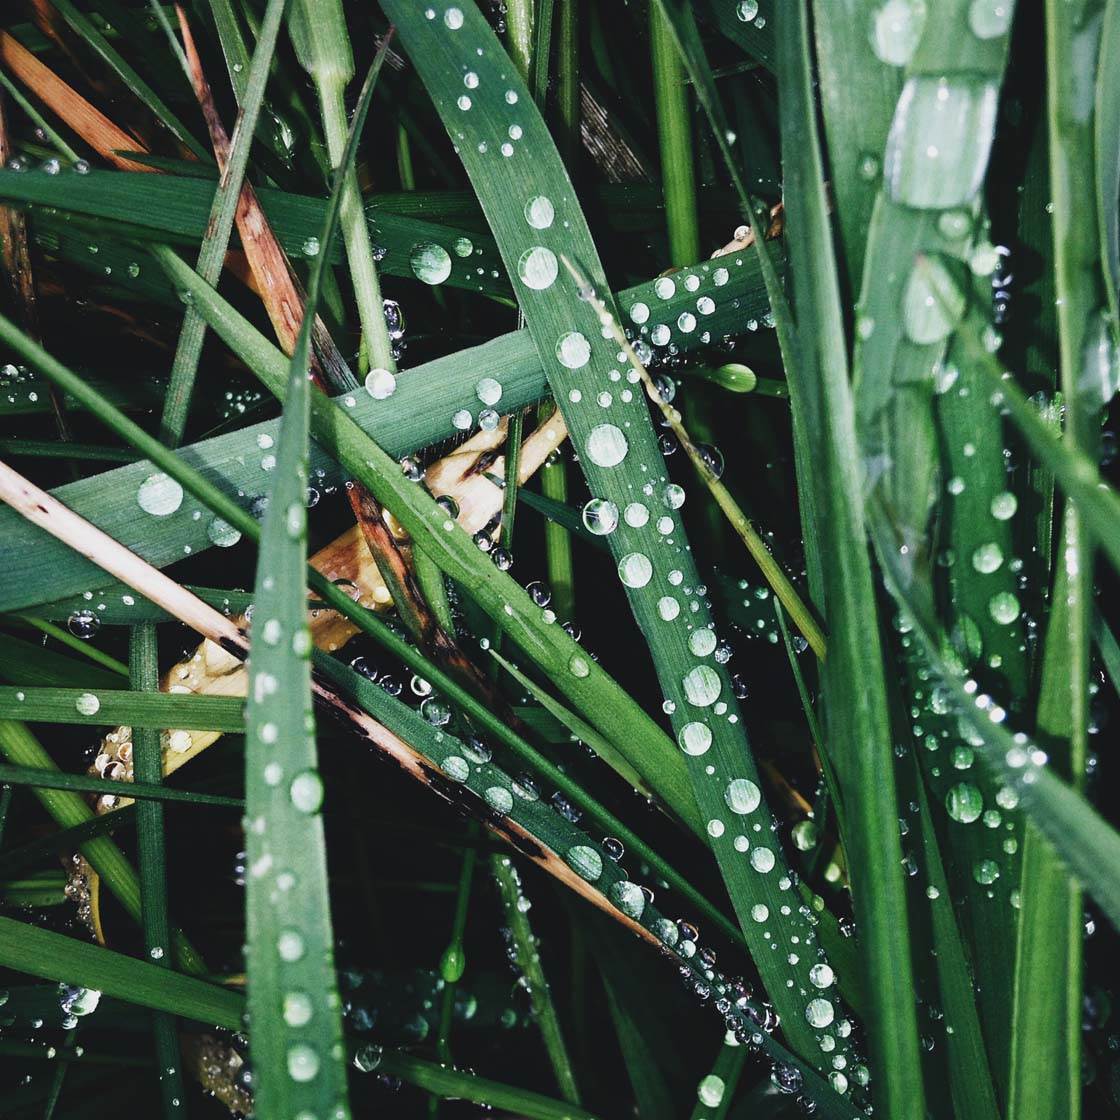
19. Create Abstracts
Look for repeating patterns that you could use to create interesting abstract images. A good abstract will hold the viewer’s attention while they try to work out what the subject is.
The repeating pattern could be anything, for example, a field of crops, the texture of wood grain, or the windows on a building facade. Experiment with the composition until you find a way to create a beautiful yet simple abstract photo.

20. Use Props
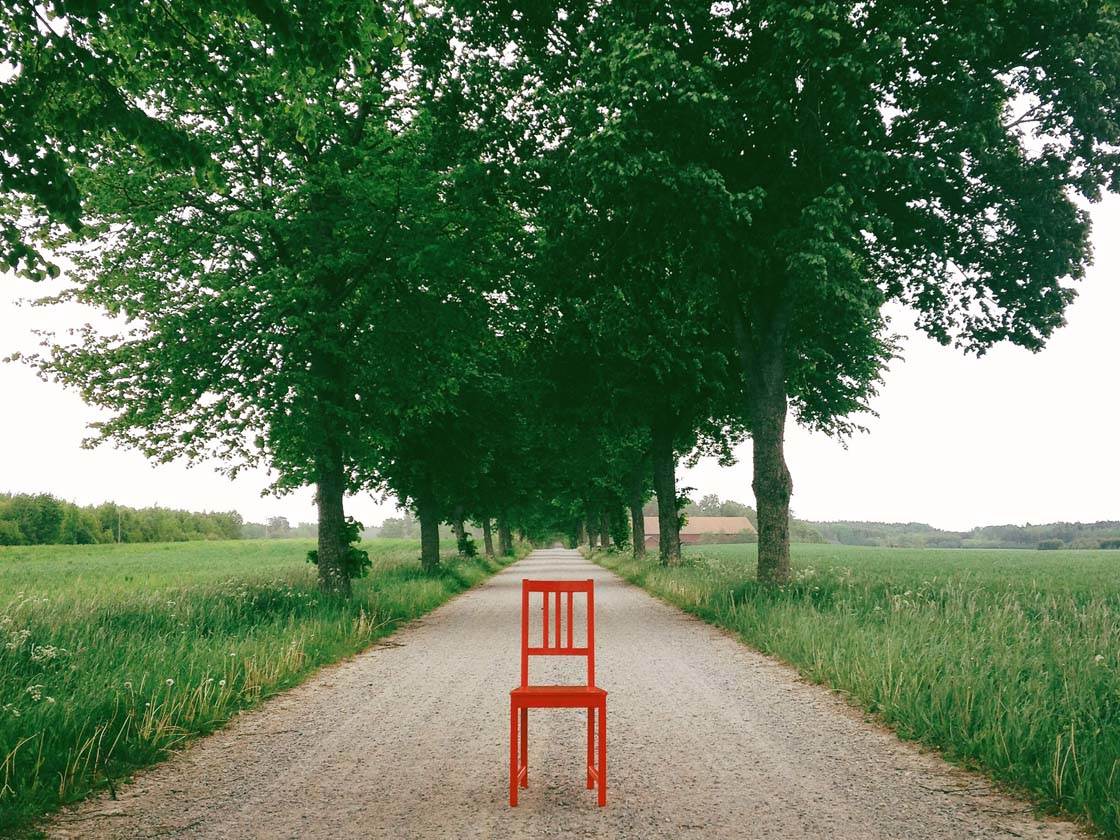
Whether you’re shooting landscapes or portraits, making use of props is guaranteed to spice up an ordinary photo. For example, ask your subject to hold an umbrella or flower, or include a colorful chair in an empty landscape.
Any prop that adds a splash of color will make for an eye-catching photo. Try to use a color that really stands out against the background or landscape. Red works particularly well against grass or water.
21. Reduce Grain In Low Light
When shooting in low light your photos can end up looking grainy. This grain is referred to as “digital noise” in the world of digital photography, and it usually ruins the quality of the image.
In low light, you can create sharper, noise-free shots by reducing the exposure levels (swipe down on the screen after tapping to set focus). Reduce the exposure so that the shadows become darker and you’ll notice less grain in your photos.
This is particularly useful if you’re shooting at night, or in places without natural light such as tunnels or subway stations.

22. Follow The Change Of Seasons
The changing seasons offer new photo opportunities all year round. Revisit the places you usually shoot at as soon as the season changes.
Notice how different the scene looks compared to the last time you were there. By doing this you’ll get to know the landscape better and you’ll have a completely different scene to work with every time!
23. Explore More
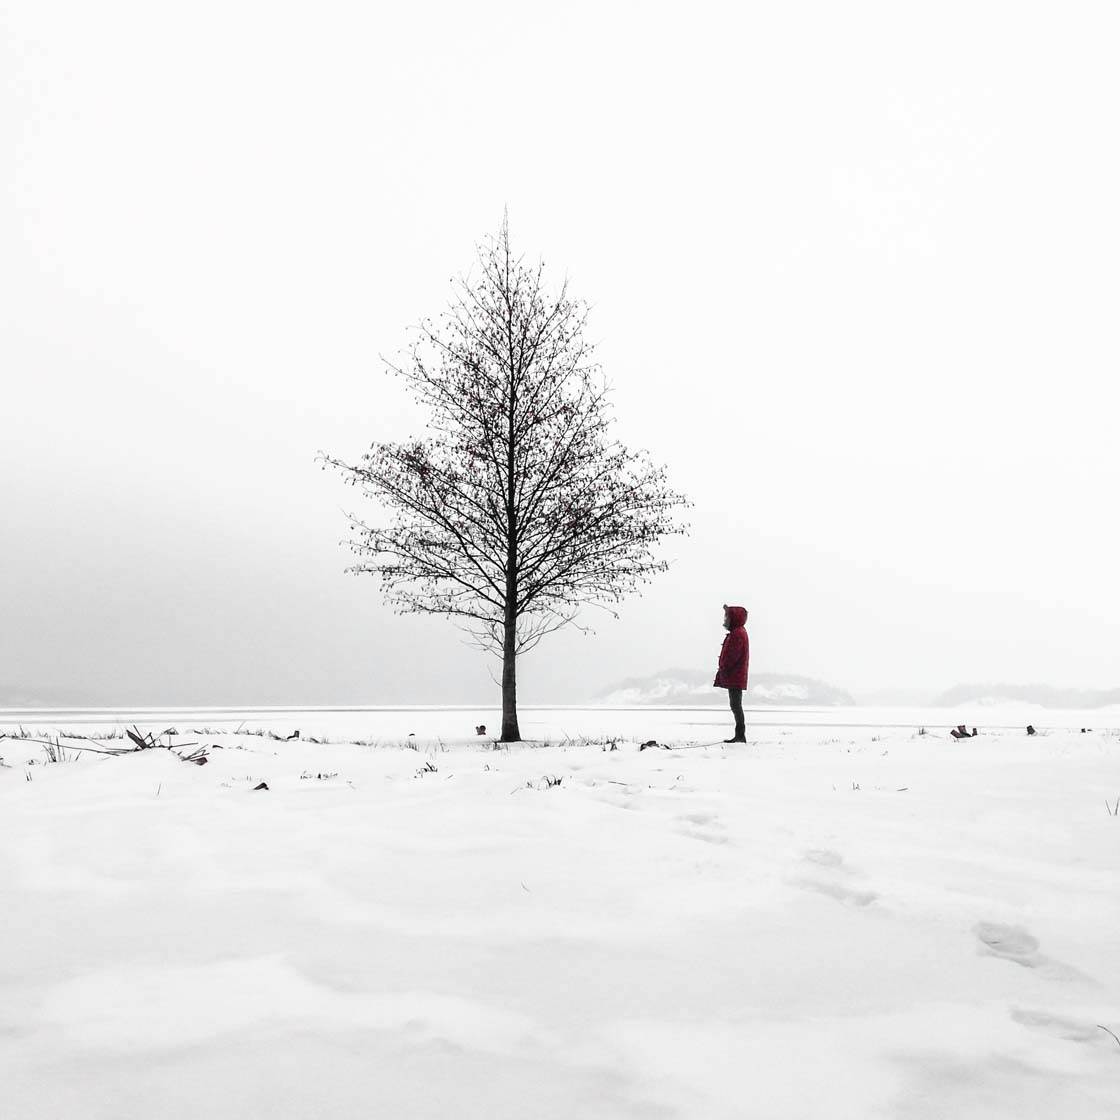
Grab your bike, your car or your walking shoes and get out! There’s no better way to find new inspiration and develop your photography skills than exploring your surroundings and finding new places to shoot.
It’s particularly rewarding since you’ll most likely end up in places that you’d never visit otherwise. It doesn’t matter whether you travel to a completely new city or landscape, or just explore the streets and parks around your home – as long as you make the effort to get out and shoot.
24. Shoot With Other People
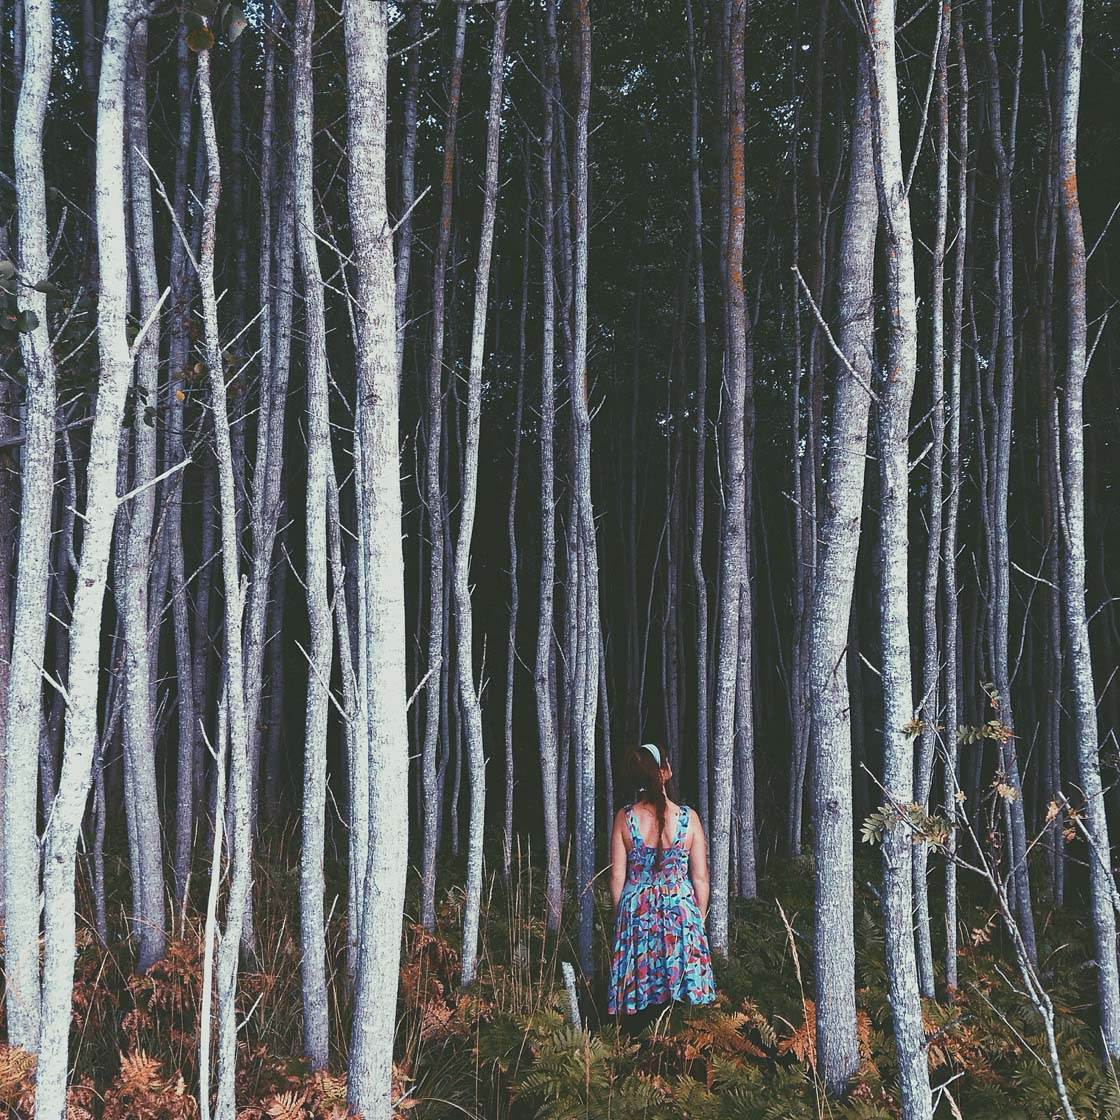
Try to find like-minded people to shoot with. It’s fun and you’ll always have someone to pose for you in your photos. Shooting in groups often helps to spark each other’s creativity. You’ll learn a lot from other people and you also get to share your own knowledge.
Instagram is a great platform to find other iPhone photographers in your area. Look out for organized Instameets and don’t be afraid to join in – you’ll have a great time and make new friends in the process!

25. Take Lots Of Photos
Finally, when you’re out shooting, take as many shots as possible. Try lots of different compositions, angles and perspectives. There’s nothing worse than getting home after a shooting session and realizing that the two shots you took of a particular object are no good!
The downside is that you have to delete a lot of shots afterwards, but it’s more likely that you’ll get what you intended to capture if you shoot more. And by doing this you’ll also train your photographic eye, which in turn will help you to become a better iPhone photographer.


Great tips!
Glad you found them useful! 🙂
Loved the pictures. Loved the article. Thanks for sharing your talent. 🙂
So glad to hear you enjoyed this article Cecilia 🙂
All good things to remember, love these tips. Thank you!