Do you struggle to take beautiful forest photos with your iPhone? Forest photography may seem difficult, but it doesn’t have to be. In this article, you’ll discover 7 tips for shooting amazing forest photographs–and you’ll come away with the ability to take jaw-dropping images of forests.
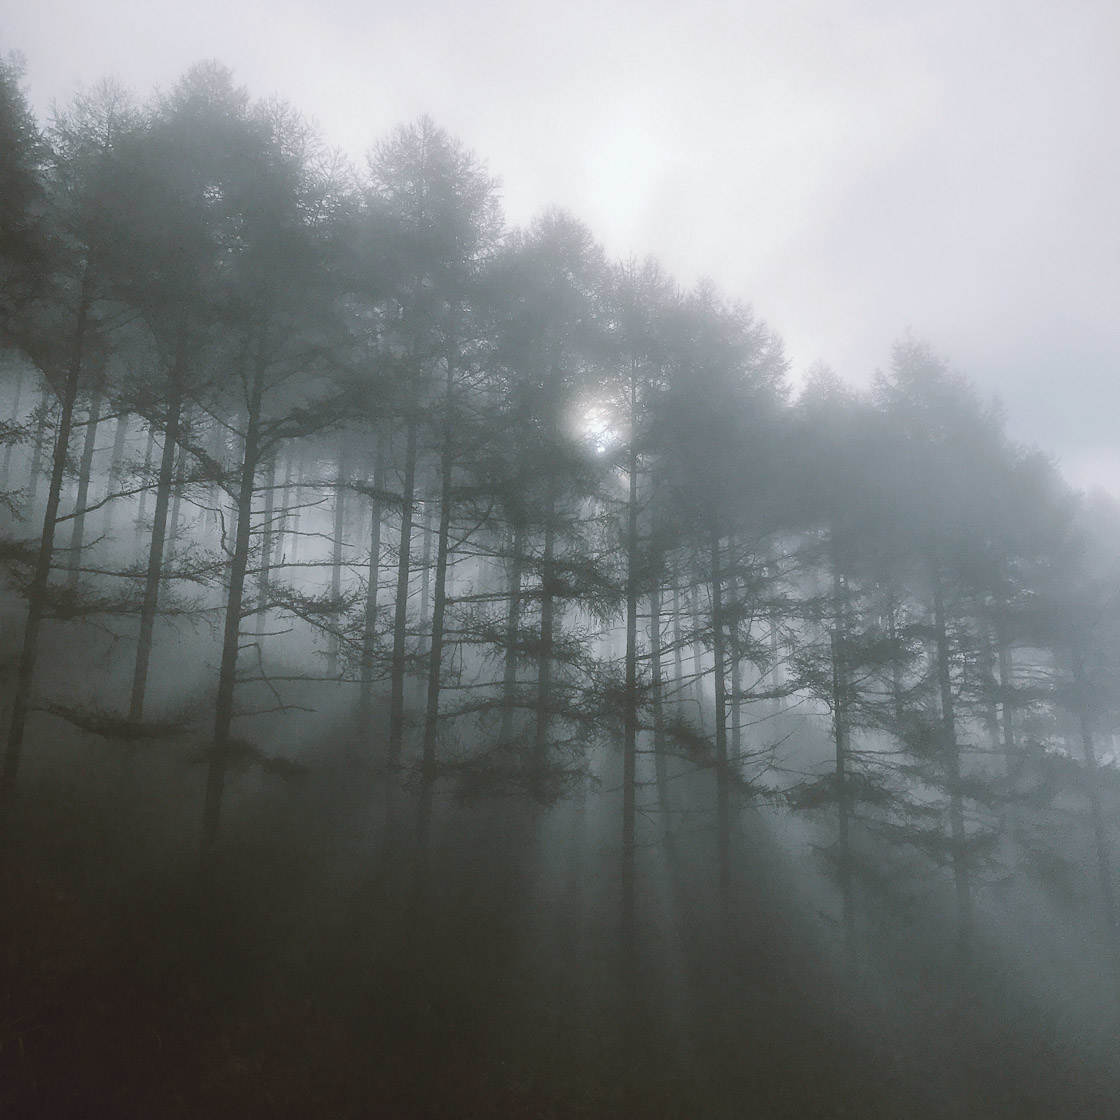
1. Photograph Wider Scenes For Beautiful Forest Landscapes
Do you want to take incredible forest photos?
You may be struggling with your forest photography. After all, forests can be vast and daunting.
The key, however, is to emphasize that vastness.
And you can do this by shooting wide images.
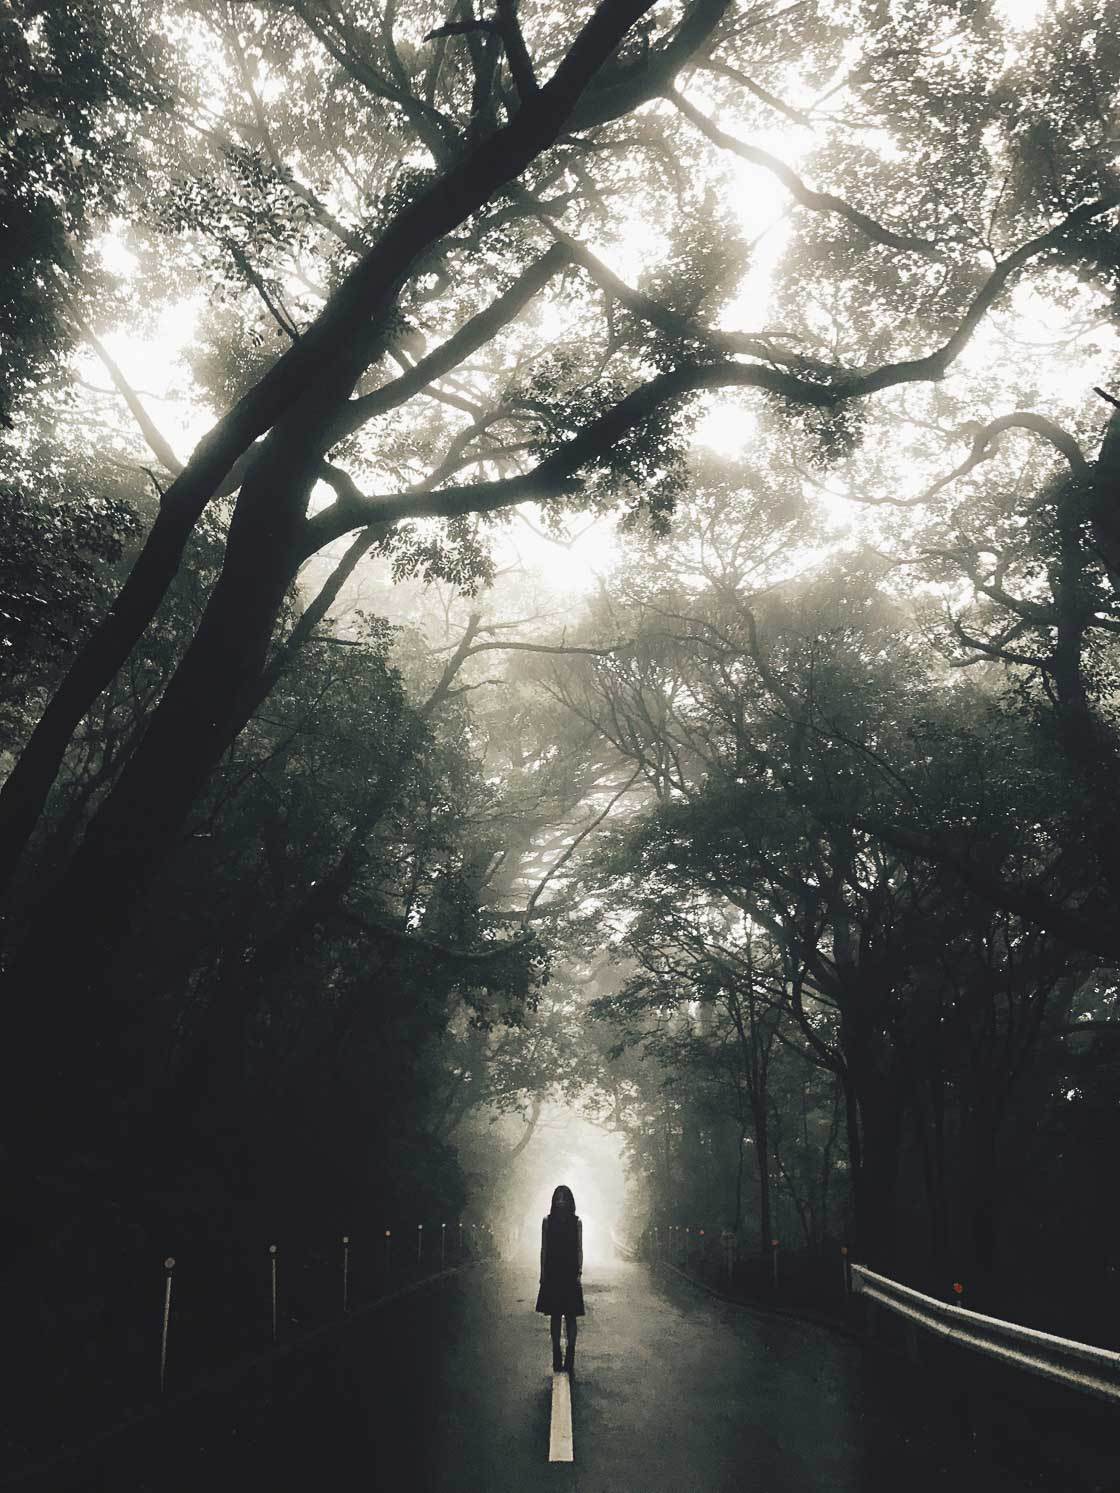
Images like this:
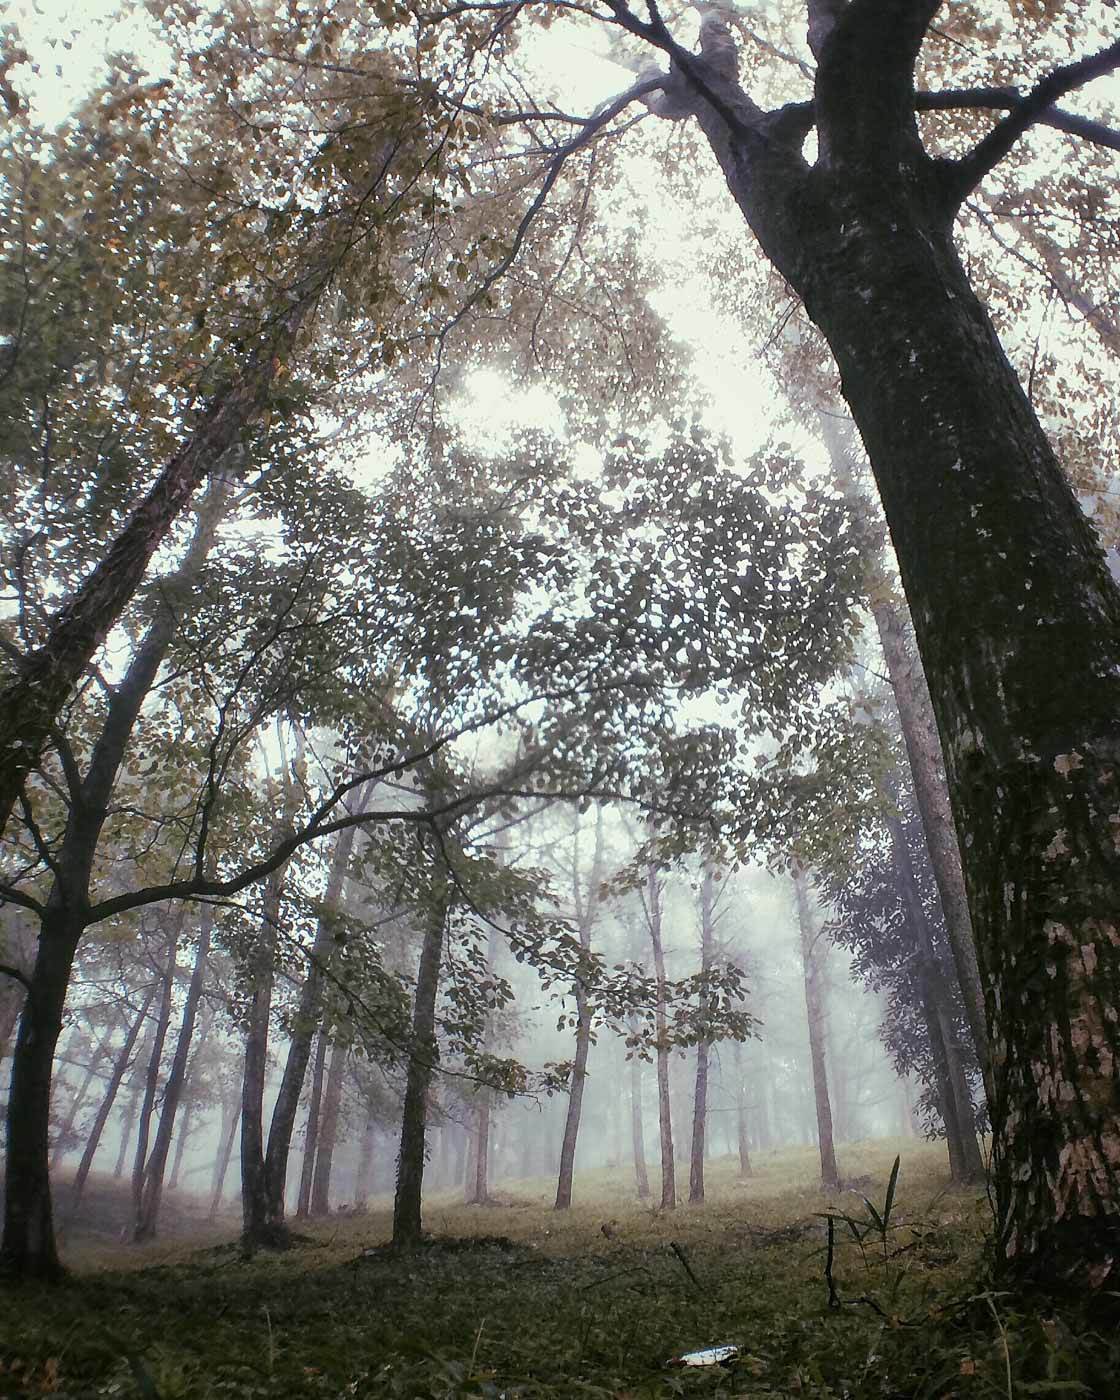
Wider forest photos are truly stunning. Plus, a wide image allows you to capture the atmosphere of a moody forest.
So, next time you’re in the forest, find a nice subject.
Then take a step back.
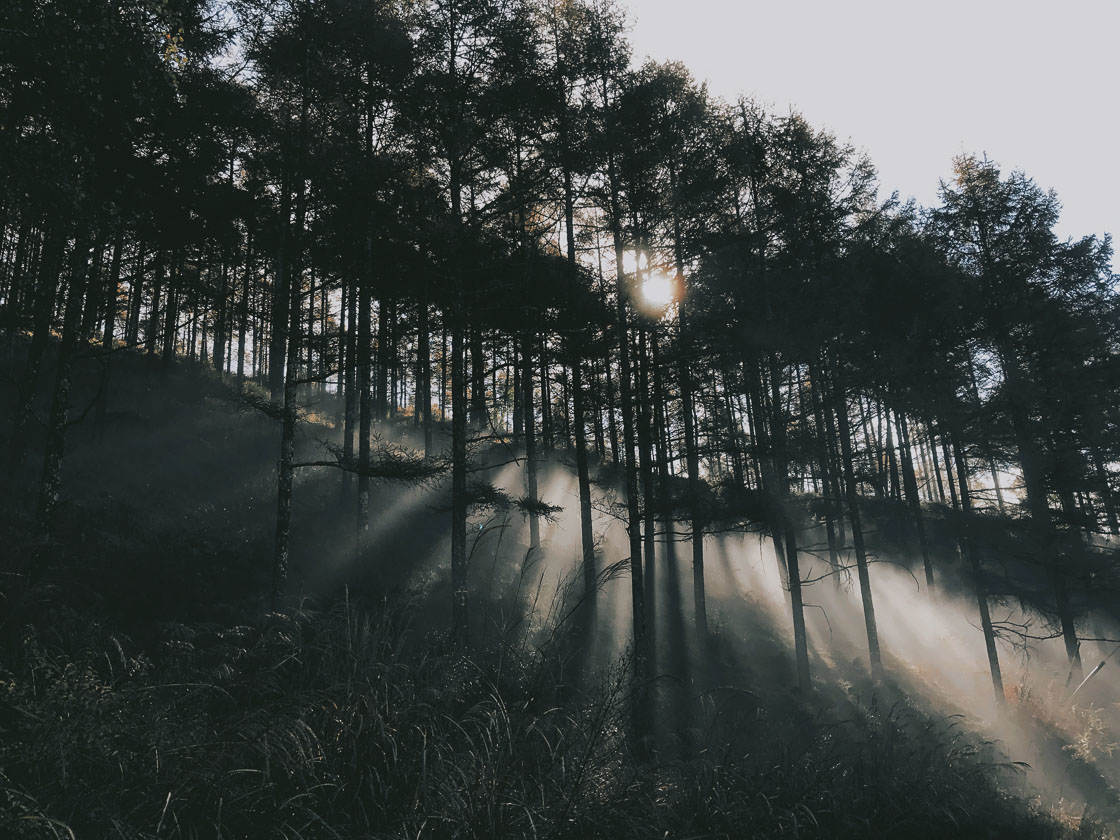
Try to include lots of the forest in your photo.
If your iPhone has both a wide-angle lens and a telephoto lens, make sure that you use the wide-angle.
(This is only relevant to those photographers with an iPhone 7 Plus, iPhone 8 Plus, iPhone X, iPhone XS, and iPhone XS Max.)
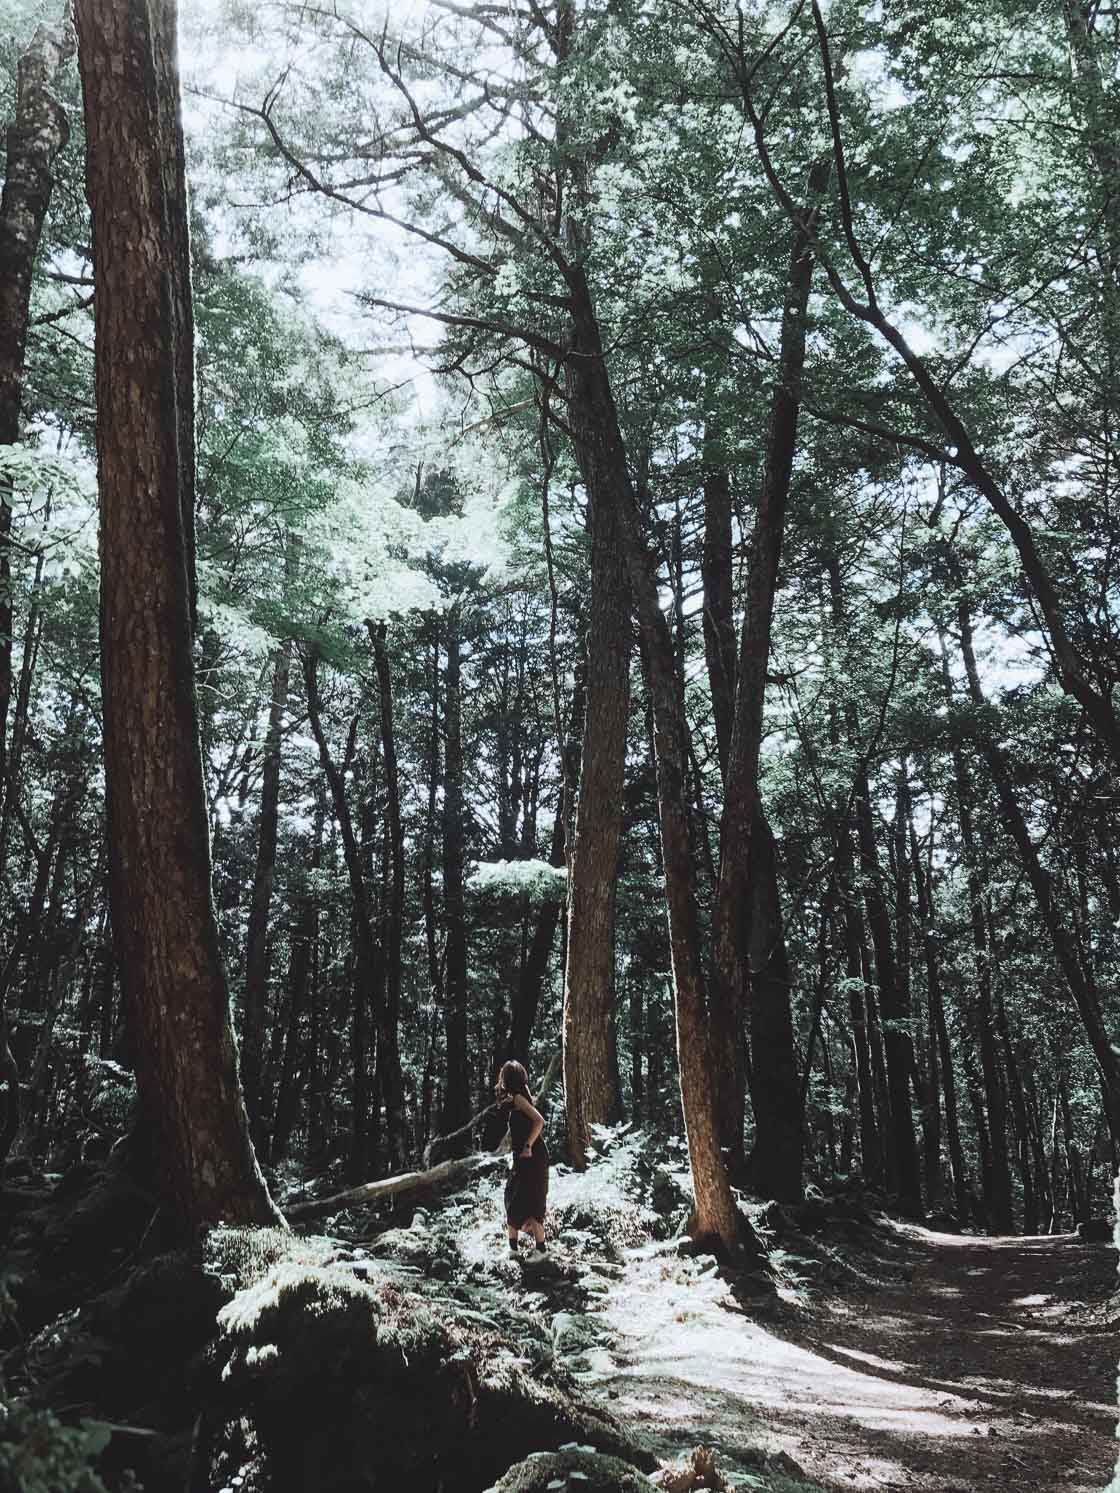
Remember: the more of the forest you include, the better.
Do this, and your forest photos will immediately improve.
2. Use A Tripod And A Remote Release For Perfectly Sharp Forest Pictures
Forests are often dark.
And when the scene is dark, your iPhone will have trouble taking sharp images.
This is because a dark scene requires a longer shutter speed.
(Shutter speed is the length of time that your iPhone is actually taking in light. And dark scenes require more light!)
And a longer shutter results in motion blur. Motion blur is blur caused by movement in the image.
So how do you deal with this?
You can start by leaning against something sturdy. Try steadying yourself against a tree or a big rock.
You should also tuck in your elbows and keep a relaxed (but firm!) grip on your iPhone.
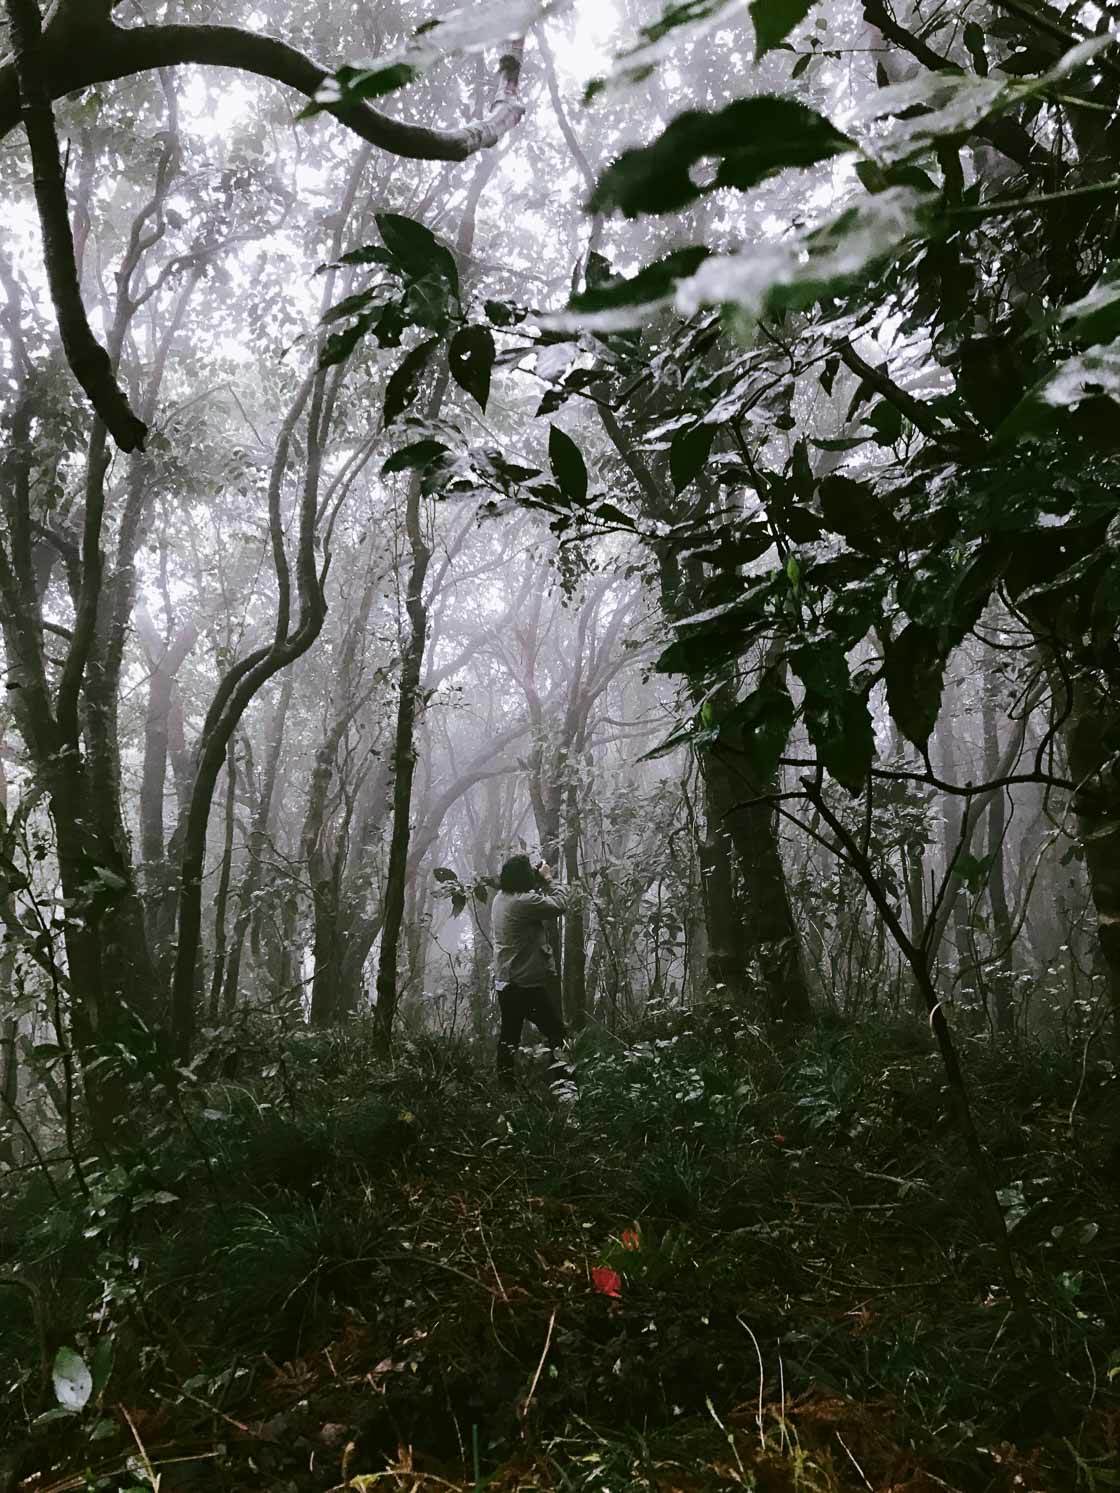
If you do this and you’re still getting blurry images, then I’d recommend a few accessories.
First, purchase a tripod. A tripod will ensure that your iPhone remains completely still when you take an image.
Second, I recommend you purchase a remote shutter release. A remote shutter release will let you take an iPhone photo without actually touching the iPhone.
This is perfect for minimizing a certain type of camera shake–the shake that comes from actually pressing the shutter button.
If you use these techniques, your iPhone forest photos will definitely become sharper.
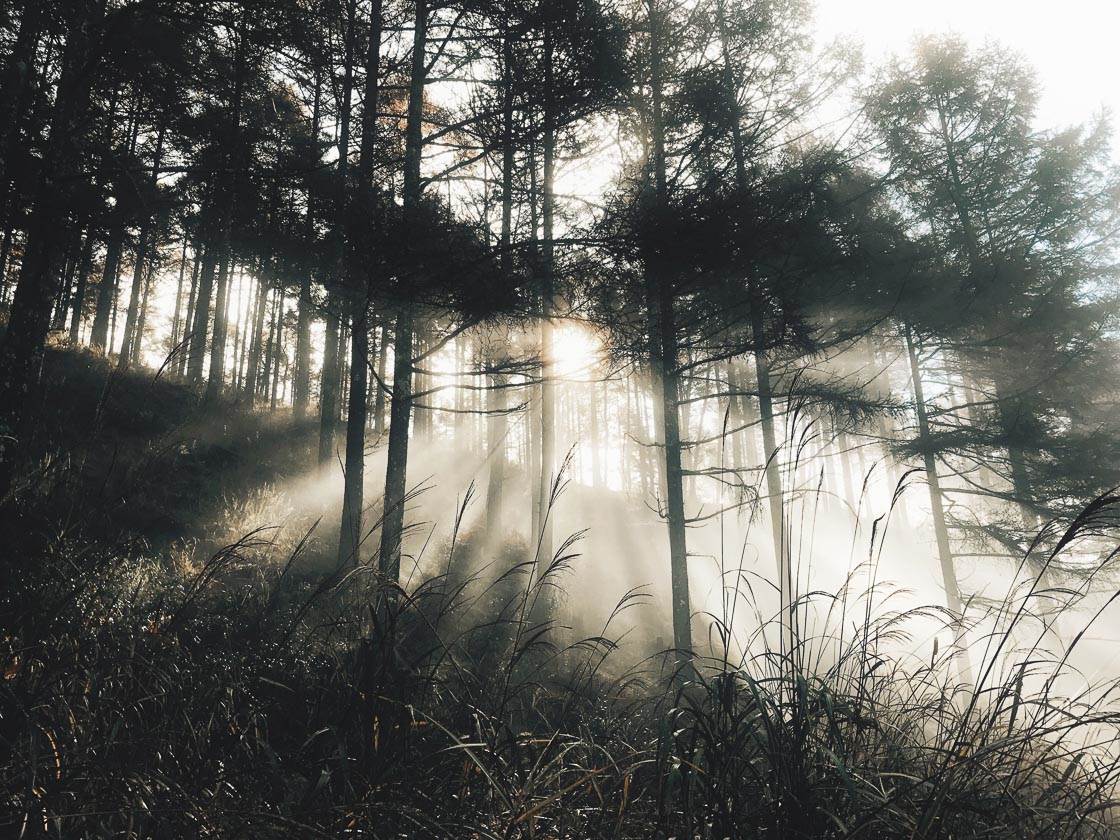
And it is essential that you take sharp images!
So make sure you apply these tips to your photography workflow.
You’ll be surprised by how quickly your images improve!
3. Shoot With Morning Or Evening Backlighting For Beautiful Forest Photos
Now that you know how to take sharp forest photos, it’s time to think about light.
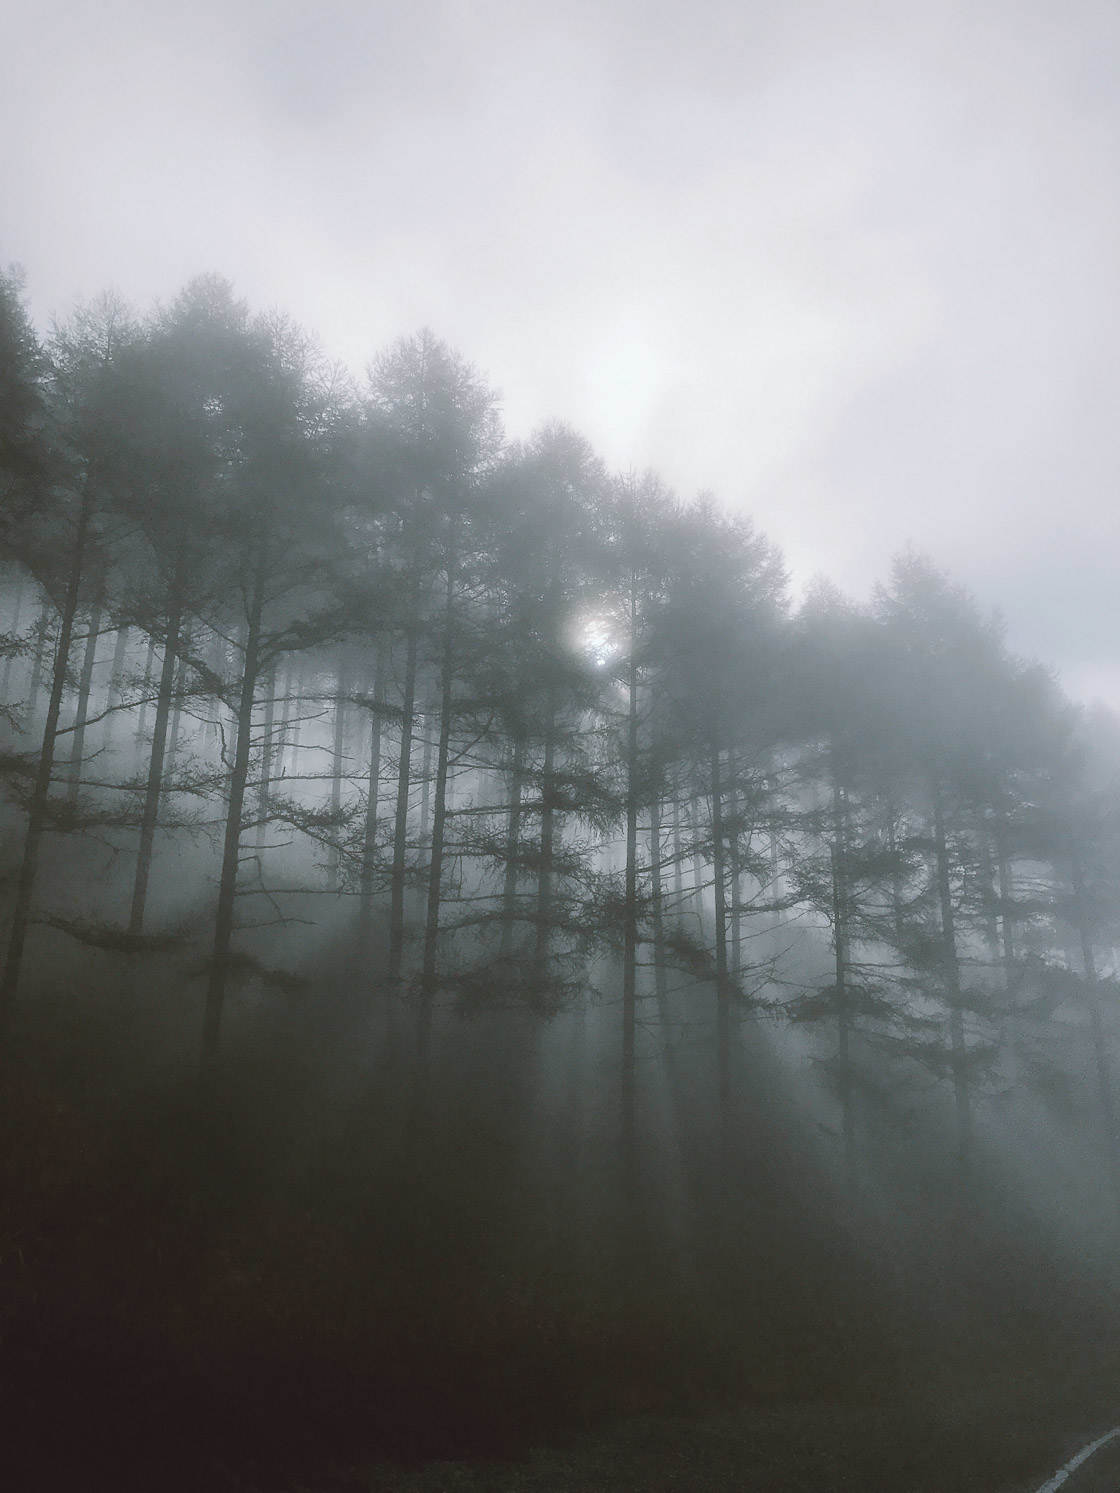
What light is best for beautiful forest photos?
That depends on one main factor:
What type of photo do you want to capture?
You see, different types of light result in different types of photos.
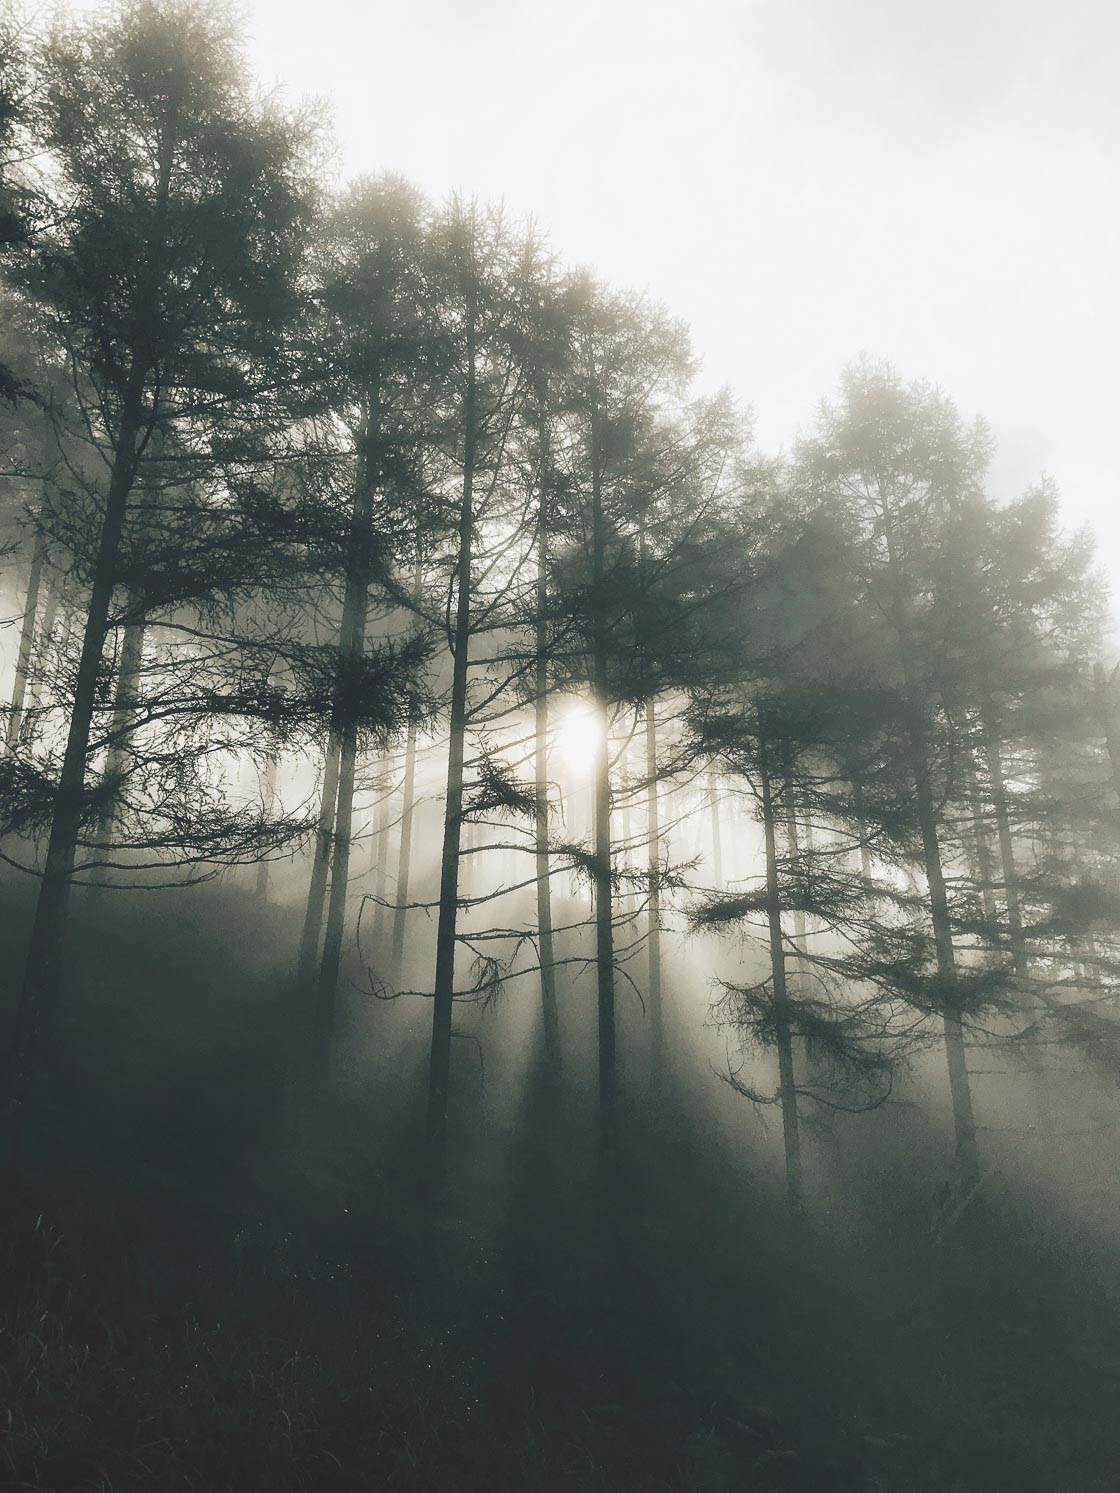
A photo taken at dawn might have a darker, ethereal feeling.
A photo taken at noon on a sunny day has a brighter, starker aura.
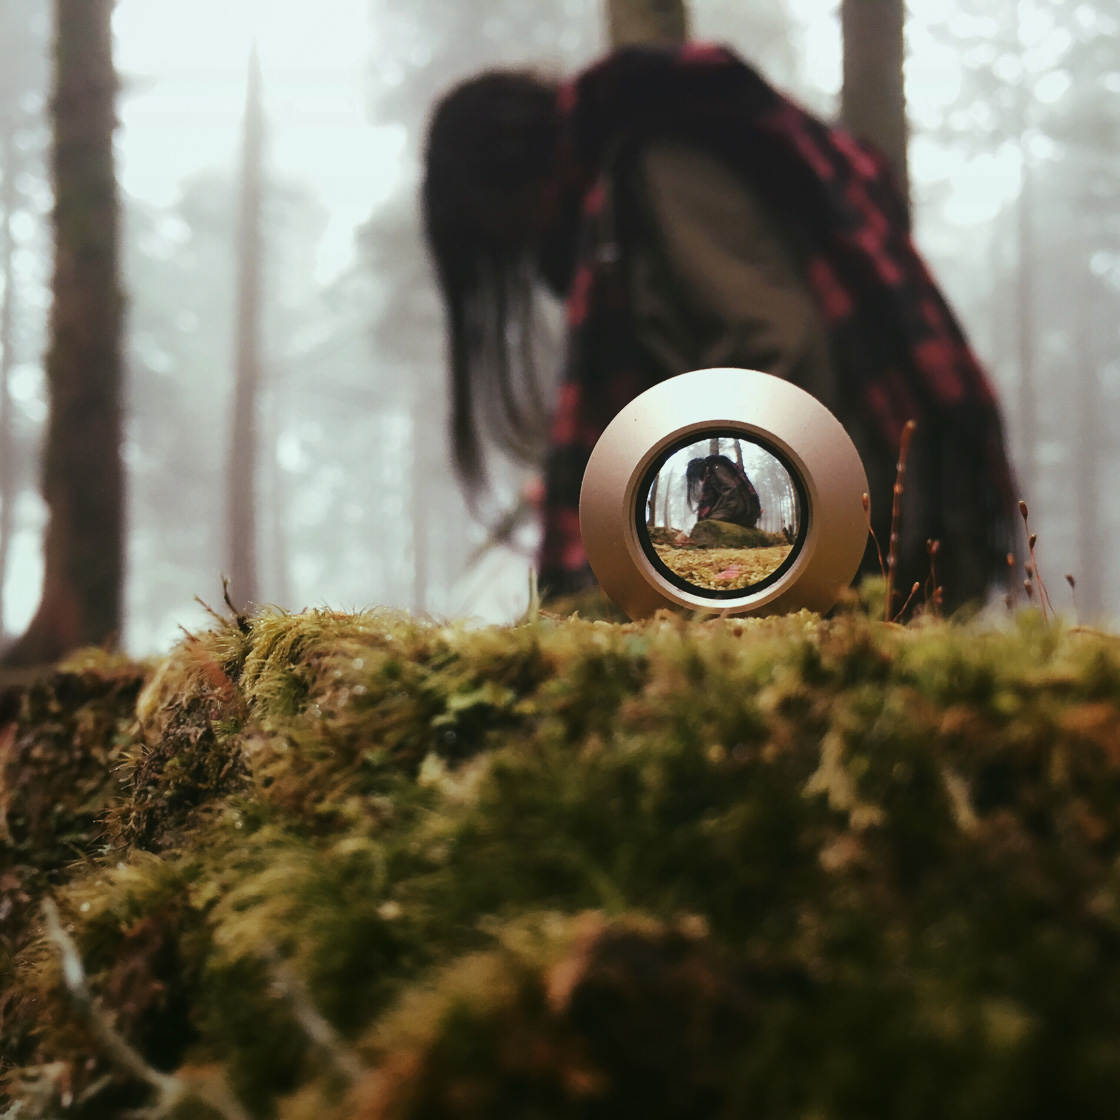
Ideally, you should choose the light that fits your desired shot.
However, I do have some lighting recommendations for you.
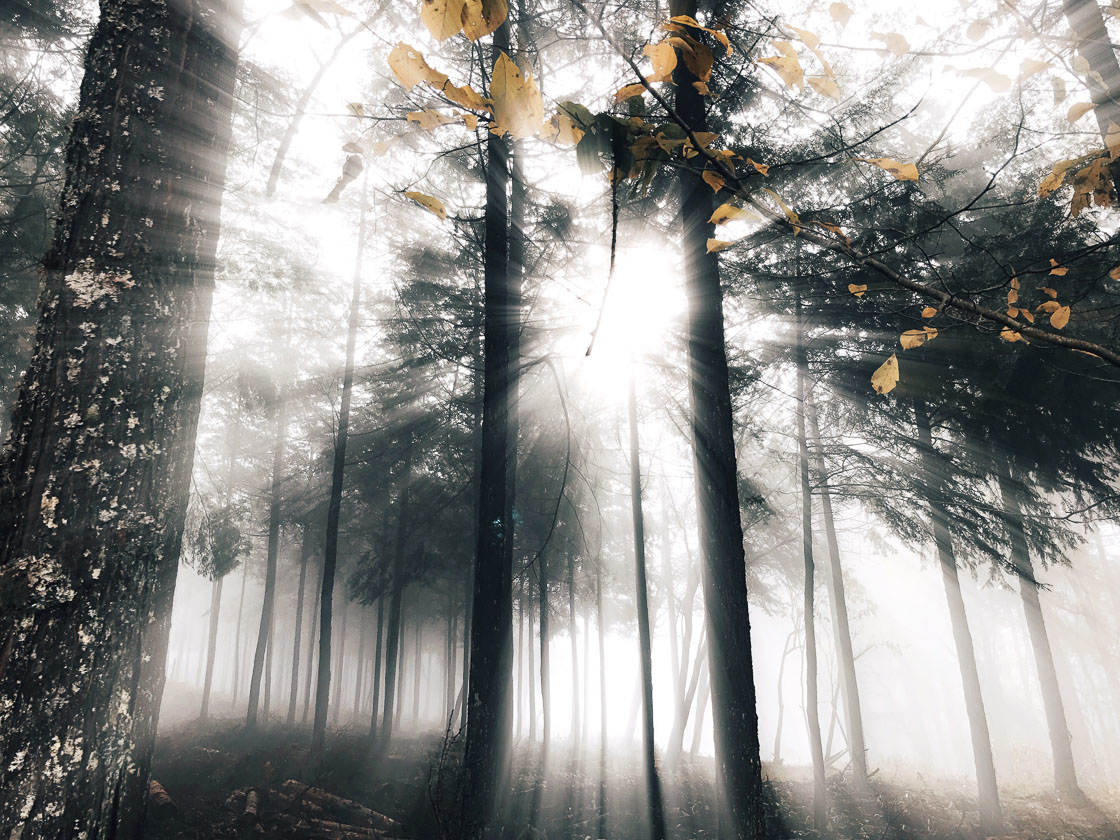
First, shoot during early morning and late evening. These times are known as the golden hours. And they offer gorgeous, subtle lighting.
Plus, morning and evening include one of my favorite forest photography effects: sunbeams.
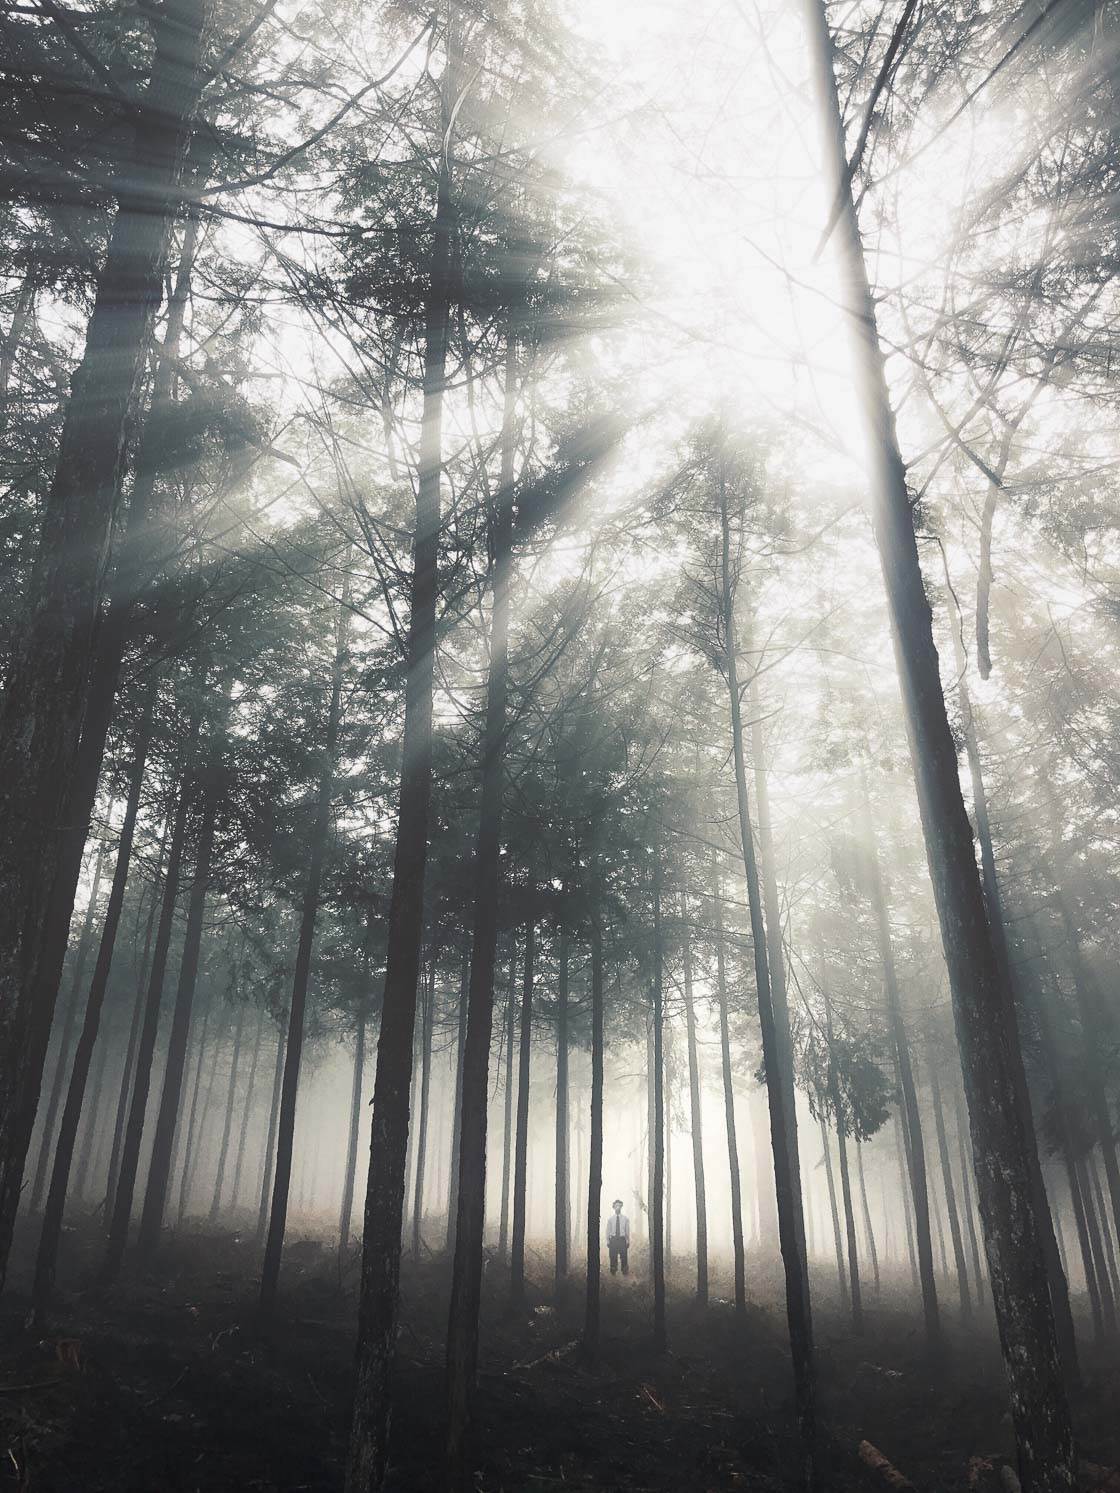
And early mornings sometimes have fog–which makes for even more mysterious photos.
Second, shoot backlit photos.
Backlighting occurs when the sun comes from behind your subject.
In this case, the sun would come from behind the forest trees. You want to position yourself so that the sun is shining in your eyes.
That’s when you should take your forest photos.
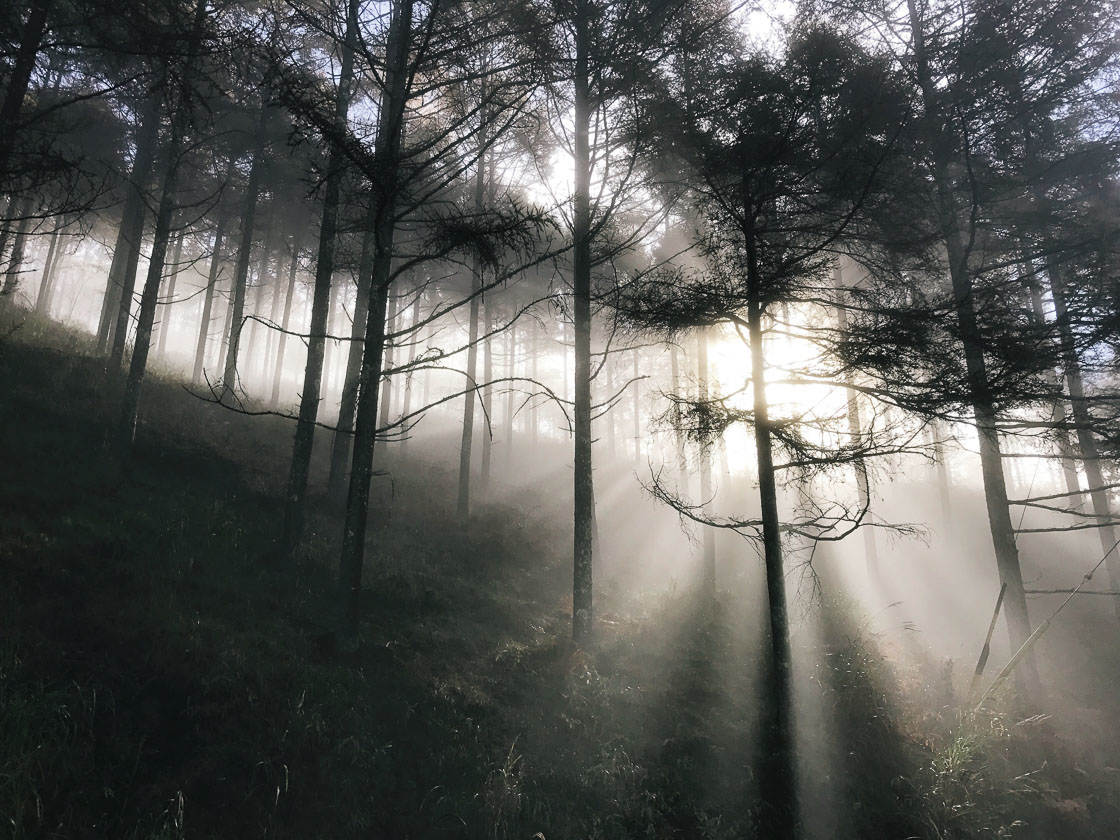
Backlighting is great for creating mystery and drama. This is because the light comes from behind your subject–which creates a dark silhouette, with a halo around its rim!
Basically, if you want stunning forest photos, early morning and evenings are the way to go.
And don’t forget about backlighting.
It makes for some stunning effects.
4. Include People To Add A Sense Of Scale To Your Forest Photography
You know how to find the best forest lighting.
You know how to take perfectly sharp forest photos.
The next step is to learn how to compose gorgeous forest images.
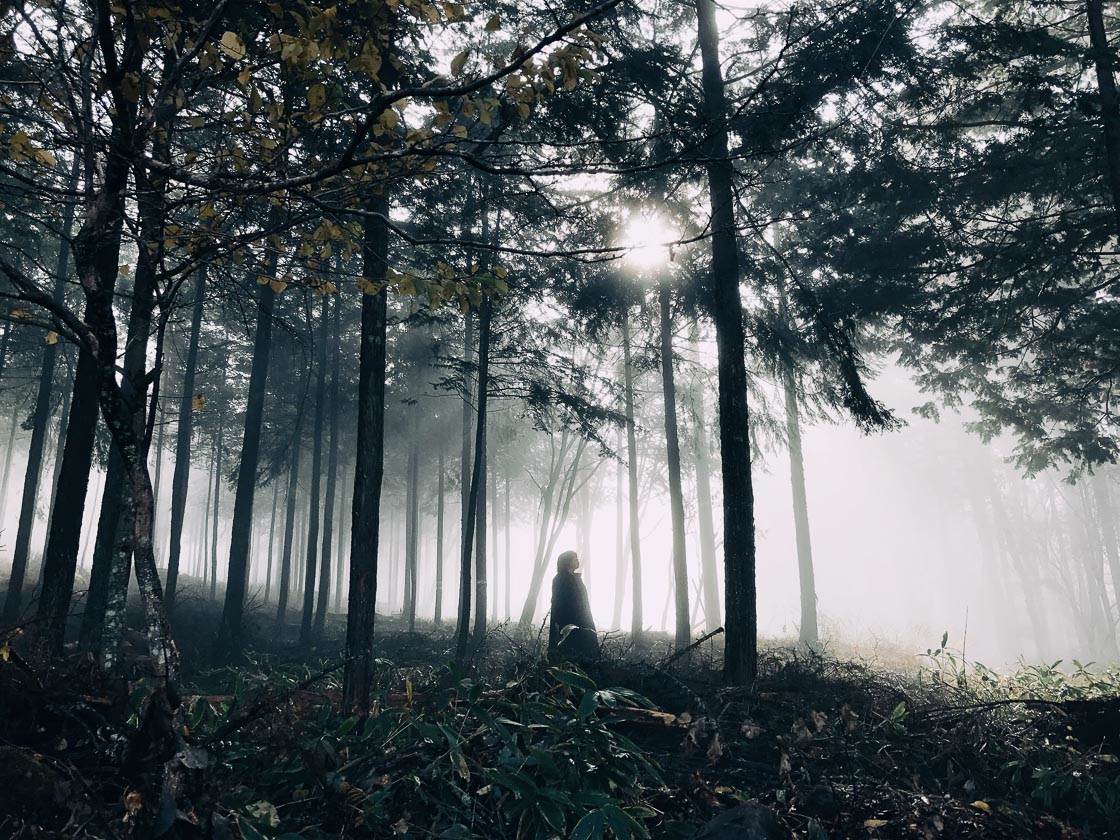
Composition refers to the arrangement of elements in a photograph.
Here’s your first composition tip:
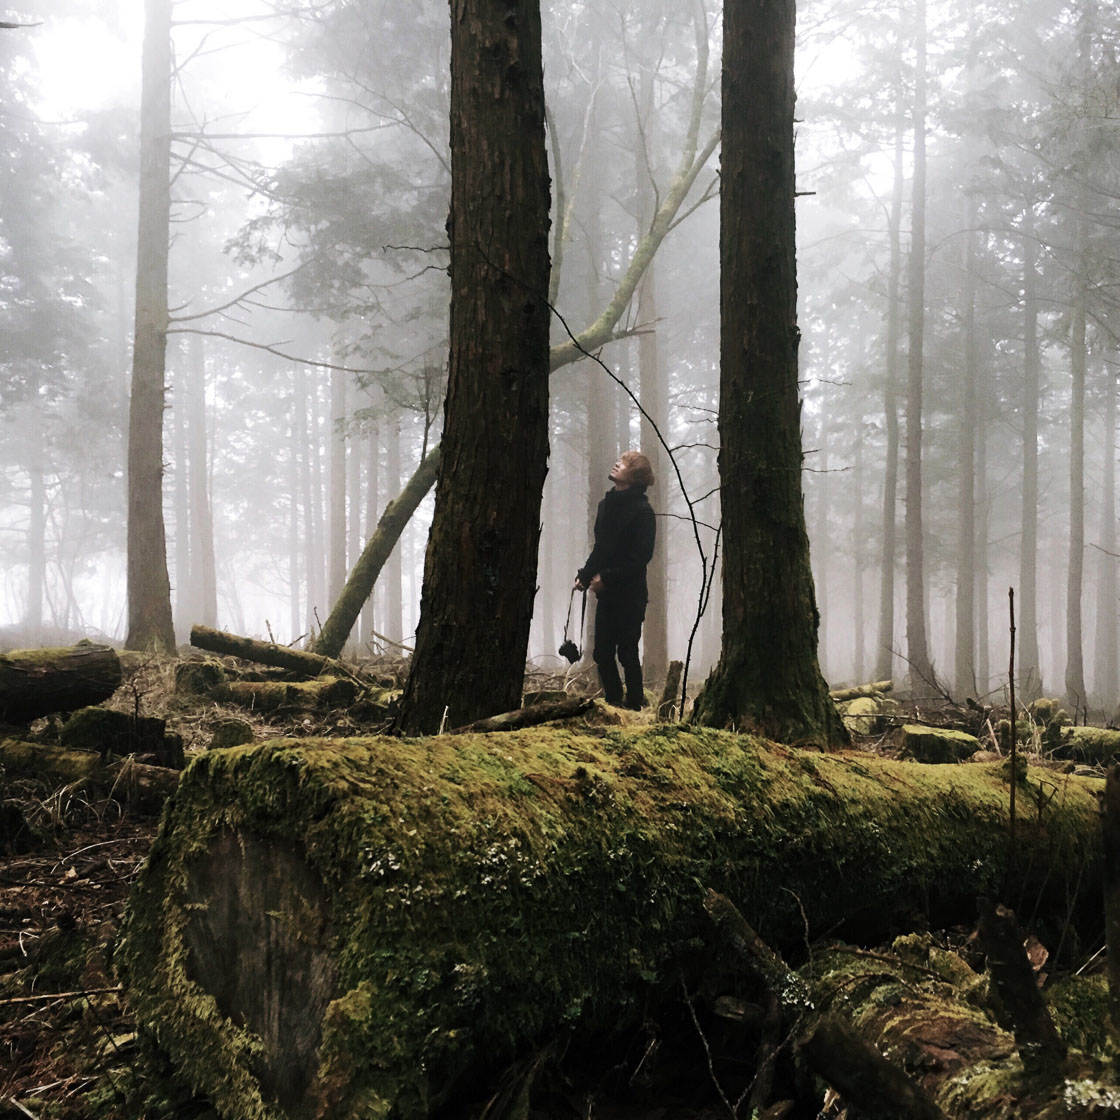
Include people in your forest photographs to give a sense of scale.
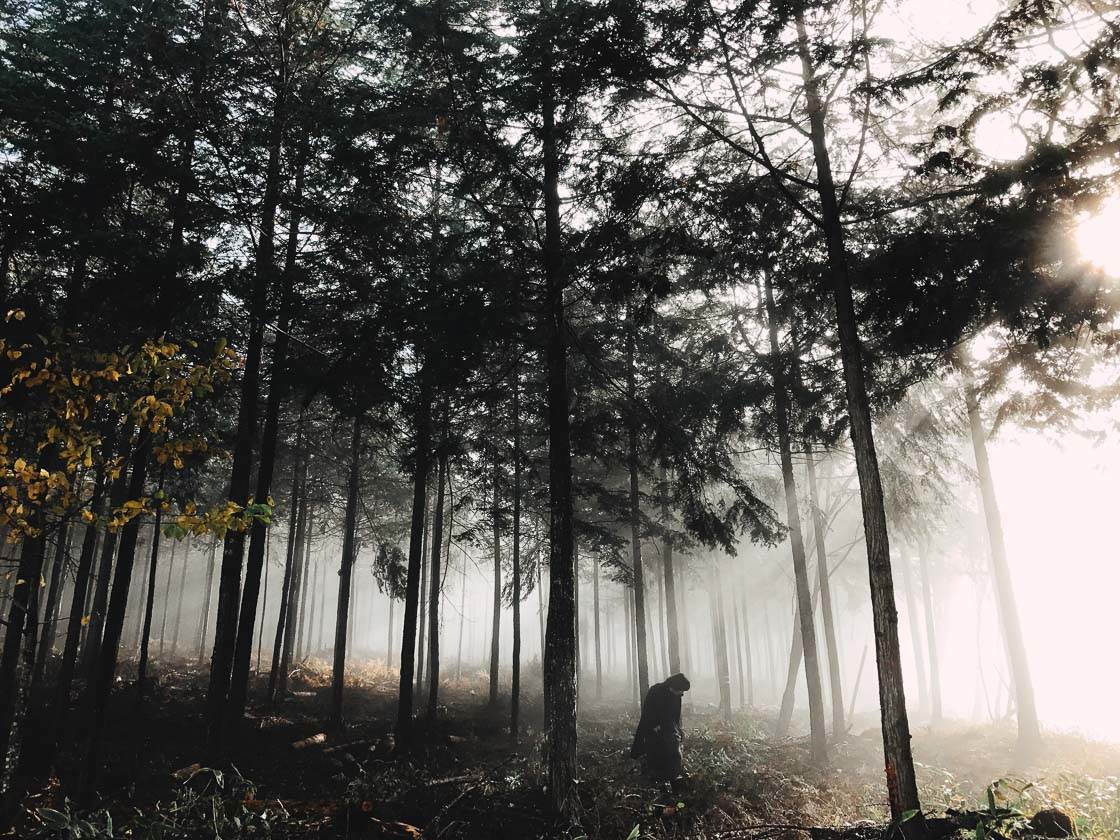
You see, including people allows the viewer to get a sense of the vastness of the trees. It makes for breathtaking compositions.
And it’s not even hard to do. Next time you’re going to do some forest photography, just bring a friend along.
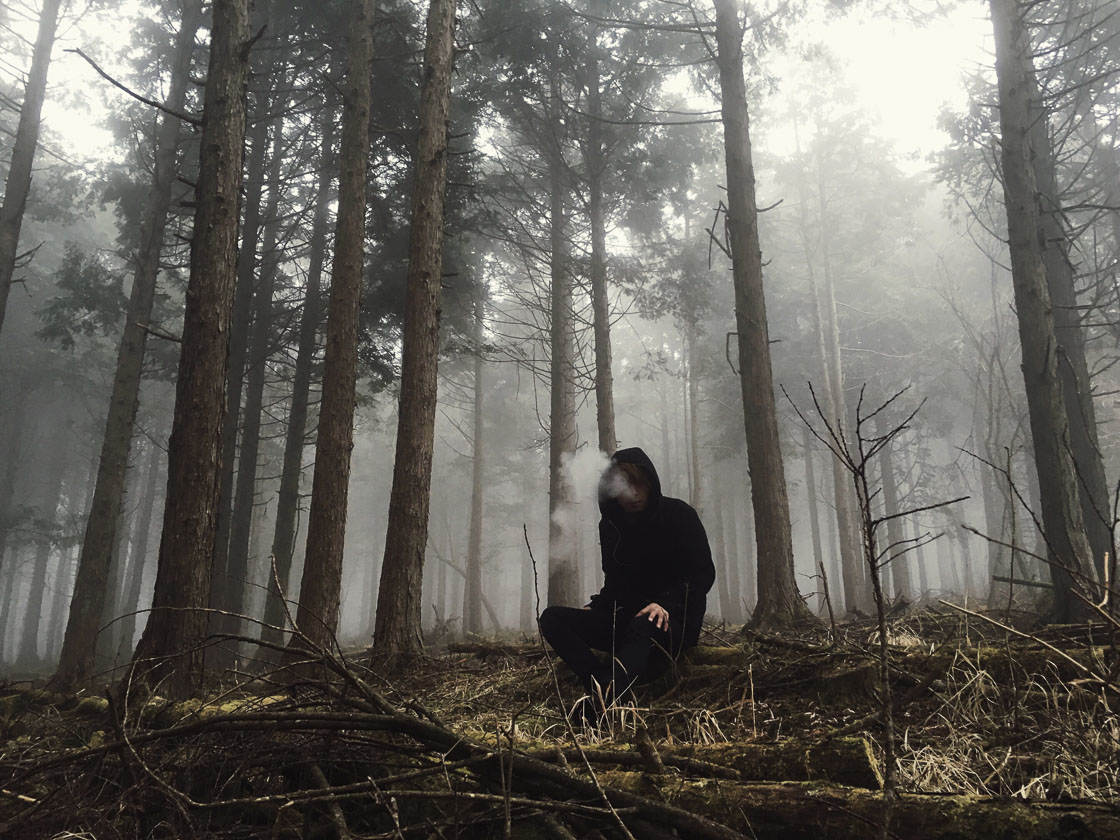
When you go to compose your forest photo, have your friend stand at the base of a tree.
Have them pose in a few different ways. For instance, you can have them look upward to give the photo a sense of awe.
Or you can have them look into the frame to give the photo a sense of mystery. The viewer will wonder: What is the person looking at?
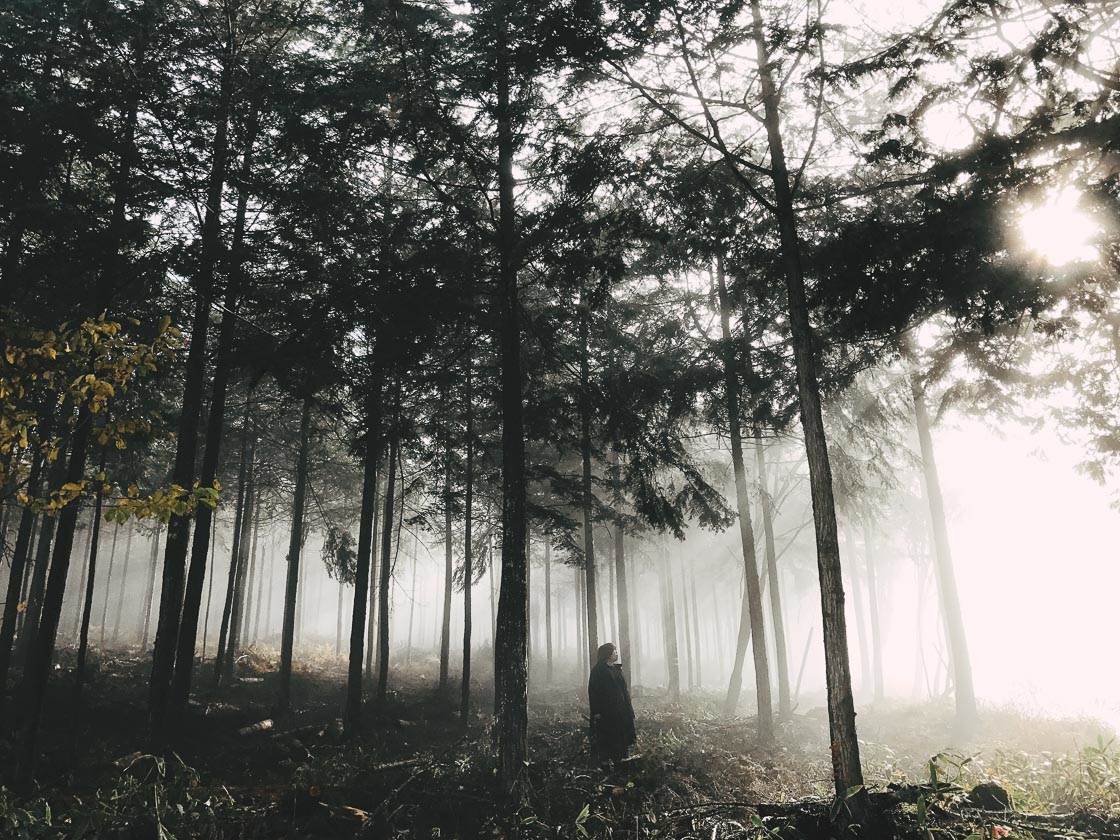
So if you want photos that are powerful and dramatic…
…then you should make sure to include people.
5. Find Symmetry For The Best Forest Compositions
Including people in your photos will add a sense of scale and drama.
But what if you want to create a sense of order in your forest photos? What if you want to create a simple yet pleasing image?
Here’s the answer:
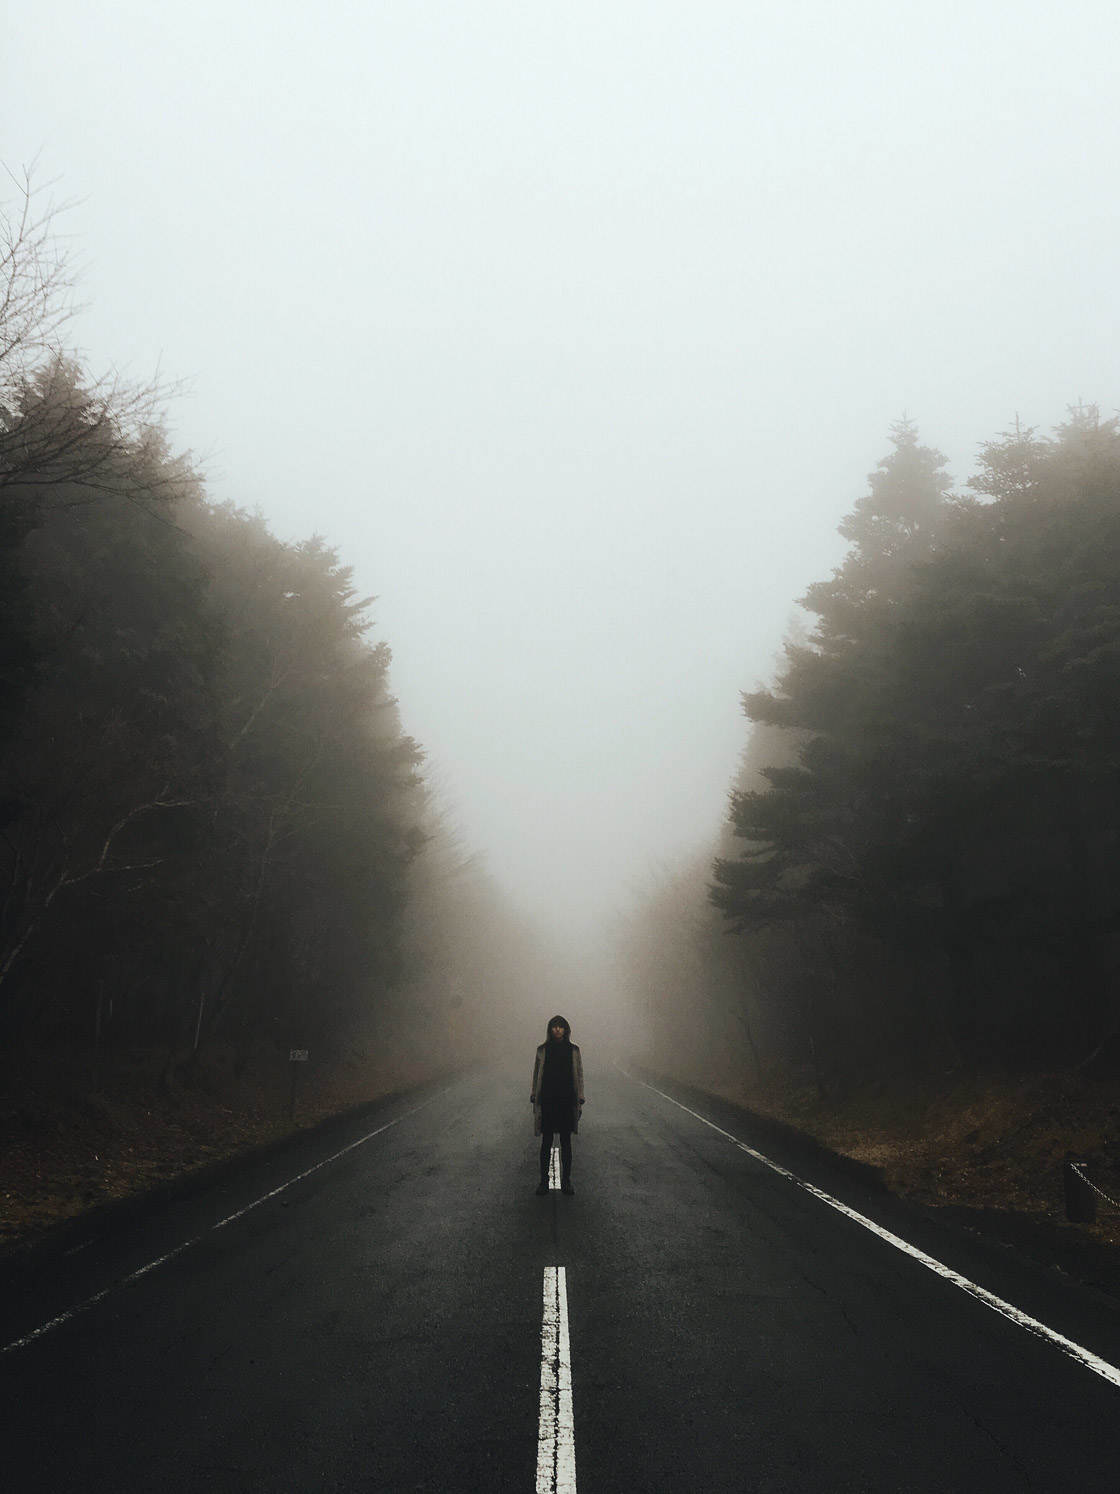
And when it comes to forest photography, finding symmetry is easy.
Simply look for a uniform stand of trees. You want all the trees to be of similar type and shape.
Then compose your shot to include all of these trees in the photo. There should be a sense of repetition and order.
And make sure that your photo is composed around a line of symmetry. That is, both the right side and the left side of the image should look nearly identical.
Finally, take your photo.
And that’s it! You’re done.
You’ve captured a nice, symmetrical photo.
Make sure to apply this tip often while in the field. It will result in some powerful forest photography.
I have one more forest photography composition tip for you…
6. Look Up Above You For Unique Forest Photography
If you want to take truly unique forest photos…
…then I have a fun tip for you!
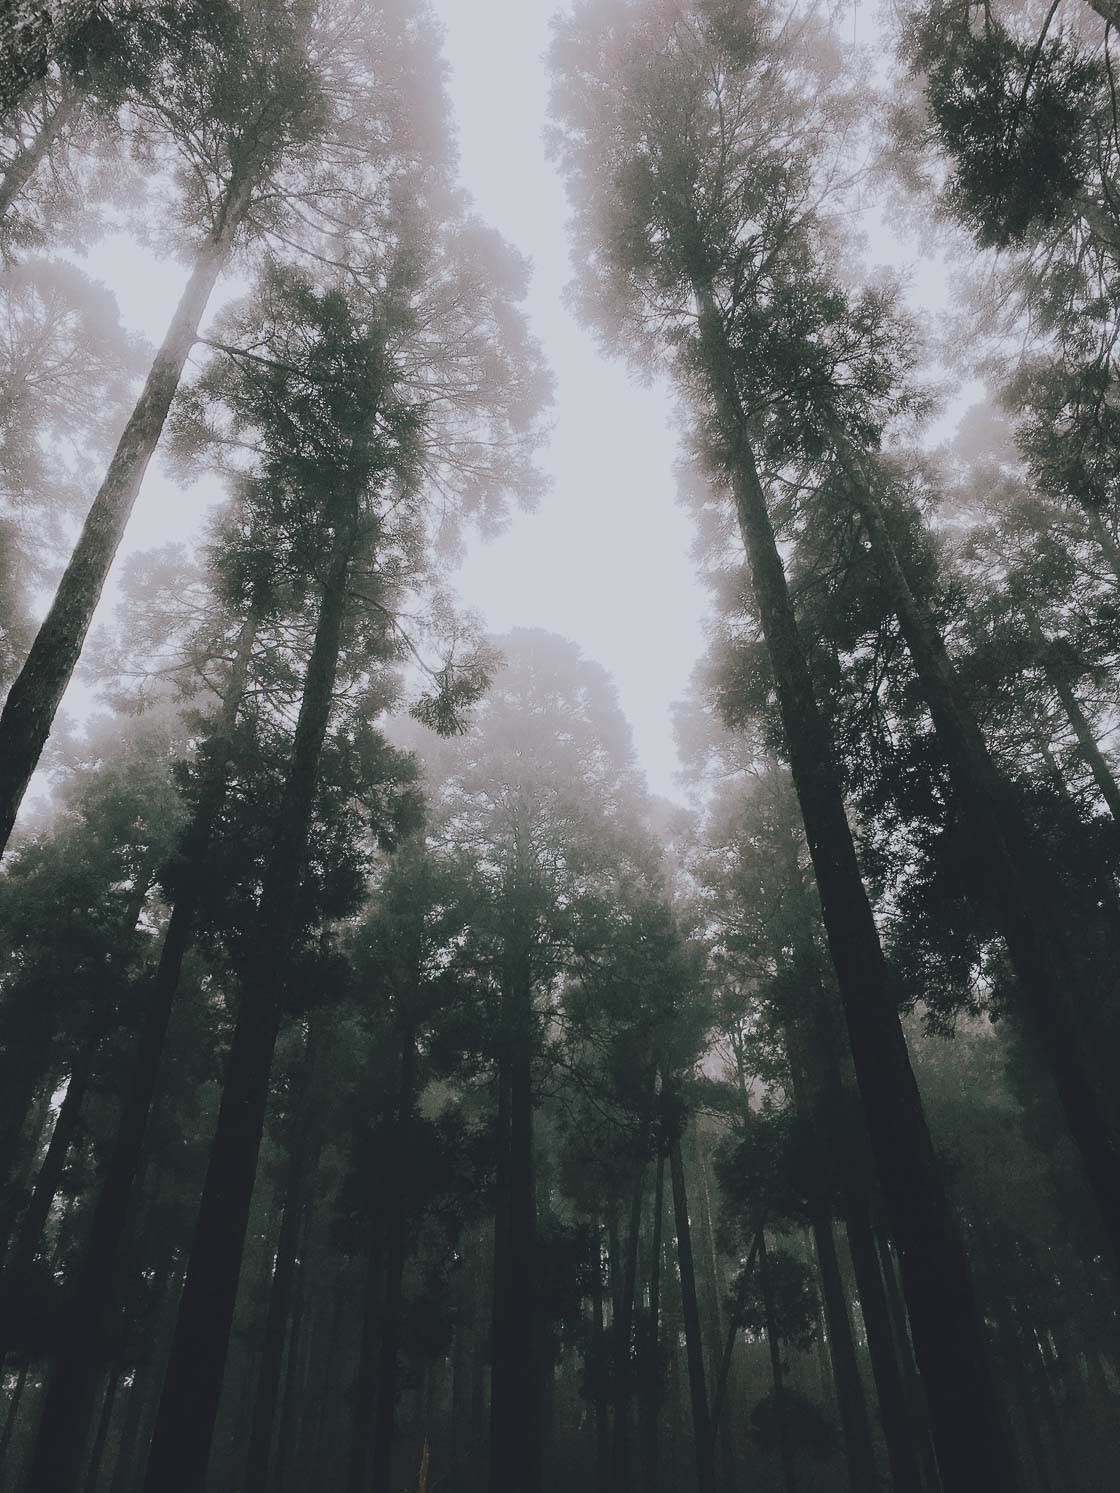
When you’re out in the forest, make sure to look up.
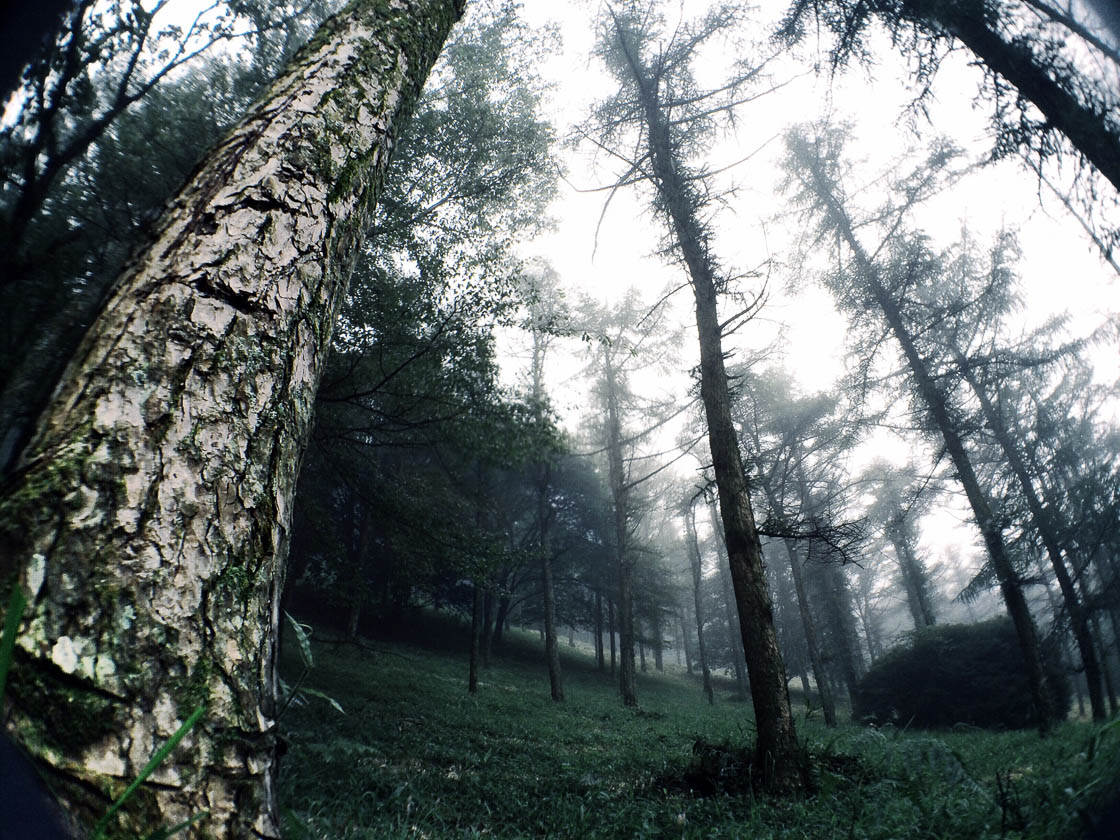
It’s so easy to always photograph at chest height. But the forest canopy can offer some incredible forest compositions.
For one thing, the treetops are often beautifully lit. They can capture the first rays of the early morning sun.

Here’s another tip: Try to incorporate the trunks of nearby trees in your photos. Frame the trunks so that they point toward the forest canopy. This way, the trunks will lead the viewer’s eye through the photo.
I used this technique for the photo below:
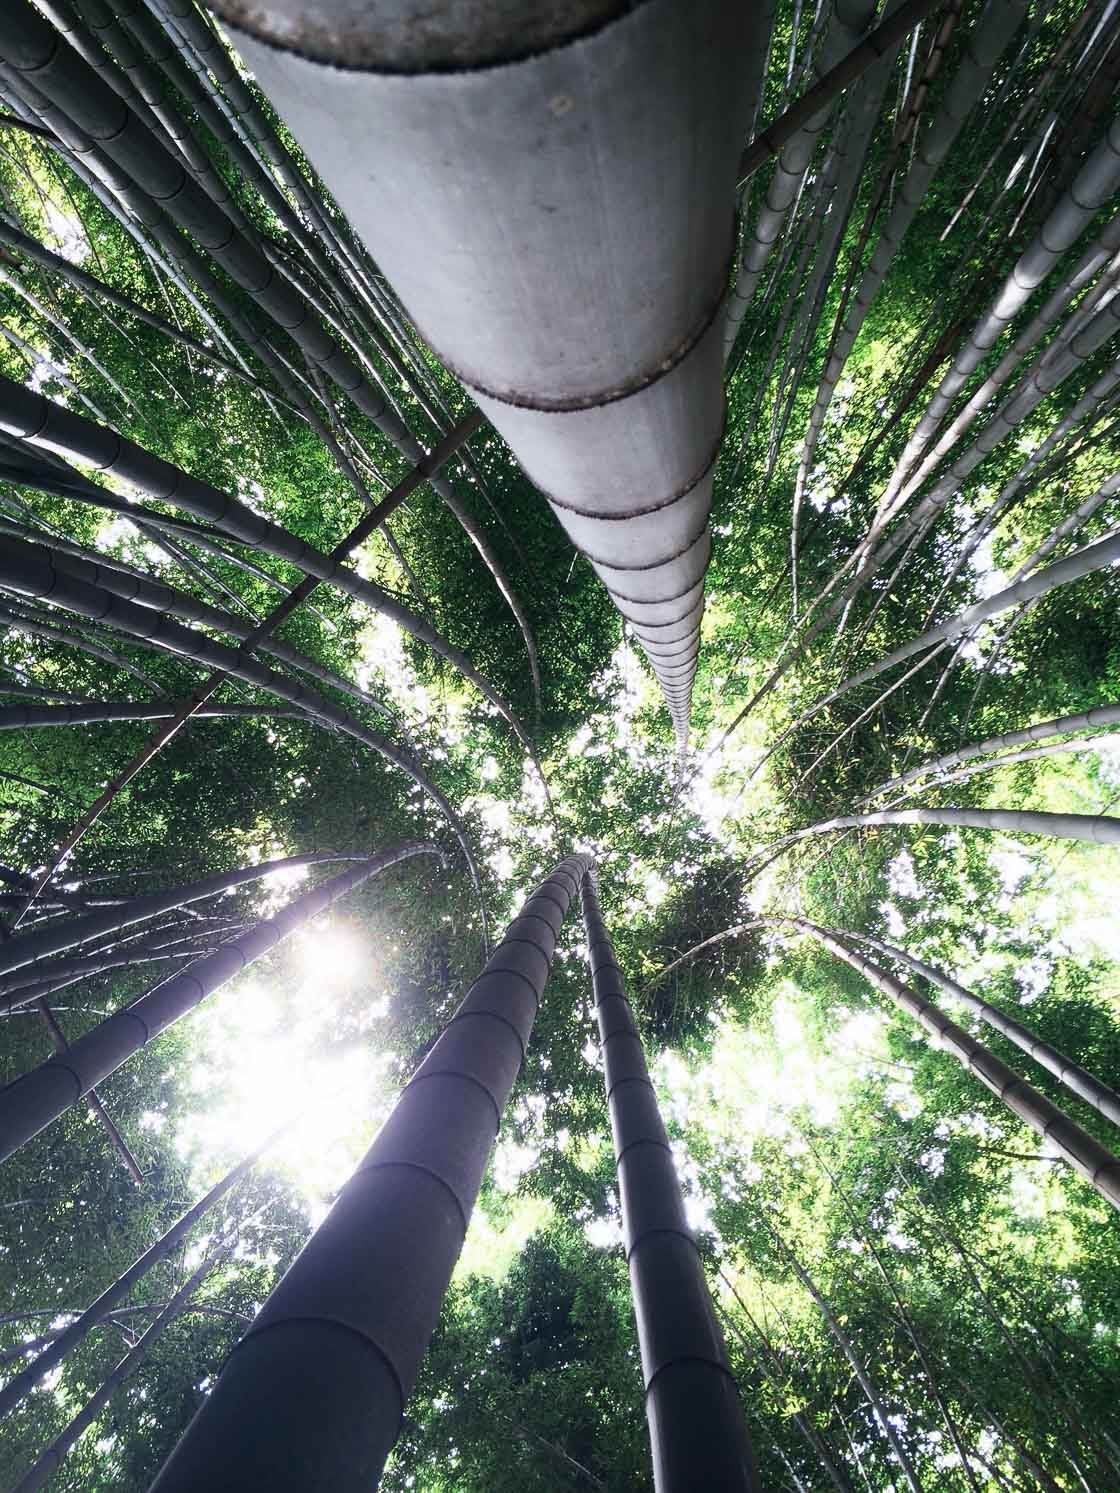
This can be a good technique to try if you’re in a creative rut.
It’s also fantastic for adding a different perspective to your forest photography portfolio.
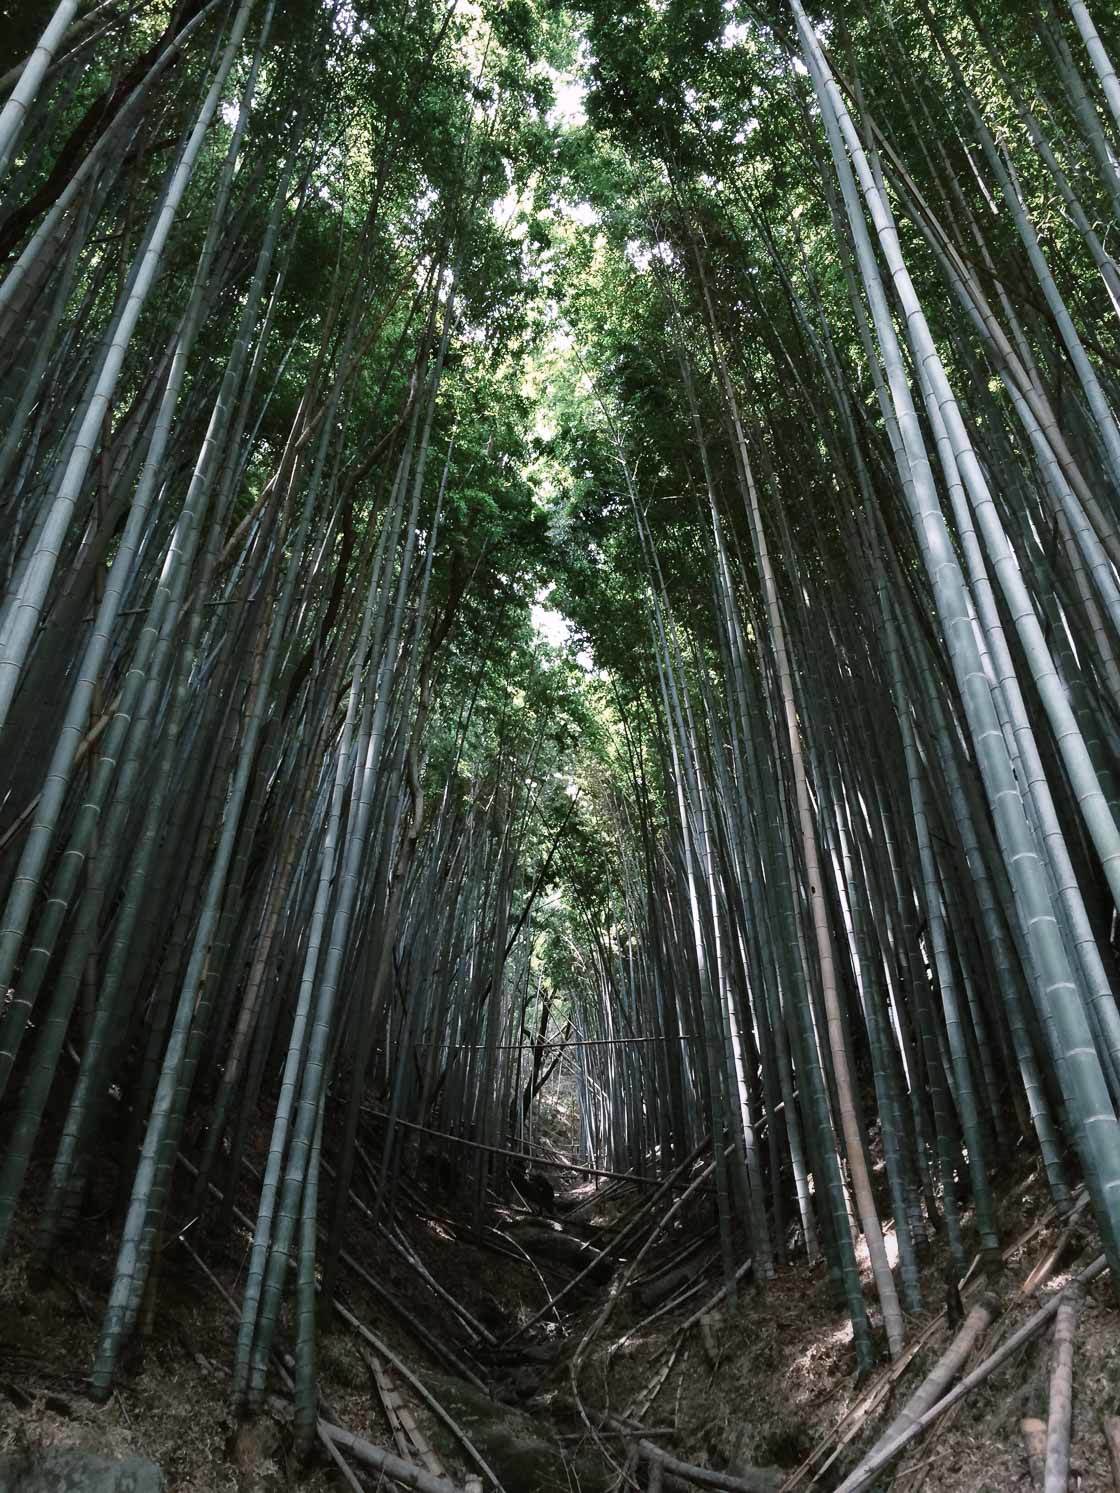
So next time you’re out doing forest photography, don’t forget to look up.
(And take a few shots while you’re at it!)
7. Photograph In Autumn For Gorgeous Forest Images
You can photograph forests any time of the year.
In fact, I take good forest photos in all four seasons.
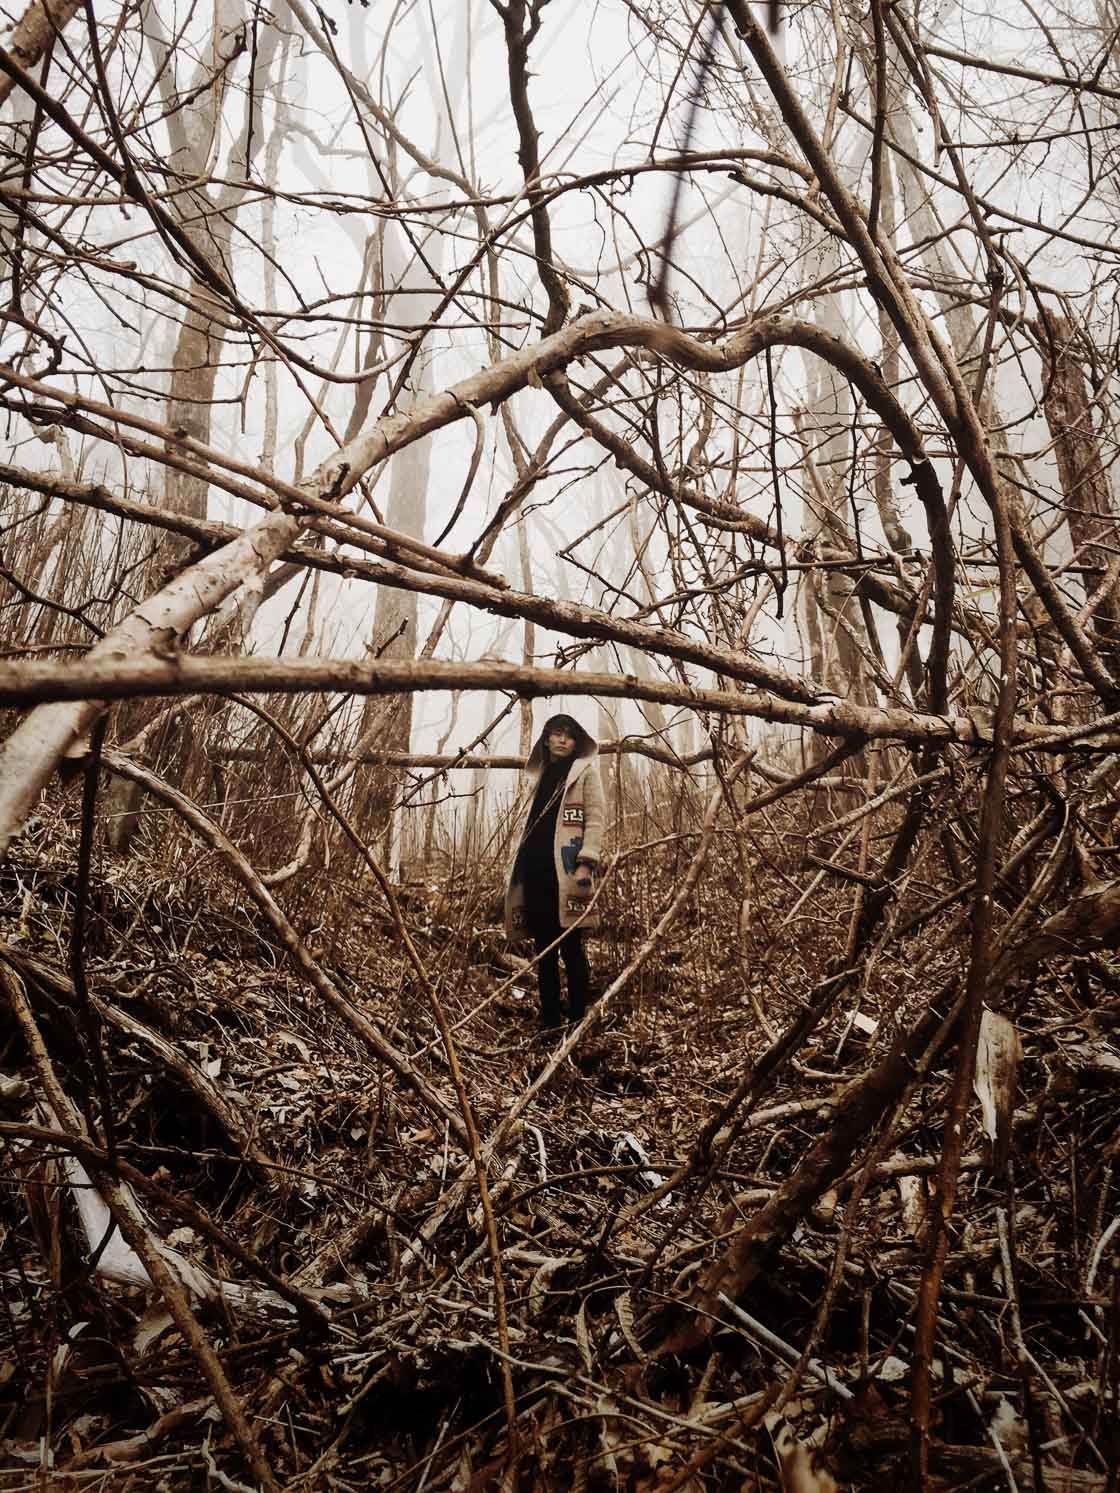
But if you want to take really beautiful forest photos…
…make sure you photograph forests in fall.
During fall, the leaves turn gorgeous reds, oranges, and yellows. These colors make for fantastic photographic elements.
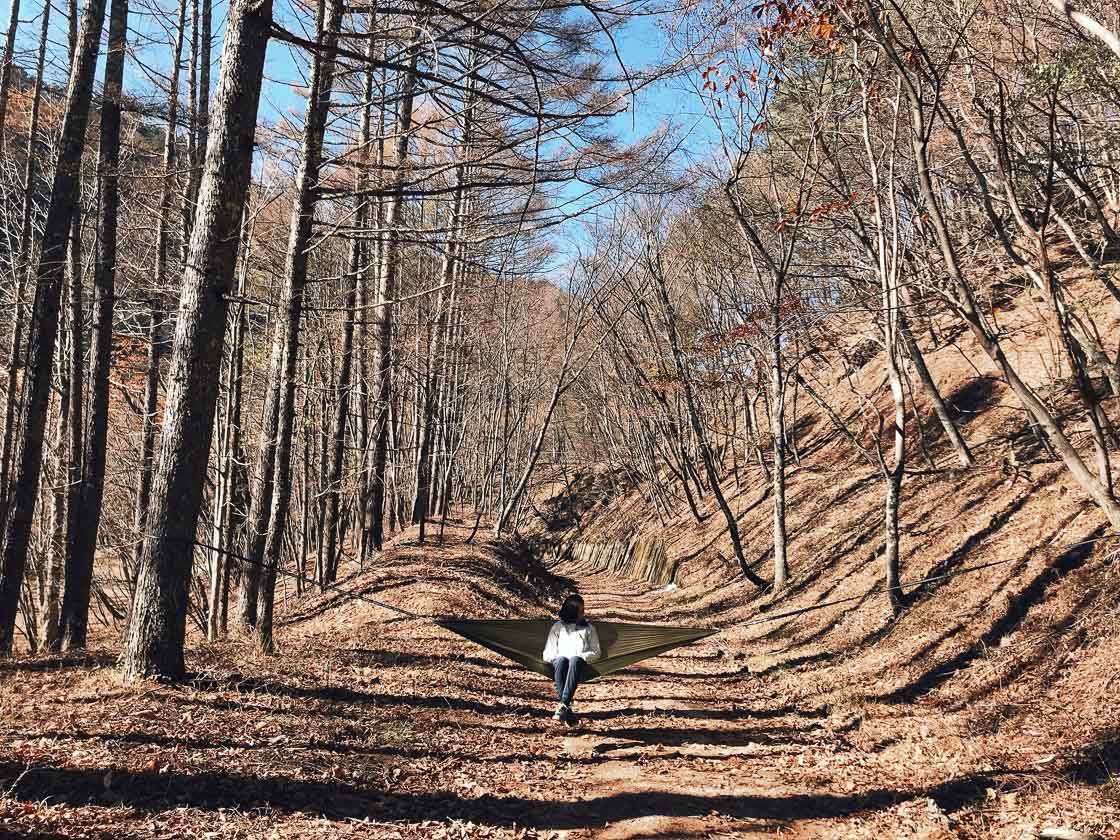
Plus, trees are beginning to lose their leaves in fall, which will lend a sense of nostalgia to your forest photos.
And fallen leaves make for a great forest floor to complement your main subject.
So when fall comes around, make sure you get to the forest.
Take lots of pictures.
I bet you’ll come away with many stunning images.


Leave a Reply
You must be logged in to post a comment.