Taking control of exposure in your iPhone photography is essential for creating images with impact. Exposure controls the brightness of your image, and it can be easily adjusted in the camera app. But knowing where to set the exposure level can be tricky, especially in harsh light conditions. If you get it wrong your image can appear over-exposed (too bright) or under-exposed (too dark). In this short article you’ll discover ten quick and easy tips for getting the perfect exposure in every iPhone shot.

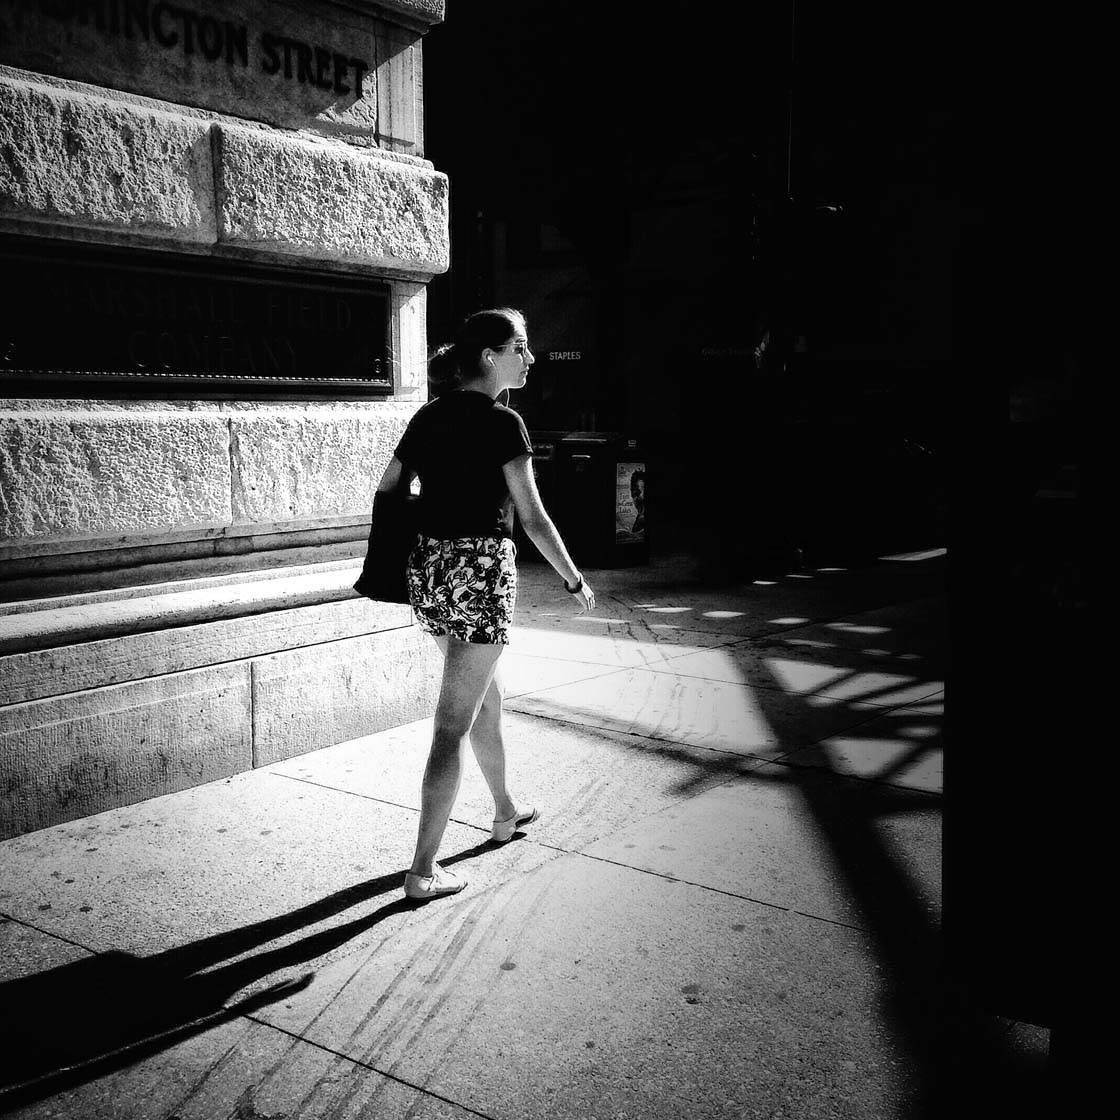
Photo by Kwe Bentum
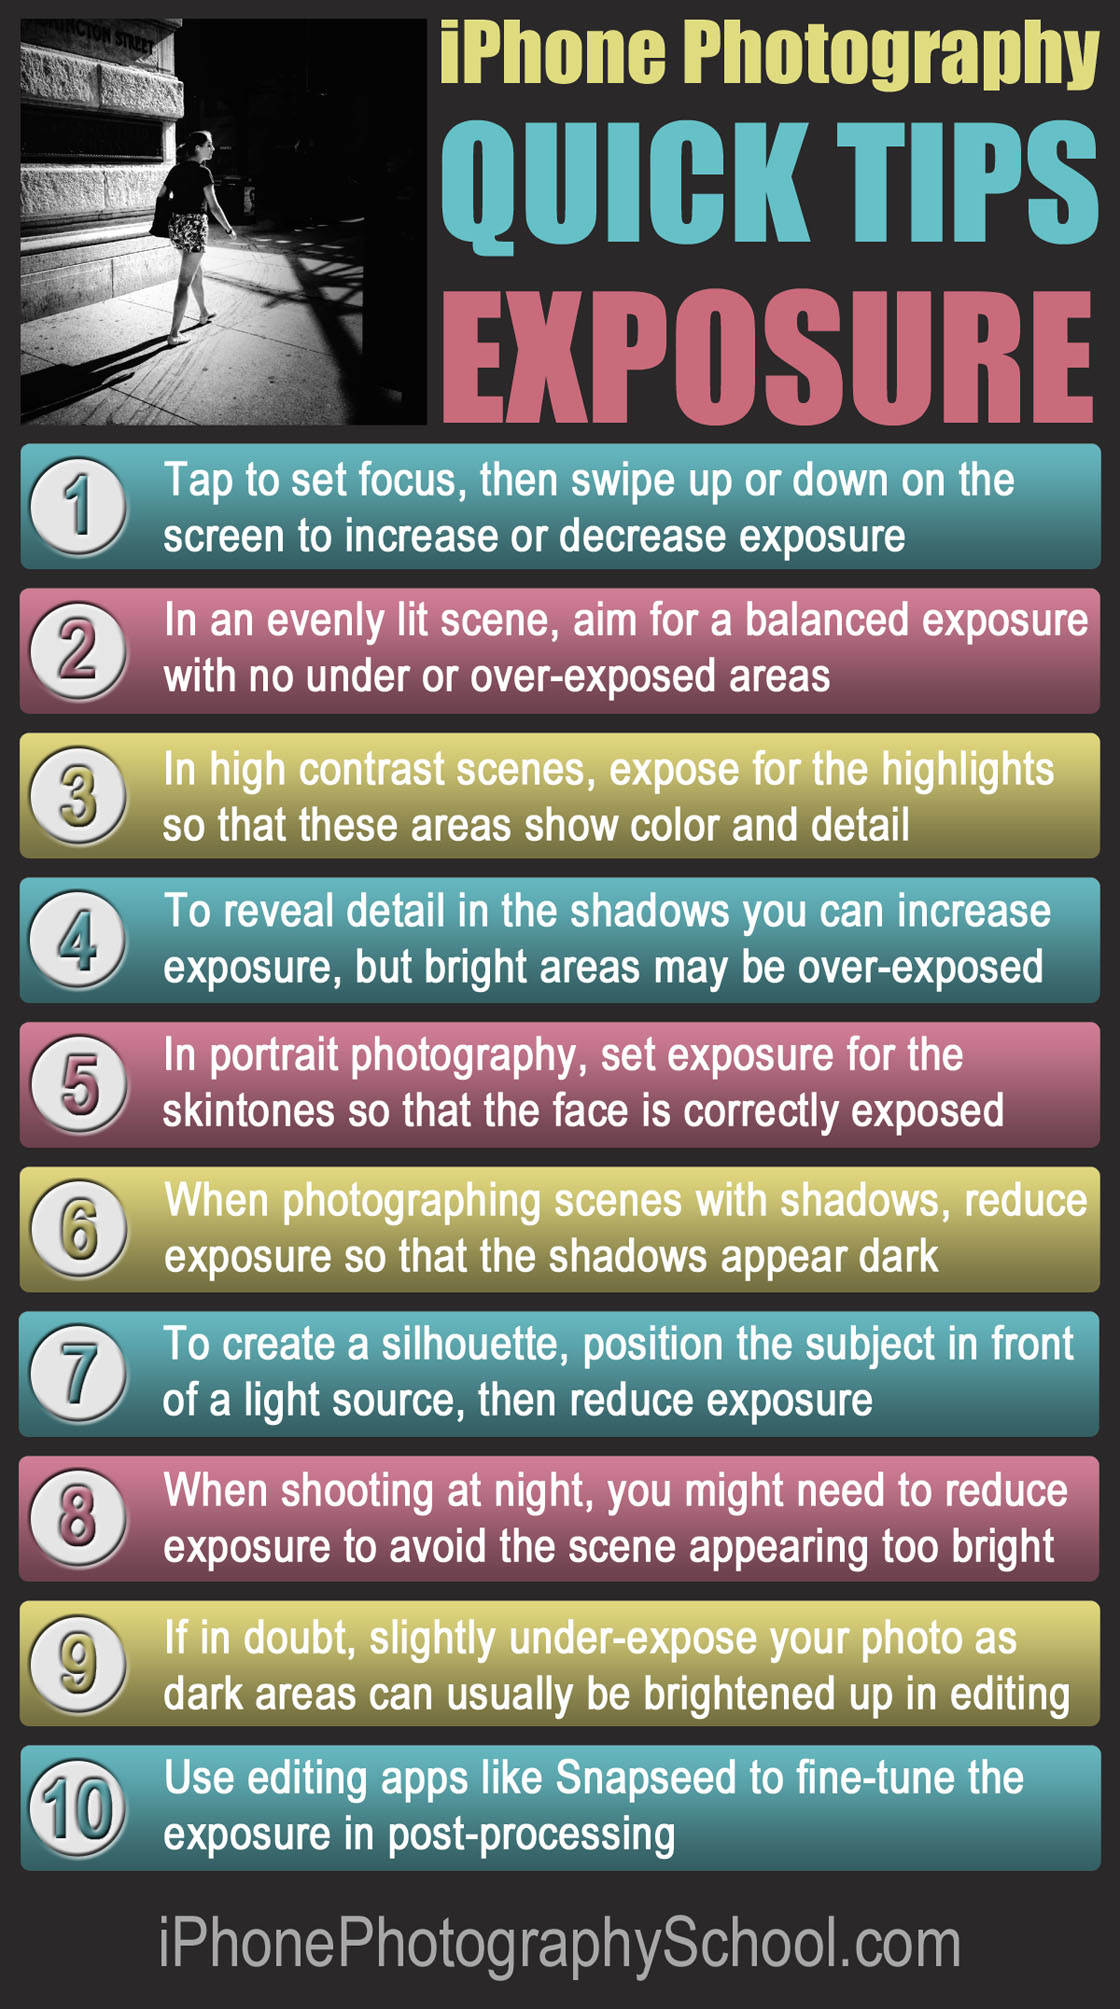
1. After tapping to set focus, adjust the exposure by swiping up or down on the screen. Swipe up to make the image brighter or down to make it darker.
2. In an evenly lit scene, aim for a balanced exposure where your subject has plenty of color and detail, and nothing is over-exposed or under-exposed.
3. When shooting in harsh light, there will be high contrast between dark and bright areas. In these conditions, expose for the highlights. This means reducing exposure so that the highlights (brighter areas of the scene) have some color and detail. The darker areas of the scene will then appear in dark shadow.
4. If you want to reveal detail in the shadows (darker areas of the scene), set exposure for the shadows. This means increasing exposure so that you can see color and detail in the darker areas of the image. Keep in mind that the highlights are likely to appear over-exposed if you expose for the shadows.
5. In portrait photography, ensure the face is correctly exposed so that it has plenty of color and detail.
6. When photographing scenes with shadows, set exposure for the brighter areas of the scene. Reducing exposure will make the shadows appear dark, dramatic and mysterious.
7. To create a silhouette, position your subject in front of a light source, then reduce exposure until the subject appears as a dark outline with no color or detail.
8. When photographing at night, your camera can be tricked into creating a brighter image. To ensure the dark areas of the scene remain dark and the highlights aren’t over-exposed, reduce exposure until the shadows appear dark and the highlights are correctly exposed.
9. If in doubt, slightly under-expose your photo. Dark areas can usually be brightened up in post-processing, but over-exposed “blown-out” highlights can never be recovered.
10. Use editing apps like Snapseed to fine-tune the exposure in post-processing. Play around with settings for brightness, contrast, shadows and highlights until you achieve the exposure you want.
Quick Tips Cheat Sheet
Click the image below to download this handy Quick Tips cheat sheet!
In-Depth Articles On Controlling Exposure In Your Photos
To learn more about how to get your iPhone photos perfectly exposed in different lighting situations, check out our in-depth tutorials where you’ll discover more great shooting and editing techniques, as well as plenty of inspirational photos!
10 Exposure Tips For Taking Better iPhone Photos by Rob DePaolo
5 Tips For Taking Amazing iPhone Photos In Harsh Light by Mark Hemmings
How To Take Better iPhone Photos In Low Light by Paul Moore
9 Essential Tips For Amazing iPhone Night Photography by Kwe Bentum
How To Take Stunning Silhouette Photos With Your iPhone by Karyn Teno
How To Create Intriguing Shadow Photos With Your iPhone by Kwe Bentum
10 Tips For Taking The Best iPhone Photos In Different Types Of Light by Karyn Teno


Leave a Reply
You must be logged in to post a comment.