How often have you taken photos in harsh midday sun and been disappointed with the results? Probably quite often since the strong sunlight can play havoc with your photo’s exposure. But with the right knowledge you can actually take incredible high contrast photos in these lighting conditions. In this tutorial, you’ll discover 5 essential techniques to help you take amazing iPhone photos in harsh sunlight.
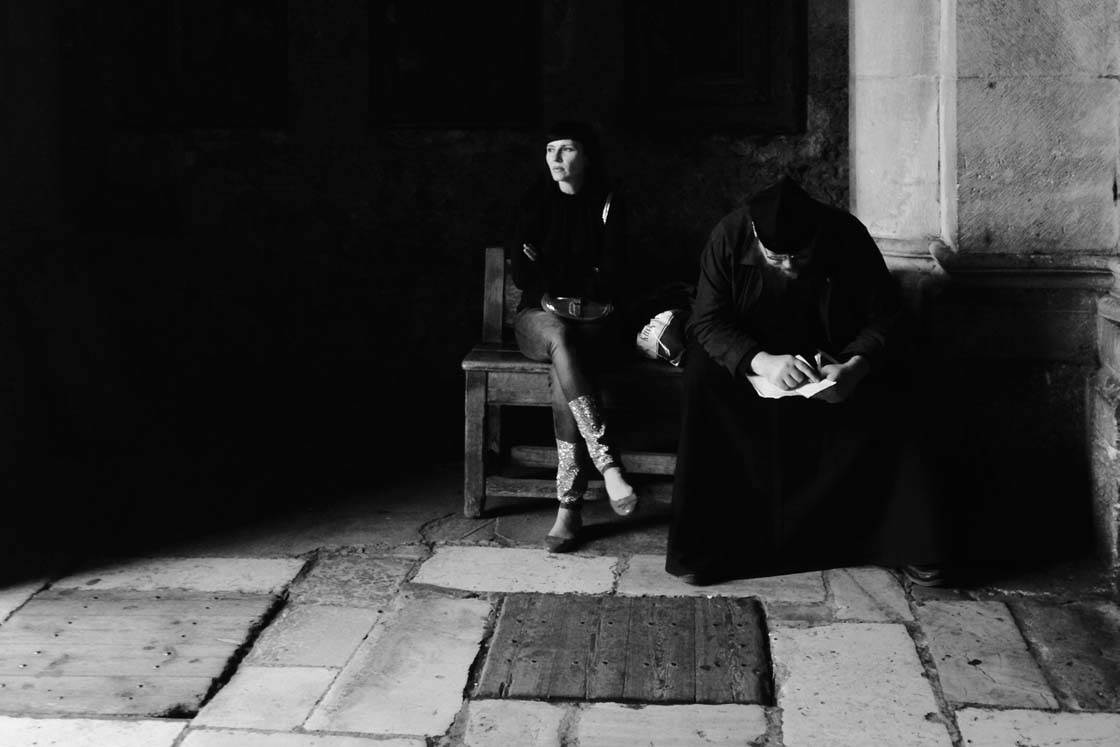
During my early years of being a professional travel and stock photographer, the usual scenario each day was to leave my hotel at 5 a.m. and shoot until 10 a.m. Then return to the hotel to sleep.
I would then wake up at 3 p.m. and get back on the streets to capture end of work-day photography, and keep shooting until well after midnight.
The avoidance of noon-day shooting is common in the photography world, especially among nature and scenic photographers, due to what is commonly termed as “harsh light.”
However, in this article I hope to encourage you to love shooting in harsh midday sunlight!
1. Under-Expose Your Images
The most important thing to learn about when shooting in midday sun is exposure. Exposure simply refers to how bright or dark the image is. With iOS 8 we can adjust exposure within the native camera app.
After tapping on the screen to set focus, simply swipe down on the screen and you will see a small sun icon within a yellow exposure slider.
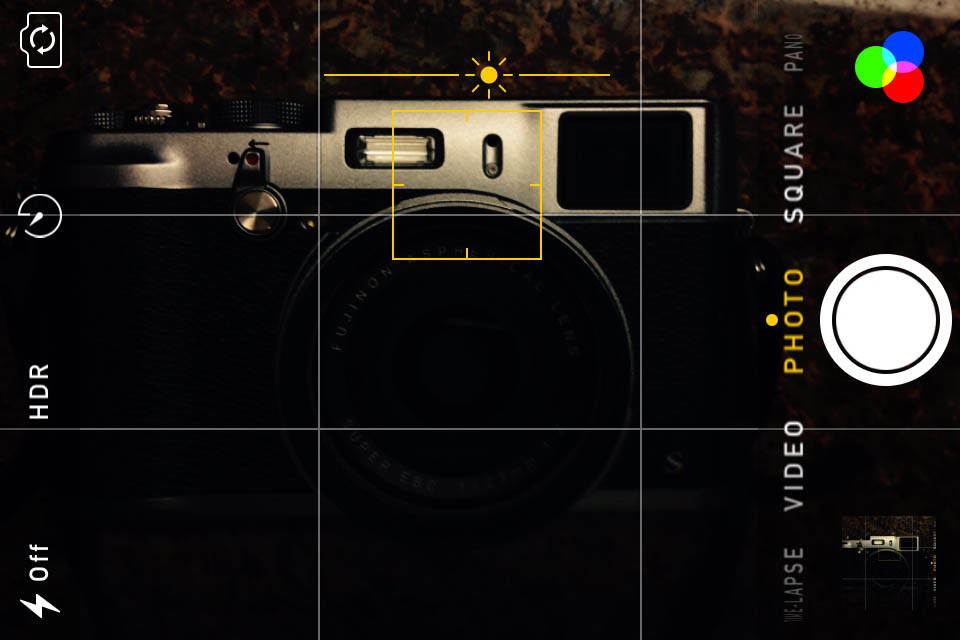
Swiping up increases exposure making the image brighter, and swiping down decreases exposure making the image darker.
While not always the case, most of the time you’ll need to use the exposure slider to under-expose the photos that you encounter in harsh light.
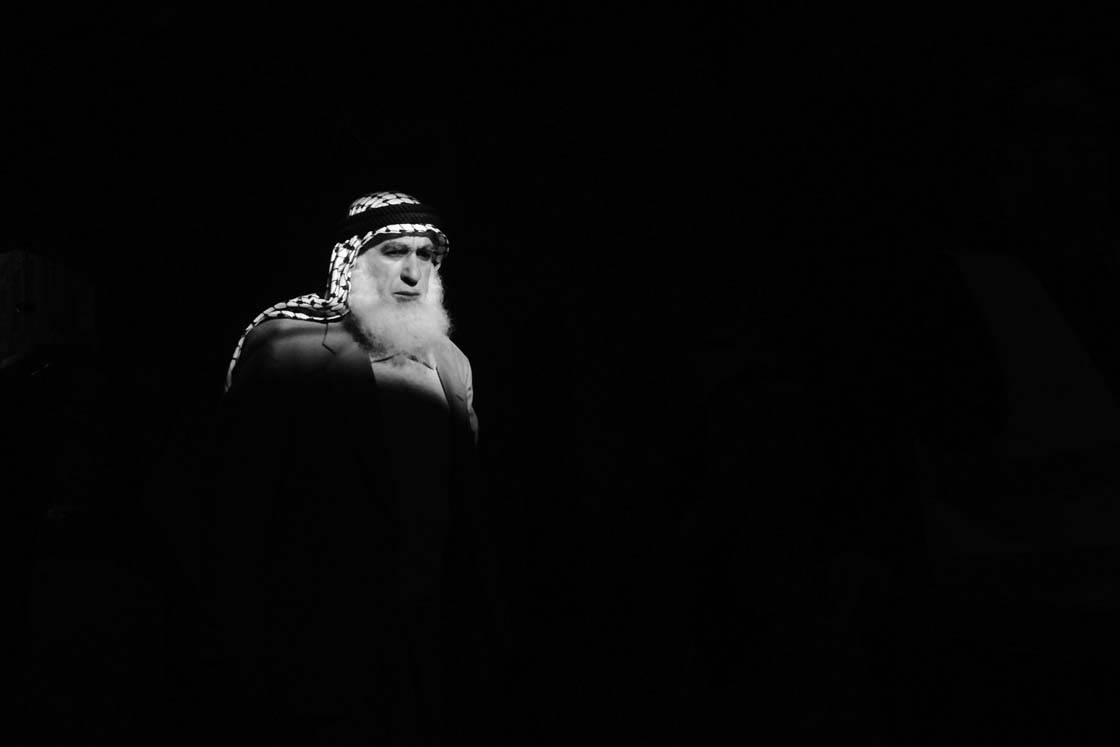
This is especially important when shooting high-contrast portraits in strong sunlight. We often need to underexpose our photos to maintain proper exposure for people’s skin.
As I’m sure you’ve seen before, sometimes the background scene looks great but the faces in your photos are too white. Exposure control will in most cases correct for this problem.
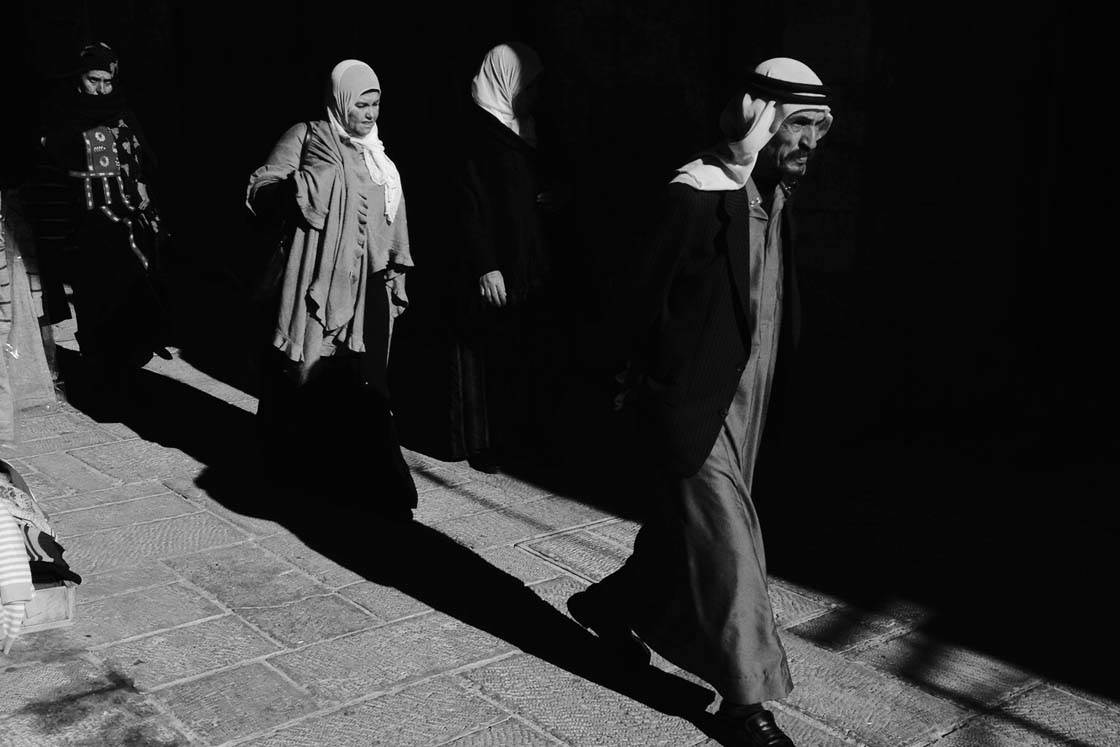
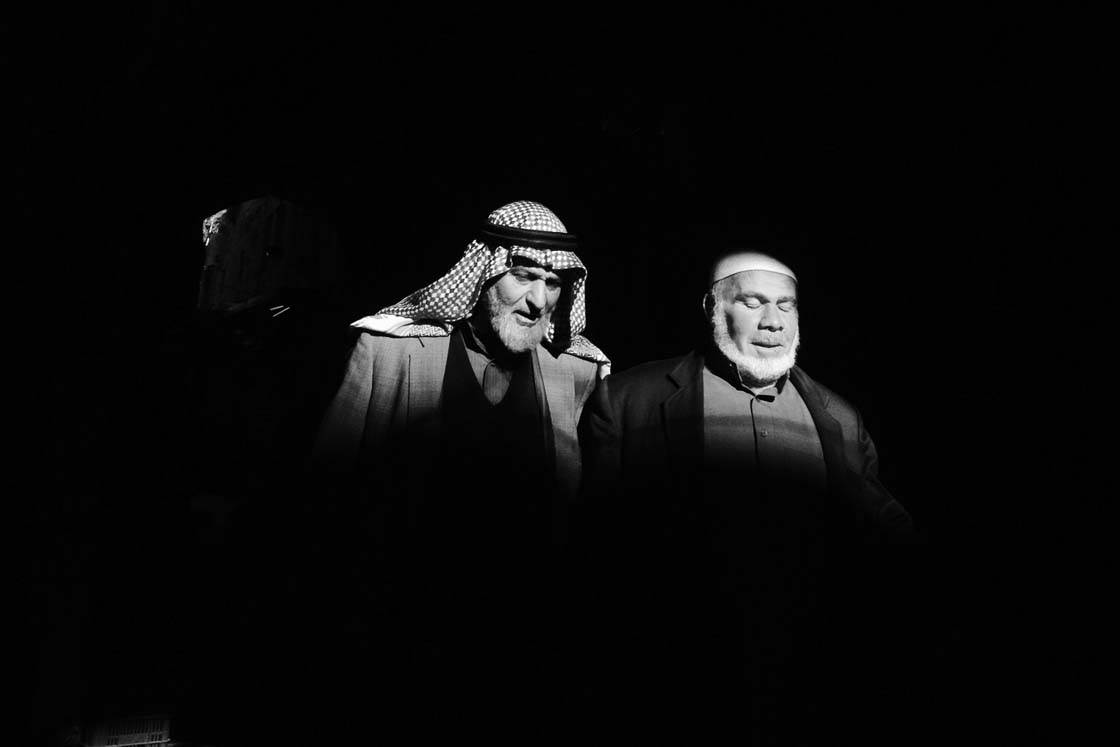
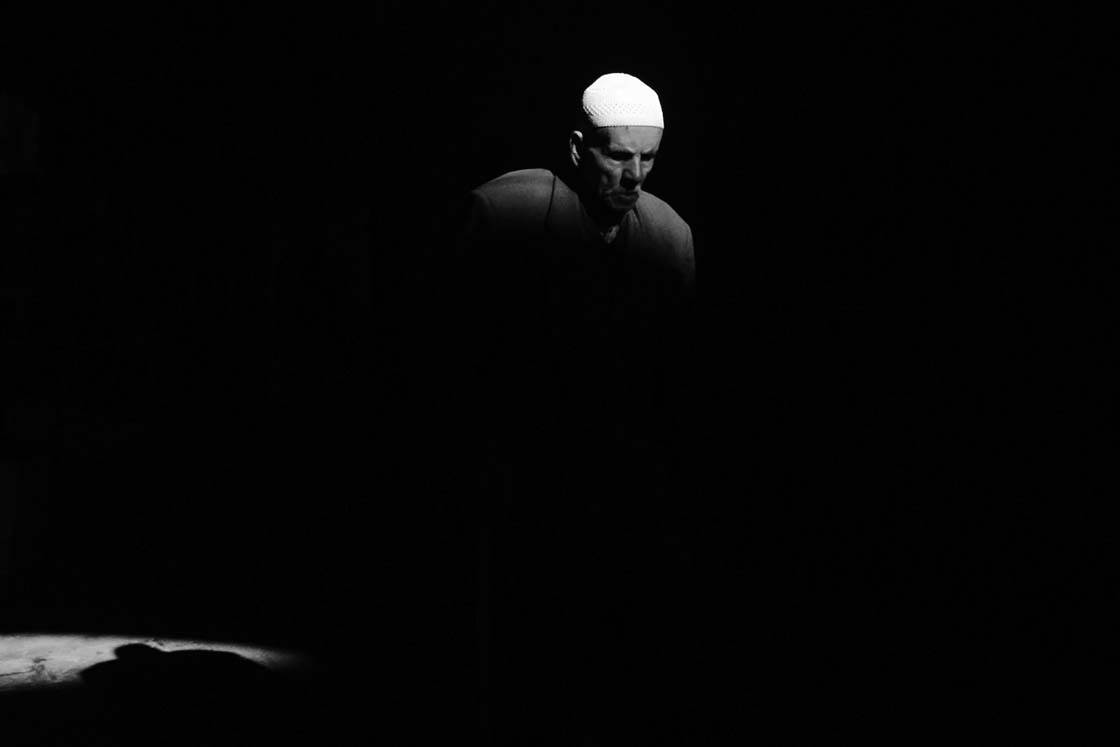
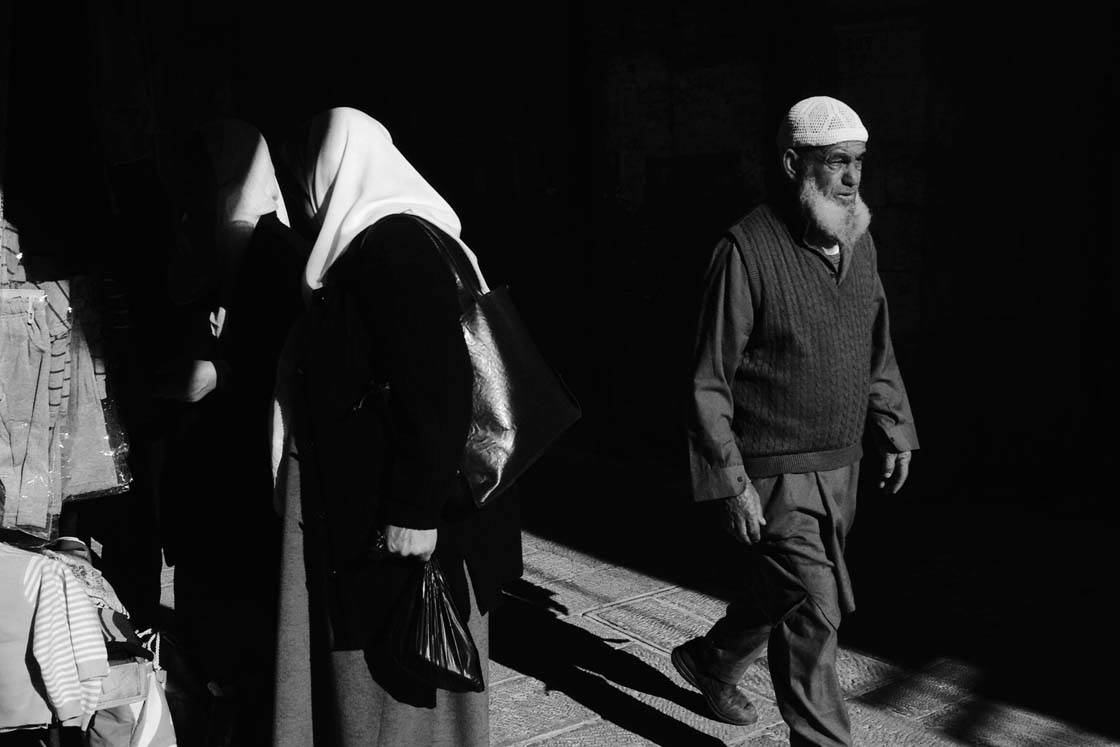
I took this iPhone photo in the Old City of Jerusalem. The bright direct sunlight was very powerful in this scene.
If I’d let the iPhone camera automatically set the exposure, the background would have been much brighter and you would be able to see detail in these areas. However, the faces and street would have been “blown out” which means completely over-exposed and too white to be of any use.
By manually under-exposing the image to expose correctly for the faces and street, all of the medium and dark toned background elements simply reduced to a rich, pure black. I did no editing afterward to get this effect.
When taking photos in situations like this, it’s very important to decide which subject or part of the scene you want to expose for, and then manually set exposure accordingly.
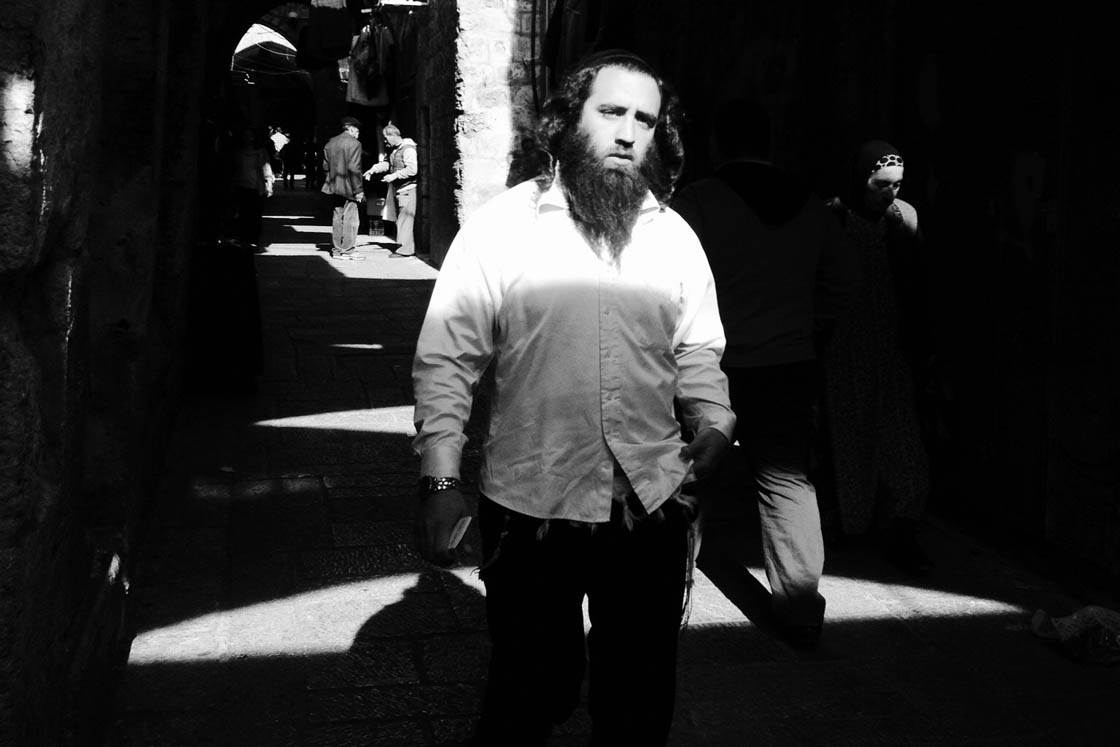
In this photo you can see by the pattern of direct light that this man is walking through a semi-covered walkway. At various times he would be in bright sunlight, and at other times in dark shadow. You can also see another person on the man’s left, halfway into the shaft of sunlight.
Because the light is so intense at midday, we’re required to override the iPhone’s auto exposure and “tell” the camera to under-expose. With the exposure slider we can practice exposing photos specifically for people’s faces instead of exposing for the entire scene.
2. Find A Suitable Location
So how do you practice this technique of under-exposure when you have no access to places like Jerusalem or other “interesting” locations?
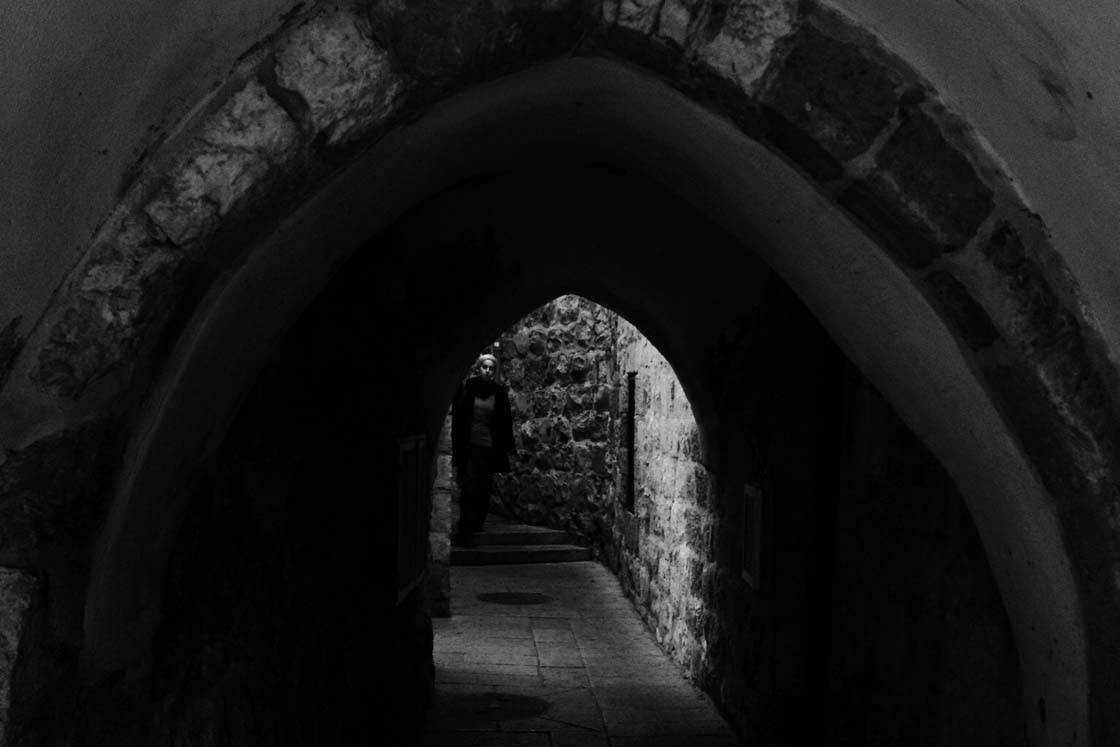
No problem! Most cities, towns and villages have alleyways between buildings and houses, so I would suggest starting at those locations. I suggest you find such alleyways in your own neighborhood and start practicing this technique using a friend as a model.
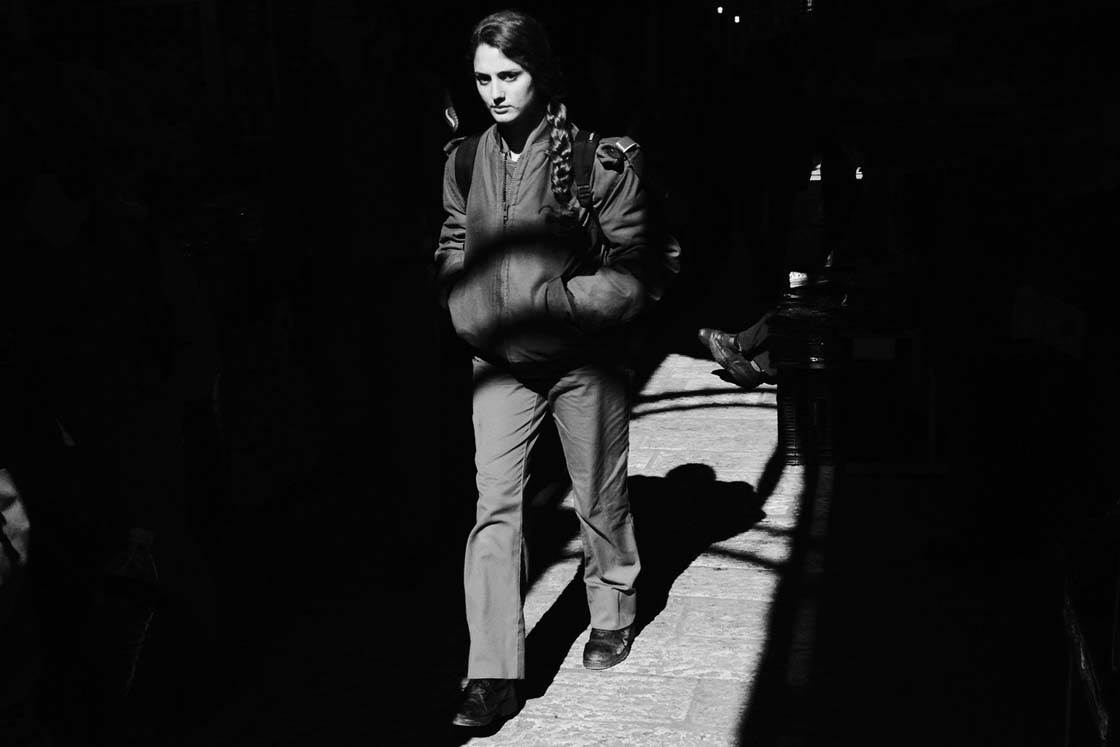
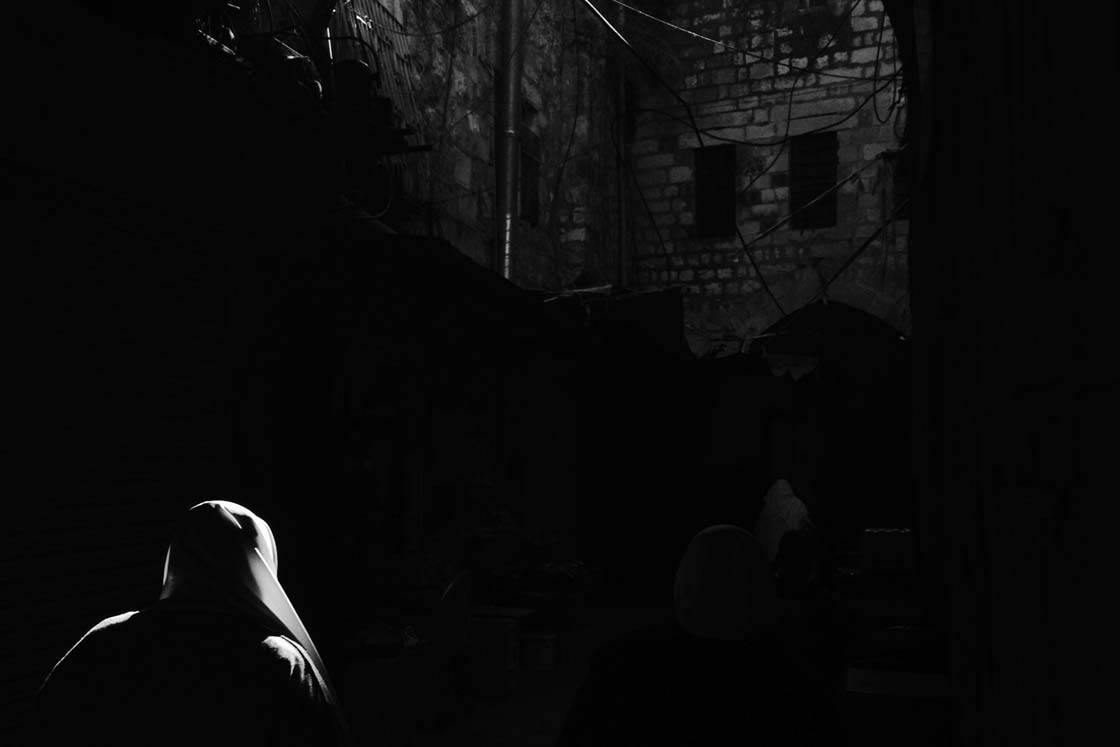
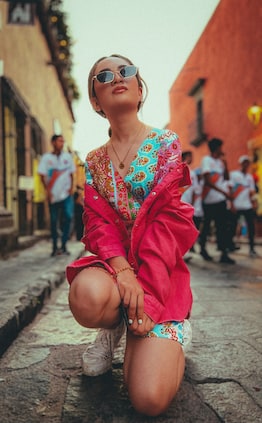
This person was in an alleyway with harsh sunlight in the afternoon. As mentioned above, if I let my iPhone camera expose automatically, the background would be visible but her face and the street would be pure white.
Don’t be discouraged if the photos don’t turn out mysterious and dramatic – you’re only practicing the under-exposure technique at this point.
Let your friend walk into the shaft of overhead light and under-expose for his or her face. The exposure should be reduced enough so that you can see their facial details. Then snap the photo and check the results!
3. Take Advantage Of Backlighting
Okay, you’ve tested out your under-exposure skills – now we’re going to practice under-exposure with backlighting. Backlighting simply refers to any situation where your subject is lit from behind.
The technique you’ll be using is the same as photographing people’s faces, but now you’re taking advantage of that wonderful glow that surrounds people when they’re being illuminated from behind.
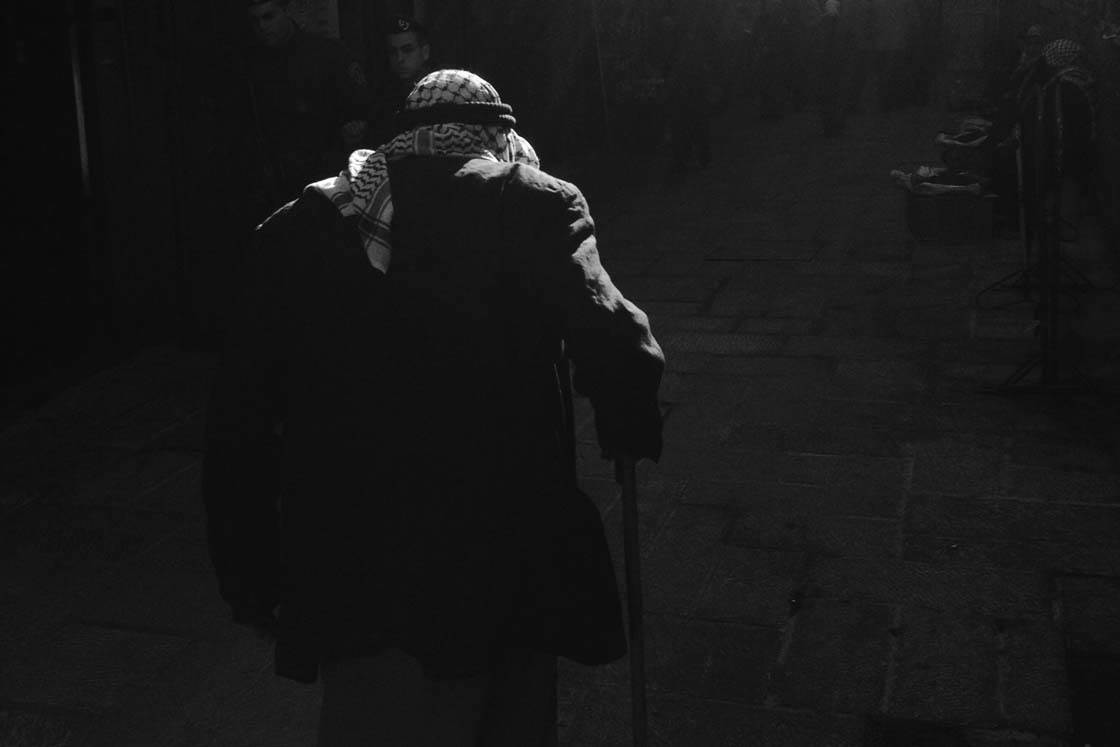
This technique works especially well when the person is wearing fabrics or clothing that lets light through such as this image of a man wearing traditional headwear.
Backlighting will often create an attractive glow, called rim lighting, around the subject. It’s often especially noticeable around hair as the light shines though it.
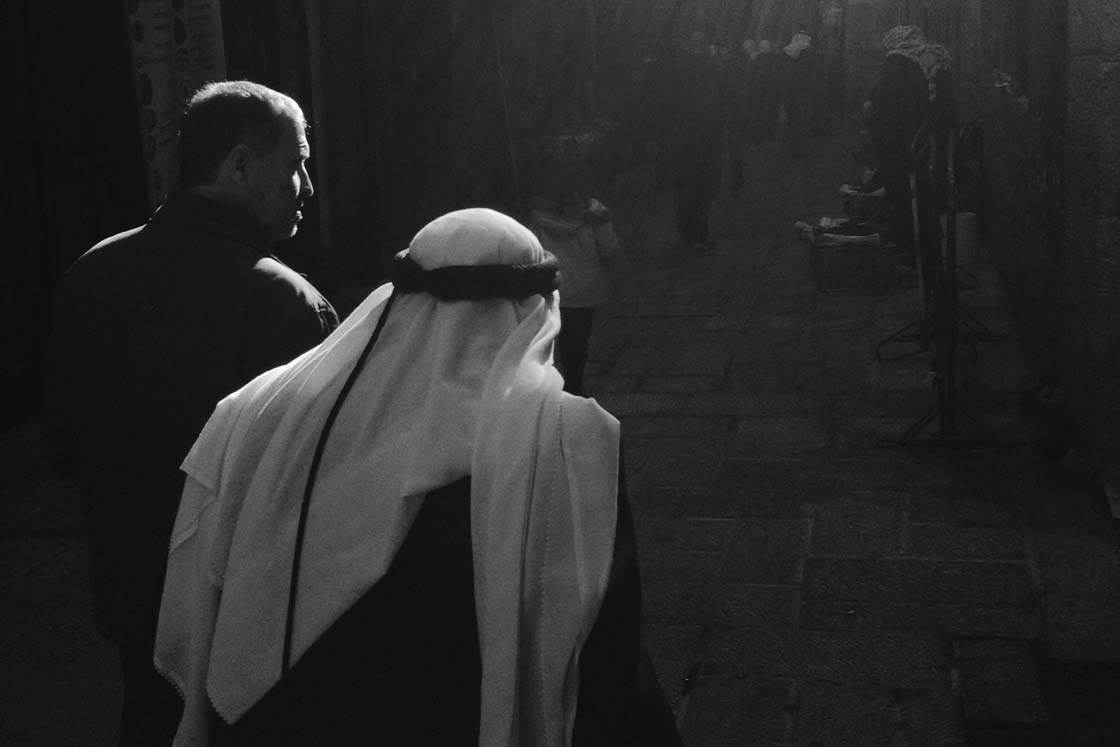
Use the manual exposure slider in the camera app to under-expose the photo so that the brightest areas of the scene (the backlit fabric or hair) are correctly exposed. The darker areas of the scene such as the background will then be automatically under-exposed.
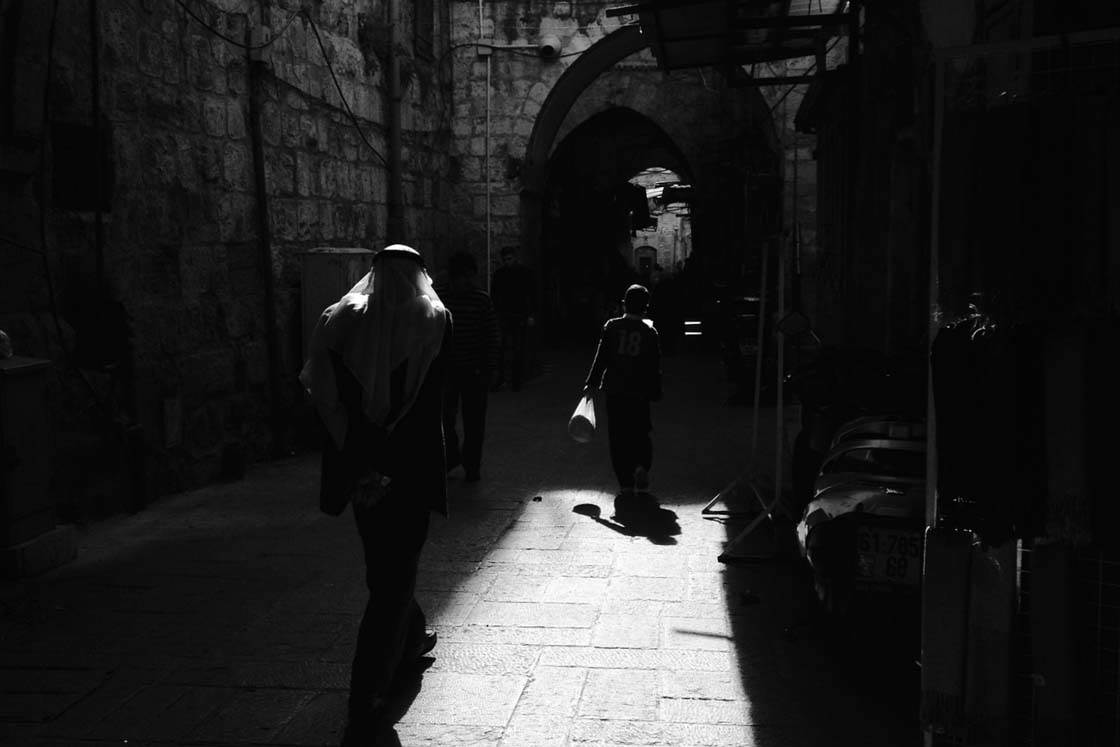
To practice this technique, locate a similar alleyway in your own location and ensure that you’re shooting into the sun so that your subjects are lit from behind. High noon may not be the best time, but as soon as the sun is at a slightly lower angle you’ll be ready to shoot.
4. Play With Shadows
Now let’s shift our focus to playing with shadows. The same exposure rules apply – we almost always need to under-expose to maintain details on the ground.
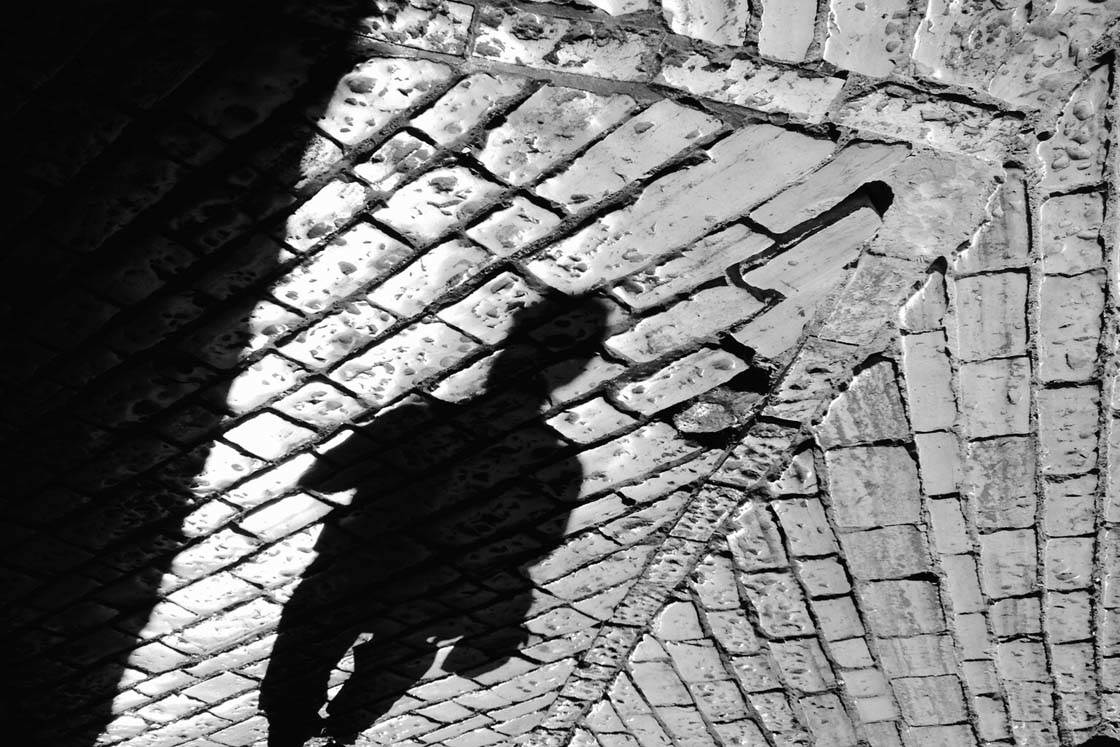
When we expose appropriately the ground will show adequate detail, and the shadow area of the person will either be completely black, or a very dark grey.
5. Convert To Black And White
Finally, you’ve probably noticed by now that all of the photos in this article have been converted to black and white.
This is often a great option for high contrast photos taken in harsh sunlight as it emphasizes the difference between the dark and light areas of the image, giving it a more powerful impact.
Virtually all photo editing apps for the iPhone have the option to convert an image to black and white. I perform most of my black and white conversions in the Adobe Photoshop Touch app, but you can stick to using your preferred editing app if you wish.
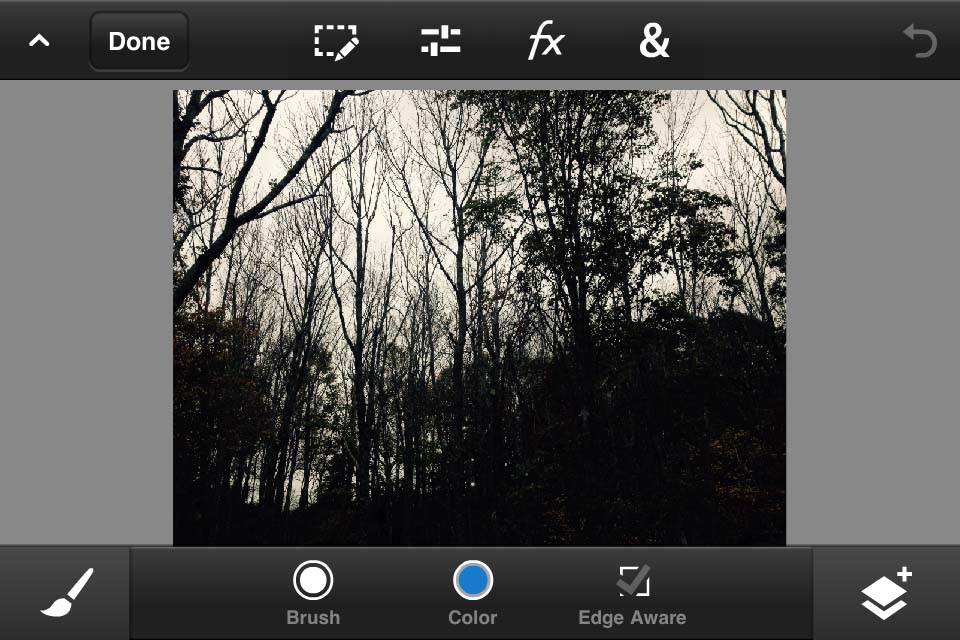
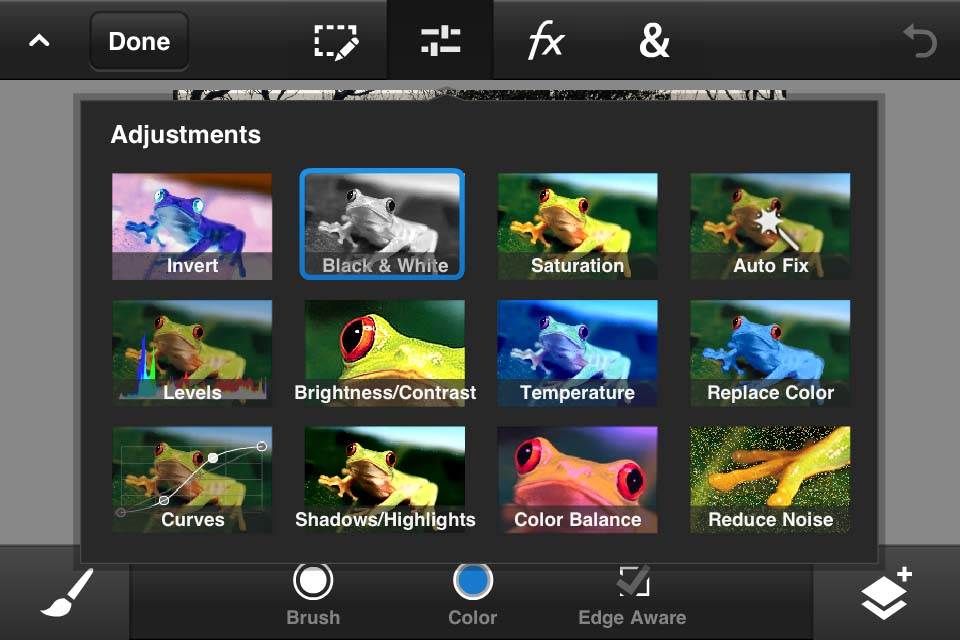
For a very good and quick automatic black and white conversion in PS Touch, open your photo then tap the slider icon at the top of the screen. Tap the Black and White option, and that’s it!
With these shooting techniques and editing tools, I hope that you can now go forth and create mysterious and dramatic masterpieces in harsh sunlight. Enjoy your photographing and remember to become a master with that exposure slider!

Thanks for these great tips Mark! It’s good to see that it is possible to take amazing iPhone photos in such bright conditions 🙂
Great tips! I will definitely try these out.
Thanks Faye! Have fun . . .
This was great! Thanks for sharing these tips!
Thank you, Mark. Although this was done many years ago, your information is still valuable now.