Do you want to capture stunning high-contrast portrait photos with your iPhone? High-contrast portrait photography isn’t hard—once you know a few tricks! Read on to discover 7 tips for shooting incredible high-contrast portraits where the subject really stands out. You won’t be disappointed!
1. Choose A Light Or Dark Background For High-Contrast Portrait Photography
Are you looking to take gorgeous high-contrast portrait pictures with your iPhone?
You might be tempted to begin by selecting a model.
However, I’d advise against this.
Instead, start your photography process by choosing a background for your portrait. Only then should you choose your model.
Why should you focus so heavily on the background?
When shooting high-contrast portraits, the background is extremely important. The subject and the background must work together to create a stunning photo.
And so you must pick the background deliberately.
Once you’ve chosen a perfect background, you can select a good model.
But what makes for a perfect background?
A perfect background is, above all, simple. It is generally uniform in color, like the white fabric in the photo below.
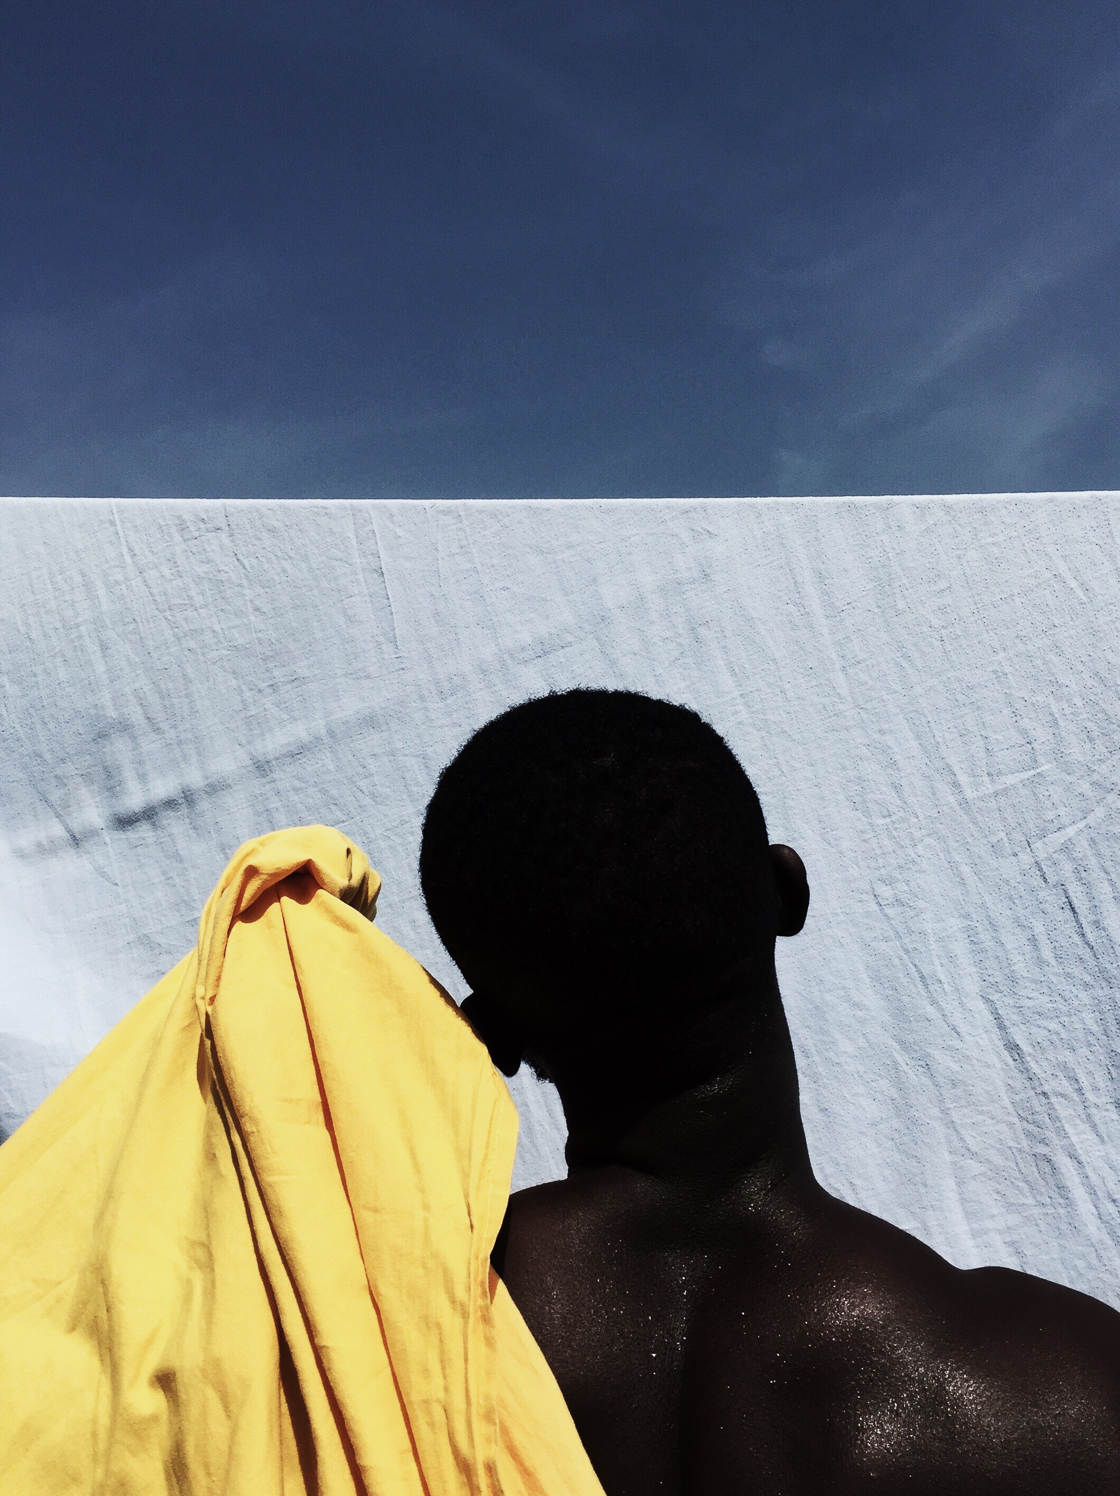
But a great background is also very dark or very light.
For instance, the white sands of a beach make for an excellent light background.
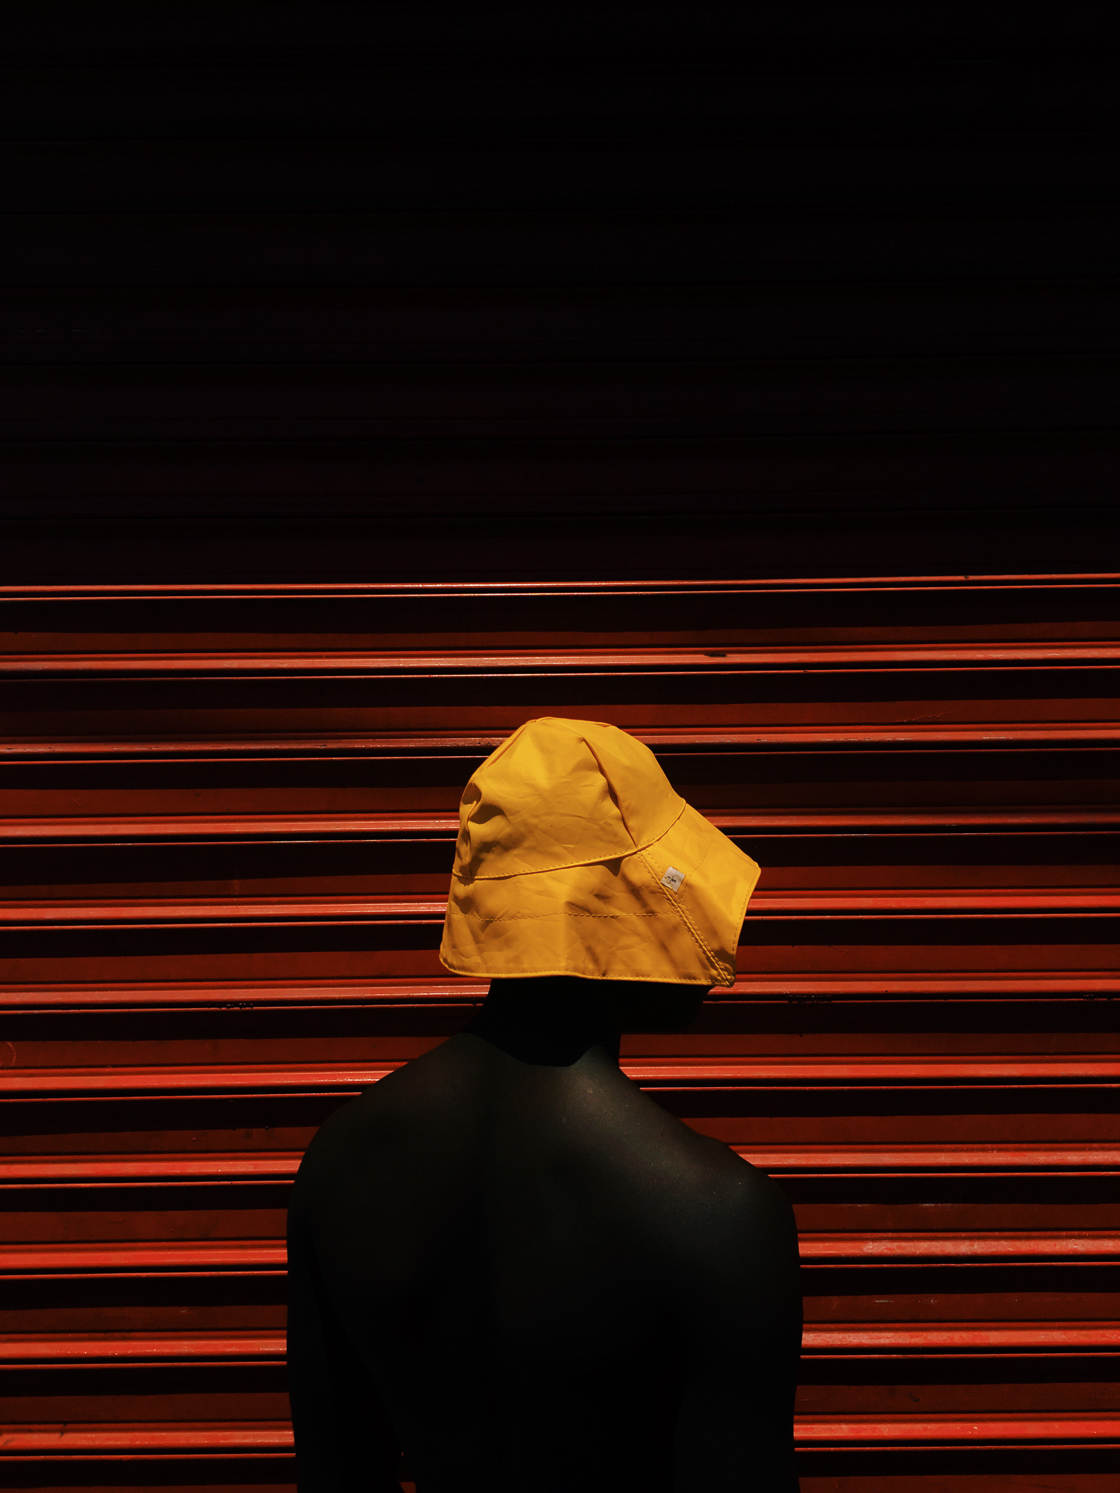
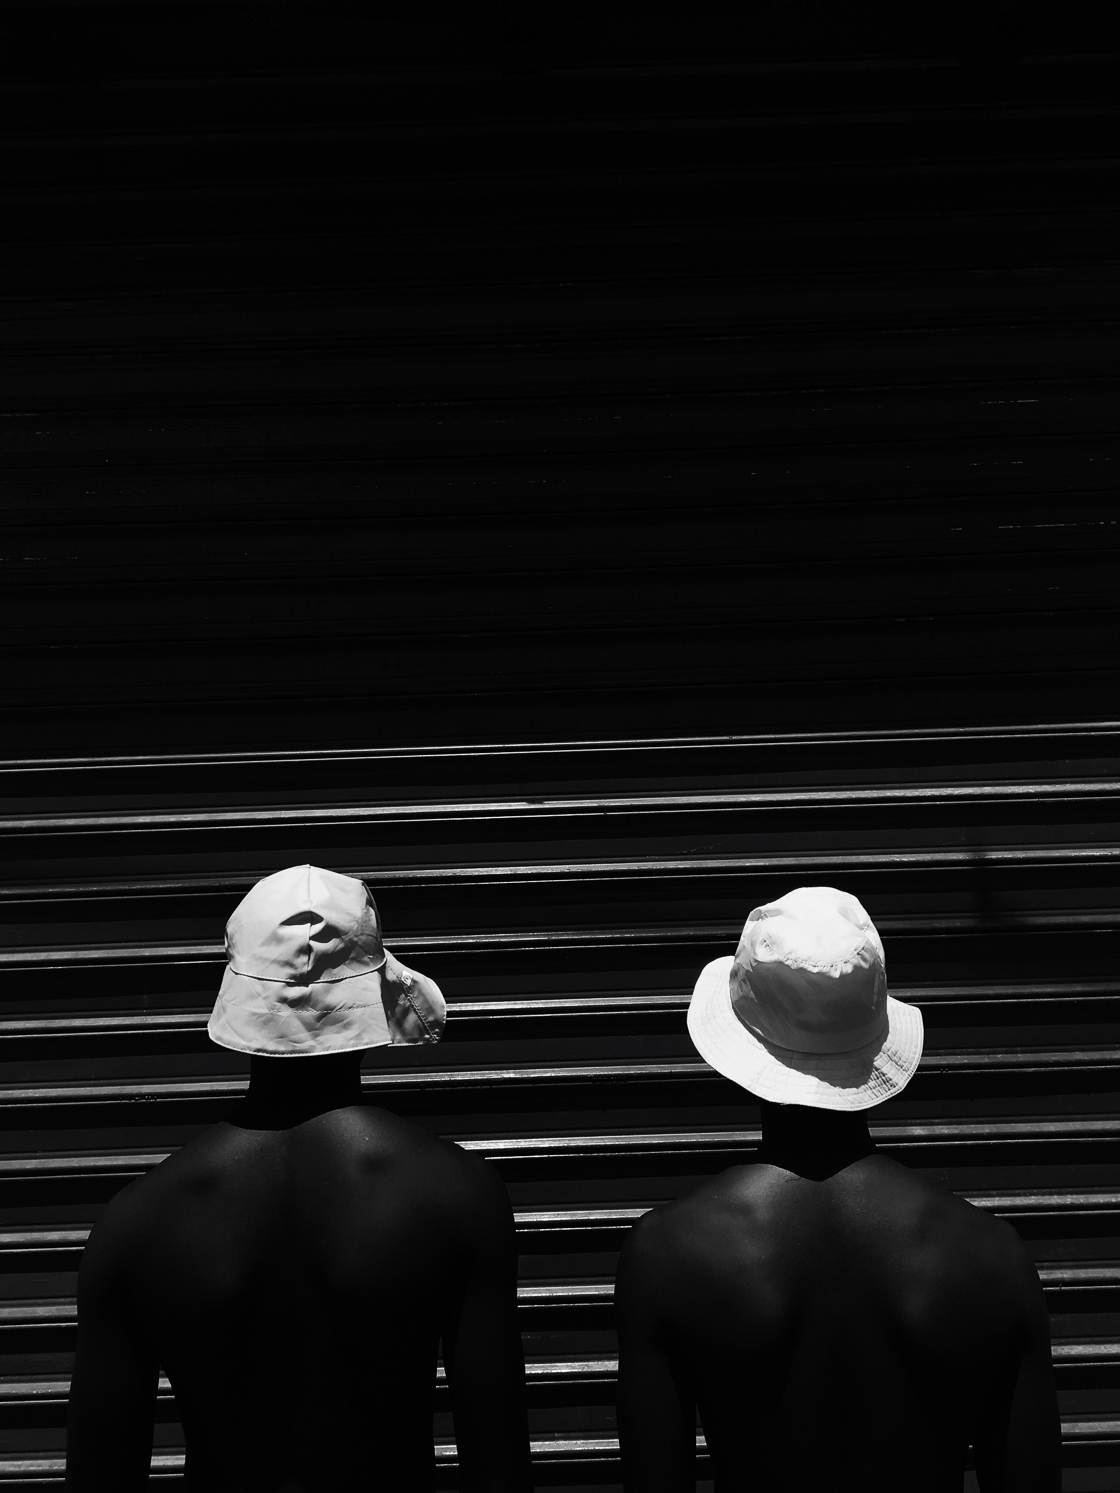
And the brown metal of a building makes for a fantastic dark background.
By choosing backgrounds that exist at such extremes, you’ll be able to ensure high contrast between the background and the model.
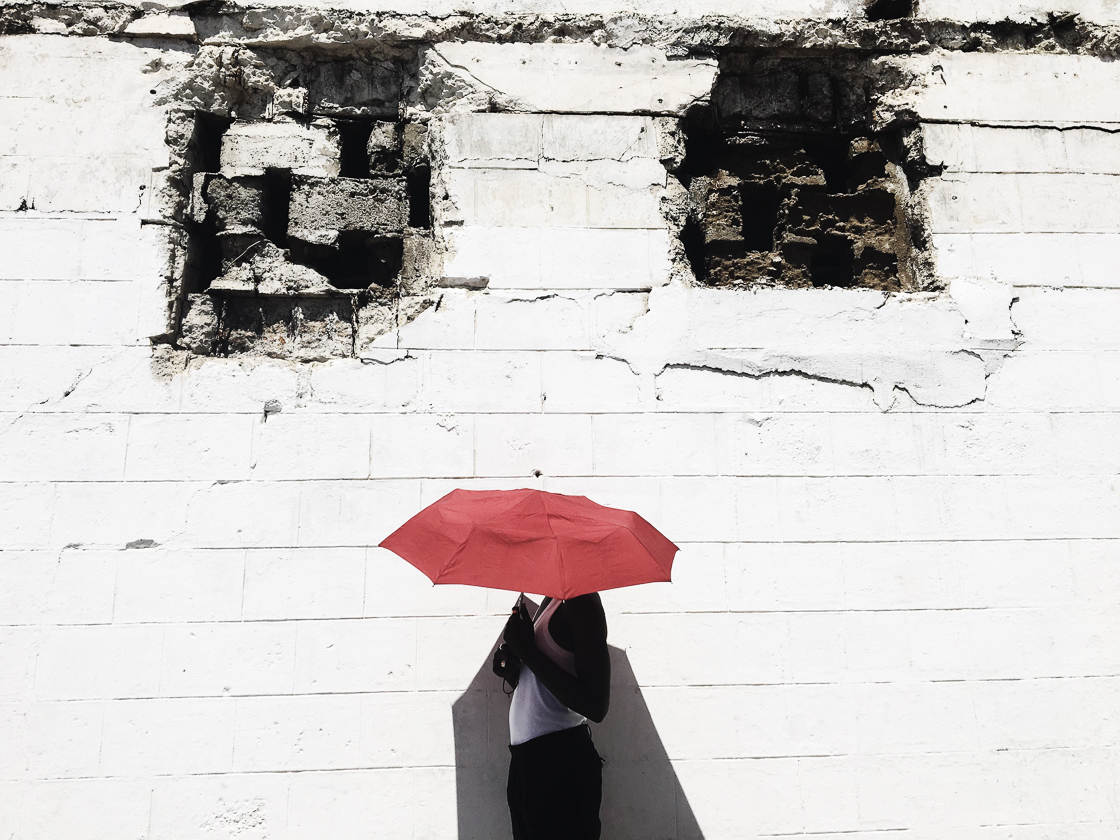
Which is exactly what you want.
Then you can choose the perfect model.
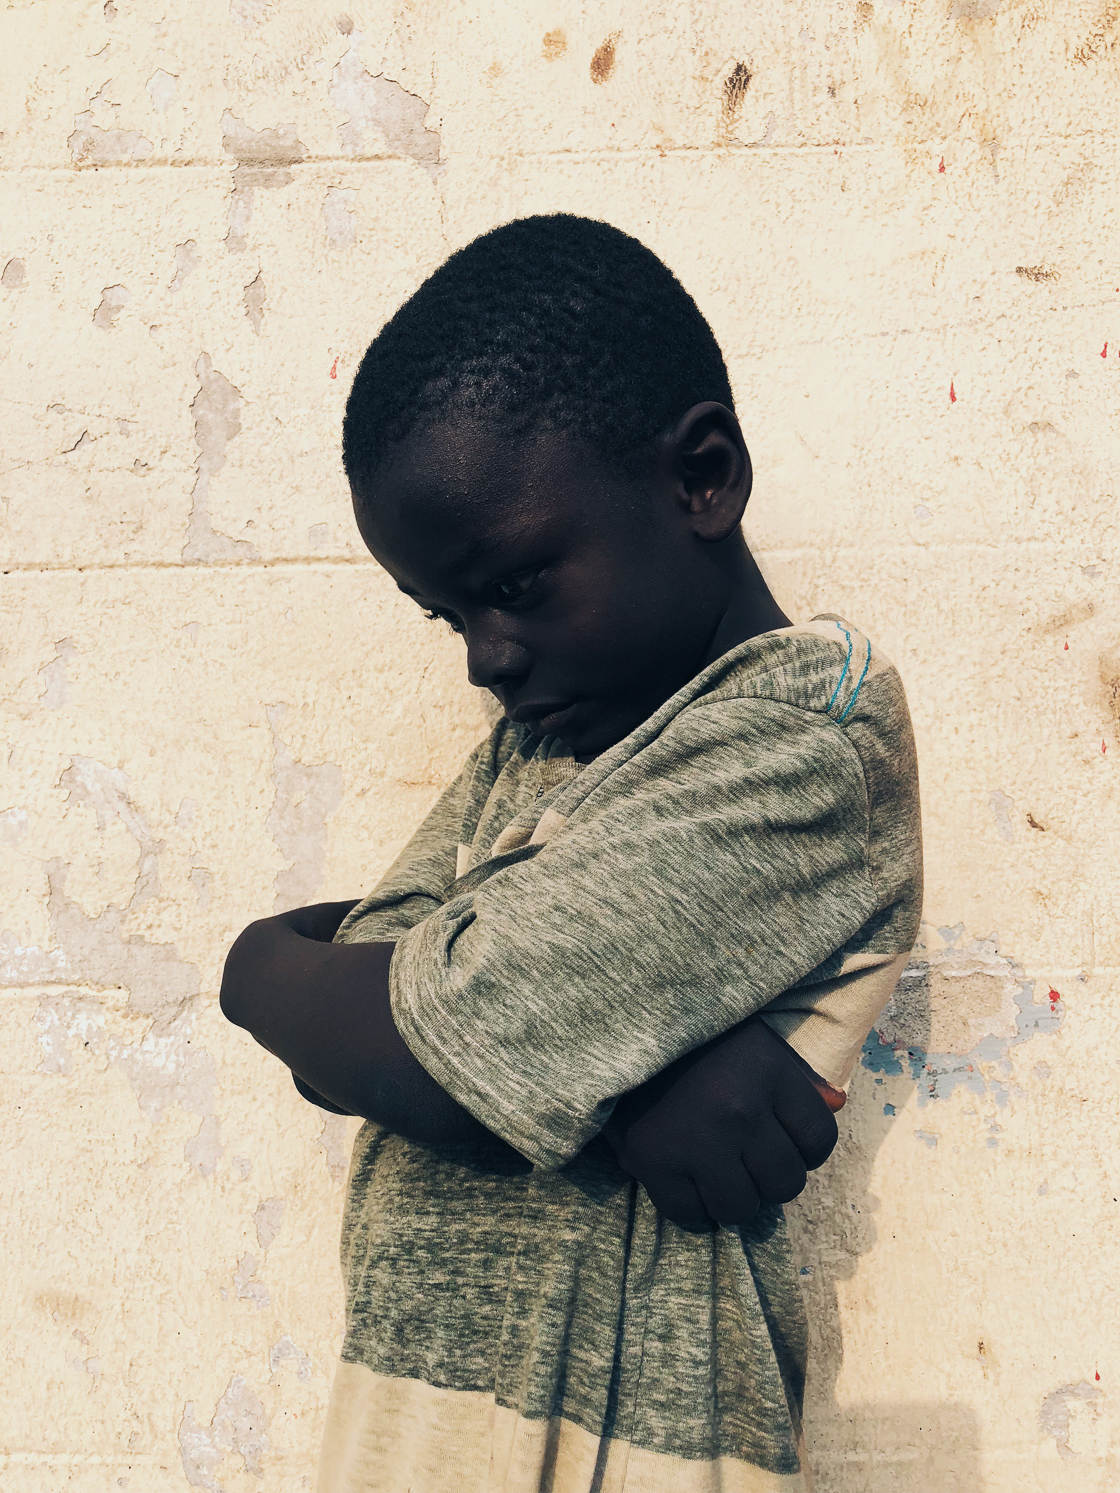
If you’re using a bright background, you can choose a model with dark clothes or a dark complexion.
If you’re using a dark background, you can choose a model with light clothes or a light complexion.
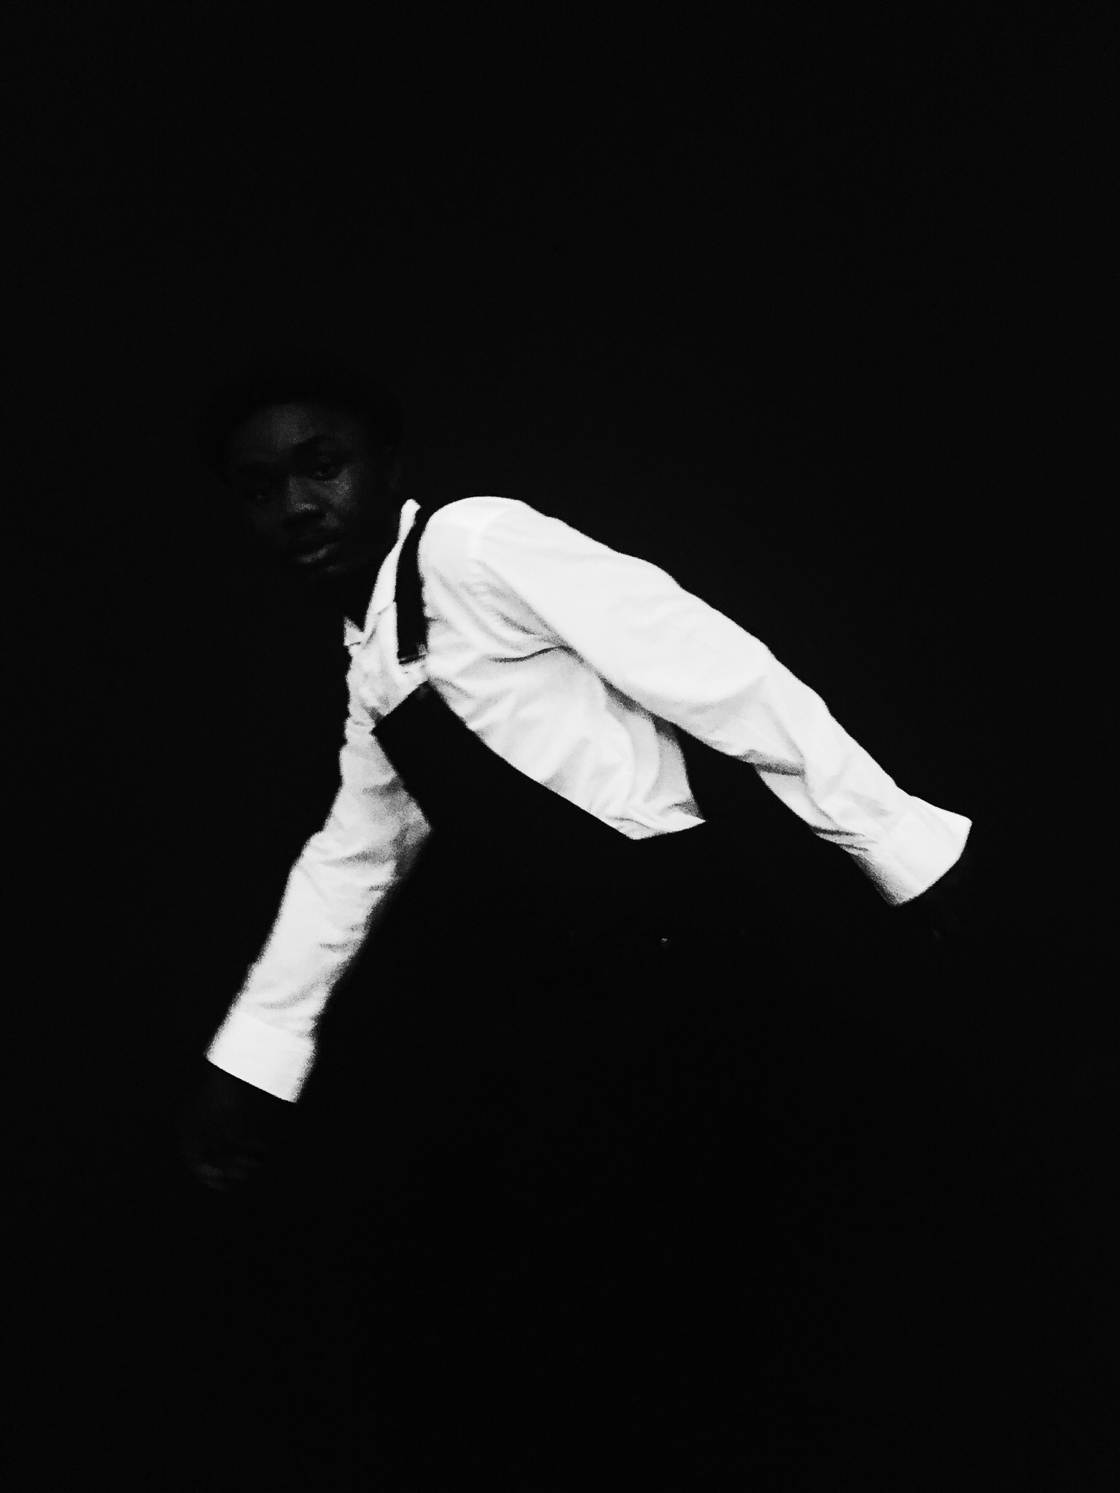
When your model is photographed on the perfect background, the photo will have a lot of power. The dark-light contrast will stun the viewer!
However, you can do even more to create contrasty photos. Because you also should pay attention to the light:
2. Shoot In Harsh Sunlight For Amazing Contrast
Most photographers like to shoot in the early morning and late afternoon. That’s when the sun casts a gorgeous golden glow over the scene.
(These times are known as the golden hours.)
But if you want to create amazing high-contrast portrait photography, you must avoid the golden hours.
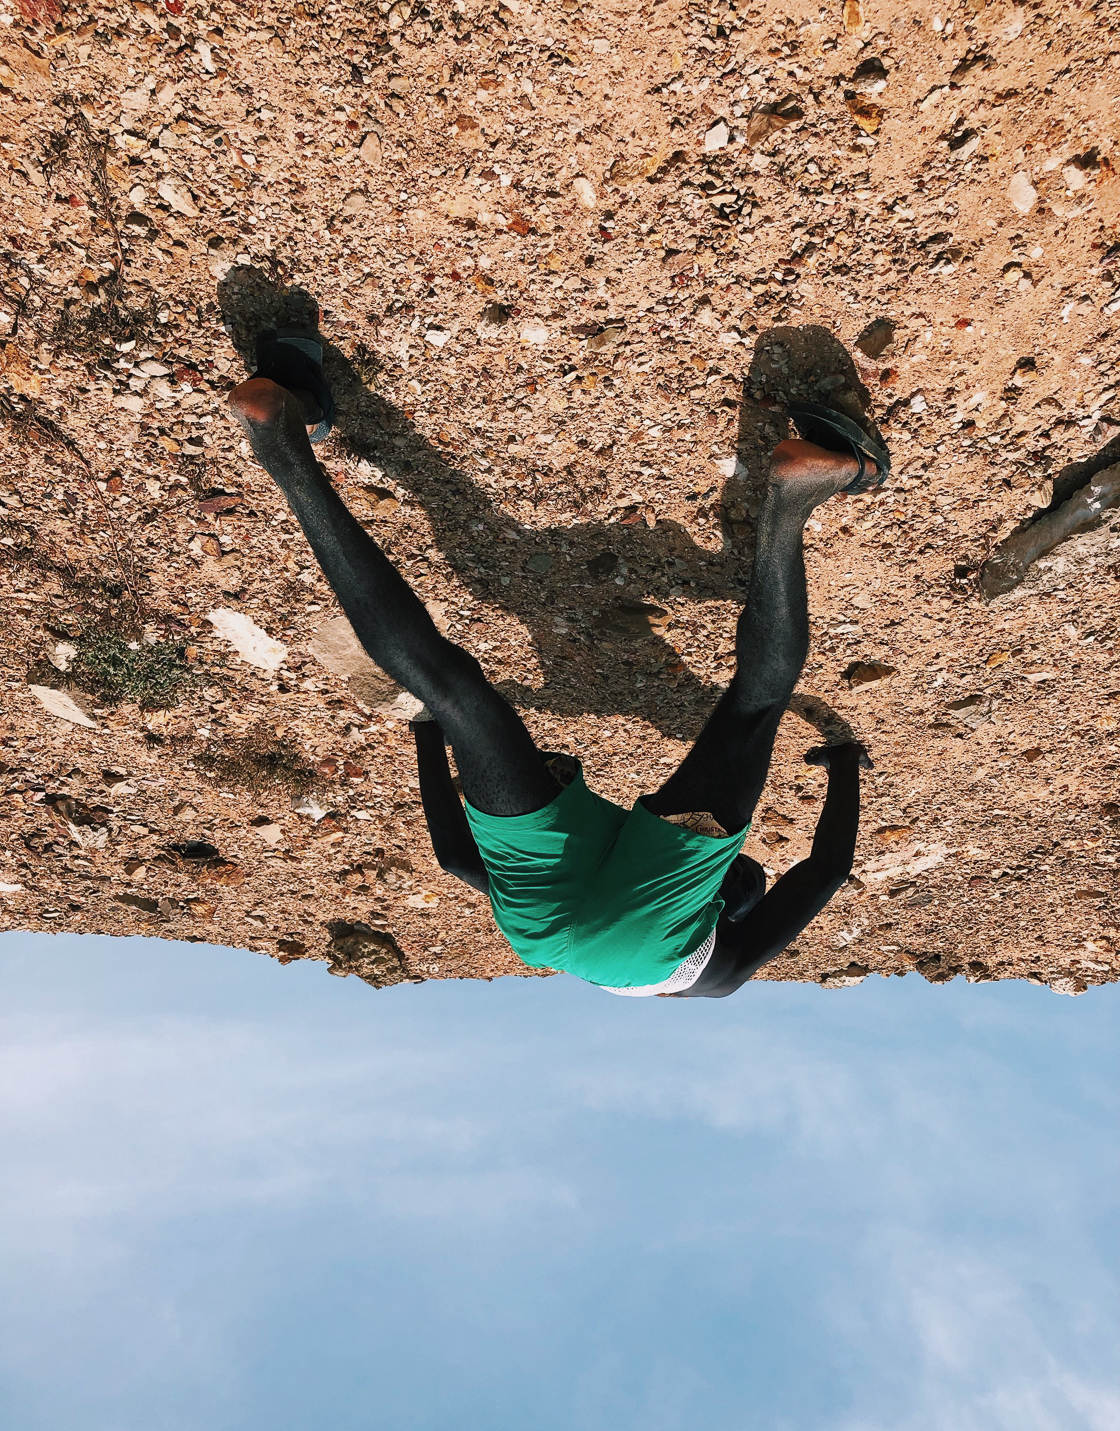
You should also avoid cloudy days.
Why?
When the sun is low in the sky (during the golden hours), or when the sunlight is diffused (on cloudy days), the light is soft.
Which is exactly what you don’t want when photographing high-contrast portraits.

Instead, you should shoot on bright, sunny days—when the sun is high in the sky.
When the sun is high above the scene, the light is harsh and contrasty. And so the scene will have dark shadows and bright whites.
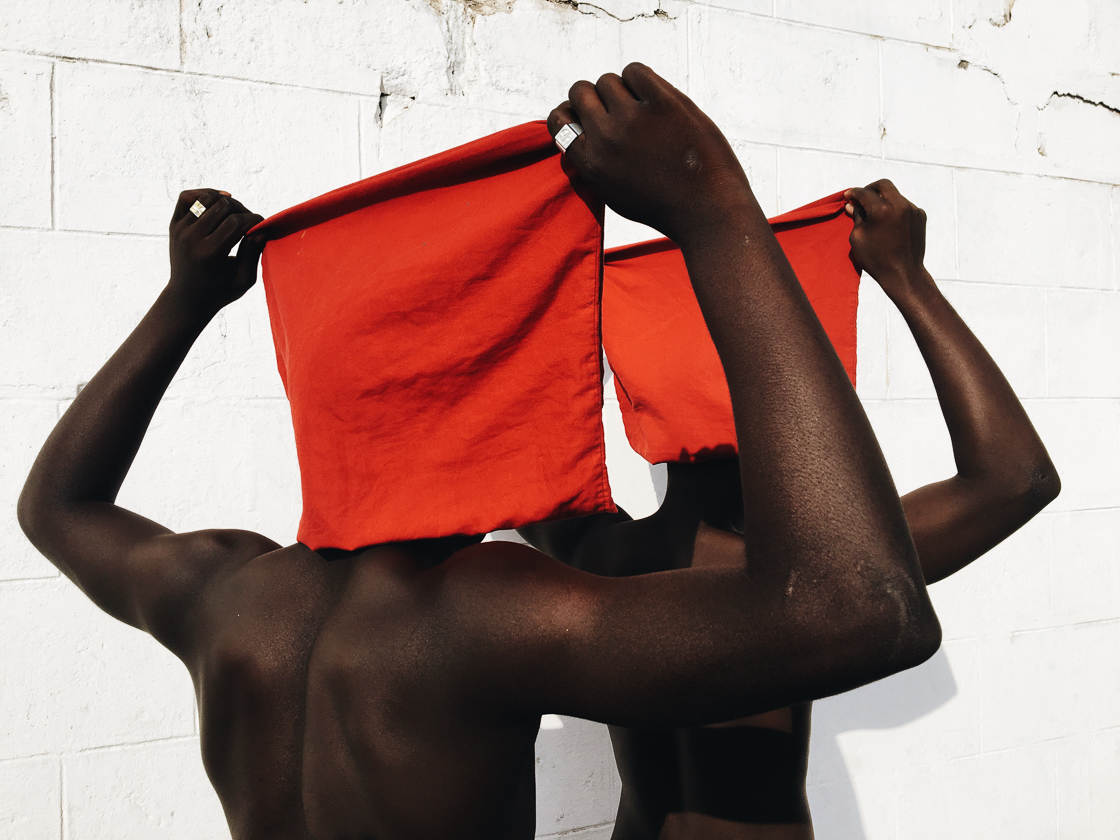
In most photography, dark shadows and bright whites are avoided at all costs.
But when you’re shooting high-contrast portrait photography, it’s perfect!
You can even play with the heavy shadows by placing your subject partially in darkness. This will create a gorgeous, dramatic image—one that will stun the viewer.
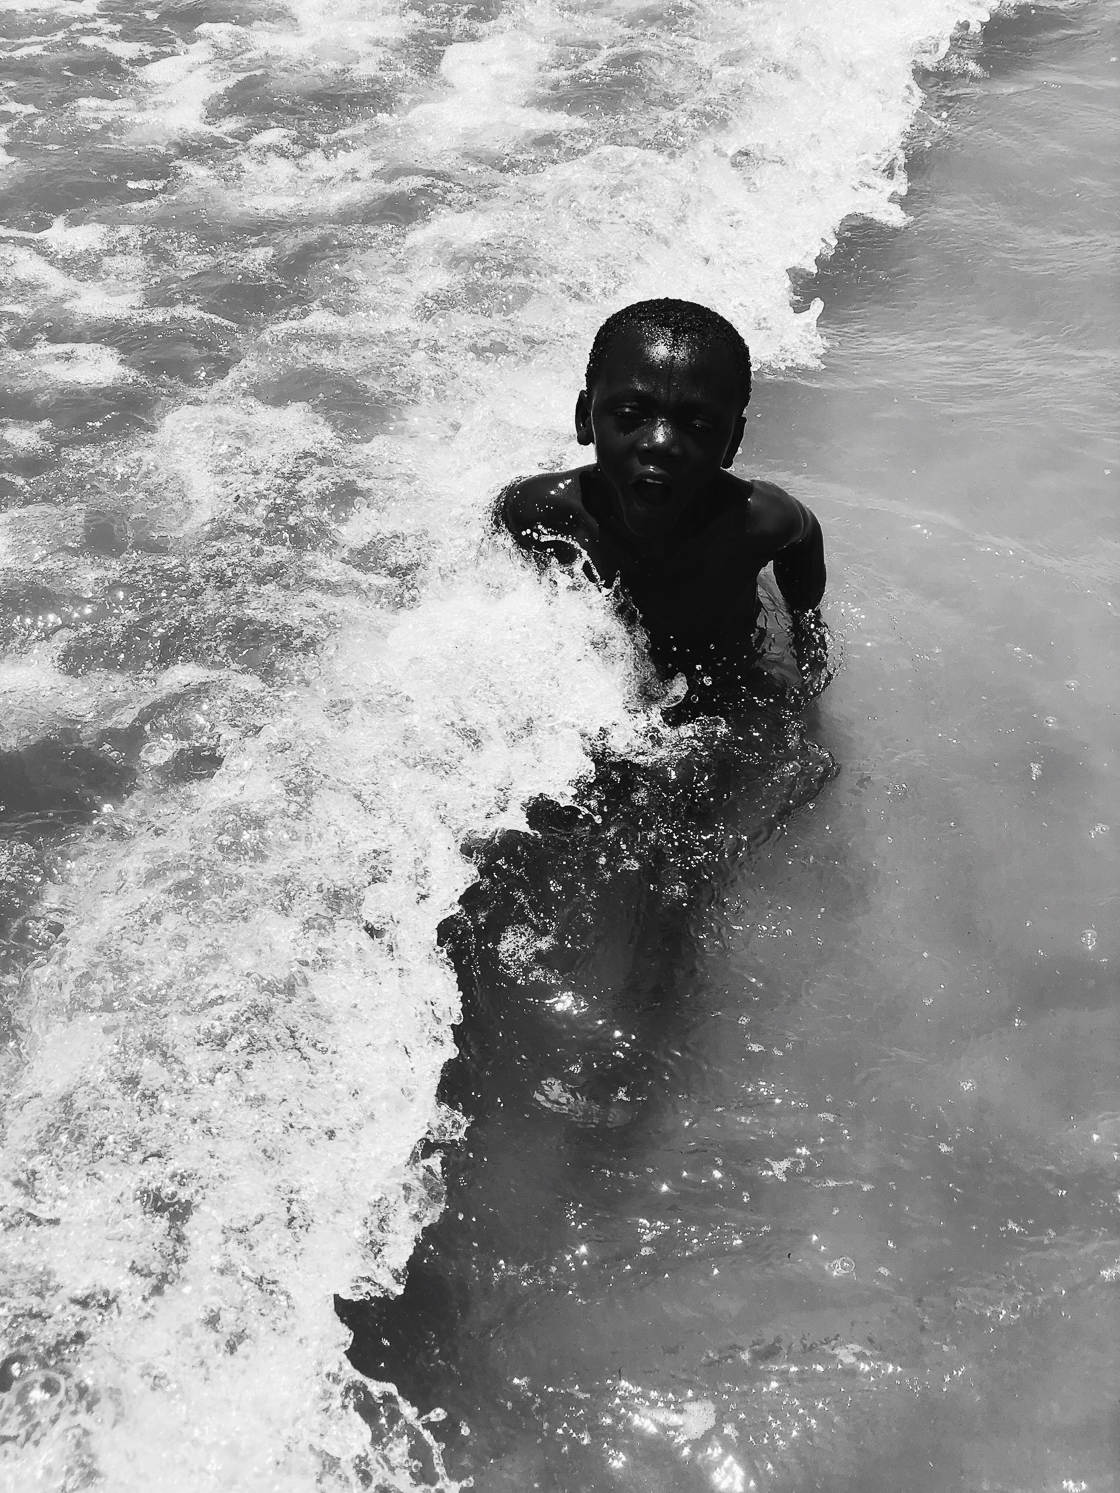
Here’s the bottom line: If you’re looking to take the best high-contrast portraits, then you must shoot on sunny days.
I recommend going out for a few hours in mid-afternoon. That’s when the light is perfect.
And that’s how you’ll get the best images.
3. Visualize The Shot In Advance For The Most Compelling iPhone Portrait
You know how to find a background and a model.
You know how to shoot in the best light.
But how do you create powerful compositions? How do you create photos that look very pleasing to the eye?
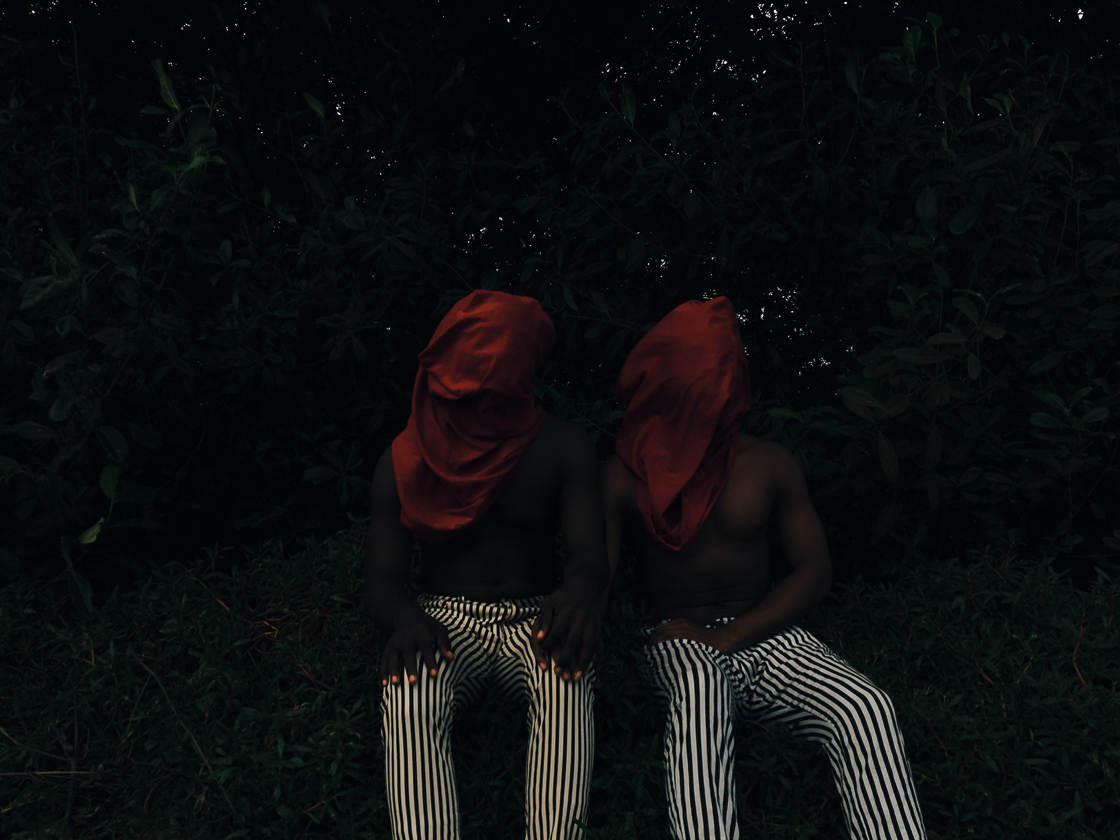
Start by visualizing the shot in advance. Think about the mood you’d like to create with the photoshoot.
If you want to create a dramatic photo, then you should probably have your model stare at the camera. Have them tilt their head downward. Have them pull a blank expression.
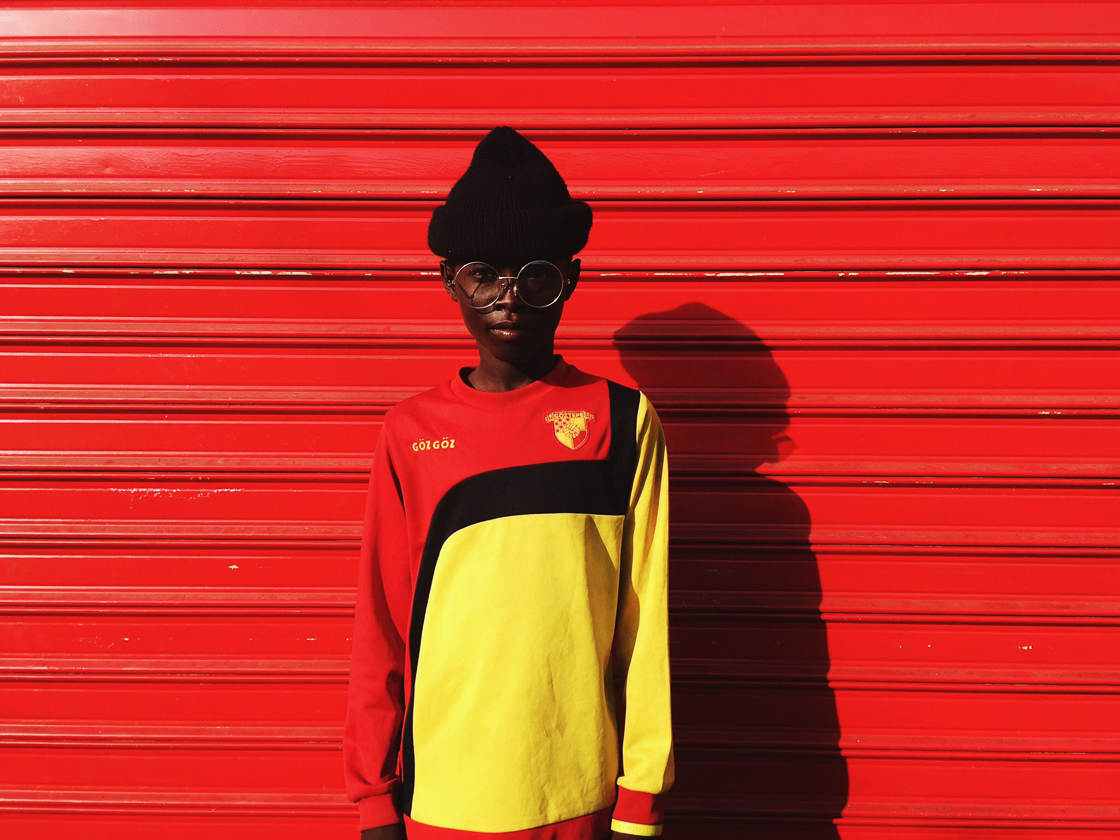
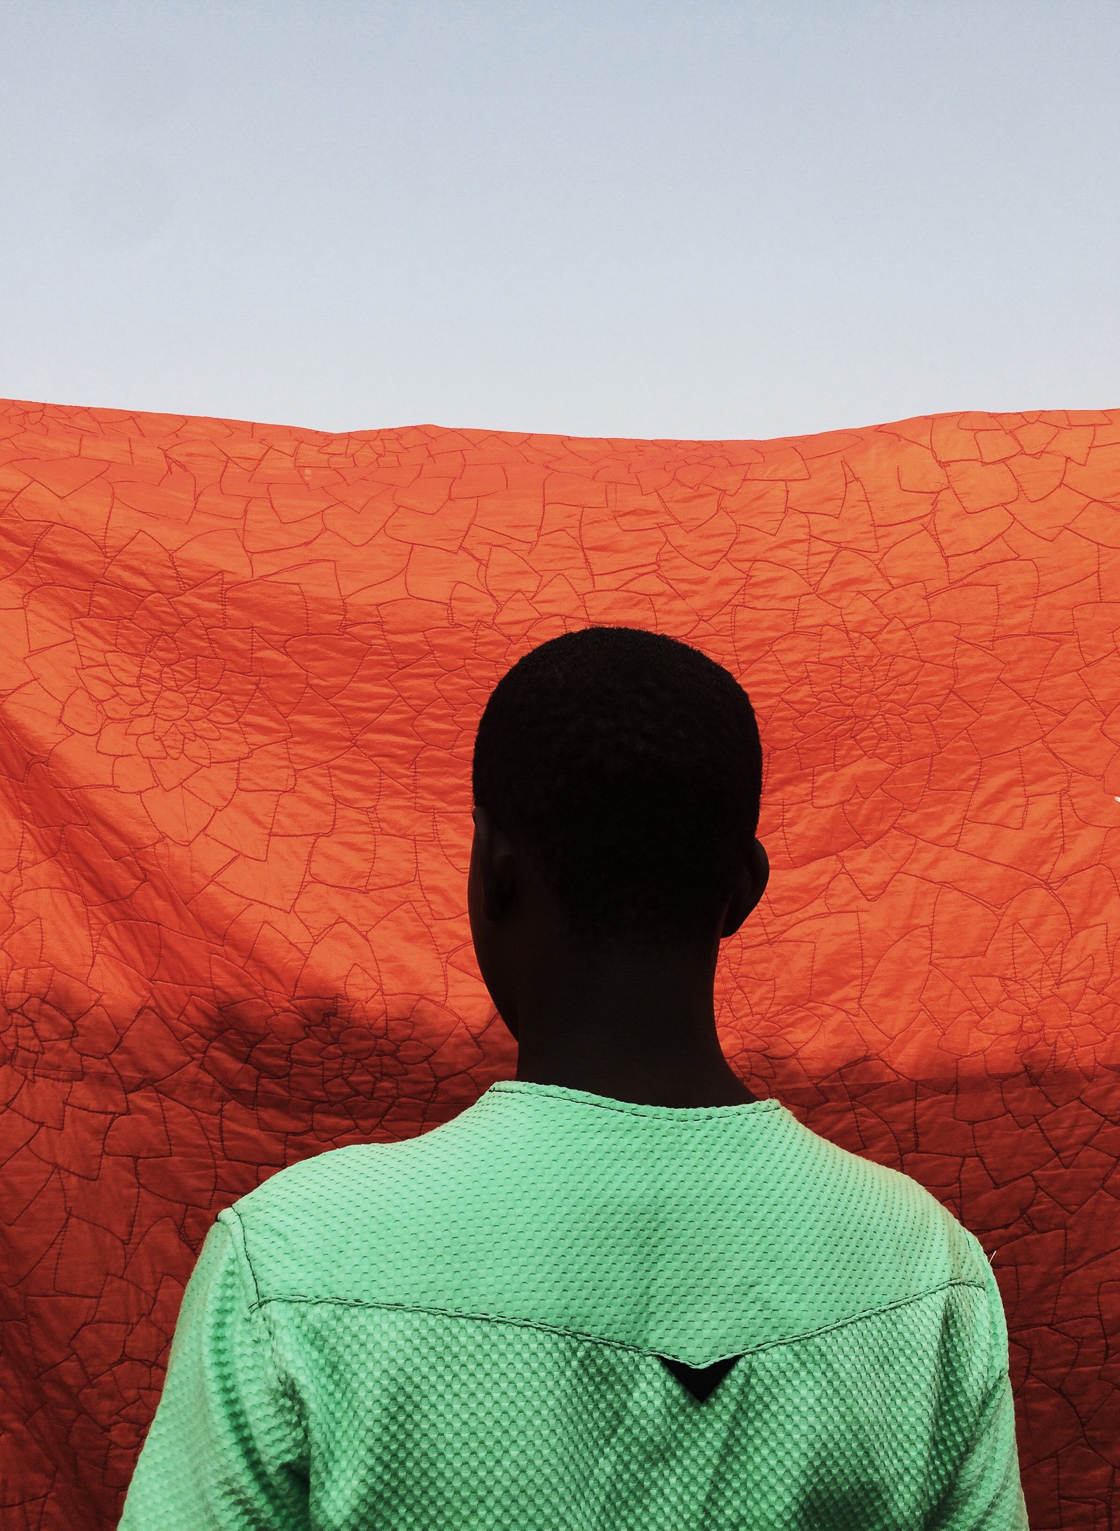
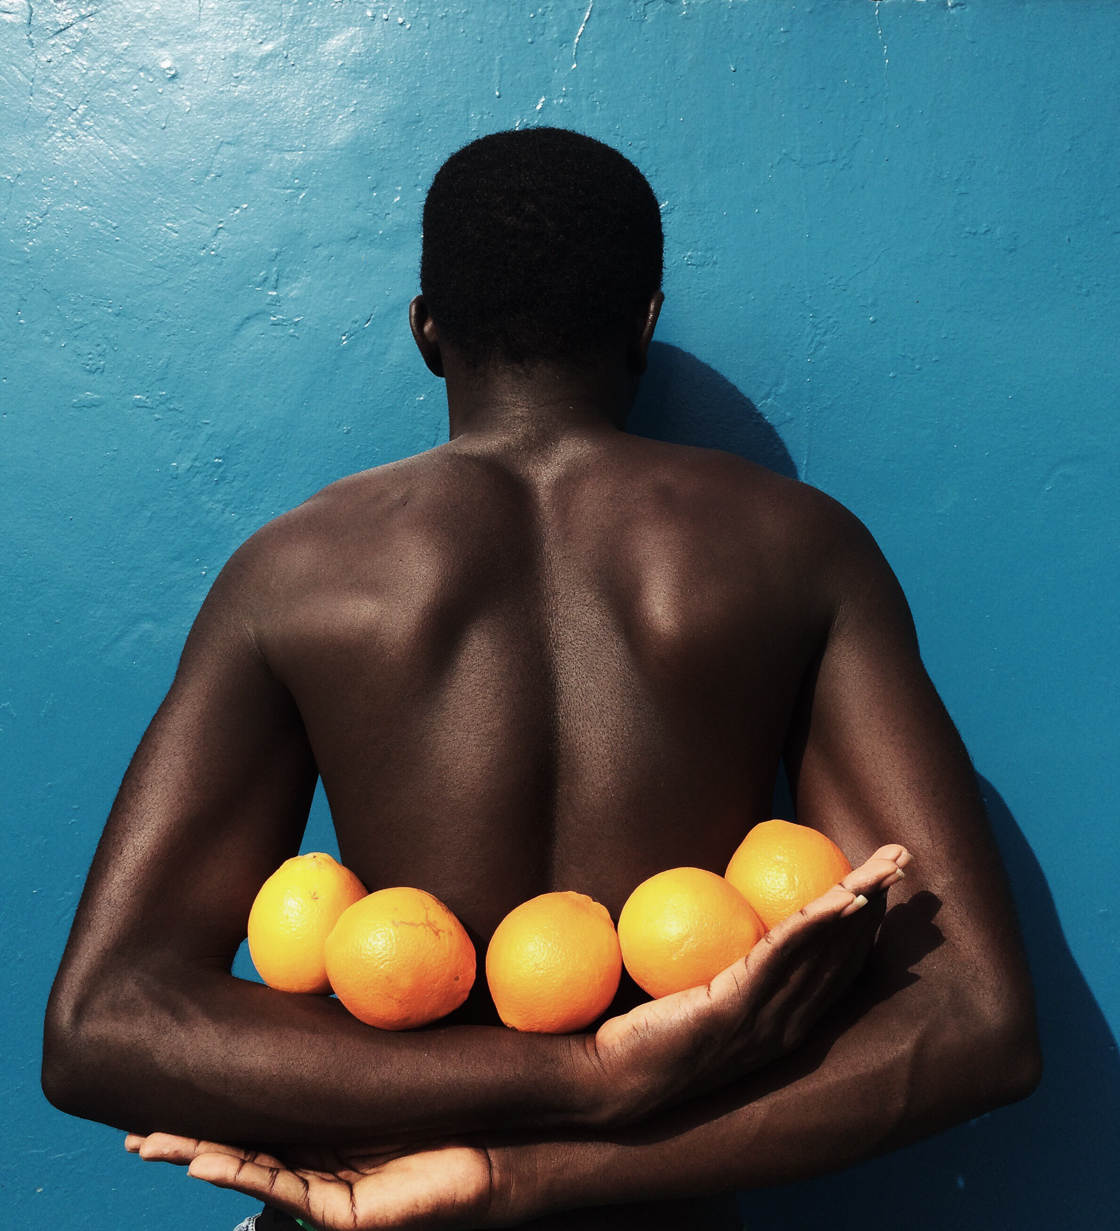
If you want to create a more subdued shot, have the model look away. You might even want to have them turn their back to the camera. That way, the shot will be less intense.
Then think about the different photos you’d like to get.
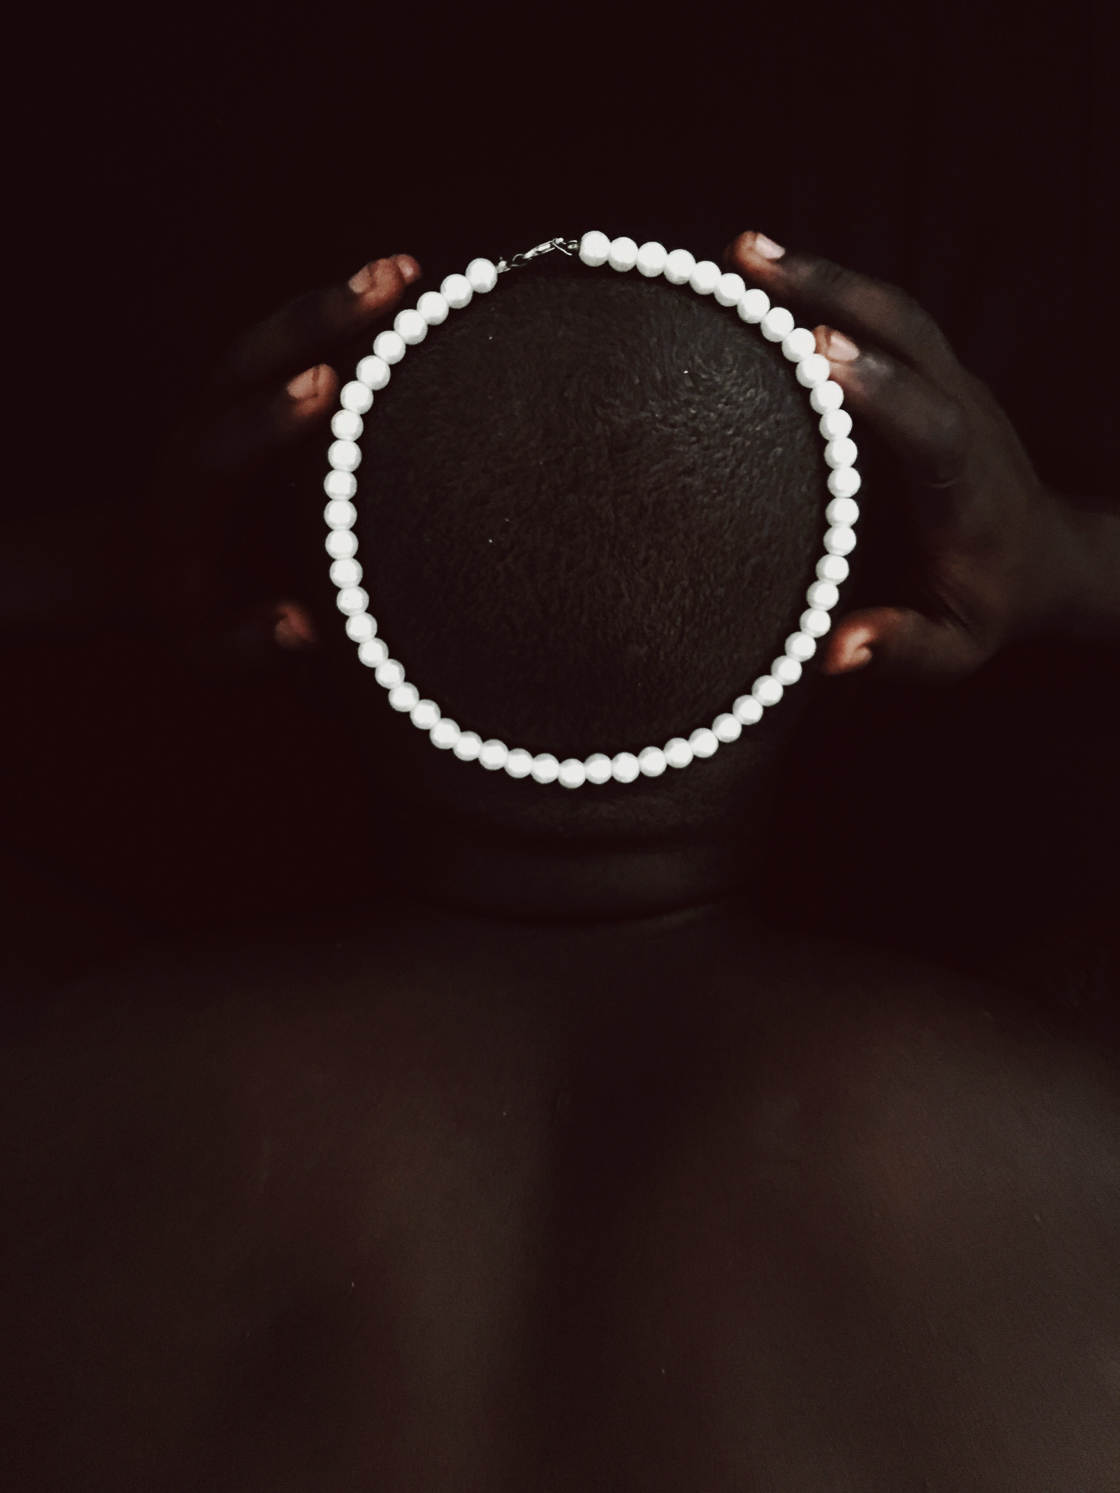
I’d recommend you take at least a few different compositions: a headshot, a head-and-shoulders shot, and a full-body shot.
But you can experiment with these in your mind’s eye. You can imagine various other possibilities. And you can imagine unique versions of these basic portrait photos.
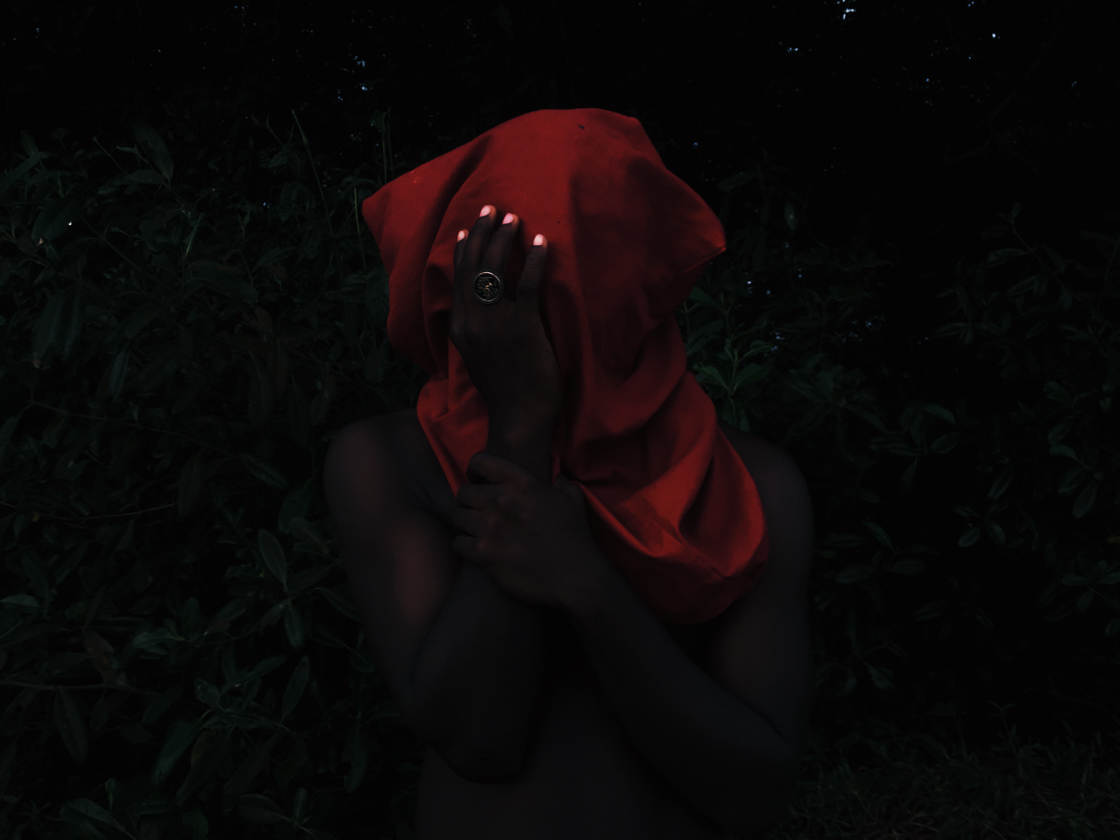
Once you’ve done this visualization, you’re ready to go out with your model…
4. Simplify Your Compositions For The Best Portraits
Here’s a key to gorgeous high-contrast portrait photography:
The best photos are the simplest photos.
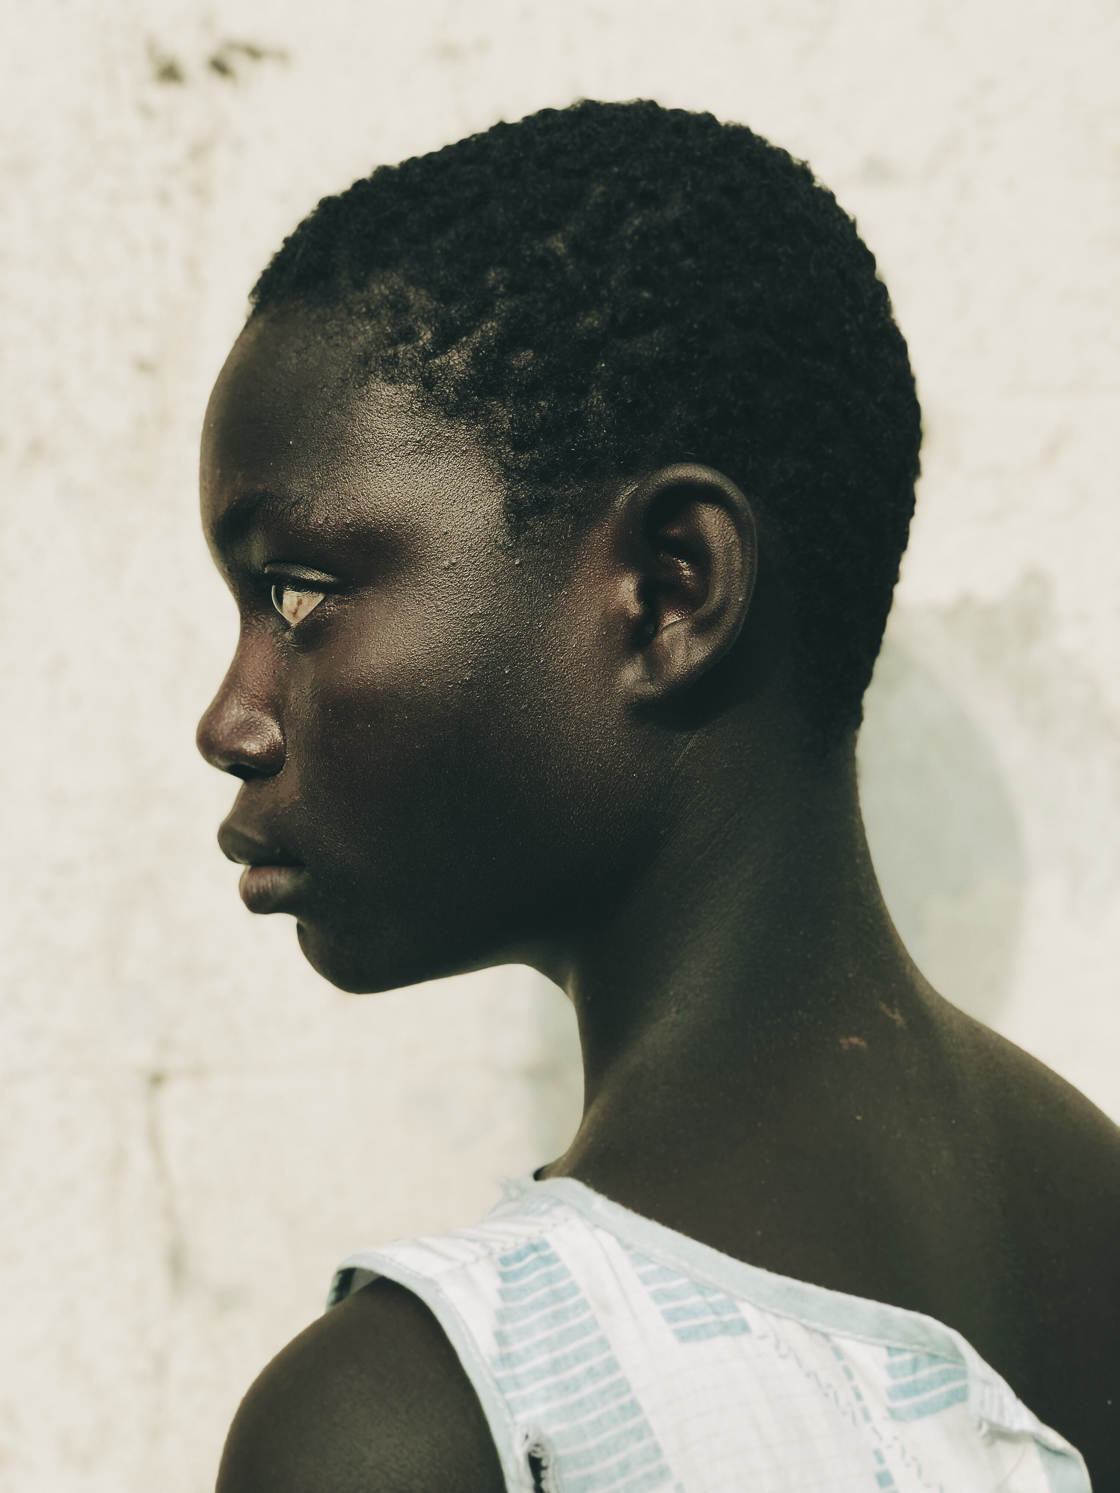
Remember this. And be sure to use it when you’re taking your portraits.
But what’s the best way to simplify your photos?
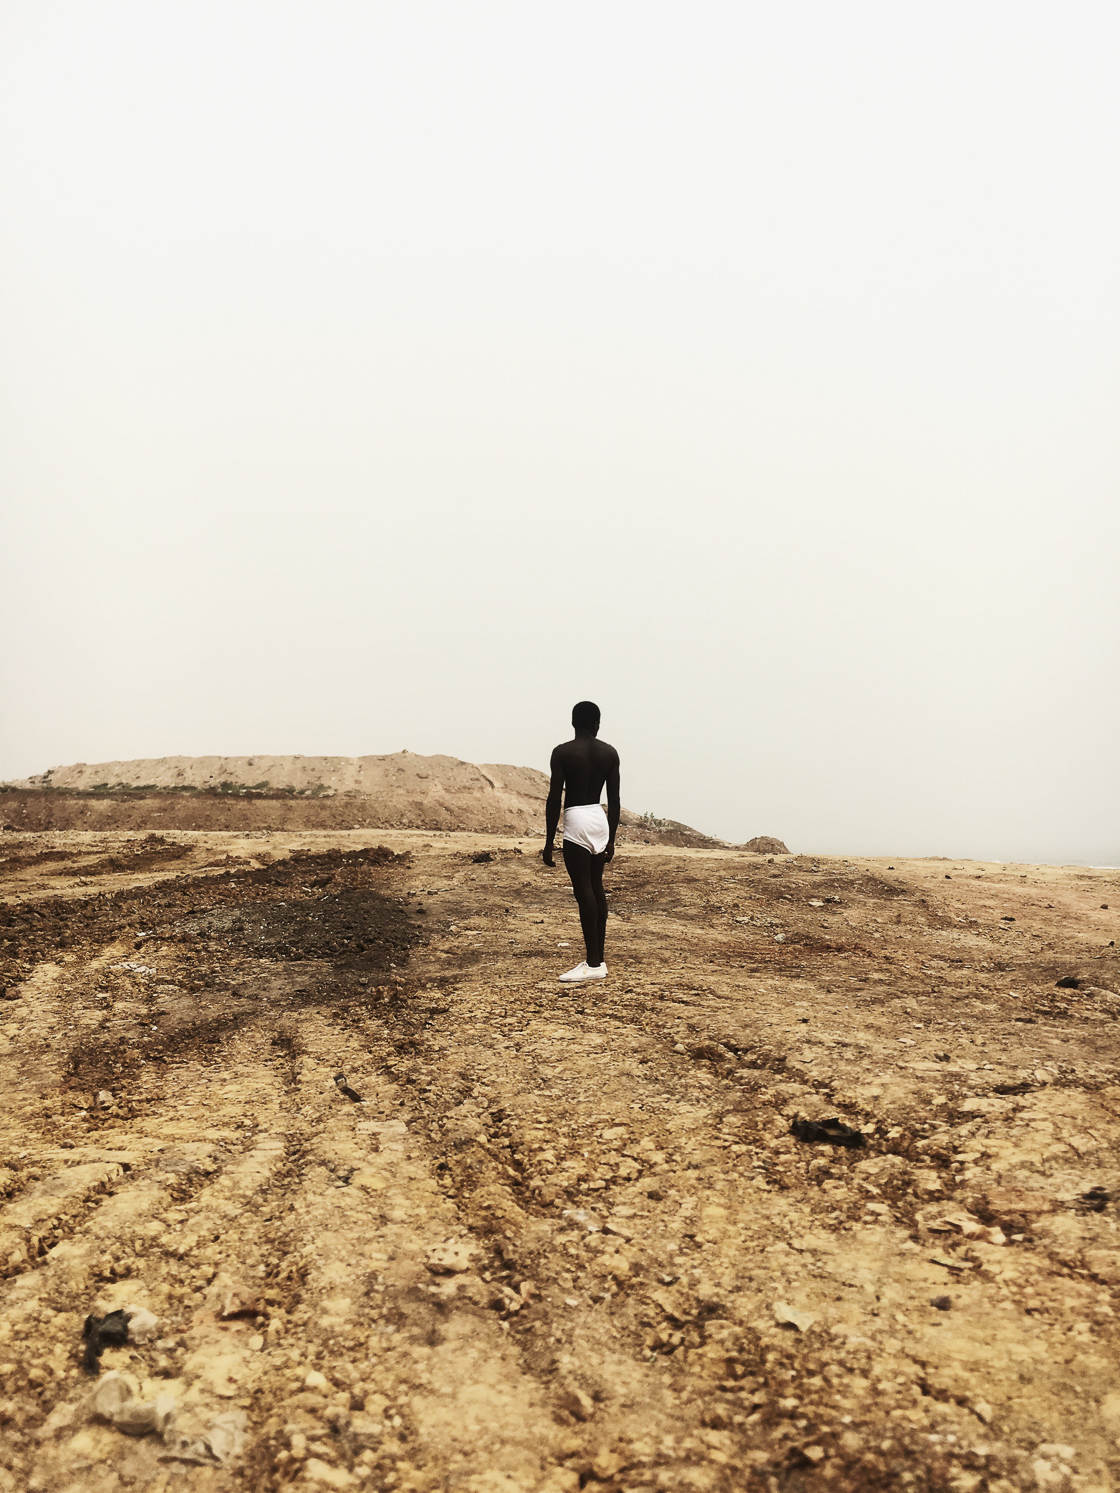
First, you should make sure that your images have zero distractions.
Because distractions take away from photos. They cause the viewer to focus on something other than the subject—and this isn’t what you want.
To prevent distractions in a composition, look around the area. Are there any unwanted objects, lights, or colors in the scene?
If so, then make sure you eliminate these distractions when you compose your image.
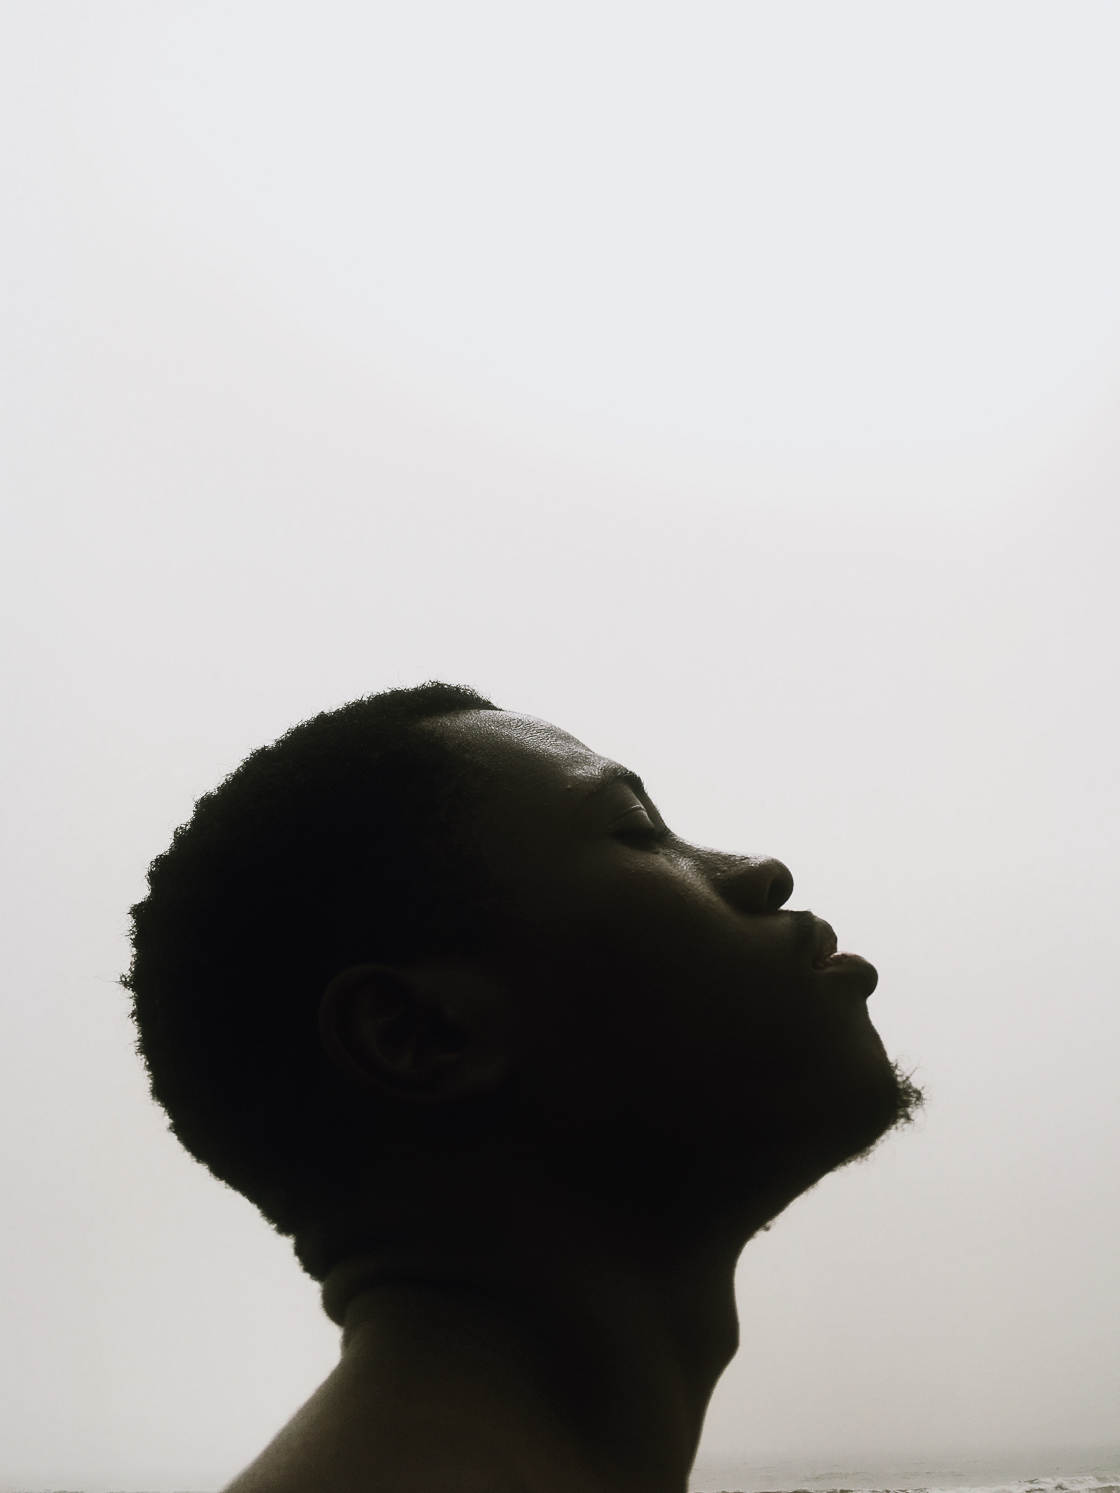
For instance, you can crouch down low to avoid distractions on the ground.
Or you can move to the side to avoid distractions behind the subject.
Just make sure you avoid distractions in the background.
But that isn’t the only way to simplify your shot.
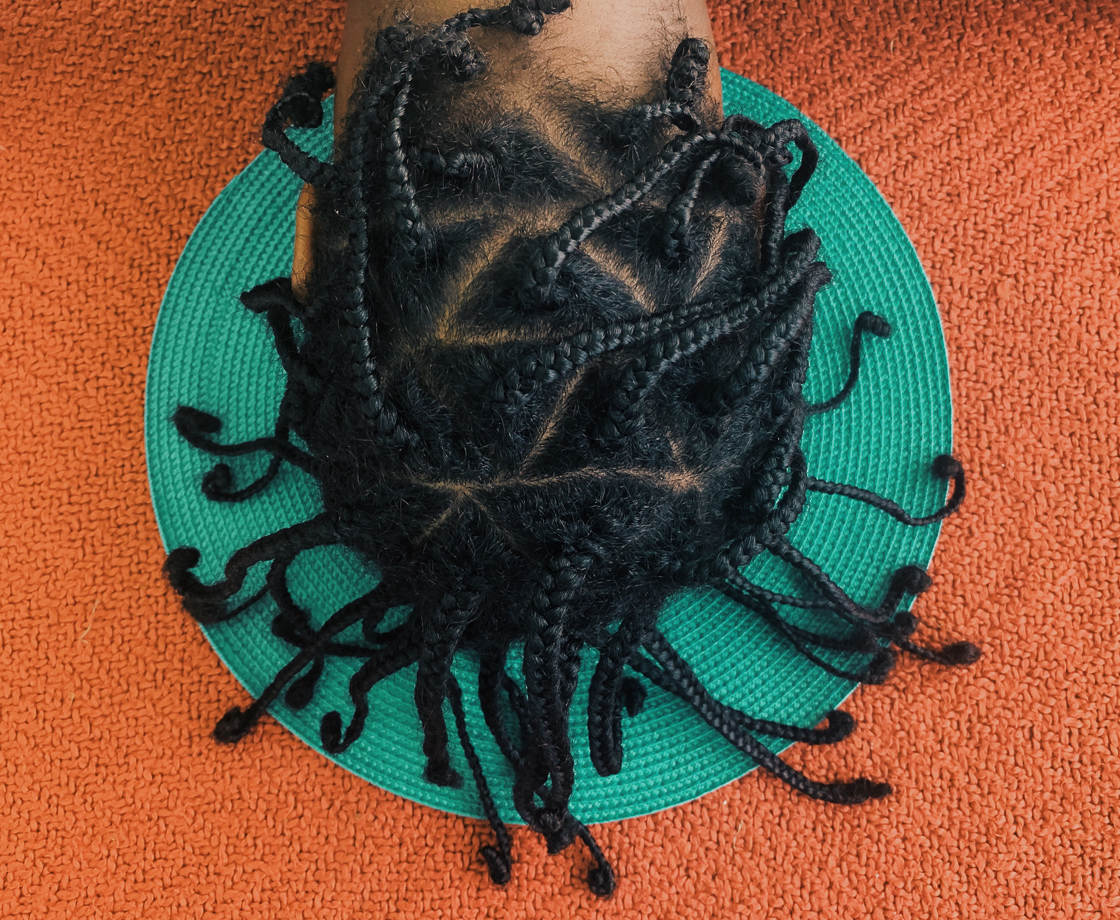
You can also simplify your shots by using minimalistic compositions.
Minimalism is a technique where you include only a few elements in your photos.
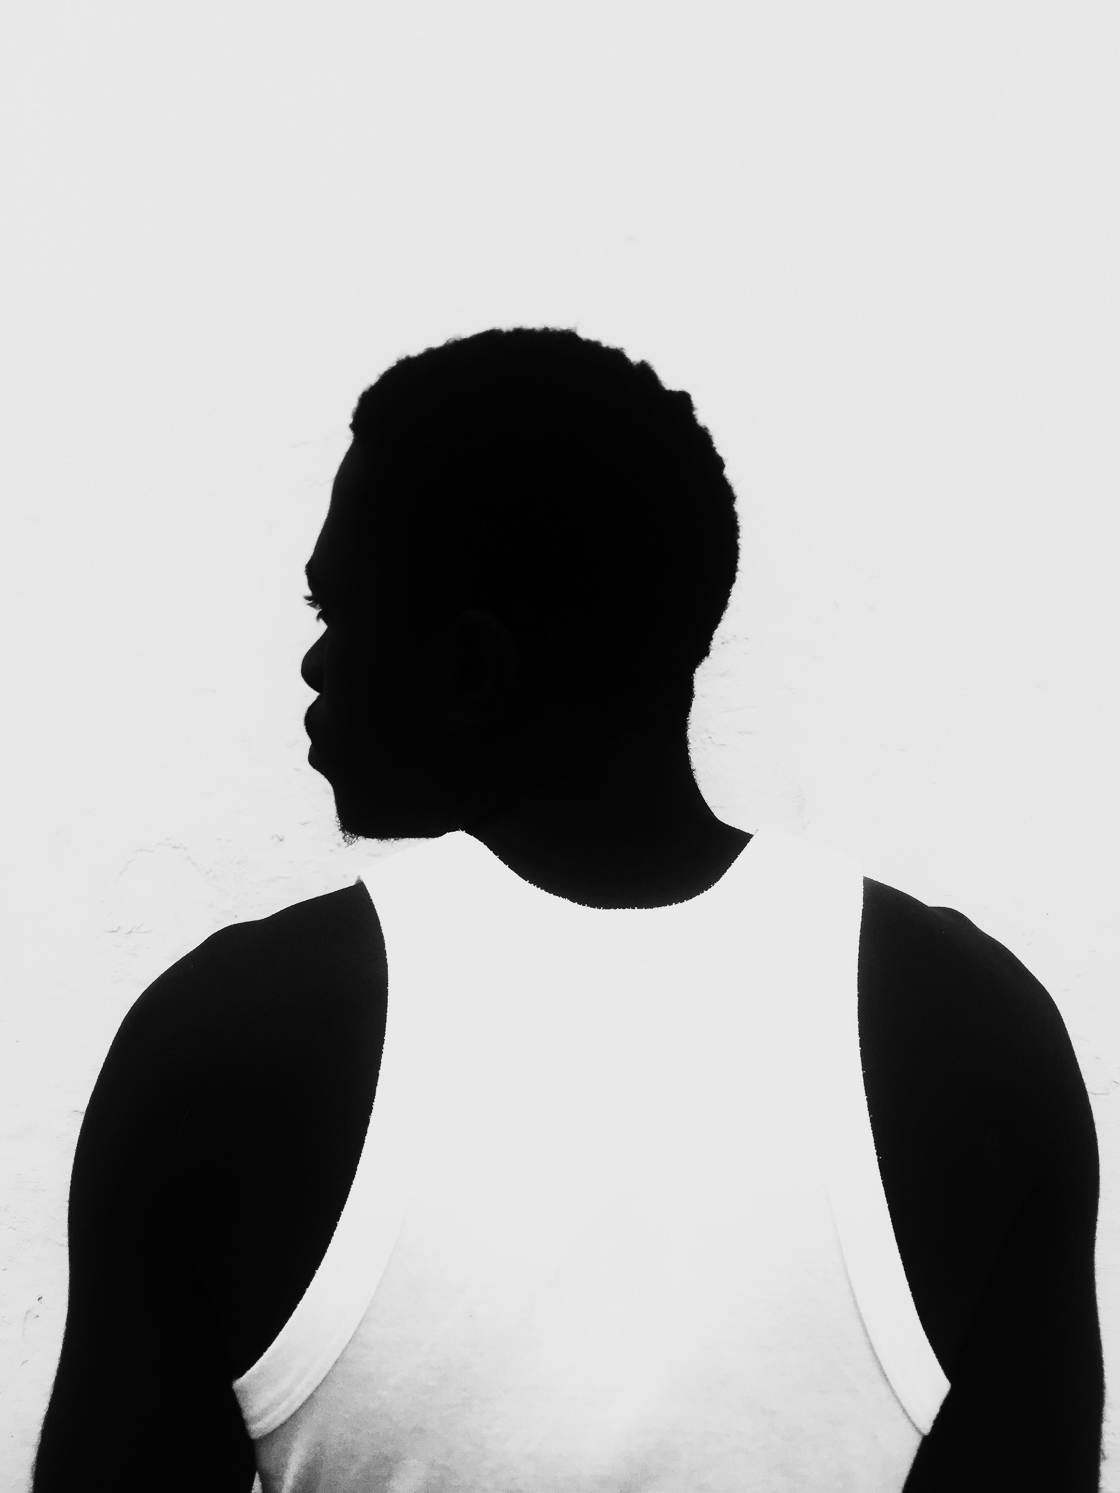
For instance, you might include a single person and a white background.
Here’s the bottom line:
Only include what’s necessary.
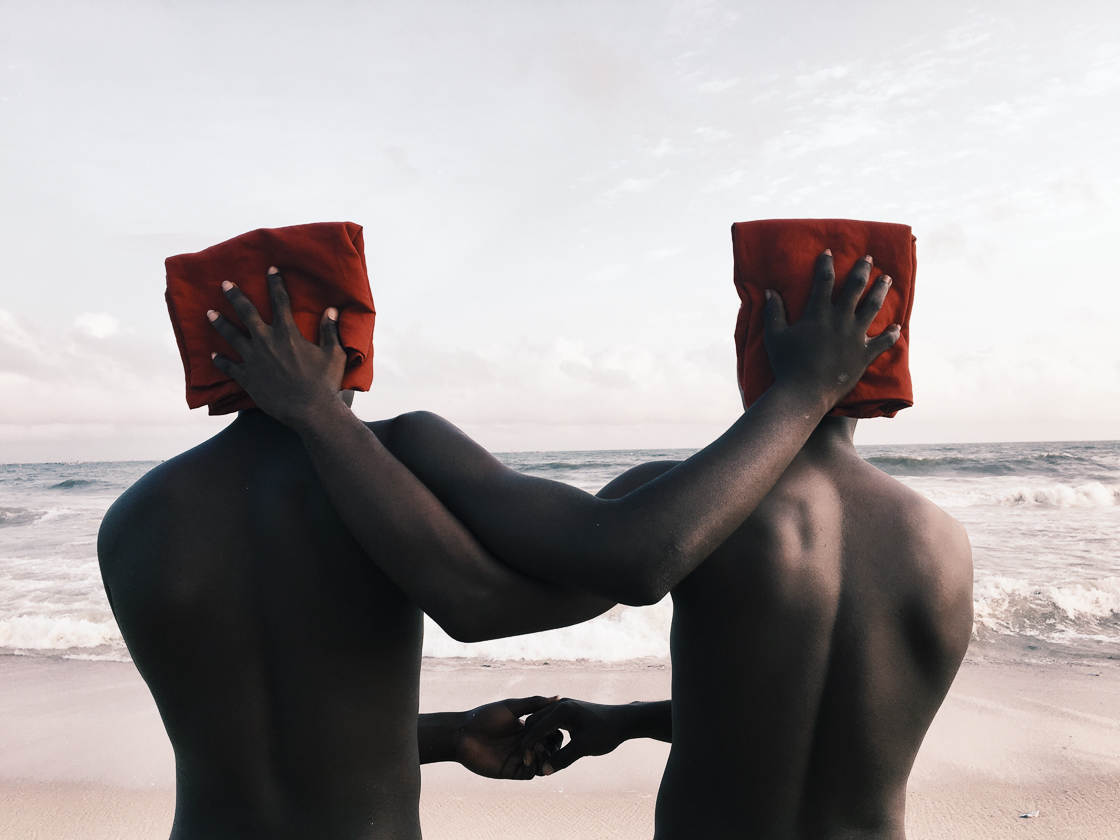
So make sure that every part of your photo is essential.
If you can do this, your photos will be far better.
5. Use Contrasting Colors For A More Powerful Portrait Photo
You can create contrast with dark and light tones. You can enhance that contrast with harsh light.
But did you know that you can create further contrast?
You just have to use color.
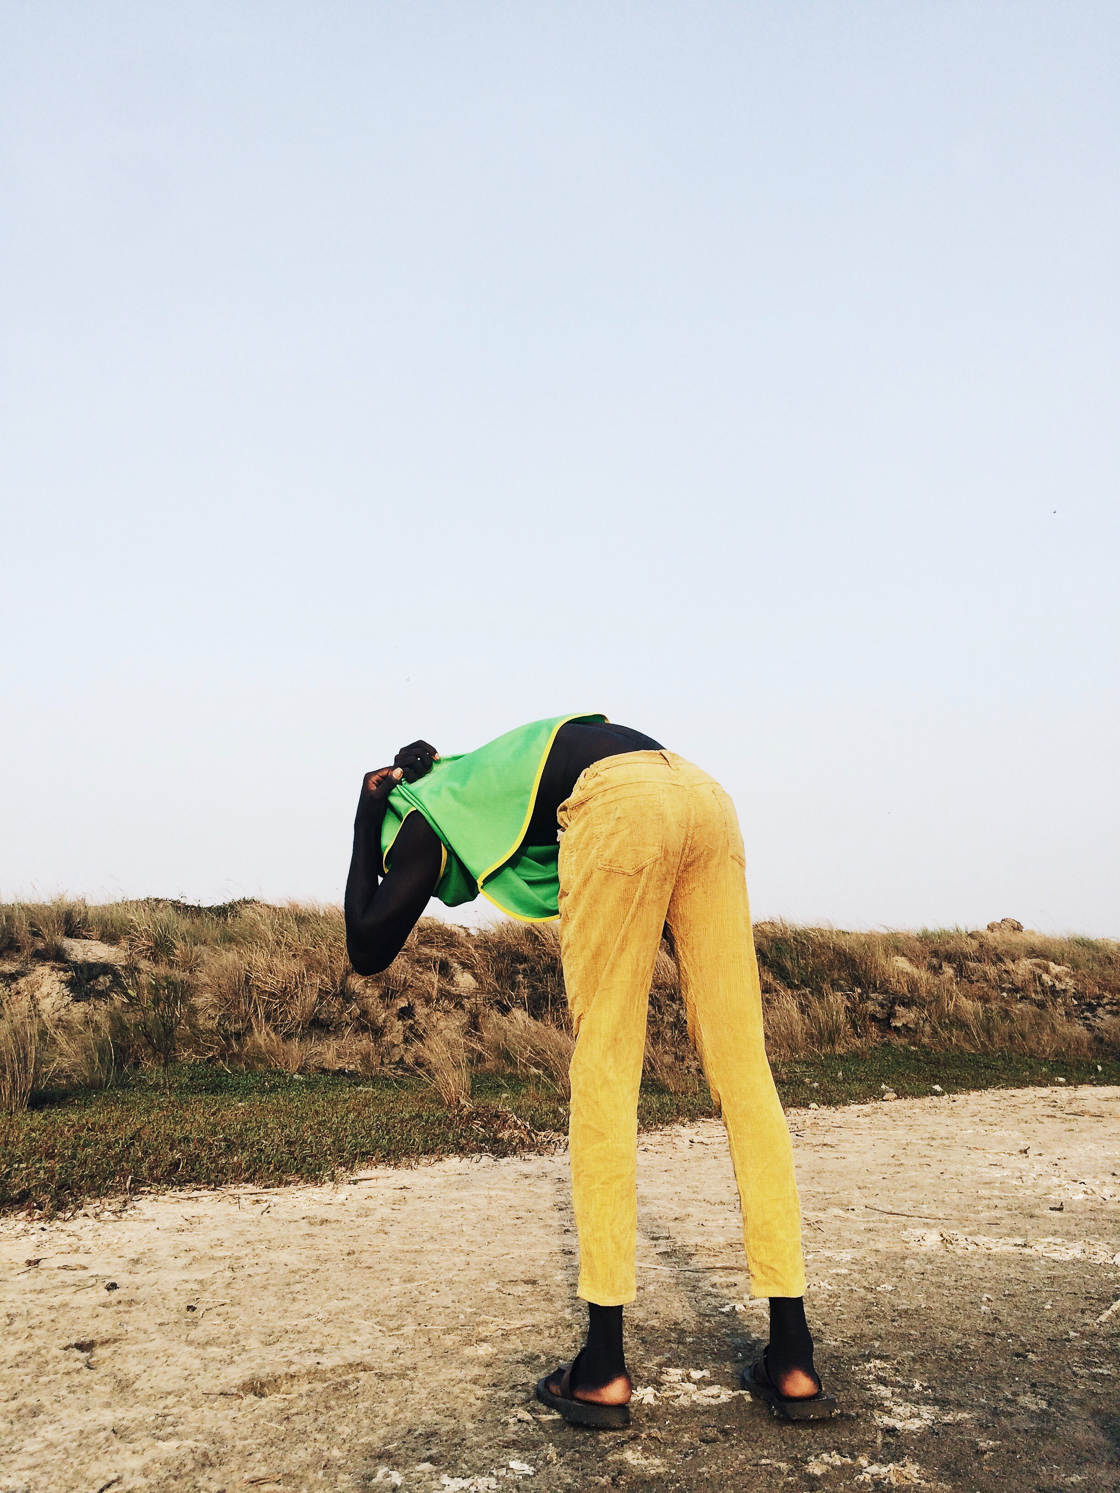
Certain colors are very similar. They create very little contrast.
For instance, pink and red don’t stand out when placed next to one another.
And blue and green look pretty low-key when side-by-side.
But if you put red next to green, both colors really pop.
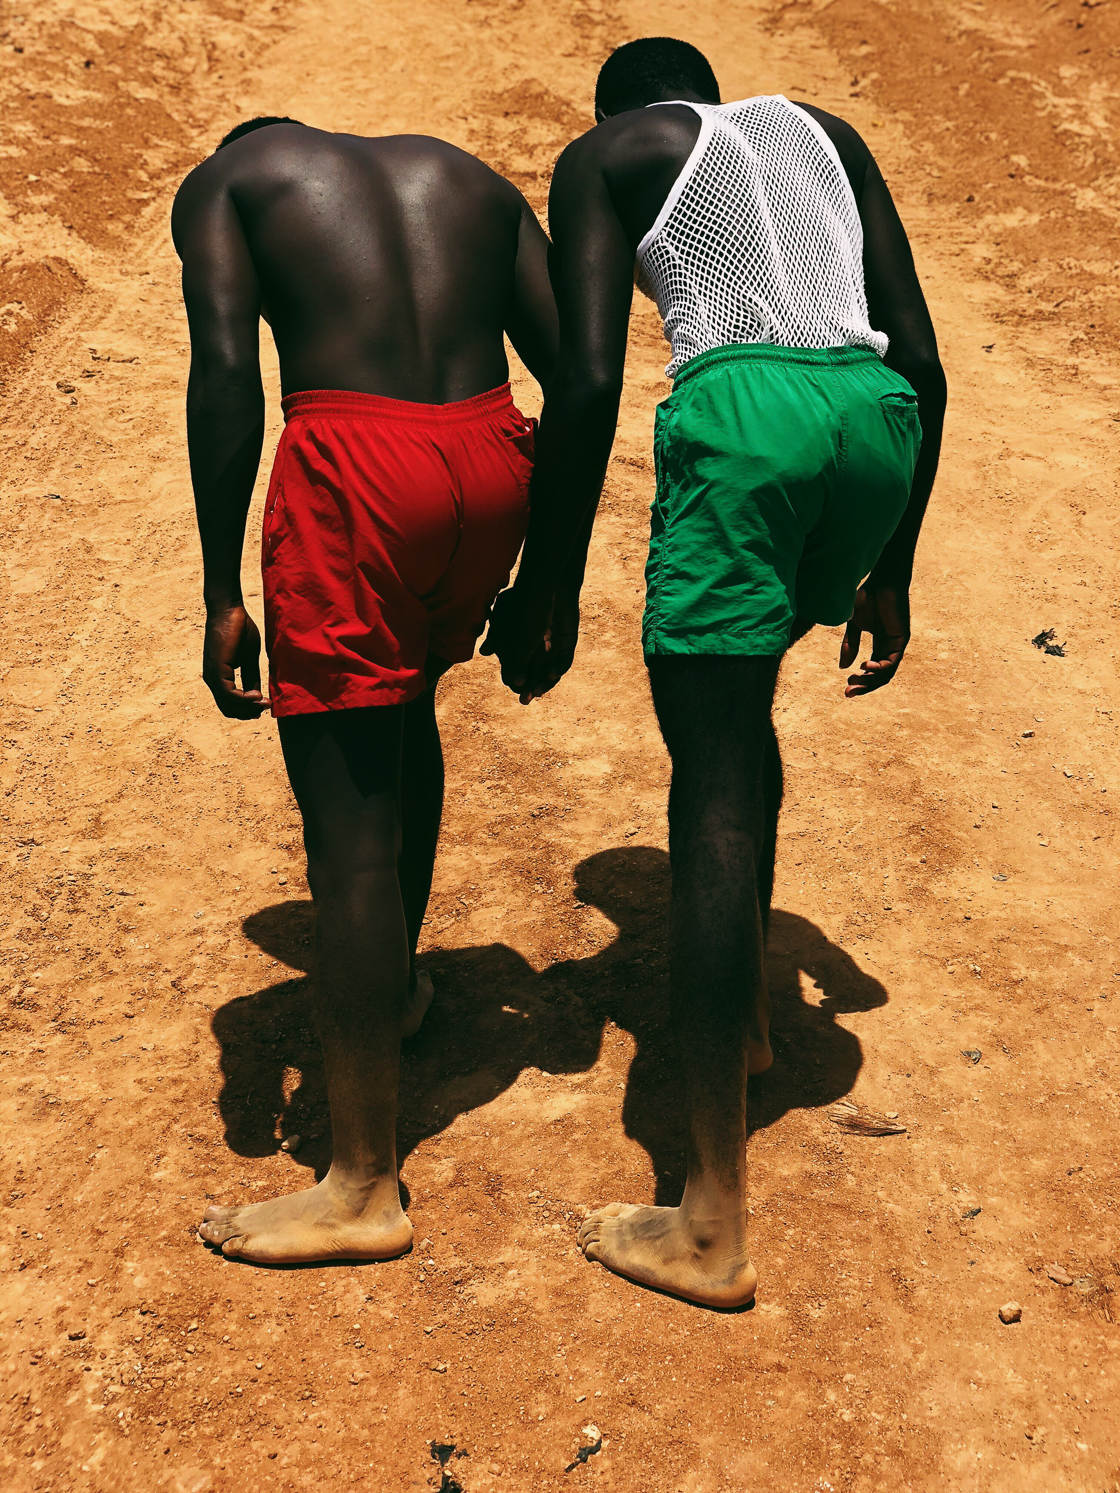
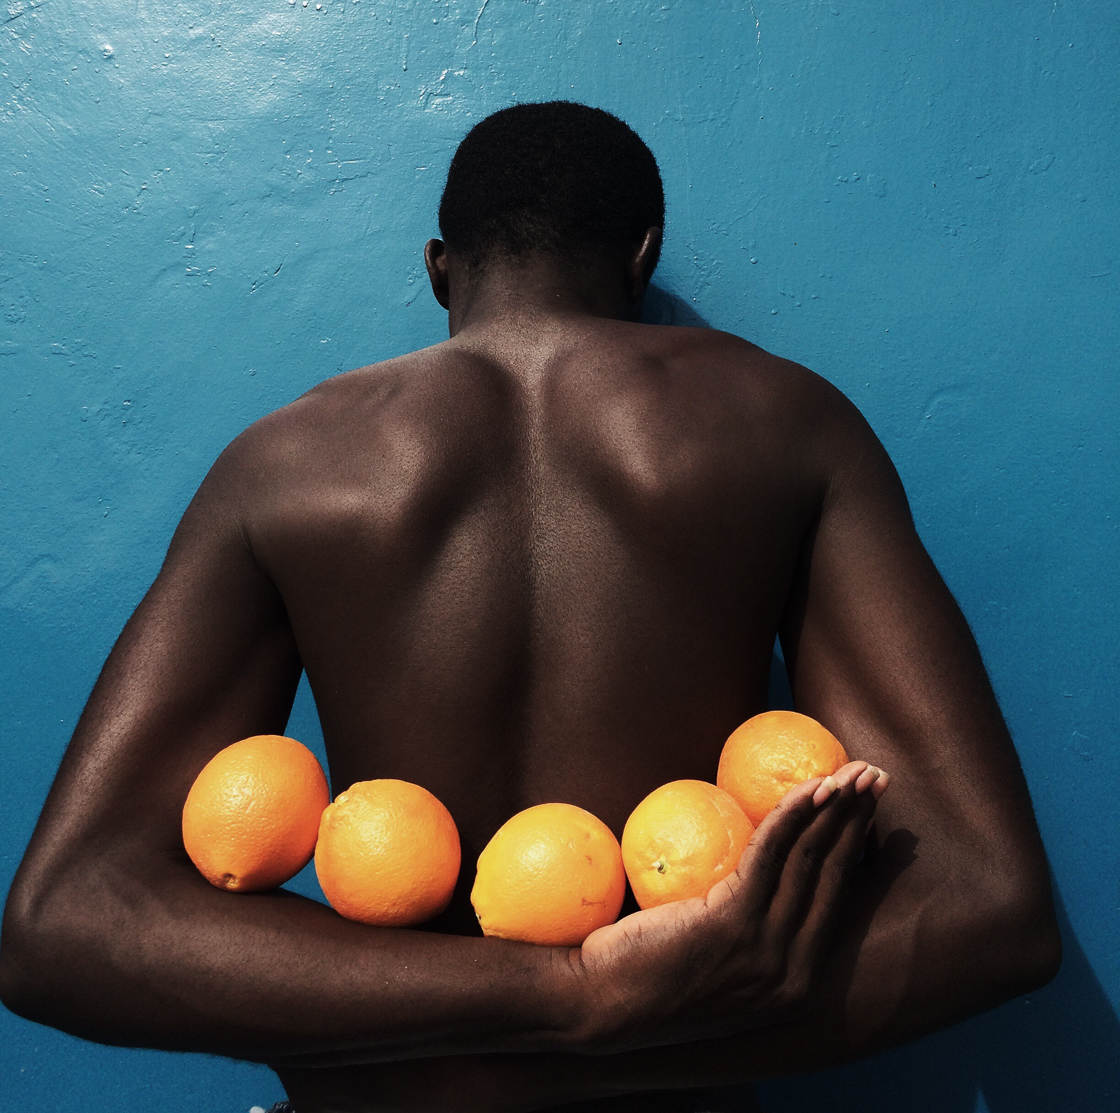
This is because red and green are contrasting colors. Some other great color pairs are blue/orange and purple/yellow.
So when you’re out looking for backgrounds, see if you can find some interesting colors. Perhaps you can find a blue wall or a red sign.
Then, ask your model to wear clothes of a contrasting color.
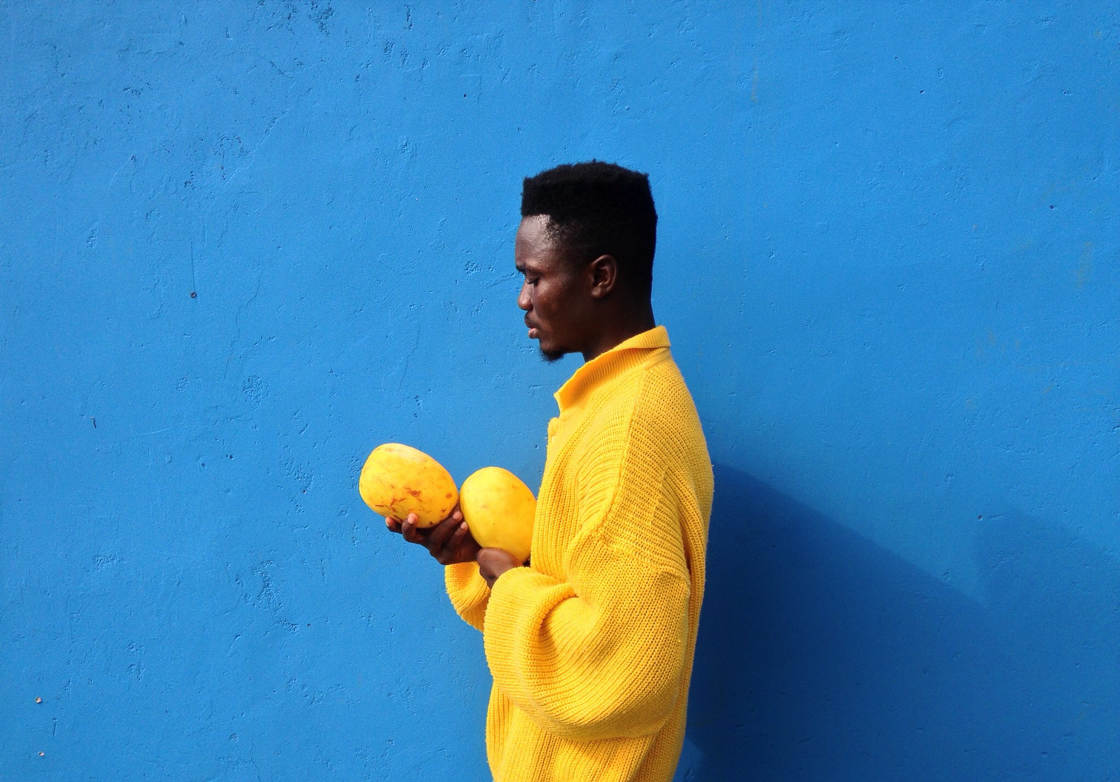
It can also be interesting to give your model colored props—which is a great way to introduce contrast.
You could give your model some brightly colored fruit or a colorful umbrella.
The important thing is that you add as much contrast as possible.
And color is a great way to do this!
6. Return To Locations Repeatedly For Creative Portraits
When you’re searching out portrait locations…
…how do you consistently find something that works?
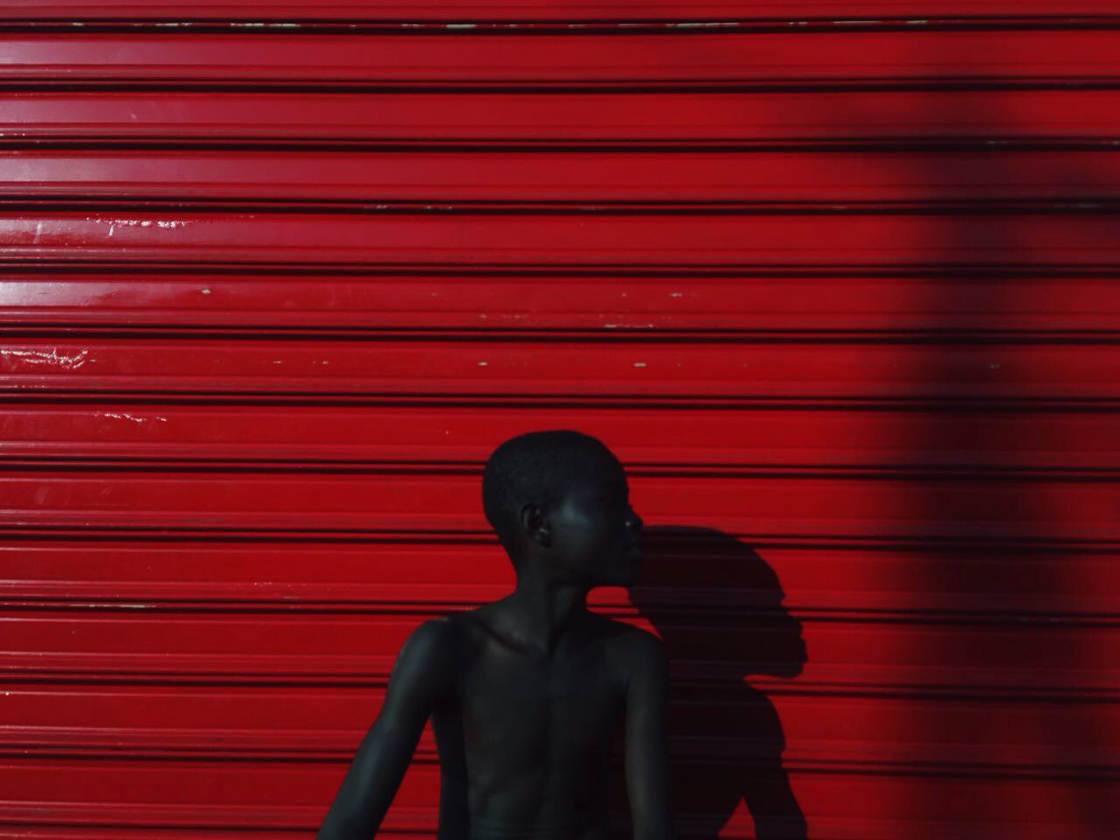
First, I recommend that you spend a lot of time walking and scouting out locations. You should make lots of notes.
Think about how the light will hit the scene. And think about how the backgrounds might work with different models.
That way, you’ll be able to come up with a few possible locations for any photoshoot.
However, I’d also recommend another approach:
Find a few locations and stick with them.
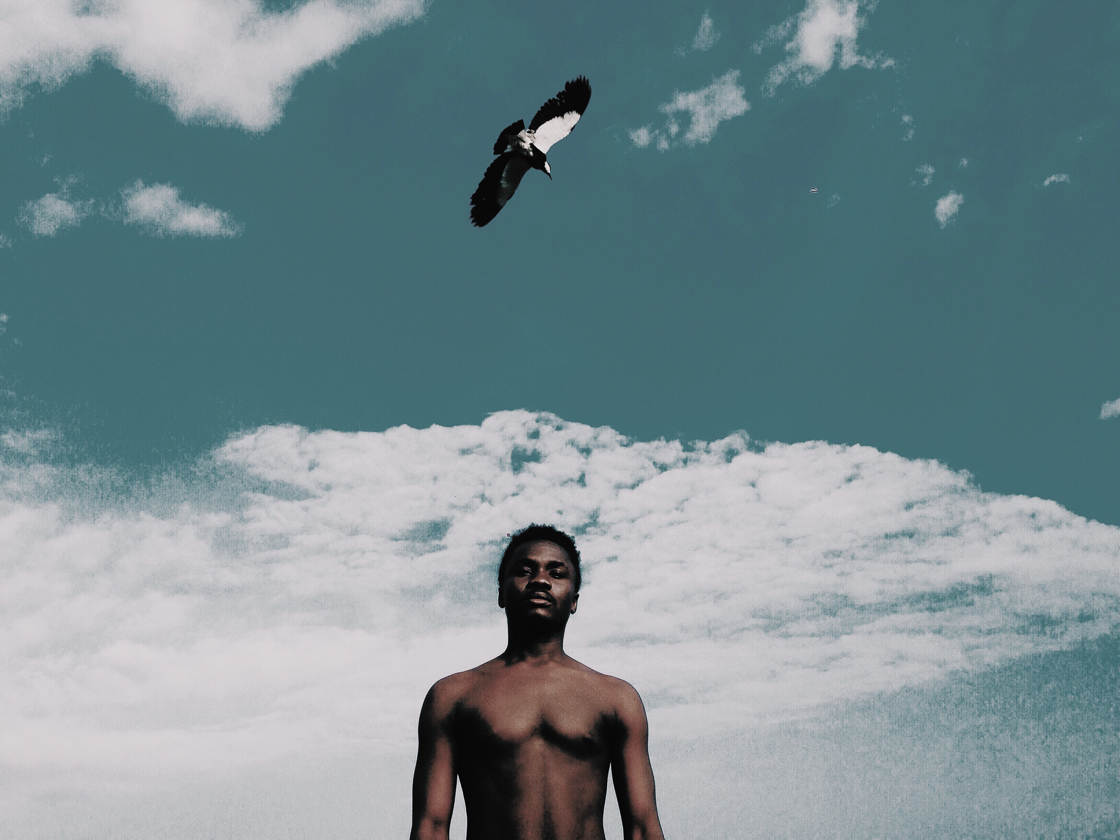
You see, a good location can be used again and again. And you’ll always get great images there!
In fact, your shots will likely improve over time—as you get to know the location better.
You might be worried you’ll take the same shot over and over again. You might be worried that your shots will become stale.
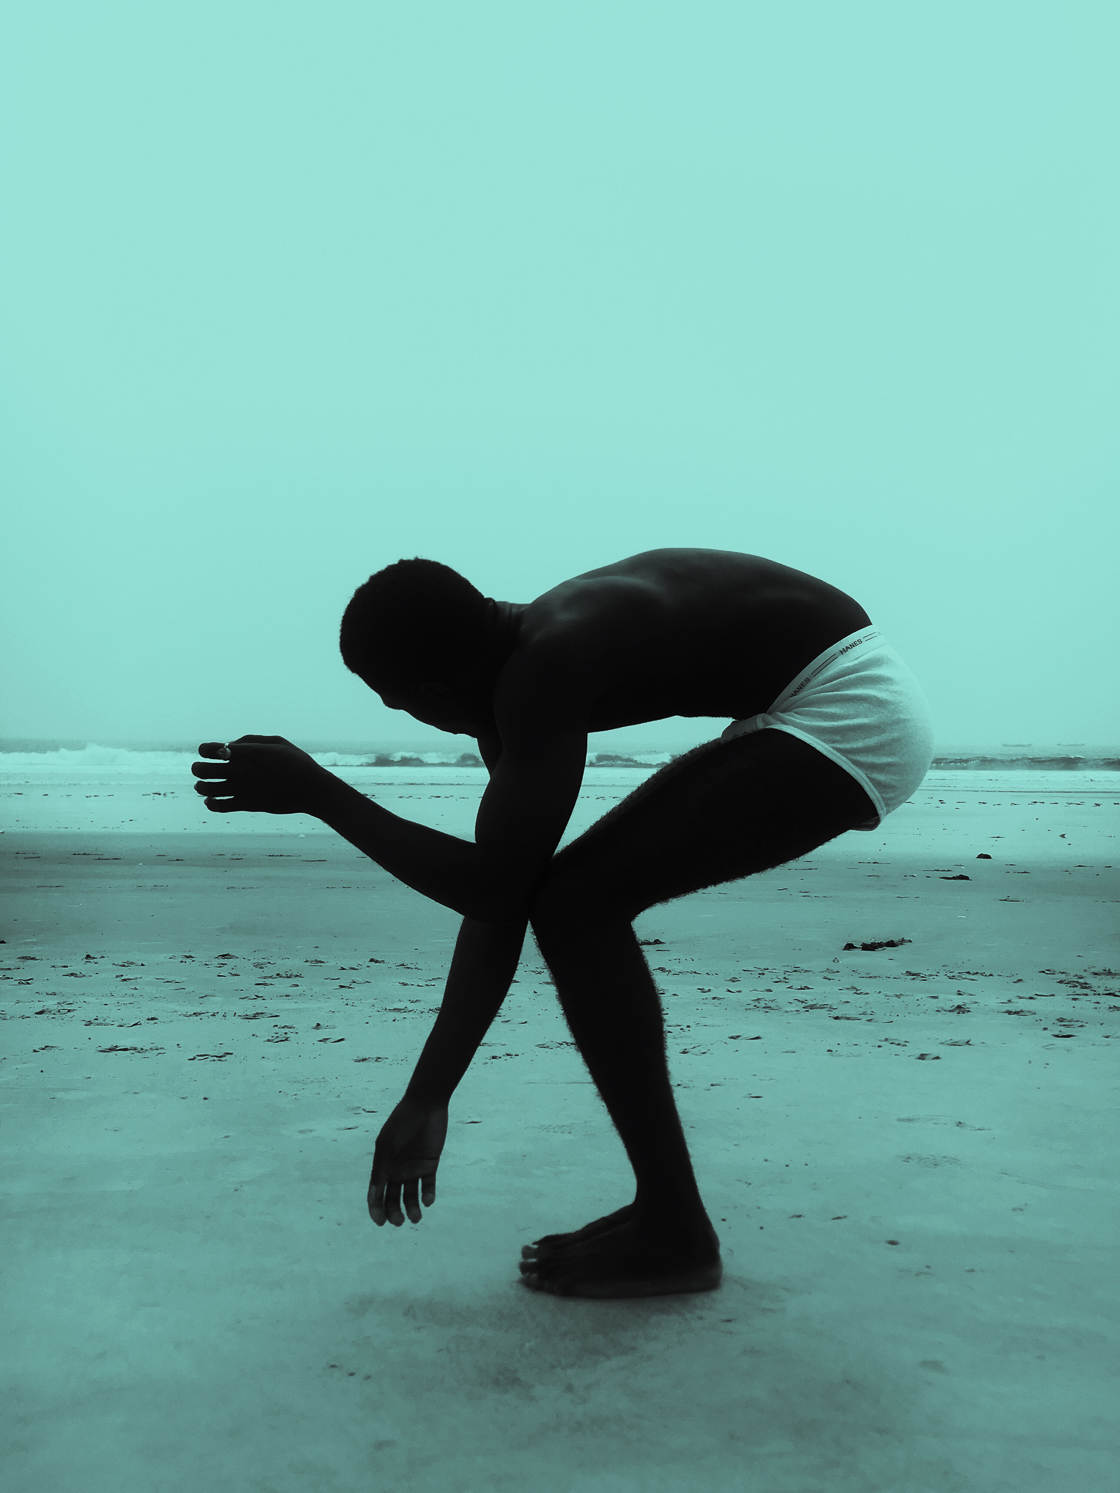
Don’t be! Here’s why:
Locations are always changing.
The light changes. The weather changes. The scenery changes.
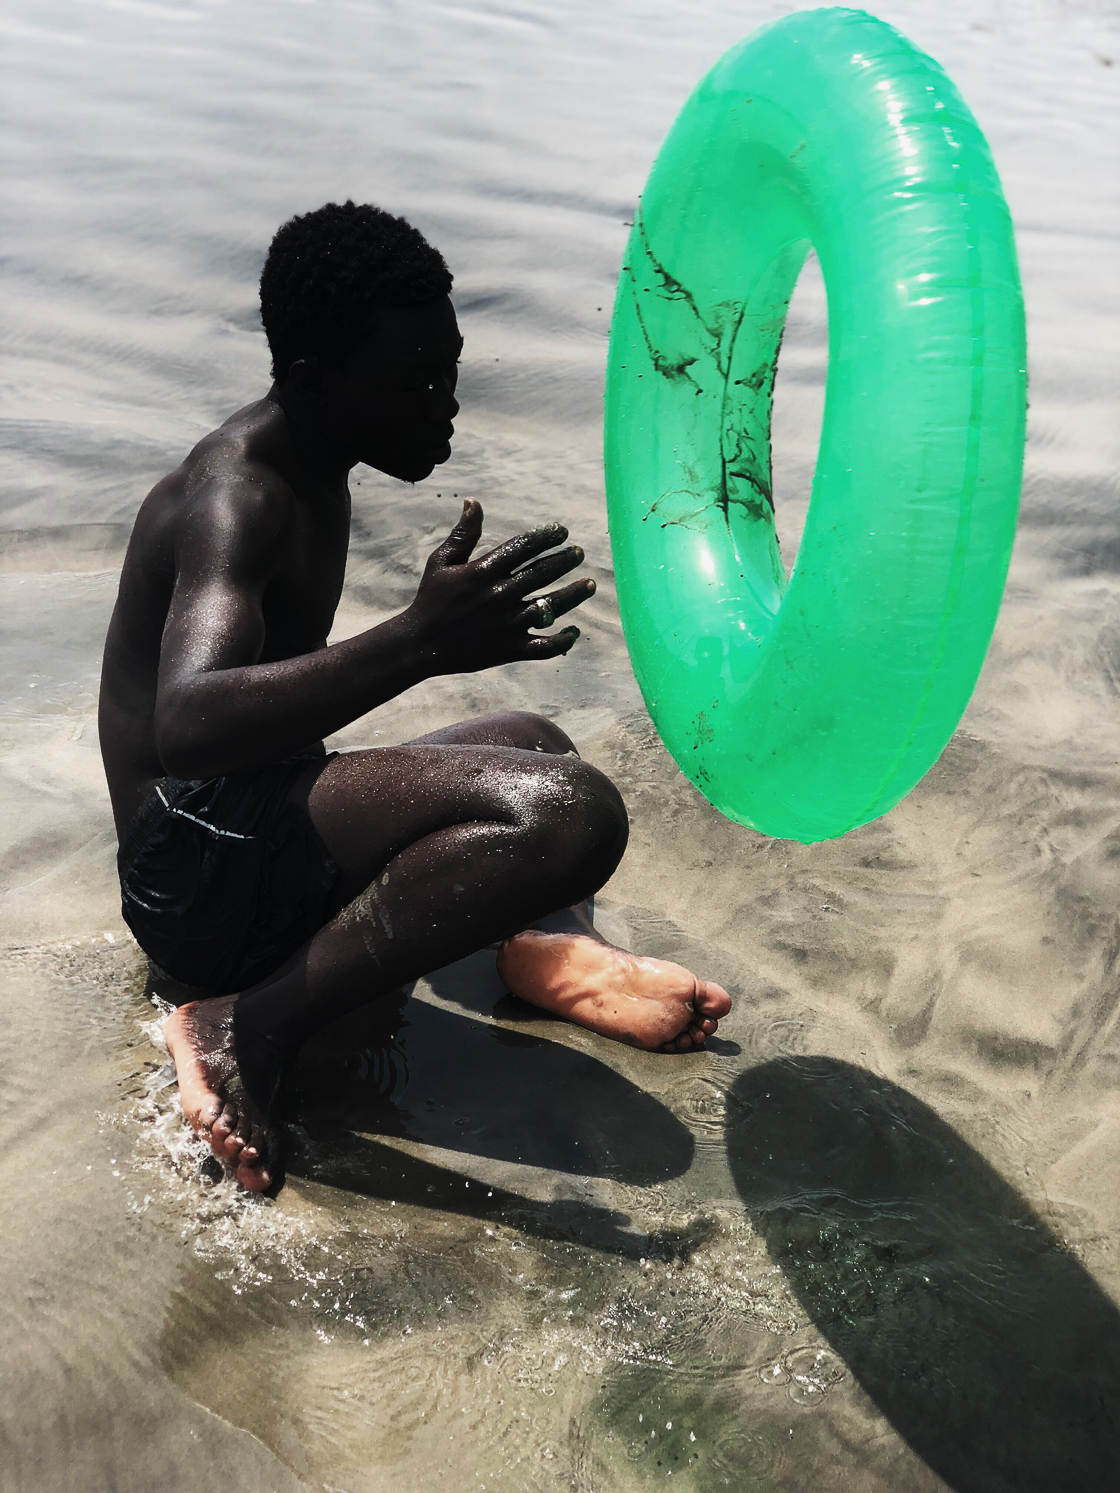
And so, if you come back repeatedly, you’ll get different shots each time.
You’ll also come up with some unique and inspiring ideas—ideas that you wouldn’t have come up with otherwise.
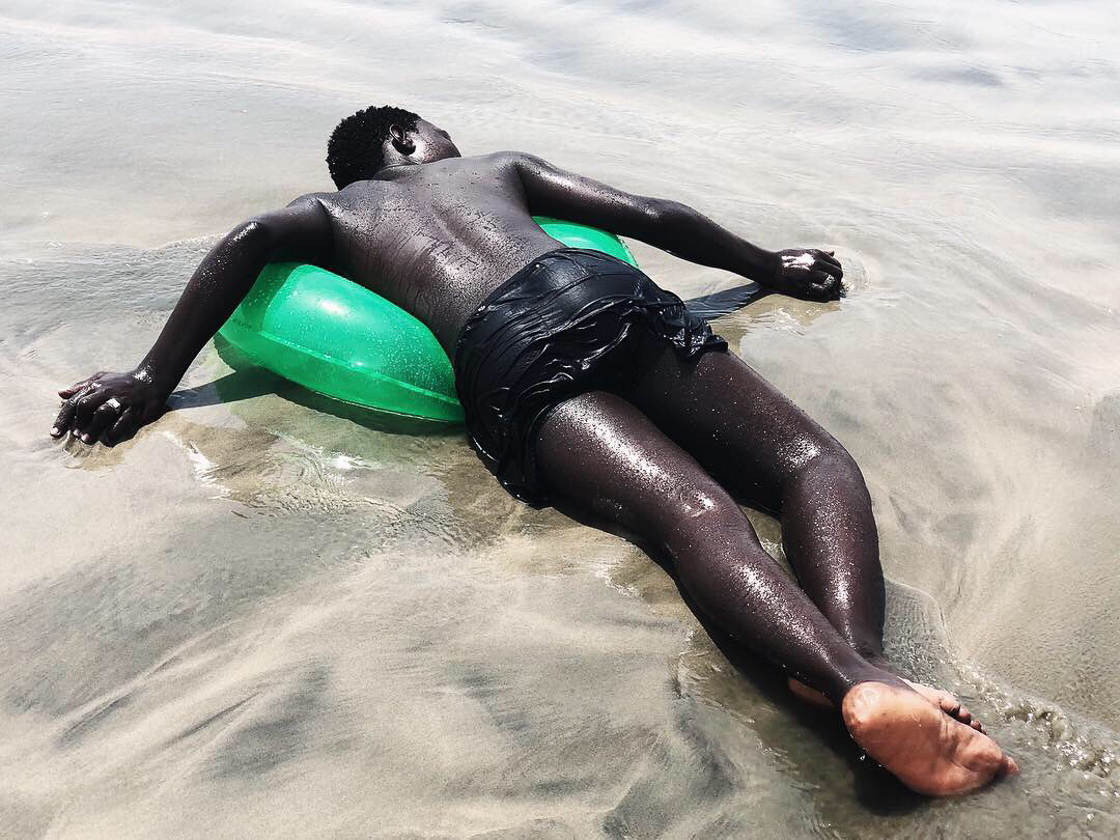
And this only happens when you know a location intimately!
So don’t be afraid to return to the same location day after day.
Locations are like fine wines: They only get better with time!
7. Experiment Constantly For Creative High-Contrast Portrait Photography
Once you have an idea for a high-contrast portrait, what should you do?
Do you just go out and take that single portrait? Or do you explore other ideas, too?
Here’s what I recommend:
If you want to get really stunning portrait photos…
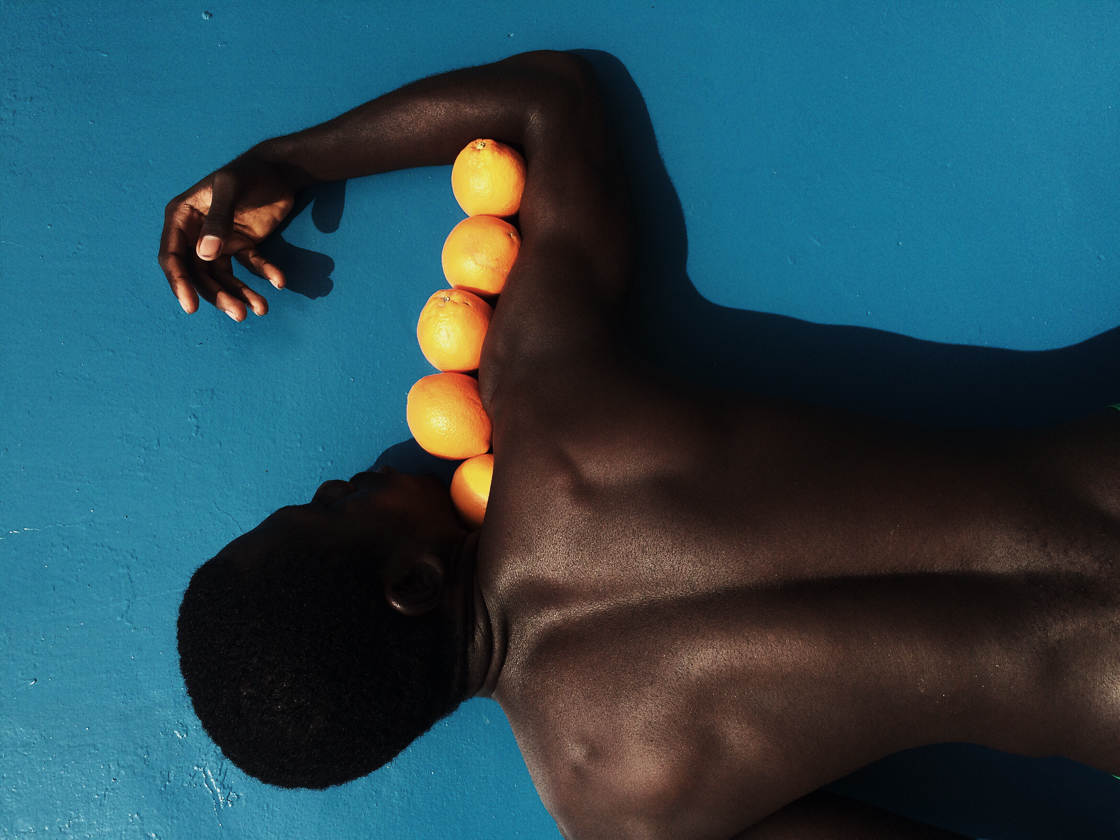
…you shouldn’t settle for the first shot you take.
Instead, once on location, you should shoot as many different photos as you can.
Because it’s often not the first idea that’s best. So you shouldn’t focus on getting that one shot.
Once you’ve taken your initial shot, I recommend that you experiment with other, similar shots.
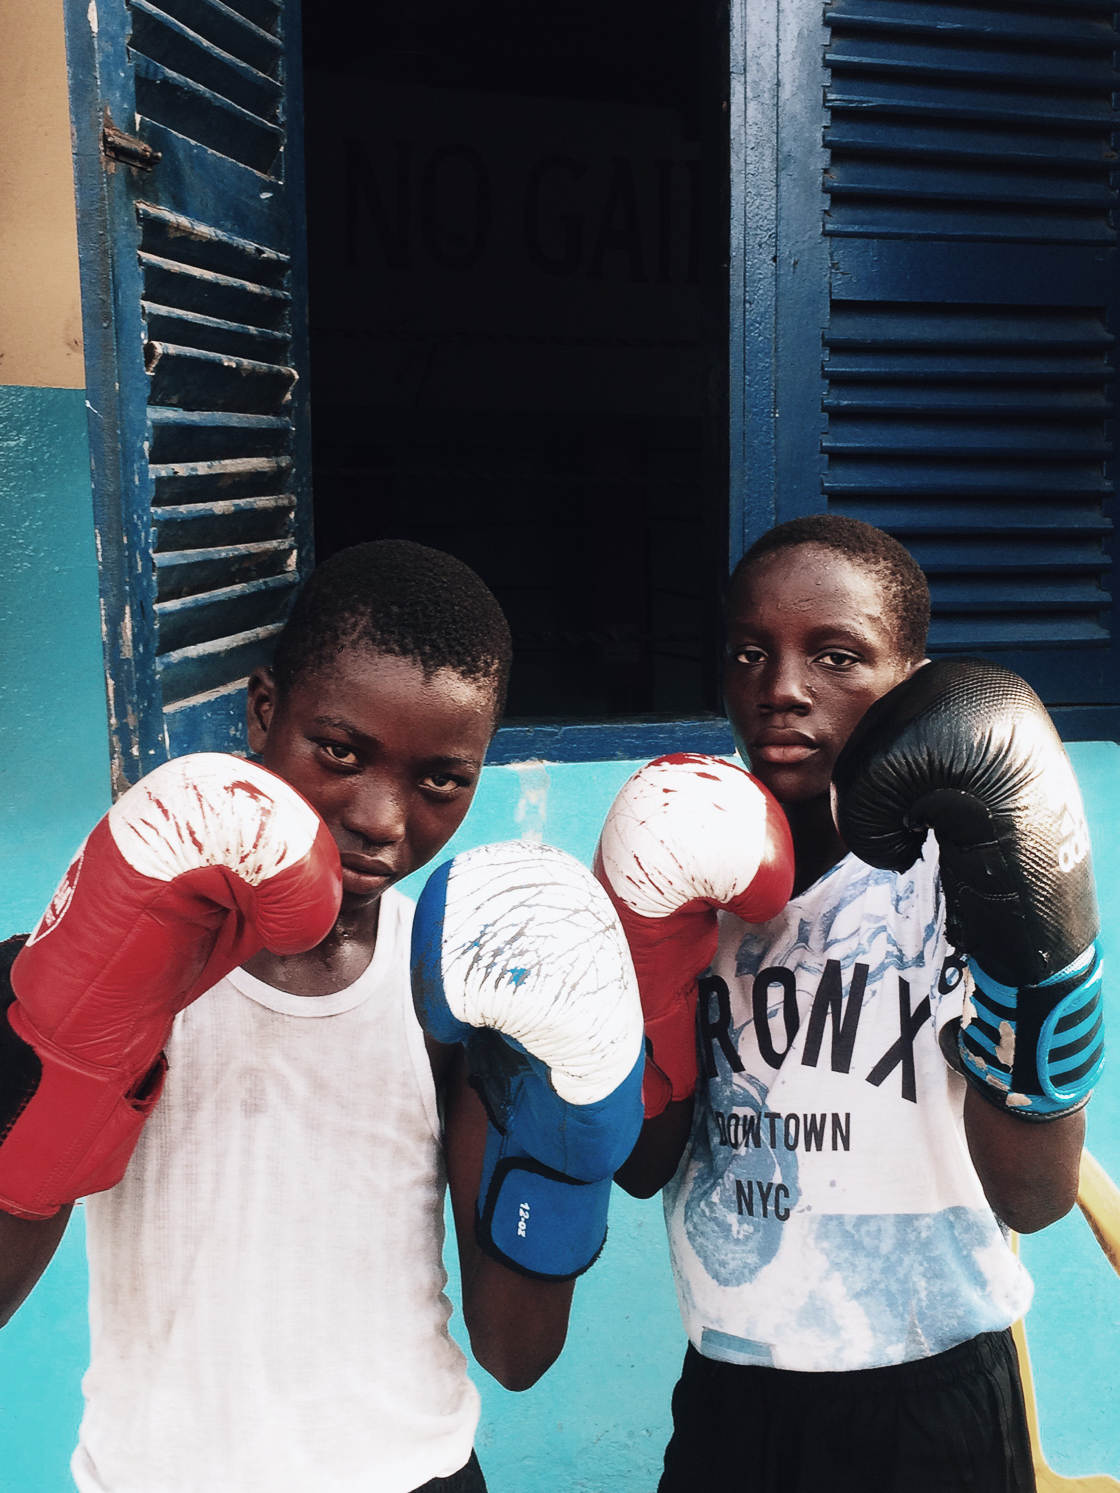
Ask your model to change their pose.
And then change locations, but keep the original pose.
Or change your angle.
Find a high vantage point, and shoot down toward your subject.
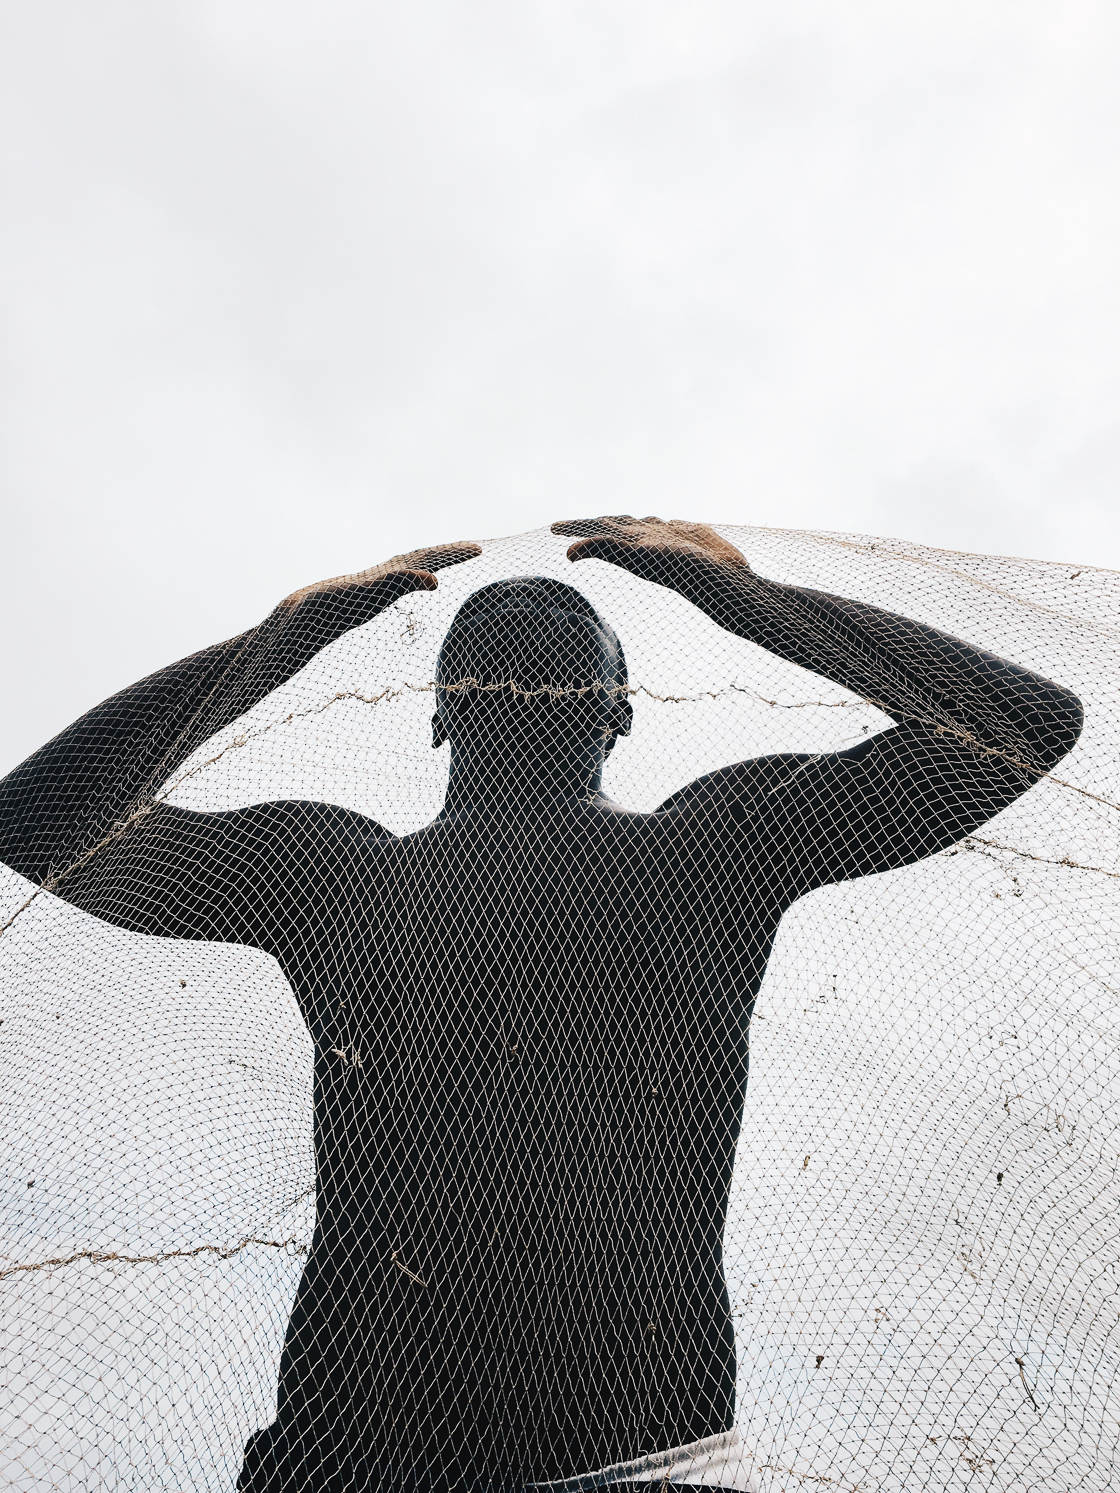
Or crouch down low, for a unique, upward perspective.
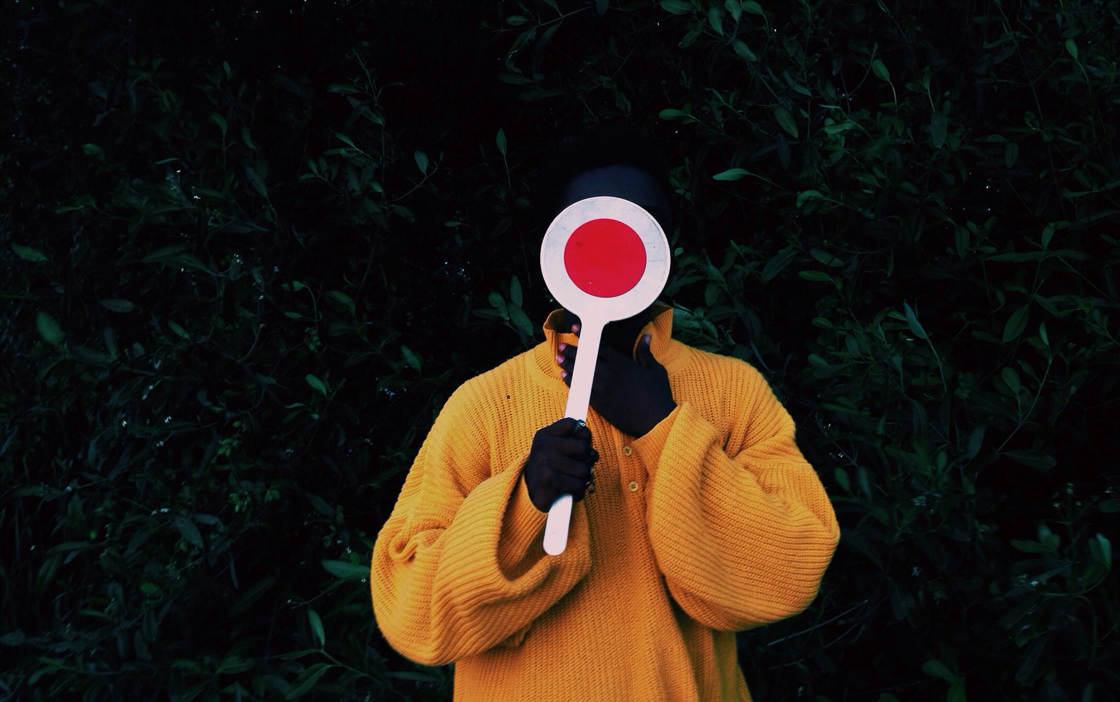
Have your model change their clothes.
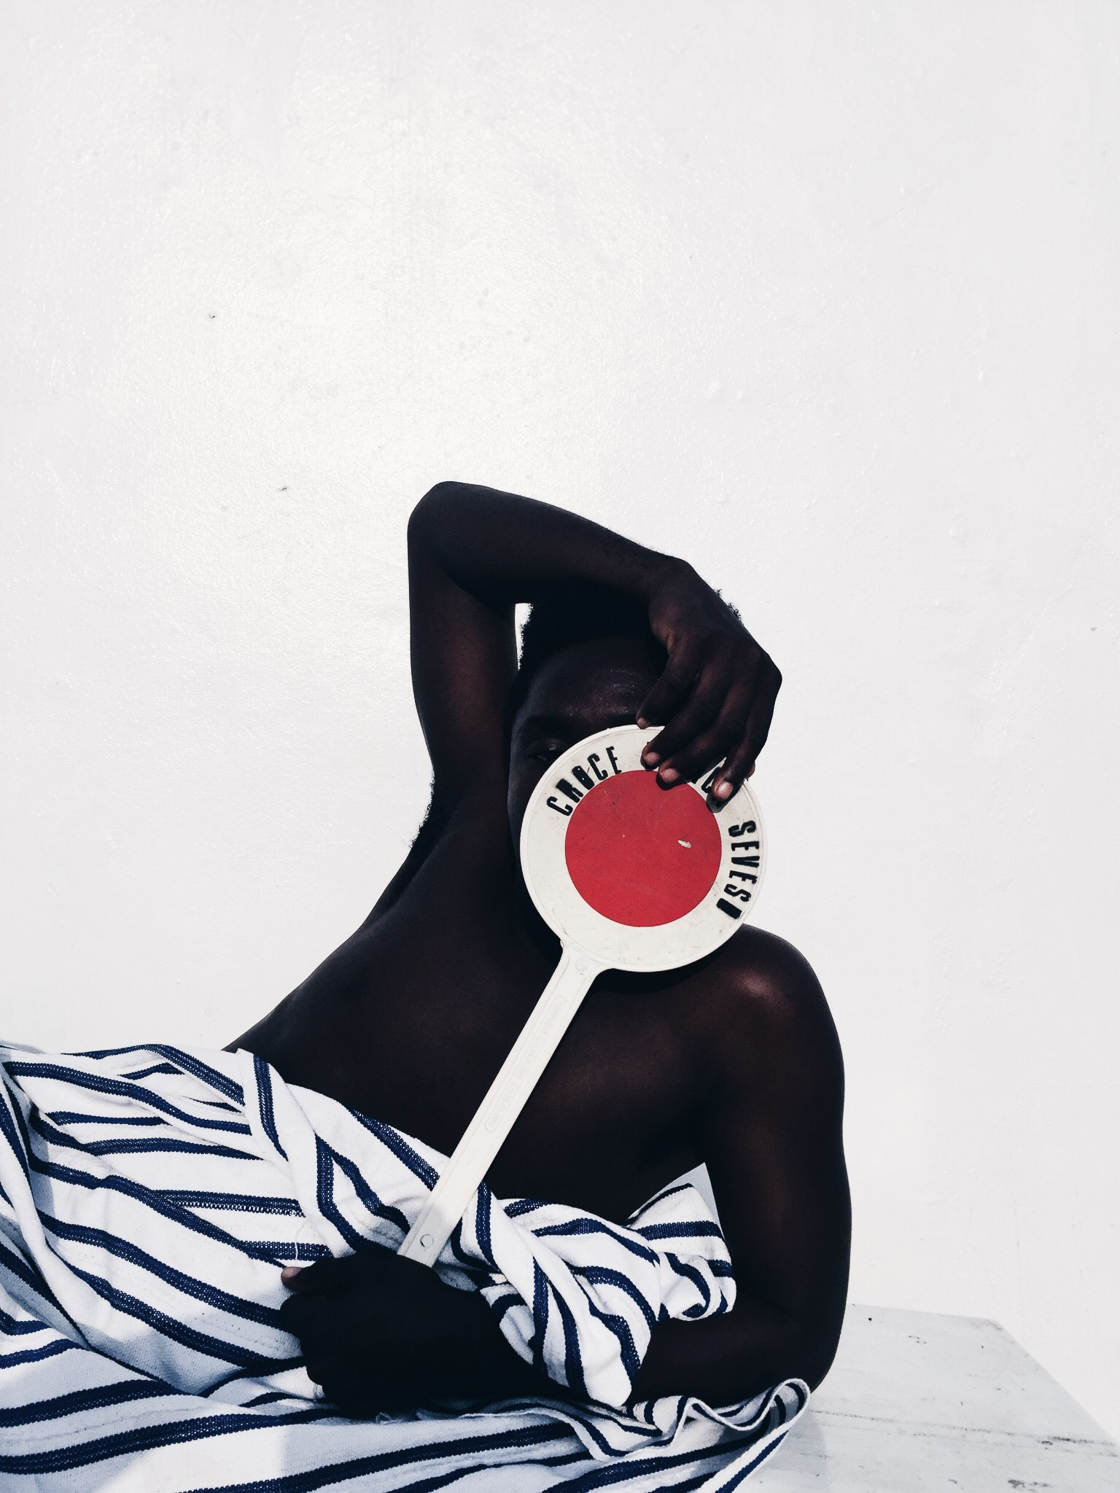
The point is to try different things. Have fun, and experiment!
One last thing: Don’t be afraid to try anything that you think of—even if the idea is strange.
Strange photos can be the best photos!
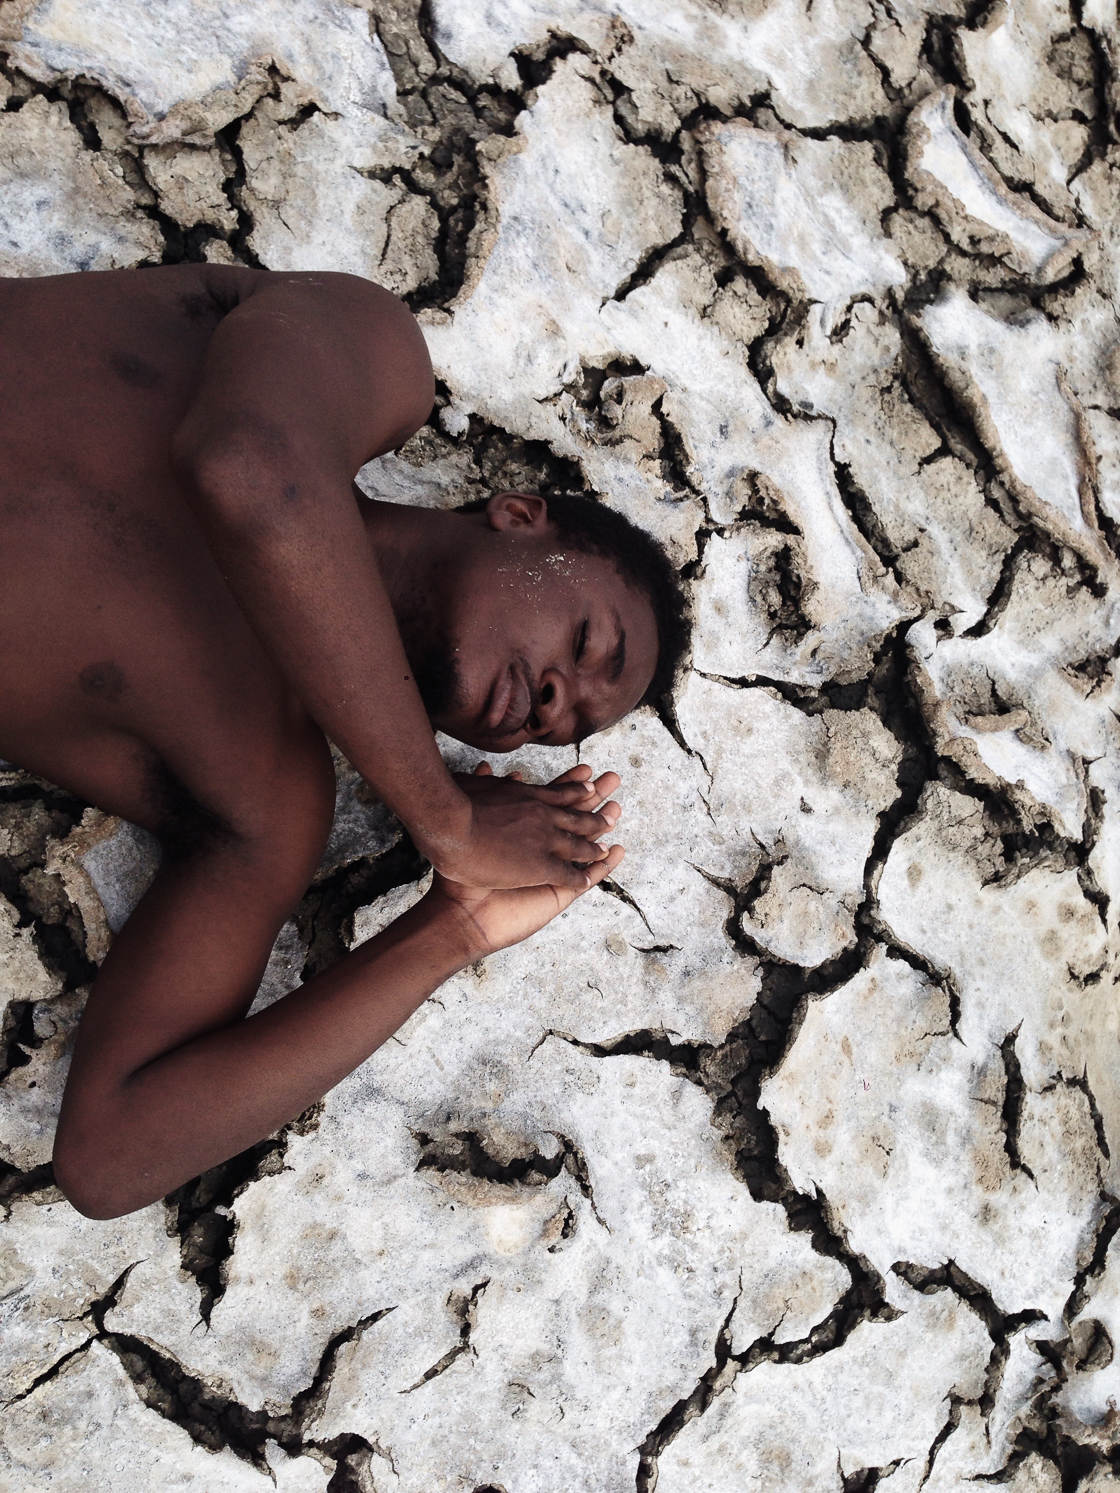
So if you want stunning, high-contrast portraits, make sure you experiment constantly.
Your last photo might be the best!


Leave a Reply
You must be logged in to post a comment.