Do you want to take incredible moody portraits using only your iPhone? Capturing gorgeous, moody portrait photography might seem difficult. But it doesn’t have to be! In this tutorial, you’ll discover 6 tips for stunning moody portraits.
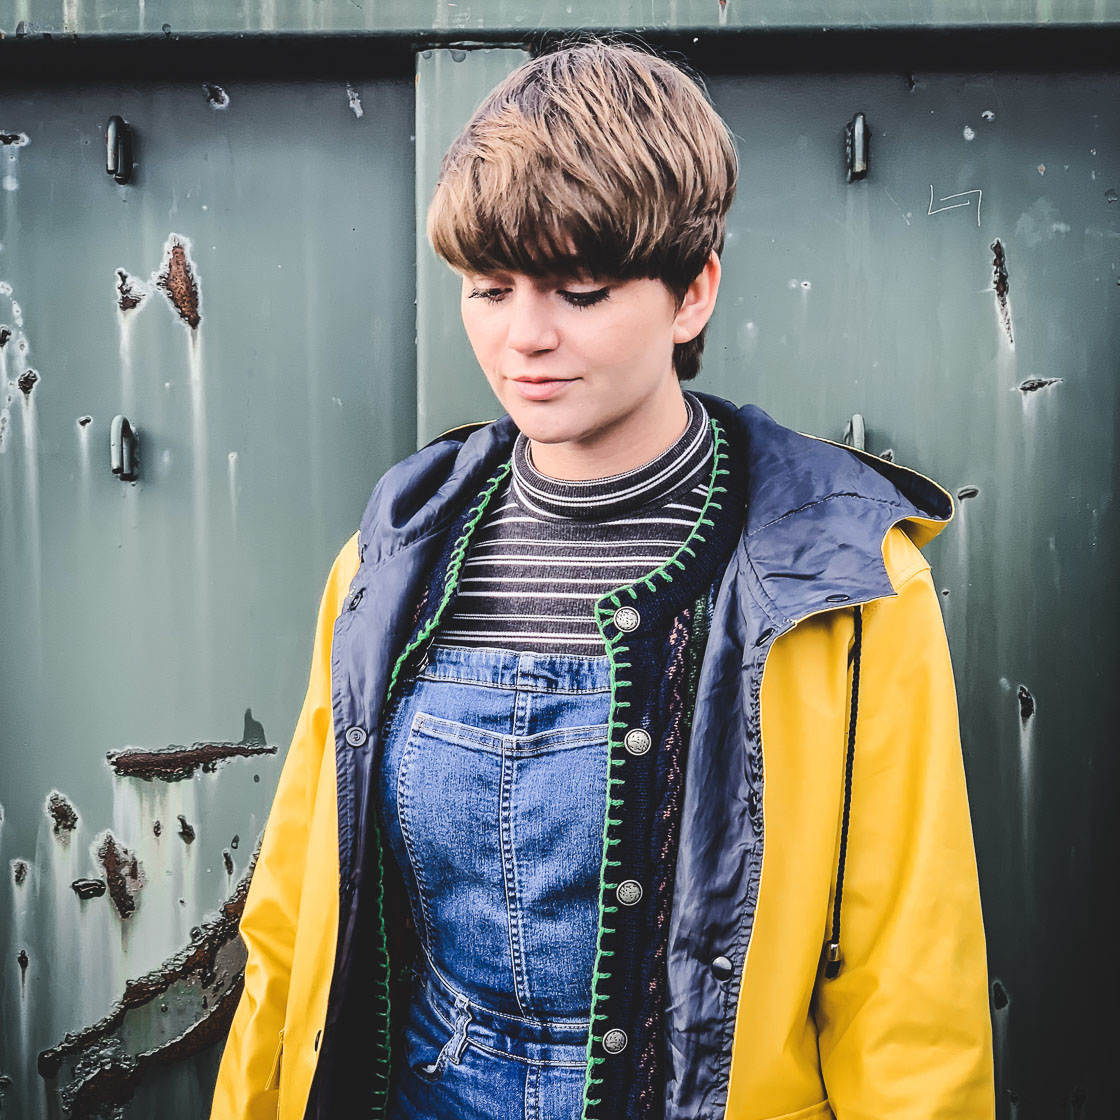
1. Talk To Your Model To Make Them Feel Comfortable
Rule number one of portrait photography: If you want to create compelling portraits, your model must feel comfortable.
Because uncomfortable models tighten up. They withdraw.
And you won’t capture beautiful, moody shots.
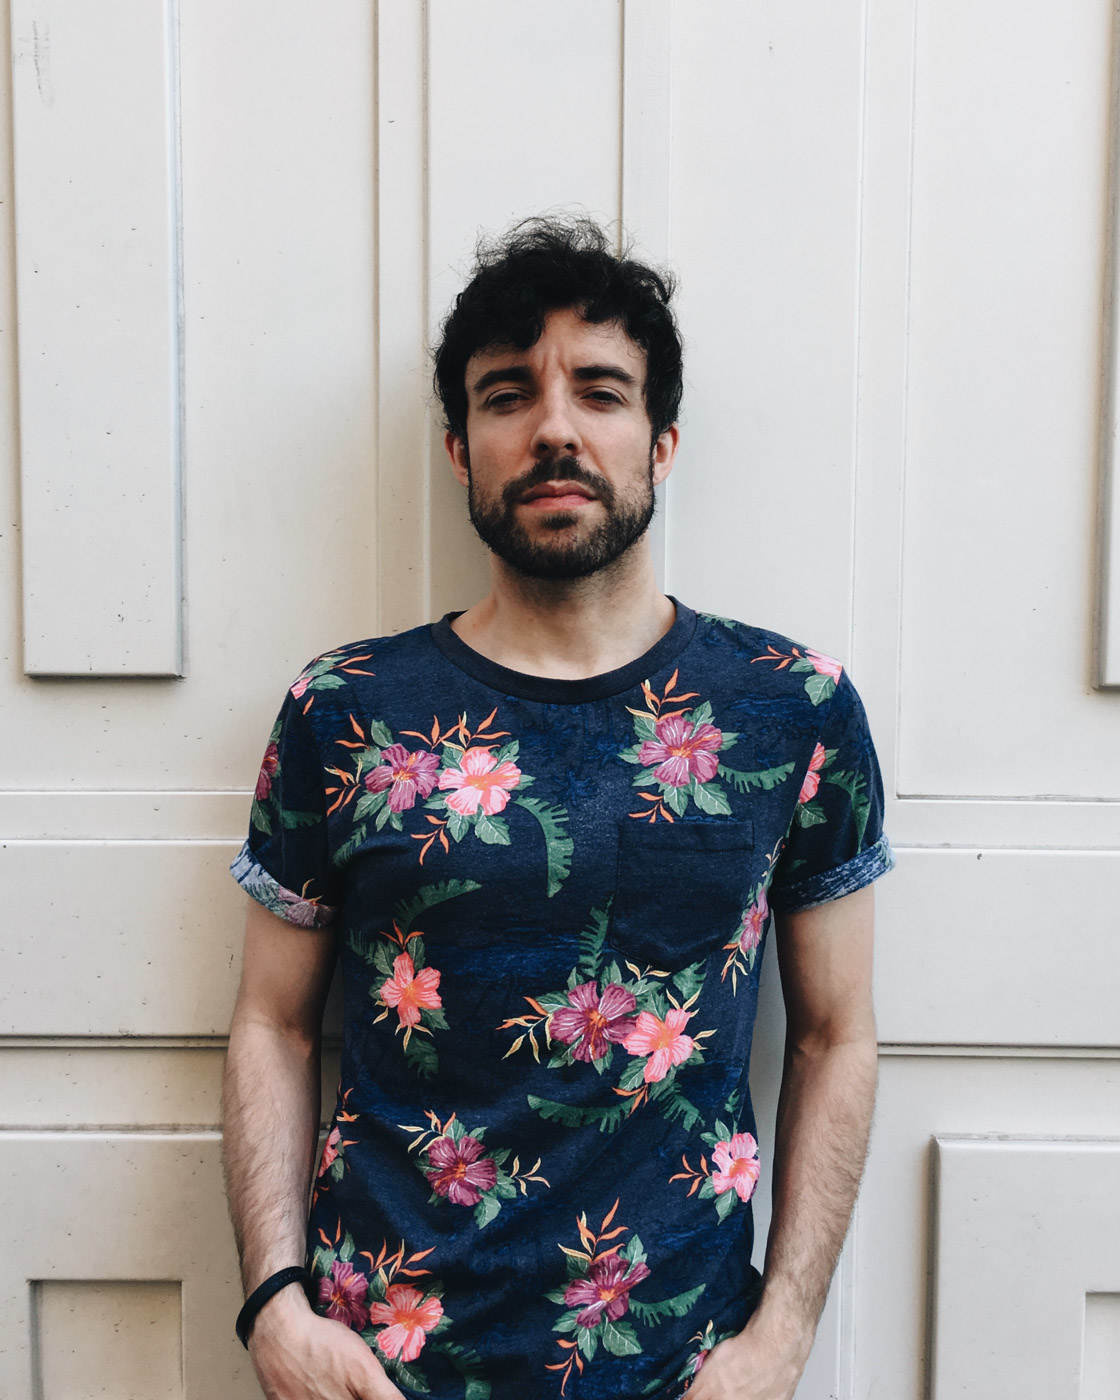
But how do you make your model feel comfortable?
It’s simple: You talk to them.
Before you bring out your iPhone, ask them about themselves. The conversation can be trivial—just make sure you have a bit of back-and-forth.
And when you’re ready to start shooting, keep talking.
If you don’t feel like you can carry on a conversation while taking photos, that’s okay. Instead, just say some encouraging words every so often.
“Really nice!”
“I love that pose!”
“Stay just like that!”
Little things like this go a long way.
In fact, when I compliment my models, it makes them far happier:
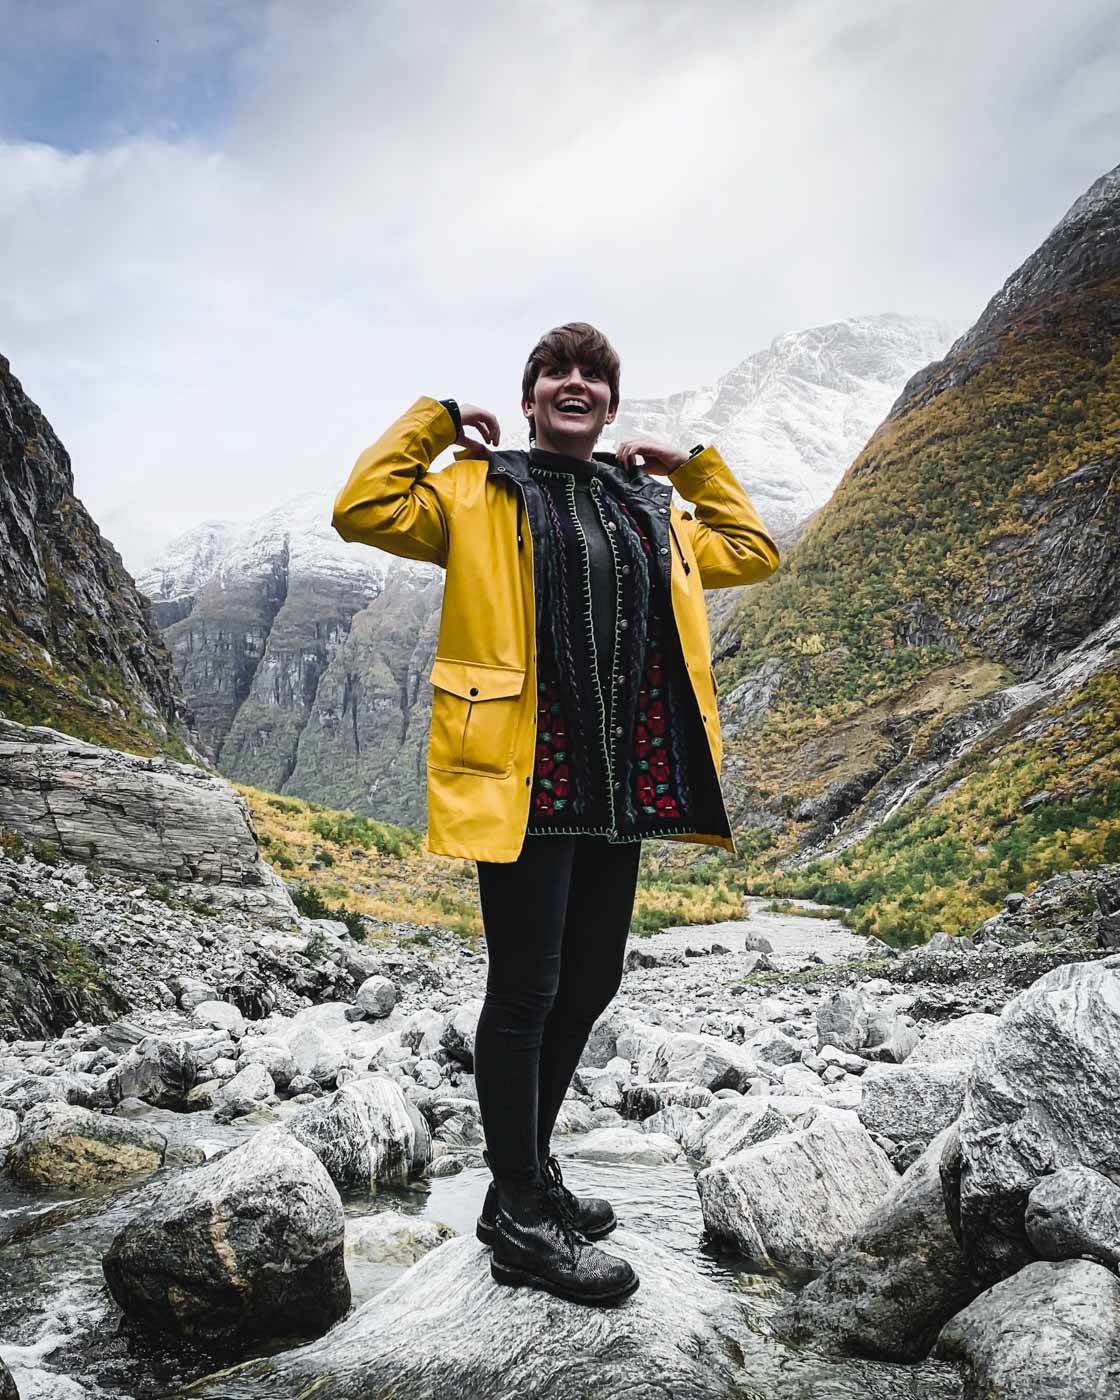
And then I’m much more likely to get gorgeous photos like this:
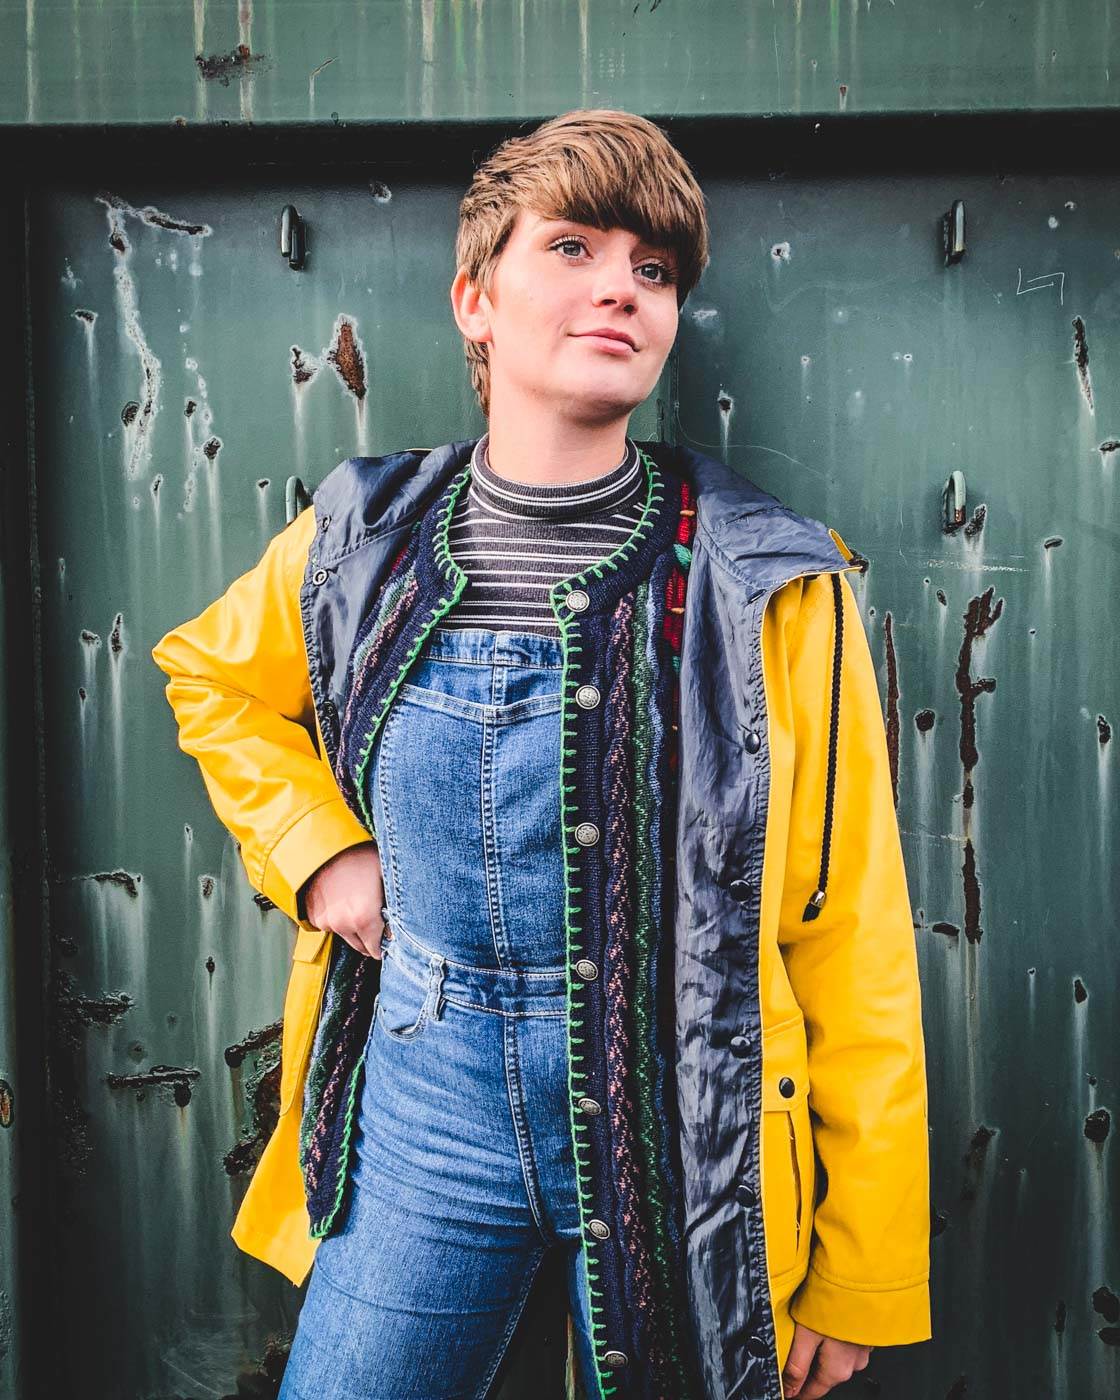
And this:
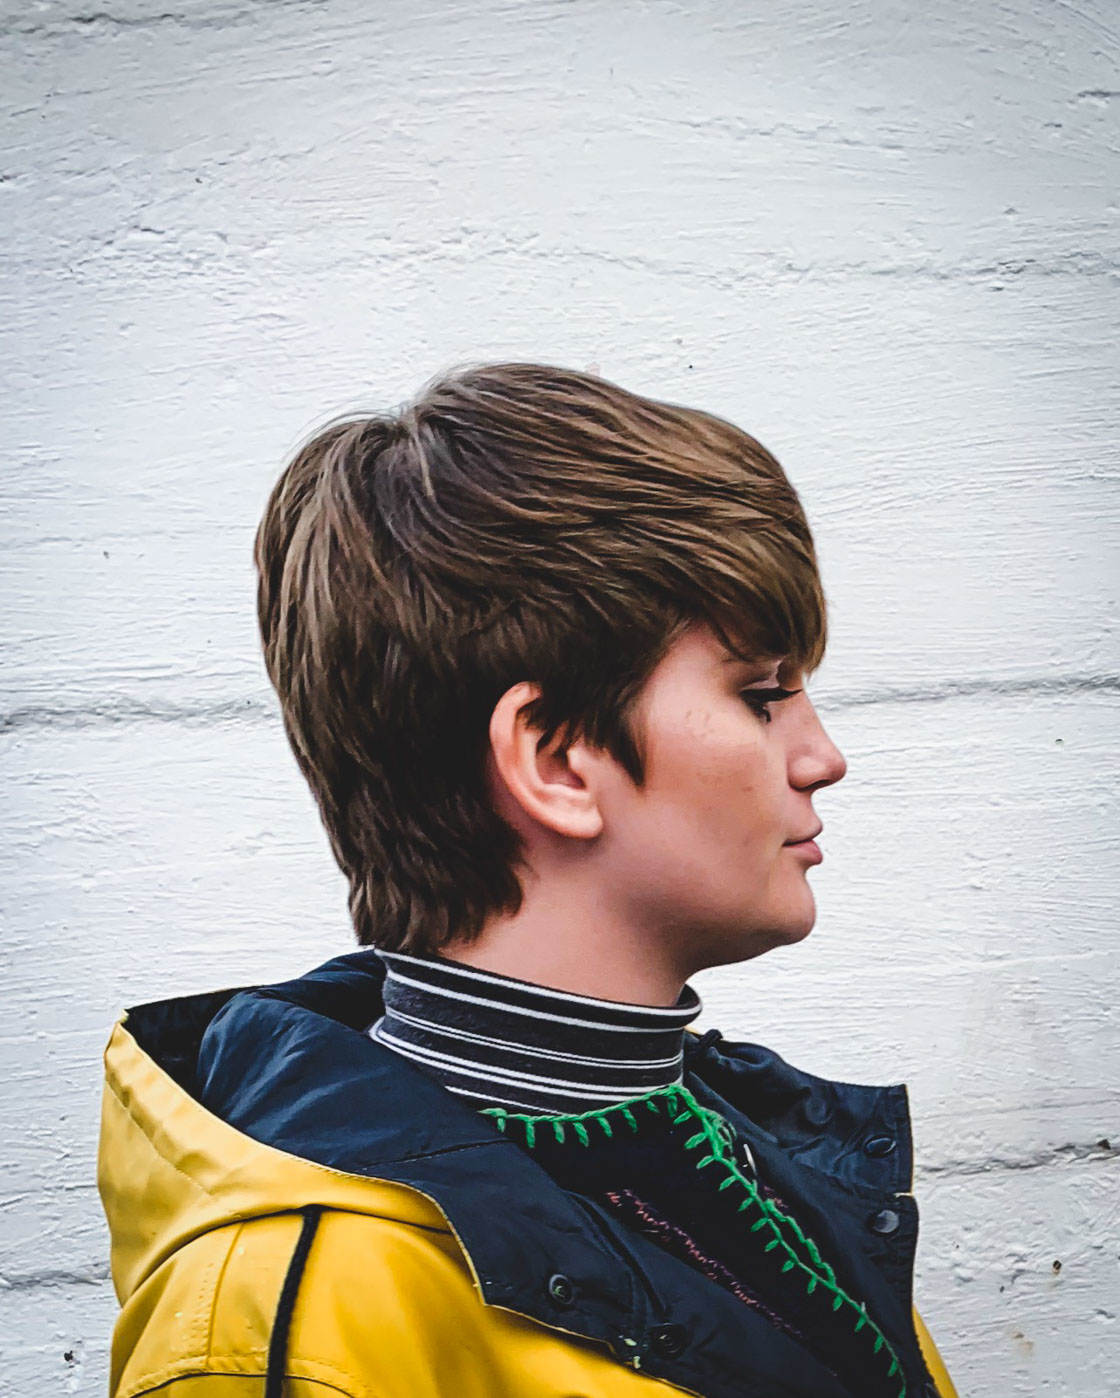
Plus, the more you talk with your model, the more they’ll enjoy the experience. And then they’ll be more open to a second shoot in the future.
Here’s the bottom line: If you can engage with your model, your portraits will be so much better.
So don’t skimp on talking. It’ll benefit you in the long run!
2. Simplify The Background For The Best Moody Photography
You can use anyone as your portrait photography subject. (That is, you can use anyone as a model.)
But you cannot use anything as a portrait background.
This is especially true if you want to create darker, moodier portraits.
Because a portrait photography background has to enhance the subject. It has to add to the photo—without distracting the viewer.
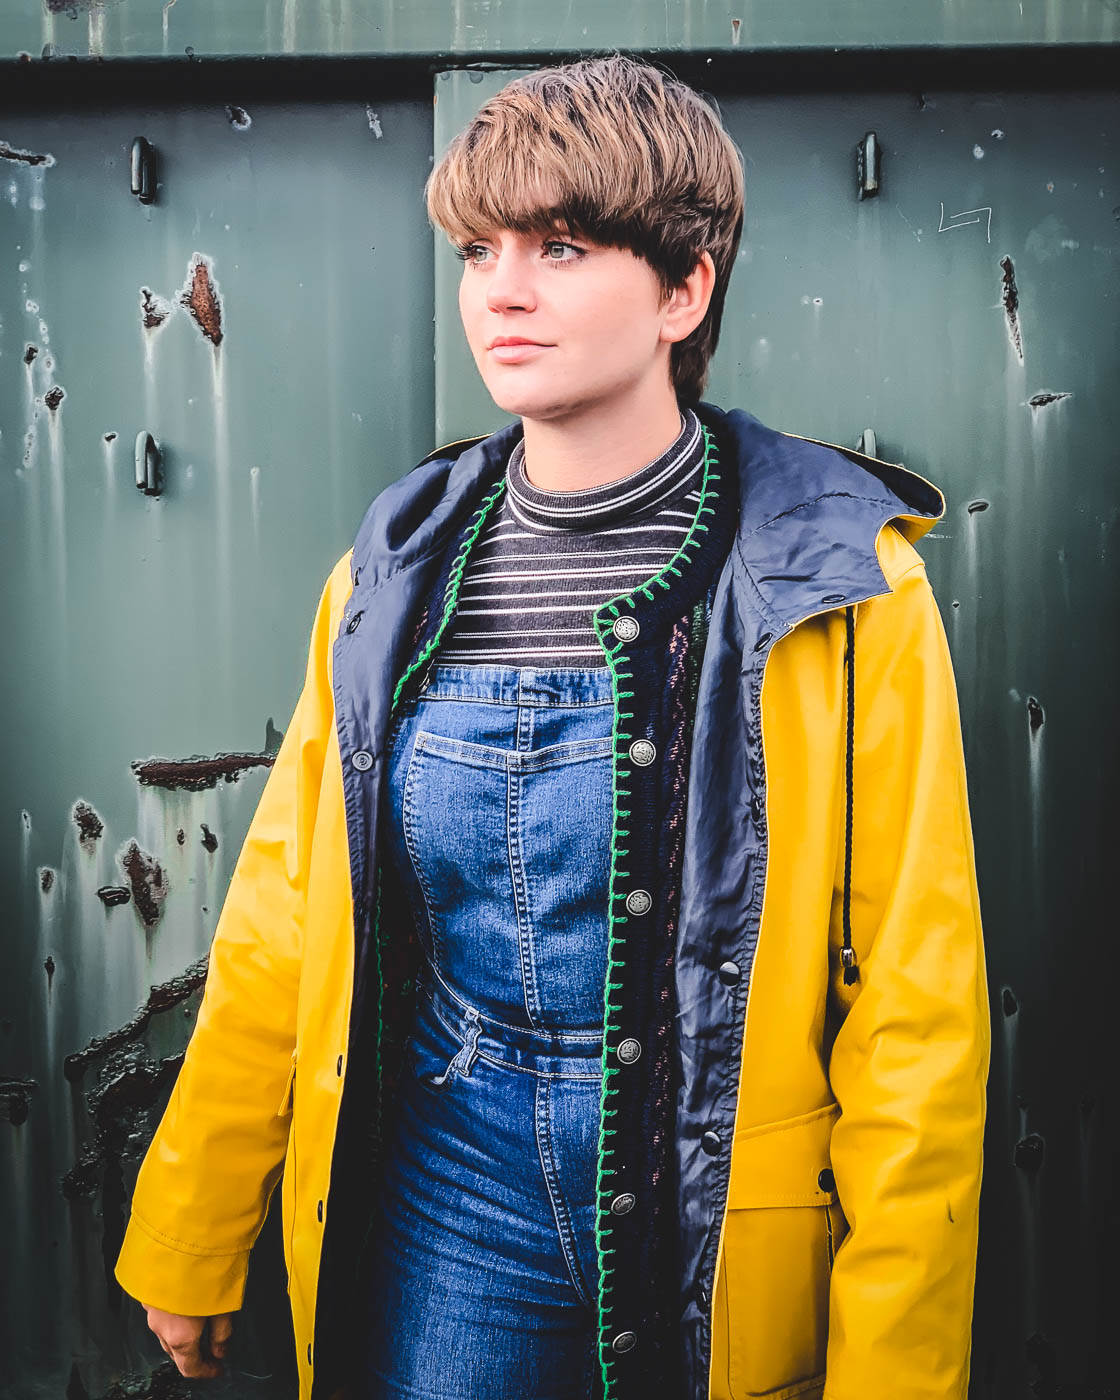
In moody portraits, this is especially true. Because moody photos can’t be chaotic. They must be orderly.
So what makes for a great portrait background?
Great portrait backgrounds are simple. That’s all there is to it.
For example, a textured wall is a perfect portrait background. It frames the subject, but doesn’t draw the viewer’s attention. This is exactly what you want!
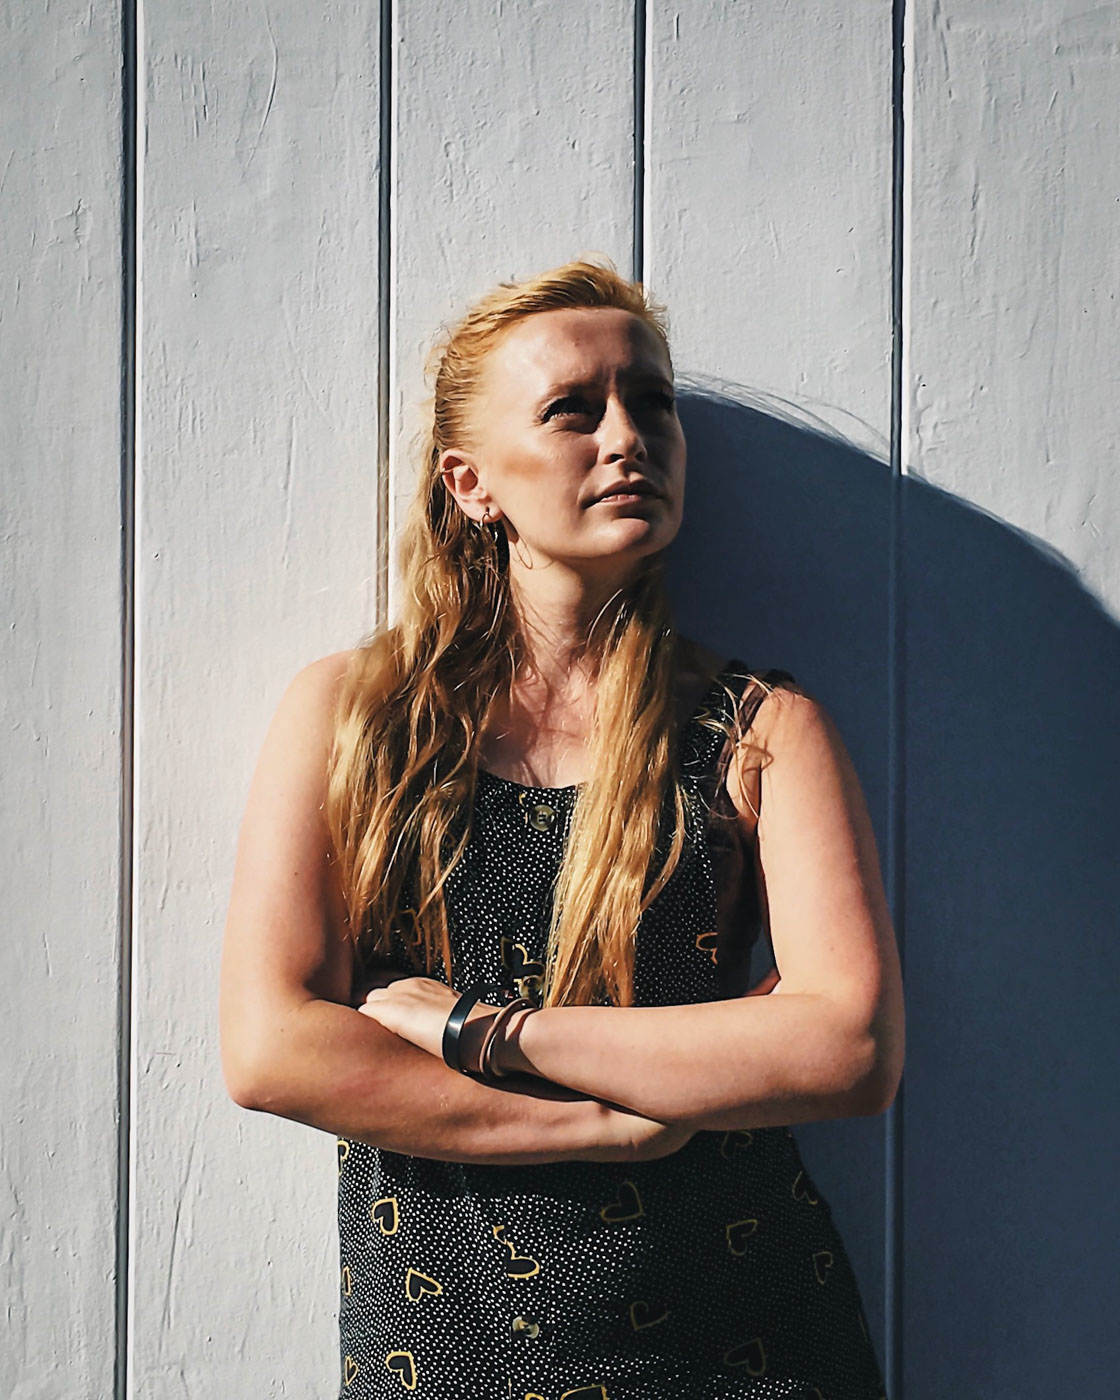
Wooden sheds and fences also make great backgrounds. They add a bit of personality to the photo, without detracting from the overall feeling.
Plus, the darker wood of sheds and fences can enhance the mood.
Another wonderful background is distant scenery. Mountains or trees will add some context to your photo. And if they’re far enough away, they won’t dominate the frame.
Instead, they’ll enhance the overall photo.
So make sure you find a simple background. It’ll help you take great moody pictures.
But what if you’re struggling to find a background? What do you do then?
Read the next tip to find out…
3. Use Portrait Mode For Beautifully Blurred Backgrounds
What if you want to use a simple background, but you can’t find one?
Here’s the answer: You blur the background yourself! This results in some beautiful, creative portraits.
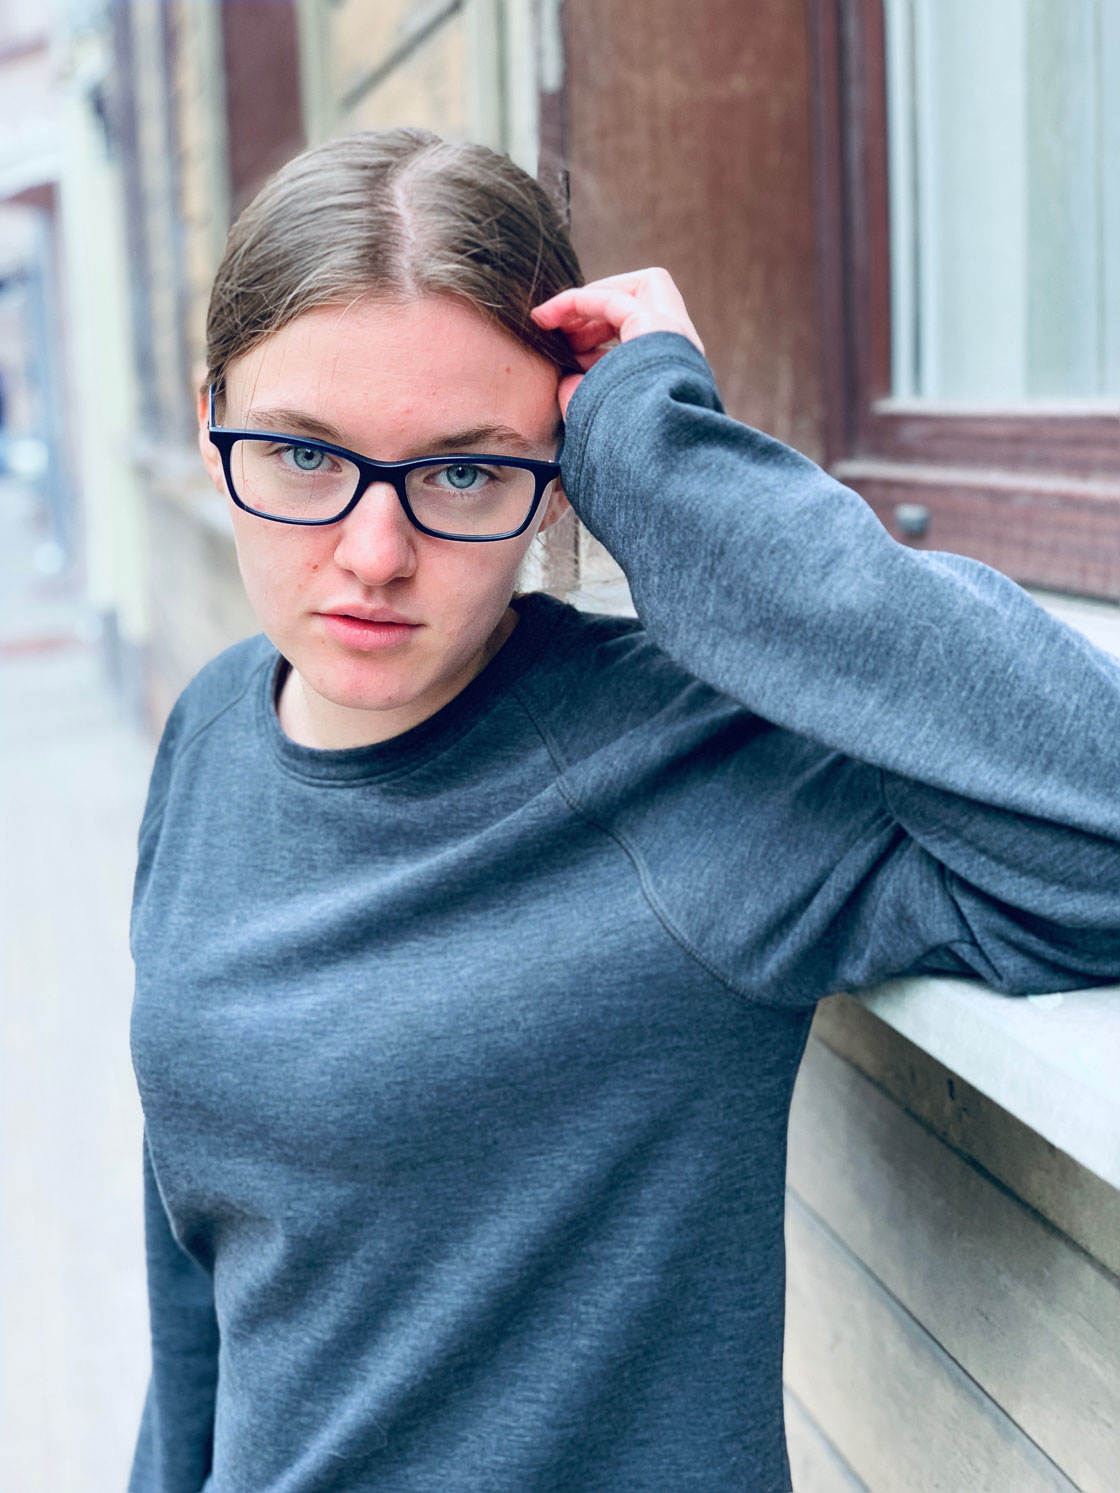
How do you do this?
You use a setting on your iPhone camera: Portrait mode.
(iPhone Portrait mode is available on the iPhone 7 Plus, iPhone 8 Plus, iPhone X, iPhone XR, iPhone XS, and iPhone XS Max.)
Portrait mode automatically identifies the subject and the background of your portrait photo. Then it blurs the background of the photo. And it leaves the photo’s subject sharp.

Portrait mode is extremely useful for simplifying busy backgrounds.
And Portrait mode creates professional looking background-blur—blur that looks like it was created with a DSLR camera.
To activate Portrait mode, open the Camera app on your iPhone. Then swipe left. Portrait should appear at the bottom of the screen.
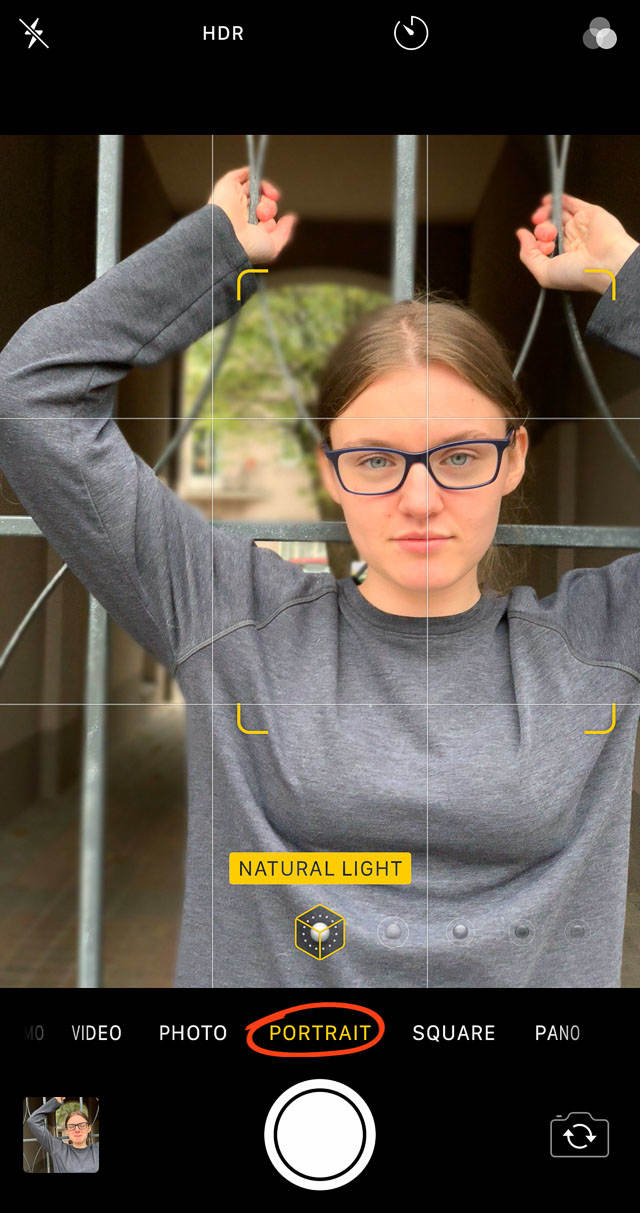
Note: When you use Portrait mode, make sure you position your subject between two and eight feet from your iPhone. Otherwise, your iPhone camera will capture a normal image–one without Portrait mode.
And make sure to position your subject far away from the background. If you don’t do this, the background won’t appear blurred, and the photo will look messy.
Also note: If you have the iPhone XS or the XS Max, you can actually modify the blur effect after you’ve taken the photo.
Here’s how:
Open your photo in your photo library. Then tap Edit.
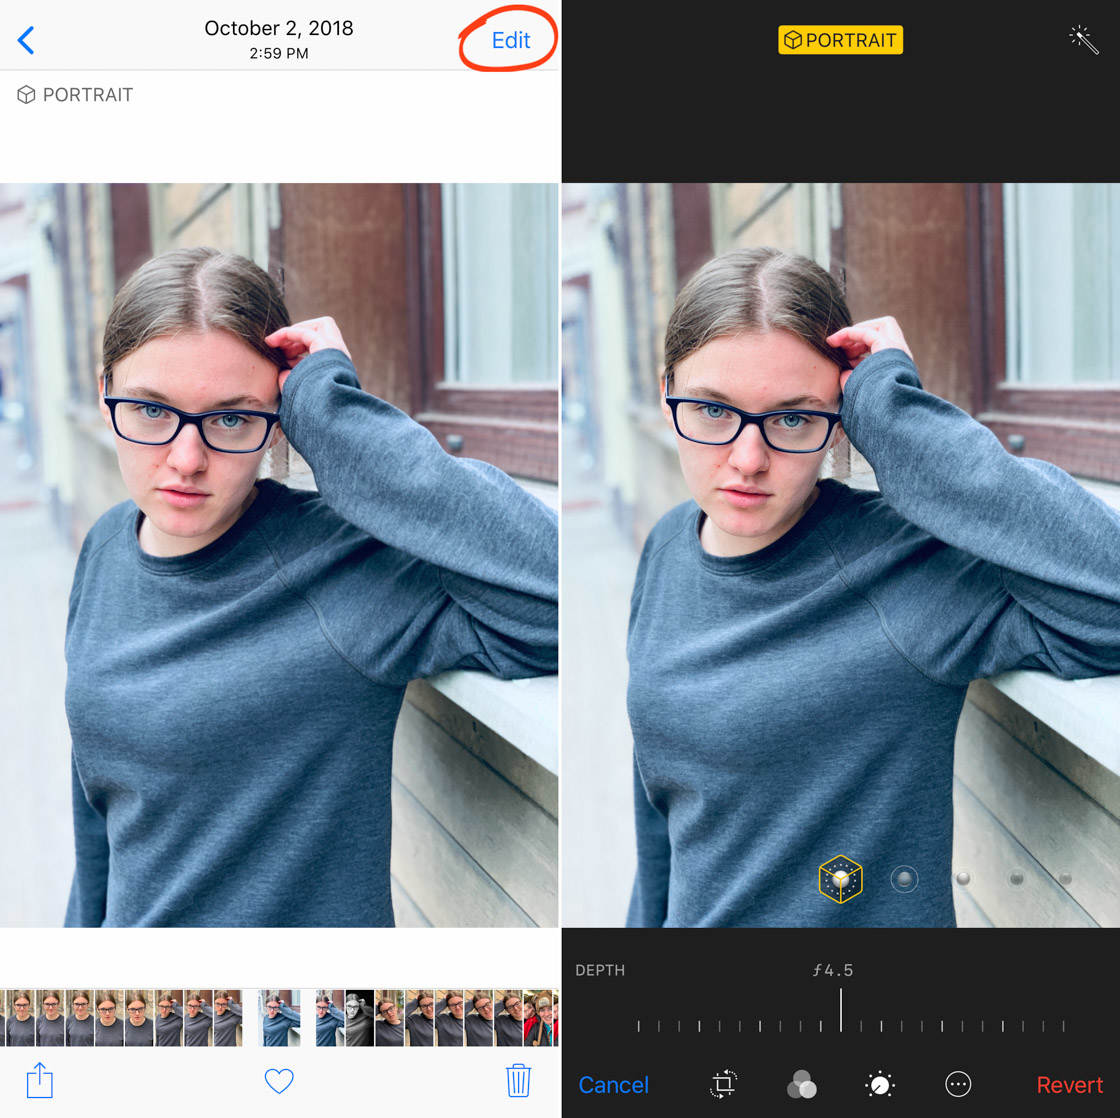
At the bottom of the next screen, you’ll see the option to change the background blur by adjusting the depth slider. You can either swipe to increase the blur—or swipe to decrease it. It’s your choice! Just make sure the amount of blur that you pick enhances your photo.
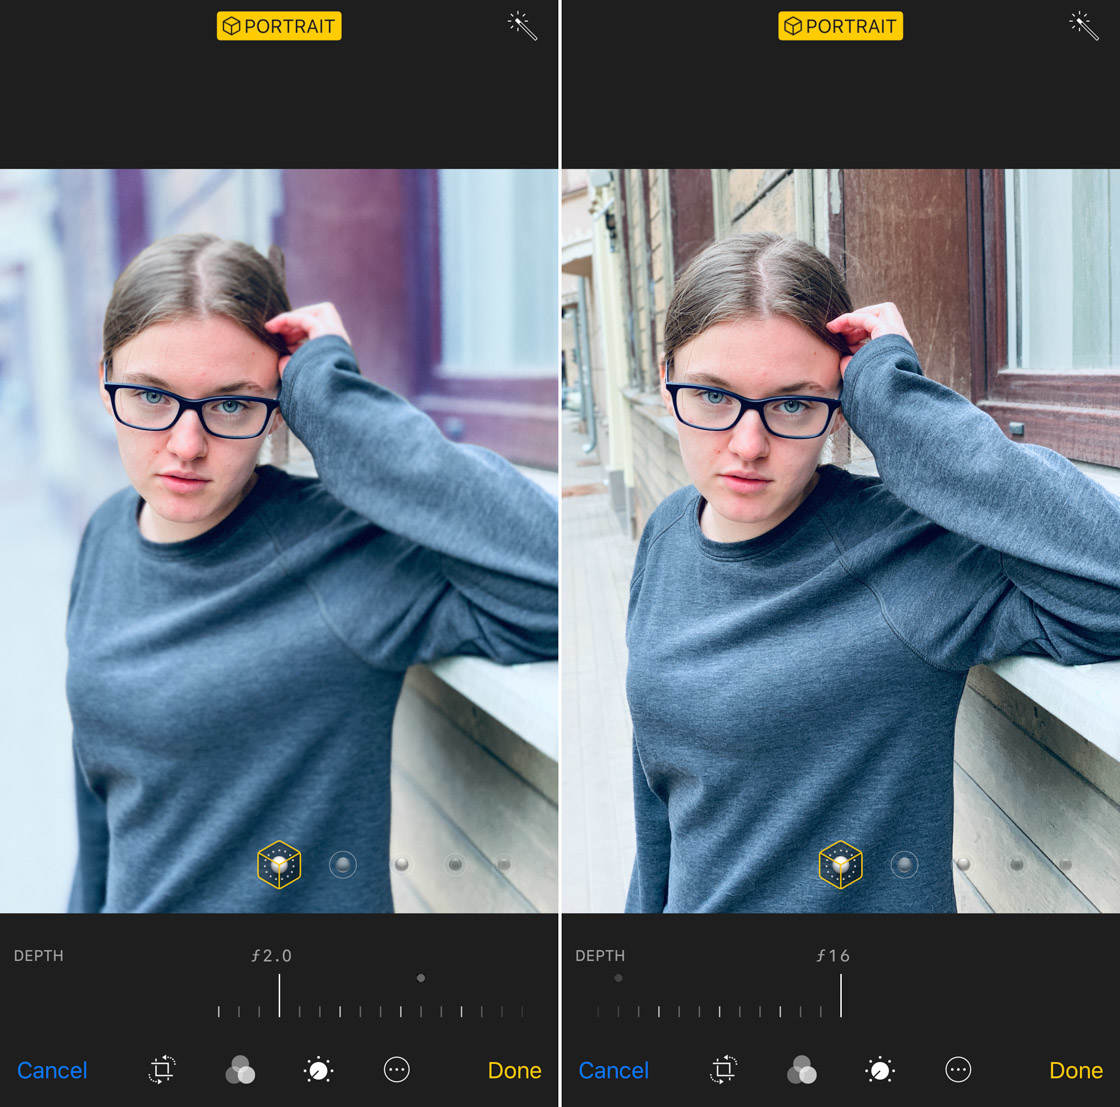
And remember: To capture beautiful backgrounds, use Portrait mode.
4. Shoot With Cloudy Light For Moody Portrait Photography
You want to capture moody portraits.
And you already know the first steps: Make your model feel comfortable. Simplify the background.
But you also need to consider your lighting. Because shooting with the right light is the key to capturing moody portraits.
Fortunately, moody portraits require pretty simple light.
Because the best light for moody portraits is natural, cloudy light.

Let me break that down for you:
First, you want to use natural light for your moody portrait photography. Don’t use your iPhone’s built-in flash. Don’t use any artificial lighting.
Simply use light from the sun. This light will create more natural, softer looking portraits. And that is exactly what you want.
Second, you want to use cloudy light for your moody portraits.
So don’t shoot on sunny mornings. Don’t go out on bright afternoons.
Instead, shoot when the sky is covered in clouds.
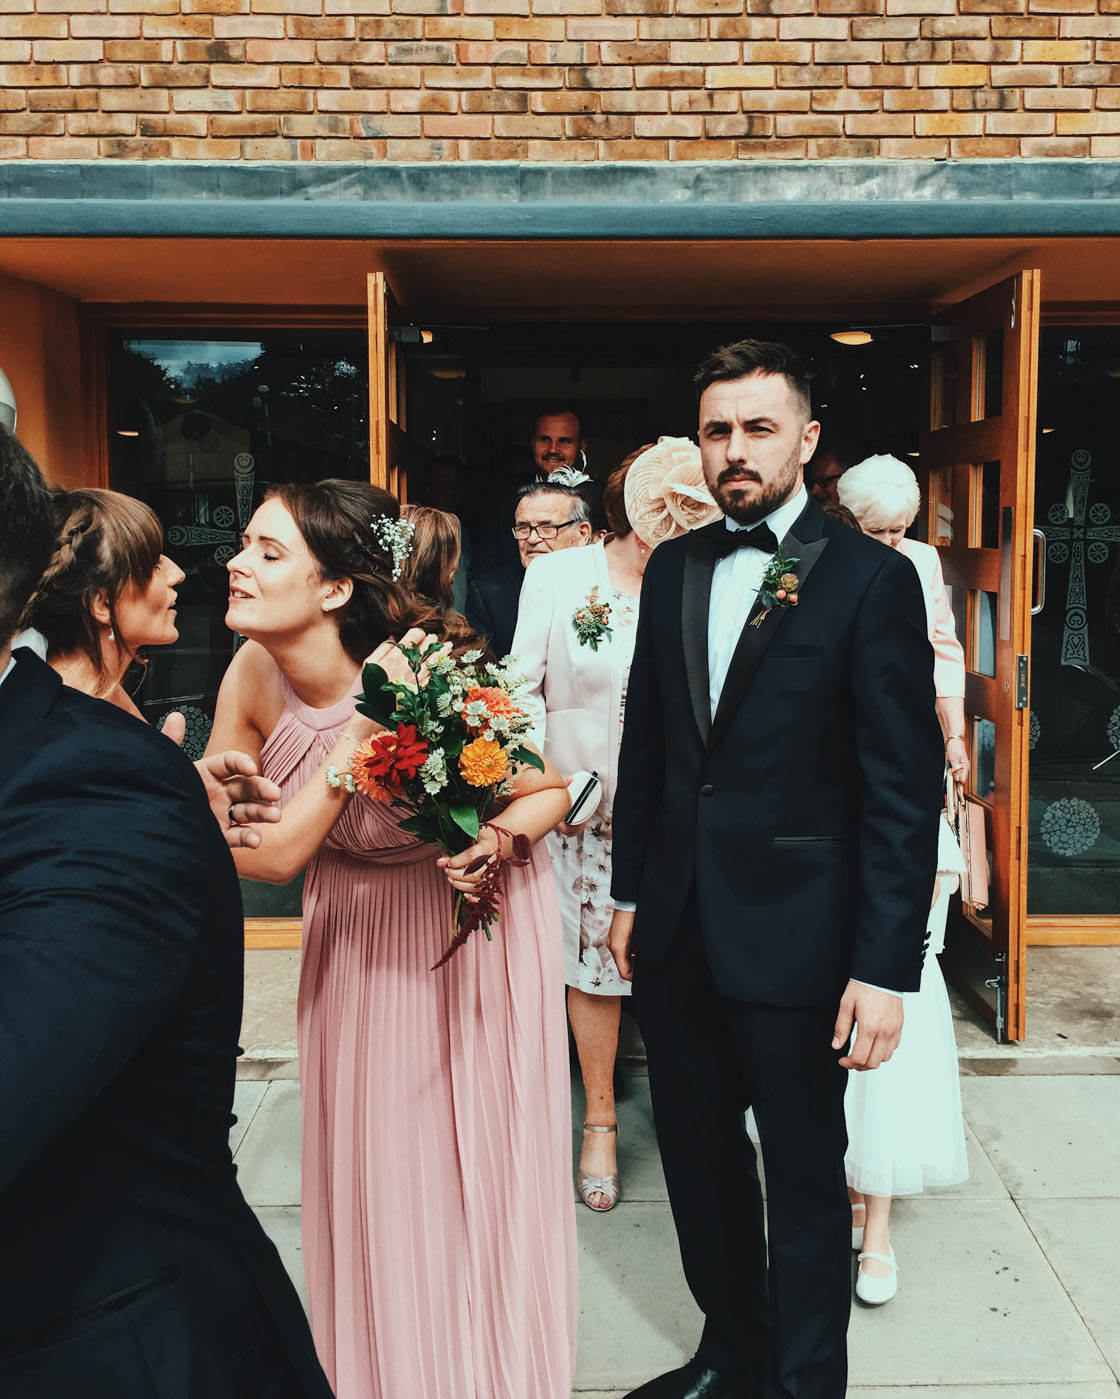
Why is cloudy light so great?
Clouds diffuse the light from the sun. So the light on cloudy days is soft and pleasant. It causes very few shadows—and it’s very flattering.
The cloudy light also makes your portraits moodier. For instance, cloudy light is colder. And it gives your portraits a darker feel.
So if you want moody portraits, shoot under cloudy light.
5. Isolate Your Subject For The Most Compelling Portraits
You’ve identified the perfect light and background for your moody portrait photography. But how do you create a beautiful portrait composition?
Here’s what you do: You isolate your subject.
What do I mean by this?
First, get your subject alone. Make sure that there are no other people in the photo with them.
More people make for a warmer, emotional photo. And this is the opposite of what you want!
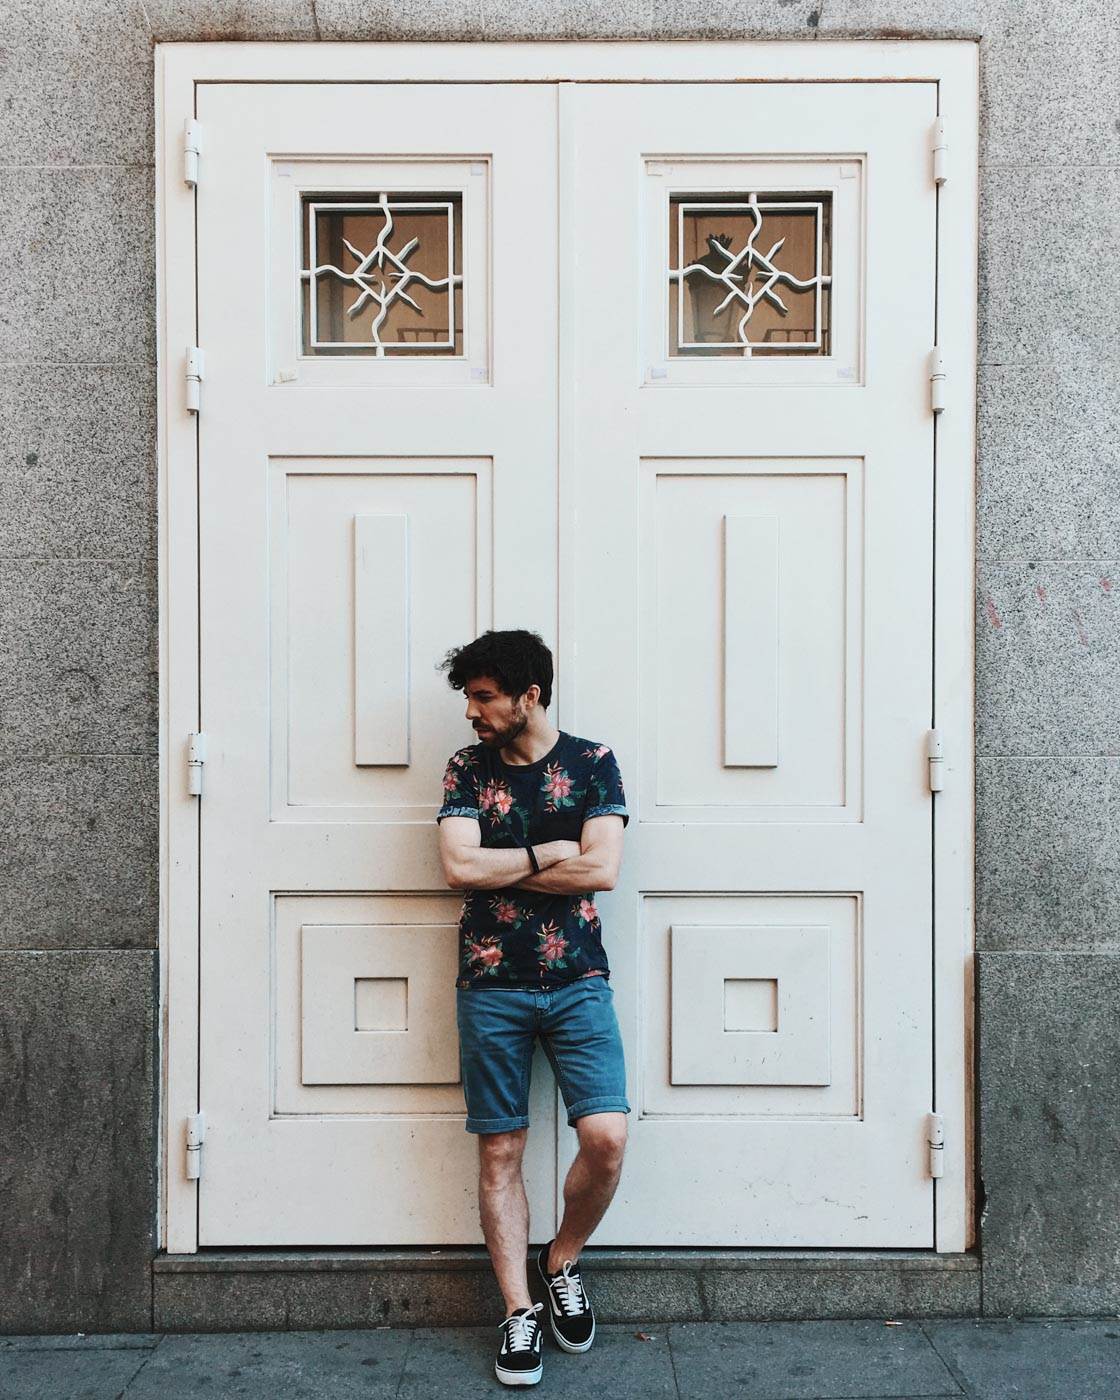
(There are exceptions to this. But it’s far easier to take a moody portrait if your subject is on their own.)
Second, remove all distracting objects from the photo.
If you’ve followed Tip 2, your background shouldn’t have any distractions. But look around your subject for other objects that might draw the viewer’s attention.
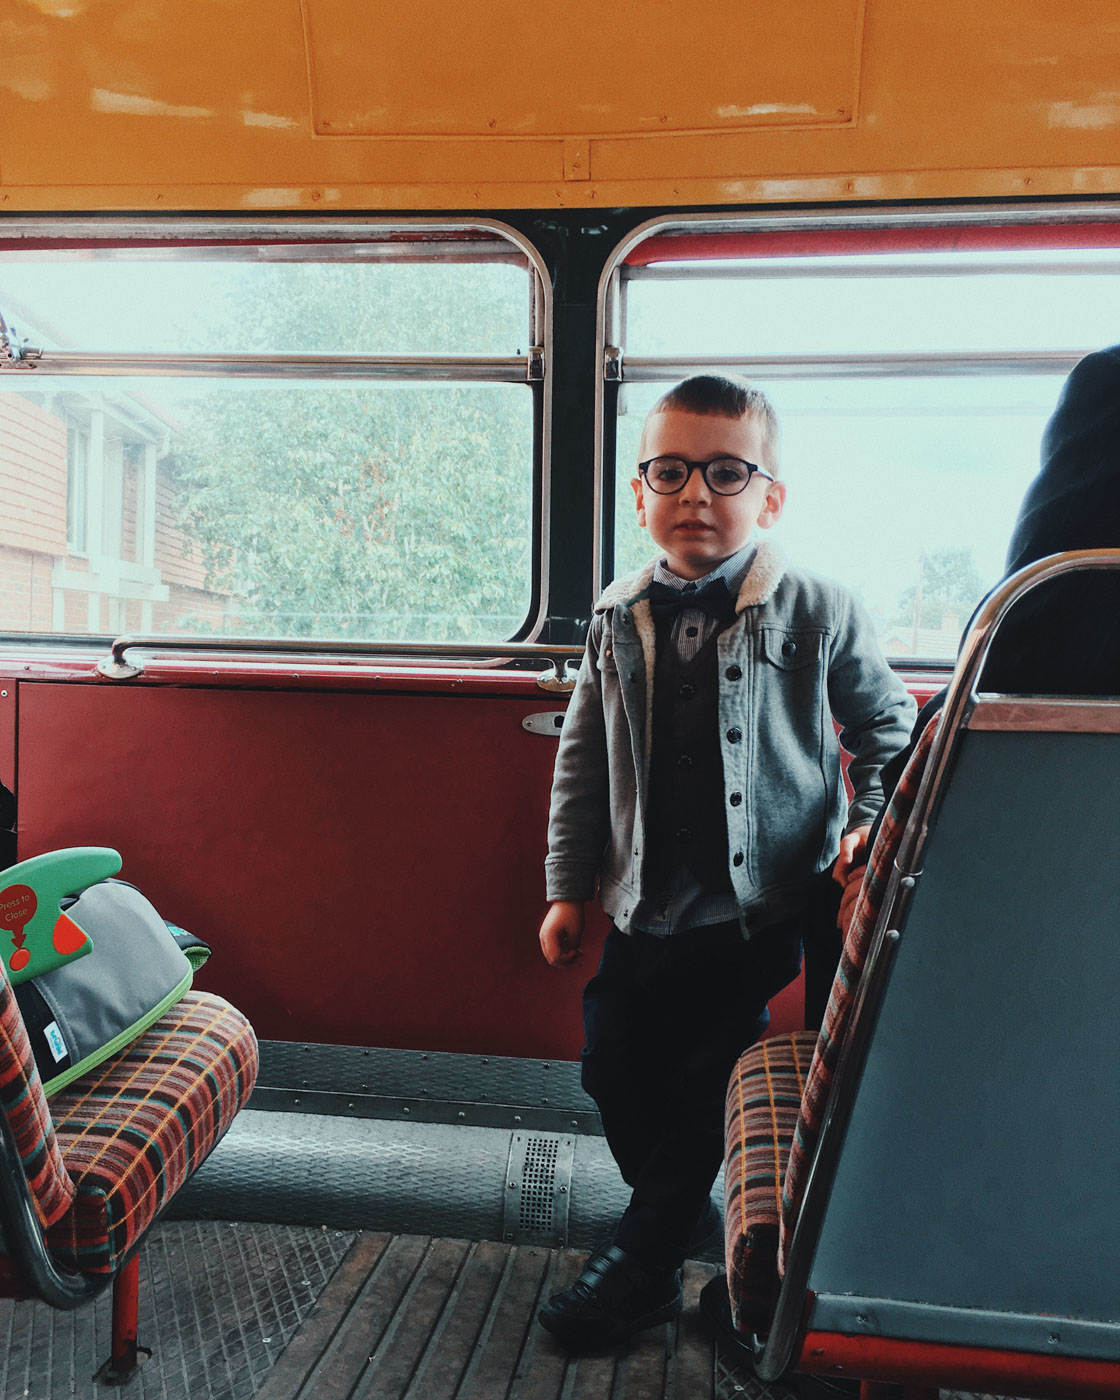
For instance, remove any objects around your subject’s feet (branches, sports equipment, etc.).
When you actually go to take your photo, your subject should be the only prominent thing in the frame.
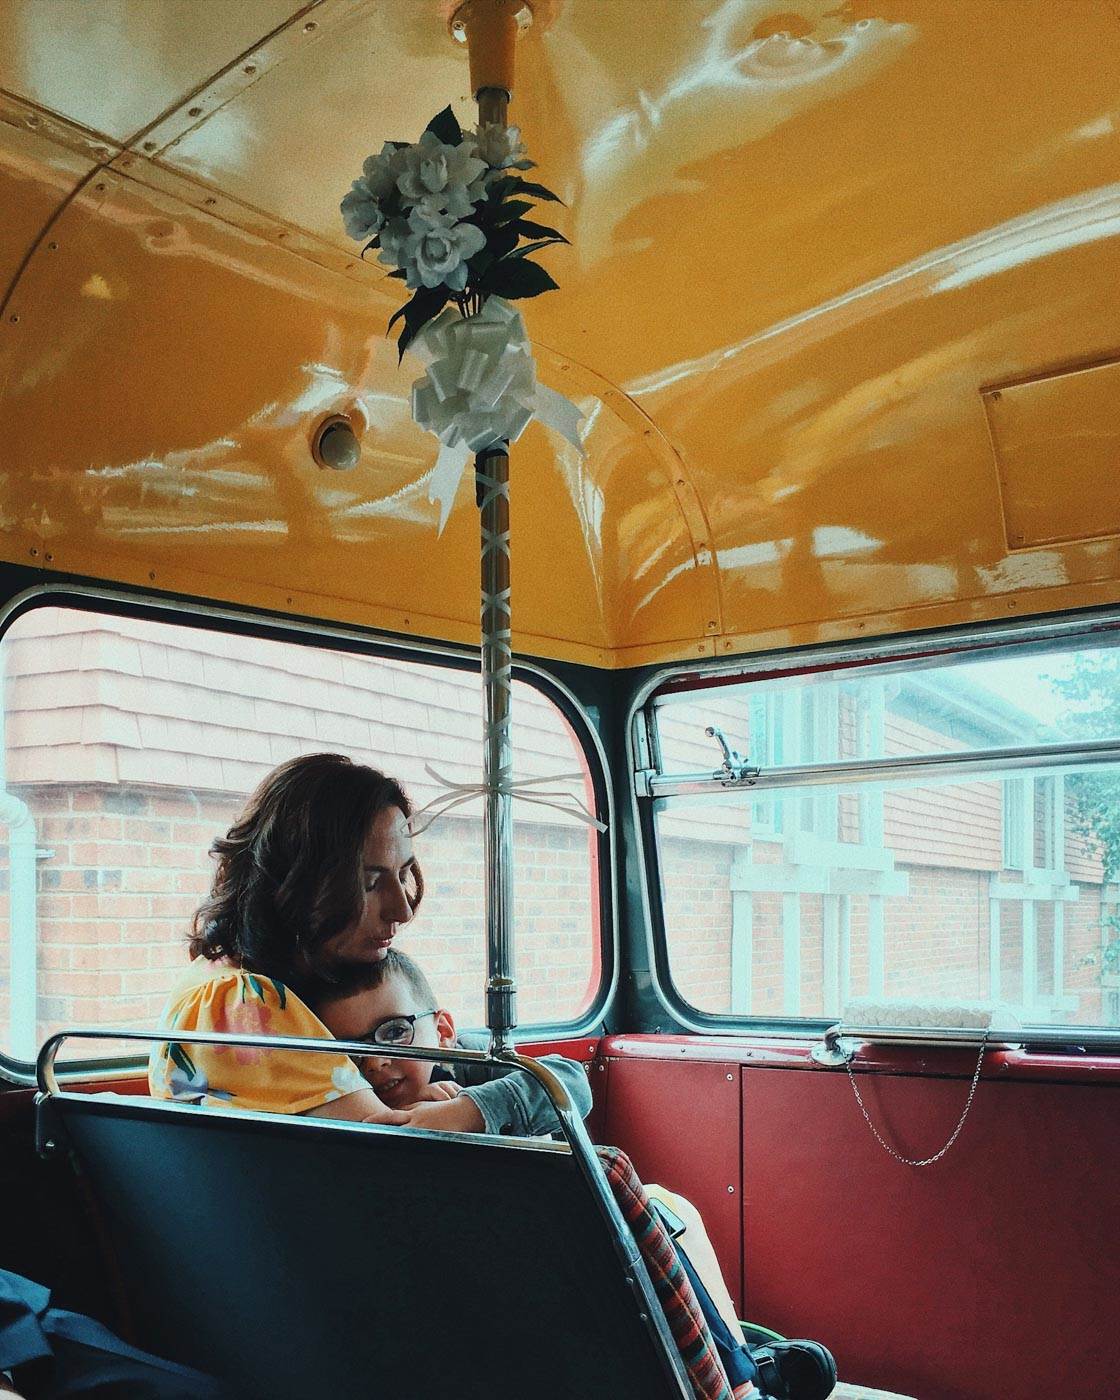
If you can make this happen, your photo will have a greater sense of darkness and mood.
Which is exactly what you want!
6. Direct Your Model For The Moodiest Poses
If you want to create truly moody photos, your model has to play the part.
And you, as the photographer, have to direct them!
Fortunately, it’s not difficult to give your models a moody look.
Start by asking your model to bring their chin slightly downward. This will make them appear more angular.
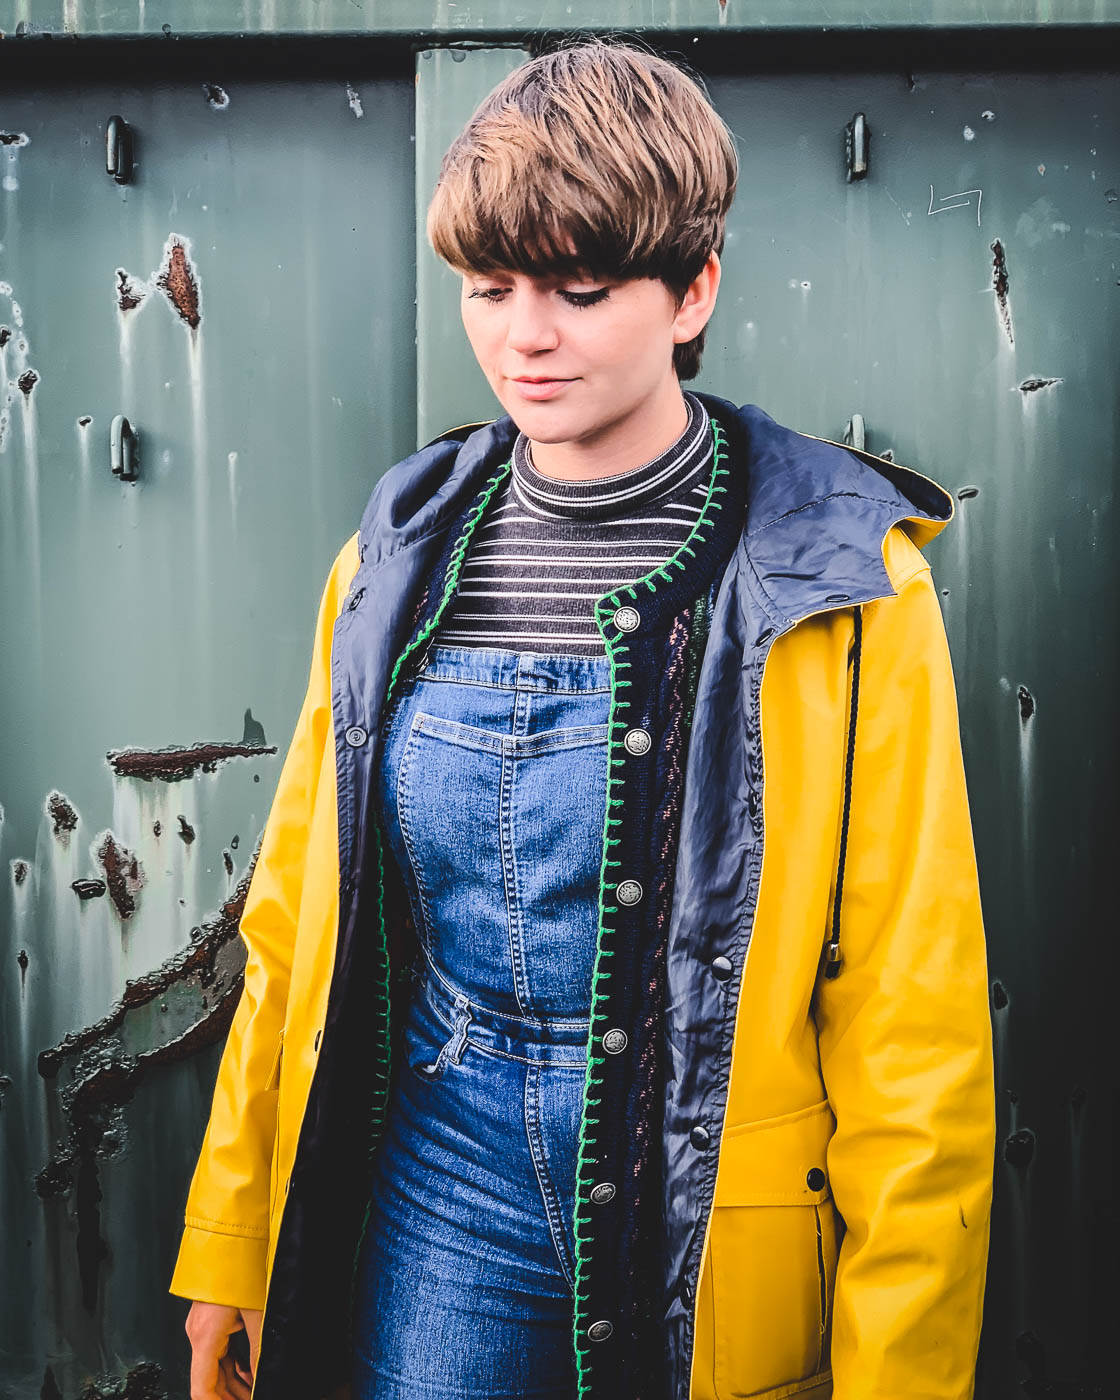
Then ask them to do something with their arms. For instance, they can brush their hair back, or put their hands in their pockets. You can even have them play with a prop of some sort.
(If your model is a bit nervous, try having them cross their arms. It’s an easy position to pull off and will still give you moody photos.)
Finally, the most essential tip of all: Tell your model not to smile.
If your model smiles, it immediately makes the photo appear much happier. And that’s not what you want.
You want an intense expression. So ask your model not to smile—and have them squint their eyes slightly.

Another tip: Make sure your model always has their eyes follow their nose.
In other words, if your model is facing the camera, then they should look at the camera. And your model is facing to the side, then they should look to the side.
Why is this important?
If your model’s eyes and nose aren’t aligned, you’ll see the whites of their eyes—which isn’t flattering. And the look is far less intense.
So make sure to direct your model!


Leave a Reply
You must be logged in to post a comment.