Do your landscape photos look busy and messy with too many competing elements? If so, you should try your hand at minimalist landscape photography. With a few simple techniques, you can simplify the scene to create clean, fresh and compelling landscape photos that will instantly catch the eye. In this article you’ll discover 10 easy ways to create beautifully crafted minimalist landscape photos with your iPhone.
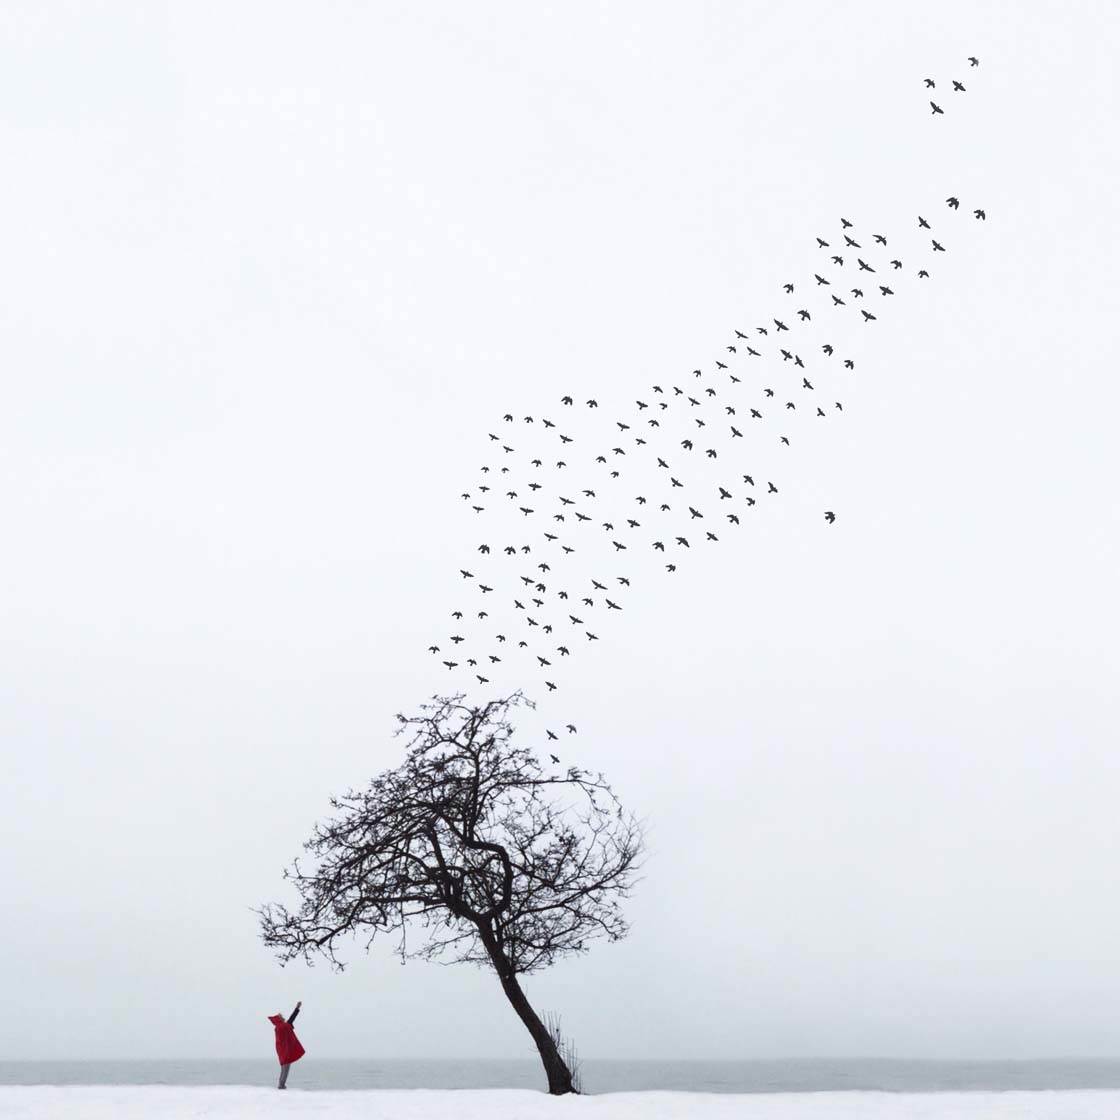
1. Find A Simple Landscape
A simple landscape is the best option for getting started with minimalist photography. When you’re out and about, scan your surroundings for scenery that has just a few elements.
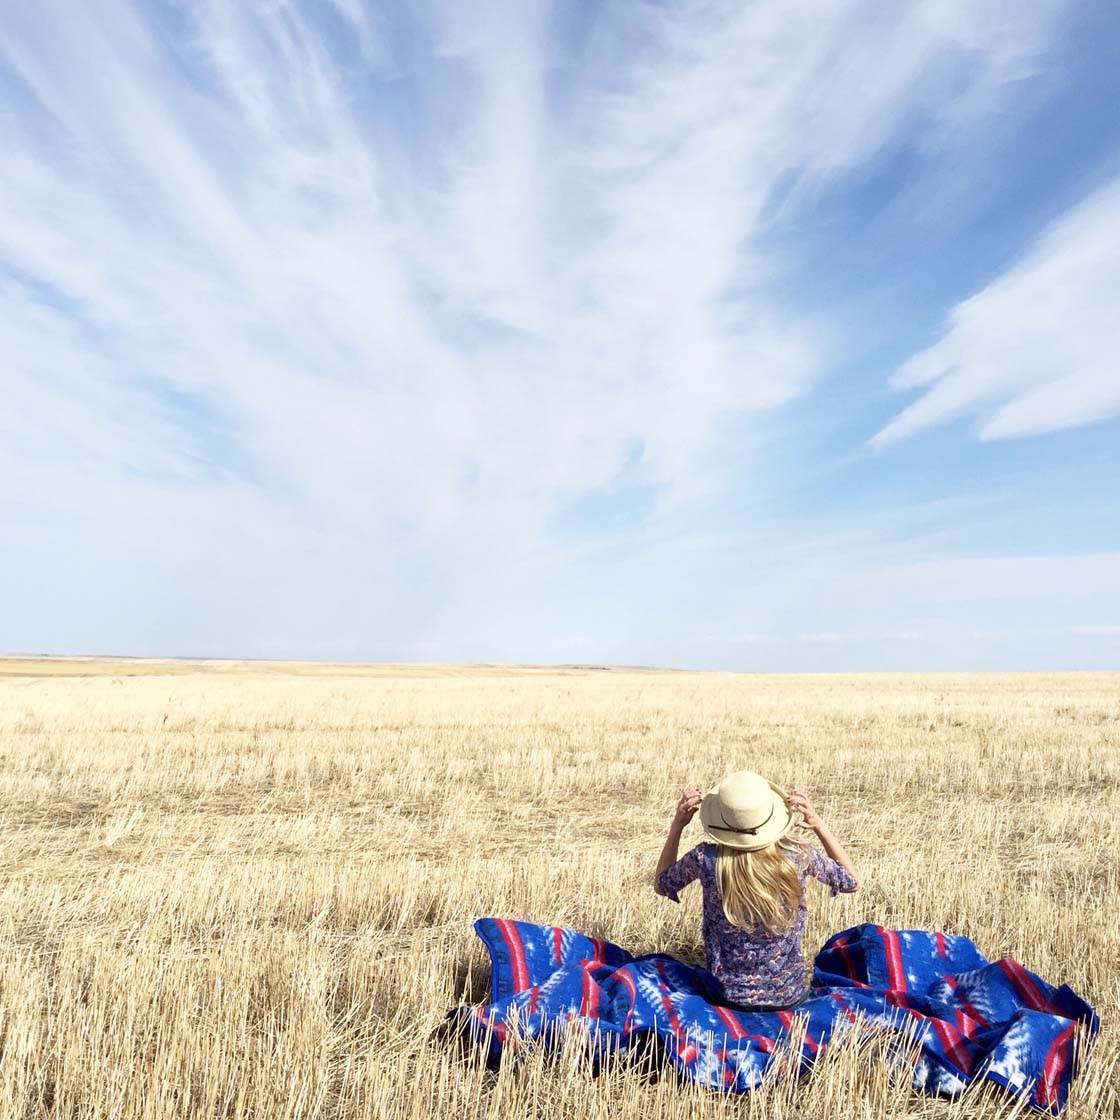
A simple field and blue sky is perfect. A small hill or rocky outcrop could also work well. Or try shooting around large expanses of water such as the ocean or a lake.

Try to avoid busy landscapes where there are lots of visual elements within the scene. If you must shoot in a busy landscape, there are certain techniques that you can use to eliminate distractions, and we’ll look at some of these tricks in this tutorial.
2. Include A Focal Point
Although minimal landscape photos don’t have a lot of parts to their composition, they should still have an object of focus – otherwise known as a focal point.
Whether it’s a person, a standout bit of nature, or a man-made object or structure, the eye should immediately be drawn to a specific part of the photo.
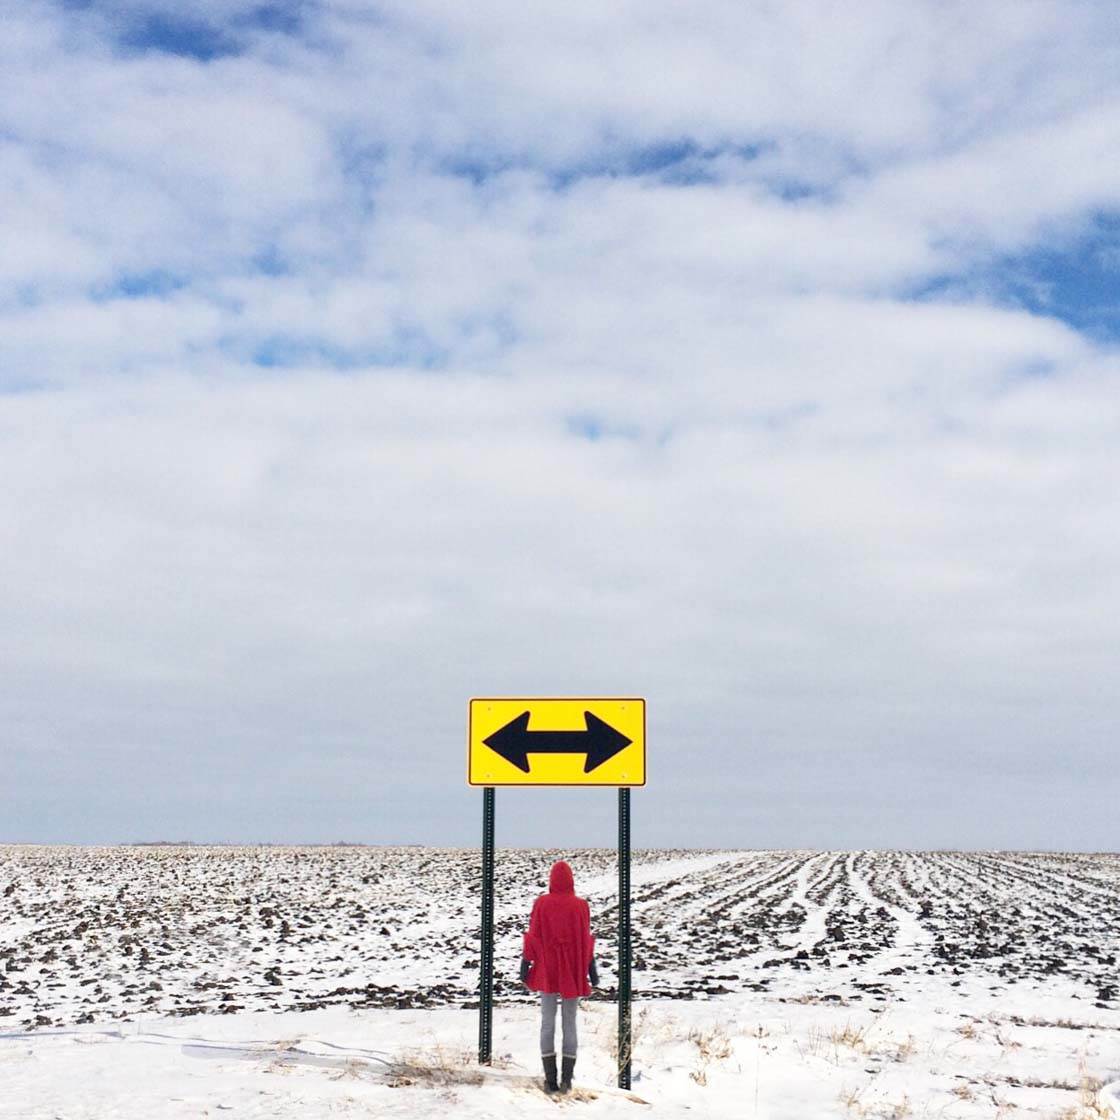
So once you’ve found a suitable landscape to take your picture, look around for an interesting object that you can use as your focal point. You can then start to build your composition around this main subject.
A person will make a great focal point in minimalist landscape photos, so it’s a good idea to take along a friend or your kids, and ask them to pose in the scene. Alternatively, take an iPhone tripod so that you can appear in the photo yourself.
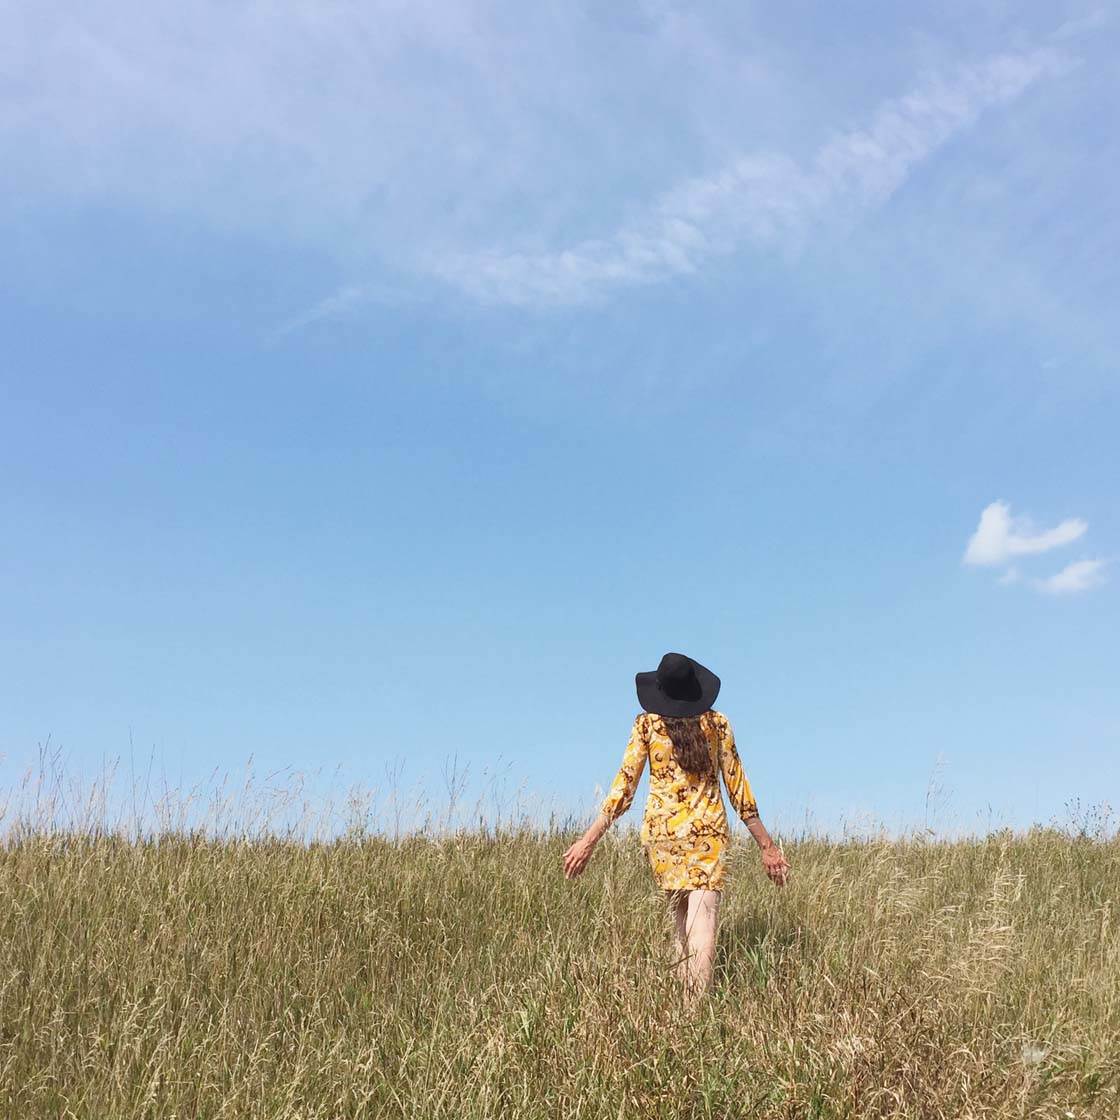
After your photo shoot, take a look at your images and pay attention to where your eyes are drawn to.
Does it feel as if your eyes are searching the scene, or do they immediately settle on a particular area of interest? If your eyes spend too much time searching, perhaps your focal point isn’t strong enough.
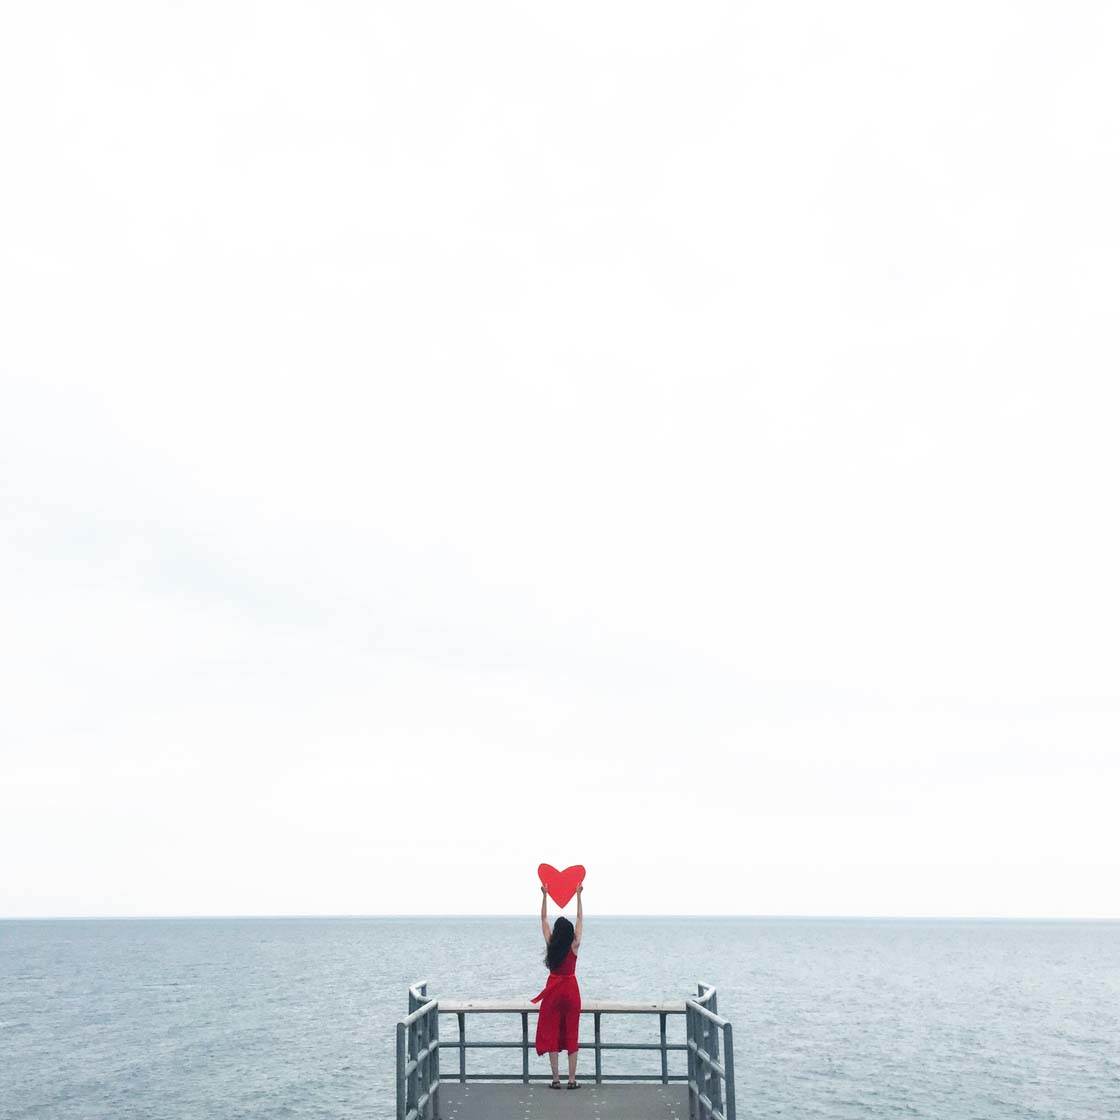
It’s always a good idea to return to the same scene and shoot another set of photos. Each time, you’ll become more aware of objects that you could use as your focal point.
3. Find A Lone Tree
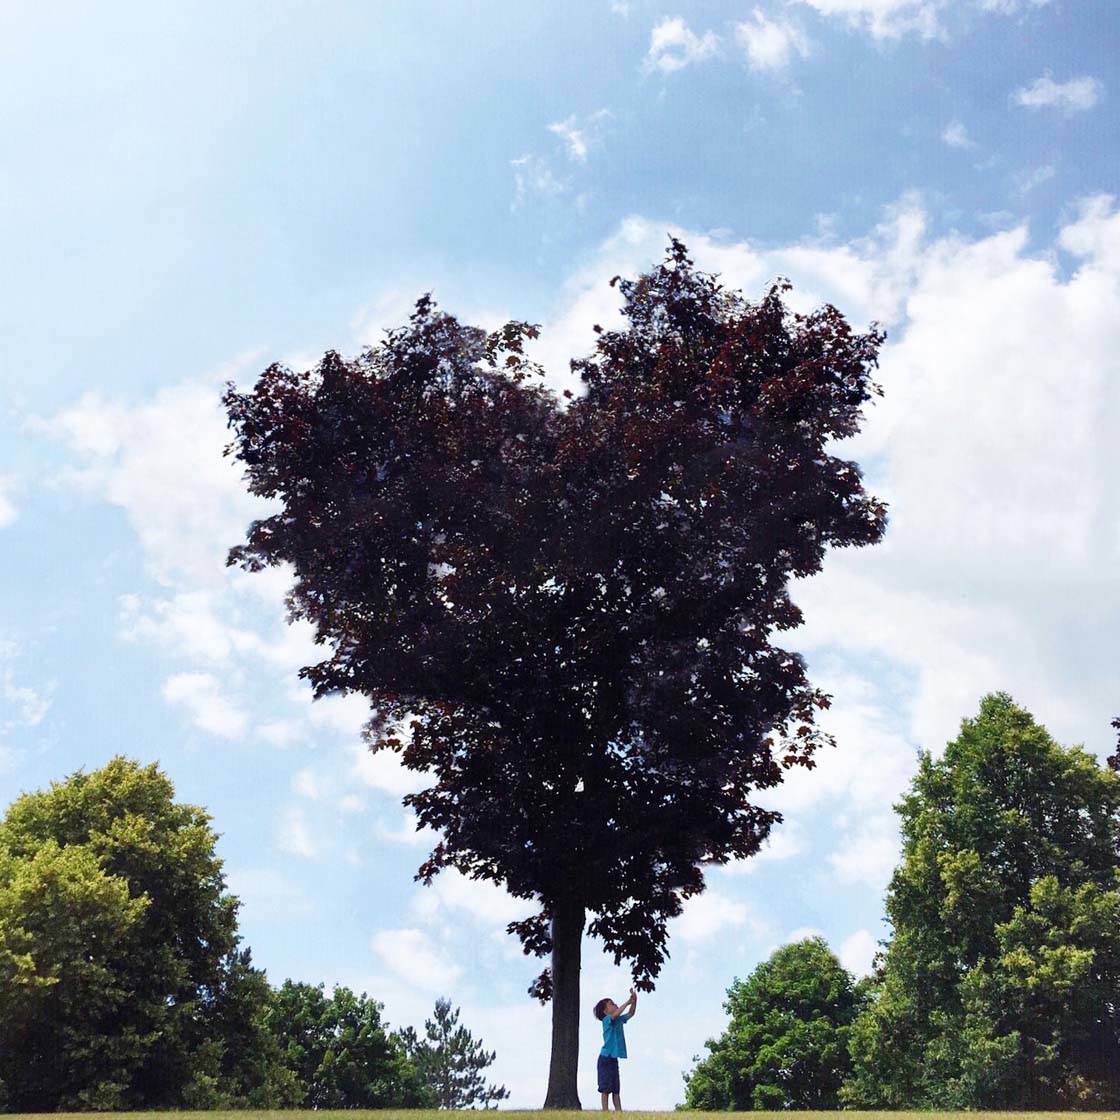
A lone tree will always make a great focal point in a minimal landscape. Their lovely shapes will add wonderful detail and interest to an otherwise empty landscape.
They can also seem to take on an almost human-like quality, evoking emotions in the viewer and helping them to connect with your image.
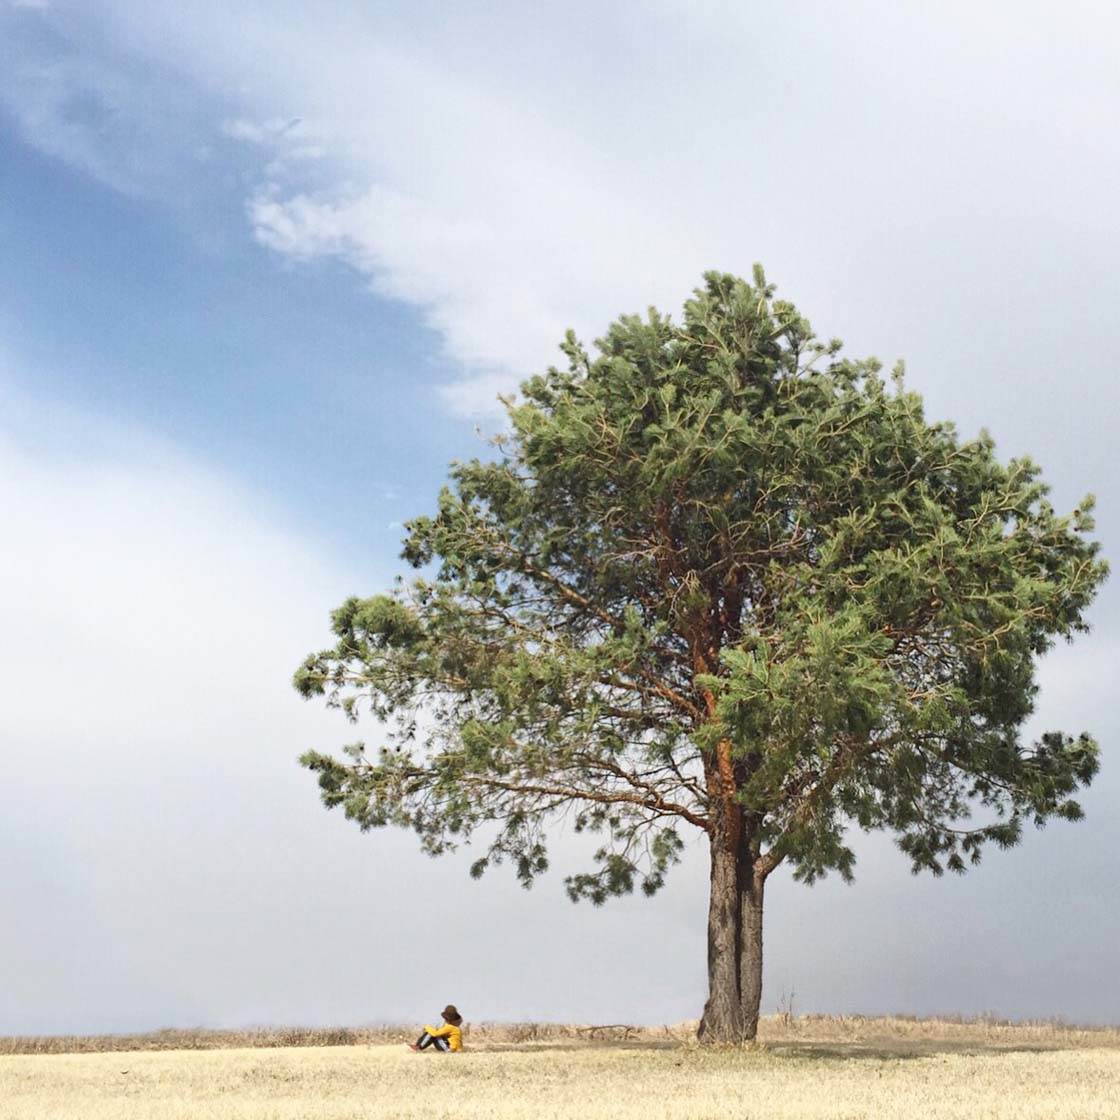
When you’re out in nature, keep your eyes peeled for single trees in open space. If you’re shooting in a busy landscape, try getting closer to the tree to eliminate the surrounding distractions.
Experiment with your shooting angle and composition until you achieve a clean minimal image with a strong focal point. Shooting from a low angle will allow you to get more plain sky behind the tree.
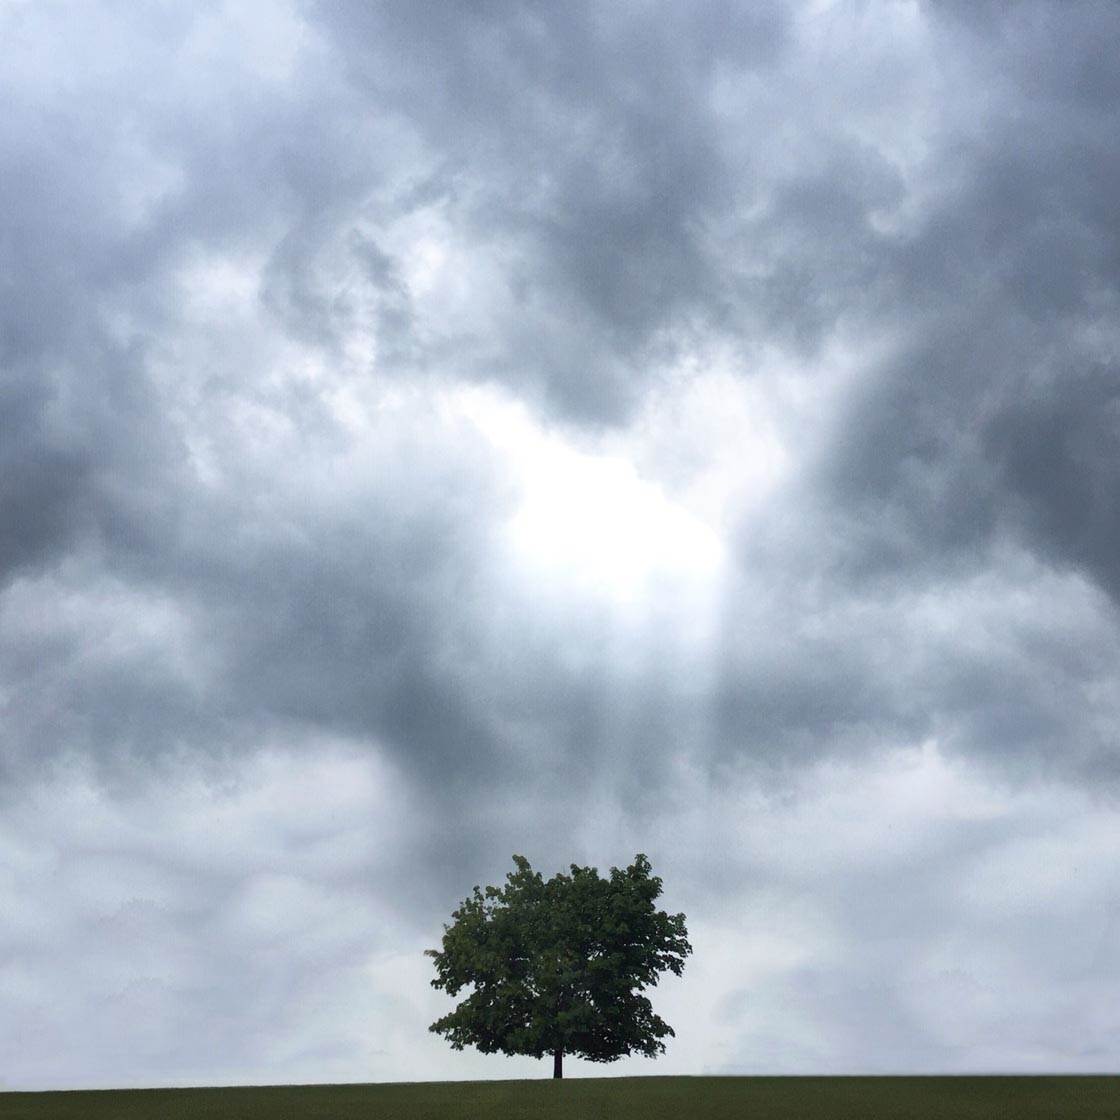
I personally like the look of a photo with a large quantity of sky and a little bit of land at the bottom of the frame.
While a lone tree makes a great image on its own, adding a person or a fun prop into the scene will create an extra element of interest. It can also help to add a sense of scale and tell a more compelling story.
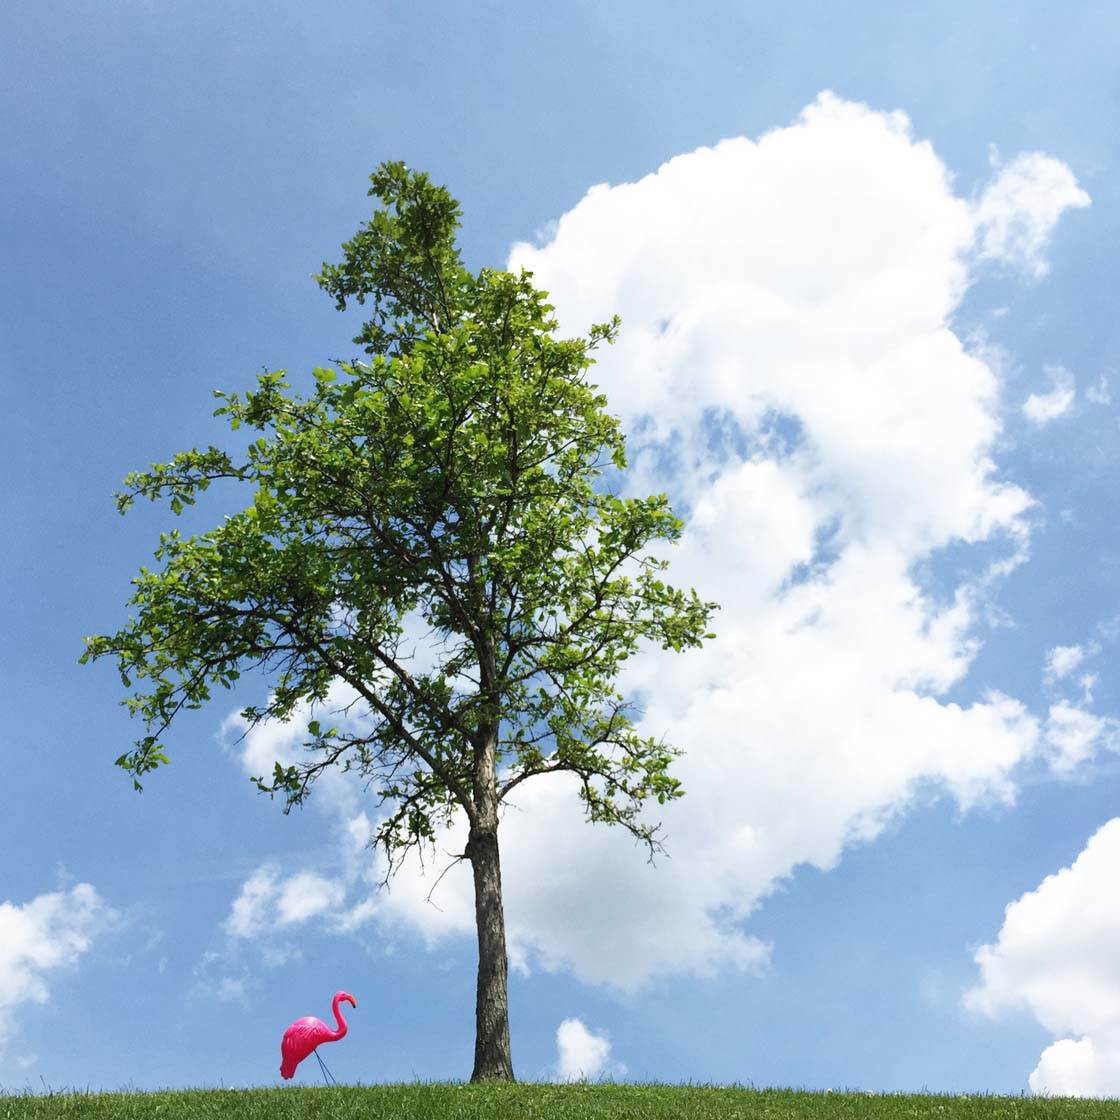
And once you find a photogenic solo tree, it can be fun to visit it throughout the seasons to document its change.
4. Include A Lot Of Sky
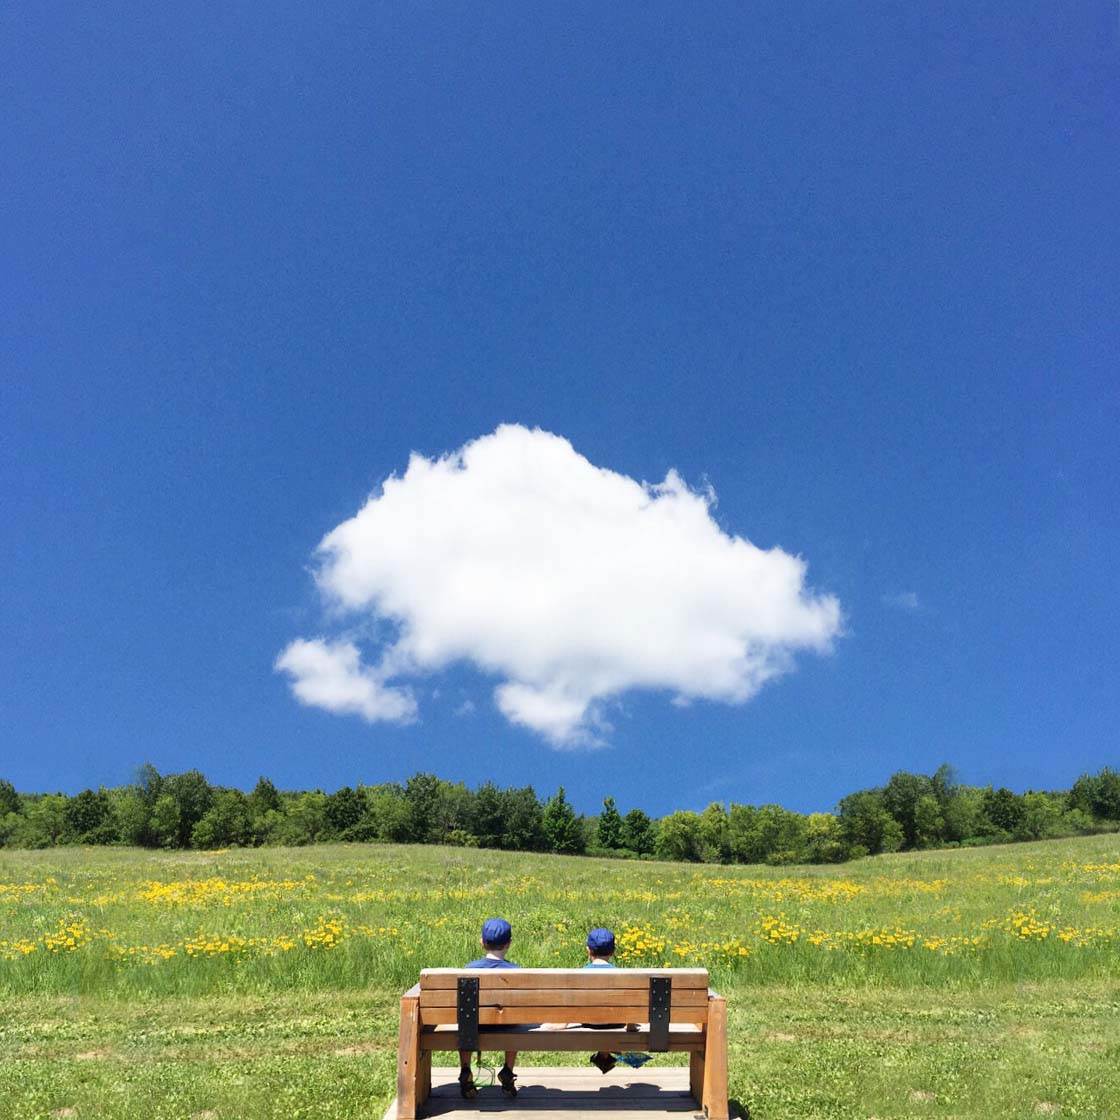
Minimalist photos tend to include a lot of negative space. Empty space in a photo helps to create a clean and crisp feel. It also draws attention to the main subject because nothing else is competing for attention.
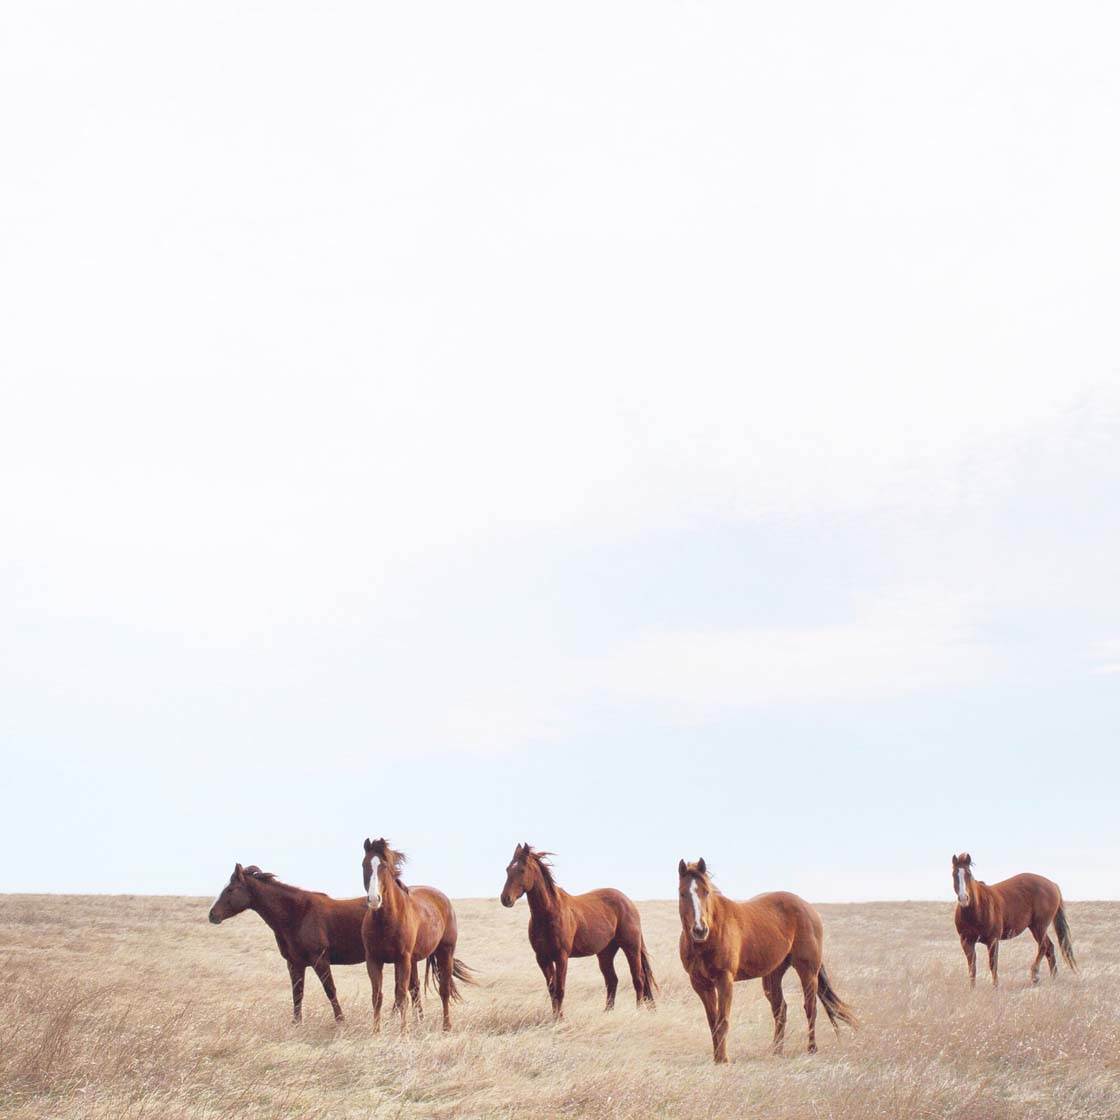
Shooting from a low angle allows you to get more sky in your photo. Alternatively, have your subject stand high on a hill while you shoot from below.
When you point your iPhone at the sky, you’ll need to consider the lighting and the direction of the sun.
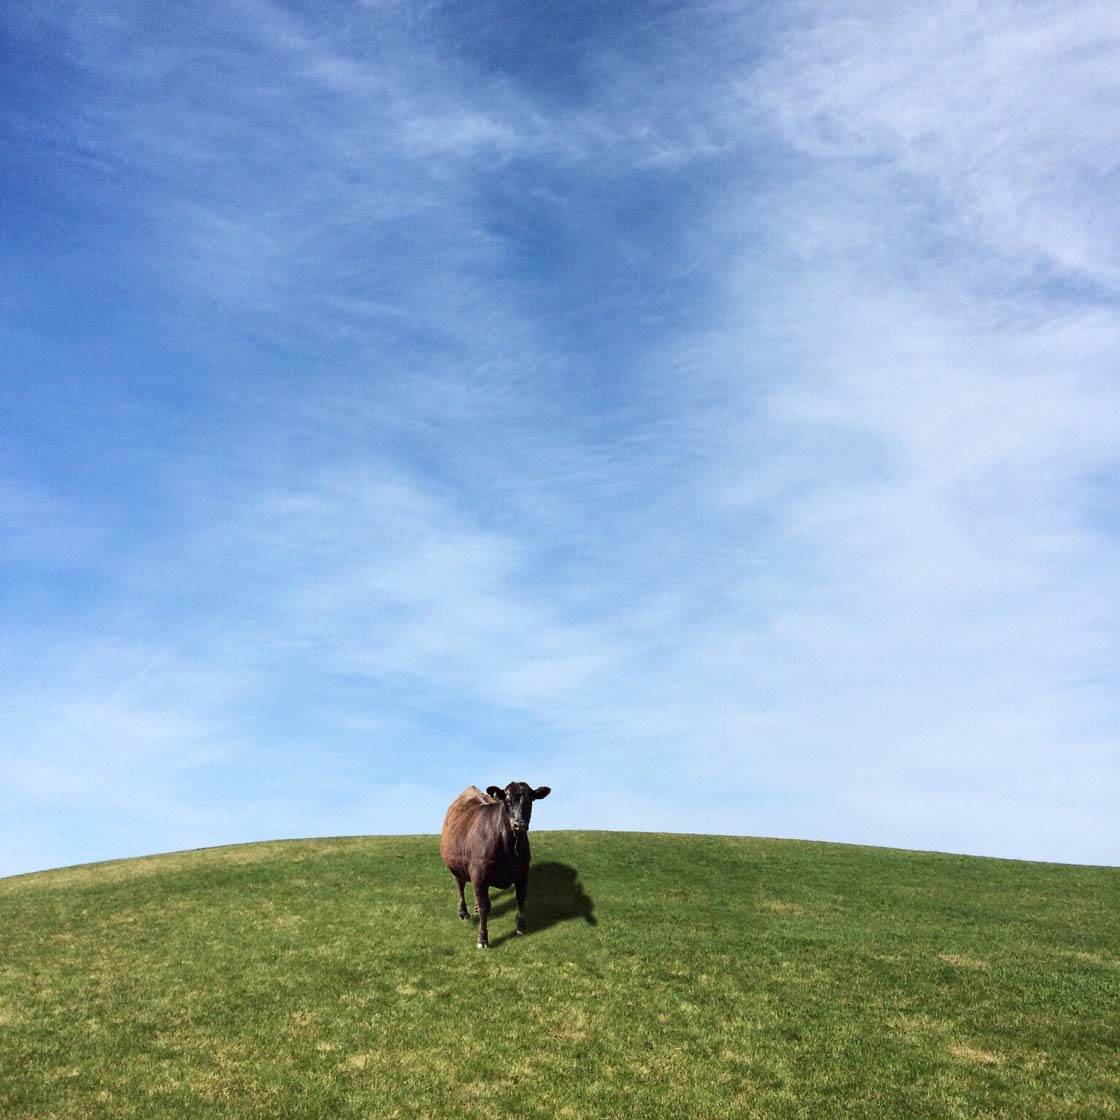
If you shoot with the sun behind you, your subject will be well lit and you’ll be able to make out the colors and details in the scene.
If you shoot directly into the sun, your subject will be backlit which will make them appear as a dark silhouette.
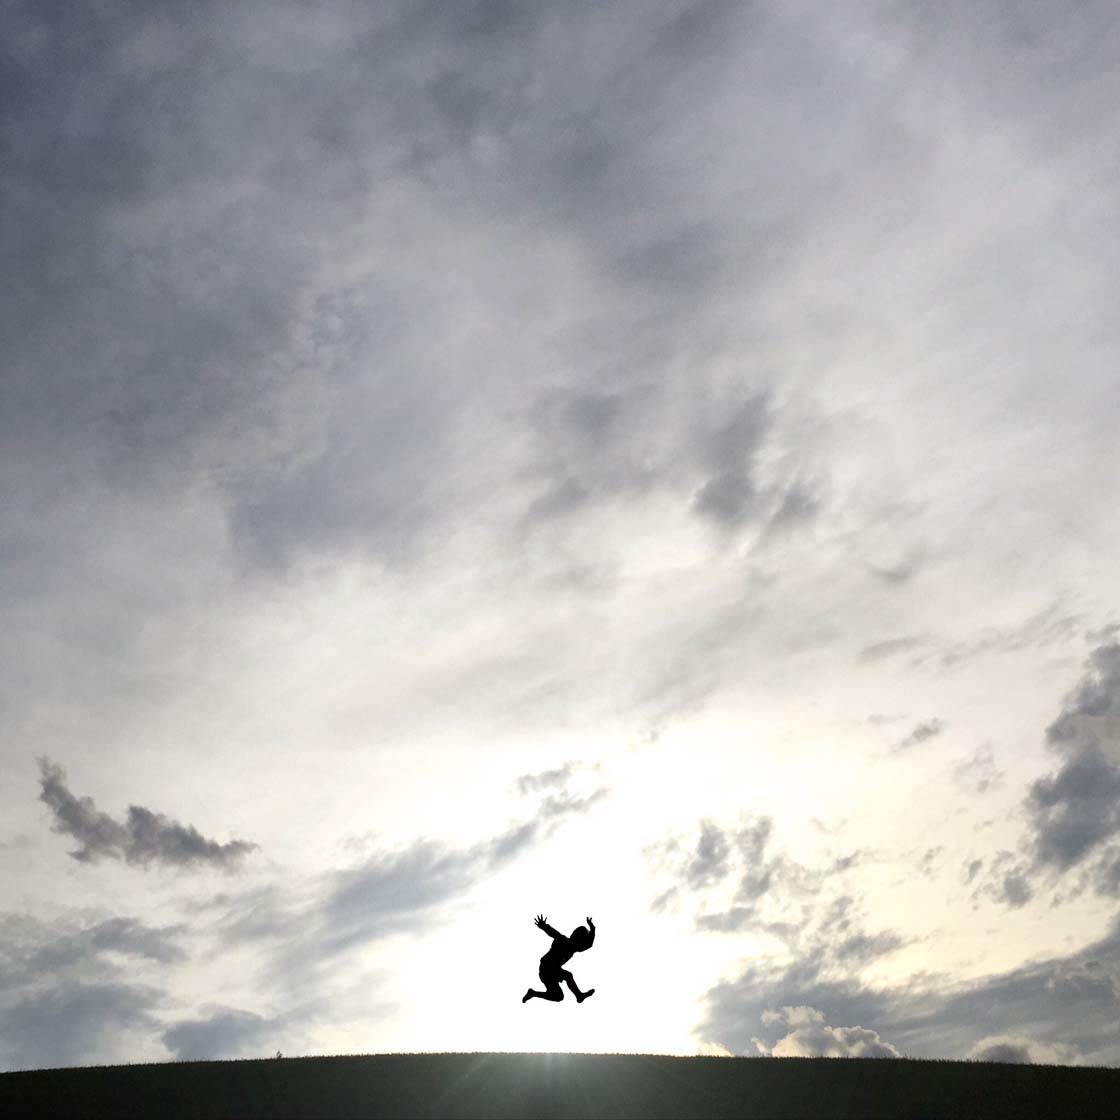
While the color and detail of your subject won’t be visible, a silhouette can add a fantastic sense of drama to your photos.
It can be fun to put your subject on top of a hill and then try shooting from both sides of the hill to see the difference.
5. Look Down
Shooting from a high angle allows you to use just the ground as your backdrop. This technique is great when you’re shooting in a busy landscape as it will eliminate the distracting background.

Using the ground as your backdrop can also add wonderful texture and color to your images. Try using pebbles on a beach, bright green grass or a field of golden crops. Or you could shoot down onto beautiful blue water.

Make sure you include a focal point, such as a person, an interesting object, a duck swimming on the water, etc. It can also be fun to play with shadows, reflections and light in this situation.

Make sure you experiment with your shooting angle as a slightly different viewpoint can completely change the look and feel of your photo.
6. Shoot in Snow
Using snow as a background is one of my favorite techniques. It creates a lovely blank slate! In fact, people often mistake my iPhone snow photos for in-studio professional shots.

I like to shoot on cloudy days where the landscape and background become one. I also like to shoot straight down onto the snow.
I often just stand on our elevated deck in the back yard, and photograph my subject from above.

After tapping to set focus on your main subject, adjust the exposure level (image brightness) if necessary by swiping up or down on the screen.
A lot of bright snow can trick your camera into under-exposing the shot, so you often need to increase the brightness in these conditions.

Don’t forget that you can tweak the exposure further in post-processing. Just use your favorite editing app to adjust the brightness levels and contrast. You’ll be surprised at how much an exposure increase can clean up the snow.
7. Shoot In Fog
Fog is also great weather for shooting minimalist landscape photos as it completely transforms the scenery. It will hide dark and distracting backgrounds, creating a white or light backdrop for your subject.

It provides a sort of clean slate against which you can photograph your chosen subject. It can also create a wonderfully calm, serene or mysterious atmosphere in your images.
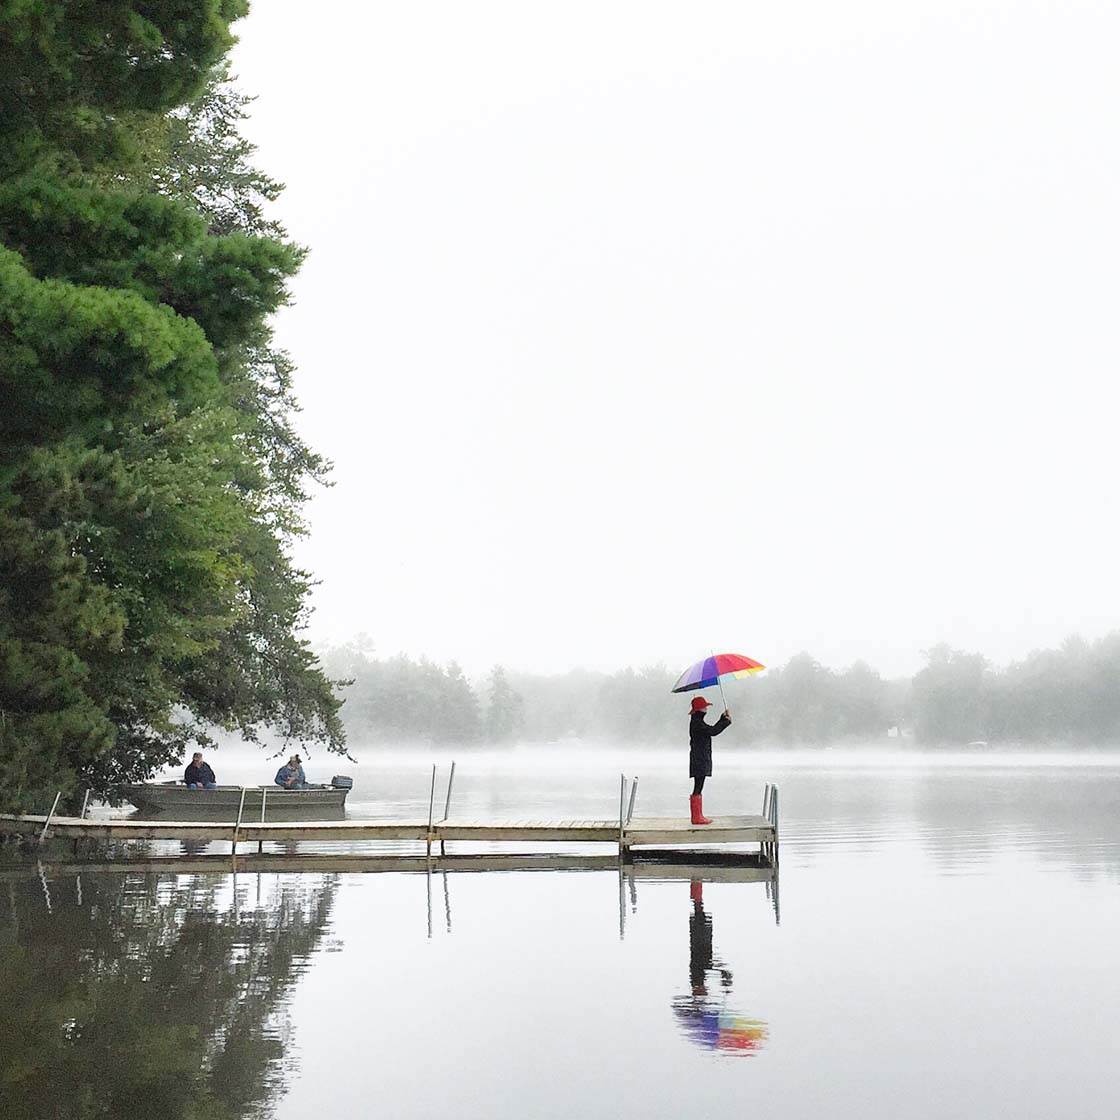
When shooting in fog, you can create a strong sense of depth by including trees at different distances. The further away they are, the more they’ll fade into the fog.
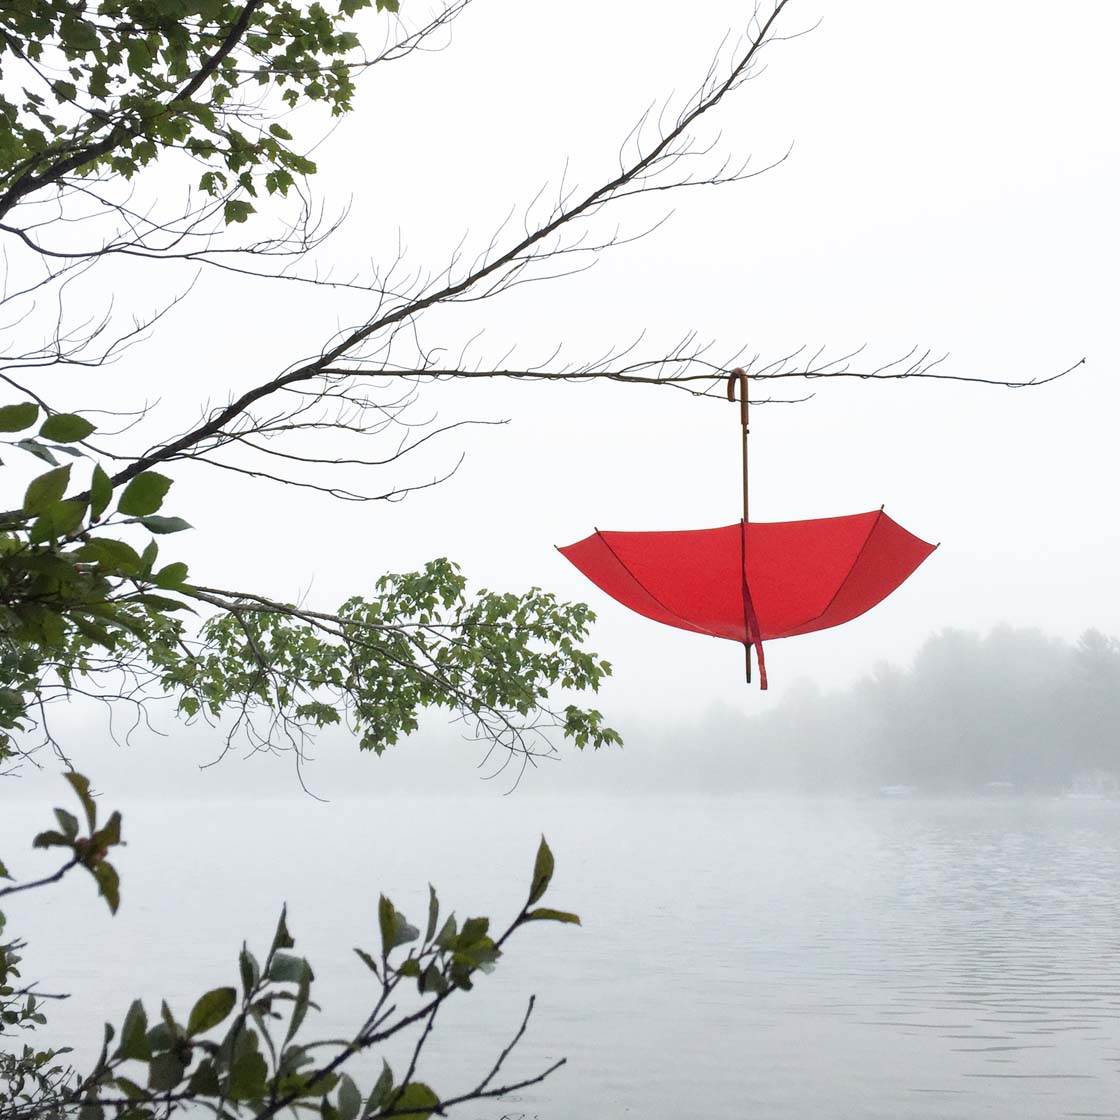
Just as when shooting in snow, be sure to increase your exposure if necessary. You can do this at the time of shooting, and also afterwards in post-processing.
8. Add A Pop Of Color
Once you’ve found a background that’s uniform in color, like snow, water or a field of grass, try adding a pop of color to your image.
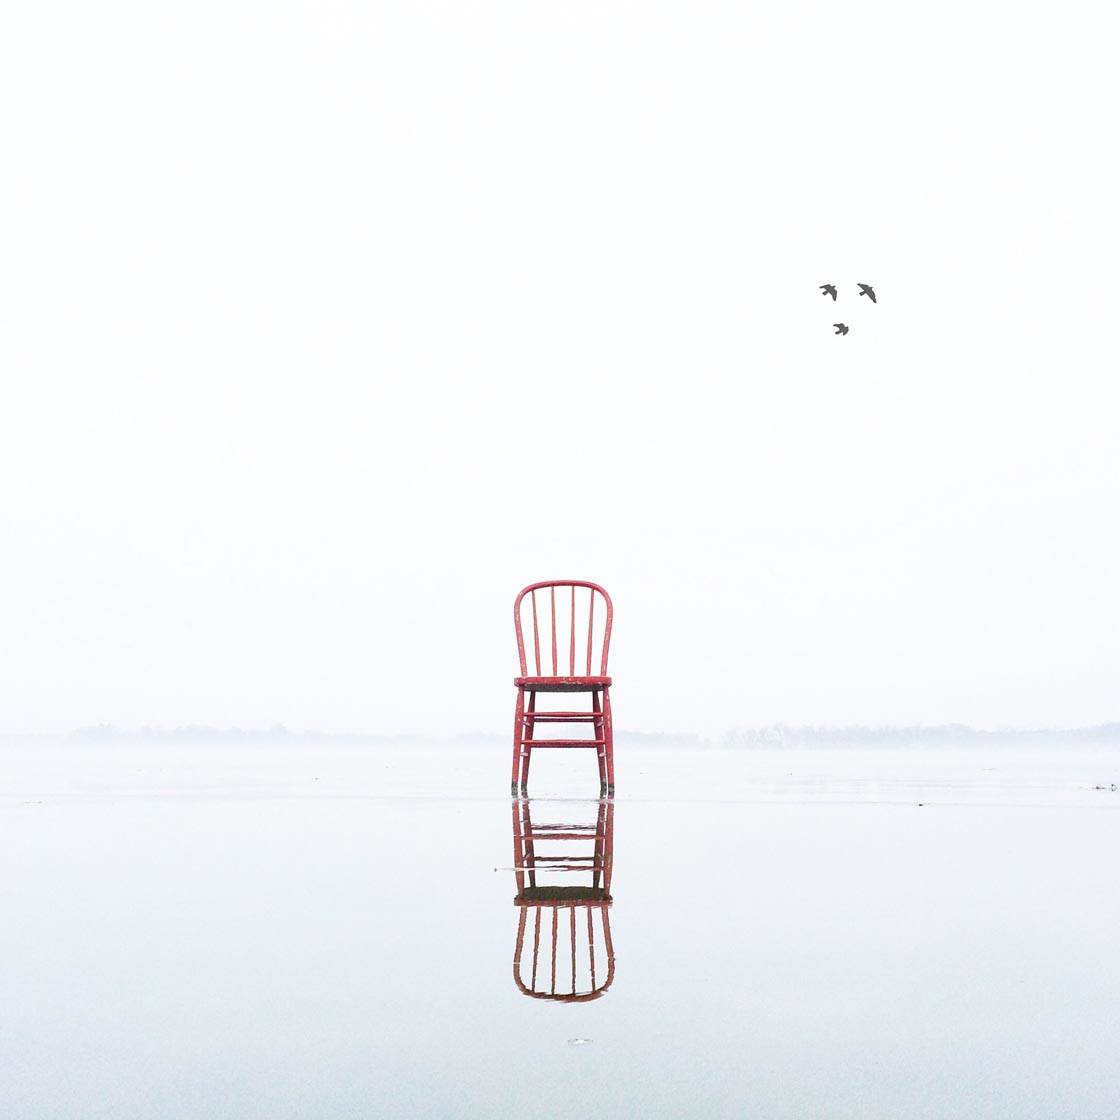
The easiest way to do this is by using colorful props or clothing. A brightly colored umbrella is always a great option. You could even use a small painted chair like I did in the photo above. Be as creative as you like!
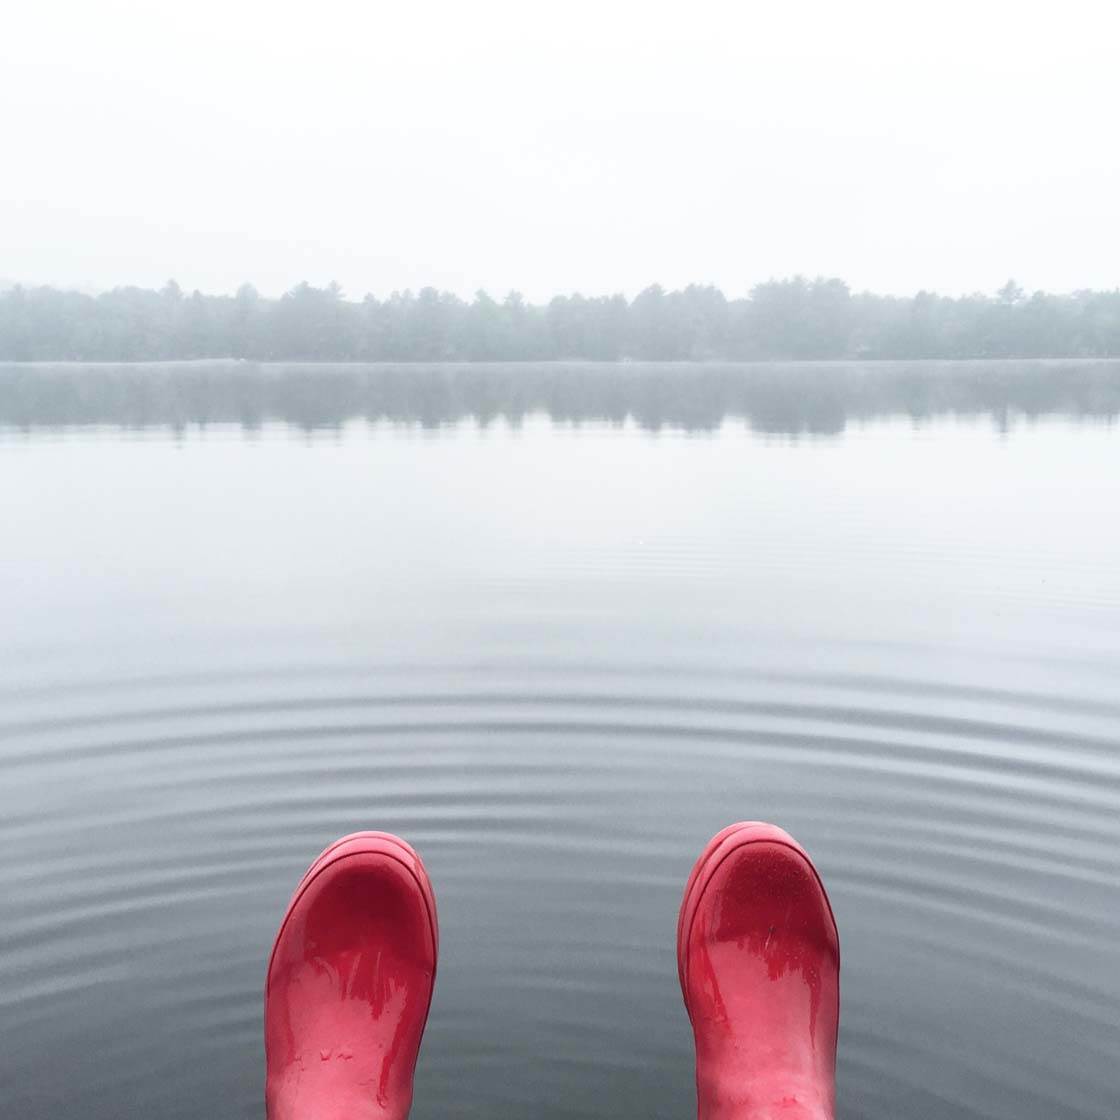
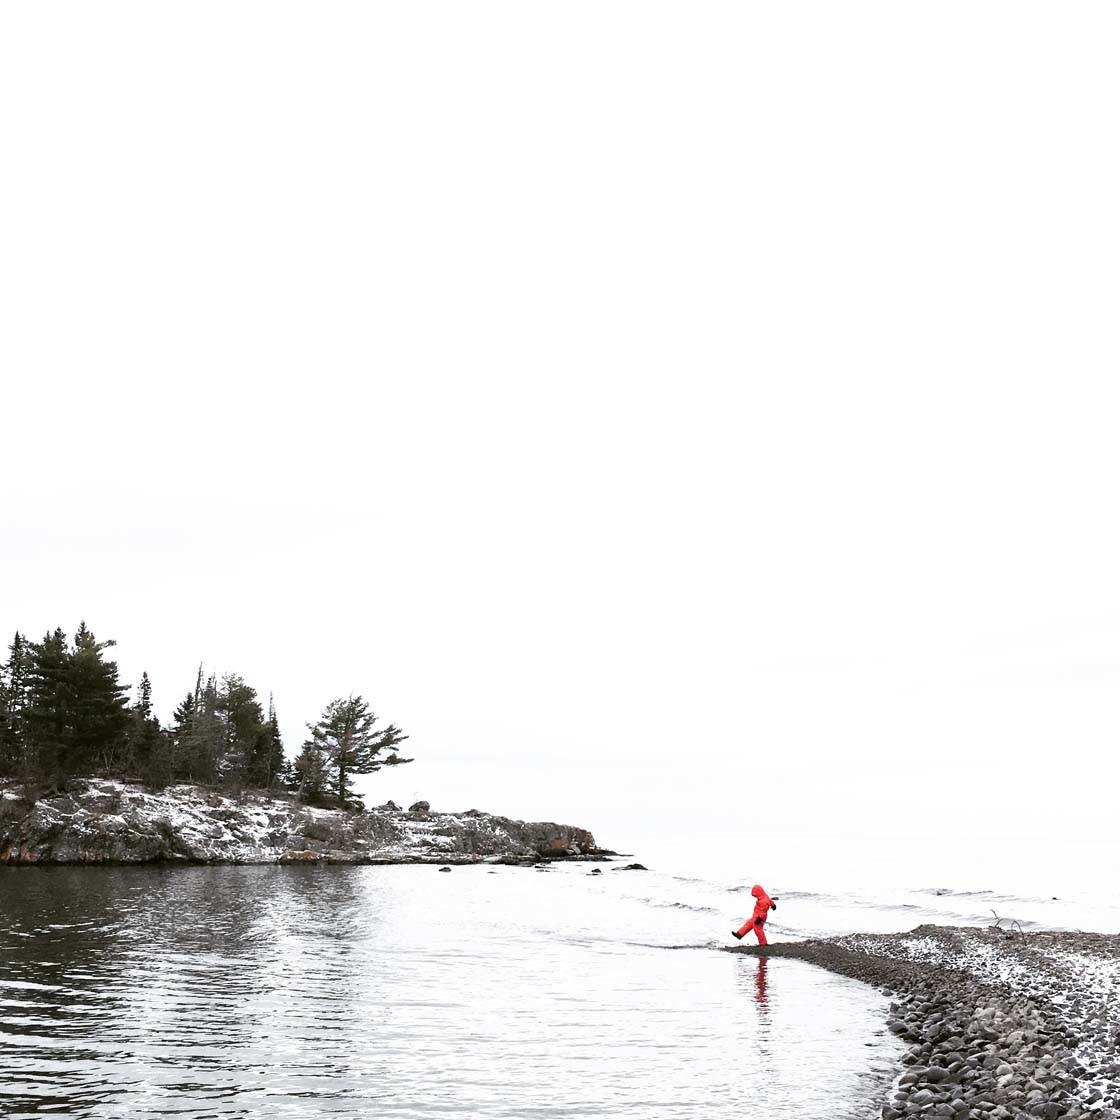
If you’re using a person as your focal point, ask them to wear a bright colored coat, dress or hat. Or wear red boots yourself and include your feet in the photo like I did here.
Maybe there’s something colorful in the landscape that you could use, such a painted house or shed, or a bright colored boat.
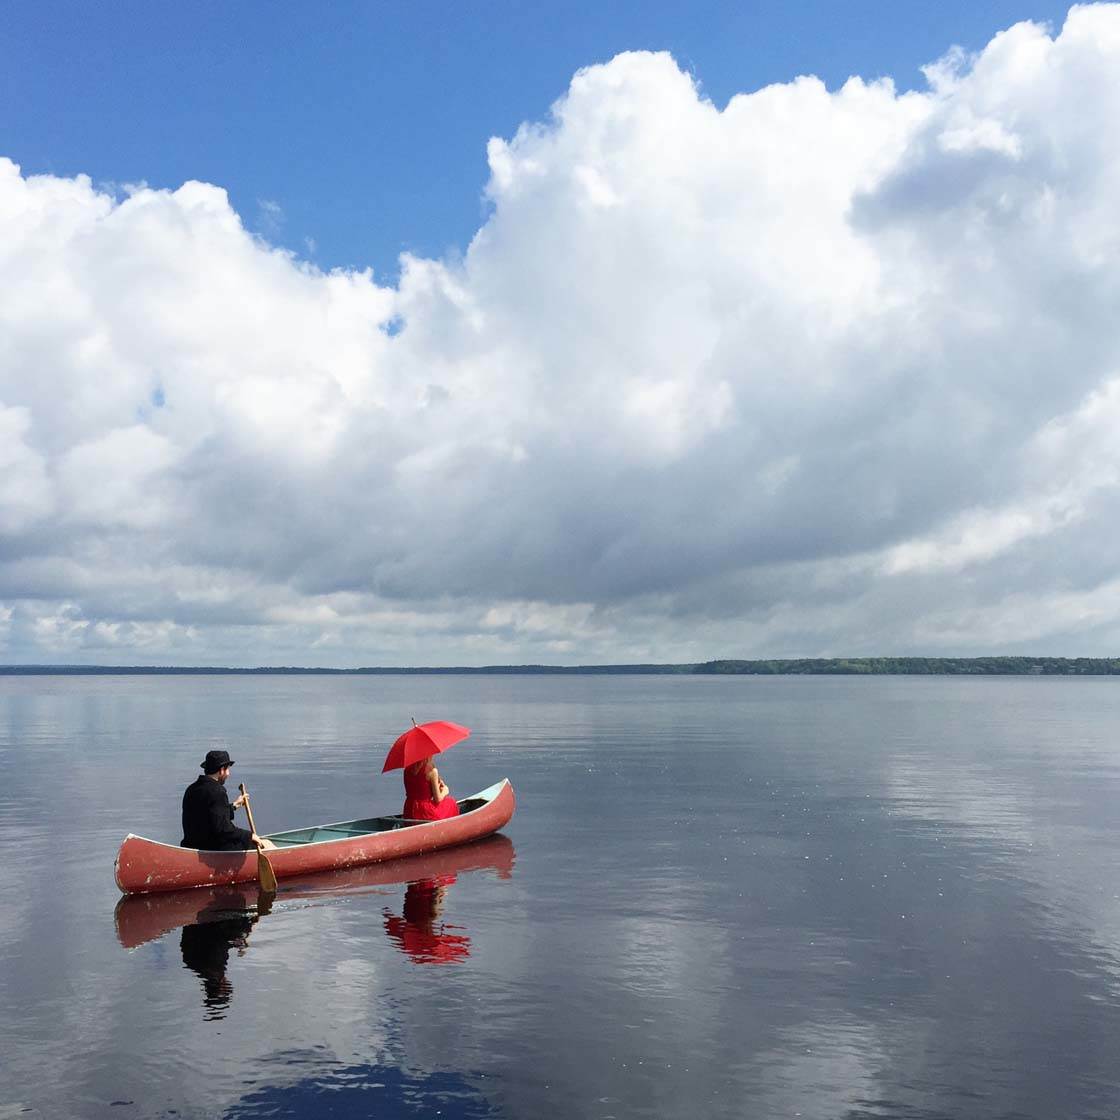
Adding a pop of color into your landscape photos will make your subject an easy target for your viewer’s eyes. Personally, I think red and yellow work great. Both are cheerful and provide terrific contrast.
9. Think About Composition
Even though you don’t have many elements in a minimalist landscape photo, the way you arrange these elements within the frame is very important.

Composition will affect how easily the viewer’s eyes are drawn toward your focal point, and whether the image feels balanced.
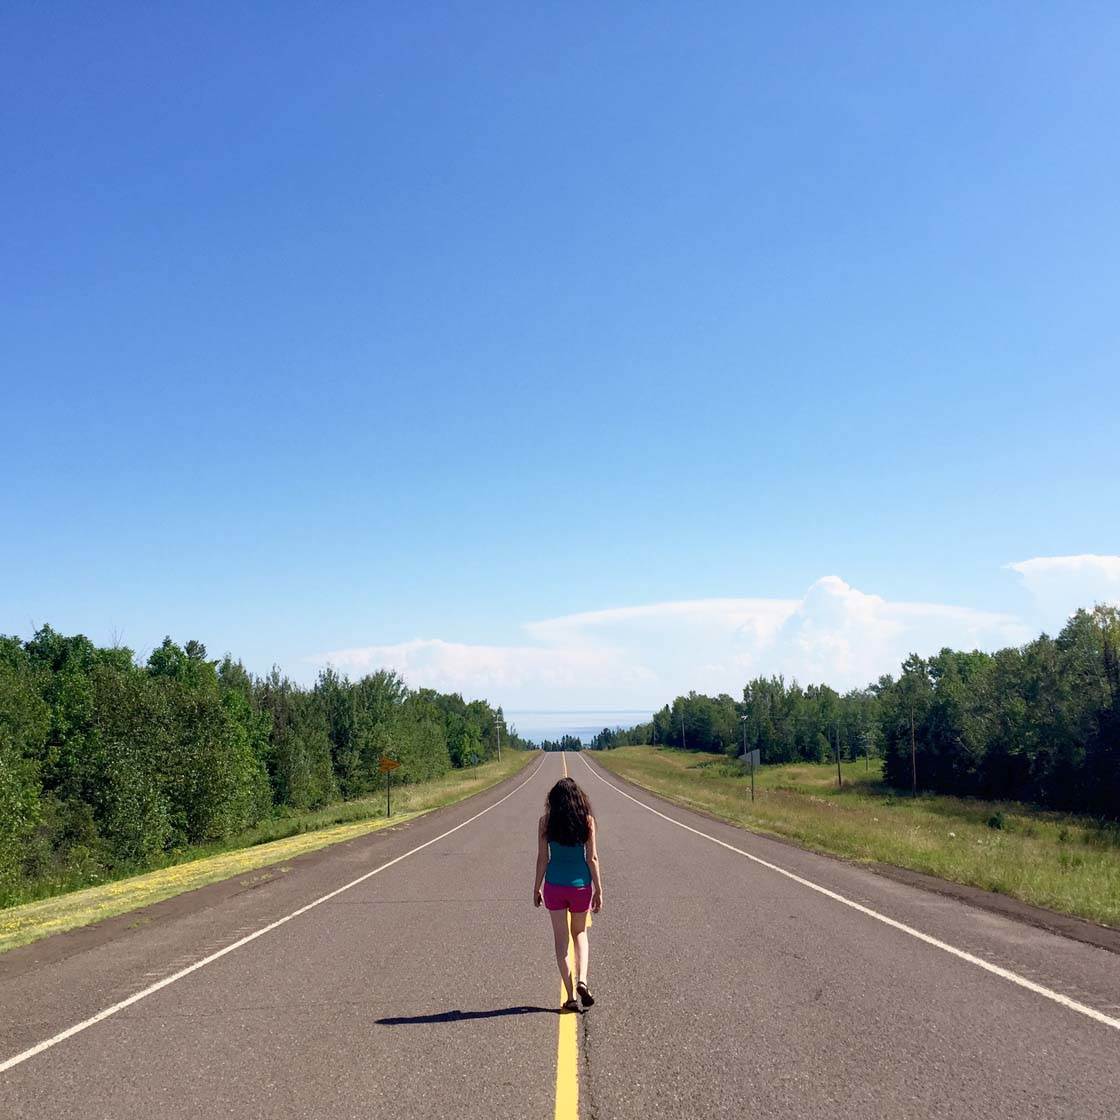
Leading lines, such as roads and pathways, are powerful composition tools. They can be used to lead the eye into the scene, add depth, and create fantastic symmetry.
Look out for elements in the scene that could be used to create a “frame” around your subject, such as tunnels or tree branches. They provide an easy way to isolate your subject and draw the eye toward your focal point.
It’s also important to think about where you place your main subject within the frame. Would it look better in the center, to one side using the rule of thirds, or at the very edge of the frame?
If you’re not sure which composition would work best, take several shots with the subject in different positions within the frame. You can then review the images and choose the one that works best.
Thinking through your composition before you shoot the photo will reduce the amount of time you need to spend editing and cropping the photo.
10. Enhance Your Composition Using Apps
After you’ve taken your photos, image editing apps can help you clean up your minimalist images or add an extra element to balance the composition.
If there are any distracting elements like signs, power lines or litter, you can easily remove these unwanted objects using the TouchRetouch app. Try to clean up anything that will draw the eye away from your subject.
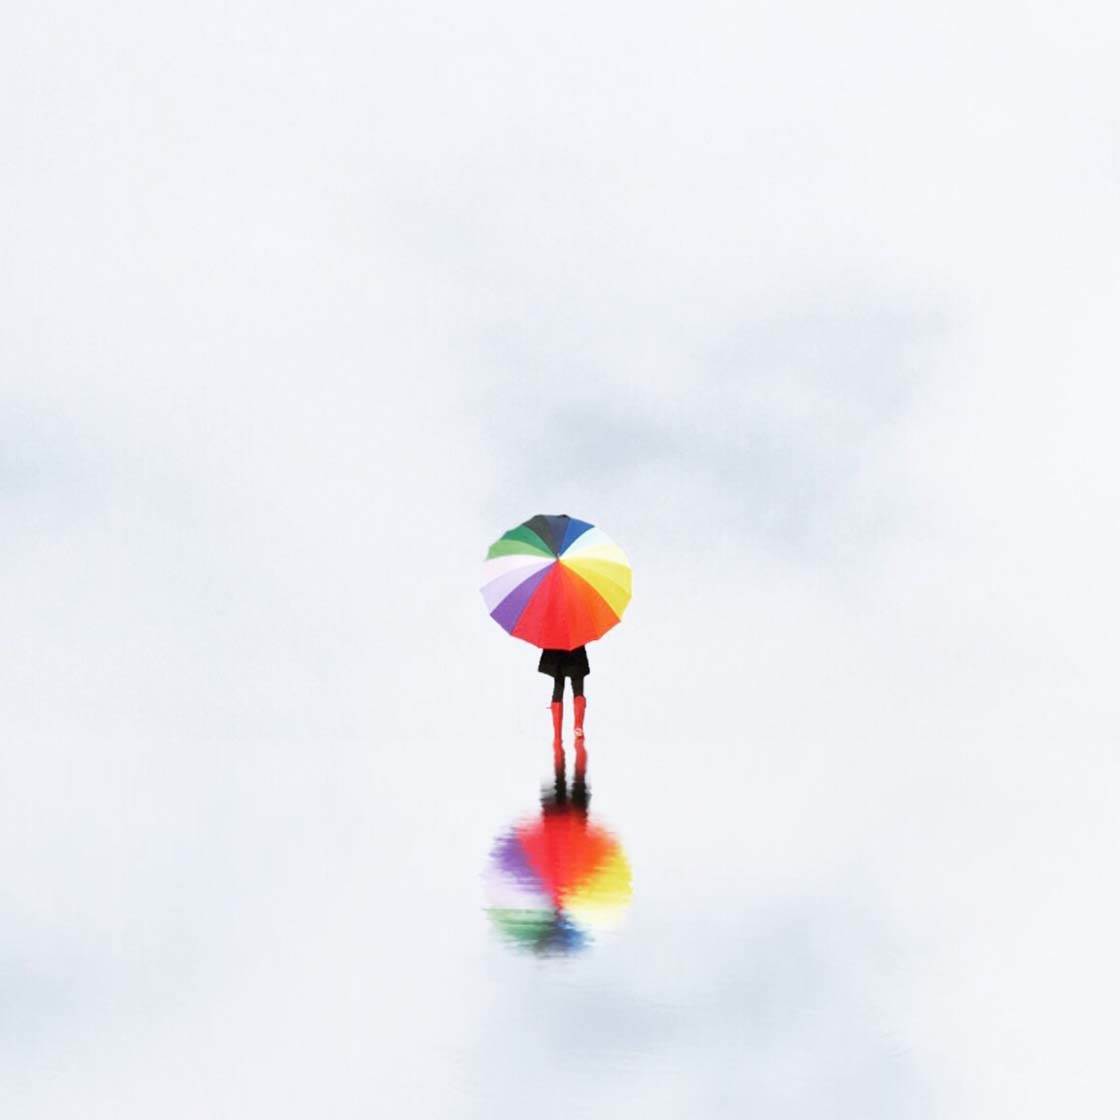
If your photo has a distracting foreground, a really effective solution is to use the Reflect app to eliminate the foreground and replace it with a beautiful reflection instead.
As well as removing unwanted elements from your image, you can also add objects into the scene. If your photo looks unbalanced, maybe adding another element into the photo would help to improve the composition.
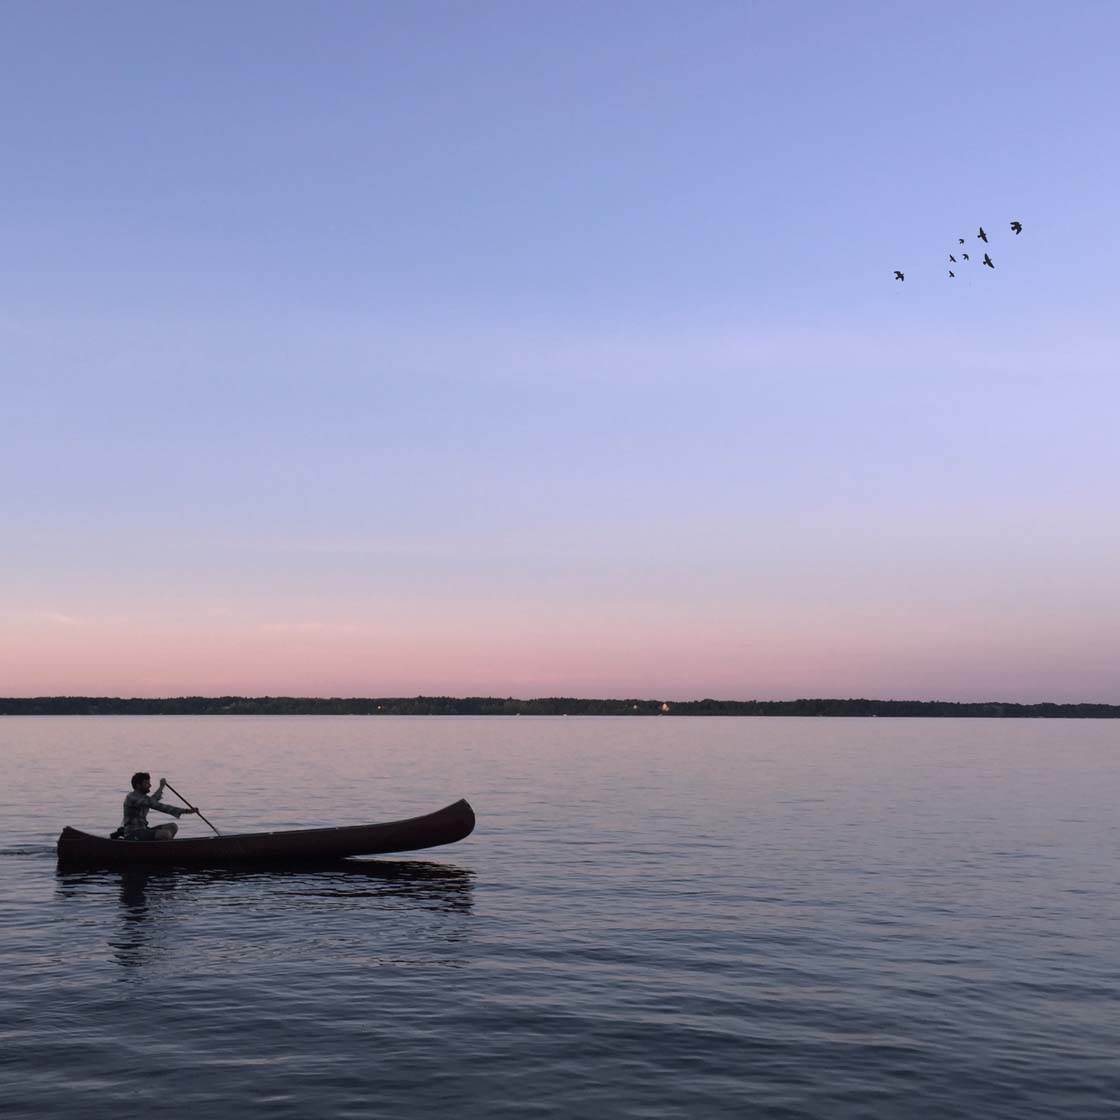
In the photo above, I used the Alien Sky app to add a small group of birds at the top right of the photo. This adds a little bit of visual interest to the sky, and creates a diagonal balance with the boat at the bottom left.
Conclusion
As you’ve seen from the photos in this tutorial, it’s perfectly possible to create beautiful minimalist iPhone photos in all kinds of landscapes. A simple field, hill, beach or lake is often all you need.
However, using a few clever techniques it’s also possible to simplify a busy landscape. For example, you could shoot from a low angle to include mostly sky, wait for a foggy day, or use editing apps to remove distractions.
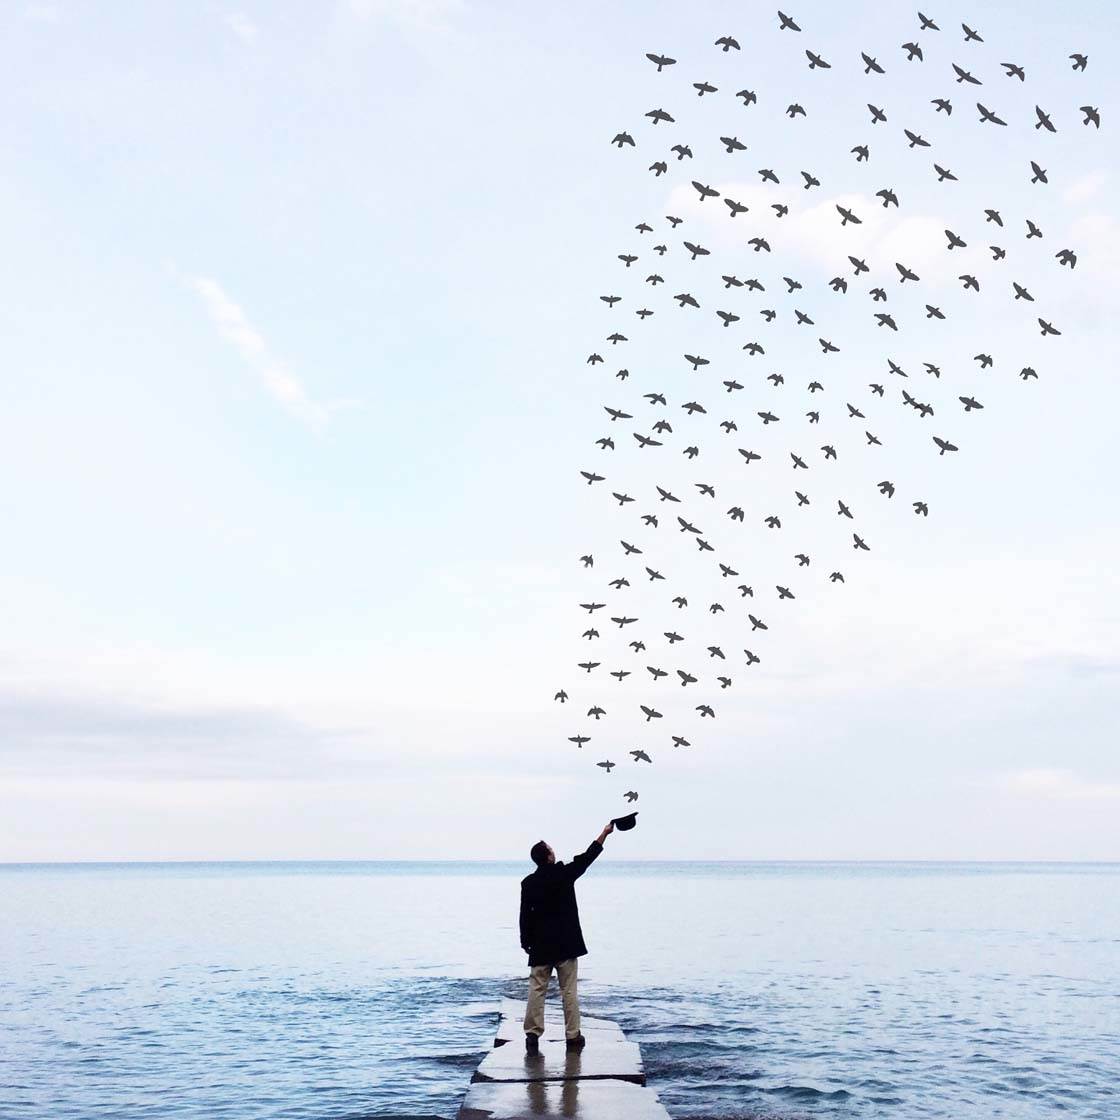
Wherever you decide to shoot, always compose your shot with lots of empty space and include a main subject to act as a focal point.
Minimalist landscape photos are a lot easier to create than you might imagine. So why not grab your iPhone and head outdoors to see what stunning images you can capture?


thank you for sharing these tip. photos are breathtaking!
Glad you enjoyed this tutorial Martina. The photos are stunning aren’t they 🙂
This was a very useful tutorial, Jill. Thank you!
Glad you found it helpful Nick 🙂
Another very good tutorial. Thanks again
These are great tips. I am picking up a lot of ideas. Thanks.
Glad you found these tips helpful 🙂
what app did you used to add birds?thanks
Hi, you can use the Birds filter in Distressed FX app: https://itunes.apple.com/us/app/distressed-fx/id585702631?mt=8