Taking photos of children is extremely rewarding, and it’s one of the best genres for capturing pure joy, action and humor! But it can also be tricky to get good shots of kids with your iPhone. They don’t stay still for long, and often become shy or silly in front of the camera. In this tutorial you’ll discover nine tips and tricks for improving your iPhone photos of children, enabling you to capture both the fun and tender moments of their childhood.
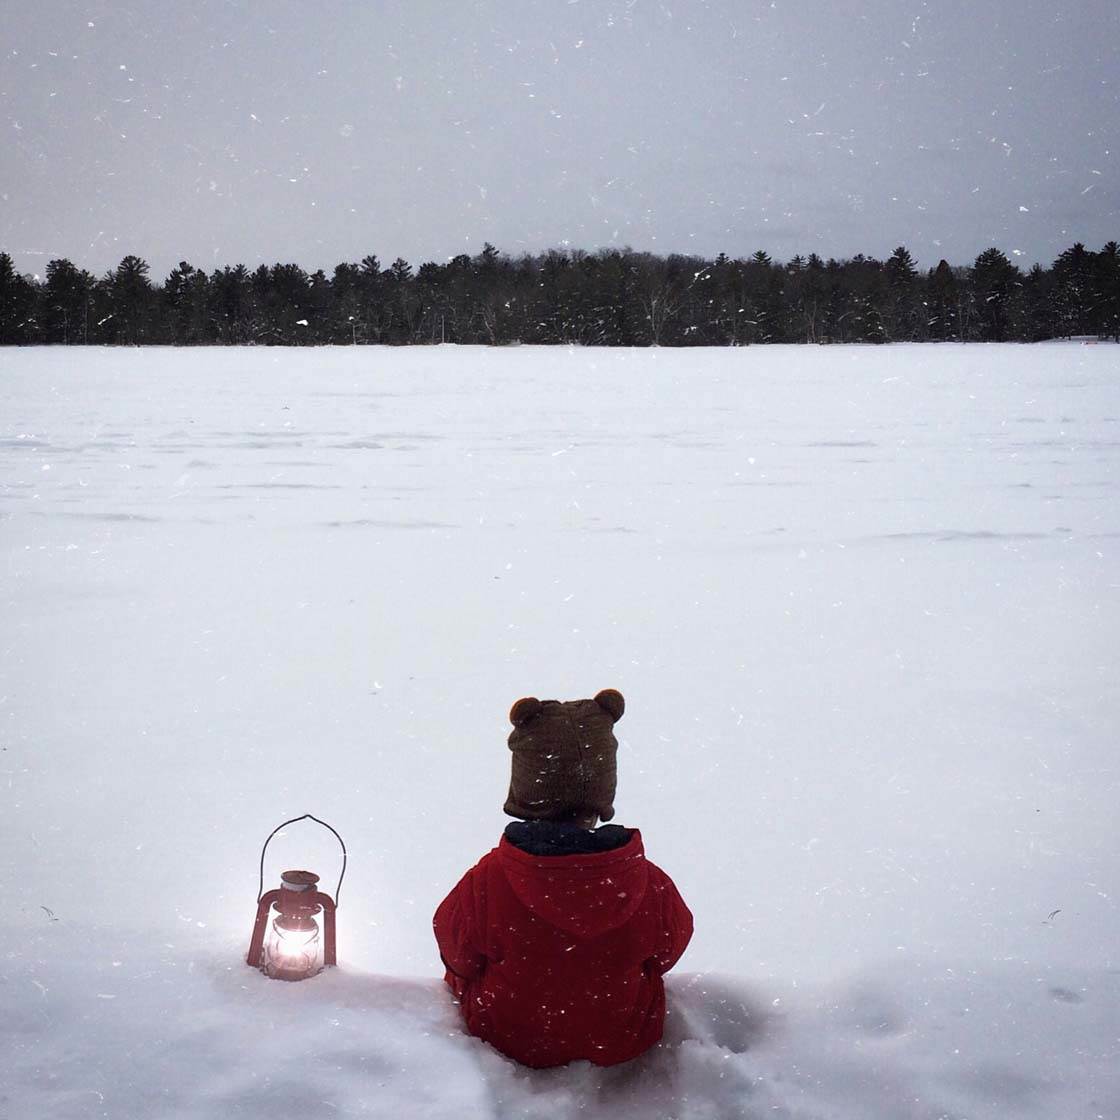
1. Use Burst Mode
If you do children photography, you’ll know how quickly their expressions change and how fast their bodies move! You’ll also probably know how difficult it can be to capture the perfect moment when you attempt to take a photo. Before you know it, the moment is over or they’ve disappeared out of the frame.
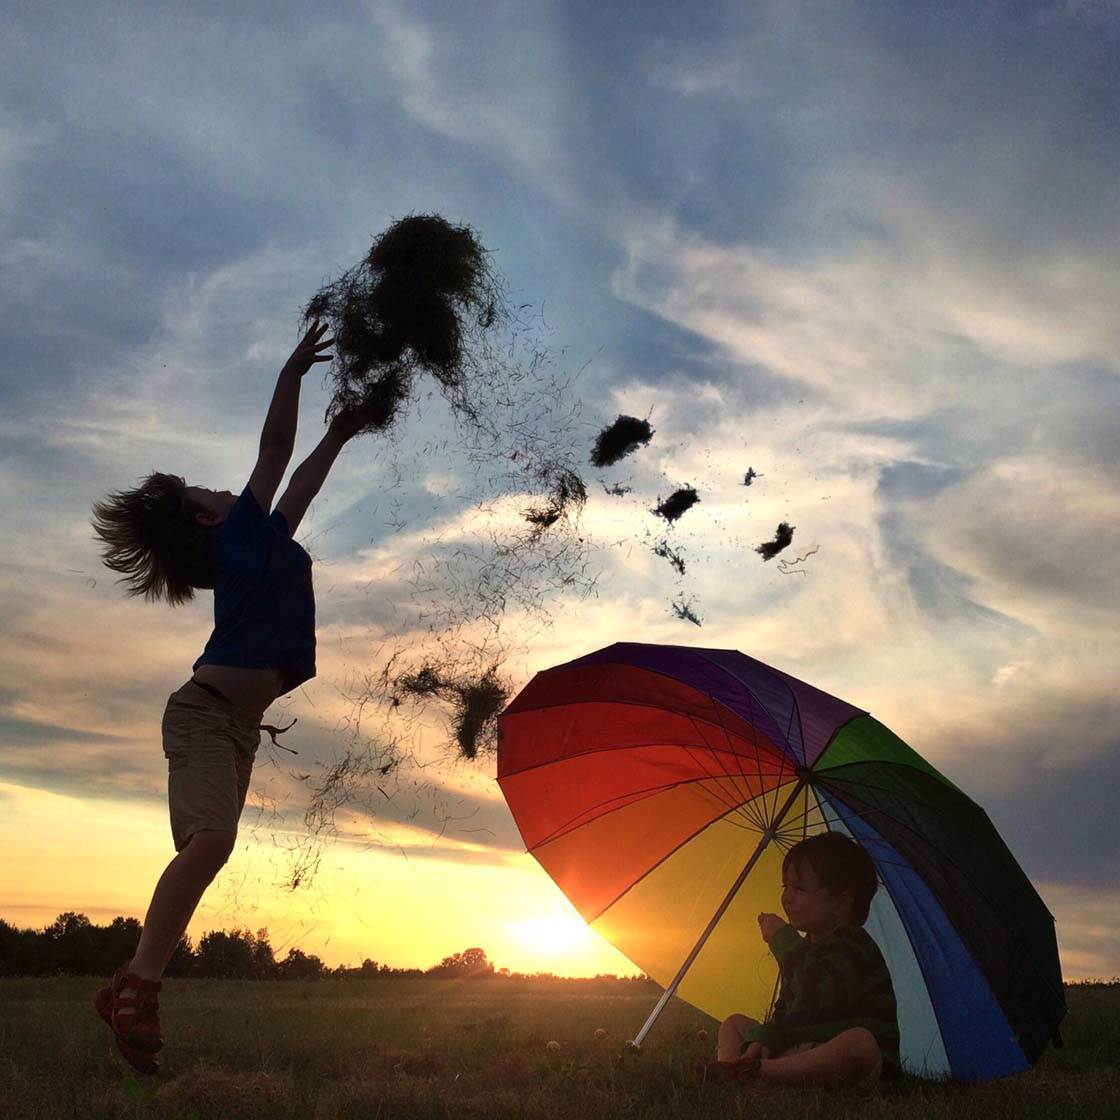
In my opinion, the number one best invention that the latest iPhones have shared with us is the burst mode feature. This is a simple, yet vital tool if you’re taking photos of children or any other moving subject. It allows you to take a series of shots in quick succession and then choose the best shot from the sequence.
Before taking any photos, take a few extra moments to position yourself in anticipation of where the child will be when they move through your frame. Are they running across the yard, jumping into a pool, etc?

Then try to note the position of your light source (most likely the sun if you’re outside). If the subject is in between you and the light source, they will appear as a dark silhouette against the brighter background. If your back is to the light source, it will provide a nice light on your subject and you’ll capture them in full color.
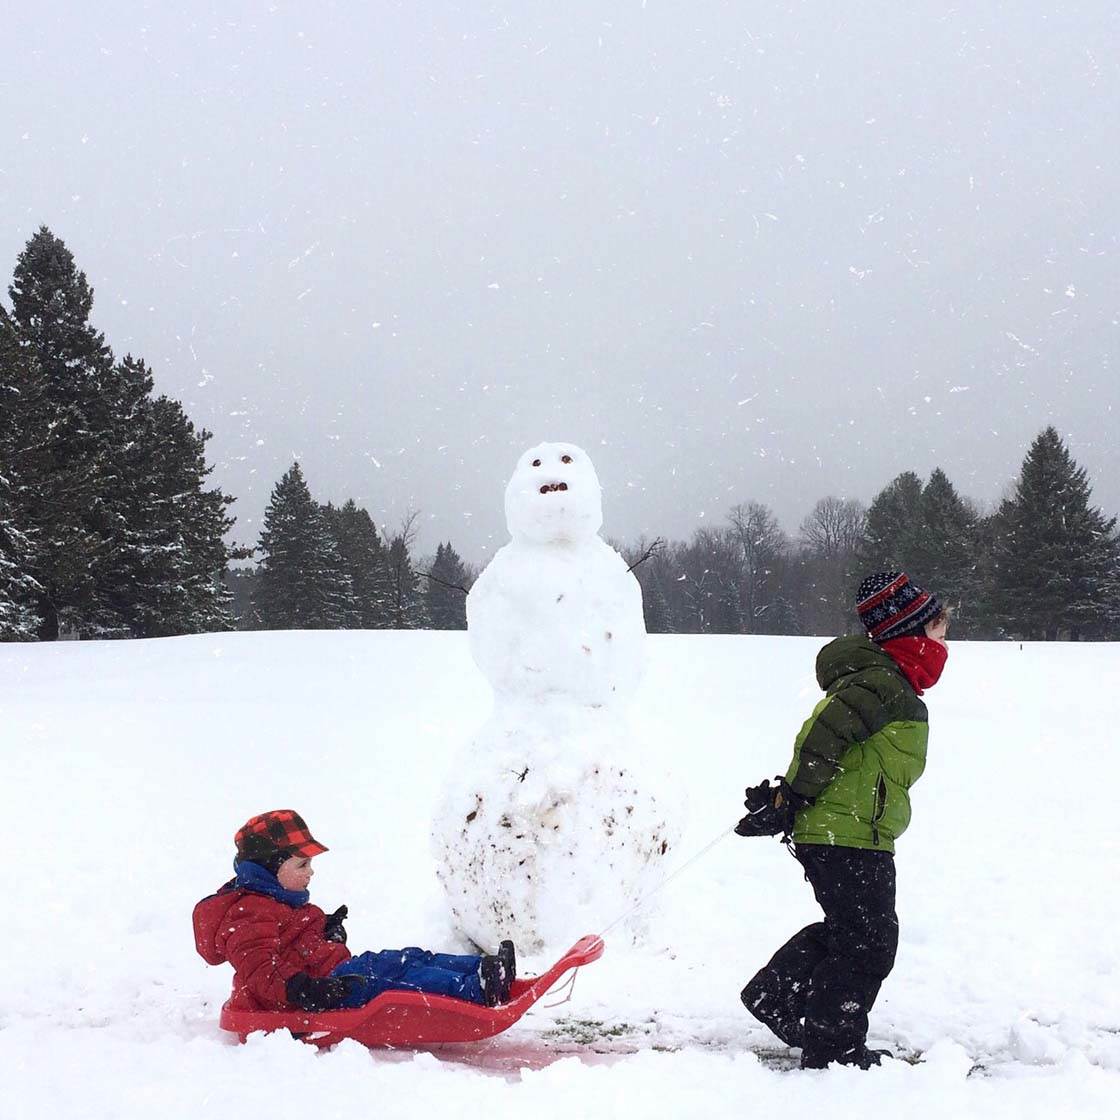
Also try to position yourself so that you have a background that’s appealing to the eye. That way, when the little one comes running, you’ll have a great composition all set up.
Once they start to approach, simply hold down the shutter button on your iPhone’s native camera app to activate burst mode. It will continuously fire off shots until you stop pressing it.
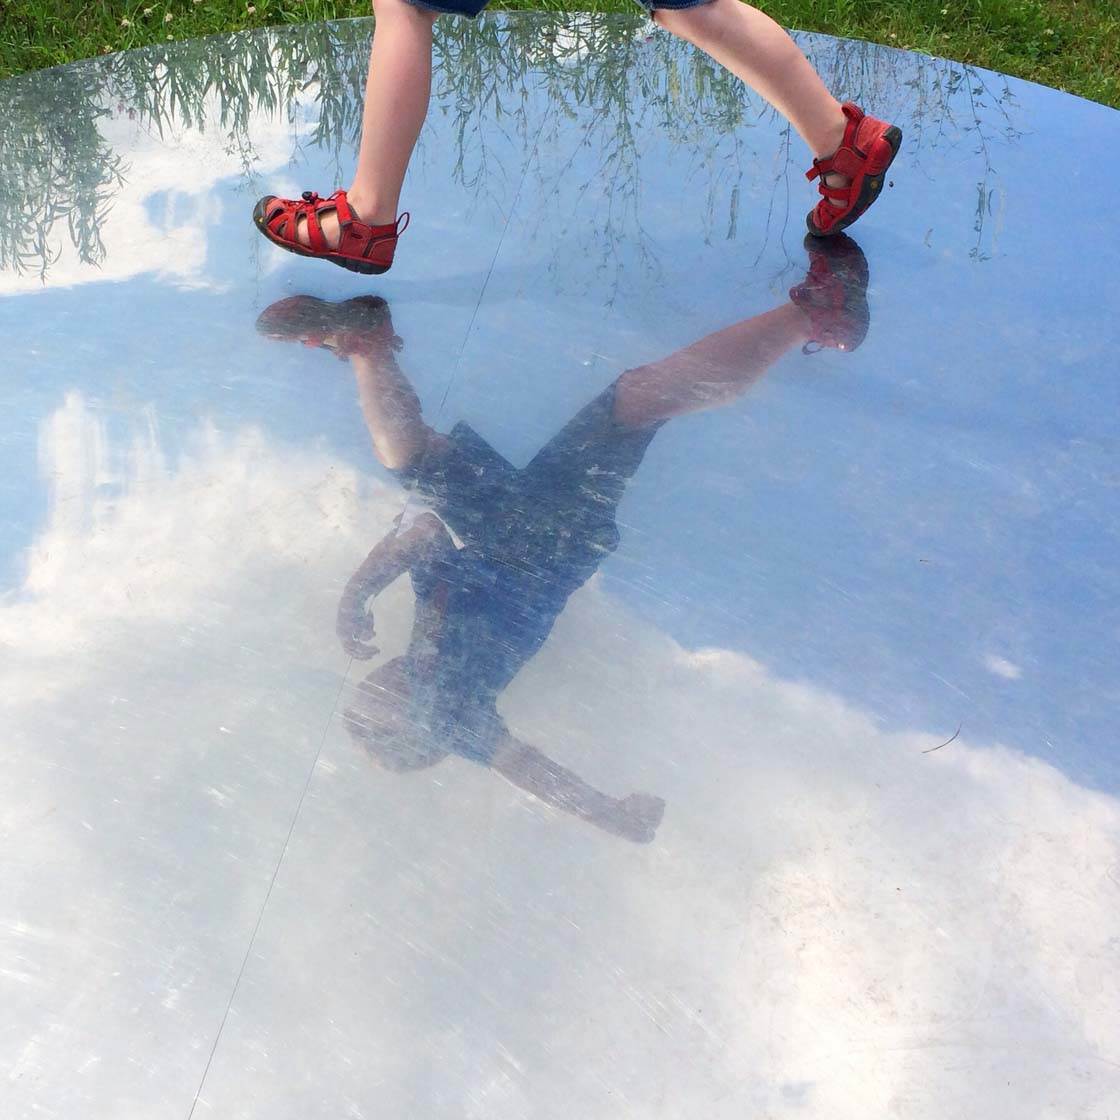
By taking a large amount of photos, the odds are in your favor that you’ll capture the perfect smile and movement you desire.
2. Work With The Child’s Schedule
As a mom of two young boys I can tell you that working to the child’s schedule is a crucial aspect to taking successful photos of children.
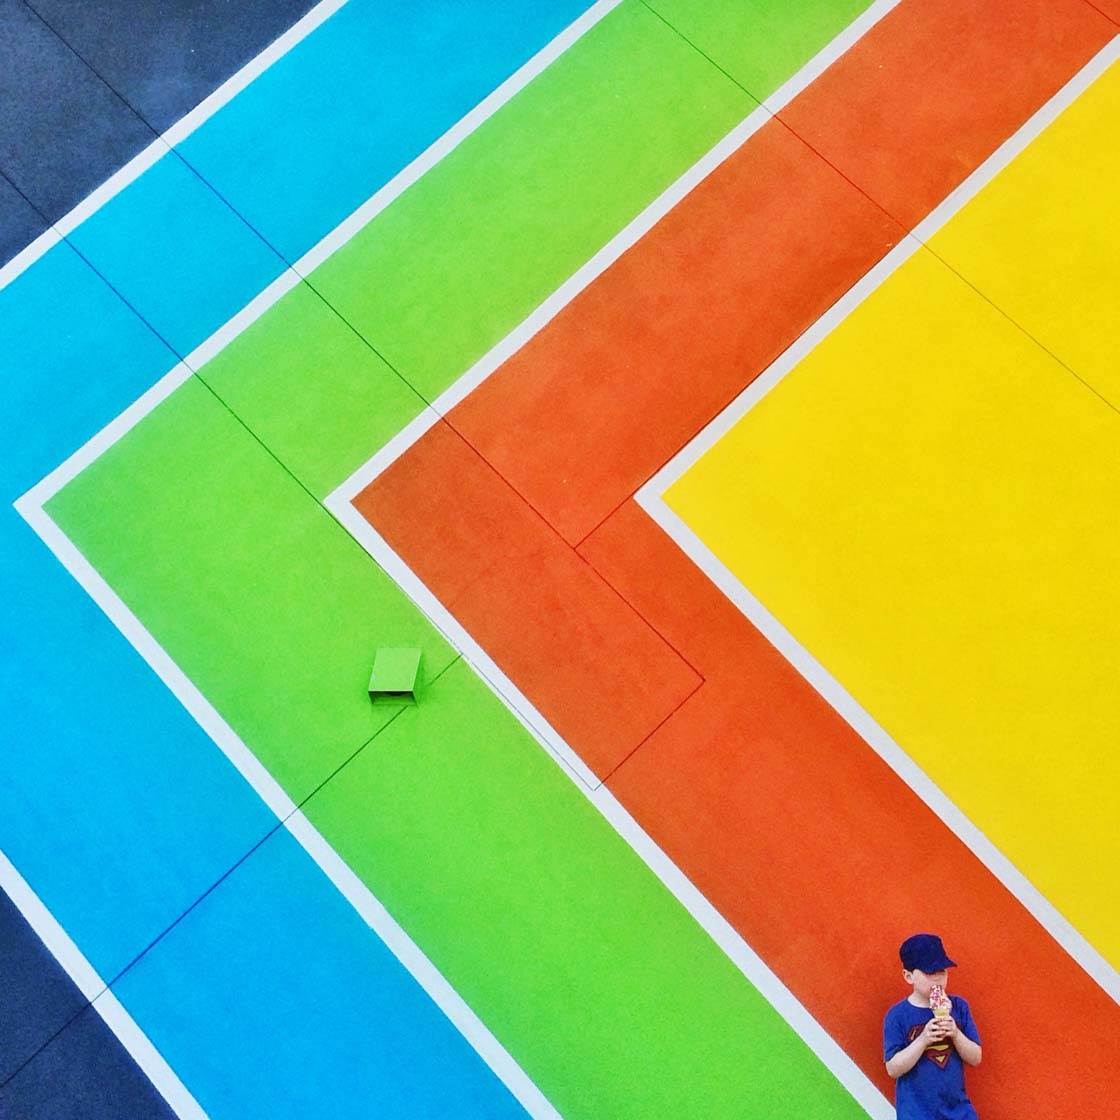
If you’re planning on photographing children, and especially if they’re not yours, be sure to inquire about nap times, snack times and any other part of their daily routine that might affect their mood. You’re much more likely to capture big smiles when the little ones are well fed and well rested.

Trying to combine their schedules with the schedule of the sun (harsh light versus soft light) and the adults’ schedules can be difficult. Nevertheless, do the best you can to factor in all of these elements so that your photos are most likely to succeed.

If you’re just casually taking photos of your own children, it’s good to be aware of their limits as well. It can be hard when the lighting is right and the backdrop is stunning, but you have an unwilling model! Sometimes it’s best just to give the kids a break and try again the next day.
It also pays off to anticipate when you might be in situations where the photo opportunities don’t match up with the normal schedule of your children’s day.
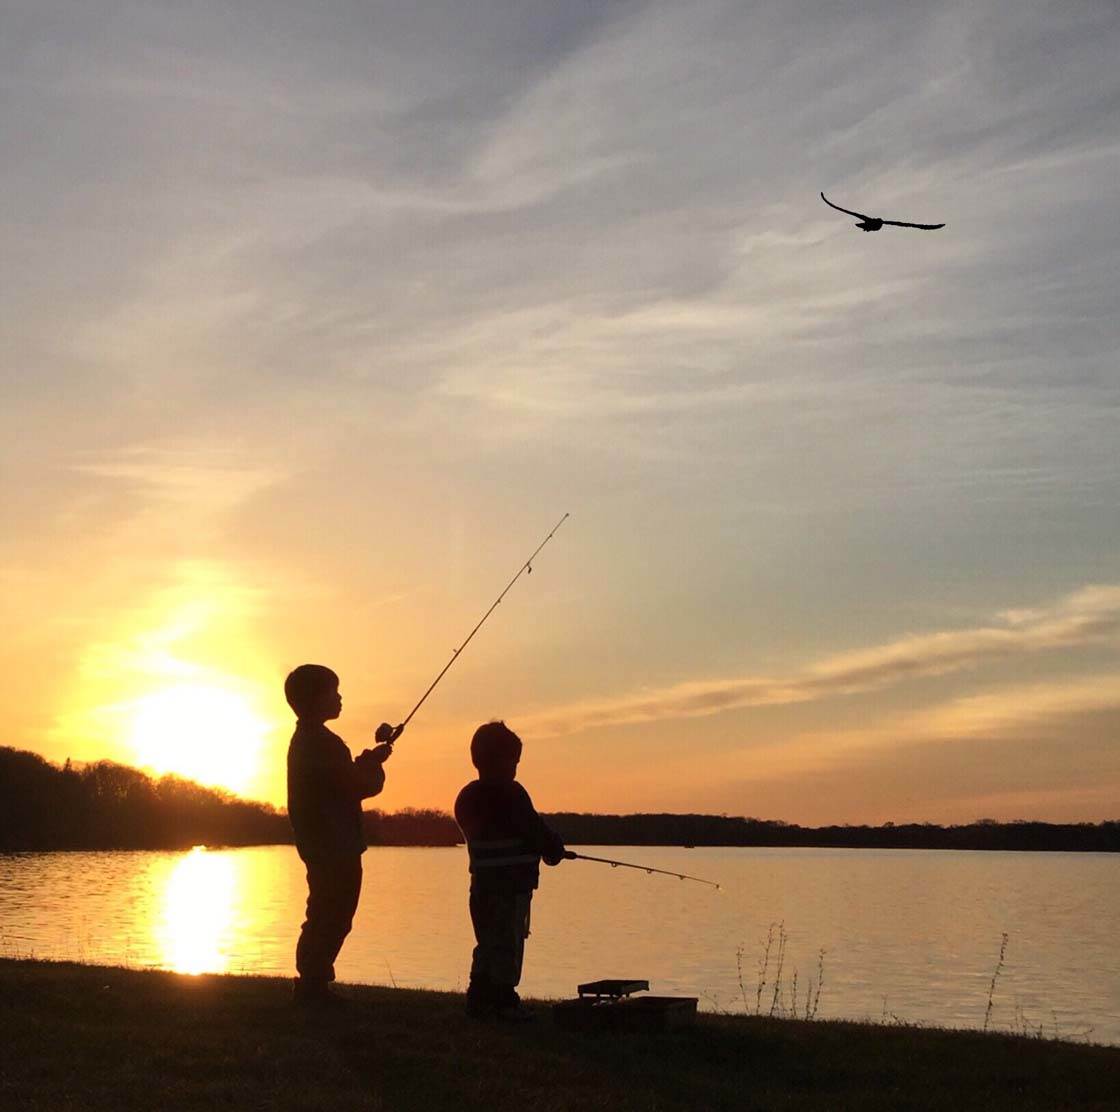
If you’re spending a weekend at a cabin and you know that the sunset lake shots will be stunning, but it will be past the little ones’ bed times, try putting them down early the night before or encouraging a daytime nap so that they just might (if you’re lucky!) be willing models at that lovely golden hour.
3. Capture True Emotion
The best photos are usually the ones that aren’t staged. In my opinion, capturing true emotion overrules all other rules. Some of the most stunning photos in the world are revered because of the expressions they’ve captured.

So if you photograph a moment of pure joy, or any other emotion that’s truly stunning in its own right, don’t worry too much if the composition is a little off or the lighting isn’t perfect.
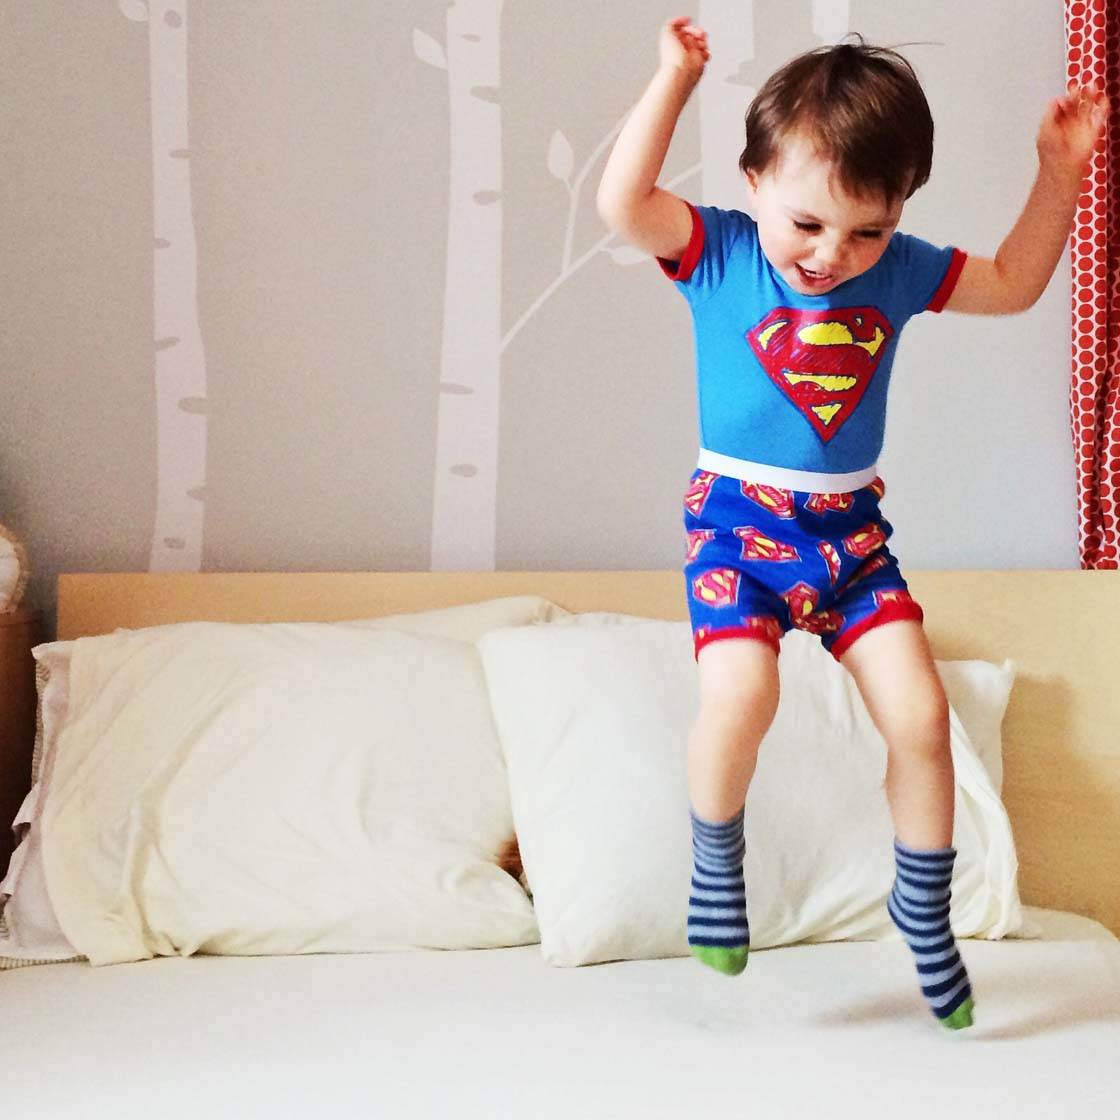
It’s much more important to capture those “real” moments where your children are just having fun, rather than always trying to get “the perfect shot.” If you’re relaxed, they’ll be relaxed, and you’ll be able to capture wonderful little moments of them just being themselves.
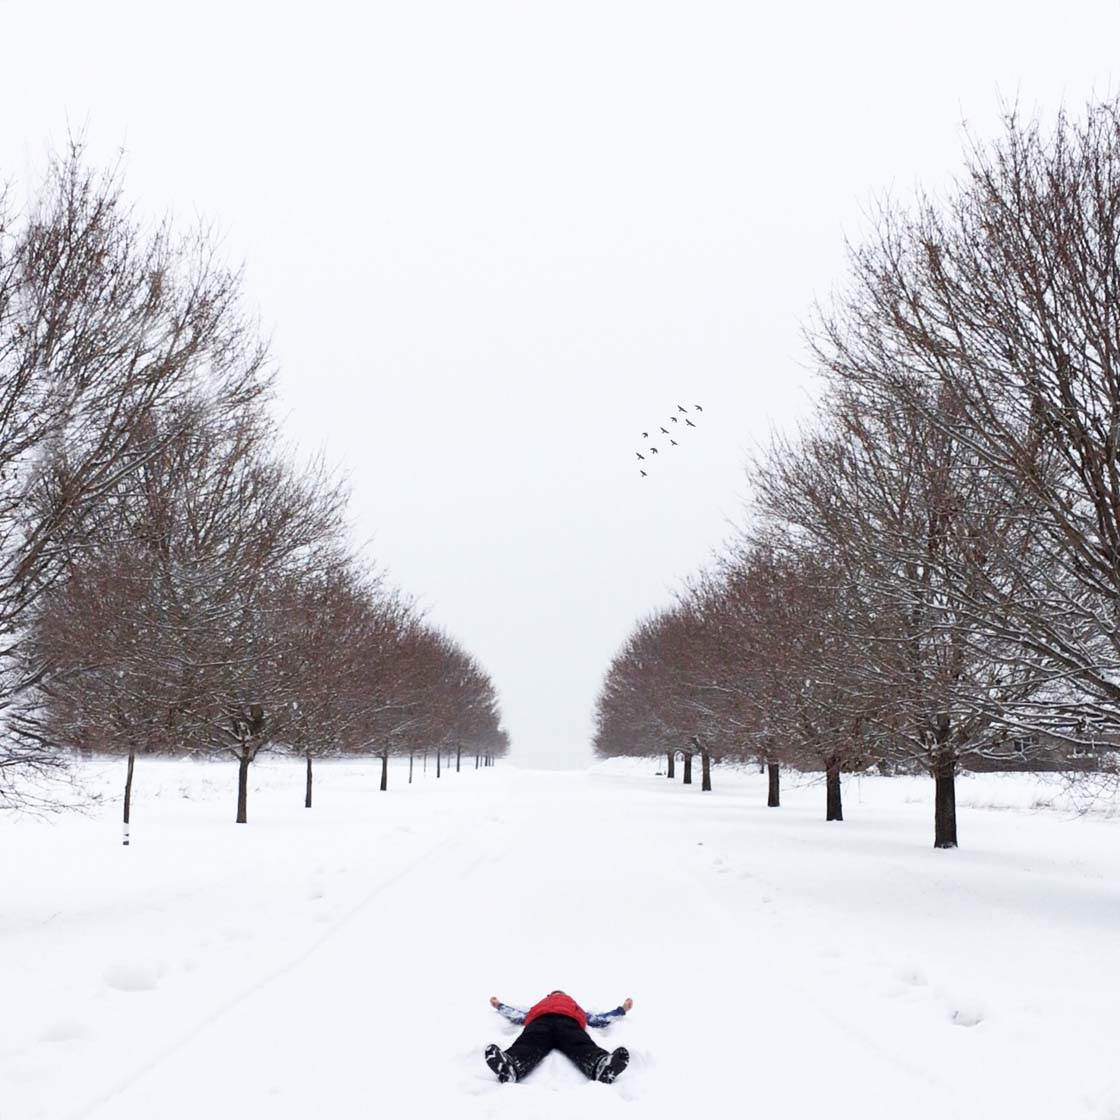
Staged photos can be great occasionally, but they’re not sustainable on a daily basis. Regularly pushing staged photos on a little one will surely cause them to dislike it after a while.
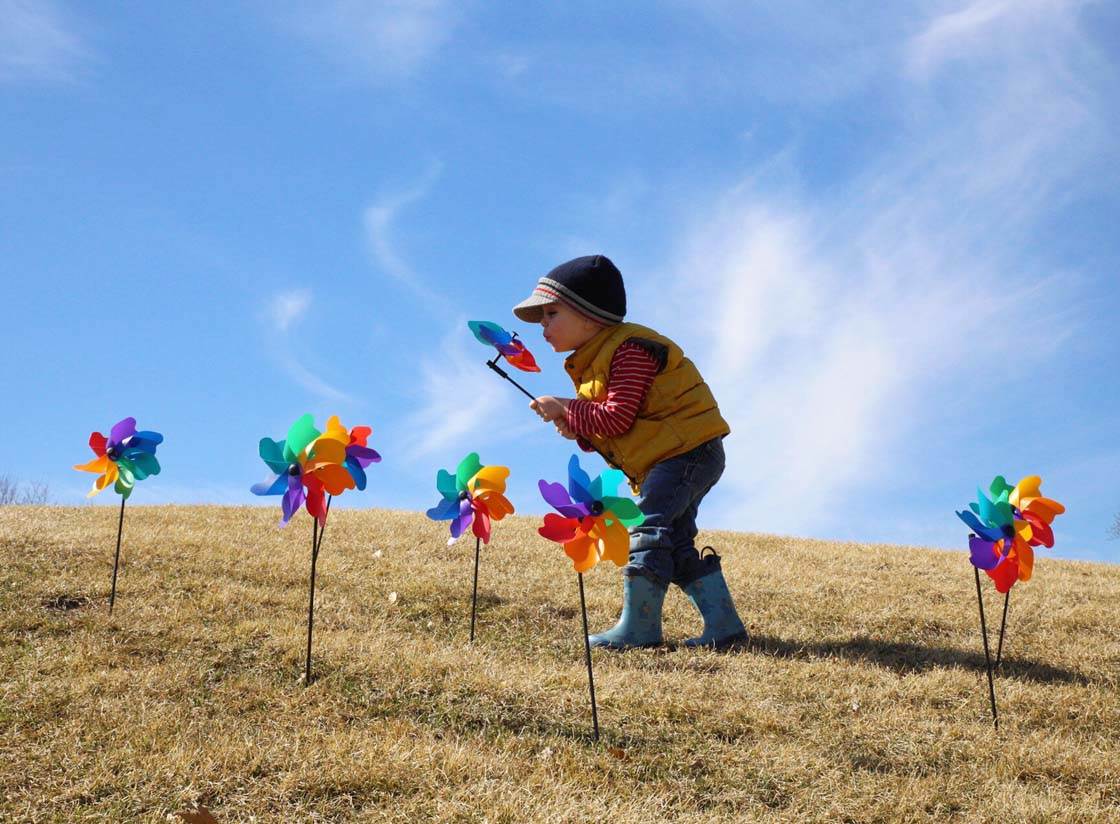
Instead, throw them in a photo-friendly outfit, take them somewhere pretty and let them have fun! That way you’ll capture genuine moments that will fill your photo album with true lifelong memories.
4. Make Them Laugh
Do you ever notice that as soon as you get the camera out, your kids get all serious on you?! Their smiles disappear and the more you ask them to look happy for the camera, the more they refuse to smile.
Well, I’ve come up with a solution that is sort of ridiculous, but I must share it because it’s easy and it works. I call it “The Silly Pop Up” and it started when I was taking photos of my boys and they looked drastically bored.
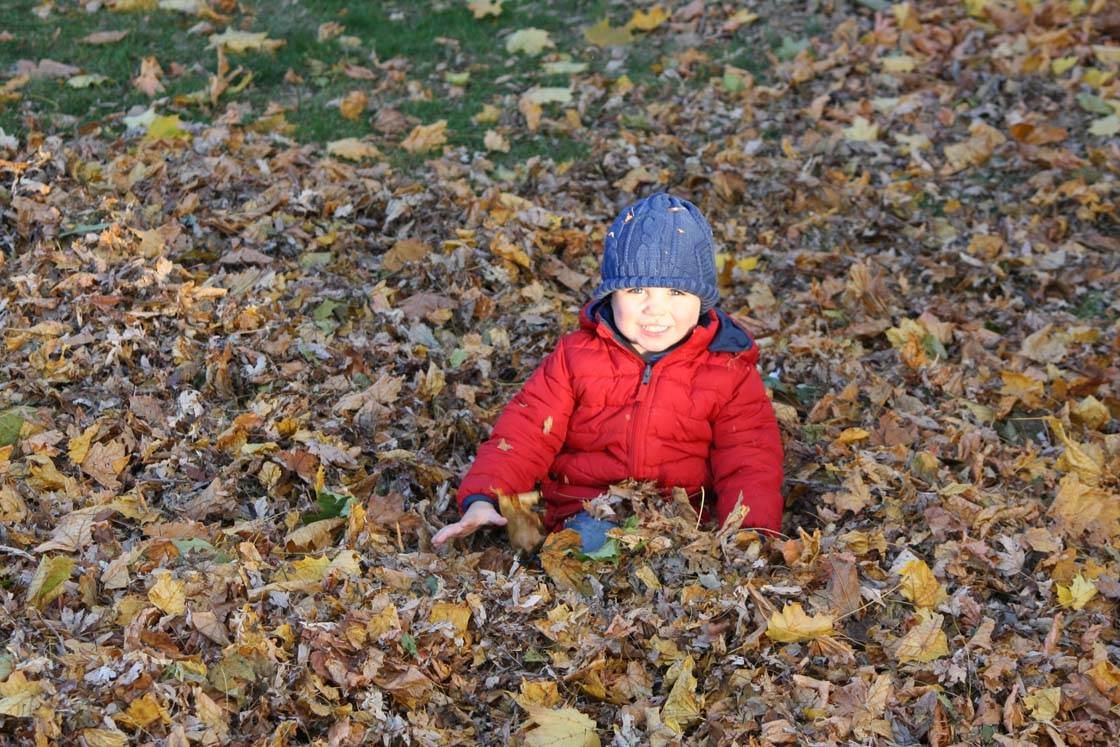
It was just a simple sit-and-smile photo and they were not in the mood. So I decided to act boring too and I quietly asked them to sit nicely on a bench. I took a few steps back and lined up my phone to take their photo. They rolled their eyes and yawned as I got into position.
It wasn’t looking like any smiles were anywhere in sight. So, once my iPhone was all lined up, I started shooting in burst mode and, while holding the camera as steady as possible, I popped my head up and yelled at the top of my lungs “BOO!!”
They went from bored to fully laughing and I caught it all. Nowadays they even smile in anticipation of my Silly Pop Up. It’s also fun to switch up what I yell!
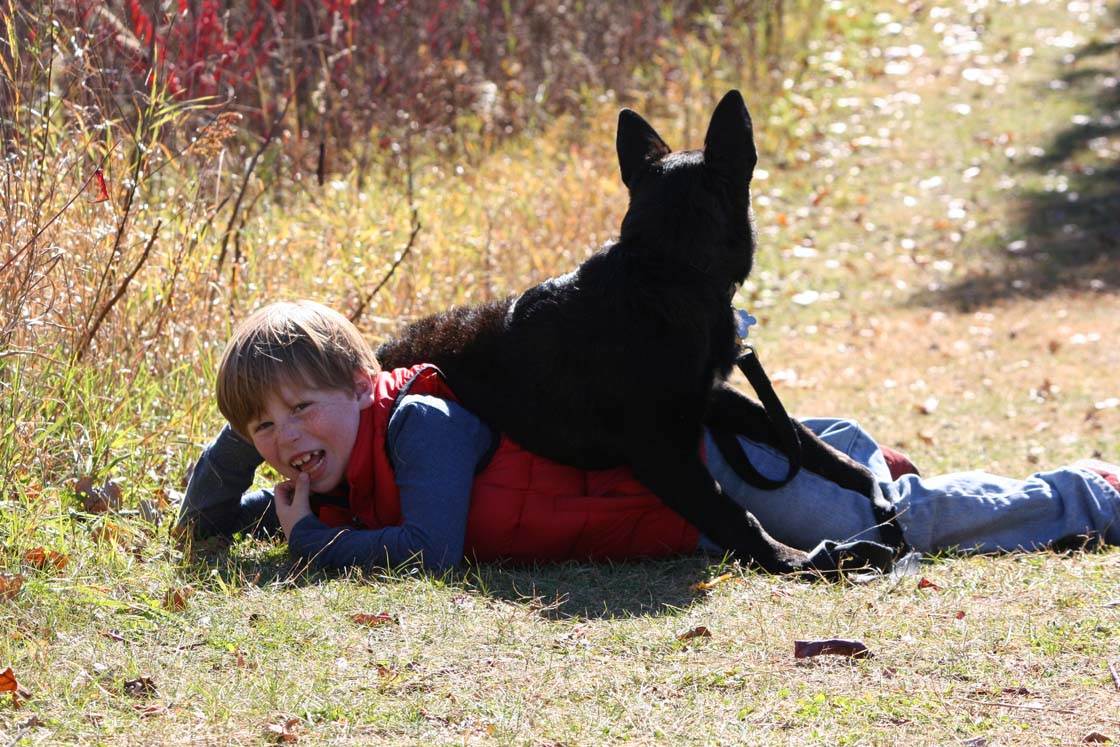
As a side note, I’ve also started to do this occasionally with adult clients and friends, and it works great. It’s just ridiculous enough to cause anyone to smile!
5. Capture The Quieter Moments
Sometimes the best time to photograph children is during the quieter moments of their day. When your child is in a little world of their own, you can capture wonderful photos where they’re completely oblivious to everything that’s going on around them.
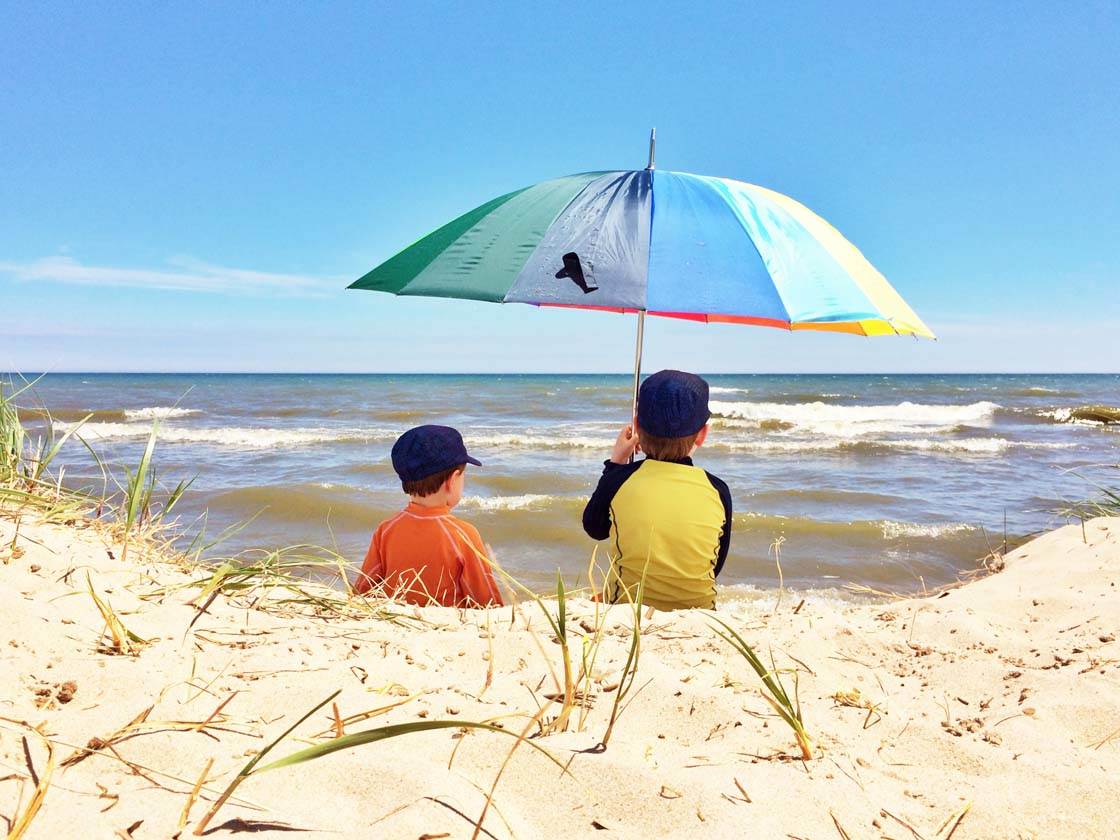
Children don’t always have to be jumping around and laughing in order to get a great photo of them. Try not to draw attention to yourself – just discreetly take a few photos of them during that precious time where they appear deep in thought and at one with the world.
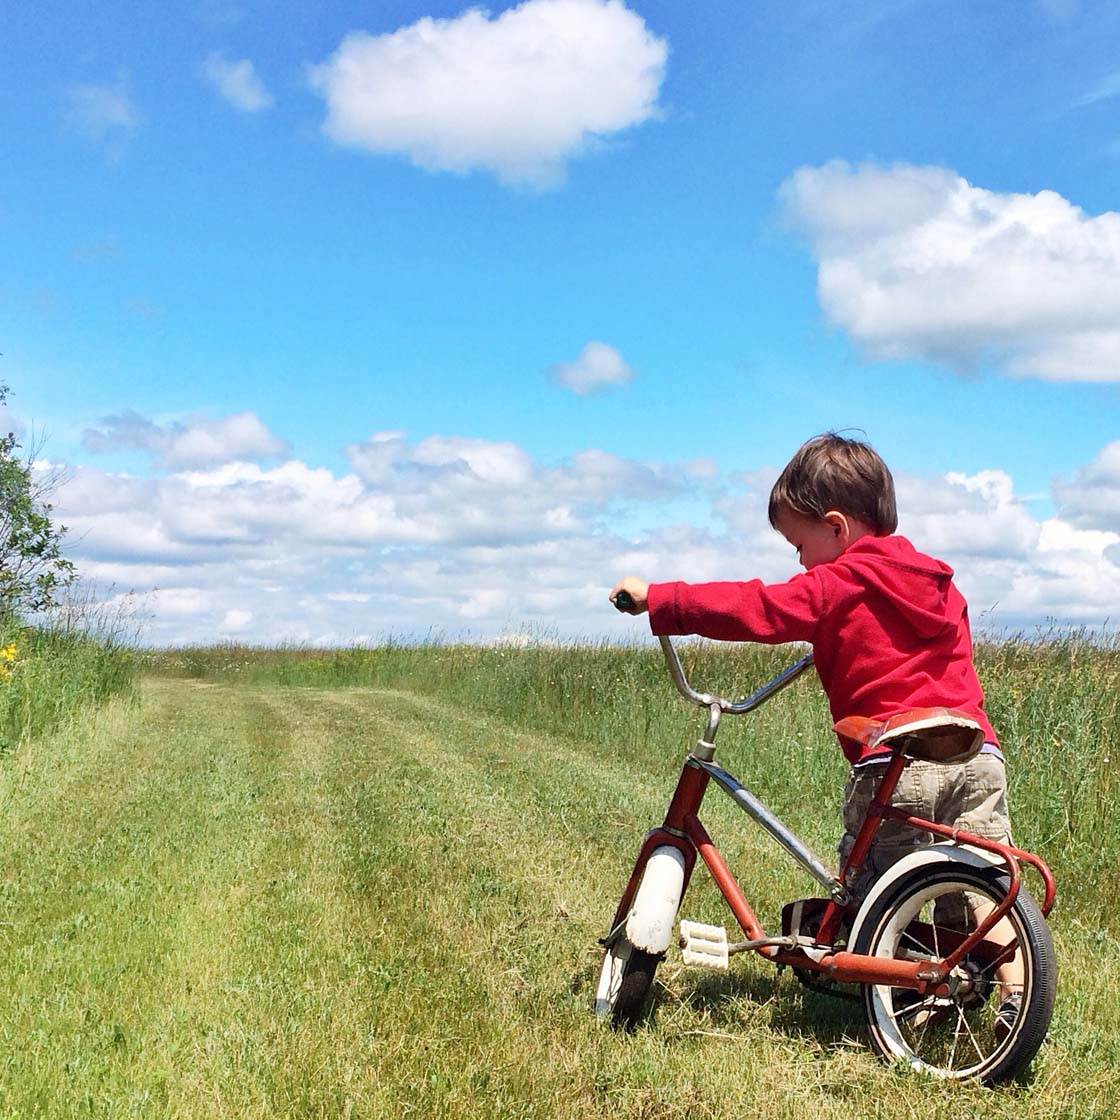
Look out for moments when your child is playing intently with their favorite toy or deeply engrossed in a book. When a child is pre-occupied with play, they often won’t notice you taking their photo so you can take some great candid shots without worrying about them becoming shy or silly in front of the camera.
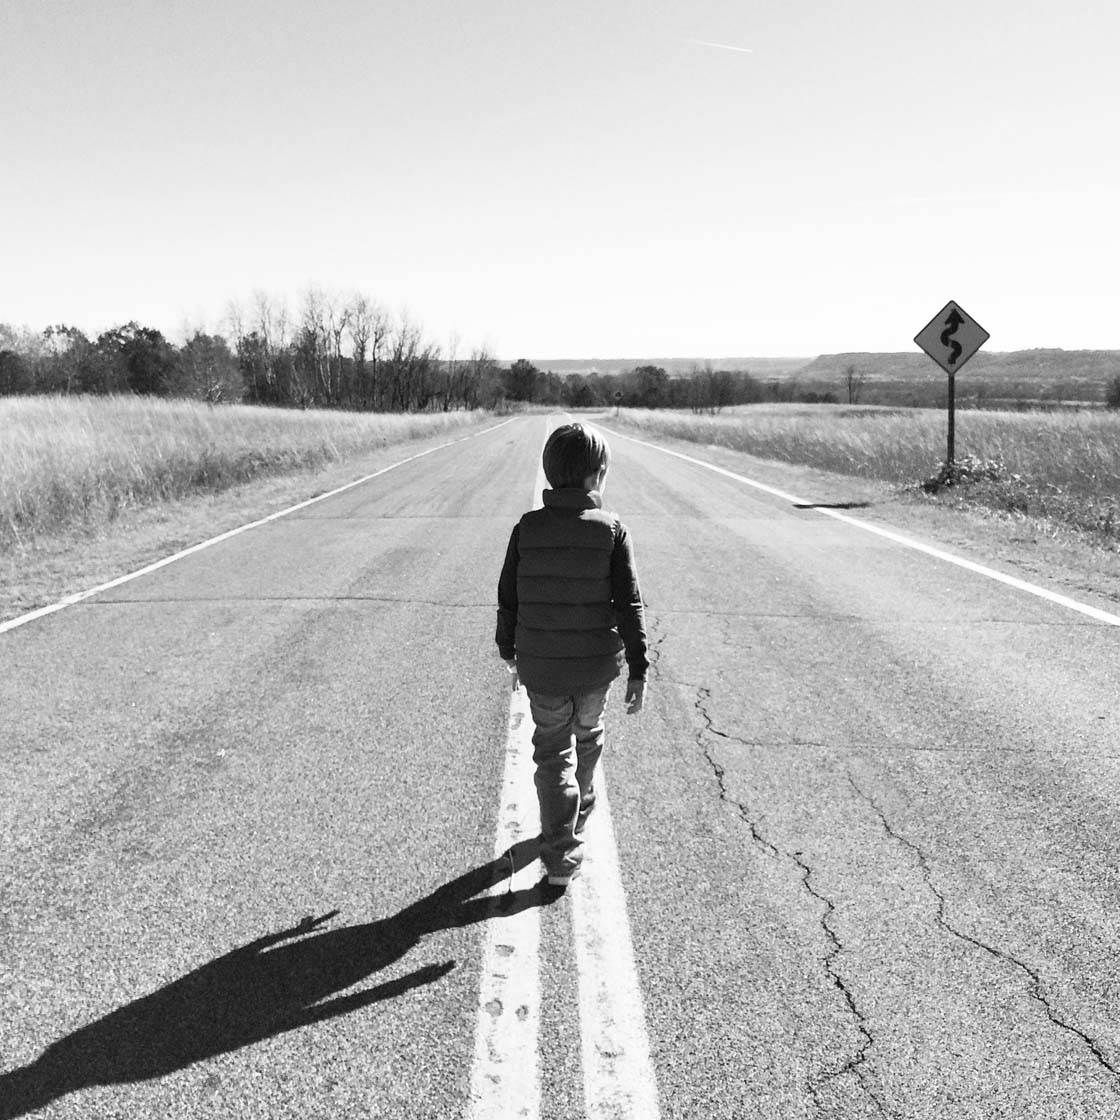
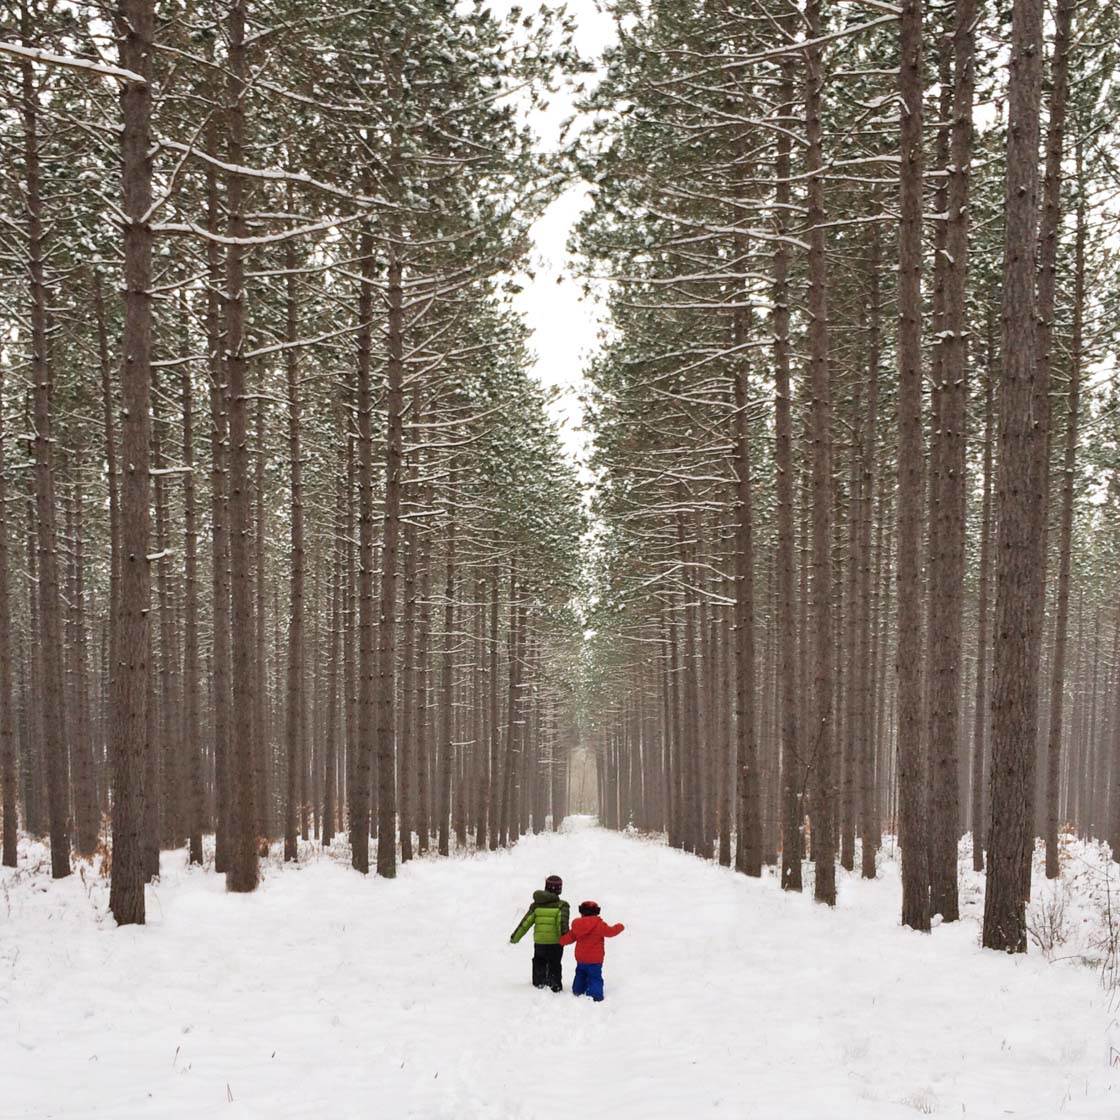
Many of the photos I take of my kids during these quieter times are shot from behind and at a distance so that I remain less intrusive. Don’t worry that the photo doesn’t always include the child’s face – this can actually help with creating a sense of mystery and intrigue in your photos.
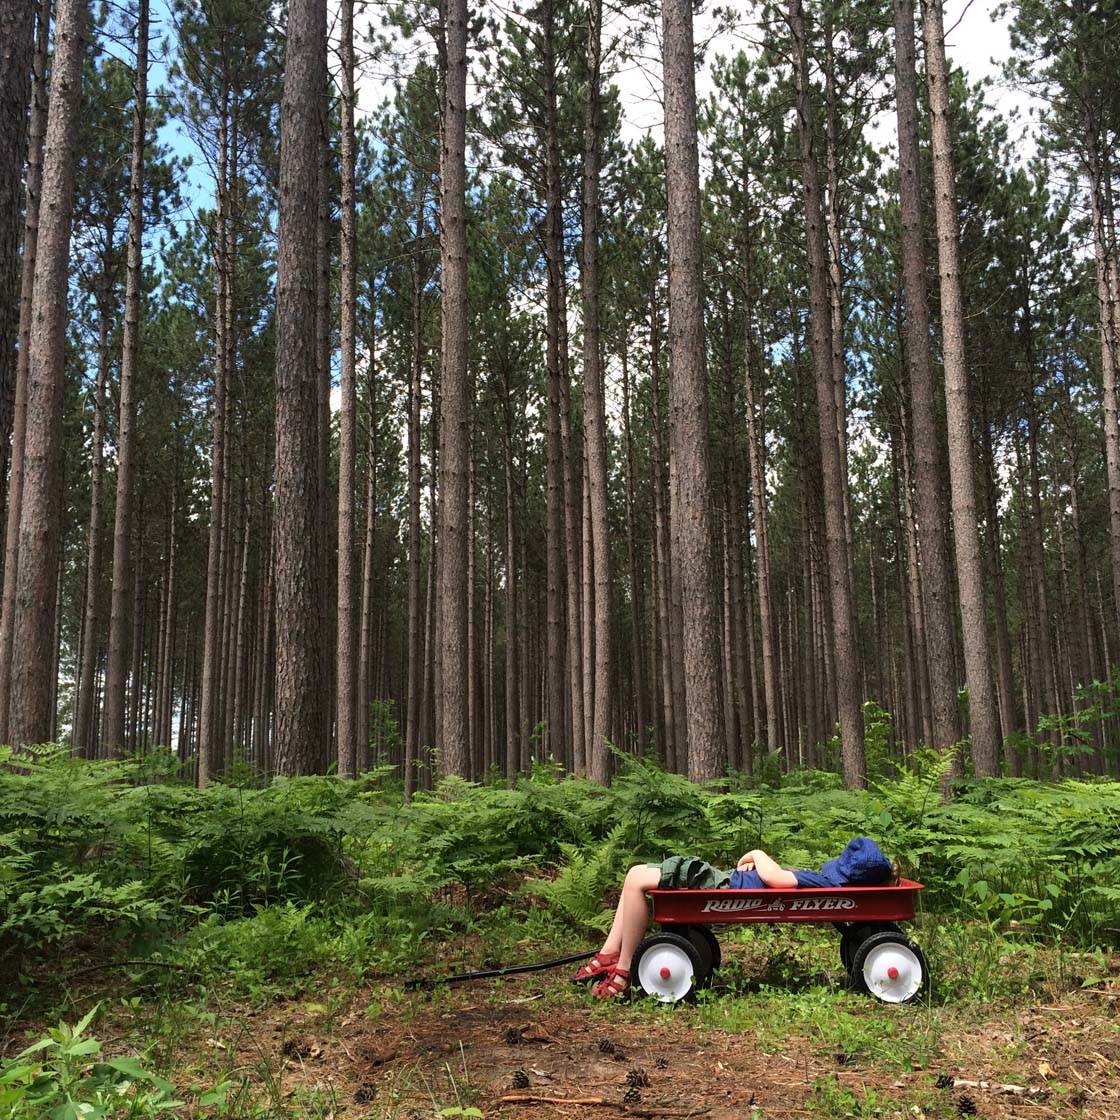
When your kids need a nap, this doesn’t mean you have to stop taking photos. A picture of a sleeping child is just beautiful – or sometimes even humorous when they fall asleep in strange places! Make the most of this time as it won’t be long until they’re running around again!
6. Use Props & Outfits
While I said earlier that you should try to shy away from staging photos as much as you can, that doesn’t mean you can’t do some “pre-staging.” Really, this is my favorite way to photograph my kids, and we all have fun!
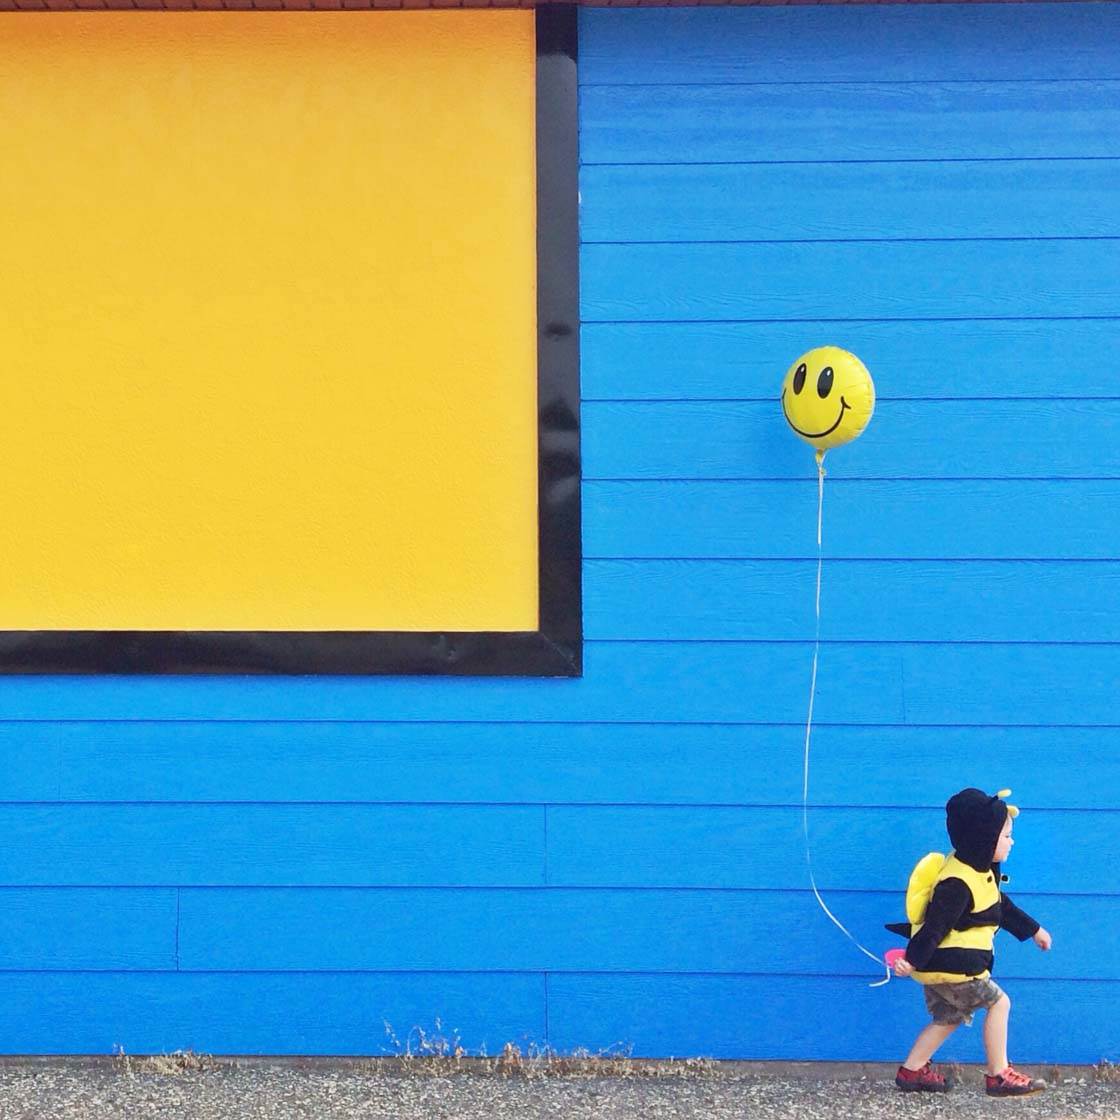
It all starts with the gathering of a somewhat large arsenal of props. First, take stock of what you already own – dinosaur toys, umbrellas, rain boots, hats, a red wagon, a tricycle, a kite, balloons, fancy dress outfits, etc.
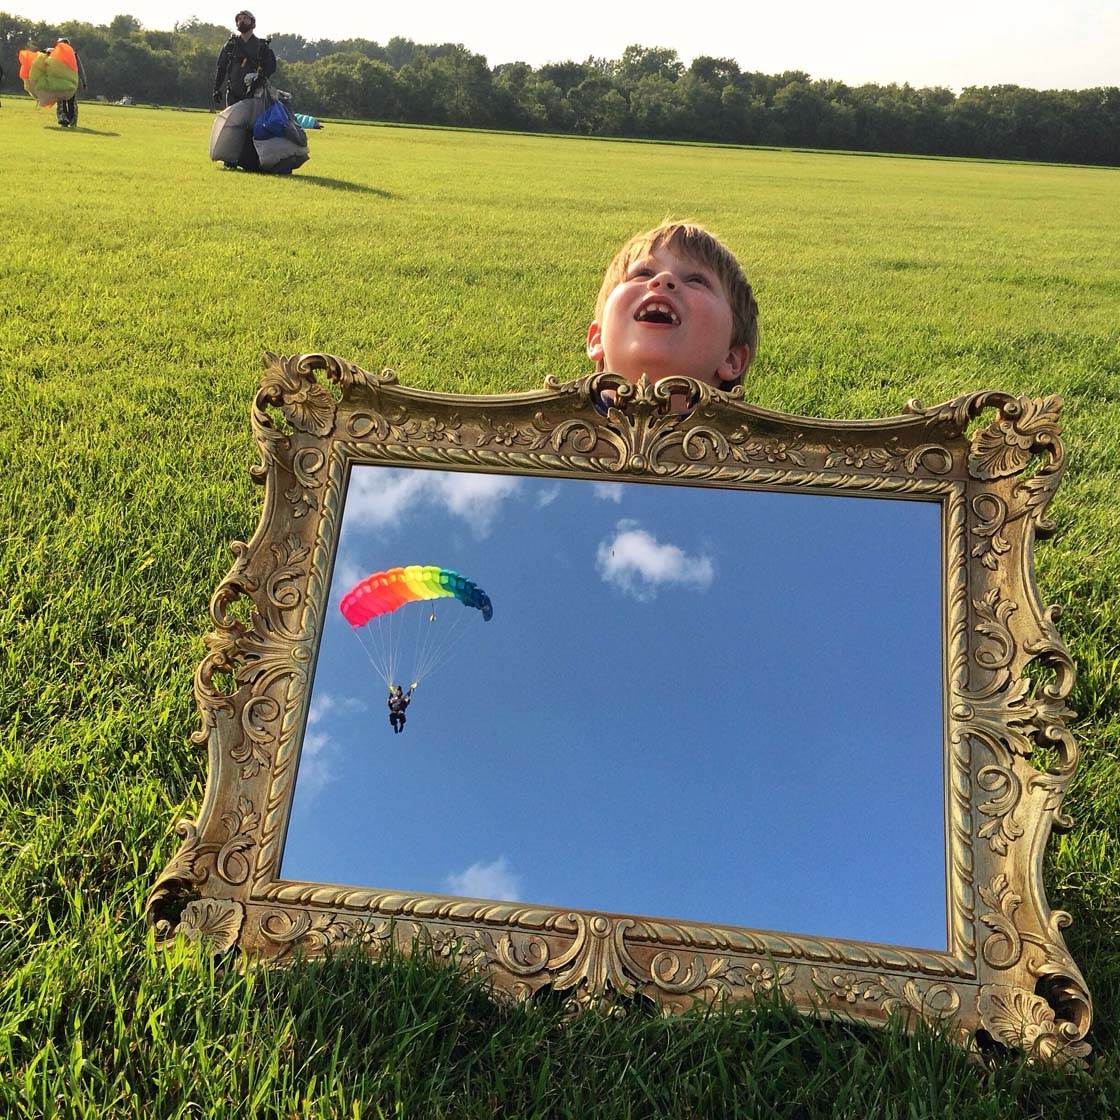
Then maybe take a look through an elderly relative’s basement or garage! I’ve found some fantastic vintage items in my grandfather’s garage. And it’s always fun to hit a rummage sale or an antique shop. I’m perpetually on the lookout for vintage items like tennis rackets, rotary phones, hats, sleds, blankets, thermos’s, etc.
Once you’ve gathered your collection of props, find a spot where these items will be easy to grab, like your garage or the trunk of your car. Whenever a friend sees my trunk, they laugh and say “ahhhh… the quintessential photographer-mom car.”

And yes, it’s true that I carry a car full of props, but my kids don’t see it that way. They think we have a minivan filled with fun! We like to go on little outings after school, to parks, museums, etc. As soon as we park, they run to the trunk to grab a bunch of stuff to play with.

If I know where we’re going that day, I’ll be sure to throw some stuff in the trunk that’s fun for them and will fit in well with the surroundings, like a wagon for a big green grassy hill or a little guitar if we’re going into the countryside.
I don’t take their photo every day but maybe once a week or so I’ll capture a few shots of them playing with something that came out of my trunk.
7. Capture Catchlights In Their Eyes
Since I haven’t ever had any formal training in photography, this is one of those common pro tricks that took me a long time to understand. Catching that little light reflected in your subject’s eyes is so important! This light is called a “catchlight.”
Once you’re aware of catchlights, you’ll want all of your portrait photos to have it as they really make the eyes sparkle. I read somewhere that “eyes with no catchlight are dead eyes.”

Capturing the catchlight in an adult model isn’t hard. You position yourself with your back to the light source, have them sit either facing the light source directly or at an angle, and ask them to slightly move their head until you see the catchlight in their eyes.
This doesn’t sound too hard does it? However, it can be much more of a challenge with little ones who squirm and don’t like to be still!
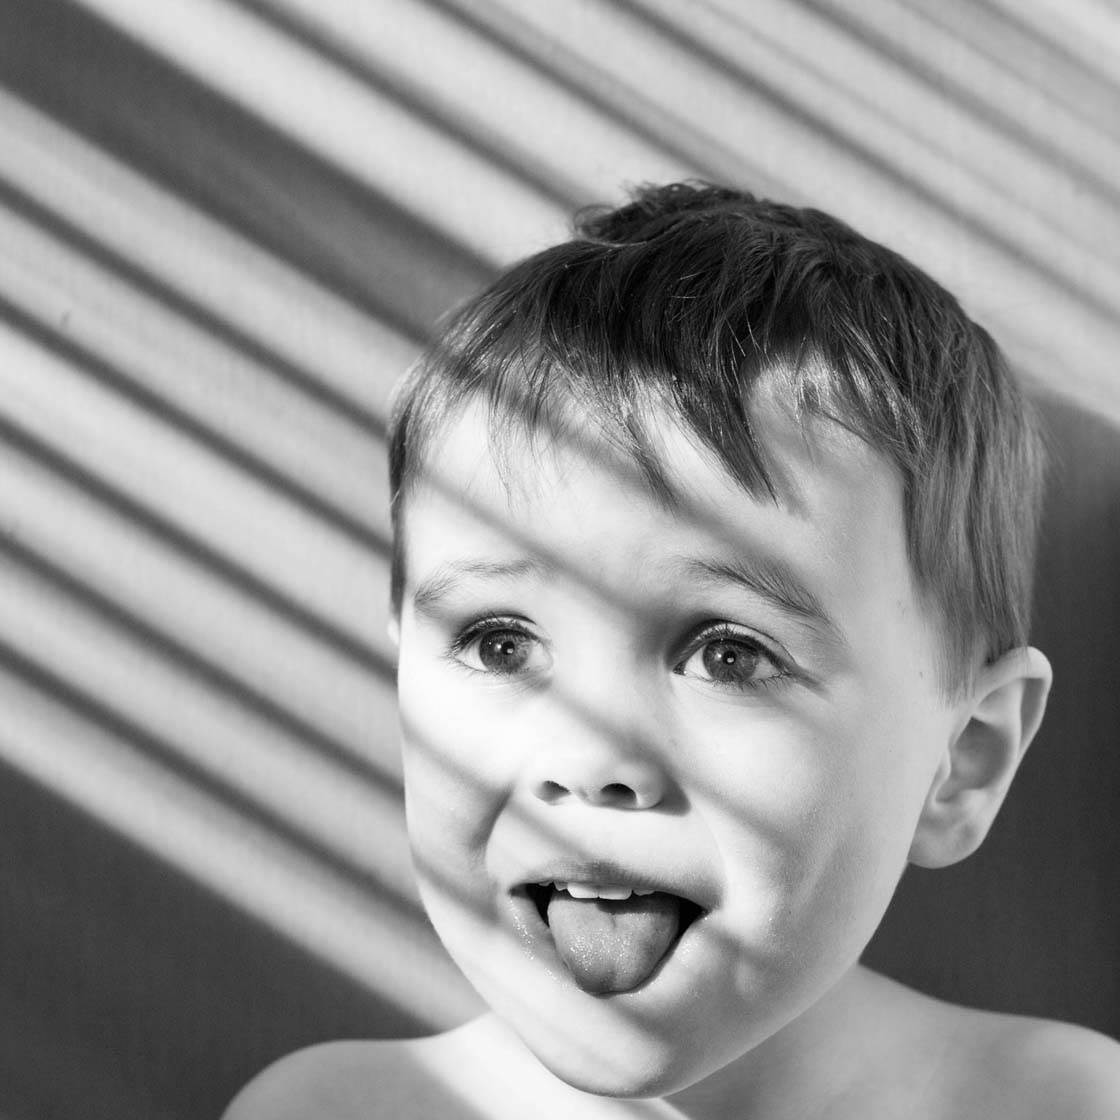
I like to play the “can you look at that” game. Have the child sit or stand in the appropriate spot, then ask them to look at different interest points that are behind or alongside you and towards the light source. If there isn’t a good light source, you can always create one using a flashlight or anything reflective.
Hopefully you’ll be able to find the right spot as they move and you’ll capture that catchlight in their eyes. After practicing this for a few weeks, you’ll become a much better predictor of where they need to look. As an added bonus, this game usually makes them smile and relax.
8. Shoot From A Low Angle
Getting down to the child’s level is so important. It’s what lets you put their heads in the clouds! It’s also what helps you capture the little details like toes, bellies and chubby thighs that you wouldn’t see so well from above.
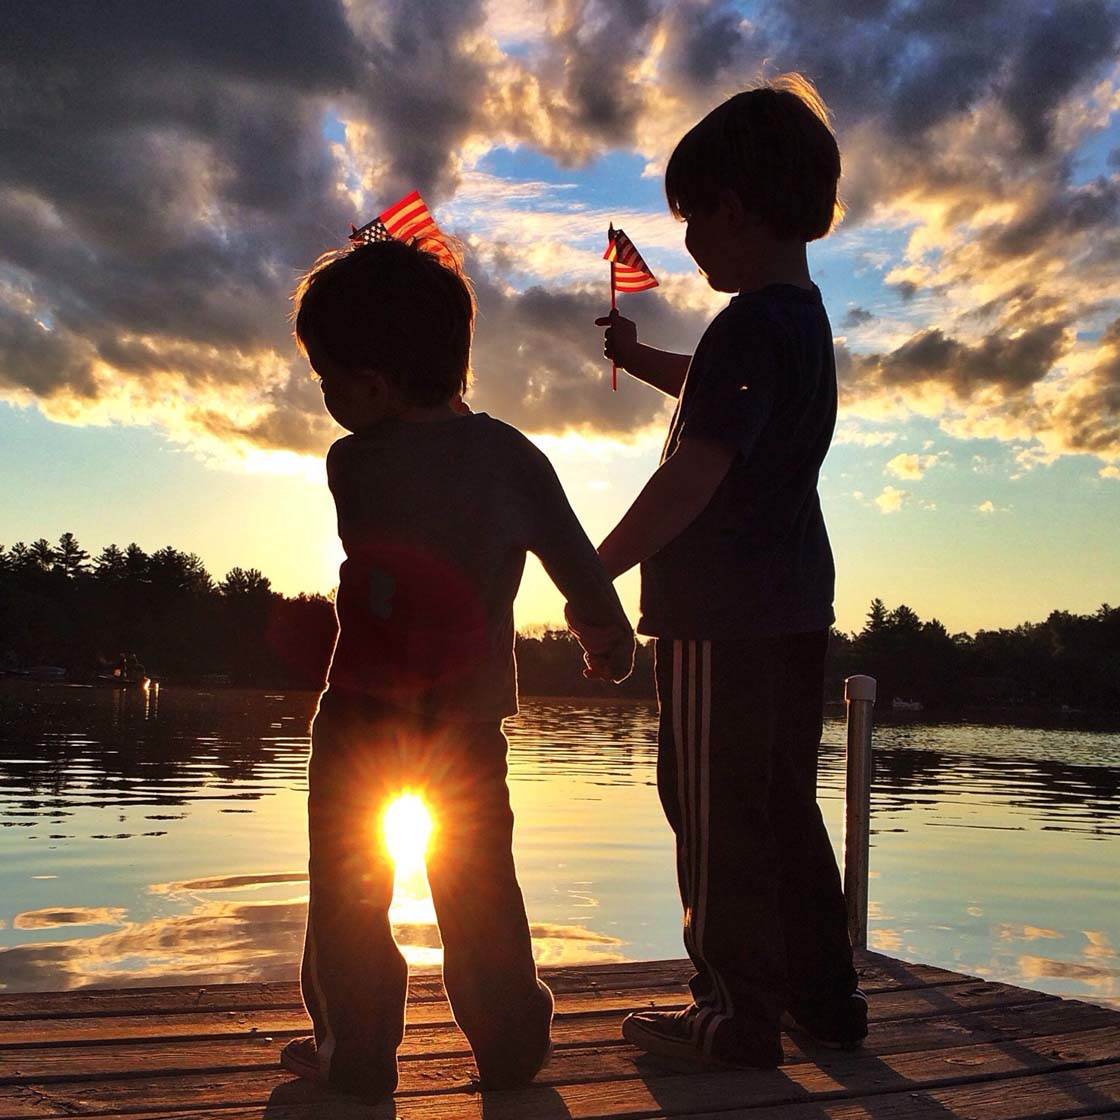
Occasionally a photo from above is fun if you’re trying to capture the environment they’re in, but for the most part, taking photos from a low angle, at the standpoint of the child, works best.
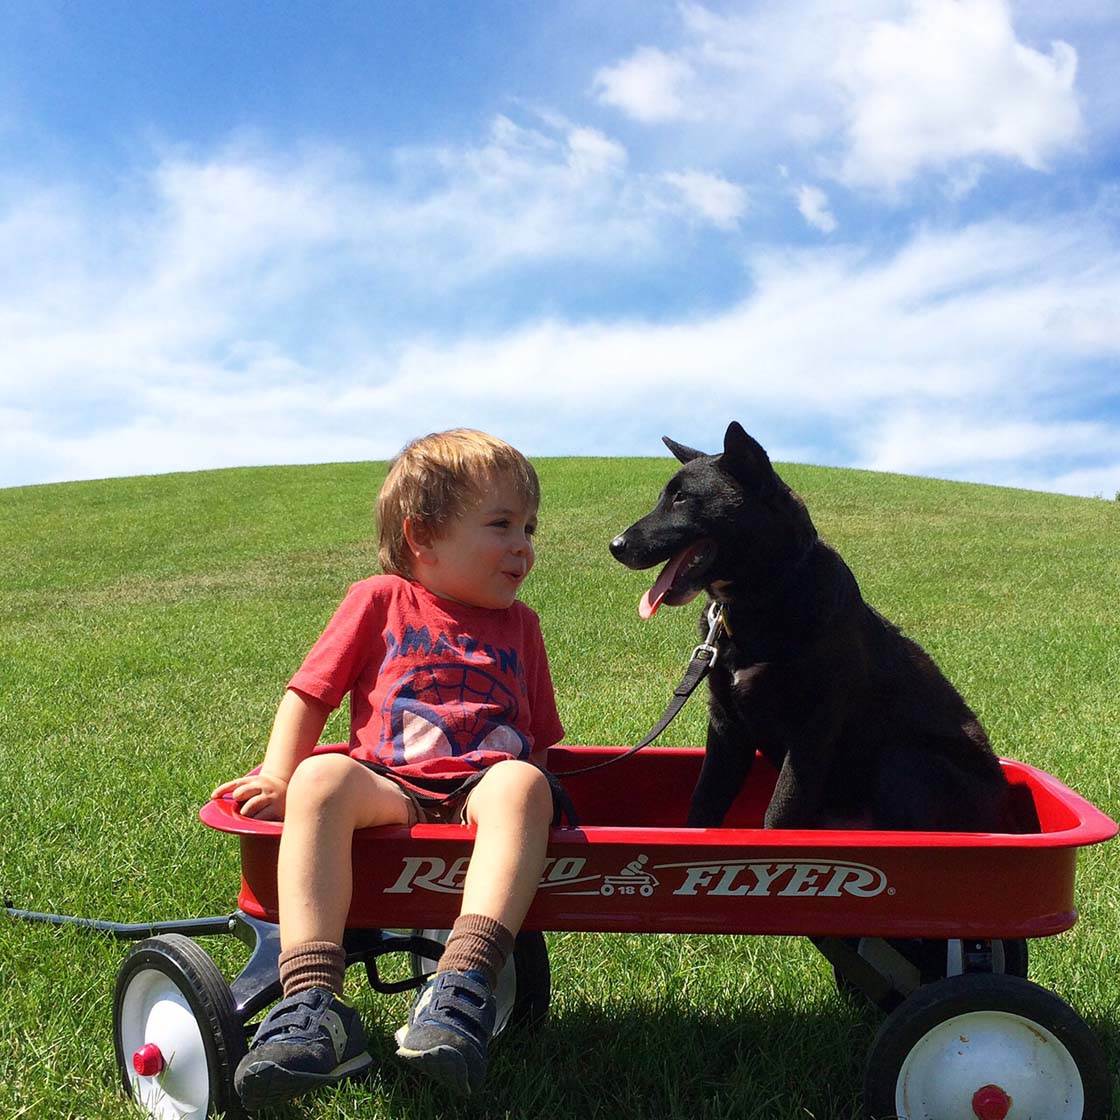
Shooting from the height of the child shows the world from their perspective. It also helps to put the child more at ease since you’re not towering above them, and you can make better eye contact with them. It means you can interact more with the child and your pictures will show this.
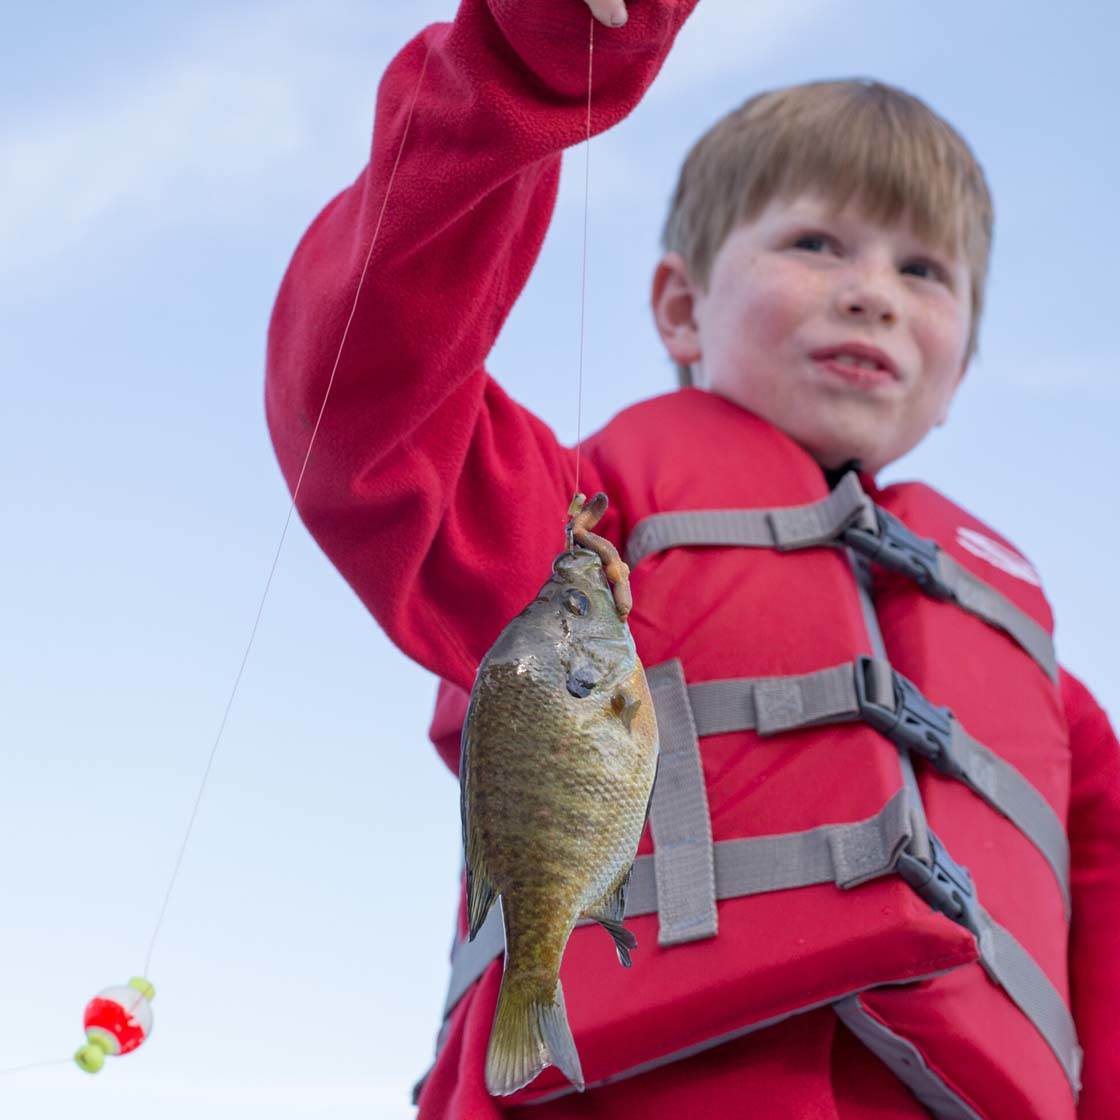
Shooting from a low angle is also great for getting more plain sky behind your subject, so if you have a distracting background this is a great technique to use.

It’s also good for creating a sense of scale. Nothing beats seeing a shot of a cute little one against a massive colorful wall or a large expanse of sky.
9. Create More Magic In Post-Processing
The great thing about learning to use a few editing apps and photoshop apps is that they enable you to relax and not be overly concerned about the small details as you photograph your kids.
The TouchRetouch app ($1.99) is great for easily removing unwanted objects such as a cut or a dirty mark on the child’s face. And Superimpose X ($4.99) is excellent for adding in extra fun elements such as a balloon, a fishing pole, your dog, some birds, etc.

I also use it to avoid arguments. If they want to wear their favorite ratty old hat to the park on the day you thought would be perfect for a few photos, let them wear it. You can then simply superimpose a different hat afterwards.

Learning how to use Superimpose X will allow you to create wonderful fantasy-style iPhone photos. Your kids will love these extra fun elements that you add. Asking them to get involved in the editing process might even give you ideas that you might not have thought of yourself.
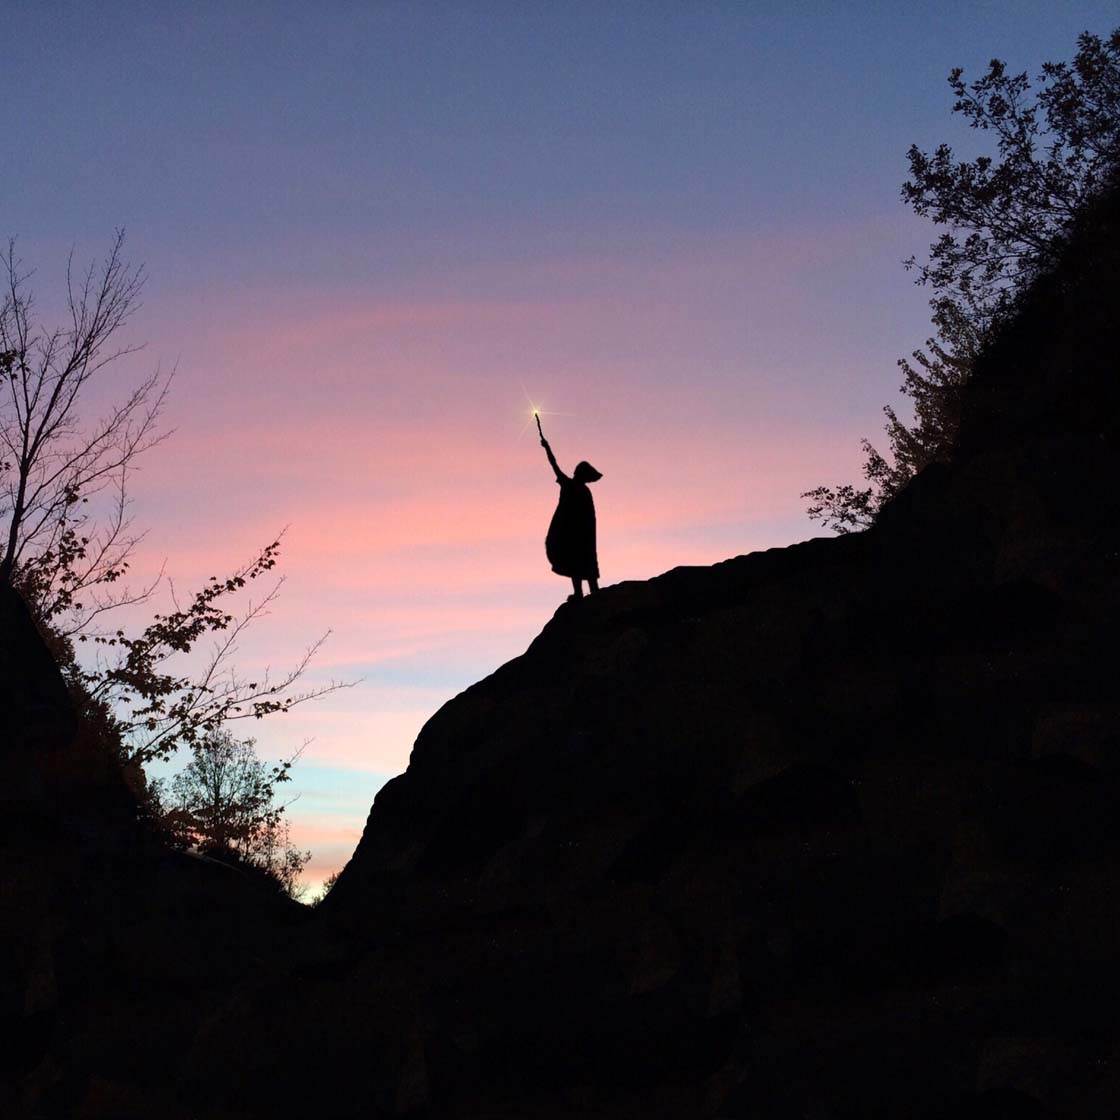
From a simple photo of your children, you can create a magical fairytale image that will capture their imagination and hopefully get them more interested in being photographed.
If you want to learn more about improving your photographs of children, check out our other insightful tutorial covering 14 tips for taking incredible iPhone photos of children.


All such great info Jill, Thank you!
Love this tutorial. Thanks so much Jill
So many great tips!! Thanks so much!! An excellent read!!
So very useful – thank you! Great tips about the apps you use too.