The iPhone might not be the obvious choice for a fashion photo shoot – after all, we’re used to seeing fashion photographers with big cameras and expensive studio lighting. But when I took part in a local fashion meetup, I decided to put my iPhone to the test. Using a simple lighting setup in a friend’s home, the iPhone proved itself to be a really great tool for fashion and portrait photography. In this tutorial you’ll discover how to find models and shooting locations for your iPhone fashion shoot, as well as practical tips for using natural and artificial light.
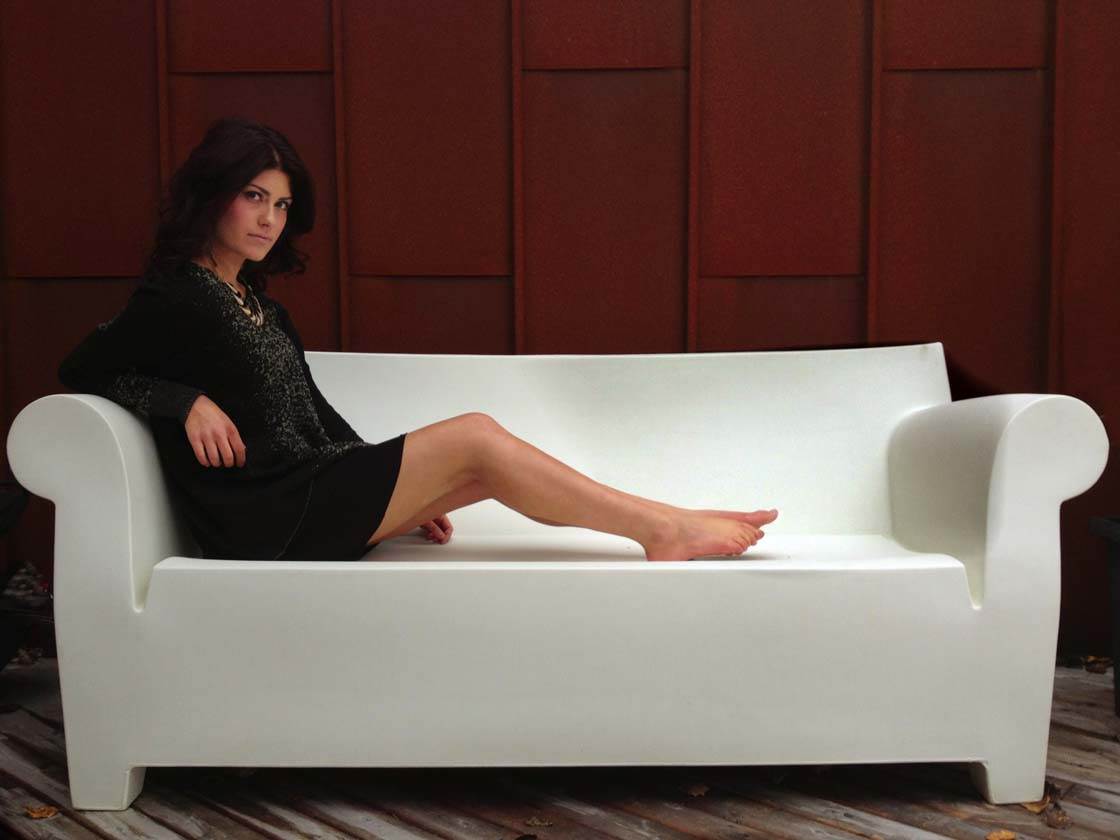
If you’ve never tried a fashion photo shoot, I’d highly recommend you give it a go – it’s great fun and you’ll end up with a fantastic set of interesting portrait photos.
And you never know, this could be the first step in getting some publicity for your iPhone photography!
So let’s take a look at six essential tips to get you started within organizing and photographing an iPhone fashion shoot.
1. Find A Model For Your Shoot
The first thing you need to do is find a willing subject to pose in your photos. Many people will jump at the chance of being a model in your fashion shoot.
You could start by asking friends or family if they’d like to take part. Unless you’re providing the clothing, choose someone who has a good selection of clothes, shoes and accessories as these are an essential part of a fashion shoot.
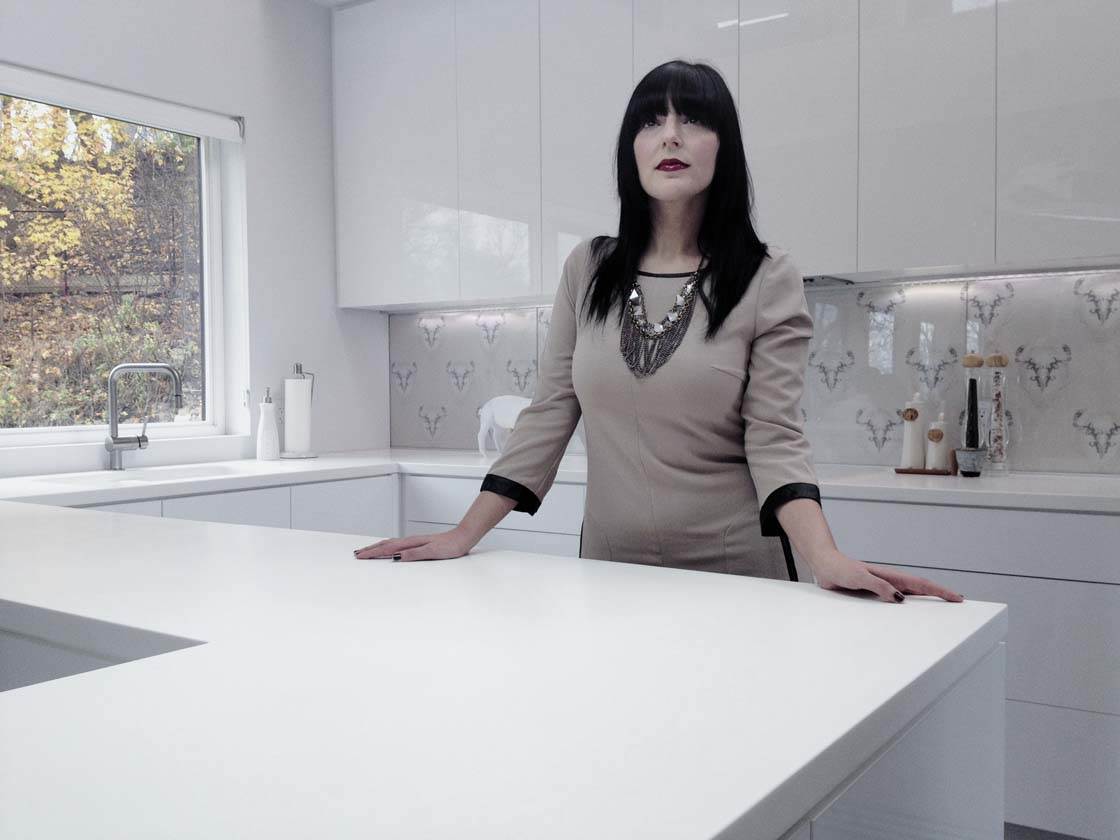
Another option would be to approach a clothing store to see if they would be interested in providing some models and clothing for your shoot. In return you can give them a great set of photos for them to use when advertising their merchandise.
Or maybe some local fashion students would be interested in being photographed in return for a copy of your photos to add to their portfolio.
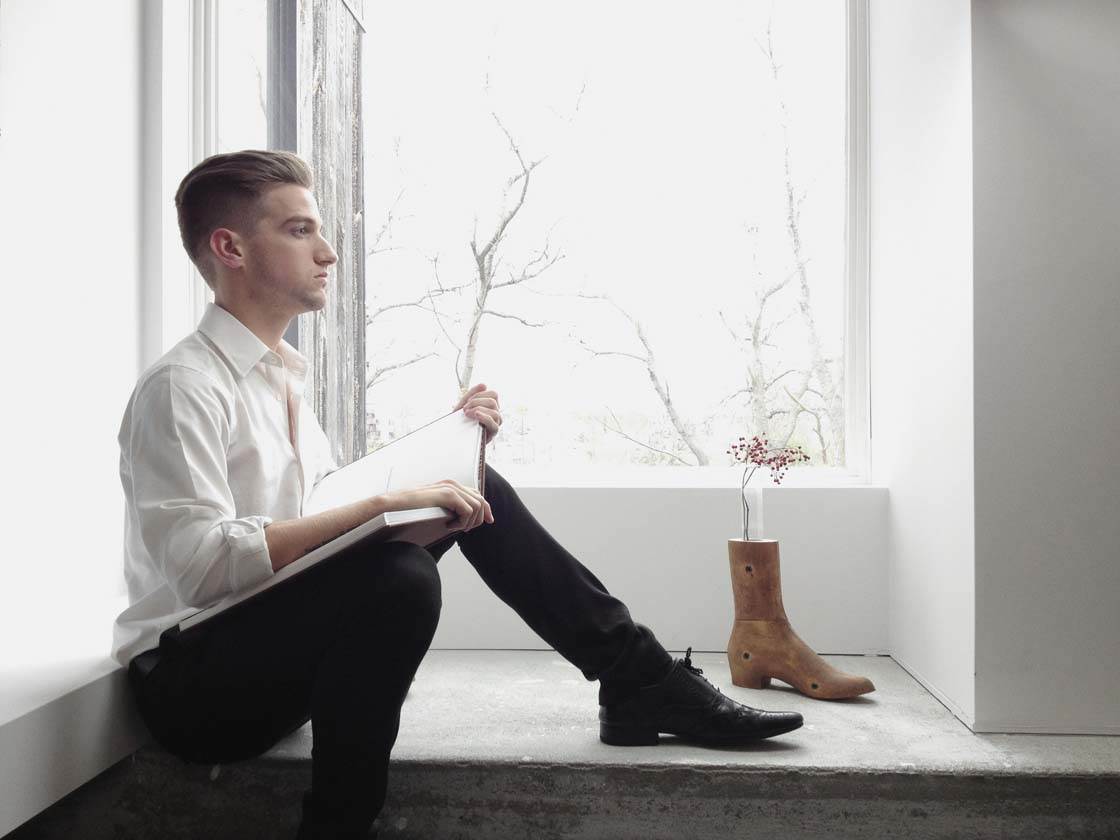
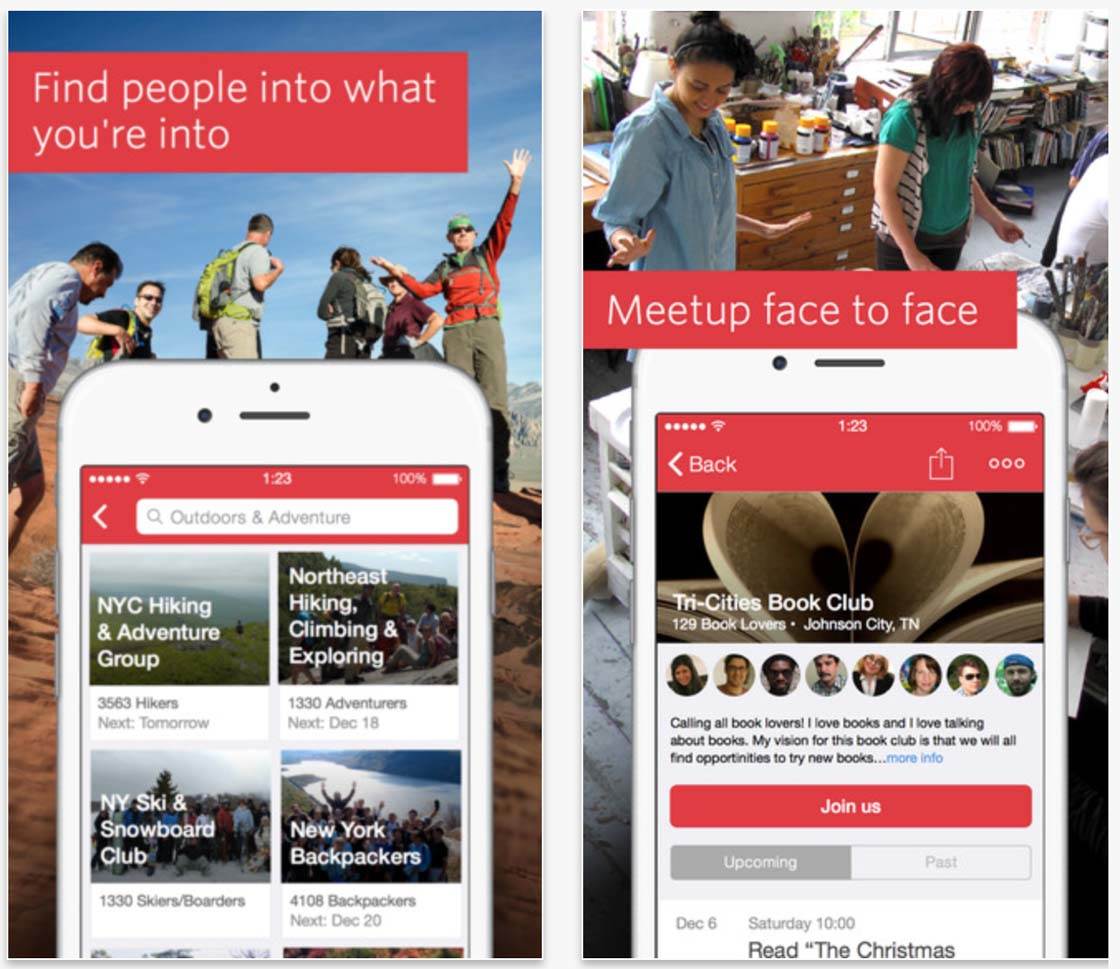
Or how about getting together with a group of like-minded creative people through a photography meetup? A meetup is a group of people (often strangers) living in or visiting a certain location, who have common interests or hobbies.
There are iPhone apps such as Meetup that are dedicated exclusively to finding meetups in your own city, and they’re a great way to meet like-minded friends and get inspiration from other talented individuals.
In the Eastern Canadian city of Saint John, New Brunswick, we’ve been blessed to have annual meetups geared specifically toward fashion.
Each year, local photographers, models, hair stylists, clothing suppliers and make-up artists gather in a cool location for a large photography session.
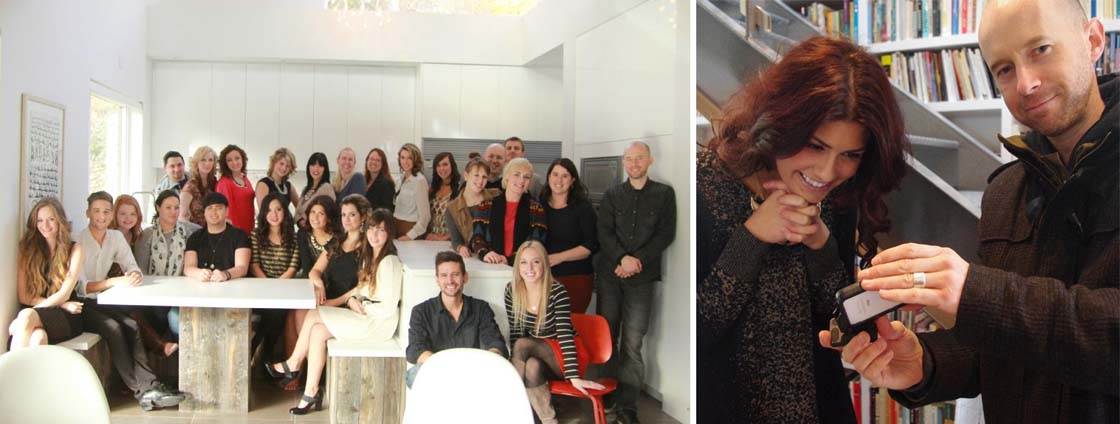
After the models have had their hair and makeup done, each photographer and model pairs up to create an image. Then another pairing happens and so it continues. By the end of the day, every model will have been photographed by every photographer.
If there’s nothing like this happening in your area, now might be the time for you to organize your own meetup!
Credit for these photographs are shared with me, Barb Crawford who organized the meetup, and Judith Mackin who lent her amazing modern home to us for the session.
2. Find An Interesting Location
Once you’ve found a model, you need a good location for your shoot. The location you select will depend on the kind of look you want to create in your photos.
Do you have a theme for your fashion shoot? Do you want to create a certain mood in your photos? Do you want to shoot indoors or outdoors?
Outdoor locations have the benefit of plenty of natural light, but you don’t have any control over weather conditions or other people who might be at that location. You’ll also have to carry any clothing and props to your location.
Good locations for an outdoor fashion shoot might be a beach, woodland, a field or meadow, your local park, a quiet street, wasteland in a deserted area of the city, or the grounds of a large country house.
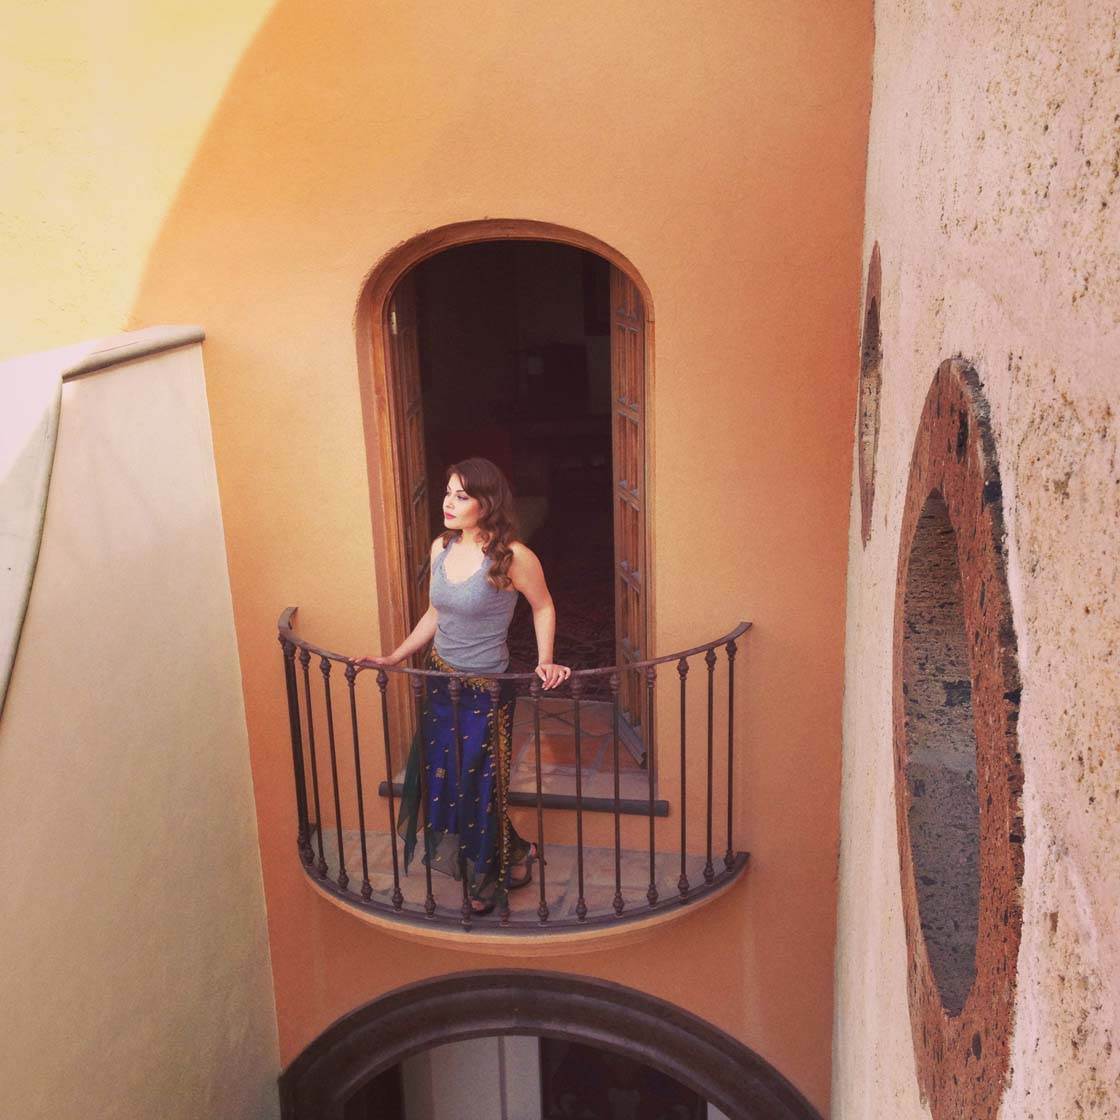
If you choose to shoot indoors, you’ll have a lot more control over the environment, and you can shoot in any weather conditions.
An indoor photo shoot can can take a bit more work in terms of lighting, but I’ll show you how to easily set up lighting for indoor shoots in this article.
Suggested locations for an indoor fashion shoot are a modern home, an old country house, a warehouse, or an abandoned building (assuming it’s safe and legal to enter).
Look for locations that offer flexibility with lighting – lots of big windows will help with illuminating your subject.
Also, think about opportunities for different shooting perspectives. For example, the ability to shoot from a balcony can add a lot of creative options when it comes to composing your shots.
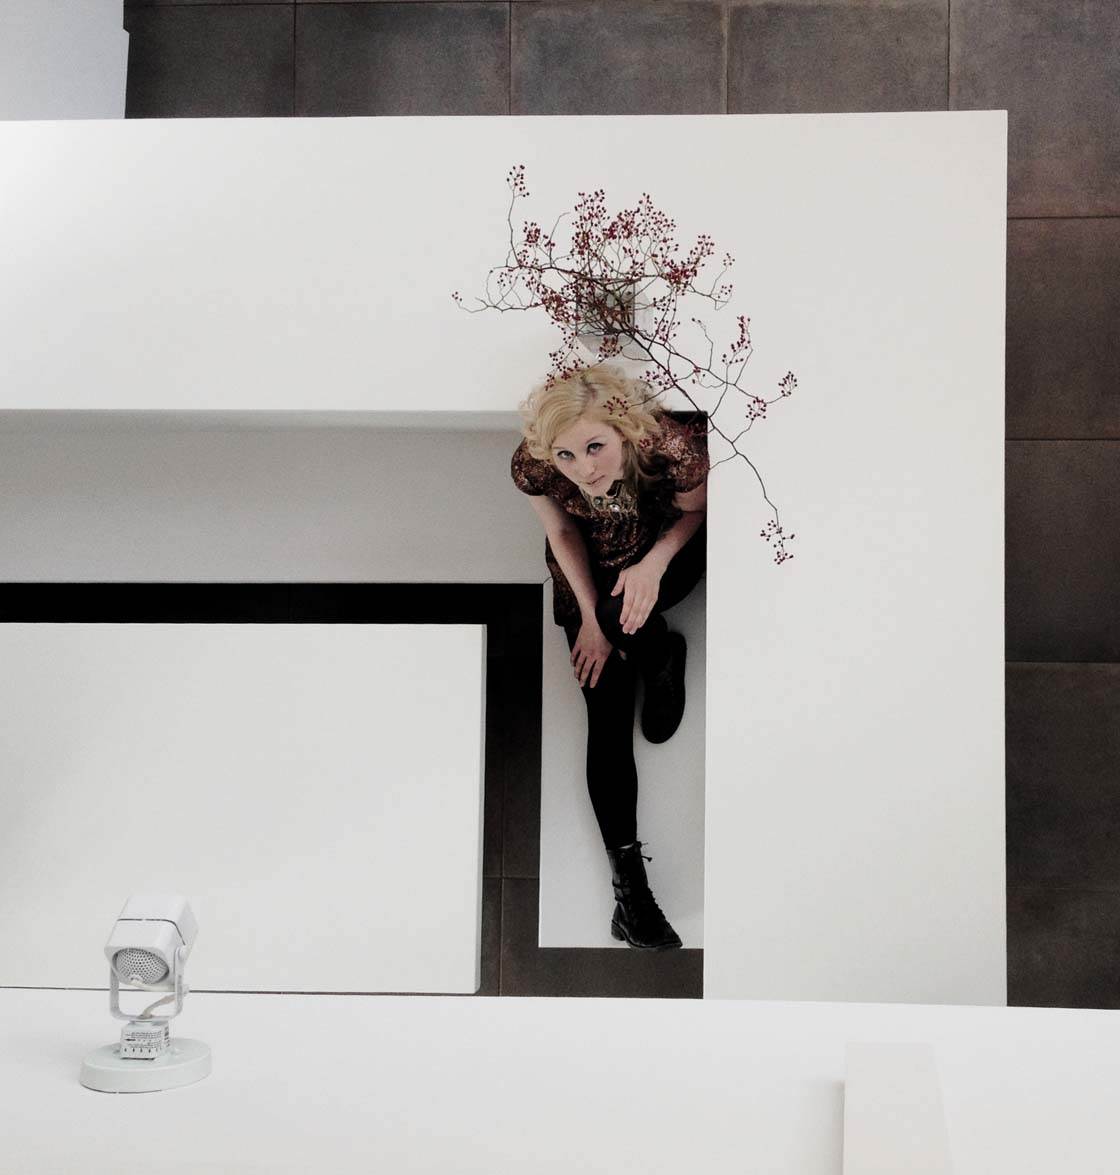
If you don’t have the option of shooting in a grand location, explore your home to find a suitable place. Look for areas that have good natural window light and a pleasing background. A plain painted wall or some pretty wallpaper will be perfectly adequate.
The corner of a room often works well because of the lines and shadows. Adding some simple props such as a chair, a vase of flowers, a musical instrument, some books, or a nice picture on the wall can all help to add extra visual interest to a plain room.
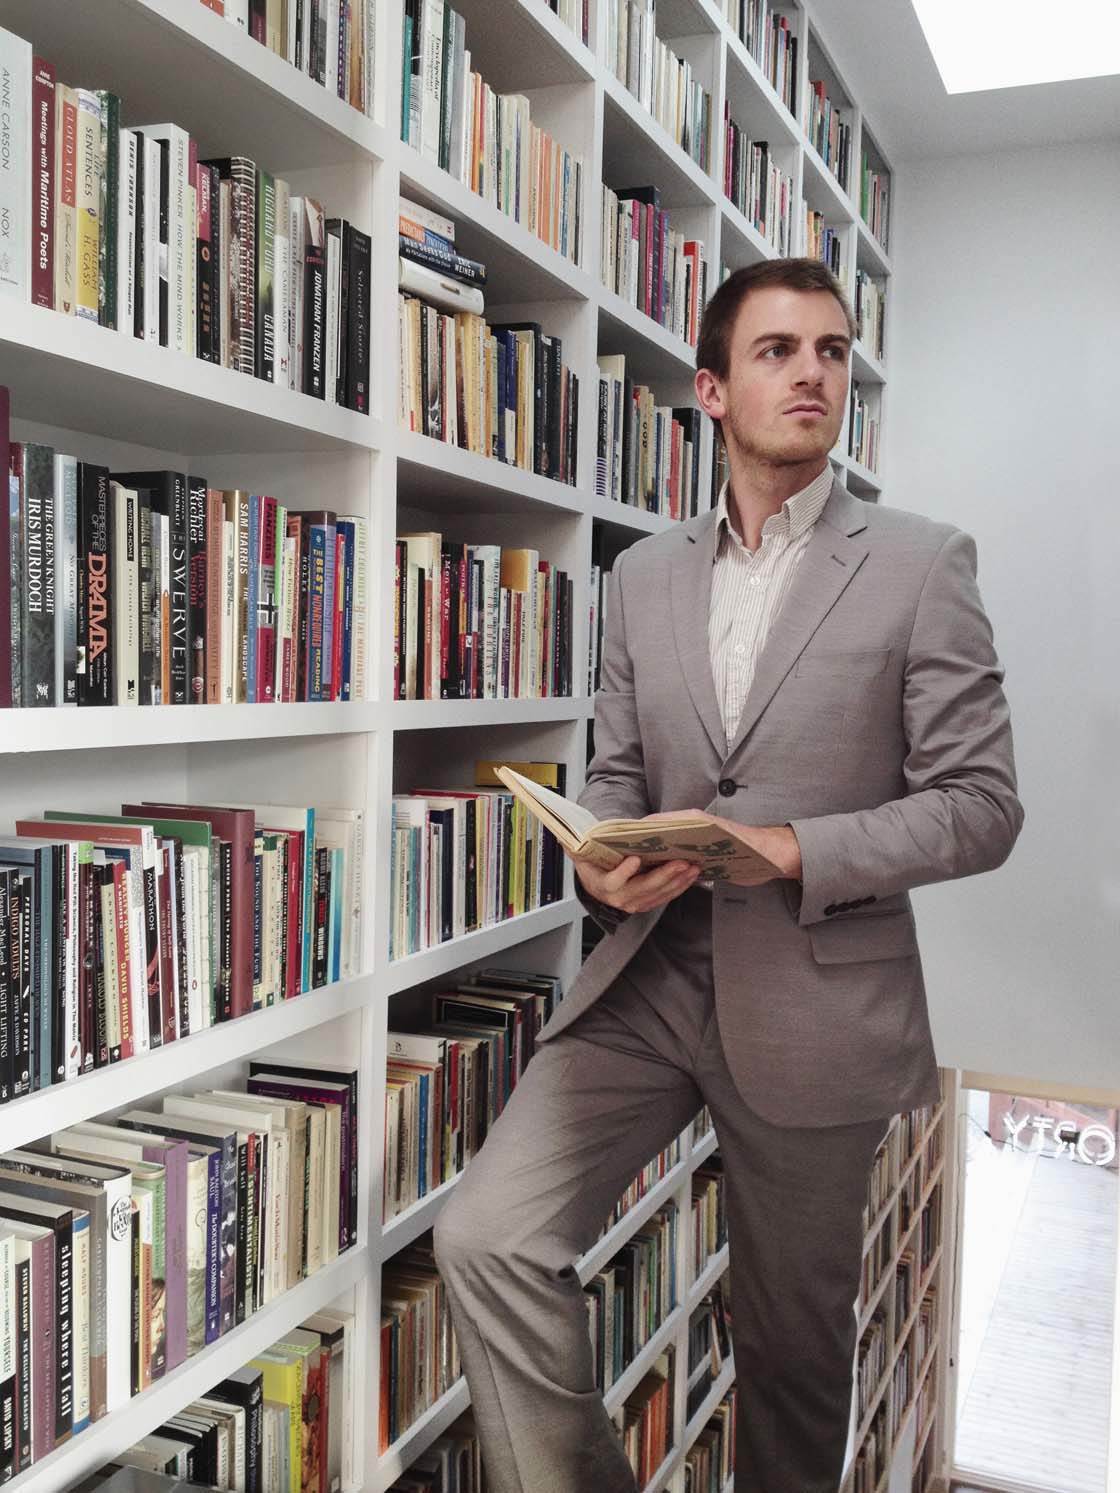
3. Use A Tripod
When I’m asked how to go about doing a fashion shoot with an iPhone, the first thing I suggest to people is to invest in an iPhone tripod. Using a tripod will keep your iPhone steady to ensure your shots are as sharp as possible.
This is especially important if you’re shooting in low light. If there’s not much light in the scene, your iPhone will need to use a slower shutter speed to correctly expose the image.
If you’re hand-holding the iPhone, even the slightest movement will result in camera shake which causes blurry photos. A tripod will prevent this problem.
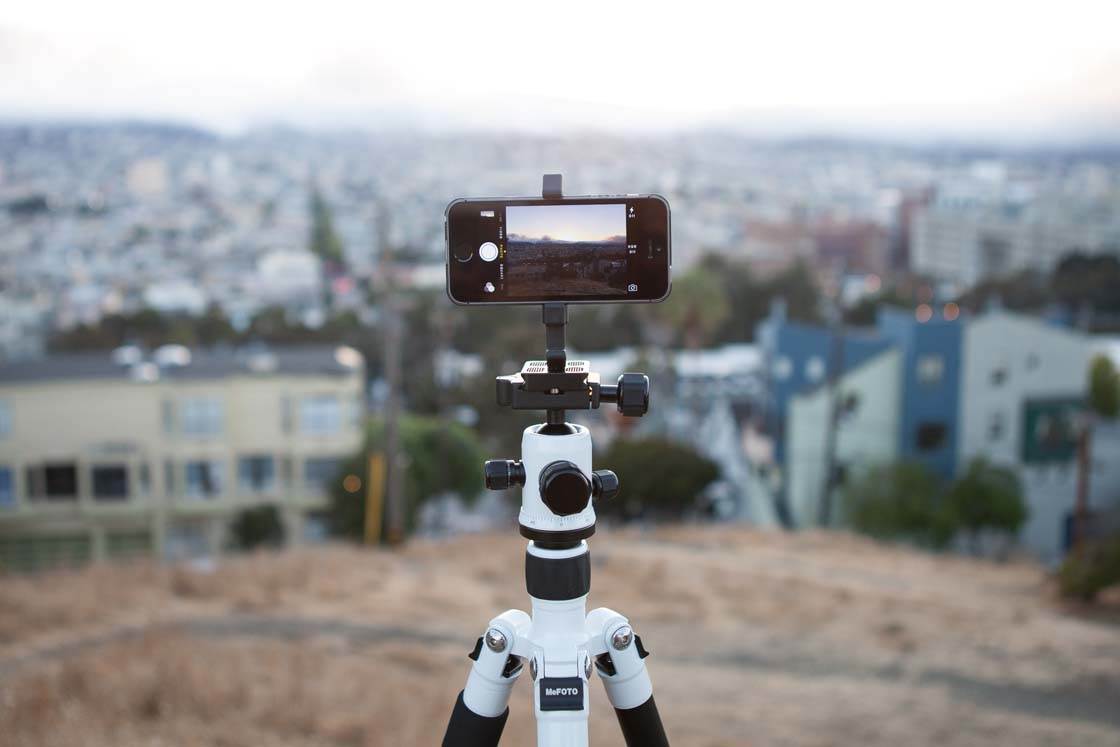
A tripod is also useful because it allows you to keep your hands free for arranging the scene, giving directions to your model and possibly holding some kind of artificial light source or reflector.
Of course, you can always remove your iPhone from the tripod if you want to take hand-held shots from different angles. But having the tripod there if you need it will make your task a lot easier.
There are many great options on the market for iPhone tripods. And because the iPhone is so light-weight, plastic attachments and tripods are usually fine and much cheaper than metal alternatives for heavy cameras.
If you already own a tripod for your DSLR, point-and-shoot, or mirrorless camera, there’s no need to purchase another tripod for iPhone photography. You’ll just need a simple iPhone tripod mount to attach your phone to the tripod, such as this Glif iPhone tripod attachment.
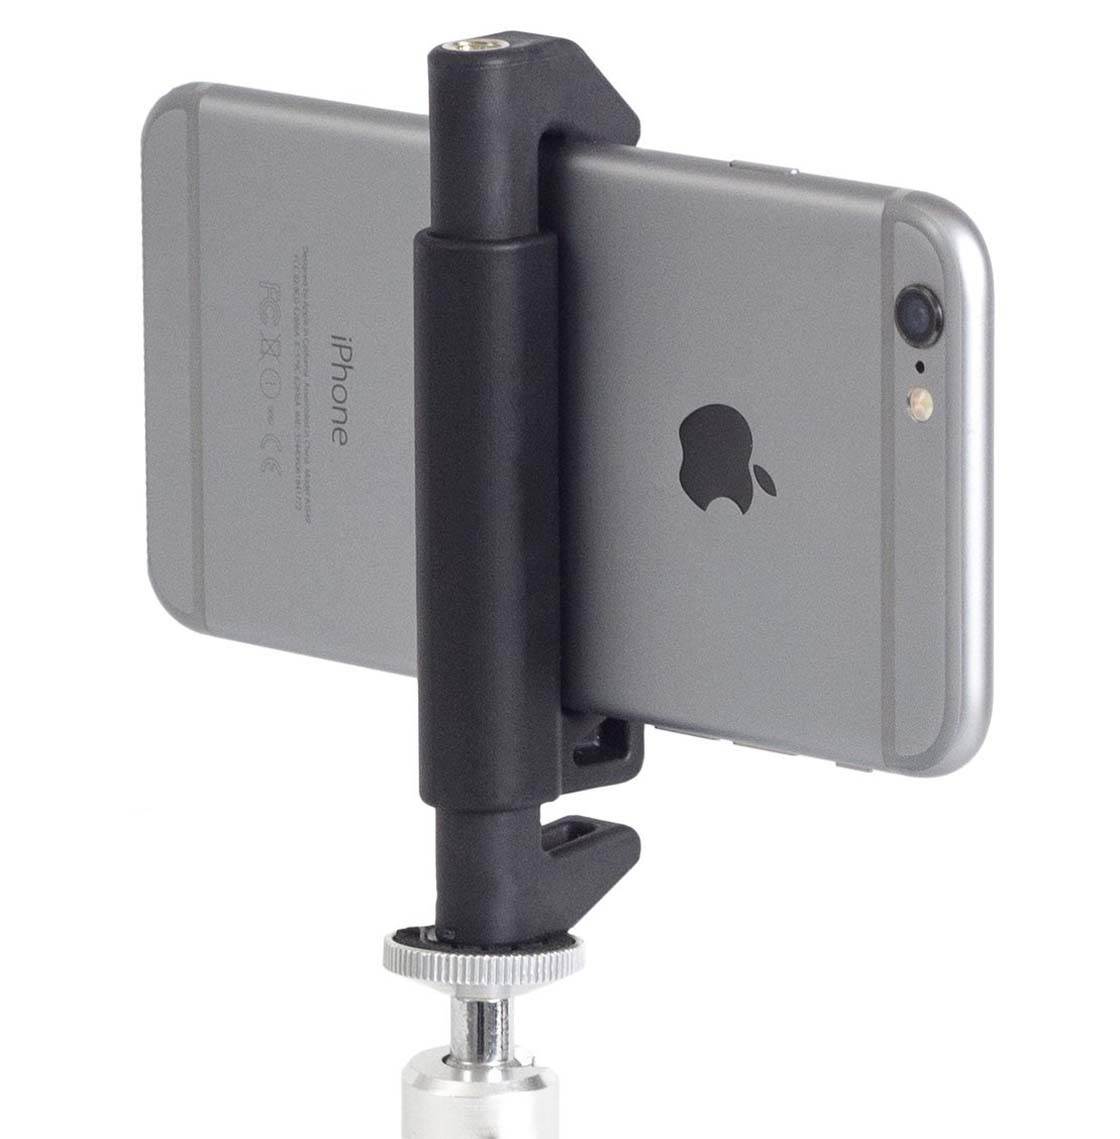
Alternatively, you can purchase an iPhone case that has a built-in tripod mount that screws straight onto the tripod.
When I did this iPhone fashion photo shoot, I was using a DIFF iPhone case which has a tripod mount. It also has a handy sunshade for easier viewing of the screen, especially if your photo shoot happens to be outside.
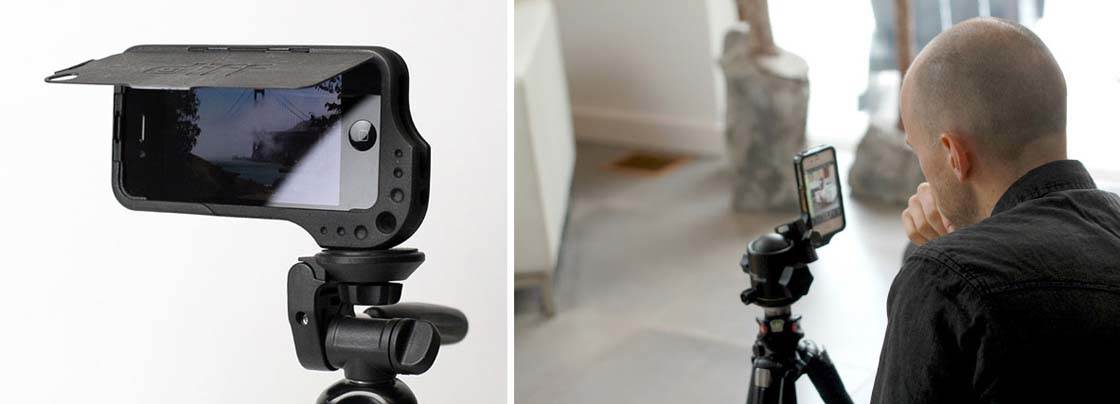
In this behind-the-scenes photo I was using a Manfrotto DSLR tripod, an Induro ball head, and a DIFF case with the sunshade removed as the shoot was indoors. (Right-hand photo credit: Allie Beckwith).
But don’t worry – you don’t need a large tripod setup like this. A compact and lightweight tripod designed for mobile phones will be perfectly adequate.
4. Decide On Your Lighting Setup
The next consideration is lighting, and this is one of the most crucial aspects of your shoot. You need good lighting to illuminate your subject in a visually pleasing way.
The type of lighting that you choose will depend on your location, the look and mood you want to create, and of course… your budget!
If you’re shooting outdoors, you’ll be using natural light, so plan your shoot around the position of the sun and the weather conditions.
Shooting on a slightly overcast day will provide a softer and more even light. On a sunny day, if the light is too harsh, try moving your subject into a shaded area.
Alternatively, plan to shoot when the sun is lower in the sky – the warm light of golden hour will add a beautiful glow to your images.
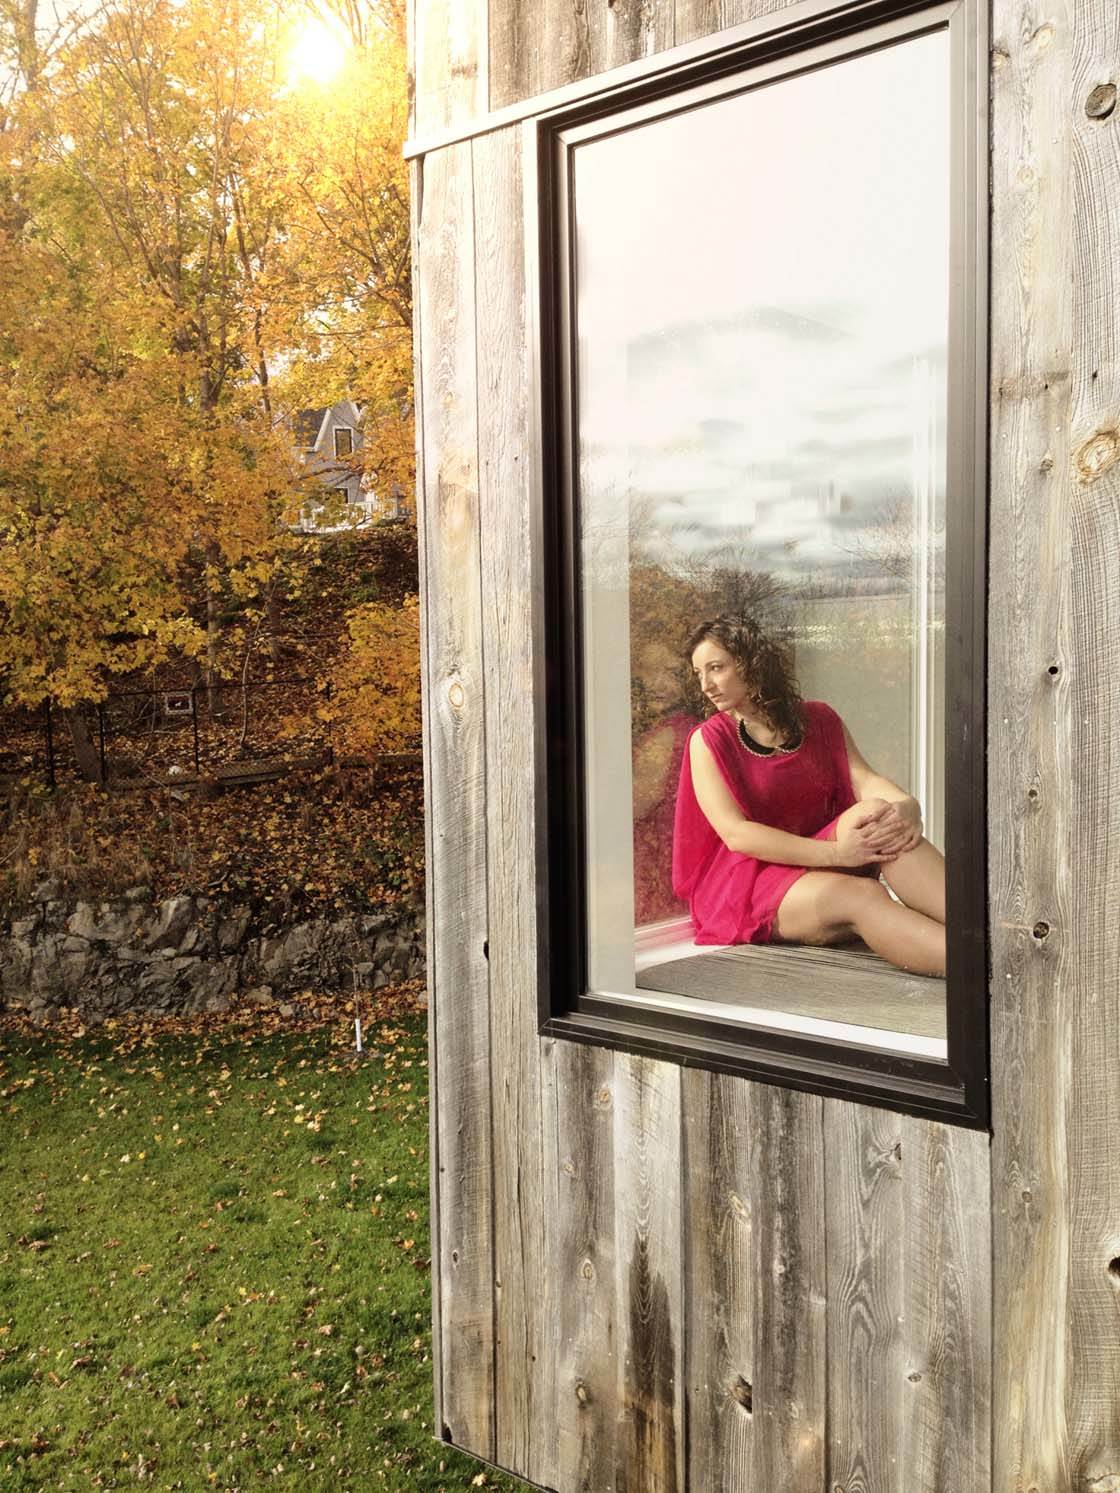
With an indoor photo shoot, you have more options. You can use natural light from a window or doorway, or you can introduce an artificial light source. Or ideally, use a combination of both.
Depending on your budget, and how serious you are about creating a professional looking set of photos, there are several different artificial lighting options that you could use.
A very high quality option (if you have the budget for it!) is the Kino Flo Celeb series of LED light panels. These units are quite bright, have adjustable white balance settings, and don’t emit heat (which is great for small rooms as it won’t make it too hot and uncomfortable).

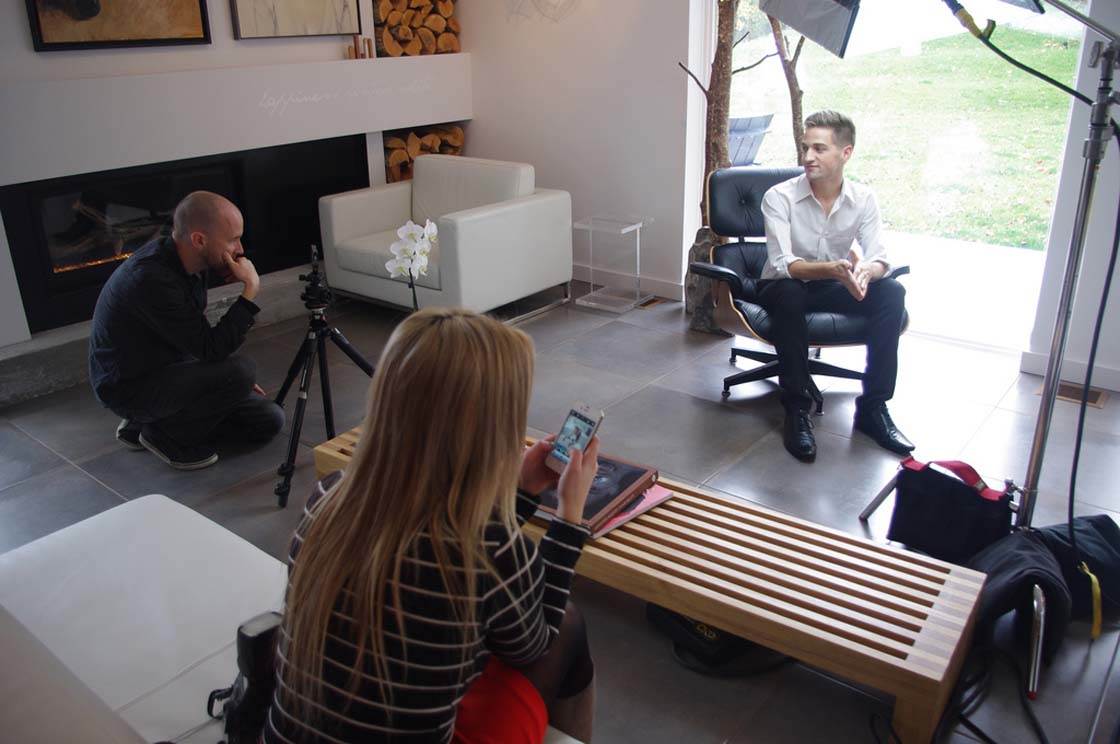
Don’t forget to purchase a light stand that’s strong enough to hold your new LED light panel. Below is a photo of my own stand (on the right of the frame), and I use sandbags to make sure the light doesn’t crash if someone accidentally bumps into the stand.
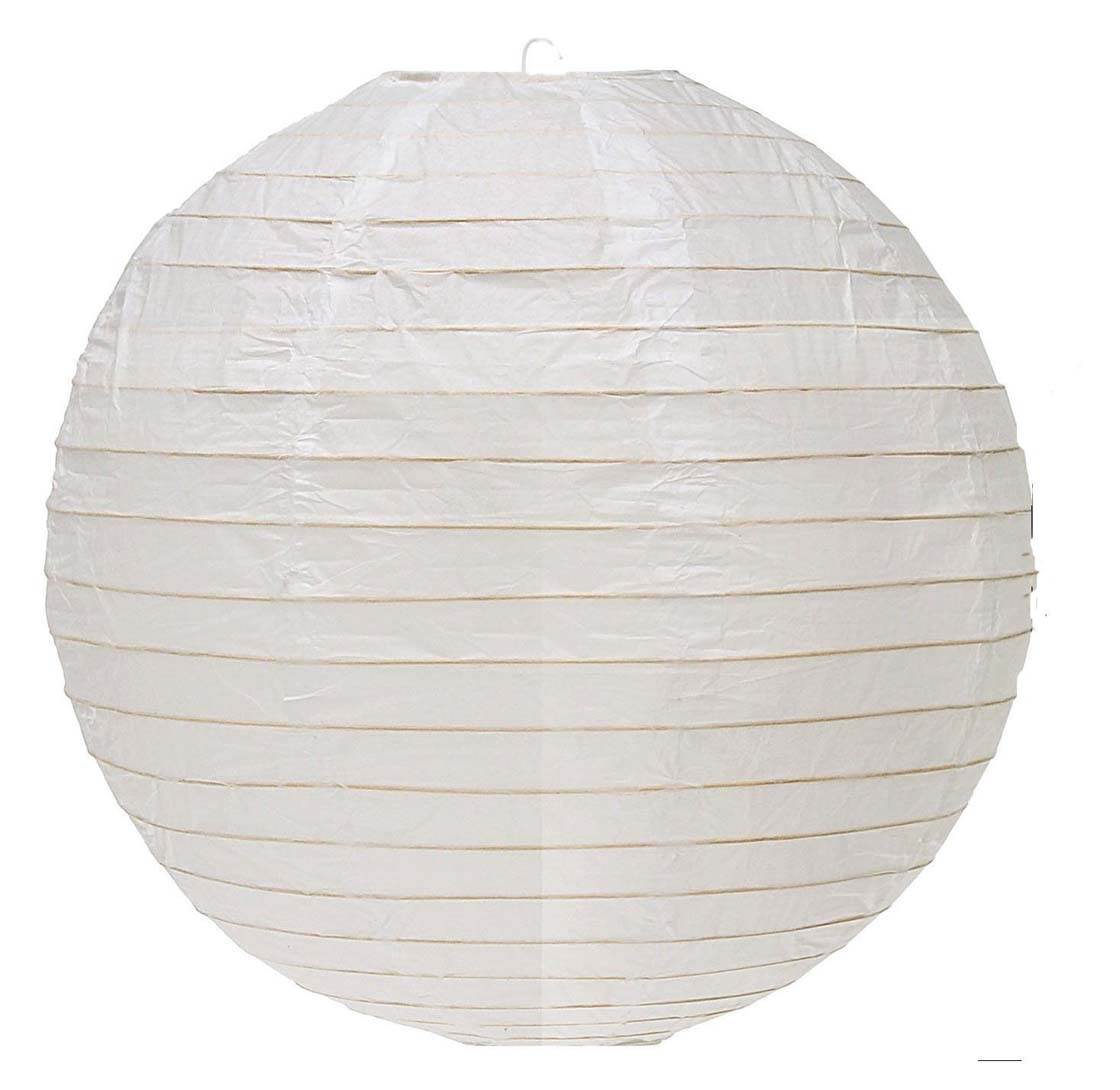
If the Kino Flo lights are beyond your budget, there’s a very cool and effective DIY alternative using a hanging pendant light cord, a generic white Japanese paper lantern, and a long bamboo pole.
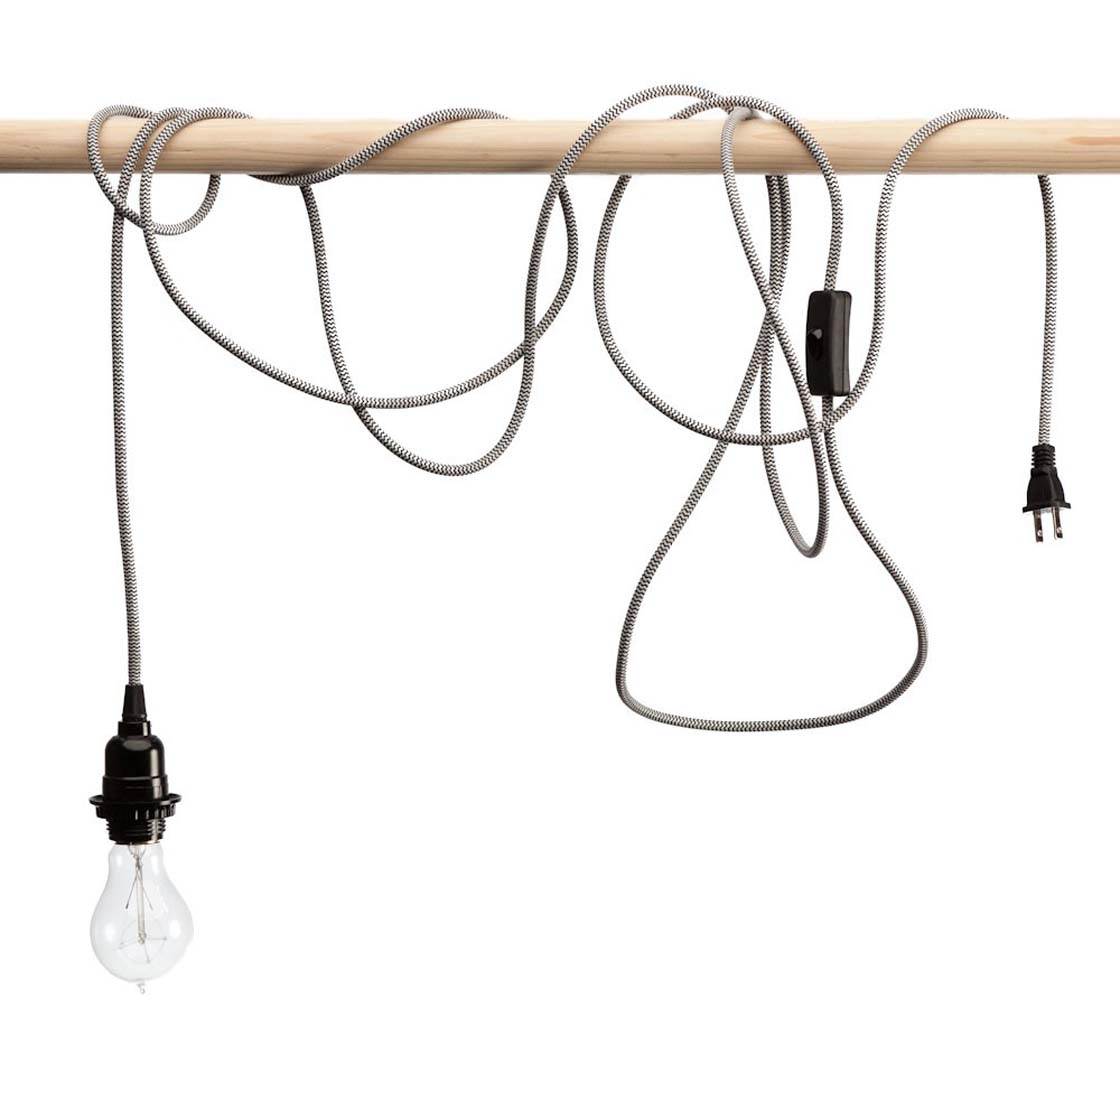
Connect a lightbulb onto the light cord, then attach the paper lantern. Connect the lantern to a long bamboo pole and wrap the extension cord around the pole.
As this involves electricity and can be potentially dangerous, you should only attempt this if you feel comfortable with DIY projects of this nature. (We can take no responsibility for any damage you may cause to yourself or others!)
If you choose this option, you’ll need to have an assistant holding the bamboo pole so that the lantern illuminates the model’s face, but is out of the picture frame.
Now you have your light, your stand, your tripod, your iPhone tripod case or mount, an assistant (if needed), and your model… What’s next?
All that’s left is to pose your model and position the light to illuminate their face. The next two sections in this tutorial will show you how to illuminate your subject using both window light and artificial light – and a combination of both.
5. Use Natural Window Light
In this section I’m going to show you how to use natural light for an indoor fashion shoot. Window light is the key, and you can successfully pull off some cool shots with either direct harsh sunlight or the light from a soft overcast sky.
Start by positioning your model near a window and watch how the light illuminates their features in different ways depending on which way they’re facing.
It often looks better if your model is posed with only one side of their face illuminated by the window light, so that the other side of their face appears in shadow. This tends to create a more interesting and intriguing image.
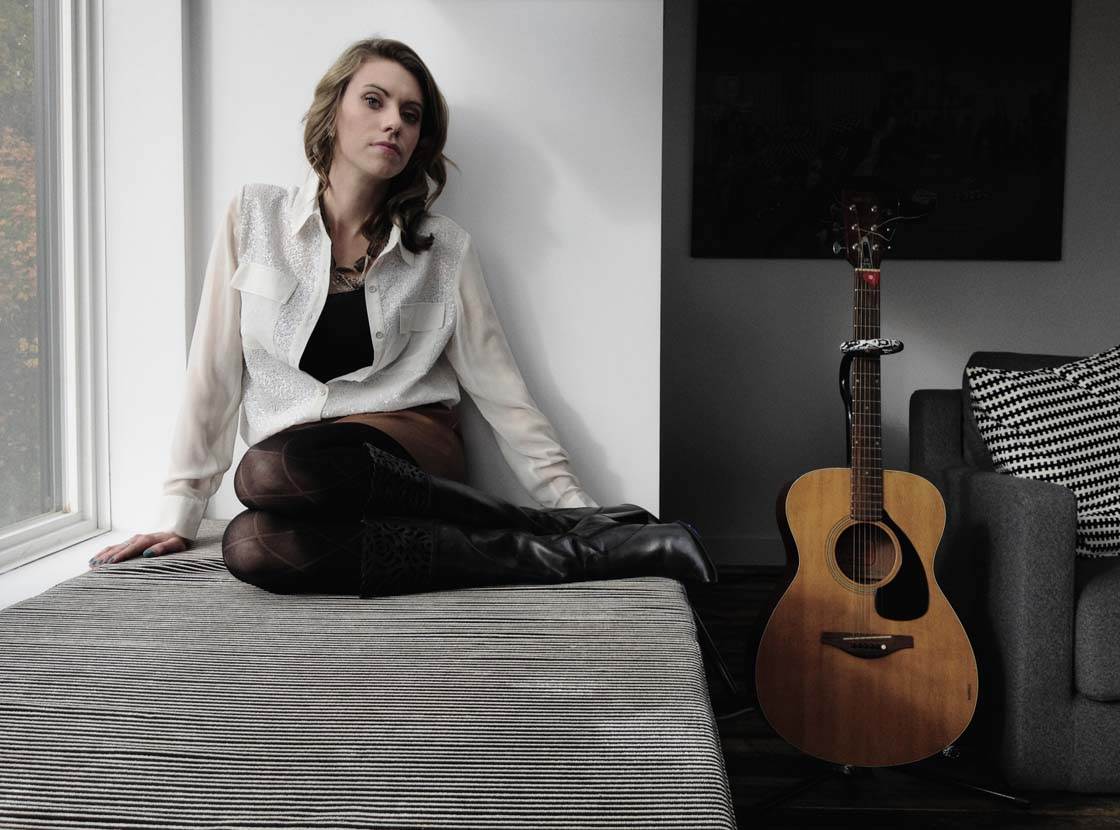
In most cases, it’s best to use this technique when the sky is slightly overcast as the light is softer and more flattering than bright direct sunlight.
In the photo above you’ll notice a hint of direct sunlight streaming onto the guitar and couch, but because there was a thin layer of cloud cover in the sky, the light is softened nicely which makes for an evenly exposed portrait.
If you’re taking this kind of shot and you don’t want the unlit side of the face to be in shadow, you could use a reflector to bounce the window light back onto the shadowed side of the face.
You could use a proper photography reflector, or make your own using a large white piece of board or card (or aluminum foil if you want a silver reflector).
For a more dramatic effect, try shooting when harsh, bright sunlight is streaming through the window. This will create dark and dramatic shadows as shown below.
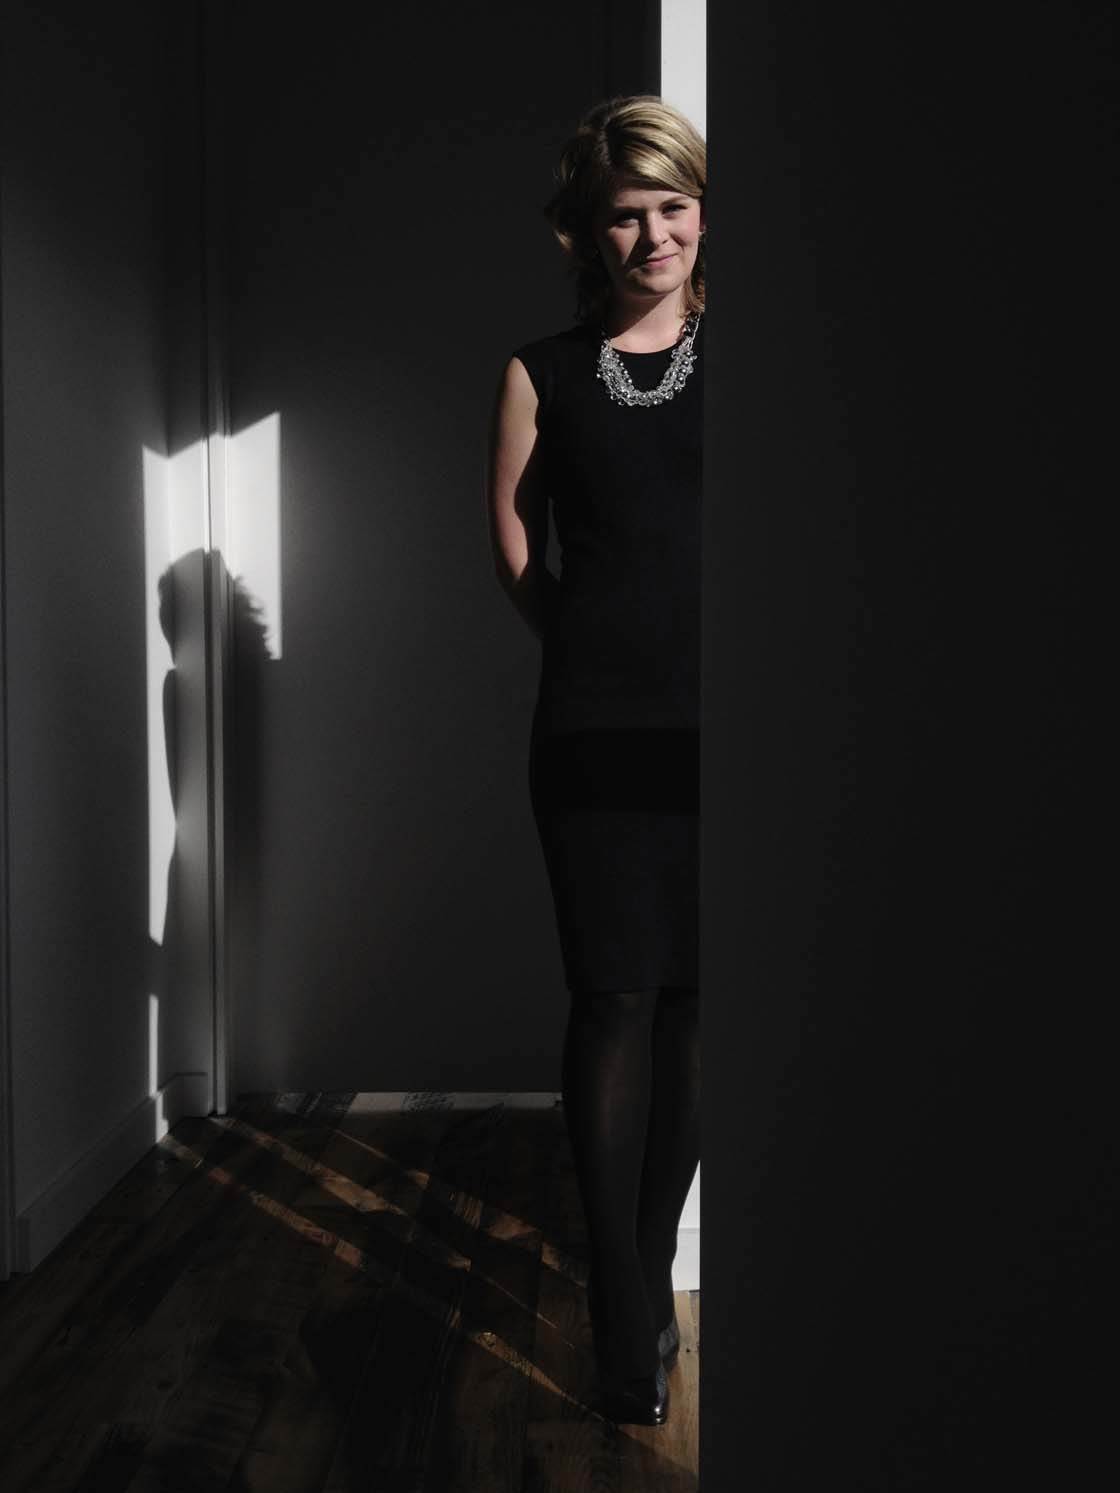
For this image I simply asked the model to stand in a recessed window, so that one side of her face was lit up and the other side was in dark shadow.
After setting focus, you’ll probably need to adjust the exposure so that the model’s face doesn’t appear over-exposed on the brighter side. To reduce exposure, simply swipe down on the screen.
Your aim is to get plenty of color and detail in the side of the face that’s lit up. Reducing exposure will make the shadows appear darker, adding to the dramatic mood of the photo.
6. Use Artificial Light
Now let’s look at how to use an artificial light source for your indoor fashion shoot. To make things simple I would suggest using only one artificial light source, and using that light to illuminate the face of your model.
In the photo below, I asked the two models to pose on a set of stairs. There was a small window that allowed a little light through, but it didn’t illuminate my models or the bookcase behind them.
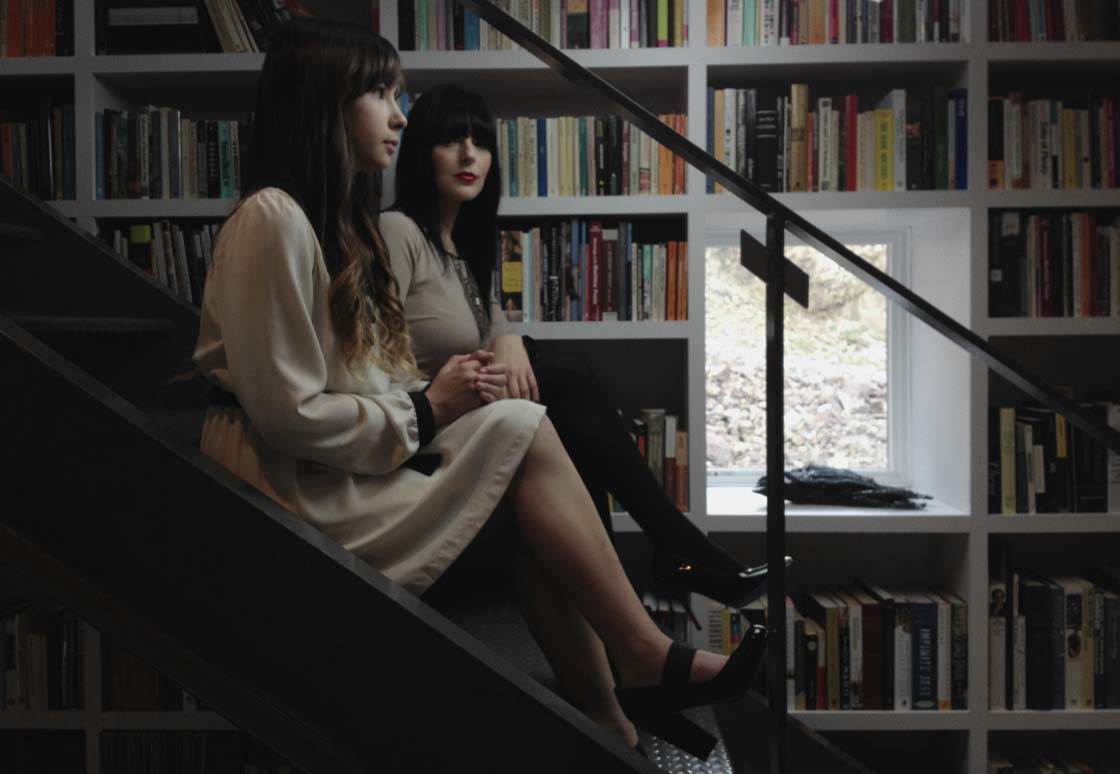
So I set up my LED light source at the bottom of the stairs, higher than their heads, pointing downward at a 45 degree angle.
This lighting setup illuminated the faces of my models and the bookcase at the same time. Because the light is only hitting the subjects from one direction, there are shadows in certain areas of the scene which adds to the mood of the image.
In many cases you’ll be using a combination of window light and artificial light. For example, when you have light coming in from a window, but the scene needs a little extra illumination from another light source.
If window light is illuminating one side of the model’s face and you don’t want the other side to appear in shadow, you can use an artificial light source to illuminate the shadowed side of the face.
In the photo below, there was a window behind the chair that was illuminating the model’s face from the right. But the other side of her face appeared quite dark.
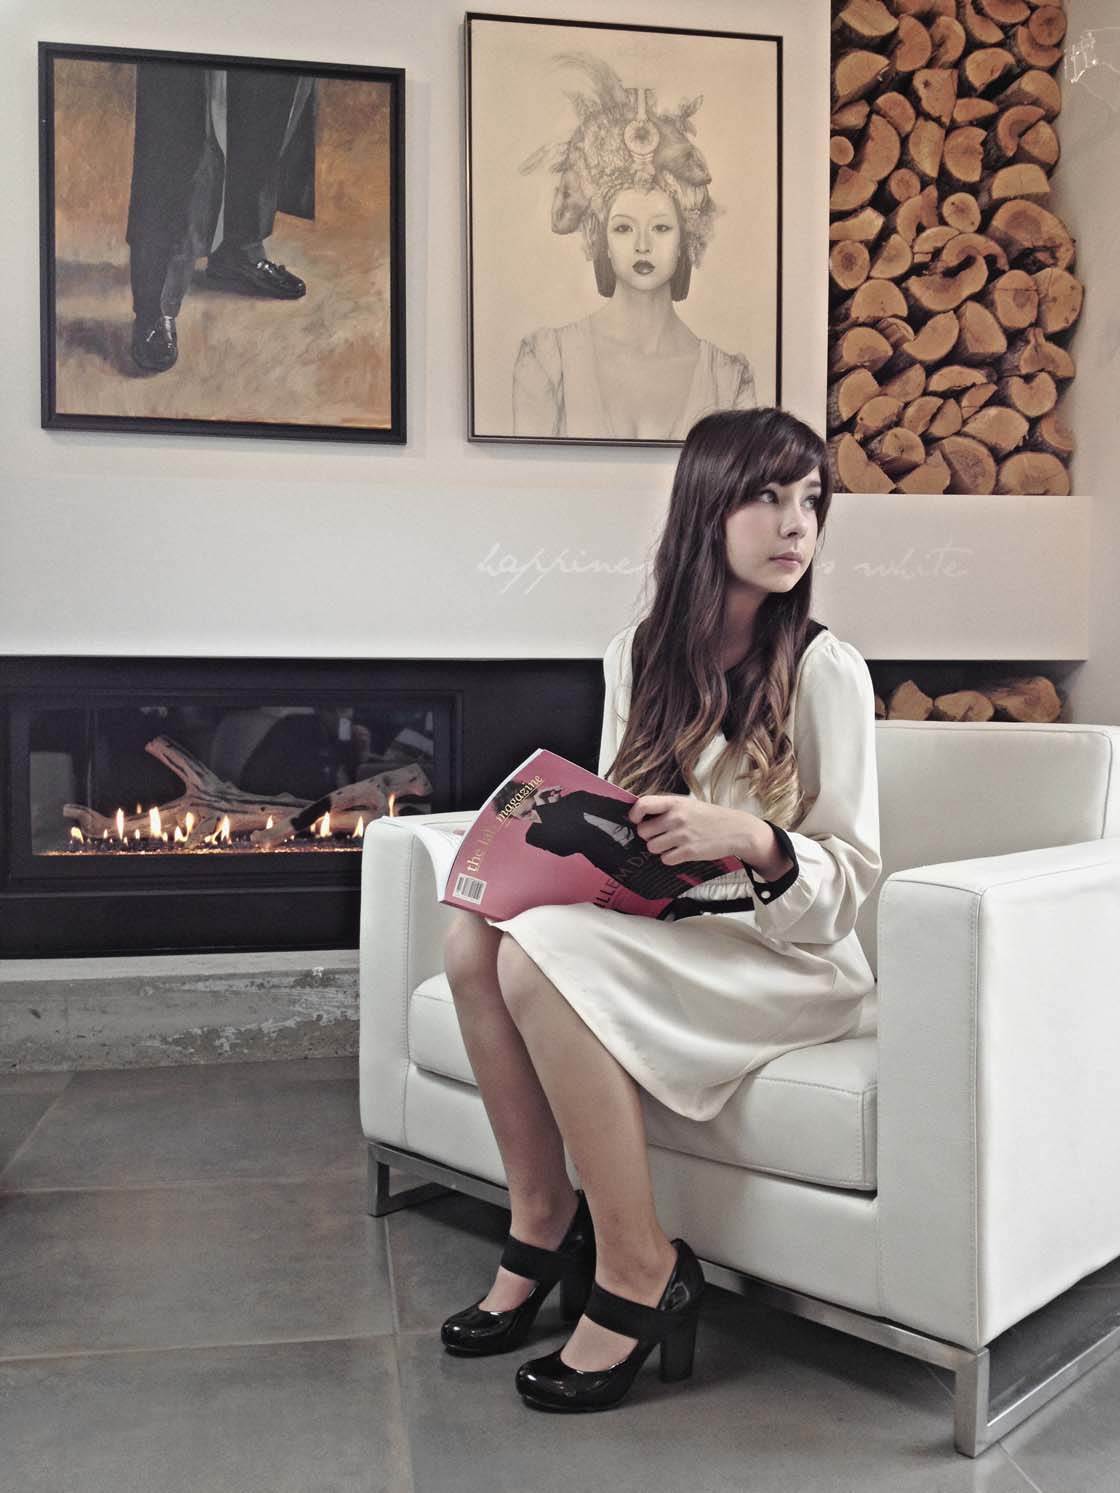
I wanted to create a light and airy feel in this picture, without any dark shadows. So I used my LED light panel to illuminate the front of the chair and the shadowed side of the model’s face.
This has created an image with fairly even lighting. Notice how different the mood is in this photo compared to the one above it.
It’s important to have a vision about what kind of mood and atmosphere you want to create, so that you can use the appropriate lighting to create a particular effect.
Conclusion
While a fashion photo shoot might seem like a lot of effort at first, I would highly recommend it. It will really improve your iPhone photography skills, especially when it comes to developing an eye for light.
Whether you choose to shoot using natural or artificial light, the tools and techniques in this tutorial will enable you to pull off a fun and dynamic fashion photo shoot with your iPhone.
And why not make it a meetup? Gather the talent in your city together for a day or evening of creativity and fun. It will be well worth your time, and you’ll end up with some really great shots!


I am so impressed that the photos for this tutorial were all taken with an iPhone. They are stunning! I really appreciate all of the lighting tips, as well as the information about the meetup app; I had no idea that such things existed. This website continues to amaze me with its diversity and unique tutorials. I really appreciate all the great information provided here!