Double exposure photography is a wonderful editing technique that involves combining two photos together to create a unique blended image. While the results are extremely impressive, this effect is actually very easy to achieve on your iPhone. In this tutorial you’ll learn how to unleash your creativity and produce amazing double exposure silhouette photography with the free MultiExpo app.
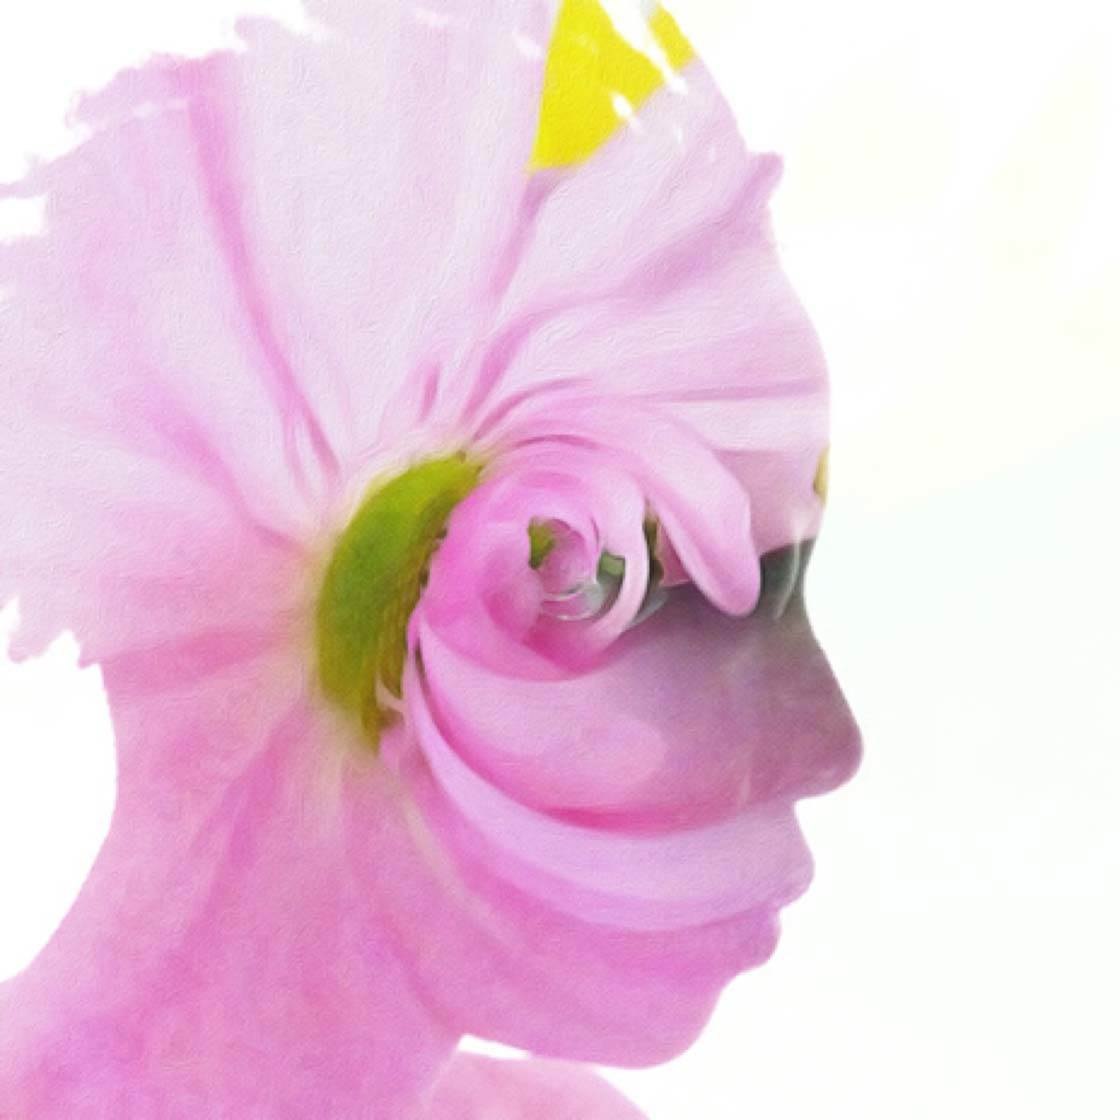
For this project, you’ll need two photos. The first one is the silhouette, and the second photo or exposure fills in the shape of the silhouette.
There are several apps that specialize in double exposure or multiple exposure, such as MultiExpo (FREE download), Superimpose X ($4.99), Union ($1.99), Image Blender ($2.99) and Diana Photo ($1.99). One of my favorites is MultiExpo because it’s extremely simple to use and you get beautiful, consistent results.
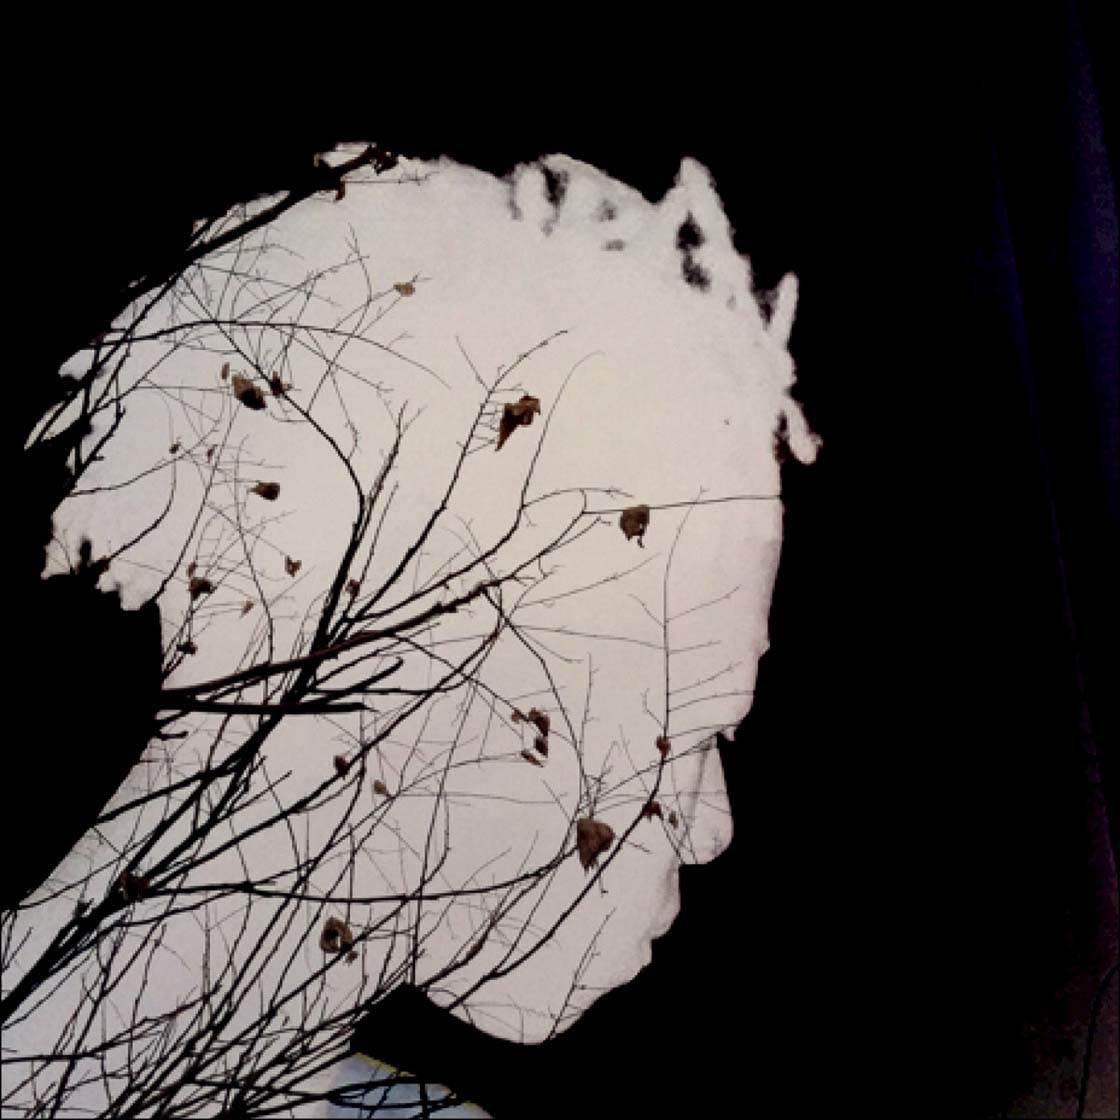
So let’s go through the step-by-step processing of creating a stunning double exposure silhouette photo using MultiExpo.
1. Photograph The Silhouette
Your silhouette can be of virtually anything, but I think portrait silhouettes are the most breathtaking and easily identifiable. Photographing a silhouette is pretty easy, but it requires you to think a little differently about lighting your subject.
Instead of lighting the front of your subject, make sure there’s a stronger source of light in the background rather than the foreground. For instance, photographing your subject in a dimly lit room while they’re standing by a window will produce a silhouette. Ensure your camera’s flash is off, otherwise it will illuminate your subject from the front.
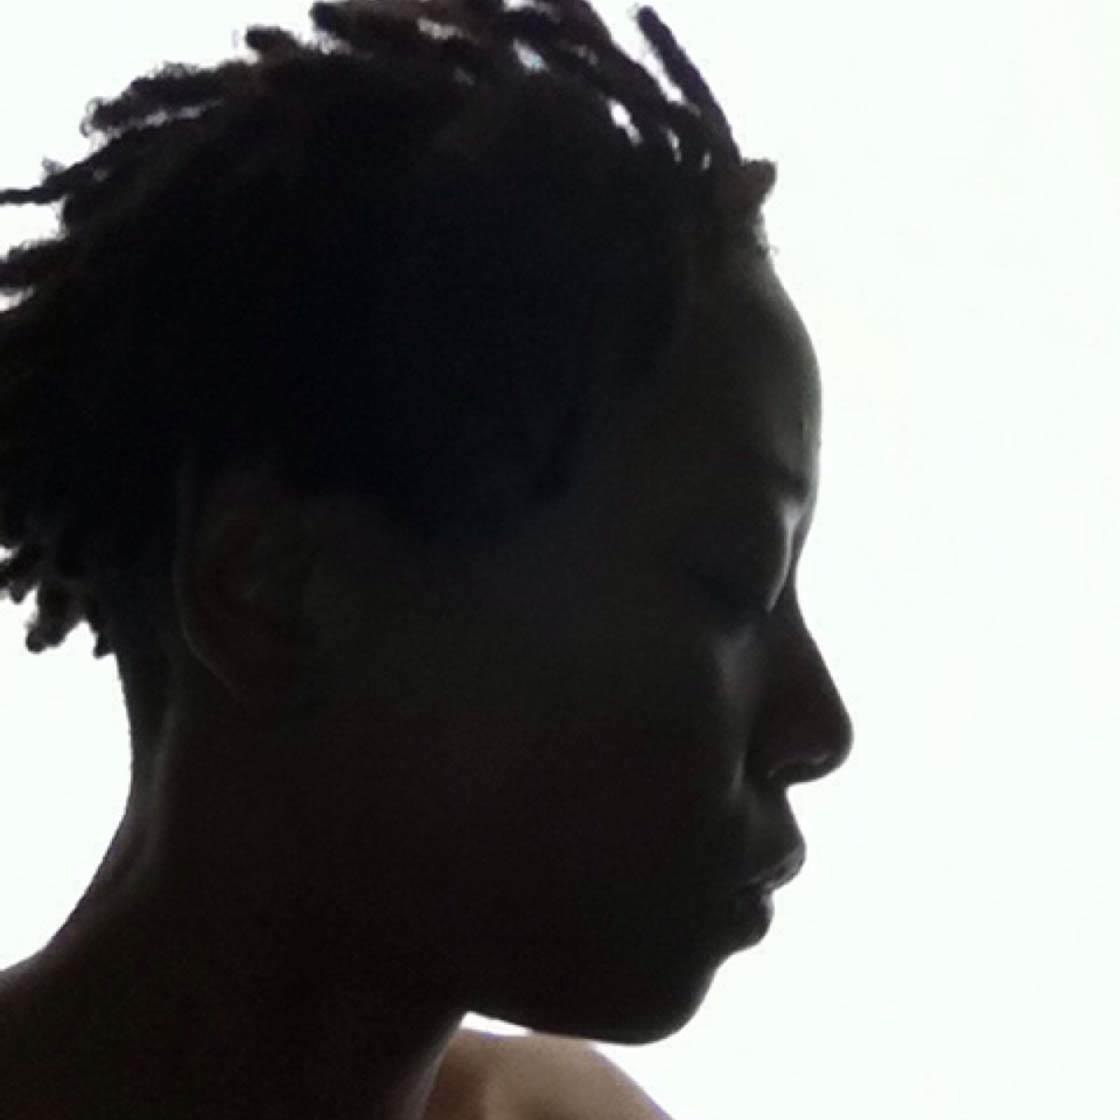
Make sure you use a well-defined silhouette. Since the texture and color of your subject won’t be seen, the silhouette must have a strong, eye-catching shape. The shape should also be distinctive and uncluttered.
If you wish to have a person holding an object or prop, make sure the object can be clearly identified as something the person is holding. You can capture the front, back, or profile of your subject in silhouette.
My preference is to do a profile with just enough light to see some of the facial features. Capturing the emotion in the face will add depth and interest to your final image.

Try to capture your silhouette with a plain white background. You could shoot against a clear sky or a white backdrop. If there’s something distracting in the background, you can always remove the unwanted object in an app like TouchRetouch ($1.99).
If your silhouette has a colored background, you may not get a crisp design for this project. However, color will add new dimensions to your final image so it’s something to experiment with once you understand the basic tutorial.
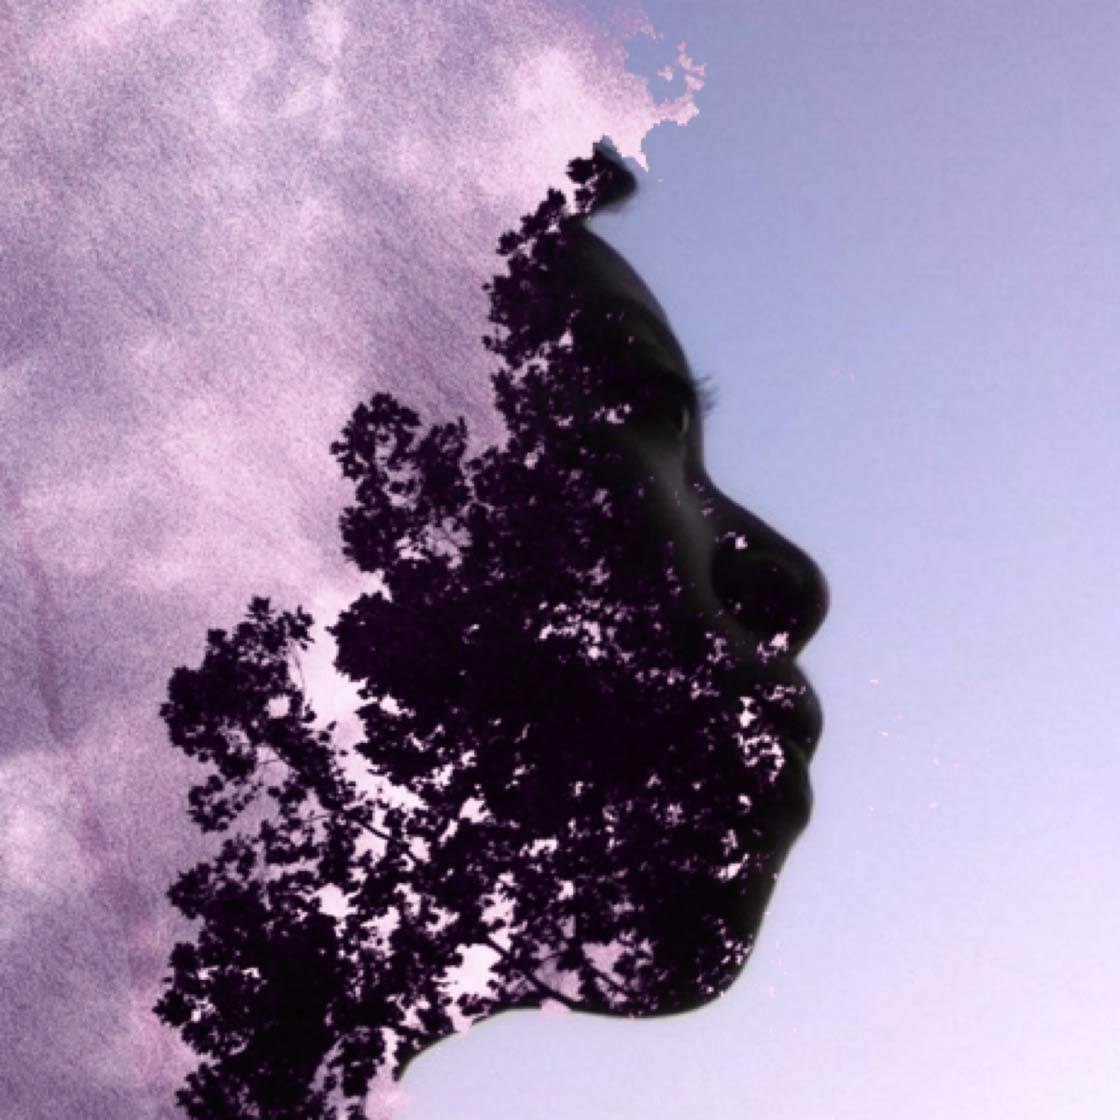
2. Photograph The Second Exposure
The second exposure will appear to be superimposed over the shape of the silhouette. So what kind of photos make a good second exposure? Anything that creates a sense of texture works really well.

Shots of trees, flowers, architecture, food and landscapes all make great second exposures. With landscapes, all the colors in the photo (including the sky) must be dark enough to see the clear outline of your silhouette.
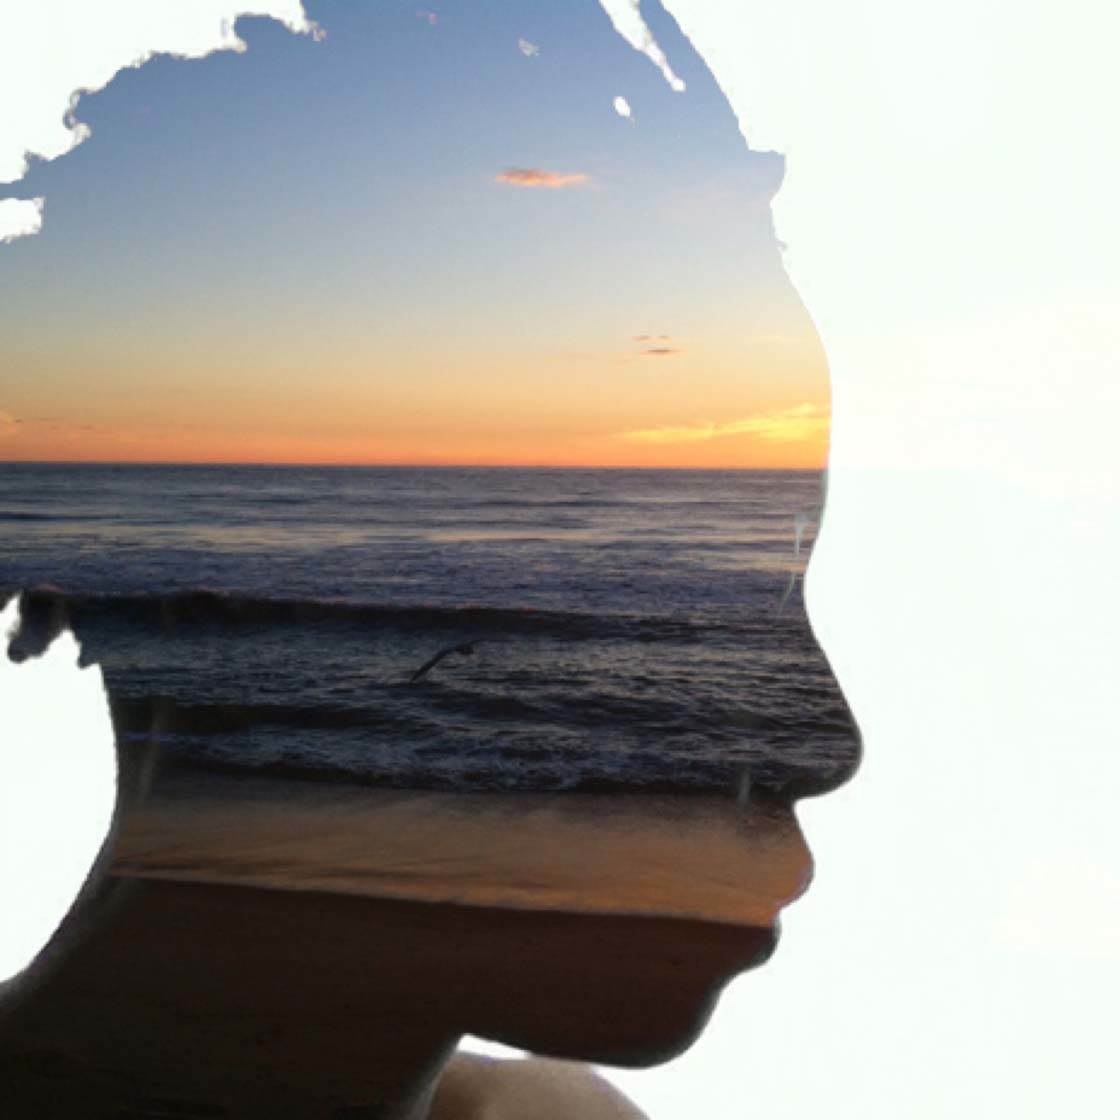
What about color? While photographing your second exposure, consider whether you wish for your silhouette to be monochrome or alive with color. You can add naturally vibrant color by using bright flowers or even fruits and vegetables.

3. Plan Your Final Design
Before you can plan your final design, here’s what you need to know about how your silhouette and second exposure will be transformed in this process.
All black areas in your silhouette photo will be covered by the second photo, and any part that is white will stay white. However, if your second exposure has any dark areas, your silhouette portrait will show through these areas.
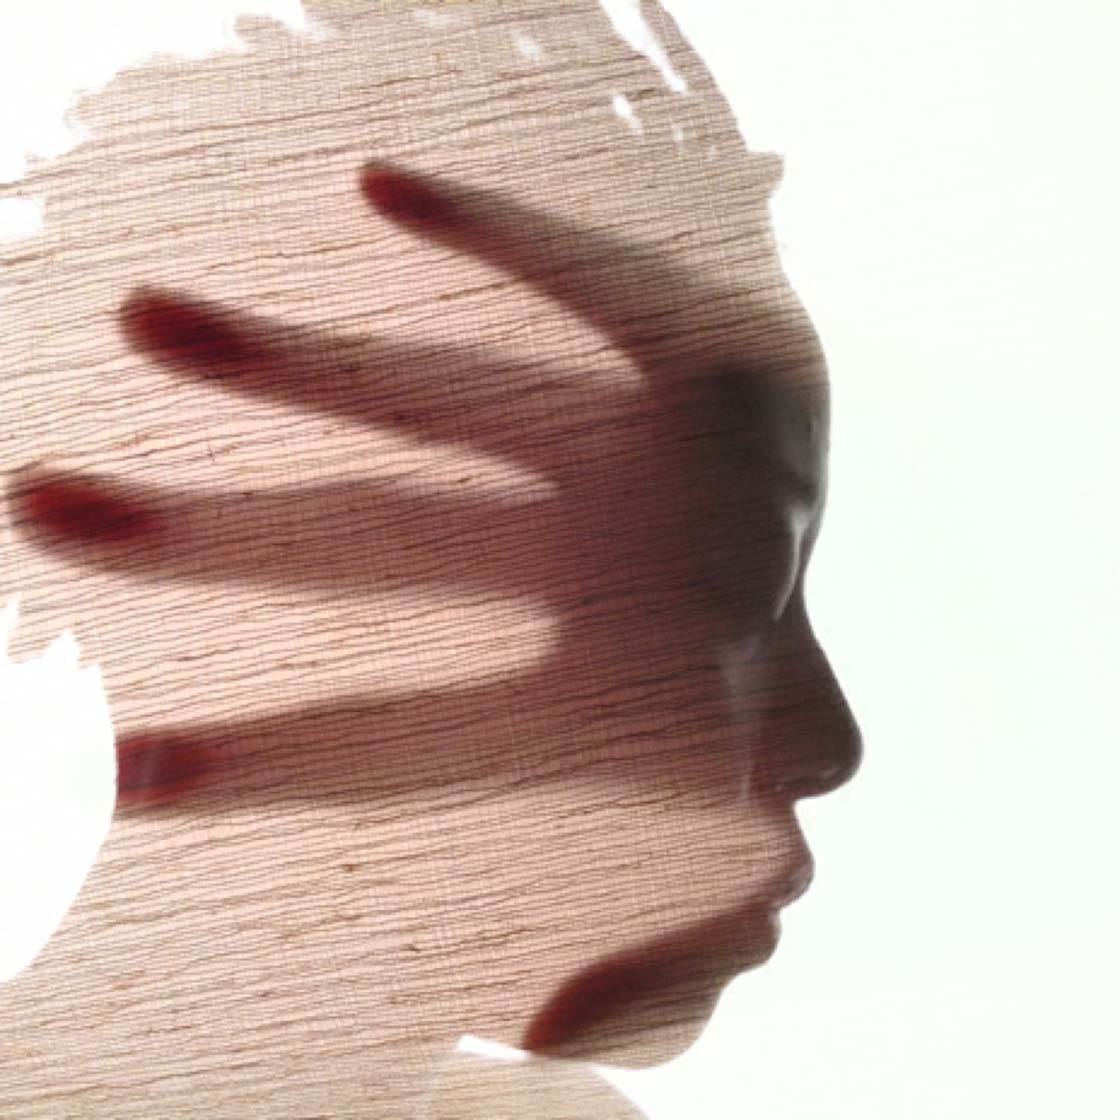
I use this technique to bring out the facial features in my self portraits. As you can see in the photo above, the darkness of the hand allowed my facial features to show through.
It’s important to have an idea of how you wish to position your second photo over the silhouette. Are there any areas that you wish to leave dark and expose the portrait underneath? Which part of the photo will go where on the silhouette? Does the second photo need to be rotated to get the best angle?
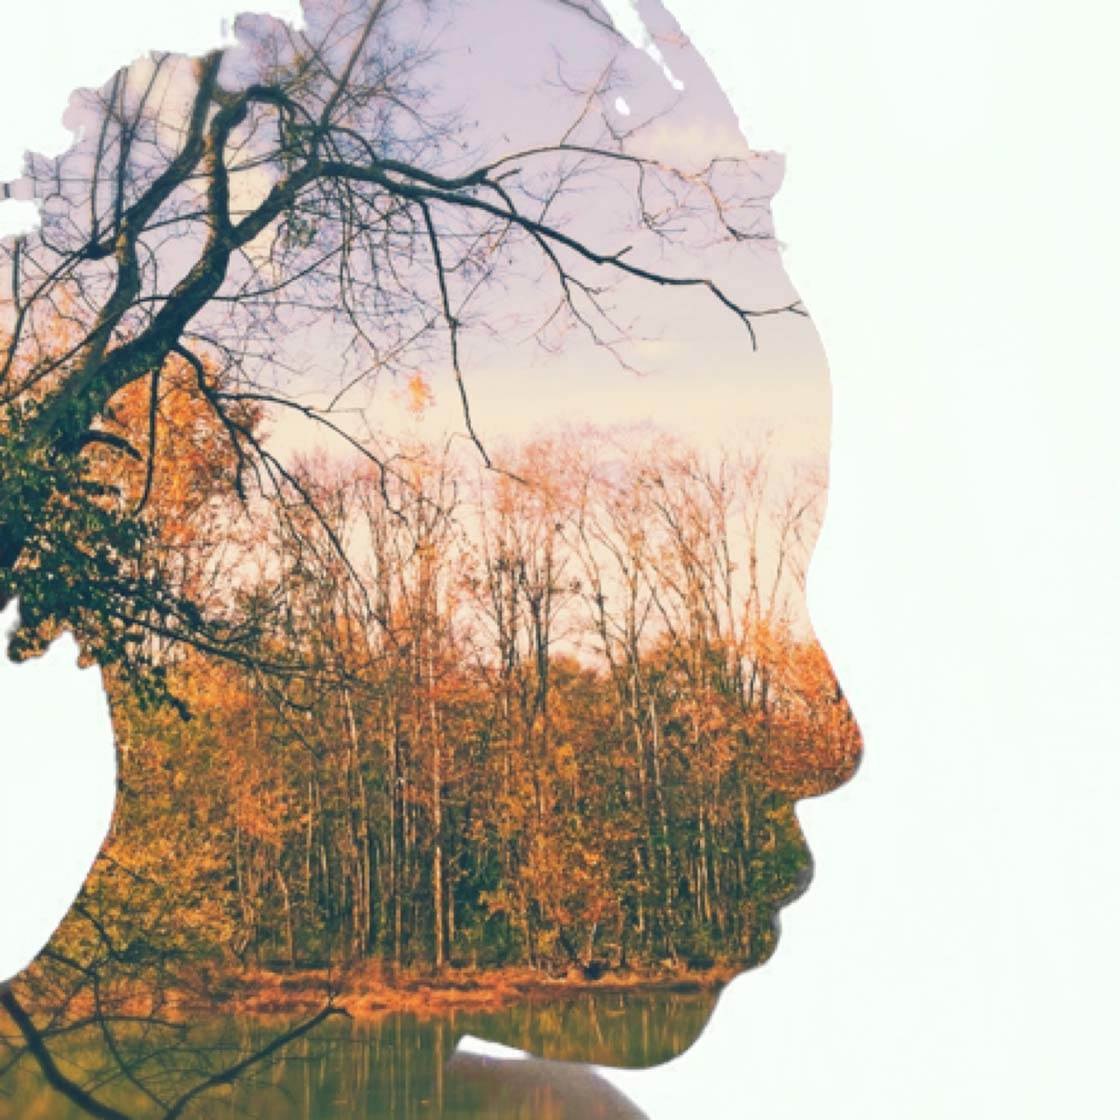
Of course you can play with these things as you create, but a small amount of planning is a good starting point. For example, in the image above, I positioned the dark branches at the top of the photo approximately where my hairline would be on the silhouette.
4. Combine Photos In MultiExpo App
When you have your two photos that you want to combine, open the MultiExpo app. You now need to import your silhouette photo, as well as the second exposure image that you want to use to fill the shape of the silhouette.
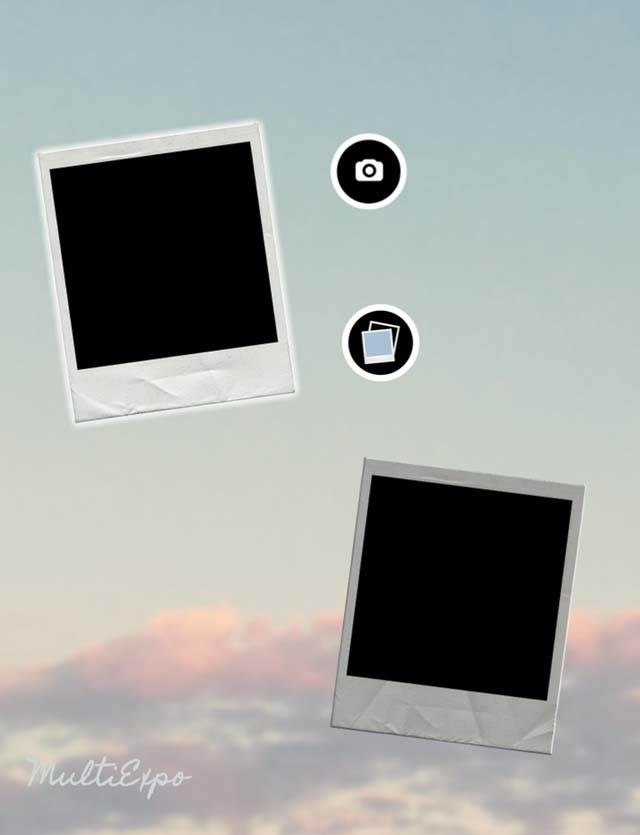
The silhouette photo needs to go in the top placeholder on the screen shown above, and the second exposure must be in the bottom placeholder. Tap the top placeholder, then tap the circular icon containing two squares to open your camera roll.
Tap on the photo you want to use and it will appear within a square frame. If you’re not starting with square photos, adjust the size of each photo by using your fingers to spread and expand the photo to fill the entire area. You can also move your photo’s position by dragging it.
When your photo is positioned where you want it, tap Choose. The image will appear in the top square placeholder on the main screen of the app.
Now tap the bottom placeholder, then tap the circular icon to access your camera roll and choose the second exposure you want to use. I’m going to be using a photo of a sunflower for the second photo.
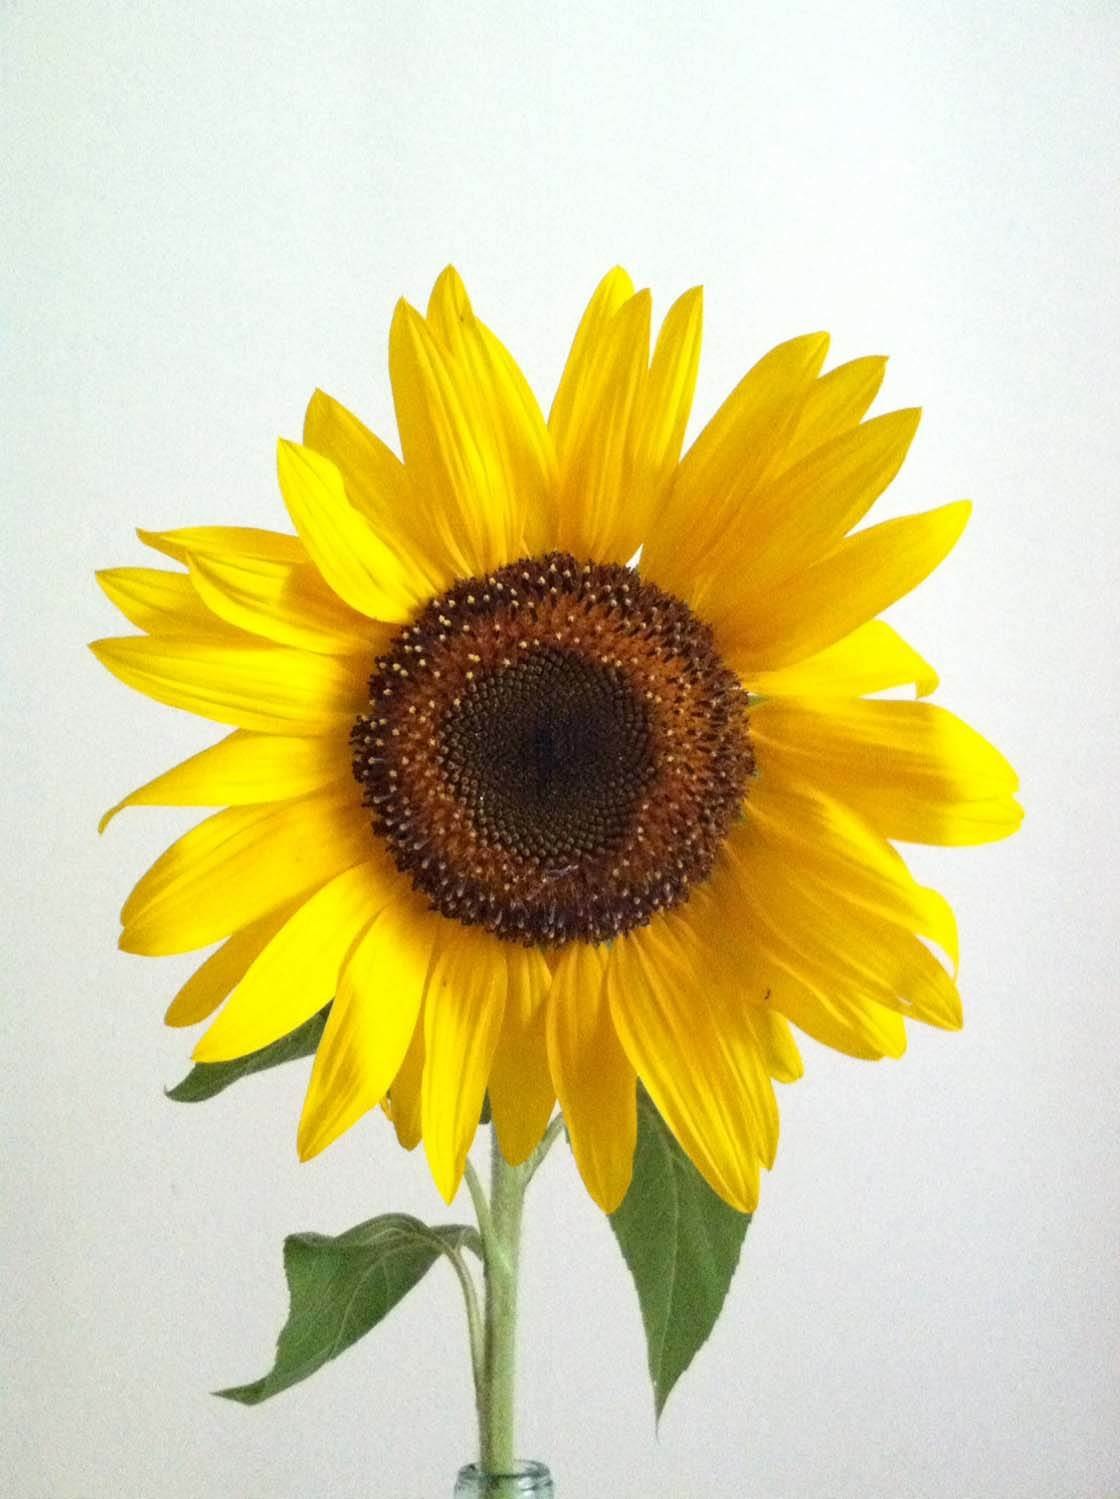
Remember that the dark areas of your second exposure will bring out the details in your silhouette. In this case, I wanted the dark center of the sunflower to cover a little of my eyes and nose.
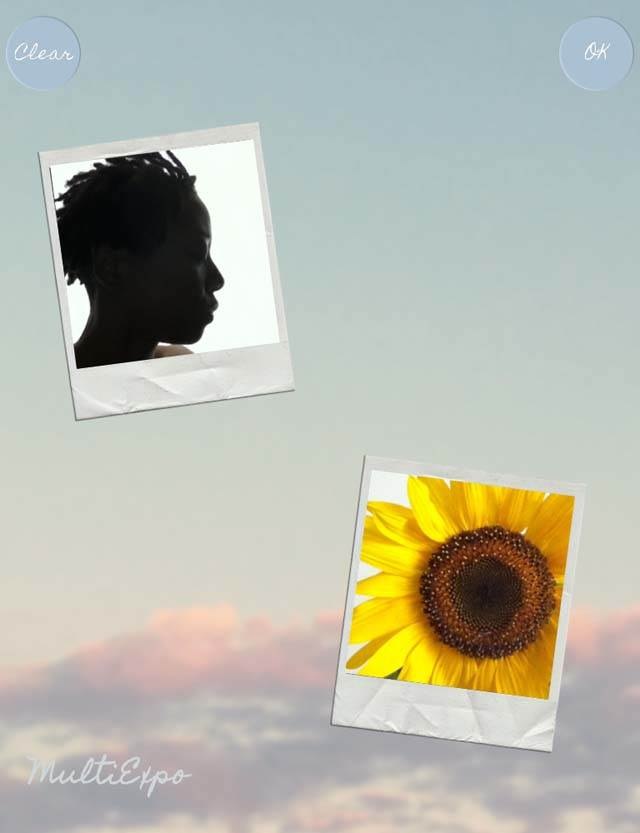
Therefore, I moved the sunflower photo a little to the right and enlarged it so it would be in the right place to cover the front of the silhouette. After you’ve gotten each photo where you want it, tap OK at the top right.
5. Check The Placement Of The Photos
On the next screen you’ll see your combined image as well as thumbnails of each photo at the bottom of the screen. In the combined image, you should be able to see whether you’ve placed your second photo in the right place.
Here, you can use the slider to adjust how much of each image is emphasized. You can also rotate either photo, but we’ll cover that later.
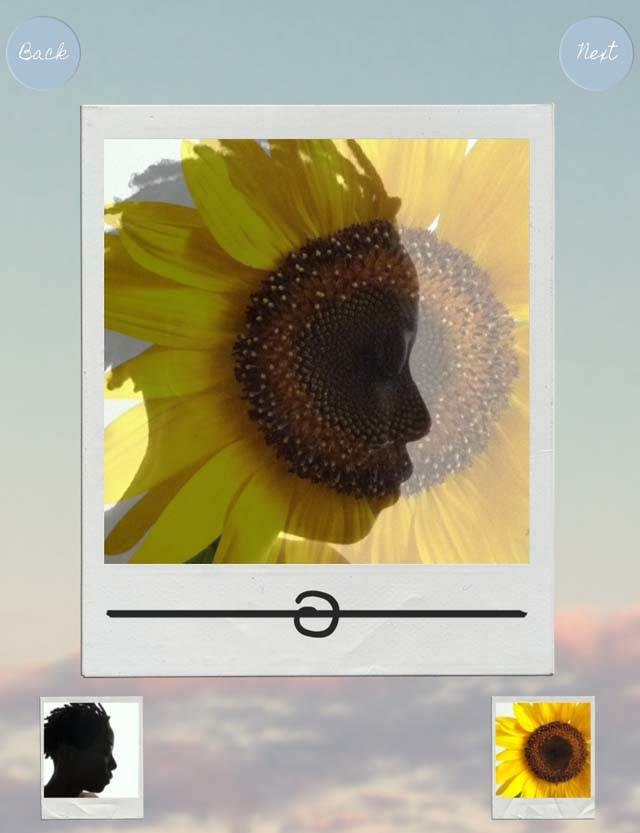
If everything looks good, tap Next at the top right. In the image above, the center of the sunflower is across my eyes and nose, just where I wanted it.
6. Choose A Filter
Now, you’re ready to choose a filter from the options at the bottom of the screen. The filter that I usually use for this project is Helios – it produces strong color and a crisp silhouette outline. But there are more filters to explore and choose from, so experiment to see what works for your photo.
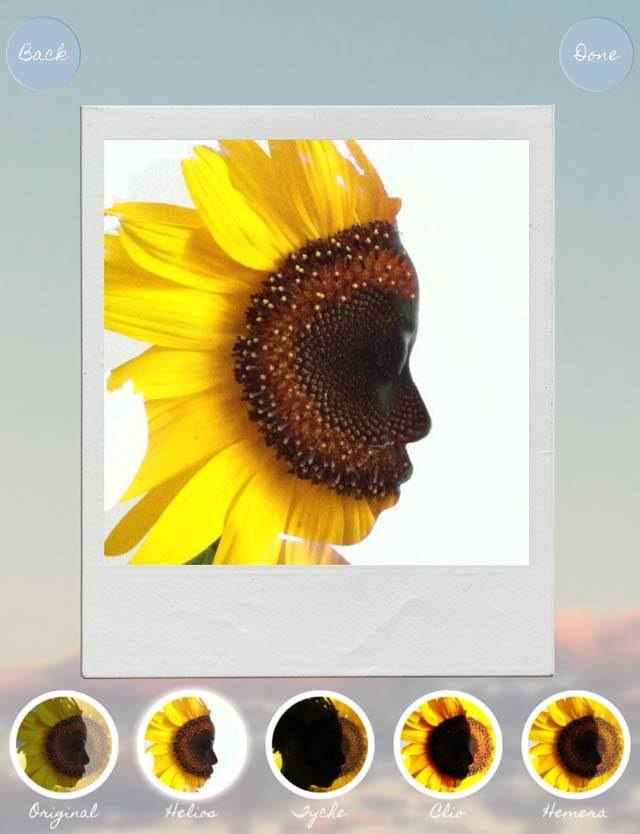
After selecting your filter, tap Done. To save your double exposure image to the camera roll, tap the Photos icon on the Share screen. Below is the final double exposure image that I created.
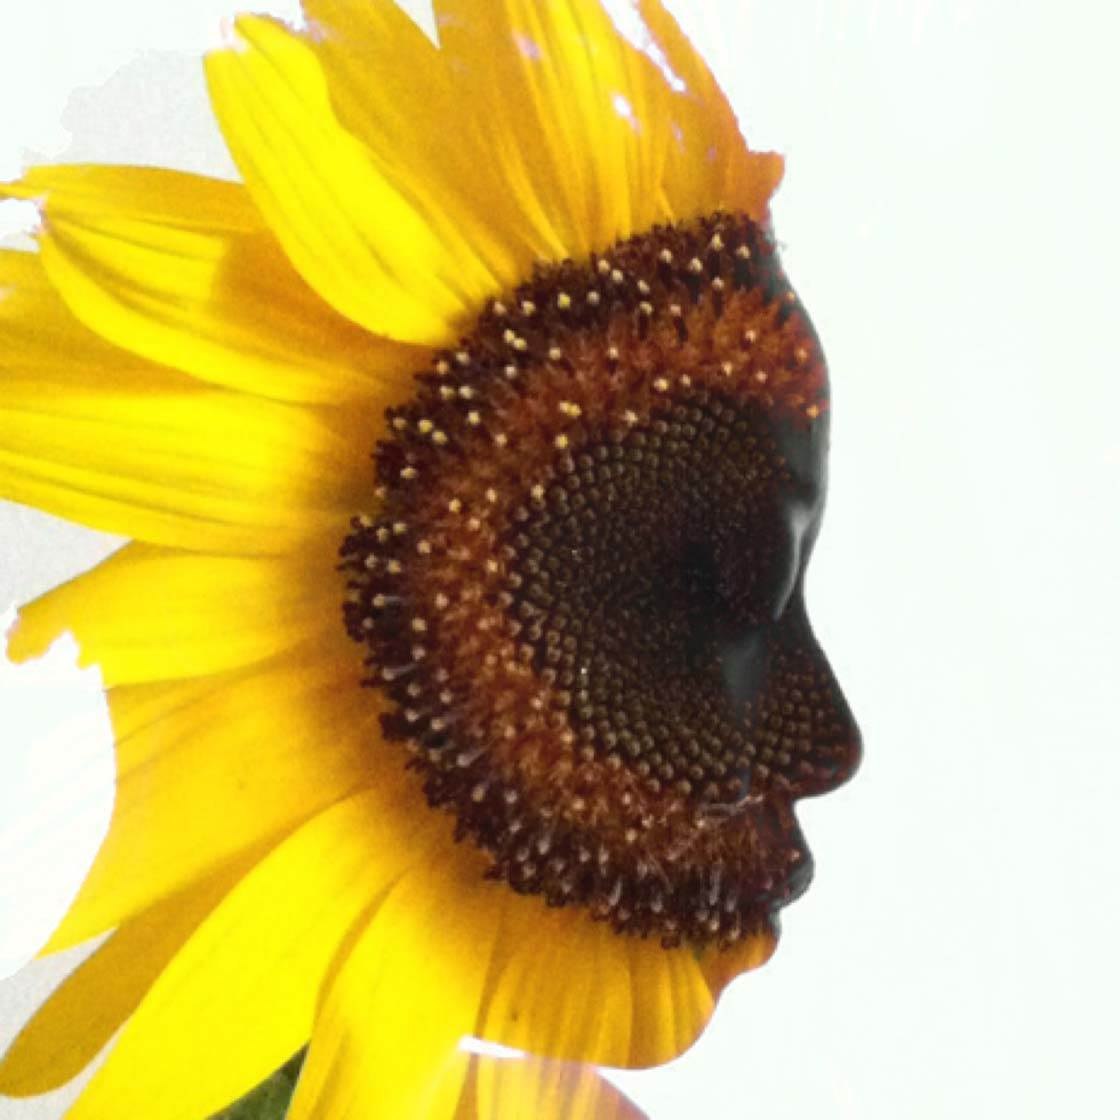
7. Experiment With Rotating
Another option is to rotate your second image in order to place certain areas where you want them. Let’s go through an example. We’re doing everything the same except for one step. In Step 5, we’re going to rotate our second photo.
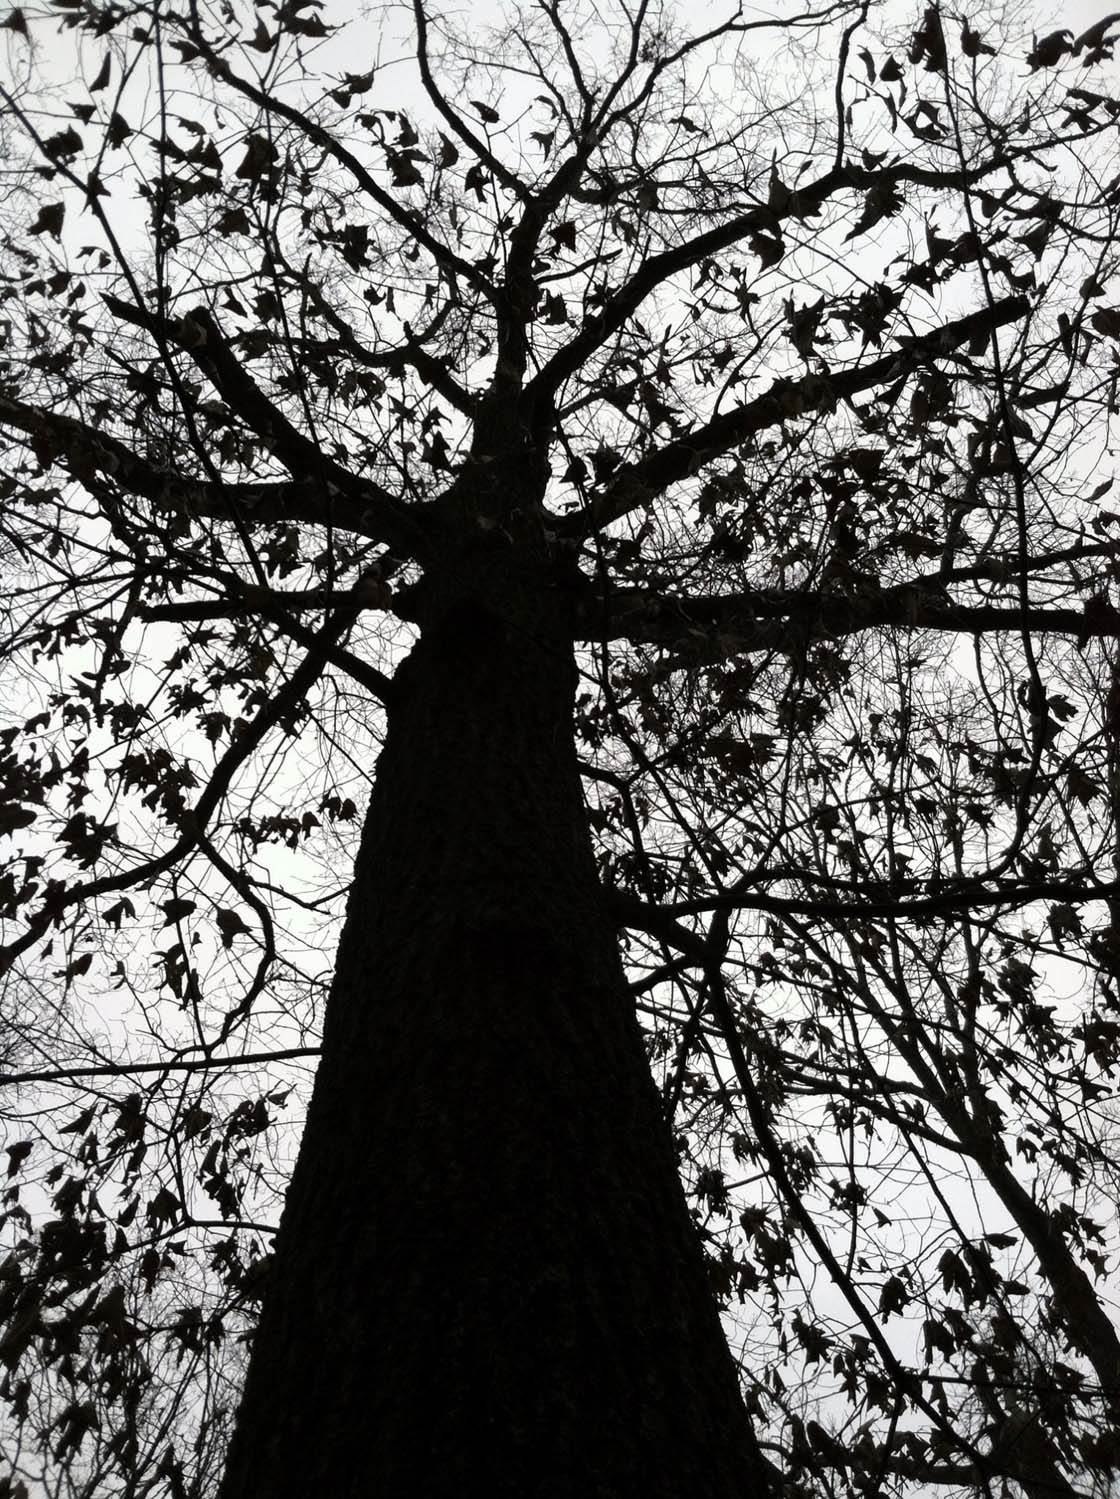
For this example, I’d like to use this tree photo for my second exposure. My plan is to use the dark tree trunk across the face of the silhouette to highlight the features.
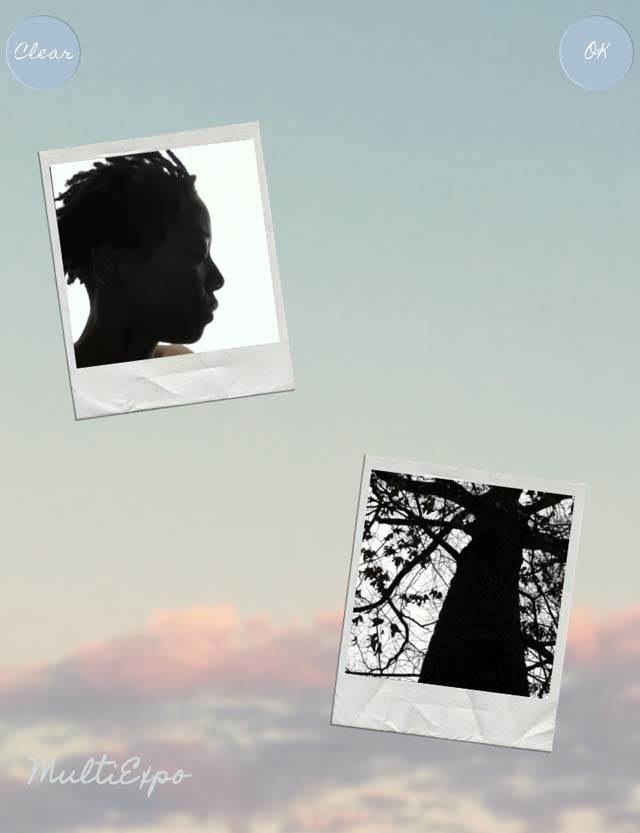
When importing the photos, I enlarged the tree and moved it off center so it will be better positioned over the facial features.
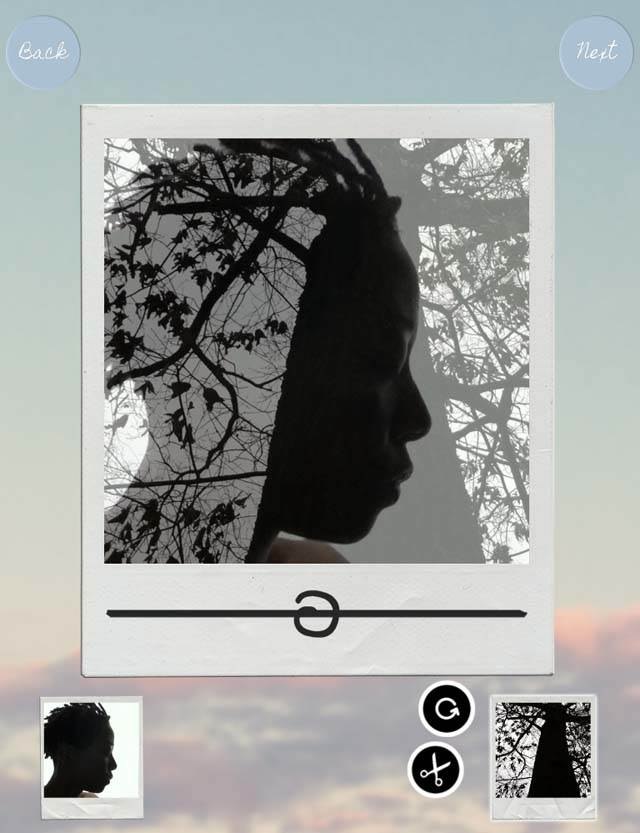
On the next screen, I rotated the tree photo horizontally. To do this, I tapped on the tree thumbnail. Two pop-up icons will appear when you tap a thumbnail – the first one allows you to rotate the photo and the second allows you to crop and change its shape.
I used the Rotate tool to rotate the tree horizontally. This produced the final image below.
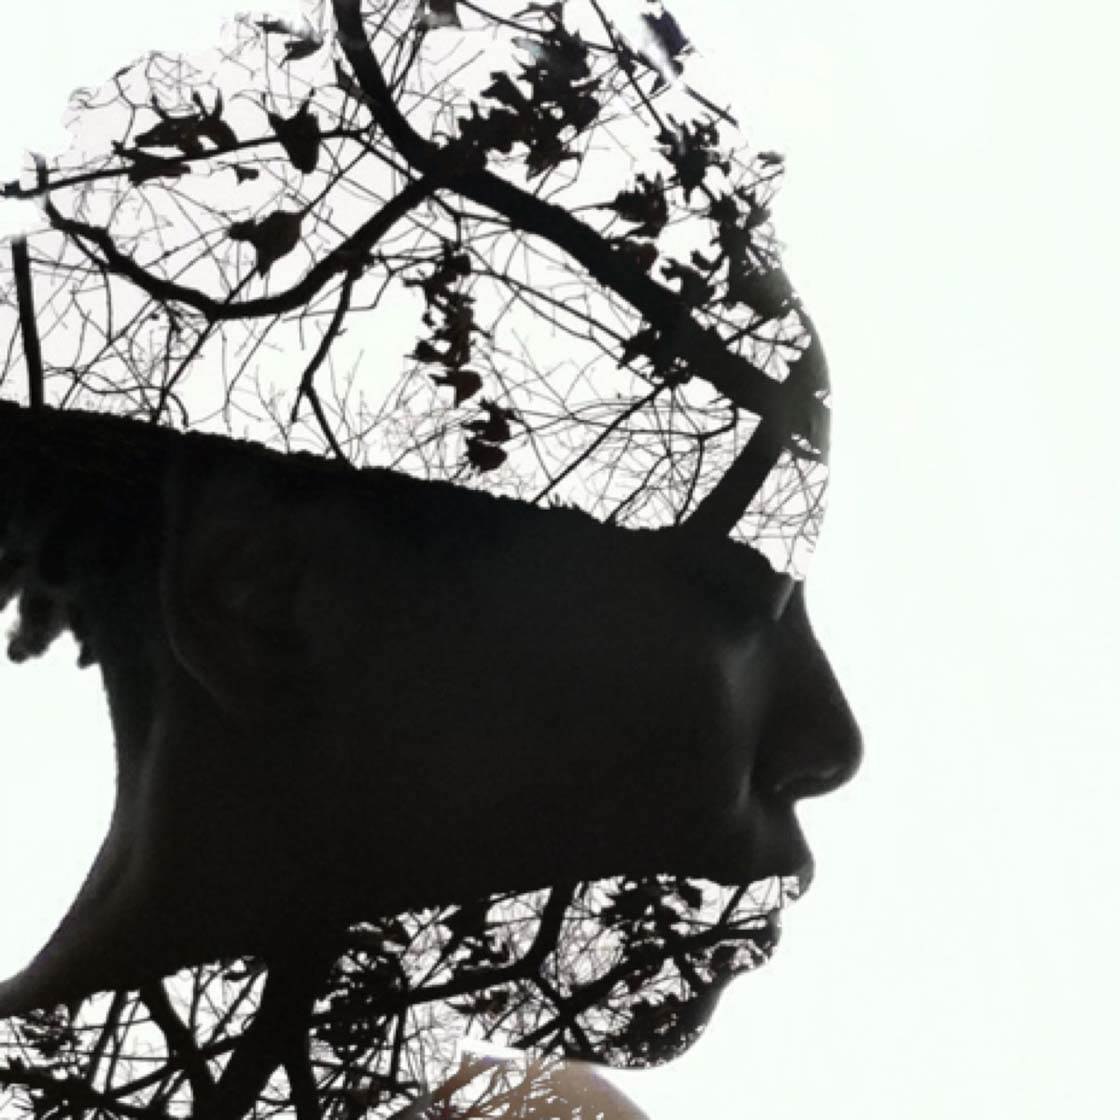
By following this step-by-step tutorial, you should be able to easily create your own unique double exposure silhouette photos on your iPhone.
Of course, you can create variations on this recipe using different filters and by combining your two photos in unique ways. The key is to experiment and try out different options until you achieve a result that you like.

Hello
thanks for this great tuto!
I would like to know which app can take double exposure pictures, but in real-time, like Leme Camera do as well…( it seems this leme app is not available anymore.) Do you know also what is the matter with leme camera updating? Leme camera pro was such a great app, but it seems to not bei edited anymore, so cannot get the dble expo on the leme editor platform ….:-(
thanks for all your answers
concerning this great tutorial, just continue, i love it!
Xavier Pacqueteau – Toulouse, France
Hi Xavier. Liveblend app will do this for you: https://itunes.apple.com/gb/app/liveblend/id948051356?mt=8
Hi Kate! Great, thank you very much for your reply, i will try this liveblend app…Concerning Lemecamera pro, do you know if it is still available?
anyway , thanks again
Great – hope it works for you! No, I don’t think Lemecamera Pro is available any more.
Ok…:-(
liveblend is not such a great app as leme was…disappointed…anyway i will try to find any other solutions…
thanks again for your help
You said that SuperImpose costed $0.99… However, I got it for free. Should I stick with SuperImpose or try MultiExpo?
I can’t find a way to save the result to my camera roll.