Depth of field, which controls how much of an image is in focus, is something that every serious photographer likes to control. But on the iPhone you can’t set depth of field manually. Stay Focused is a new background blur app that uses focus stacking technology to increase depth of field and get more of the image in focus. In this article, you’ll discover how to use Stay Focused to control depth of field in your iPhone photos.
What Is Stay Focused?
Stay Focused is an app that gives you control over the depth of field in your photos – ultimately, what is in and out of focus in your image. This capability is especially useful on the iPhone since the aperture, which controls the depth of field on a camera, is fixed on mobile phones.
When you take a photo, you can set the iPhone camera focus by tapping on the screen. Any areas closer or further away from that focal point may appear out of focus, especially if you’re taking close up or macro photos.

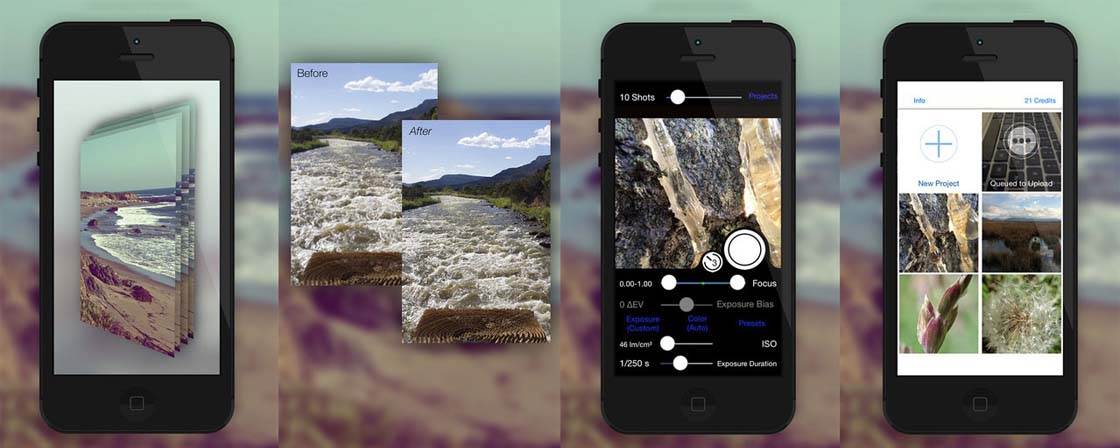
With Stay Focused you can take multiple photographs (up to 20) with each image focused at a different distance. The app then uses an automated technique known as“focus stacking” or “depth of field merging,” to combine the photos into a single image with increased depth of field.

As you can see in this image, much more of the scene is in sharp focus. The stacking method is similar to HDR photography, which stacks multiple images taken at different exposures to achieve a wider range of exposure. Instead of exposure, focus stacking stacks multiple images that are focused at different distances.
In scenes such as landscapes where you have foreground objects close to the camera, you normally have to make a decision whether to set focus on the near or distant objects. With Stay Focused you can get more of the scene in sharp focus, from front to back of the image.
You create your desired depth of field by setting the focal range within the Stay Focused app. Whether you’re taking close up macro photos or shooting landscapes, this app lets you take control of depth of field.
If you’re satisfied with the individual frames that you’ve taken, you can then “finalize” the project. This involves sending the images over Wi-Fi to the Stay Focused server for processing. Once the individual frames have been combined into a single image, the processed photo will be sent back to your phone and appear within the app.
The Stay Focused app is free to download, allowing you to take the photos and save them into “stacks.” However, to get them processed into a single image with the focus you specified, you have to buy credits via an in-app purchase. One credit gets you one set of stacked images processed.
The app comes with ten processing credits included, but if you want to get more photos processed it costs $1 for 15 credits or $2 for 40 credits.
How To Use Stay Focused
Stay Focused is a powerful app with quite a few moving parts. Luckily, the developers provide tutorials throughout the app for first-time users. And you can also visit the Stay Focused website for shooting tips and guidance.
When you’re ready to start using Stay Focused, simply open the app and tap New Project to go into the camera. Here, you can use the sliders and buttons to adjust the amount of shots taken, the delay of your shot, exposure, color temperature, and of course your focus range which specifies how much of the scene you want in focus.
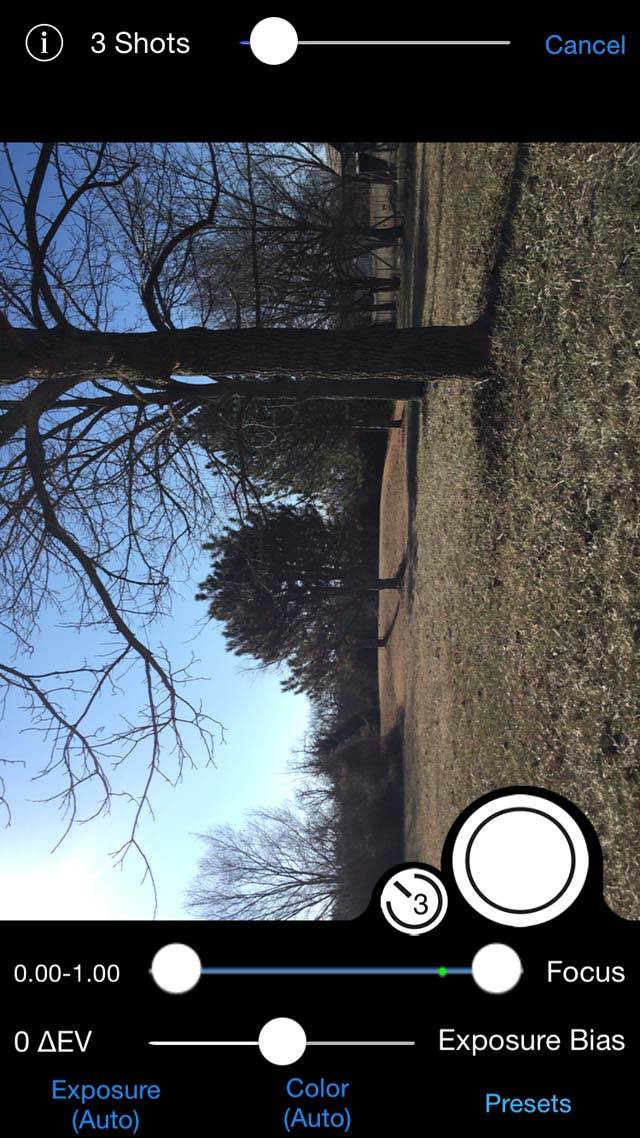
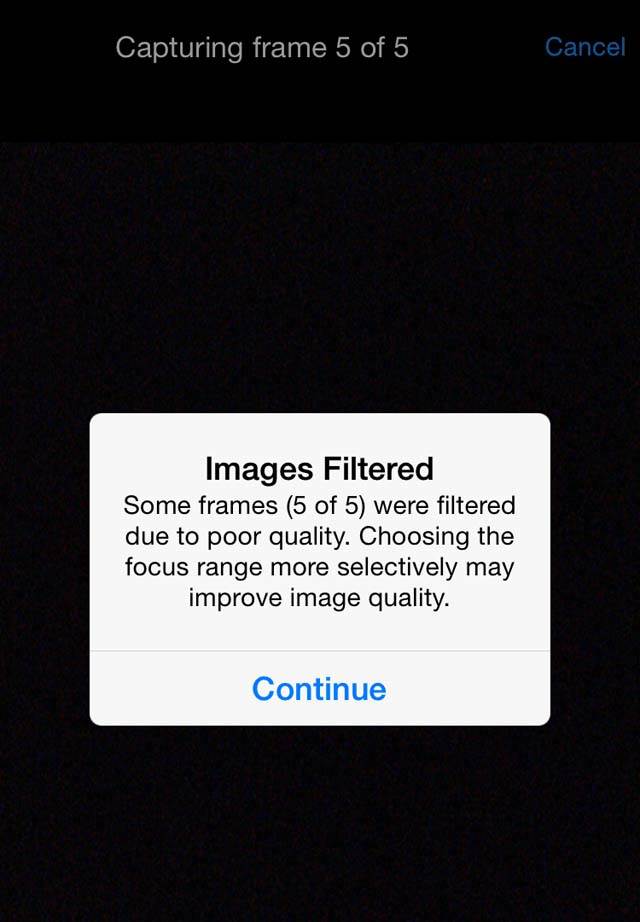
Keeping the camera very still, take your series of shots by tapping the shutter button. The app will then tell you how many images it kept. Often, several images will be removed due to “poor quality.” If you have a lot taken out, you can adjust your focal range so fewer shots will be out of range.
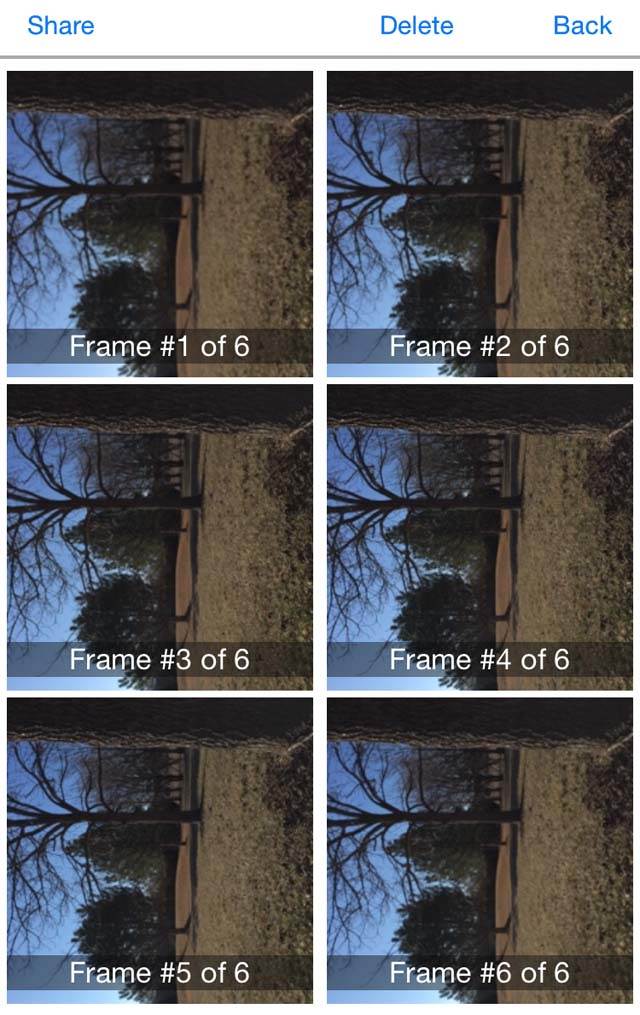
You can then view the individual images that the app kept. Next, you can choose whether you want to do the focus stacking yourself in third-party software or let the app process the image for you. Keep in mind that it will take one credit to get it processed through the Stay Focused app.
You must be on Wi-Fi to upload your project to Stay Focused, and once it starts it only takes a few minutes to get your final image. When it’s done, the processed image will be ready to view in the project folder.
If you want to save the processed image to your camera roll, open the image within the Stay Focused app, then tap Share > Save to Camera Roll.
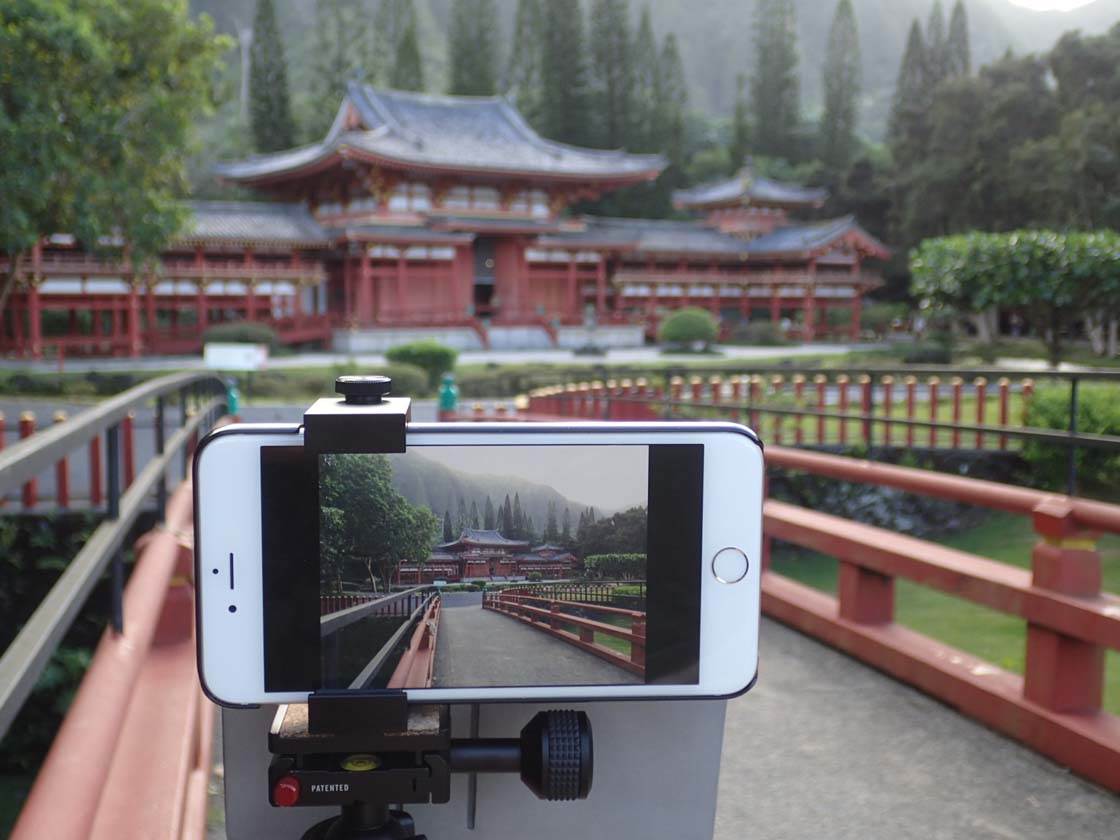
The main thing you need to bear in mind with this app is that the camera needs to be completely still while it’s taking the multiple shots. If it moves even slightly, your combined image will look soft where the objects don’t superimpose exactly. It’s therefore recommended that you use an iPhone tripod when taking photos with Stay Focused.
For the same reasons, it’s also recommended that you only photograph stationary subjects. If your subject keeps moving after each shot, they will appear blurred.

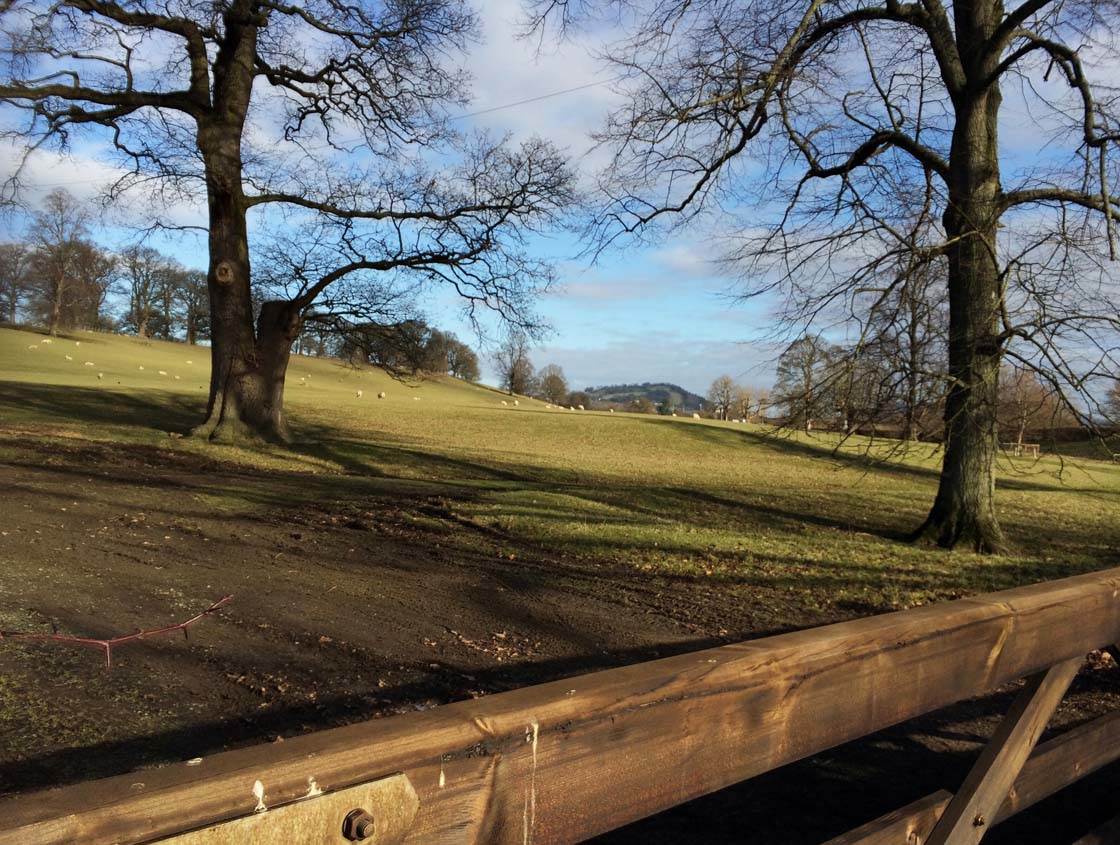
I used a tripod in this image, but the wind moved some of the branches during the process, so they look a little strange. So bear in mind that it’s best to avoid taking photos of moving subjects with Stay Focused.

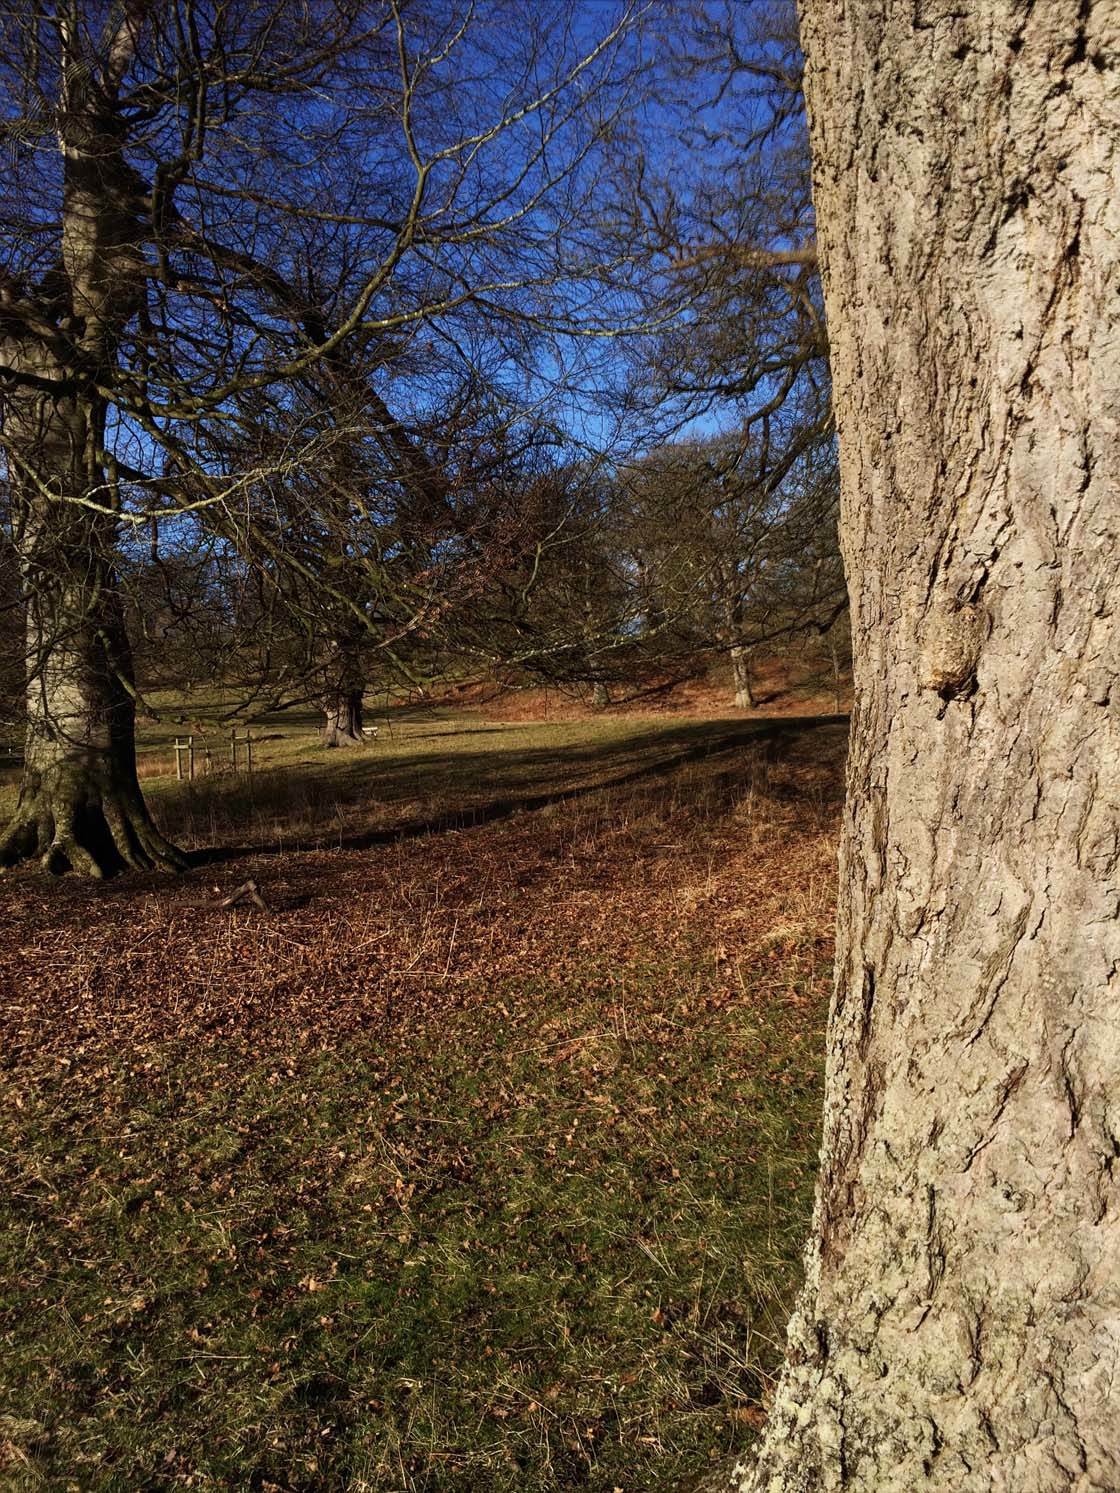
Here’s another image that has sharp focus front to back, but if you look carefully you can see some motion blur in grass in the foreground, which means it must have been blowing in the wind as the photo was taken.
Now that you know how to use Stay Focused, download it for free and try it out. Remember you get 10 free credits so you can get 10 images processed via the app to start with, so you can test it out without making any financial commitment!


I can’t understand why you’d review a money grab app like this.
This is nothing more than a pay to use app pretending to be “free”.
Really guys?