Water is one of the most amazing subjects for iPhone photography. Its properties make it the perfect medium for unique and creative shots. From tiny droplets to vast rivers, lakes and oceans, water provides you with endless photographic opportunities. In this tutorial, you’ll discover 10 tips for creating stunning water photography with your iPhone.
1. Find A Source Of Water
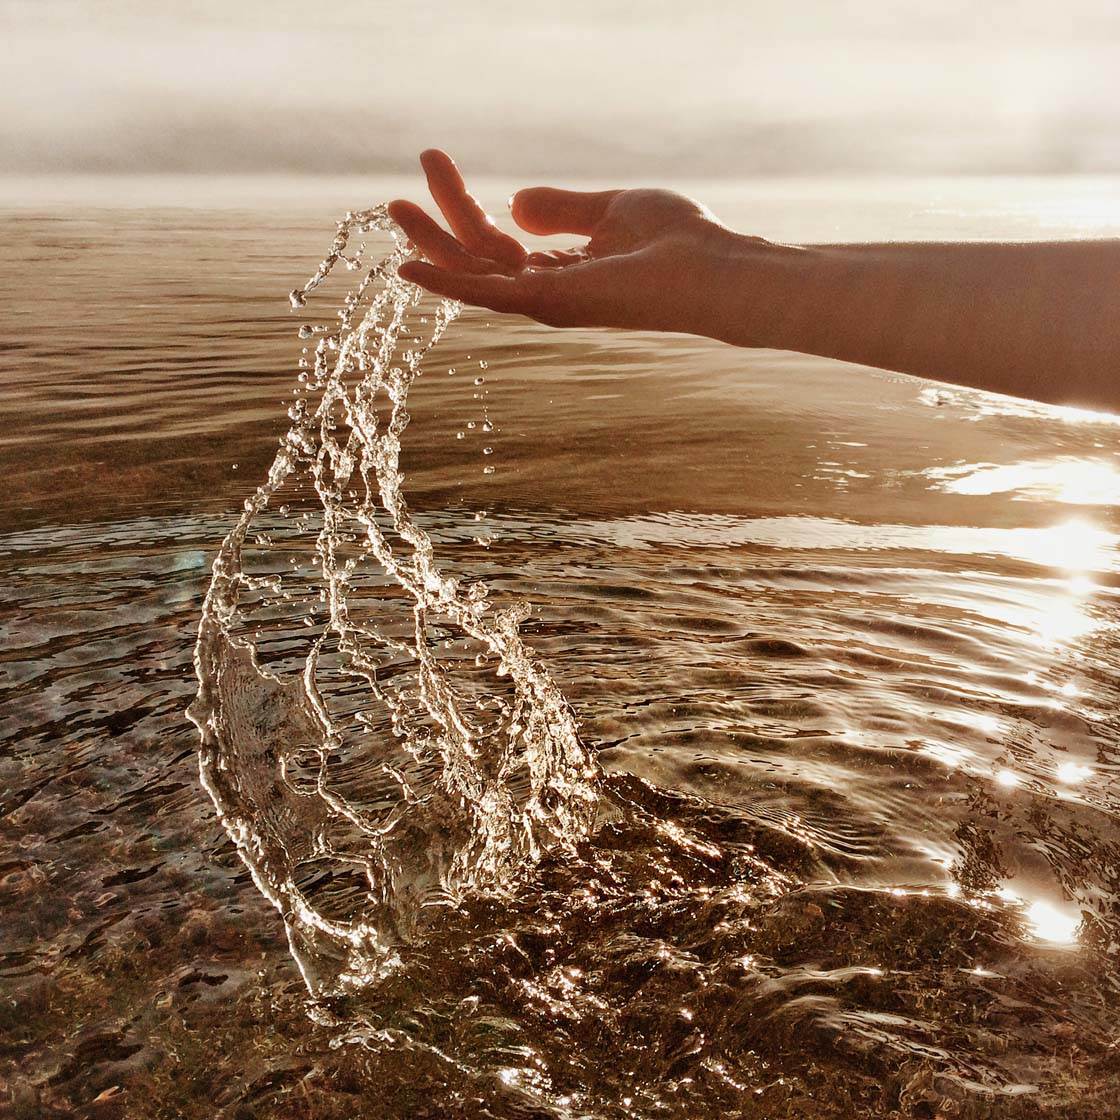
Water appears in many different forms, making it an interesting and diverse subject for photography. Of course, there are the obvious places such as oceans, lakes, rivers and waterfalls.
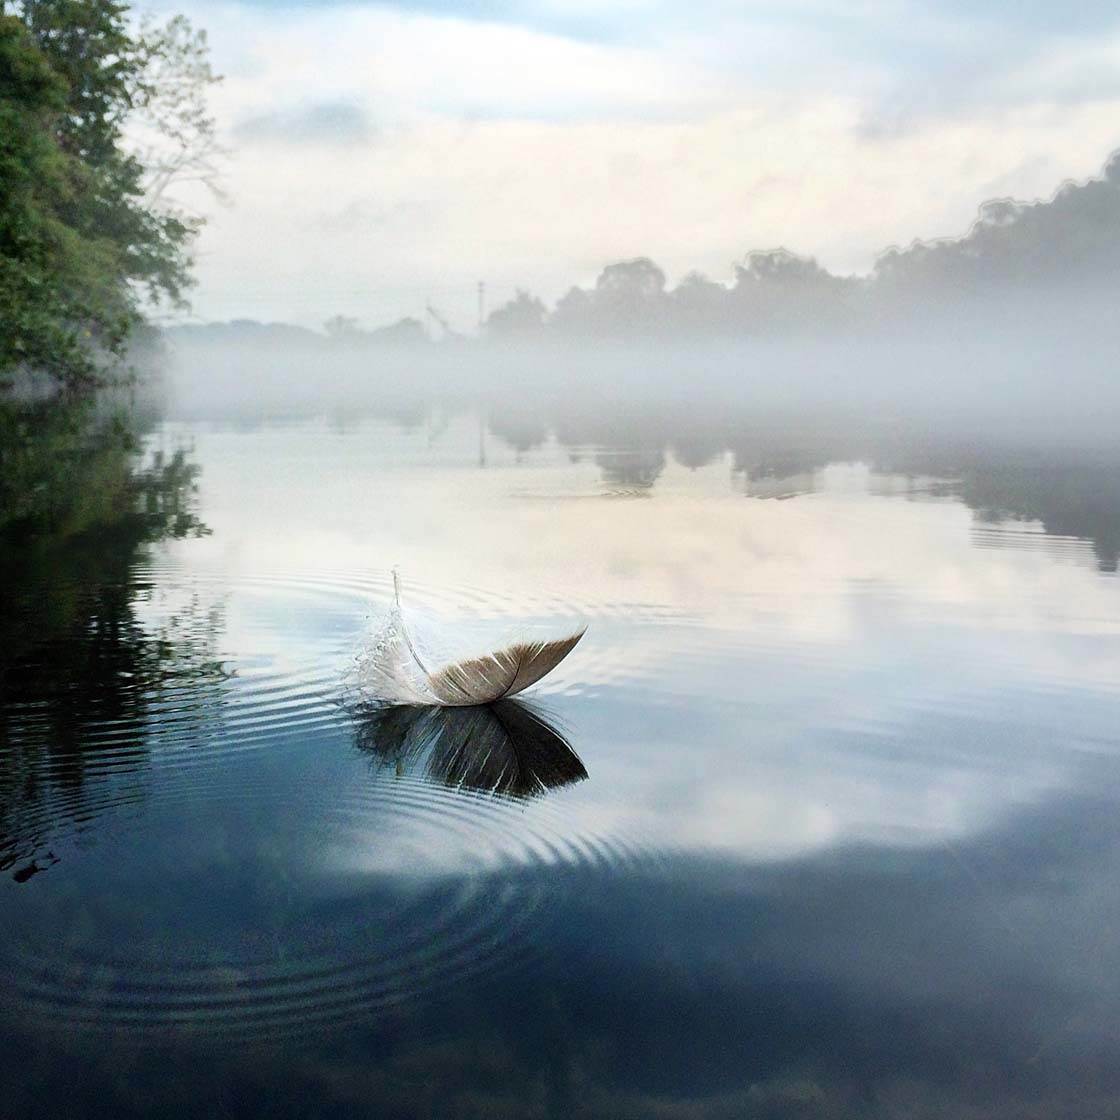
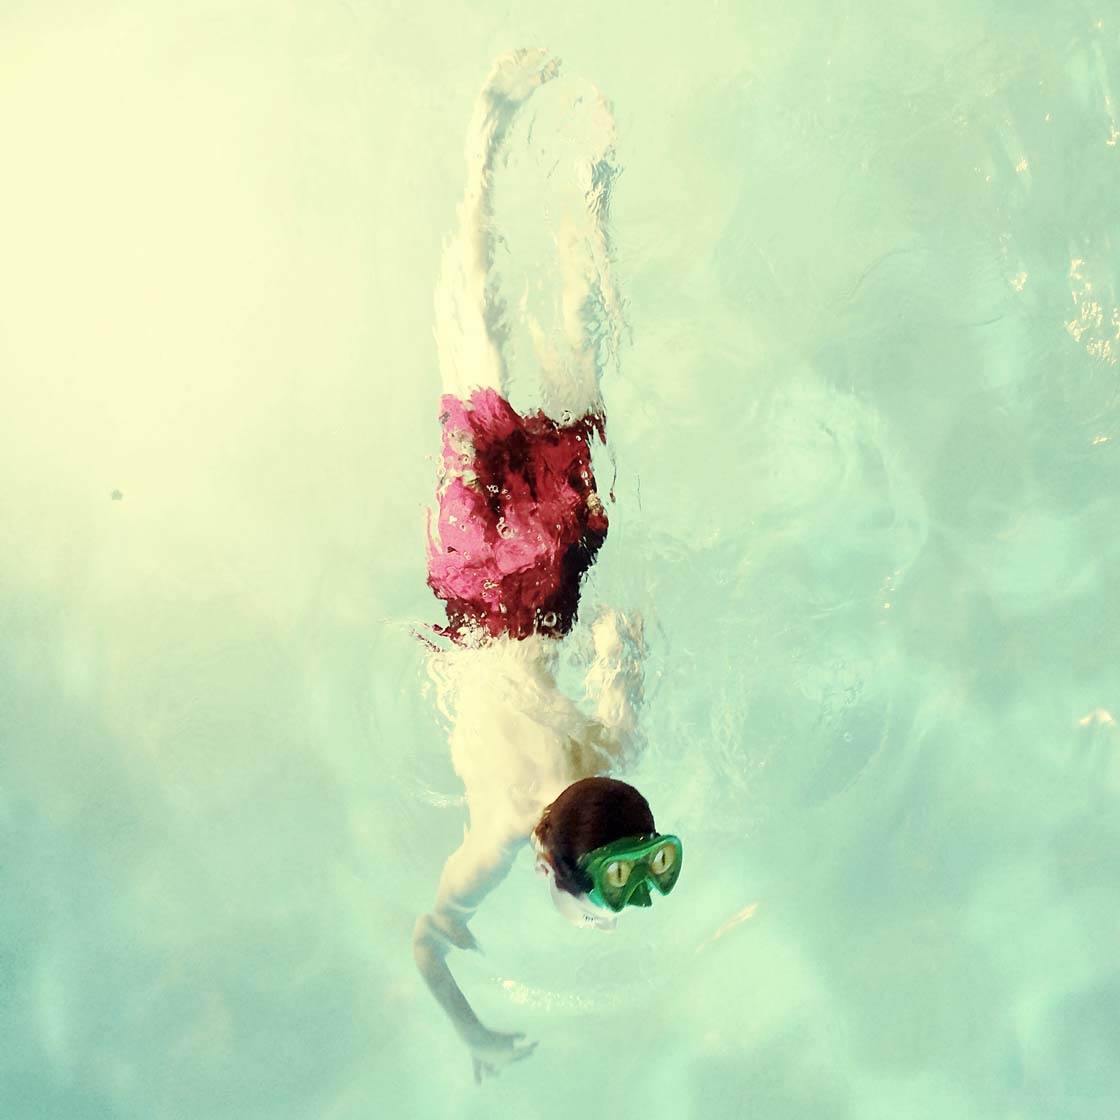
But try to think of other places where you might find water. Puddles, wet roads, swimming pools, aquariums, waterparks and fountains all offer great water photography opportunities.
You could also look out for raindrops or condensation on a window, and water droplets on a spider’s web.
In your own home you could use water from a running tap, or a sprinkler in the garden. And don’t forget about frozen water in the form of ice.

Water is all around us, and it offers so many creative photography opportunities. Once you’ve decided on a water source to photograph, you can then use the techniques in this to tutorial to experiment with different ways to capture it in your photos.
2. Use Light For Creative Effect
As a photographer, light is your most important asset. The time of day and type of light that you shoot in will have a big impact on how the water appears in your image.
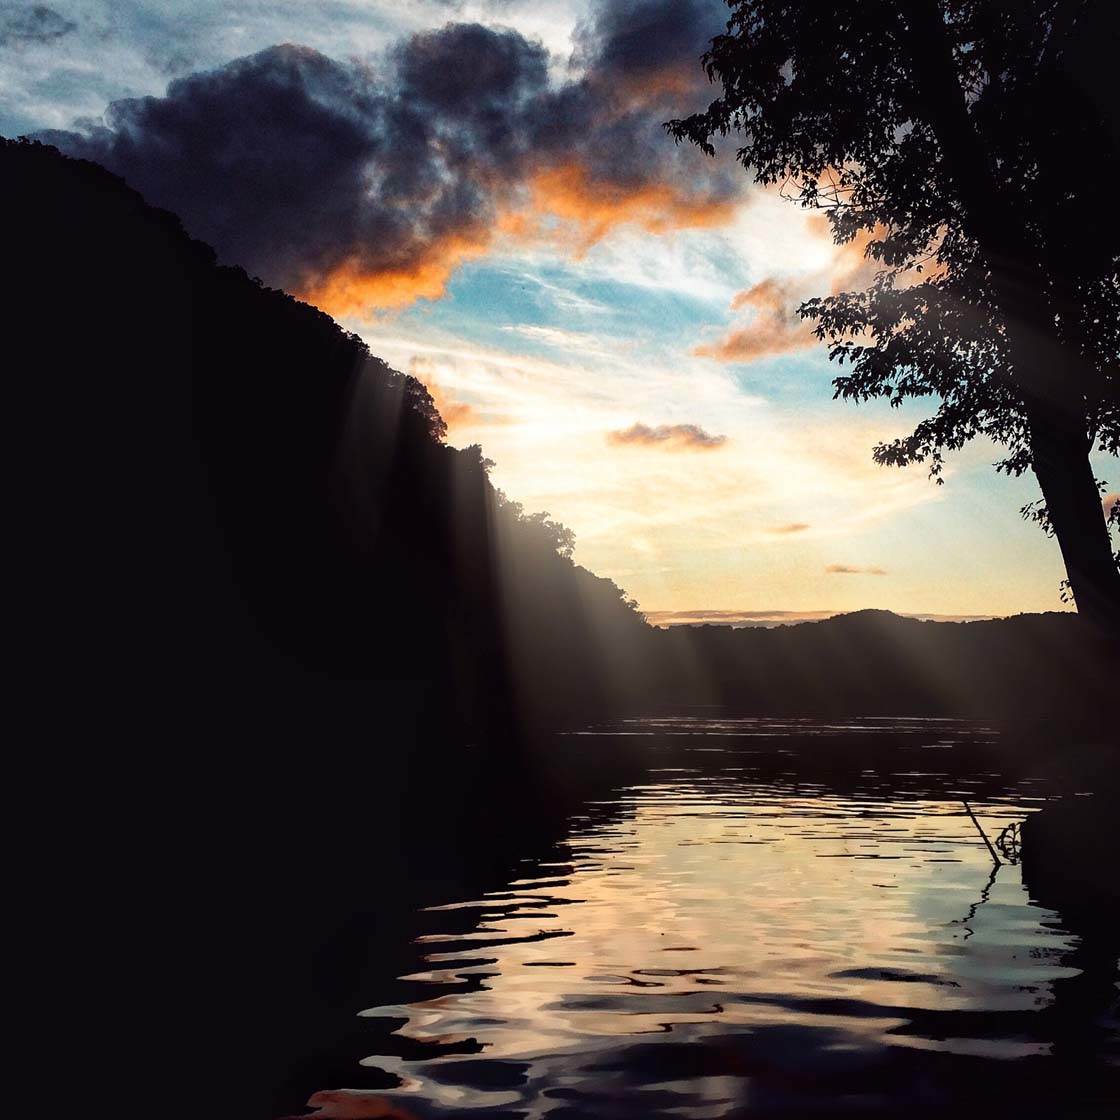
Water has a reflective surface, so you should always consider how the light will interact with it. The colors reflected in the water will have a significant effect on the visual impact and mood of the image.
If you shoot during the blue hour of early morning or late evening (when the sun is just below the horizon), the cool light will be reflected in the water, creating a monochromatic blue image like the one shown below.
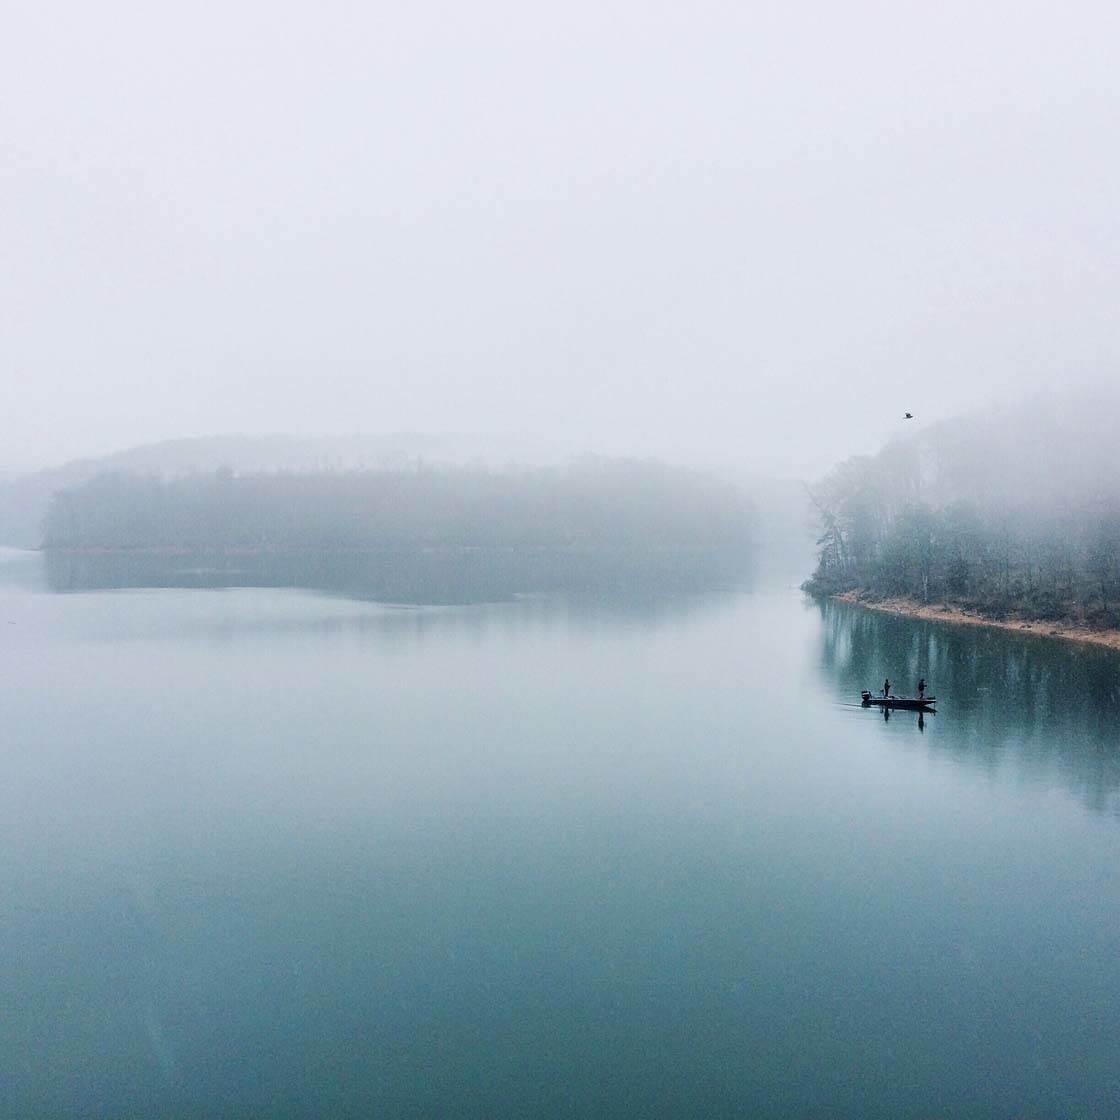
Cool blue tones tend to create a sense of tranquility or melancholy. So if you’re aiming to create a feeling of calmness or sadness in your photos, blue hour is a good time to shoot.
When shooting at this time of day, bear in mind that there won’t be much light in the scene. In low light your iPhone will use a slower shutter speed to allow enough light in for a decent exposure.
This can increase the chances of camera shake, so take extra care to hold the iPhone steady to avoid blurring your photos. Using an iPhone tripod, such as the Joby GorillaPod, is the best option.
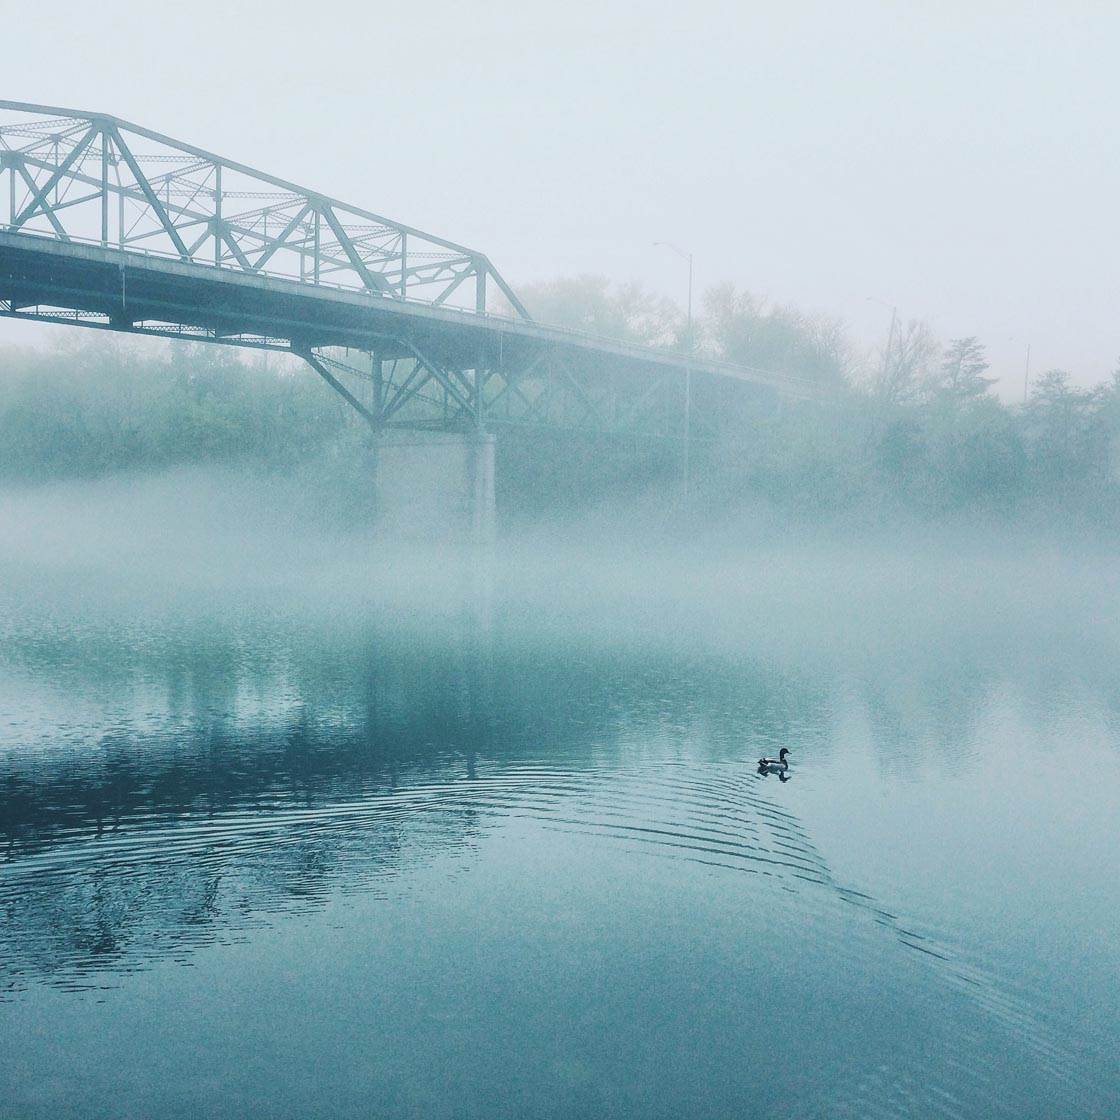
Your photos can also appear grainy in low light. To reduce the chances of grain, you could try shooting with an app like Cortex Cam which deals with low light photography better than the native camera app.
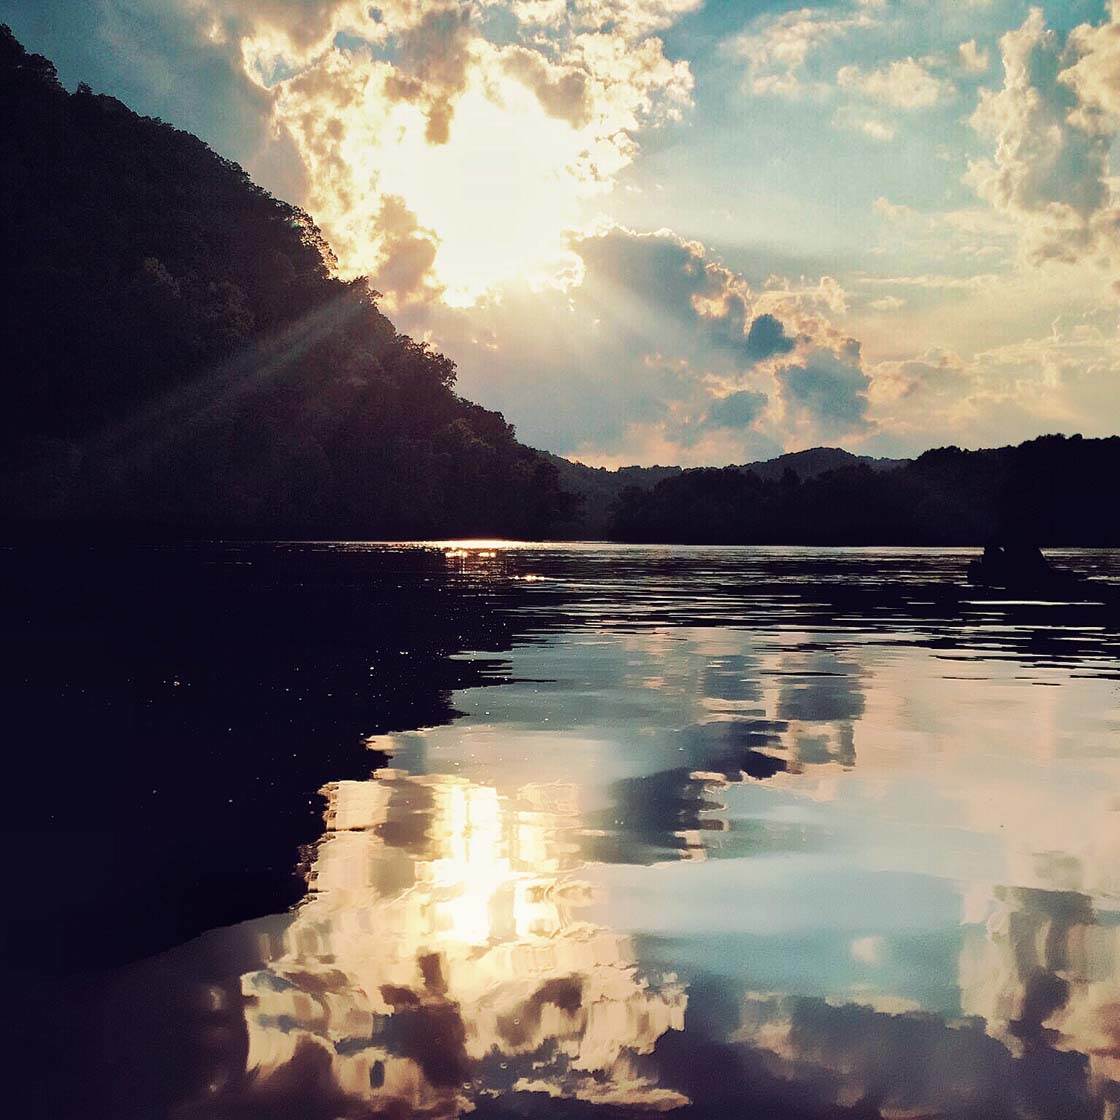
Shooting during the golden hours of sunrise and sunset will create a beautiful warm glow because the sunlight will be reflected in the water.
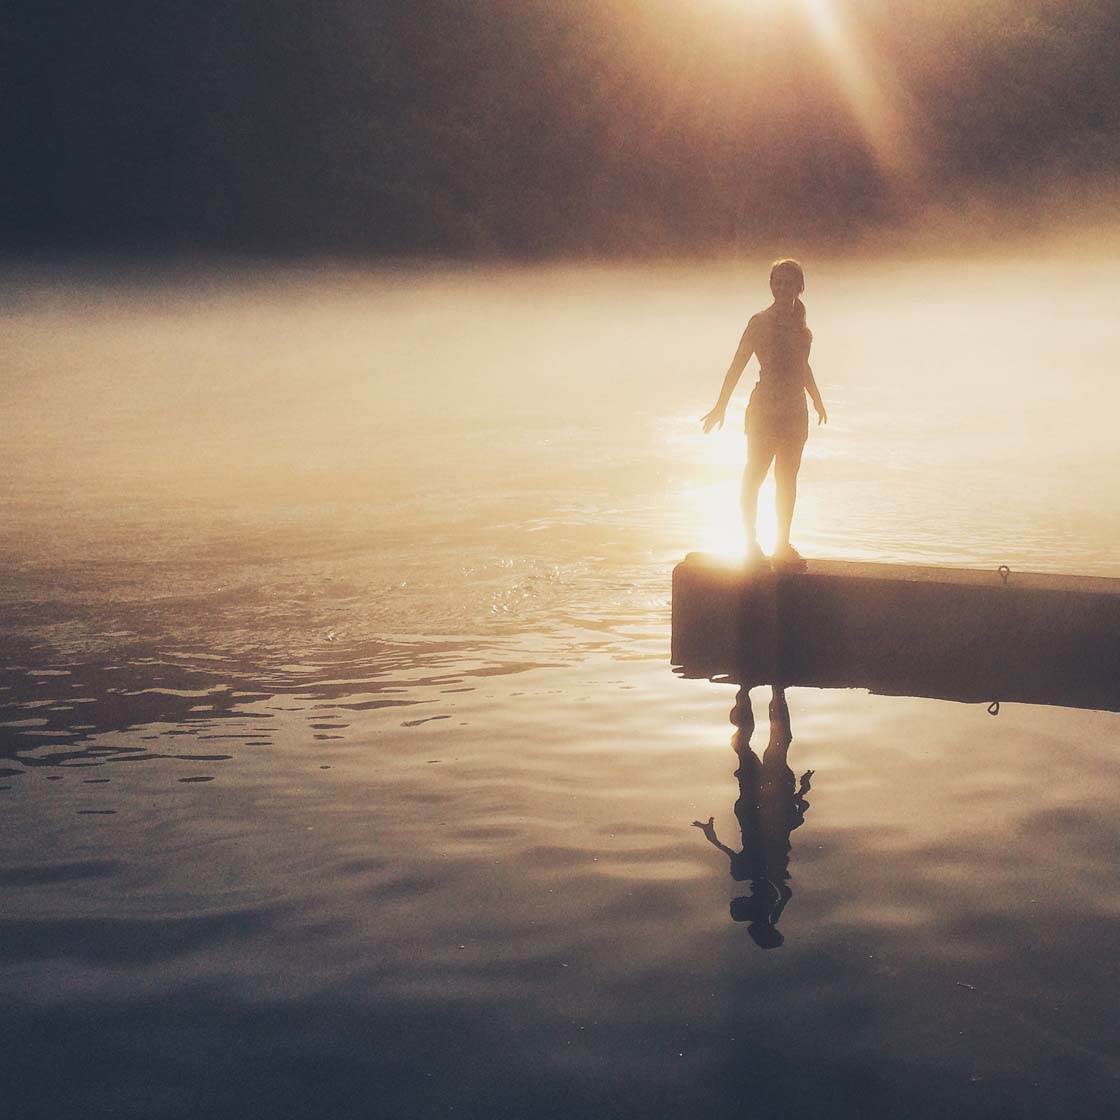
This kind of light creates a completely different mood to blue hour. The warm colors add a vibrant, magical and lively atmosphere to the image.
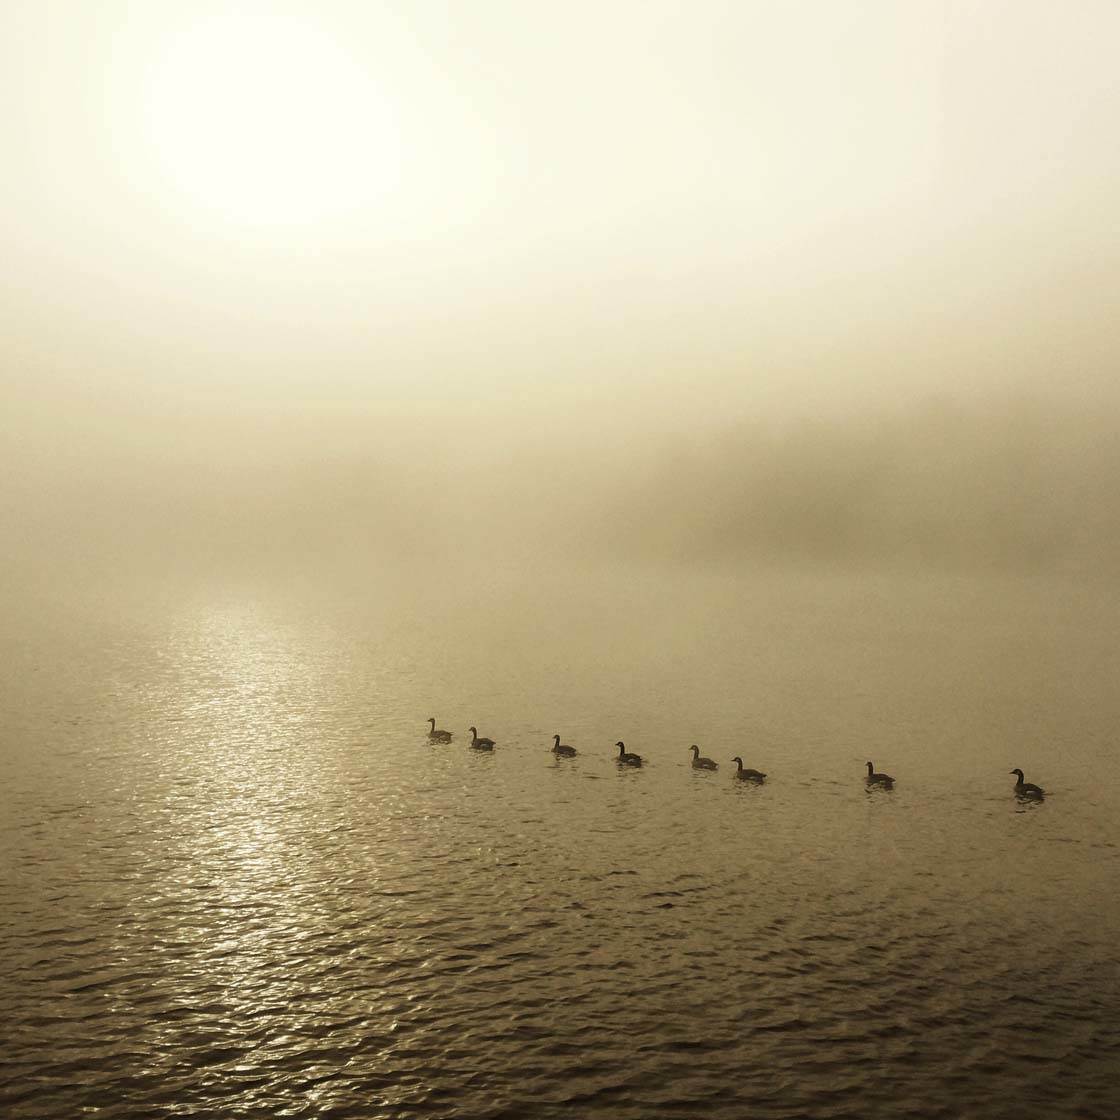
So if you want to create photos that are full of energy and happiness, golden hour is the perfect time to shoot. Just keep in mind that the light isn’t that bright during golden hour, so hold your camera steady to avoid camera shake.
Photographing water during the main part of the day can produce different results depending on the weather conditions.
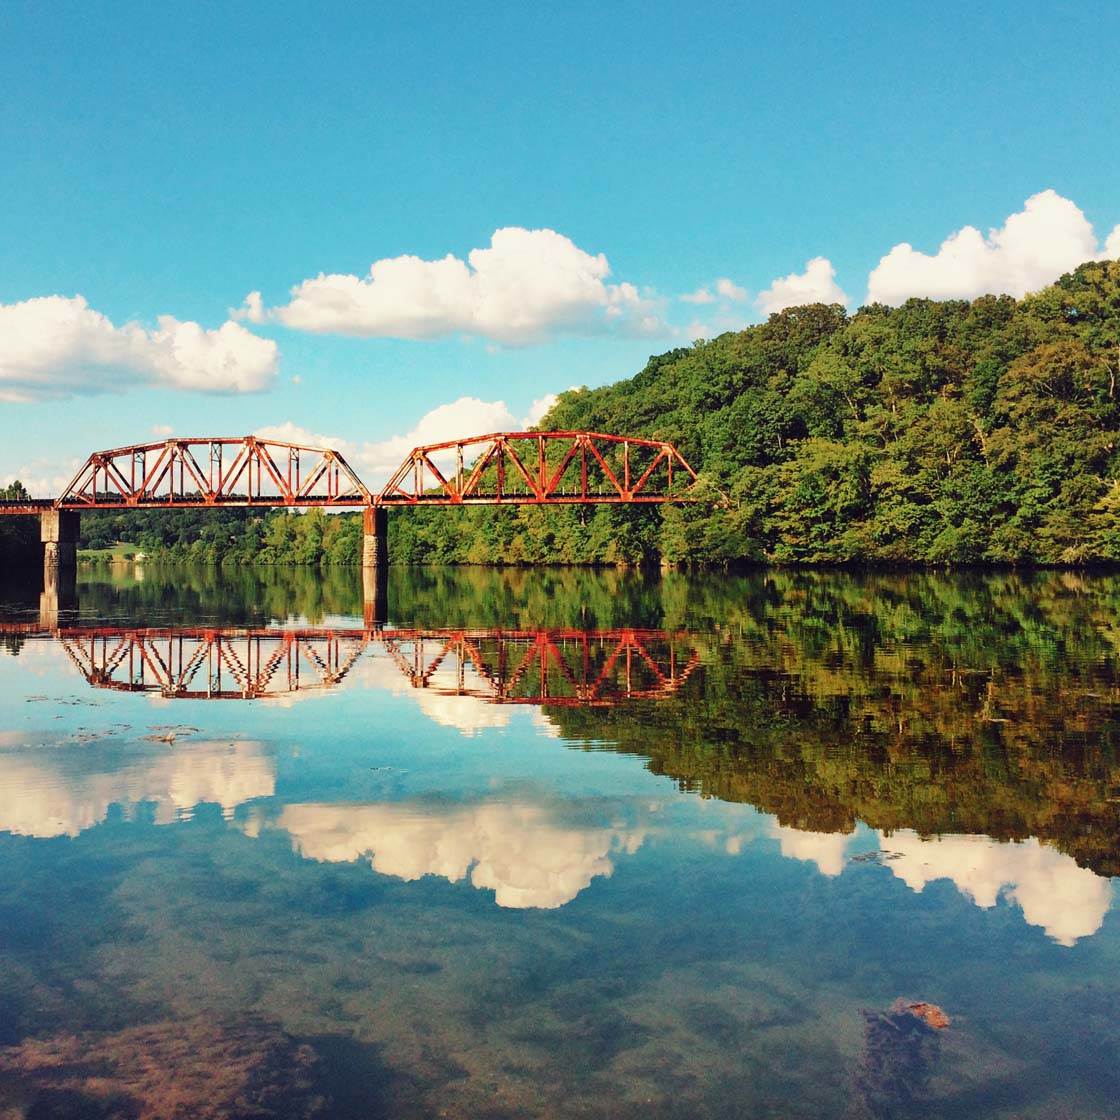
Bright blue skies work well because the color will be reflected in the water, making it appear a wonderful vibrant blue. If there are white fluffy clouds in the sky, this will add extra interest to the reflections.
Shooting in bright sunlight during the middle of the day is often challenging due to the harsh light. However, it can make the water shimmer and shine as shown below.
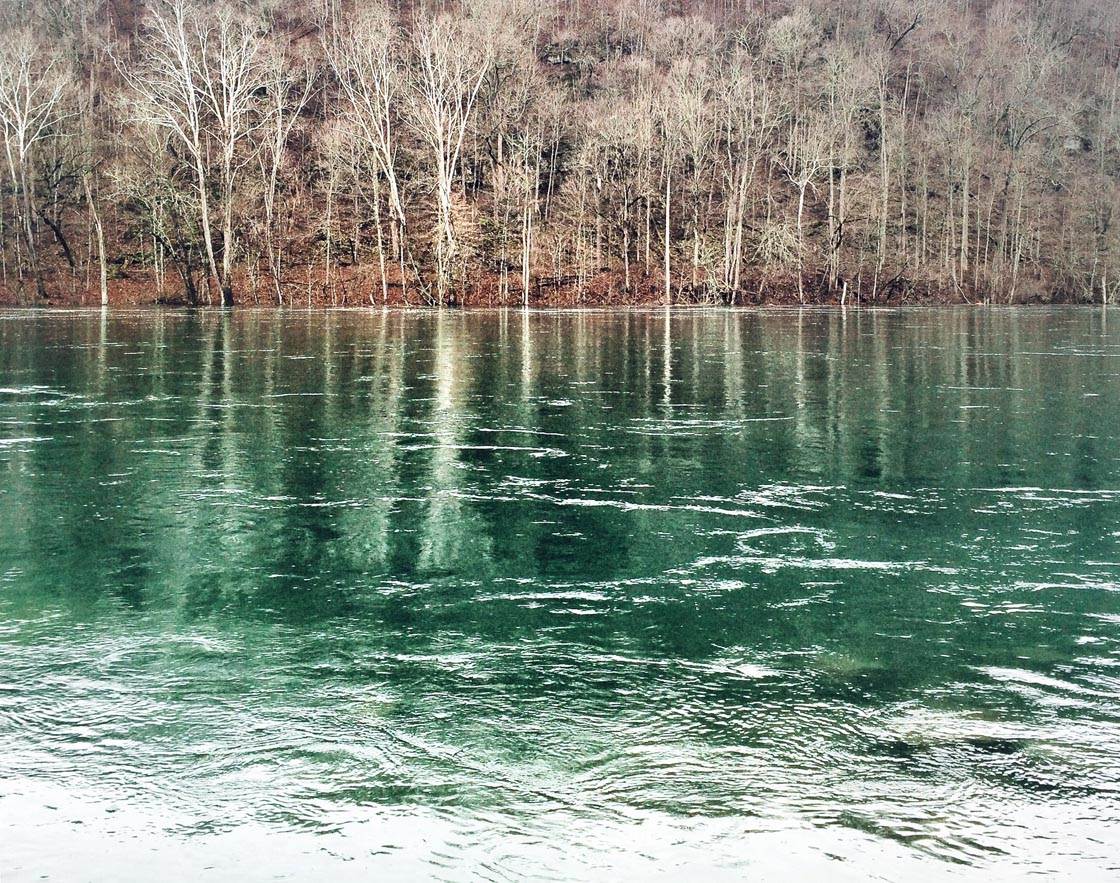
You can end up with quite a high contrast image in strong sunlight, and it can be difficult to get the exposure right, but in certain situations you can get some good results.
An overcast or foggy day makes the water much less shimmery because the sunlight is being diffused by the clouds or fog.
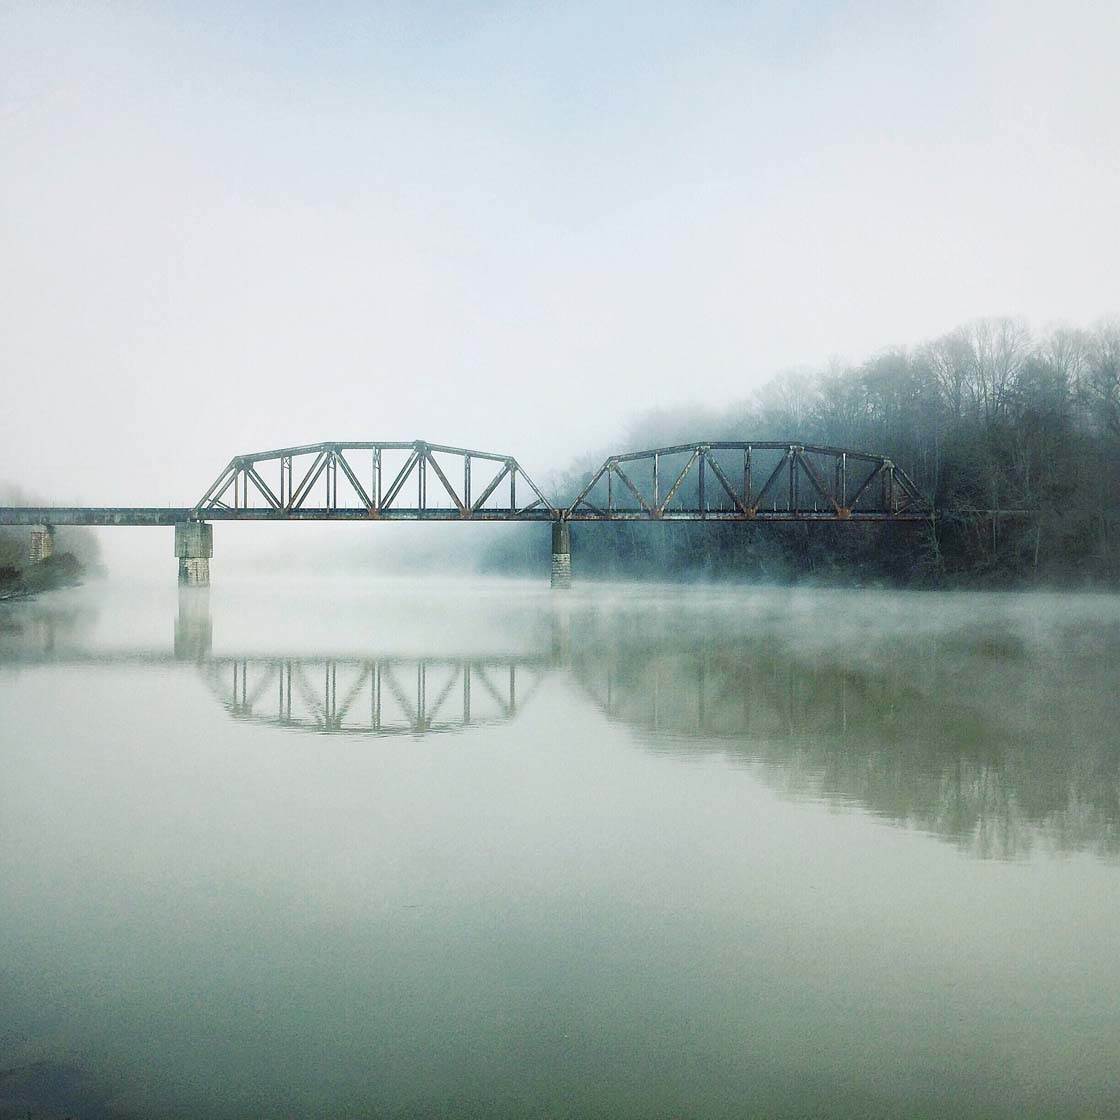
This can sometimes make the water look a bit “flat” due to the lack of shimmer. It’s also likely to appear darker, less blue and more murky.
As you can see from these examples, the type of light has a big impact on the look and feel of your water photos. So always be mindful of the type of light that you’re shooting in, and use it to your advantage for creative effect.
To learn more about using light to create amazing iPhone photos, check out this great video tutorial where you’ll discover 7 Simple Tricks For Using Light To Create Beautiful iPhone Photos.
3. Capture Reflections
Reflection shots are a stunning way to feature water, especially when the water’s surface is fairly calm.
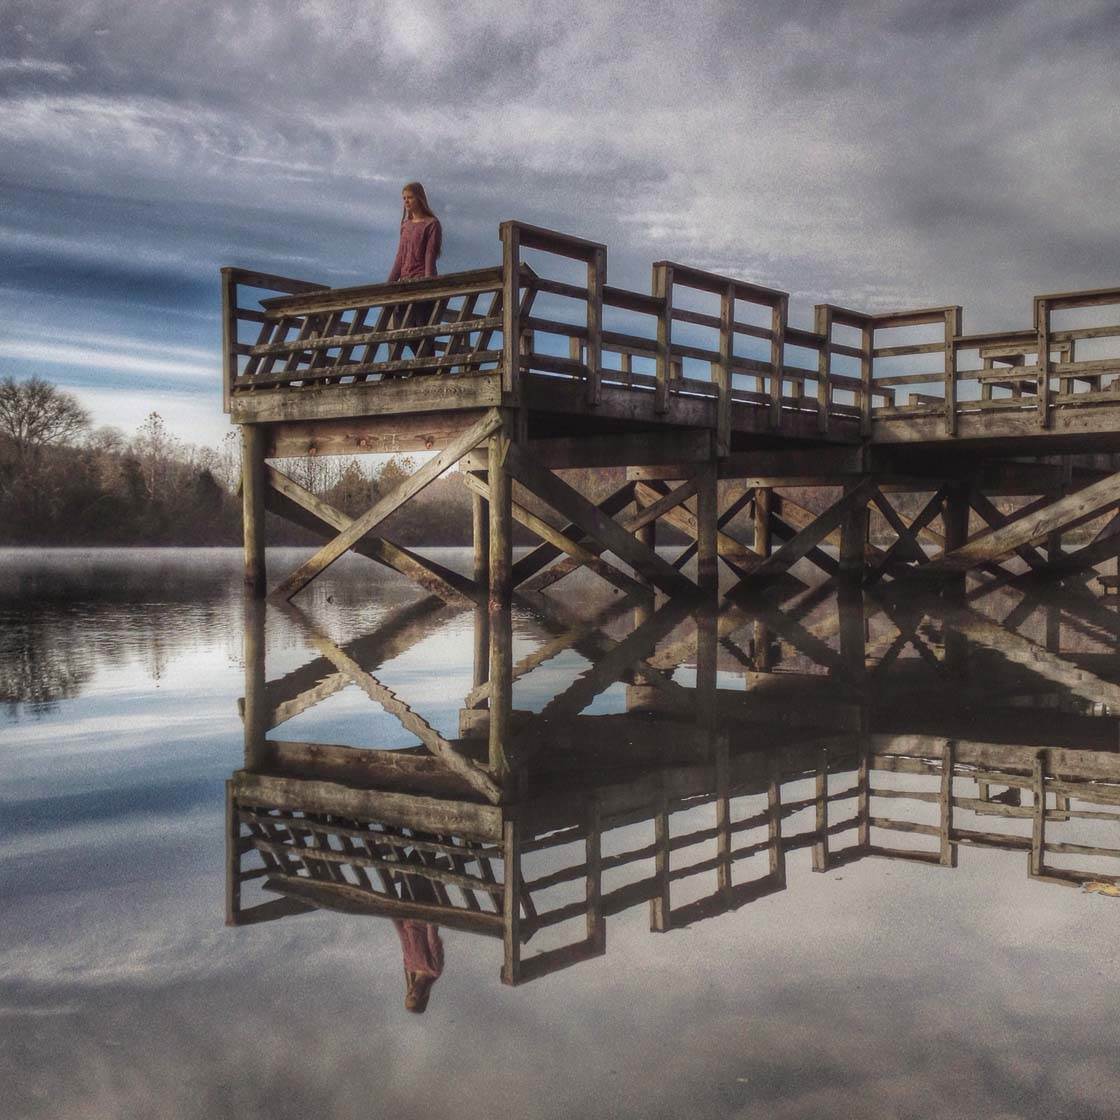
Reflections can be captured in lakes, rivers, puddles, and even tiny water droplets. Whenever you’re around water, look out for reflections of trees, buildings, boats, piers, people, birds, clouds, etc.
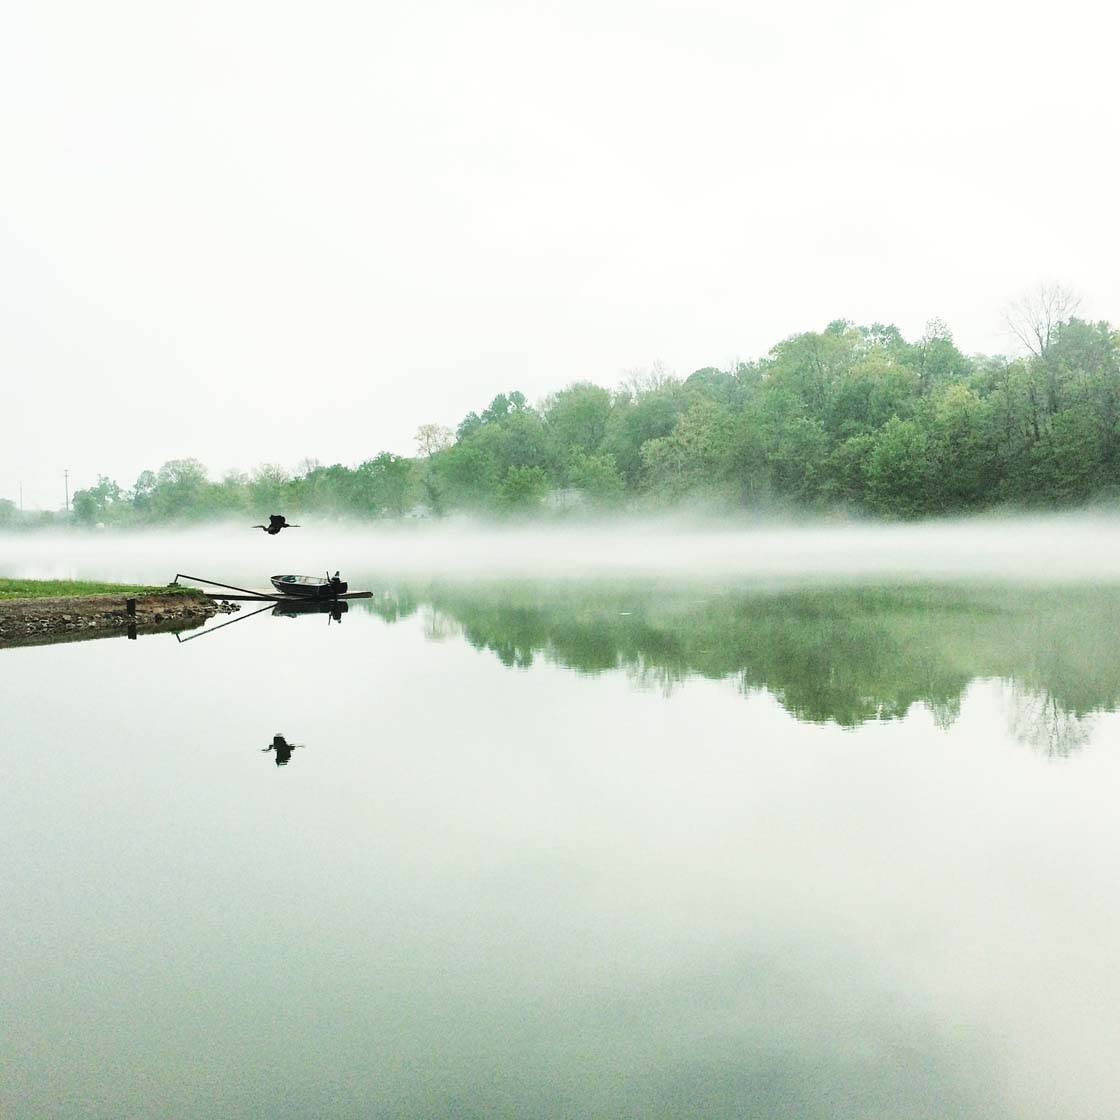
Reflections are great for creating symmetrical compositions. For perfect symmetry, ensure you position the horizontal line of symmetry across the middle of the frame.
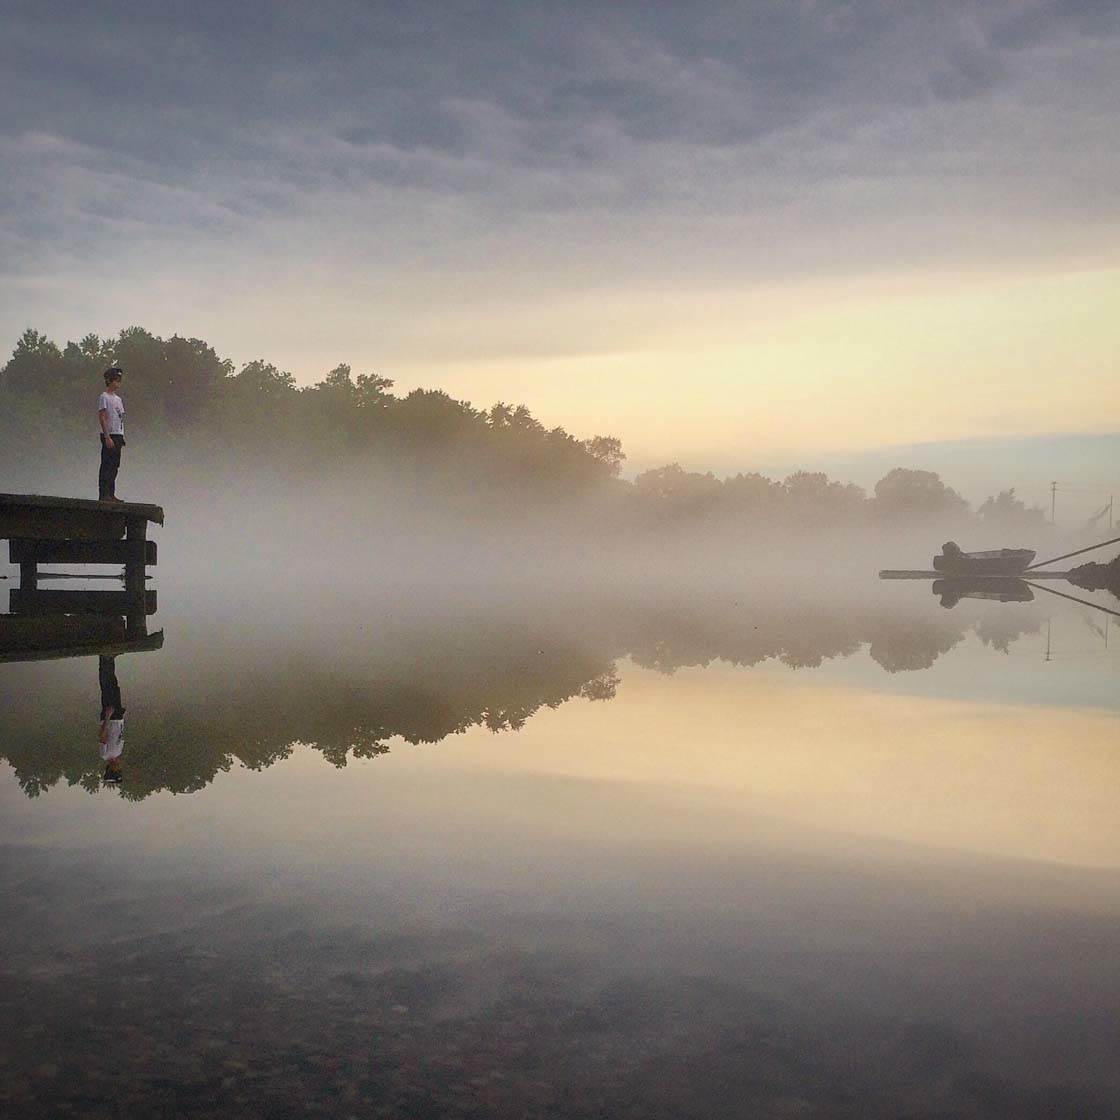
You might need to crouch down and shoot from a low angle to ensure the line of symmetry is perfectly central.
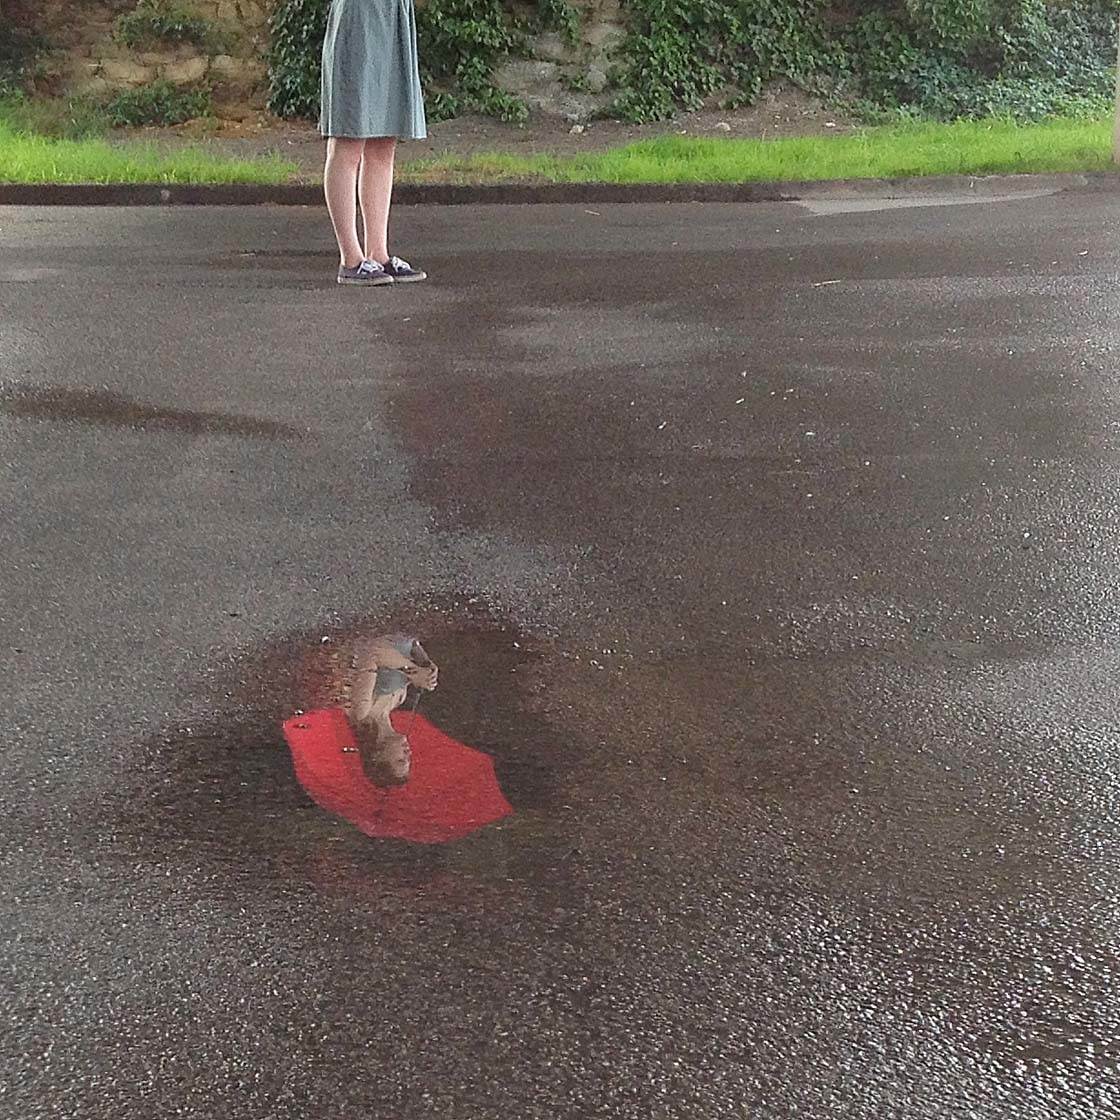
Puddles are great places to capture reflections. So after the rain, be sure to venture out with your iPhone to look for interesting puddle reflections.
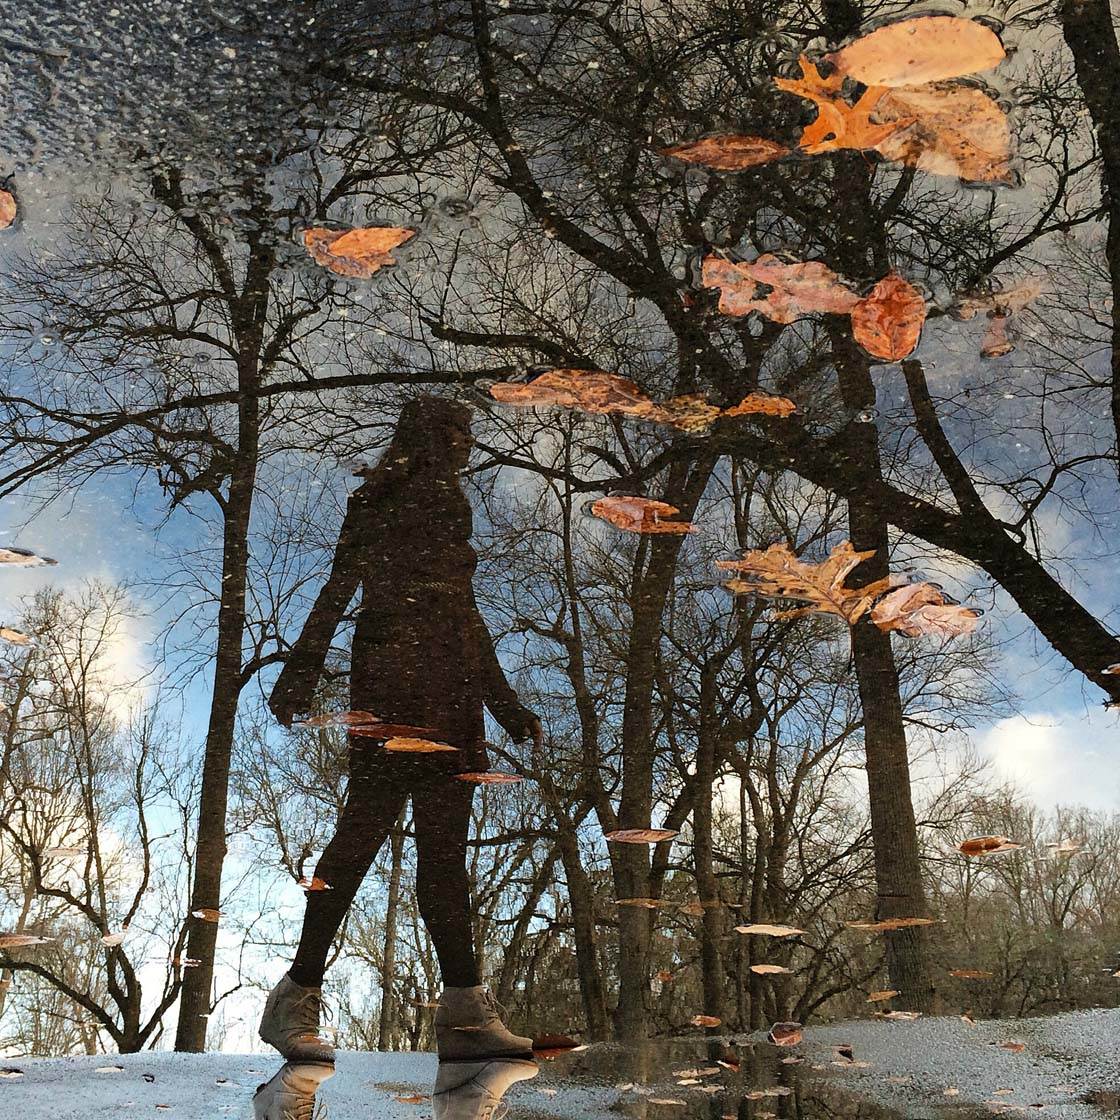
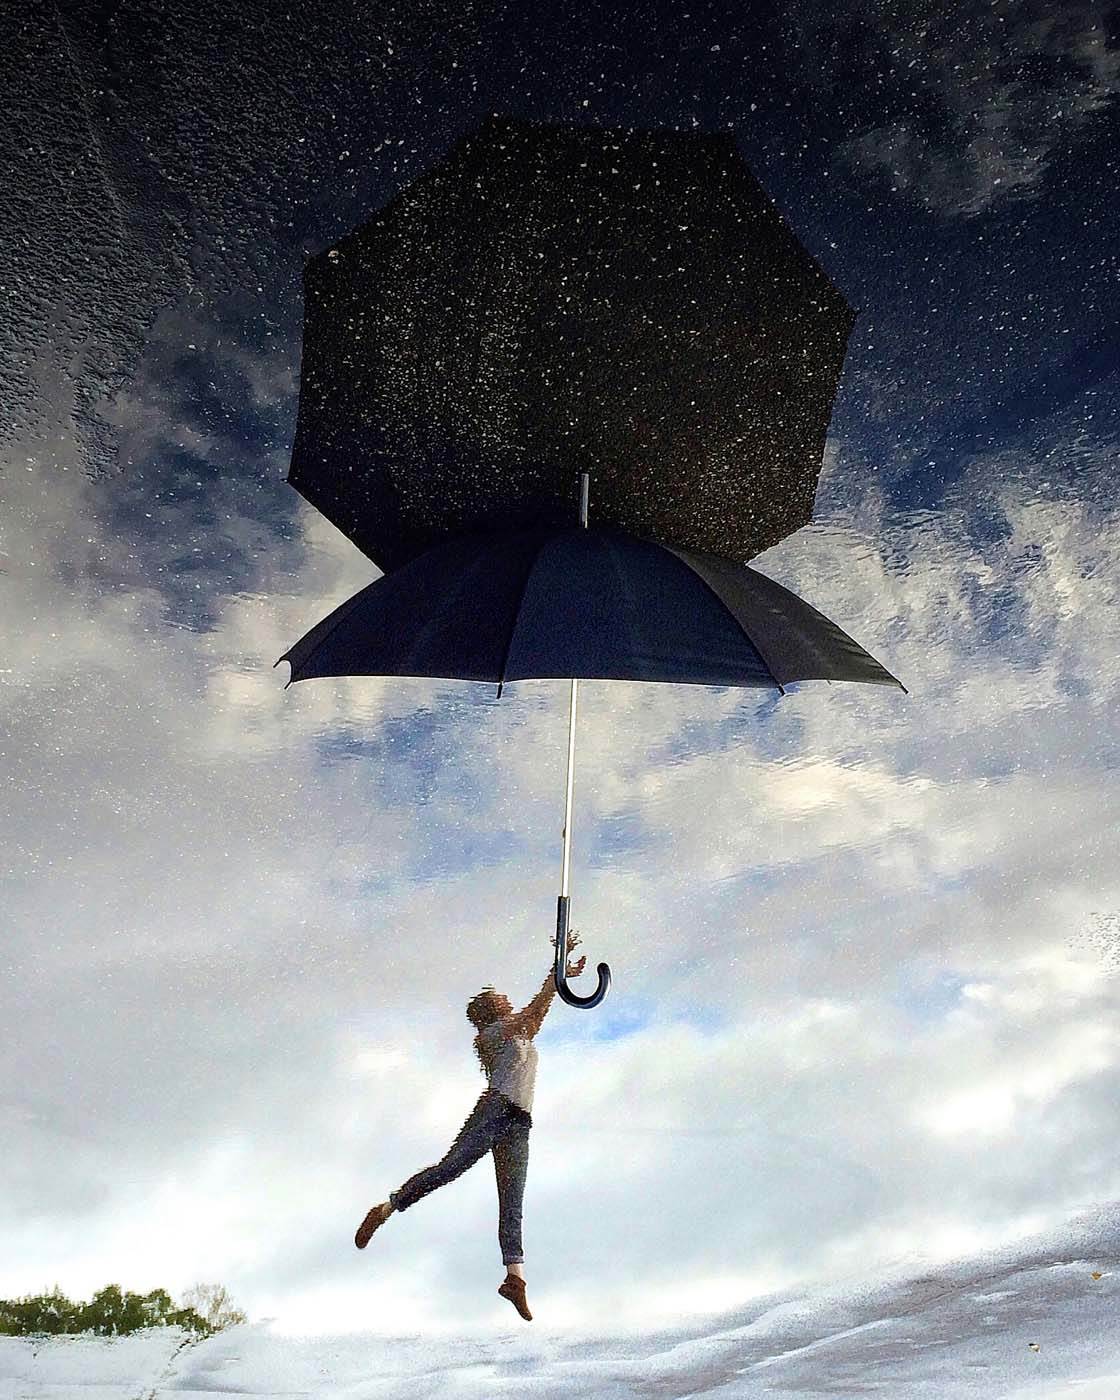
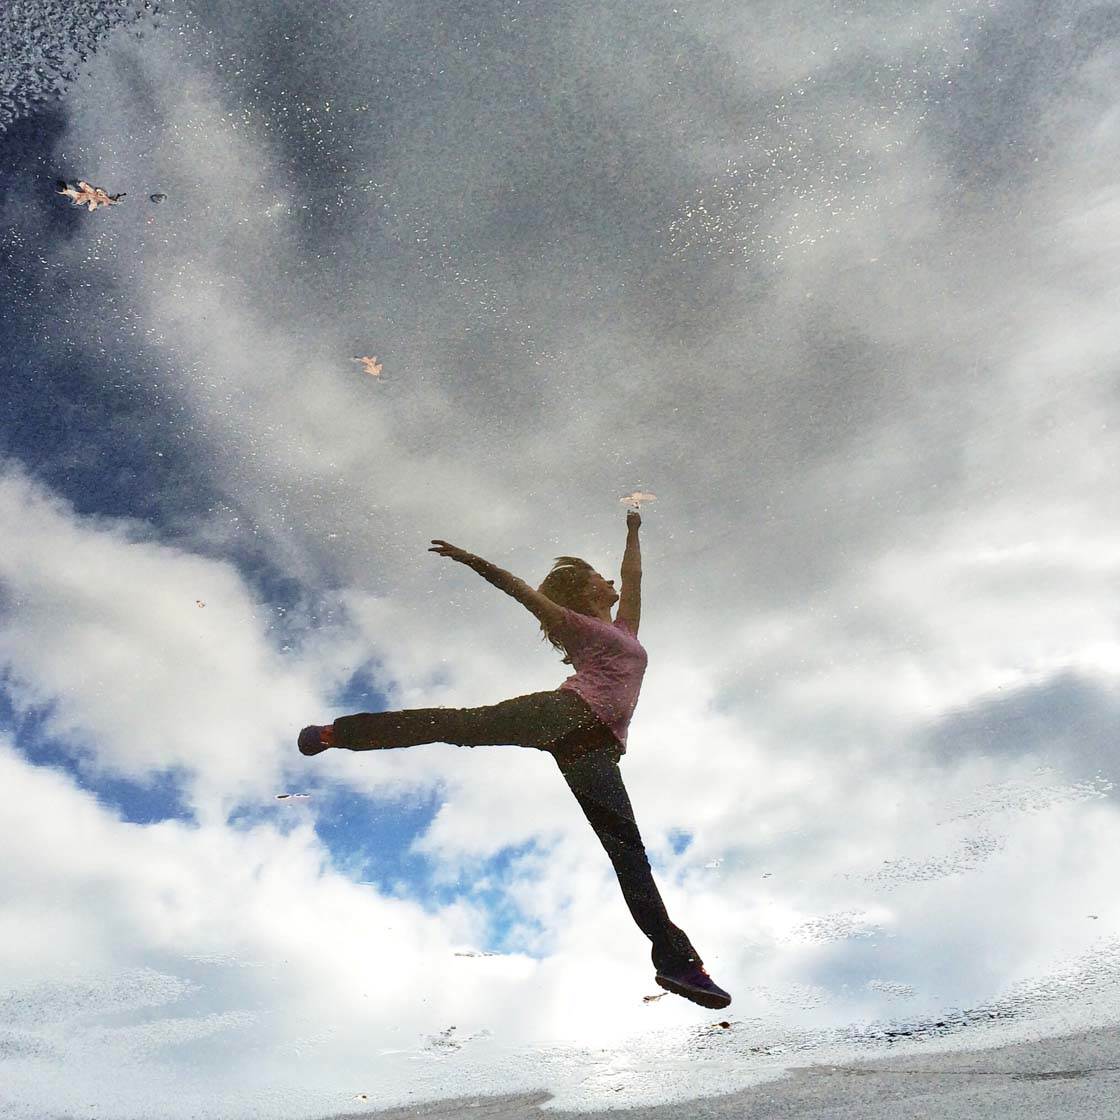
I often ask my daughter to pose for me in my puddle reflection shots. Including a person can add a strong focal point to the image and help you tell a more interesting story.
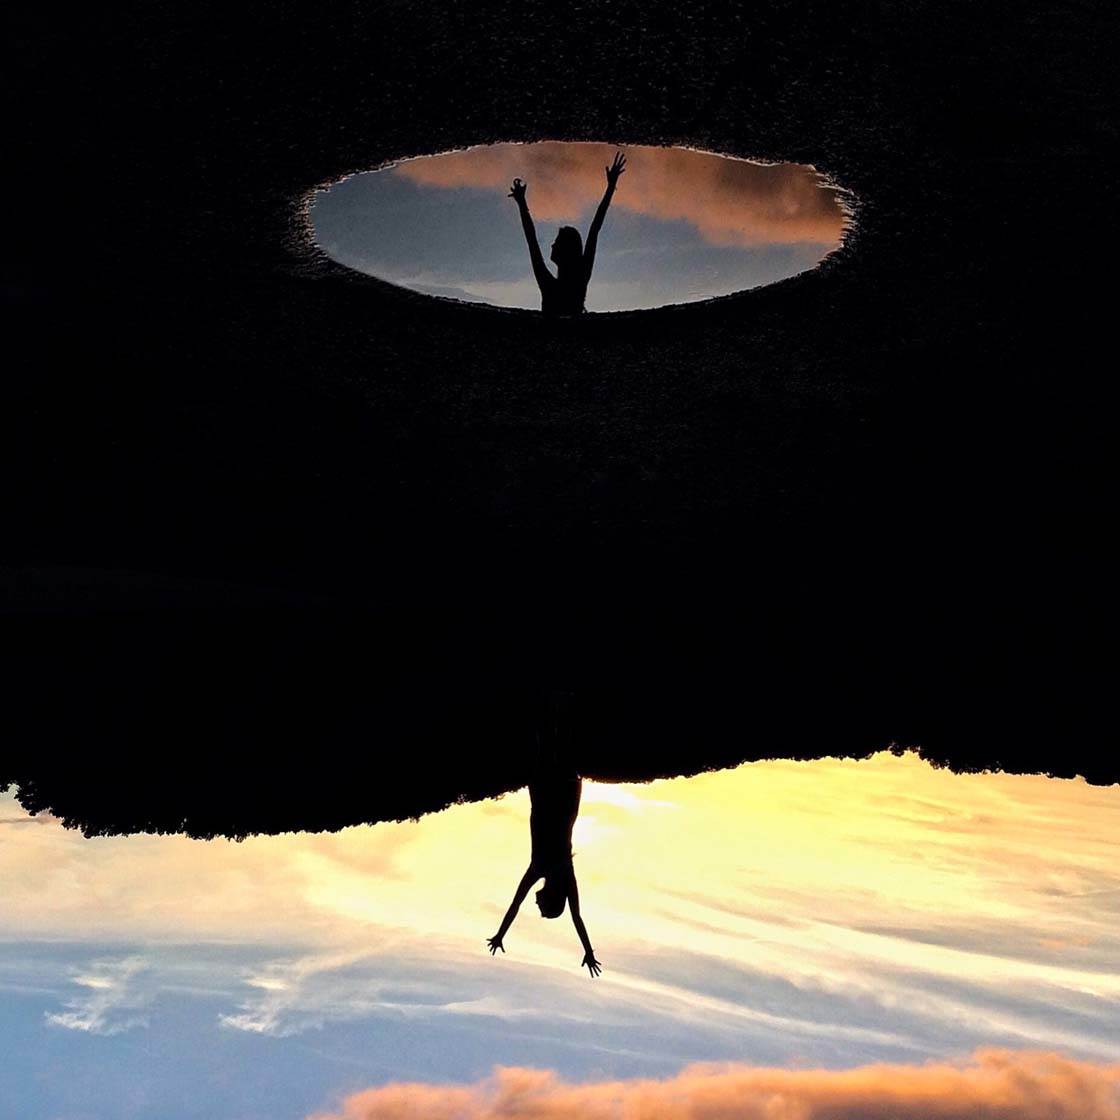
Above is a reflection that I captured in a small pool of water on top of a manhole cover. For added fun or drama, I often flip my puddle reflection photos upside down in post-processing.
Still bodies of water are great for capturing reflections, but a few gentle ripples in the water can add an artistic painterly effect to your image.
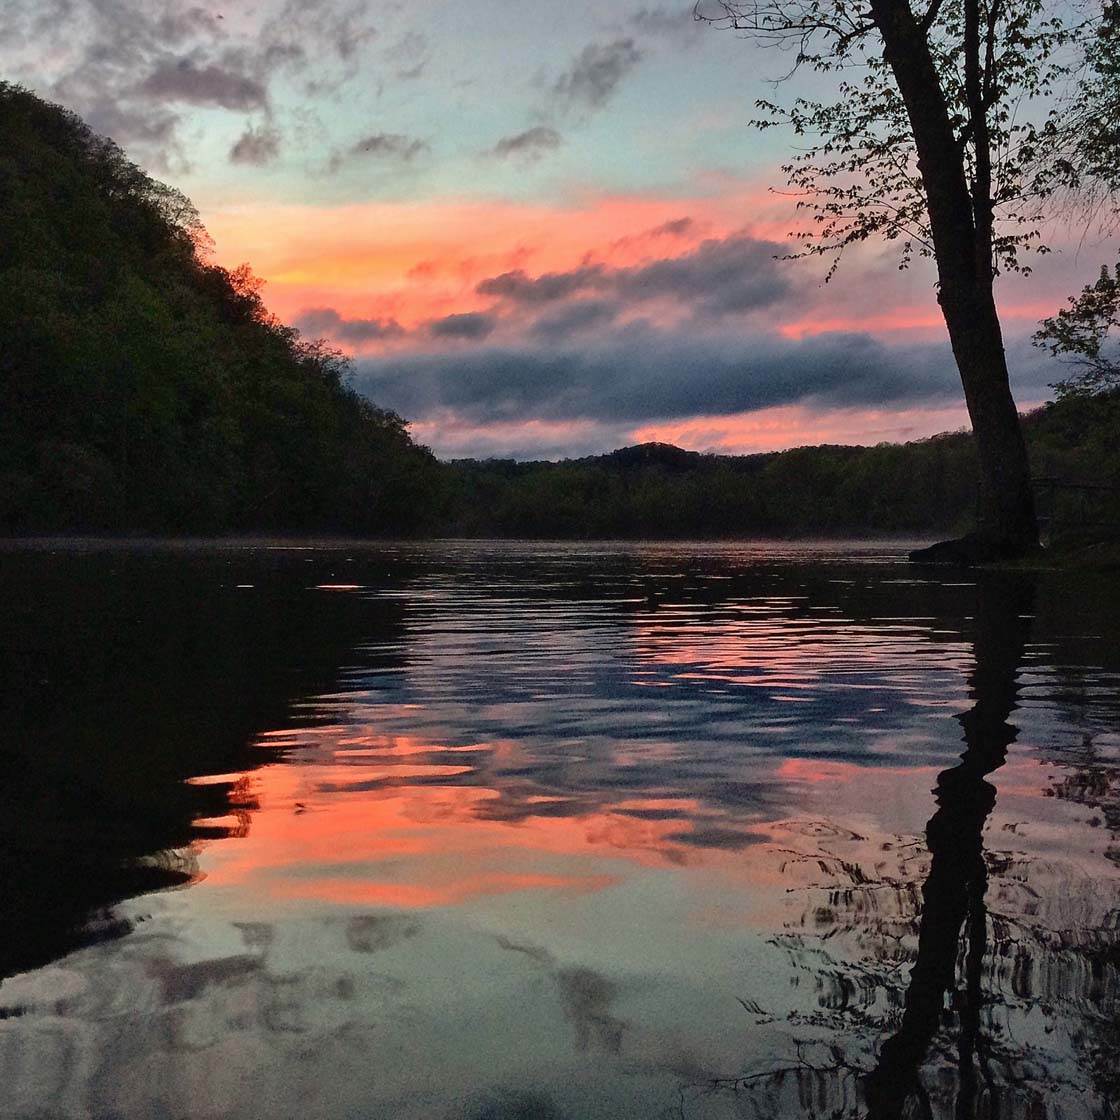
In this photo, the colors reflected from the setting sun look stunning in the rippled water of the river. If you’re photographing a still body of water, you can always create ripples yourself by swishing your hand or throwing a stone in the water.
4. Include A Focal Point
While water is beautiful in itself, your photo won’t have much impact unless you include a main subject to act as a focal point.
A focal point gives the viewer a place to rest their eye within the scene. And depending on your choice of subject, it can add a wonderful storytelling element to your image.
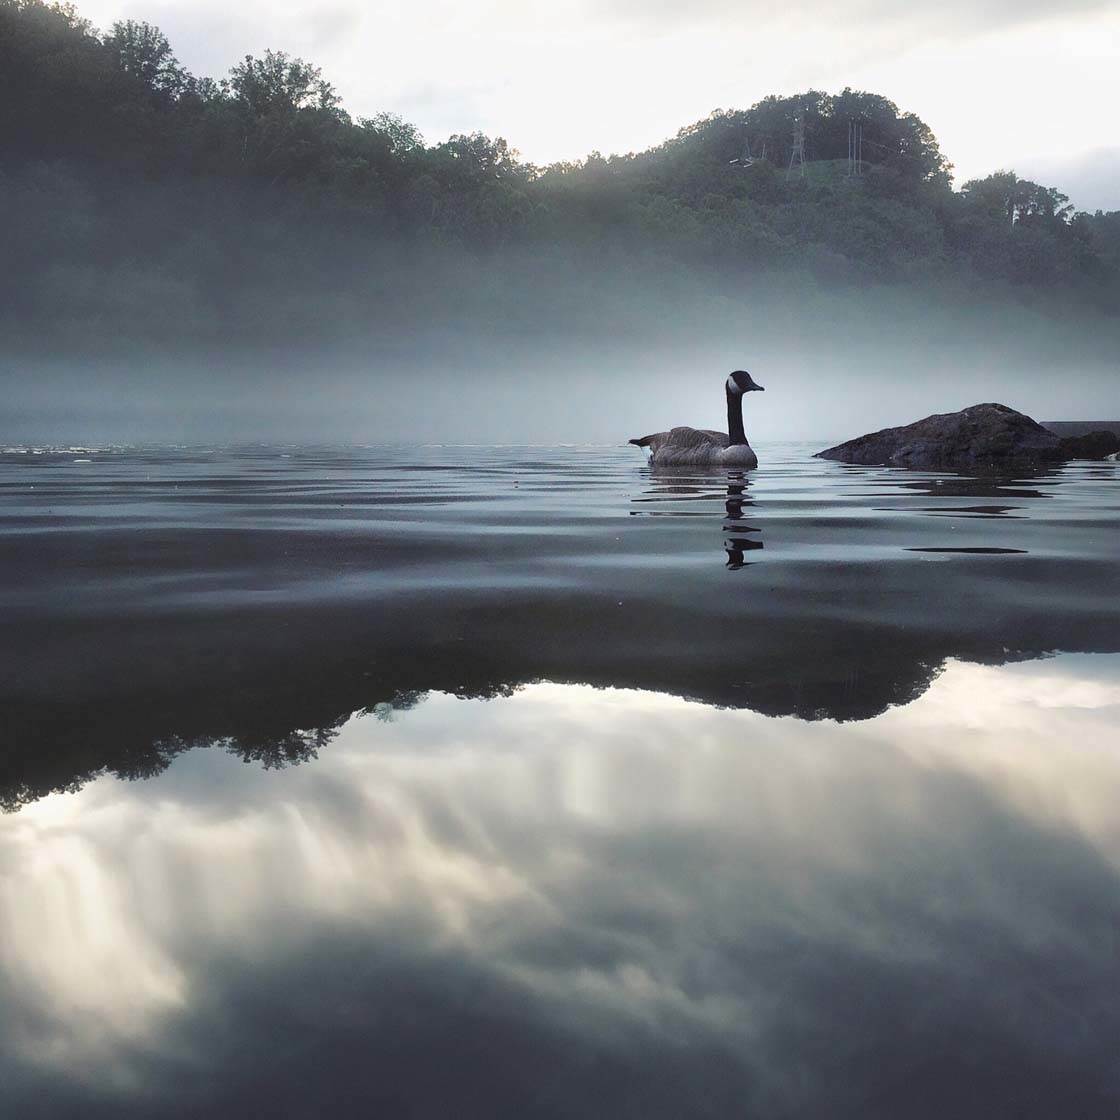
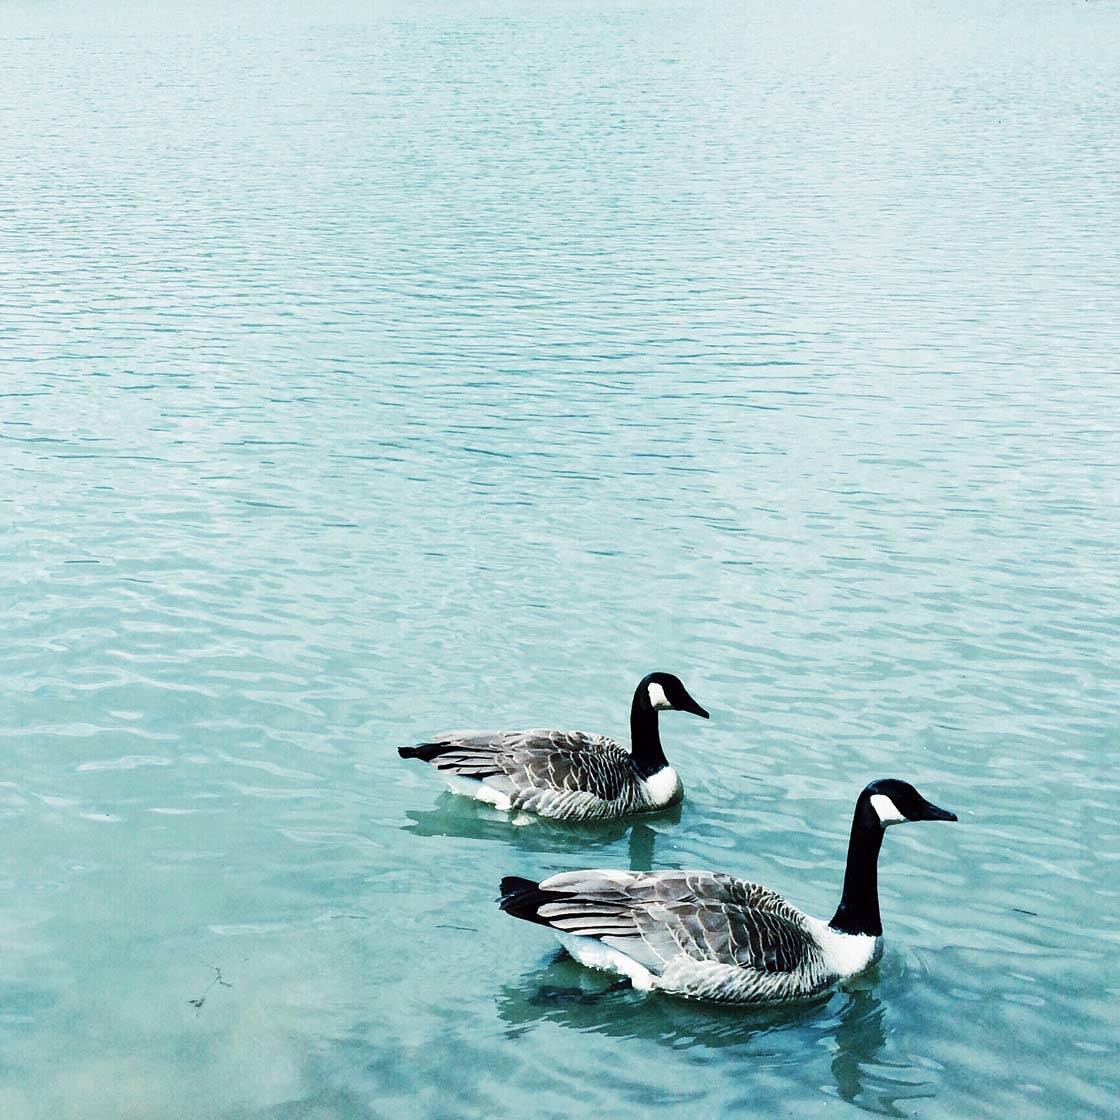
While the reflections and mist in this river scene are very photogenic, the image wouldn’t have as much impact if I hadn’t included the Canada goose swimming in the water.
Of course, there might not always be an animal or person at your location, so taking along a friend or family member to pose in your shots is a great idea.
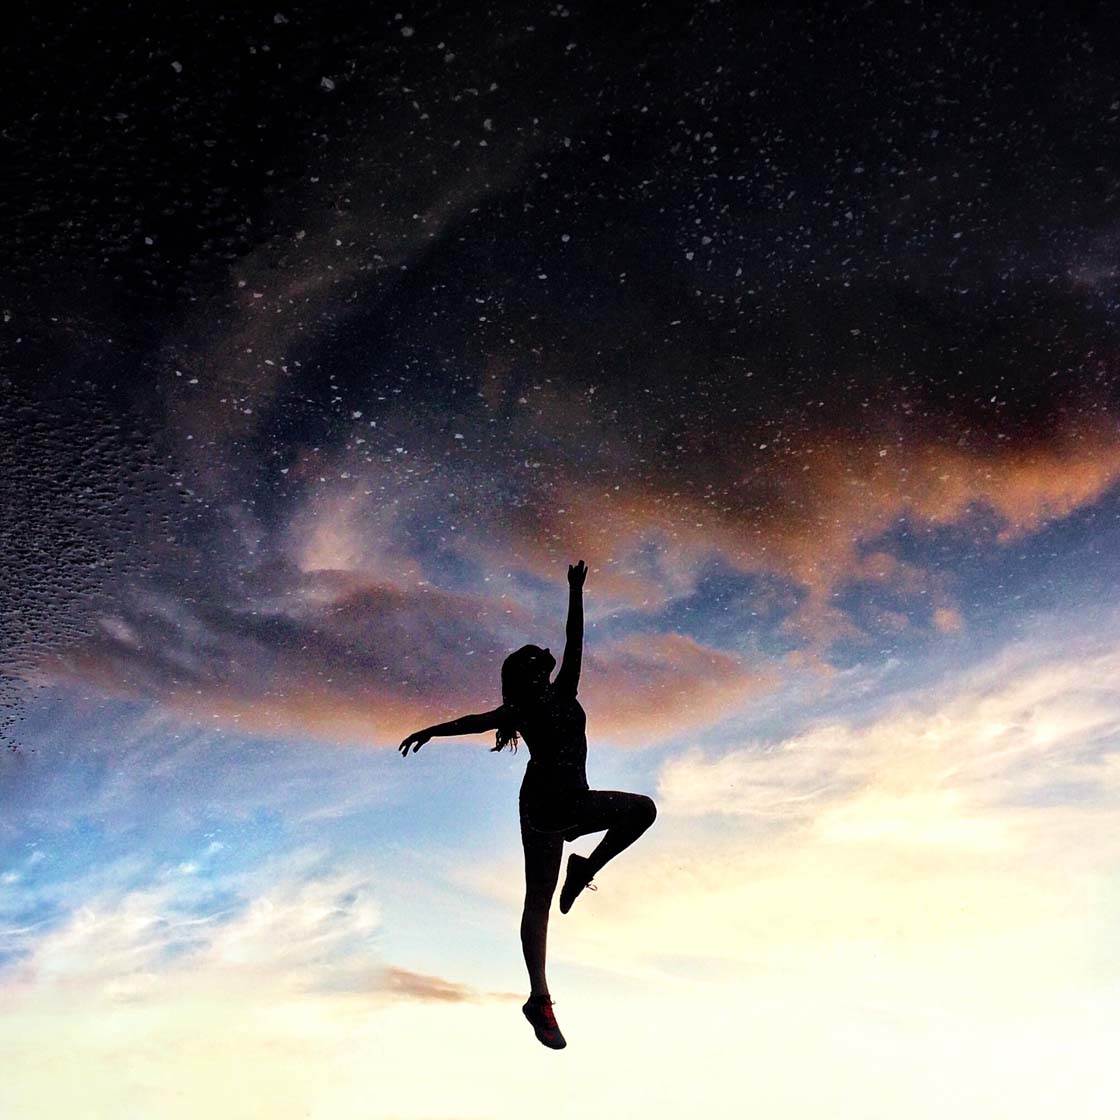
You can also use inanimate objects as your main subject. Many things can be used as a focal point, including a pier, bridge, boat, tree or rock.
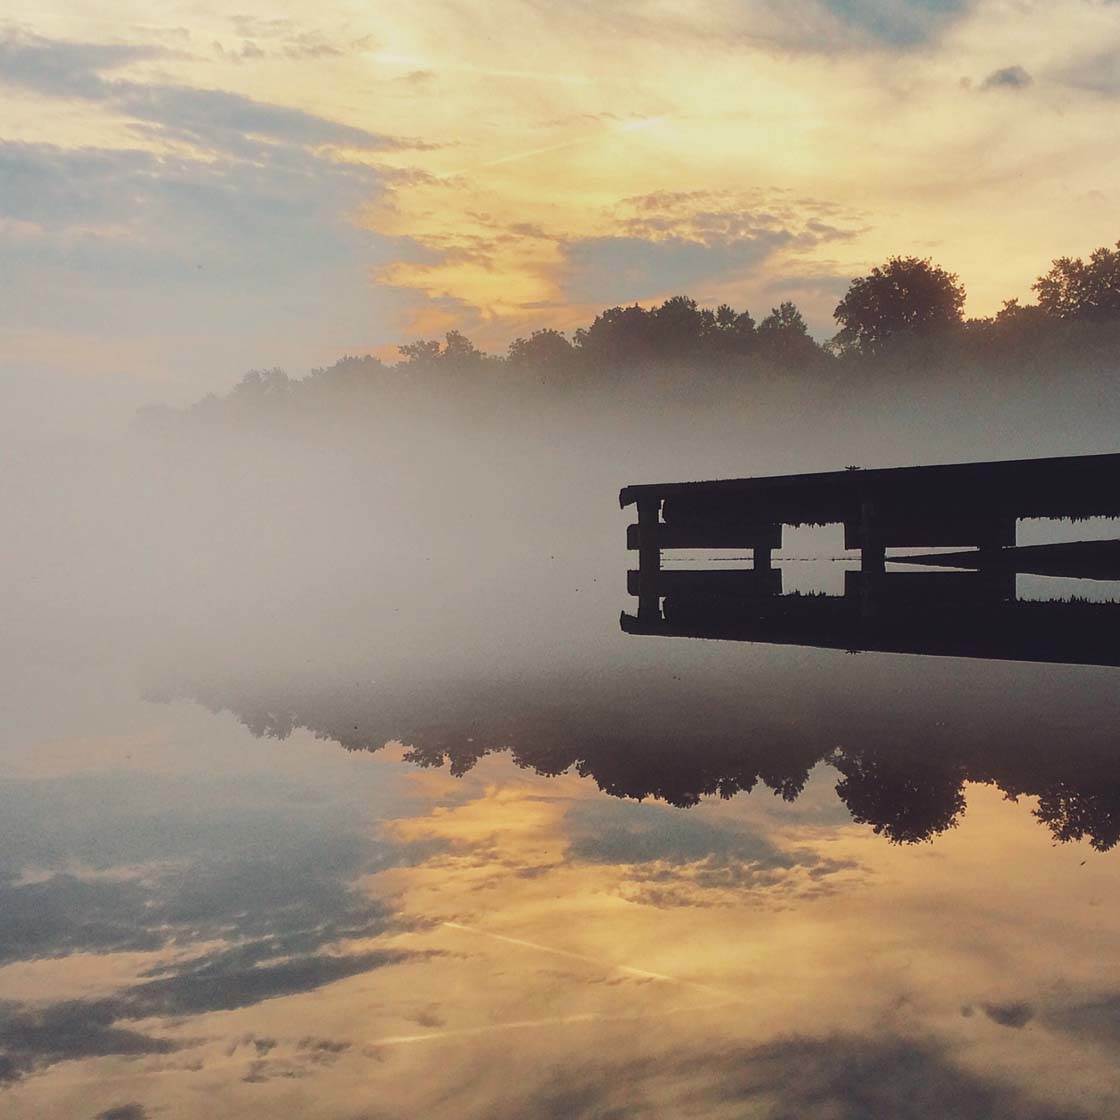
Always be observant of your surroundings. There’s bound to be something in the scene that you could use as a focal point. Once you’ve found a subject, experiment with different viewpoints and shooting angles until you achieve a pleasing composition.
Another option is to use props to create a whimsical photo and add a focal point to the water.
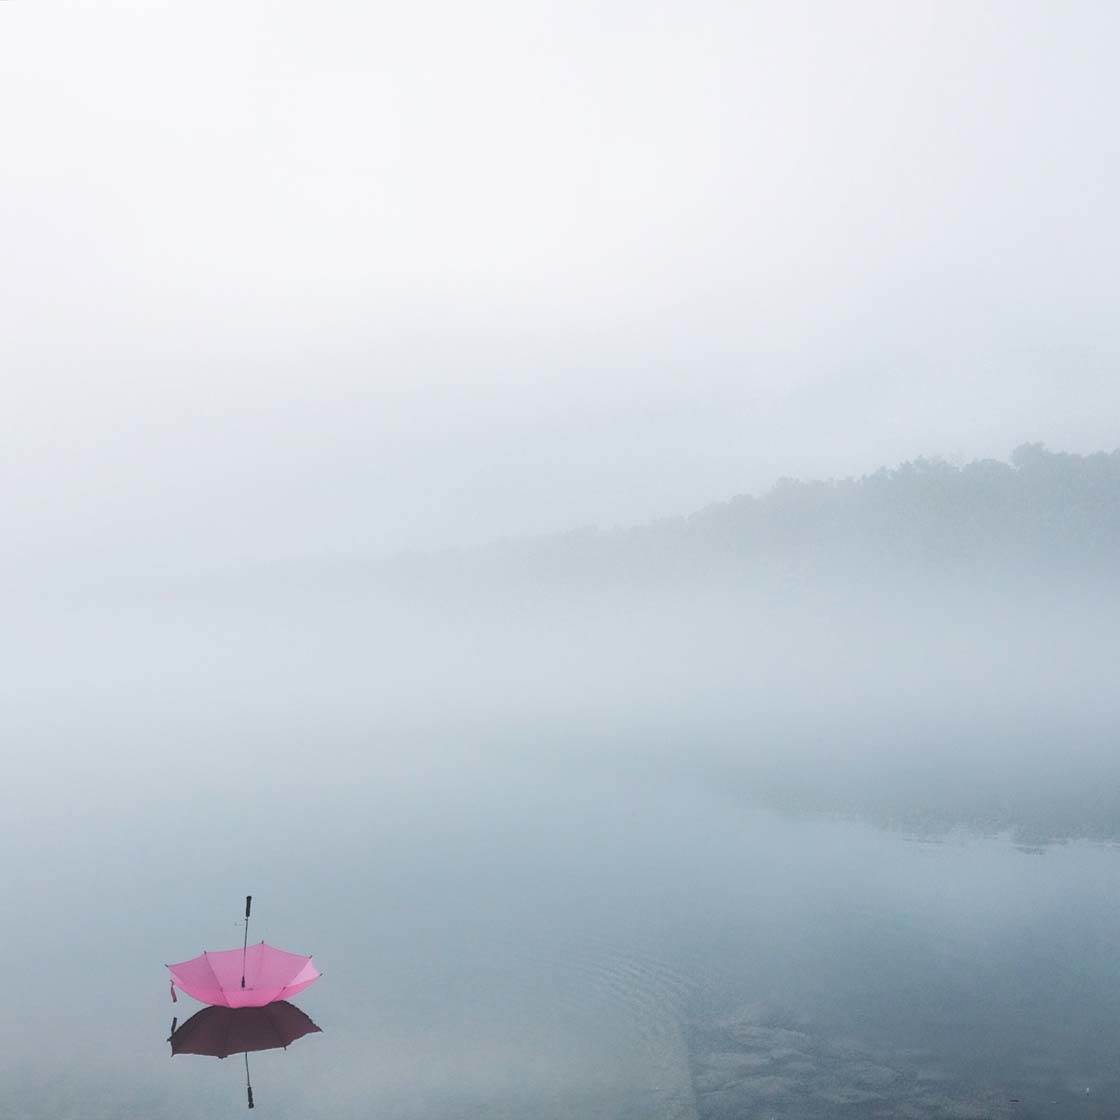
I often take an umbrella out with me and incorporate it into the scene to act as a focal point. They can add a fun or dramatic flair to the image, and a wonderful pop of color.
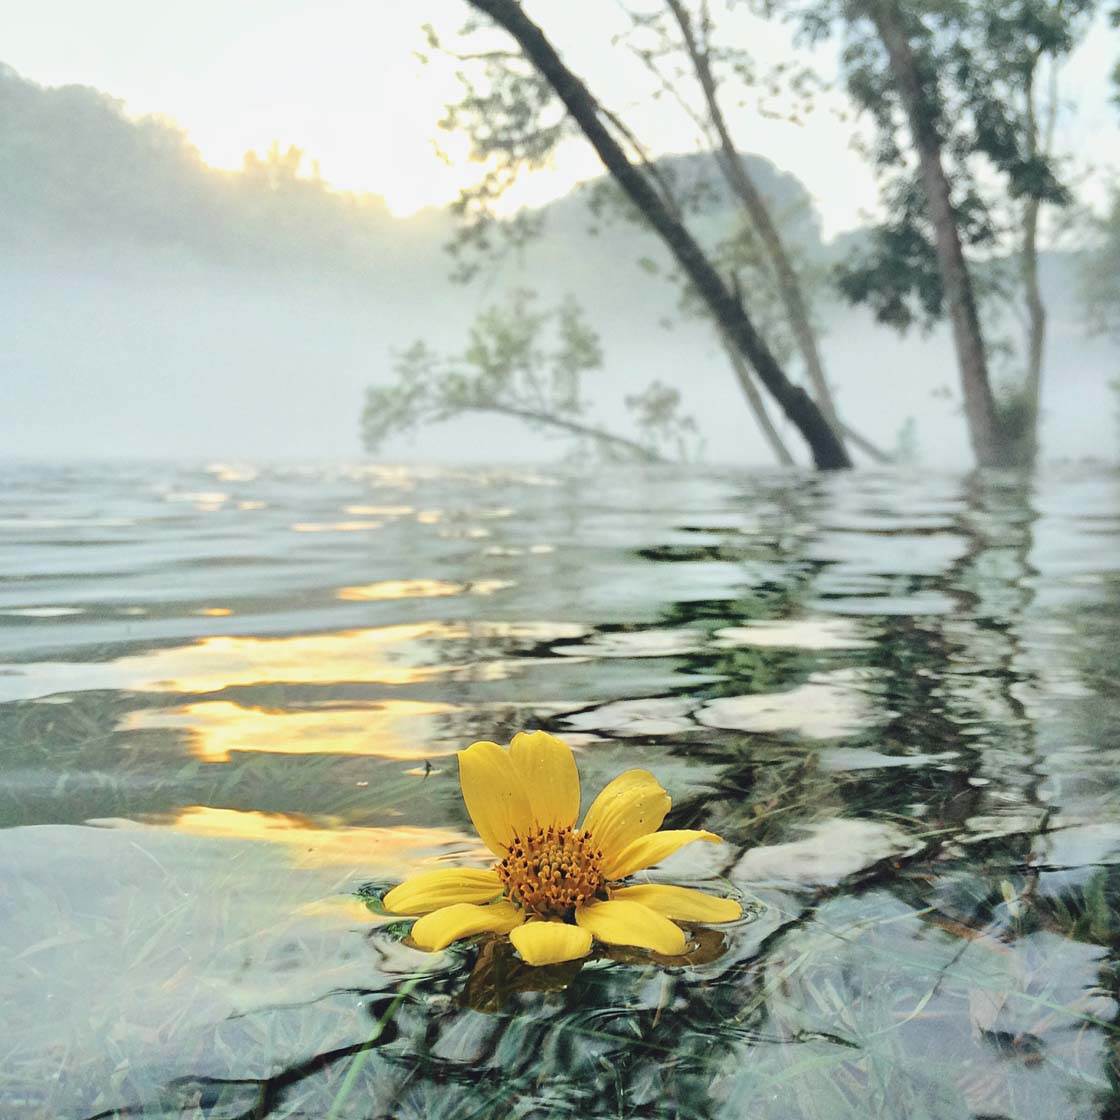
You don’t always have to take props with you. You’ll often find items out in nature that you can use. Flowers, leaves, feathers and twigs can all be placed in the water to add that finishing touch to the scene.
5. Make Splashes & Ripples
The great thing about water is that you can completely change its appearance by making ripples or splashes on the surface.
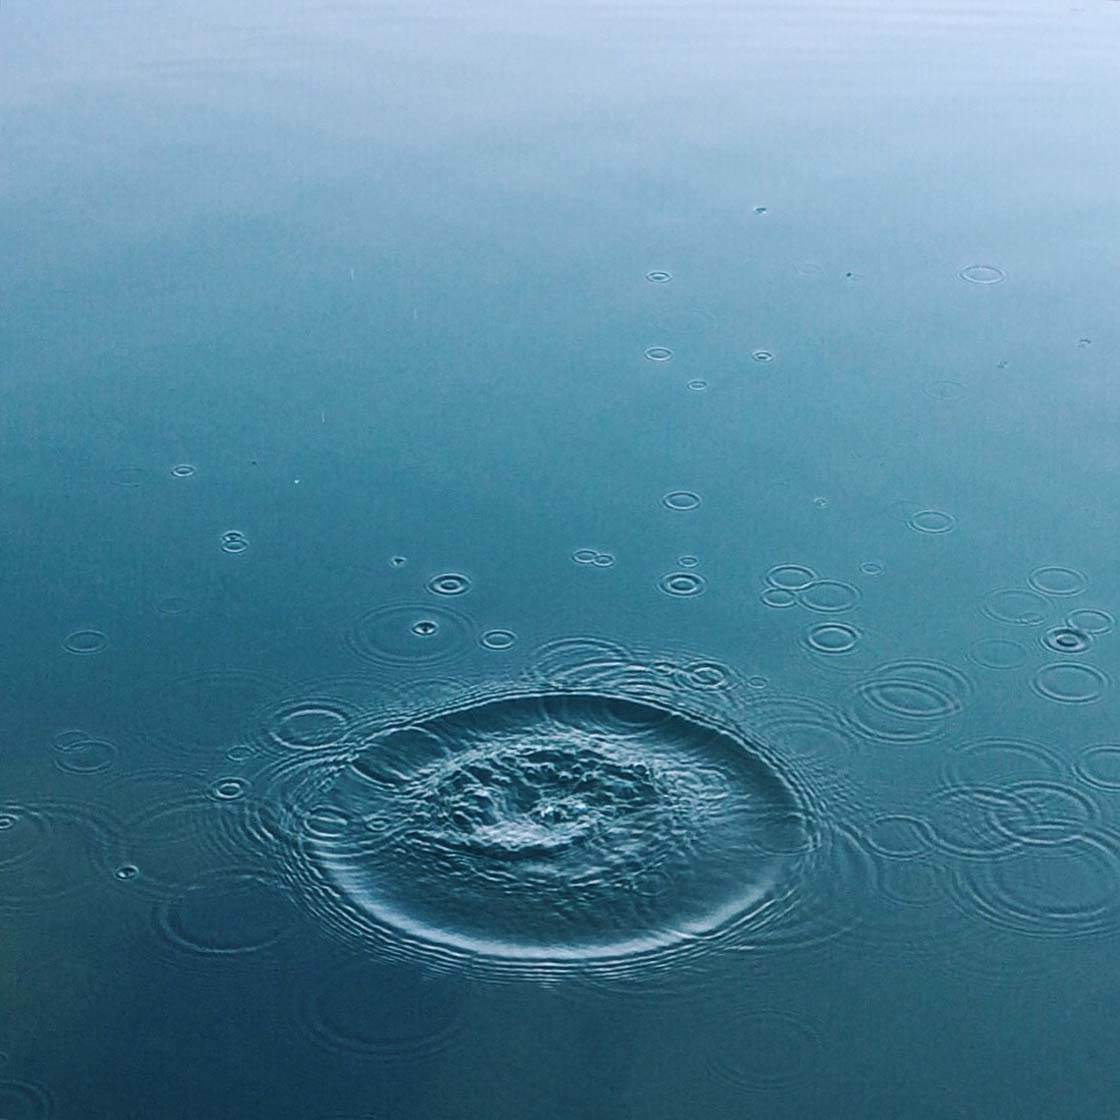
A flat expanse of water can be dramatically altered simply by throwing a small stone into the water. The circular ripples created will make a wonderful photo with a strong focal point.
If you press the shutter at just the right moment, you can also capture the splash as the stone enters the water. If you have kids, they’ll love to help you out with the stone-throwing!
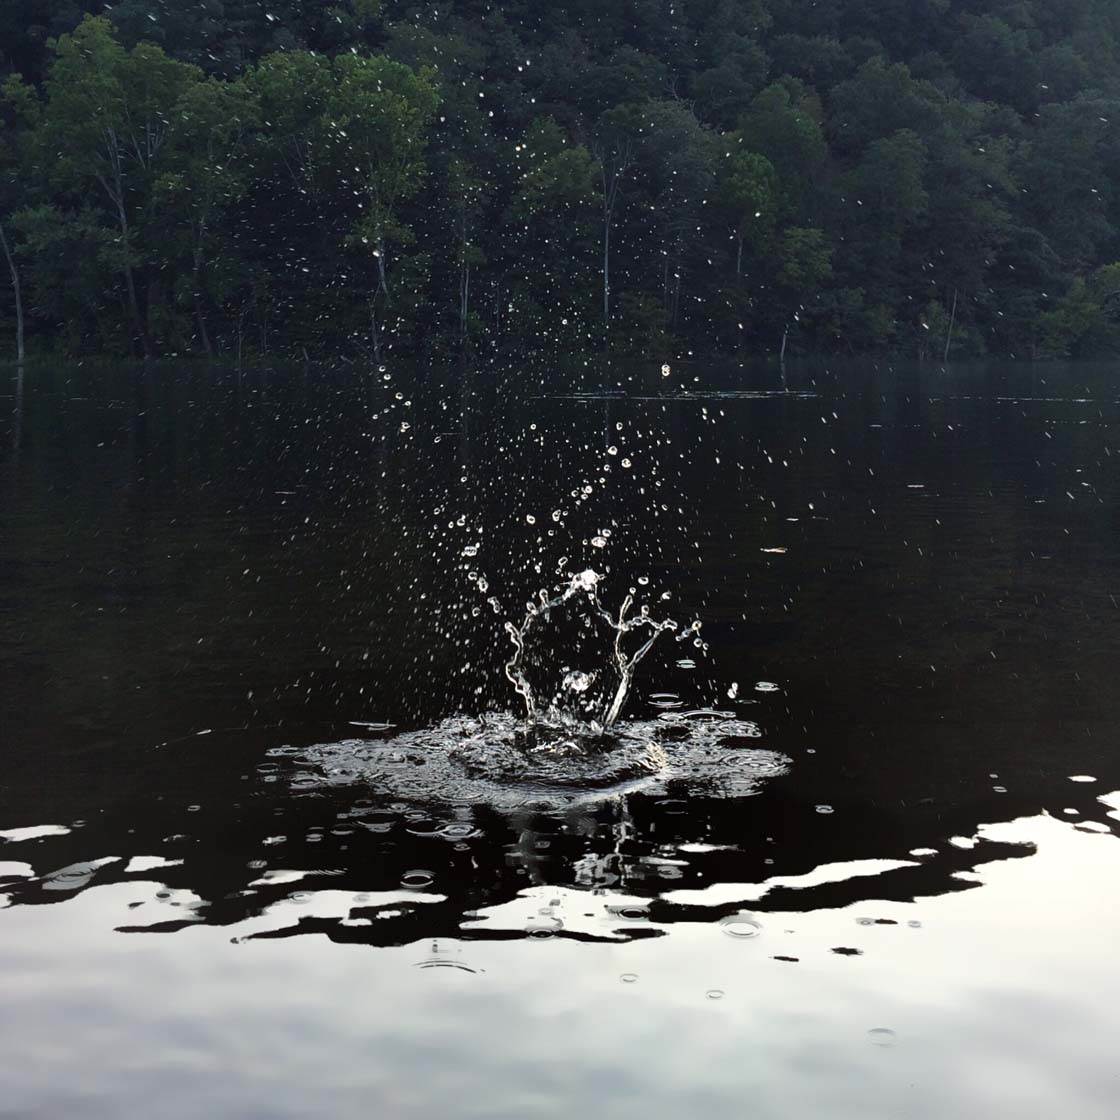
For best results, shoot using burst mode to capture multiple shots in quick succession. You can then choose the best one from the sequence.
To activate burst mode, simply keep the shutter button held down while you shoot. Start shooting just before the stone enters the water to be sure that you’ll capture the splash.
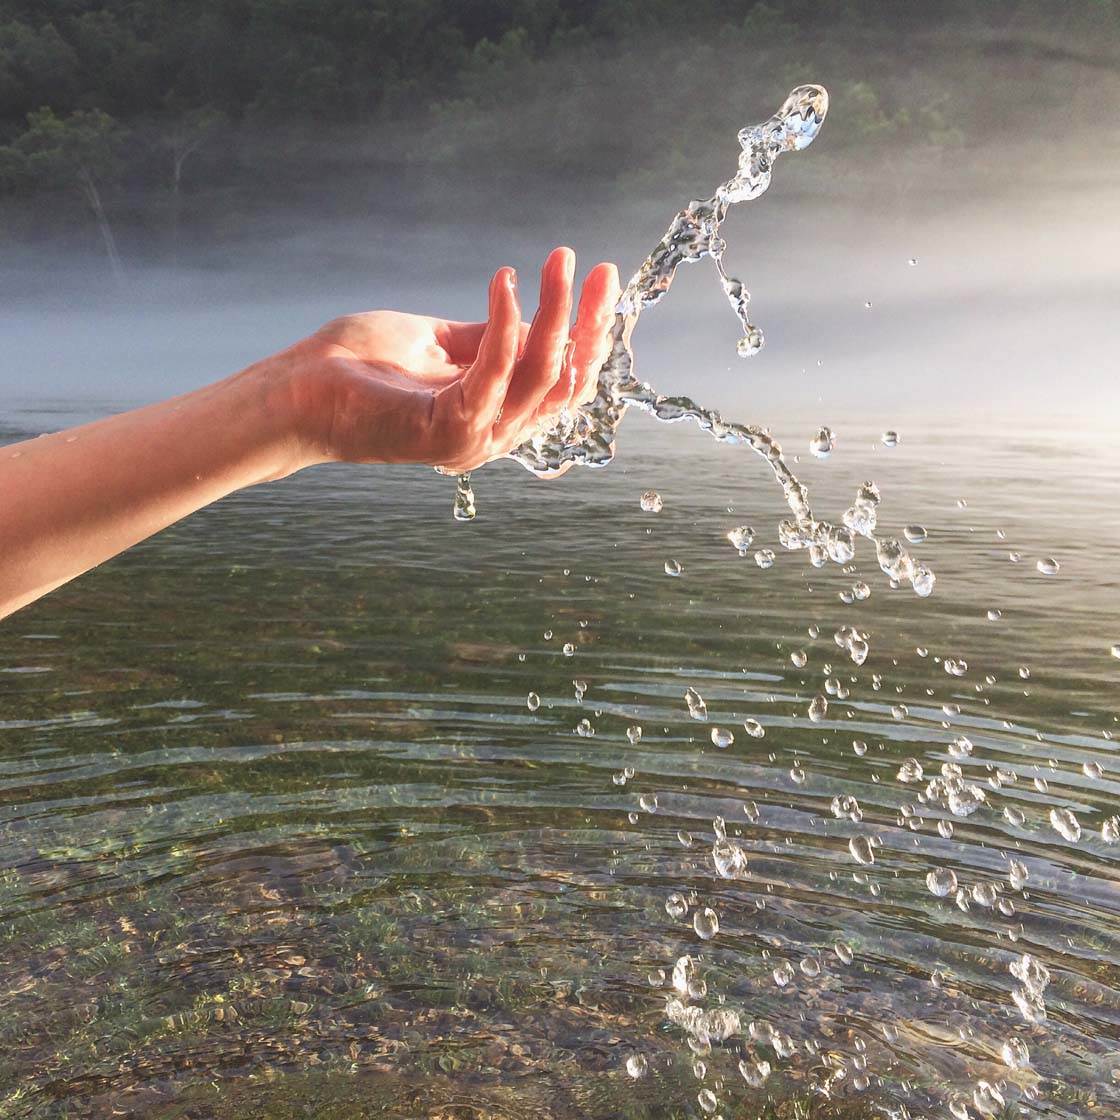
If you have another person with you, you could ask them to splash the water with their hand. My daughter helped me create the water splash photo above. Again, burst mode is useful for this kind of shot.
If your subject doesn’t mind getting wet, they could jump into the shallow water to create a big splash. Or simply ask them to stand in the water and make a small splash or ripple with one foot.
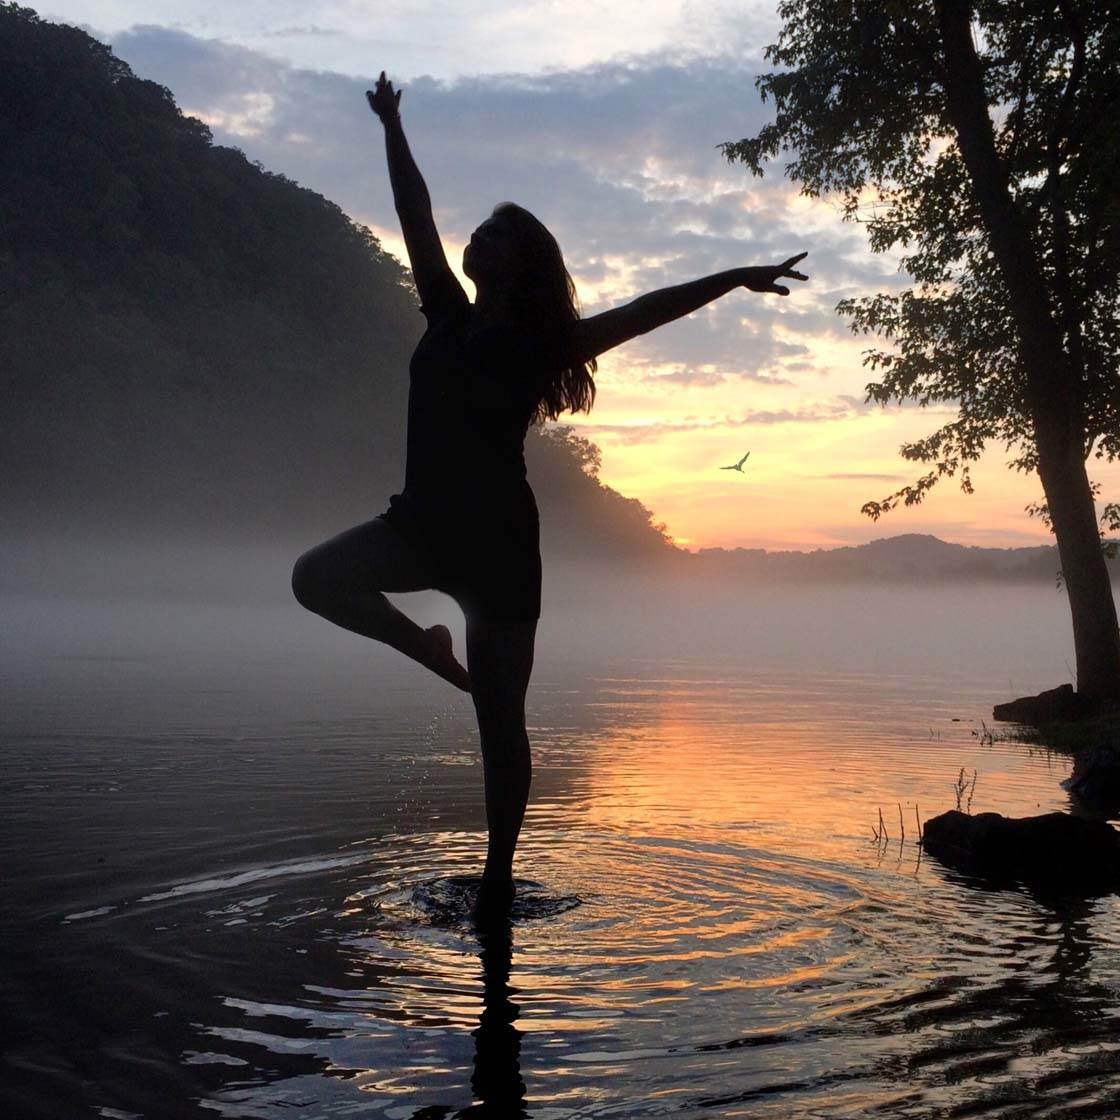
Ripples also allow you to create beautiful abstract photos of water. If you get close and fill the entire frame with the water, you can capture the patterns and lines on its surface.
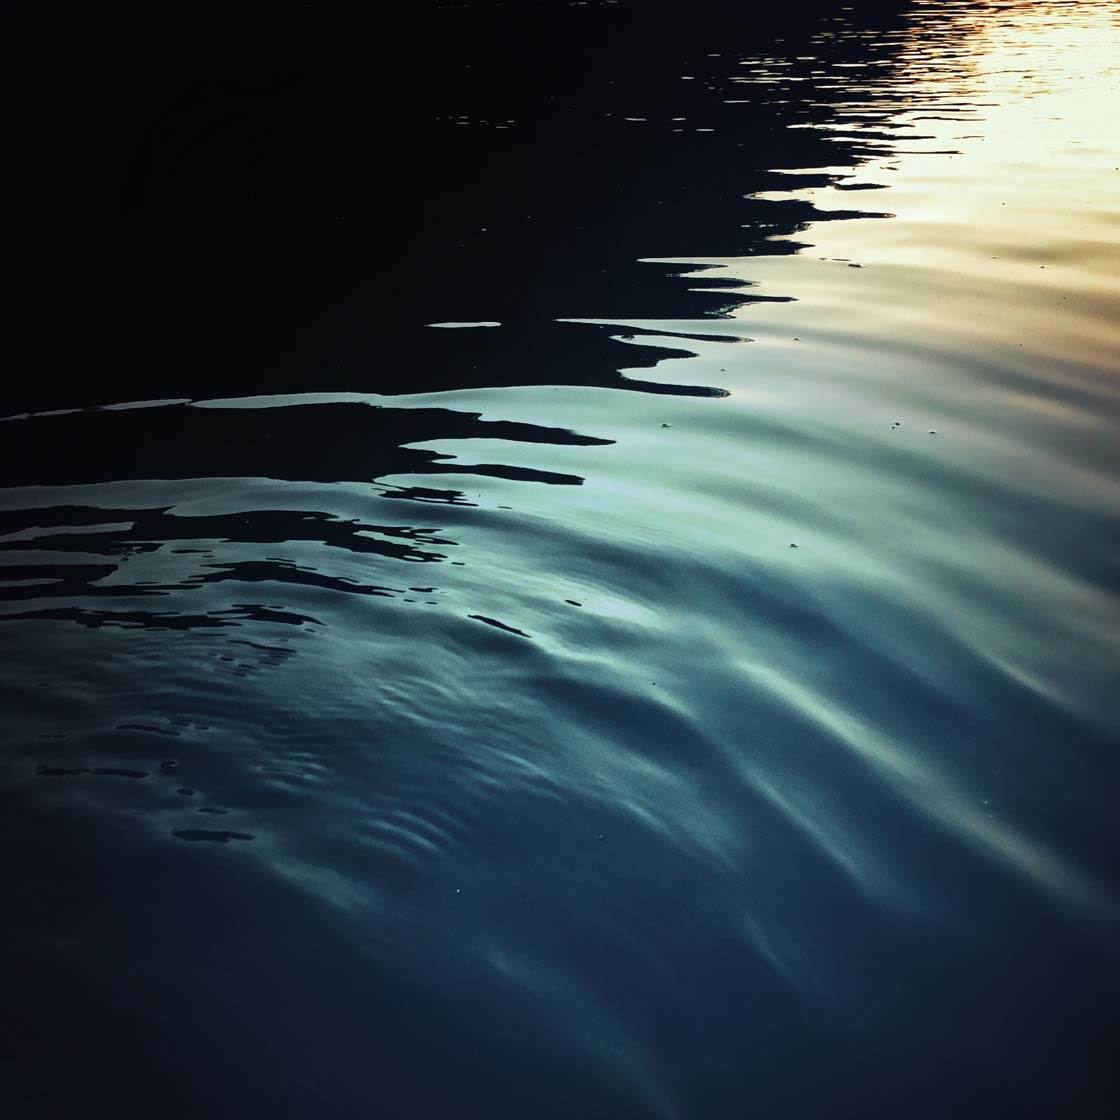
Coupled with colorful reflected light, this can result in some really stunning photos. Abstract photography is one of the few genres where you don’t necessarily need a focal point.
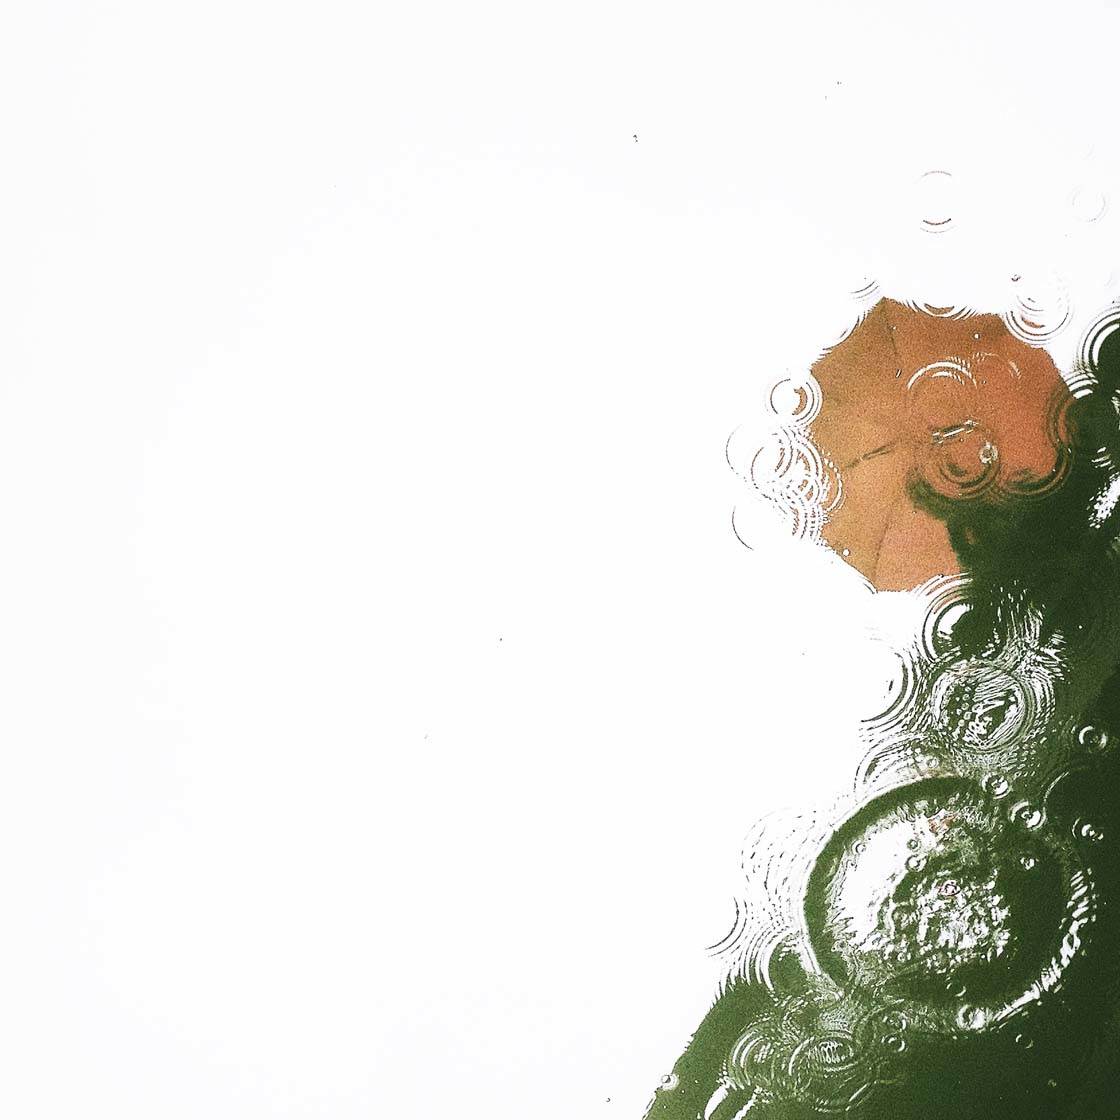
If it’s raining, you can even let the raindrops make the splashes and ripples for you. The photo below captures a reflection with raindrop splashes that created circular ripples in the water’s surface.
6. Fill The Frame With Water
As you’ve just seen, filling the frame with water can create wonderful abstract photos. However, this technique isn’t limited to abstracts.
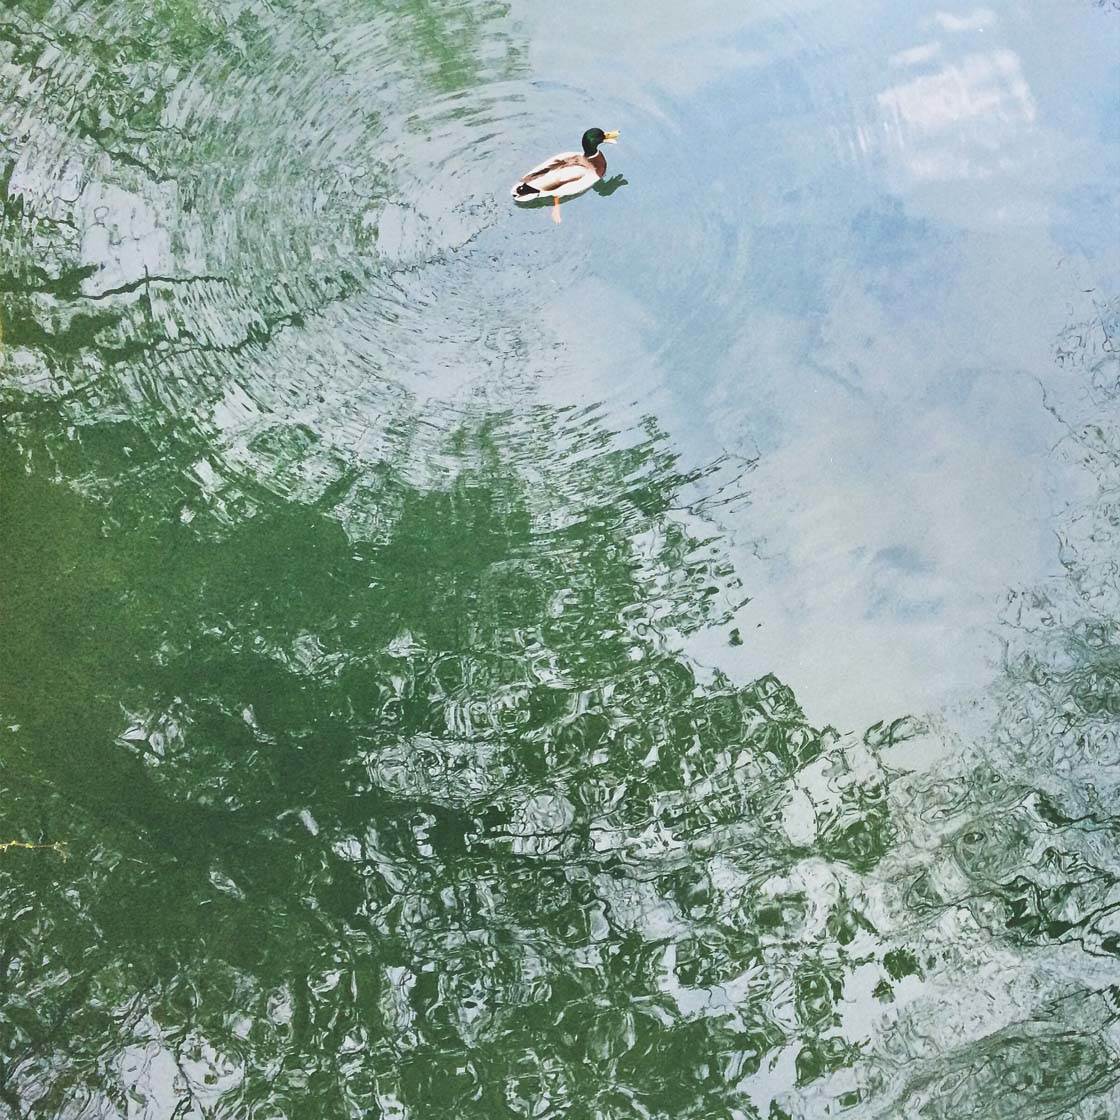
Composing your photo to include only the water is a great technique for scenes that have a distracting or ugly background.
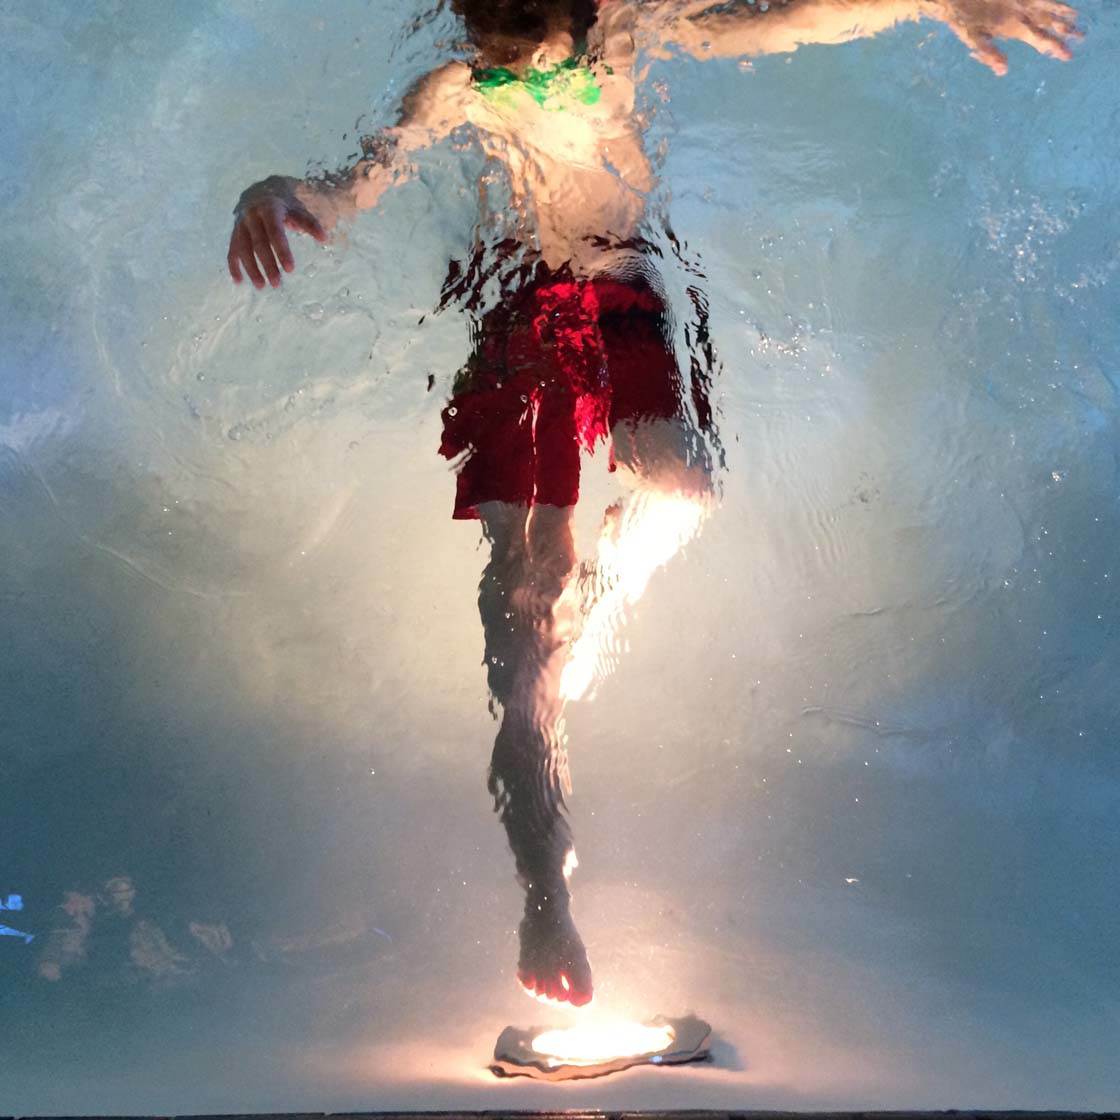
Shooting from a high vantage point allows you to easily fill the entire frame with the water and your subject, eliminating any distractions in the background.
By not including distracting background objects, all of the viewer’s attention will be placed on the water and your subject.
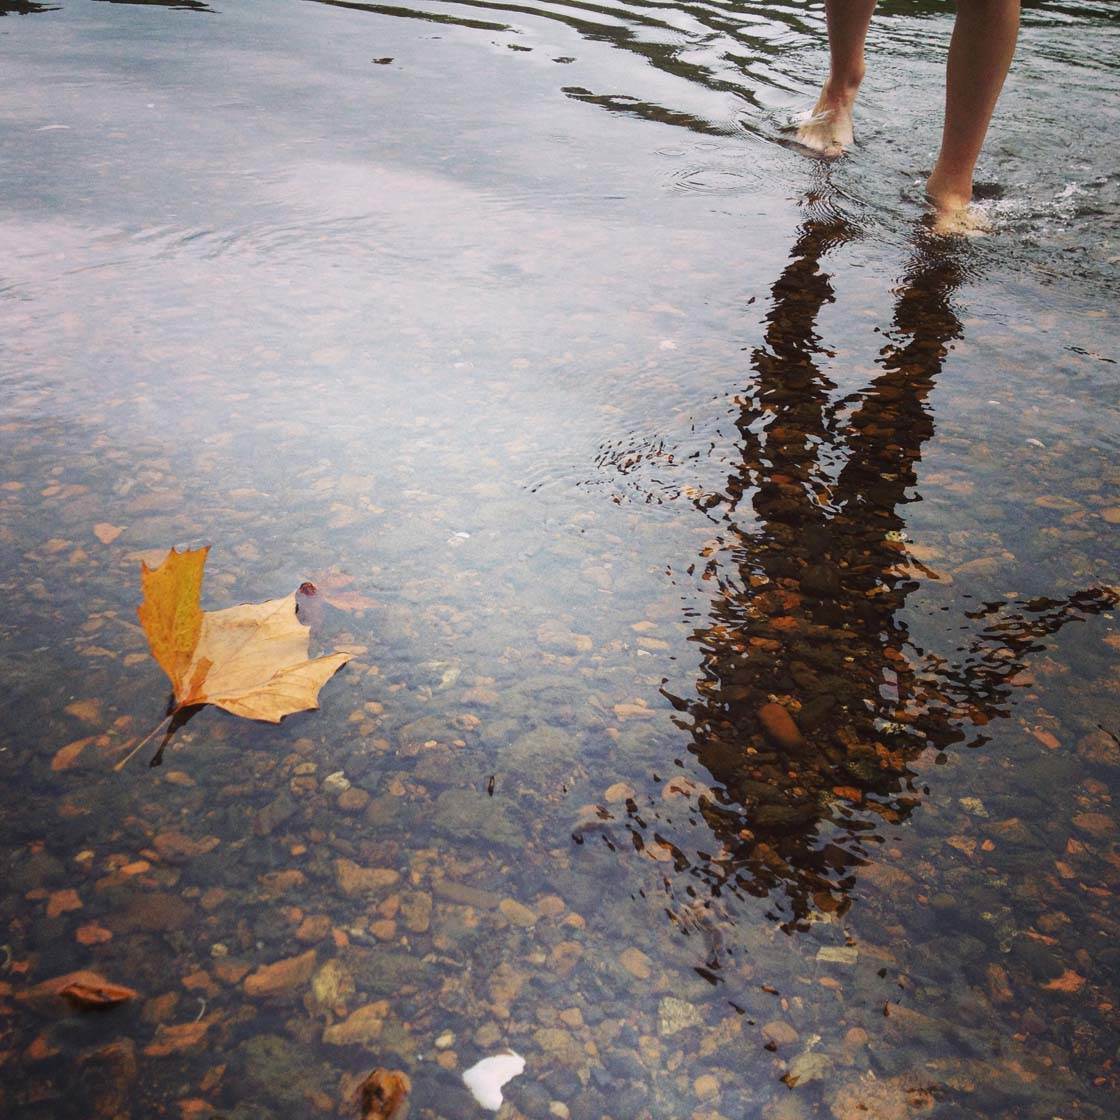
Making the water your background is great for capturing reflections of people. And if you’re photographing very shallow water in a river, the stones beneath the water will add color and detail to your shot.
As well as shooting from a high angle, you can also get close to the water to fill the frame. Be very careful when holding your iPhone close to water as you can damage your phone if it gets wet!
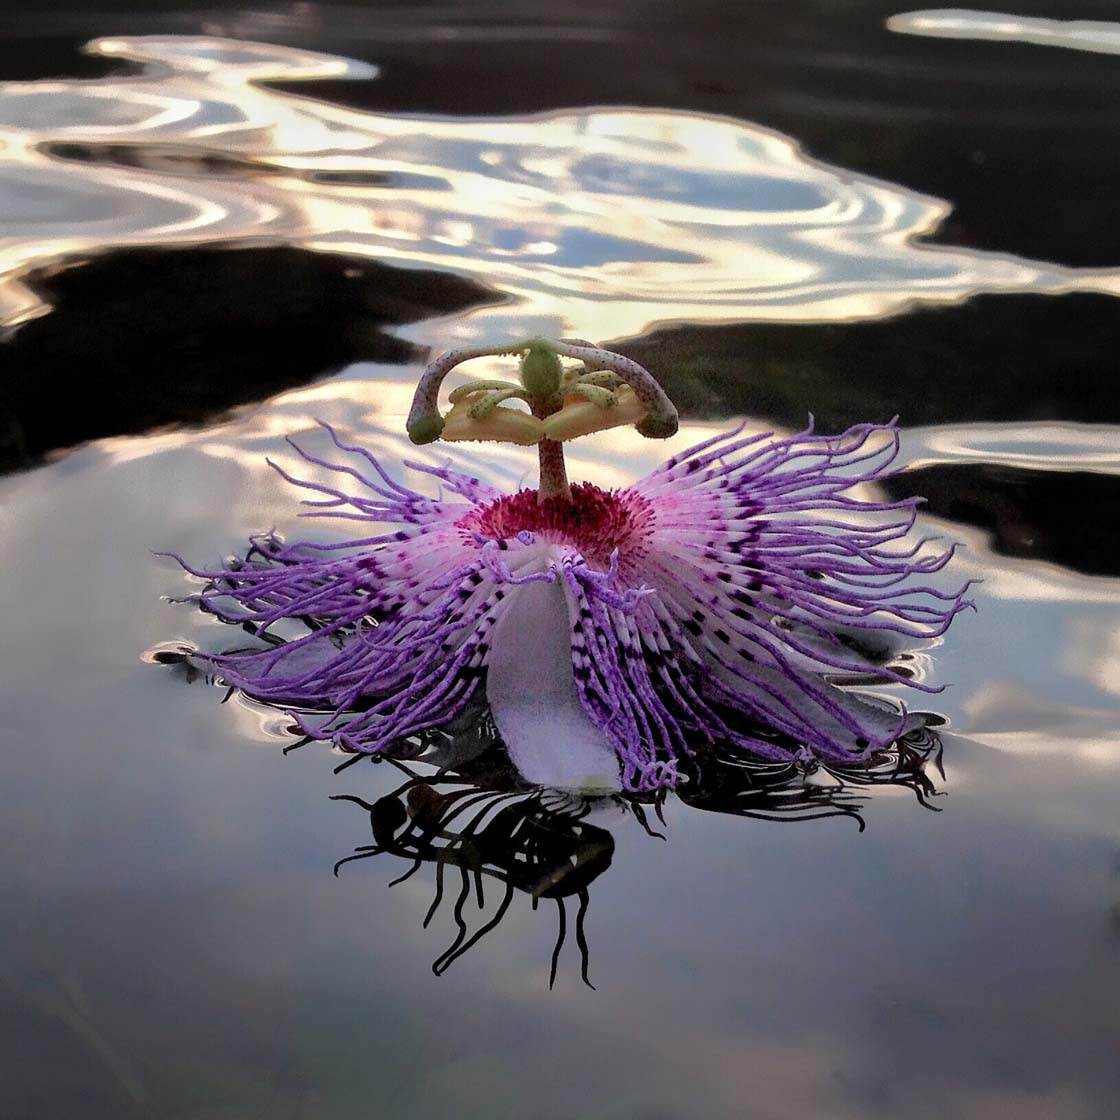
To be safe, it’s worth investing in a waterproof case such as the LifeProof case. That way, if you do accidentally drop your phone in the water, it won’t get wet.
7. Create Silky Water With Long Exposures
Have you ever seen those beautiful long exposure photos of silky looking waterfalls, and wondered how you could create them with your iPhone?
On a DSLR camera you’d create this kind of shot using a slow shutter speed. The iPhone works a bit differently, and you can’t use slow shutter speeds in this way.
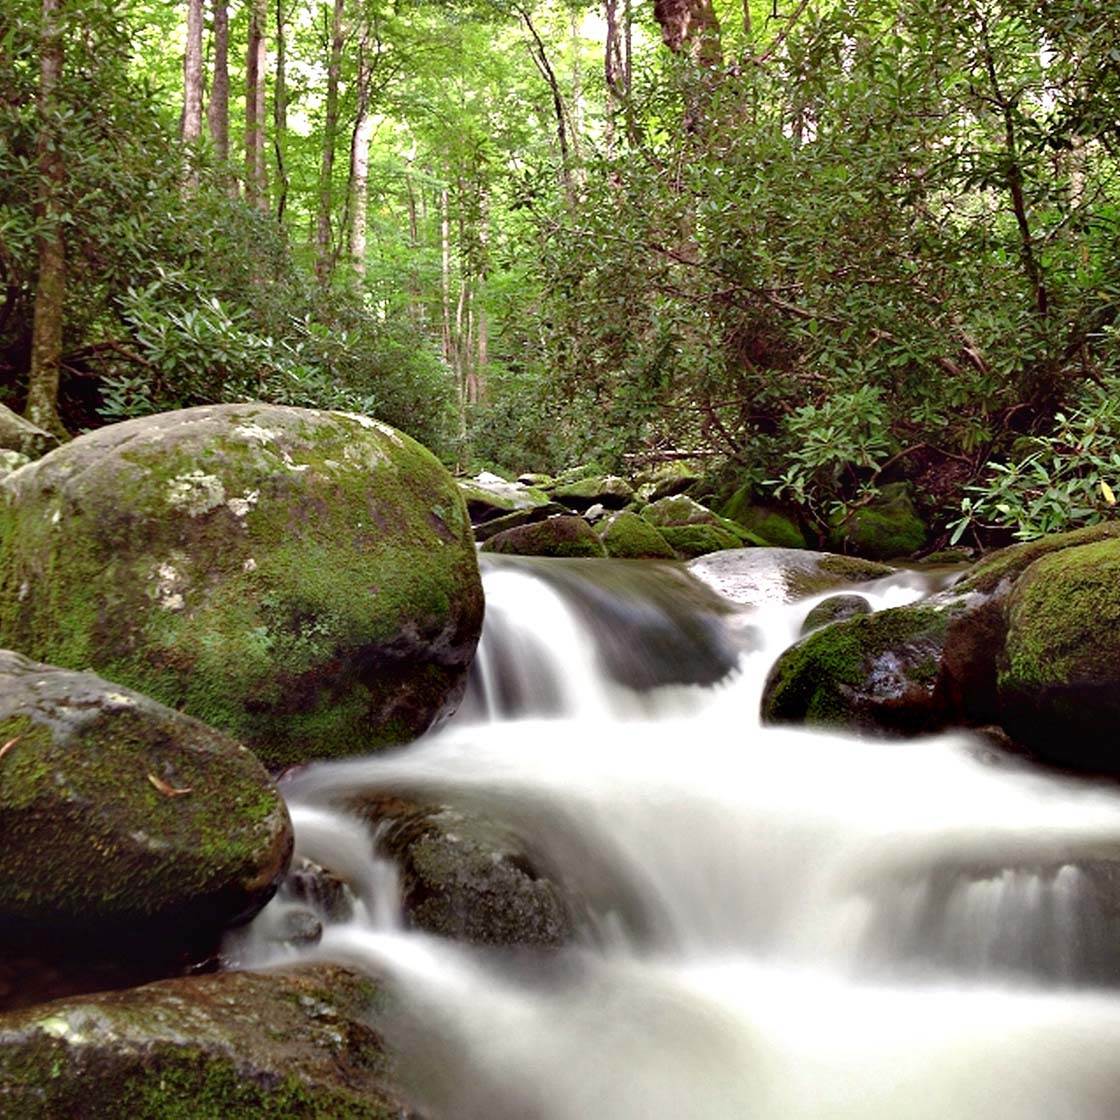
However, you can use an app such as Slow Shutter Cam to simulate the effect of a slow shutter speed. It works by capturing multiple exposures over a specified period of time, and then combining them together into a single photo.
Any movement in the scene, such as flowing water, will appear as motion blur. When water is captured in this way it appears like a veil of mist which can really capture the beauty of a waterfall, river or stream.
When shooting long exposures, the camera needs to remain perfectly still. If it moves, any stationary objects in the scene will appear blurred from camera shake. For best results, use a tripod to keep your iPhone steady.
8. Photograph Water Droplets
Water droplets make beautiful jewel-like subjects for your iPhone photos, and you can find them in many situations.
On a rainy day you can photograph water droplets on windows and other surfaces. And early in the morning you’ll often find dew drops on grass, leaves and spider’s webs.
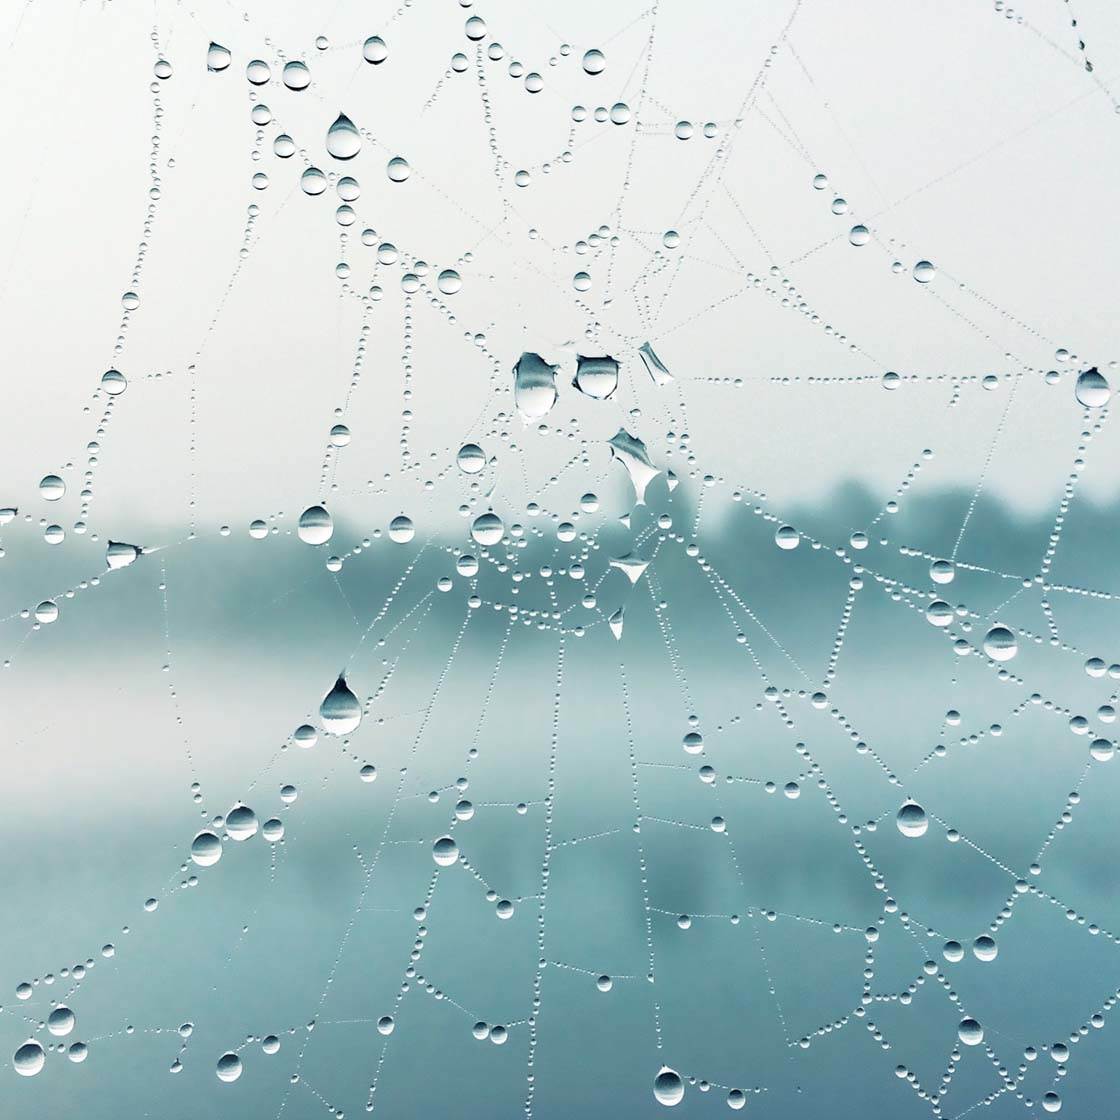
When photographing water droplets like this, experiment with shooting from different angles until you see tiny reflections appearing in the droplets. Get nice and close so you can capture plenty of detail.
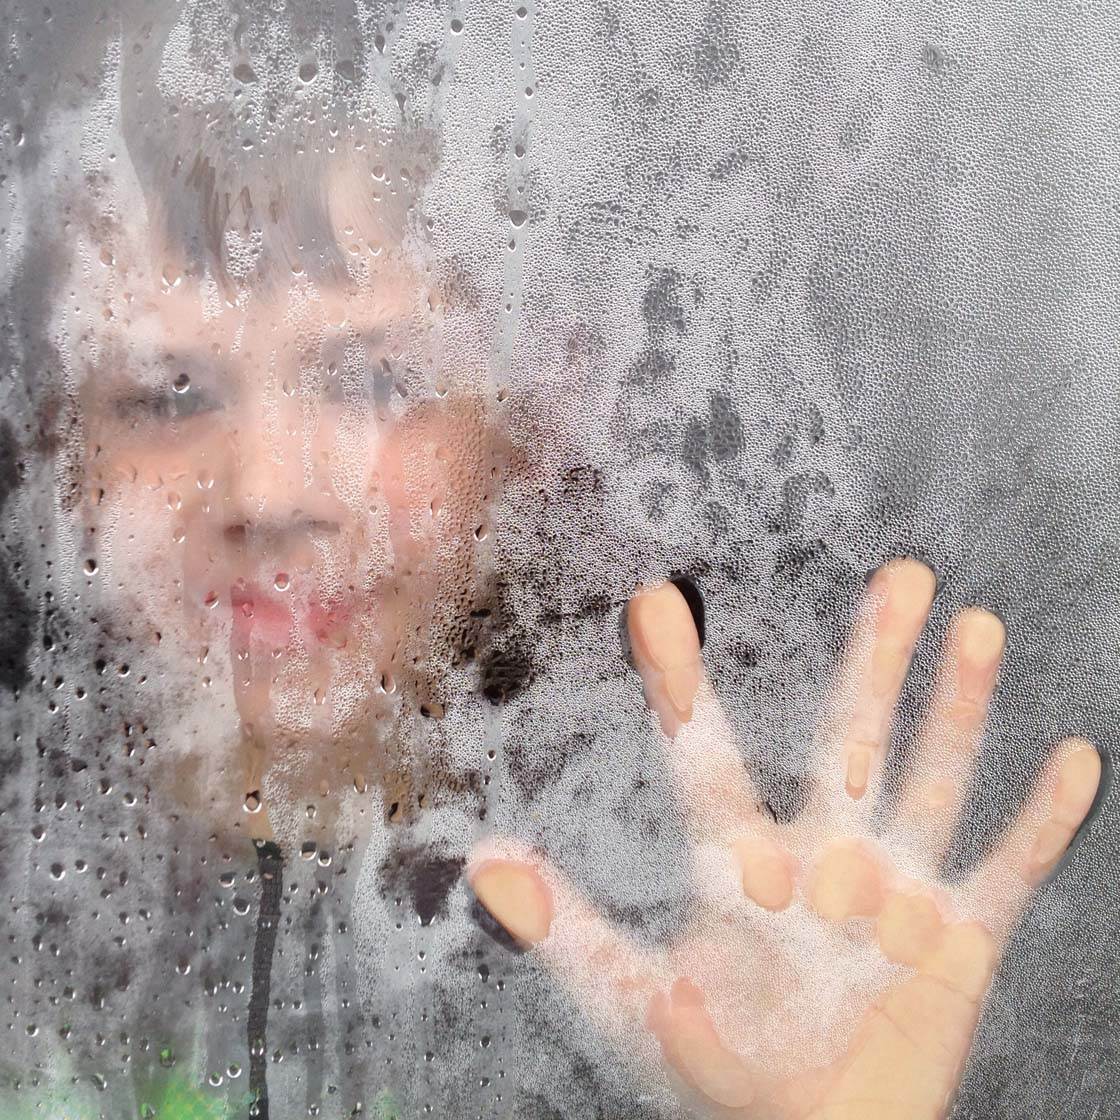
As well as raindrops on windows, I love to shoot through windows with condensation. This technique can create a fantastic abstract or painterly effect with great texture.
Having a person or a colorful scene on the other side of the window will really add to the shot.
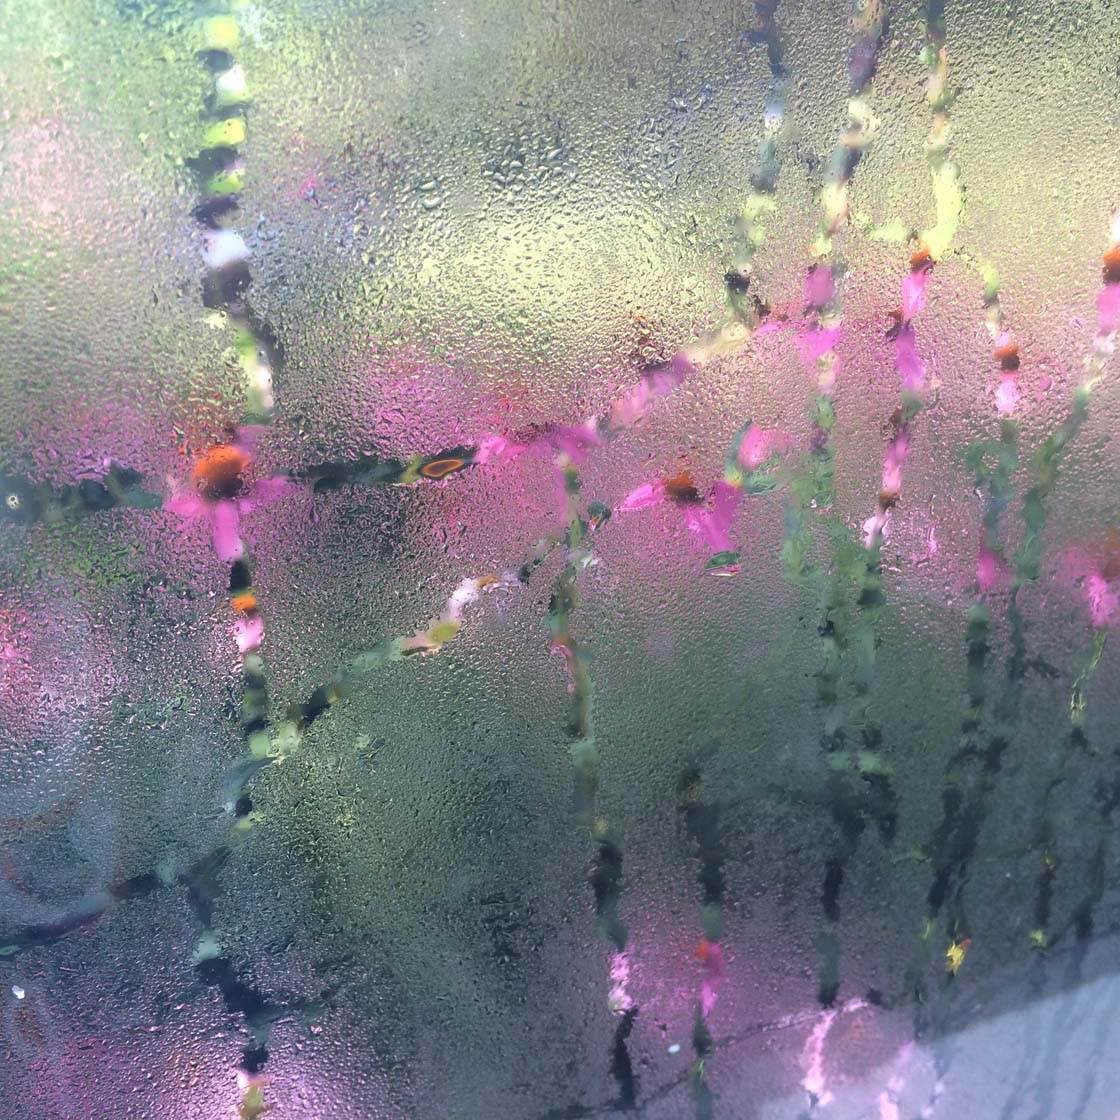
Of course, you can also create your own water droplets. You could use a sprinkler or hosepipe to spray water droplets onto a window or into the air. This looks great if you shoot in strong sun as the droplets will glisten in the light.
You could also try photographing individual water droplets from a dripping tap. Or you could make splashes in water with your hand.
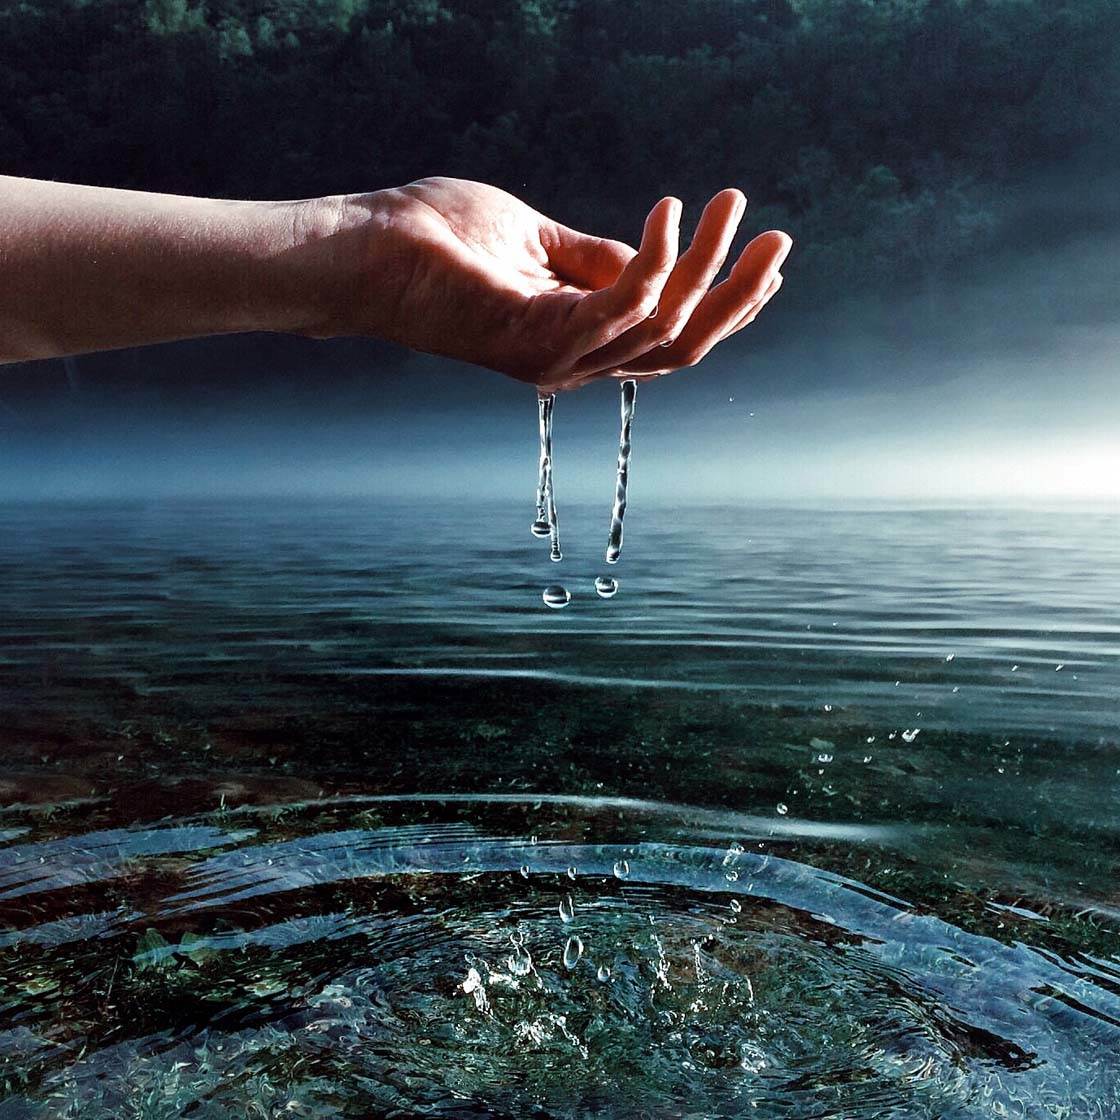
In this photo I’ve captured the water droplets dripping from my daughter’s hand, as well as the splashes on the water’s surface.
9. Shoot Different Properties Of Water
We usually think of water as a liquid, but when cooled down it turns to ice and when heated up it turns to steam. Capturing water in these different states allows you to create unique and interesting photos.

In the winter I love to look for ice to include in my photos. These icicles hanging from my outdoor table made an amazing otherworldly image, especially when flipped upside down in post-processing.
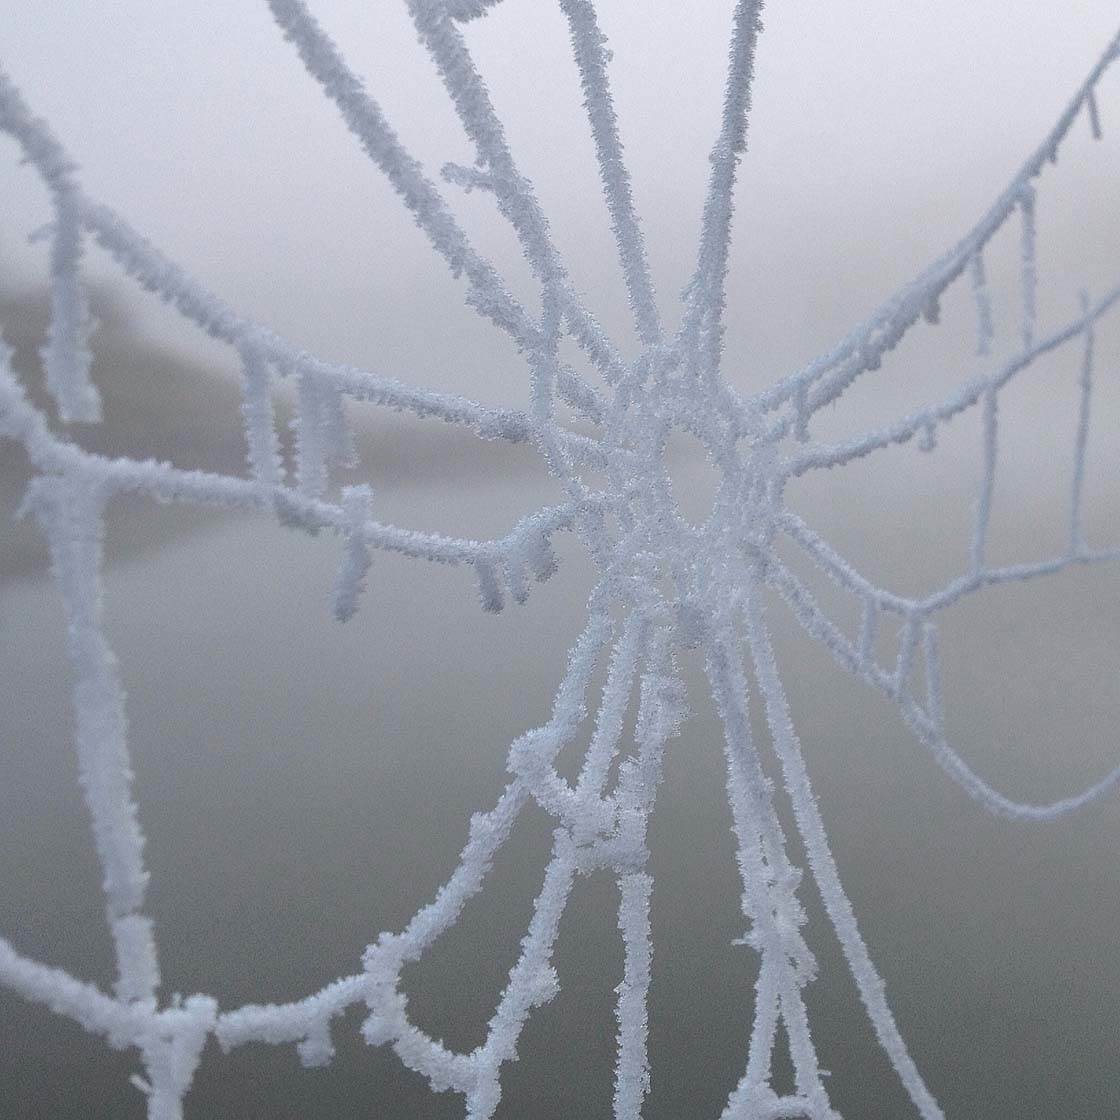
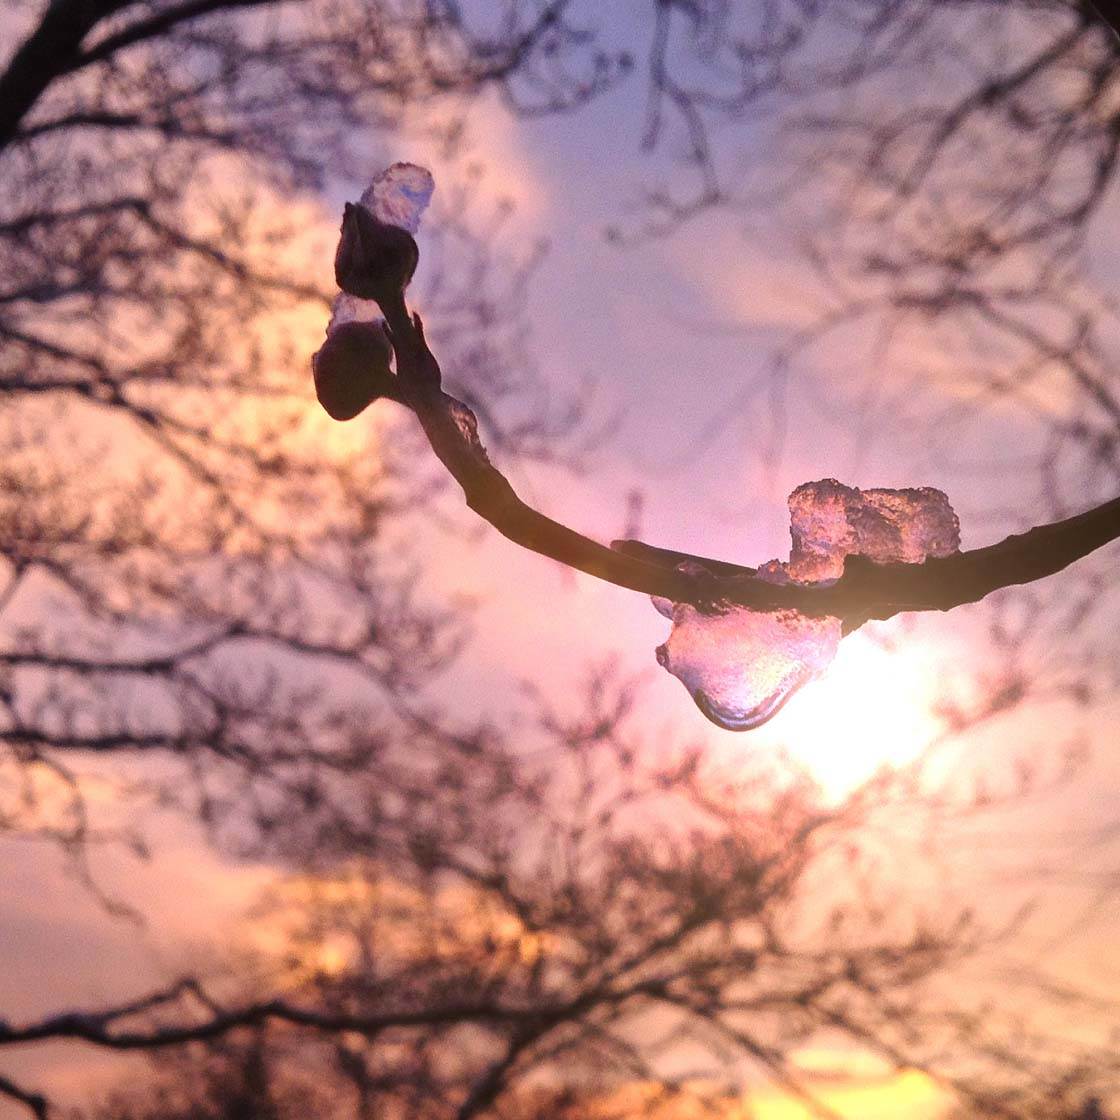
In really cold weather, keep your eyes peeled for icy spider’s webs and twigs. The best time to find them is early in the morning before the sun melts them.

Get up close to capture the intricate detail of the ice formations. If you shoot as the sun is rising or setting, you can capture stunning colors through the icicles.
Icy puddles offer another great photo opportunity. Shoot them just like you would an ordinary puddle reflection, capturing the reflection of a person or other interesting subject.
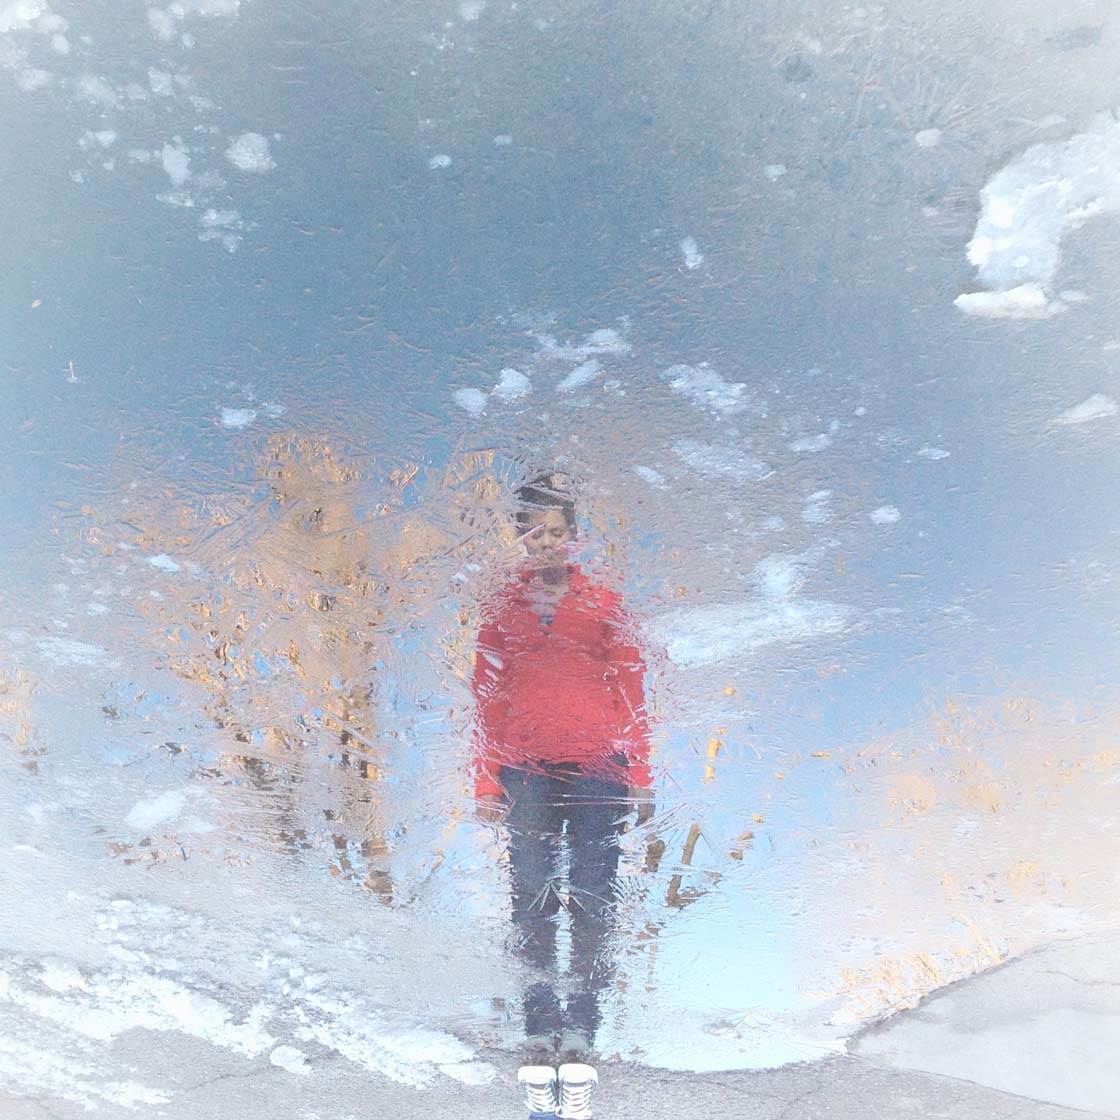
The icy surface will add a wonderful abstract texture to your image, as shown in the photo above.
Early mornings provide you with a great opportunity to capture water turning into mist above the water.
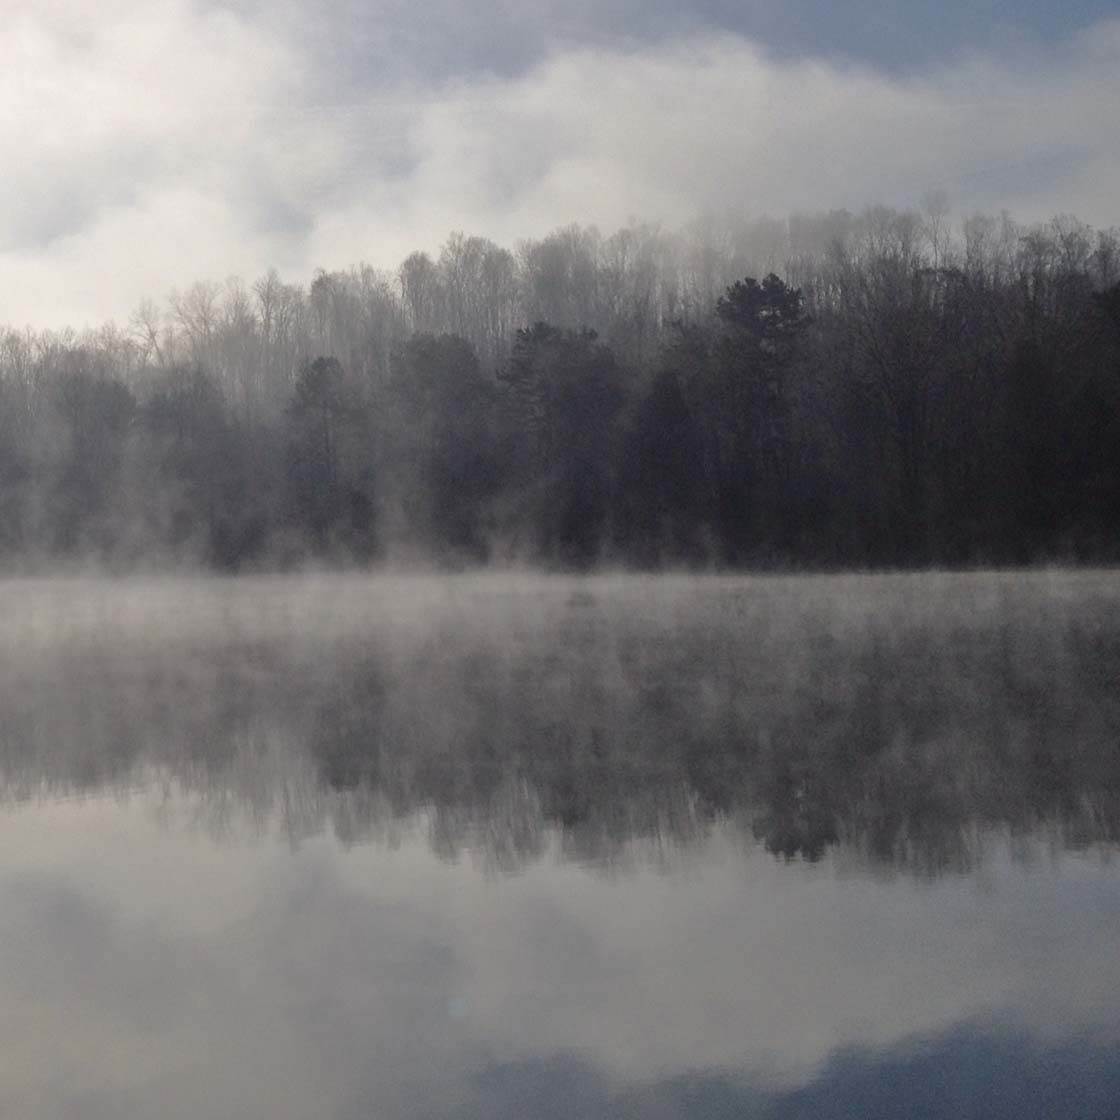
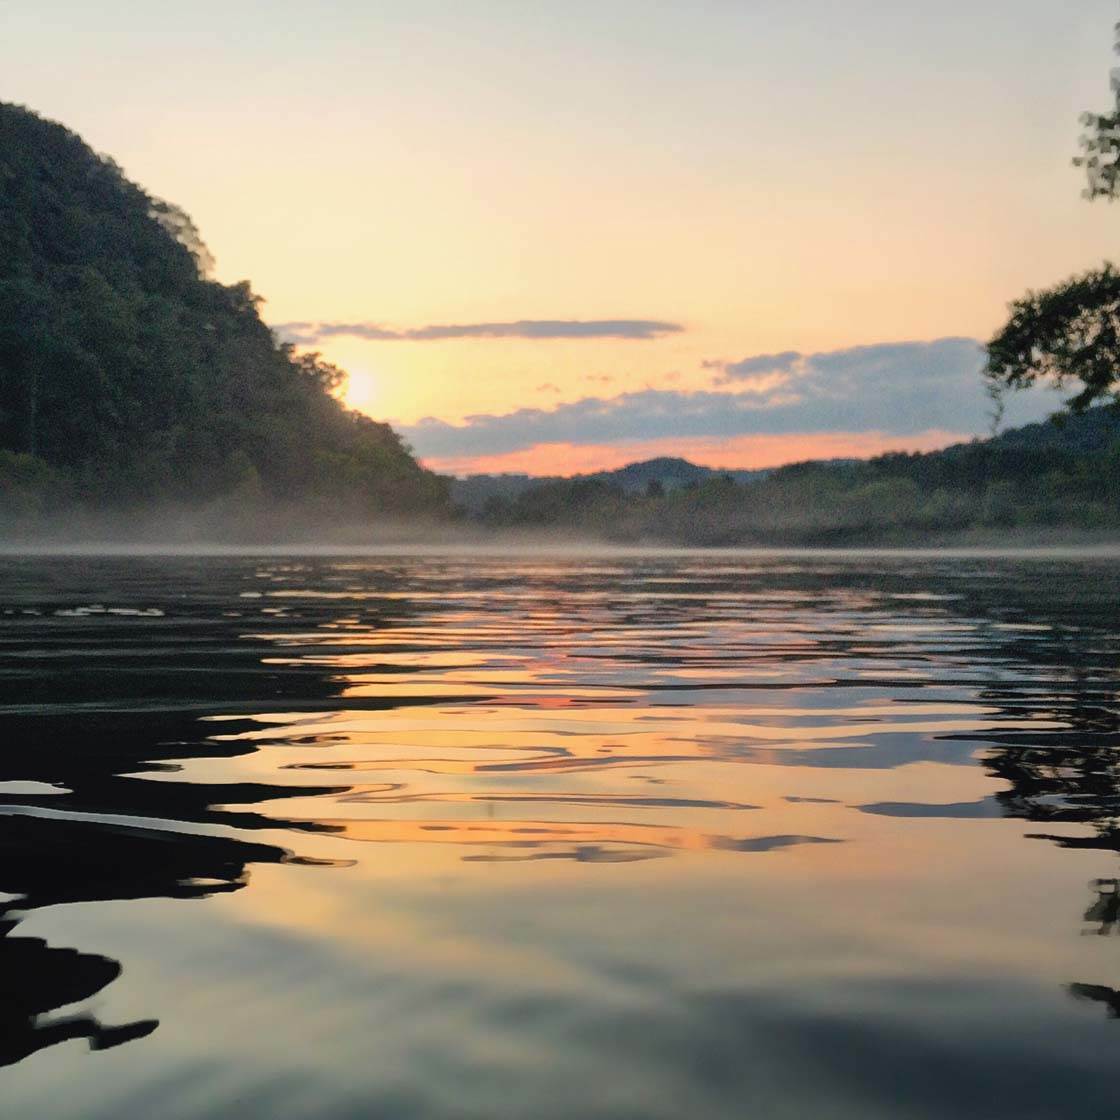
Mist adds a magical and mystical quality to your images. It looks stunning when combined with symmetrical reflections in water.
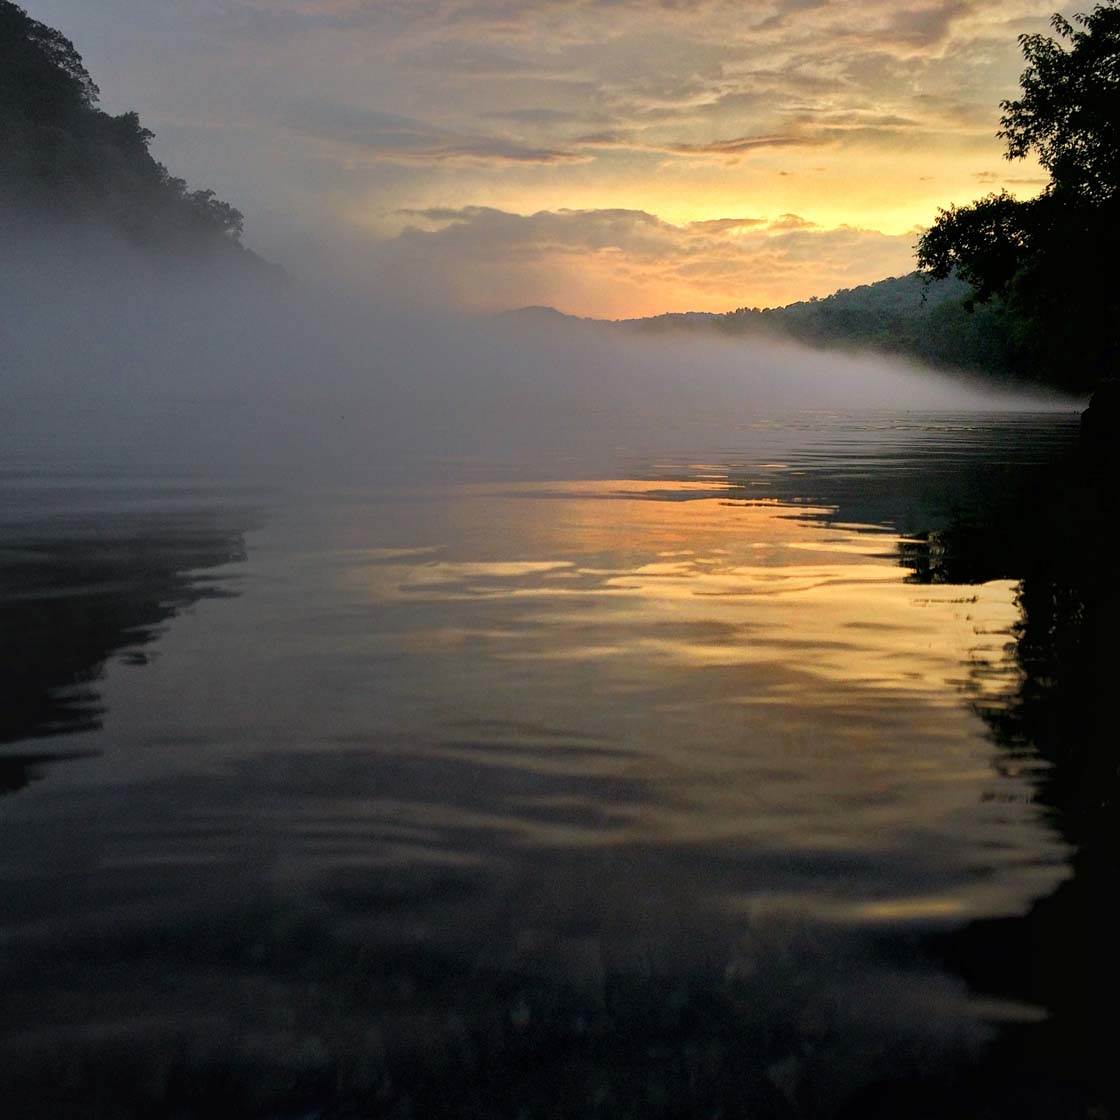
In this photo, I captured the mist coming off the water, along with the beautiful sunset and reflected colors. The dark surrounding trees almost appear to form the head and mouth of a fire-breathing dragon!
10. Enhance Your Images In Post-Processing
When you take photos of water, sometimes it can appear too gray, dull or colorless. A slight edit can help you to bring out the color tones in the photo to create a more beautiful and dramatic image.
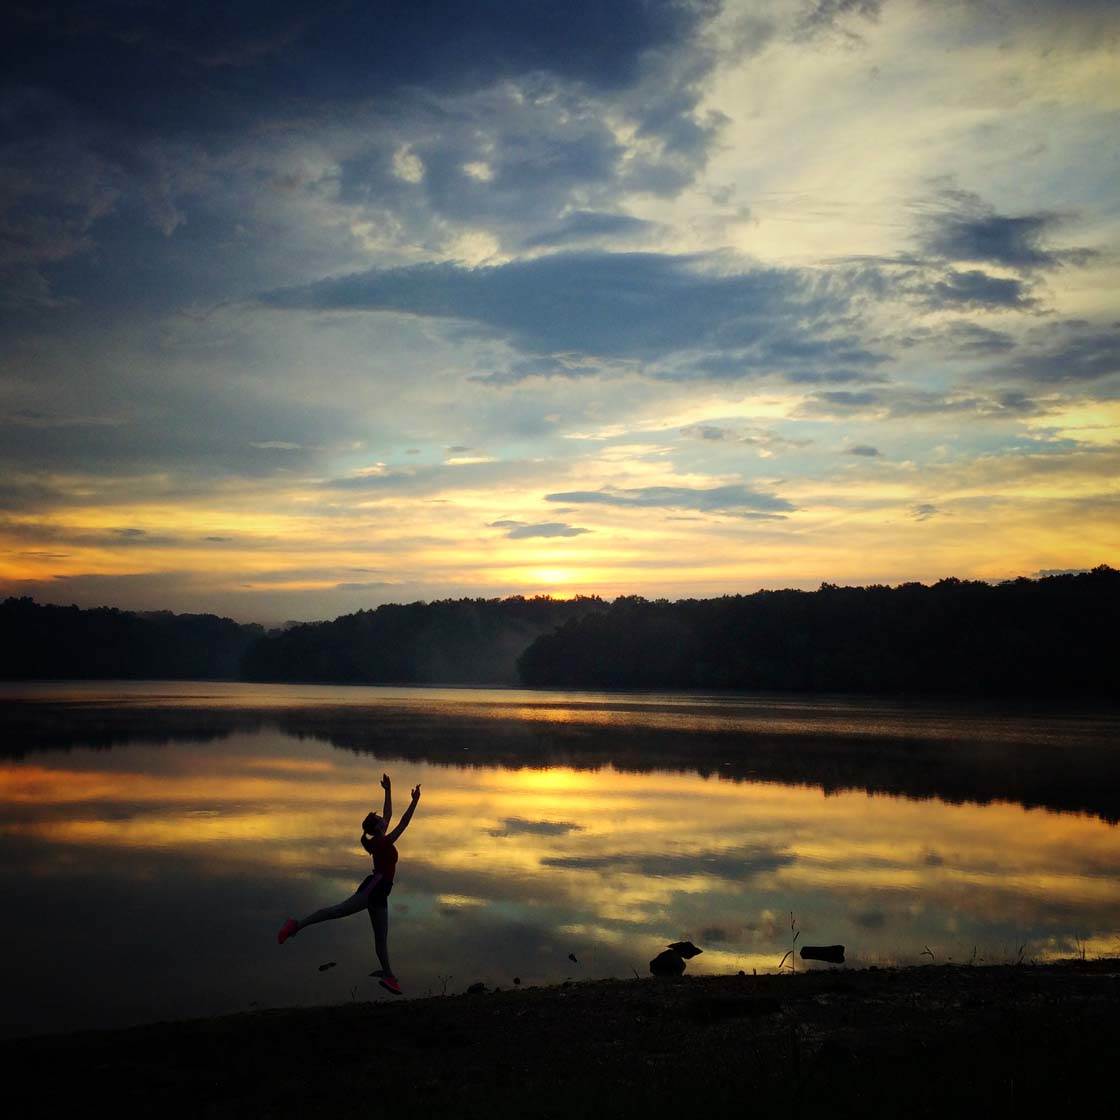
Most editing apps allow you to adjust the colors in your photo. I usually use the Snapseed photo editor.
After opening your photo in Snapseed, go to the Tune Image option, then swipe up or down on the screen to access the list of color and exposure adjustments.
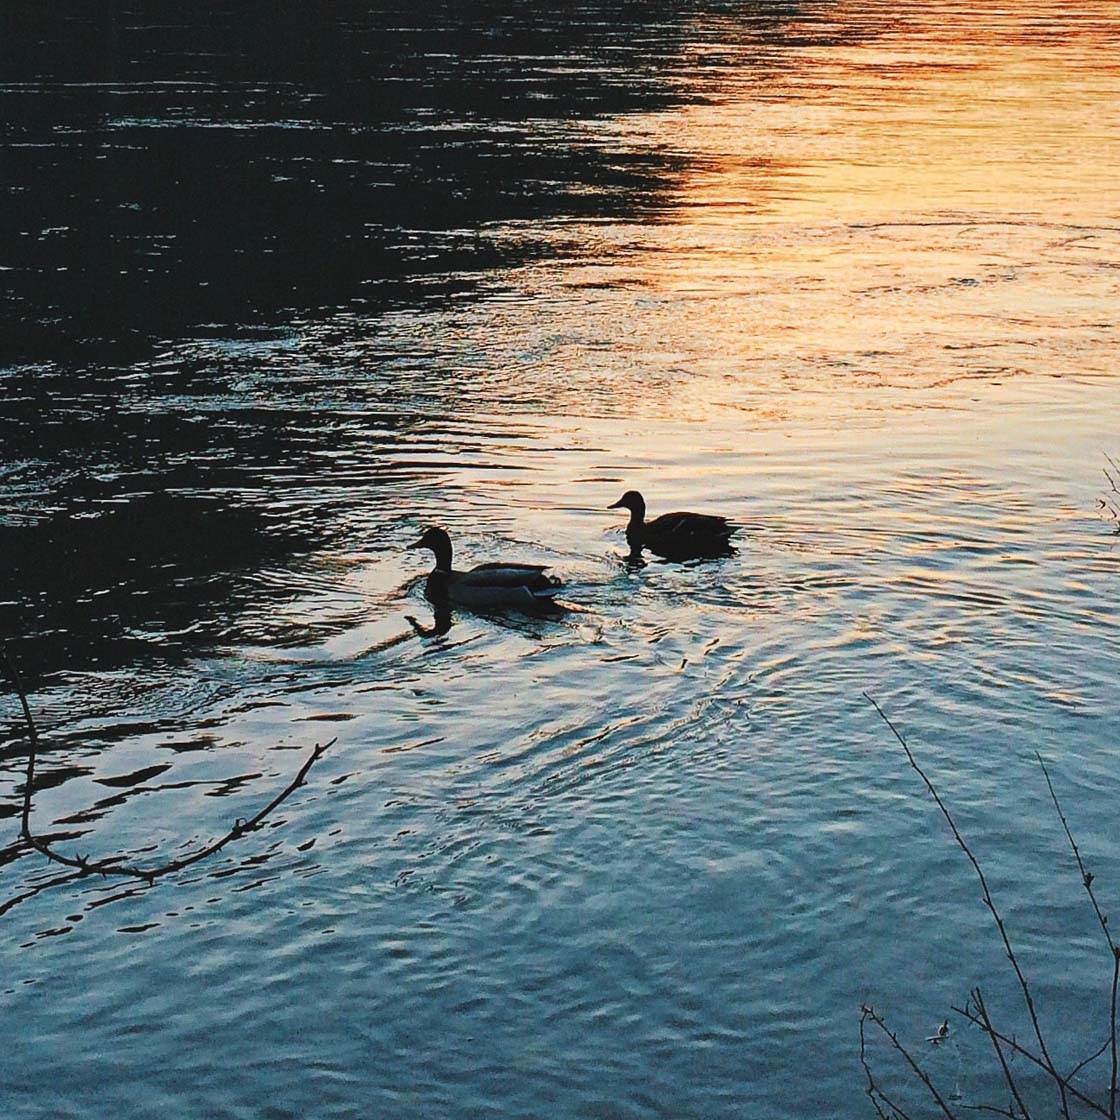
The Saturation tool is great for increasing the vibrancy of the colors. To adjust the color saturation simply swipe left or right to decrease or increase the value.
The Warmth tool is useful for cooling down or warming up the colors. Below is my original photo where the water looks brown and muddy.
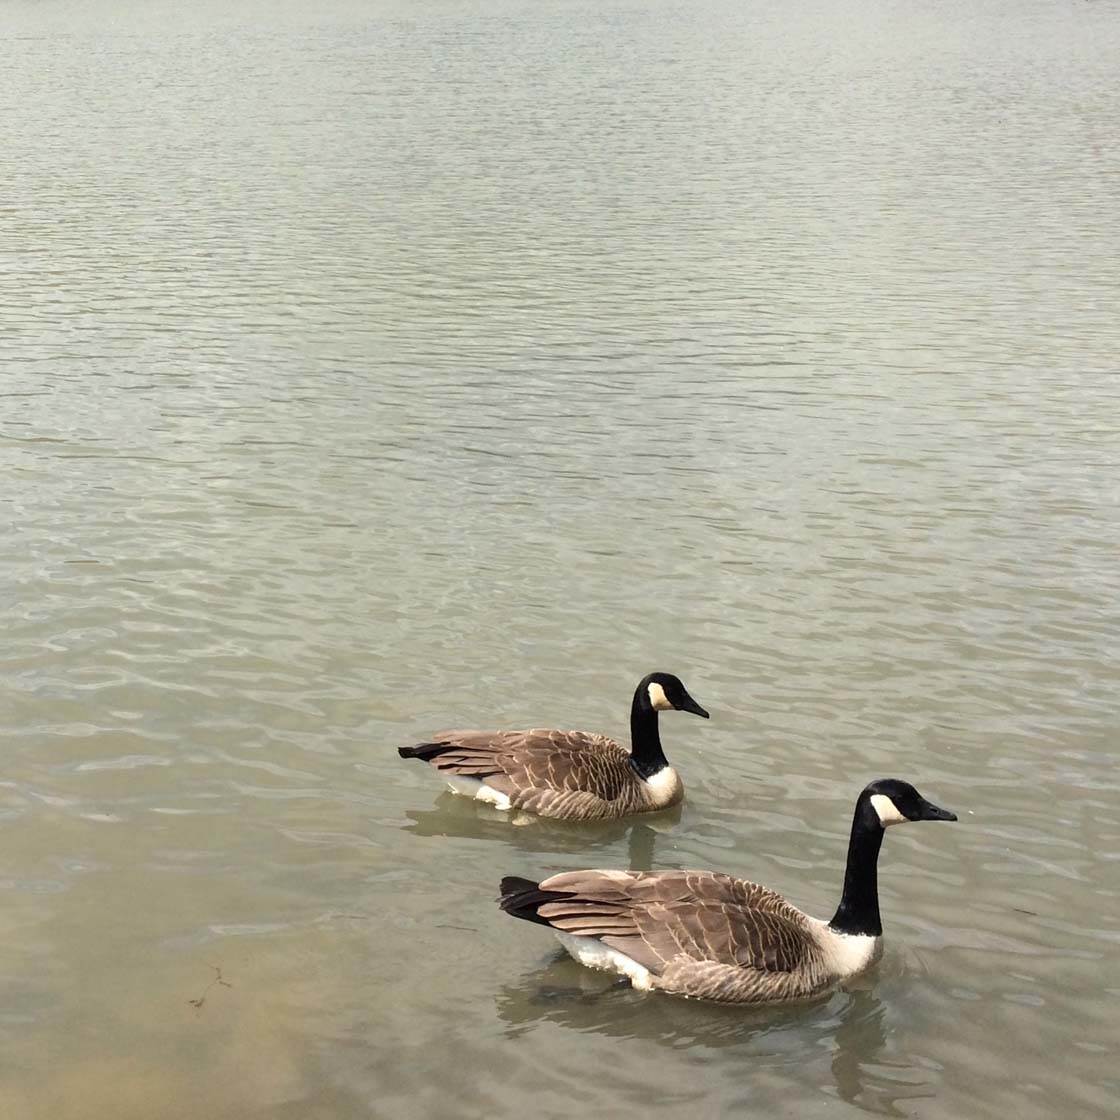
The photo below shows how I managed to make the water a much cooler blue using the Warmth tool in Snapseed.
For photos taken at sunrise or sunset, you might want to make the colors slightly warmer to emphasize the warm golden light.
Another editing technique that’s great for water photography is to smooth out the water to make it appear more silky and painterly. This is especially useful when the photo appears a bit grainy.
The Enlight photo app has a great Denoise tool that I like to use to make the water appear smoother.
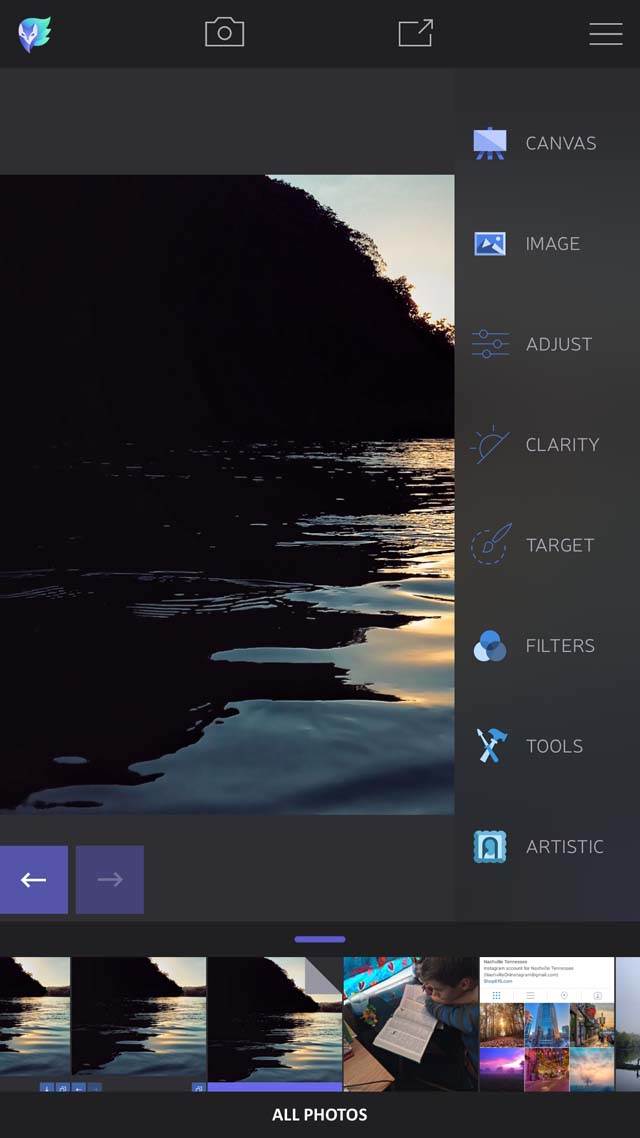
You can find this tool under the Image category on the right-hand side of the screen. Select Clarity, then Denoise.
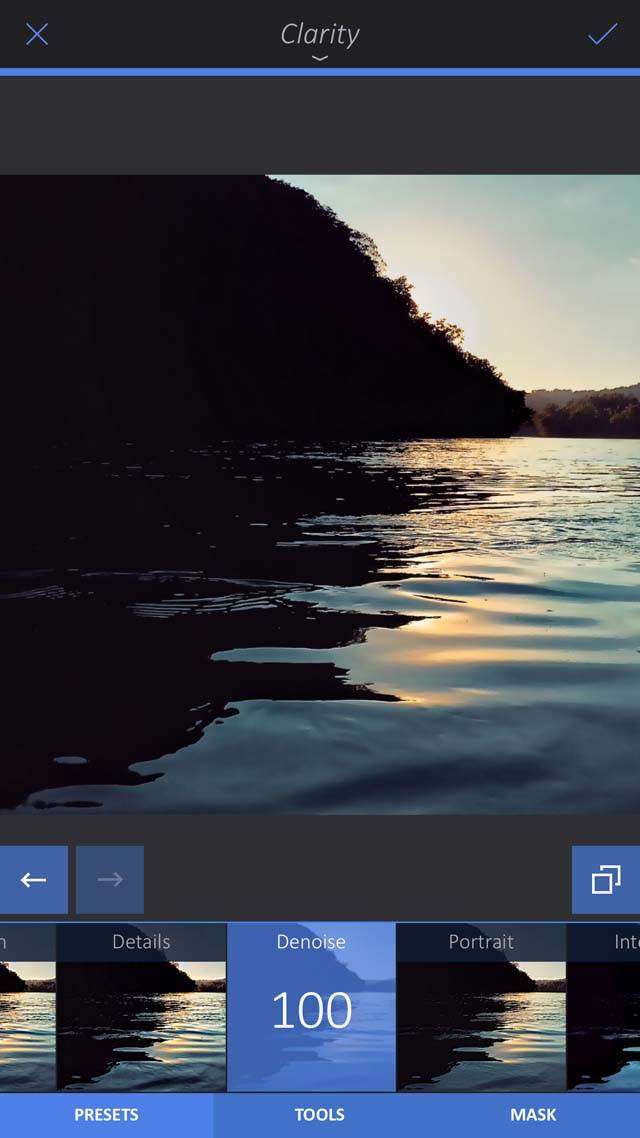
You can adjust the degree of smoothness, and even mask the other parts of the photo so that you can smooth out just selected areas of the image.
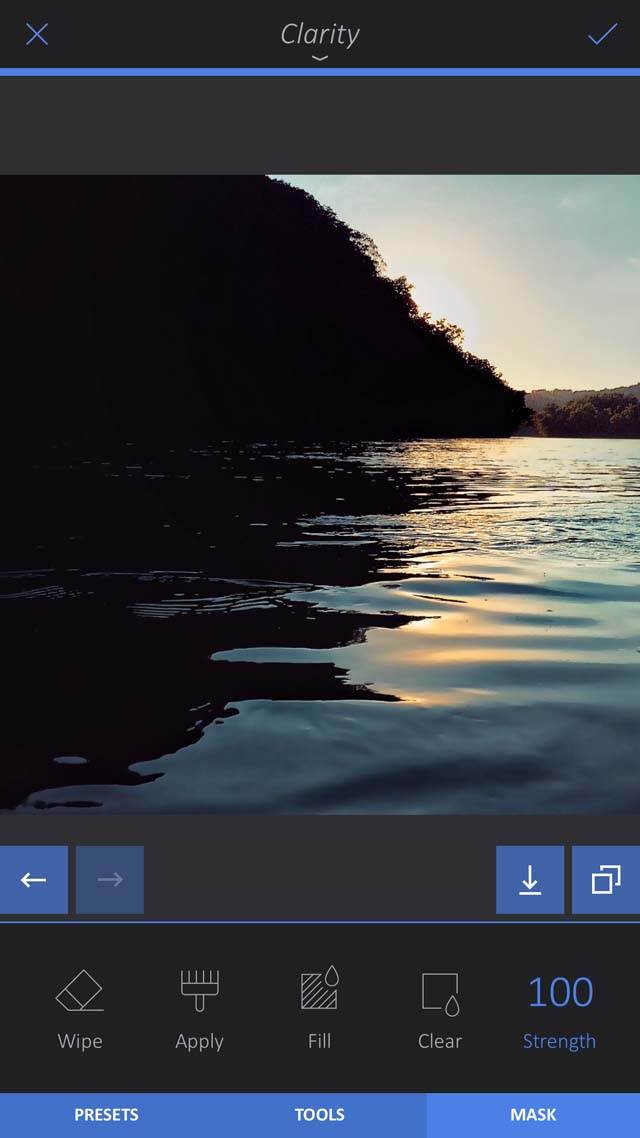
It’s definitely worth spending a few minutes using this tool in Enlight. It can make all the difference to the impact of the final image.
Finally, I want to mention the Reflect app that allows you to create stunning water reflection photos – even when there’s no water in the scene. Some might consider this cheating, but it’s great fun!
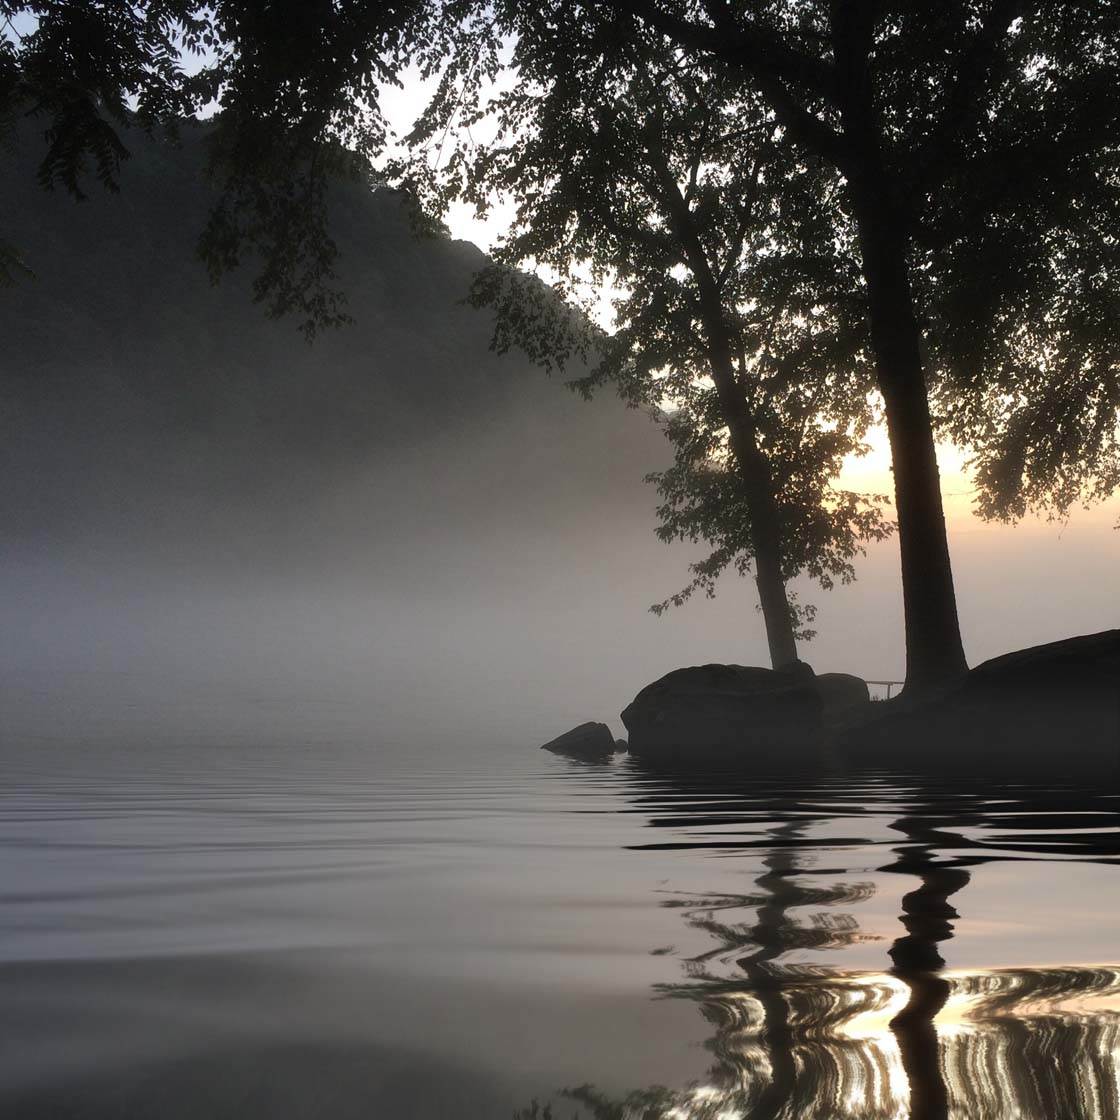
Believe it or not, the water in this photo was created using the Reflect app. There was no water in the original image that I shot.
So let’s take a look at how to create water reflections using this app. Below is a photo I took that doesn’t contain any water.

I decided it would look better if the sunset was reflected in water in the foreground, so I opened the image in the Reflect app.
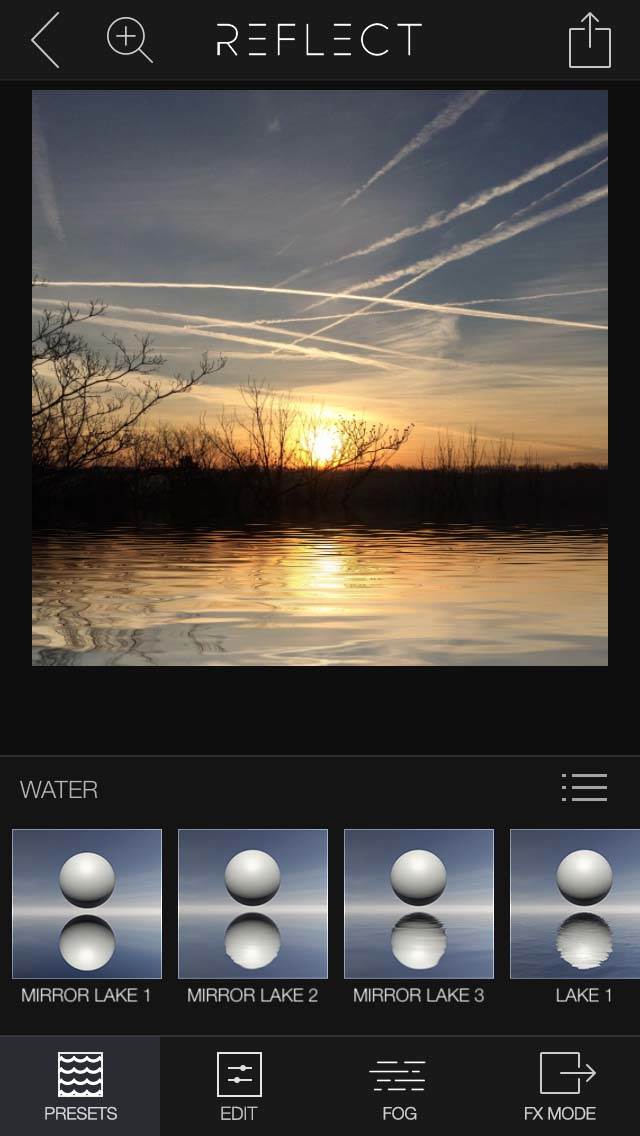
In the Presets section, select Water and choose the reflective effect that you like. You can slide your finger up and down to fine tune the placement of the reflection.
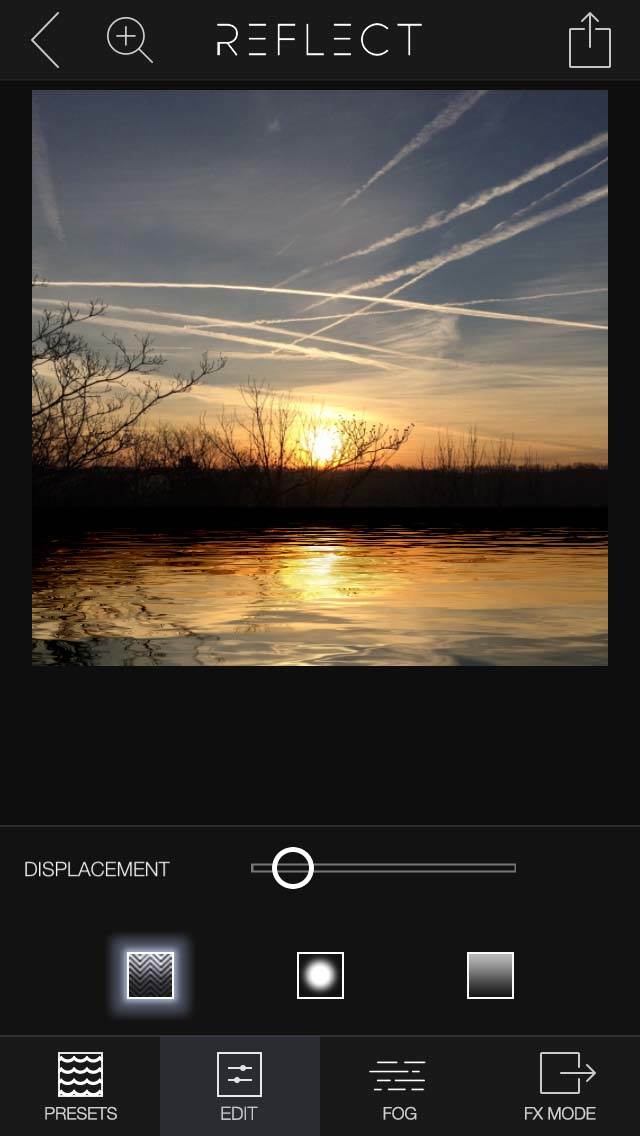
The Edit tab lets you make further adjustments by changing the displacement, blur and brightness of the water. You can even add fog using the Fog tab.
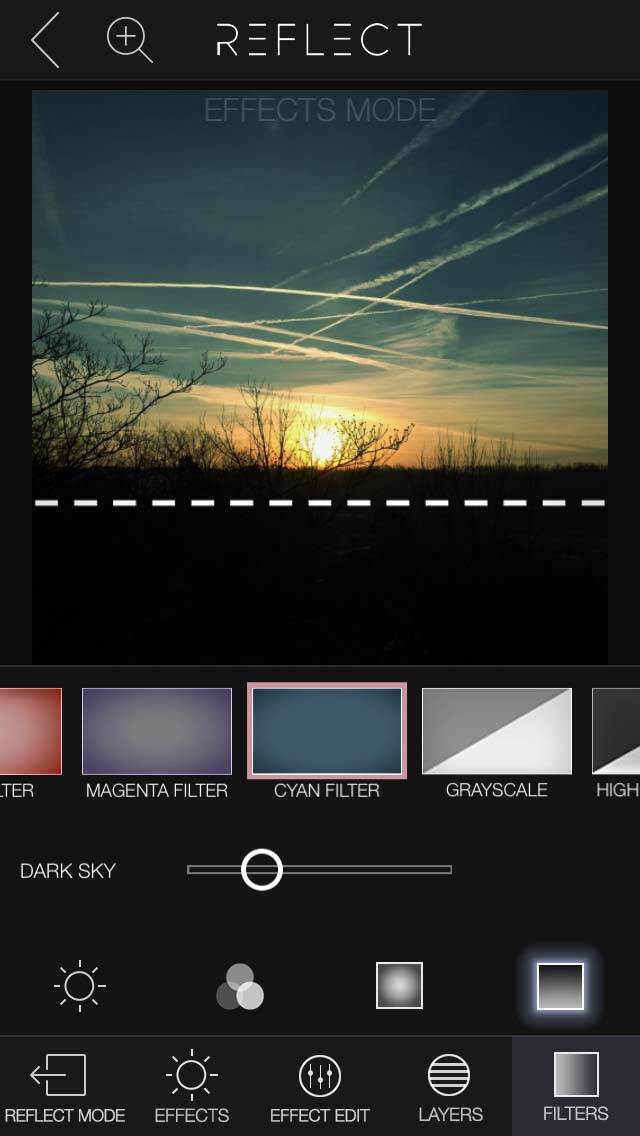
The FX tab includes other effects and filters, as well as objects that you can add into your image.
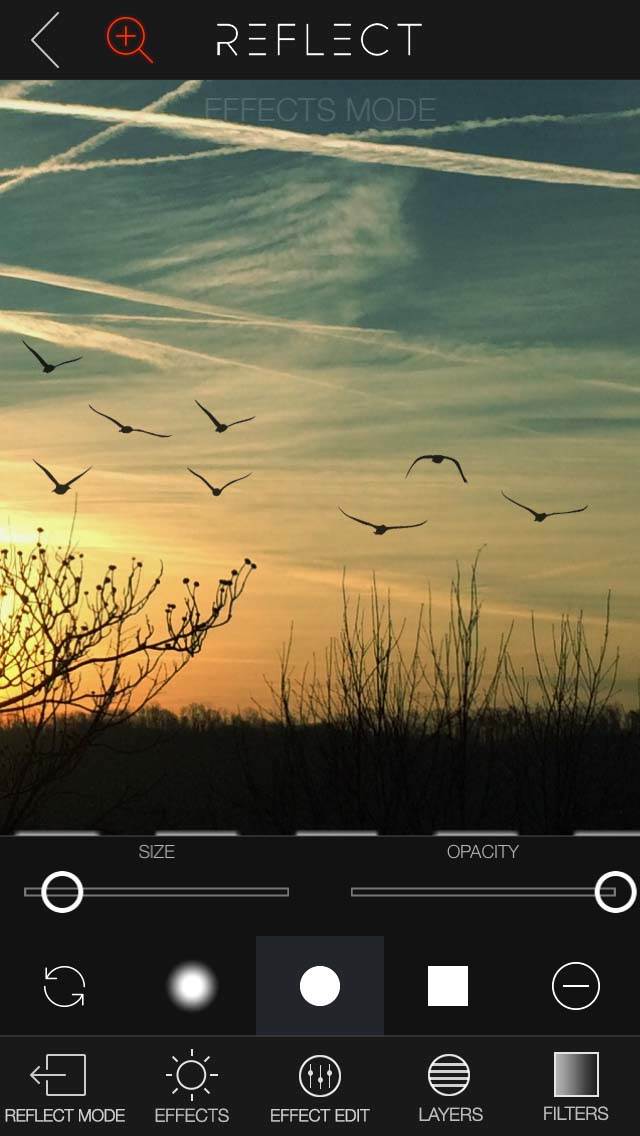
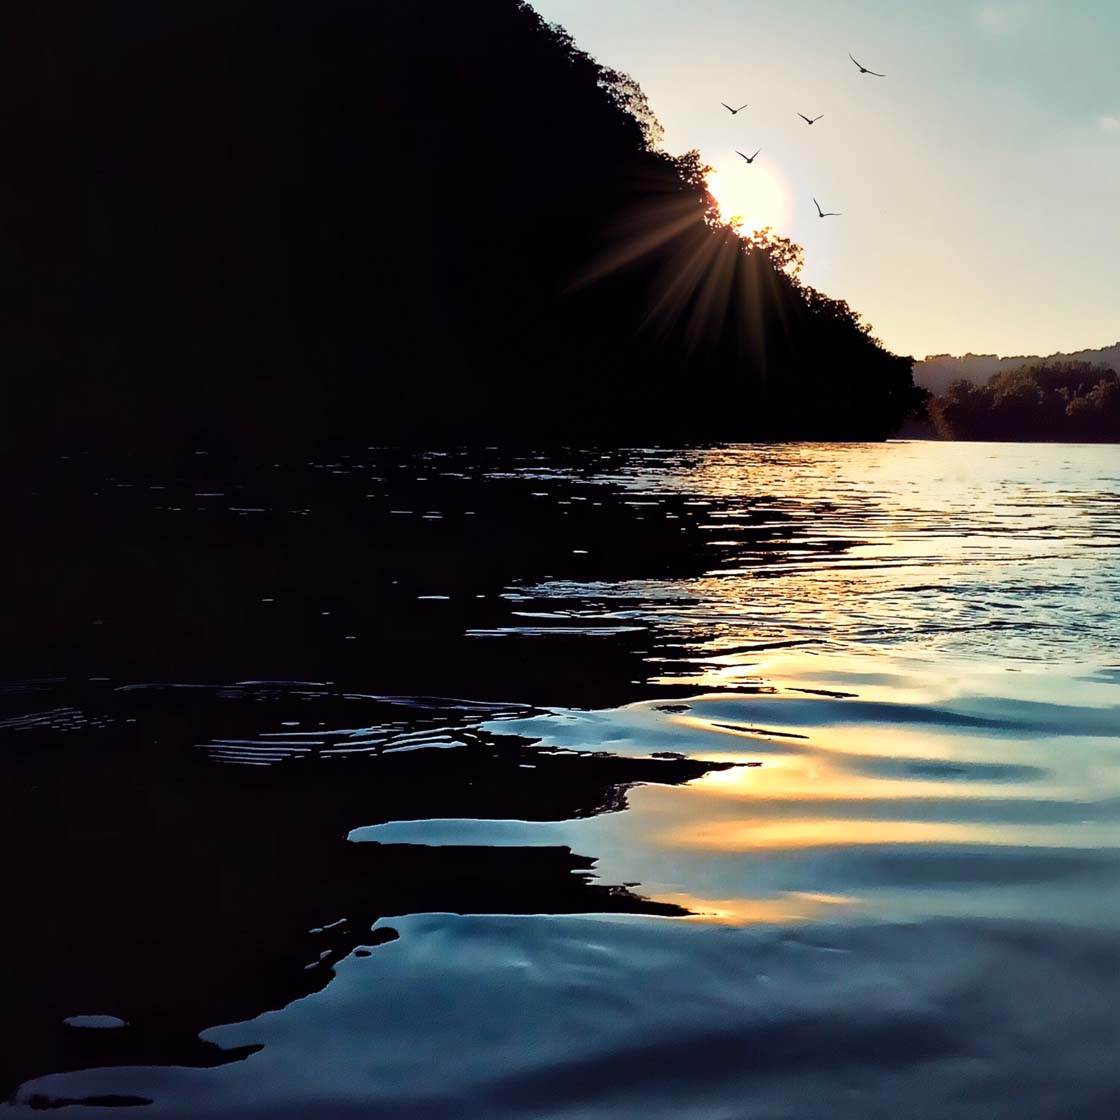
I added birds to my photo, and even erased a few using the masking tool. Below is the final water reflection image that I created.
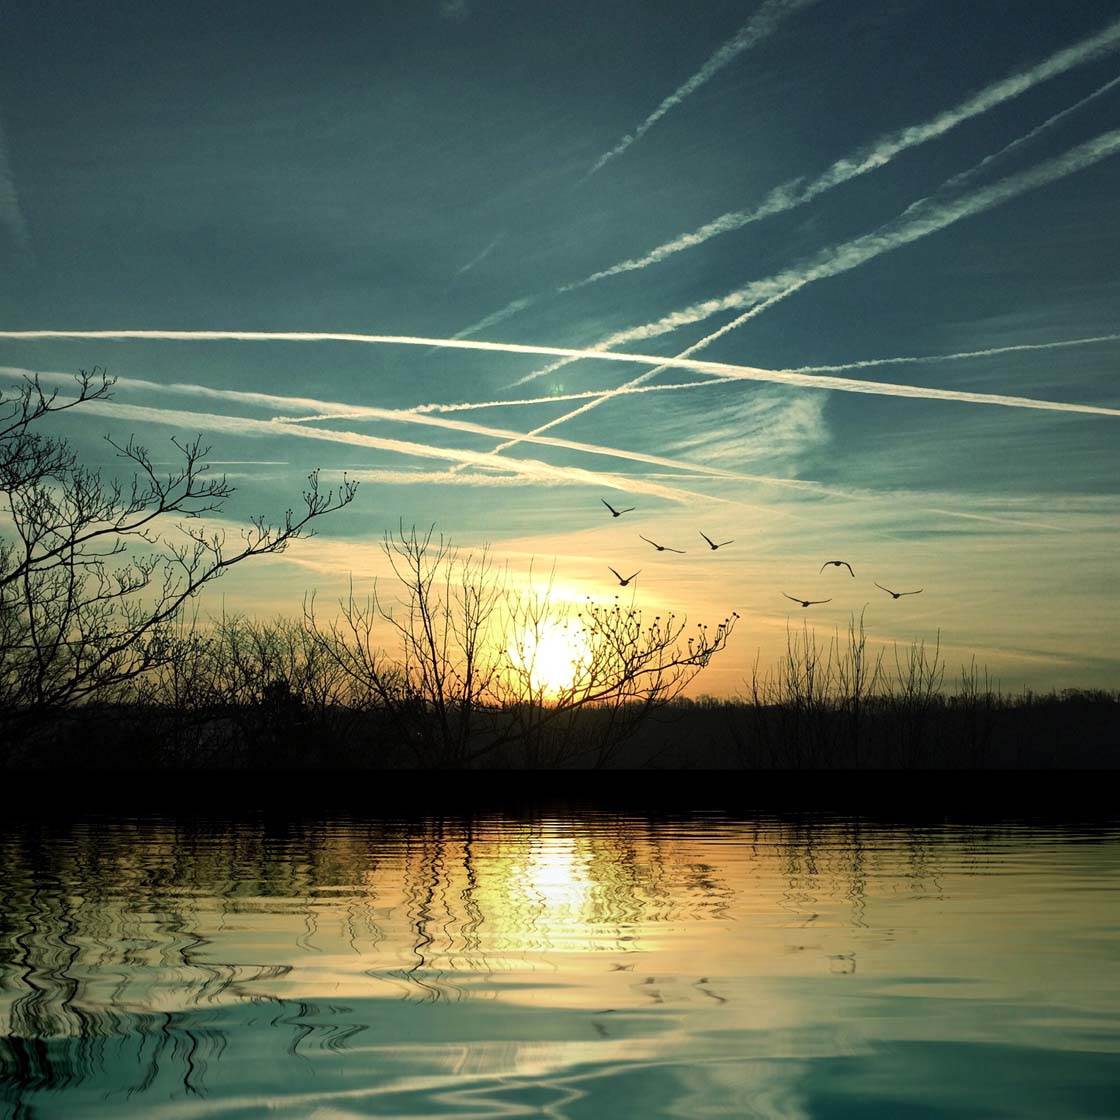
It’s very realistic and creates a much more interesting and beautiful picture than the original. So if you don’t live near water, you can always use the Reflect app to create a stunning water reflection.
Conclusion
Water is an amazingly versatile subject for photography, and there are endless possibilities for capturing its beauty and power.
From tiny water droplets and puddles, to vast oceans and lakes, water is all around you. All you have to do is find the most interesting way to photograph it.
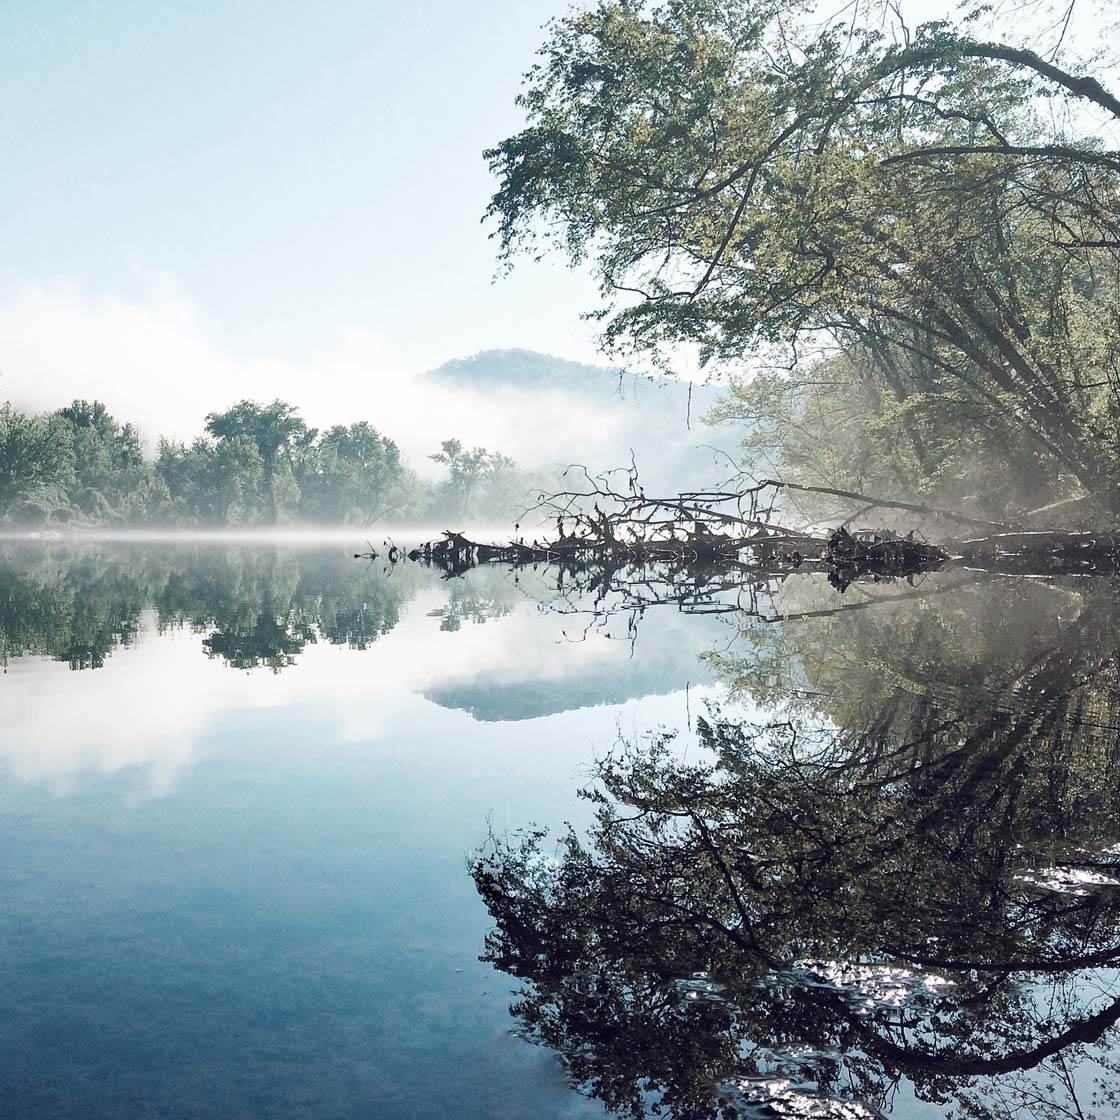
Use different kinds of light to your advantage, and always look for reflections that you could use to create symmetrical compositions.
Include a main subject to act as a focal point, whether it’s a person, an animal, an object found in nature, or a prop you’ve brought from home.
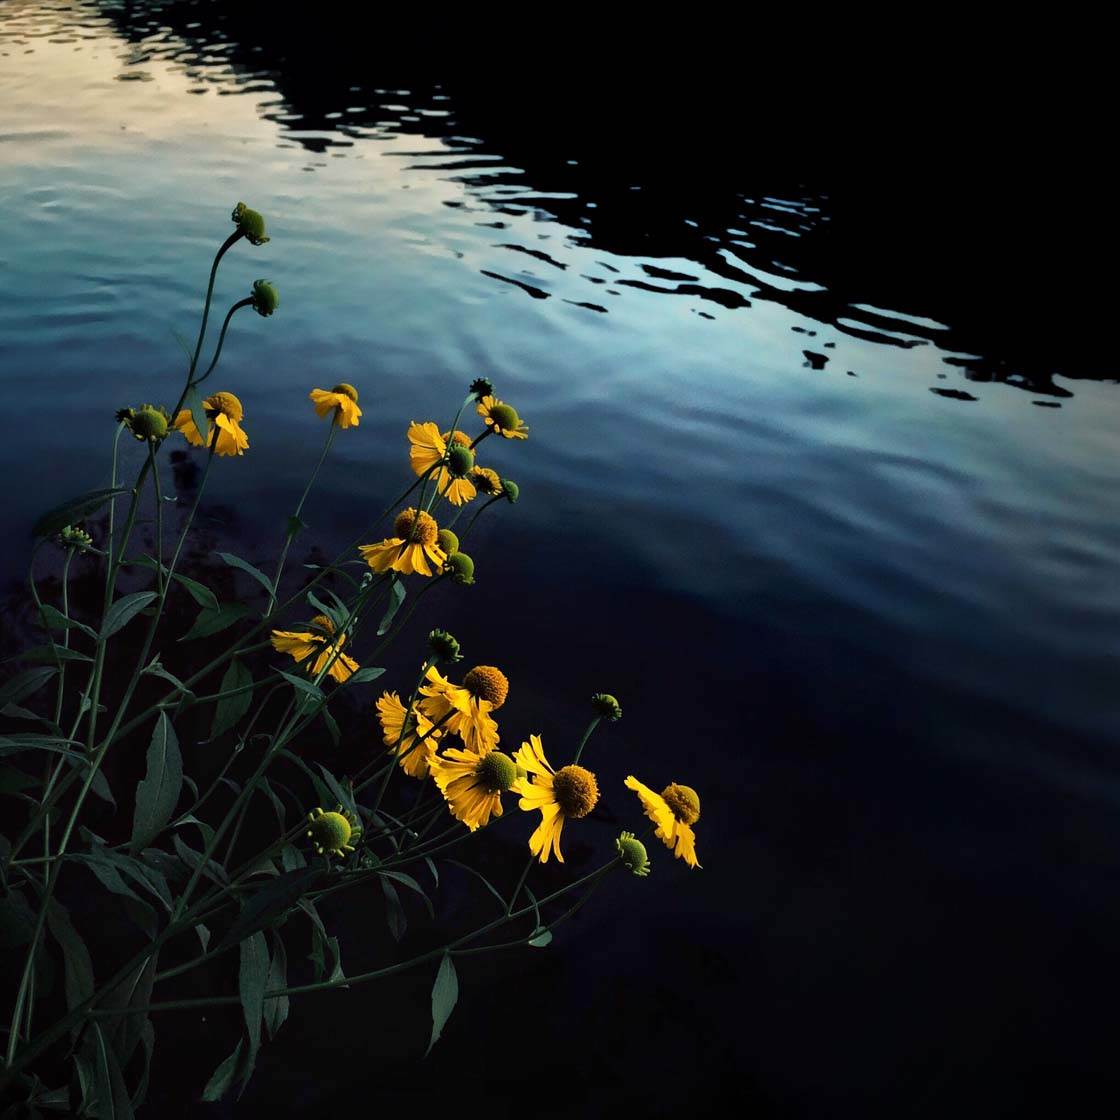
Experiment with different compositions, such as shooting from a low or high angle, and filling the frame with the water.
Get creative and shoot abstracts using ripples in the water. Make splashes and use burst mode to capture the individual water droplets.
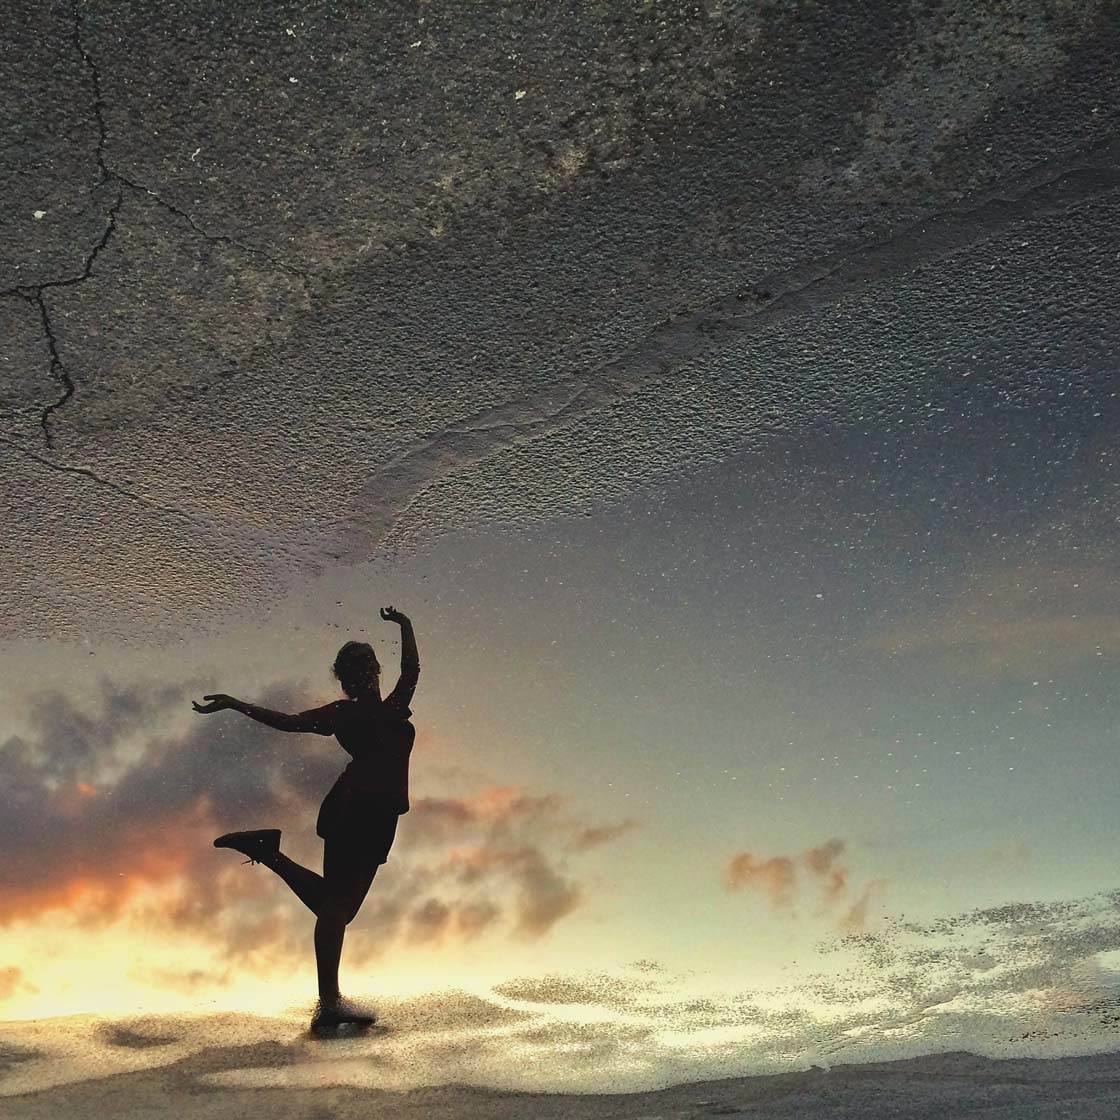
Flip your reflection photos upside down to create a more unique version of the image. Look for water on windows in the form of raindrops and condensation. And don’t forget about capturing water as ice or mist.
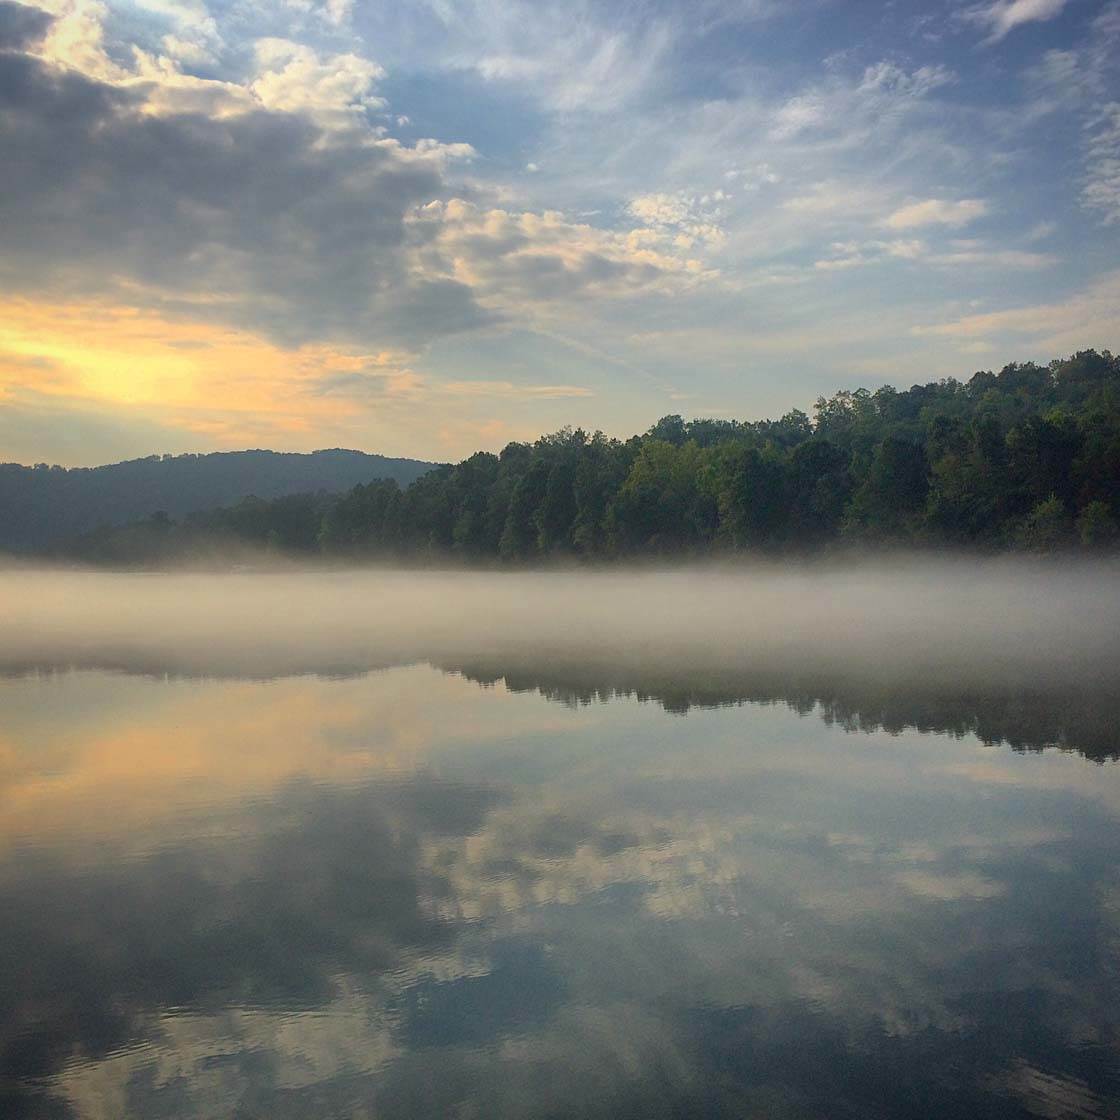
Experiment with long exposure apps to create a silky veiling effect on flowing water. And if you don’t live near a large body of water, use the Reflect app to create your own water world from scratch.
If the colors in your water photos don’t “pop,” simply use an editing app like Snapseed to boost the color saturation or adjust the warmth. And use the Denoise tool in Enlight to smooth out the water’s surface.
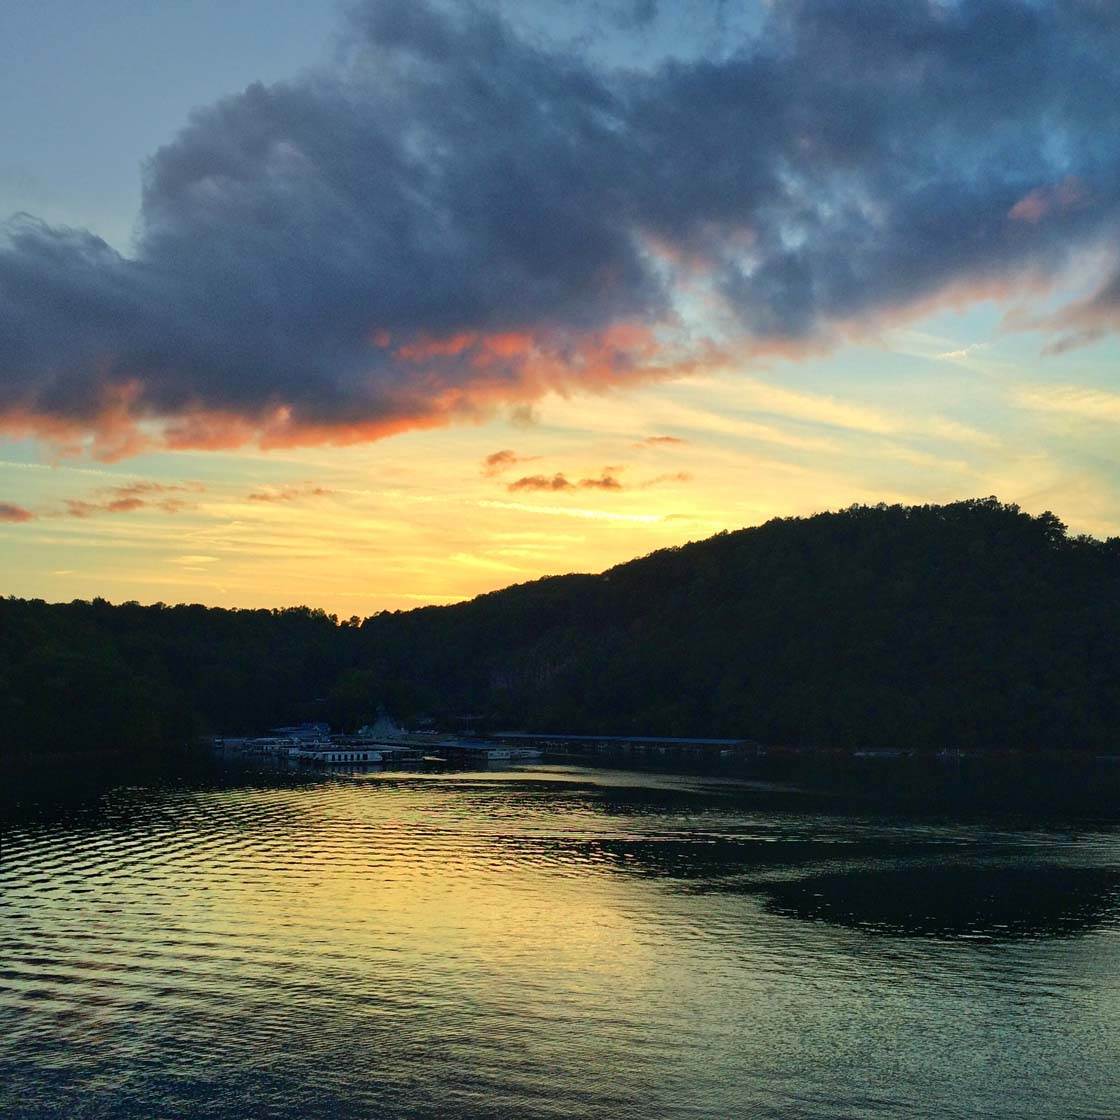
Using the tips in this tutorial, together with a little bit of vision and imagination, you too will be able to create stunning iPhone photos of water.


Splash ! This was awesome …
Was looking for advice/info on photographing INTO water to show what’s belw the surface. Enjoyed your article and tips here. Lovely photos! Thanks.
Hi Victoria. For this kind of photography a circular polarizing filter will help to eliminate the glare from the water. Here’s a review of olloclip lenses that we published recently where you’ll find a section on their circular polarizer: http://iphonephotographyschool.com/olloclip-iphone-6/
Hope that helps 🙂
Totally wonderful!
This is a good selection of tips but I’m conflicted about using so many accessory apps. Small edits should be enough if the image is properly composed and exposed. Overuse of accessory apps often leads to unrealistic photos. Thank you for covering what the recommended accessory apps can do.