Learning how to edit photos on iPhone is a fun, and often essential, process in your iPhone photography workflow. But with so many different photoshop apps and styles of editing, how do you know where to begin? In this article you’ll discover some simple yet highly effective techniques for choosing your editing goal, even when you think a bad photo isn’t worth rescuing. As well as making your iPhone photos look much better, these tips will help you tell more powerful stories through your choice of editing style.
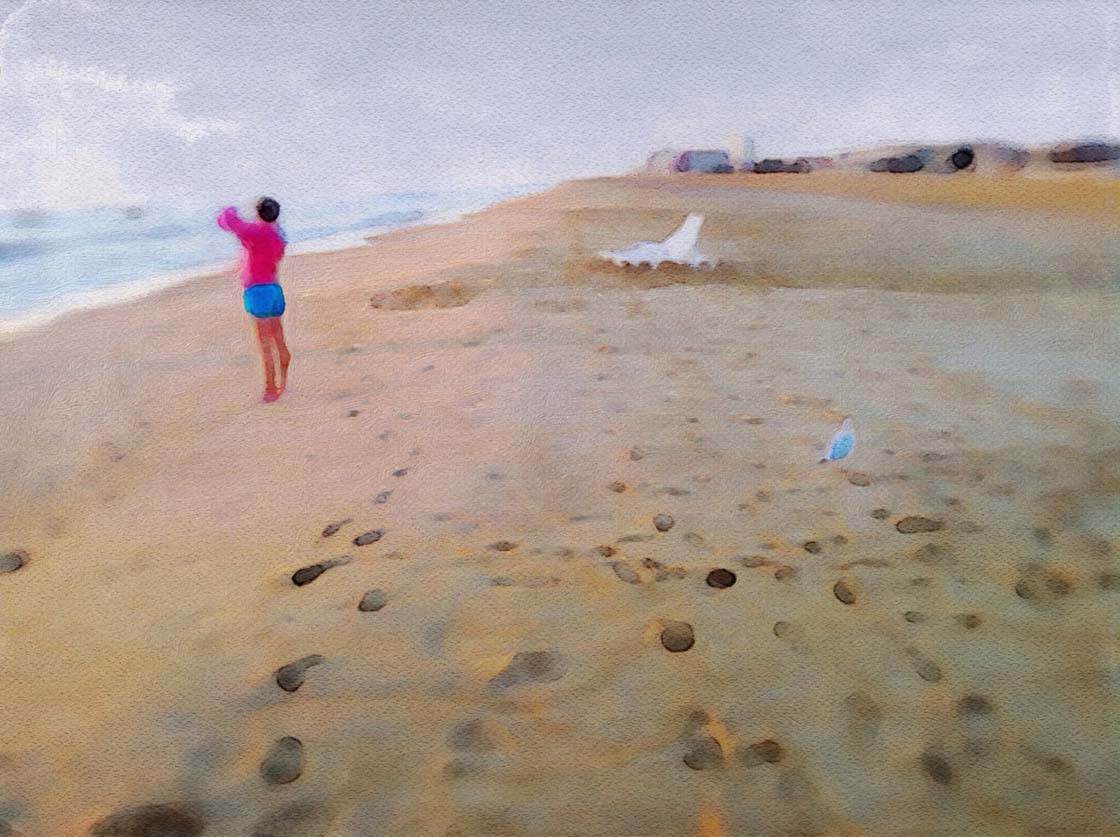
Get Into The Photo Editing Mindset
Apart from being asked how I edit photos, I’m often asked why I use certain editing approaches. For me, photo editing isn’t about adding filters to photos. It’s about turning the photo into photographic art.
Sometimes that means very light editing and sometimes that means a heavy edit. It all depends on my goal and what I want the end result to be.
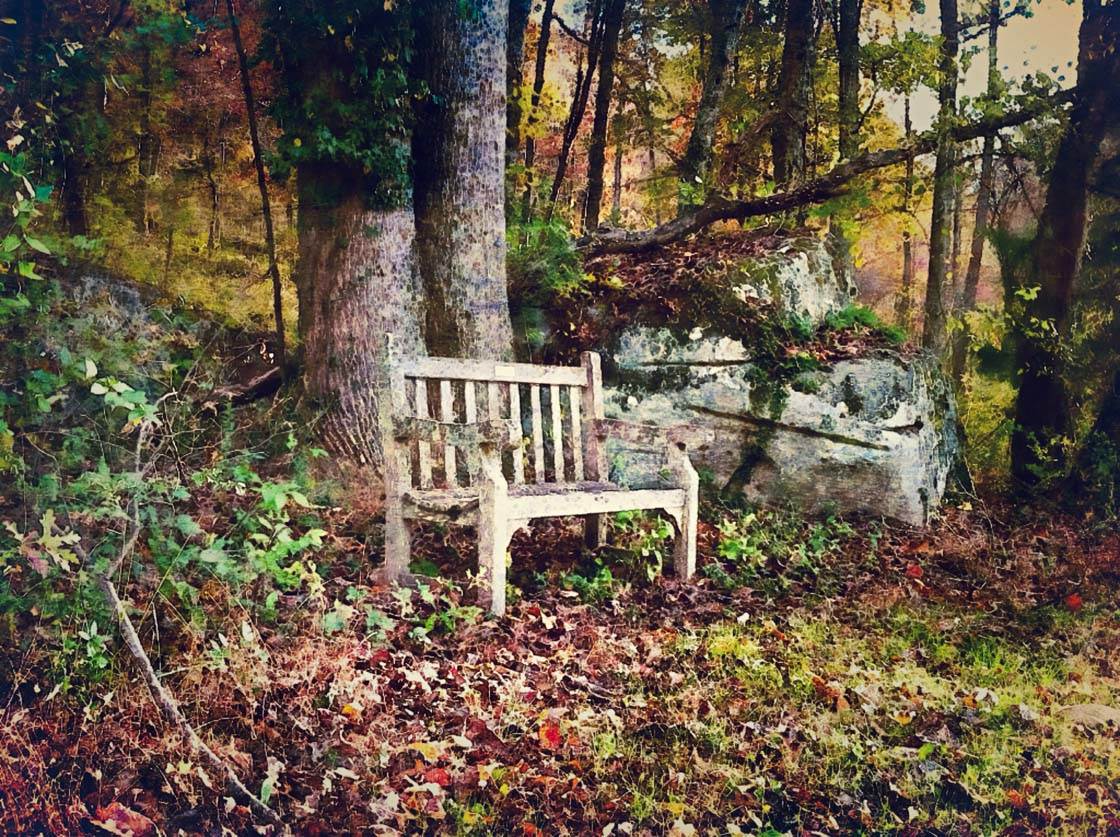
As an iPhone photographer, it’s important to consider your aesthetic and why you want to edit your photo in the first place.
It’s also important to be well-versed in several photo editing apps so that you’ll have the tools and skills to apply a variety of different edits.
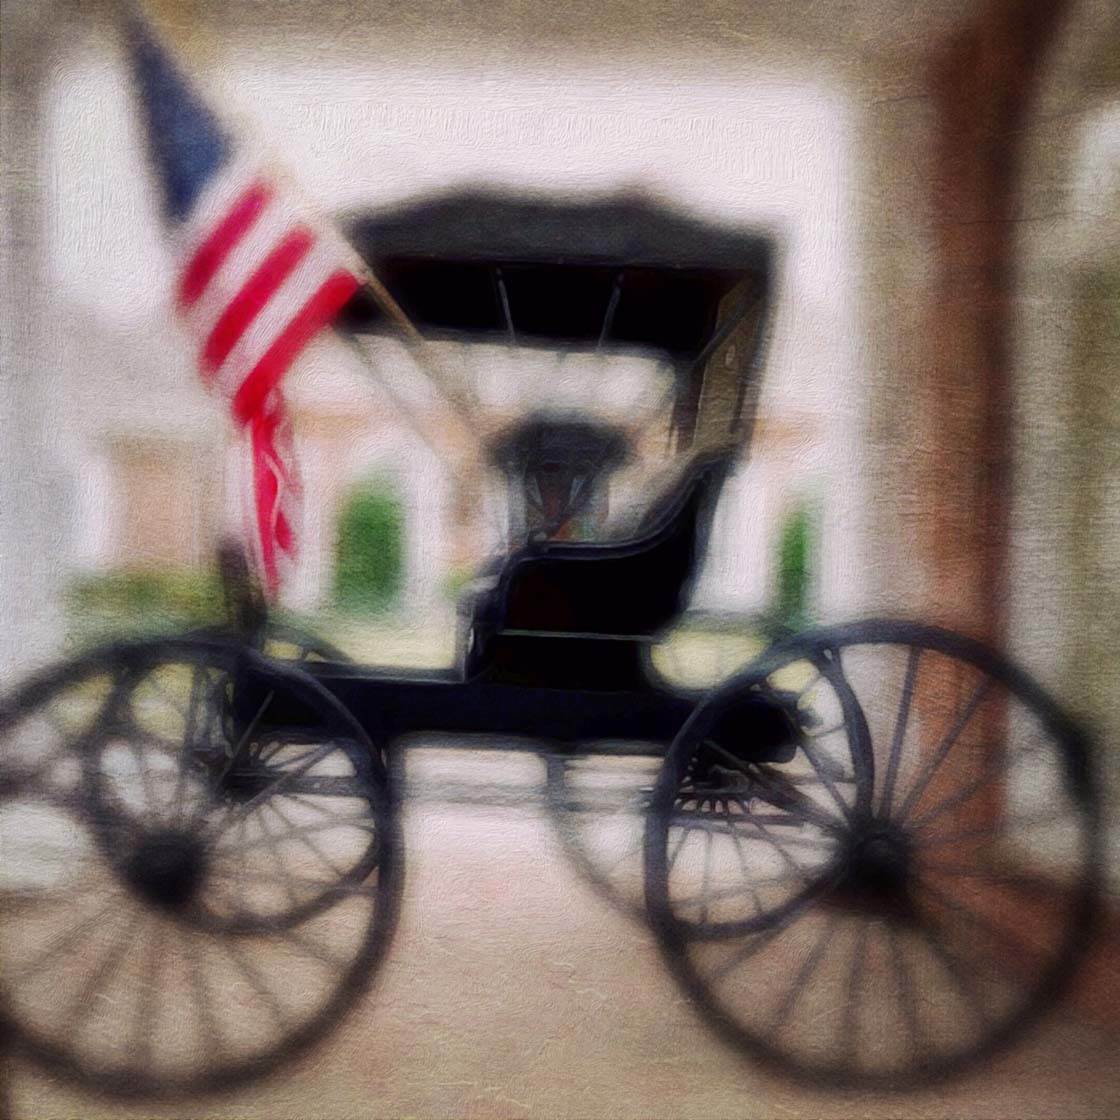
Finally, you need to have an editing goal – a vision of what you’d like to achieve with your photo. Many times, the vision is just the jumping off place and you’ll find your end result is very different from your initial vision.
But the goal helps you know where to start and which apps to choose. In this tutorial, we’re going to explore four questions that will help you get into the photo editing mindset, helping you to define your goals and approach to iPhone photo editing.
Qu 1. What Is Extraordinary About The Photo?
Ask yourself why you took the photo in the first place. What initially caught your eye and was worthwhile enough to photograph?
Were you drawn to the color? Was it the symmetry that caught your eye? Maybe it was a unique subject or point of view?
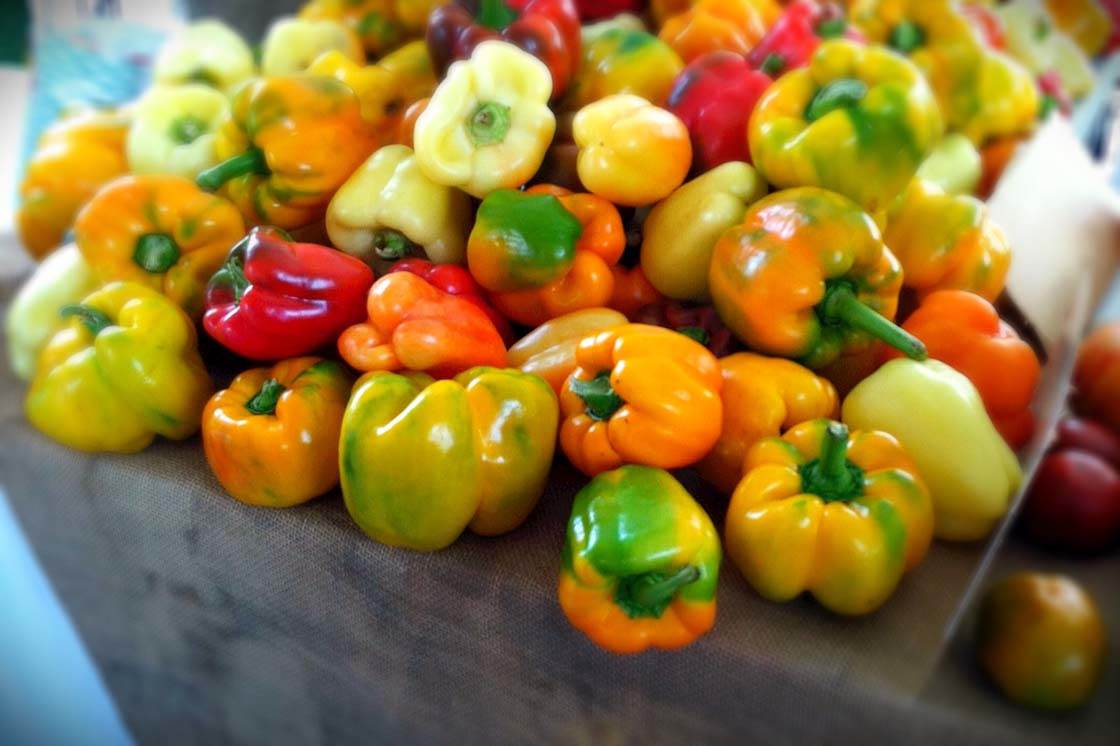
This question is your starting point for the editing process. Now, ask yourself how you can enhance that feature with photo editing.
If you were drawn to bright, bold colors, then you might use a photo editing app like PhotoToaster or Snapseed to simply brighten the color saturation or increase contrast. (Learn how to perform these basic edits in our Snapseed photo editing tutorial.)
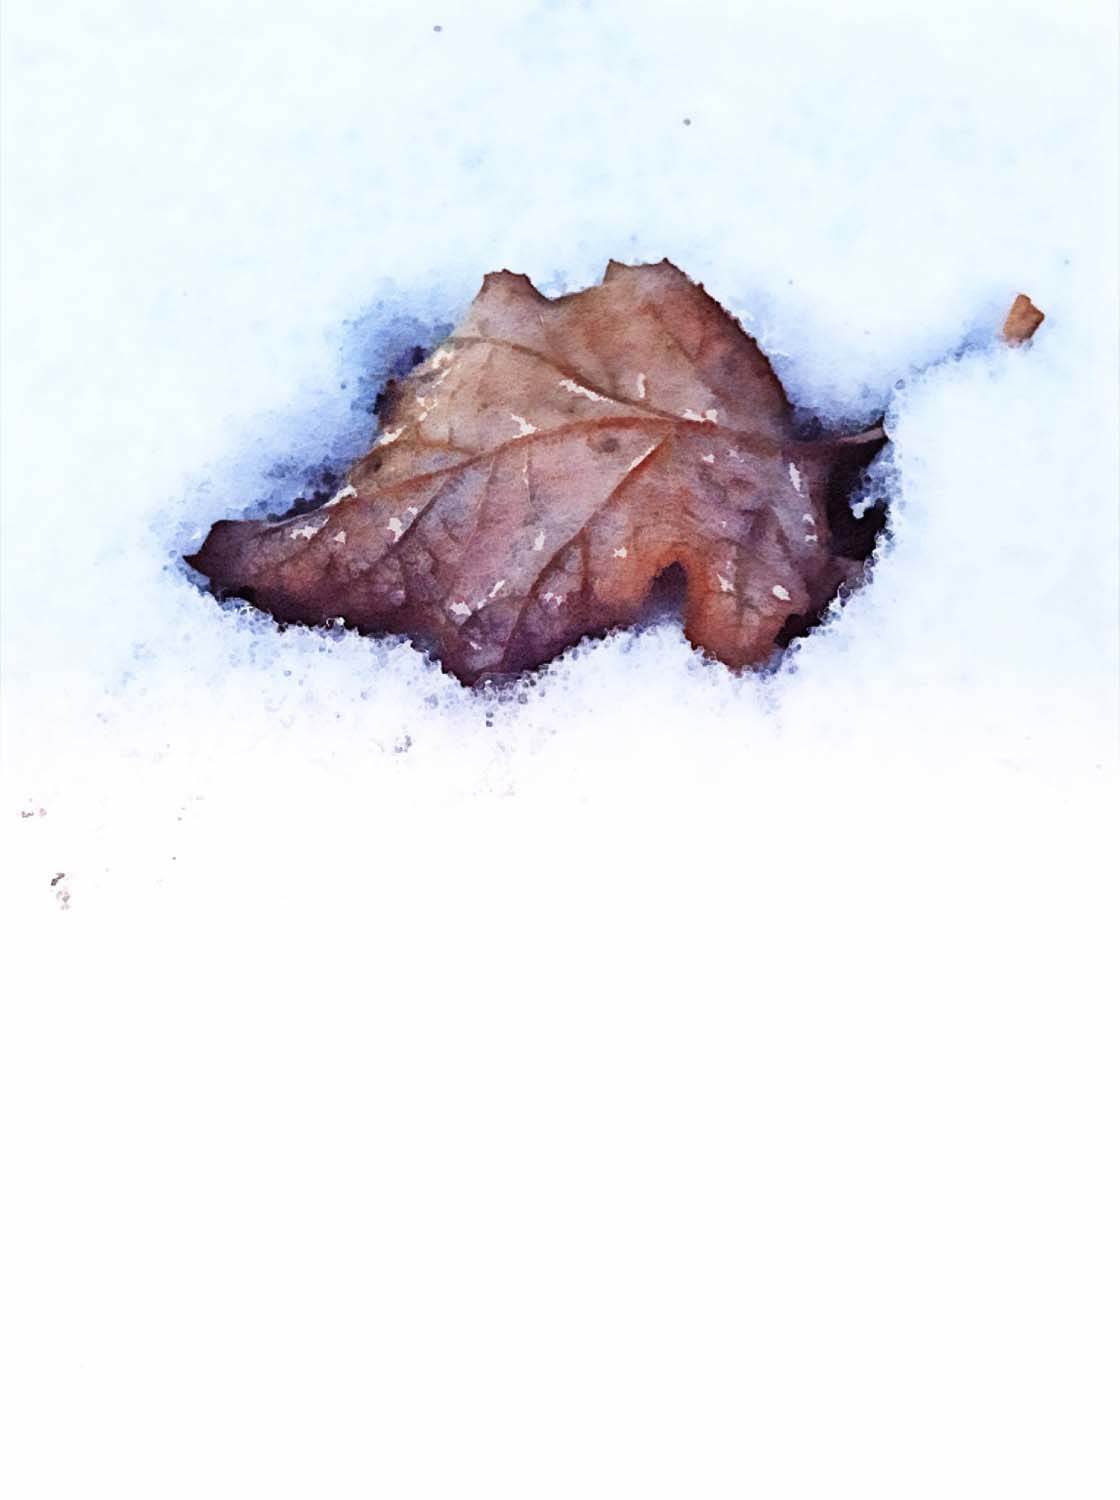
Sometimes, it’s the contrast between colors or textures that you find appealing. I shot the photo below because I noticed the contrast between the solitary brown leaf nestled in the white snow.
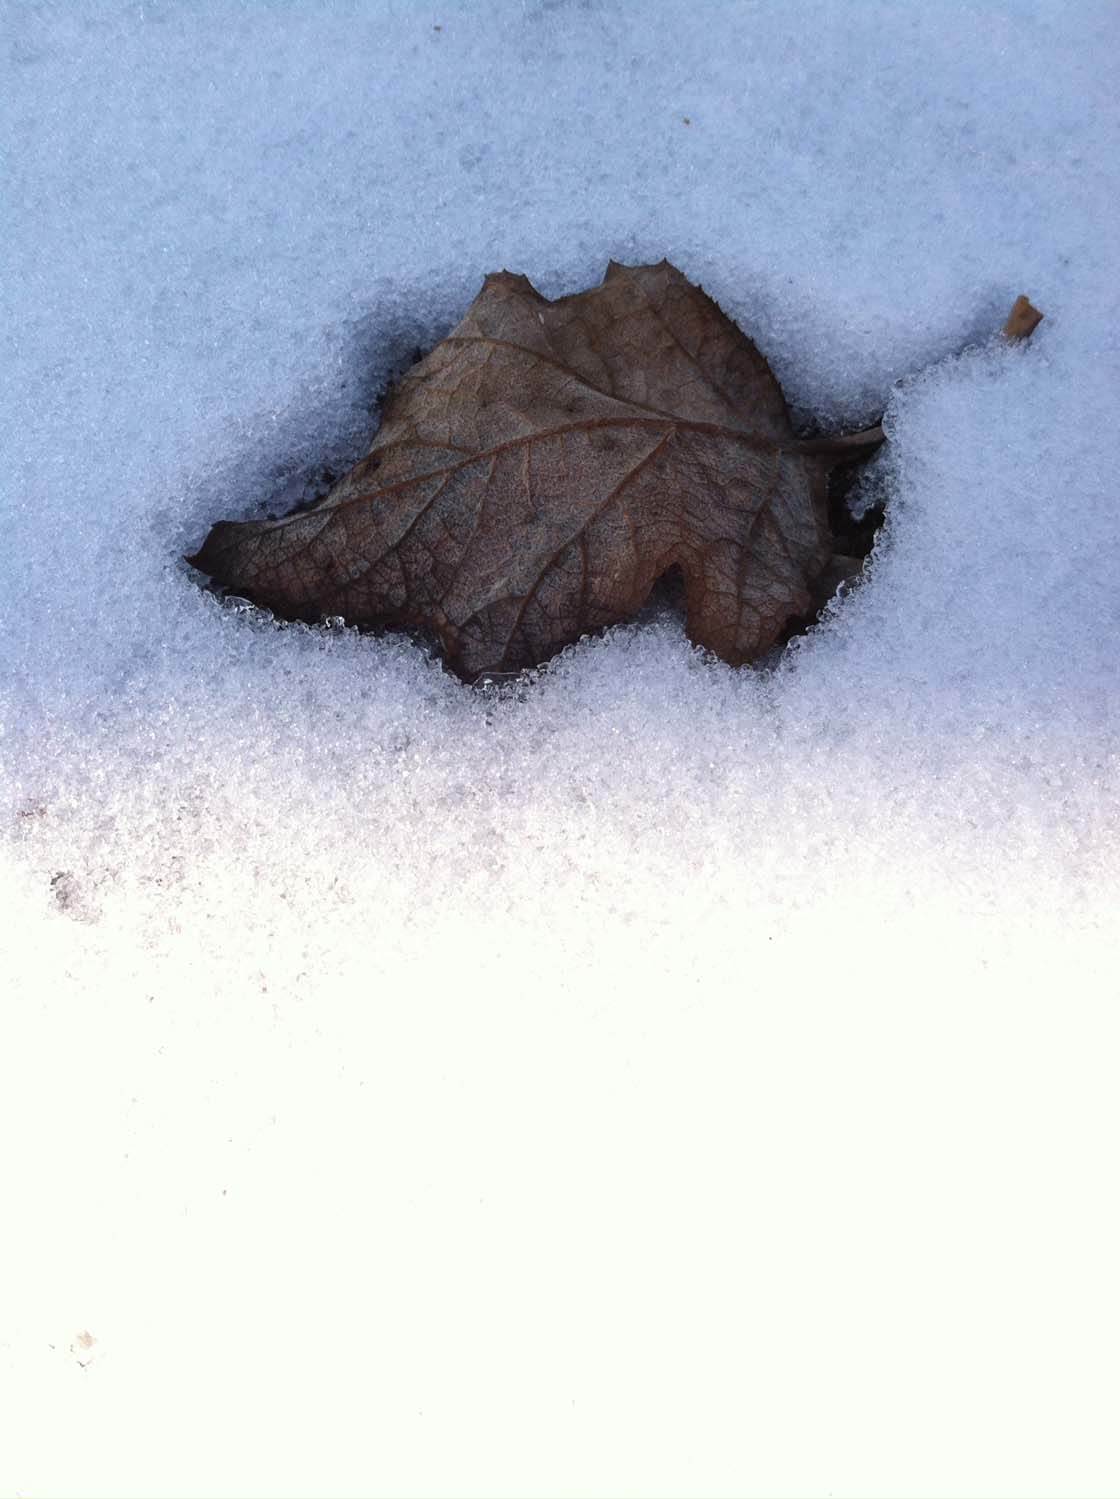
Unfortunately, the original photo didn’t capture what I saw. Therefore, I used the Waterlogue app to enhance the texture of the leaf and the color contrast between the leaf and snow.
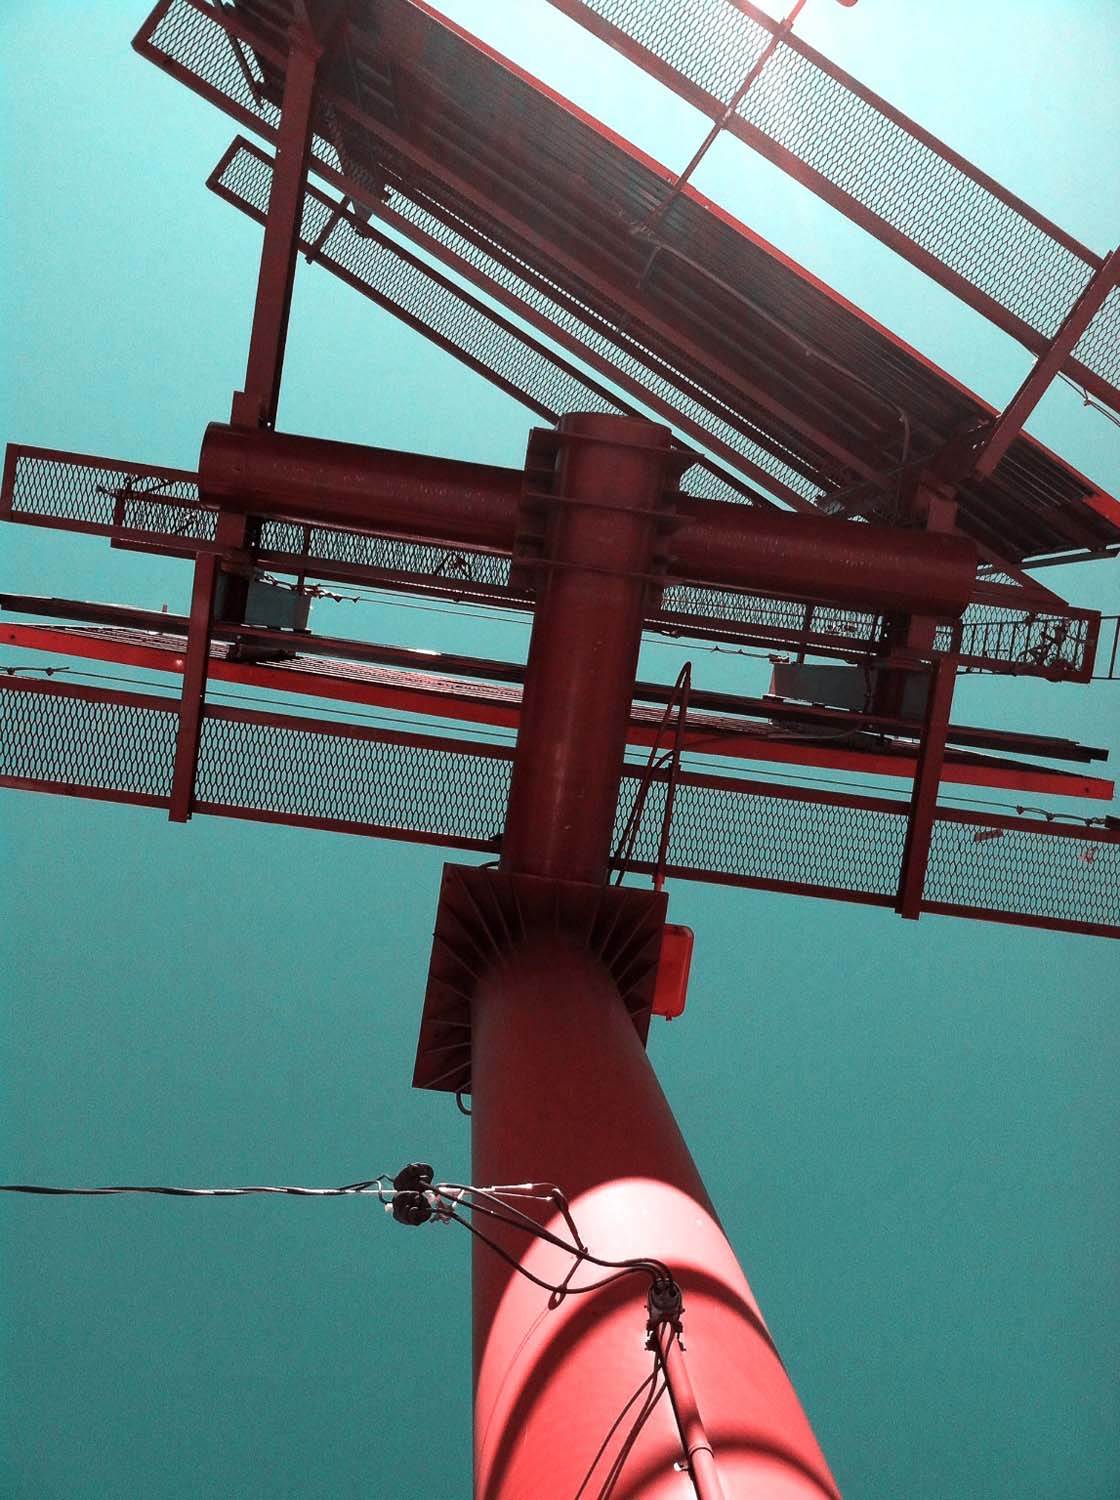
In the photo below, my goal was to help the viewer see the shapes, lines, and angles of a billboard from a unique perspective.
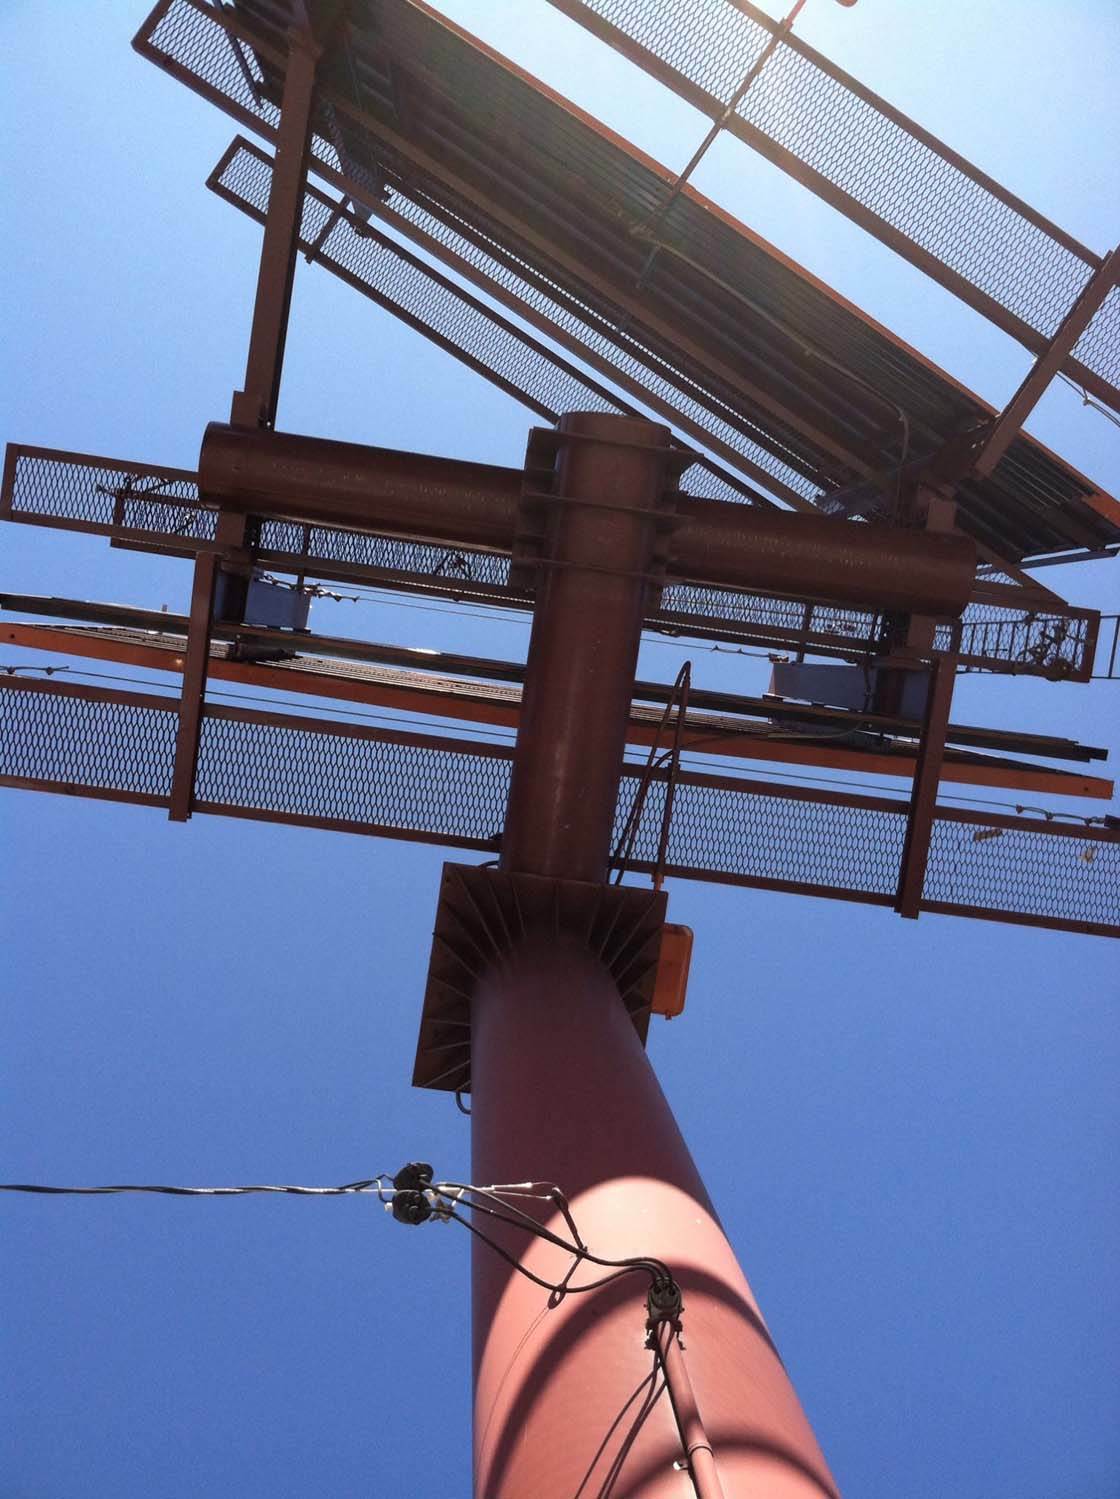
The edit was simple. The Technicolor filter in PhotoToaster brought out the photo’s complementary colors green and red, which are naturally more pleasing to the eye and create a stronger contrast than the original.
This first step in the editing process is the most important, so always take a few moments to think about what you’re trying to get across in your photo.
The editing should always enhance the subject. Asking yourself what drew you to that subject in the first place will help you decide which editing approach to take.
Qu 2. Would It Look Better In Black & White?
This is a great question to ask before you begin any photo editing process. Although you see few black and white photos in my collection, I ask this question about every photo I take.
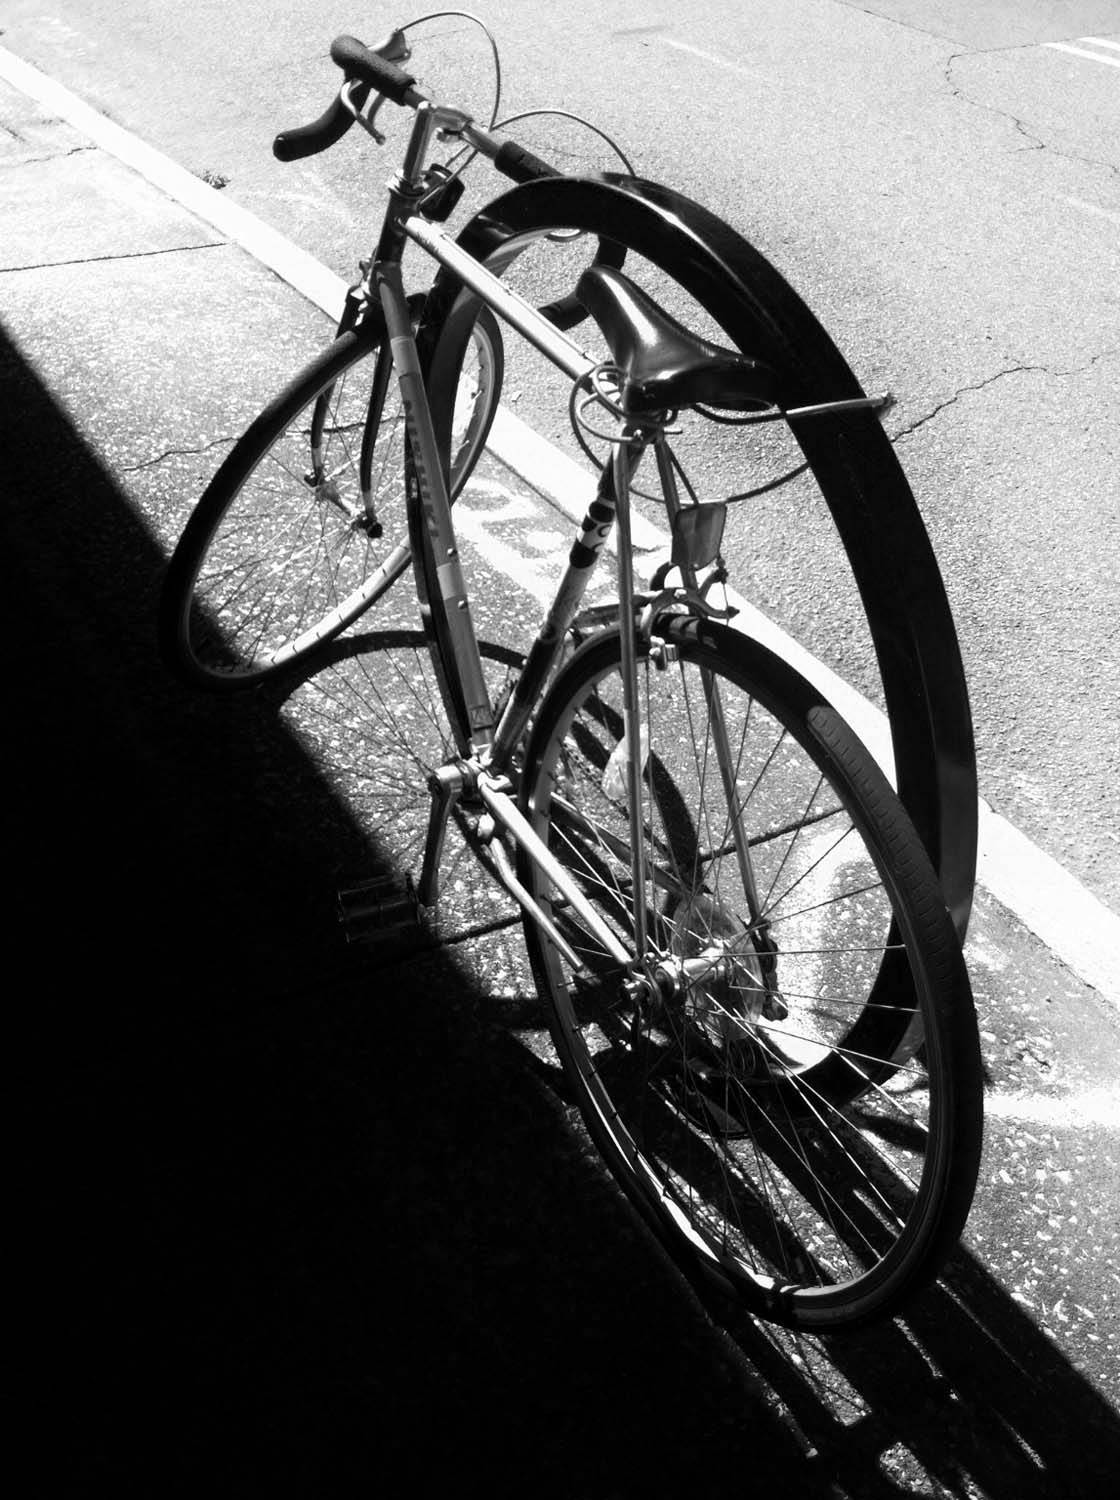
After all, my goal is not to create a signature look but to bring out the best elements in the photo. Some subjects and scenes just look better in black and white.
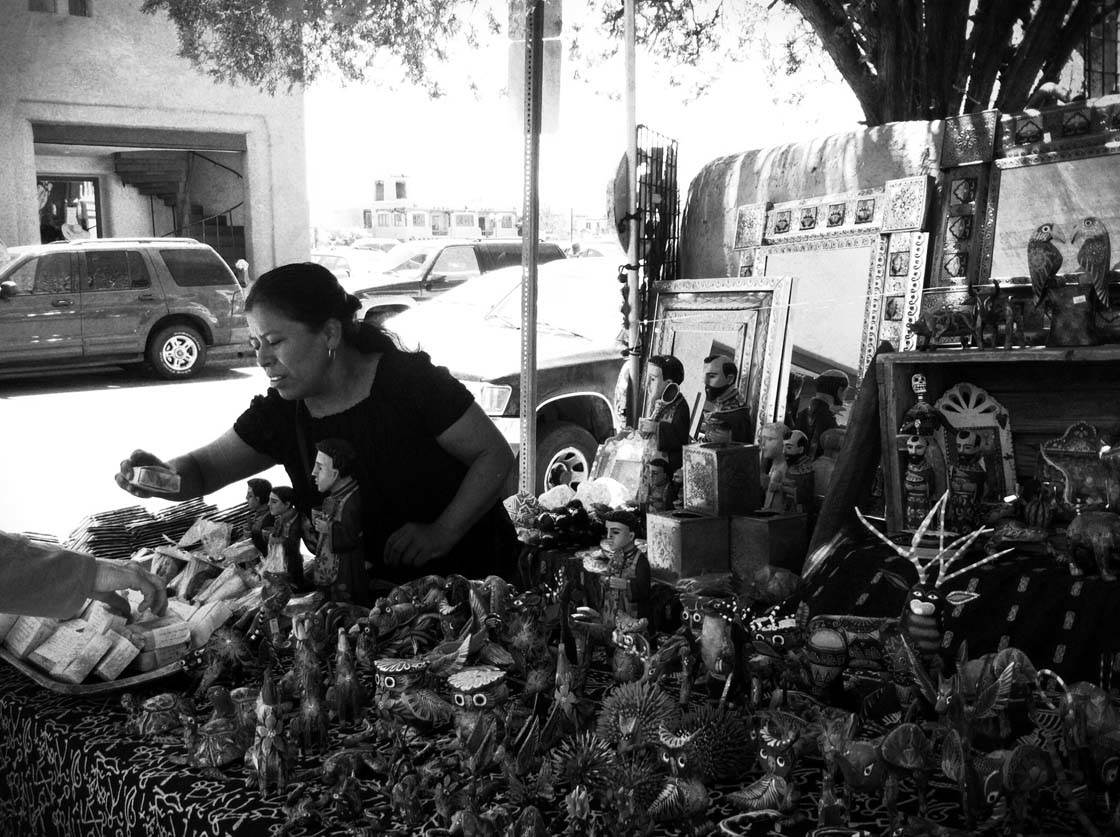
So, when is it ideal to apply a black and white edit? When your composition is focused on lines, shapes and symmetry, this type of photo will often look great in black and white.
Since the eye doesn’t have to focus on color, it will naturally be drawn to the other elements in the scene.
Black and white is also a good option when you want a high contrast image, such as the photo of the tree below. The starkness of just black and white creates a very strong visual impact.
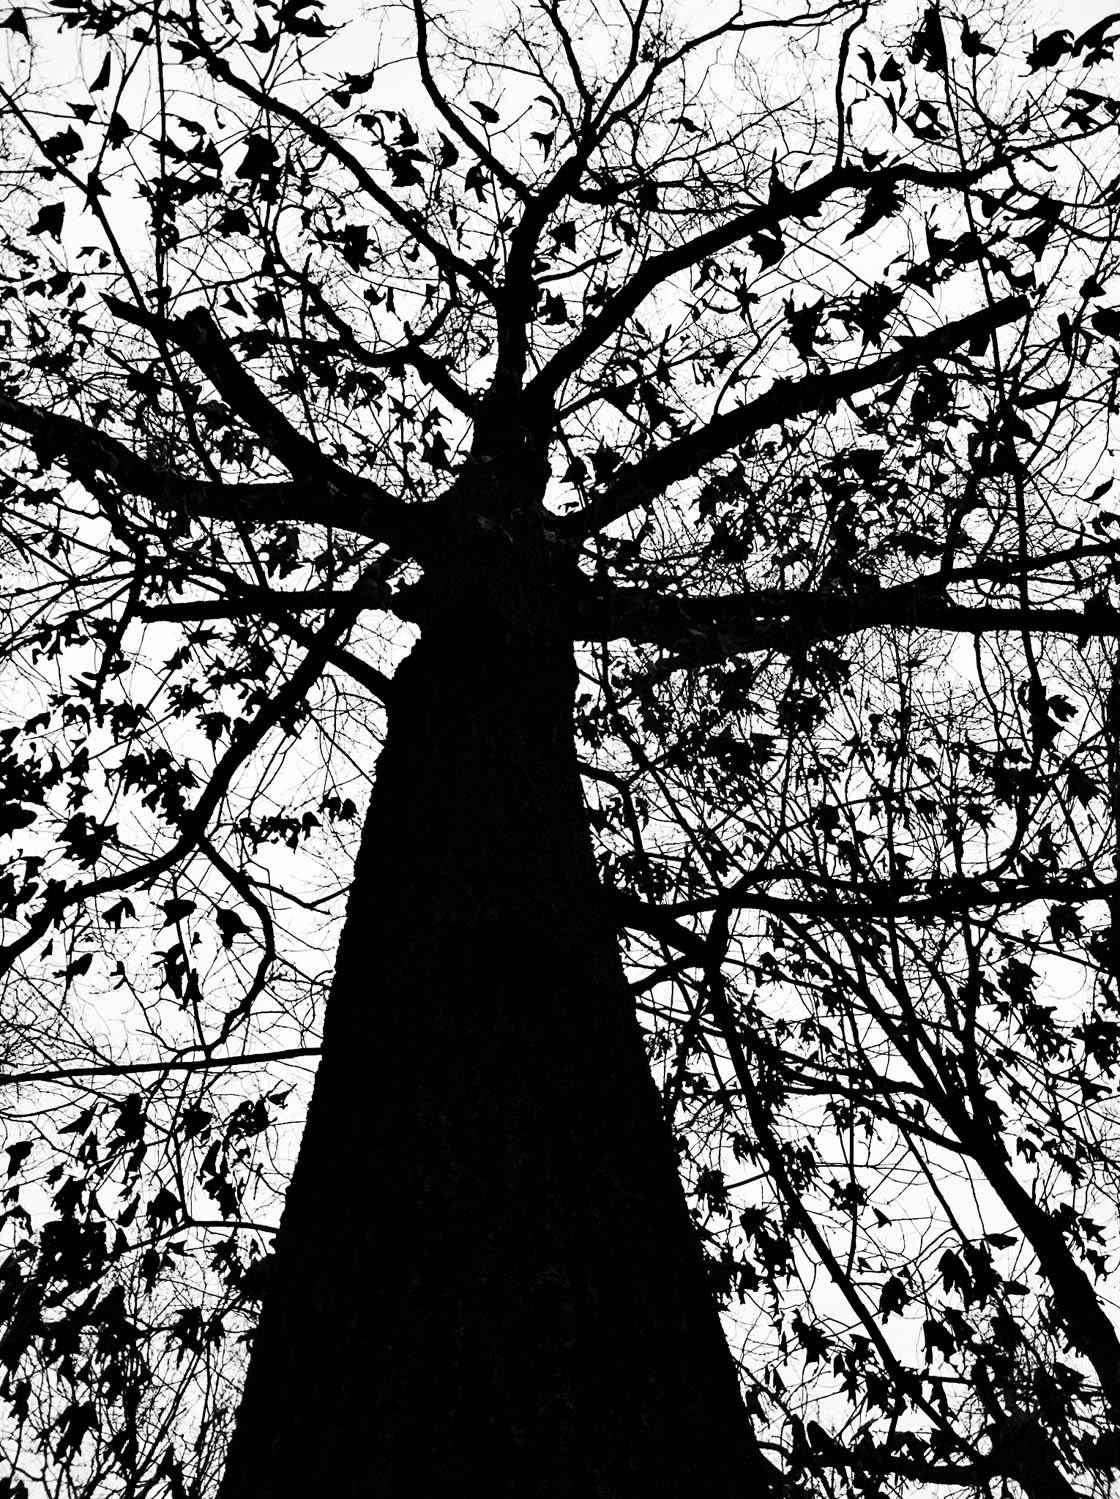
Converting your color photograph to black and white is also helpful when there are too many elements taking attention away from your focal point.
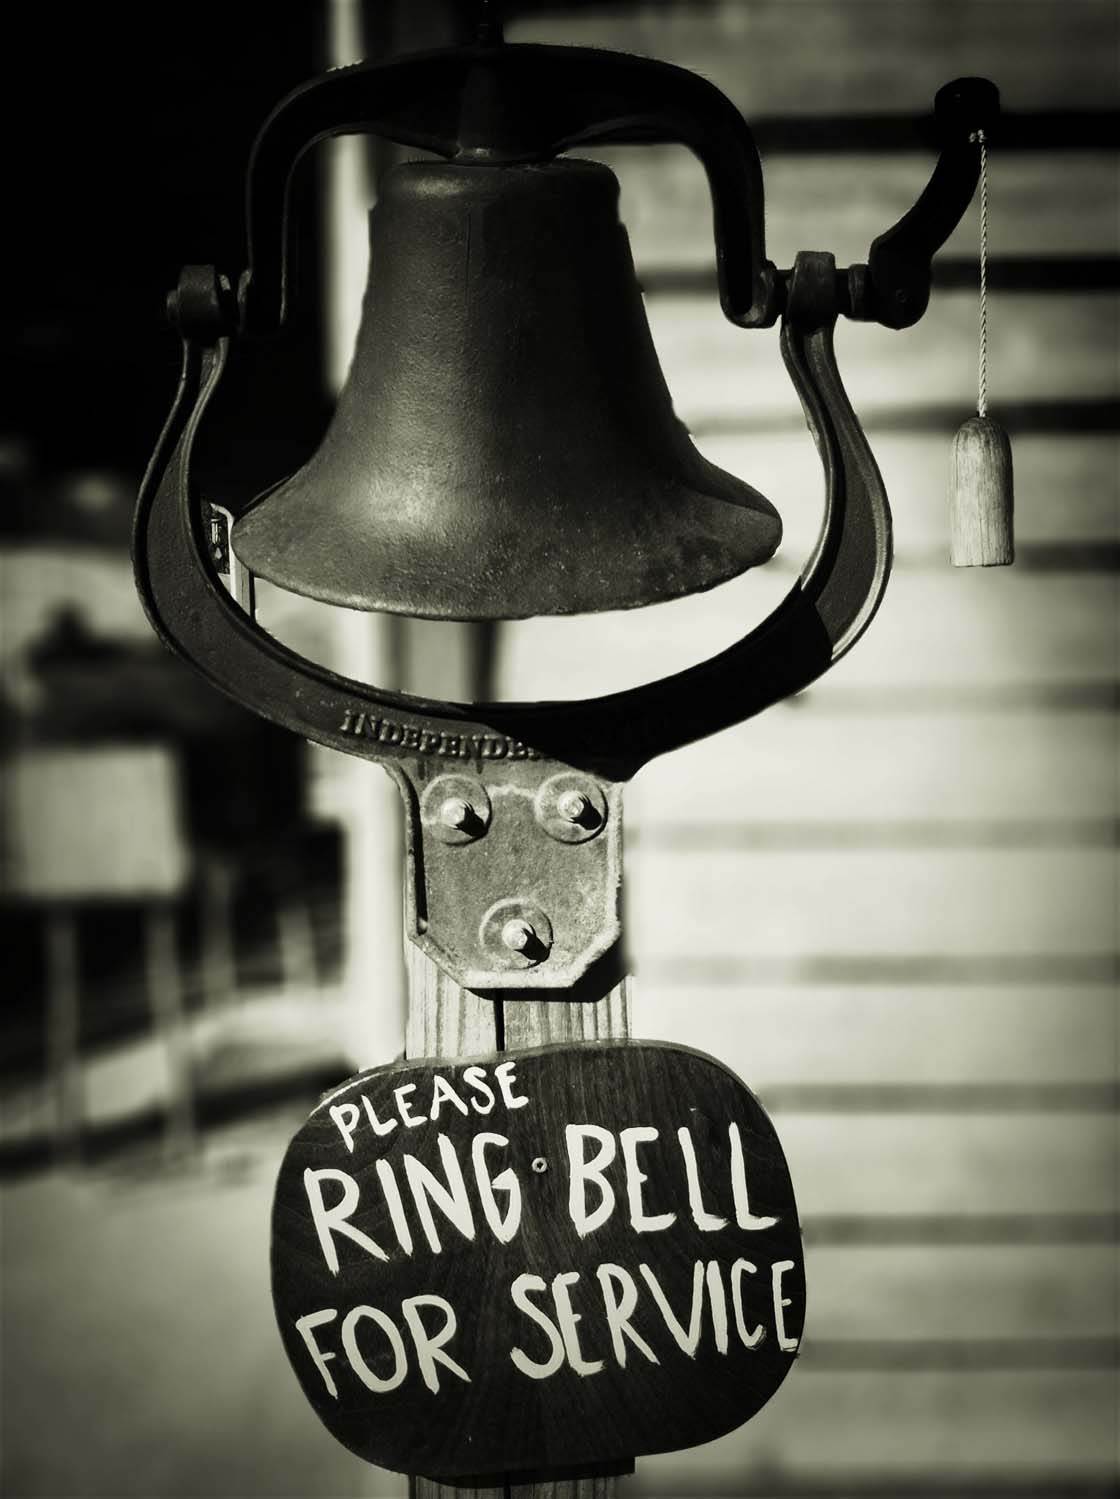
In my original edit of the photo below I kept its natural colors. However, although I was able to blur the background, the small bursts of color were still distracting the eye from my focal points – the bell and the sign.
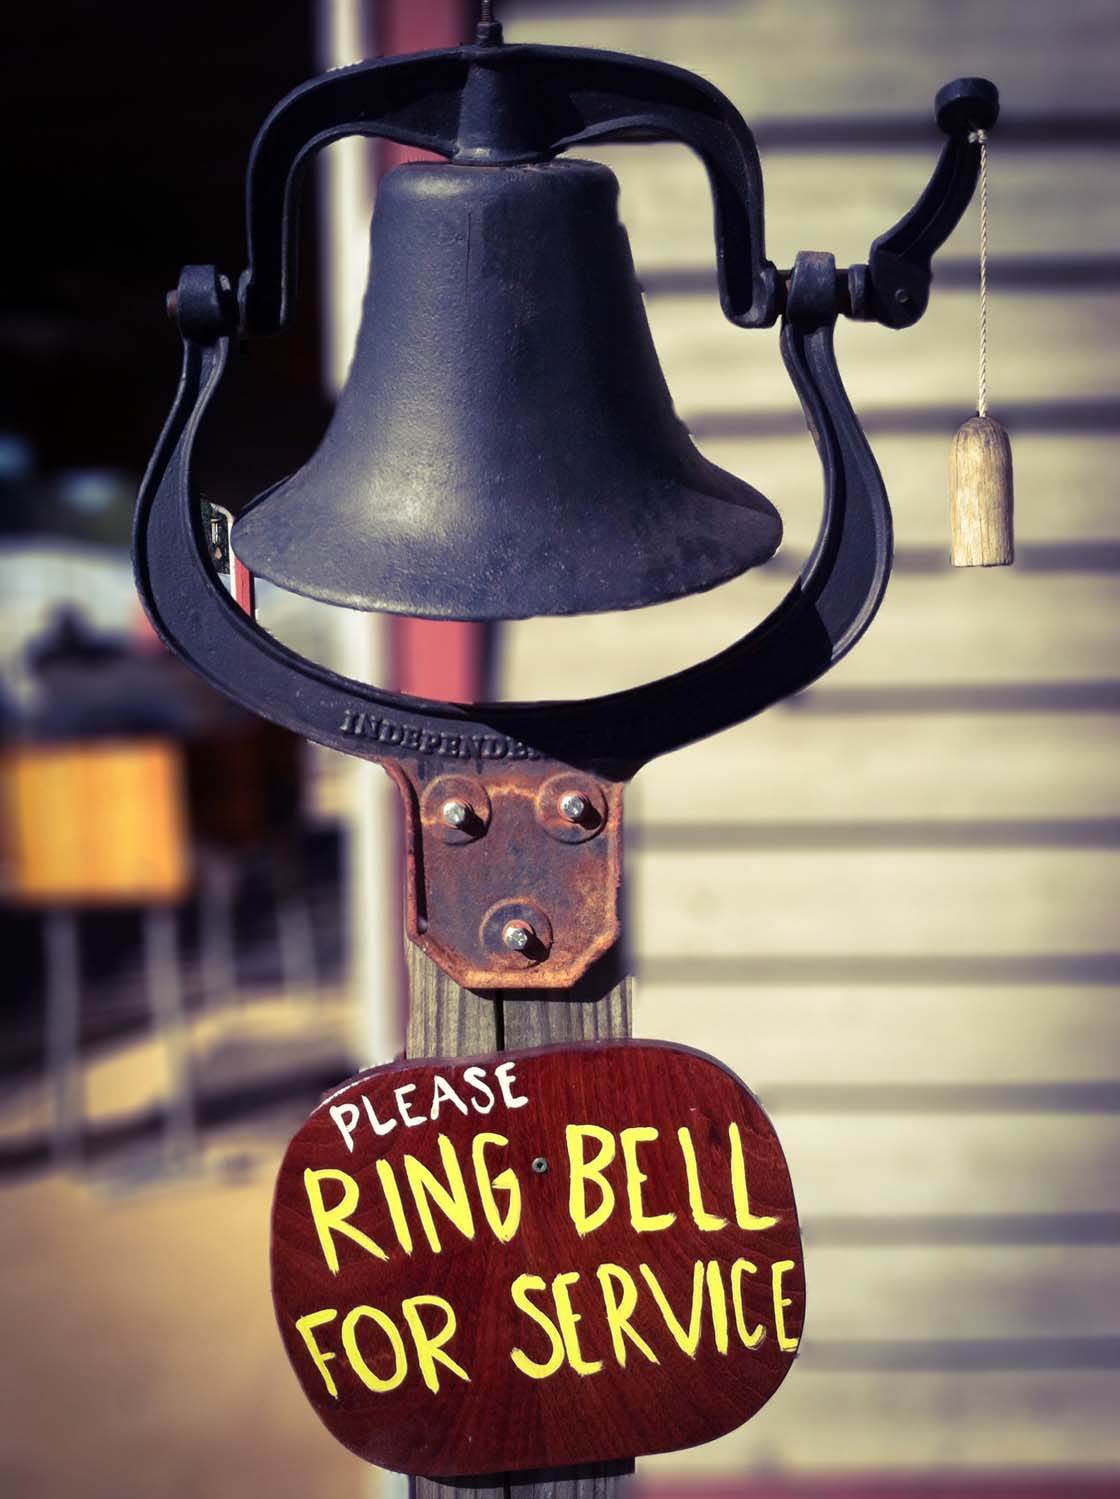
Editing it in black and white produced a more compelling photo because it simplified all of the elements and eliminated the background “noise.”
Black and white images leave a lot to the imagination, so they can be used when you wish to hide certain details in the photo and create a sense of mystery.
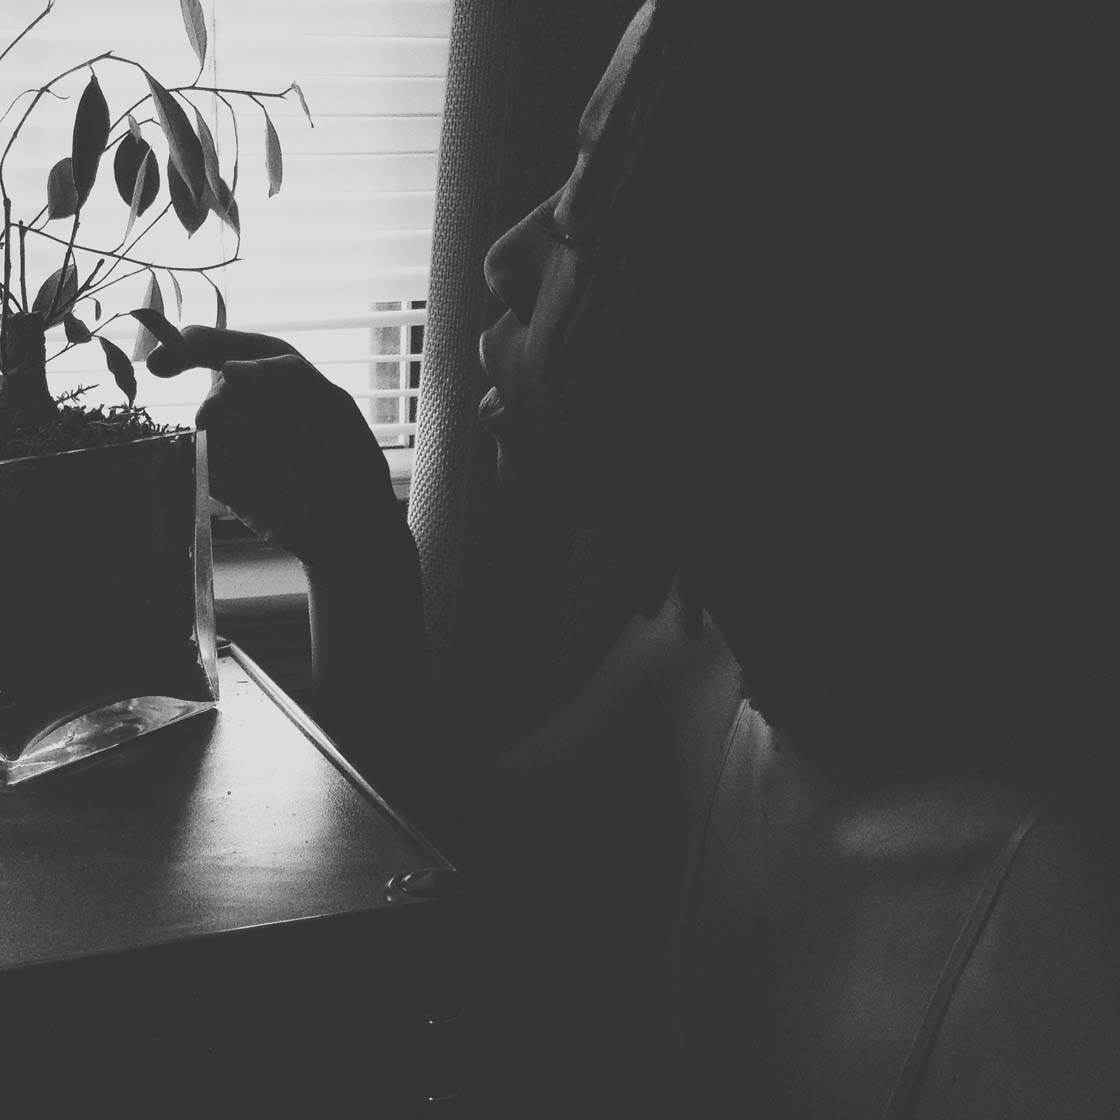
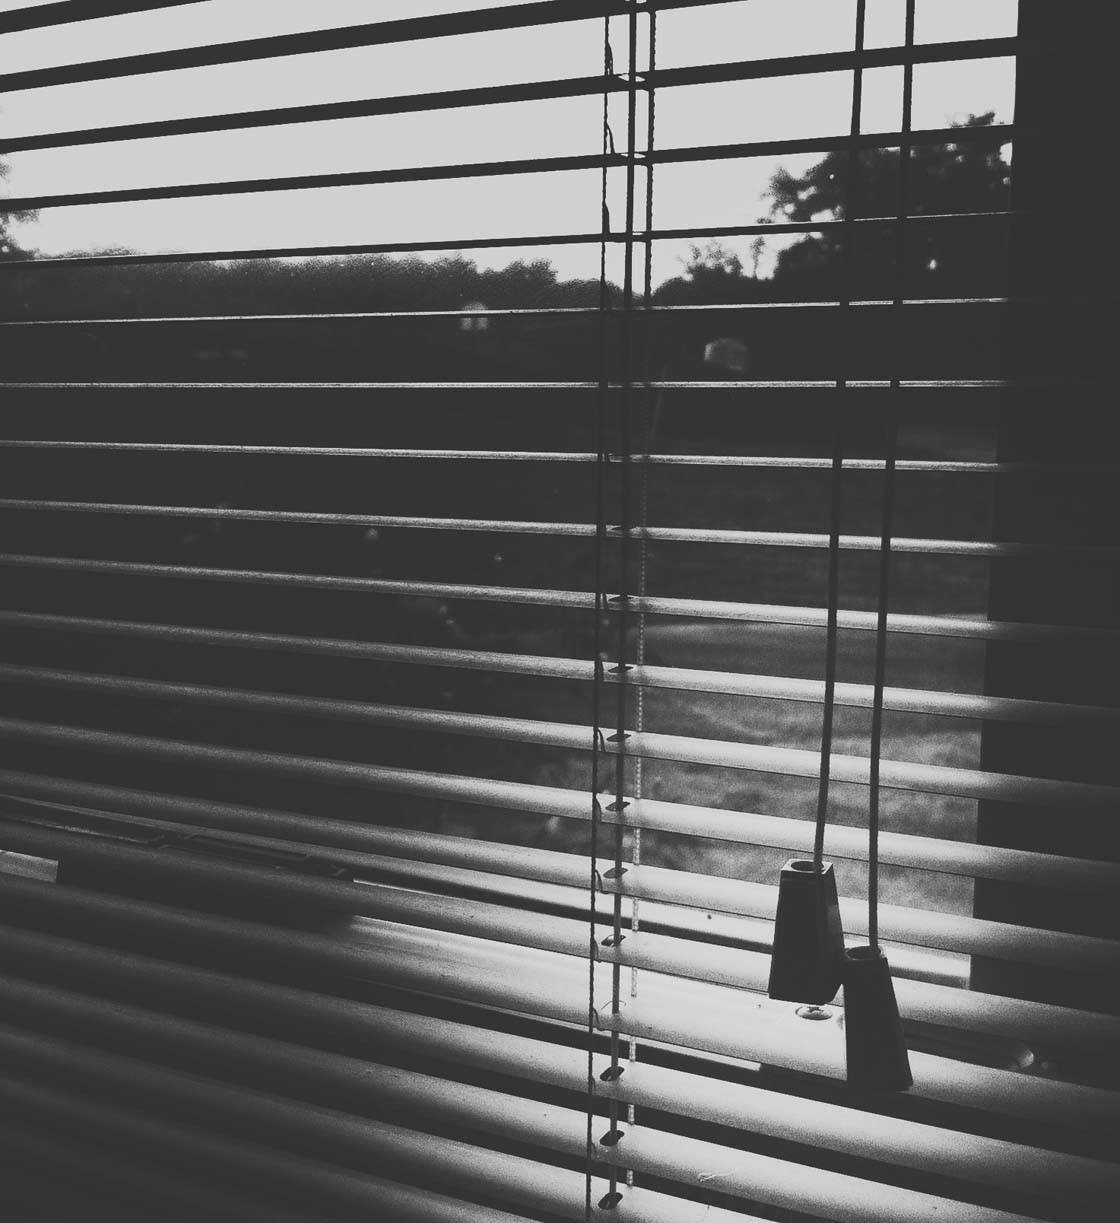
If you take away color, light becomes an even more important element in the photo. If your photo emphasizes light and shadow, processing it in black and white will accentuate the contrast.
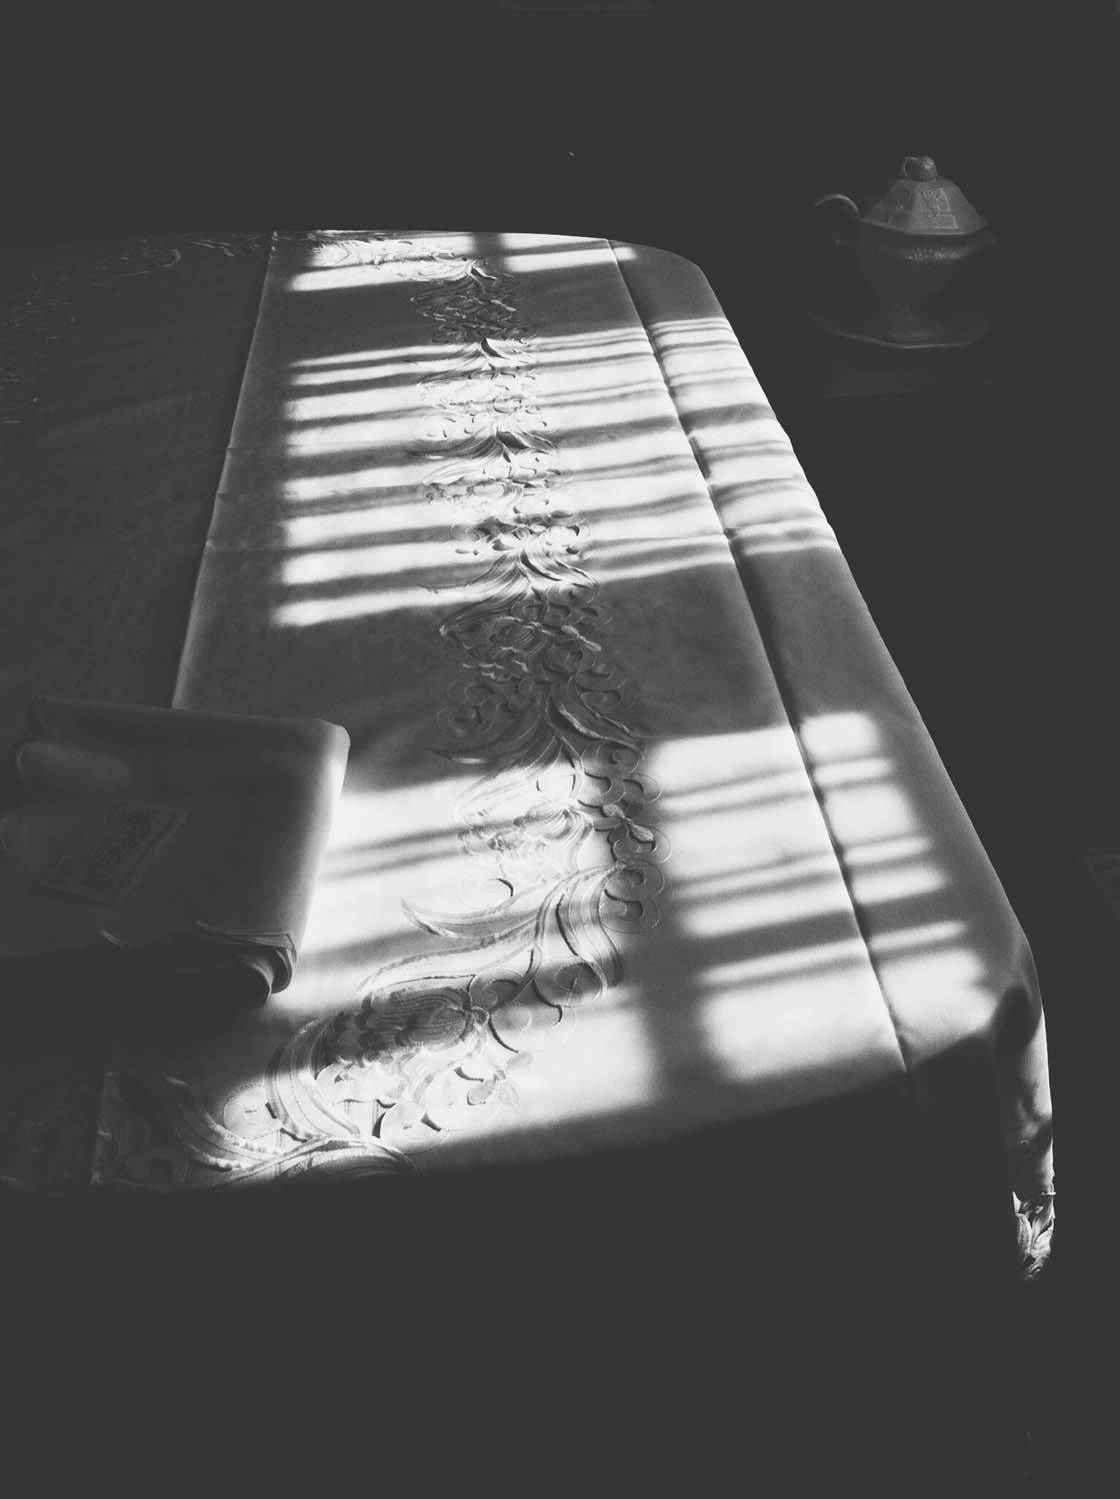
Qu 3. Can You Convey The Mood Or Story Better Using A Specific Editing Style?
In many cases, I’m not shooting a particular subject (person or object) as much as I’m trying to capture a mood or story with the photograph.
So how can your edit show the viewer the whole story? In this section we’ll explore how specific editing styles can dramatically alter the mood of your photos.

For example, my editing goal in this photo was to convey a sense of movement and urgency which the original photo (above), doesn’t show.

First, the photo was cropped to bring focus to the fire truck. Then, I brightened the truck’s red color and used motion blur to tell the story of a fire truck racing to put out a fire.
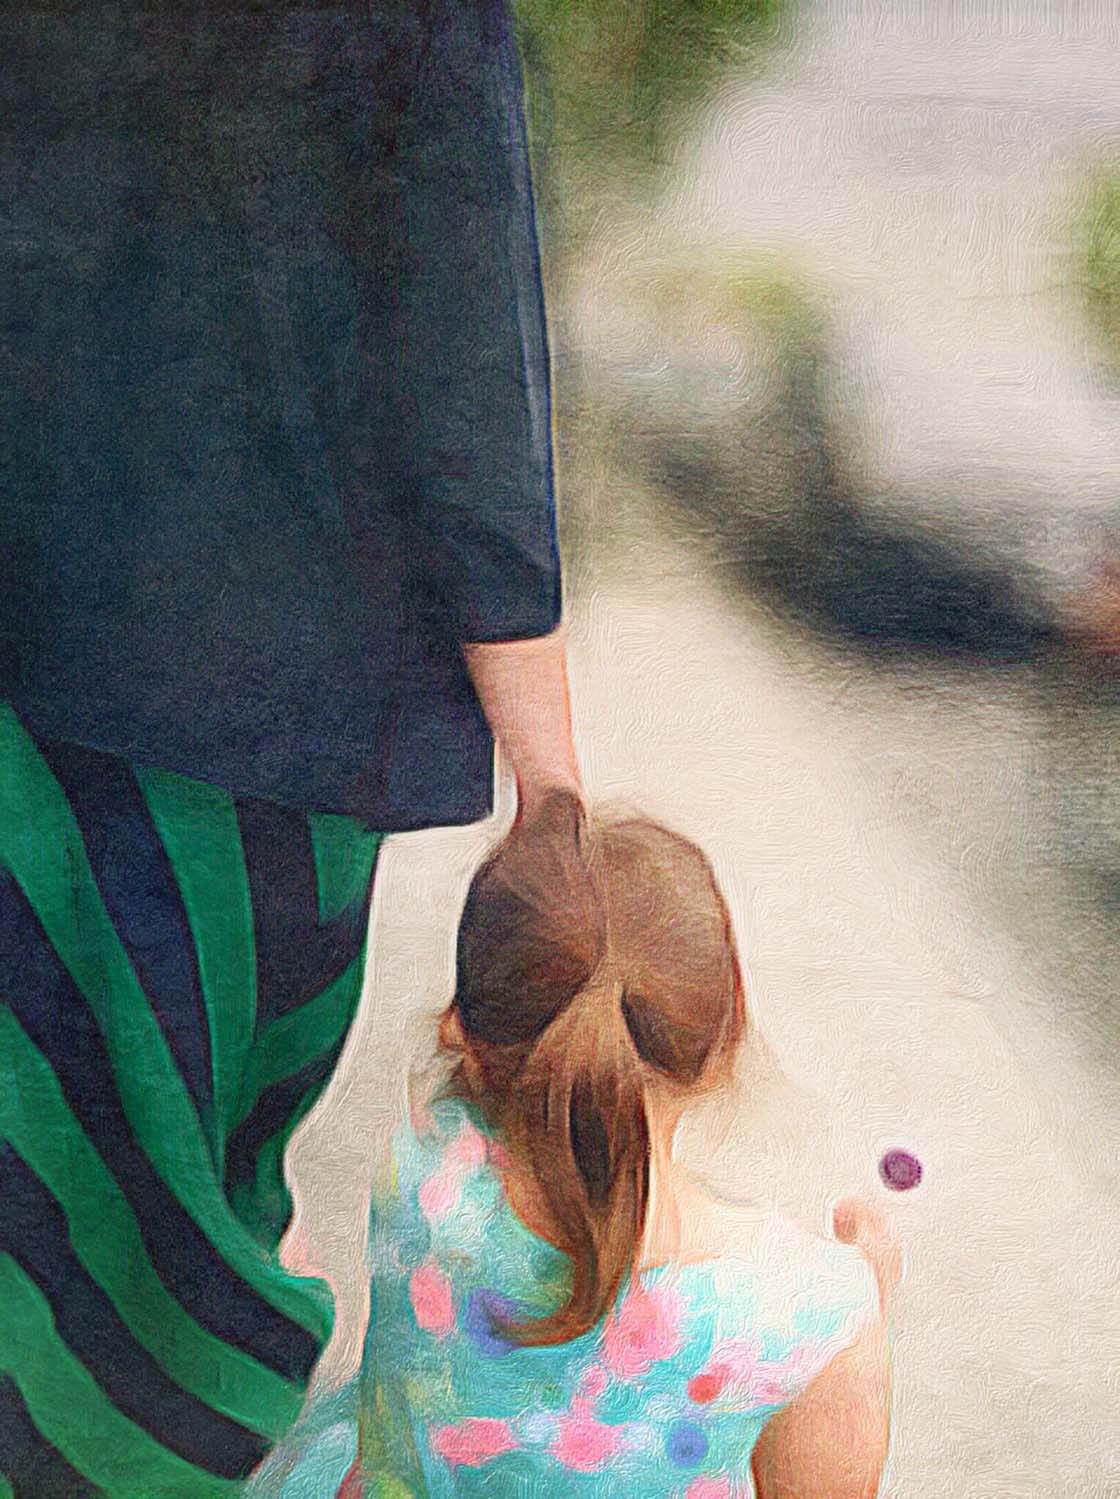
Sometimes, there are too many details that distract the viewer from seeing the story. In the photo below, there are many distracting street elements that take the viewer’s focus off the story of the mother and child.
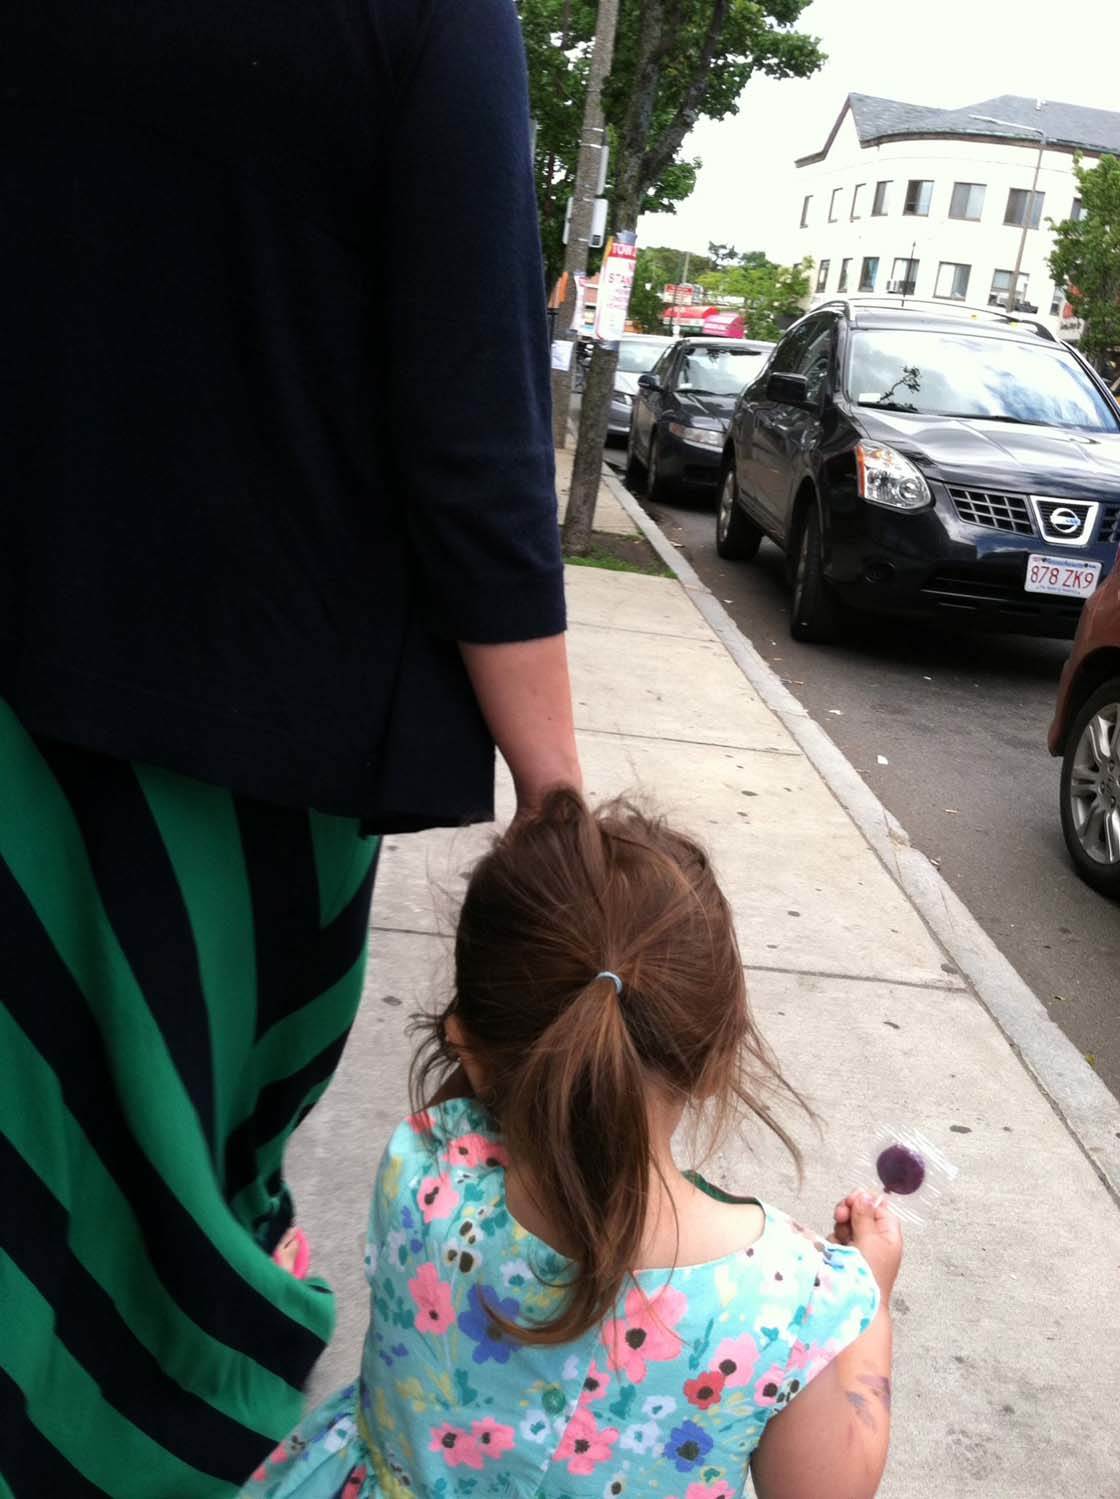
I used several apps to blur the background. I also used texture (Distressed FX app) and painterly effects (Brushstroke app) so the story would be presented like a painting instead of a photograph.
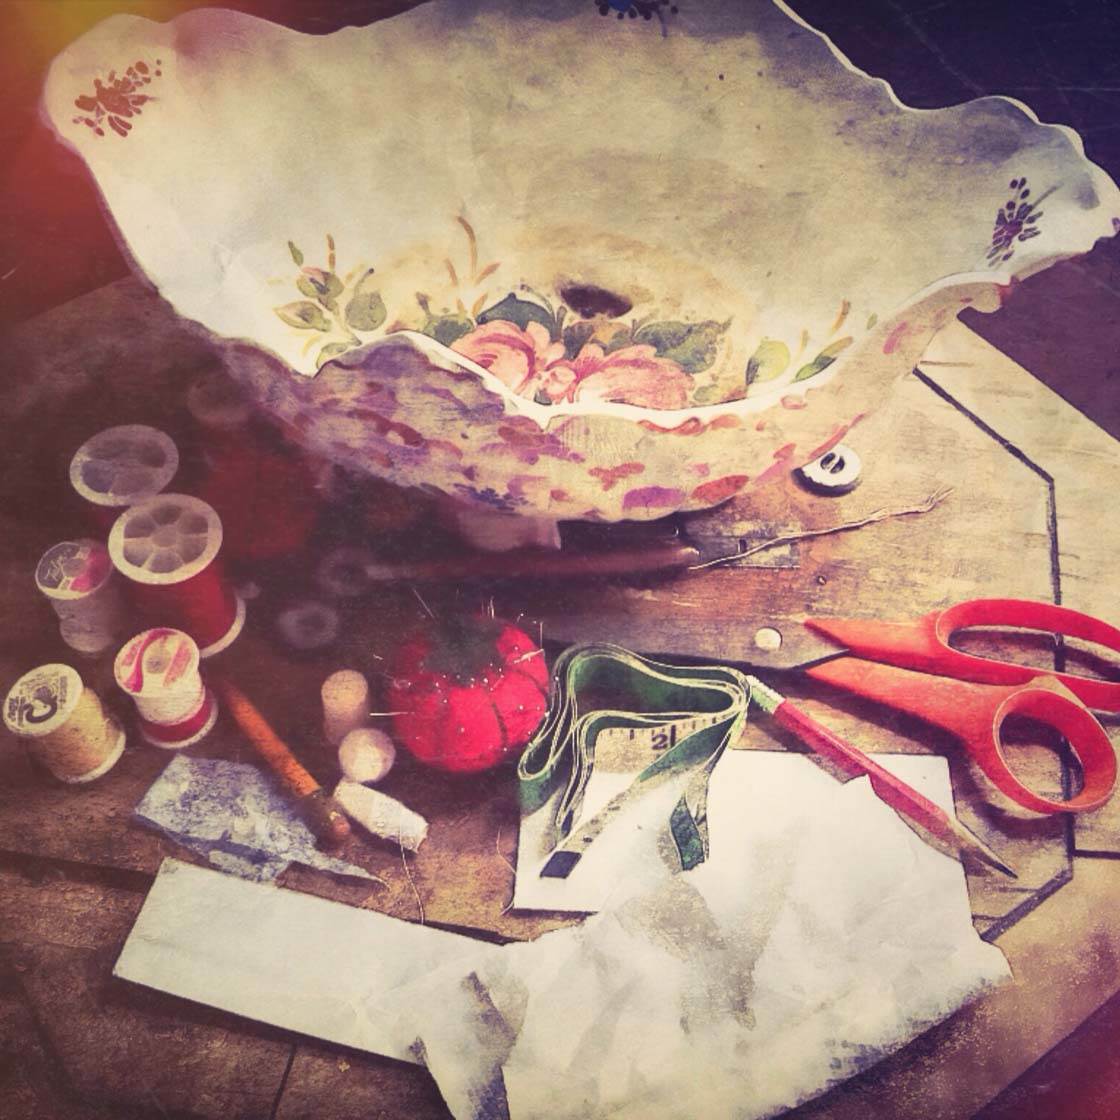
Editing with texture is a great way to tell the story of antique objects. The photograph below of the sewing table at my grandmother’s house has all the elements of a vintage photo.
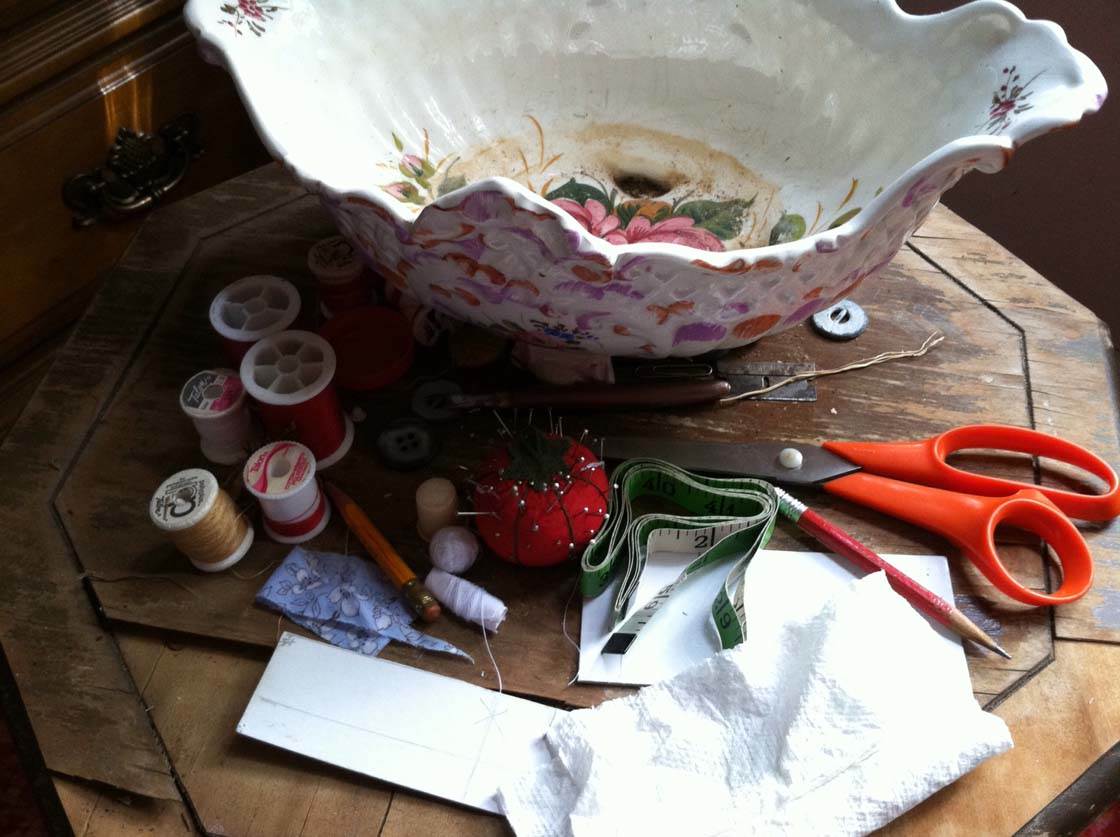
But it gets a real boost by adding texture effects which give the viewer a sense of place – of being in a cozy room filled with antique treasures.
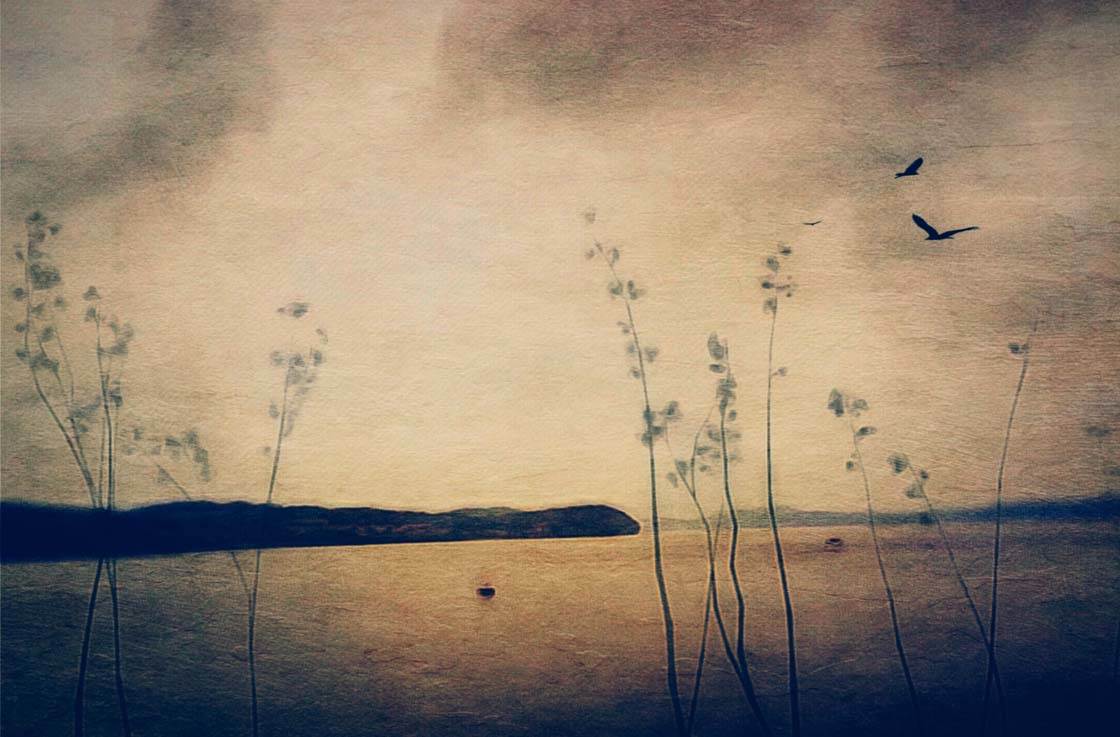
If your scene is sparse or hazy, without distinct features (like the original photo below), texture helps to fill in the negative space and adds mood to an otherwise bland photo.

For the final edit (below), there were a few elements added like the birds and the plants, but it’s really the strong application of texture (using Distressed FX and Brushstroke) that makes the photo come alive.
(You can learn how to turn the above photo into the one below by following my editing workflow tutorial.)
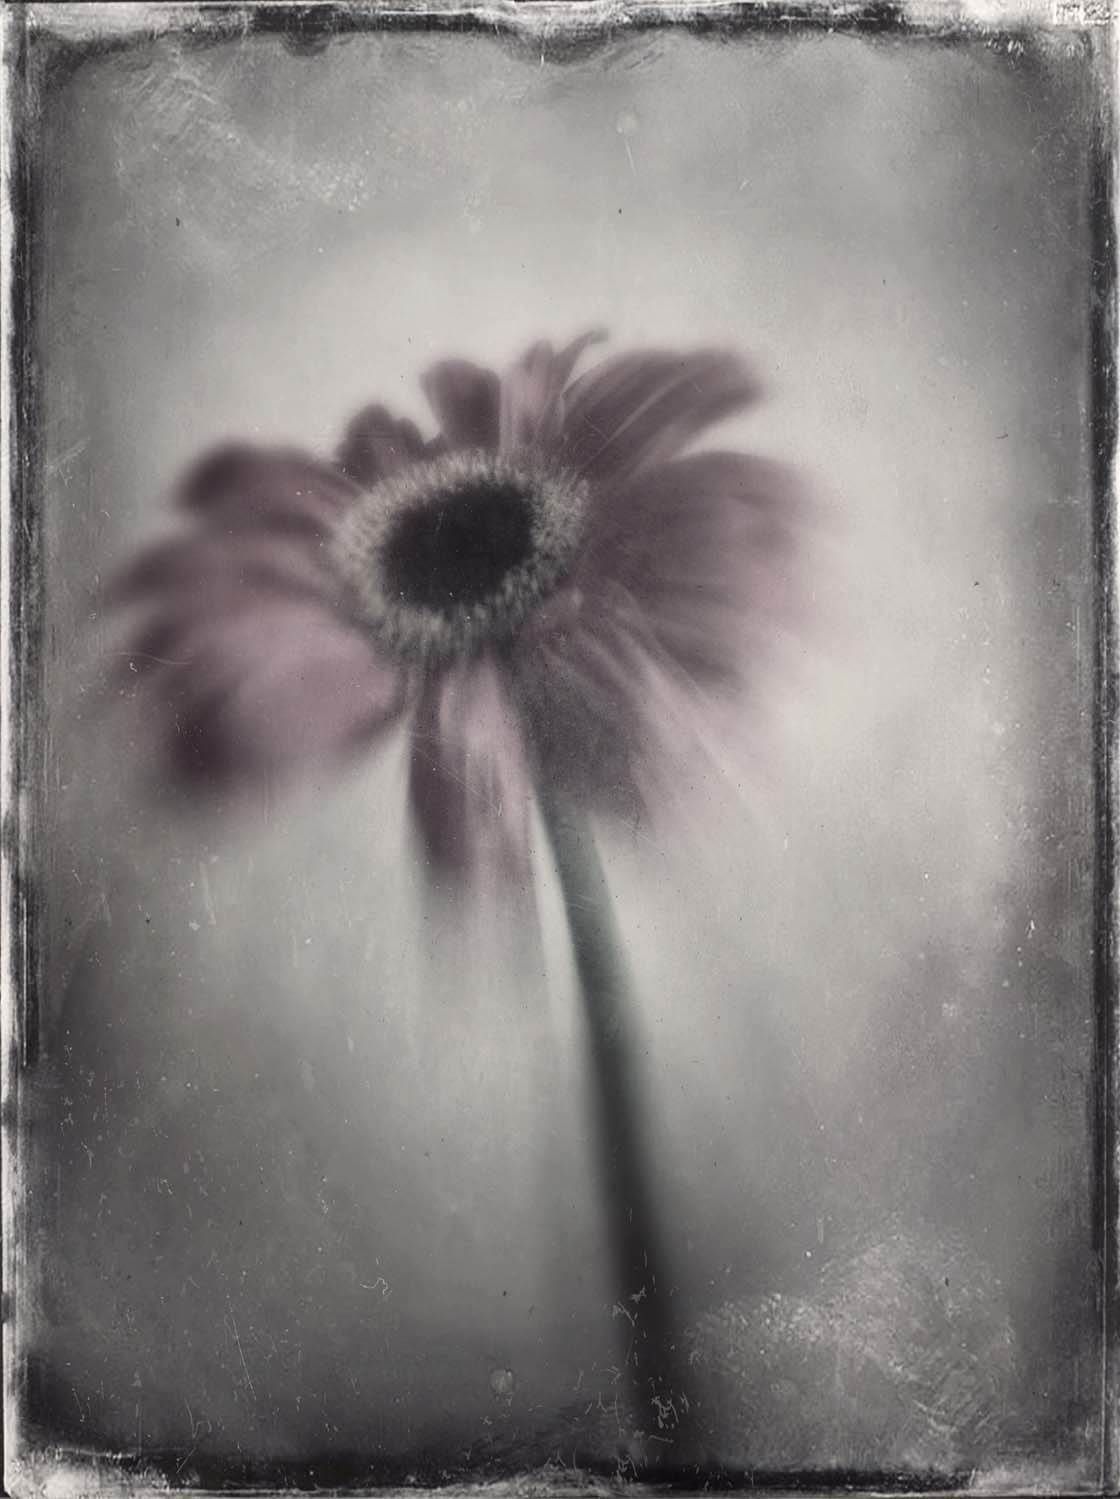
Editing allows you to tell different stories with the same photo simply by changing the editing style. For instance, we can use the same flower and the same photo but tell two different stories.
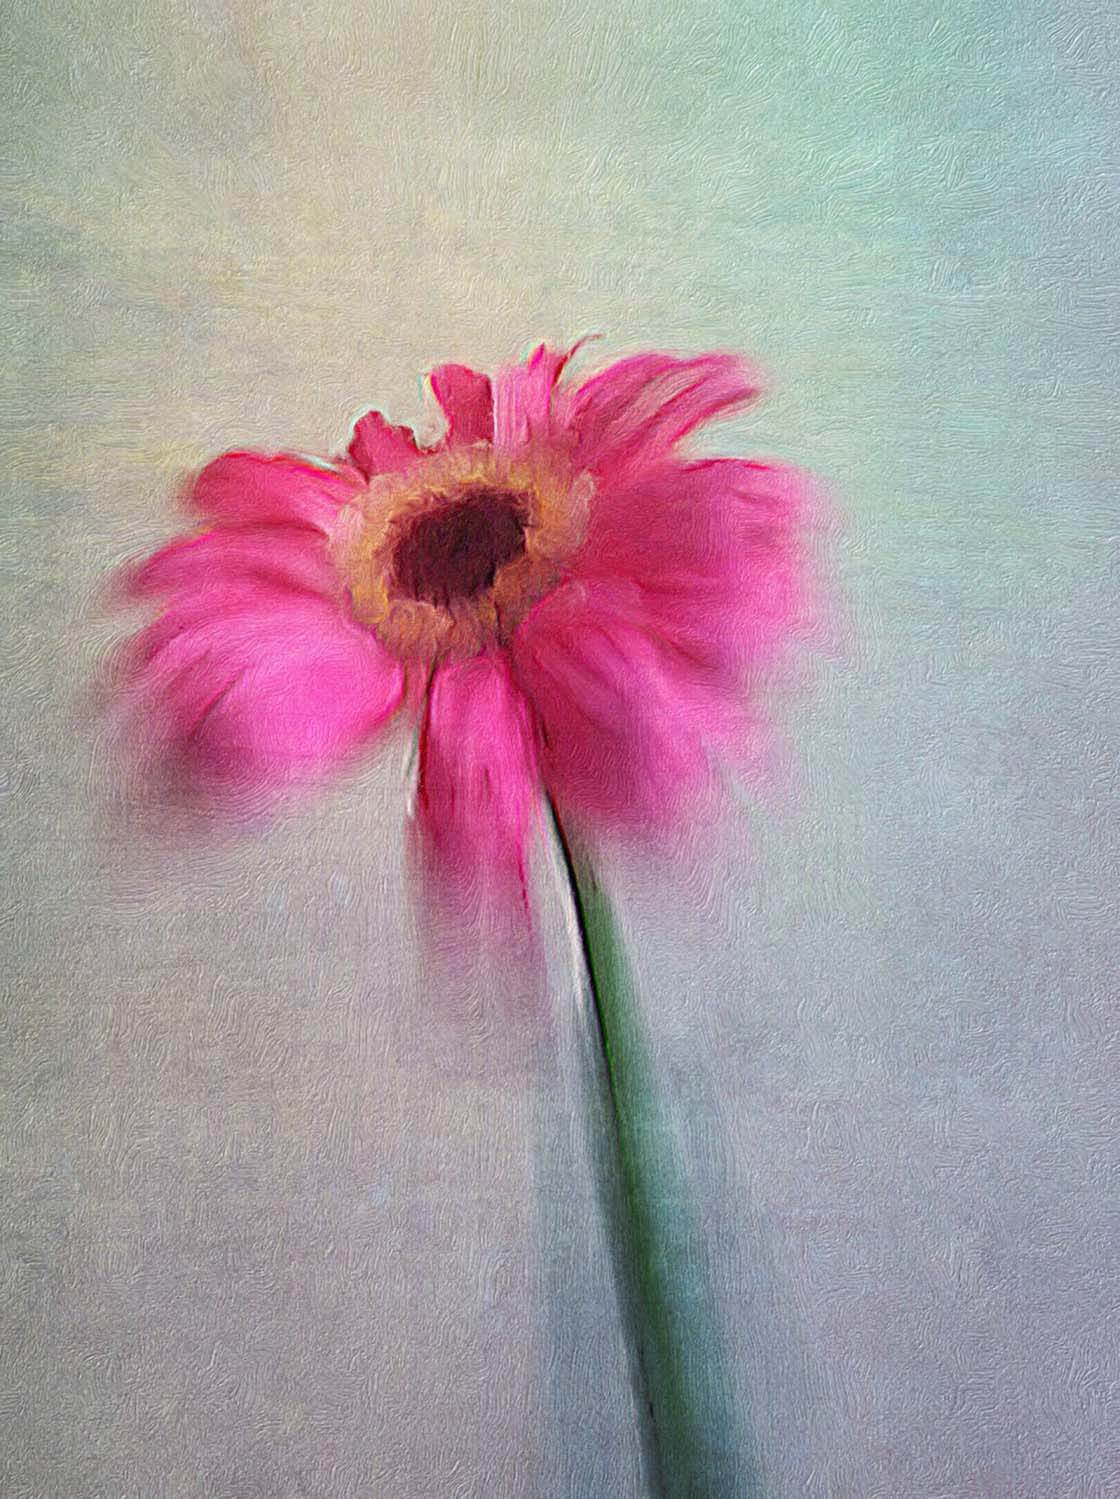
In the first image, above, I used Brushstroke and Mextures to bring out the color and delicacy of the flower. However, in the photo below, I applied a tintype texture in Stackables, creating a somber mood.
Qu 4. Can The Image Be Corrected With Editing?
Technical problems with color, exposure, grain or blur can ruin an otherwise good photo. And many iPhone photographers may discard “bad” photos.
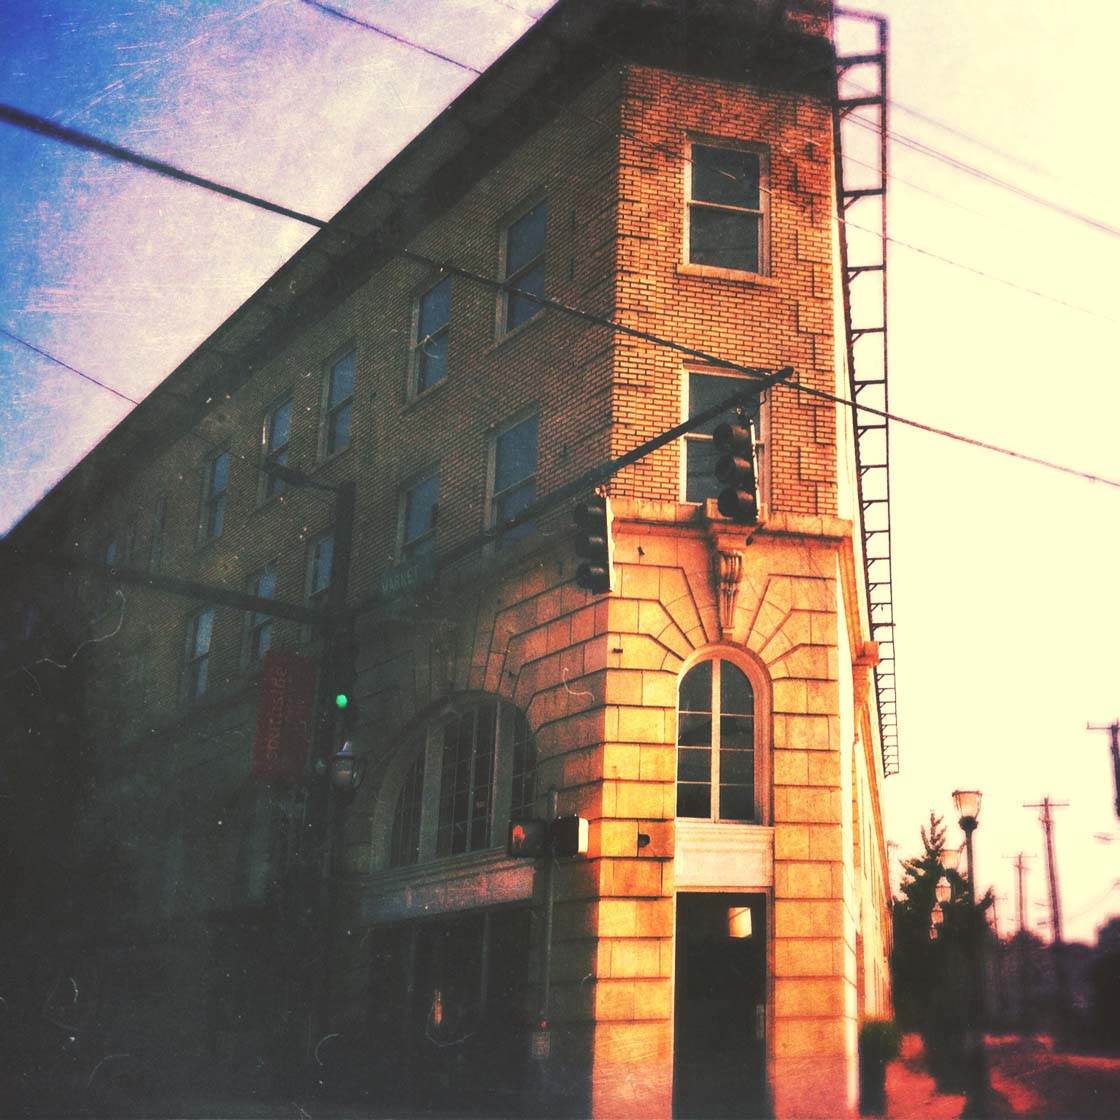
However, if I see something extraordinary in a bad photo, I always try to salvage it with a bit of editing. Depending on what the problem is, you’ll be led in one editing direction over another.
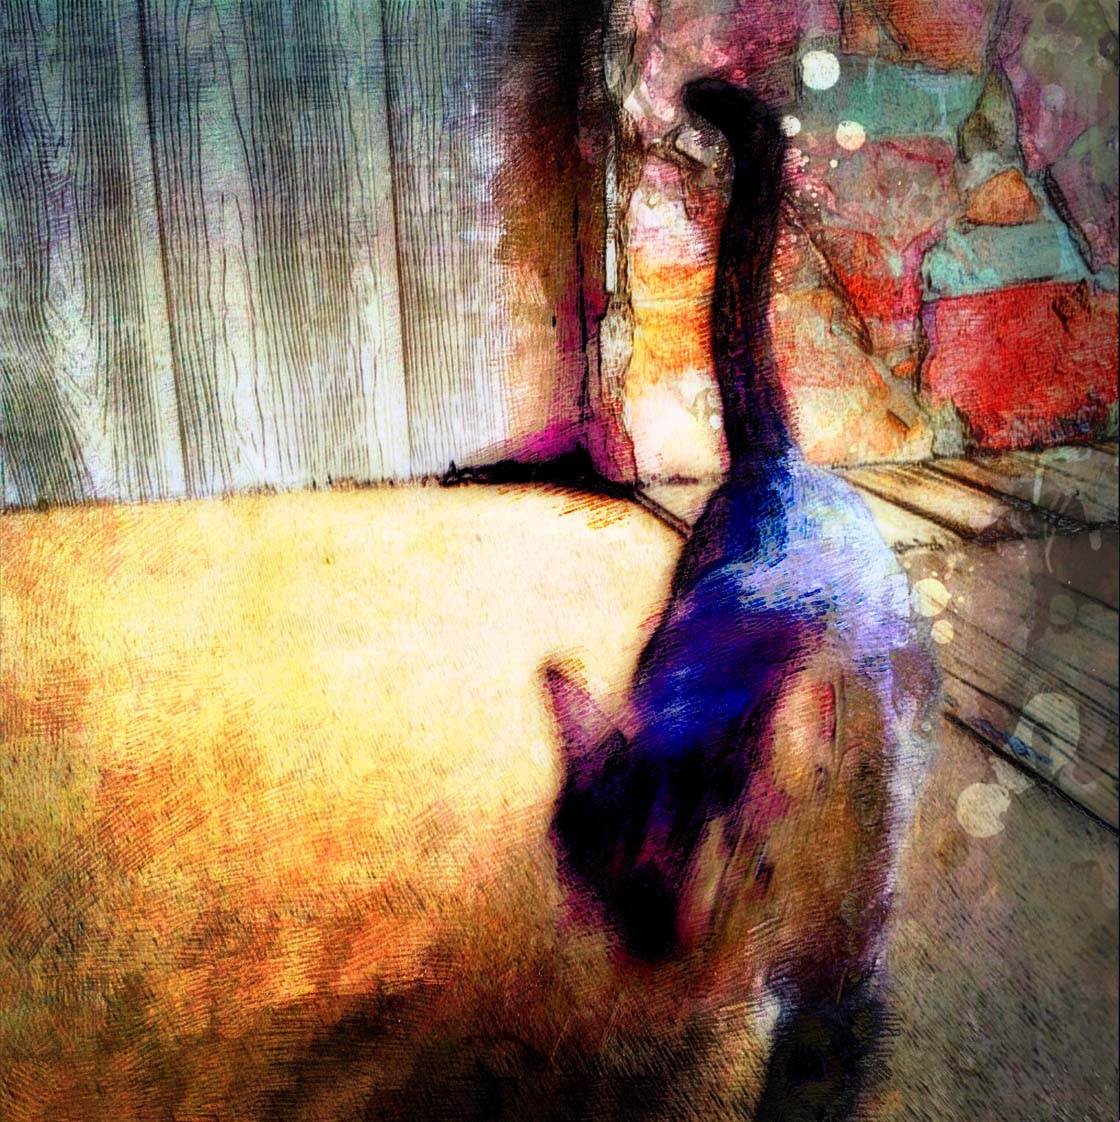
For example, the subject of the original photo below (the cat) was blurry because of its movement. Many people would delete this photo, but not me – I knew that I could create something beautiful from it through editing.
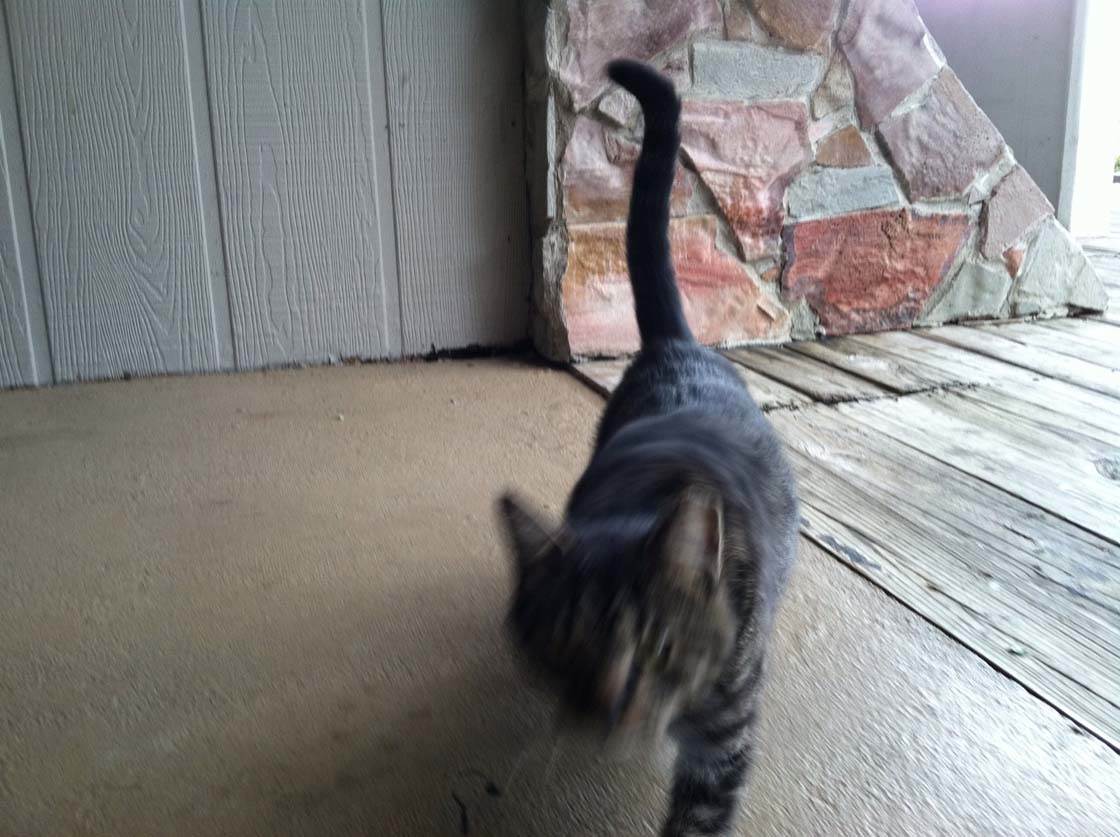
Because of the indistinct image, I decided to take an abstract approach using painterly effects. The editing process also had an unexpected, but pleasant result – layering different edits together intensified the dull colors in the original photo.
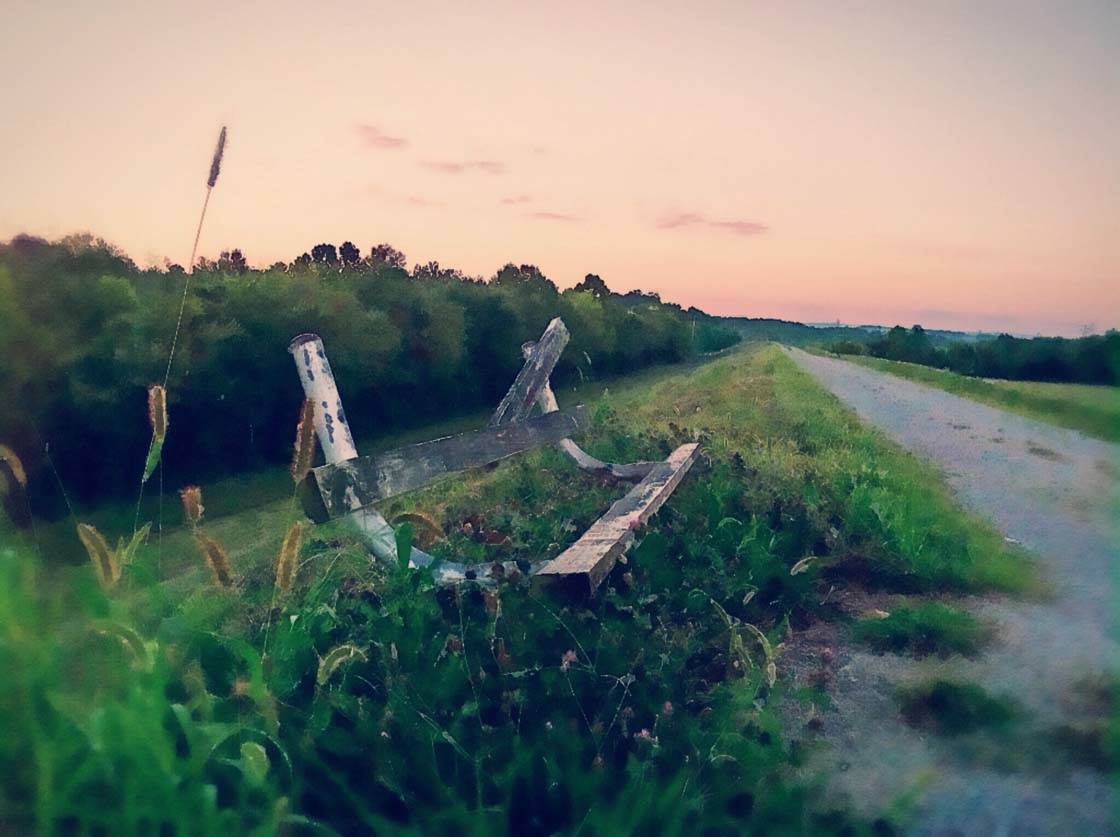
The photo below was shot at dusk and the foreground is way too dark. So my primary editing goal was to lighten it enough to see the detail that I intended to capture.
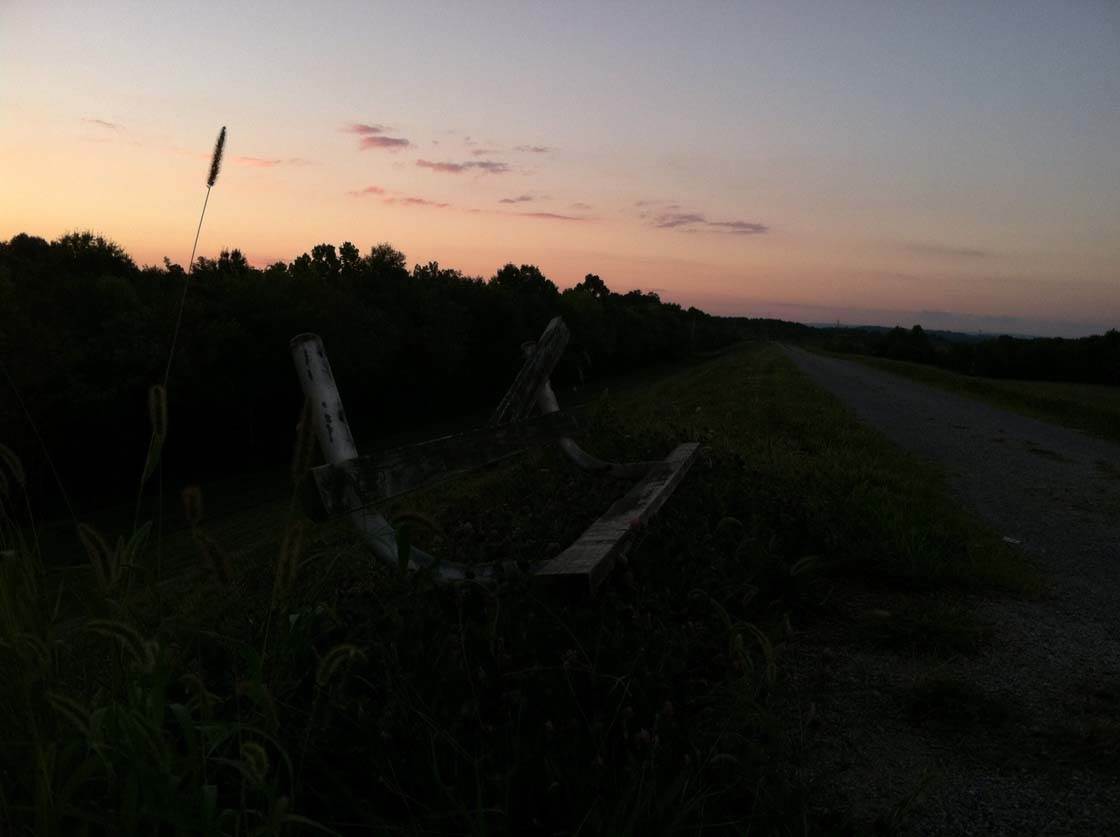
I was able to lighten and brighten the colors in the Perfect Image app, and I also used the Waterlogue app to create a watercolor appearance.
Although the resulting photo may appear to be taken at dawn rather than dusk, my editing vision was still accomplished.
Conclusion
I hope this article has encouraged you to think a bit more about the editing processes that you use. Approaching your editing with a specific goal will help you to stay focused on the important aspects of the original photo.
Of course, image editing is a creative process and your final edit might often end up looking different to how you envisioned it. But if you start with a vision of what you’d like to achieve, this will set you on the right track, saving you a lot of time and frustration.
So the next time you’re unsure of how to edit a photo, use these four questions to help you get started. And of course, learn to use a variety of different photo editing apps so you’ll be able to apply your desired edit with ease!


Thank you very much. Very good article!
You used motion blur for the fire truck. What App did you used? It’s so fantastic!!! Great!
Thanks Tom! I used Focus in Motion app for the blur of the fire truck photo!
I would love suggestions from anyone on how to correct an overexposed sky area. Most of the photo is ok but the sky is too bright and I don’t want to crop It out. Thx!
Hi Joanna,
Good question! I would probably just start with an app like Snapseed or PhotoToaster. Snapseed has an auto adjust as well as a selective adjustment for brightness. PhotoToaster has lighting brushes that allow you to brighten or darken specific areas of the photo.
Thank you so much for the article! Could you share more about the editing behind the fire truck? How did you make the zoom blur effect, with what app(s)? Thank you!
Glad you enjoyed this tutorial. You can find out more about creating blur effects in this article: http://iphonephotographyschool.com/creative-blur/