Normally, our tutorials concentrate exclusively on iPhone photography, and rightly so. But many of you probably shoot with a DSLR or compact digital camera, as well as your iPhone. In this tutorial, you’ll discover how to edit your digital camera photos using apps on your iPhone. This is often an easier, more creative and intuitive process than editing on your computer. We’ll look at the reasons why you might want to do this, show you tips for transferring and editing, and point out some of the pitfalls you should be aware of.
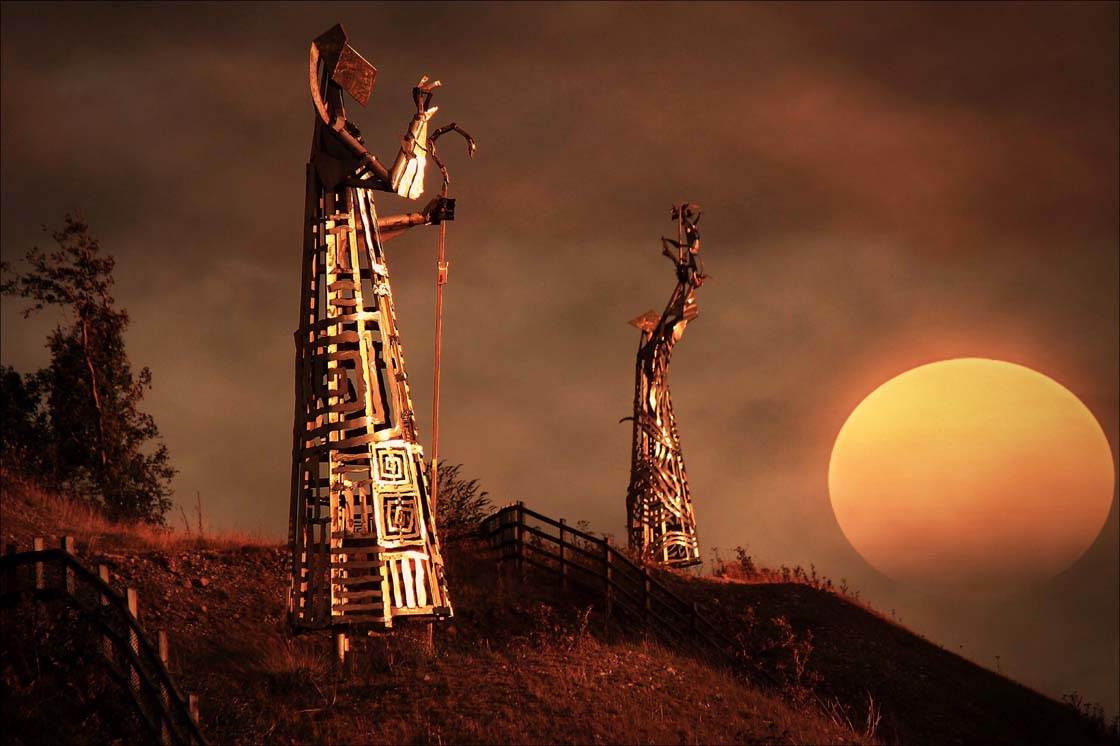
After a few years of using my iPhone exclusively for taking photos, I bought my first DSLR last year. I enjoyed the challenge of shooting with a “proper” camera and I used the software that came with the camera for making basic edits such as brightness, contrast, sharpness, etc.
But I missed the creativity and versatility that comes with using iPhone apps for editing. I recently started to experiment with editing my DSLR images on my iPhone and it’s worked out quite well. All of the examples in this article were taken with a Canon 700D DSLR camera and edited on an iPhone 5s.

Whether you have a high-end DSLR or a budget digital camera, you can quite easily transfer the images to your iPhone, allowing you to use your favorite image editing apps to enhance them. All of these tips will work with both the iPhone and the iPad unless otherwise stated.
Why Edit Digital Camera Photos On Your iPhone?
Traditionally, DSLR photographers edit their photos on a computer – using photo editing software such as Photoshop or Lightroom.
But a lot of these professional software packages have fairly steep learning curves. They’re very powerful, but can be quite complicated to learn.
If, like me, you’ve spent a few years using your iPhone before moving to DSLR photography, you’ll have your own favorite editing apps on the iPhone that you’re comfortable with.
Computer photo editing software tends to be quite expensive – with either a substantial one-off payment or a monthly subscription. By contrast, most iPhone photo editing apps in the App Store only cost a few dollars – and some are completely free.

Another reason you might want to use your iPhone for editing is that it’s a more organic, tactile process. A lot of the tools that you use when editing on your iPhone require you to swipe or touch the screen.
This can help to make you feel more involved in the editing process as you manipulate and alter your images with these swipes and touches. It’s definitely a more involving process than using a mouse on your computer.
Original DSLR Photo
DSLR Photo Edited On iPhone
So let’s take a look at the process of editing your digital camera photos on your iPhone or iPad, and some of the things you need to watch out for in order to preserve the highest image quality.
1. Transfer Camera Photos To Your iPhone
So, how do you get your digital camera photos onto the iPhone? There are a number of ways to transfer photos from your camera or computer onto your iPhone or iPad. Here are some of the most popular methods.
If you want to transfer images directly from the camera’s memory card, you can use Apple’s Lightning To SD Card Camera Reader, however, this accessory isn’t currently compatible with iPhones, so you can only use this if you’re transferring to an iPad. You simply insert the SD memory card from your camera into the reader and connect it to your iPad.

You can then import all the photos from the memory card or select individual photos to be imported. If your camera doesn’t use an SD card, you can use the Lightning To USB Camera Adapter which allows you to connect your camera to the iPad via USB cable.

If you’ve already transferred your digital camera photos to your computer, there are several ways of getting the images from the computer to the iPhone. A great way to transfer photos between devices is via cloud storage.
You may already be familiar with Apple’s iCloud Photos which can be set up so that your iPhone or iPad automatically uploads photos that you take in order to create a backup. You may also be aware that iCloud can be used to transfer photos from your computer to your iPhone via the iCloud Control Panel software on your computer.
However, transferring images via iCloud doesn’t copy them to your phone at full resolution. In fact, the resolution and size are dramatically reduced, so I wouldn’t recommend using this method. Instead, I would recommend using a cloud-based file sharing service such as Dropbox to transfer your photos.
Dropbox is my preferred method. I set up a folder called “Transfer” in Dropbox on my computer, and just save the photos I wish to edit into this folder. I then use the Dropbox app on my iPhone to access them for editing.
If you only have one photo that you want to transfer, you may find the simplest option is to email it to yourself. Using the Mail app on your iPhone, you can then open the photo and save it to your Camera Roll for editing.
You may be familiar with transferring files between your computer and iPhone using the sync options in the iTunes software on your computer. You can copy the photos you want to transfer into a folder on your computer, then select this folder in the sync options in iTunes. When you connect your phone to the computer and sync via iTunes, the photos will be transferred to a folder in the Photos app on your phone.
However, this method has the same serious drawback as using iCloud in that the photos are not transferred at full resolution. Therefore I would not advise using this method if you want to edit your digital camera images at full resolution.
2. Use Apps That Save In Full Resolution
The photos from a DSLR will usually be of a far higher resolution than anything your iPhone camera can produce. When editing your DLSR photos (or other digital camera images) on your phone you should try to only use apps that save at full resolution in order to preserve the high image quality.
A lot of apps, particularly free ones, will only let you save your edited image at a reduced size. If you’re happy with this then it won’t be an issue, for example, if you’re only planning to share the image online then it may not be a problem.
If, on the other hand, you want to preserve the resolution of the original image in your edits then you should only use apps that save at full size. This is especially important if you’re planning on printing the image as you’re going to want the largest, highest quality image possible.
When downloading editing apps for your iPhone, always look at the app information to see if it saves full resolution images. Apps to try are PhotoToaster, Snapseed, FilterStorm, Handy Photo, and Photoshop Touch, to name but a few. With the increased processing power of each new iPhone, there are more and more apps that save at full resolution.
3. Apply Filters And Effects
DSLR cameras come with their own editing software which normally covers the basics such as cropping, sharpening, contrast, color saturation, and temperature. Some will have basic cloning tools, noise reduction, and other useful editing options.
But if you want to get more creative with apps that you’re already familiar with, the iPhone is a great place to edit your digital camera photos.
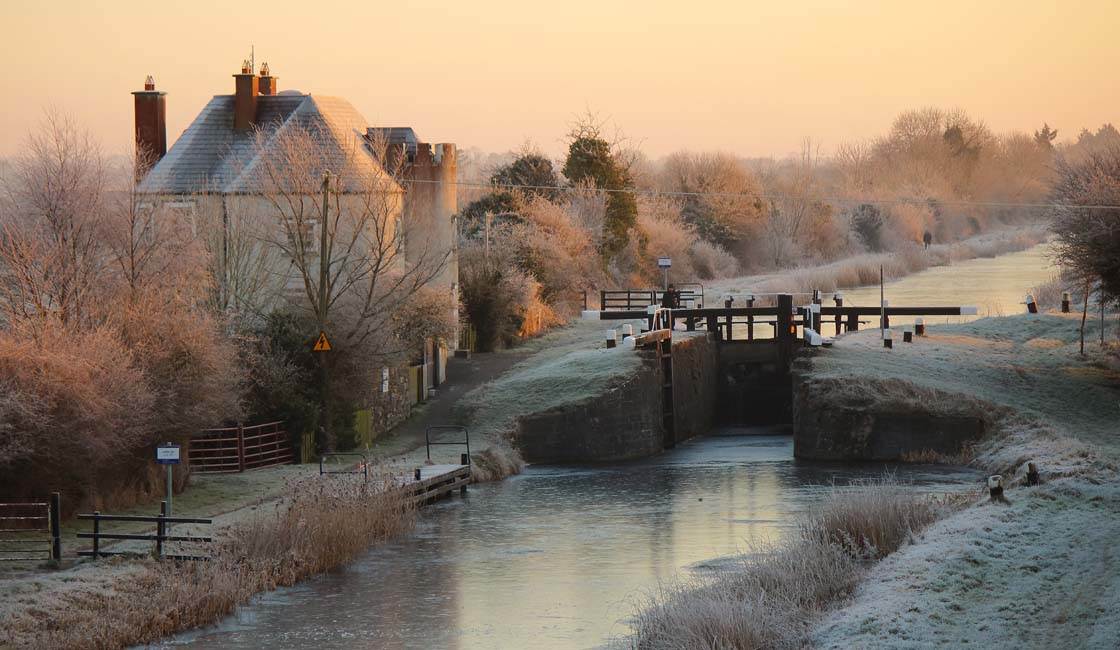
Original DSLR Photo
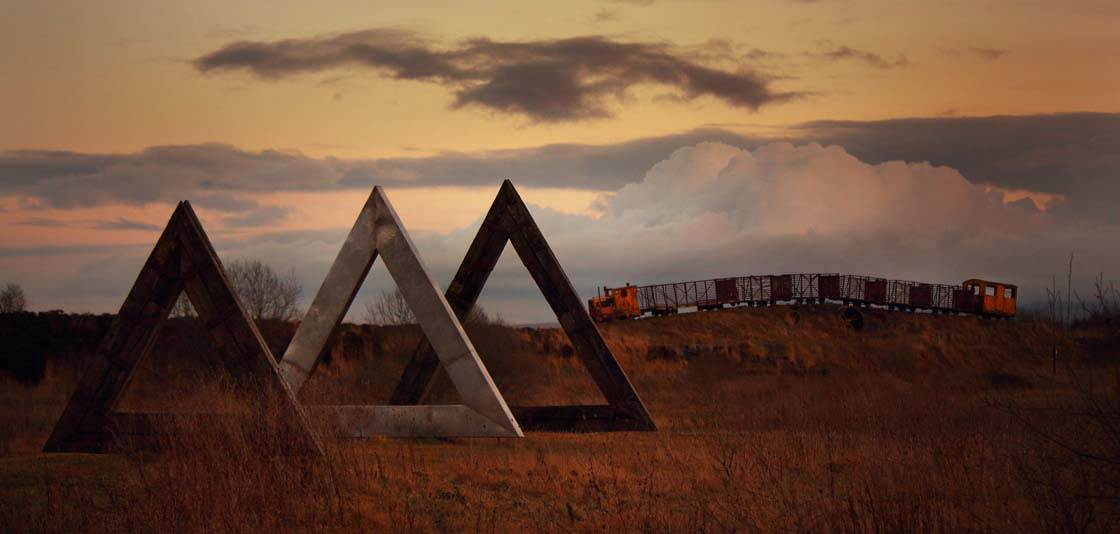
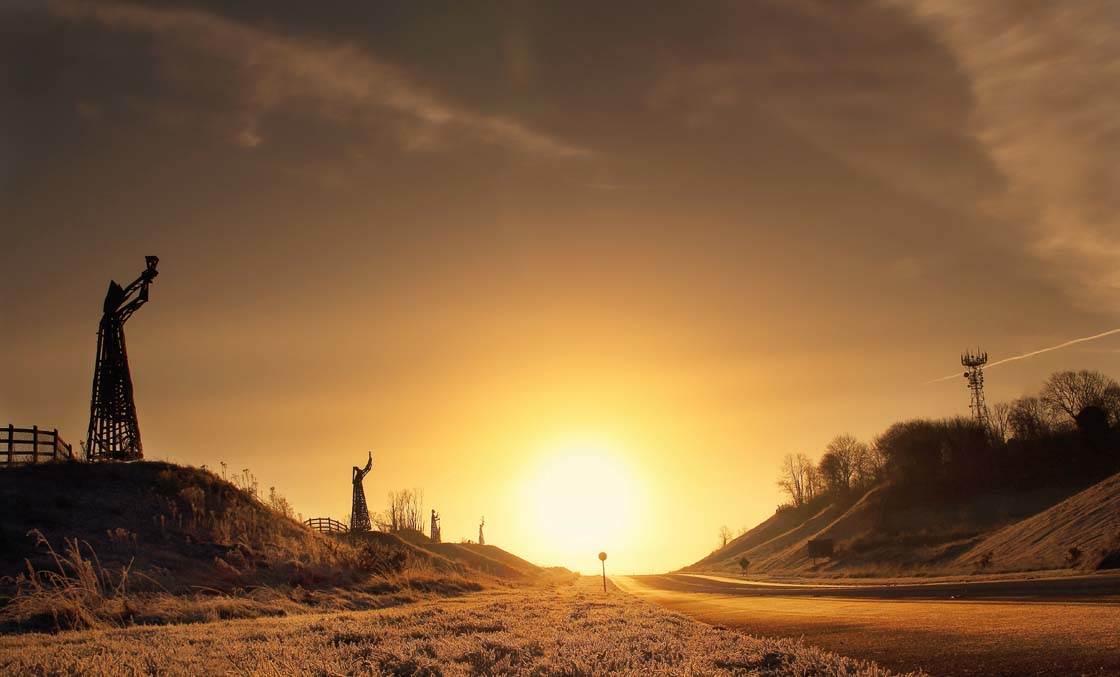
In this example, the original photo above was taken of a local landmark called Boland’s Lock on a frosty morning. I like the dawn light in this shot but there were a number of distractions in the original image such as cables, signs and random people out enjoying the joys of a frosty morning.
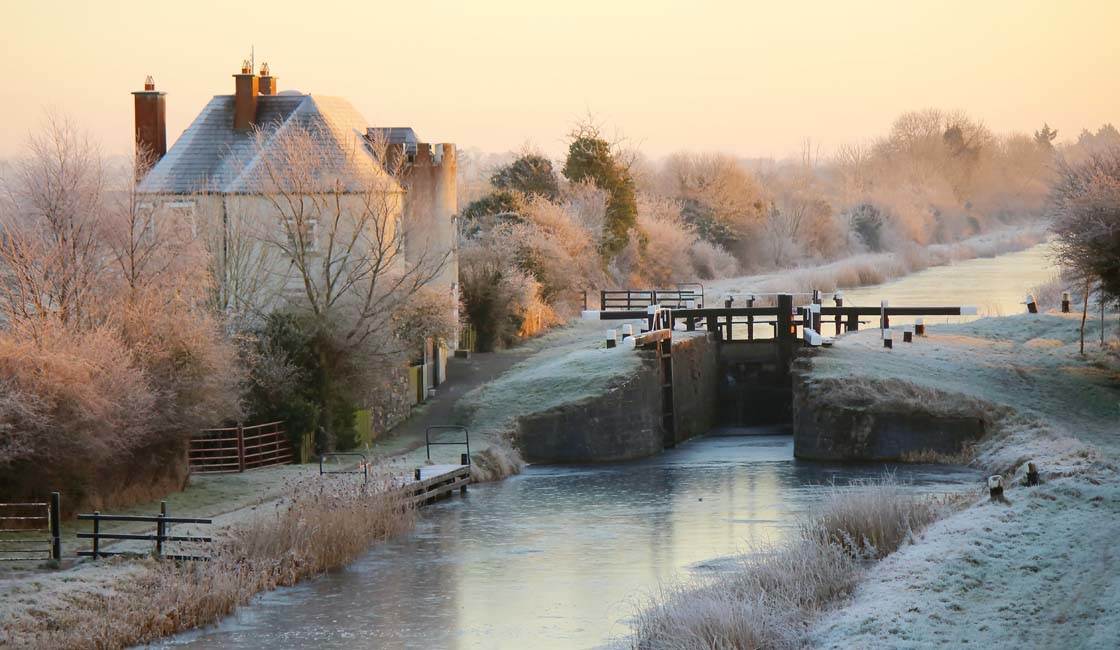
DSLR Photo Edited On iPhone
Using the Retouch Tool in the Handy Photo app on my iPhone, I easily removed all of these distractions. I then used the Snapseed app to brighten it up a bit (check out our Snapseed tutorial).
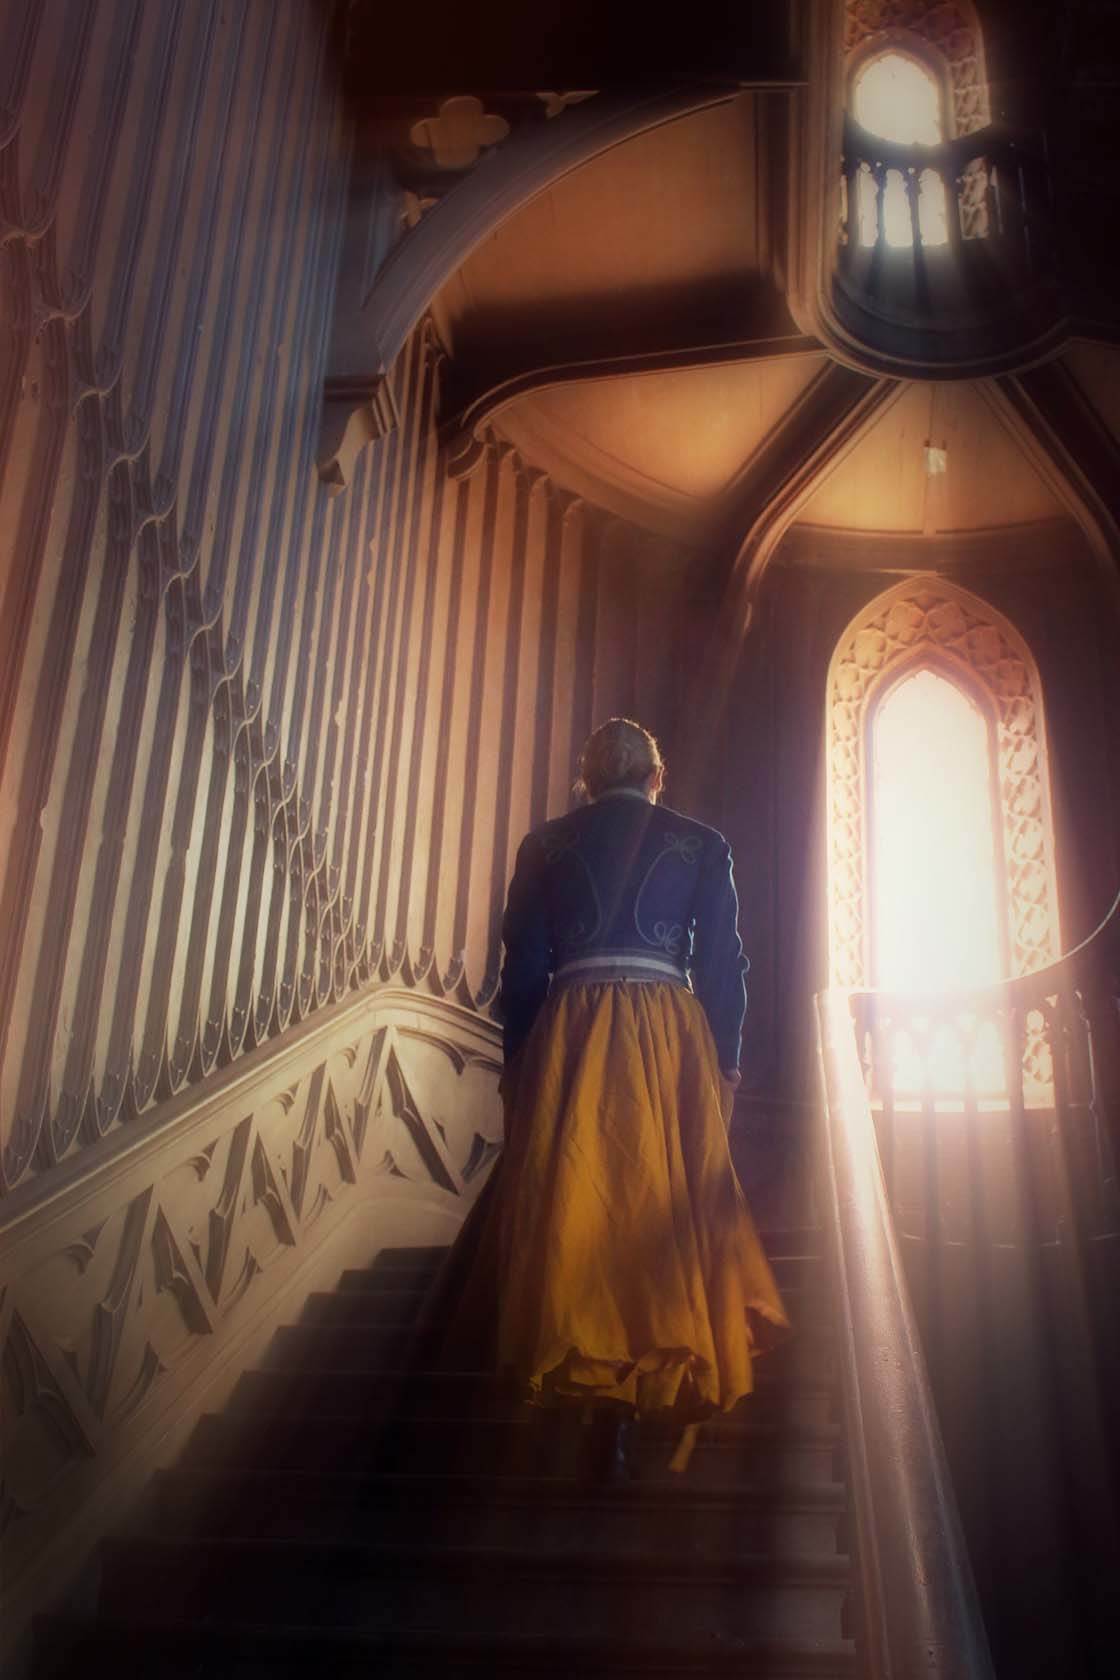
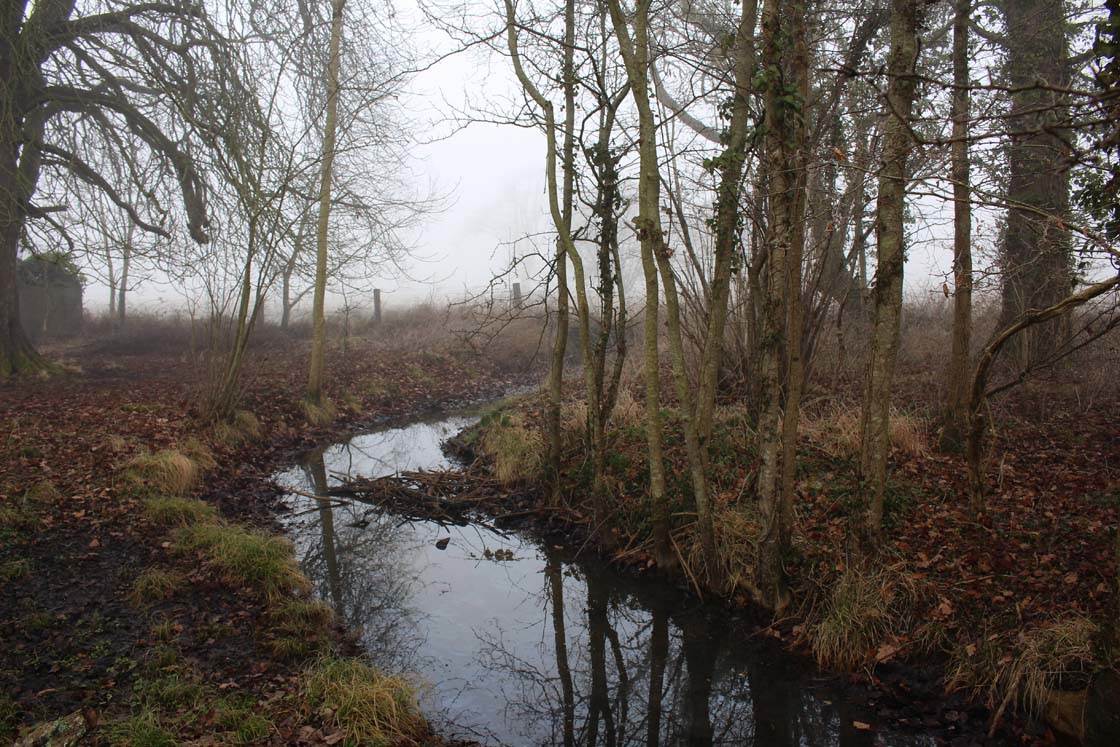
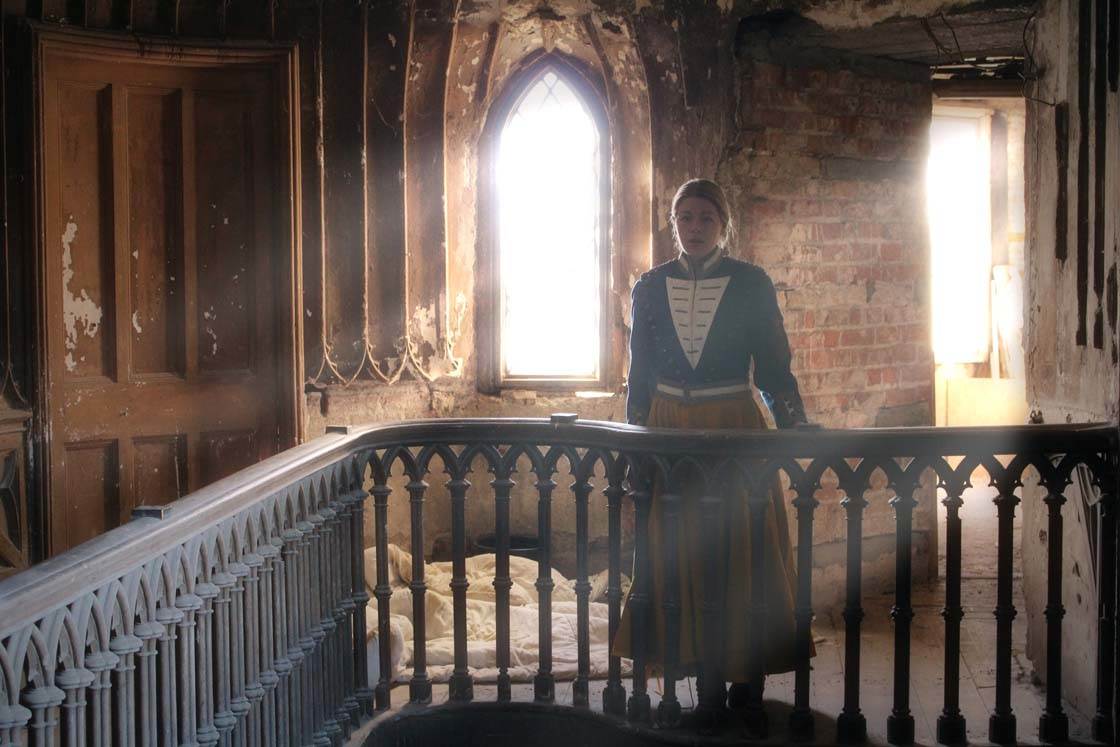
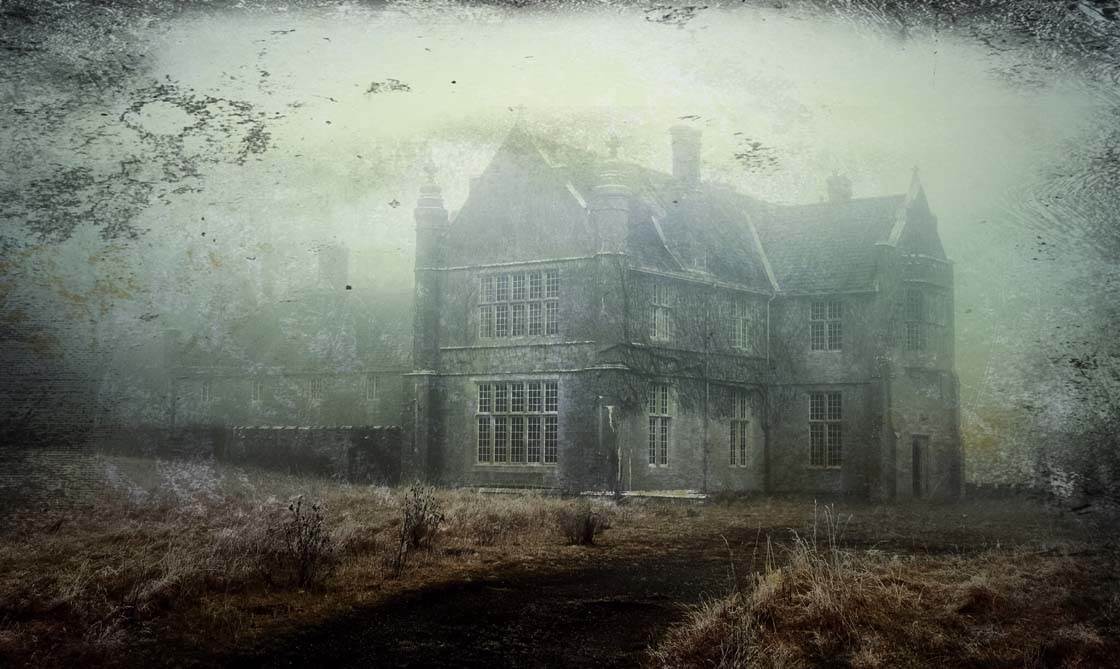
In the next example below, I took the original photo of an old abandoned stately home on the outskirts of my home town on a foggy morning. I loved the eerie mood of the shot.
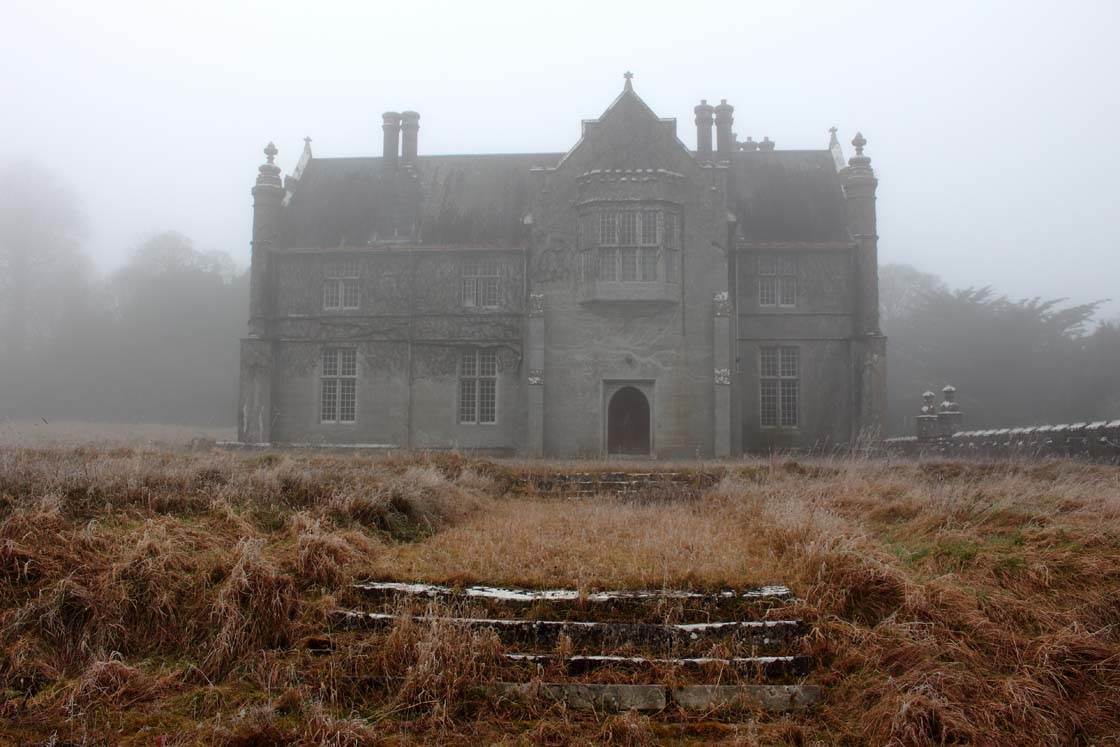
Original DSLR Photo
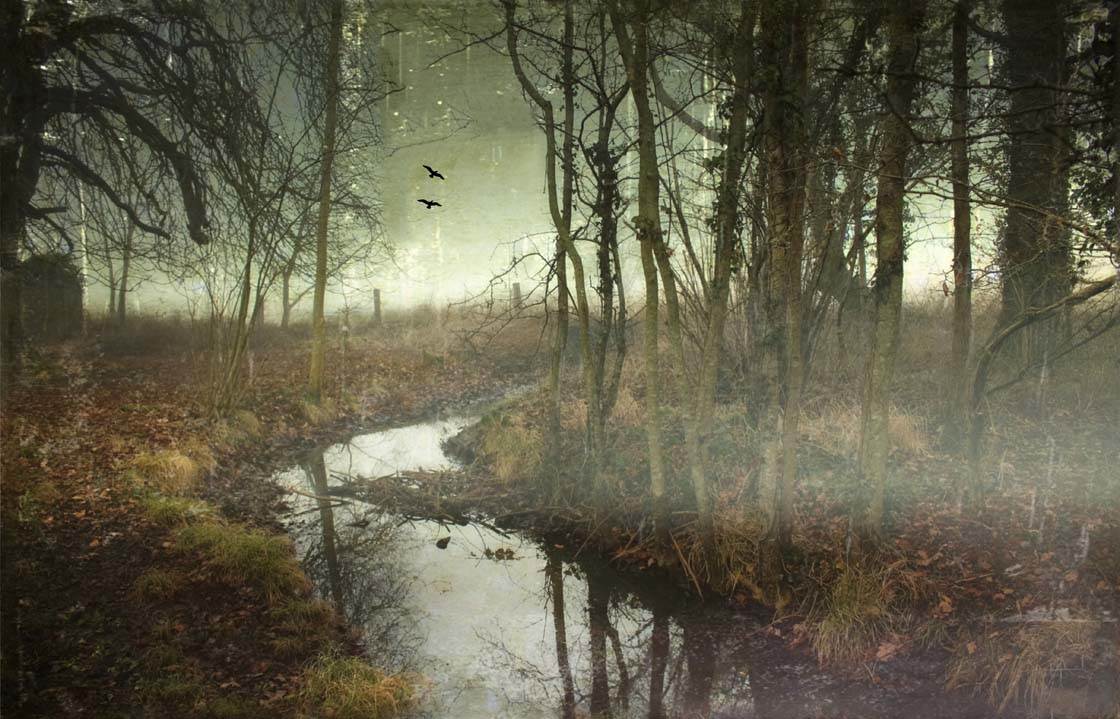
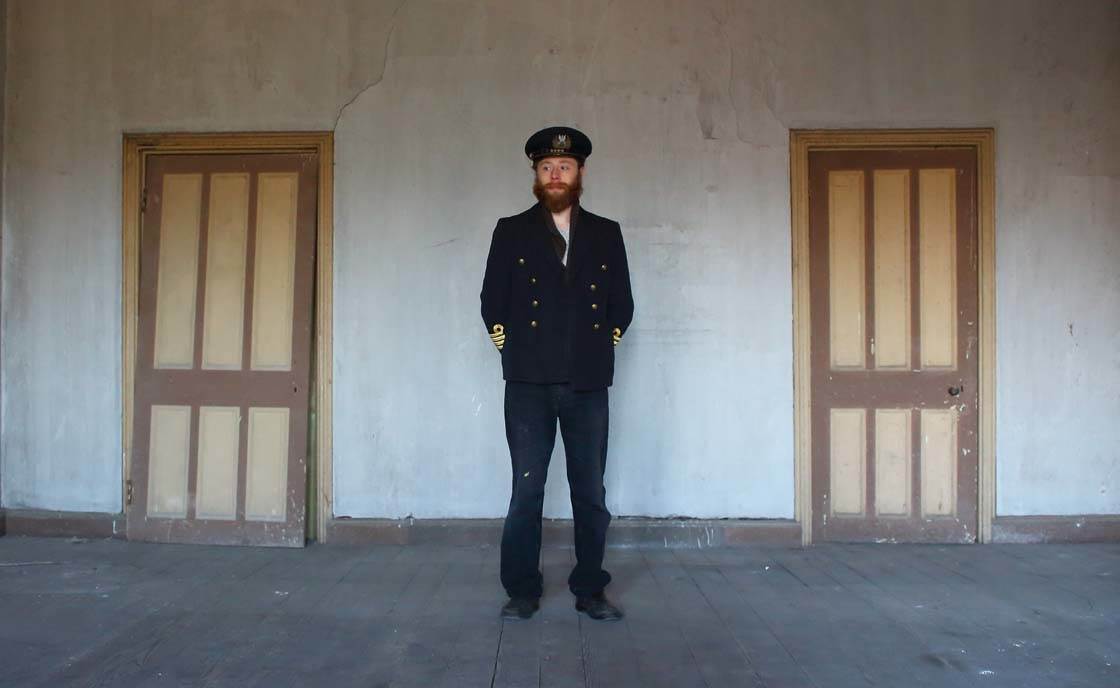
I decided to enhance this mood using apps on my iPhone. I used the Juxtaposer app to bring in the robed figure, and the Distressed FX app to add a grungy, textured look to the image.
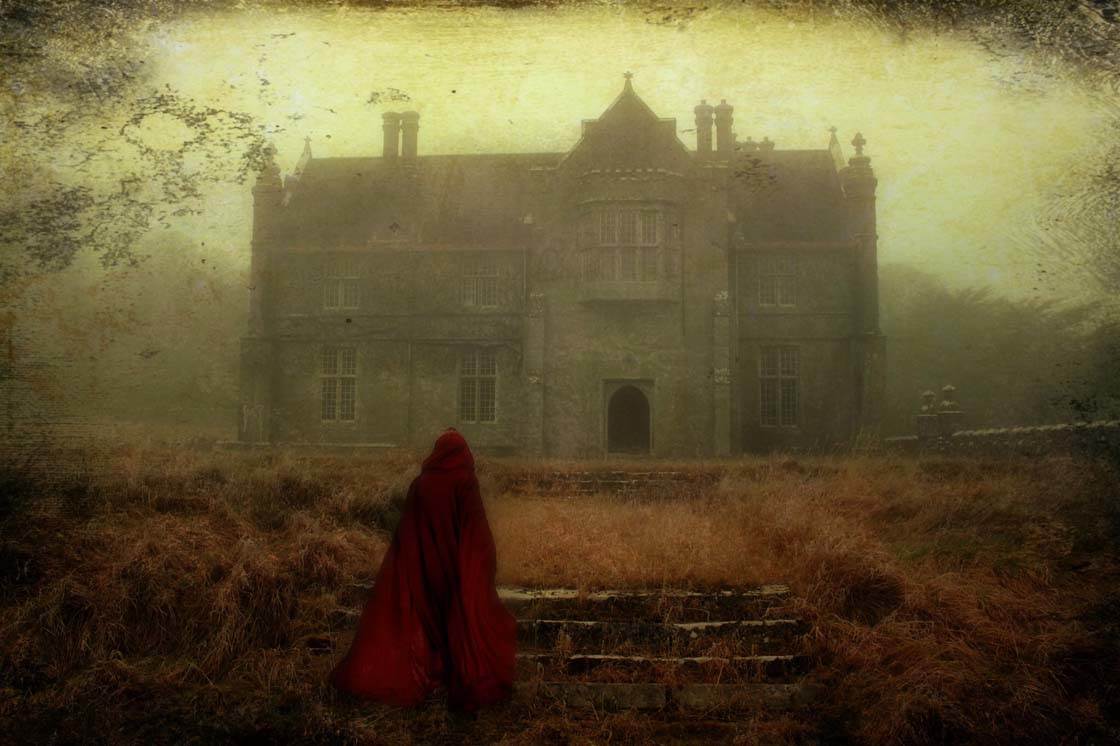
DSLR Photo Edited On iPhone
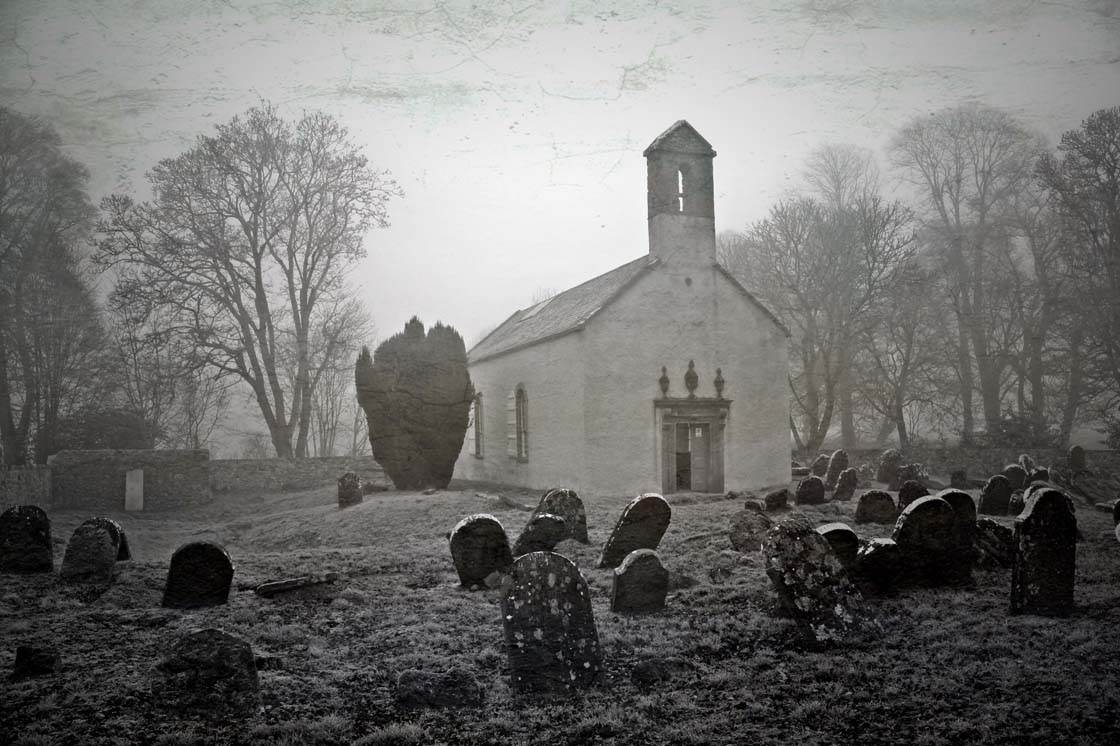
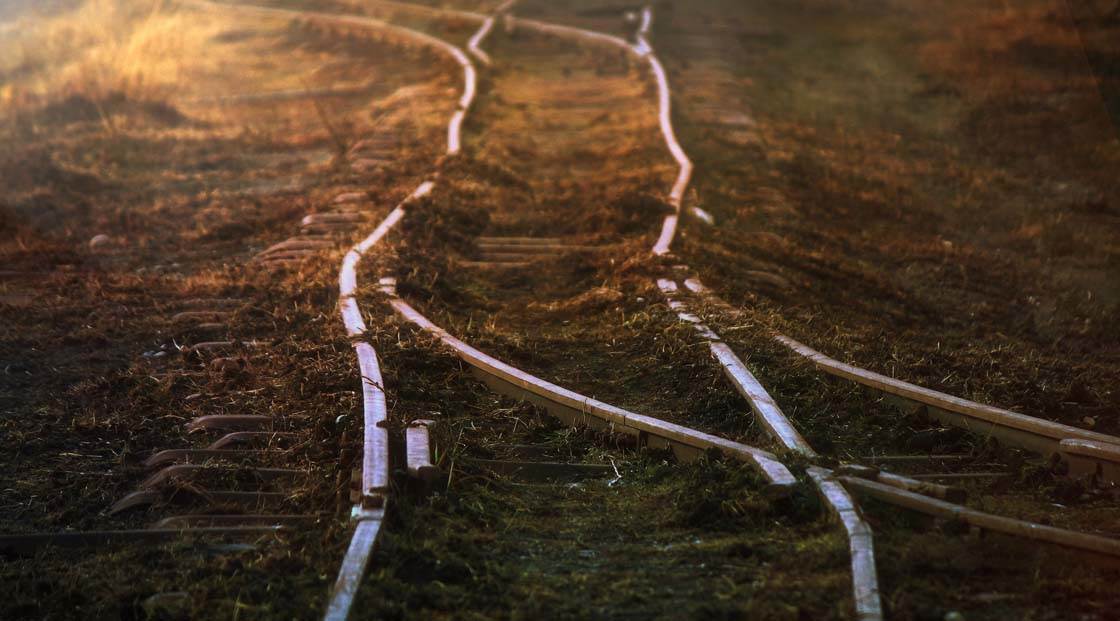
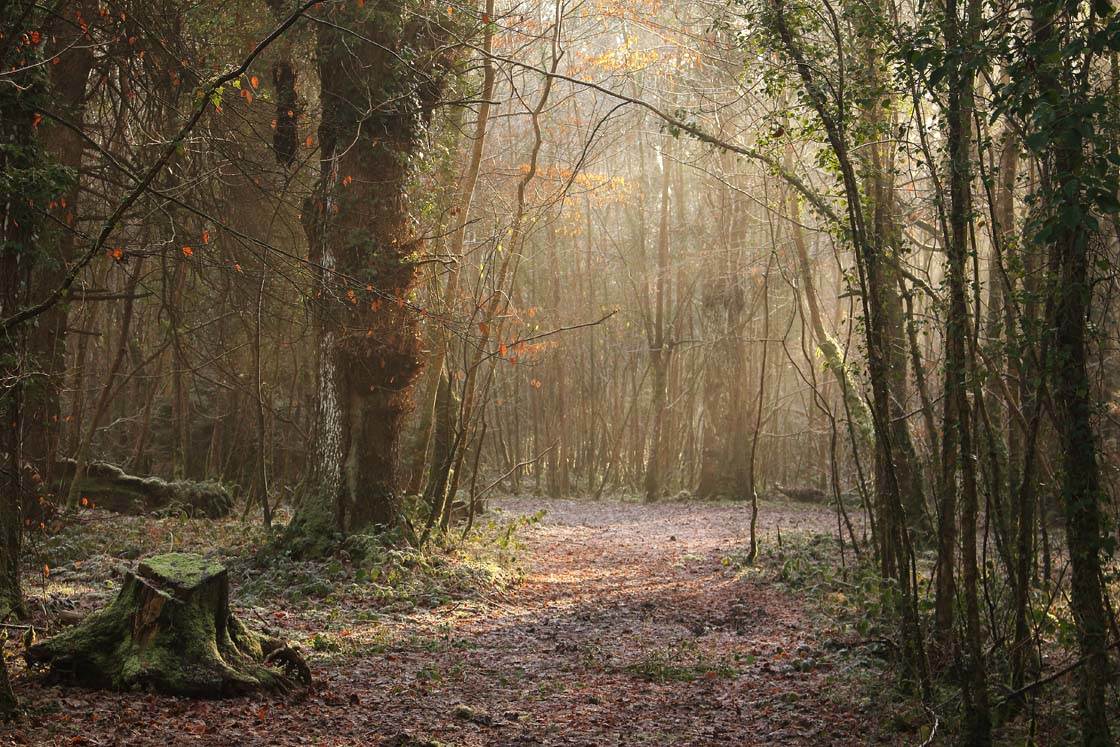
Finally, the photo below was taken on the same morning. Again I used Distressed FX to add the grunge effects and enhance the overall foggy conditions.
DSLR Photo Edited On iPhone
4. Use Facetune App To Enhance Portraits
Facetune is a great app for bringing life to your portrait photos. It has tools for smoothing blemishes, highlighting eyes, whitening teeth, etc. There are also red-eye reduction and reshaping tools, as well as numerous filters and lighting effects. All in all, it’s a very powerful app.

Original DSLR Photo
I often prefer to take my portraits photos on a DSLR as I like the ability to have full control over depth of field. I then transfer them to my iPhone and edit them with Facetune. In this example, I was able to remove the evidence of my daughter’s breakfast from her face!

DSLR Photo Edited On iPhone
5. Transfer Edited Photos Back To Your Computer
In most cases, you’ll probably want to transfer the edited photos back into a folder on your computer.
Click here for a tutorial on how to transfer photos from iPhone to PC. Or if you have a Mac computer, click here to learn how to transfer photos from iPhone to Mac.
I use three methods to get my finished edits back on to my computer.
The first method is the one I use the most. I have a folder in Dropbox called “Final Edit.” When I’ve finished editing an image I upload it to this folder using the Dropbox App on my iPhone. I can then open the Dropbox folder on my computer to view all of my edited images that I placed in that folder.
If I have only one image to transfer I normally email it to myself. I just select the photo from my Camera Roll, tap the upload icon in the bottom left corner of the screen, select the Email option, enter my email address and select the size of image I want to transfer. I always choose to send the image at “Actual Size” to ensure the full resolution image gets sent.
Finally, you can connect your iPhone to the computer with the USB lighting/charger cable. Your phone will show up as an external device on your computer. The only files you will have access to are your photos. This is the most useful method for transferring large numbers of photos from your phone.
All of these methods will result in the full-size image being transferred to your computer, with no loss in resolution or quality.
Conclusion
Obviously, many iPhone apps are not as powerful as dedicated professional photo editing software available for your computer. But in many instances, you can have a lot of fun and achieve some really creative results by editing your digital camera images on your iPhone.
As these devices get more powerful, editing apps will also increase in their usefulness. And the tactile nature of editing on a touch screen can’t be overlooked. Just make sure that the apps you use will save your masterpieces in the high resolution that you want.


Thanks for these great tips Paul! I’ve become so used to shooting and editing on my iPhone that I don’t have much motivation to edit my DSLR photos on my computer – I never seem to be able to achieve the same effects that I get with my iPhone apps so they often sit there unedited. I shall definitely be doing this in future 🙂
Thanks very much Kate. There is one app I didn’t mention in the article because it is iPad only but is very much worth a look is Pixelmator. It is an iPad version of the Mac photo editing suite and it is very powerful.
Helpful article. Thank you very much. I used to use dropbox for photo sharing but switched to Binfer recently. Makes sending pictures to my clients much easier. An easy way to deliver photos to clients.
Thanks fir that Lucy. Will have to give Binfer a look.
Can you save facetune photos in orignal size now? Last time I cross checked them on photo size they were degraded
Try an eyefi card in your camera to transfer straight to your phone or ipad. I have a 5d3 so i shoot raw on the cf and jpeg on the eyefi card, but the eyefi cards i use will do raw as well, just some apps can’t handle raw.
I don’t think you can save facetune photos in original size! Correct?
Hi, I like the robed figure added to the photo using Juxtaposer…was the robed figure from another photo, or was it from some kind of image library that comes with Juxtaposer?
I think this is @disqus_D1eNaXrmrA:disqus’s original photo. (Can you confirm, Paul?)
Hi
I have a canon rebel t3i. Do you know how I can edit my pictures right on the camera?
Hi there.
I just bought an XT10 and love my Fuji. However I love editing on my iPhone 6apps like Hipstamatic and Camera Plus. The edited photos are sold as prints and usually I get limited to the sizes as the Jpeg ends up getting pixelated. So the dropbox method will help I am assuming 🙂
Yes, the Dropbox method should work for you! Glad you found this article useful. 🙂
Very informative. Thank you. Hey have yo thought of putting all these tutorials in a book and publishing it. I’ll buy it. ?
Glad to hear you enjoyed this tutorial. We do actually have some eBooks with photography tips, and we also have a great selection of courses available where you can learn about many different aspects of iPhone photography 🙂 http://iphonephotographyschool.com/products/