Are you looking for ways to get more creative with your urban iPhone photography? Cities and architecture provide many amazing photo opportunities, particularly when you start focusing on urban design elements such as shapes, lines, patterns and colors. In this tutorial you’ll discover seven ways to use architectural and urban design elements to create incredibly eye-catching iPhone photos.

1. Use Strong Leading Lines
Leading lines are one of the strongest design elements that you can include in your photography.
Urban environments are full of lines in the form of roads, bridges, train tracks, alleyways, fences, staircases and other architectural elements.

These lines can be used to convey a sense of depth, and to keep the viewer grounded in the scene without getting lost in the details of the photo.
Our eyes are naturally captivated by leading lines because of how they converge towards a strong focal point or vanishing point.

Leading lines by themselves will create a striking image, however, you can further enhance the composition by placing a subject along the lines or at the point where the lines meet.

The leading lines instantly draw your eye directly to the subject, creating a really strong focal point, even if the main subject is small within the frame.
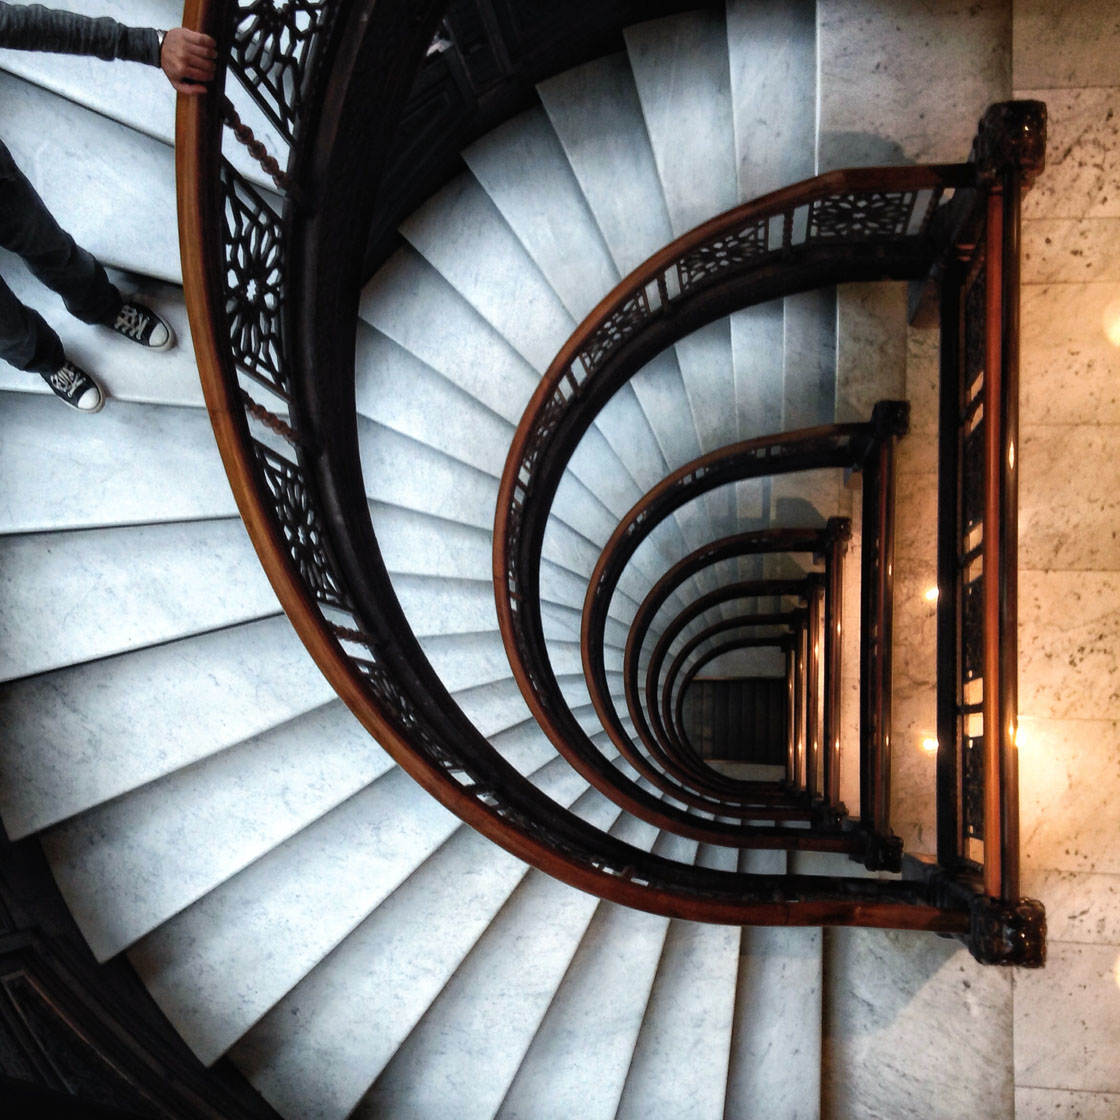
Another kind of leading line that you’ll find in urban environments is the spiral staircase.

These make beautiful subjects for your urban photography, and the spirals will gently lead your eye into the image.
Try shooting both from the top and the bottom of a spiral staircase for different effects.

If possible, have a person standing somewhere on the staircase to add a focal point and a storytelling element.
2. Look For Geometric Shapes
Shapes are an integral part of urban design. These geometric elements have well-defined shapes that immediately catch the viewer’s eye.

Look out for strong shapes in architecture and other urban elements. You’ll find squares, rectangles, triangles, circles and other abstract shapes all around you in the city.

You can use these shapes to create wonderful abstract images where the shapes themselves become the focus of the photo, rather than the actual subject that the shapes belong to.

Abstract images leave a lingering impression because it can take a while for the viewer to understand the entire photo. The viewer will become entranced by the photo’s elements.

As well as using shapes that are part of the urban environment, don’t forget that you can always improvise by incorporating other objects into the scene.

In this photo I used a crystal ball to create a bold, circular shape in the center of the composition.
3. Find Patterns
Patterns can be found in many places within in an urban environment, and they’re perfect for adding an abstract quality to your images.

When you’re exploring your city, look for repetition in shapes that create interesting patterns within the scene.
You might find patterns in decorative architectural detail, rows of windows or balconies on a building’s facade, the railings on a bridge, or interesting flooring designs.

Filling the entire frame with a repetitive pattern will create a striking abstract image.
Another place to look for repetitive patterns is in buildings that include tall columns.

Converting this photo to black and white and increasing the contrast in post-processing emphasizes the patterns created by the many lines and shapes in the scene.
Black and white urban photography can be incredibly powerful. Stripping away the color emphasizes the shapes, lines, and patterns in a photo.
4. Seek Out Frames
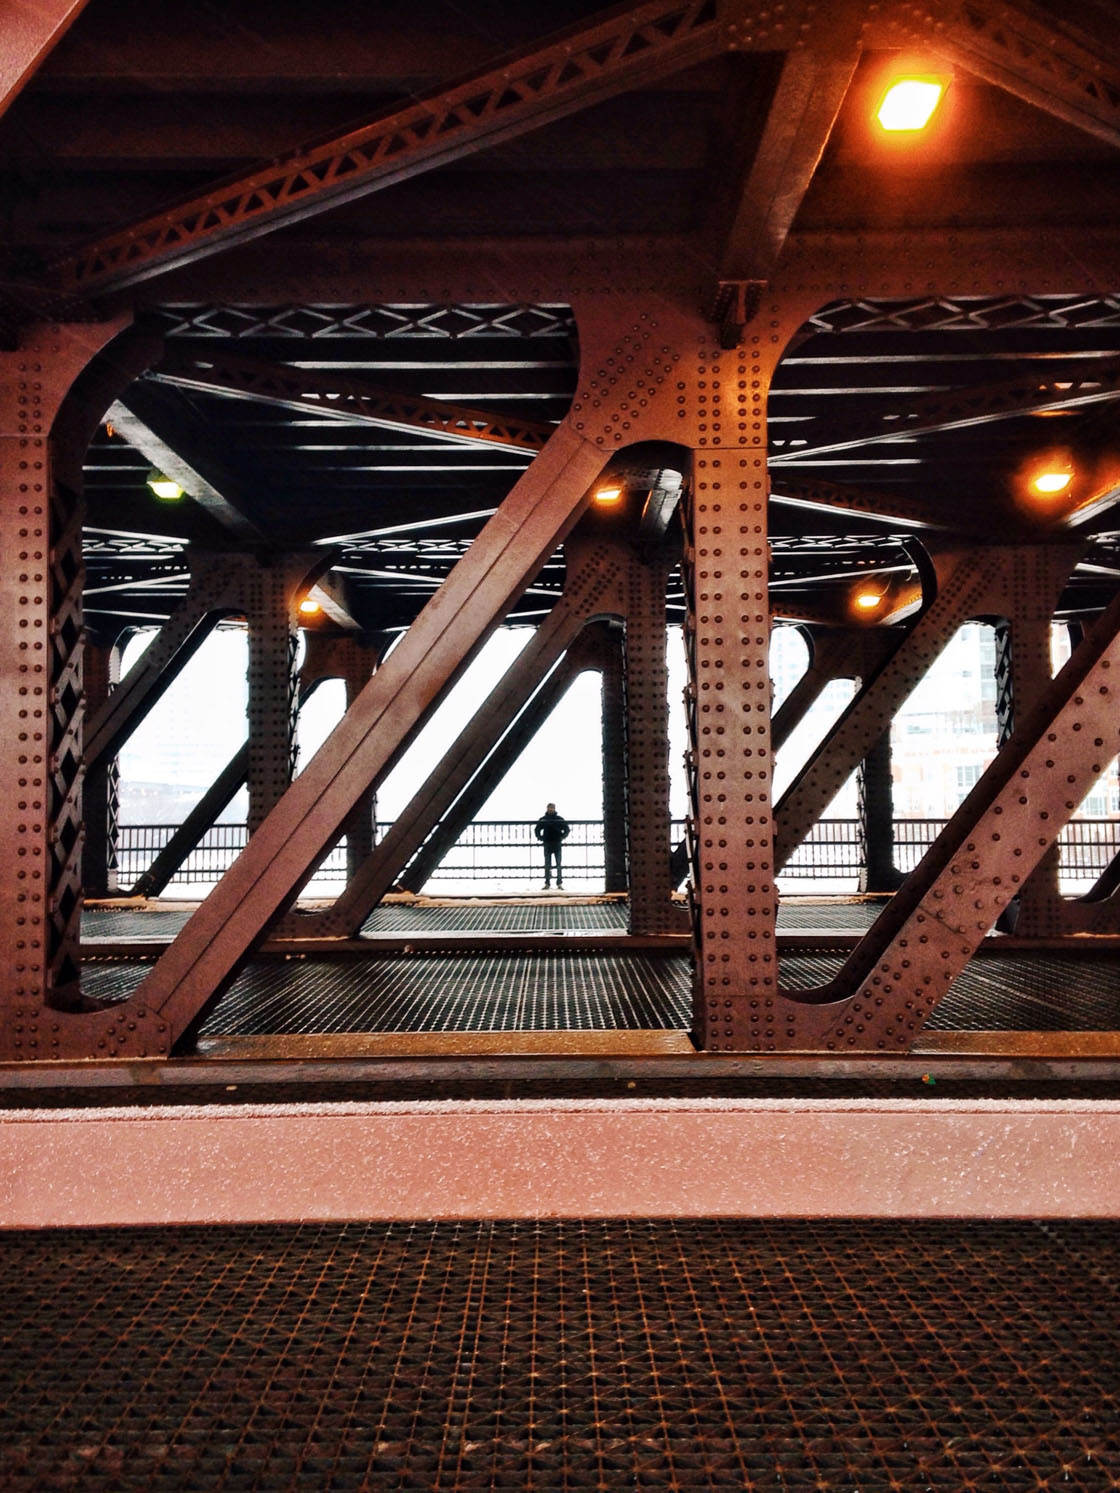
Another really effective technique is to look for urban design elements that can act as a “frame” around your subject.

Look for shapes such as squares, circles and triangles in architecture that you can shoot through to the scene beyond.
Make sure you include the shape within your composition so that it acts as a frame around the subject or scene.

Having a well-defined border around your subject draws the viewer’s attention to this part of the photo, creating a stronger focal point.

There are many elements within a city environment that you can use to frame your composition. Try using window frames, doorways, arches and the underside of bridges.

The frame can go right around the subject on all four sides of the photo, or around just a part of the scene.

In this photo I stood beneath the sculpture so that I could use it as a frame around the top of the photo.
5. Use Color Coordination
Colors are an essential part of urban design. Every building and architectural element has been given a certain color to make it stand out or create a specific mood.
You can use these colors to your advantage in a number of ways. For example, you could coordinate the color of your subject’s clothing or a prop with the colors in the scene.

For a harmonious composition, try matching the colors of your subject with the colors of the architectural surroundings.
The green clothing of the person in the photo above makes it look like she really belongs on this green staircase.

A completely different approach is to include contrasting colors, such as the red clothing on the black staircase above.
Another great color combination is black and white. In the photo below, the woman wearing black clothing really stands out against the white surroundings.

You could also look out for colorful architectural elements to frame your subject, such as the yellow triangle shape in the photo below.

When it rains, look out for colorful umbrellas that will add a splash of color to a grey urban scene.
This is an easy way to create a strong focal point that will immediately catch and hold the viewer’s attention.

6. Photograph Reflections
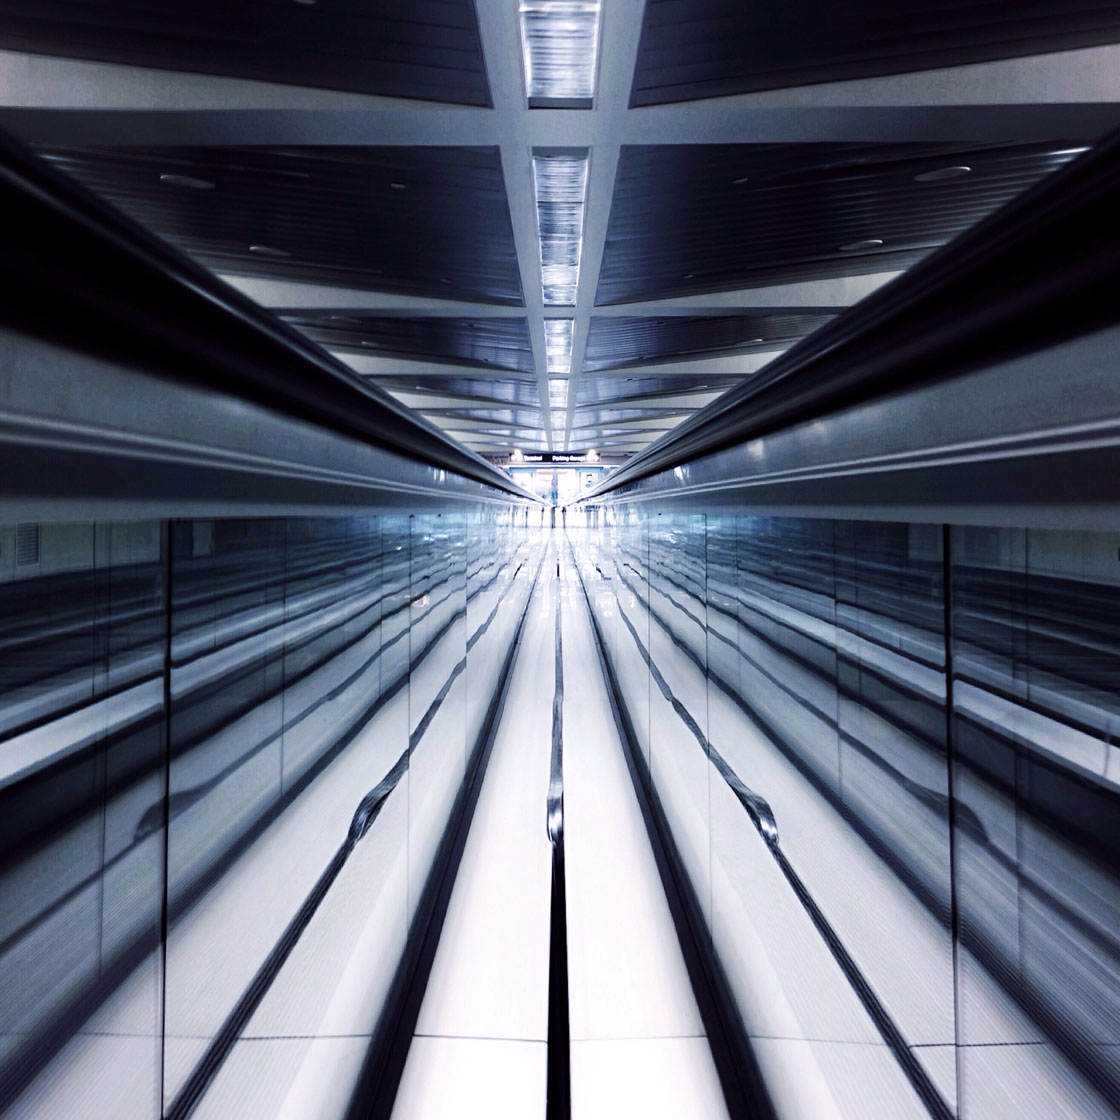
City environments are full of reflective surfaces that you can use to capture amazing urban reflection photos.

If you’re shooting indoors, look out for reflections on shiny floors and other mirrored surfaces. You can create striking symmetrical compositions in these situations.

Including a person in your reflection photo will add a strong focal point and more meaning to your picture.
If you’re shooting outdoors, look out for reflections on the outside of glass or metallic buildings.

These can be especially beautiful during the golden hour when the warm colored light is reflected.
After the rain, try to find puddles that you can use to create stunning puddle reflection photos. Try capturing the reflection of a building or person in the water.

When shooting puddle refections, crouch down and place your iPhone just above the water to capture both the reflection and the scene above it.
Alternatively, you could stand and shoot from a higher perspective in order to capture just the reflection on its own, as I did in the photo below.

Try flipping your puddle reflection photos upside down in post-processing to create a more interesting version of the image that will momentarily confuse the viewer.
Once you start looking for shiny surfaces and reflections, you’ll begin to spot them all around you.

The photo above is a reflection in the shiny surface of “The Bean” sculpture in Chigaco.
And in the photo below I captured the reflection of a subway station by holding my iPhone really close to the side of a train.

In the next photo I captured the reflection of clouds and a tall building in a metal rail on a rooftop.

Always be on the lookout for reflective surfaces in urban environments. You’re sure to find great photo opportunities in the least unexpected places.
7. Use Height To Create Depth & Perspective
One of the biggest challenges in photography is trying to get the viewer to feel as if they’re immersed within the scene.
In urban environments you can use height to create depth and perspective that will “pull” the viewer into the photo.

When you’re surrounding by tall buildings, look up and shoot them from this angle to create a strong sense of depth and perspective.
The lines on the building’s facade will converge towards the top of the structure, accentuating the depth in the photo.

This technique really makes the viewer feel as if they’re standing there in the photo with the building towering above them.
Alternatively, try shooting a looking down perspective to capture depth from a height.

This a great technique to use when you’re standing at the top of a tall stairwell. Just be careful not to drop your iPhone over the railings!
Adding a person into a scene like this will create a strong focal point and a sense of scale.

Conclusion
Urban design elements are all around you, and they can be used to great effect in your iPhone photography.
Once you start seeing elements such as lines, shapes, patterns, colors and reflections, you’ll be able to combine them flawlessly into a striking image.

Make use of these design elements to create beautiful abstracts, frame your subject, add depth and perspective, and create striking symmetrical compositions.
The most creative shots are made by finding beauty in places that are often overlooked. So take the time to explore your urban environment.

It’s full of interesting design elements that are just waiting to be used in your iPhone photos!


Great ideas Emils. I live in Seattle and I love to shoot photos in the city downtown. So many interesting things.
Great article, besides photography it teaches to train eyes to notice extrodinary things in the ordinary environment, thank you.