Have you ever taken a photo with your iPhone that would have looked great had it not been blurred? Do you always delete your blurry photos because you can’t make them sharp again? Well, in this tutorial you’ll discover how to rescue a blurry iPhone photo and turn it into a stunning work of art. In this step-by-step workflow, you’ll learn how to create this painted abstract image using just a couple of apps.

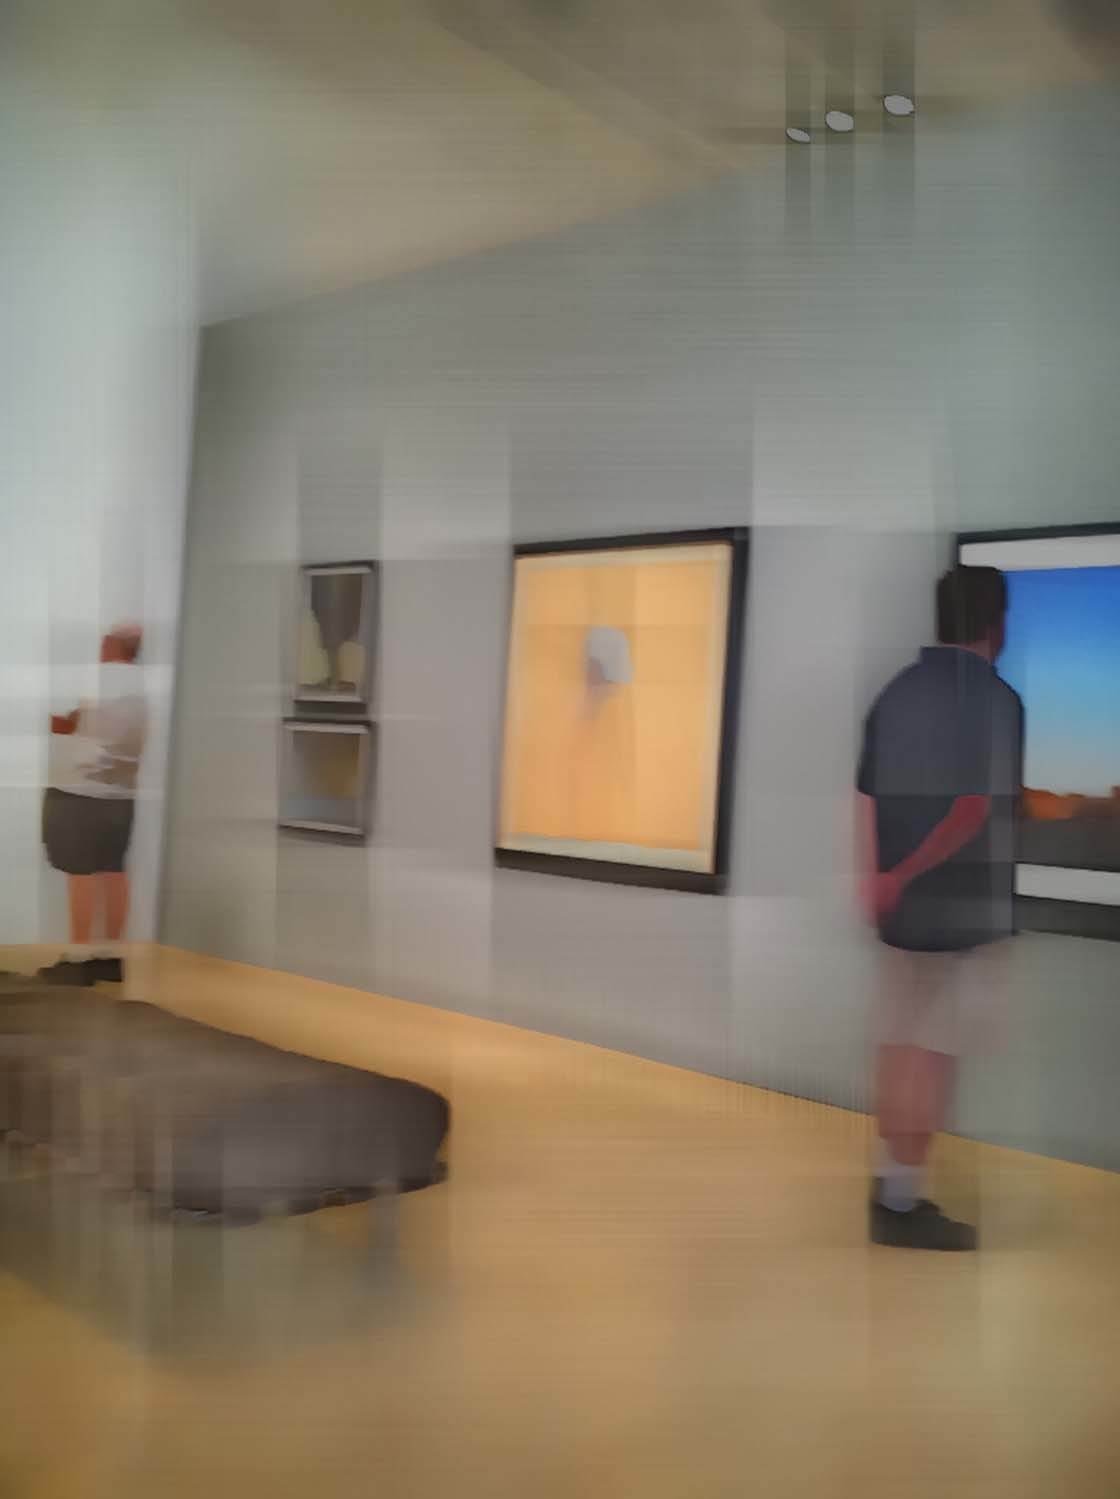
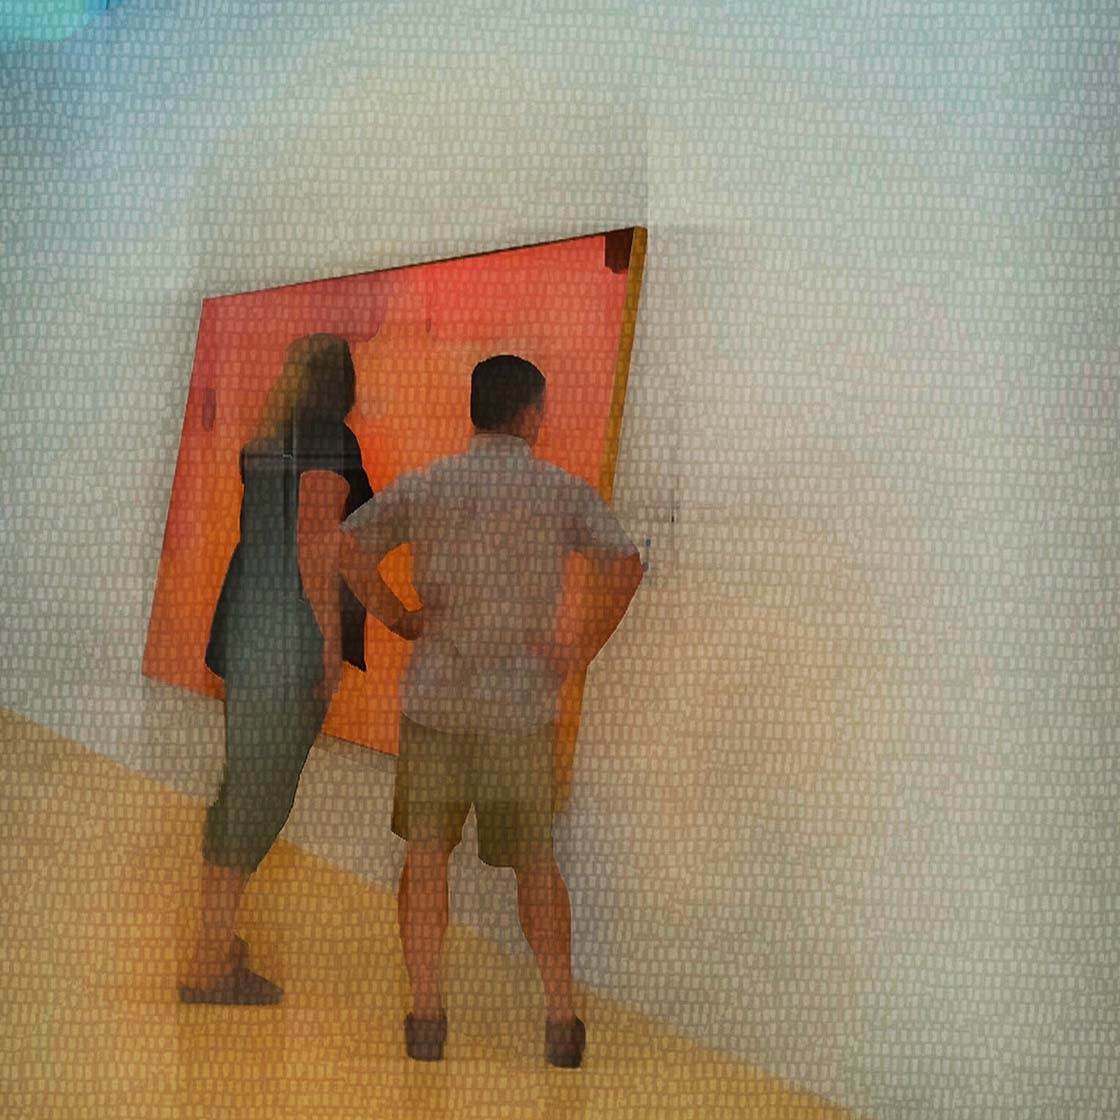
The original photo (shown below) was taken at an art gallery while the iPhone was in my purse. I was practicing my shooting without looking technique, but unfortunately this photo was pretty blurry.
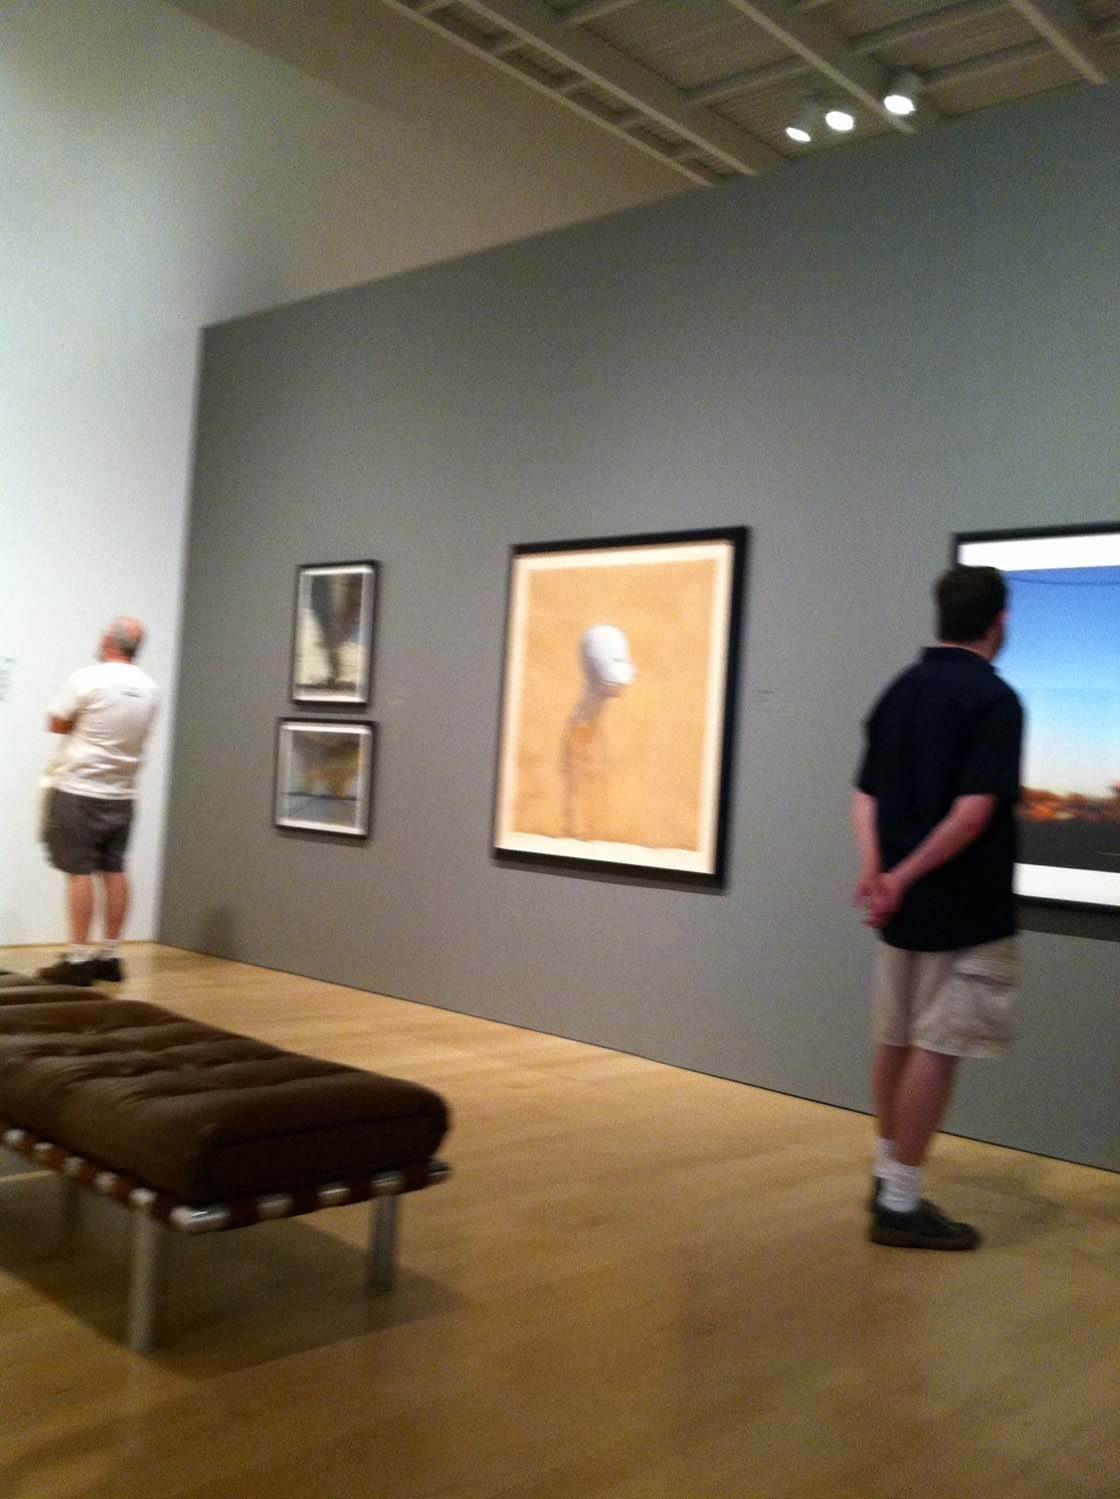
It doesn’t look great at first sight, and most people would probably delete the photo because it isn’t sharp. However, it has a pleasing composition and the yellow painting provides a nice focal point.
Luckily, I realized that I would be able to use a few simple steps in a couple of photo editing apps to turn this blurry photo into a piece of digital art. Since the photo was taken while looking at abstract art, I thought it would be fun to turn the photo into an abstract work of art as well.
If you’d like to follow along with this step-by-step tutorial, click here to download the original image. Alternatively you could use one of your own photos on your iPhone.
Now I’ll take you through the step-by-step process to create this painterly abstract photo.
Step 1: Apply Simplify Style In iColorama App
In this first step we’re going to be using the iColorama app. If you don’t already have the app, be aware that there are two versions of this app on the App Store – iColorama for iPad and iColorama S for iPhone.
Make sure you download the appropriate app for the device you’re using. The screenshots in this workflow are from the iPhone iColorama S app (although we’ll just be referring to the app as iColorama in this article).
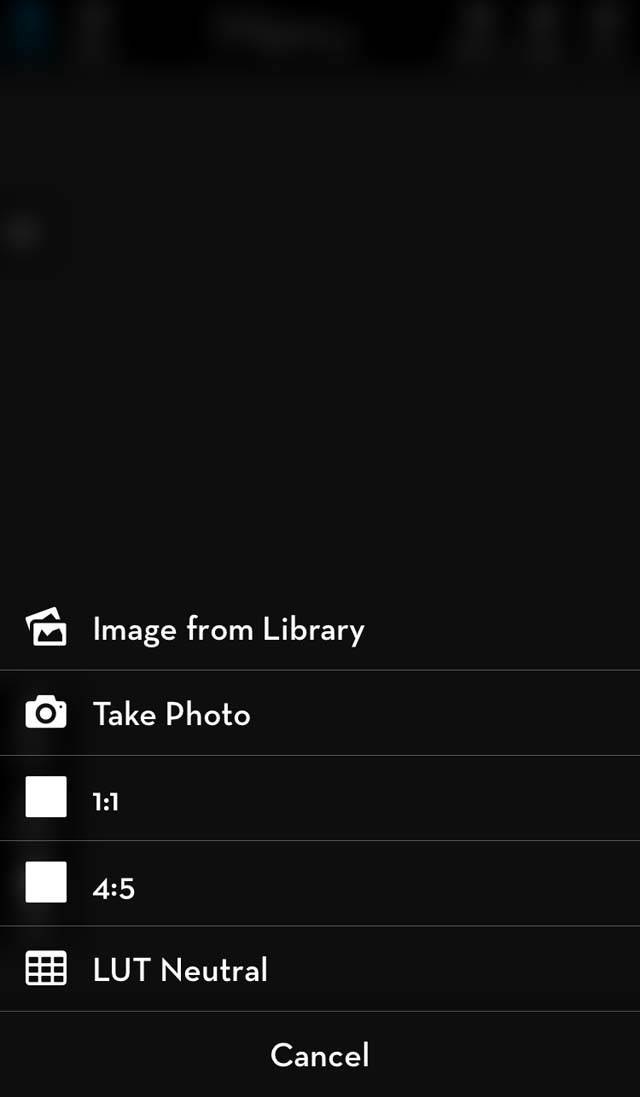
After opening the iColorama app, import the original image by tapping Photo in the upper left corner of the screen:
Next, tap Image From Library to import your image from the photo library:
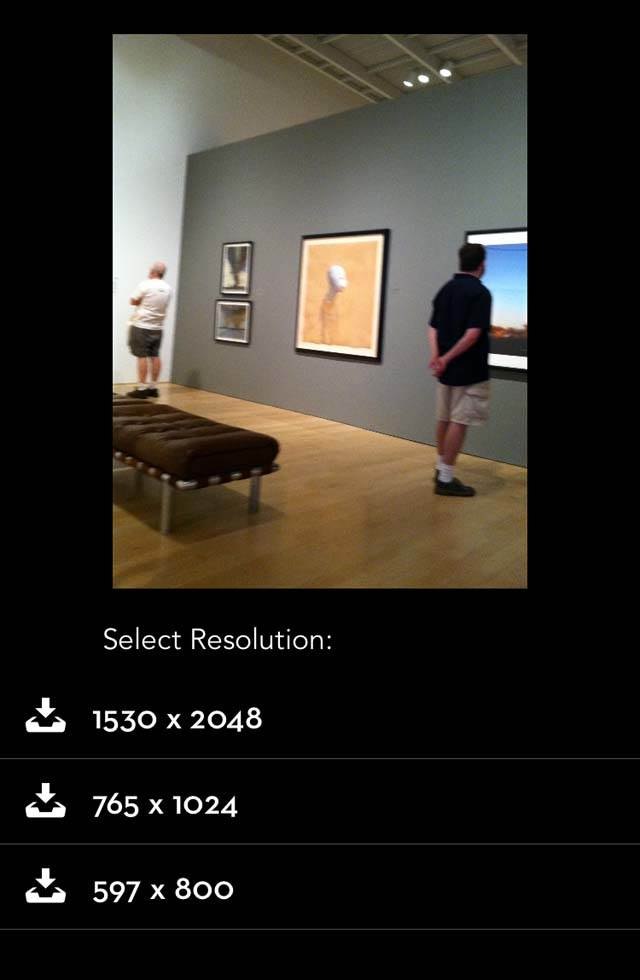
For this project, we’ll select the highest resolution (1530 x 2048) in order to get the largest possible image:
On the main screen, tap Menu to access a drop-down list of options. Select Style from this list:
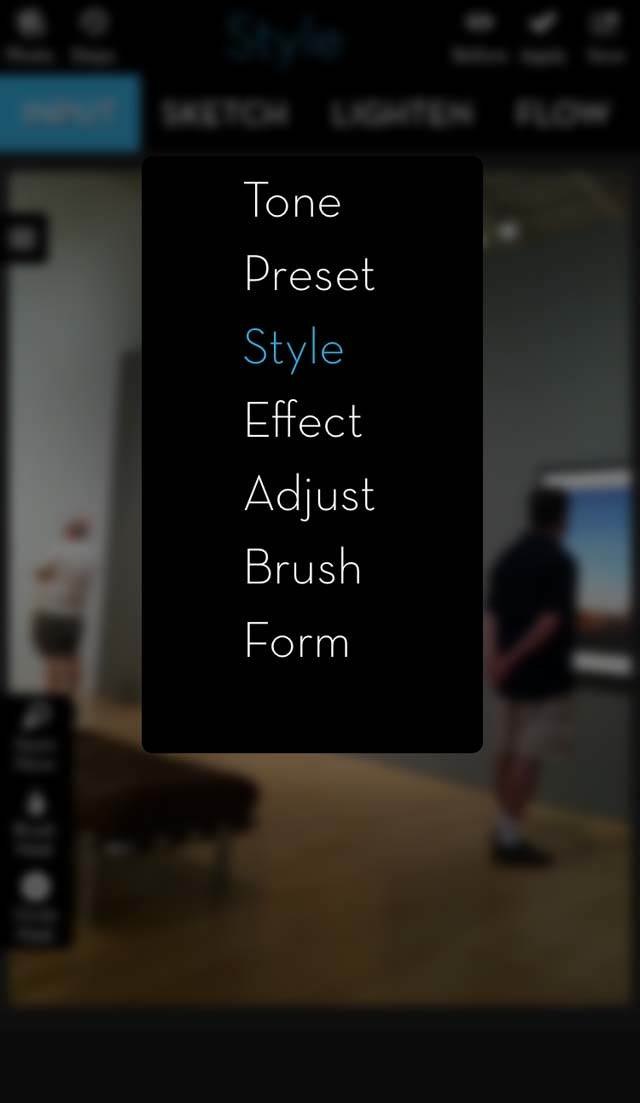
You’ll now see a list of different style brushes across the top of the screen – you can swipe across to see more options. Select Simplify from the list of styles.
The Simplify style essentially makes the photo even more blurry, simplifying it to its basic colors and shapes. However, we’re going to select a specific Simplify preset that still allows some detail.
Tap the Preset icon in the lower right corner to access the list of presets on the right of the screen. Choose preset number 7/16:
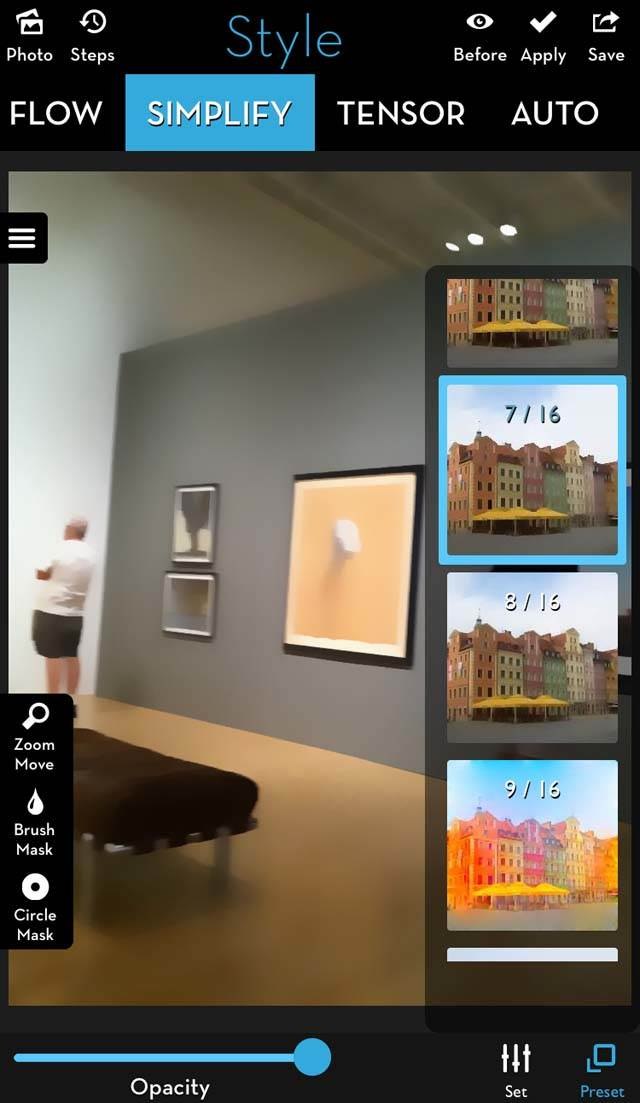
Tap Apply in the upper right corner to apply the #7 preset.
Step 2: Add Sketch Style In iColorama App
Now, we want to add a sketch style to this edit. iColorama is one of the best apps that turn photos into drawings.
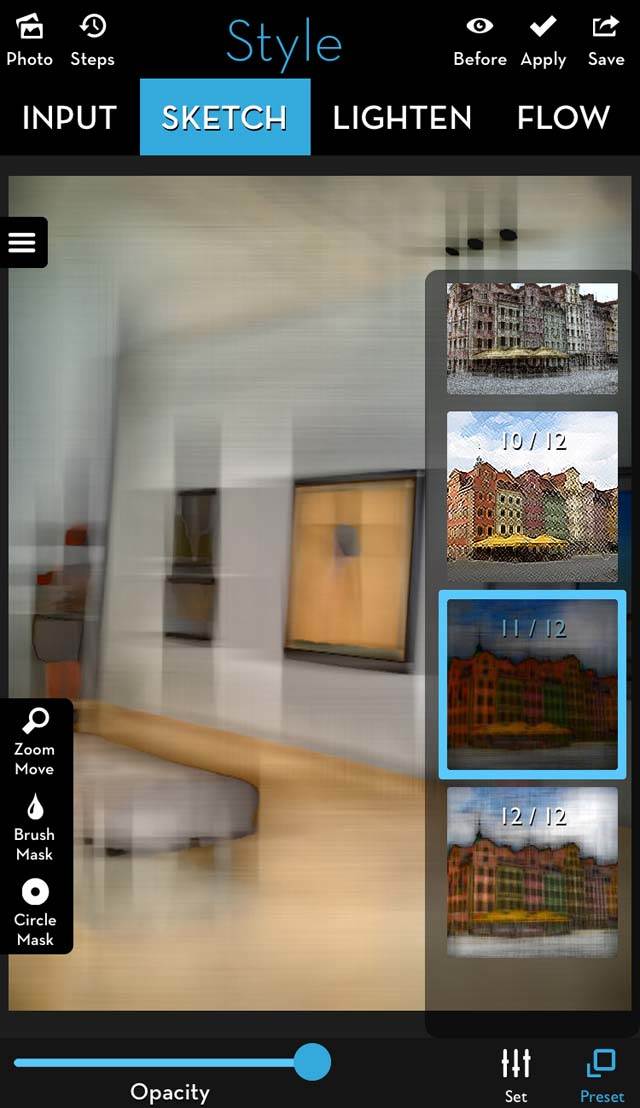
We need to stay in the Style section of iColorama, but now we’re going to use the Sketch filter. Swipe across the style options at the top of the screen and select Sketch.
Choose preset number 11/12. This preset adds an unusual shadow to many of the objects in your photo, enhancing the overall abstract effect:
Next, we’re going to reduce the opacity of the Sketch filter so that we can get a blend of the Simplify edit and this Sketch edit. The aim is to find a balance between the two. Use the Opacity slider at the bottom of the screen to reduce the opacity to 0.50:
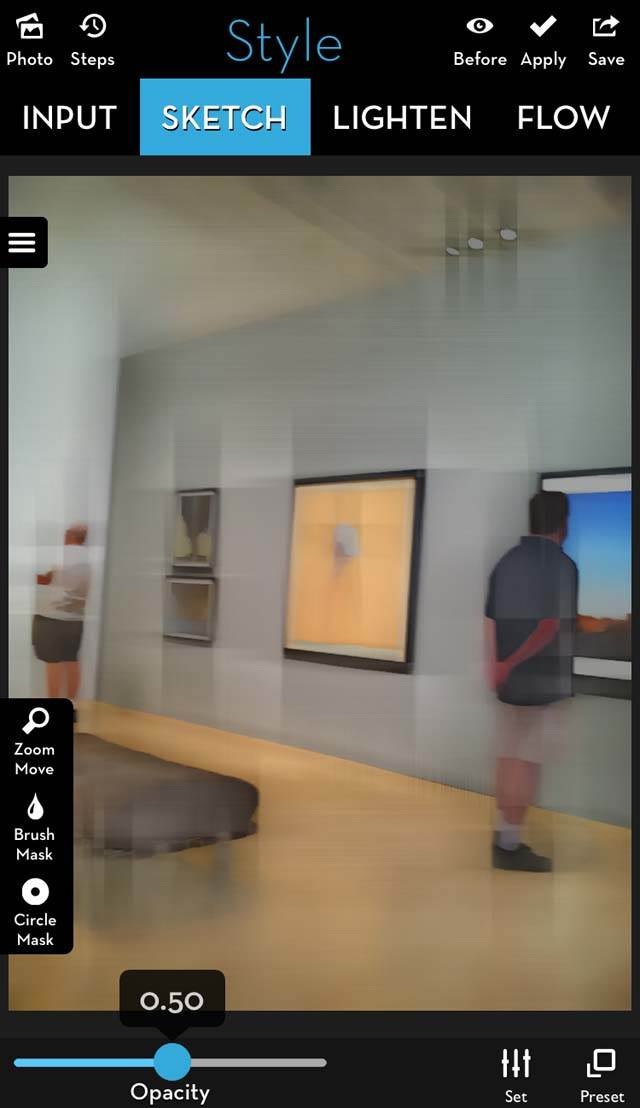
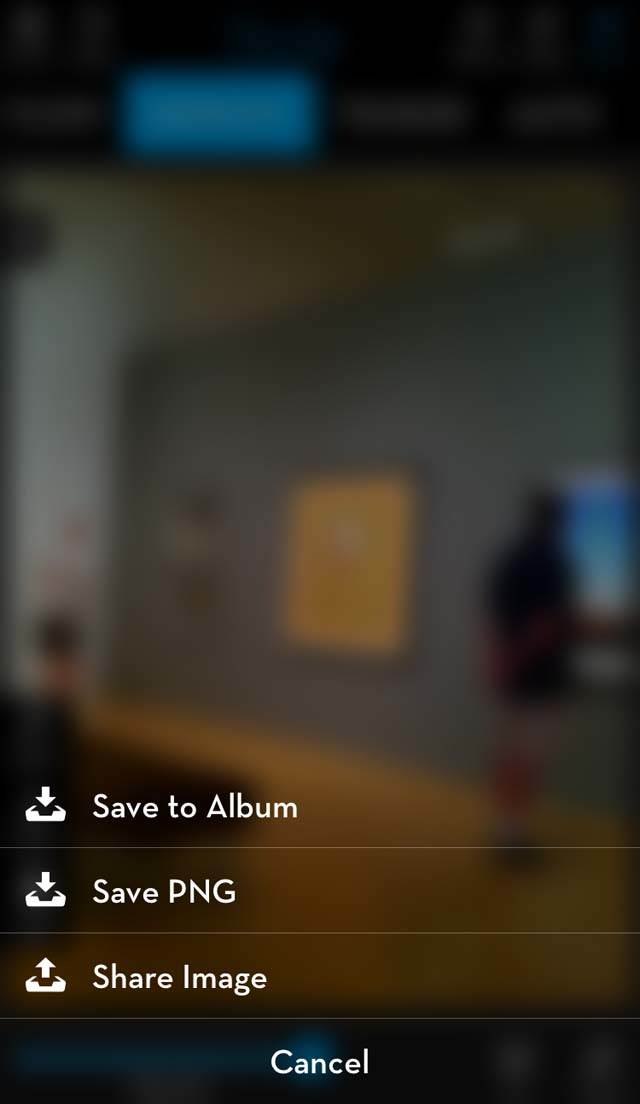
Tap Apply to apply the Sketch filter. Save the image by tapping Save in the top right corner, then tap Save To Album:
Your image should now look like this:
Step 3: Apply Texture In PhotoCopier App
The PhotoCopier app replicates the brightness, color, tone, detail, grain and texture of some of the world’s greatest paintings, photos and historical photographic processes.
We’re going to use it to add a unique texture and emphasize the abstraction of the image that we just created in iColorama. Open the PhotoCopier app, then open the image from your photo library by tapping the icon in the top left corner.

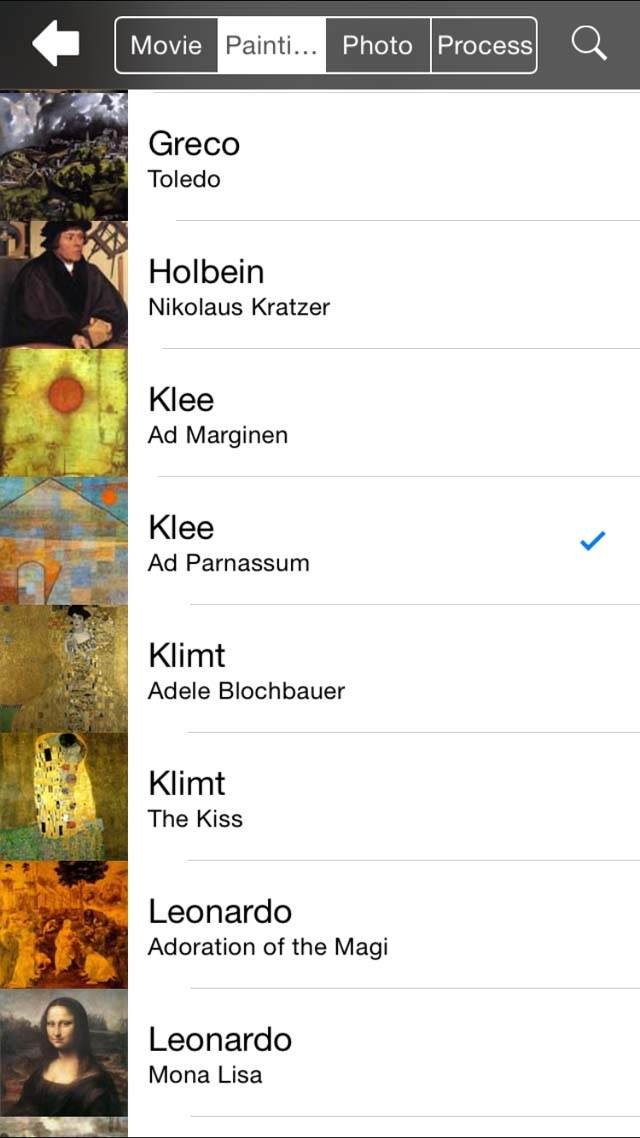
On the next screen, you’ll see four different processes across the top: Movies, Paintings, Photography and Historical Processes. We’ll be using the Paintings process so select this option at the top of the screen.
Scroll down to the Klee painting process – notice that there are two of these. Tap the Klee (Ad Parnassum) filter:
The photo now contains small impressionist-type rectangles. The options at the bottom of the screen allow you to adjust the color and texture, as well as add a vignette to your photo.
Let’s begin with the color. To adjust the color setting, tap on Color, then set the Brightness Match and Color to 100, and the Tone to 0. These settings bring out the brightest tones in the image, giving the drab photo a more colorful palette:
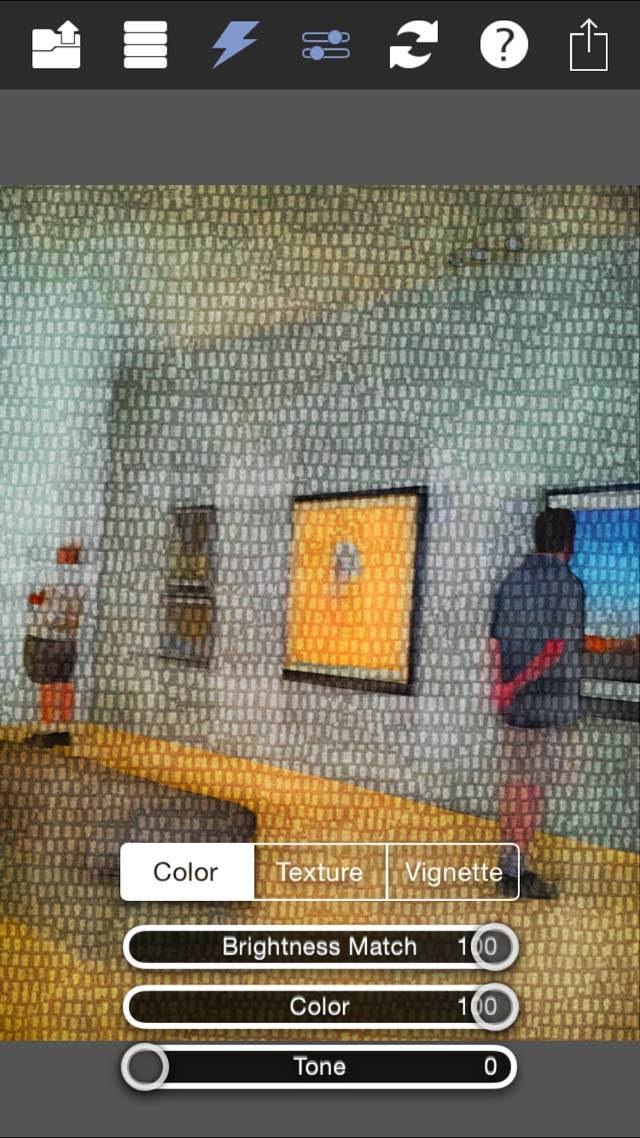
Next, we’ll adjust the texture. We want the Detail Match at 100 because this brings out the details in the photo. The Grain determines the amount of grunginess and we’ll set this at zero for a smoother appearance.
The Texture setting determines the definition and intensity of the rectangle pattern. We want the pattern to be seen, but rather subtle, so we’ll set it at 20:
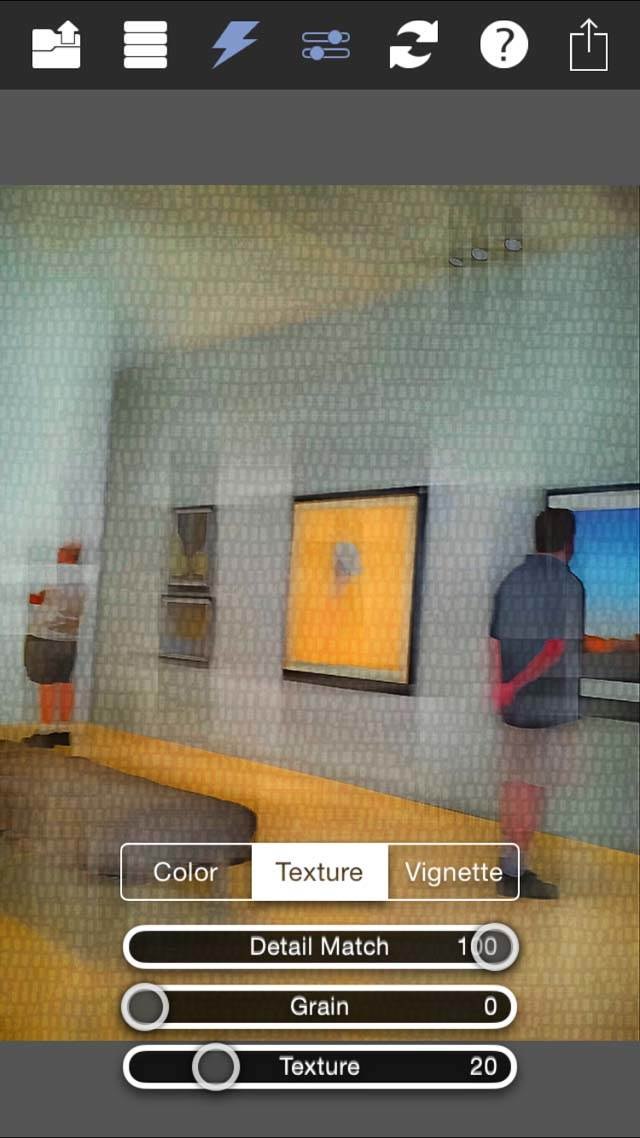
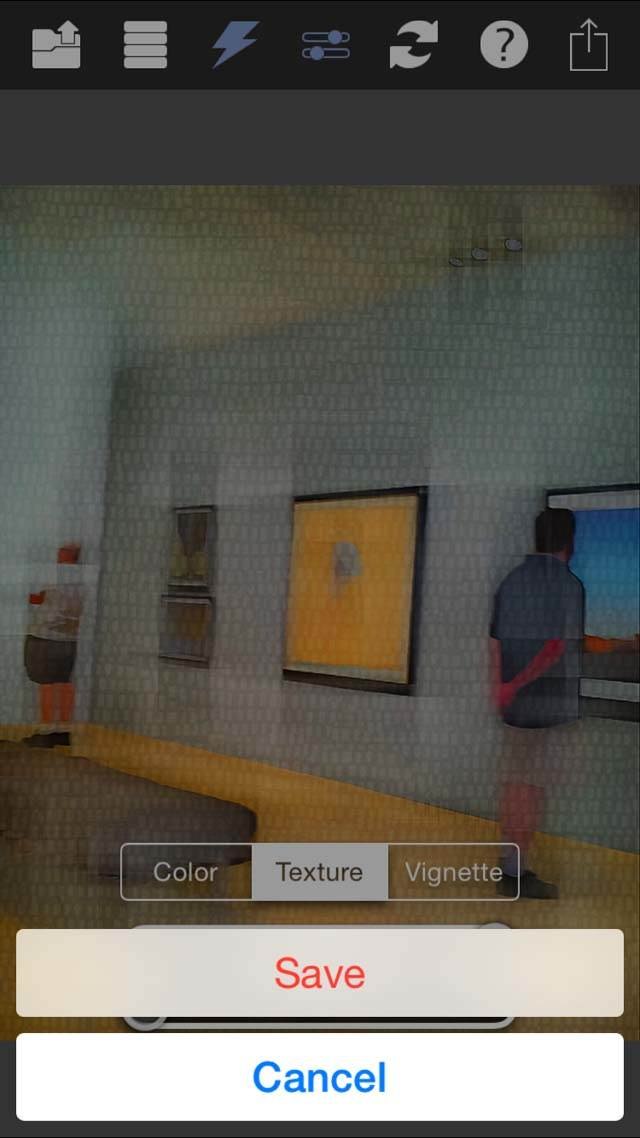
We don’t want a vignette on the photo so we don’t need to adjust that setting. To save the image, tap the icon in the top right corner, then tap Save:
Your final image should look like this:
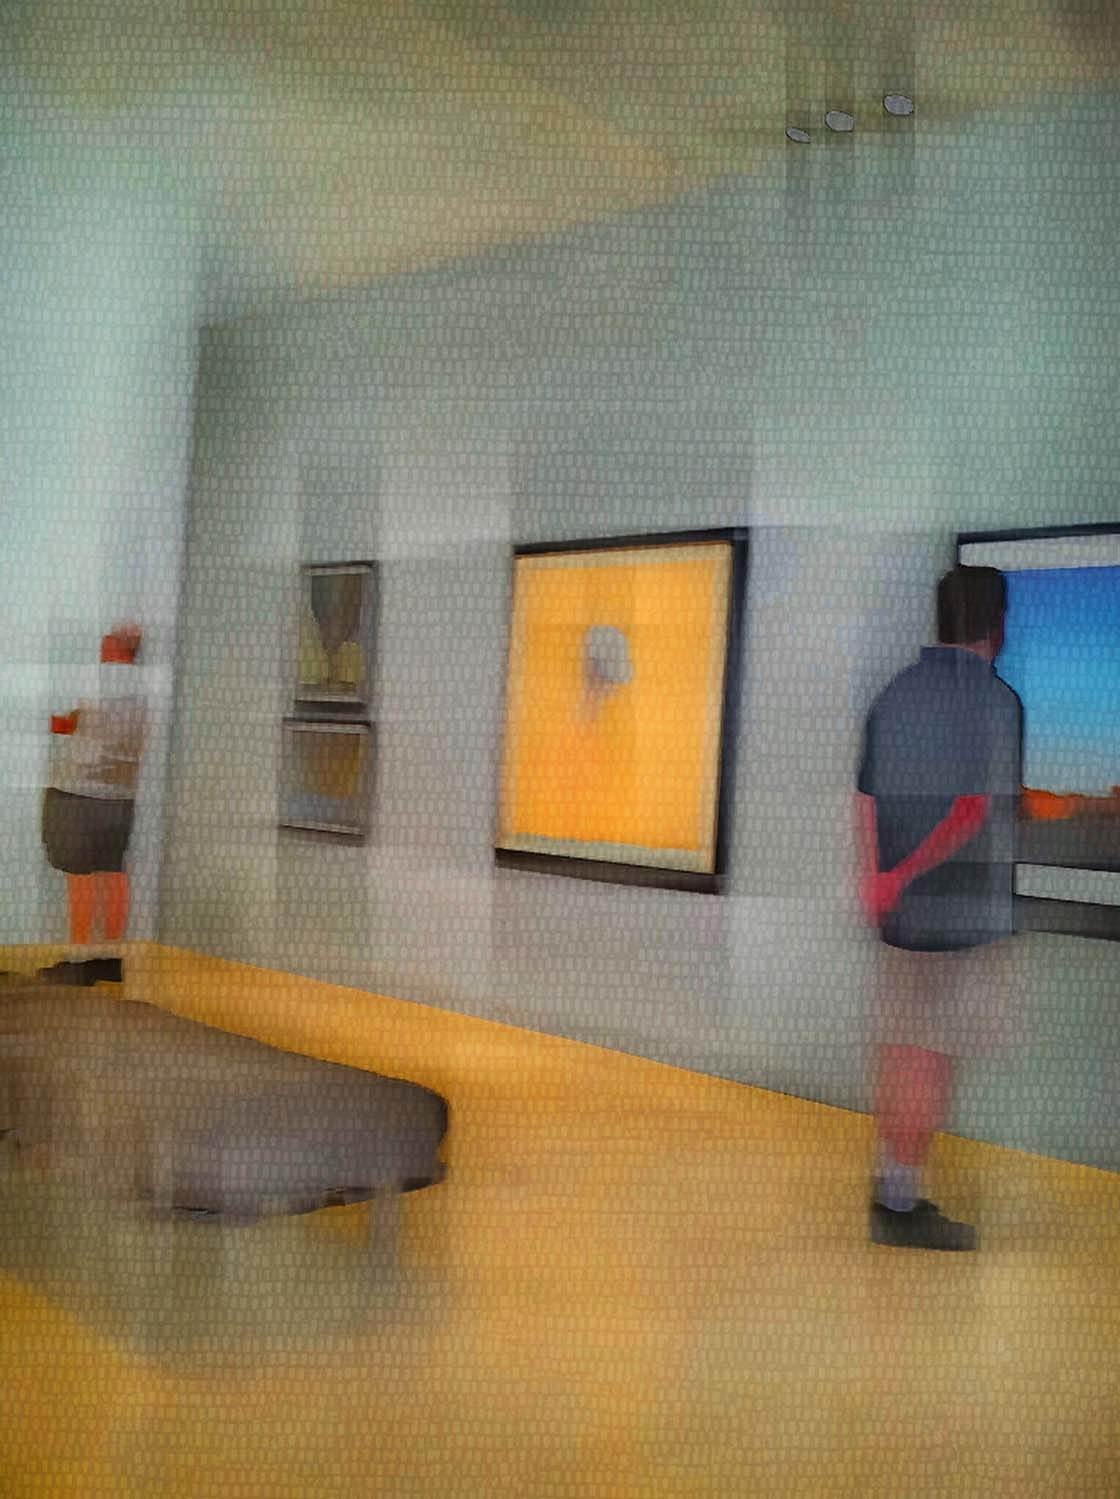
Congratulations… You’ve just turned a disappointingly blurred photo into an impressive abstract work of art!
As you get more comfortable with this iPhone editing recipe, you may wish to experiment with different opacity levels in iColorama as well as different texture settings in PhotoCopier. These adjustments will create a wide range of diversity in your final image.
This editing process works well with photos that feature scenes that are not too busy, and they’re great for adding a boost of color to your images.
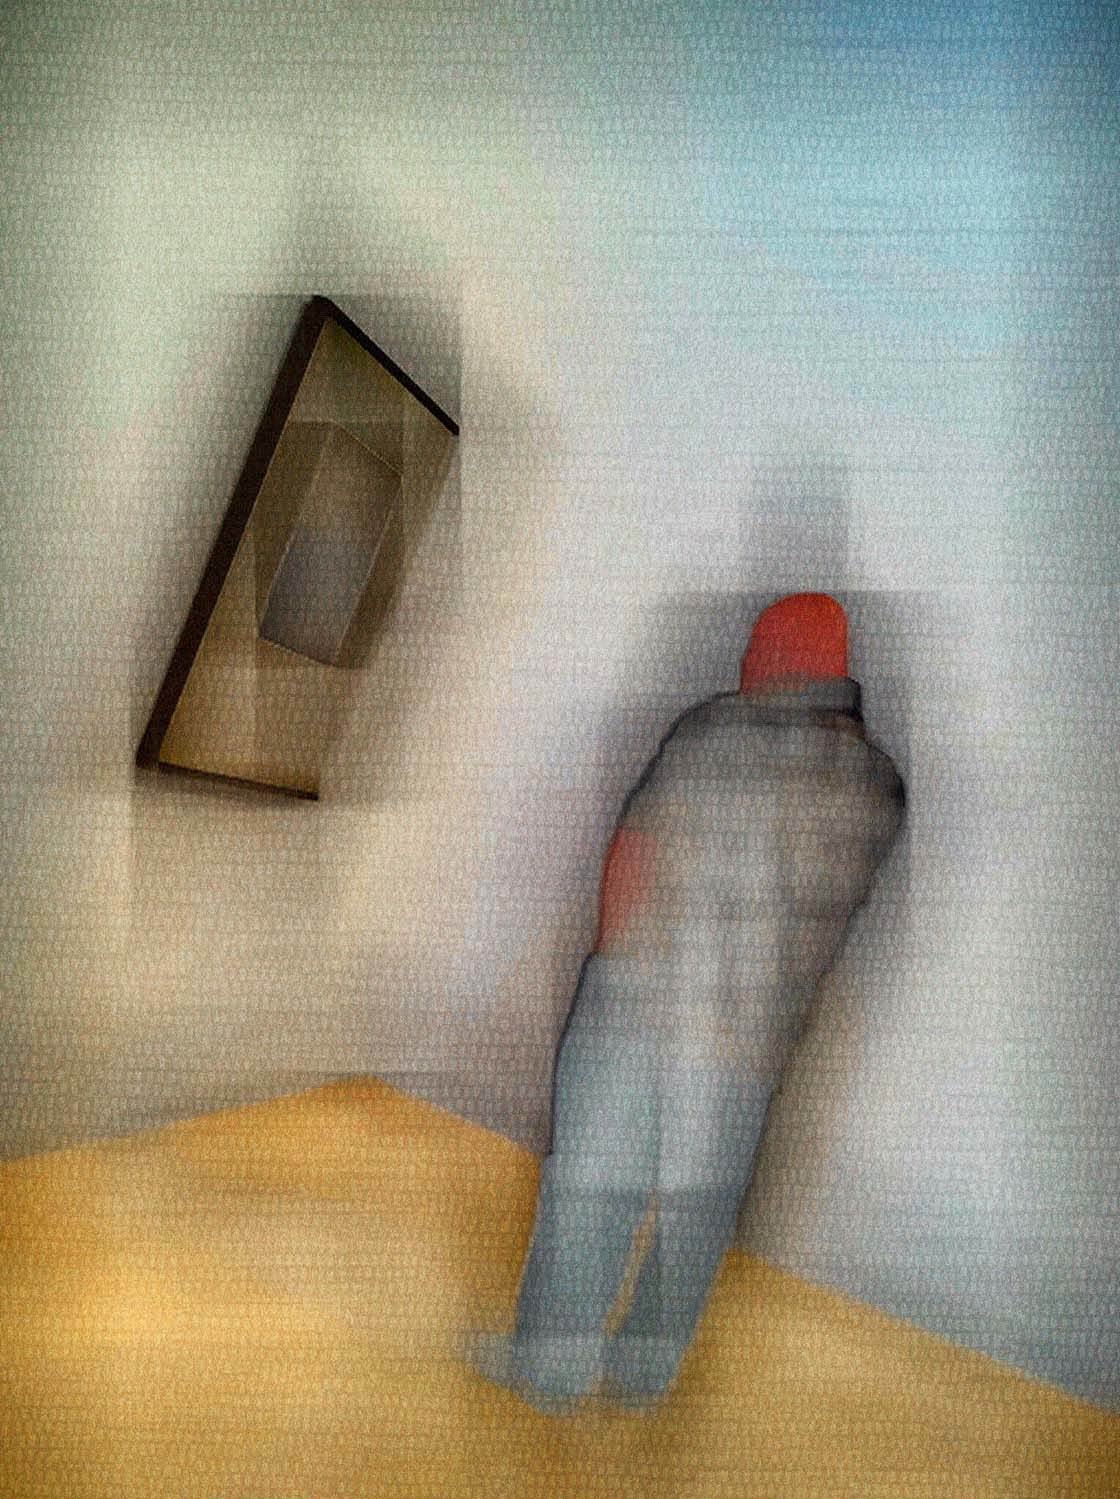
Of course, you don’t have to limit these editing techniques to just your blurry photos – they’ll work brilliantly on any photo. But as you’ve seen from these examples, this is a fantastic way to rescue a blurred photo and turn it into something beautiful and unique.

Thanks for this great step by step guide to your creative and wonderful photograph. I love your work! Thanks for sharing the process with us.
Thank you Liz! So glad you enjoyed it.
Thanks for this fantastic tutorial Kristen 🙂
Great tutorial Kristen. Thank you?
Thanks Rosa. Glad you liked it!
How do I take Black & White photos?