Whether you’re traveling to exotic lands or exploring your own region, almost all cities and countries have historic and cultural locations. Ancient parts of towns and cities, stately homes, churches, museums, and open-air historic villages all offer tourists and citizens the chance to learn about the location’s history, people and culture. And they also happen to be great places for photography. In this tutorial, you’ll discover nine great tips for taking fascinating iPhone photos of buildings and people in historic and cultural locations.
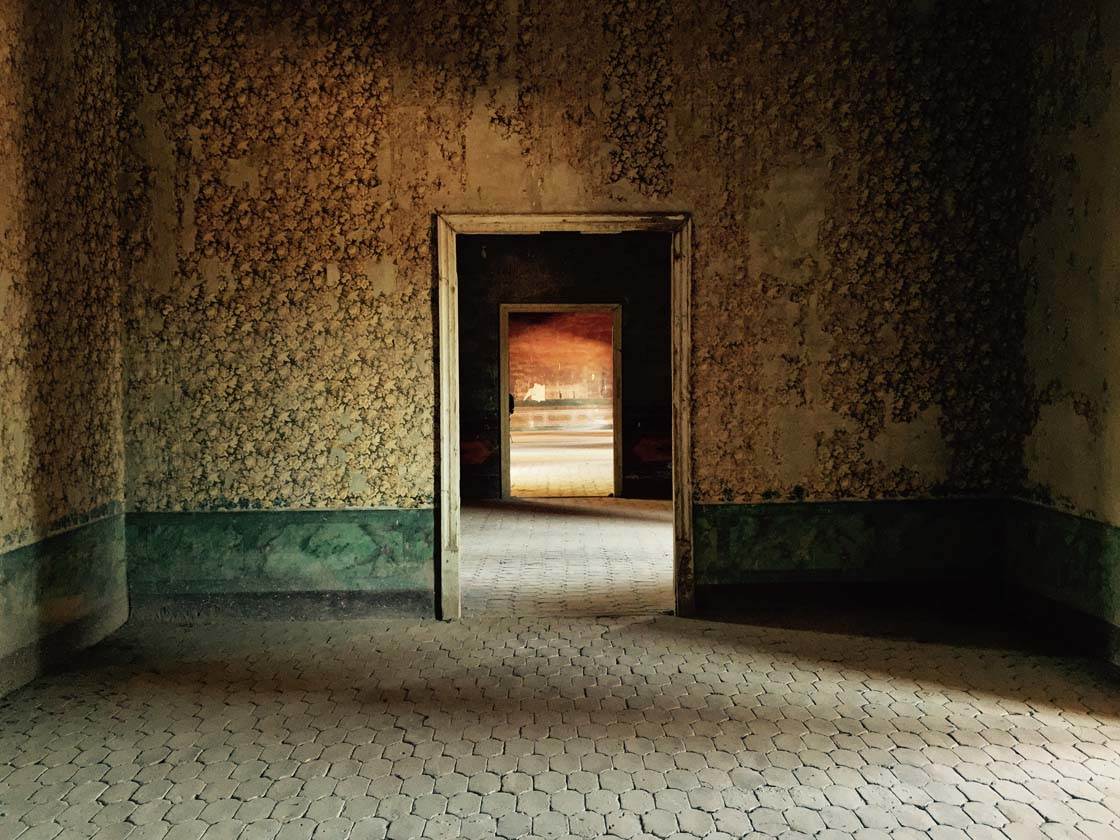
1. Capture Architectural Detail
The first thing you’ll notice as you enter historic parts of a city or an open-air museum are the old buildings that surround you.
Architecture makes a great subject for photography, and old buildings are full of intricate detail and textures that will add extra interest to your shots.
When encountering beautiful historic exteriors, the temptation is to get the entire building into the shot.
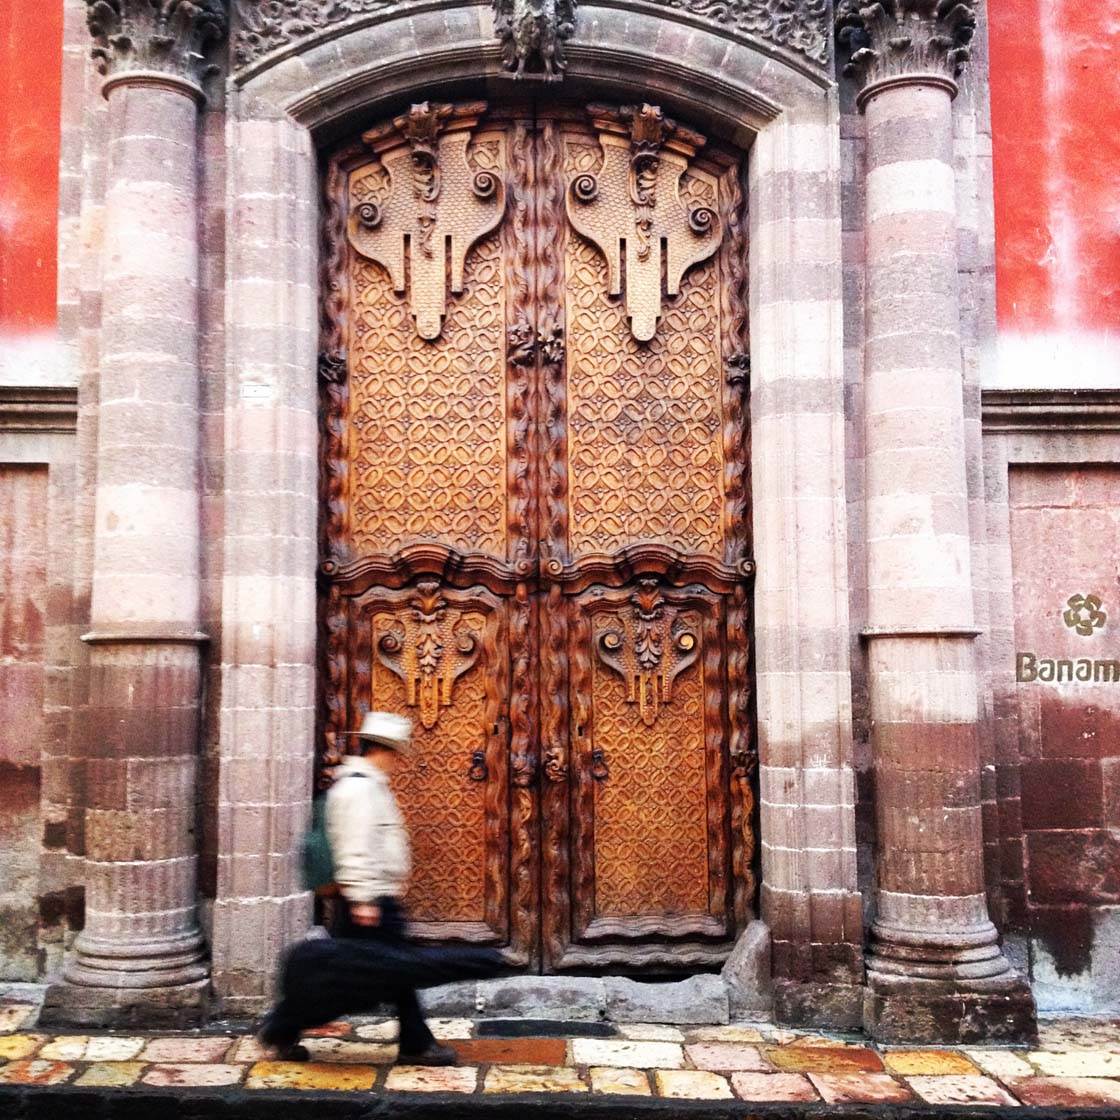
While this is a good technique for documentary or commercial photography, getting closer and filling the frame with an interesting part of the building will add a bit of artistry to your photos.
Sometimes showing less of a scene actually makes the scene more appealing, as the viewer lingers longer on the image wondering what the rest of the exterior looks like.
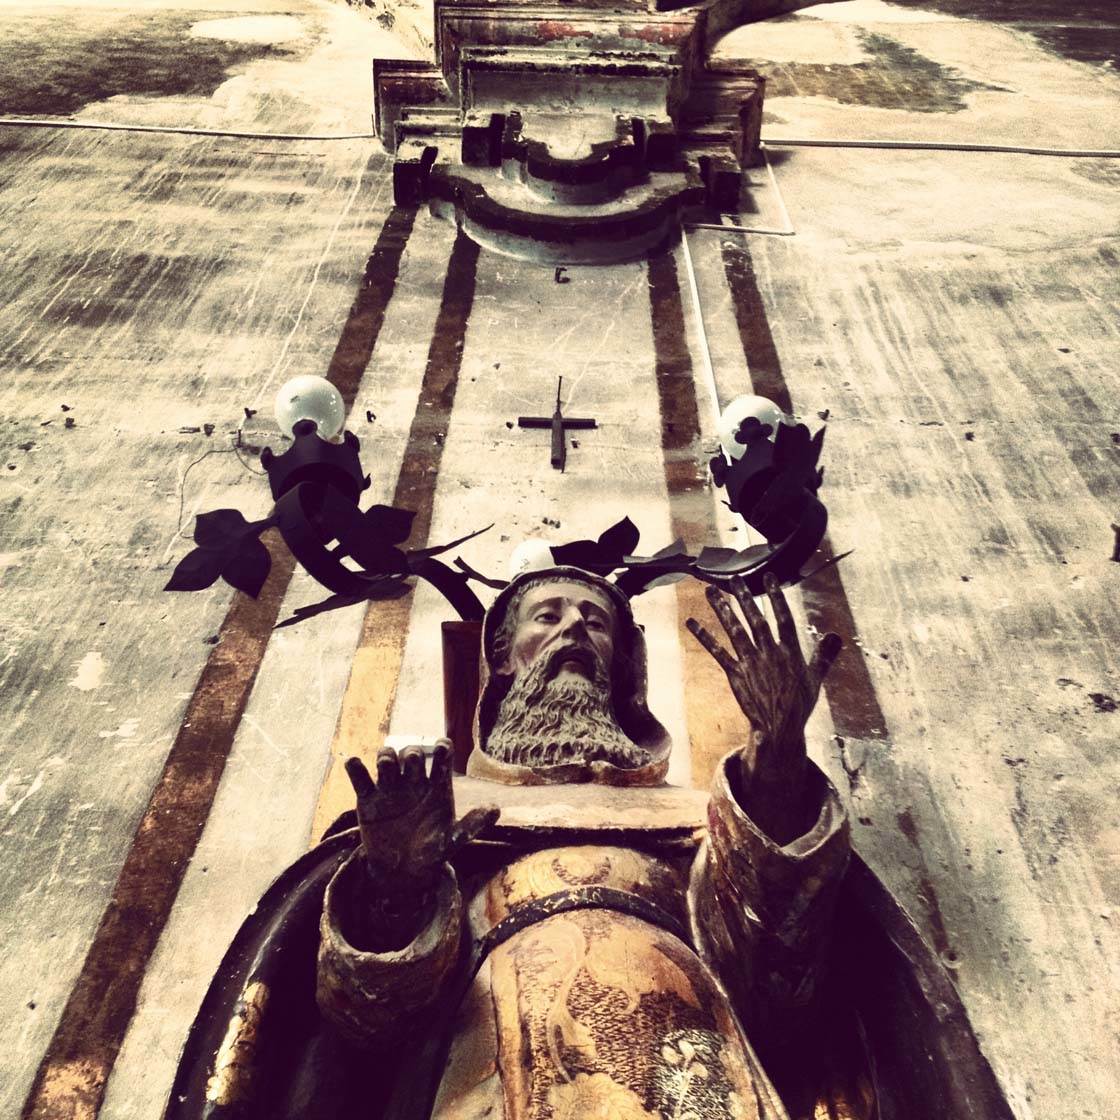
Try a composition that only captures the strong points of the building’s exterior, and leave the rest to the imagination of the viewer. Using symmetry and leading lines works particularly well in architecture photography.
Capturing unique detail and texture in your photos will help you tell a better story of the location you’re visiting.
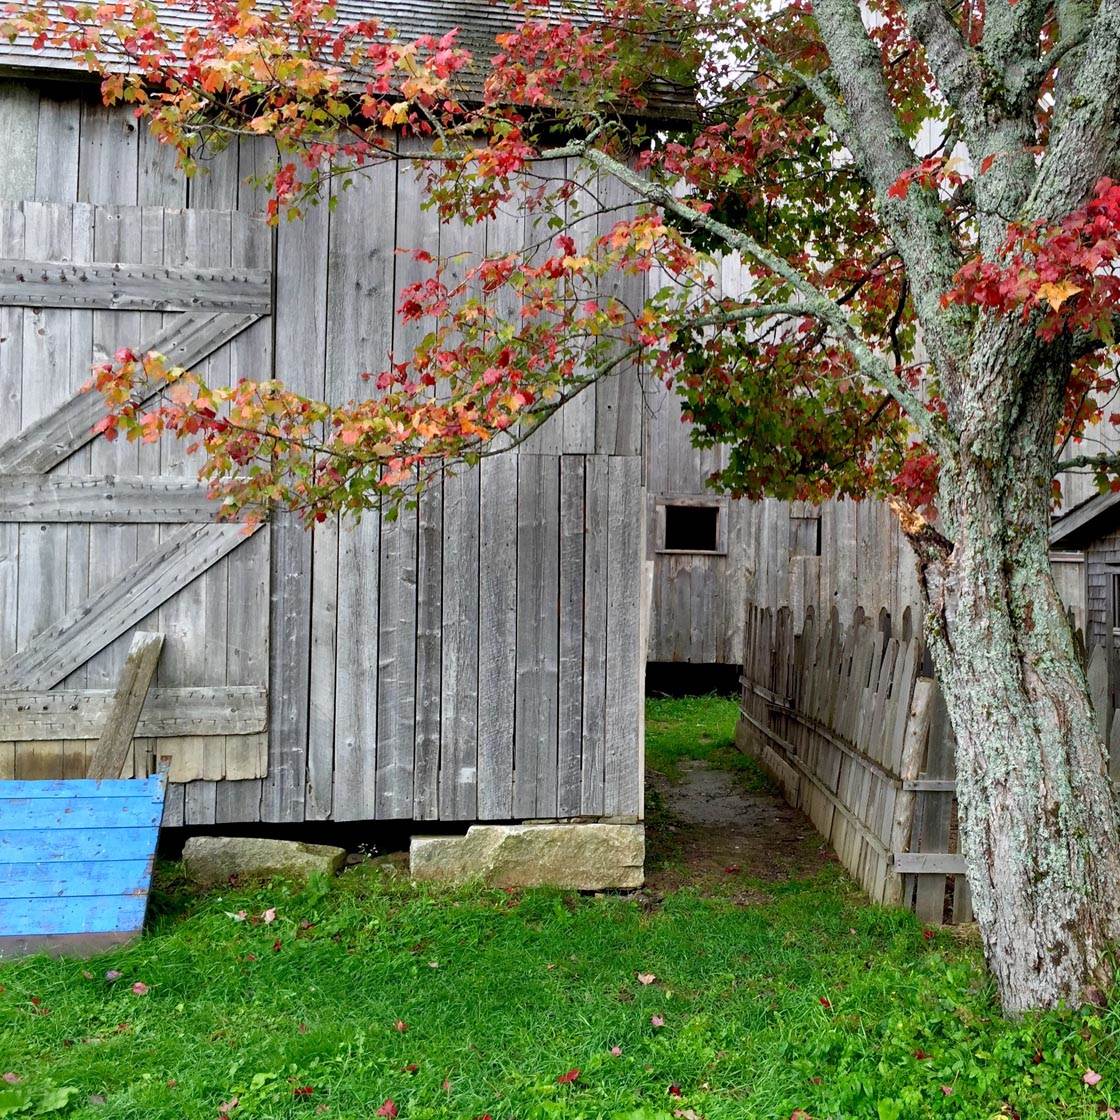
As well as photographing buildings from ground level, see if you can get to a higher vantage point. Maybe you could shoot from a window or balcony of a hotel, or from a terrace of a tall building.
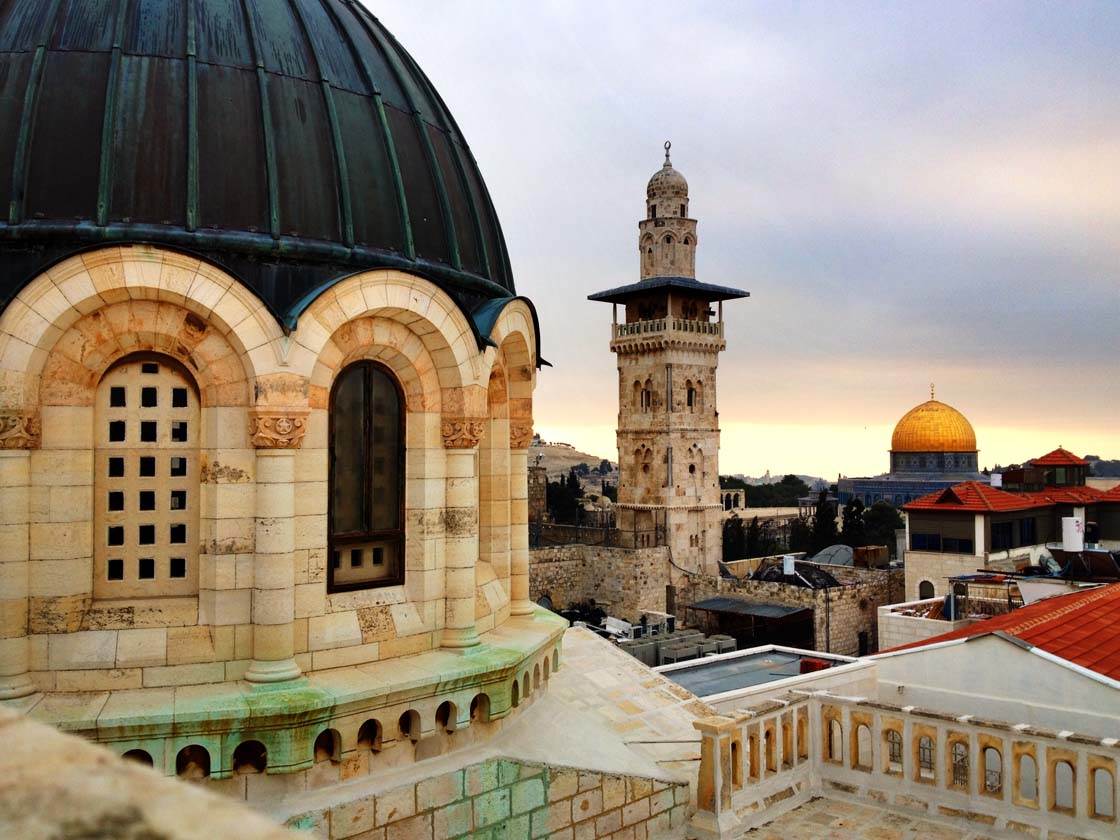
Shooting from high up allows you to capture details that aren’t normally visible from ground level. You can shoot wonderful cityscapes and rooftop shots from these high vantage points.
In addition to photographing building exteriors, don’t forget to explore their interiors too. Historic buildings are full of beautiful and unique details.
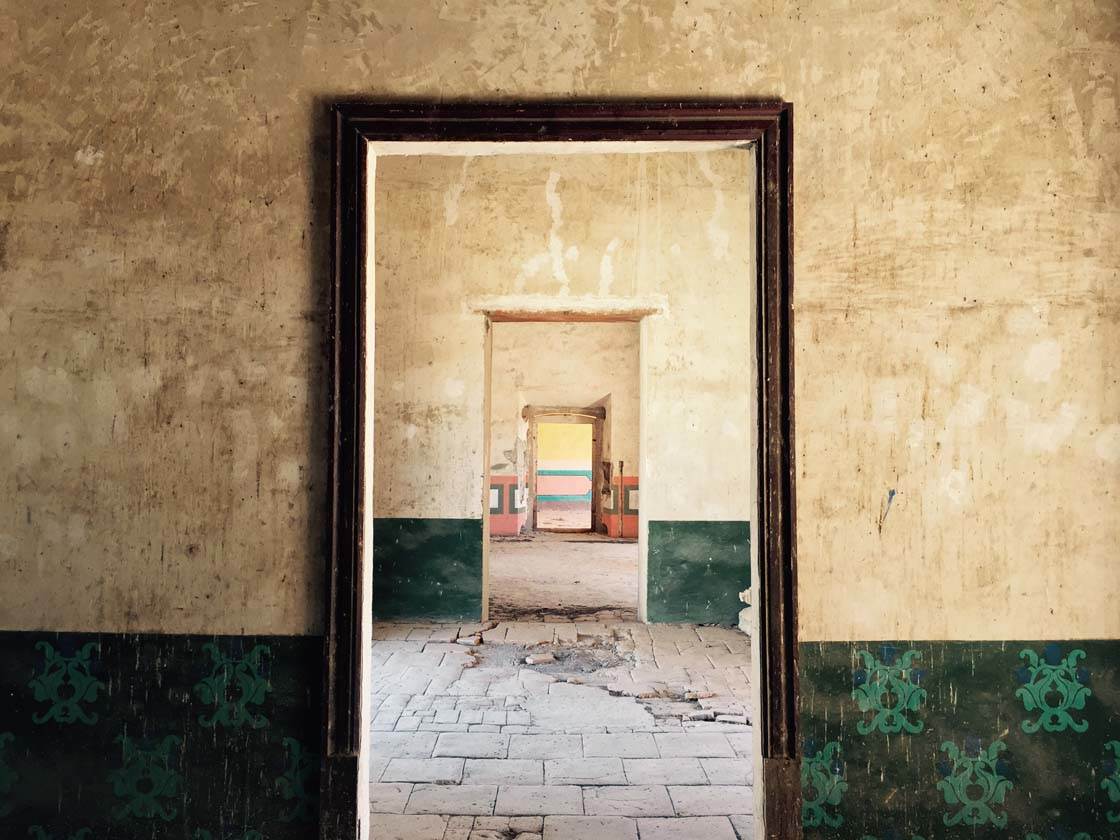
Make use of doorways, archways and other lines in the architecture to create symmetrical compositions and frames that draw the eye into the scene.
2. Photograph People To Tell Interesting Stories
As well as photographing architecture, try to capture shots with people in them too. Including a human element in your compositions will help you tell more interesting stories about the location you’re visiting.
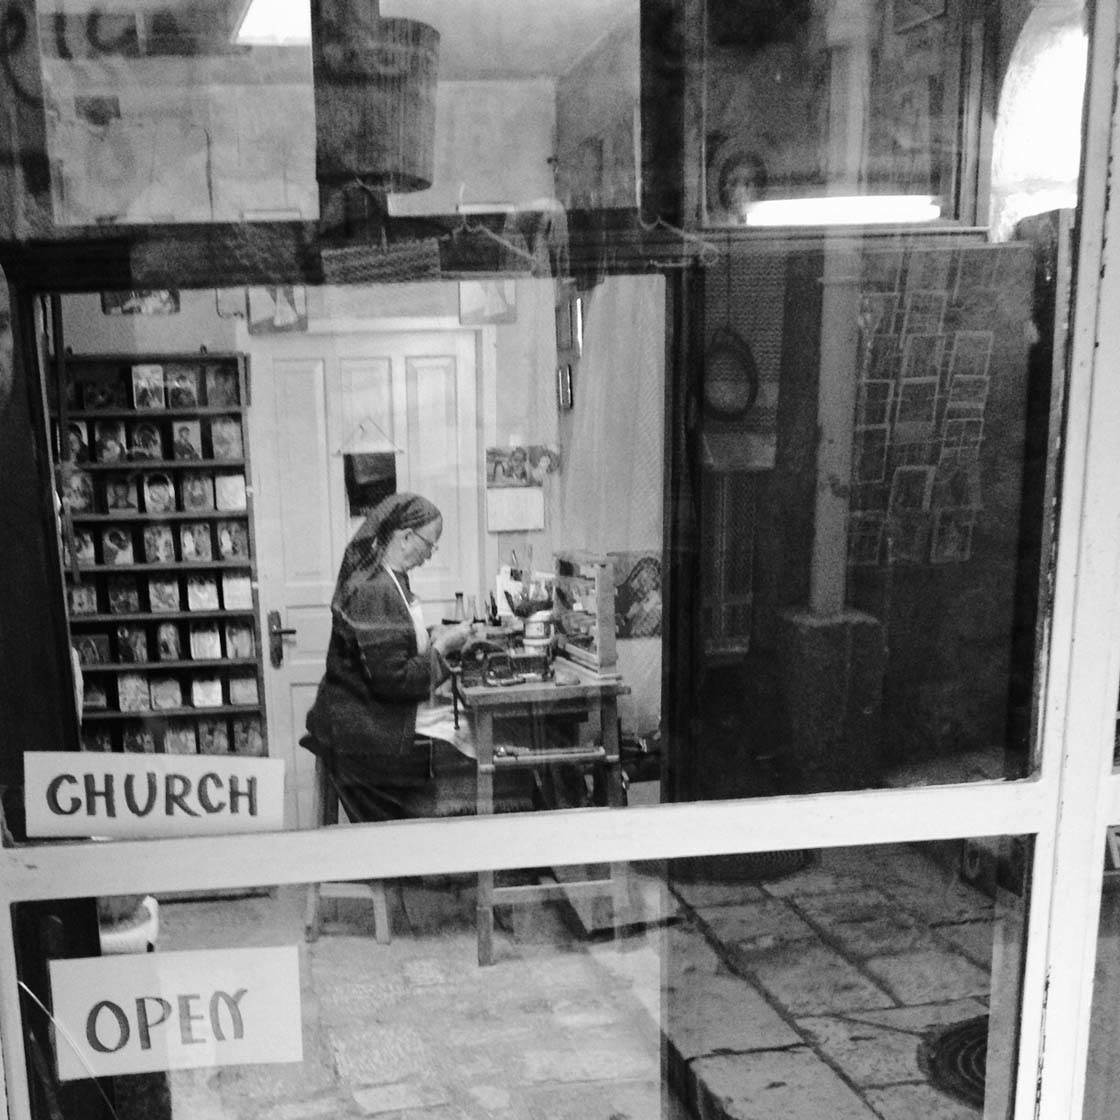
People add a personal touch to your photos, and they help the viewer to connect with the scene.
For street photography storytelling, be discreet so that your subject doesn’t become aware that you’re photographing them. As soon as they notice you they’ll probably change their behavior and the shot won’t look so natural.
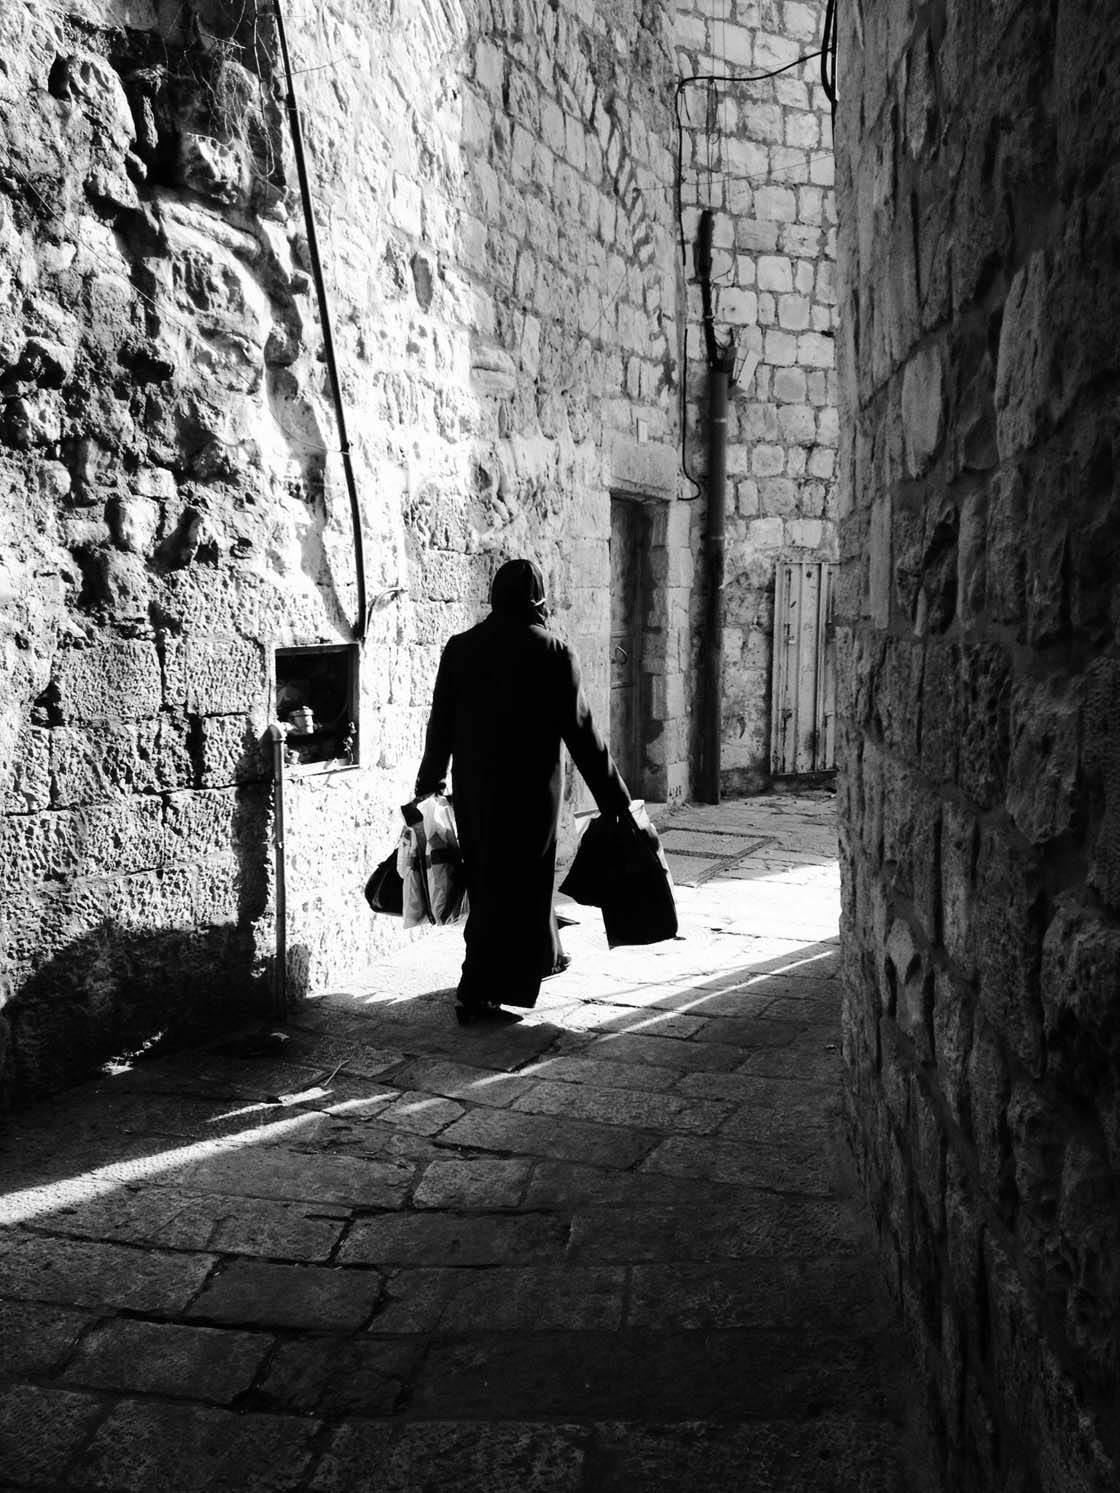
If you’re apprehensive about taking photos of people without their permission, simply hold up your iPhone, smile, and ask them if you can take their photo.
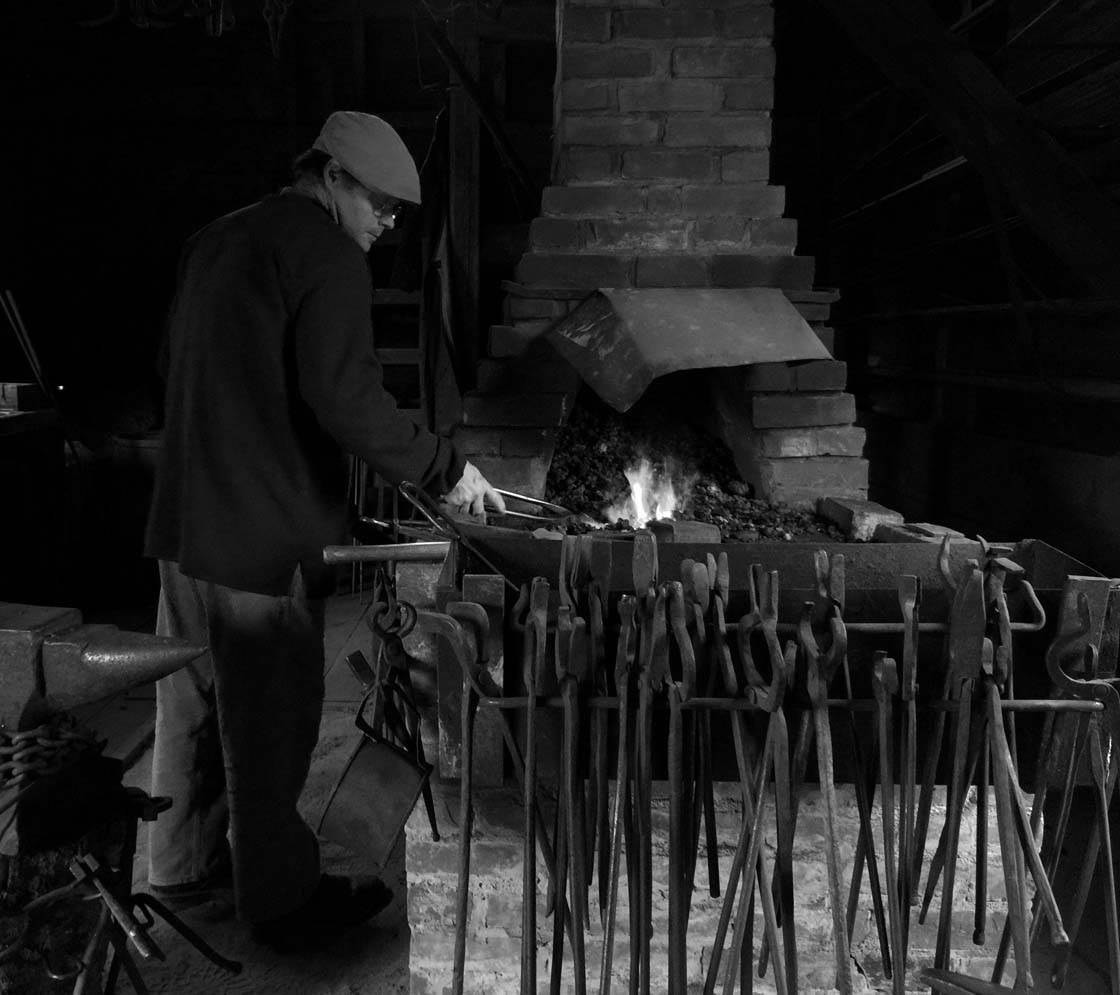
Most often you’ll be lumped in with the hundreds of other tourists, and the person will have no problem with you taking their photo.
They’ll probably stand straight to the camera and smile, but your image will turn out to be more dramatic if you ask them to look slightly off-camera.
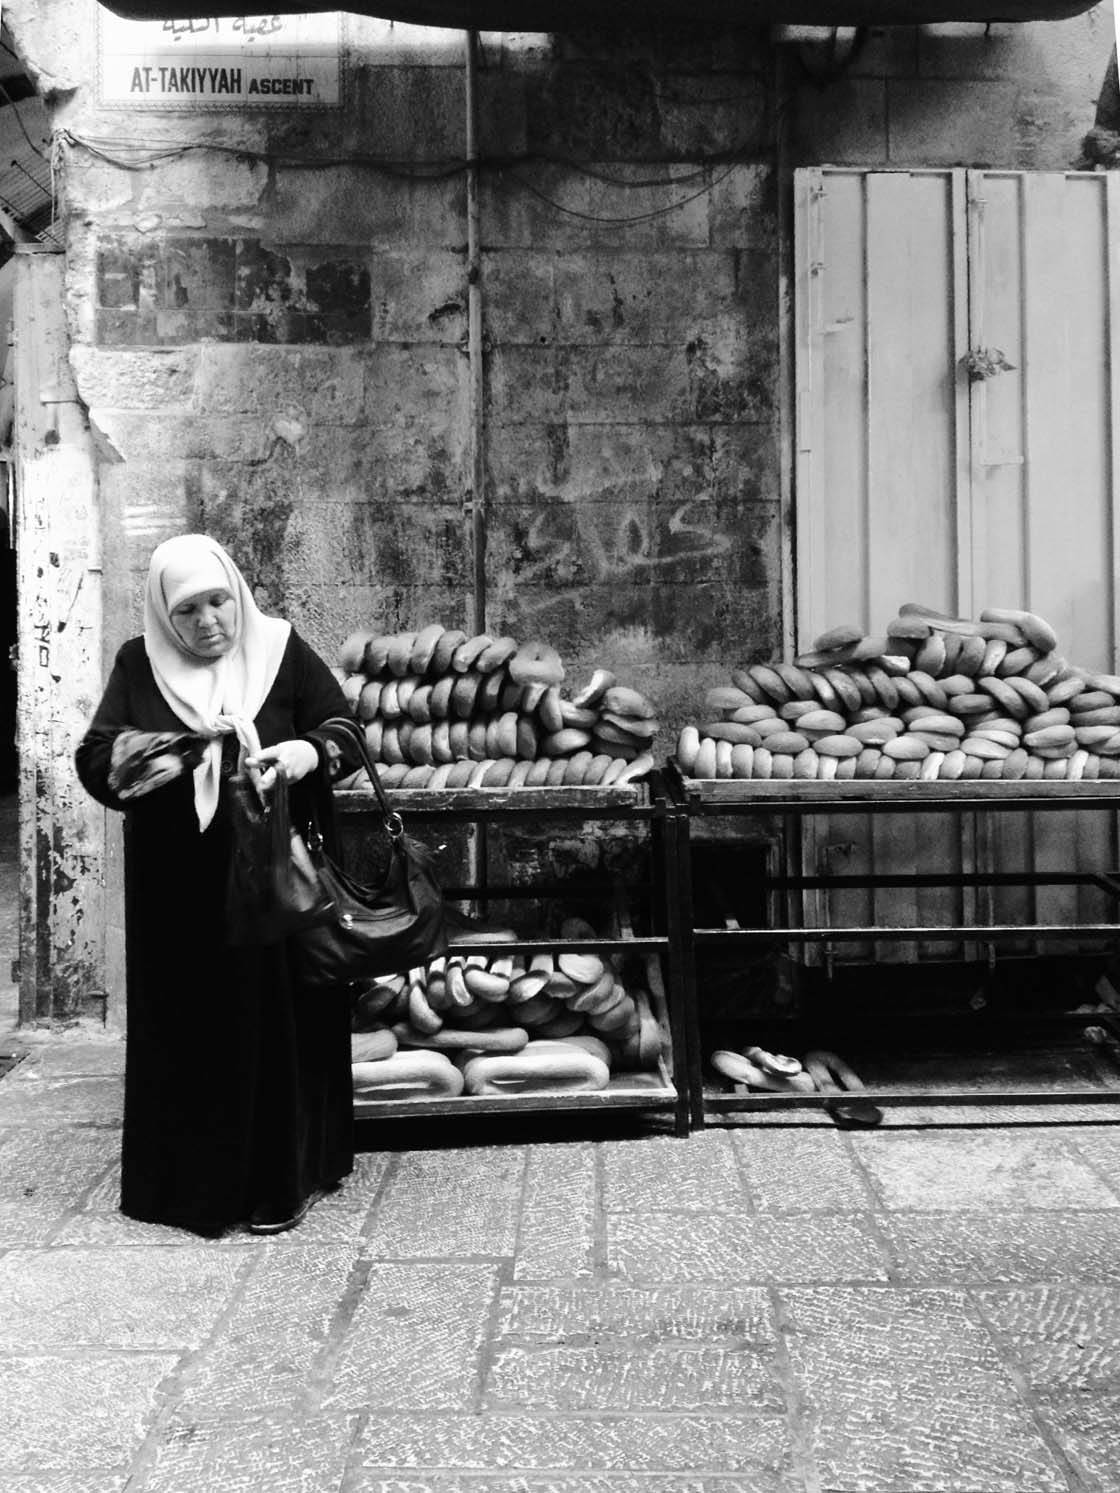
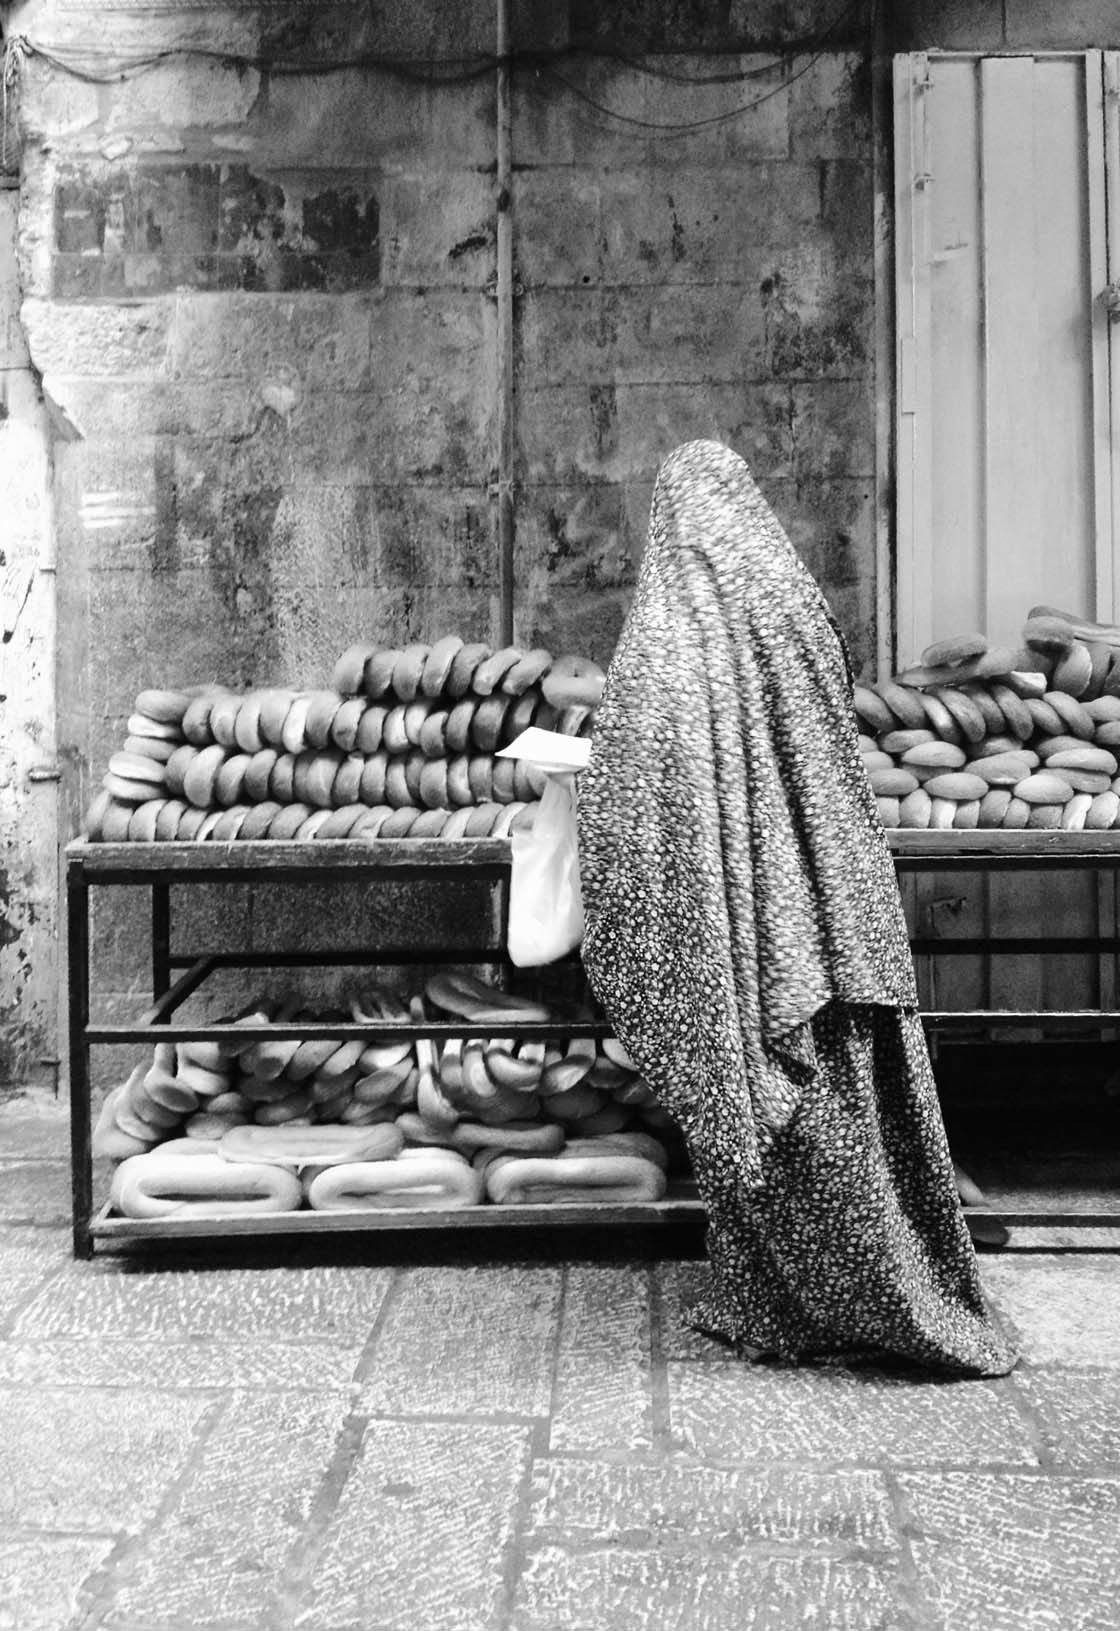
Historic locations aren’t the only place where you’ll find great photo opportunities. Look out for other cultural treasures such as traditional food markets and delis.
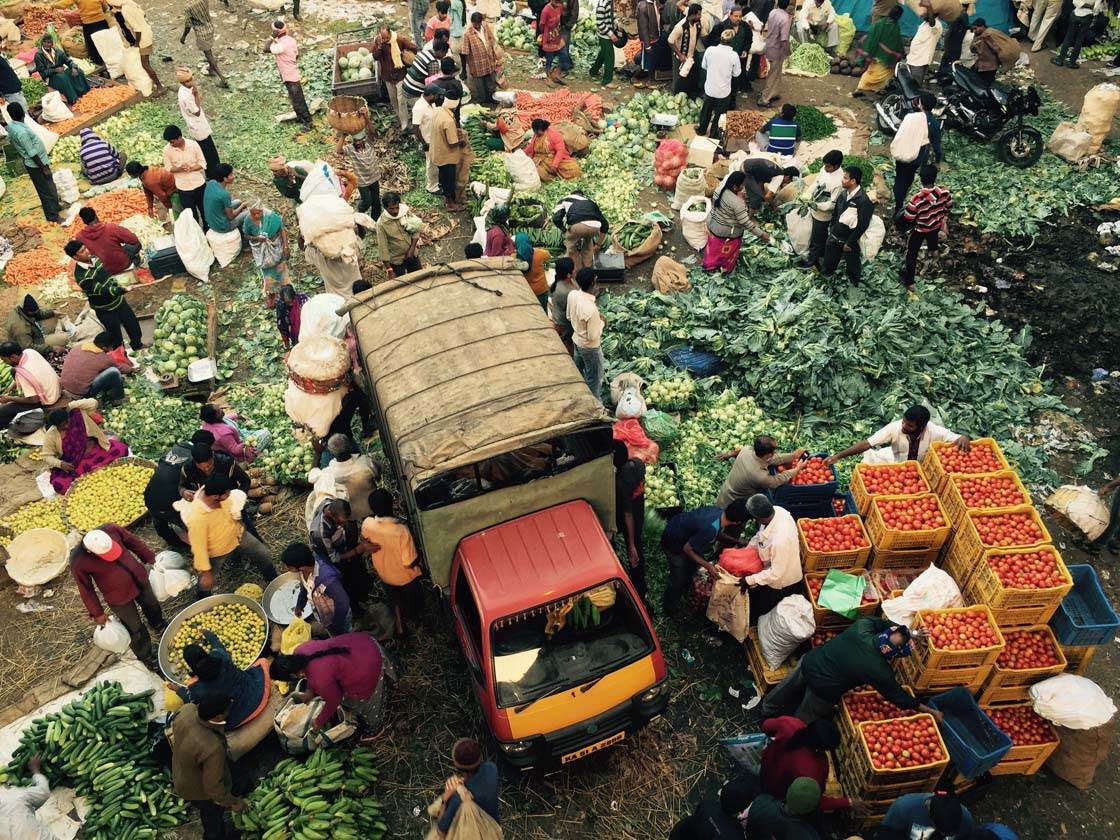
These places offer a wonderful opportunity to showcase vendors and customers interacting in a working environment.

3. Create Staged Portraits
As well as capturing candid photos of people in historical and cultural locations, sometimes a staged portrait can work really well.
Posed portraits tend to create a more formal atmosphere in your images. They’re less dynamic than candid street photography, but they can still have a strong visual impact.
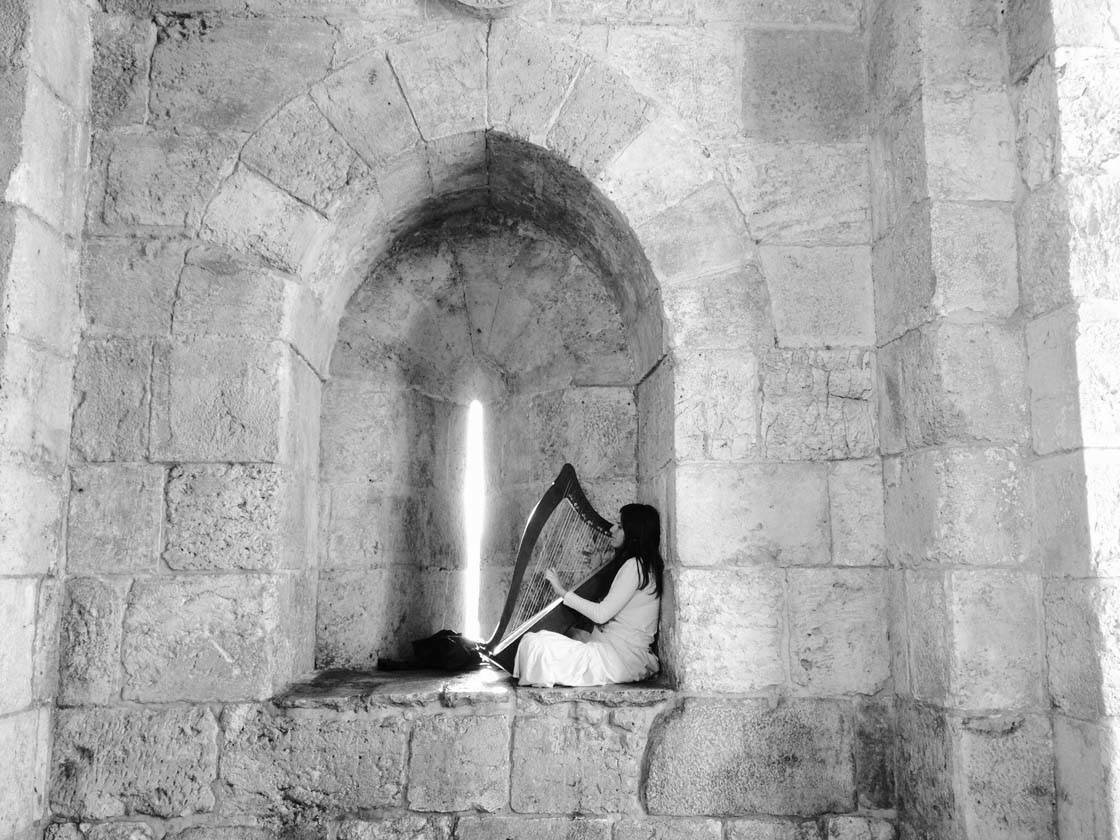
Never be afraid to ask people to pose for you, and even go so far as to suggest poses. Avoid the standard “smiling into the camera” shot, and look for more pensive, dramatic poses.
If you’re in a cultural location like a historic village or open-air museum, often the employees will be dressed in period costumes. This will make for really interesting and authentic-looking portraits.
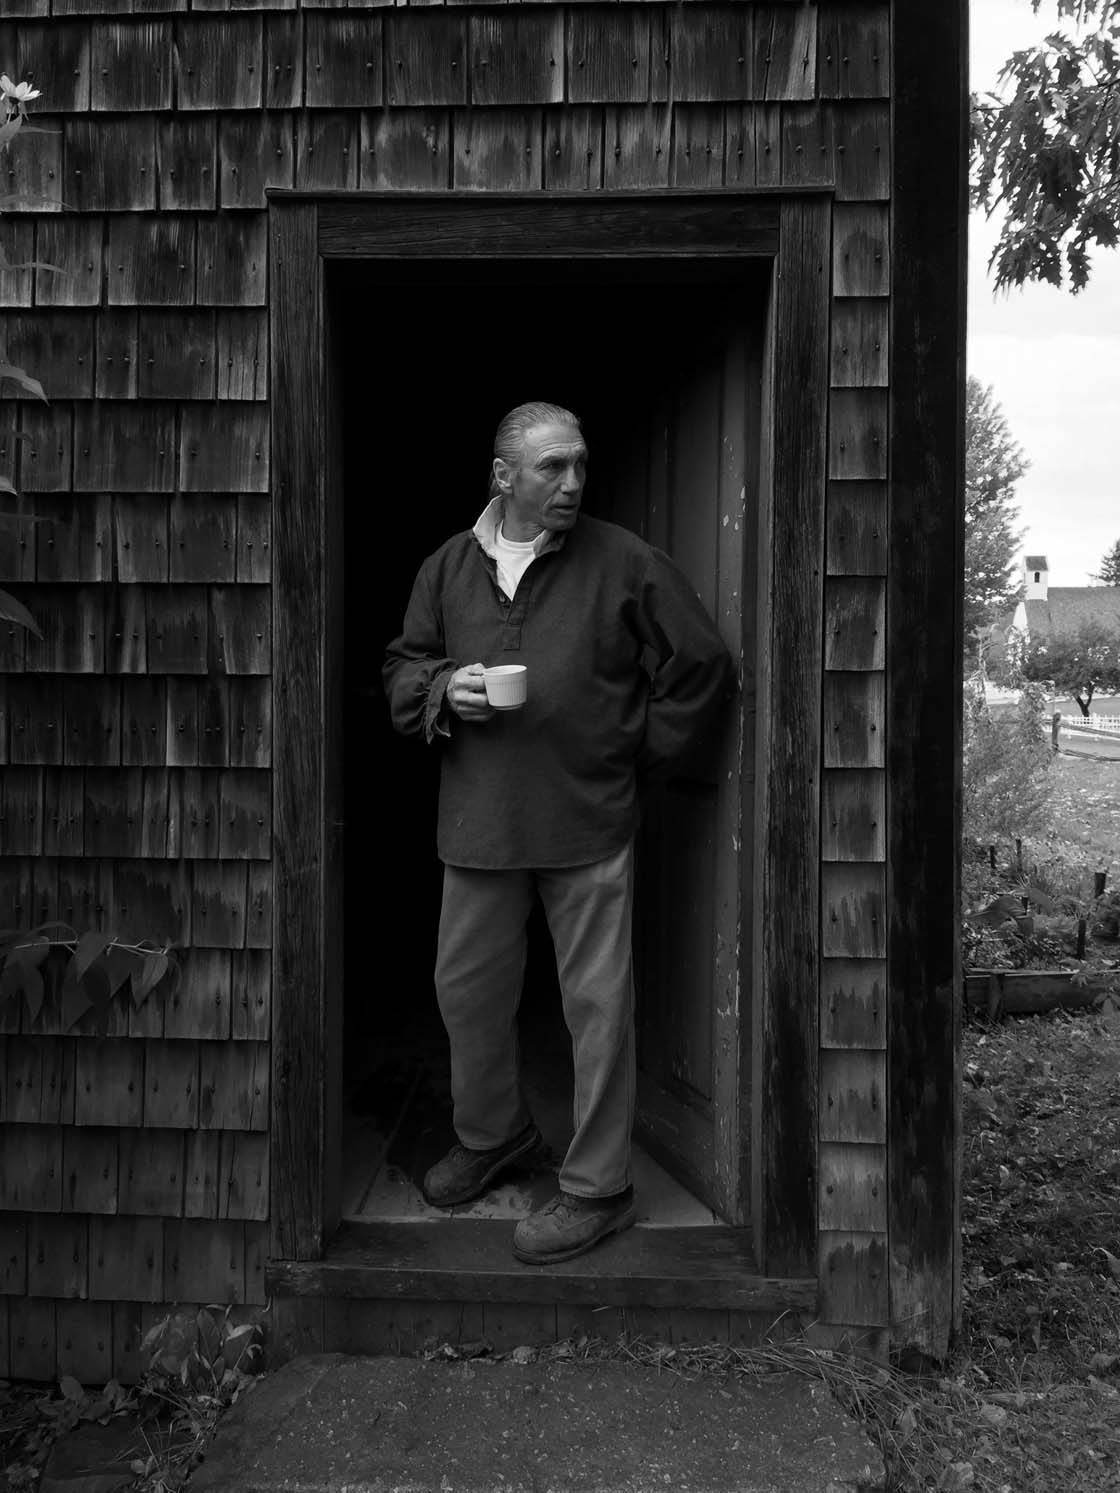
This man from the King’s Landing Historical Settlement in Eastern Canada plays a specific character that actually lived in the region over a hundred years ago. He was very open to being photographed and looked quite natural posing in the doorway of this old building.
While you’re exploring the interior of a historic building, why not spend some time taking some portraits of your friends or family members who are with you? A room in a building almost always looks better with a person in it.
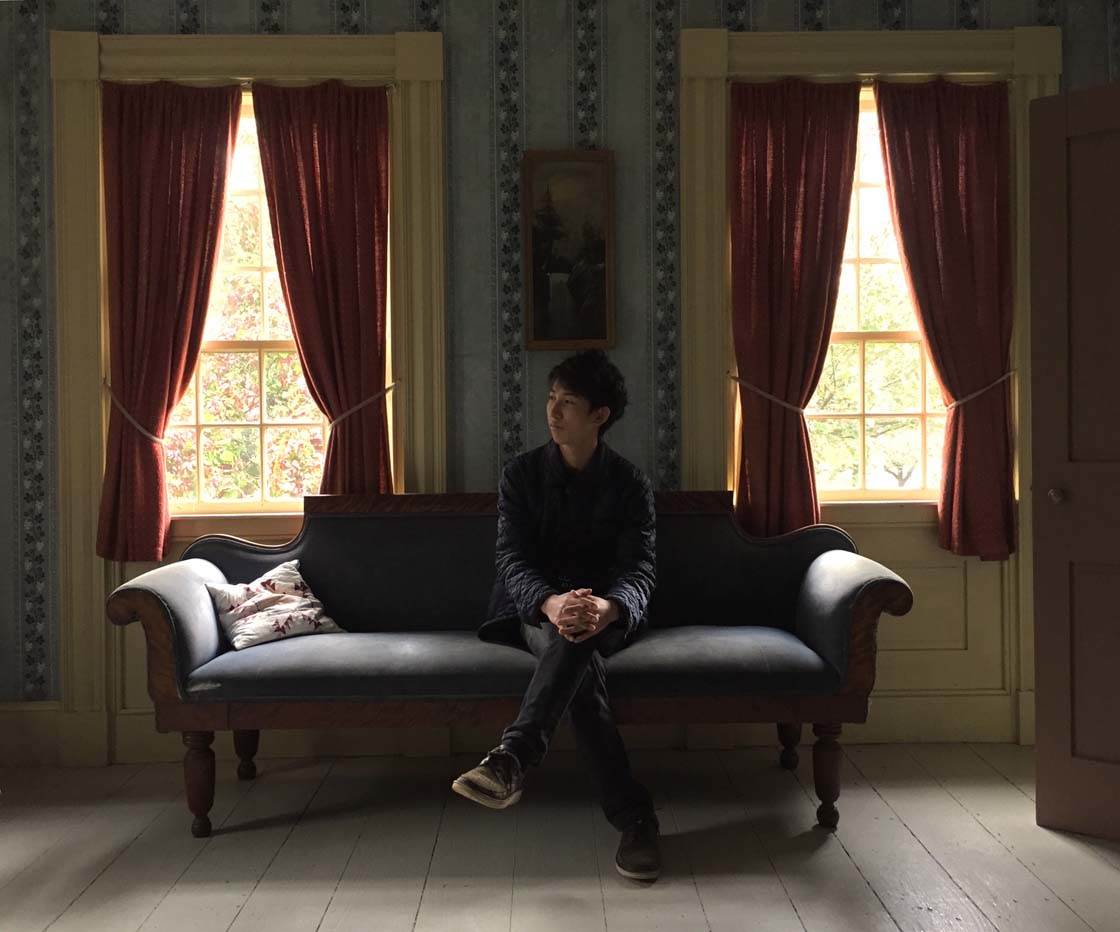
Yes, the person will be dressed in modern clothing, but the historic interior designs of the houses and old buildings make for great portrait backdrops.
Posed portraits give you a lot more time to think about things like composition, light and the position of your subject. And if the first shot doesn’t work out, you can just shoot it again.
4. Get Exposure Correct In Dark Buildings
Some historic locations that you visit might include ruins or abandoned buildings. Most likely there’ll be no artificial light to illuminate the interior, and possibly only a small amount of window light.
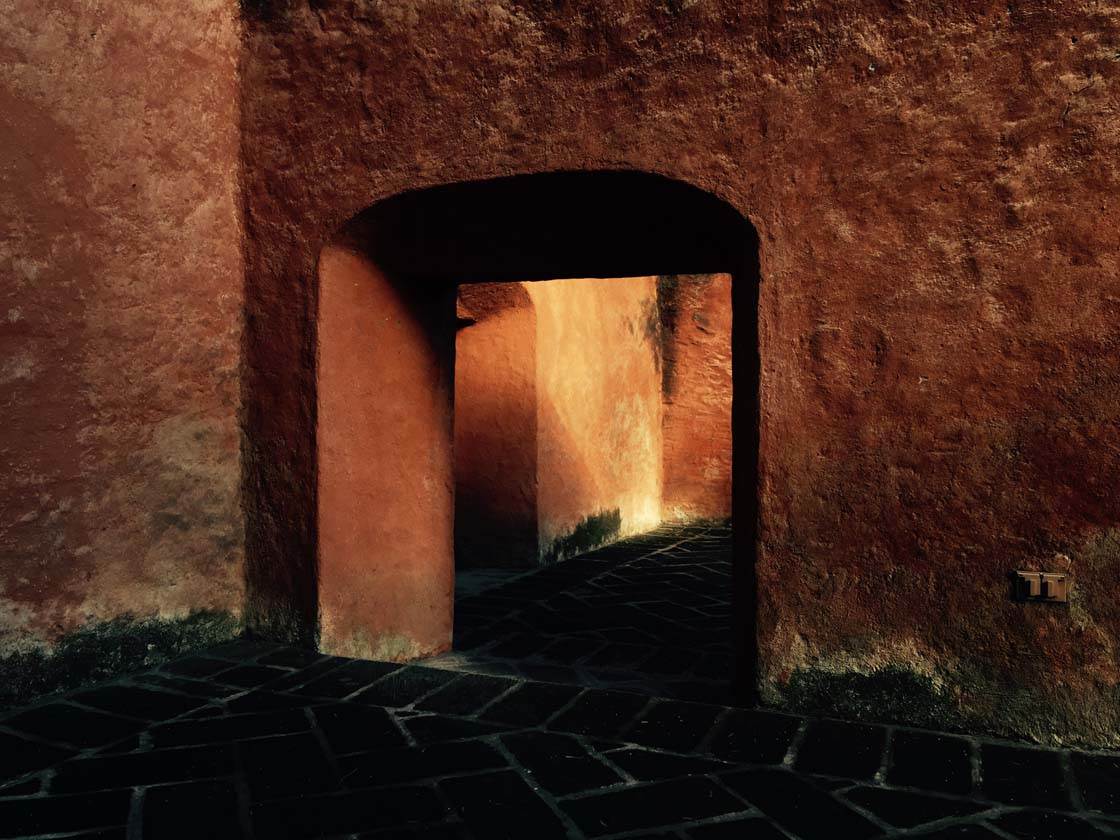
When shooting in low light, the camera’s exposure time needs to be much longer than usual to allow enough light in to create a good exposure.
If you’re hand-holding the camera, your photos will most likely be blurry due to camera shake. To get sharp shots when shooting in low light, use an iPhone tripod to keep your camera steady.
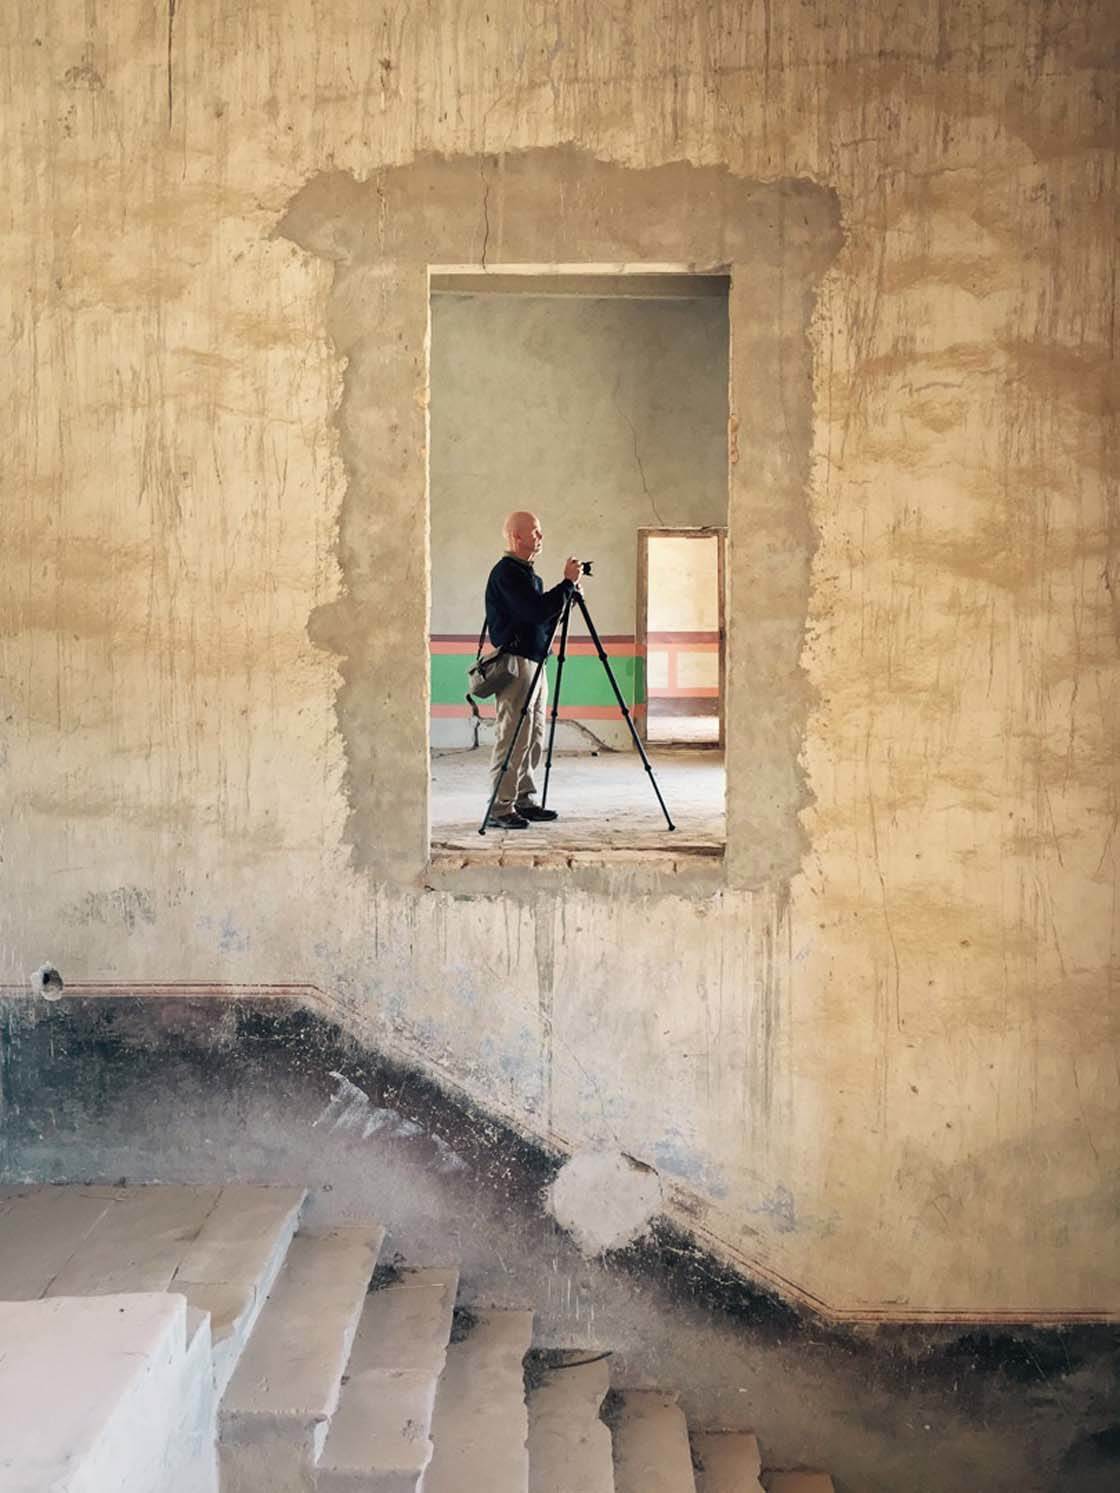
After tapping to set focus on your subject, check the iPhone’s screen to see if auto-exposure has given you a bright enough scene.
If the scene appears too dark, you can increase the exposure to brighten the image. Simply swipe up on the screen to access the exposure slider, and keep swiping up until the image appears bright enough.
Be careful not to over-expose the shot as you might lose detail in the brighter areas of the scene.
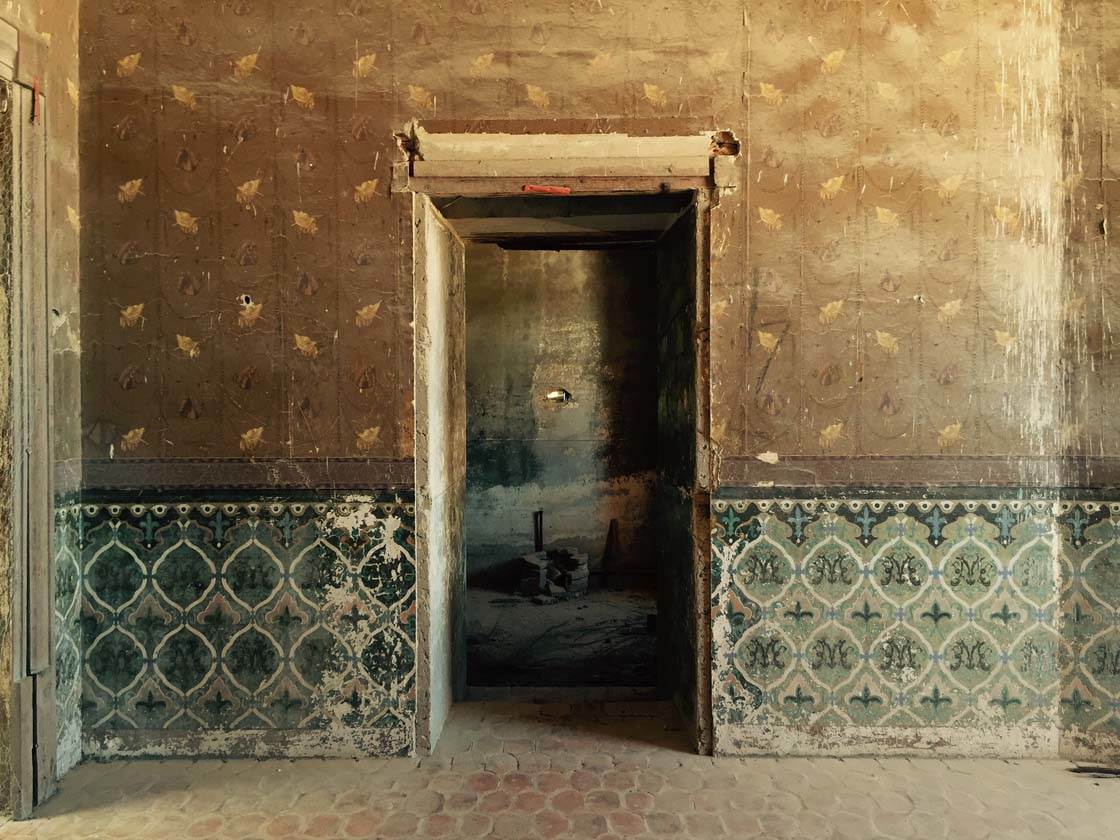
While the interior might seem darkish to your eyes, after the iPhone takes the photo you’ll find the resulting image to be evenly illuminated and bright.
If you’re not sure whether a tripod is needed, it may be best to err on the side of caution and simply use a tripod whenever you’re shooting inside a building.
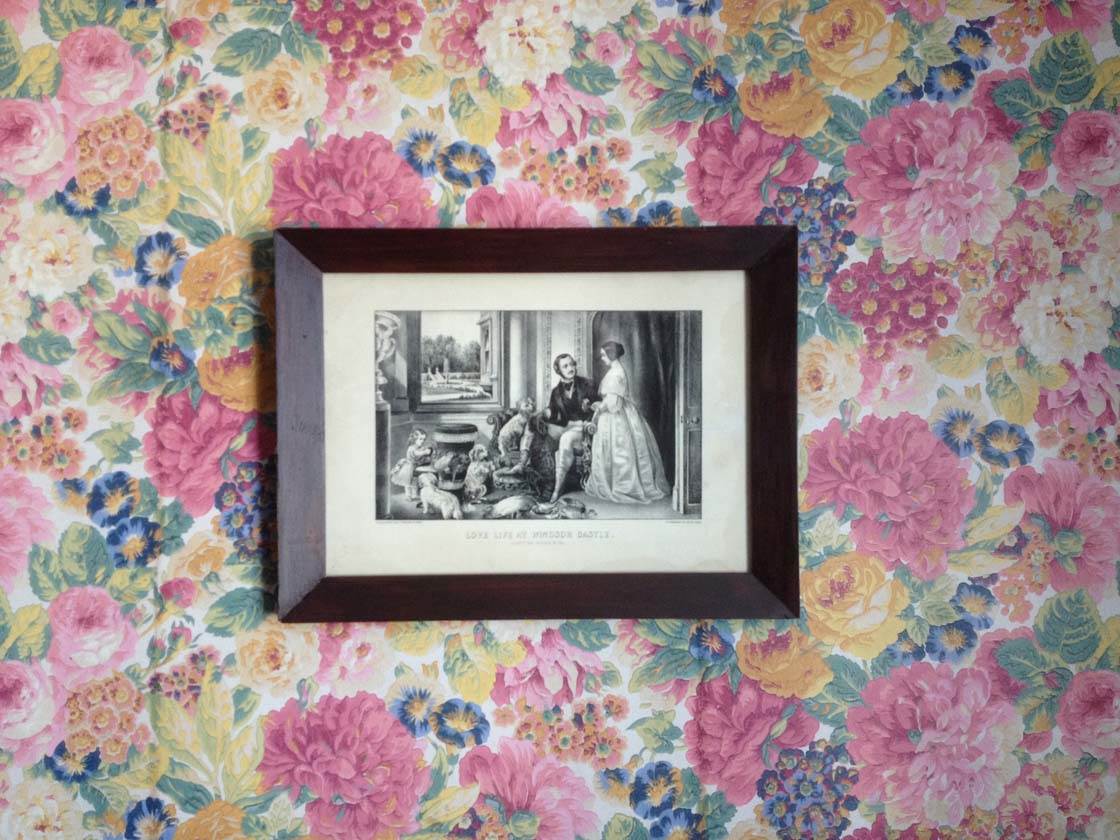
This photo of old style wallpaper and historic framed artwork was another challenge as the room was incredibly dark.
But the iPhone’s auto-exposure was able to “pull” more light from the room than our human eye can see, and the result was a decently exposed photograph. A tripod ensured that I didn’t get any camera shake.
While creating a bright exposure will capture plenty of color and detail in your photos, sometimes you might want to emphasize the darkness in your shot.
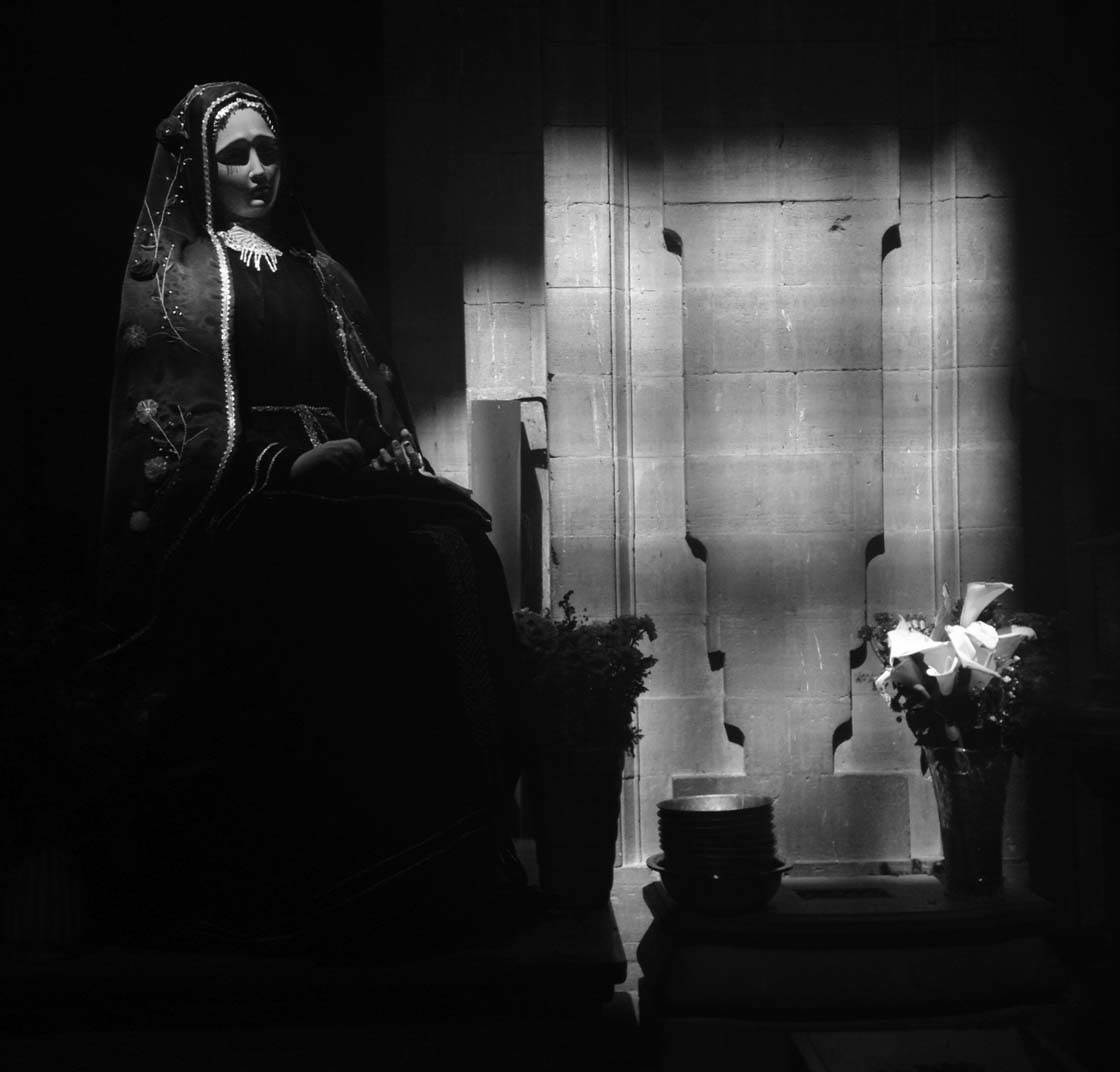
To create an exposure like this, you’ll need to under-expose the image so that less light enters the camera during the exposure.
This is very easy to do on the iPhone. Start by tapping to set focus on your subject, then swipe down on the screen to access the exposure slider. Keep swiping down until the shadowed areas appear dark or pure black.
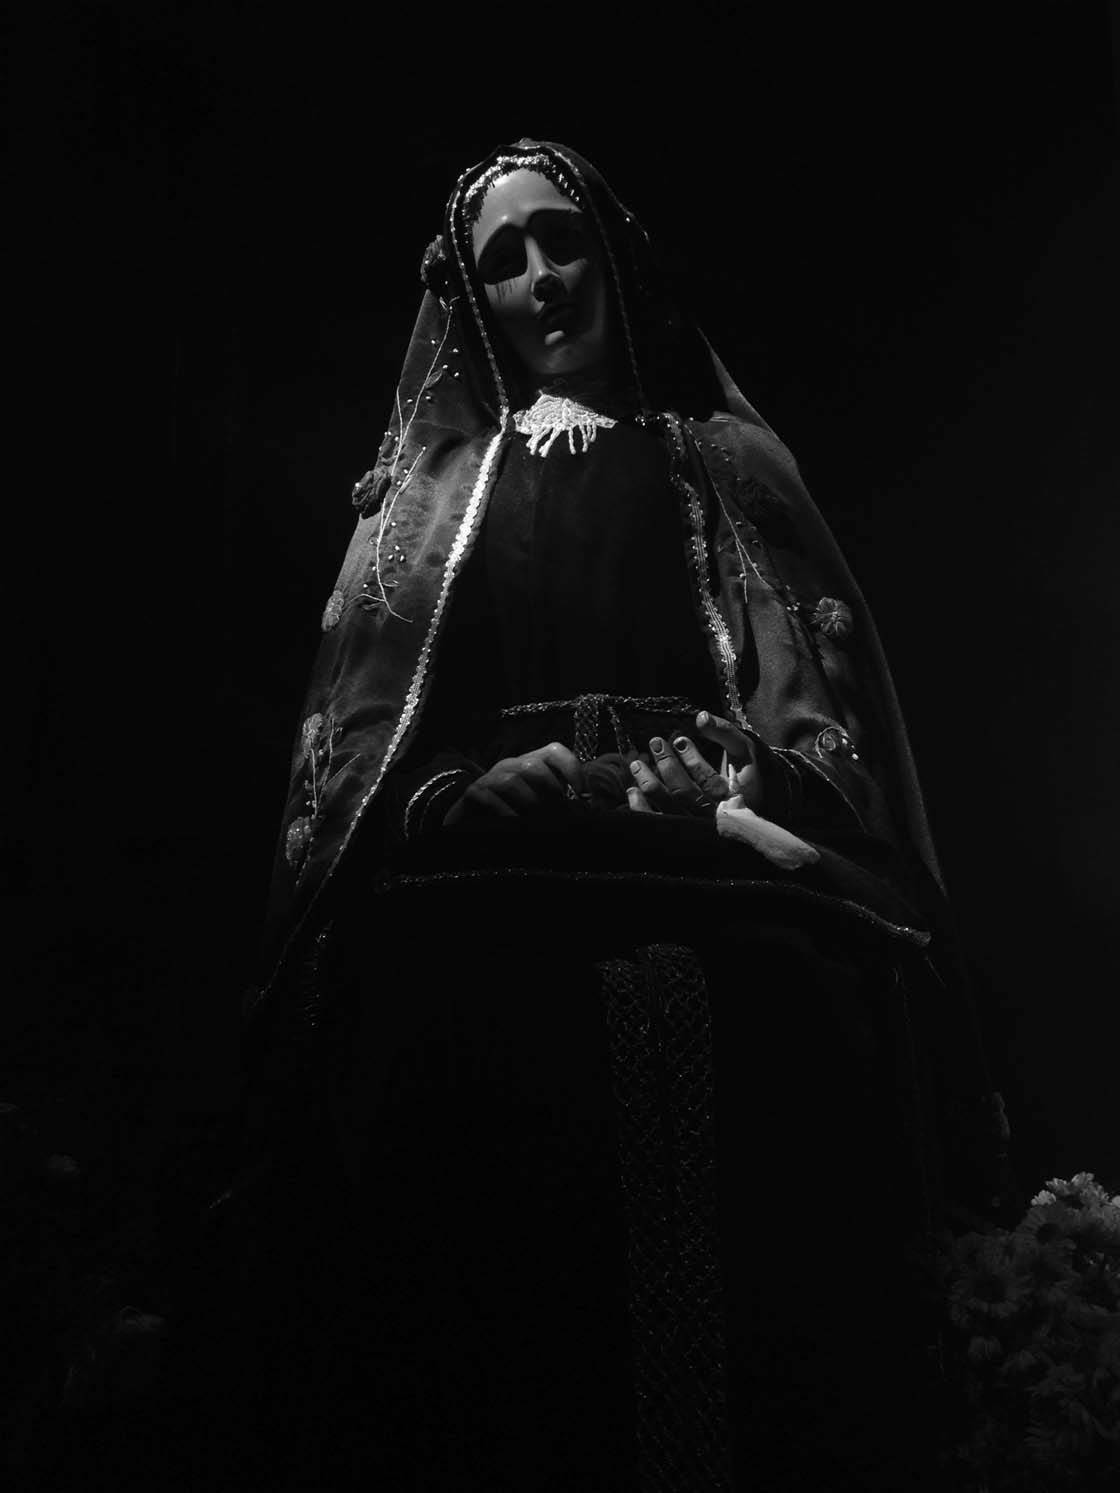
The aim is to set the exposure so that you can see detail in the highlights (the bright areas of the image) but no detail in the deepest shadows.
This kind of exposure will create dramatic photos that really capture the mood and atmosphere of the building.
5. Create Portraits Using Window Light
If you’re photographing people inside historic buildings, you’ll need to work with the available light. Often there’s no electrical light (for authenticity), but you can make use of natural light from nearby windows to illuminate your subject.
Natural light portraits work really well when the sky is overcast as the light is soft and diffused. If the sun is shining brightly, try to find a window on the opposite side of the building to the sun so that the light is softer.
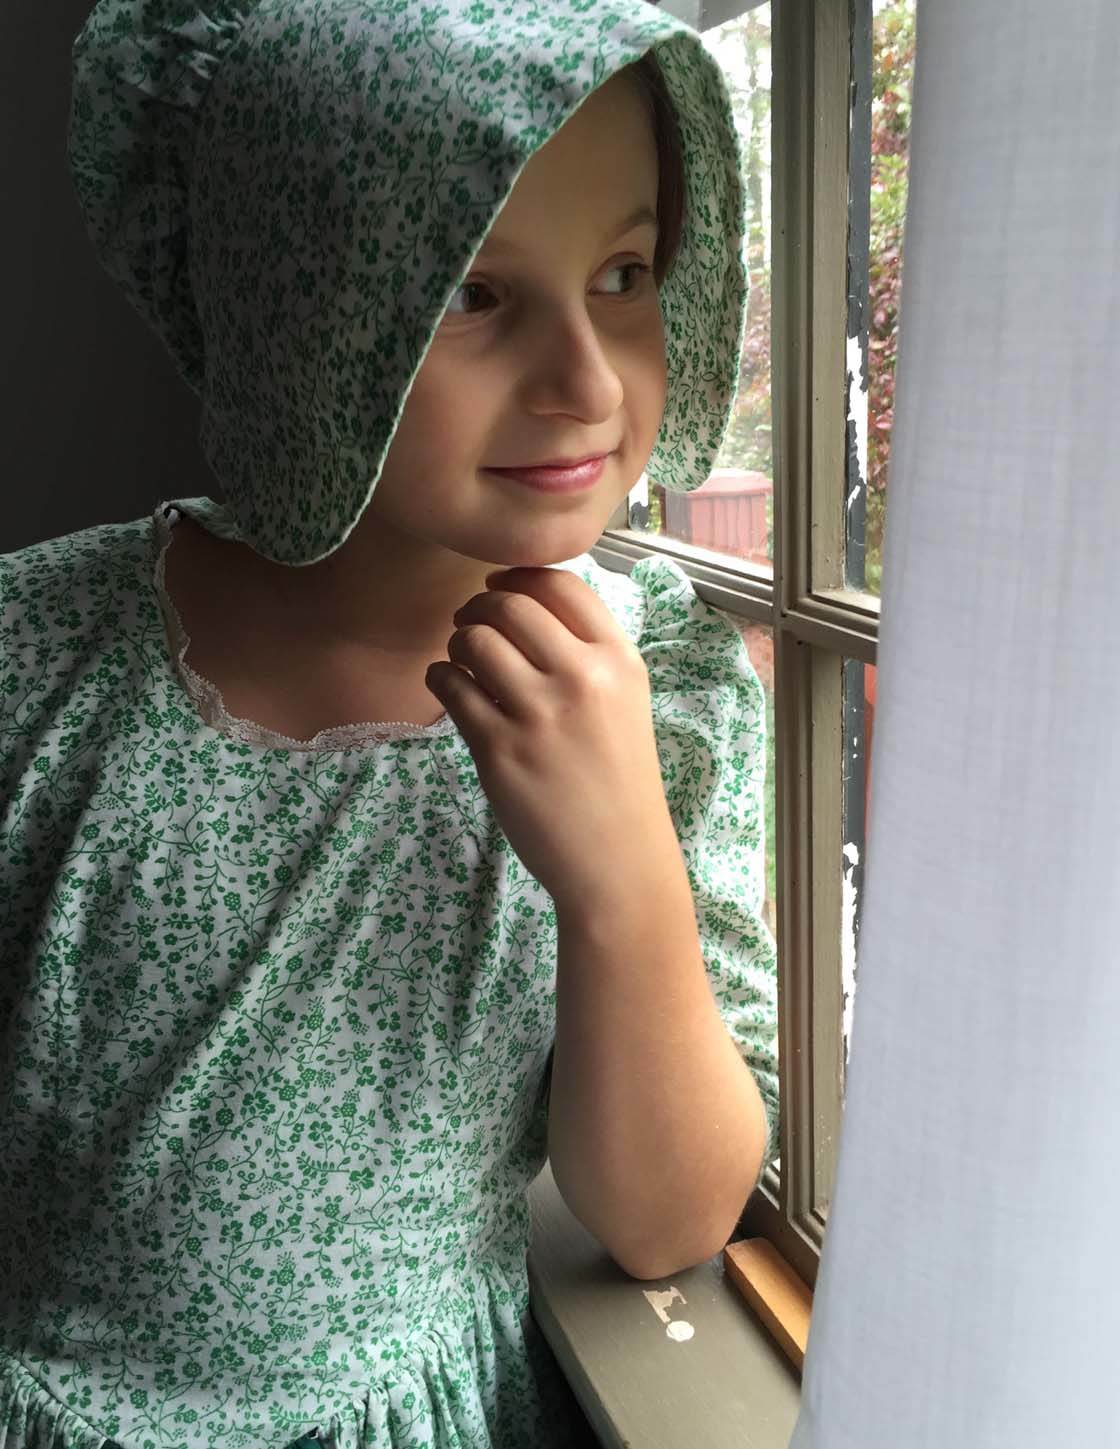
Position your subject side-on near the window, bearing in mind that one side of their face will appear brightly lit and the other side will appear in shadow.
Side-lighting can actually create really interesting portraits because the shadows add definition to the person’s features.
If the scene is quite high contrast with dark shadows and bright highlights, try switching on the HDR setting in the iPhone’s camera app. This will create a more balanced exposure, and it can also help make the model’s complexion appear softer.
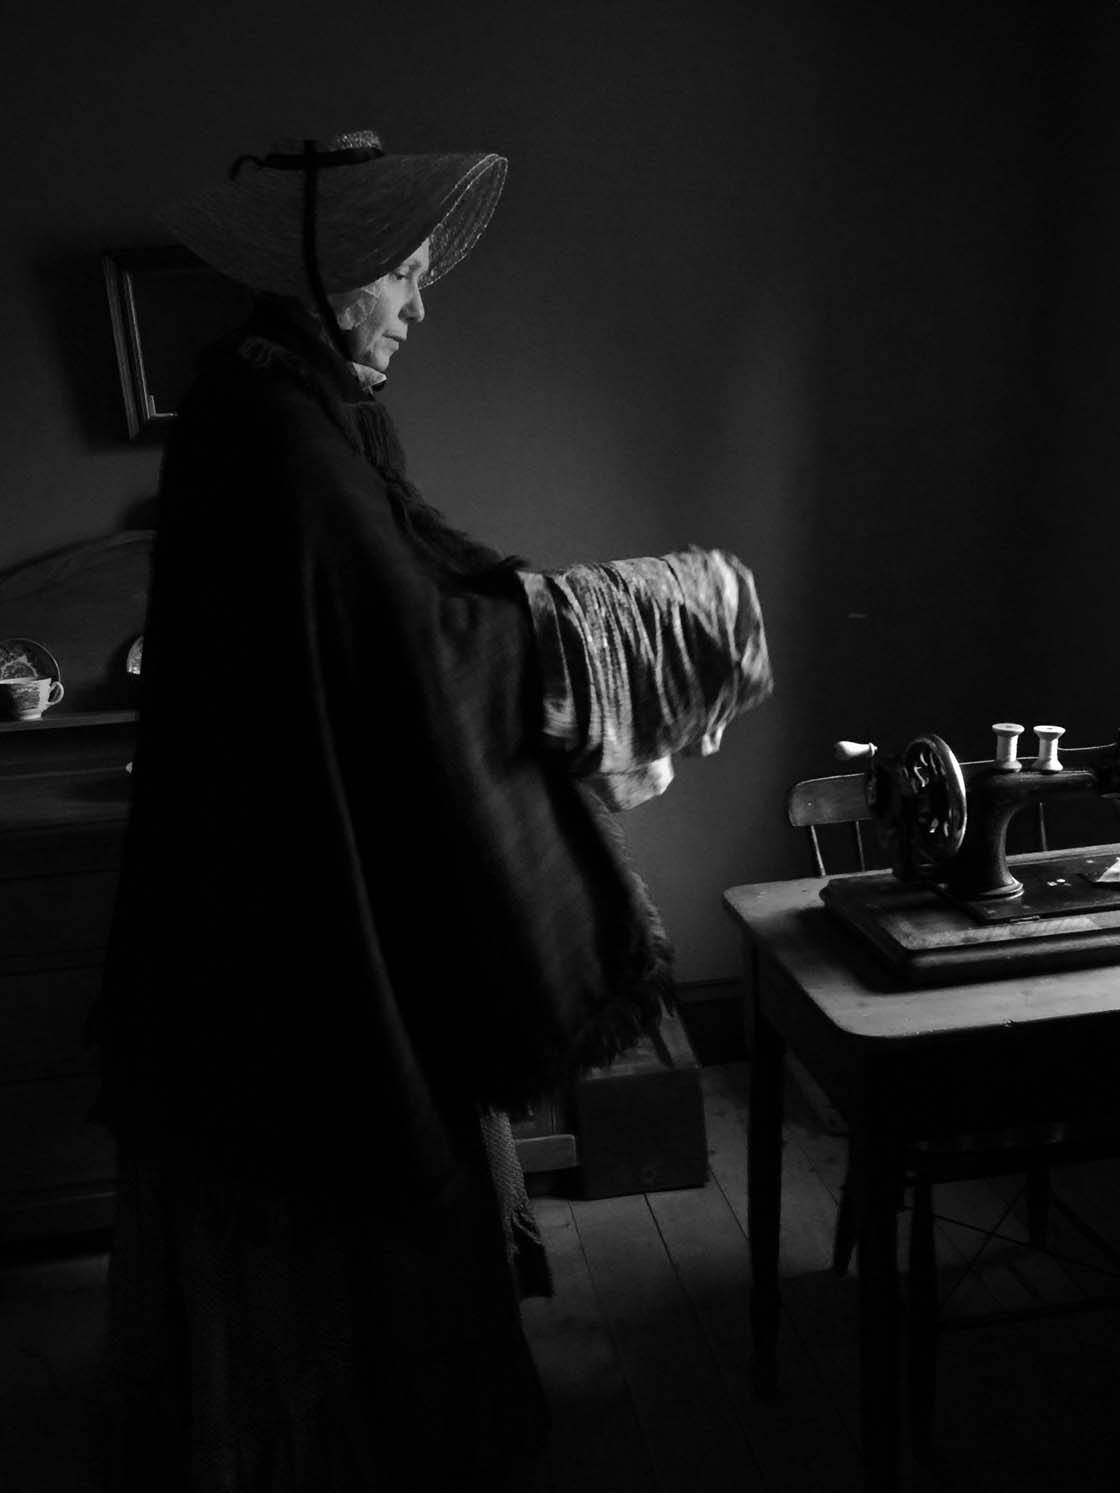
In this photo of a woman working on sewing clothing, she’s further away from the window than the young girl in the first photo.
Being further back from a window will usually result in more contrast and darker shadows, but this can look great as long as you expose the shot correctly.
When shooting portraits, always expose for the person’s face. This means adjusting the exposure levels by swiping up or down on the screen so that you can see plenty of color and detail in the face.
If a person’s face is over-exposed, these “blown-out” highlights will have no detail in them at all. Blown out highlights appear as pure white areas in the photo, and it’s virtually impossible to bring back any detail in post-processing.
Practice exposing for the skin tones, and you’ll walk away with a great portrait photo every time.
6. Create Interesting Still Life Photos
Historic buildings are often full of interesting and cultural artifacts, and these can make great subjects for still life photos.
Still life photography works best when the subject is illuminated by the light from a single window. The wonderful quality of the directional light really brings your subject to life.
The shadows will create fantastic depth in the scene and pick out detail in textured surfaces.
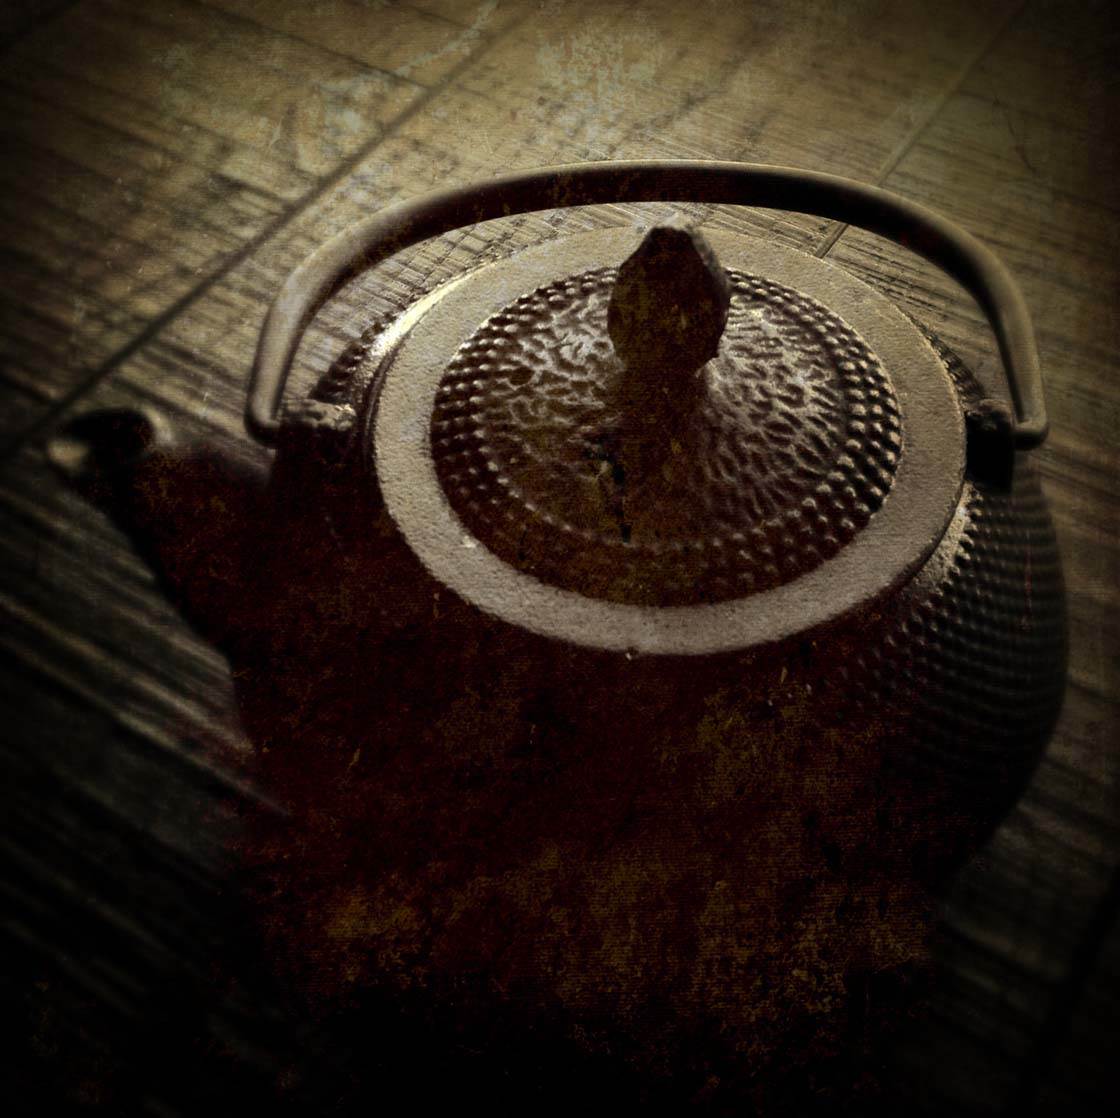
While it’s possible to create dramatic still life shots when direct sun is streaming in, the best results are usually achieved when using softer light from overcast skies or windows with a northern exposure.
Look for areas in a building where soft indirect light pours into the room from a window, gently covering the still life scene.
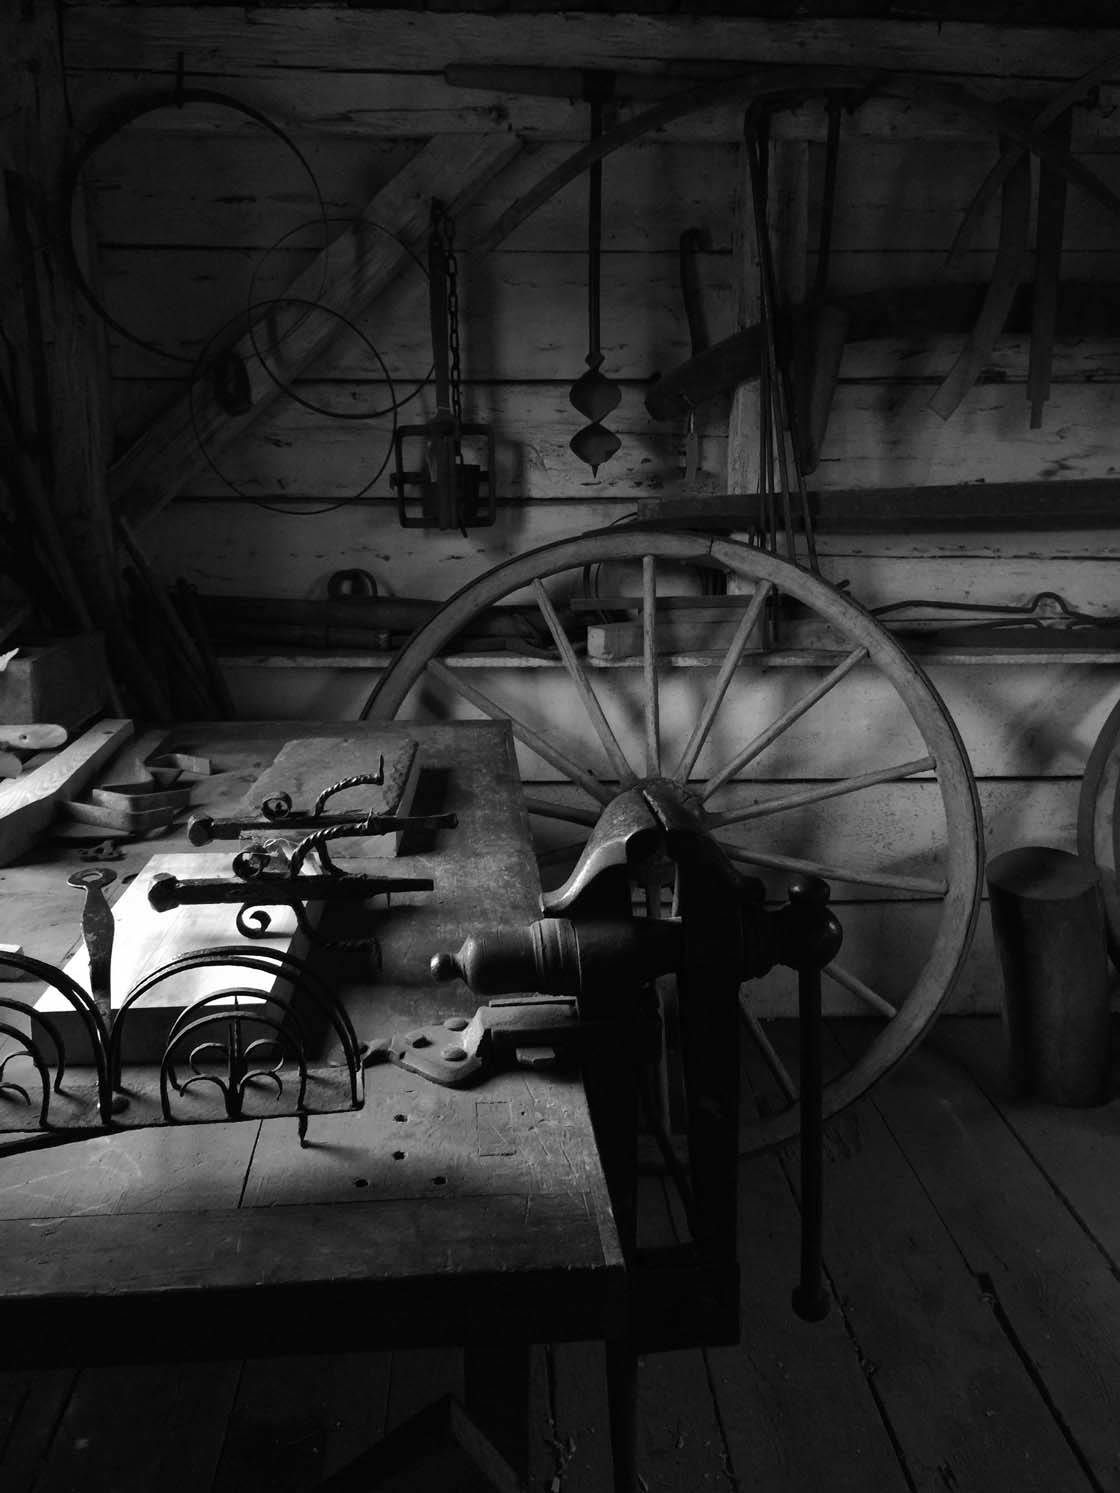
Set the exposure for the highlights so that you can see color and detail in the brighter areas of the scene. In other words, reduce the exposure if the highlights appear over-exposed.
Similar to when you’re shooting window portraits, if you find that the scene has too much contrast, shoot with HDR switched on. This will create a softer, more balanced exposure in your window-lit still life photos.
7. Make Use Of Artificial Light Sources
Rather than always using window light to illuminate your subject, sometimes you might want to make use of the atmospheric artificial light inside a building.
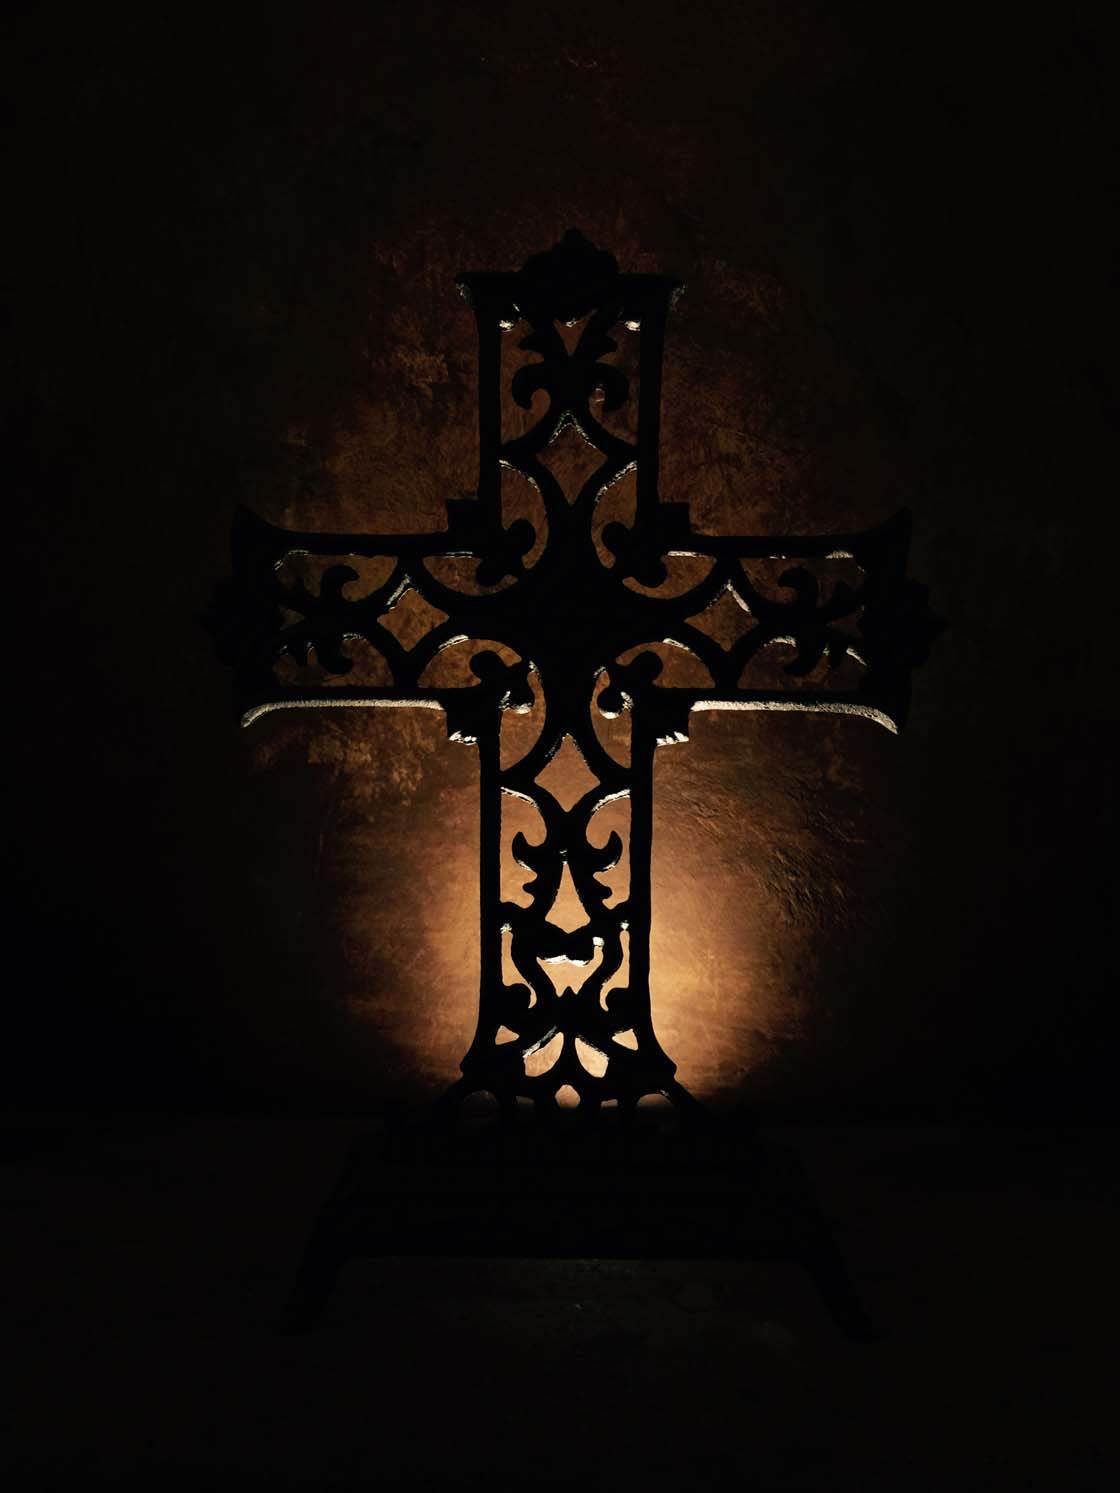
Churches and other historic buildings often have candles or small lamps that can be used to create a beautiful warm orange/yellow glow in your photos.
The portrait below of a historic settlement inn-keeper was unplanned. She was just in the right place at the right time and was illuminated very nicely by the pub’s candle light.
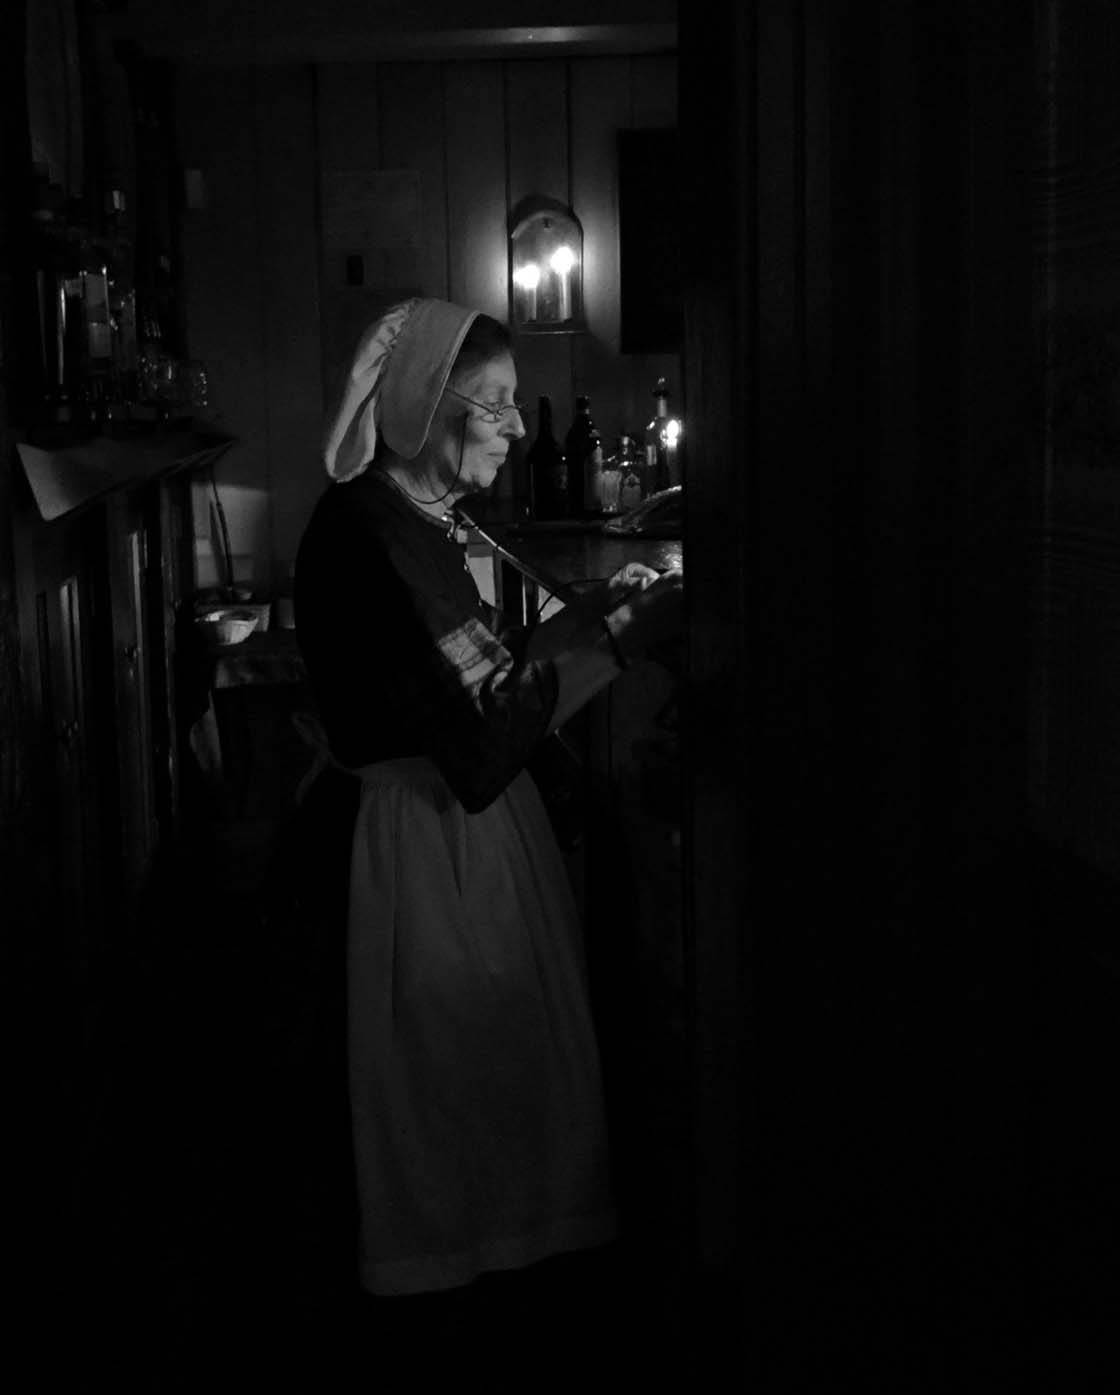
If you feel that your subject’s face look too orange from the light, you can add a blueish color in post-processing to neutralize the color cast. I use the Edit feature in the native Photos app to do this.
Alternatively, you can convert your image to black and white. This is an easy way to remove any color cast problems and actually adds to the aged feel of the image.
As well as candle light, look out for light bulbs with large semi-opaque lampshades. These often create a wonderfully soft glow on all subjects that are in the vicinity of the lamp.
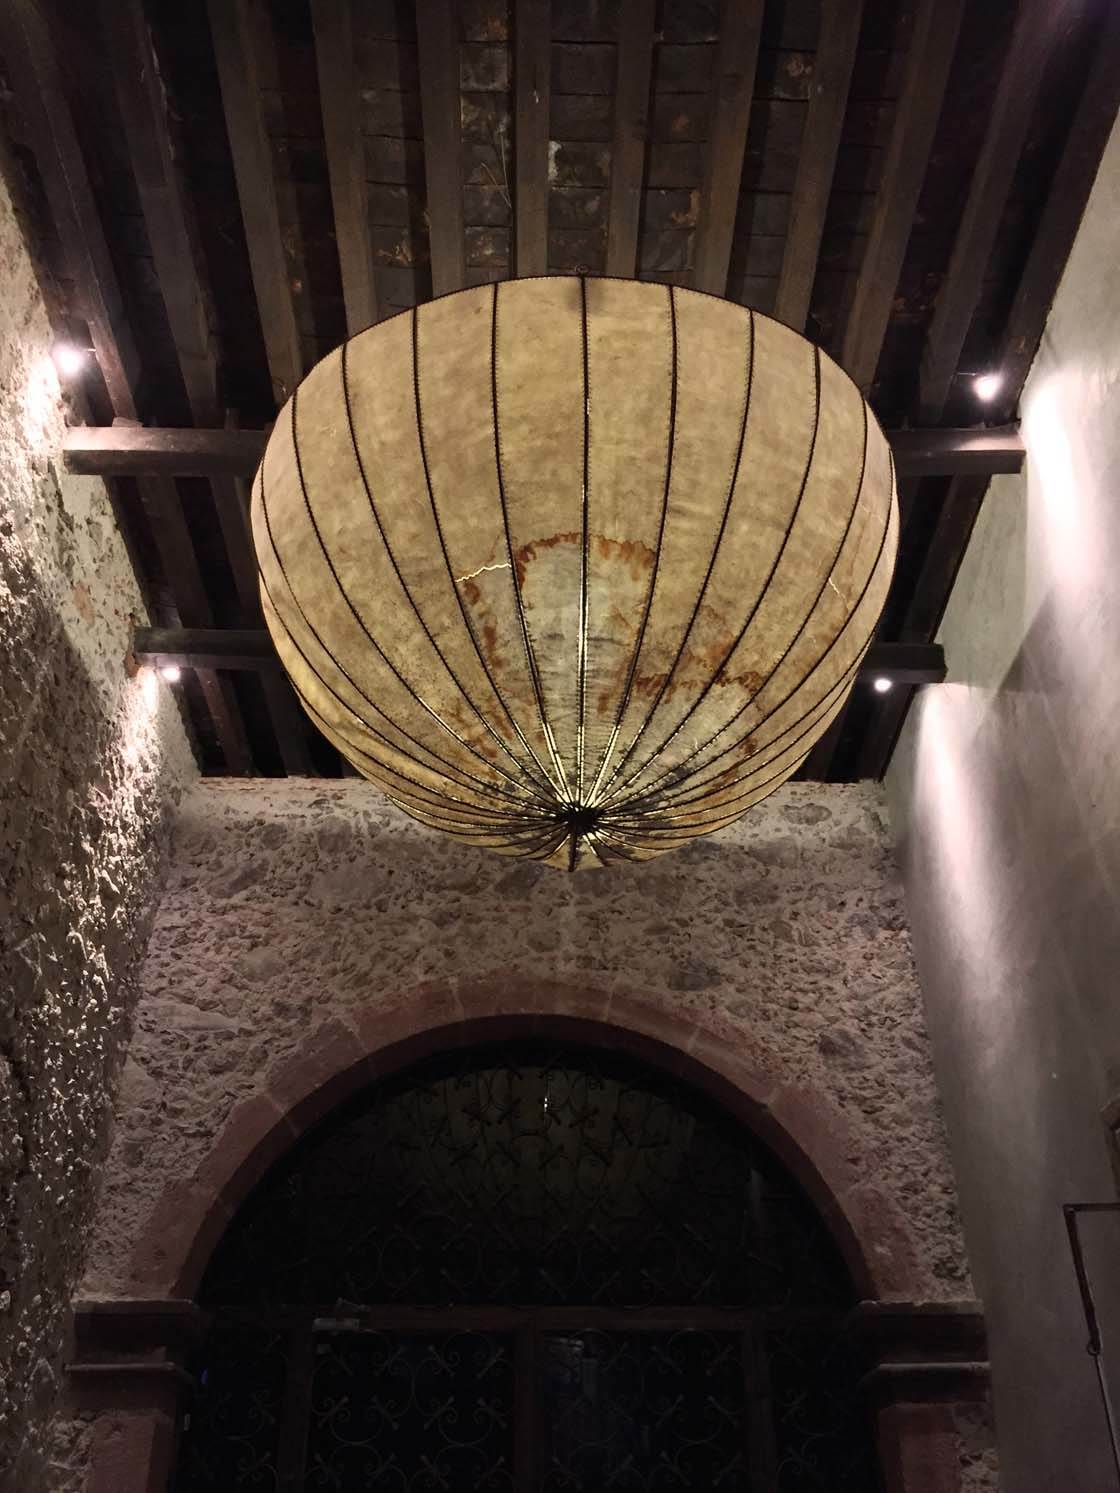
This uniquely designed Mexican orb lamp makes a great focal point, and everything beneath it becomes illuminated with a beautiful warm soft glow.
8. Capture Details
Old buildings are full of of interesting detail and textures, and if you capture these in your photos you’ll be able to tell a more complete story about the location.
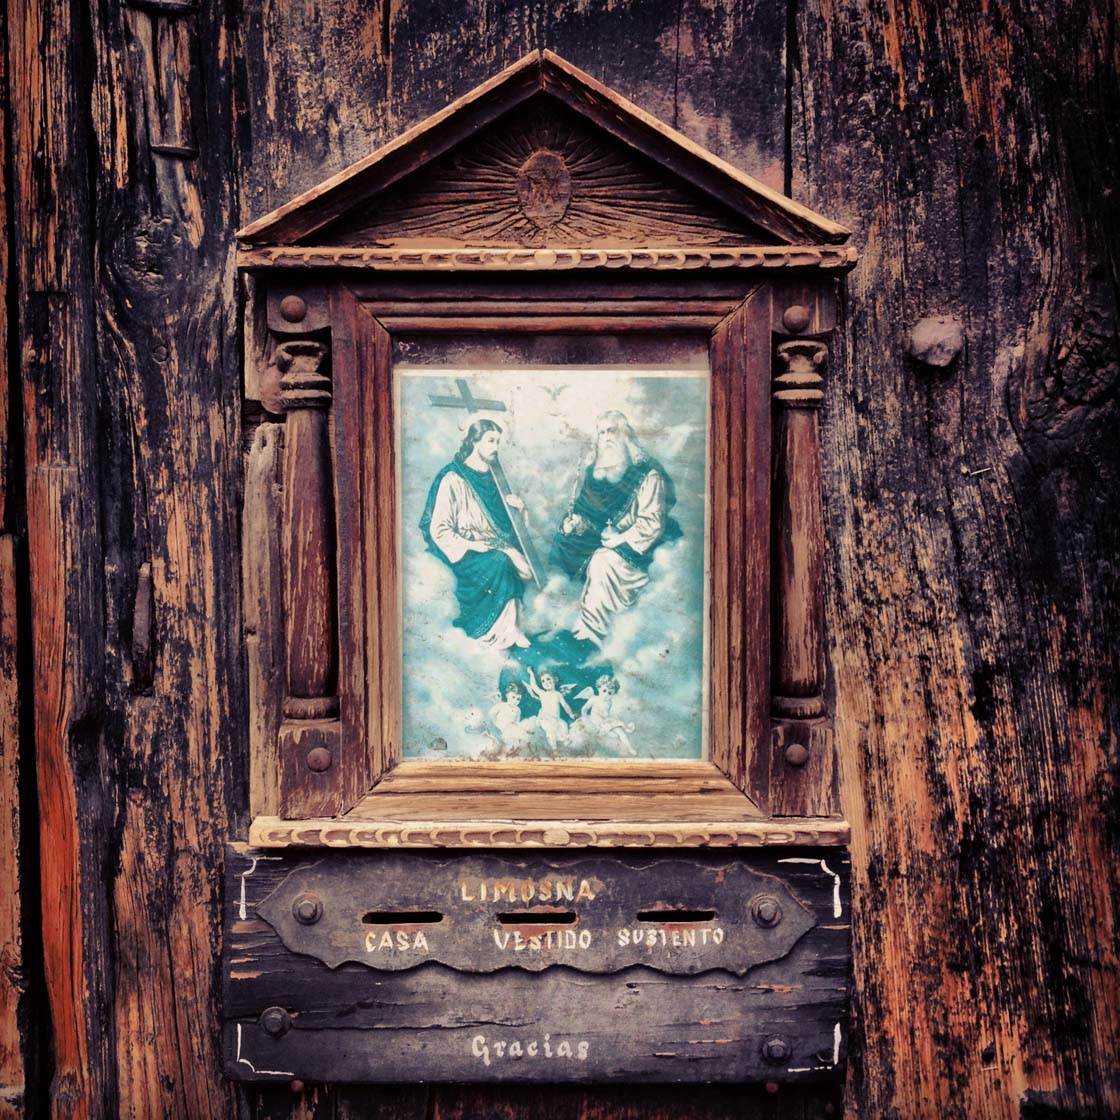
Look around the inside and outside of the building for any features that you could shoot up close. Get close enough to fill the frame so that you can capture plenty of detail in the subject.
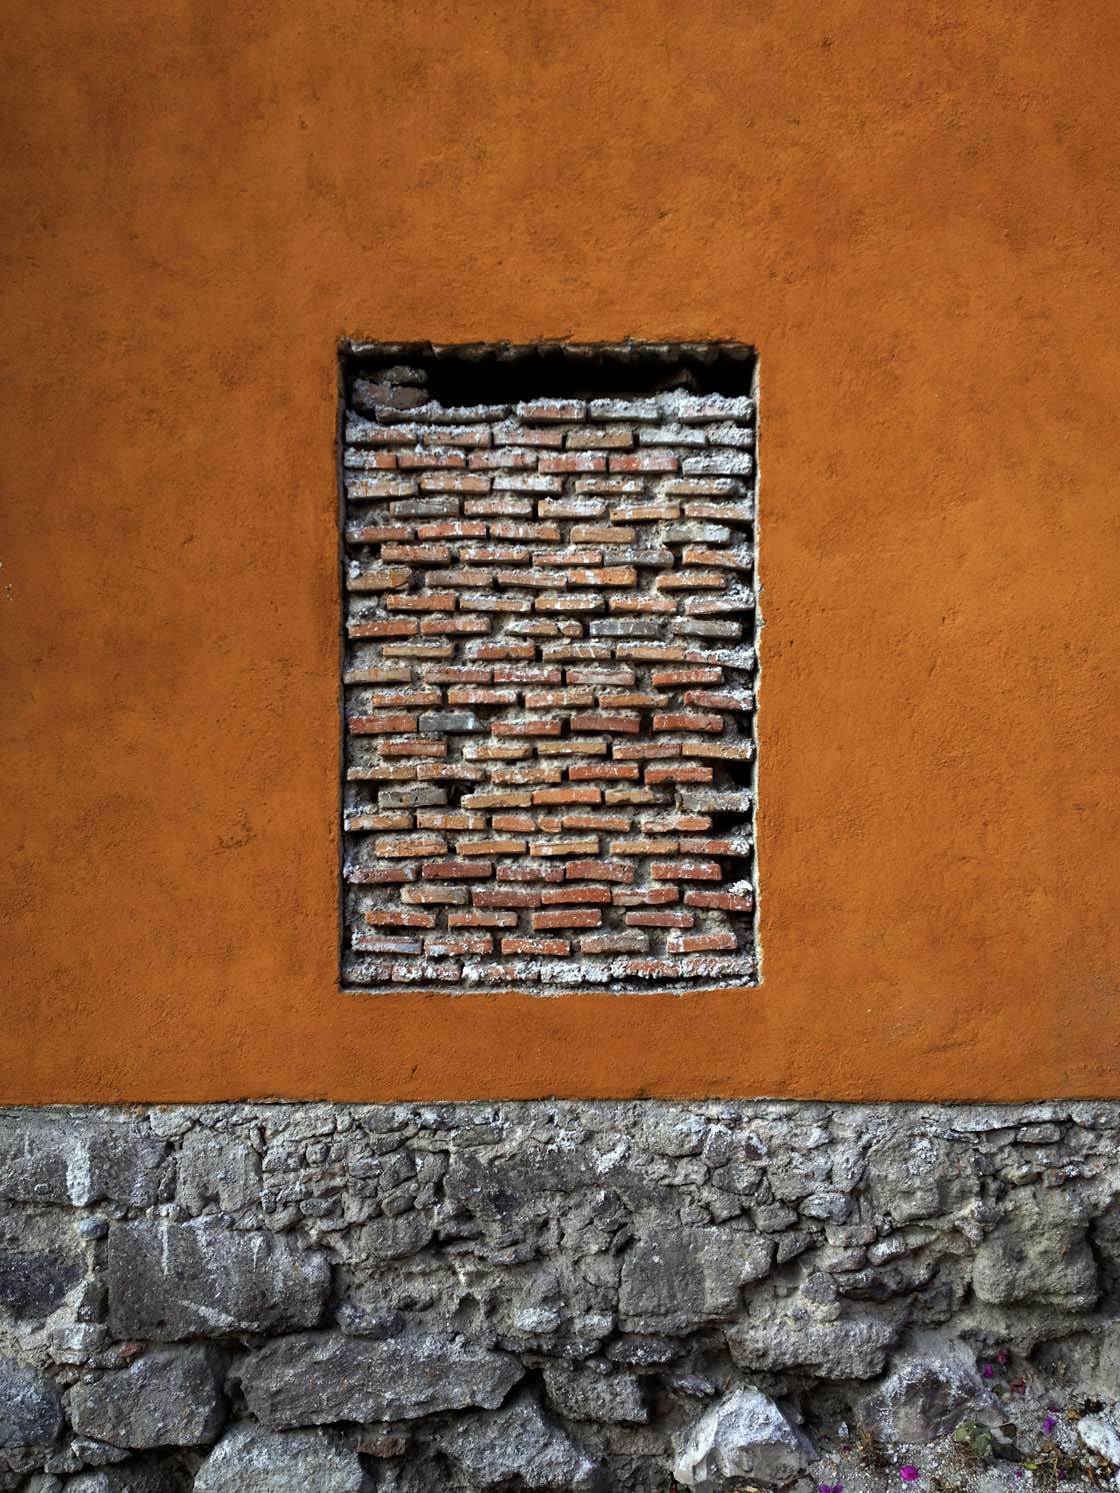
Architectural details like the bricked up window above can make wonderful abstract images. Look out for shapes, lines, textures and colors, then fill the frame to focus attention on these elements.
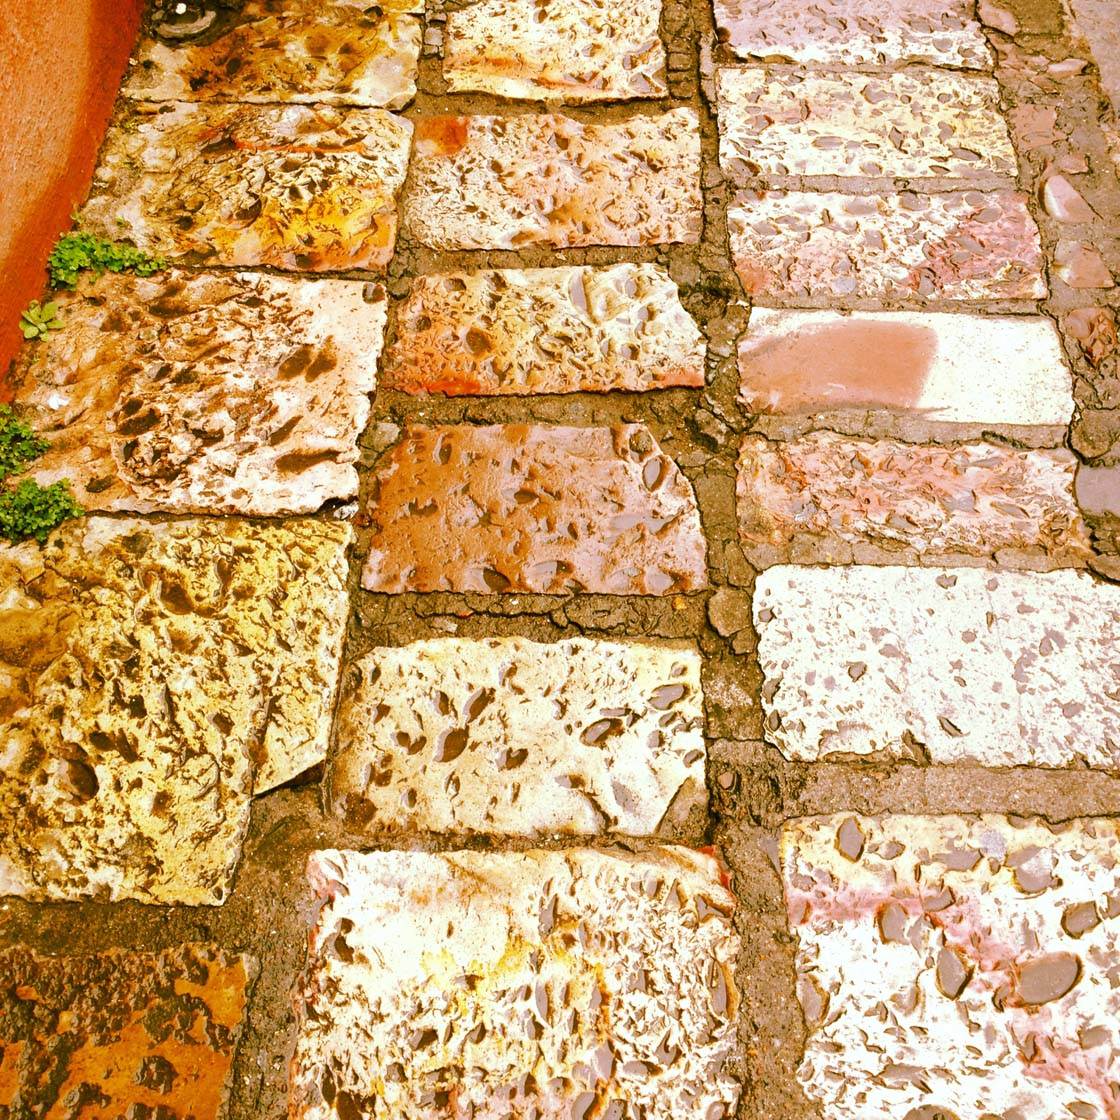
The photo below was taken in an old Mexican church that had incredible handwritten text throughout.

When you find scenes like this in old buildings, shoot from a close distance so that you capture the detail and texture.
Keep your eyes peeled for small objects that you can photograph close-up. When you encounter a scene like these old door knobs, get as close as possible and fill the entire frame with the subject.
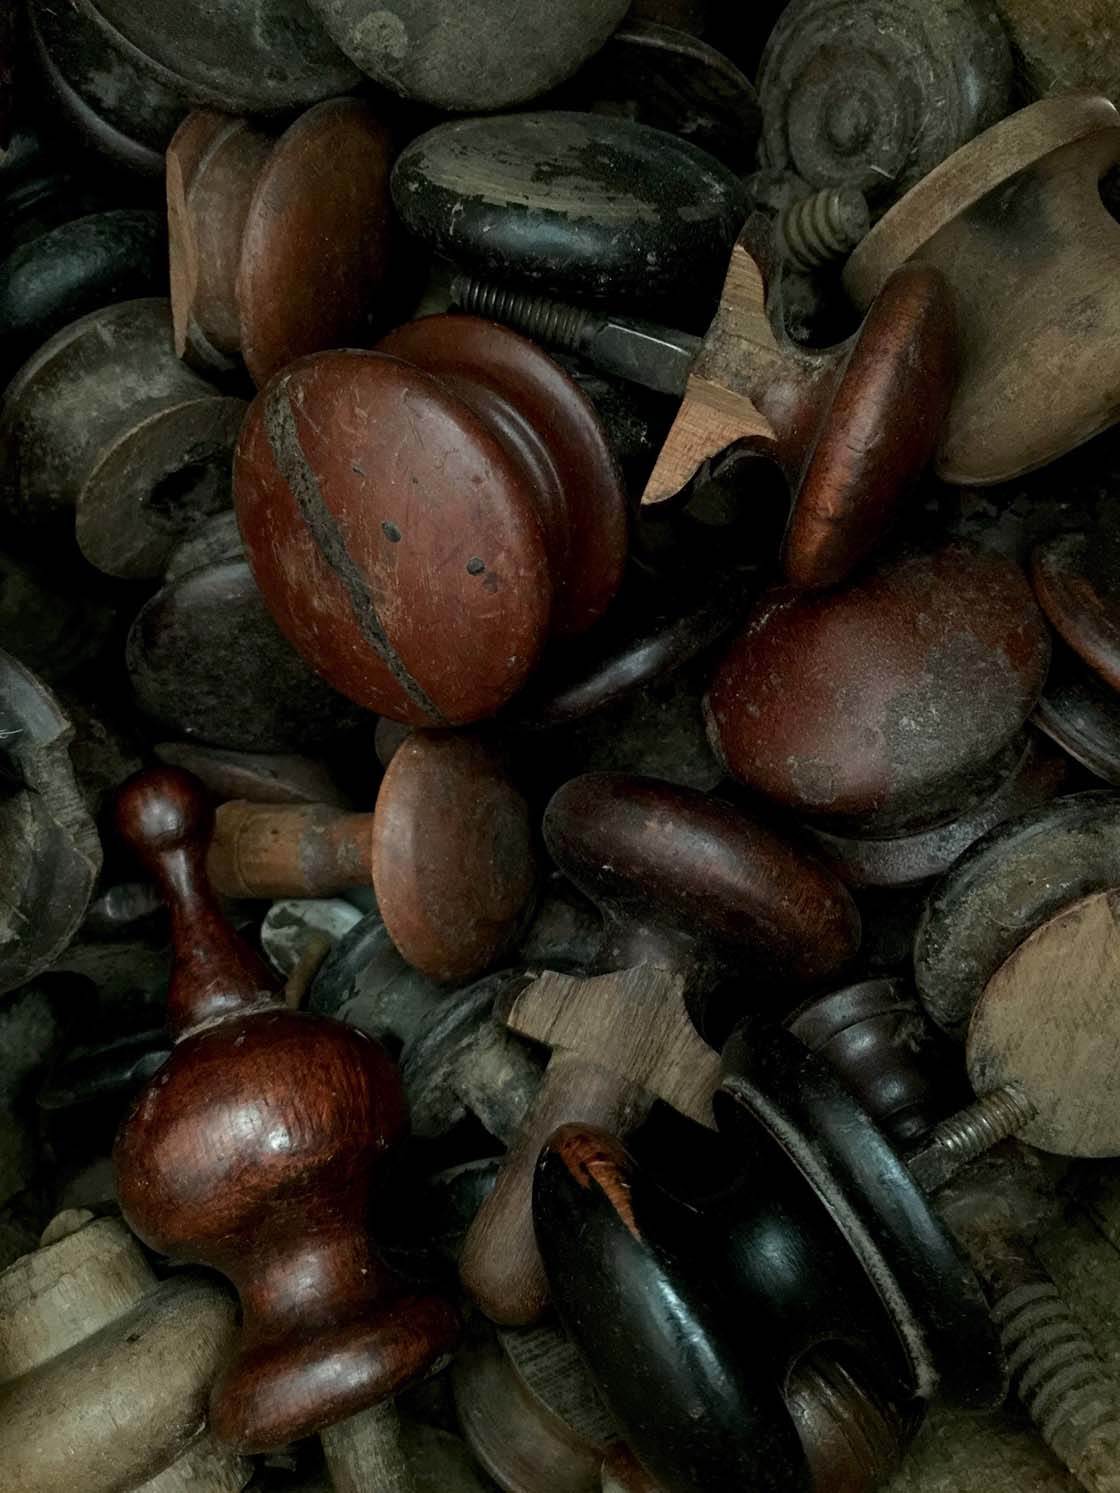
The closer you get, the more intricate detail you’ll be able to capture. However, bear in mind that the iPhone can’t focus if you get too close.
After taking a close-up shot, always check it carefully to see if it’s in focus (zoom in on the image to get a good look). If the image appears blurred it probably means you were too close when you took it, so try taking the shot again from a bit further back.
9. Try A Black & White Edit
Photos of old buildings and historic artifacts tend to look great in black and white as it creates an aged and timeless feel.
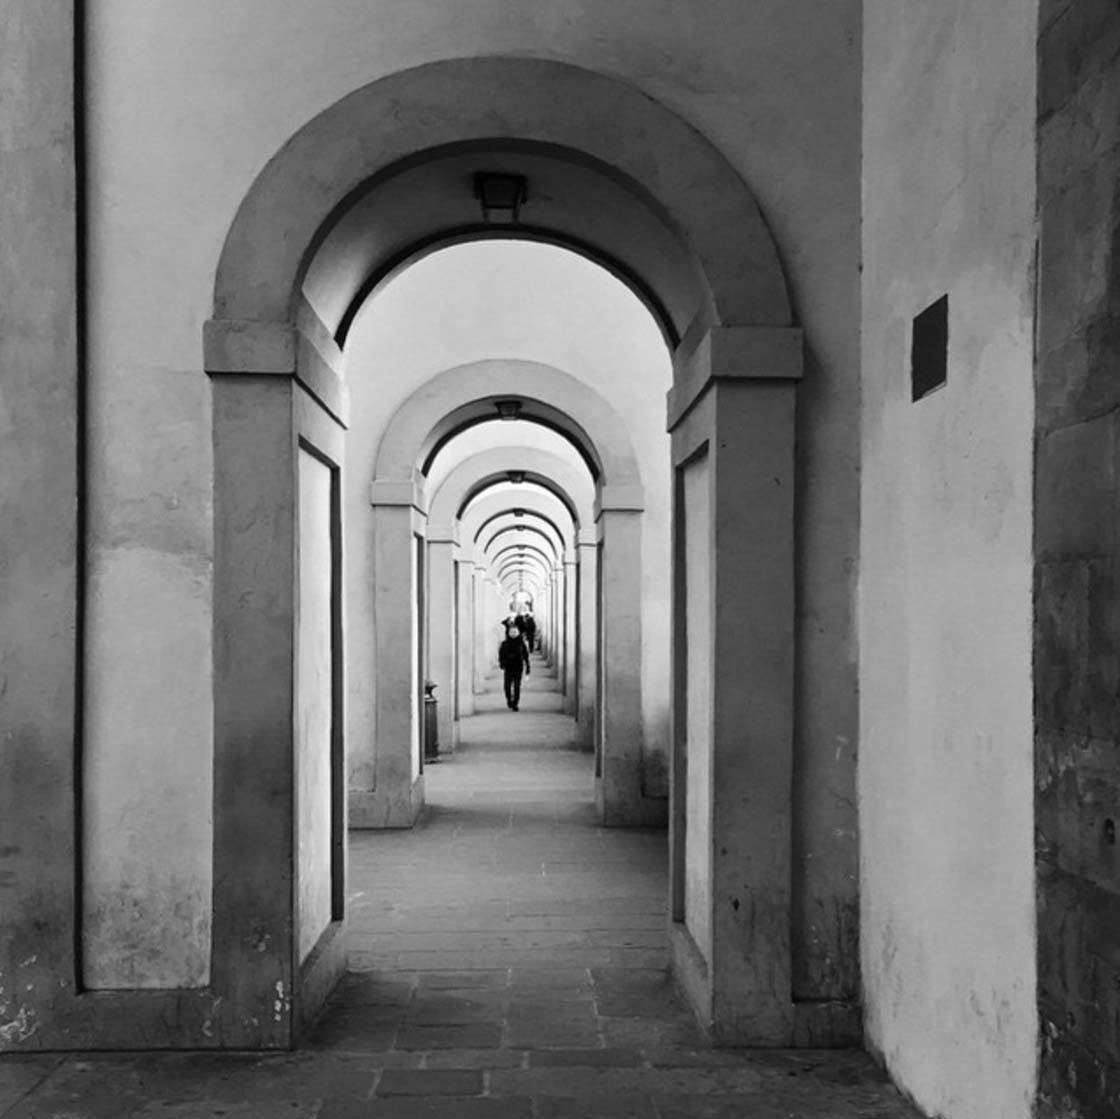
A black and white conversion tends to bring out architectural details such as lines and textures. It’s also great for emphasizing contrast between light and shade.
In the photo of some historic machinery below, I found that a black and white conversion really bought it to life. It also gave it an artistic look that takes the image from documentation to fine art.
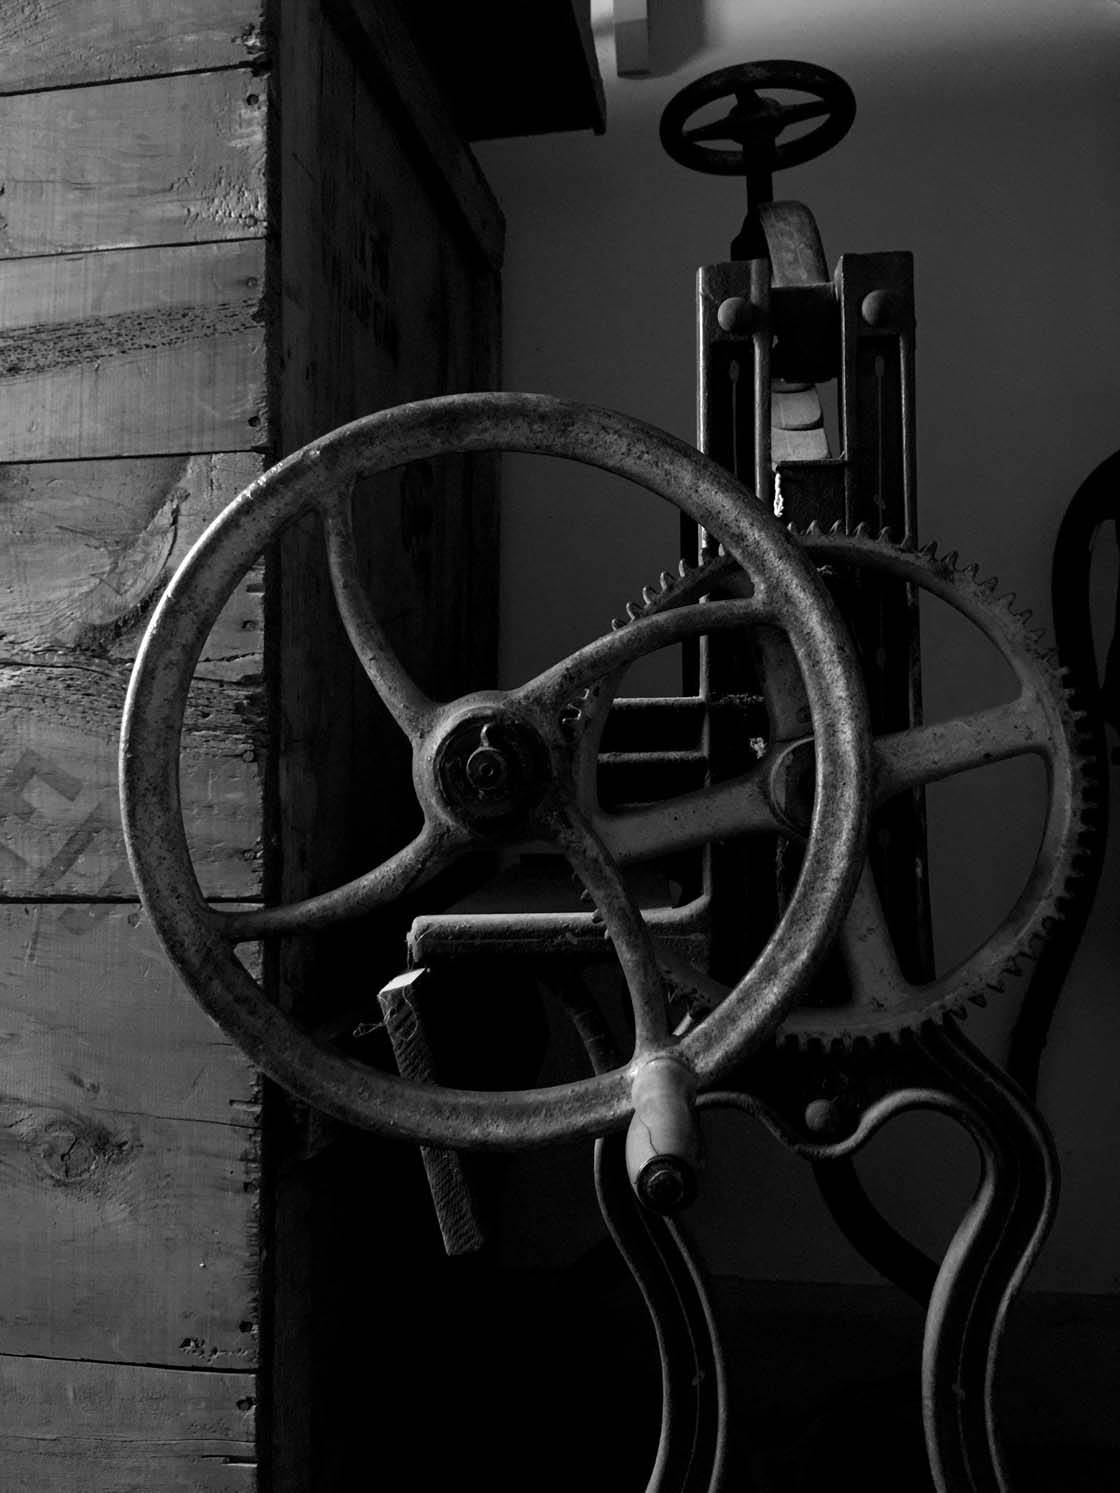
If your subject and background doesn’t have much color to begin with, a black and white treatment tends to work really well.
Photos of people often look great in black and white too, especially if there are distracting background elements in the scene.
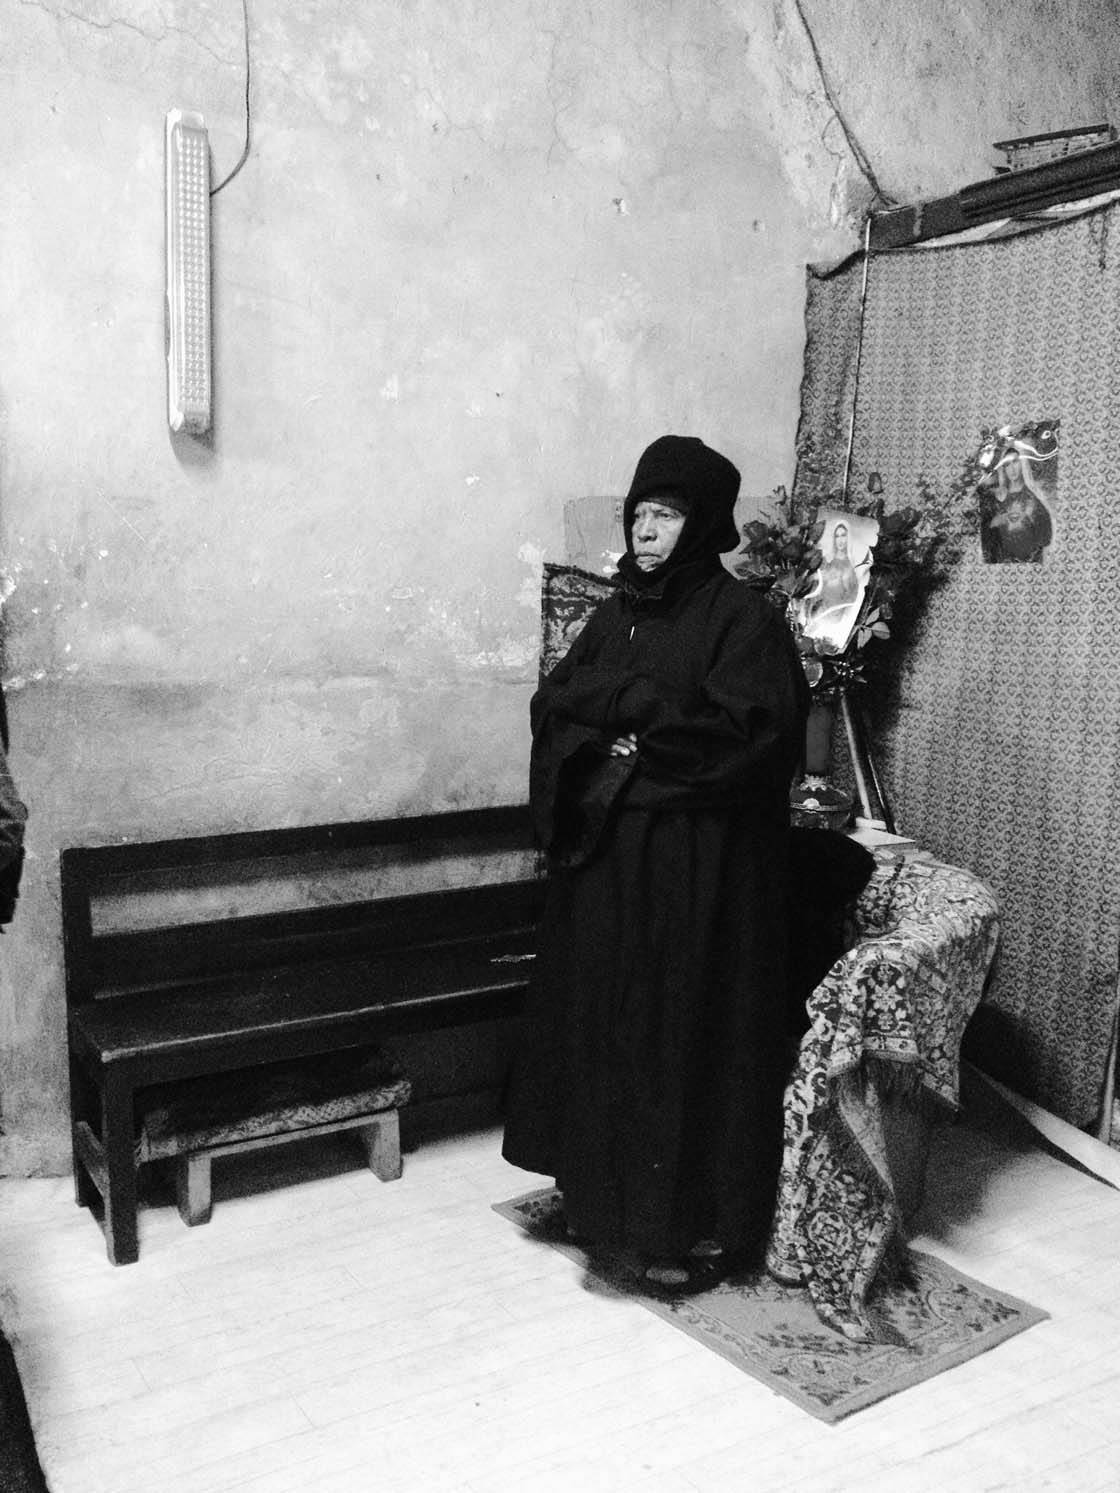
Removing the color puts the emphasis on the main subject, rather than on a colorful background.
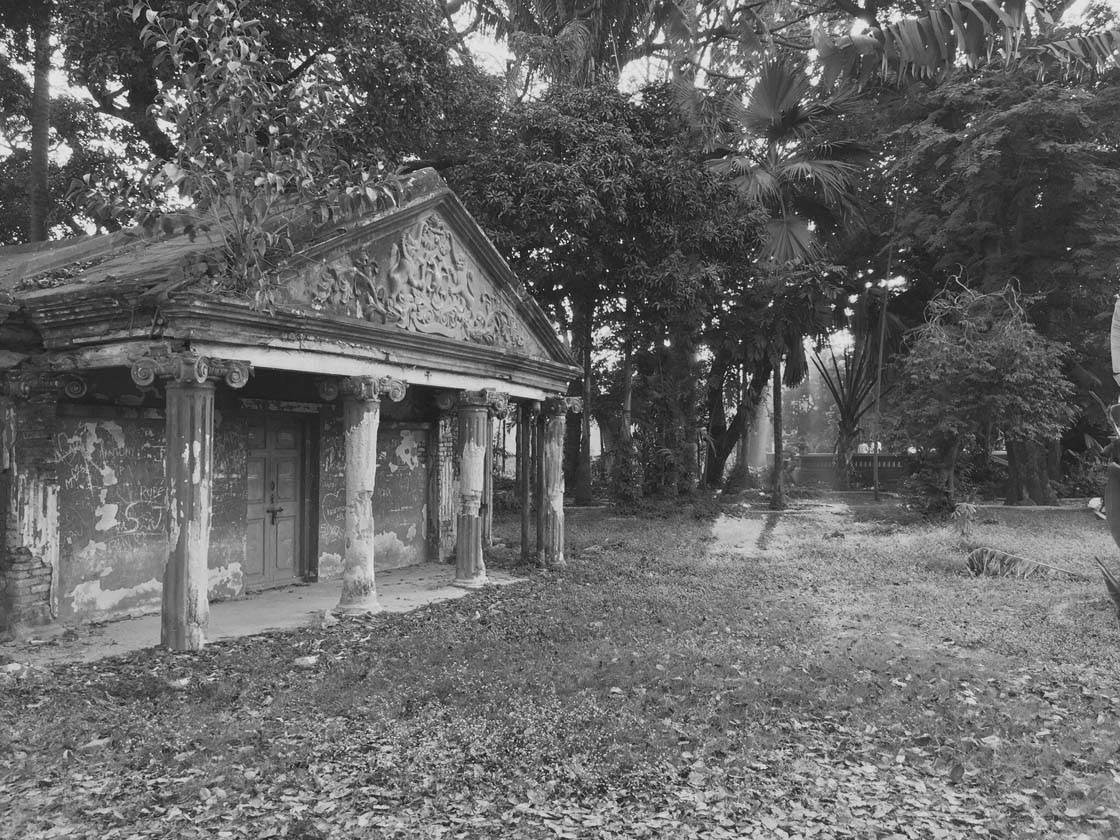
Ultimately, the choice to use black and white or color should be based on looking at both options and deciding for yourself which one you like best.
You take photos for your own enjoyment, so your color or black and white choices should be whatever “grabs you!” If it’s the colors in the image that grab you, then leaving it in color is the probably the best option.
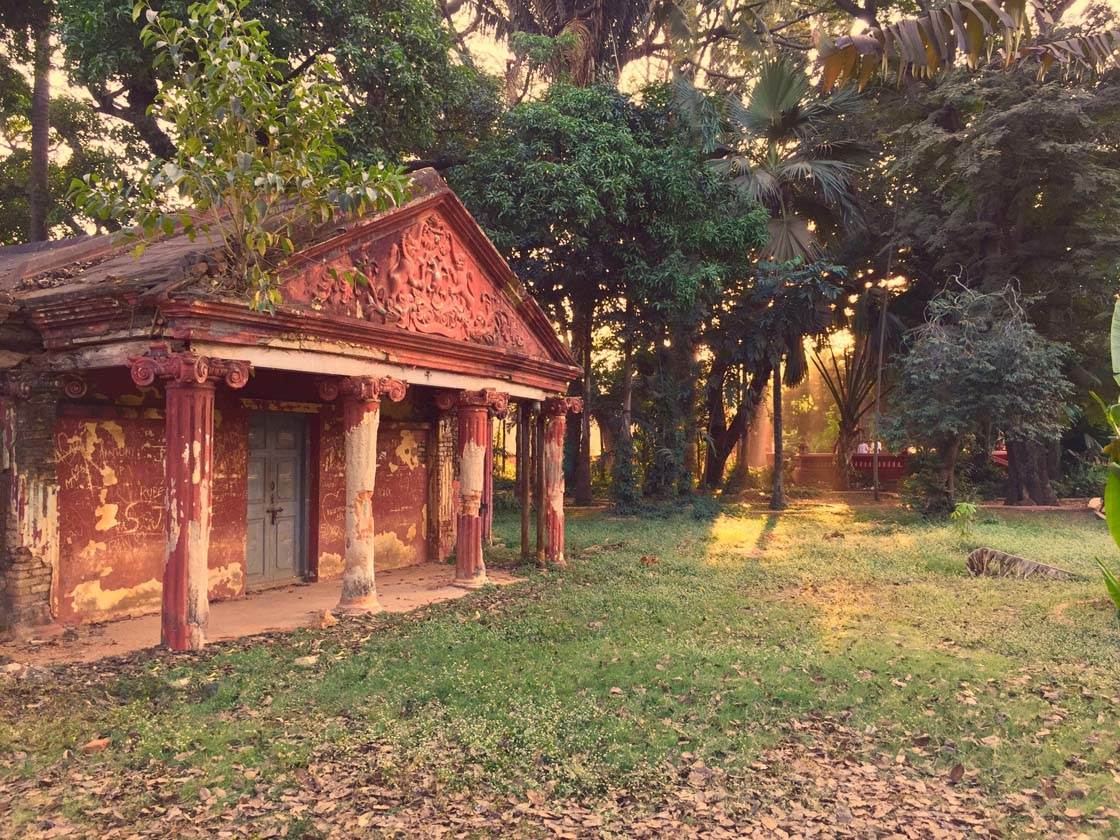
In this image of old architecture from Bangalore, India, which one do you like the best? If in doubt, duplicate the photo and keep both options.
Conclusion
I hope this tutorial has inspired you to head out on a cultural photo trip on your next free weekend. And maybe it’s given you some ideas for capturing more interesting shots on your next vacation.
Wherever you go in the world, you’re bound to find fascinating historic and cultural locations to photograph.
If you put into practice the tips and techniques covered in this tutorial, you’ll be able to use your iPhone photography to tell interesting stories of these unique locations.
You’ll go from shooting straightforward documentary photos to producing artistic creations that you’ll be proud to hang on your wall.


Leave a Reply
You must be logged in to post a comment.