Do you want to take amazing flower photos with your iPhone? iPhone flower photography is extremely rewarding. However, it can be tough to get stunning flower photographs. In this article, you’ll discover 11 tips for genuinely incredible flower photos. These tips will take your iPhone flower photography to the next level!
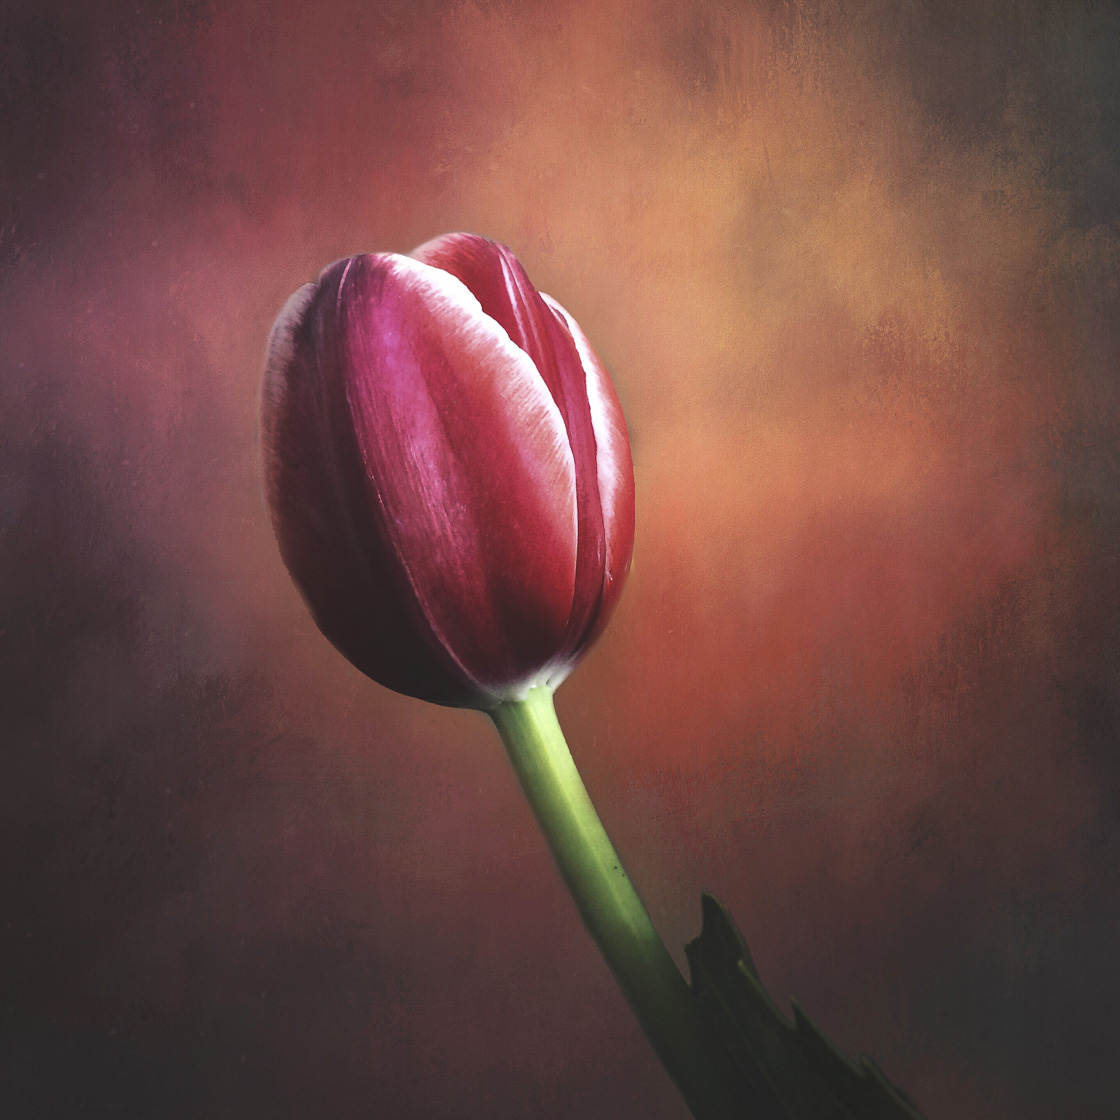
1. Look For Details To Capture Unique Flower Images
How do you take unique flower photographs? How do you make sure that your images are original?
You look for tiny details in your flowers—the details that nobody else sees.
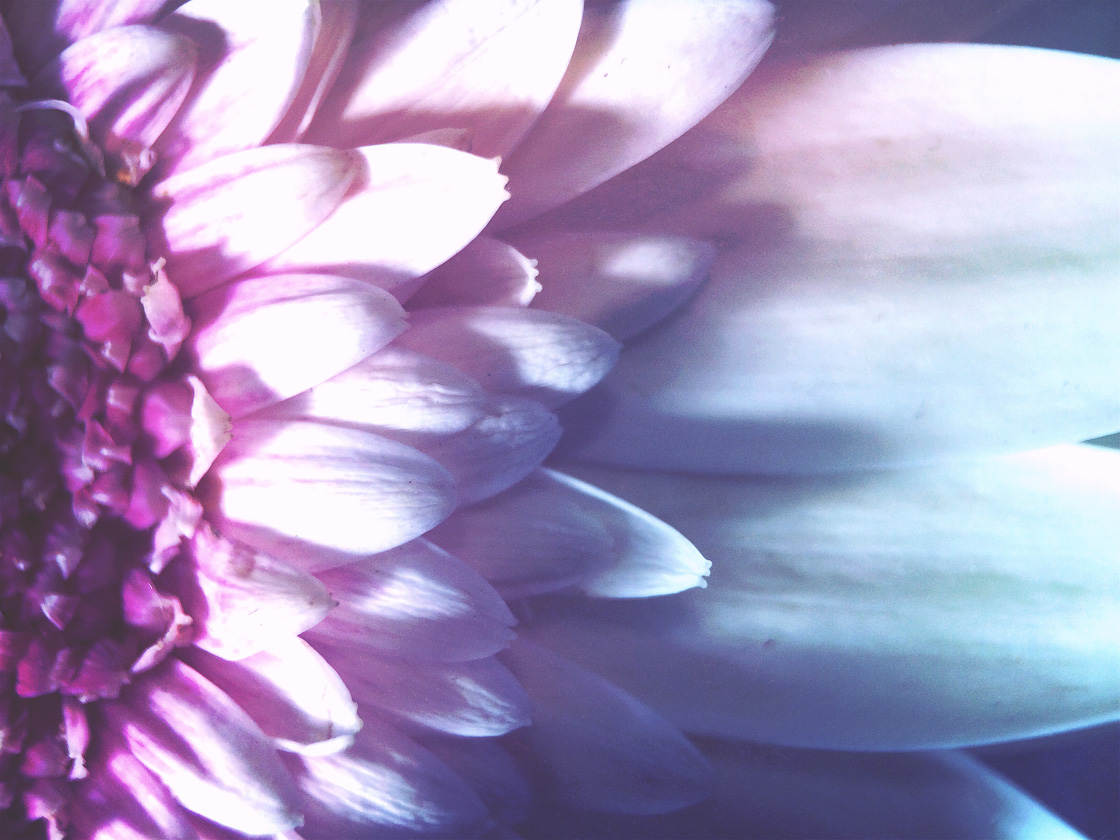
The world is full of potential flower photography subjects. Yet photographers frequently get caught up in shooting flowers as they appear on the surface.
If you want to create a truly unique photograph, you have to look beyond the surface-level appearance of a flower.
Look for the little things. For instance, notice the way a tulip petal curves, or the way a rose is lit by the setting sun.
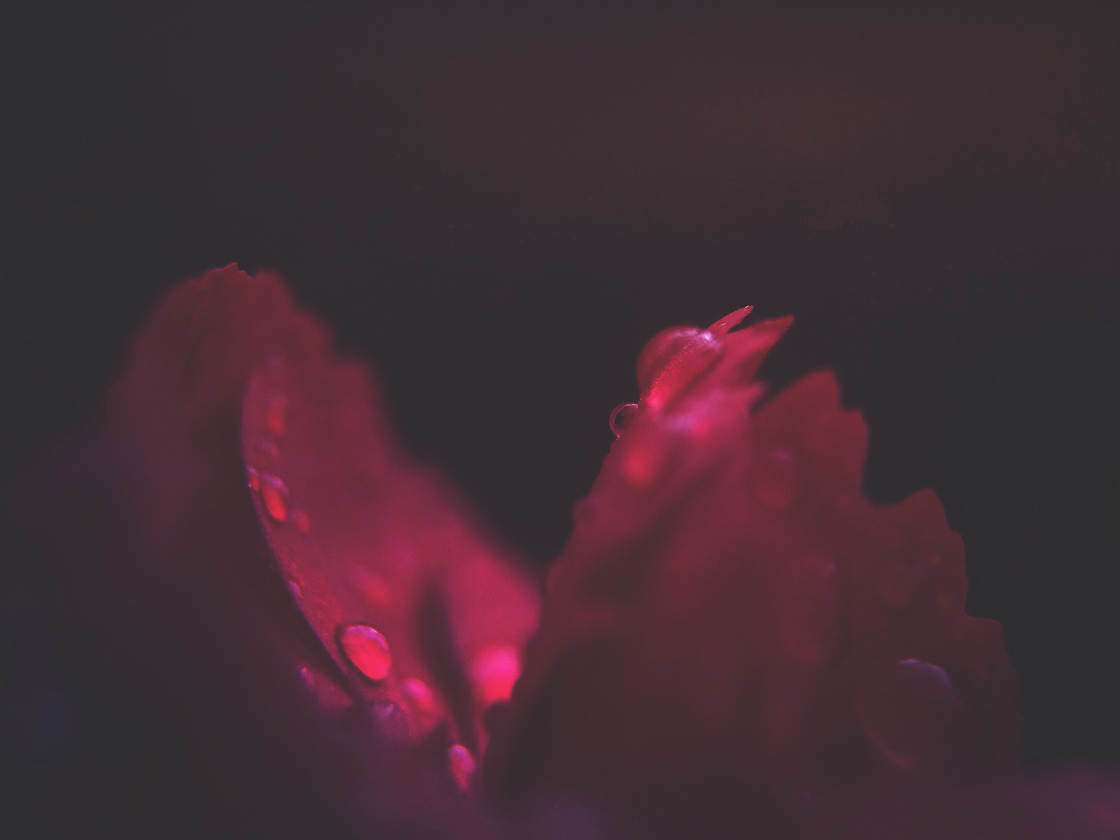
One of the fantastic things about flower photography is that these opportunities exist everywhere. For the photo above, I focused on a tiny part of the flower—two petals—to create a flowing abstract.
Try going out in your backyard. See what you can find. I bet that you’ll discover something worthwhile to photograph—as long as you’re willing to look beyond the surface.
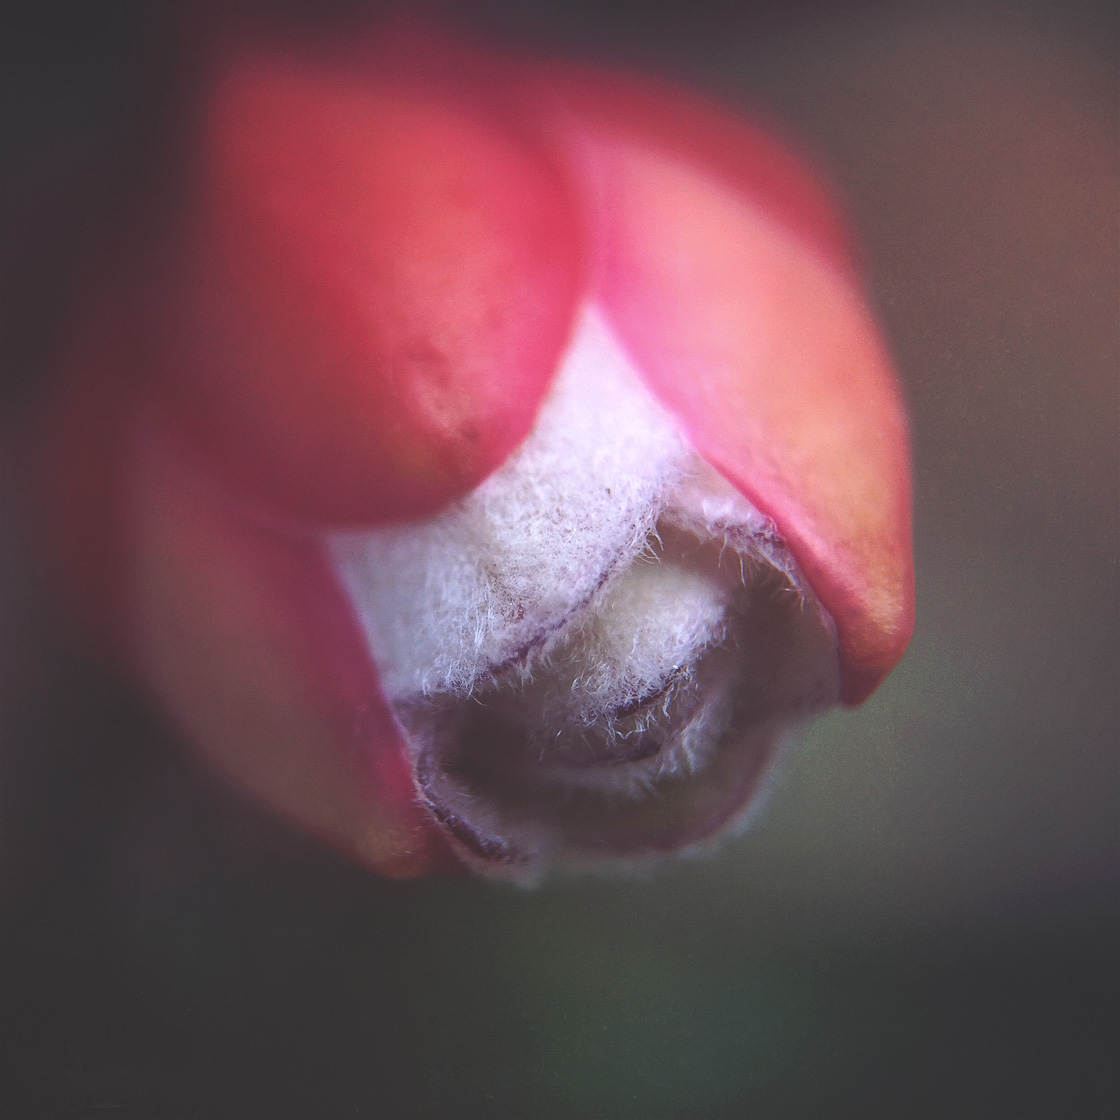
While out walking, look down at the ground. You might see some more potential subjects. Photograph their details!
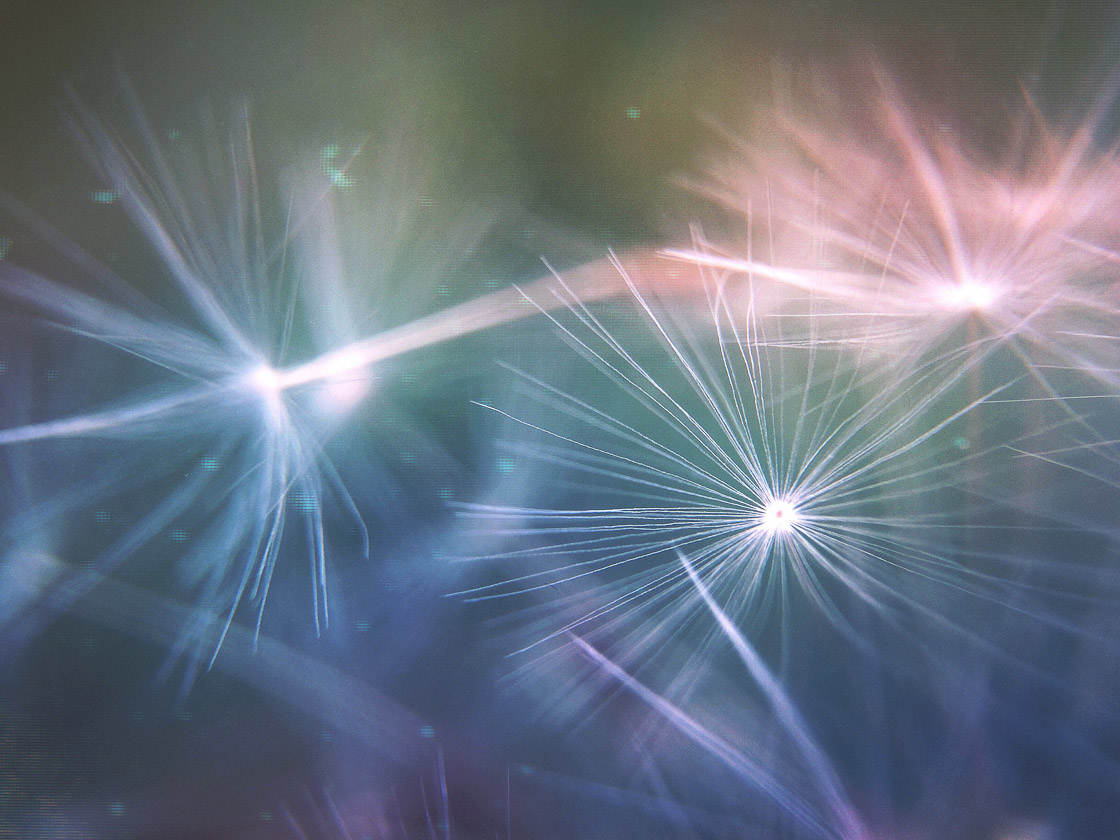
This is even easier because you’re photographing with an iPhone. It’s a camera that you’ll always have with you!
If you can train your eye to look for detail, you’ll come away with stunning flower photographs.
2. Use A Macro Lens To Get Closer To Your Subject
Do you want to get powerful, in-your-face flower photographs? If so, then you’re going to want to use a macro lens.
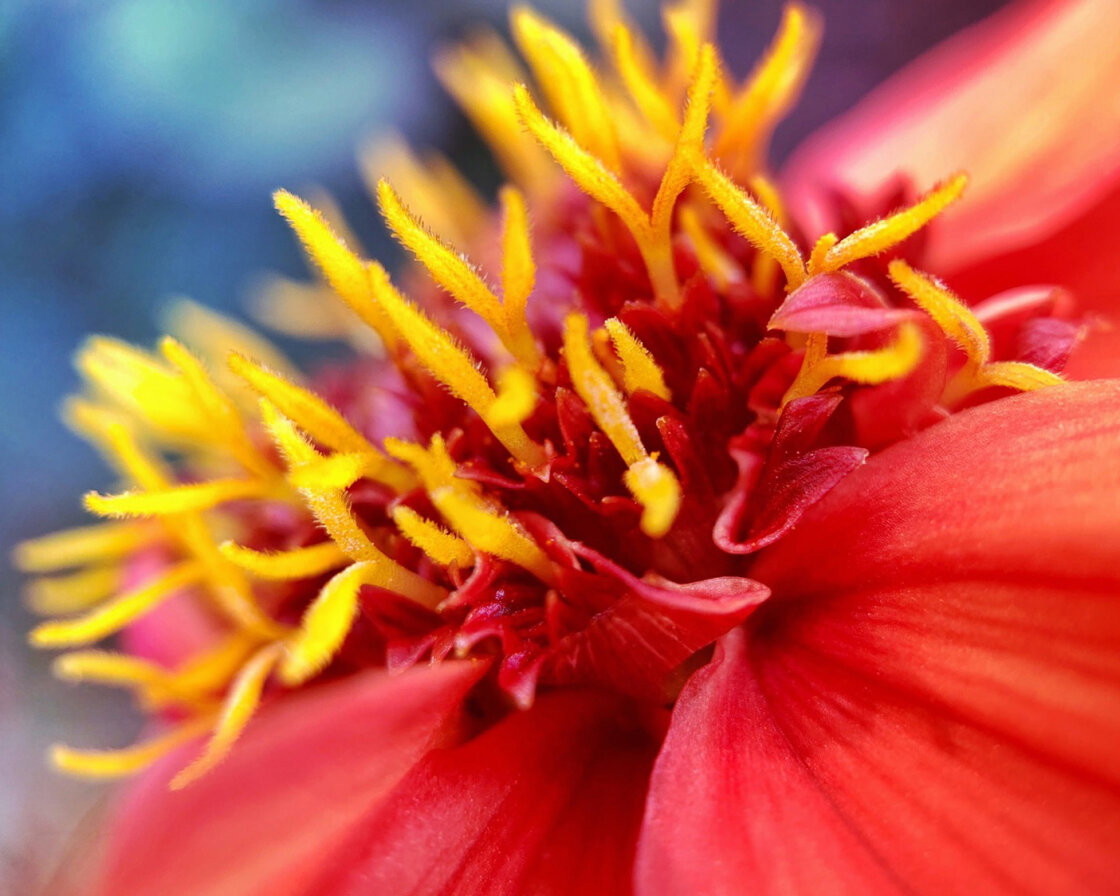
What is a macro lens?
A macro lens is an iPhone photography accessory. It attaches to your iPhone camera. It magnifies your subject—so that you can get stunning close-up flower photos that capture the tiniest details.
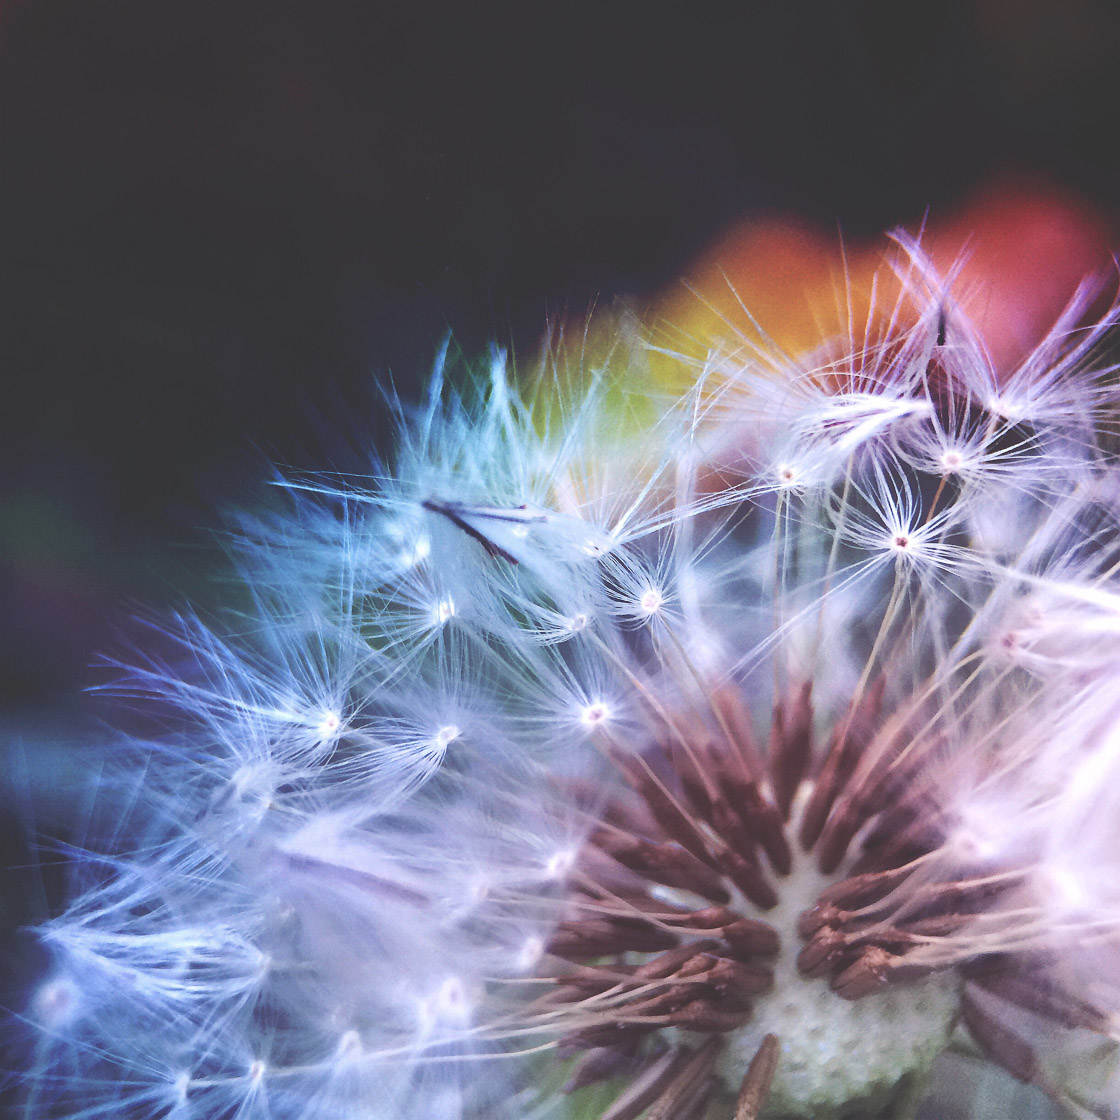
A macro lens isn’t essential for iPhone flower photography. I’ve taken stunning flower photographs without one.
However, a macro lens gets you extremely close to your subject. It lets you focus on the tiny details. It lets you highlight specific aspects of the flower.

Basically, it allows you to take original, powerful, in-your-face flower photos.
So if you’re serious about iPhone flower photography, you should invest in a macro lens.
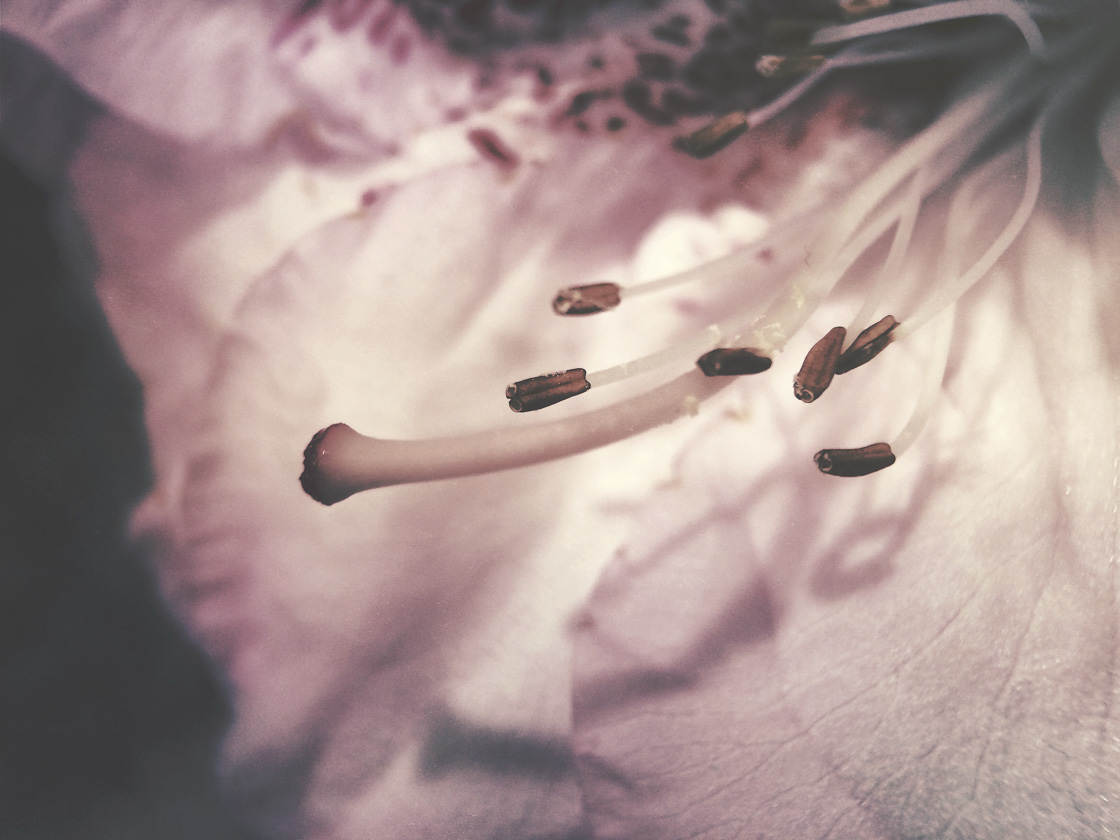
There are many iPhone macro lenses out there. But one of the best is the Moment Macro Lens.
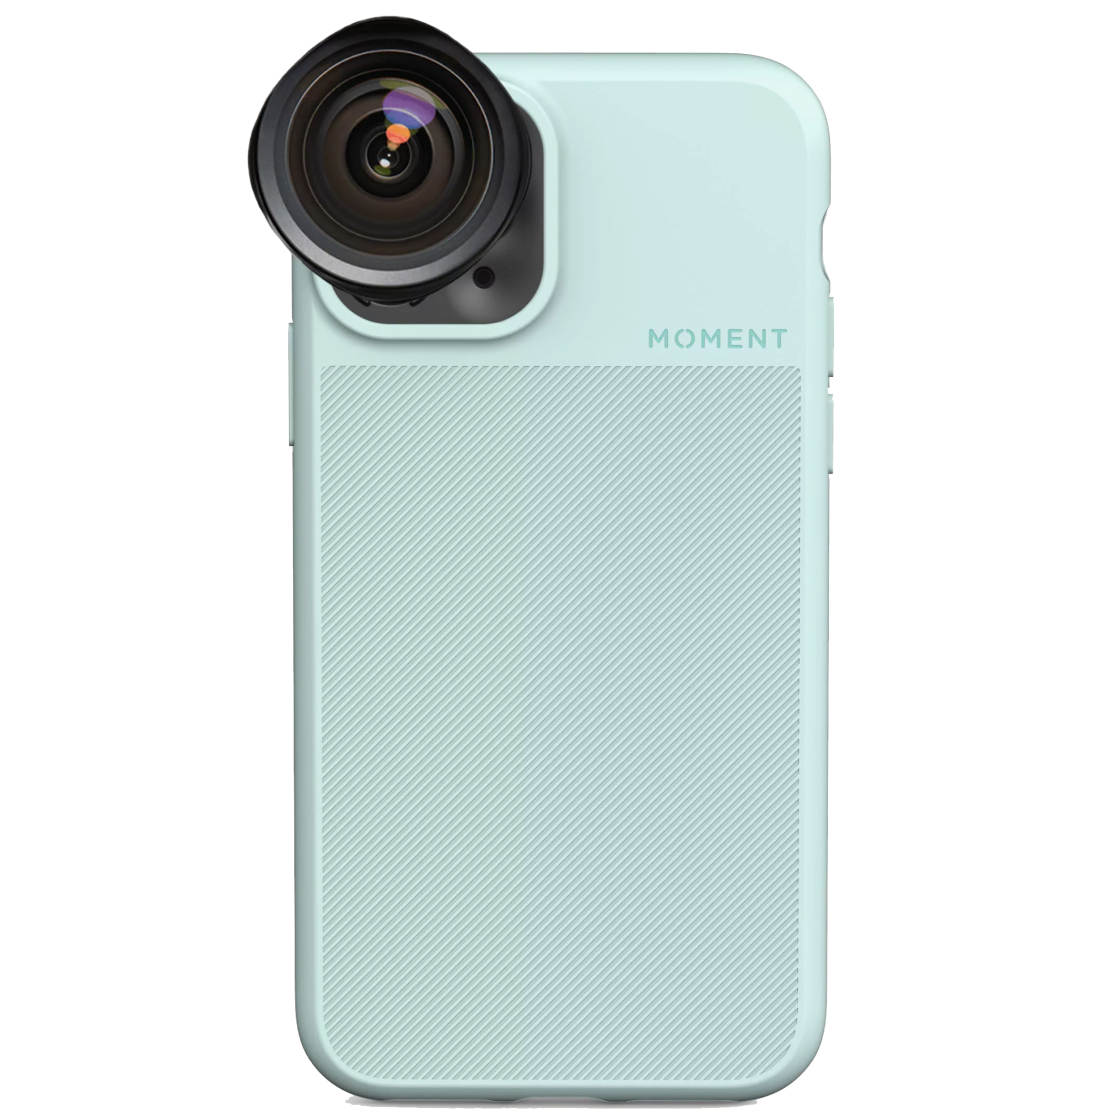
Once you have your macro lens, you’ll be blown away by the images you can take. Your photo library will never be the same again!
3. Experiment With Angles For Jaw-Dropping Flower Photography
In flower photography, it’s tempting to take images from the obvious angles. For instance, you’ve probably taken some shots from a standing height while looking down at your flower.
That angle can create some excellent flower photographs. However, such photographs have probably been taken many times. If you want to create truly stunning, original flower photographs, try to go beyond those shots.
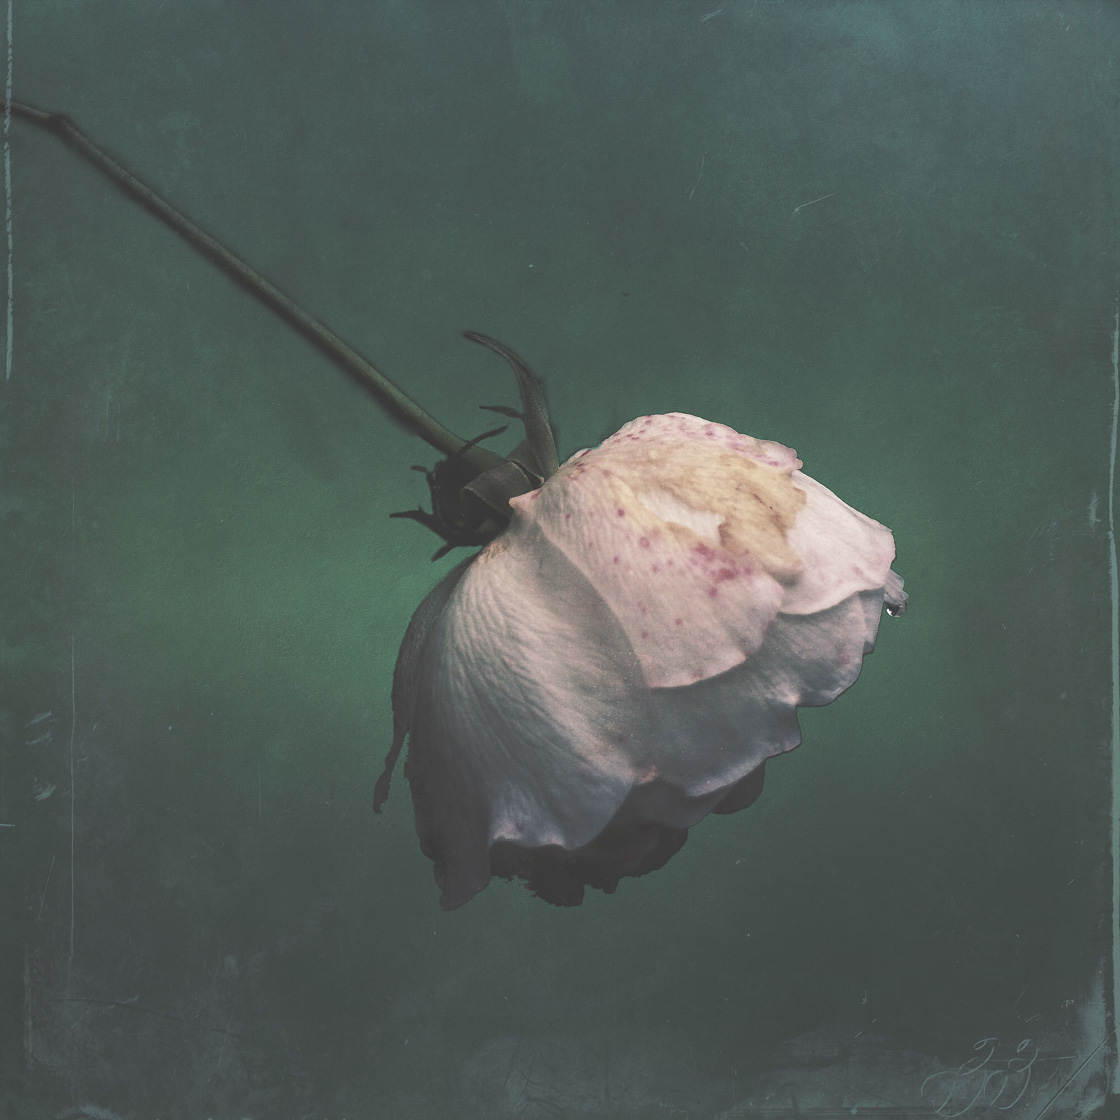
You need to experiment with angles.
What do I mean by this?
I mean that you should move your iPhone around the flower.
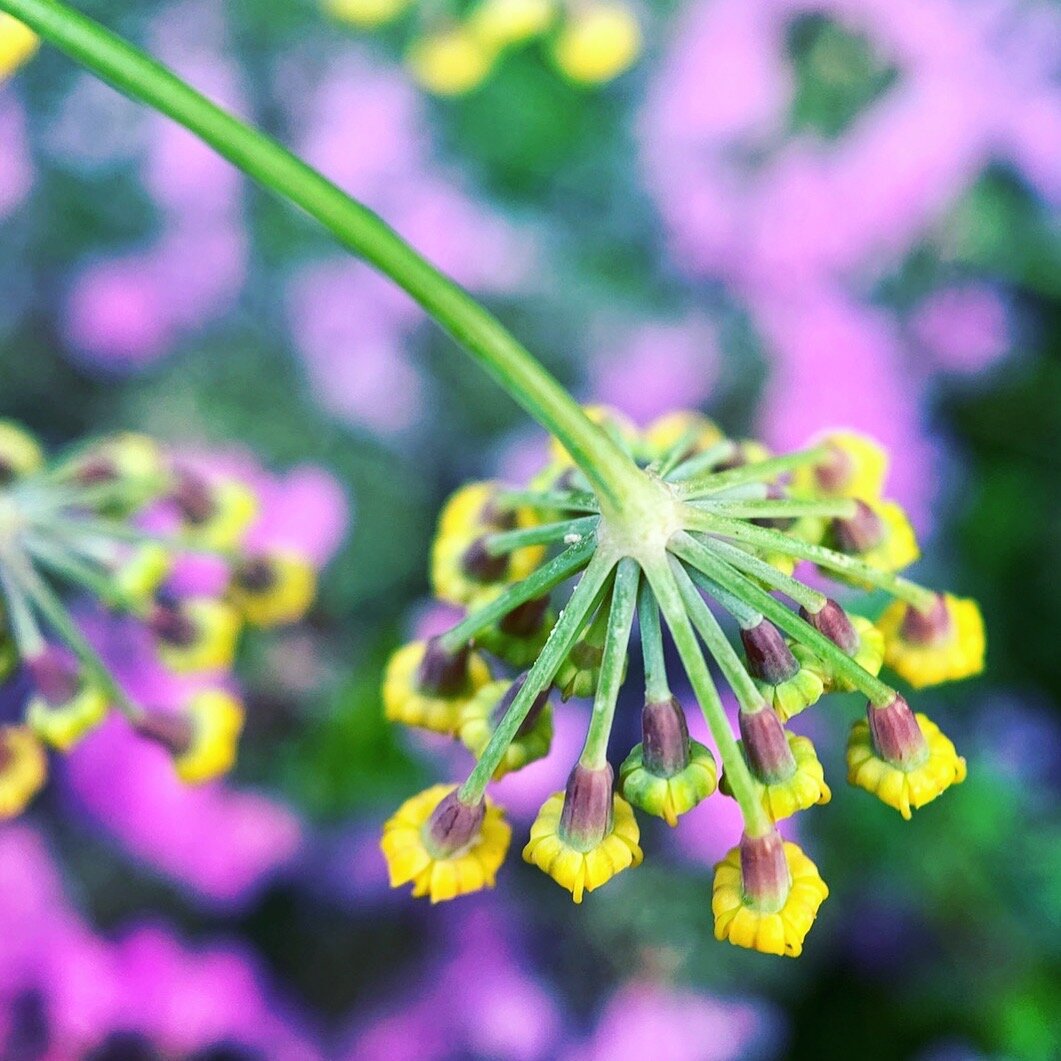
Try holding the lens directly above the flower, so that the camera is pointing straight down. This can make for some really creative images.

Then try putting your iPhone below the flower, so that the camera is pointing up. This is a fun angle, and one that’s rarely used.

Of course, these are just suggestions. Play around with your iPhone until you find your own favorite angles!

Are you interested in taking more original, stunning flower photographs? Then photograph from many different angles. This is how you’ll come away with jaw-dropping photos.
4. Take Lots Of Shots To Ensure A Few Stunning Keepers
Do you struggle to get sharp shots of flowers? Do you want your keeper rate to go up?
If so, my advice is simple: Take lots of shots.
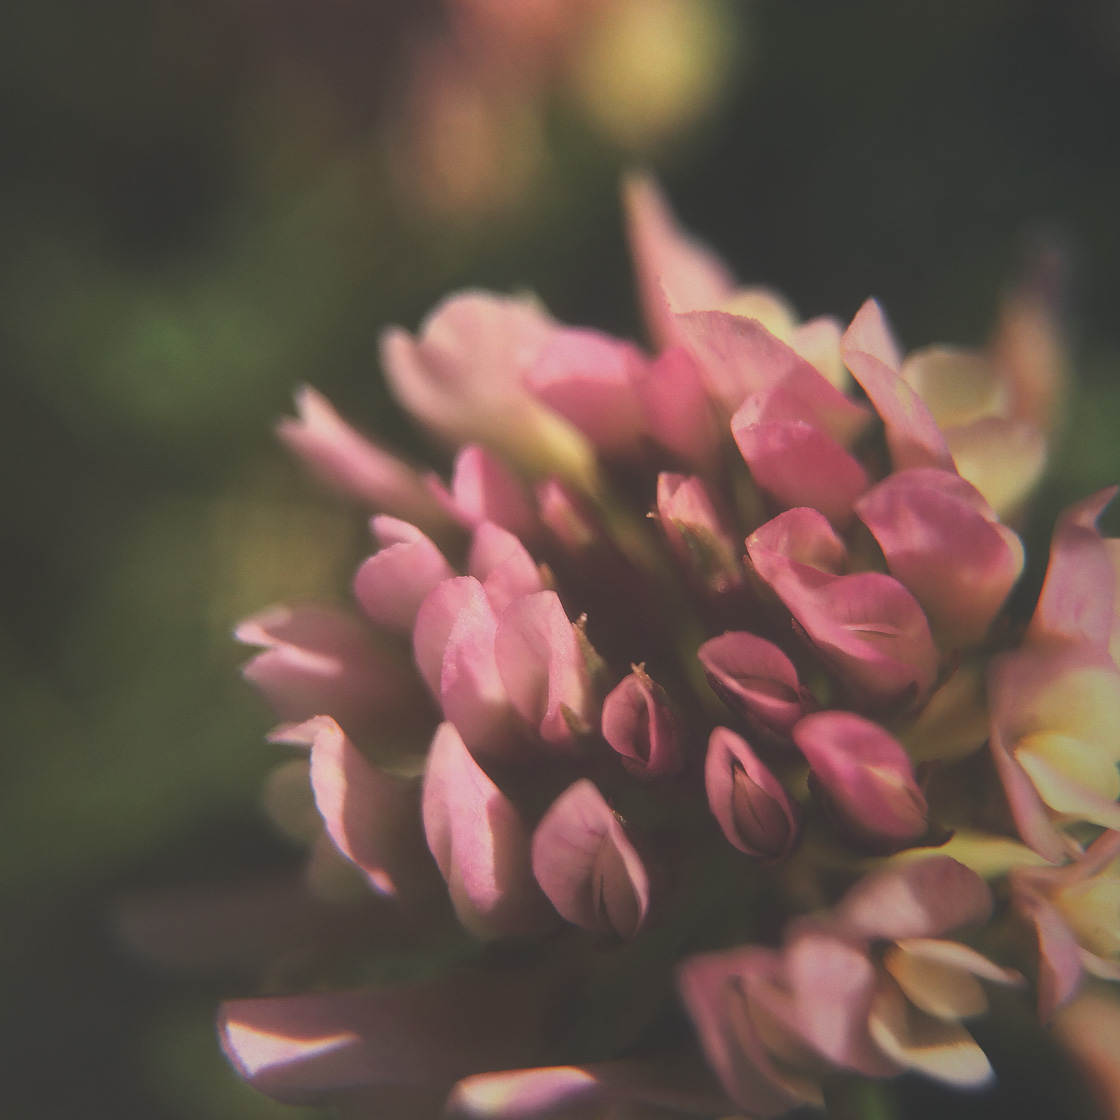
You may be tempted to preserve space on your iPhone. You may be tempted to keep your photo library clean.
However, it’s more important that you make sure you capture great shots. There’s nothing worse than the feeling of coming home after an exhilarating photoshoot—only to find that all of your shots are slightly blurry!
This is especially critical for flower photographers. When you’re shooting at such high magnifications, even a small amount of camera shake can blur your photos. Plus, if your subject moves slightly, the image may turn out blurry. I took lots of shots to get the image below.
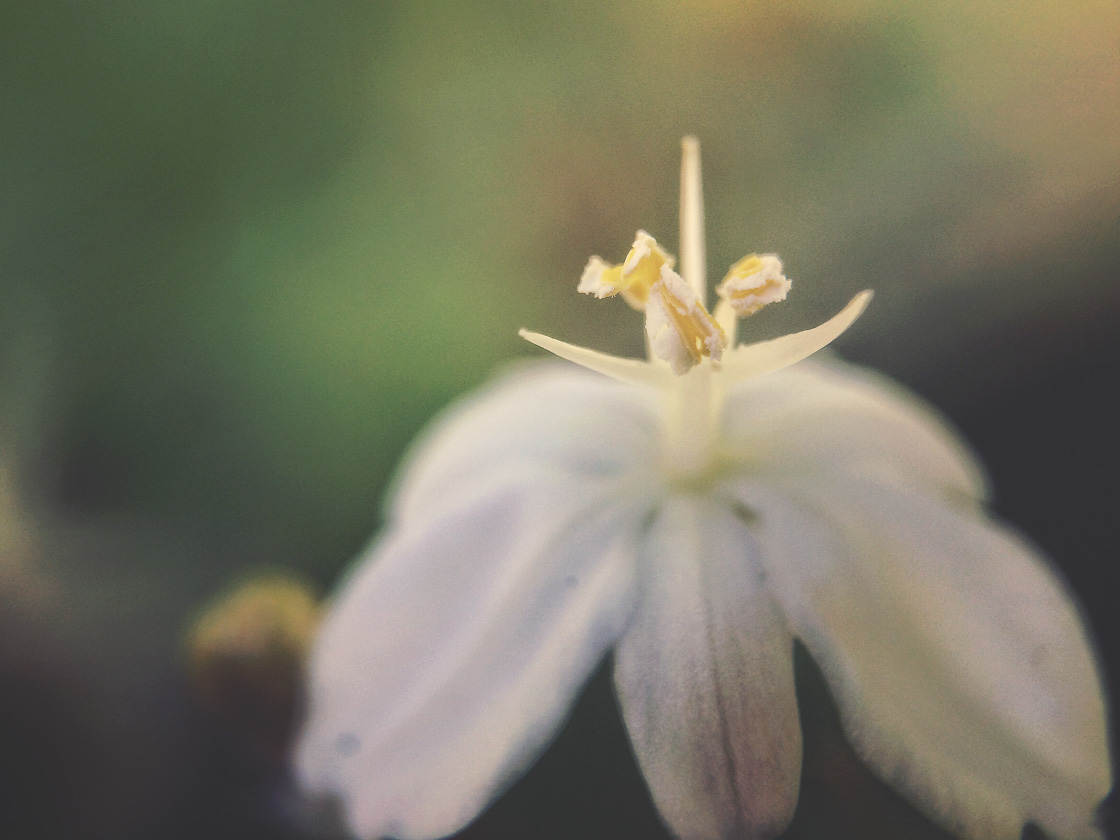
Therefore, if you want to get some stunning keepers, take many shots. You can always delete the bad ones later!
5. Use The Rule Of Thirds For Stunning Compositions
Composition refers to the arrangement of elements in a photograph. But how do you best compose a flower photograph?
For instance, do you put the flower in the center of the frame? Do you put the flower to the right or the left? Do you put the flower at the top or the bottom?
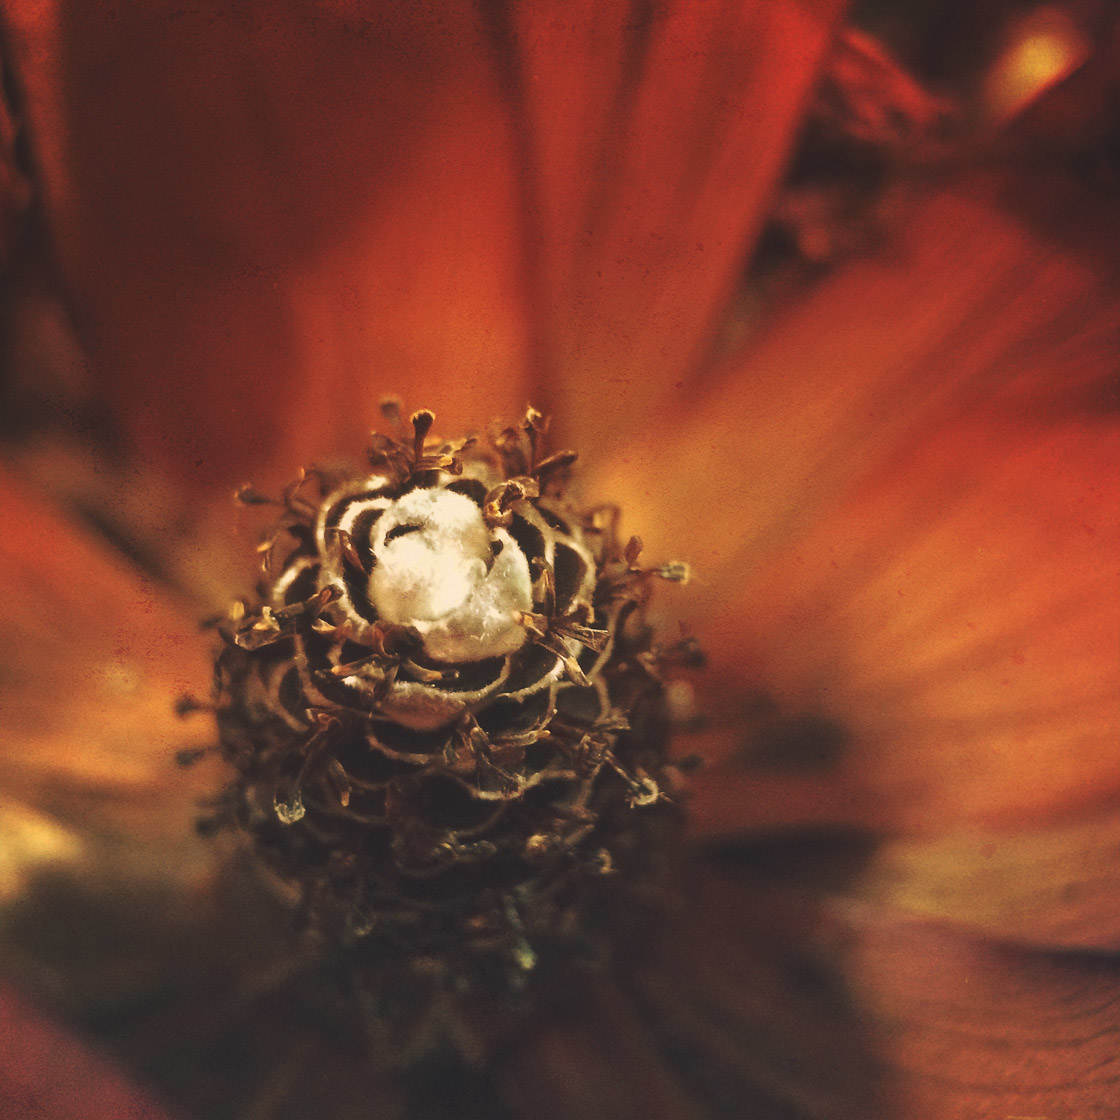
Unfortunately, creating beautiful compositions can be tough. It’s easy to fall into the trap of placing the flower in the center of the frame. But this often results in a static photograph.
So, how do you create stunning compositions?
One great tip is to use the rule of thirds.
The rule of thirds states that the most pleasing compositions place the subject a third of the way into the frame. In other words, you should put your flower along one of the gridlines or one of the gridline junction points (i.e., where the gridlines cross), as shown in the image below:
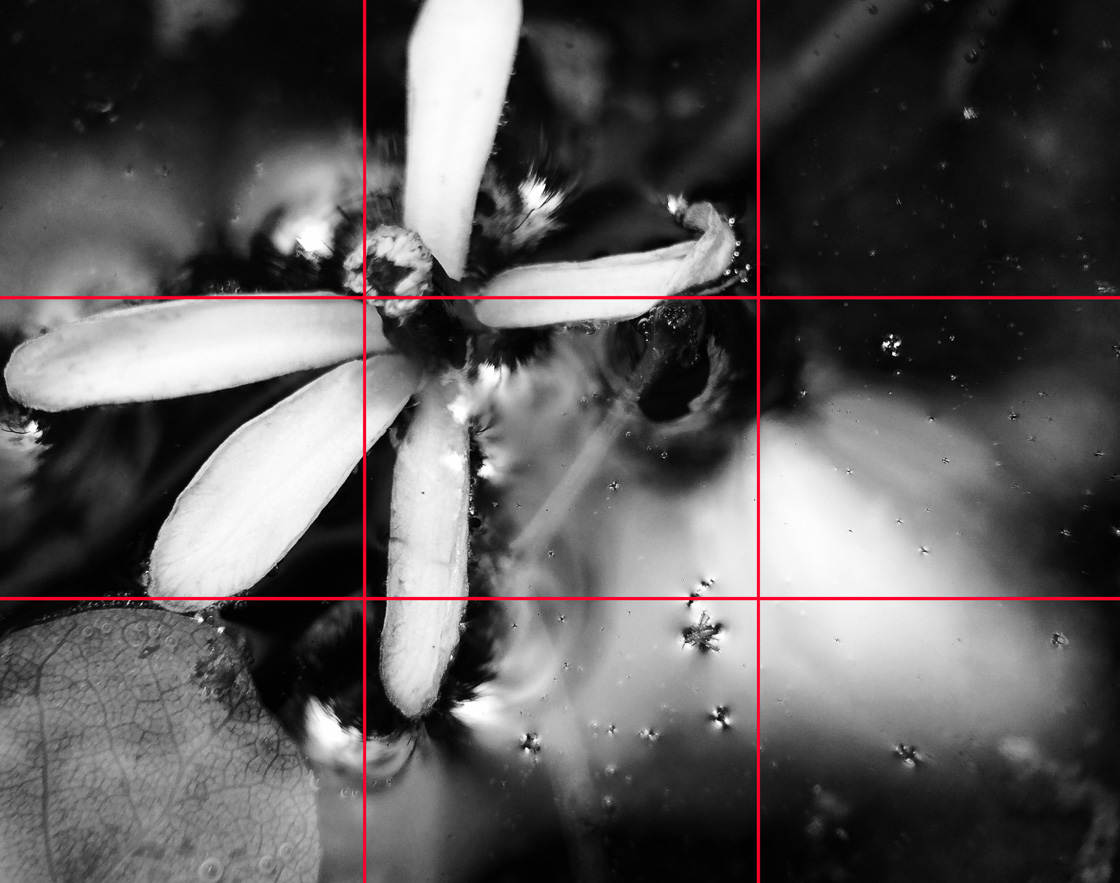
This will create far more powerful images.
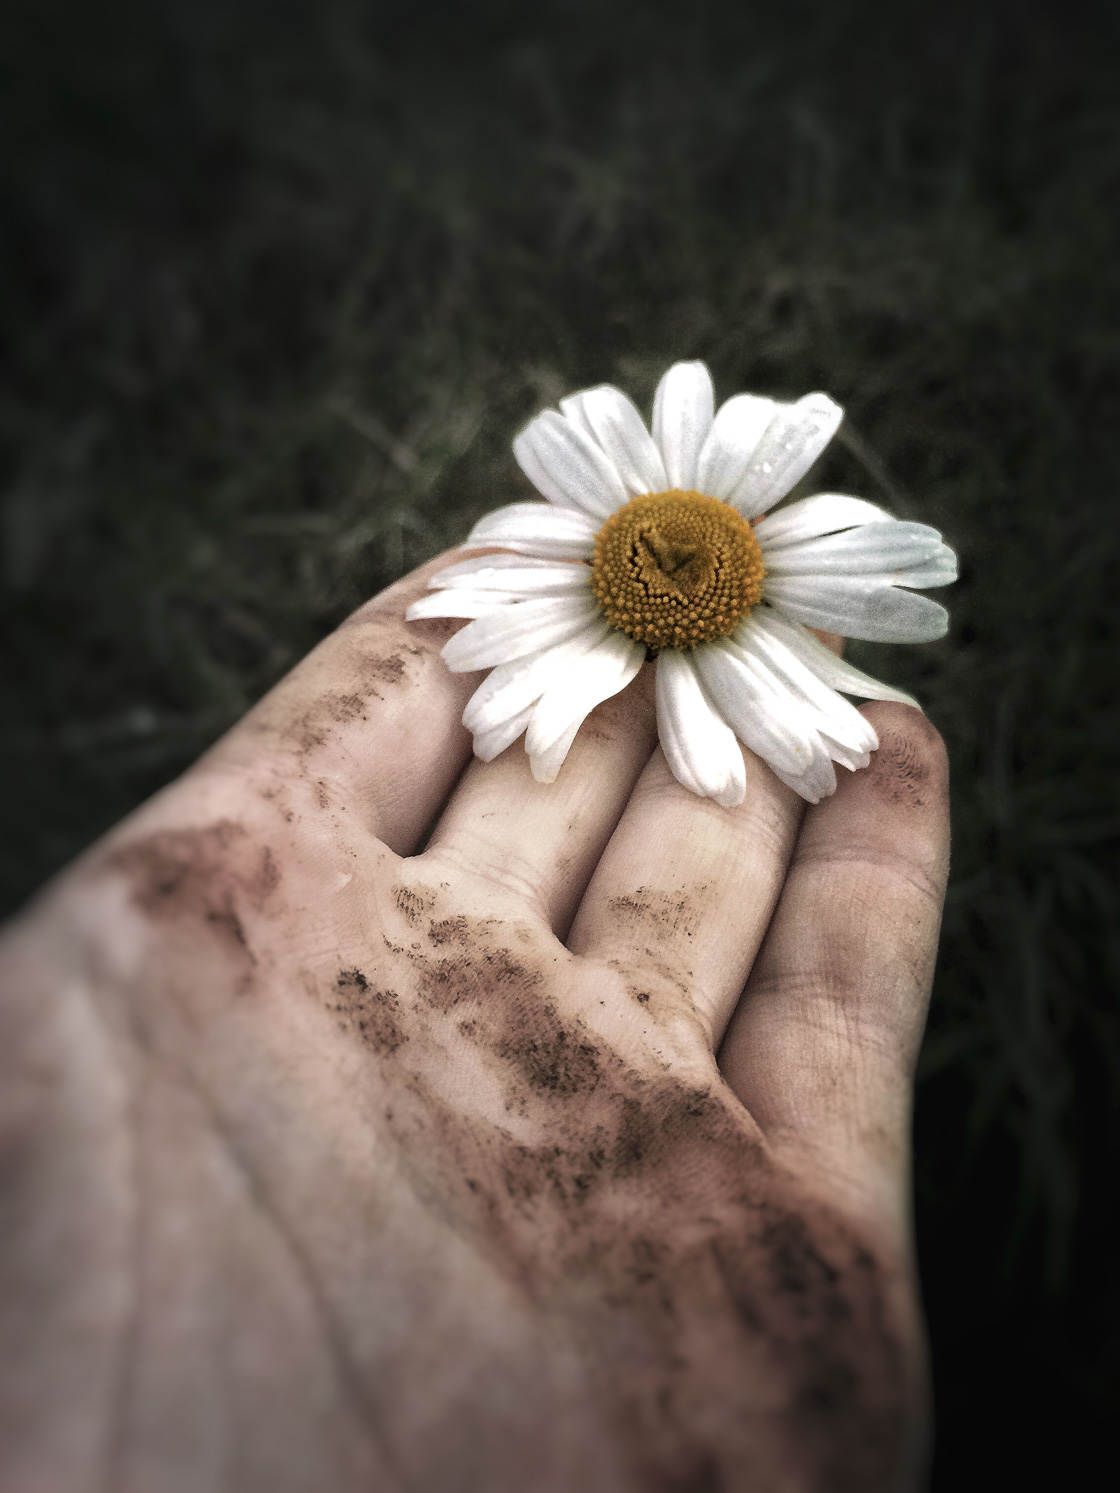
For the photo above, I made sure that the flower was placed at one of the junction points. This resulted in a more pleasing composition than if I had centered the flower.
One great thing about iPhone photography is that your iPhone actually has the rule of thirds gridlines built into it! You can activate the rule of thirds gridlines, and then you’ll be able to see them whenever you’re doing photography.
Tap your Settings icon on the Home screen. Select Camera, then make sure Grid is switched on.

Next time you open your iPhone camera, you’ll be able to see the gridlines.
Remember: If you put your flower along the rule of thirds gridlines, you’ll create far more stunning compositions!
6. Shoot During The Golden Hours For The Best Light
If your flower images are looking a bit flat, then you probably want to shoot in better light.
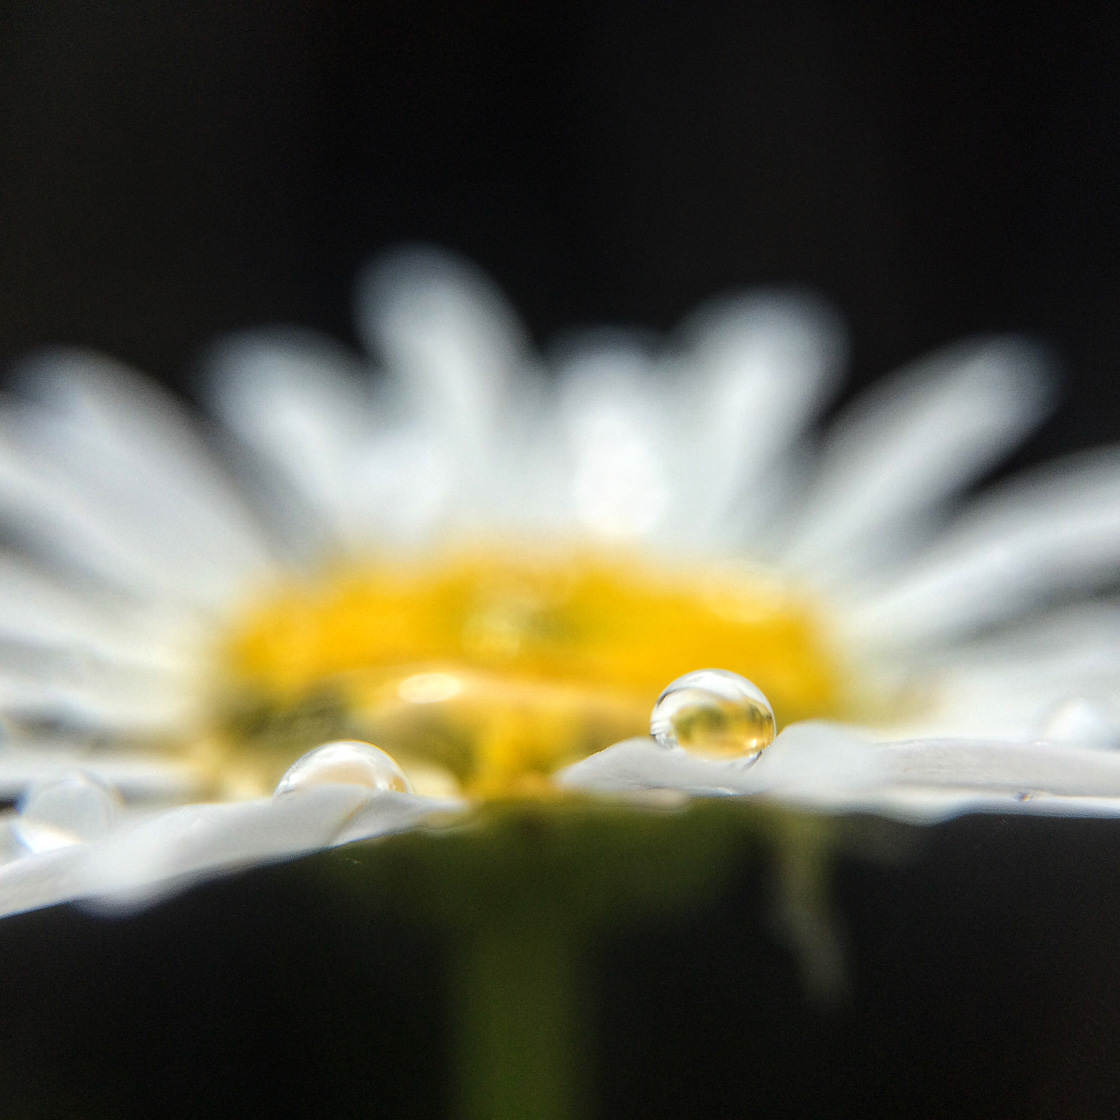
What light is best?
The best light is during the golden hours. The golden hours are the hour or two just after sunrise and just before sunset.
During the golden hours, the light is warm and soft. It casts a beautiful golden glow over your subjects. And it’s amazing for flower photography! Notice the golden glow in the photo below:
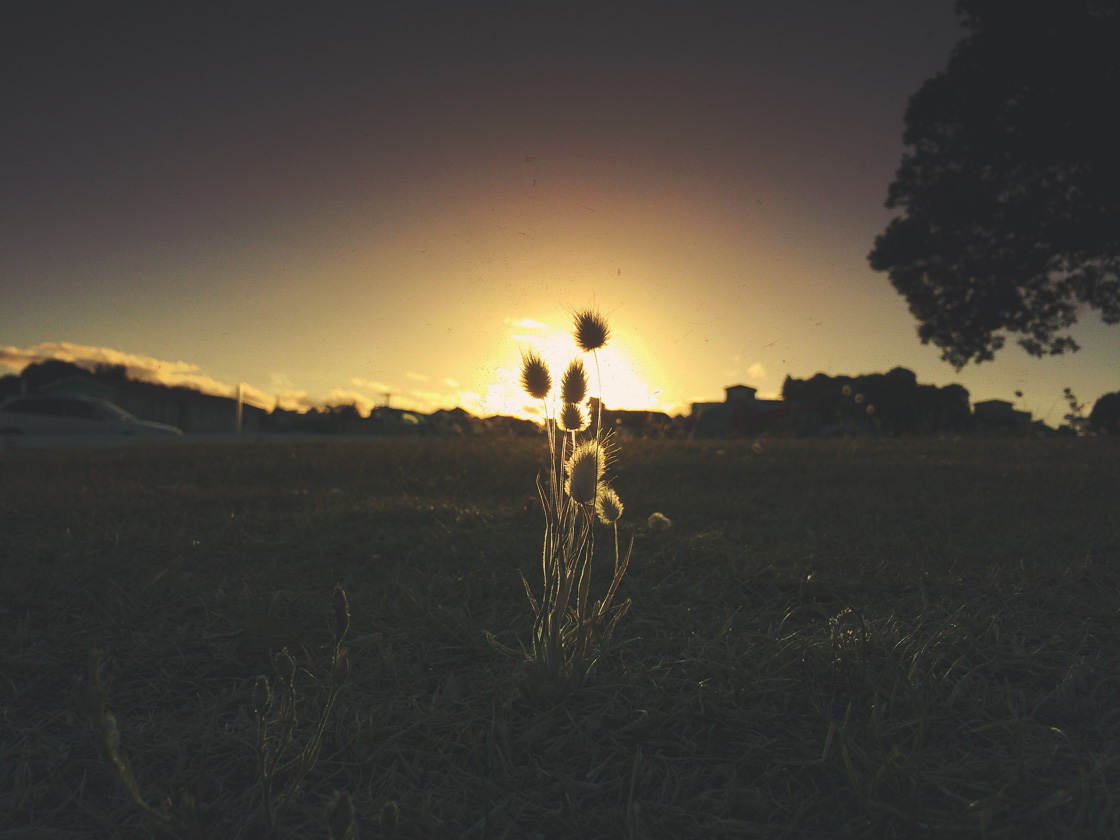
While you should try to shoot whenever you can, the golden hours are the best time to bring out your iPhone camera. If you shoot during these times, you’re going to notice an immediate improvement in your images.
7. Use Light Filtered By Trees For Beautiful Backgrounds
Do you want to know a great trick for creating beautiful backgrounds in your flower photography?
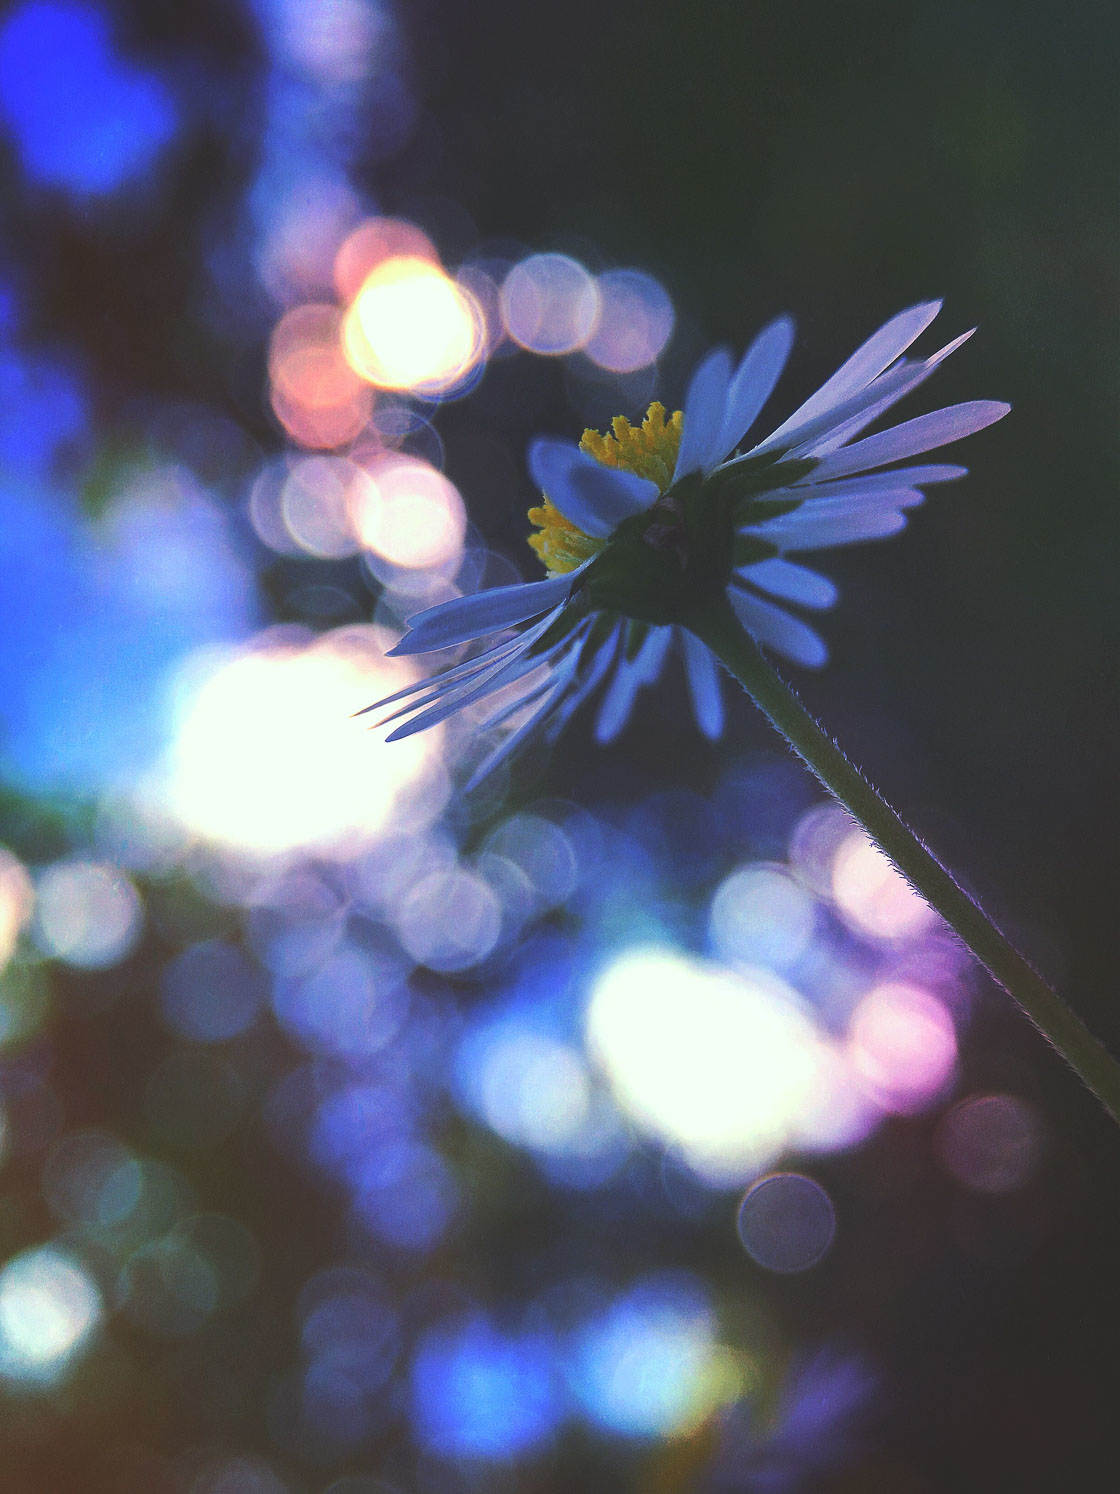
Wait until the golden hours. Then find a flower near some trees. Position yourself so that the sun is pointing at you—so that the sun is coming from behind the flower. Then get down extremely low, and take a picture.
What’s especially important is that you make sure the trees are in the background of your image. The trees will filter the light from the setting sun—resulting in a beautiful, colorful background. This is precisely the trick I used to capture the photo below.
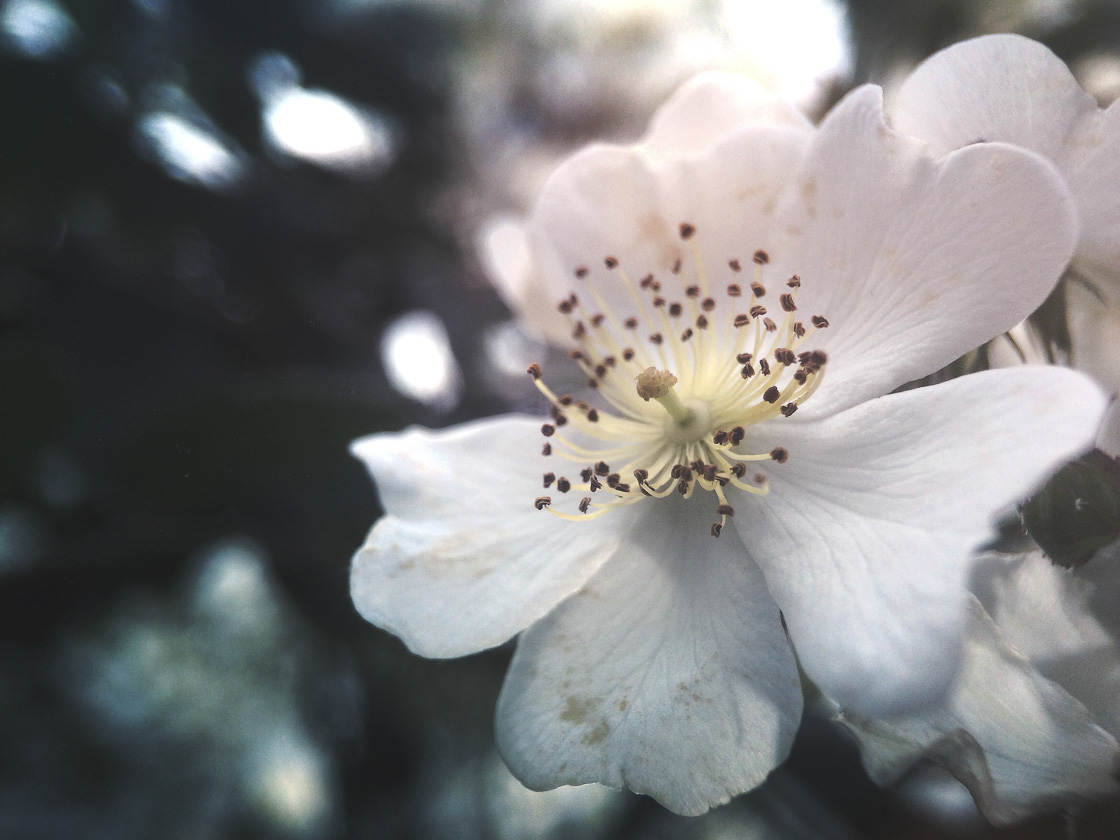
If you can pull this trick off, you’ll be astonished by how incredible your images look. You’ll want to shoot this way all the time!
8. Lock Focus For Perfectly Sharp Flower Photos
Do you struggle to focus when you’re shooting close-up subjects? Are you getting blurry close-up images? Then you’re going to want to use a special technique: focus locking.
Focus locking will help you maintain focus on your subject. You won’t have to worry about your iPhone changing focus when you try to take a picture.
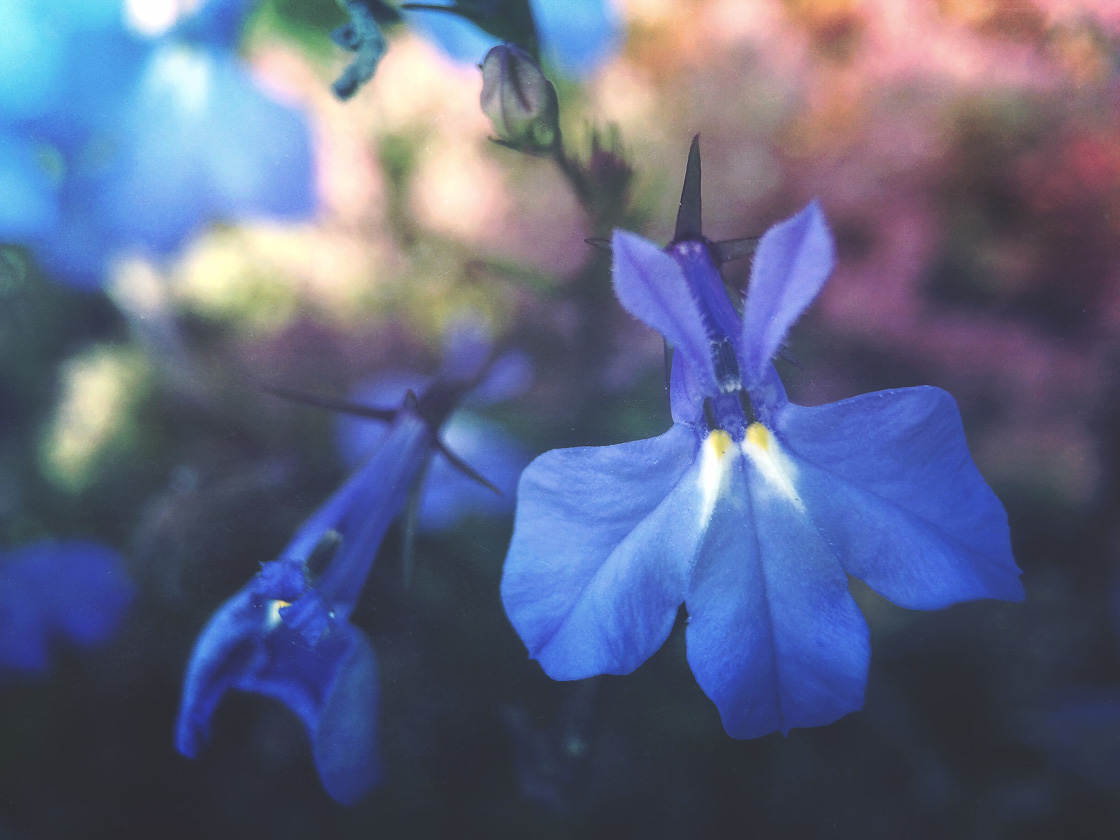
How do you focus lock?
Fortunately, it’s quite simple! To lock focus, simply tap and hold your finger on your camera screen. You’ll see the words AE/AF Lock appear at the top of the screen. And your iPhone will lock focus on the place you tapped.

Therefore, if you want to focus on the petals of a flower, tap and hold on the petals. If you want to focus on the center of the flower, tap and hold on the center.
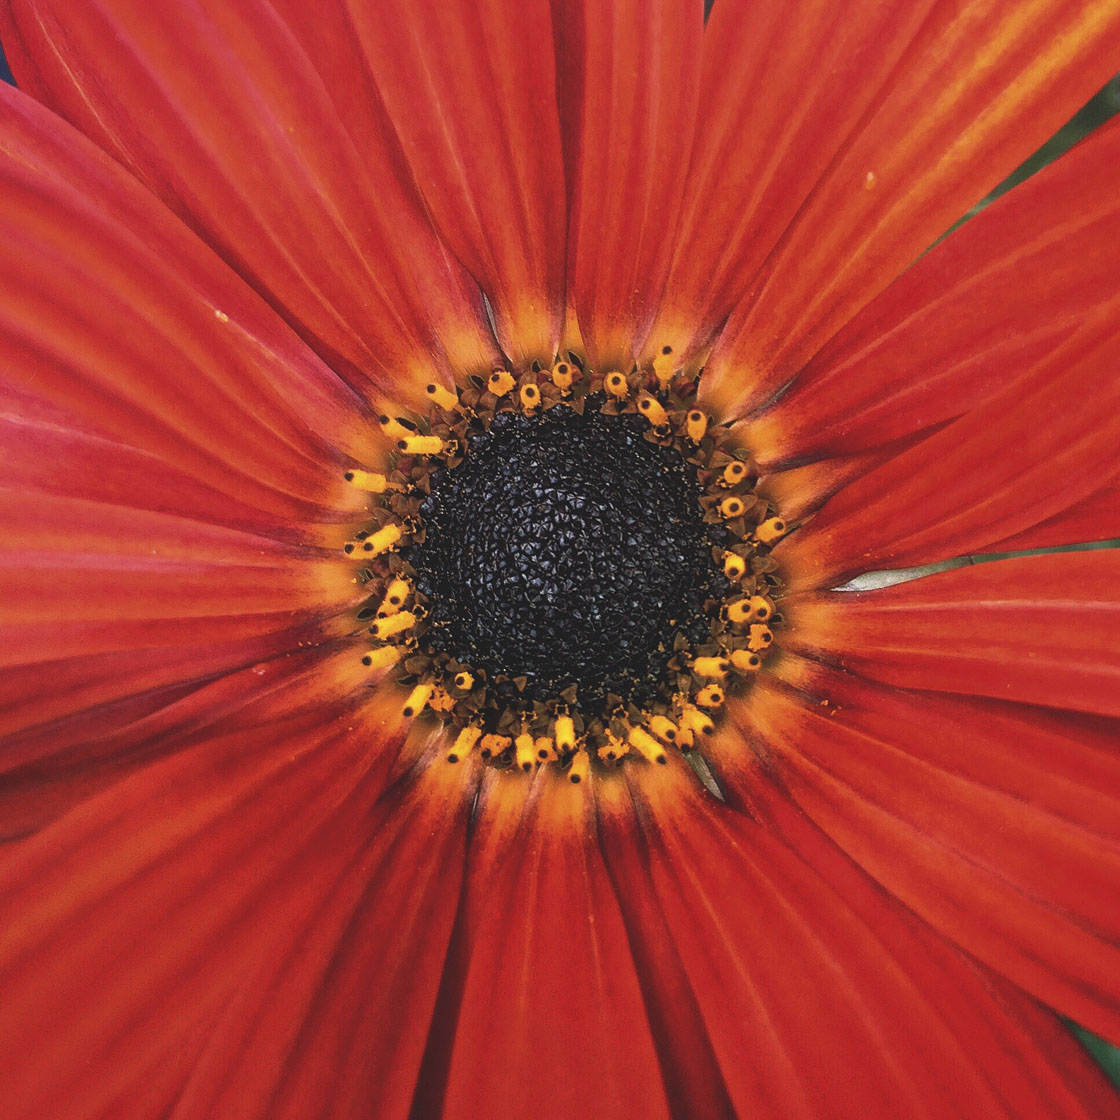
Then you can remove your finger from the screen and carefully press the shutter button. You don’t have to worry about the iPhone refocusing. Therefore, you have a much higher chance of getting sharp images.
Once you’re done taking pictures, you’ll want to deactivate the focus lock. Simply tap elsewhere on the screen, and the iPhone will go back to its normal autofocus setting.
If you’re getting blurry photos, then you should try this technique. It will dramatically improve your keeper rate.
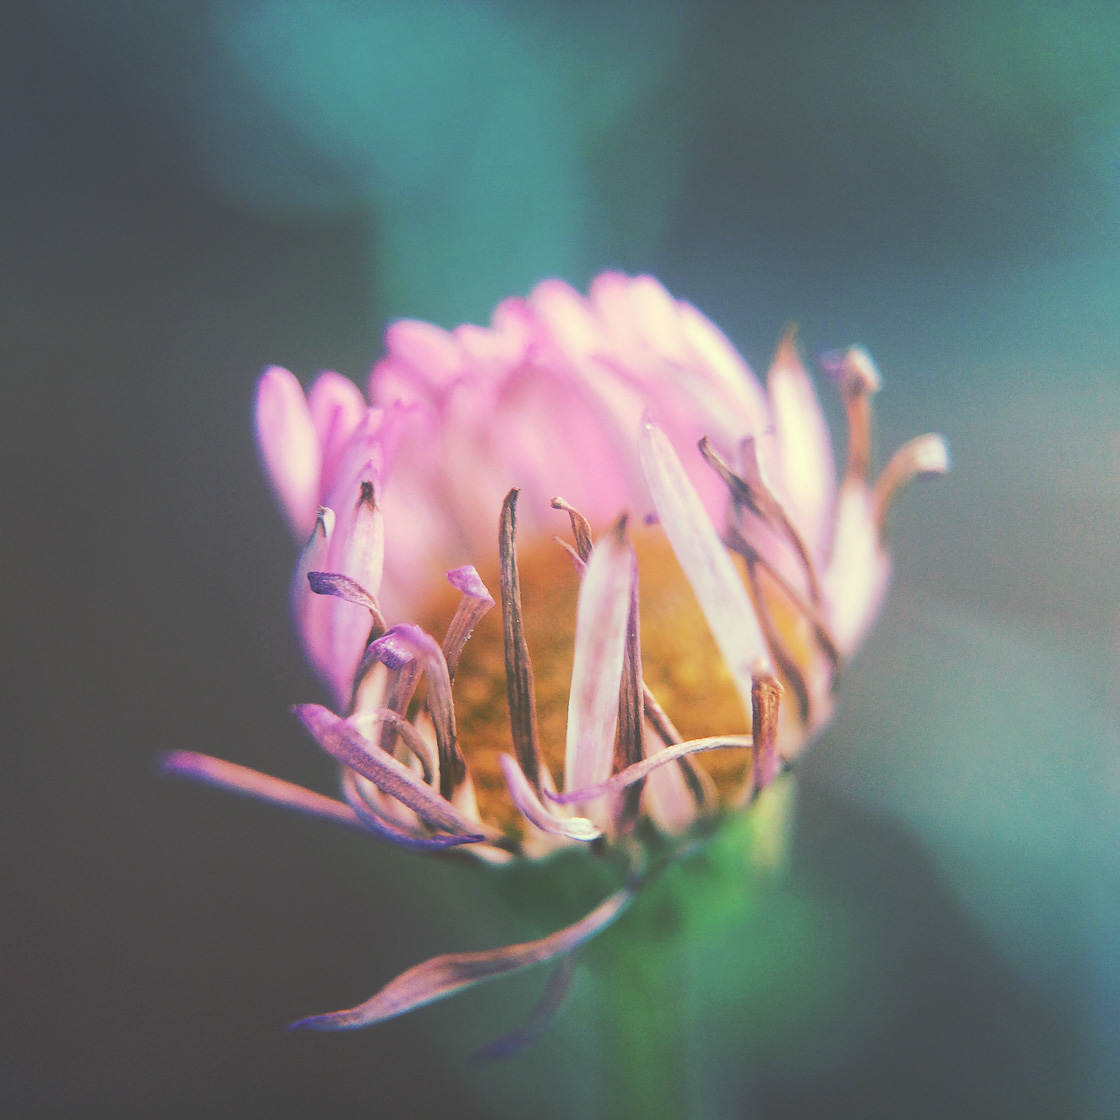
9. Photograph Flowers With Water Droplets For A Beautiful Effect
Do you want to add a little something extra to your flower photographs? If so, then this tip is for you!
What’s the tip? It’s simple: Photograph flowers with water droplets.
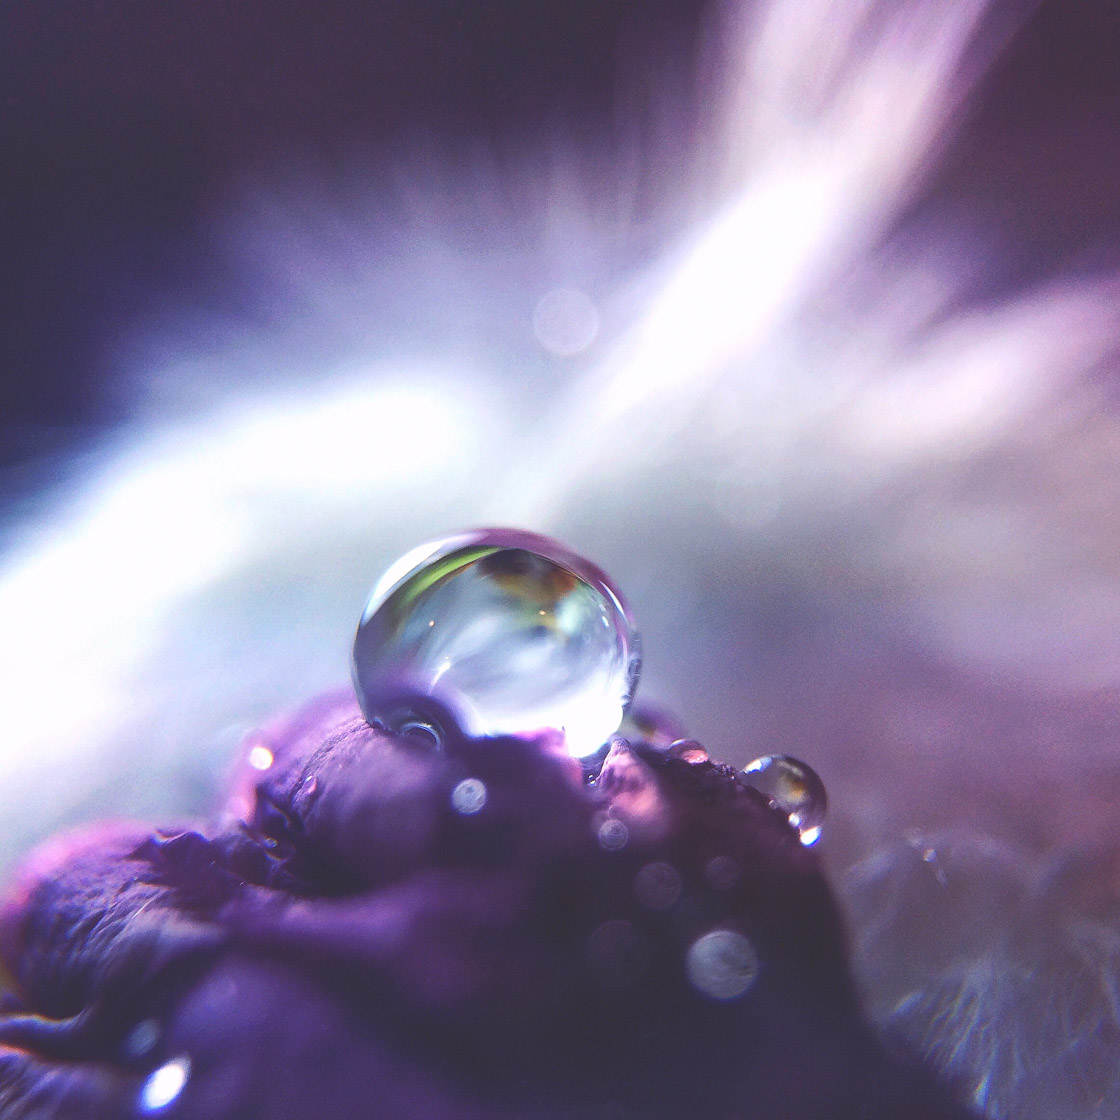
Water droplets are a great addition to flower photographs. Droplets sparkle. They make flowers pop. Plus, droplets are beautiful!
How do you find flowers with droplets?
One way is to wait until after it rains. Then go out walking with your iPhone. You’re bound to find some flowers layered in water droplets!
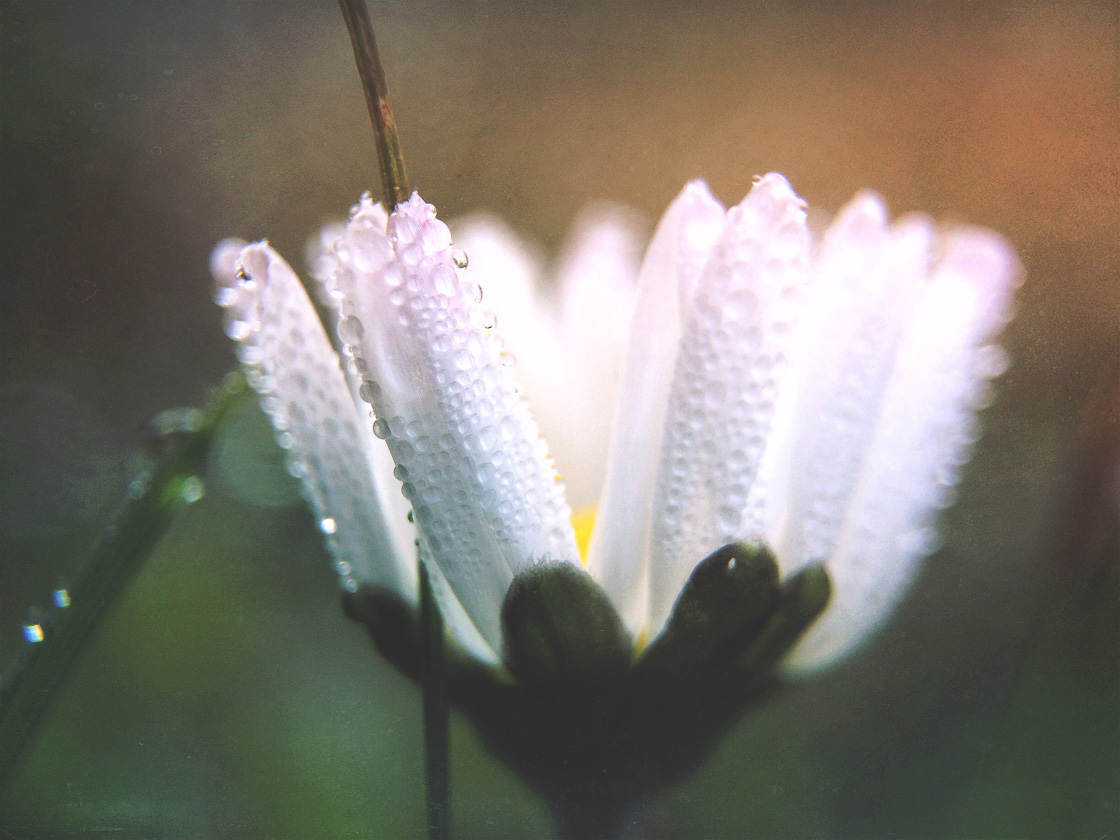
You can also go out early in the morning—because this is when you’ll find morning dew!
Morning dew results in lovely little droplets on everything, including flowers. Don’t miss this amazing opportunity.
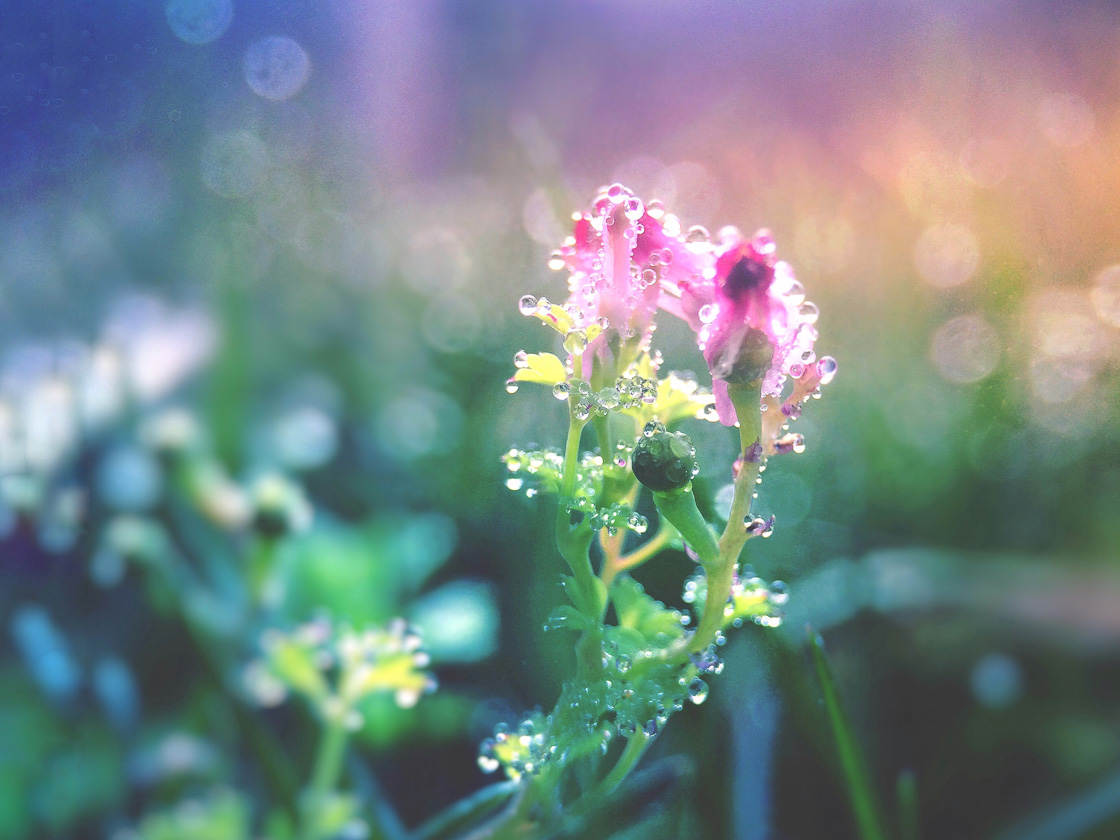
Finally, let me share one more trick for taking photos of flowers with water droplets: Make the water droplets yourself!
Go out and find a flower to photograph. Bring the flower inside. Then lightly dust that flower with water using a spray bottle or a dropper…and start snapping pictures!

If you use water droplets in your photos, you won’t be disappointed!
10. Use Editing To Enhance Your Flower Photography
Do you want to create eye-popping colors in your flower images? Do you want to elevate the mood?
If so, then you’re going to want to learn to edit your flower photos.

You don’t have to do complex edits. However, a bit of editing can go a long way when it comes to creating beautiful flower images.
For instance, you can use a photo editing app like Snapseed or VSCO to boost the contrast. This will make your photos more striking.
You can also increase the saturation. This will make your colors bolder and can really enhance your images.

You can also go further than this with other photo editing apps.
I love Mextures, which is perfect for applying textures to photos. It’s also great for all sorts of wild experimentation! Simply play with the effects—and see what happens.
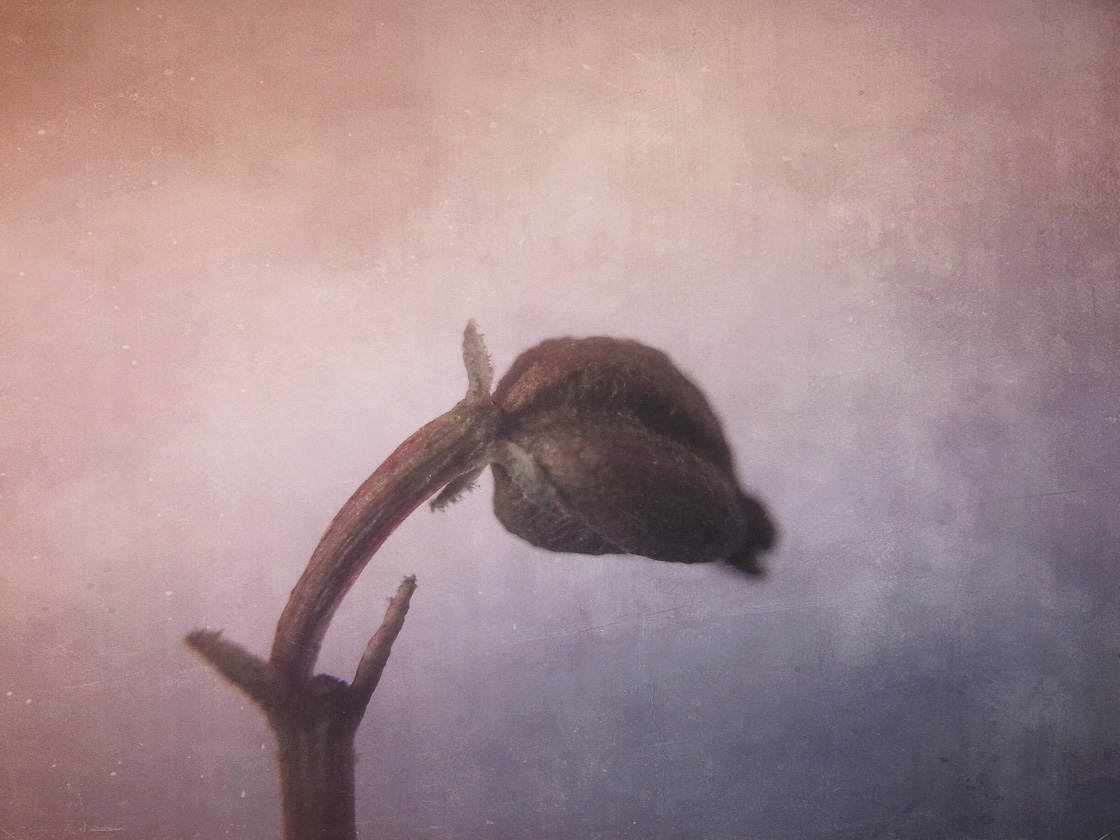
If you want to enhance your flower photos, then try some editing! It will really make your photos pop.
11. Join A Photography Community To Take Your Flower Photos To The Next Level
If you’re interested in taking your flower photos to the next level, pay attention to this tip. Because here’s a big thing that you can do to dramatically improve your flower photography: join a photography community.
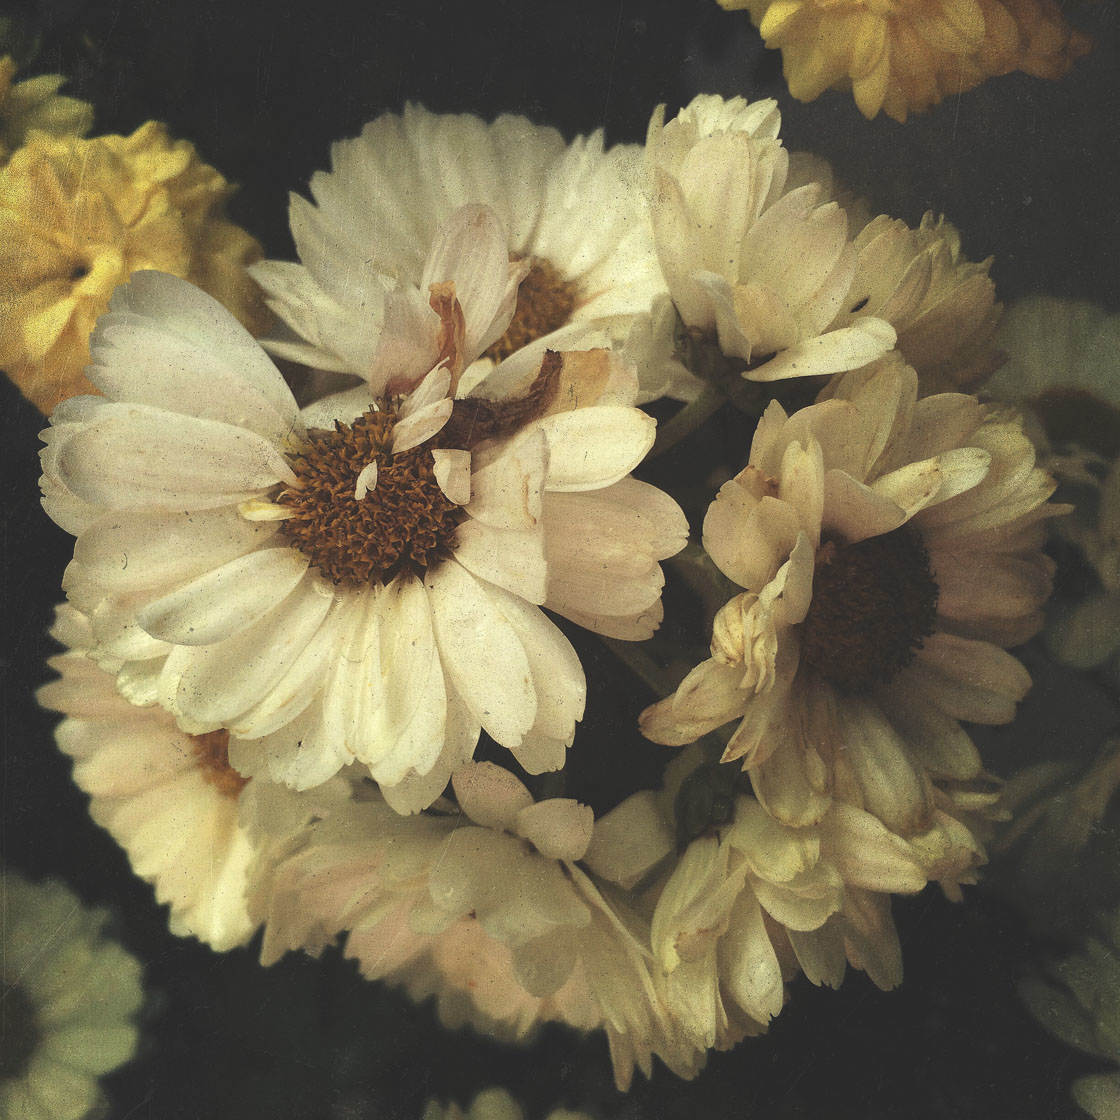
When I say “photography community,” I’m speaking rather broadly. You don’t need to find a group of photographers dedicated to sharing flower photos.
Instead, you want to be in contact with a few photographers that you really admire.
Instagram is a great place for this. Find a few Instagram flower photographers that you love. Then follow their photography. Observe it. Think about what you like and what you dislike.
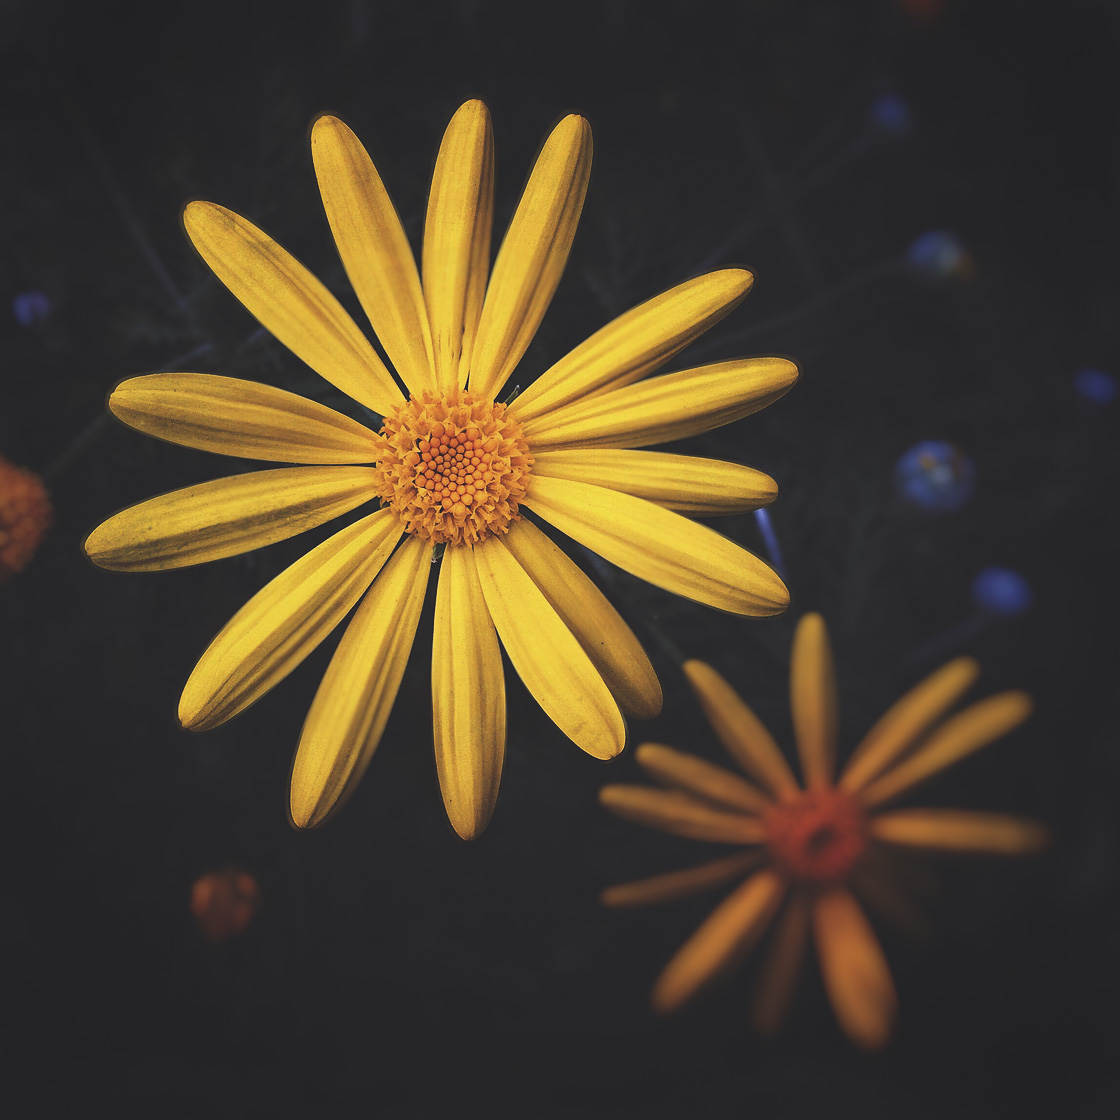
A photography community exposes you to all sorts of beautiful images. This, in turn, helps you develop your own style. It helps you realize what you find aesthetically pleasing.
Plus, a good community will offer all sorts of flower photography advice—advice that is invaluable.
When you see a really good image, contact the photographer! Ask them how they managed to get such a great photo. Often, Instagram photographers are willing to share advice with beginners.
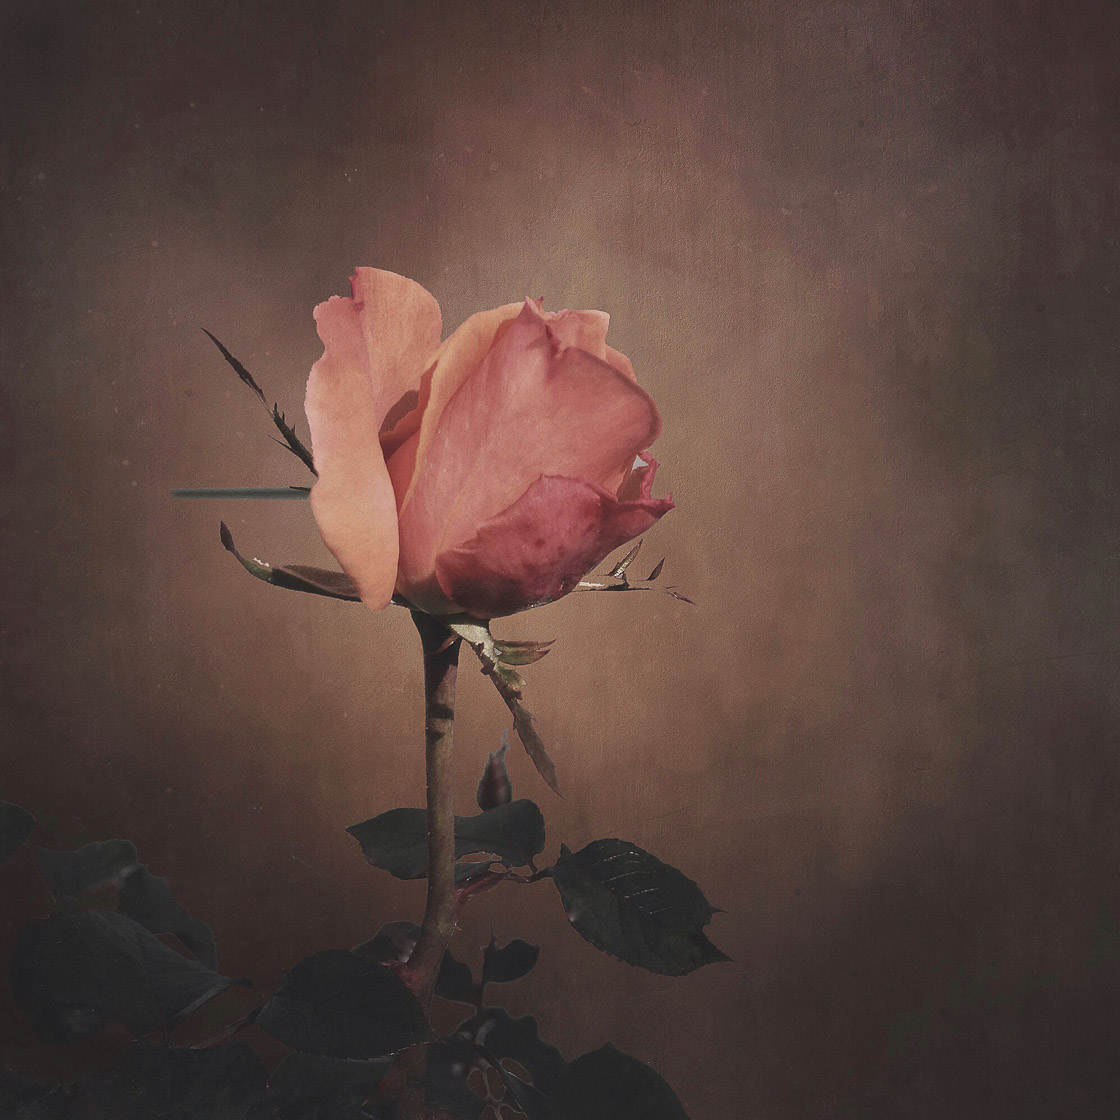
Joining a photography community was essential for my photographic growth. It can be great for your growth, too. If you join a photography community, you’ll find your flower photography growing by leaps and bounds.


Leave a Reply
You must be logged in to post a comment.