If you want to turn your ordinary iPhone photos into something extraordinary, the Mextures app is all you need. Mextures is the best filter app for adding beautiful textures, light and color effects. With a few simple steps you can completely change the look and feel of an image. In this tutorial you’ll learn how to use Mextures to add visual interest and wonderful atmosphere to your iPhone photos.

Textures and other effects in the Mextures app can be used on all sorts of photos to enhance the mood and create a more interesting image.
I find they work particularly well on landscape photos as the textures add fantastic detail to a large expanse of sky.
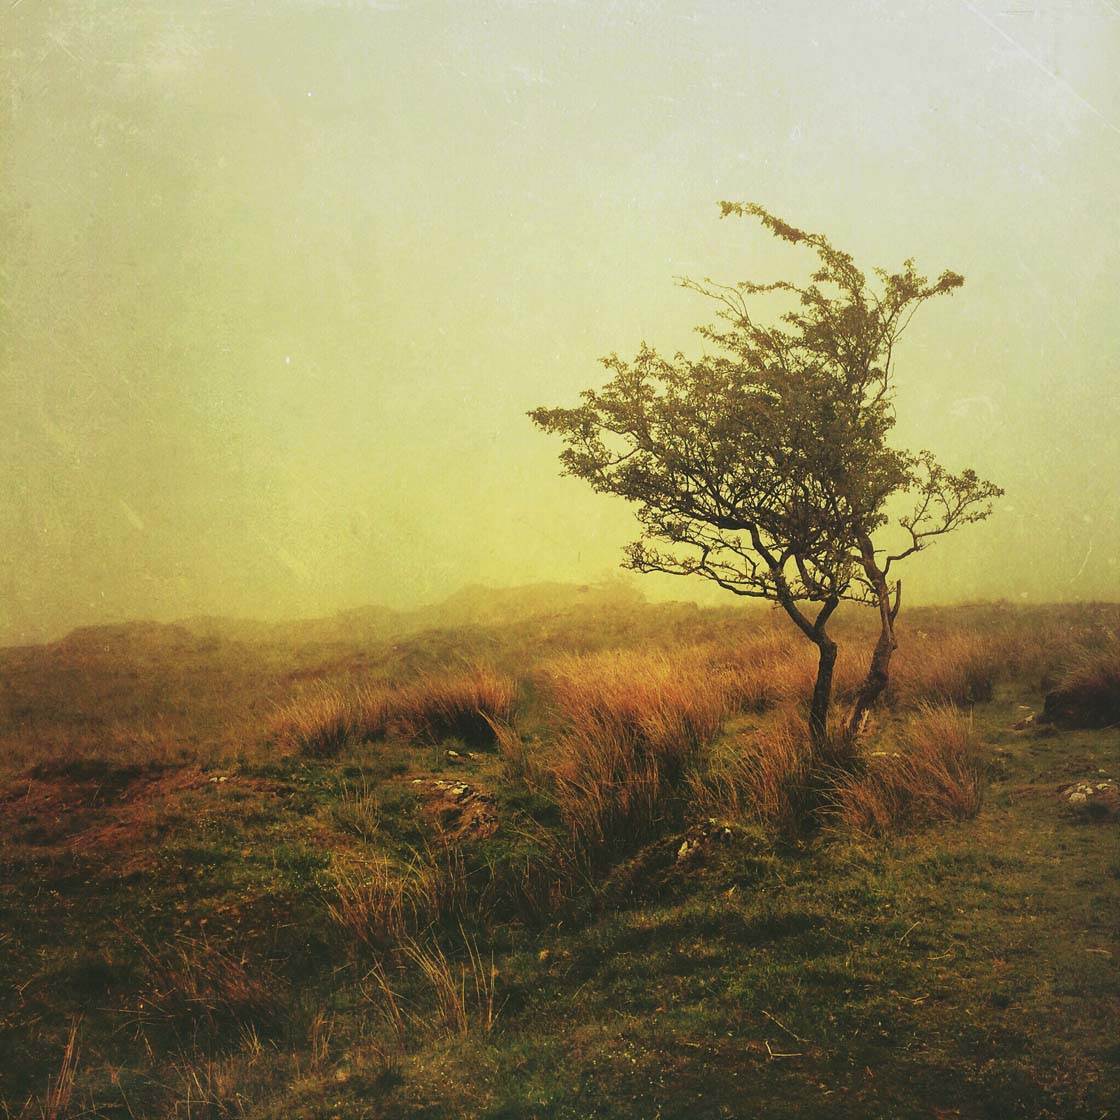
But you can try out the app on any kind of image that you’ve taken. There are so many effects that you’re sure to find something to suit your photo.
If you don’t already have the Mextures app on your iPhone, you can download it from the app store for $0.99.
1. Open Your Image In Mextures
When you first open the Mextures app you’ll be presented with six icons at the bottom of the screen:
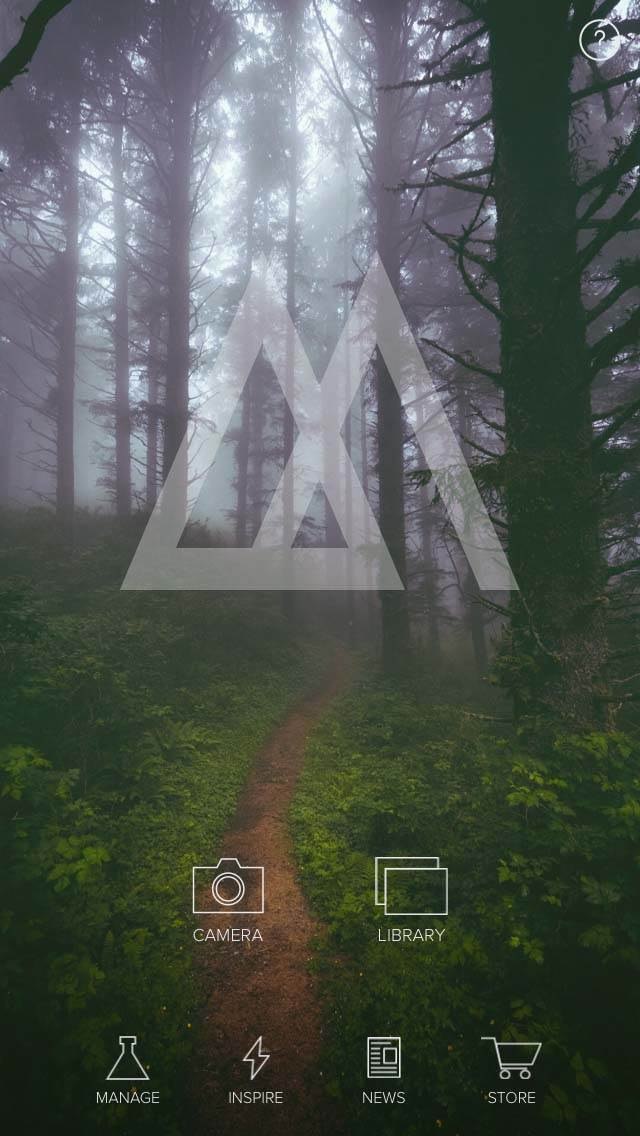
If you want to take a photo directly via the Mextures app, select the Camera icon and take a shot. If you want to work on an image that’s already in your photo library, tap the Library icon and select the photo you want to use.
After importing your image, you can then choose to use the photo in its original format by tapping Don’t Crop. Or you can crop the image to a square by moving it around, pinching out to zoom in, then tapping Crop:
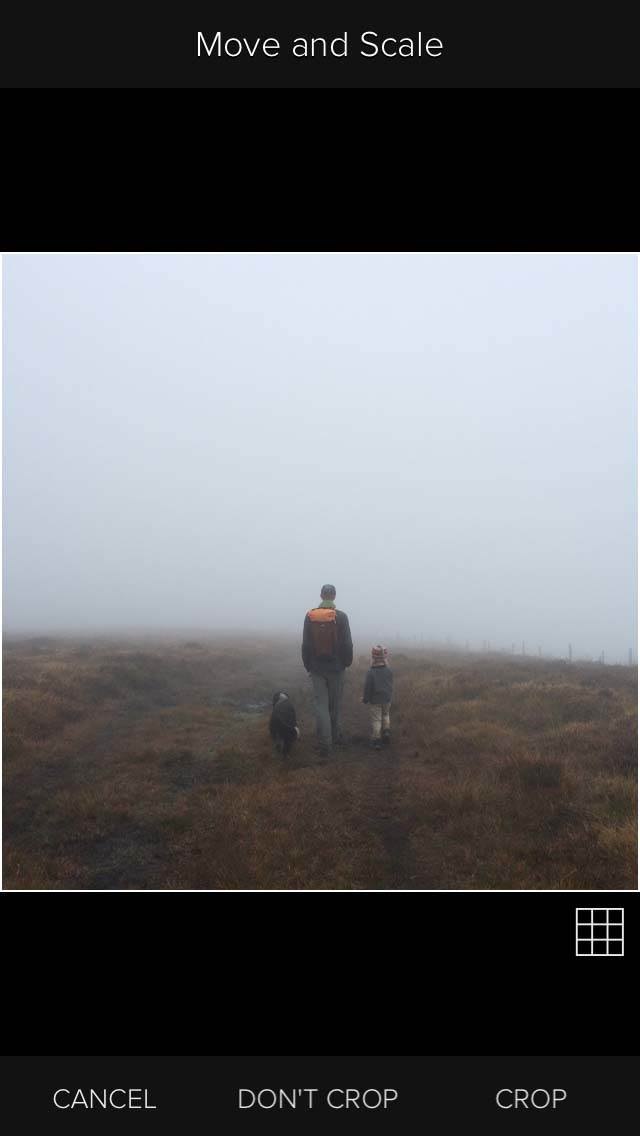
Now you’re ready to have some fun with textures and other Mextures effects!
2. Textures & Formulas
The Mextures app works by allowing you to use an unlimited number of layers on your image to gain the desired effect. The layers are known as “Textures” within the app.
You also have the ability to change each layer in a number of ways, and we’ll cover this in more detail a bit later. Once you have your combination of layers just how you want them, then you have your “Formula” for that particular edit.
The app has a good collection of built-in Formulas, so your first choice when editing an image is to decide whether you want to use an existing Formula as a starting point, or create something from scratch using the Textures:
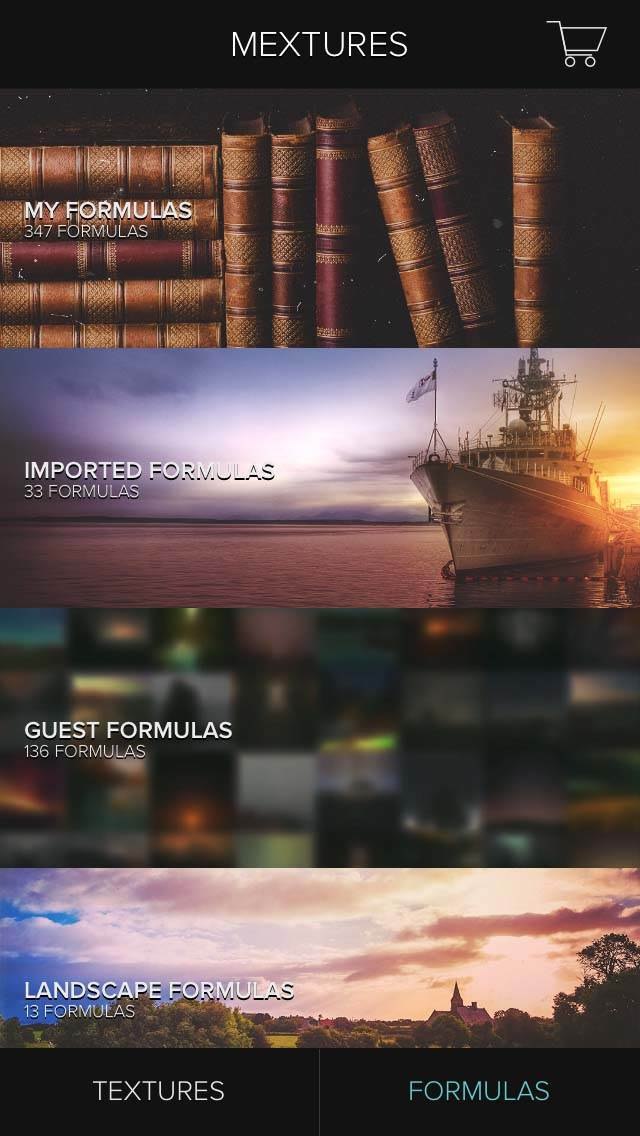
To start editing an image from scratch, you would tap the Textures option at the bottom of the screen, and start building layers to alter the appearance of your image as much or as little as you like.
However, as a new user of the app, the Formulas option is a great place to get started. So for this activity, tap Formulas at the bottom of the screen.
3. Apply A Formula
Once you’ve selected the Formulas option, tap on the formula category you want to look at – you can choose from the Guest Formulas or from a particular category such as Landscape Formulas, Black And White Formulas, etc.
Once you’ve chosen a formula category, you can very quickly change the look of your photo, subtly or to the extreme, by tapping the formula you want to use at the bottom of the screen:
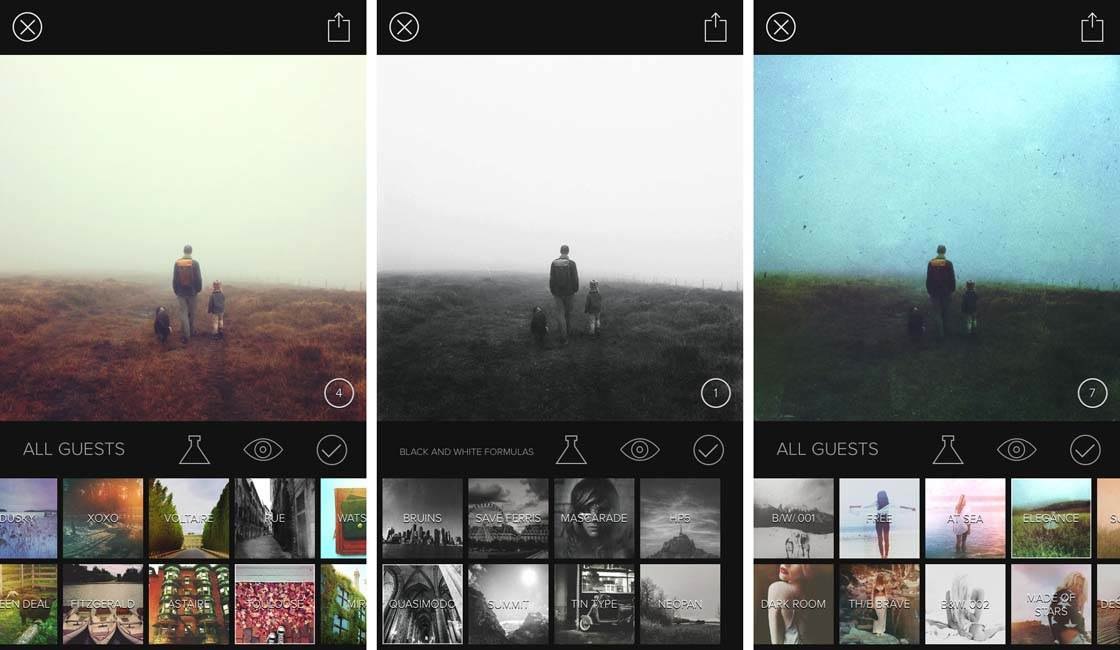
If you don’t like any of the formulas in the category you chose, tap the Formulas icon (triangular formula bottle to the left of the Eye icon) on the central black bar to return to the main list of formula categories.
Once you’ve selected a formula that you like the general feel of, tap the Checkmark icon on the central black bar to apply it to your image.
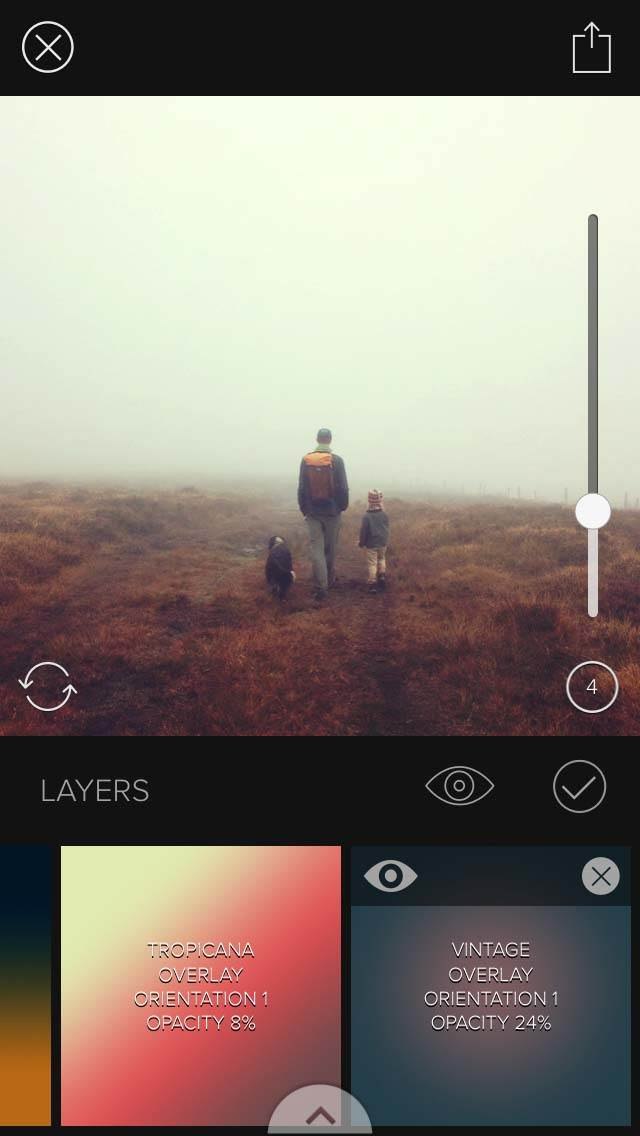
Along the bottom of the screen you’ll then see the layers (big squares of color or texture) that make up your selected formula. You can swipe across these layer icons to see all of the layers in the formula:
4. Customize The Formula
You can now customize how the formula affects your image by adding and removing layers to your heart’s content.
To modify a layer in your chosen formula, tap on a layer at the bottom of the screen to make it active. The “eye” symbol on your selected layer allows you to toggle between applying and removing that particular layer.
When the eye is white the layer is applied. To hide that layer, and therefore remove its effect from your image, tap the Eye icon on the selected layer so that it turns red.
You can vary the intensity of each layer by changing the opacity. Select the layer you want to adjust, then slide the white bar on the right hand side of the image up and down until you achieve the desired effect.
If you decide you want to remove a layer permanently from an image, tap the cross at the top right-hand corner of the layer and follow through to delete.
To view the original version of your image, tap and hold the Eye icon on the central black bar above the layers. Release the icon to return to the edited version.
When you’re happy with the effect of your chosen formula, tap the Checkmark icon on the central black bar. You’ll now be presented with some more exciting options to get your image looking just the way you want:
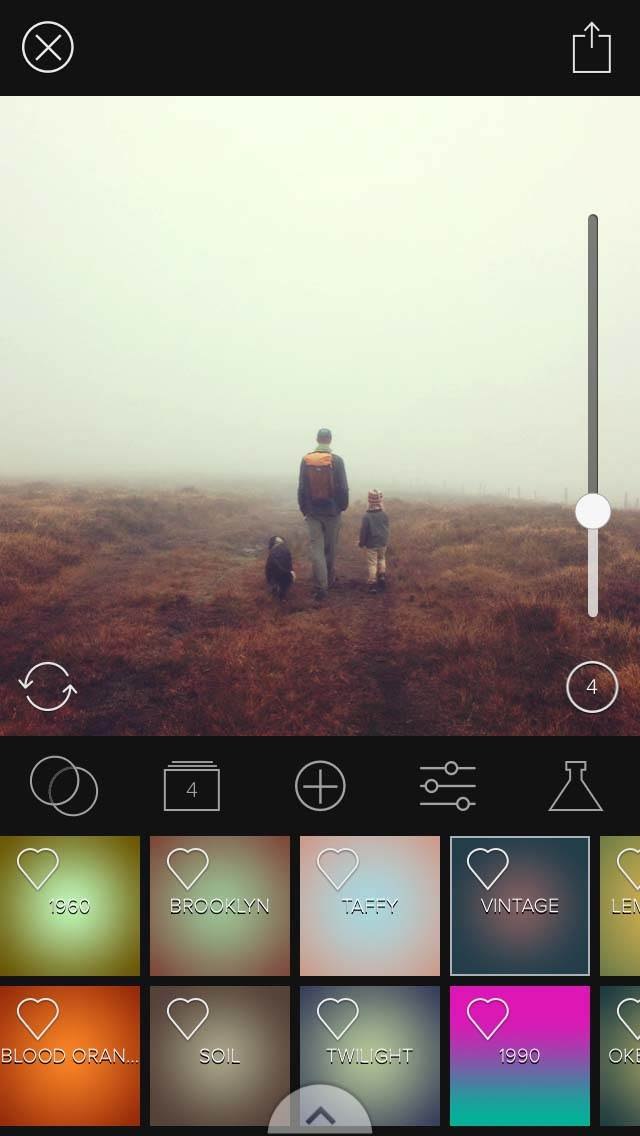
Let’s now explore these options to further customize your image.
5. Add Textures
In Mextures, the layers are known as Textures. Tap the “+” icon on the central black bar to access a huge selection of textures that are conveniently grouped by type:
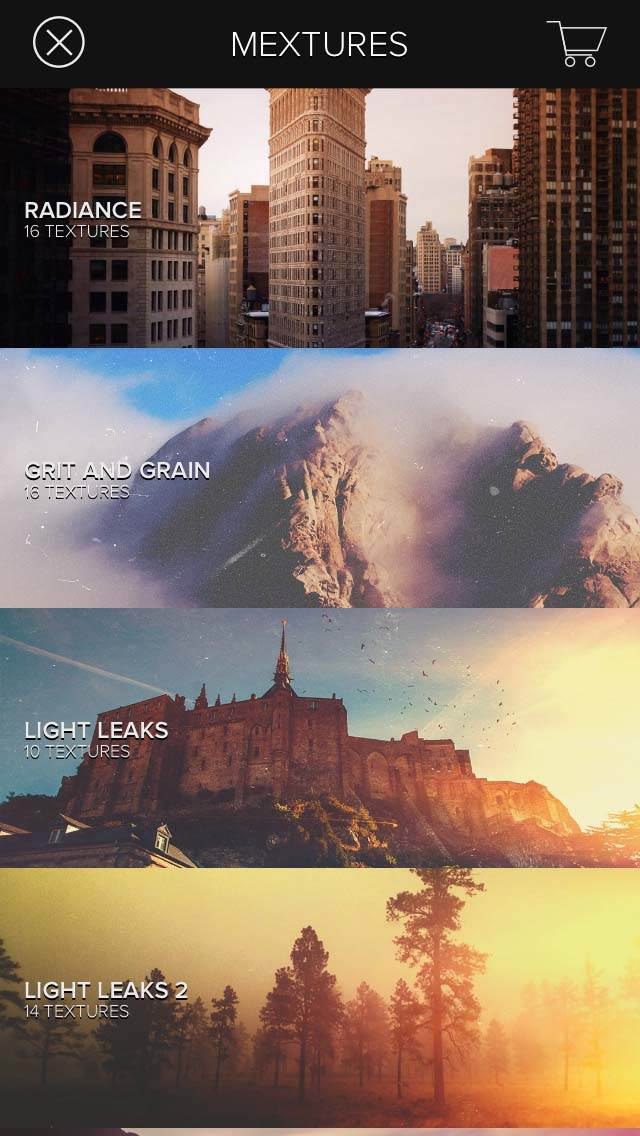
Have a browse through these to get a feel for what’s on offer. To add some graininess to your images, head to the Grit And Grain, Emulsion, and Grunge collections.
If you’re after some brightness, the three Light Leaks collections are where you should go. Light leaks allow you to add various light effects that come into your images from all directions.
To change the tones in your image, you should be able to find any color combination imaginable by selecting from and combining the Radiance, Landscape Enhance, and Vintage Gradients collections.
For this photo I added the Cataract layer from the Grit And Grain collection, and Neutral Density from the Landscape Enhance collection. These layers have added a bit of texture to the sky and richness to the colors.
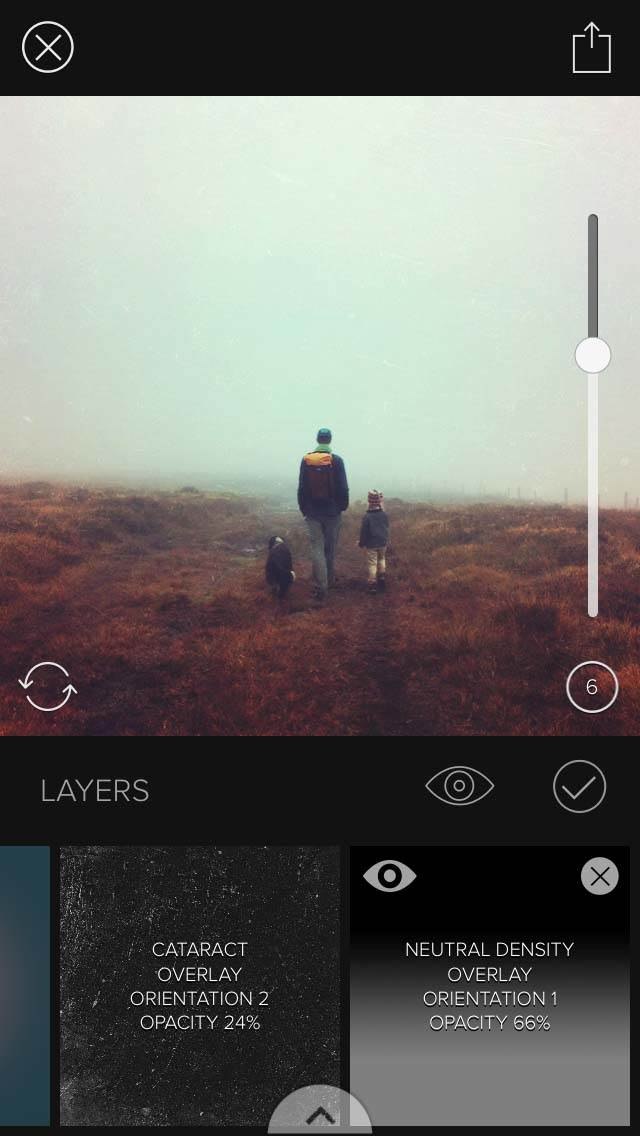
The change is subtle at the moment, but when you start using the Blending Modes in the next section, you’ll see how we can blend the currently subtle Cataract layer to achieve a much more dramatic look.
If you want to get an overview of what layers you’ve applied to your image, you can tap the Layers icon (rectangle with a number in it) on the central black bar at any time.
When you’re viewing the layers, you can select a layer and change its opacity with the slider on the right. You can hide or show a layer using the Eye icon on the layer. And you can delete a layer using the cross at the top of the layer.
You can also rotate each layer by tapping the Rotate icon (circular arrows) in the bottom left hand corner of the image preview.
6. Blend The Layers
Not only does Mextures offer a huge number of layers, but it also allows you to create a different effect for each layer using the blending function.
In the layers section at the bottom of the screen, select the layer that you want to blend, then tap the Checkmark icon.
Tap the Blending Modes icon (interlinked circles) on the central black bar to access the list of blending modes shown at the bottom of the screen:
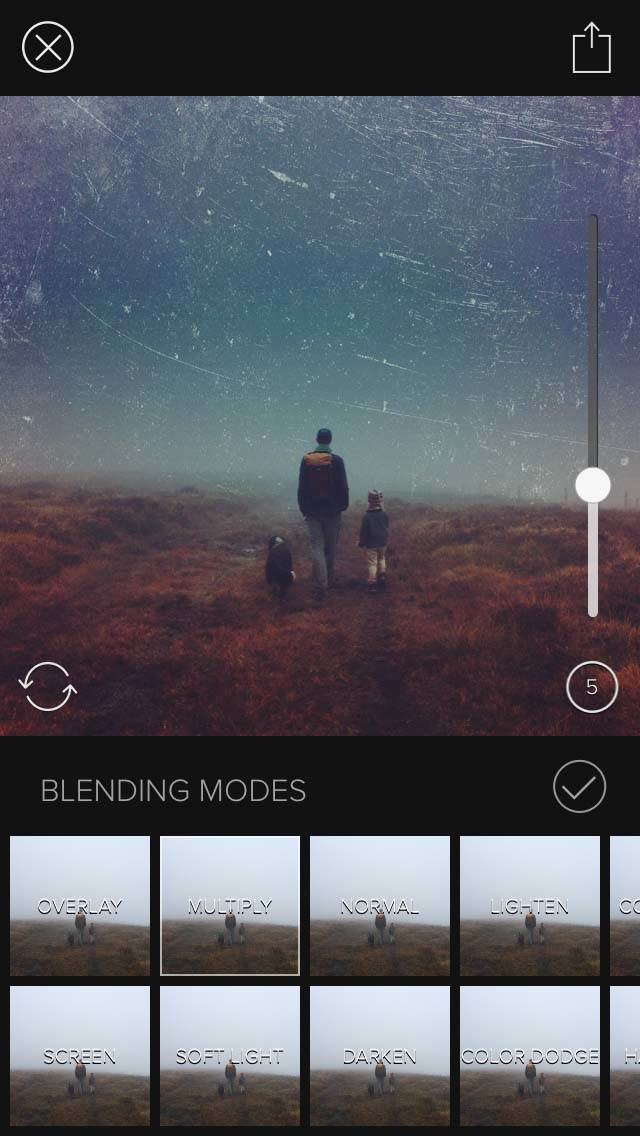
Quite dramatic changes can be achieved using these blending modes! I selected the Multiply blending mode for the Cataract layer that I added, and the image now looks quite different. It’s been transformed from a foggy hillside to gazing upon the night sky.
Some blending modes are more subtle than others. Try the Screen mode for gently brightening an image, or the Color Burn mode for something more extreme.
When you’re happy with your chosen blending mode, tap the Checkmark icon to go back to the main menu screen.
If you want to blend more layers, tap the Layers icon (rectangle with number) on the central black bar, select the layer you want to blend, tap the Checkmark, then tap the Blending Mode icon on the left of the black bar.
7. Add Some Finishing Touches
Mextures also offers some of the more familiar editing tools for fine-tuning an image. On the central black bar, tap the Adjustments icon (three sliding bars).
At the bottom of the screen you’ll see the editing tools for Exposure, Contrast, Tint, Sharpen, etc. Tap the tool you want to use, then adjust the slider to control the intensity of the adjustment.
There’s also an option to make your image black and white. Simply tap the BW icon, then tap the On button:
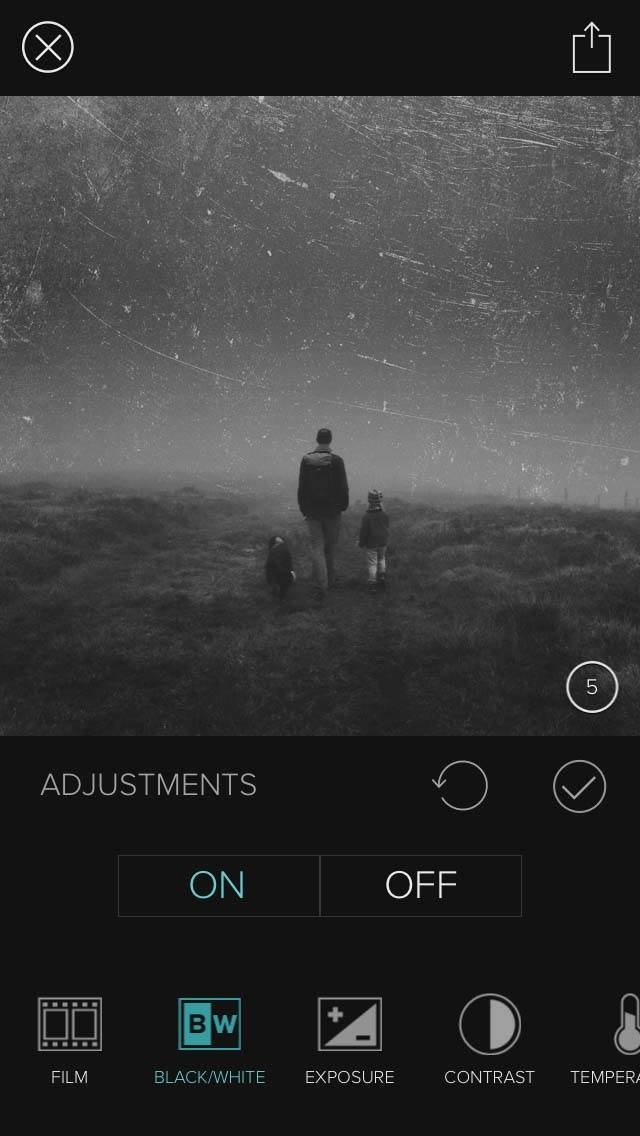
At the bottom left you’ll find the Film option which gives you access to a variety of overlays that you can apply to your image. Feel free to experiment with these different options until you achieve a look that you’re happy with.
Here’s the final version of my image after applying my chosen formulas, textures, blending modes and adjustments:

8. Save Or Share Your Image
Once you’re happy with your image, you’ll want to save it and possibly share it with others. Tap the Export icon (square with arrow) at the top right corner of the screen, and you’ll be presented with a number of options:
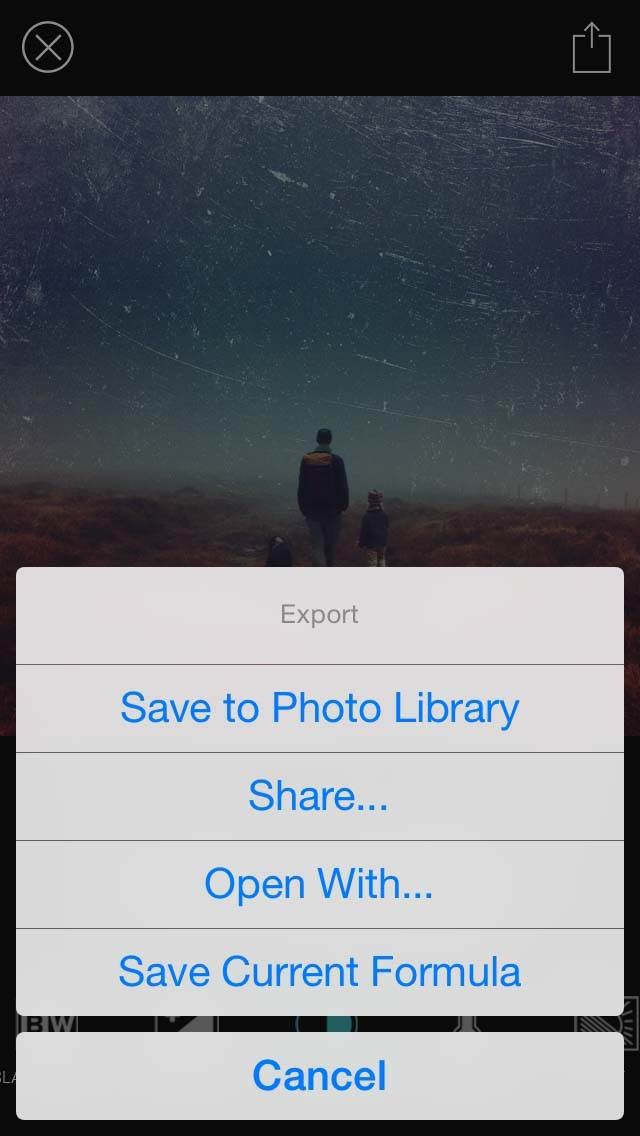
The first step should be to save your photo, so tap Save To Photo Library. Your edited photo will now be stored in your Photos app.
If you tap the Export button again, you can also choose to share or open the image with another app. For example, you could share your photo to Instagram.
9. Save Your Formula
As well as saving the image, Mextures also allows you to save the current “formula” for this particular image. The formula is simply the combination of all the layers, blending and fine-tuning that you’ve applied to this photo.
After saving a formula, it will then appear in the My Formulas section on the formula screen so that you can easily apply this same set of effects to another image in the future.
To save the formula, tap the Export icon at the top right of the screen, then tap Save Current Formula. Enter a name for the formula, then tap Save:
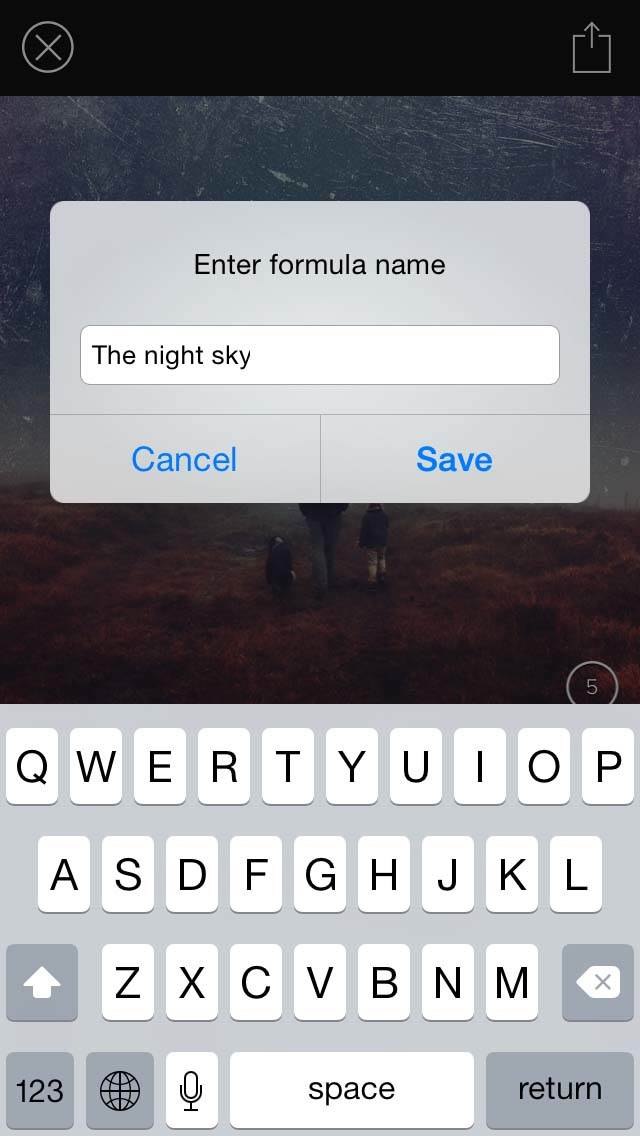
Re-using one of your own saved formulas is a great way of giving a collection of photos a consistent and unique feel. It will also save you a lot of time!
Now that you’ve finished editing and saving your photo, you can close the image by tapping the cross at the top left of the image, the tap Yes on the “Start Over” message. This will take you back to your main photo library where you can select another photo to work on if you wish.
10. More Mextures Options
We’re now going to go back to the main Mextures start-up screen to look at some of the other options that you can access from there.
To return to the Mextures start-up screen, ensure you’ve closed the photo that you were previously editing (as described above), then tap Cancel on the photo library screen. The Mextures start-up screen will appear with the icons along the bottom of the screen:
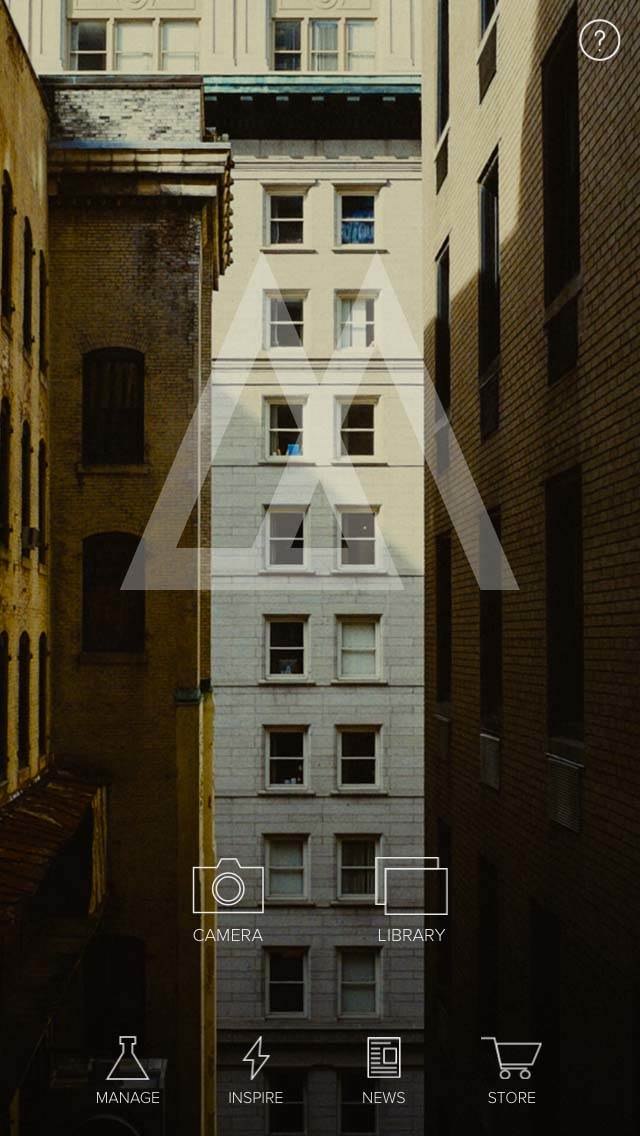
The Inspire icon gives you access to a gorgeous gallery of superb Mextures edits. If you’re hungry for more inspiration then you can get a lot more out of the app by becoming involved with the wider Mextures community.
The News icon takes you to the latest articles from the people that bring you Mextures. These include interviews with some inspiring Mextures users, collections of favorite edits, and tips on workflows.
Incidentally, it’s worth checking out the Mextures Instagram account (@mextures) and Facebook page (@mextures) to see what can be achieved with the app.
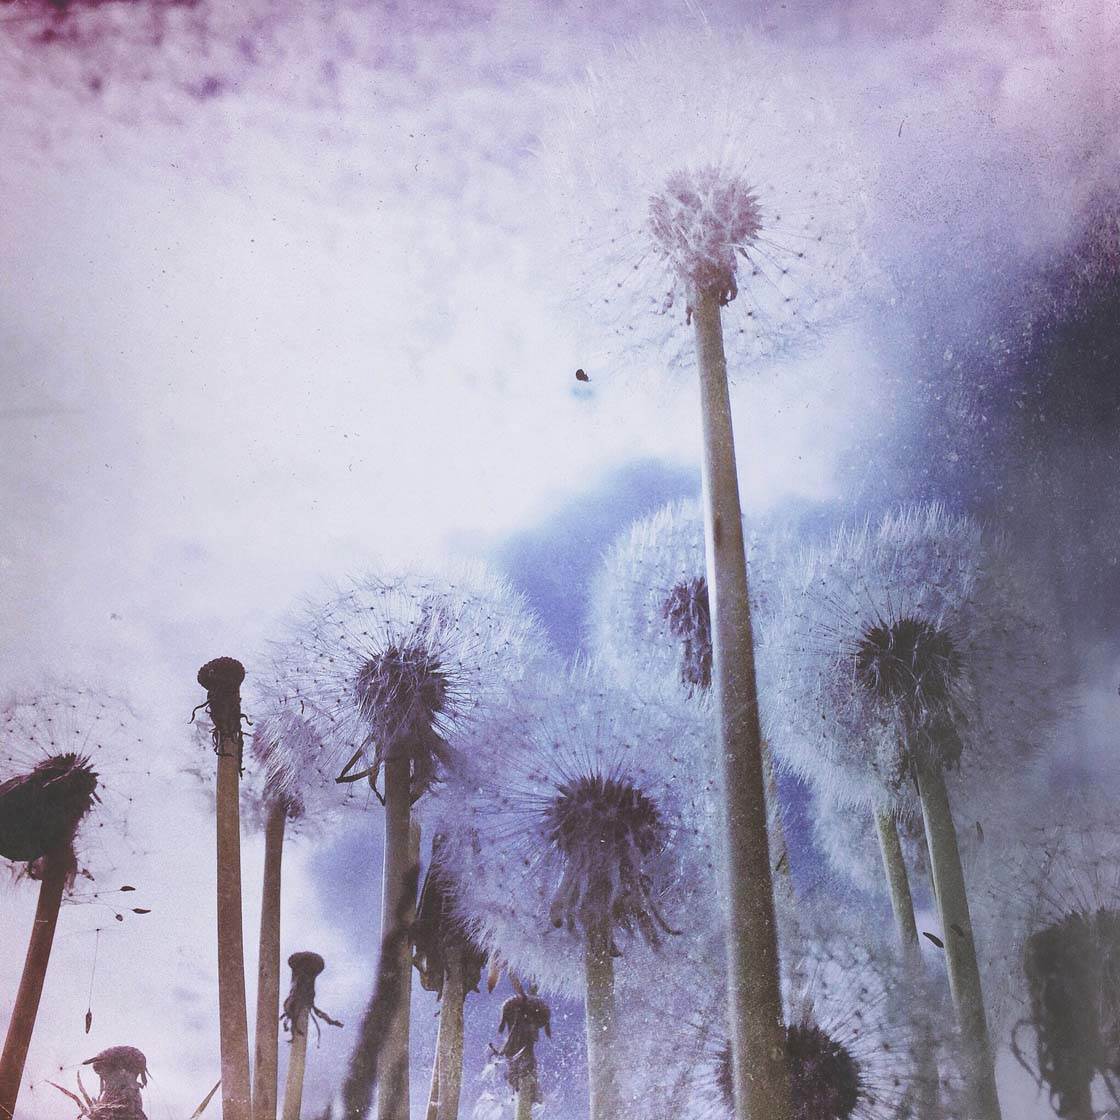
Mextures has a fairly significant presence on Instagram with a number of pages dedicated to featuring images created using the app. A few pages you might want to visit are:
@m3xtures, @minimal_mextures and @mexturescollective.
@mexturescollective offers regularly updated collections of images for everyone to have a go at editing, with the result being a spectacular showcase of an amazing array of styles.
A bonus of keeping an eye on these sources is the sharing of formulas, which we’ll take a look at now.
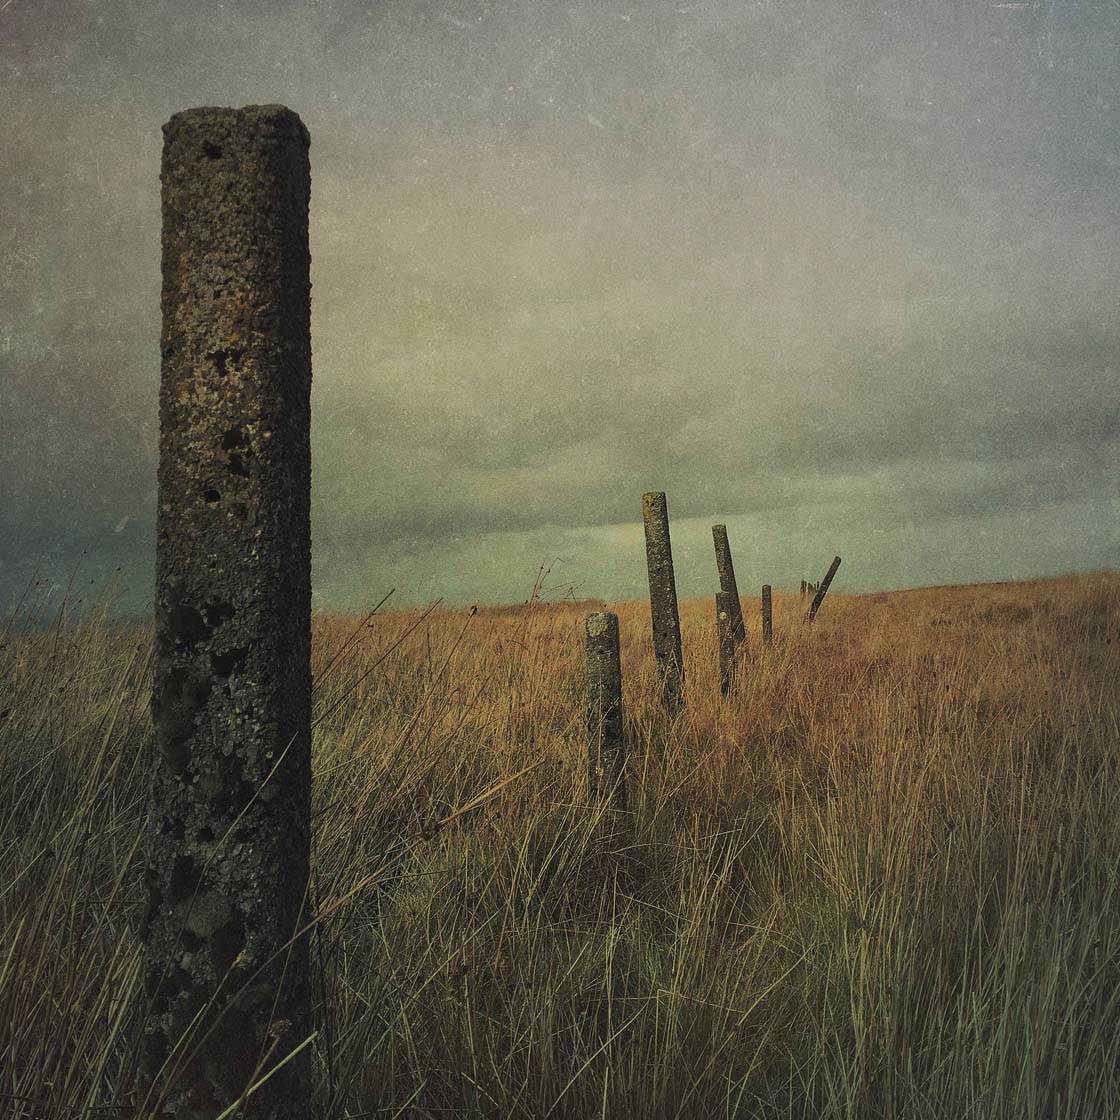
11. Share Formulas
The Manage icon at the bottom of the main Mextures screen is your gateway to importing and exporting formulas. From this section of the app you’ll be able to generate a sharable code for each of your formulas, and also add in codes you obtain from others.
To begin with, let’s look at sharing your own formulas. Tap Mine at the bottom of the screen to view all of your personal saved formulas:
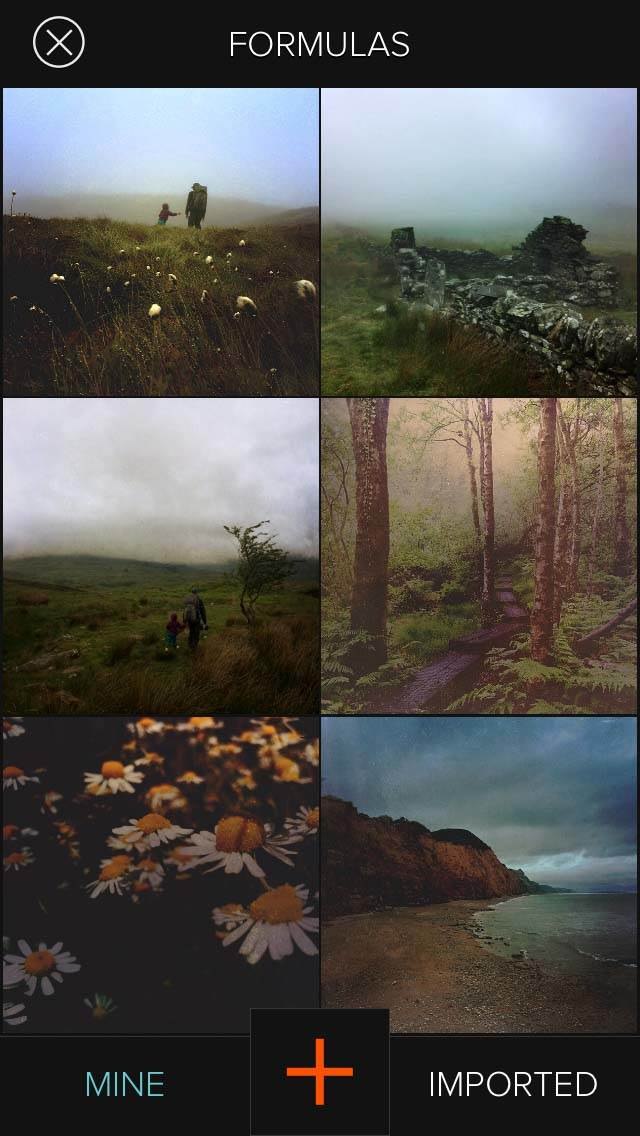
It’s easy to pick the one you want based on the image. Find the one you’re interested in sharing and tap on it:
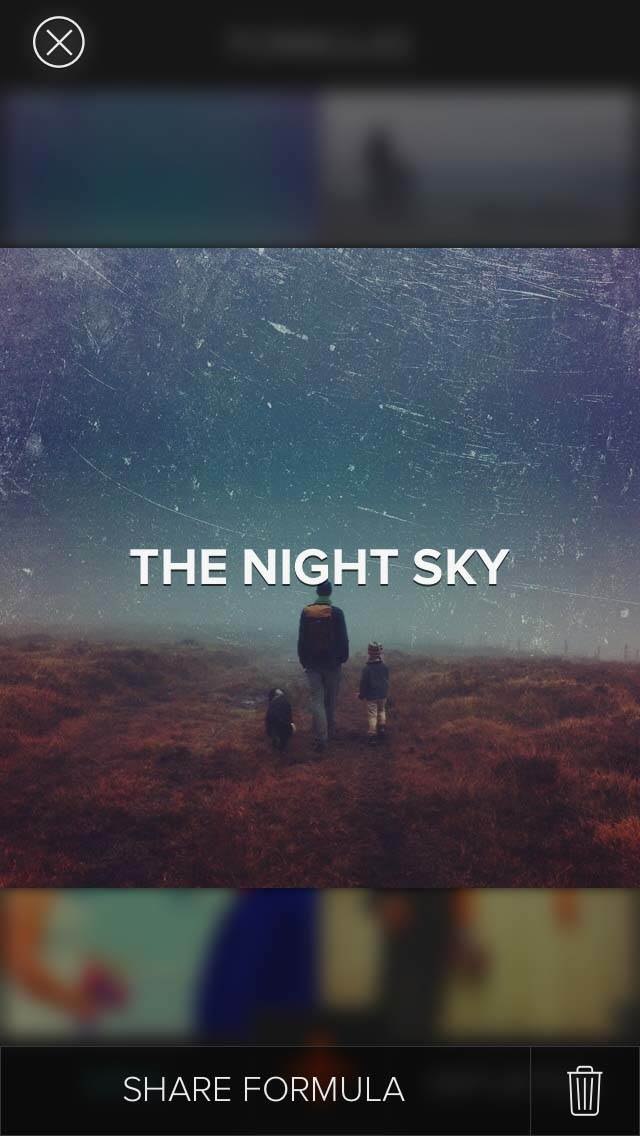
Tap Share Formula to generate a 7-letter formula code. Any Mextures user can then be given this code to save within their version of the app, allowing them to use the formula in their edits:
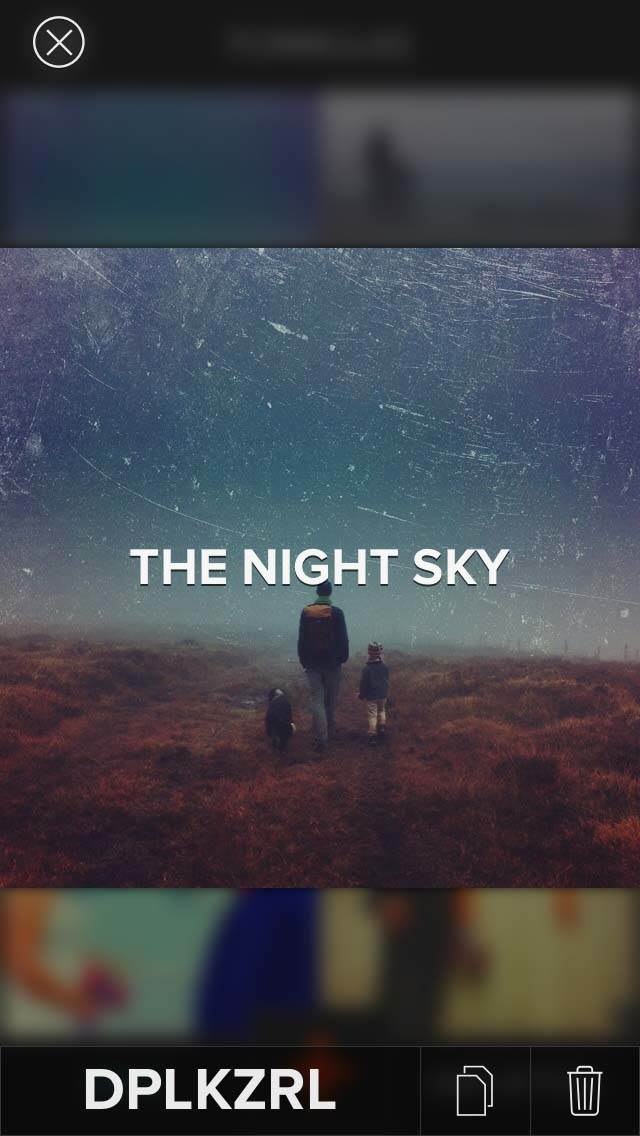
For easy sharing, tap the Copy icon to the right of the code. This will copy the code to your clipboard, where it can then be pasted in the desired location for sharing, e.g. an email or message.
12. Import Formulas
If you have a formula code from someone else that you’d like to import into your version of the app, once again you’ll need to go via the Manage icon on the Mextures start-up screen.
This time, tap on the large red “+” icon at the bottom of the screen. You’ll be given the option to enter the formula code that you wish to import:
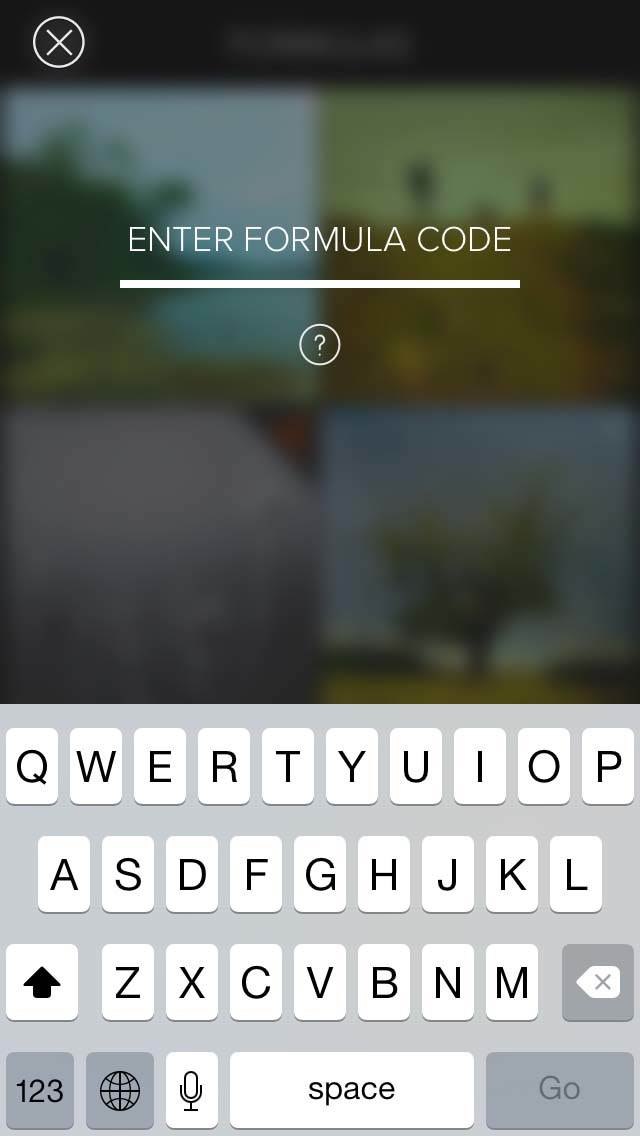
To give this a try and to start your collection of imported formulas, you could import the formula that I created during this tutorial: DPLKZRL
After entering the code, tap Go to import the formula to your version of the app. Your imported formulas will then appear together within a dedicated section on the Formulas screen, ready for you to use next time you edit an image.
13. Download Bundles From The Store
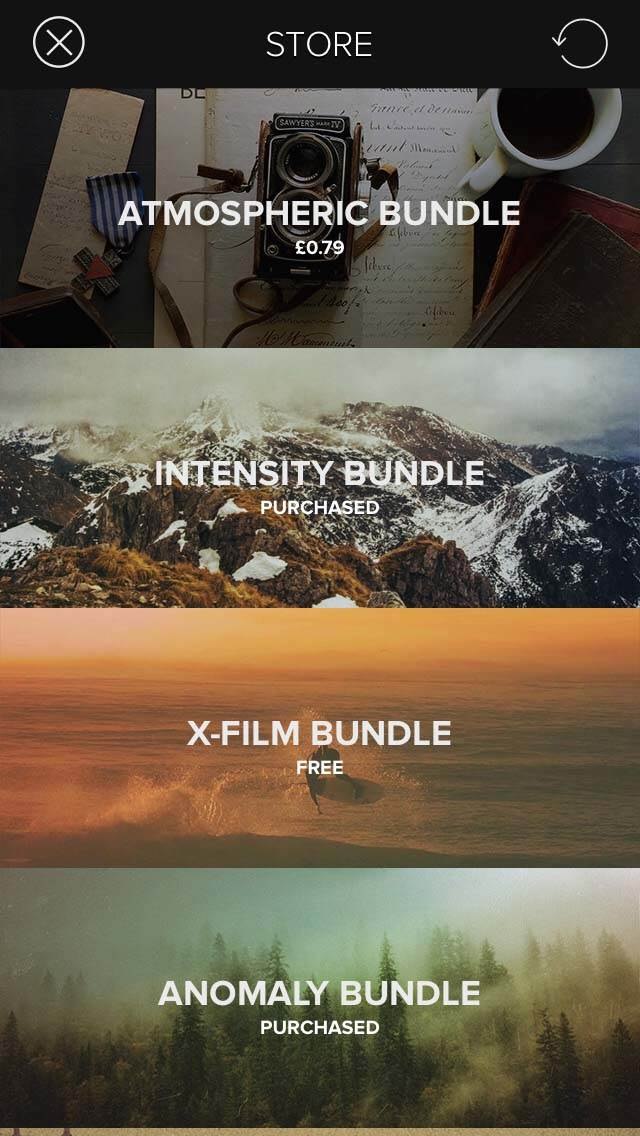
If you’re craving more formulas and textures, the app regularly releases new packs or “bundles.” To access these, tap the Store icon on the Mextures start-up screen.
Here you’ll be able to choose from a number of paid and free bundles. Each bundle contains a selection of textures and formulas:
Conclusion
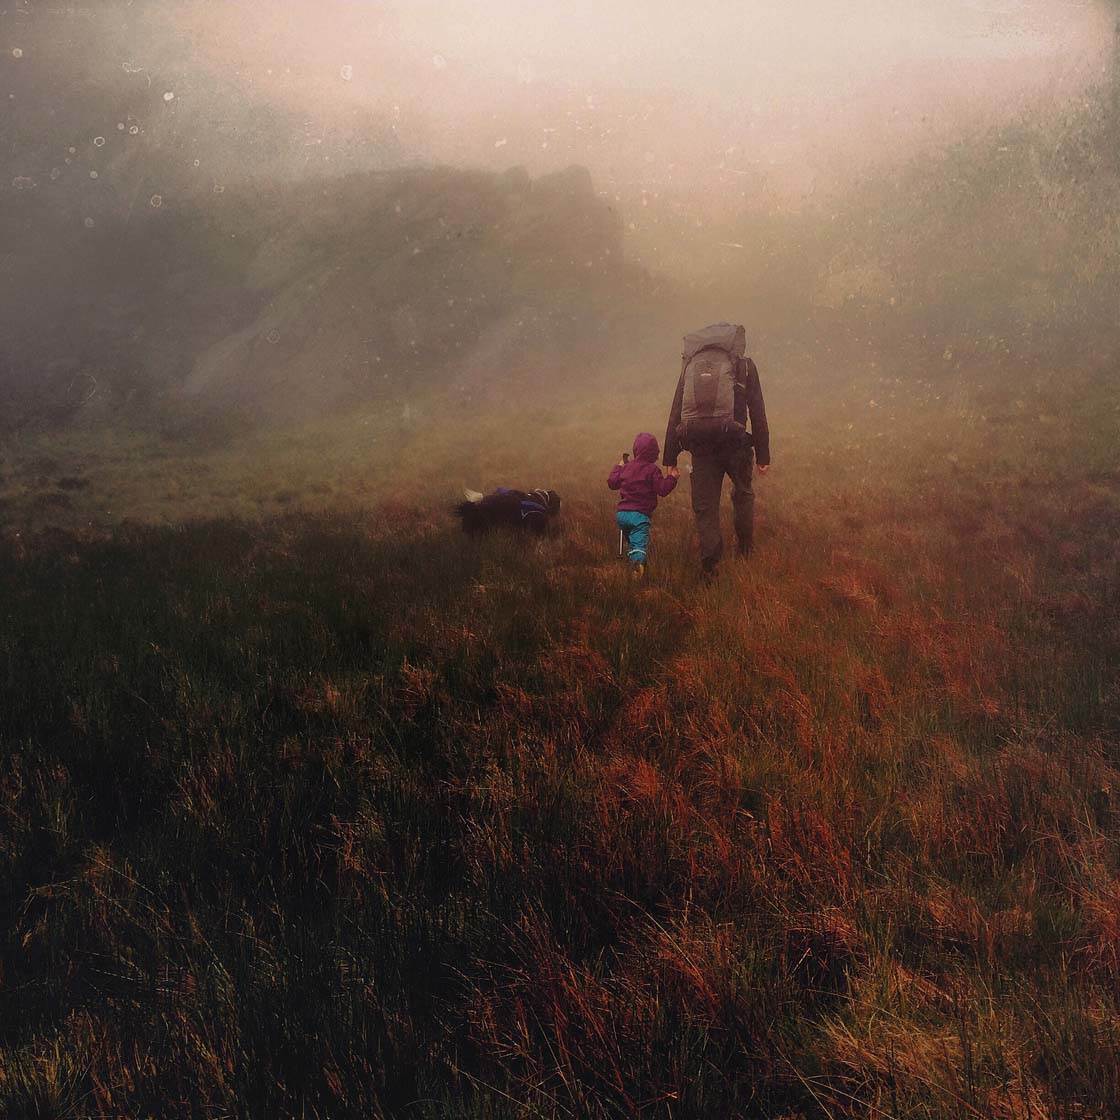
There’s certainly a lot you can do with Mextures to change the overall appearance of your images.
Whether you want a subtle hint of grain, a heavy grunge effect, or beautiful light leaks and colors, theres’s something for everyone in this app.
Mextures offers a lot of features which can be a bit overwhelming at first. But as a new user you can ease yourself into it slowly by starting with the built-in formulas.
As you become more confident, you can gradually try out the app’s other features to fine-tune and customize the textures and other effects.
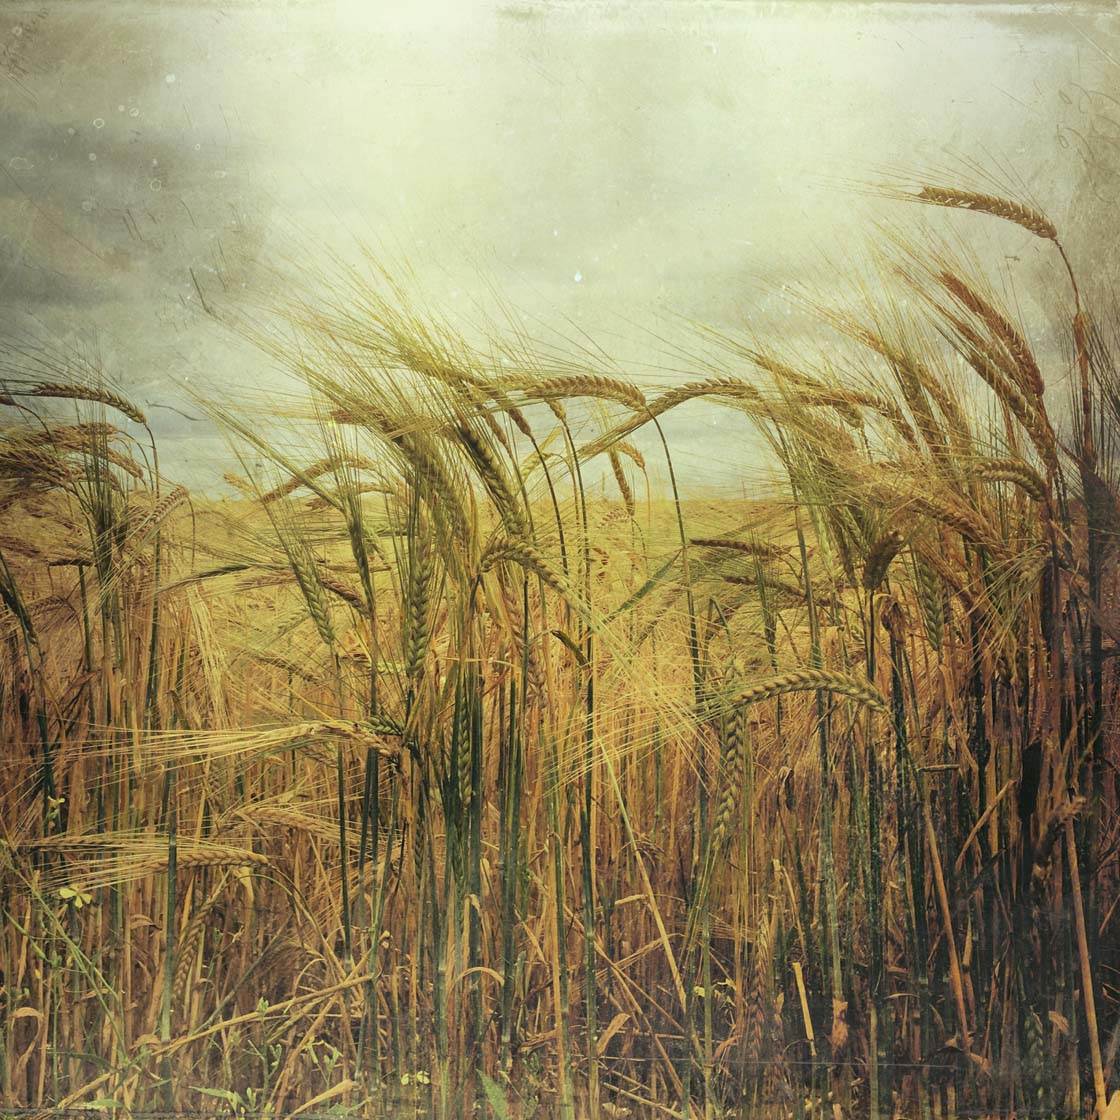
The effects that you can achieve with the app are very wide-ranging, so have fun trying out the many features to develop your own unique look. The only limitation is your own creativity!

Leave a Reply
You must be logged in to post a comment.