Learning how to edit photos on iPhone can be a daunting task, especially if you’re new to iPhone photography. Deciding which editing apps and photoshop apps to use, which adjustment tools to try out, and what order to apply your edits can involve a lot of trial and error. In this article, you’ll be shown some step-by-step editing workflows, from start to finish, to create three distinct types of edit. You’ll discover the use of selective lighting and color adjustments to subtly enhance a photo, learn how to create a dramatic black and white image, and apply special effects to turn an ordinary iPhone photo into an amazing fantasy-style image.
While everyone’s photography style and editing needs differ, it can be very beneficial to see the complete editing workflow that another photographer uses to learn how they get from an original photo to the final edit. Over the years I’ve developed a number of editing workflows using a handful of apps that work for my style of photography.
In this tutorial I’m going to concentrate on three different types of edit which I perform on a regular basis: a subtle edit where I just want to tweak it to improve the overall look of the image, black and white editing, and finally a completely over-the-top edit with added elements to show what you can achieve with only a few apps.
There are many other styles of editing and apps that you can use, but these three examples will provide a good basis for you to start experimenting with editing your own photos in a style that appeals to you and that suits the images you’re attempting to edit.
1. How To Create A Subtle Edit
In most cases, less is more with photo editing. For the majority of your iPhone photos, subtle post-processing is likely to be the best option. Tweaking the exposure and enhancing the colors is often all you need to do to turn a good photo into a great one.

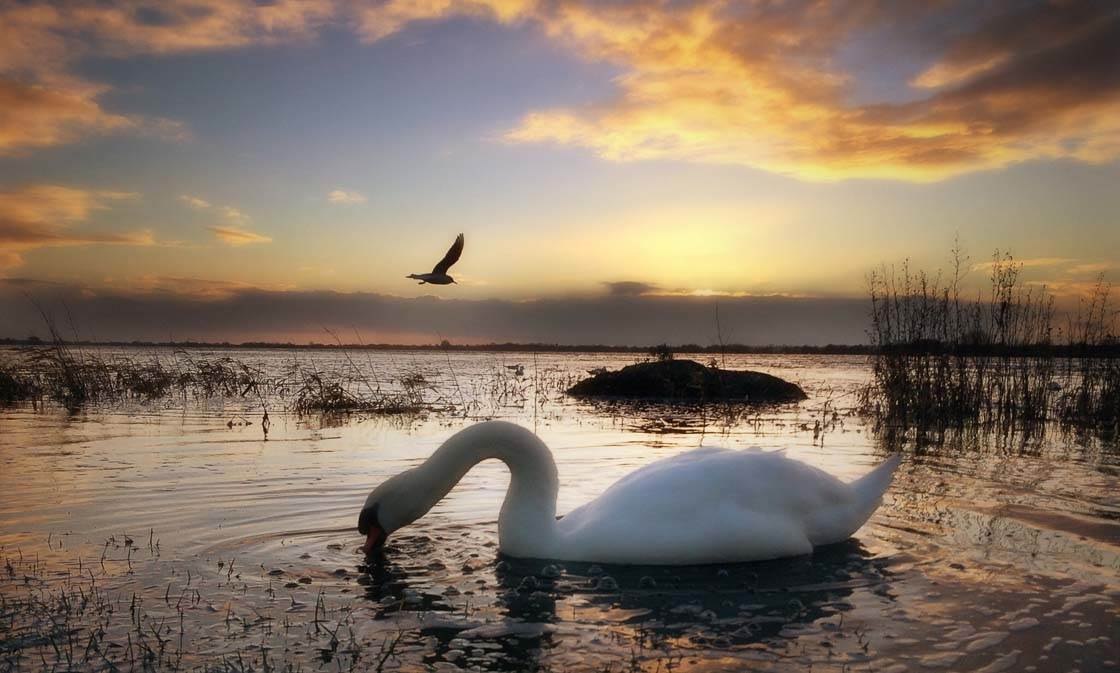
That said, there can be a lot more to subtle editing techniques than you might think. In this section I’m going to show you how I used a couple of apps and some great selective editing tools to turn the left-hand photo shown above into the much more beautiful and impactful one on the right.
Below is a larger version of the original image. I took this photo from the car park of a shopping centre on the banks of the Shannon River (Ireland’s longest river). I was heading back to the car when I noticed the sun was starting to set over the river. I was lucky to find a swan swimming near the river’s edge, and even luckier that a bird flew into frame just as I took the shot.
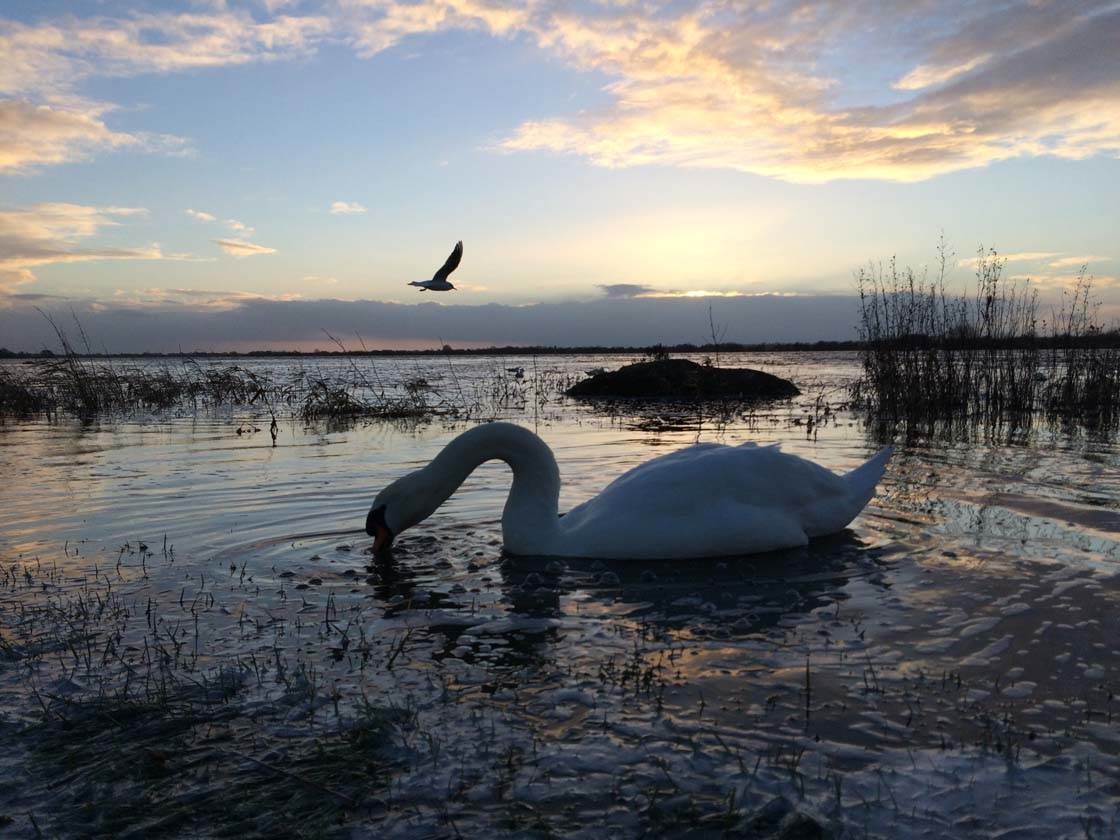
The problem with this photo is that the foreground is quite dark and doesn’t show up the detail of the water and the swan very well. In addition to this, the warm light of golden hour isn’t very pronounced in the colors of this image. Below I’ll show you how I selectively adjusted exposure and color in different parts of the image.
Developing an ordered workflow is very important in photo editing – it can save you a lot of time and effort, and will result in more polished final image. I follow the same workflow for most of my everyday editing, and the techniques shown below can be used on a multitude of images.
To start with I’ll open my photo in PhotoToaster ($2.99) or Snapseed (FREE download) to crop it and adjust the lighting.
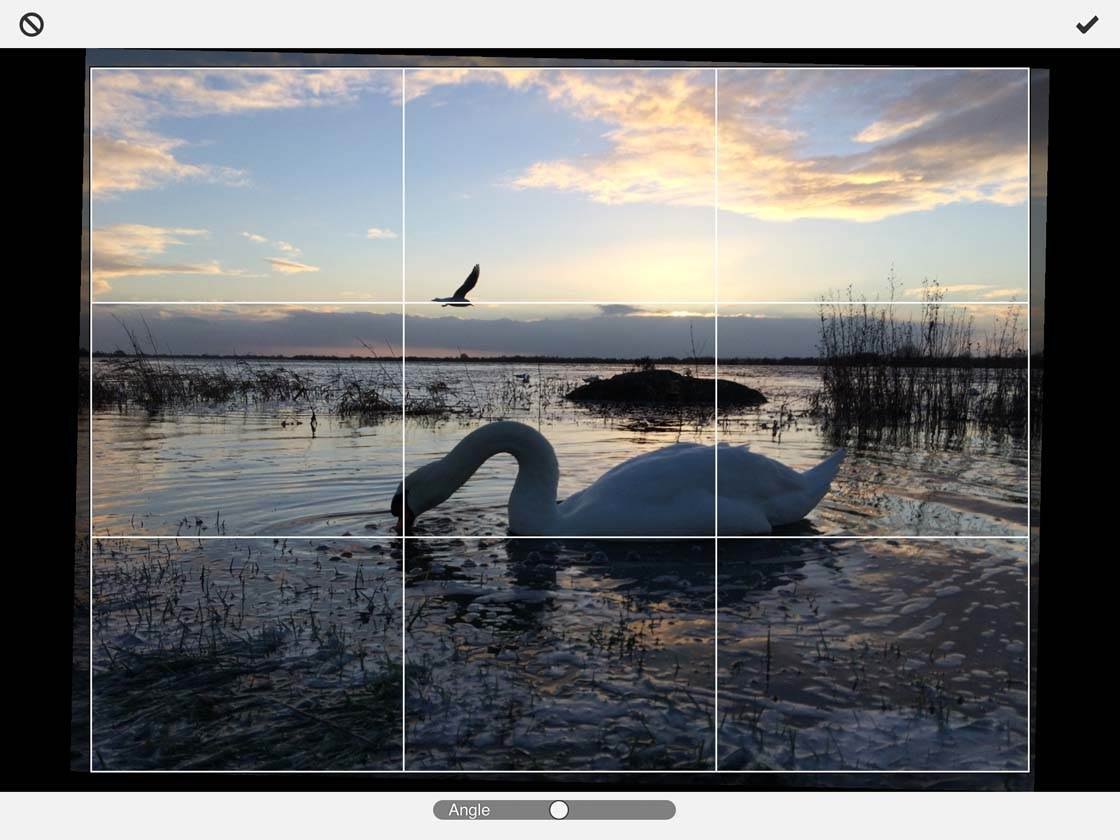
In this case I used PhotoToaster to straighten the horizon (check out our tutorial on how to use PhotoToaster). I also cropped it to remove some of the water in the foreground that I found distracting. This also had the effect of bringing the swan closer to the viewer.
Next I used the Lighting Brushes in PhotoToaster to try and even out the light in the image. You simply choose whether you want to brighten or darken using the sun and moon icons at the bottom of the screen, and then use your finger to brush over the areas you want to change.
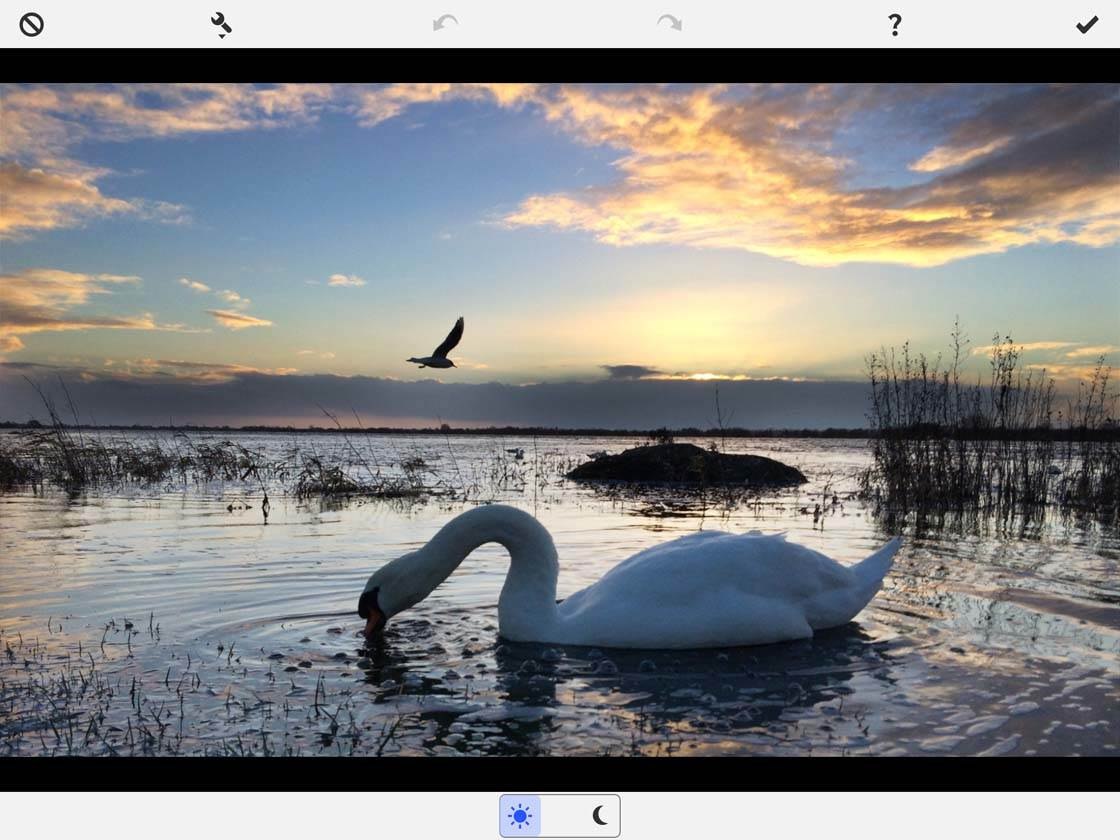
I usually brighten the foreground and darken the sky, as the iPhone has a tendency to over-expose the sky and under-expose the foreground. You can see the results in the image above.
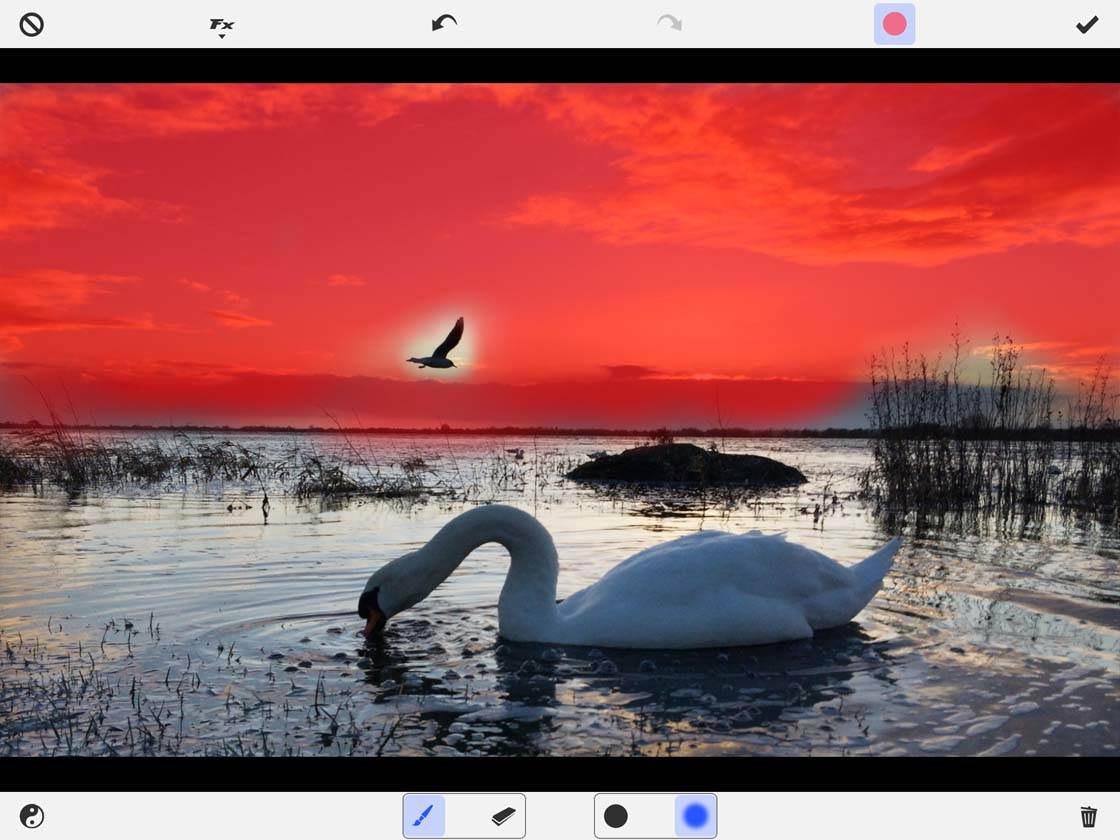
I decided that I wanted to try and add a sense of depth of field by blurring out the background. This also helps to reduce the digital noise (grain) that you get in images taken in low light conditions. I did this using the Soft Focus Brush under the FX Brushes in PhotoToaster. By tapping the red dot, you can see exactly where you’re applying the effect.
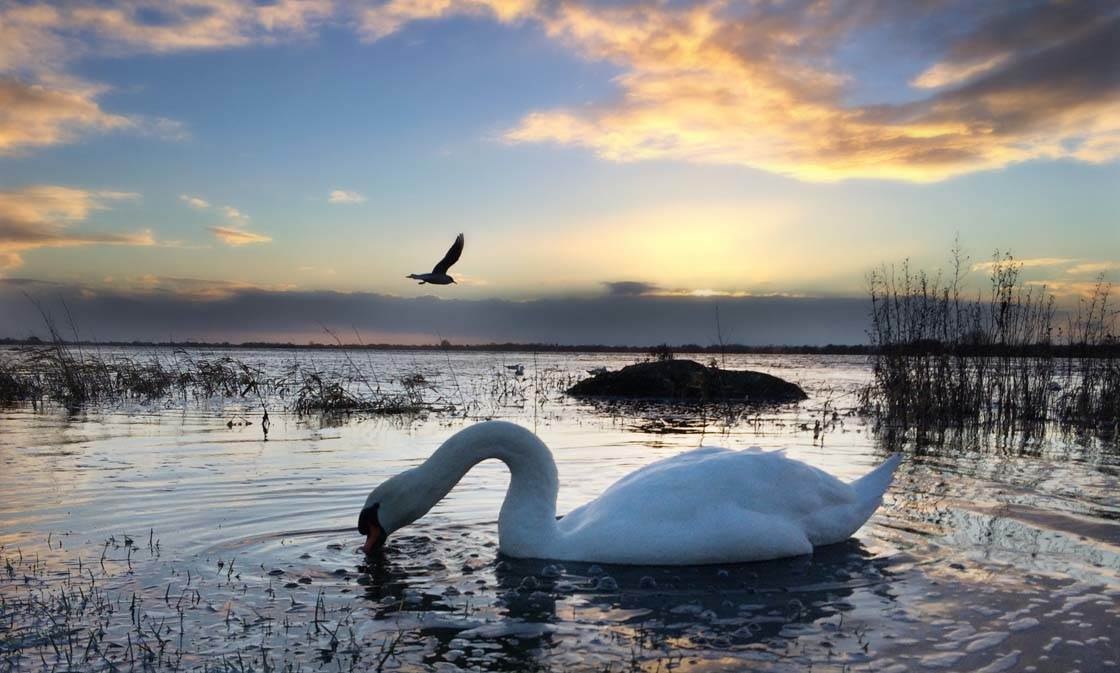
Above is the resulting image after slightly blurring the sky. I saved the image at this stage and then opened it again in PhotoToaster where I used the Lighting Brushes to brighten the swan even more.
Next I opened my edited image in the Tadaa HD Pro Camera app (FREE download). This is an app that I use a lot, but many people have never heard of it.
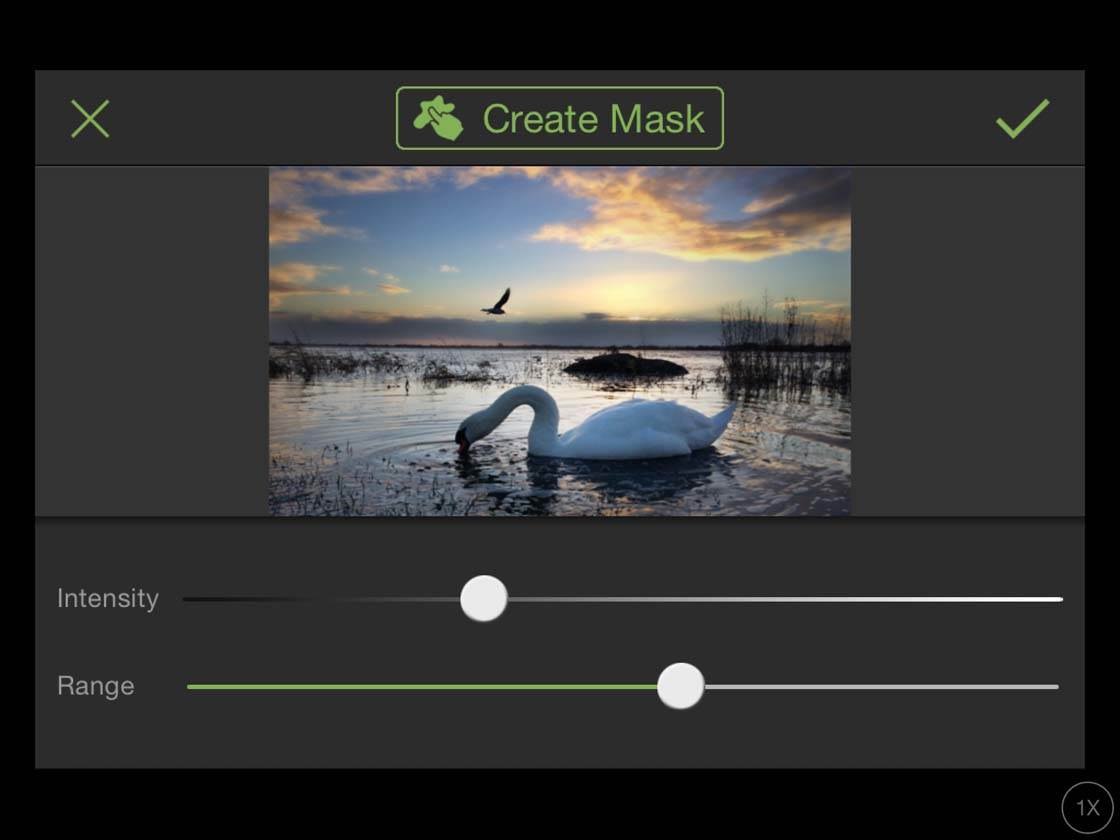
Tadaa has a very nice adjustable vignetting tool that’s not too intrusive. In the screenshot above you can see that I’ve used the vignette sliders to add a subtle dark vignette around the edge of the frame.
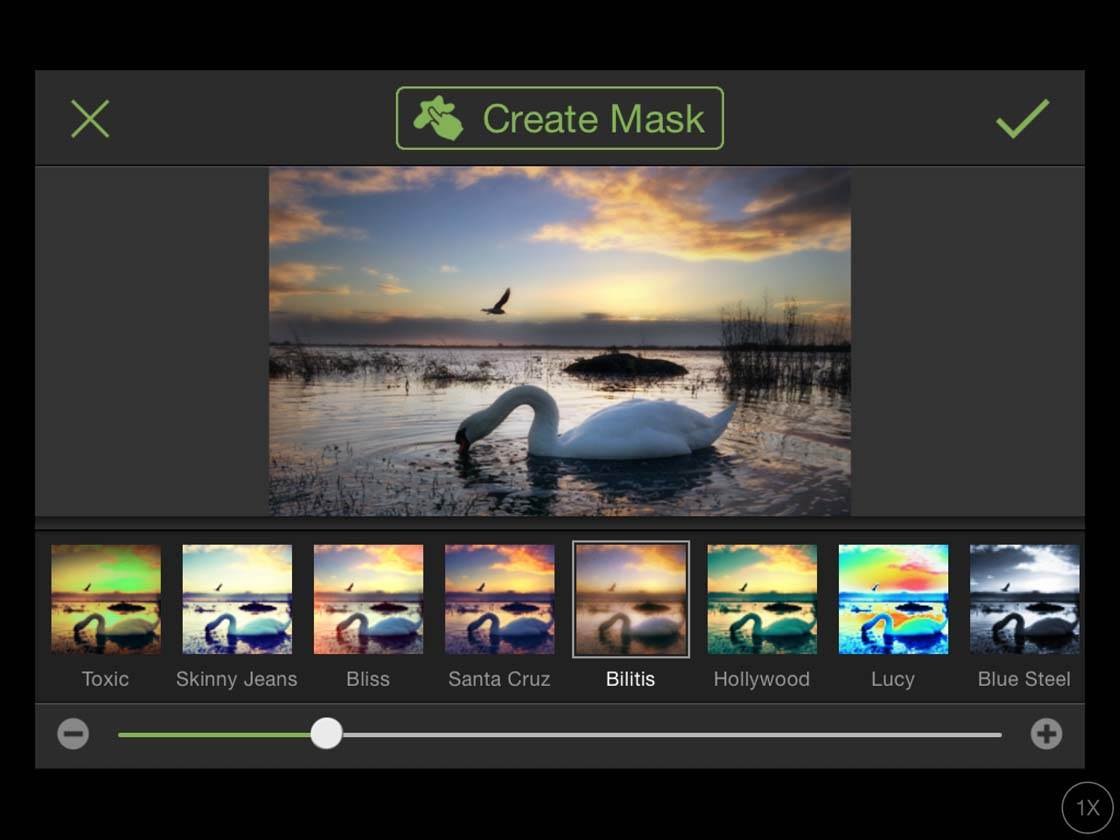
Tadaa also has a number of adjustable preset filters. In this case I used the Bilitis filter, adjusting the slider strength to about a quarter to soften the image and add a bit of warmth.
As with the majority of my edits, I’ll finish it off in PhotoToaster. It’s a very versatile app that will suit most needs. Some of the other editing apps I used can result in an image that’s slightly rough around the edges, whereas PhotoToaster is very good at smoothing these edges.
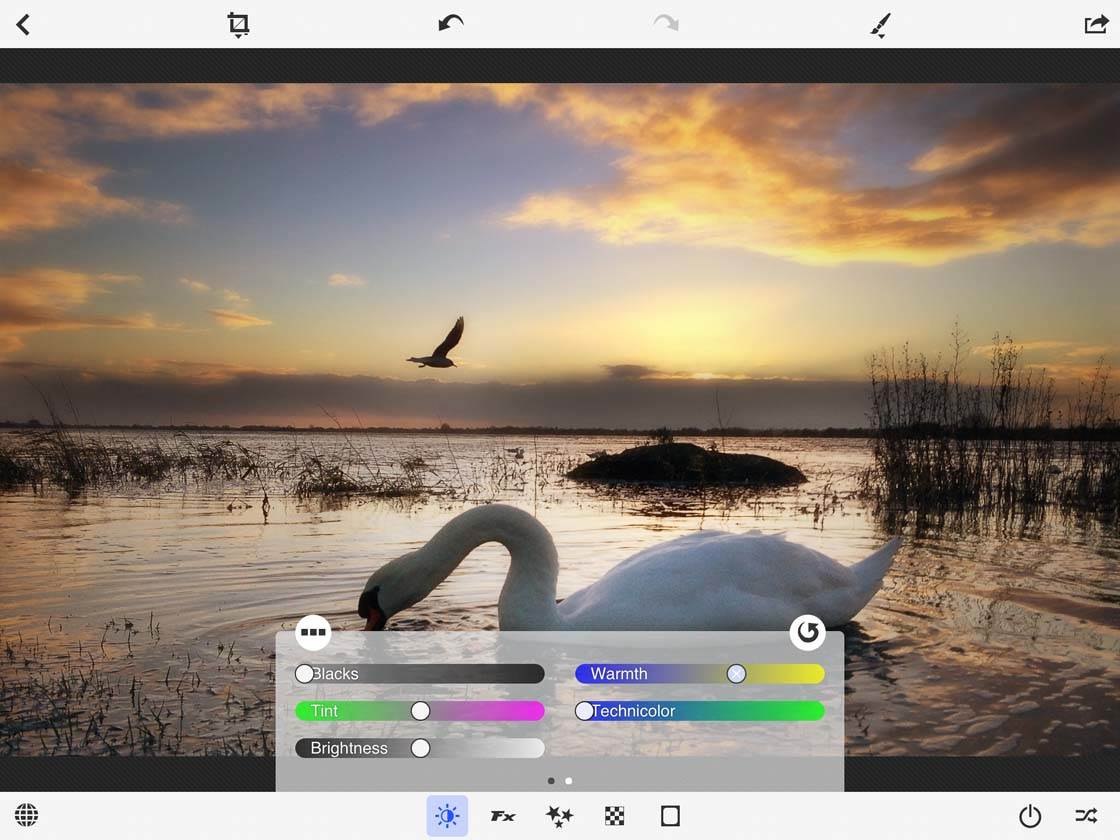
In PhotoToaster I opened my edited image and increased the warmth slightly to enhance the warm glow of sunset.
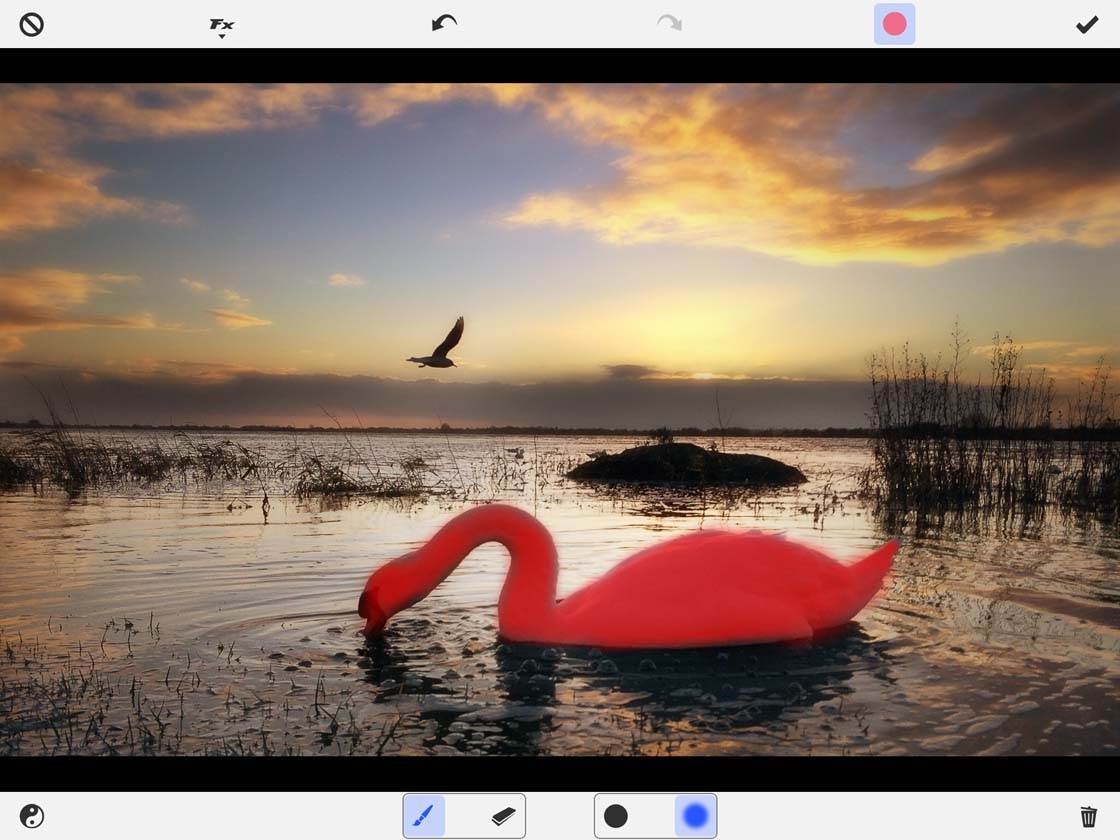
I then used the Soft Focus brush to reduce the grain on the swan. Again, the red mask is very useful to make sure you only apply the effect where you need it.

The final edit shown above doesn’t look like that much work has been done to it, and that’s the idea. It can take a lot of effort to make it look like you’ve done very little! All I was trying to do here was to create the feeling that the photo was taken in the middle of nowhere on a serene and warm summer’s evening.
2. How To Create A Black & White Edit
Black and white edits can be extremely powerful. While they don’t suit every kind of image, a good black and white photo will focus the viewer’s attention on the most important parts of the scene and create a sense of drama in the image.
High contrast photos (ones that have dark and bright areas) tend to work best for black and white edits. If there’s not enough contrast in your image, a black and white conversion will tend to end up as just a muddy mess of grays.
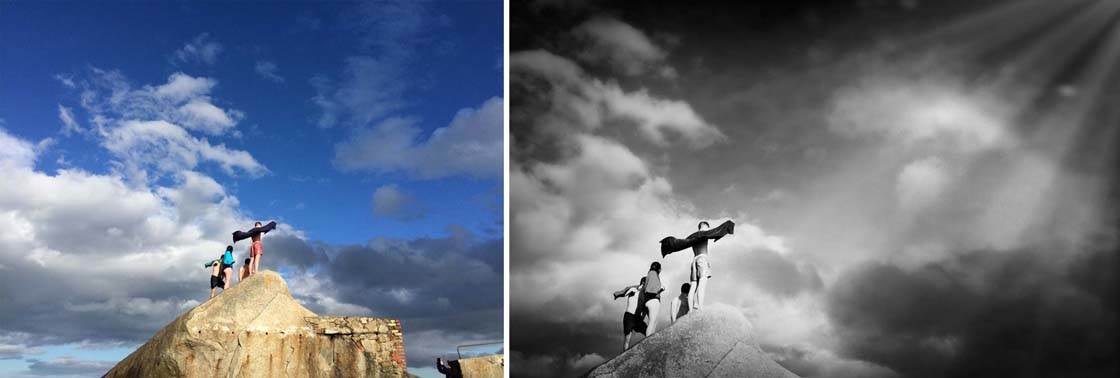
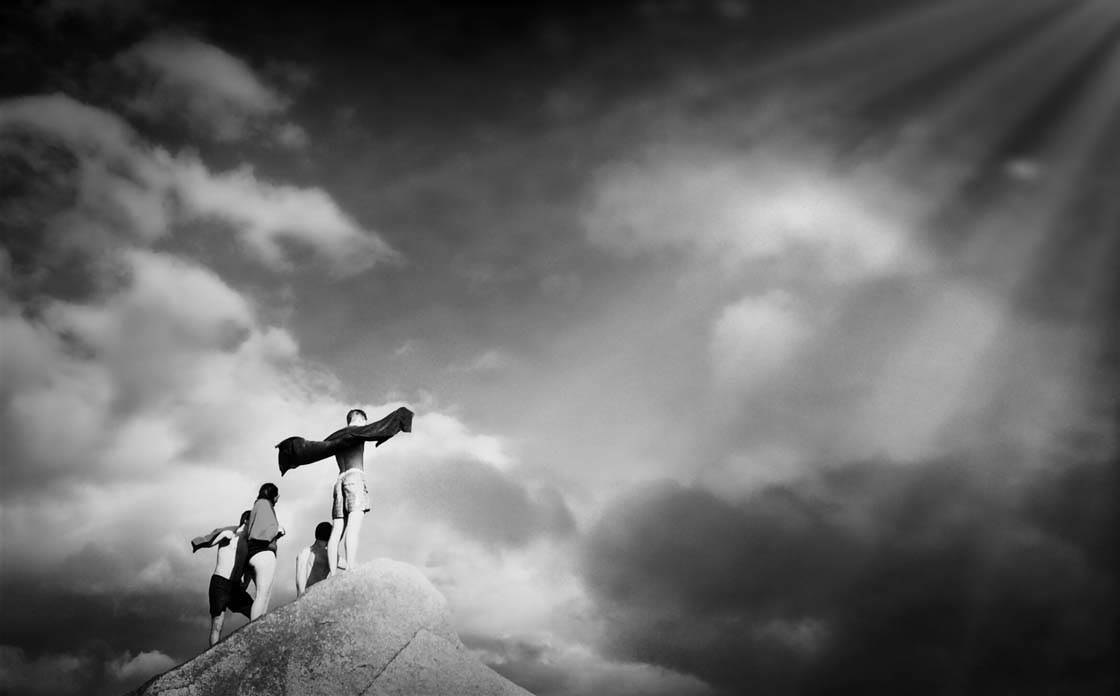
In this section I’ll show you how I converted the above color image into the black and white version, complete with sun rays. In this case, while the end result looks substantially different from the original, it took far less time to achieve than the subtle edit of the swan on the river.
Almost every photo editing app has the option to convert your images to black and white. I’m going to be using PhotoToaster and Tadaa for my black and white conversion, and LensLight ($2.99) for adding the sun rays.
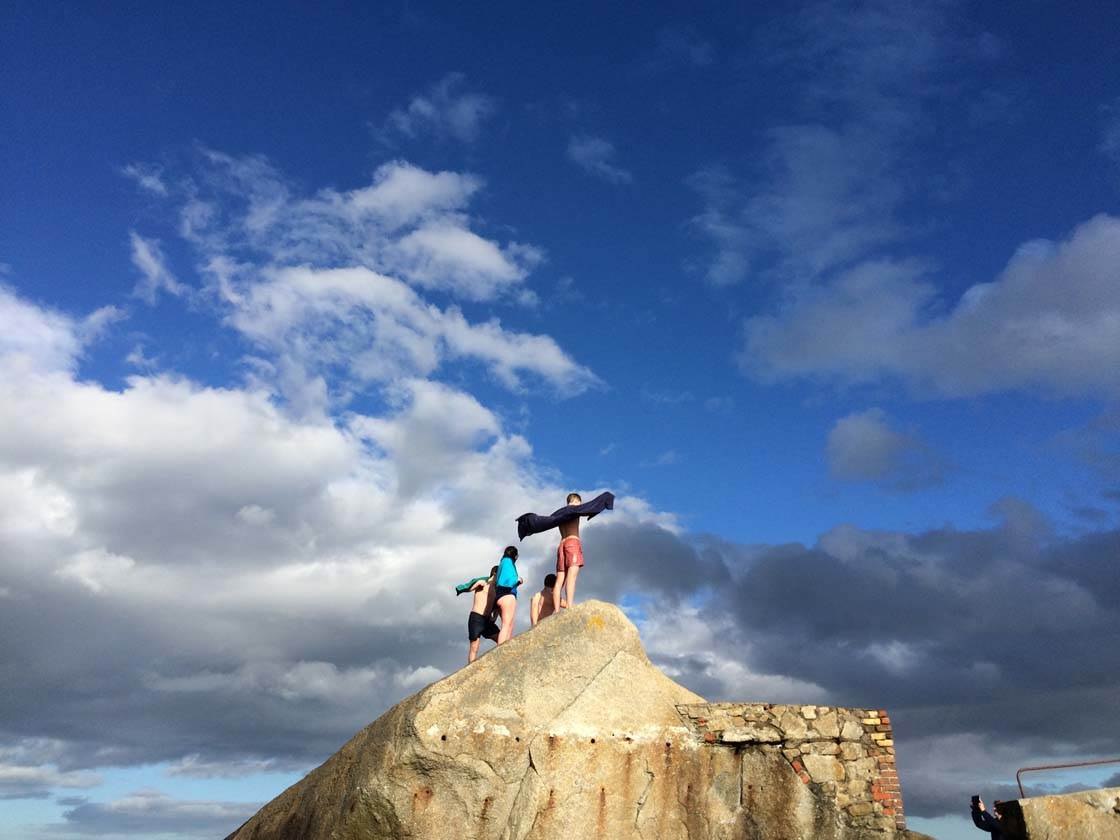
Above is a larger version of the original image. This photo was taken at a place called The Forty Foot which is an old swimming spot in Dublin where people dive from the rocks into the sea. These people had just finished their swim and were standing at the highest point on the rocks drying off in the sun.
While I like the vivid colors and blue sky in this photo, I feel that the people become a bit lost within the scene. I decided that a black and white version would isolate the main subjects better, and create a sense of drama within the image.
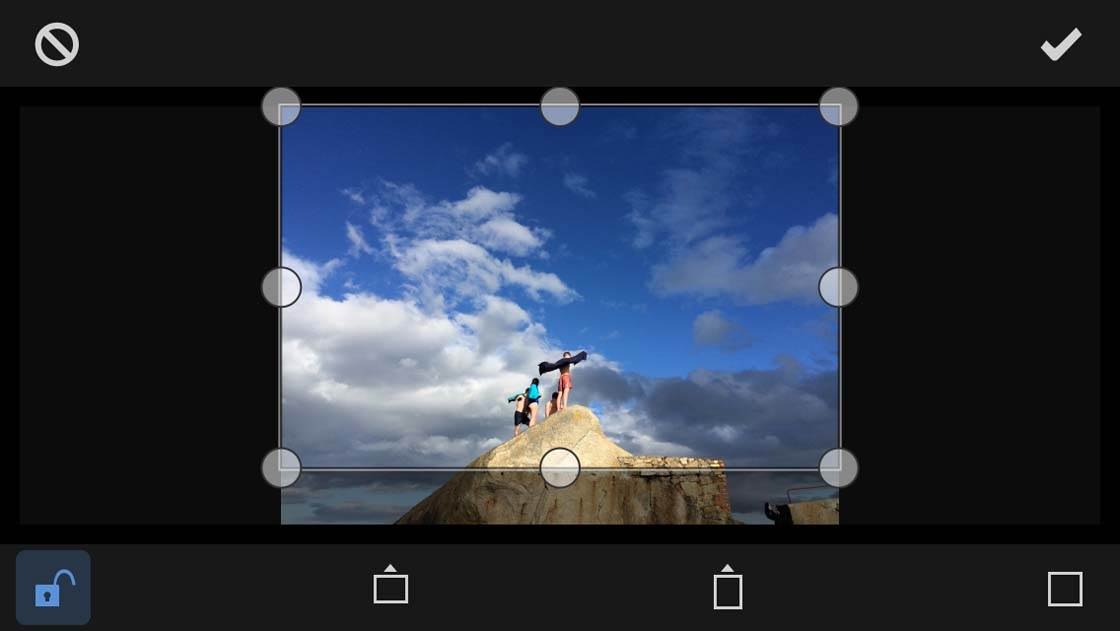
The first step was to open the image in PhotoToaster and crop it to improve the composition. I cropped away the rocks at the bottom as they were taking attention away from the main subjects (the people) and it helped to emphasize the negative space within the scene. After cropping, I saved the image so that I could open it in another app for the next stage.
For dramatic black and white shots, I like to use the Tadaa app. So I opened the cropped image in Tadaa and applied one of my favorite filters which is called U-Bahn.
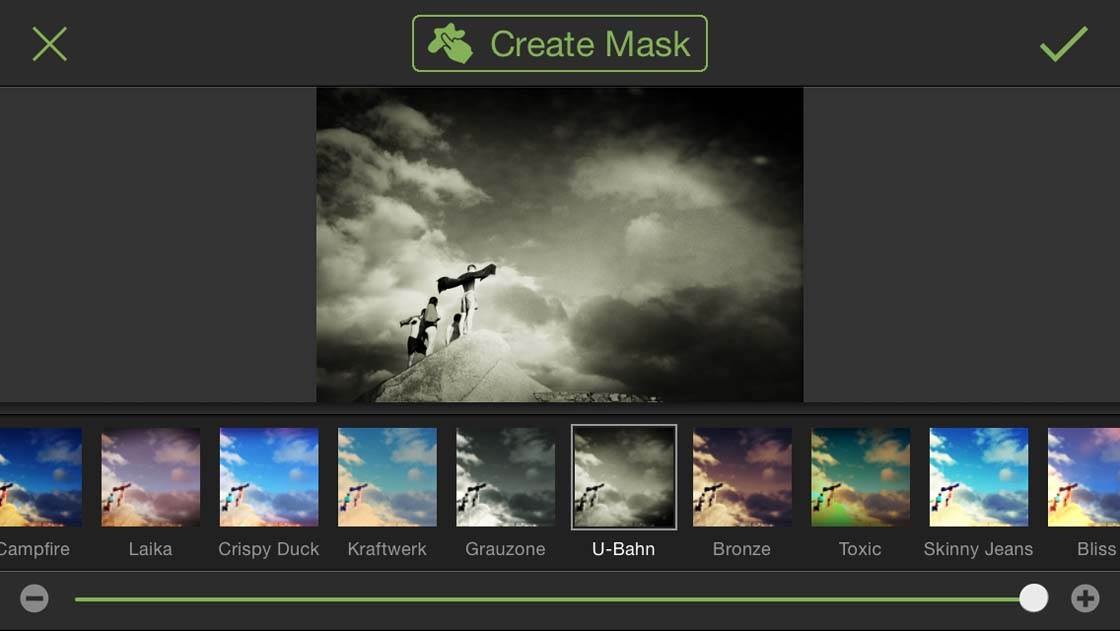
This filter produces a very nice monochrome effect with a subtle texture, as well as heavy and uneven vignetting. Unlike all the other filters in Tadaa this one produces random effects, so I just keep tapping the filter until I get the lighting I want in the shot.
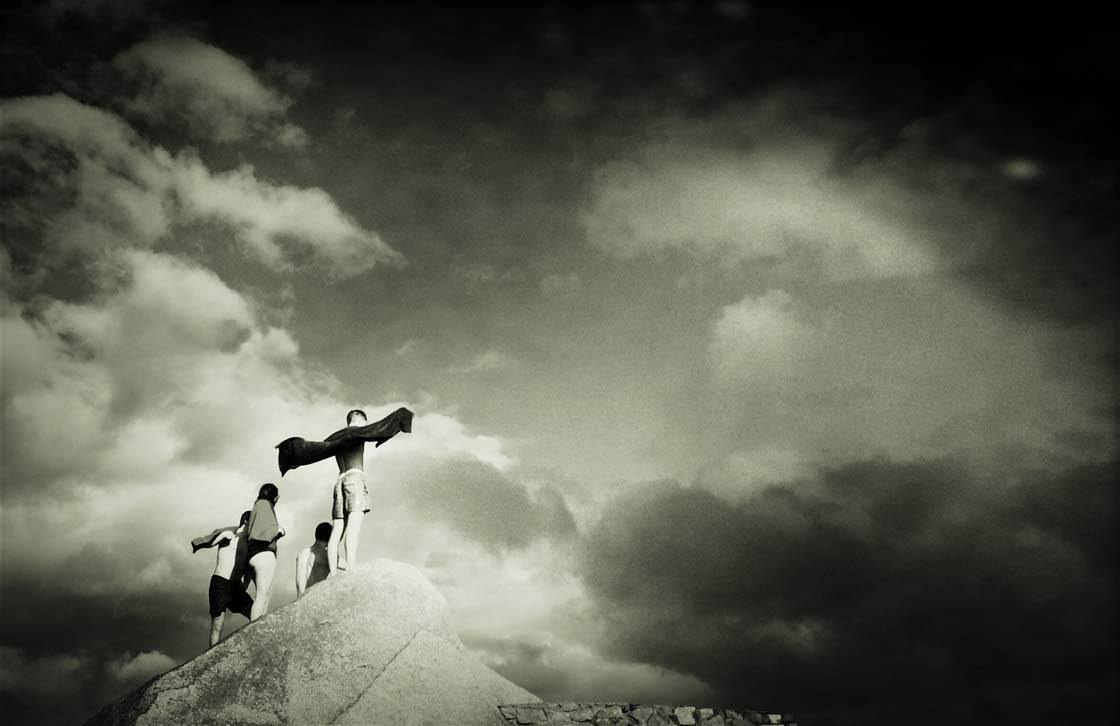
Once I’m happy with the effect of the U-Bahn filter, I save the image. Above is the photo with the filter applied. You can see that it has a subtle texture and heavy dark vignetting around the edge. This adds a sense of drama to the shot as well as focussing attention on the subjects which appear in the brighter area of the scene.
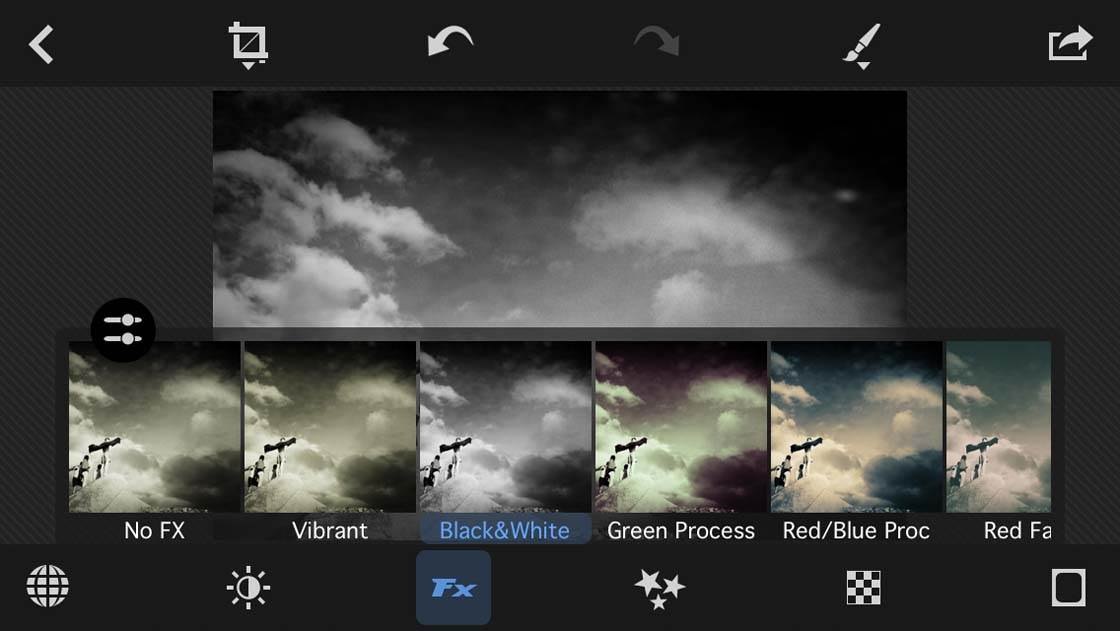
The only downside to the U-Bahn filter is that it results in a greenish hue to your monochrome image. But this can be quickly rectified by opening the image again in PhotoToaster and using one of the adjustable black and white presets as shown above. You’ll still end up with the same vignetting and texture, but you now have a proper black and white shot as shown below.
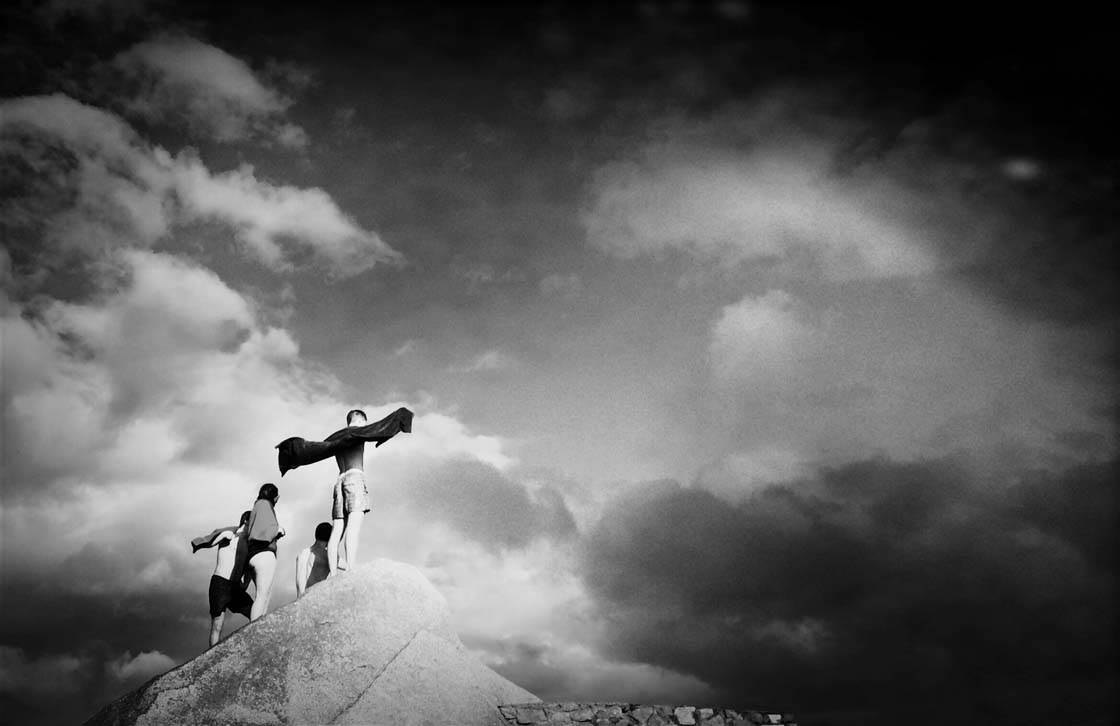
As I said, the swimmers were using the sun to dry themselves. To enhance this feeling of the sun shining onto the subjects I decided to add some rays of light into the image.
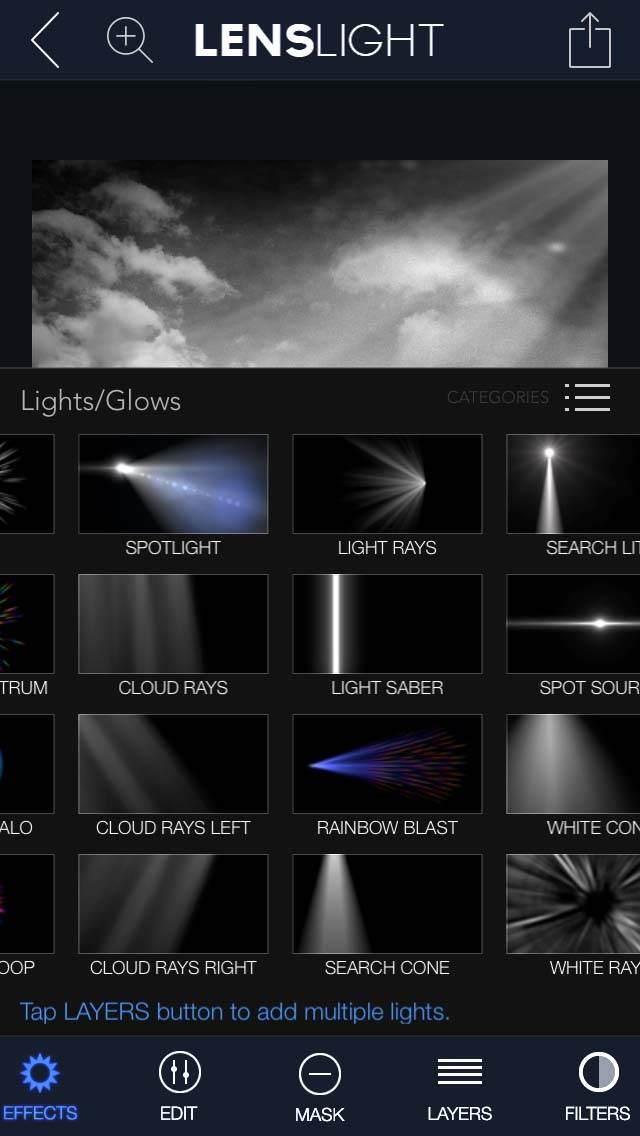
To do this I used the LensLight app, and applied the Light Rays effect as shown above. This app is brilliant for adding all sorts of lighting effects to your photos. The addition of the light rays creates the feeling of the sun beating down on the people in the scene.
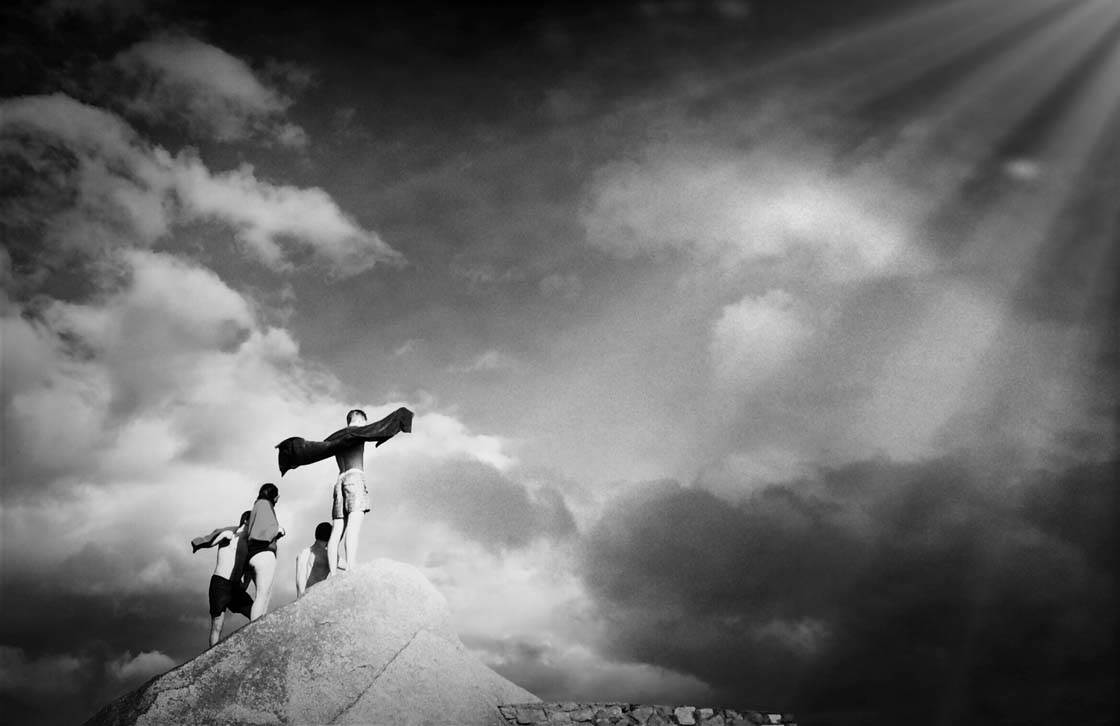
As with most of my edits, there are usually things that I want to tidy up before I’m happy with the final result. At this stage it’s important to take a close look at your image to check if there are any minor changes you want to make. In this case there was some grain in the sky that I wanted to soften, and I also thought the light rays effect was a bit strong.
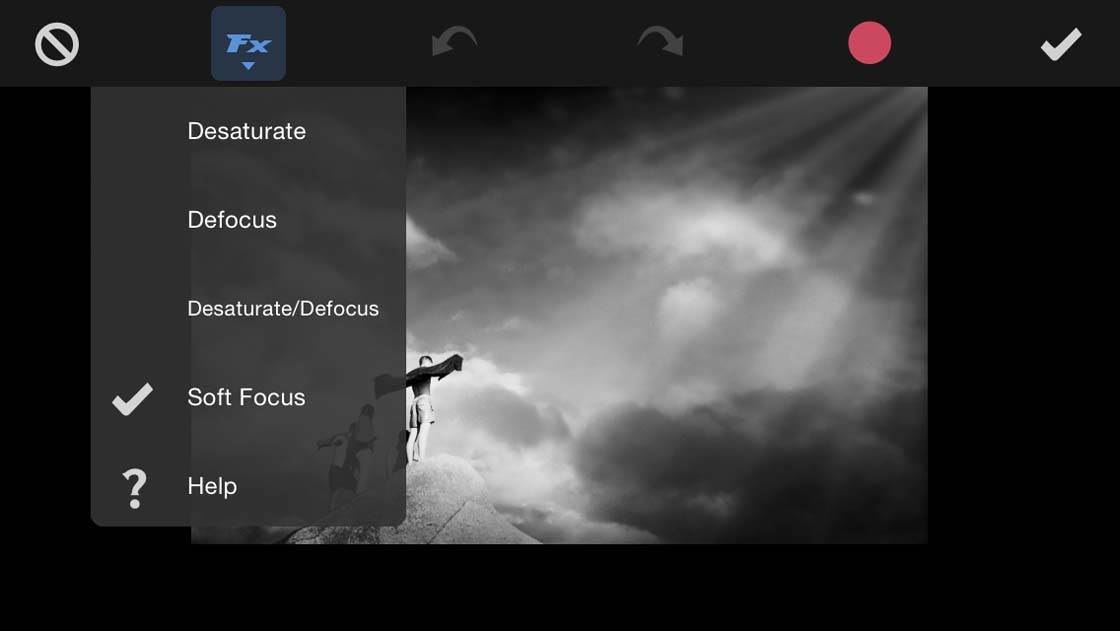
So I opened the edited image in PhotoToaster and used the Soft Focus FX brush to soften the entire sky by simply brushing over it with my finger. This also helps to draw attention to the subjects who remain in focus.

The final result is a simple black and white shot that doesn’t have any of the distractions that you get with color images. The dark vignette adds drama to the scene, and the light rays add a storytelling element to the image.
3. How To Create A Special Effects Fantasy-Style Edit
While you won’t want to add special effects to all of your images, creating fantasy-style edits is a lot of fun. It’s also a great way to experiment with new apps and features that you may not ordinarily use.
With the variety of apps available for the iPhone, the only limit to what you can do is your imagination. A lot of the time I’ll use apps to increase the drama in my shots or to add a storytelling element.

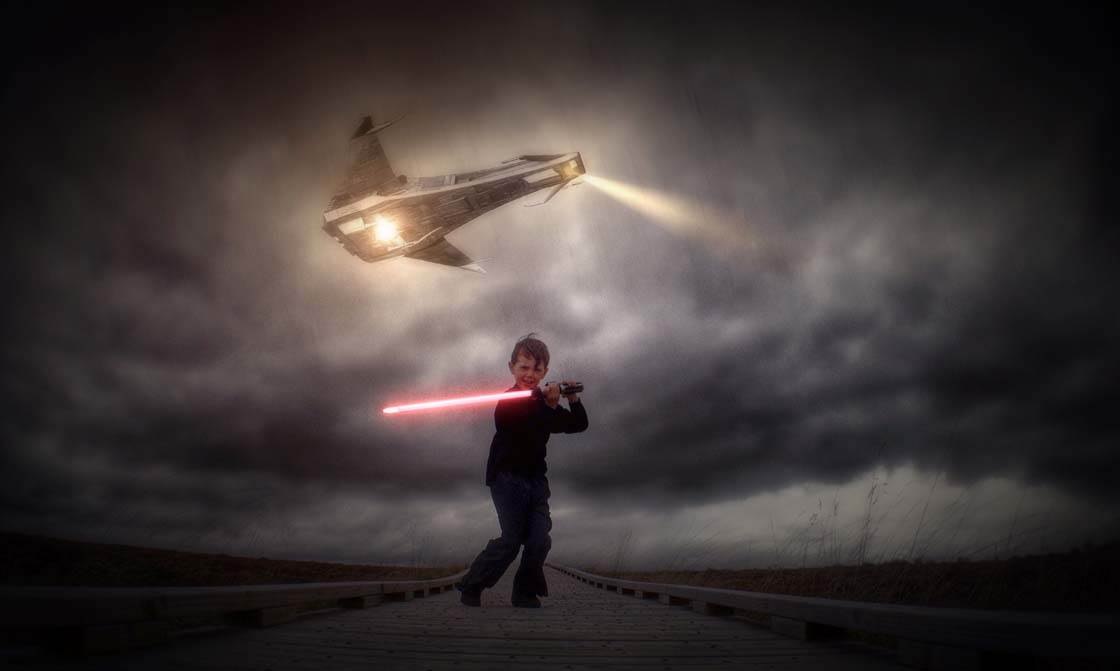
In this section I’ll show you how I converted the fairly ordinary photo on the left into this dramatic fantasy-style Star Wars themed image on the right.
My two sons are massive Star Wars fans, and on a trip to a local bog they thought the boardwalk would be a great place to practice their “Jedi skills.”
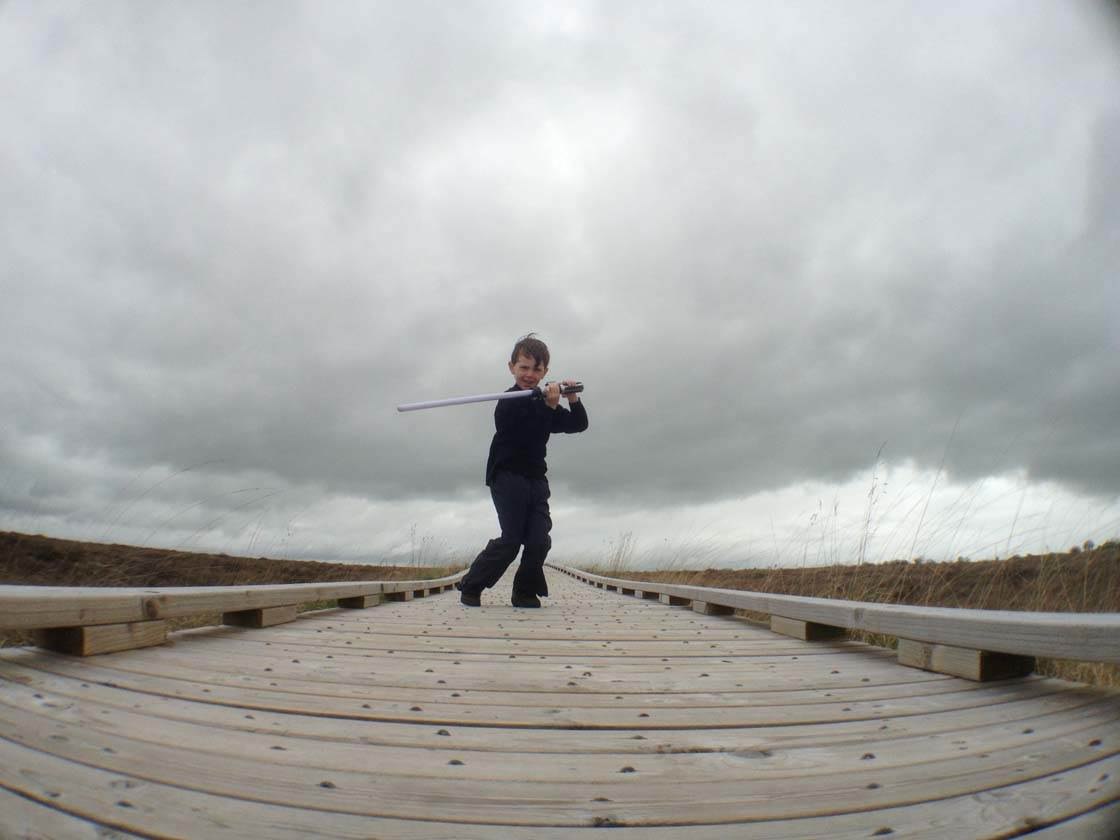
I thought it would be a good photo opportunity, but when I showed my eldest son this shot his reaction was “That doesn’t look anything like Star Wars!” And he was right. It’s a dull, flat image with no excitement.
This is where the apps come in. When you start an edit like this you should try to have a clear idea of the look you’re going for and the steps necessary to achieve this vision. Below I’ll show you each step of the editing process that I used to create my fantasy-style image.
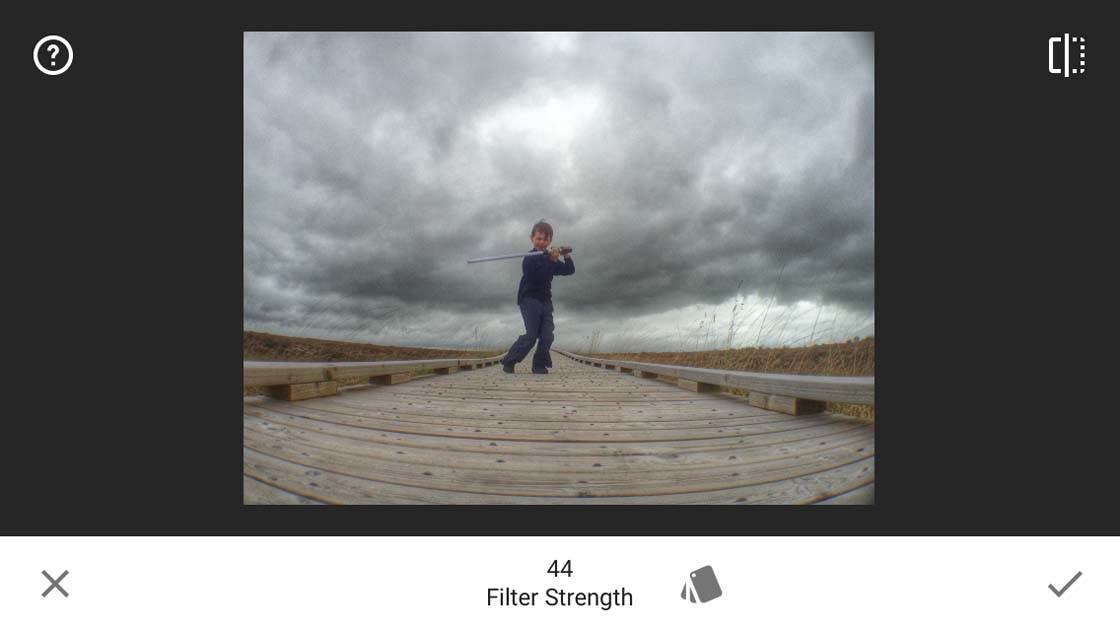
The first thing I did was to open the photo in Snapseed (check out our tutorial on how to use Snapseed). I used one of the HDR Filters to add a bit of drama to the sky.
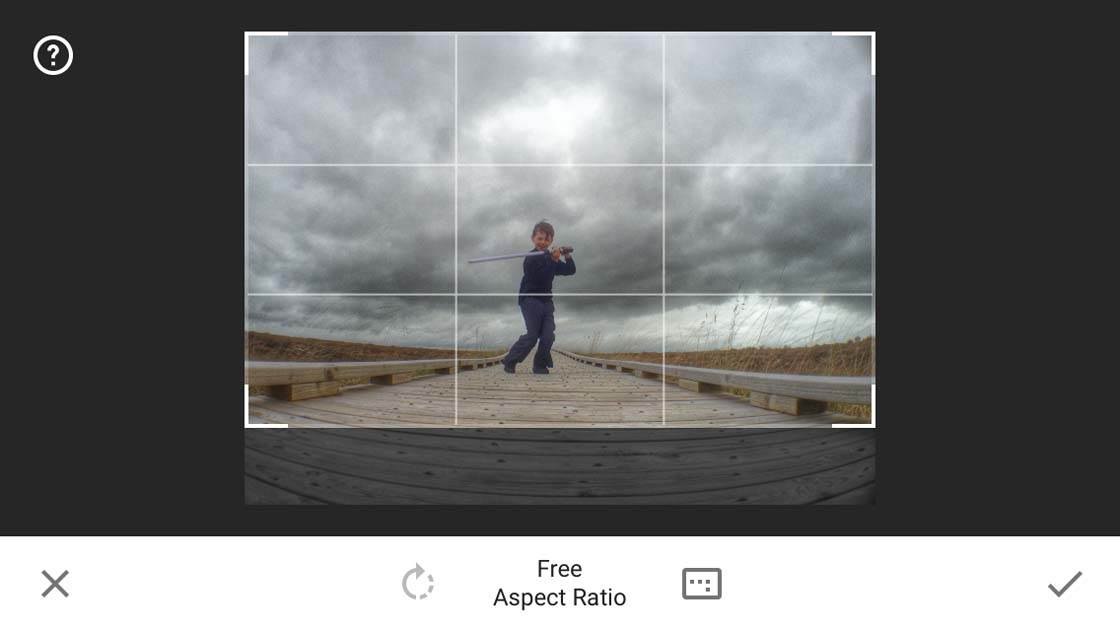
I then used the cropping tool in the same app to crop the image for better composition, moving the attention away from the boardwalk to the dramatic sky.
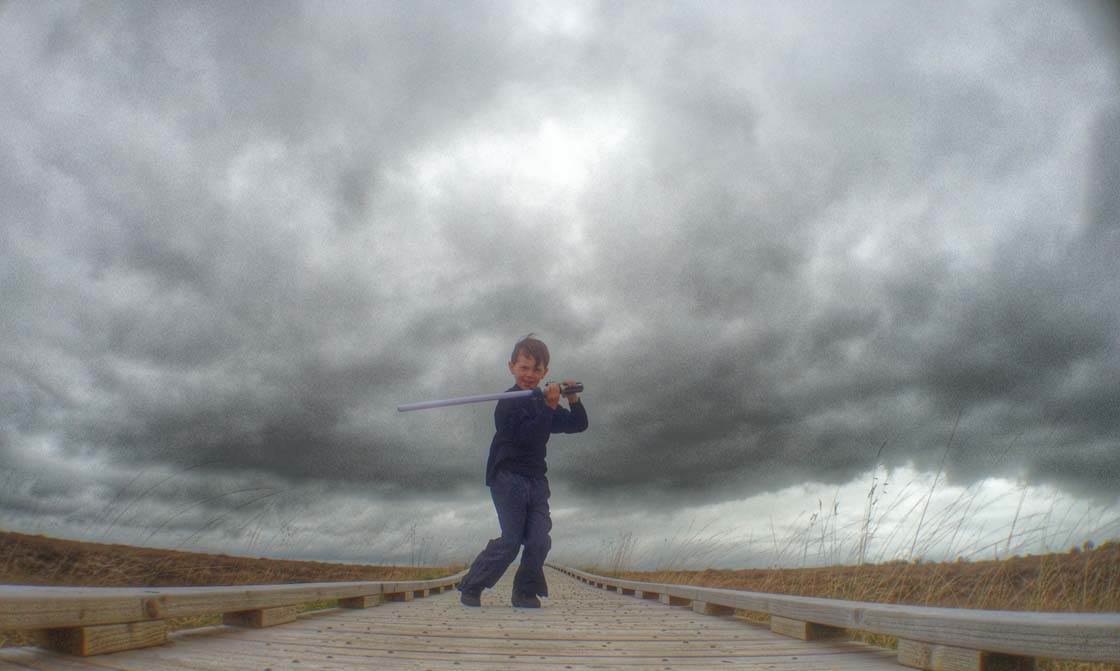
At this stage I had a grainy and over-exposed image as shown above. But I wasn’t worried as I knew it was only the first step in the overall process. This is why it’s important to have the end result in mind.
As I was going for a sci-fi mood for this image, I knew there had to be a spaceship in there somewhere. As they’re kind of scarce in Ireland, I had to resort to using the Juxtaposer app ($2.99) to add one into my photo.
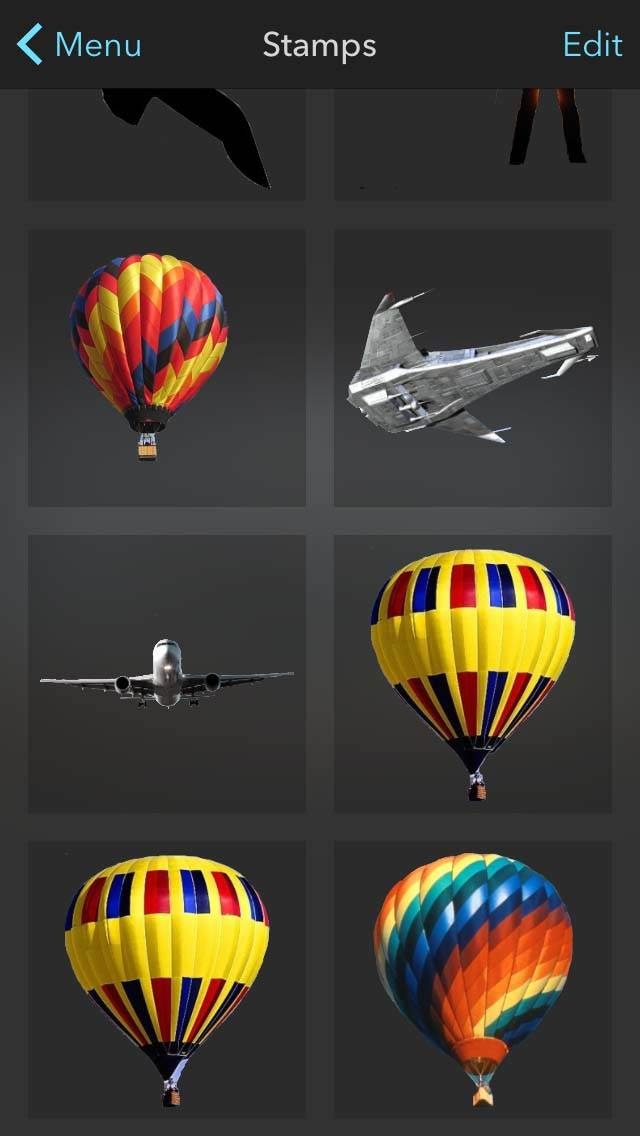
Over time I’ve built up a catalogue of “stamps” in the app that I’ve taken from other images, including this one of a spaceship taking off.
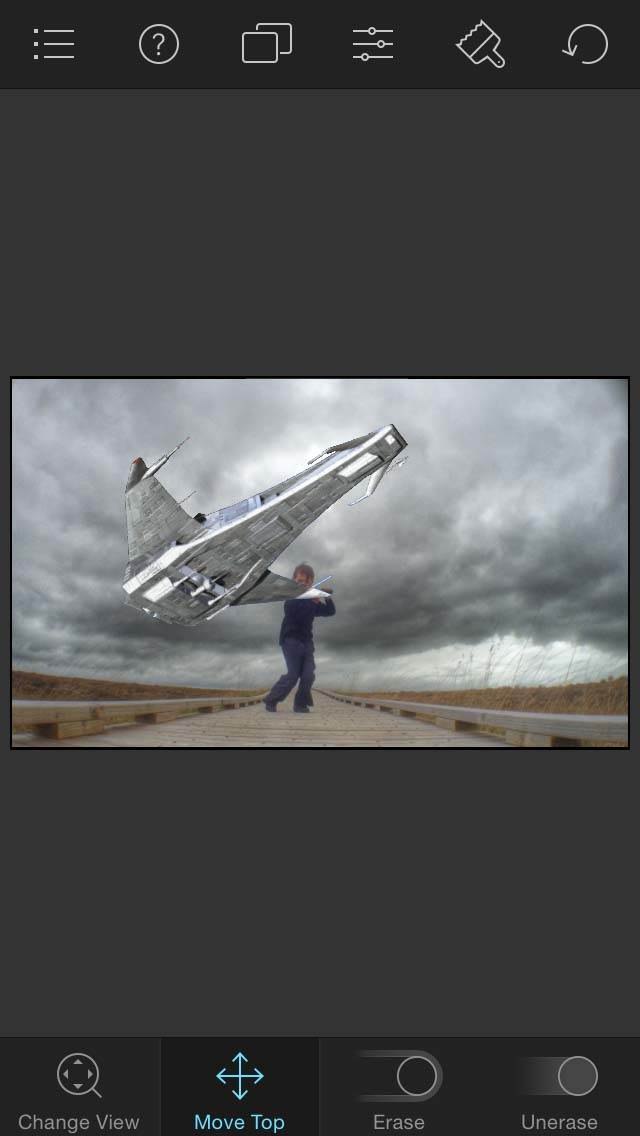
In Juxtaposer you start off the process by choosing a background image, which in this case is the overexposed shot I created in Snapseed. You then choose a top image or stamp to overlay onto the background image. I picked the pre-saved stamp of the spaceship.
You then tap the “Move Top” icon from the options at the bottom of the screen. This allows you to resize and position the stamp exactly where you want it. Once I was happy with the position of the spaceship I saved the image.
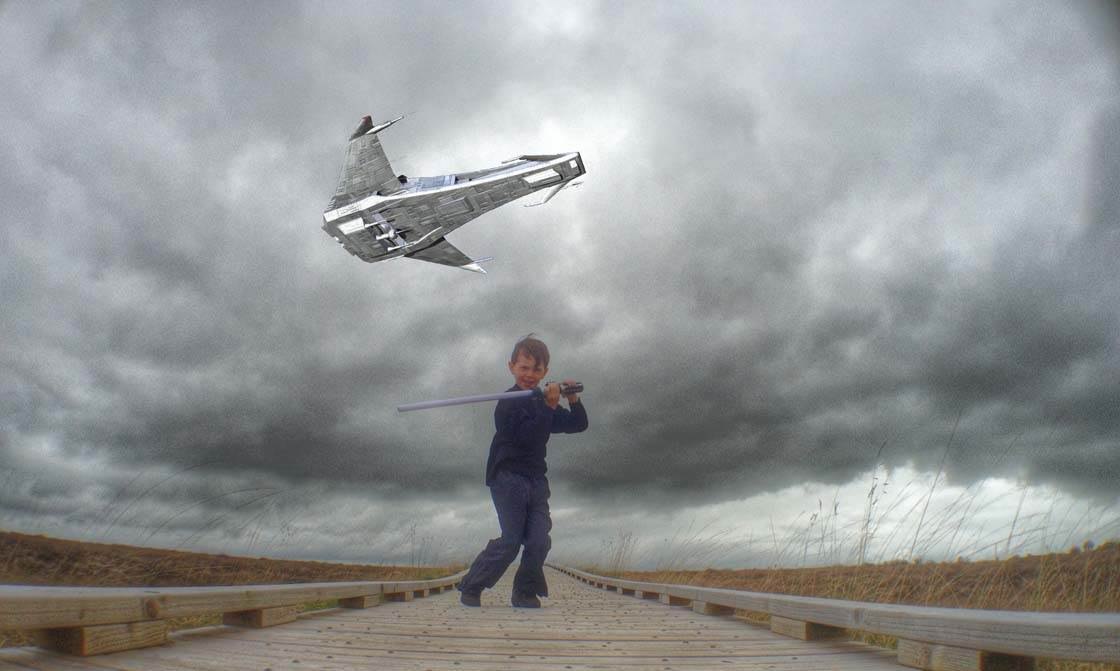
At this stage the spaceship looks like a very obvious addition, but again this is only a step in the overall process, and the next few steps will help to blend the spaceship into the image, making it look like a more natural element within the scene.
Shots taken in the rain can be very moody and dramatic, but it can be difficult to shoot in wet conditions with an iPhone. Also I didn’t want my son to get soaked! The best way around this is to use the Rainy Daze app ($1.99).
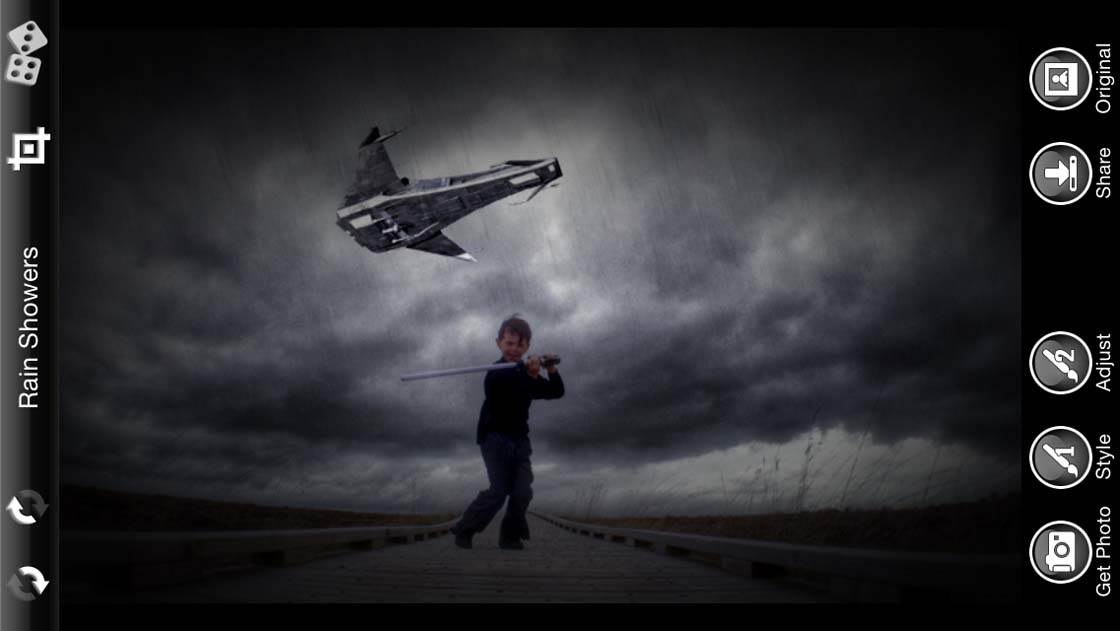
This app is great for creating dark and moody images. The effects are highly customizable, from the strength and direction of the rain to the overall tone and lighting of the shot.
There’s also a random button that you can keep tapping until you get the look you want, and then further customize it using the tools around the edge of the screen. Below is the image that I saved after applying the rain effect.
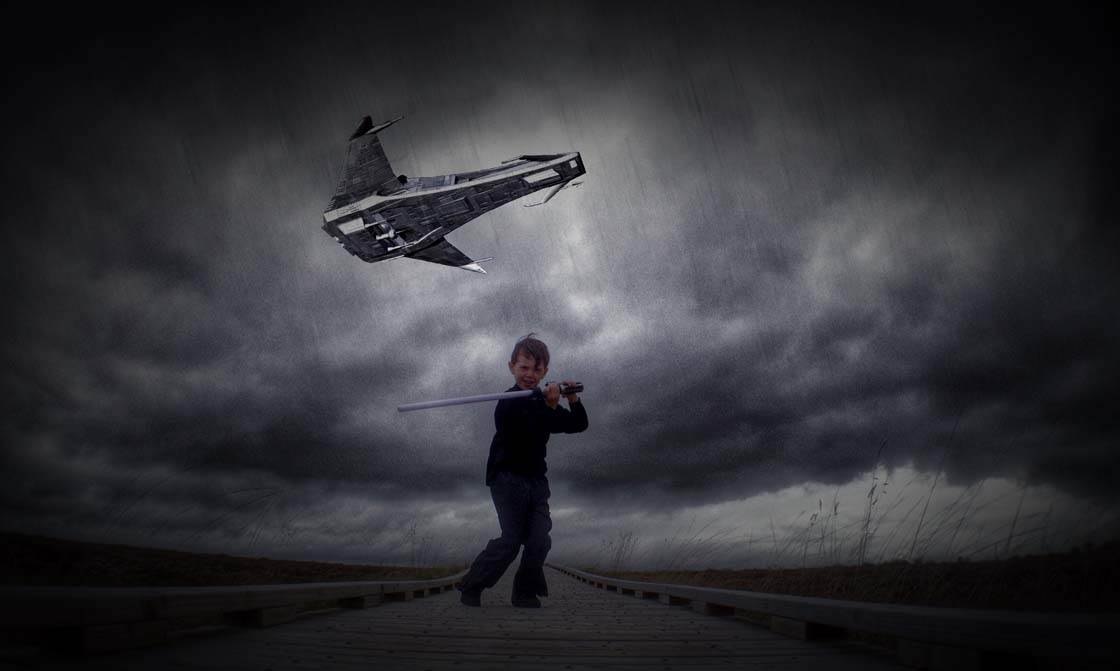
Note that I always use the Juxtaposer app early in the process to add any additional elements, as subsequent editing will help to blend the addition into the image. In this case the rain effect alters the whole image including the spaceship, helping it to blend into the final edit.
Next is where the real fun begins! The image I had from the Rainy Daze app was quite dull and dark, and I felt that it needed to be brought to life.
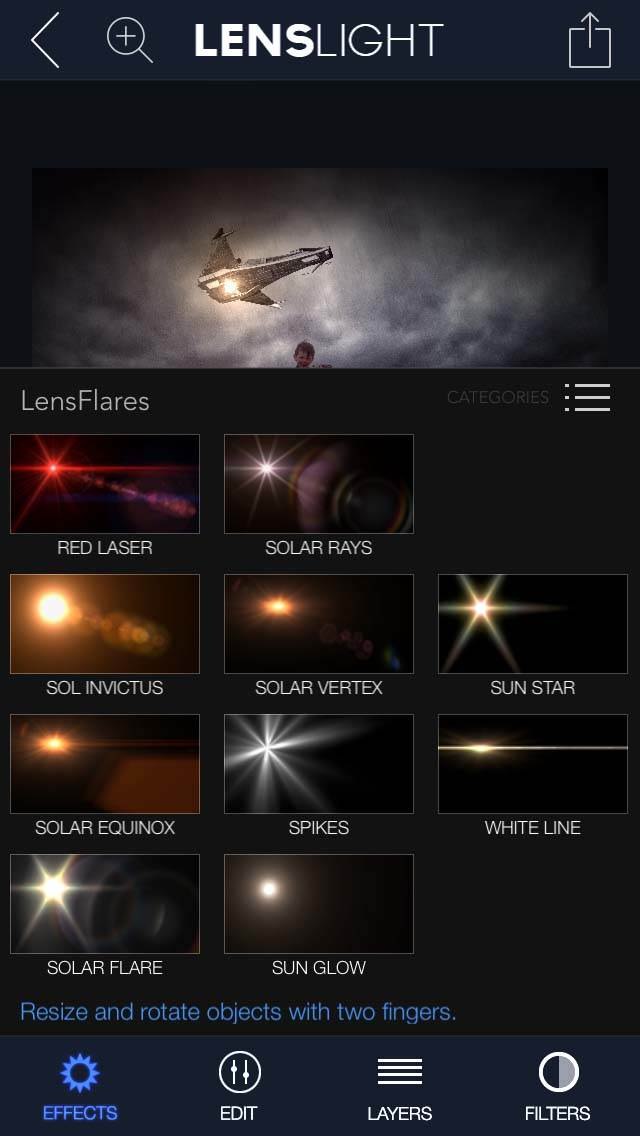
As I mentioned earlier, LensLight is a great app for adding lighting effects. The first thing I did was to add the Sol Invictus effect to the bottom of the spaceship.
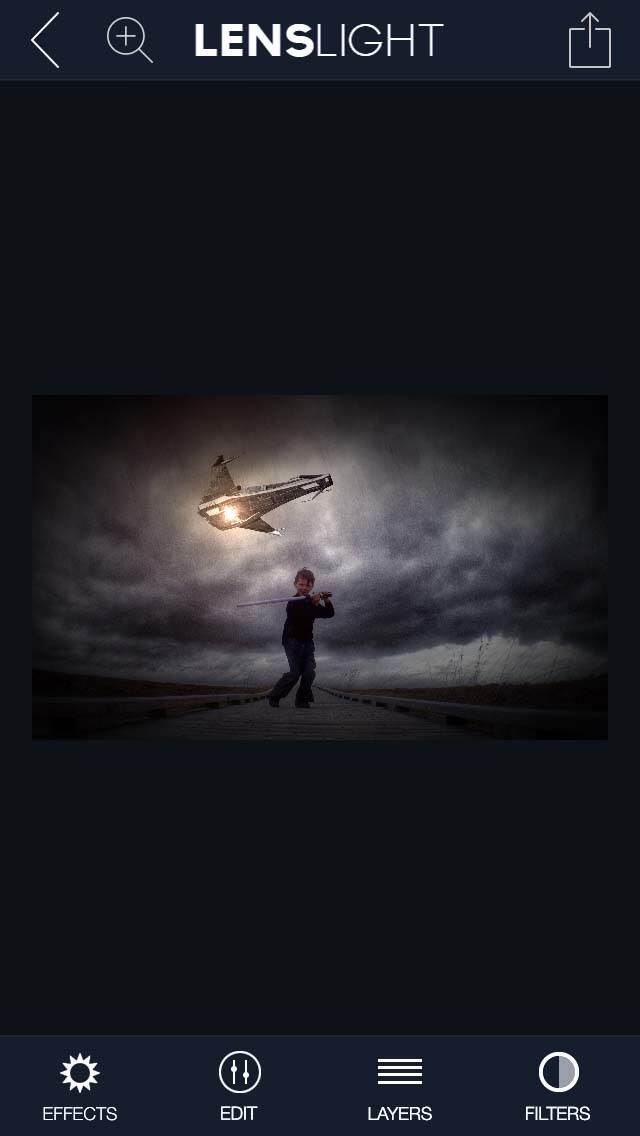
Using this lighting effect makes it look like the spaceship is firing one of its rockets as it takes off.
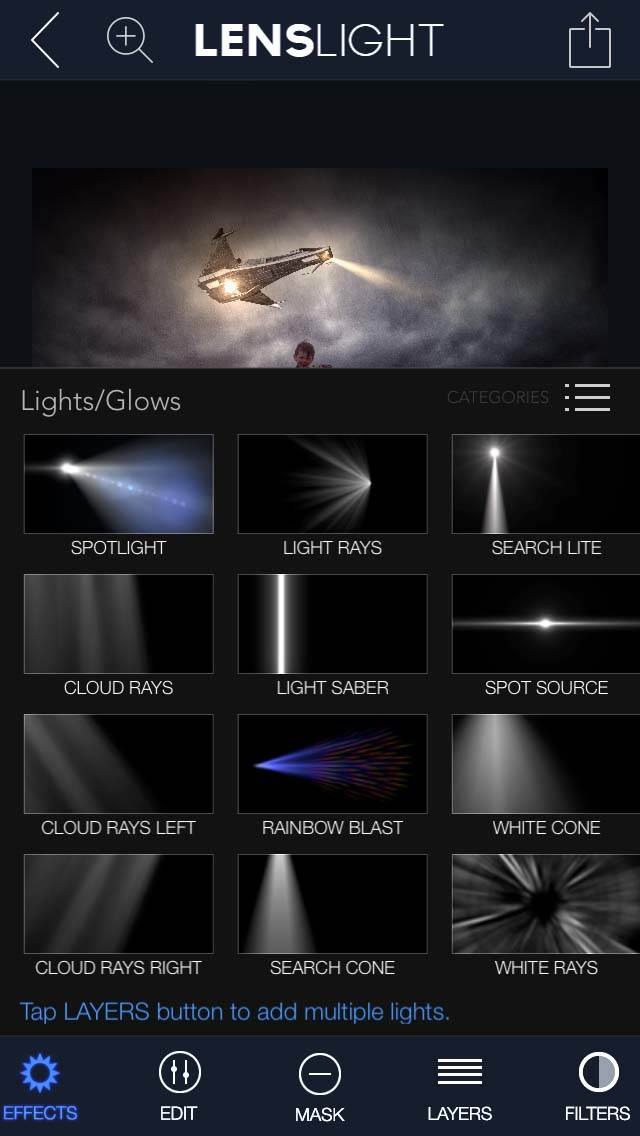
Then I added the Search Lite effect to the nose of the craft. It’s dark and wet and this would be the only way the pilot could see where he’s going.
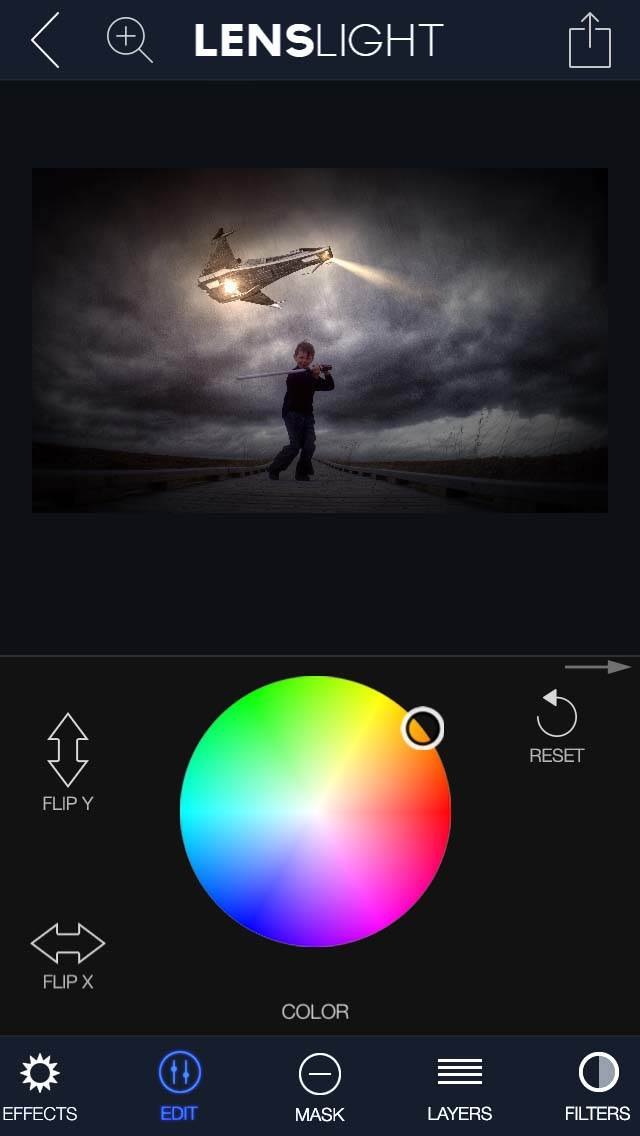
All of the lighting effects in LensLight are fully customizable and I was able to use the color wheel to adjust the color of the search light to match that of the rocket, just to maintain a continuity of the effects.
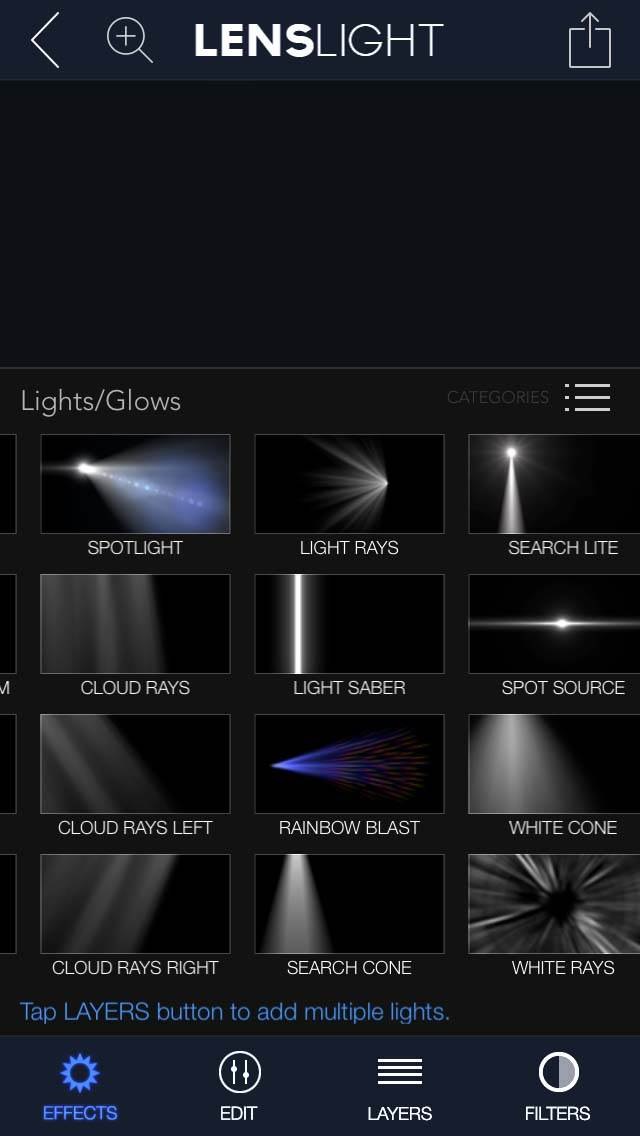
I left the most important effect until last – a good Jedi needs a good lightsaber! In the original photo the lightsaber was turned on and should have been red in color, but in full daylight it just wasn’t visible. Luckily, Lenslight has a dedicated Light Saber effect!
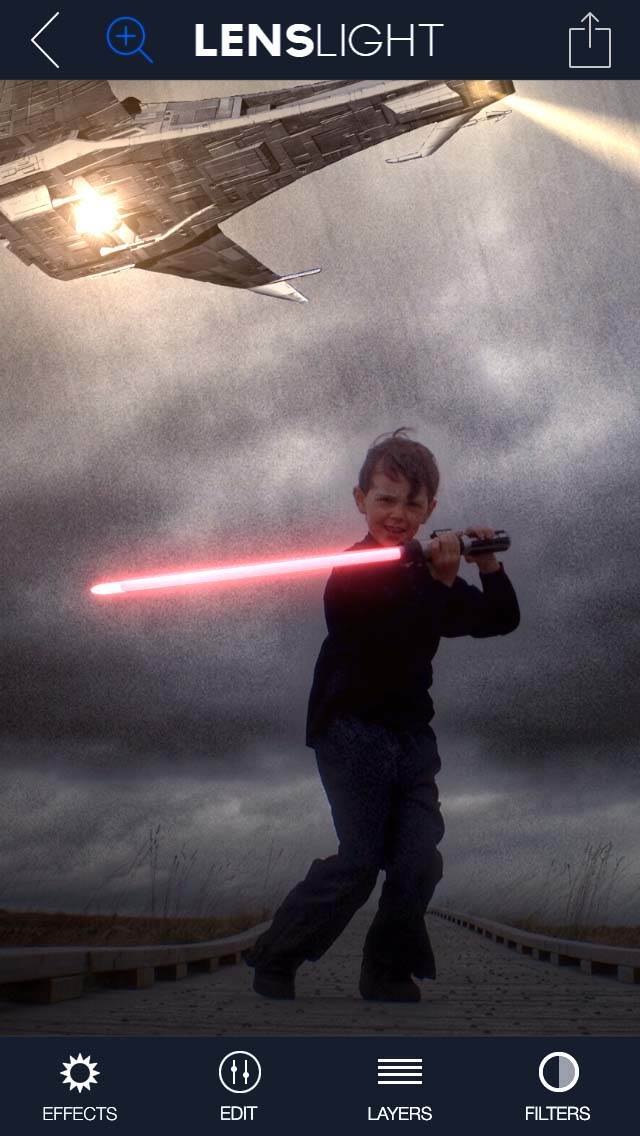
Sometimes you need to be quite precise in where you place the effect. If you tap on the plus symbol at the top of the screen you can zoom into the image which will give you better control over where you position the effect. In this case I wanted to make sure that the Light Saber effect covered the entire toy lightsaber.
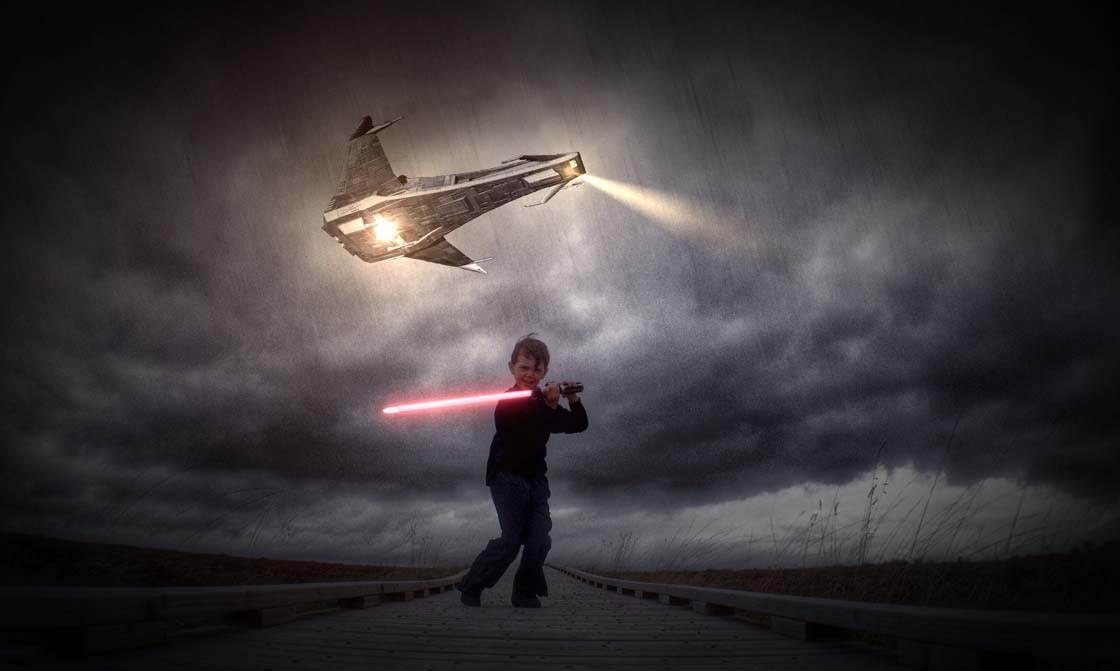
The result of adding these effects is an image that’s far more dynamic and alive that it was beforehand. It feels more like a still from a sci-fi movie than a photo I took on my iPhone.
At this stage the image was almost done but there were a few little things that needed to be sorted out. I felt that the spaceship still stood out a bit too much, and the rain effect was a bit severe.
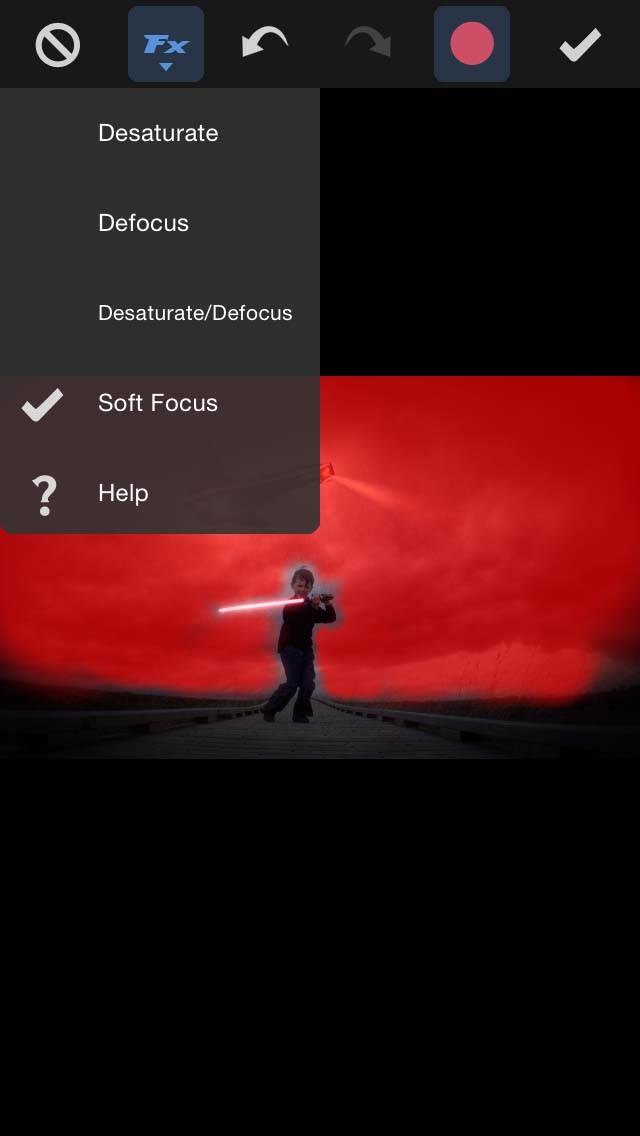
So it was back into PhotoToaster where I used the ever-reliable Soft Focus FX Brush. I used this to slightly blur the entire sky, including the spaceship.

This helped to blend in the added effects a bit more and increase the focus on my son. Finally, I increased the warmth a bit, just like I did with the first image of the swan in PhotoToaster.

The result is a full on special effects shot created entirely on an iPhone… and one very happy Jedi!
Conclusion
I hope these examples will be of use to those just starting out in the world of iPhone photography and editing, as well as more experienced iPhone photographers who may not be familiar with some of the special effects available within these apps.
The workflows shown for each of these three edits can be used with a variety of different images, and once you get started you’ll start to develop your own processes that suit your particular needs.
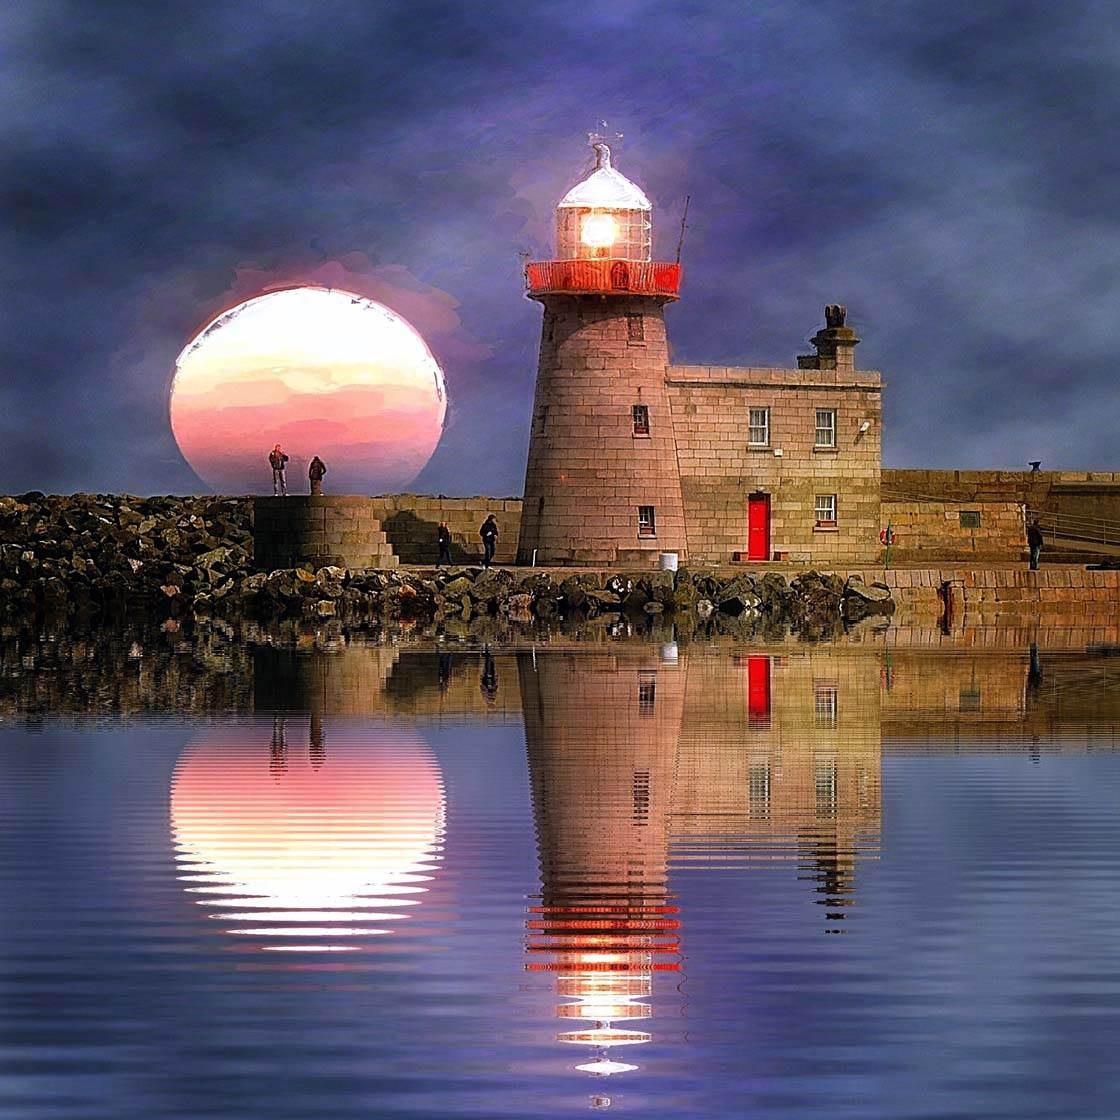
While there’s no right or wrong way to edit, you should always try to visualize what you want the end result to be so that you can use the appropriate apps and tools to create what you envisioned.
When editing my photos, I would normally leave an edit for a few days and then go back to have a look with fresh eyes to see if there’s anything I missed first time around. If there is, I’ll usually run it through PhotoToaster or Snapseed one more time to fix any issues.
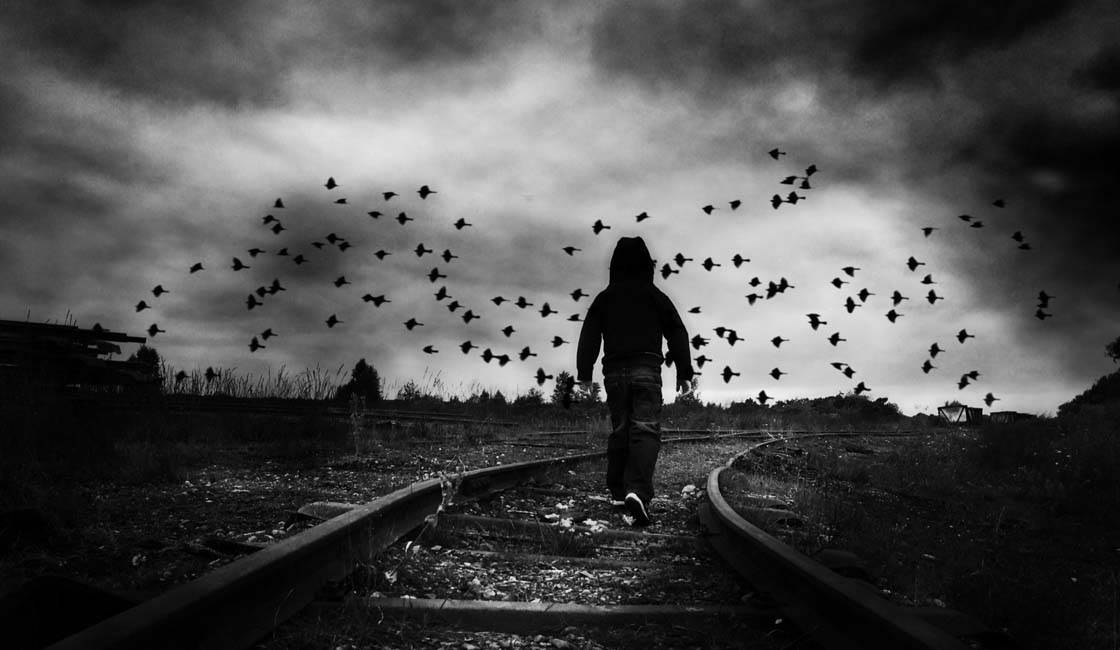
The important thing to take from this tutorial is that you don’t need a phone full of apps to create interesting edits. In the above examples I only used six apps: PhotoToaster, Snapseed, Tadaa, Rainy Daze, Juxtaposer and LensLight.
Of course you may prefer to use different apps for your photo editing, but if you stick to just a handful of your favorite apps you’ll get to know them inside out so that you can use them to their full potential.
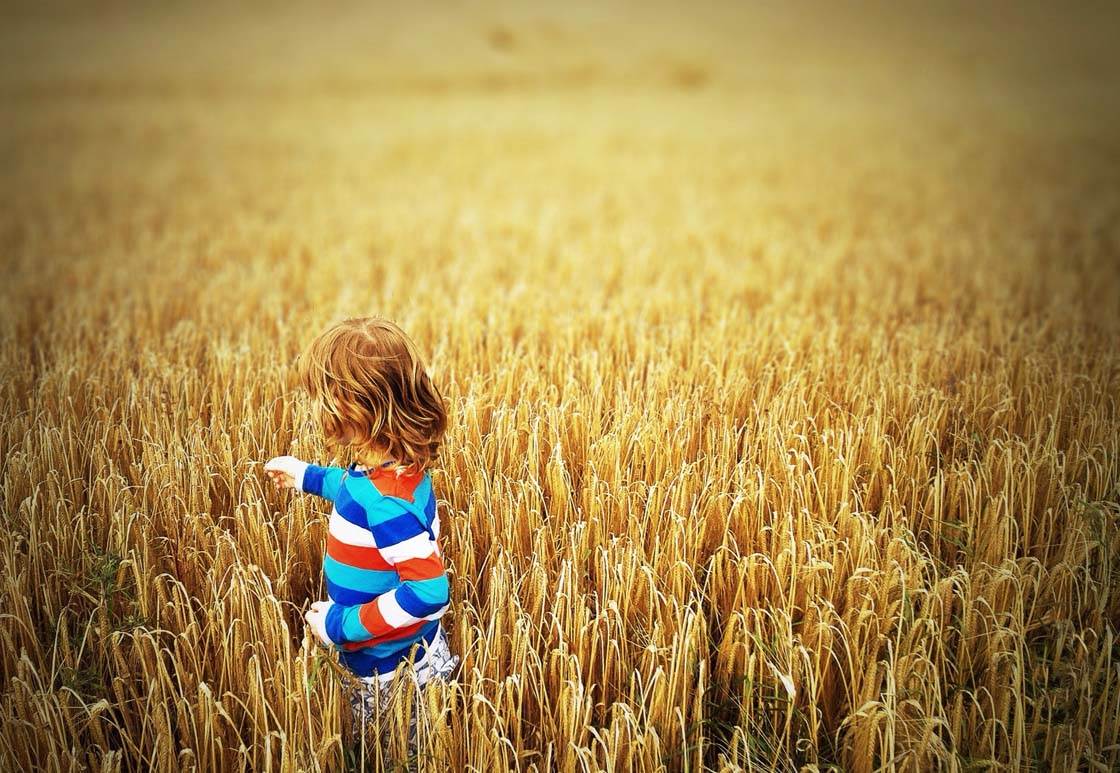
Whether you want to apply subtle adjustments to lighting and color, create dramatic black and white photos, or experiment with special effects to create fantasy-style images, developing a structured workflow using your favorite apps is the key to creating stunning iPhone photo edits.
If you’re keen to discover more about the fascinating possibilities of editing your images, check out our insightful overview of all aspects of the editing process which will help you to plan and execute your iPhone photo editing like a pro!
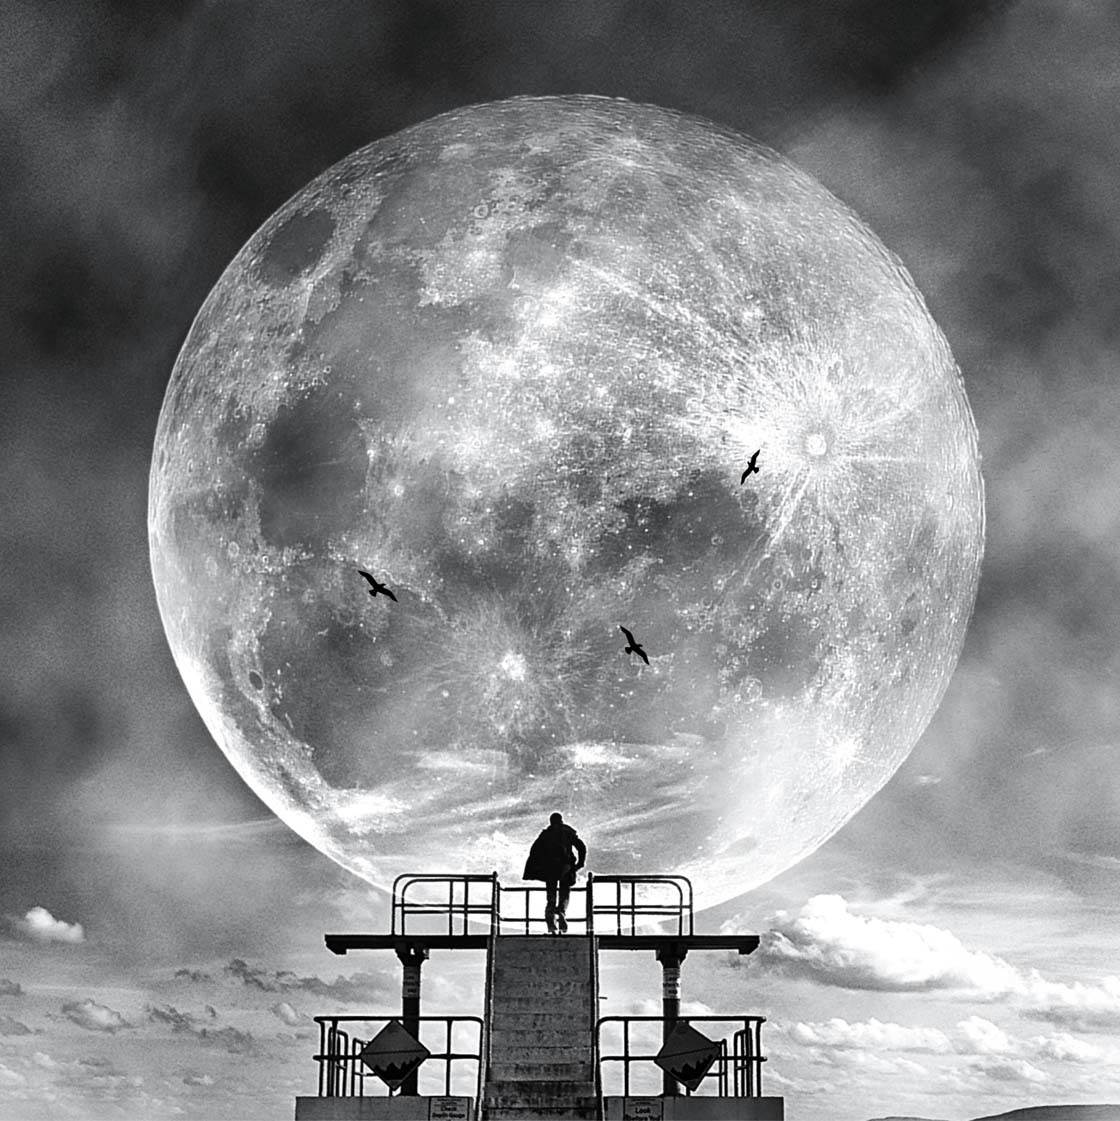
Would you like to discover more iPhone photography apps, including camera apps and photo editing apps? Check out our guide to the 10 best photography apps for iPhone (2018 edition).

Thanks for this great tutorial Paul! It’s fantastic to see the step-by-step processes for your editing techniques 🙂
Thanks very much Kate. I really enjoyed doing this one 🙂
Love this tutorial Paul, especially as I’m into creative editing and involved with groups who do ‘challenges’ for creative editing. I love seeing how others do creative edits and yours was exceptional.
Thanks very much Rosa. Delighted you like them 🙂
Do you have a tutorial that shows how to cut people or objects from one photo to add to another photo?
Hi Shane. Here are couple of tutorials that show you how to do this:
http://iphonephotographyschool.com/fantasy-edit-silhouette/
http://iphonephotographyschool.com/fantasy-edits/