Do you want to do dramatic landscape photography on iPhone? Shooting dramatic landscape photos may seem difficult–but it doesn’t have to be. In this article, you’ll discover 7 tips for capturing wonderfully dramatic landscapes with your iPhone.
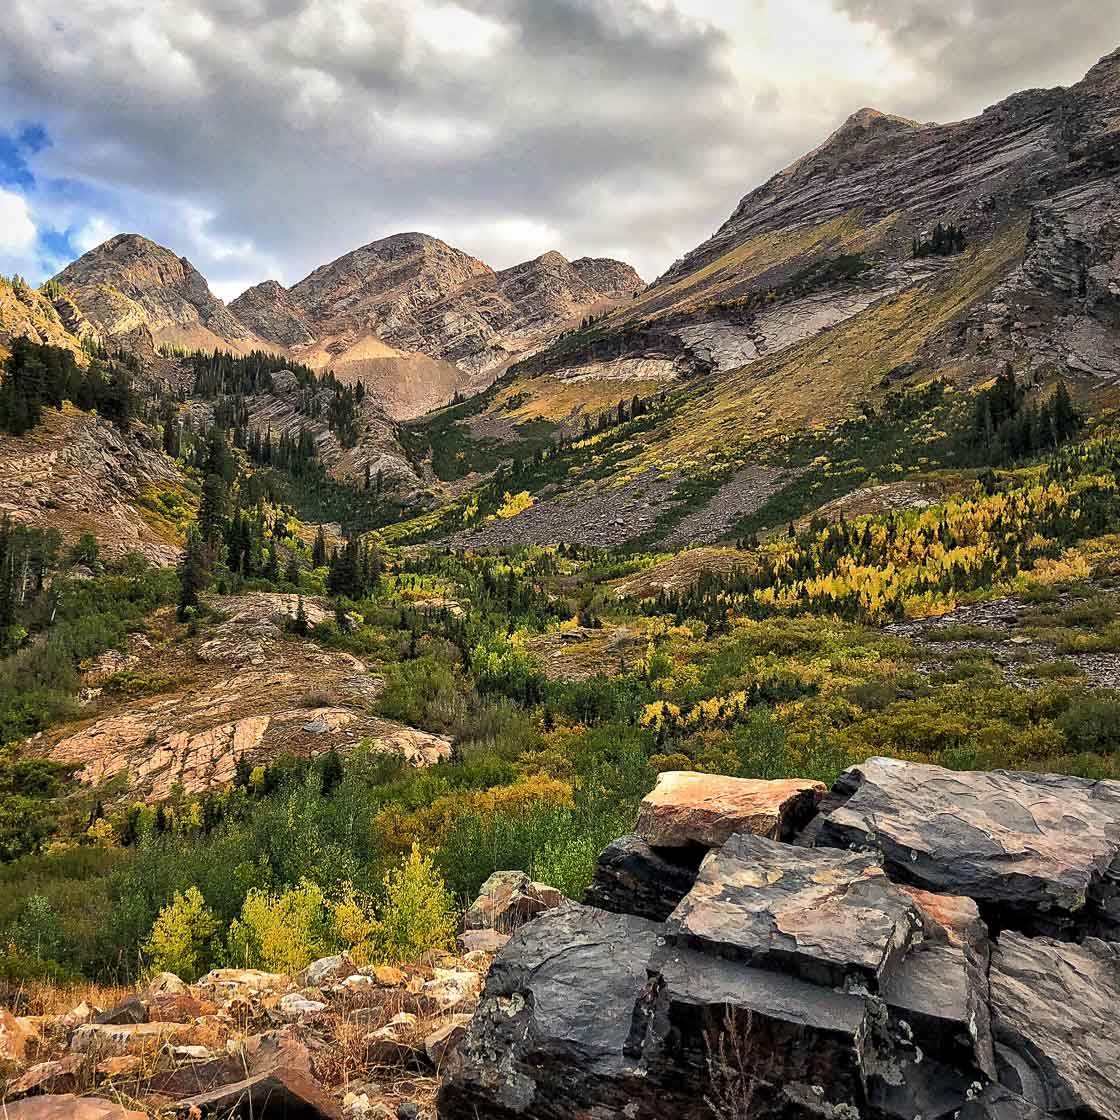
1. Capture Clouds In The Sky For Dramatic Landscape Photography
Are you looking to take beautiful, dramatic landscape photos?
Here’s how you start: Pay attention to the skies.
A boring sky makes for a boring photo. But an interesting sky…
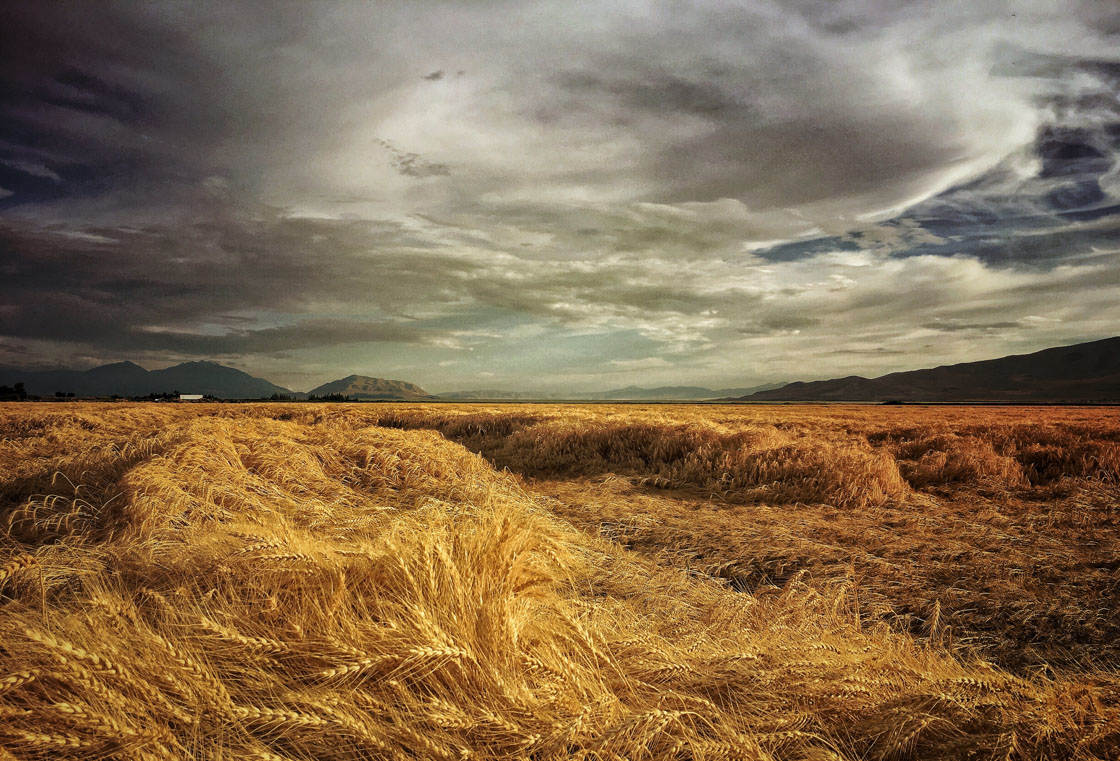
…an interesting sky can add all sorts of drama to your landscape photos.
(In general, dramatic landscapes have two parts: a dramatic sky and a gorgeous foreground. You’ll learn how to capture a gorgeous foreground later.)
What does a dramatic sky look like?
Here’s the key to dramatic skies: clouds.
Because bright blue skies are often boring.
But skies with some clouds offer endless amounts of interest.
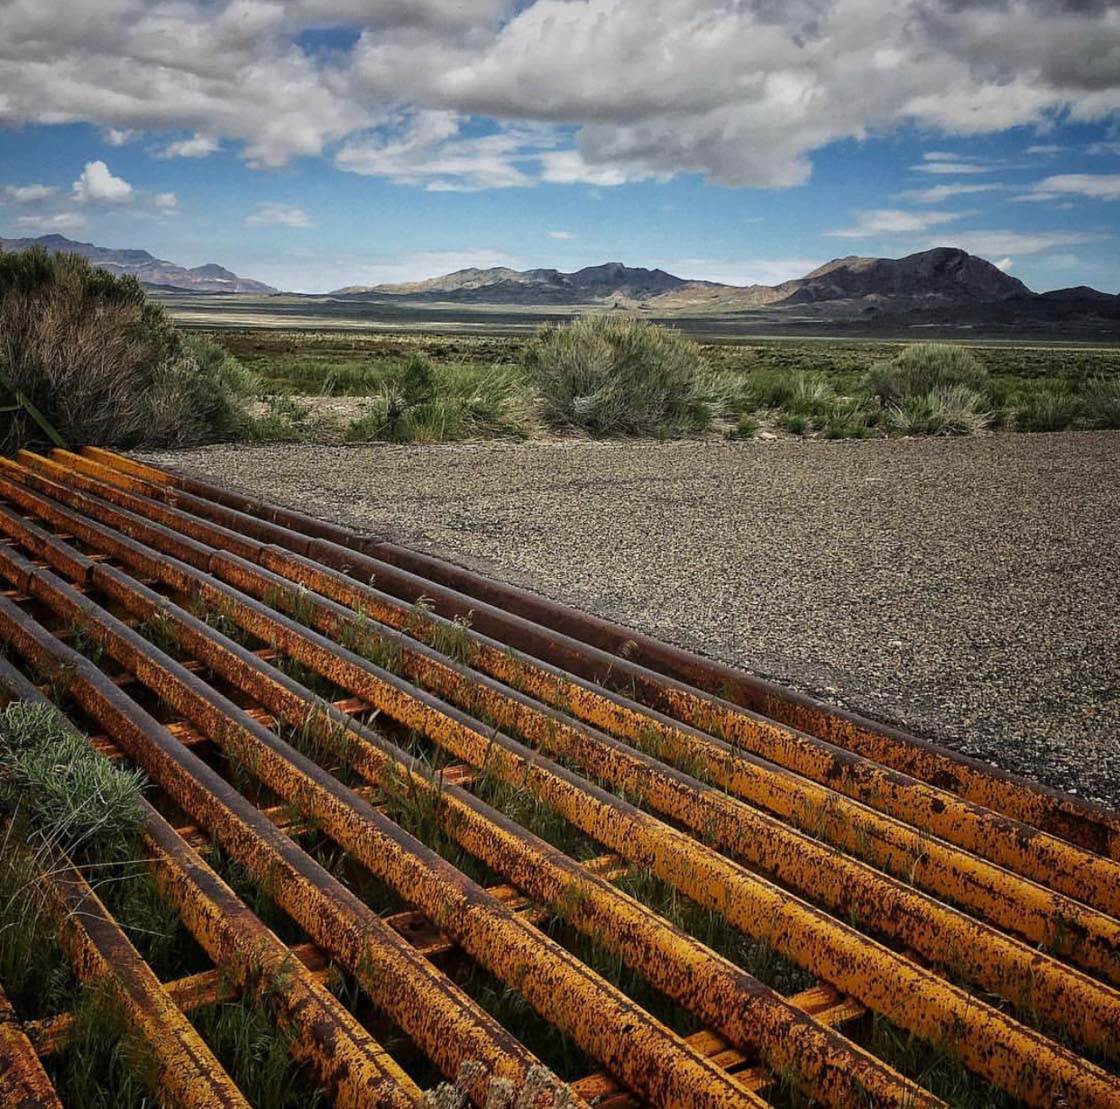
The best skies are cloudy, but not too cloudy. You want some light to shine through. Too many clouds and the light will become flat.
Here’s what I recommend you do: A few hours before a potential shoot, look out the window. Check the cloud cover.
(You can also check this on Weather.com. I constantly check the weather.)
If things are looking bright and cloudless, then your sunset photos will be a bit boring. If things are looking very cloudy, the light will be a bit flat.
But what if the sky is only partially covered by clouds?
That’s when you want to get out and shoot!
So make sure you pay attention to the skies. That’s the first step to capturing gorgeous, dramatic photos.
Here’s the second step:
2. Shoot At The Moment The Sun Sets For The Most Dramatic Skies
Dramatic skies make for dramatic photos.
But when are the skies most dramatic?
Skies are most dramatic the moment the sun touches the horizon.
This time is amazing for photography. The sun lights up the whole sky with color.
(It can even make a blue sky interesting.)
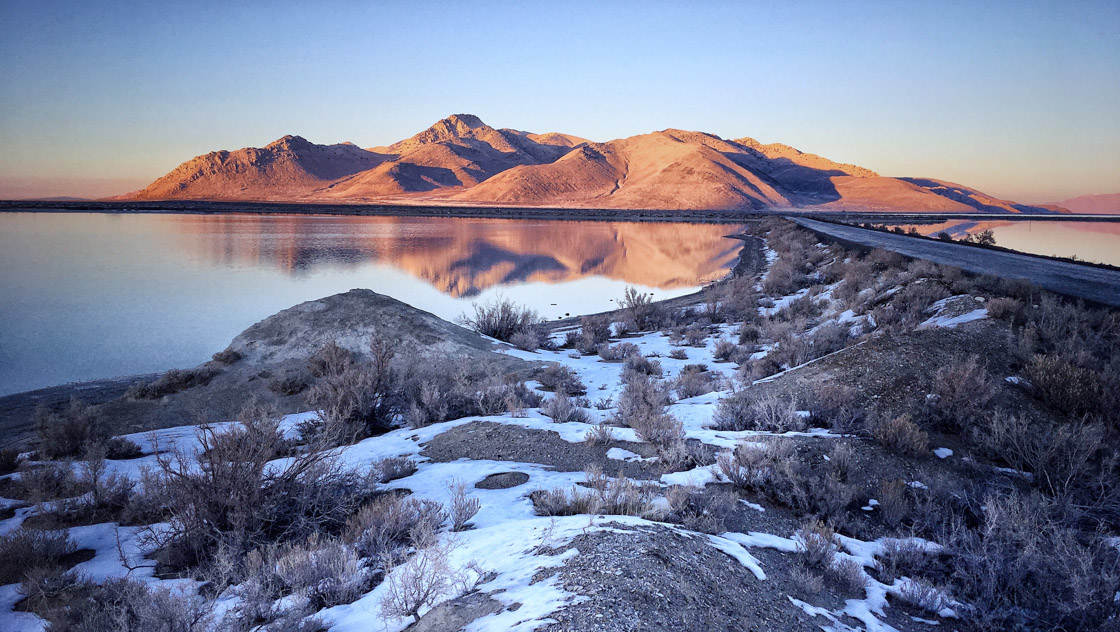
And the light is beautiful and golden. It adds a wonderful glow to the whole scene.
So that’s when you should take your shot.
This is especially true if you have good clouds (as discussed in the previous tip). A sunset on a clear day is nice. But a sunset on a somewhat cloudy day is incredible.
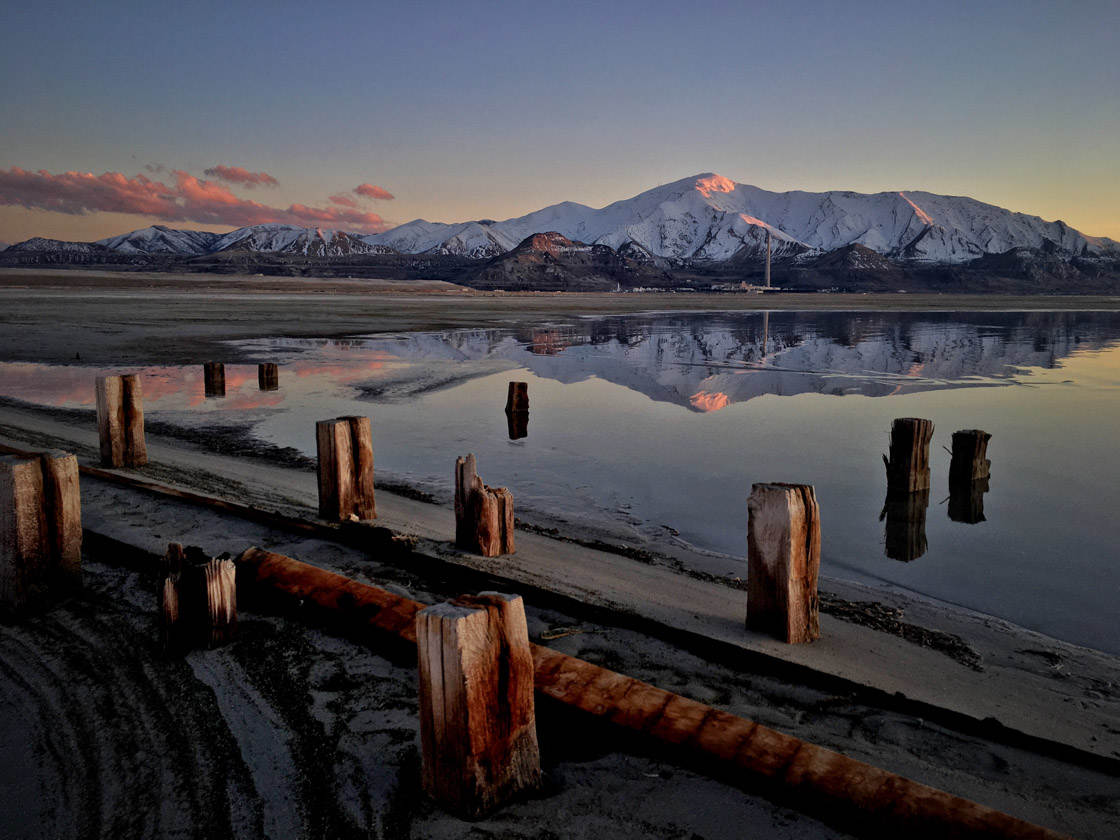
Here’s another tip: Try to shoot toward the sun. That way, you’ll get some wonderful backlighting.
(Backlighting is light that comes from behind your subjects.)
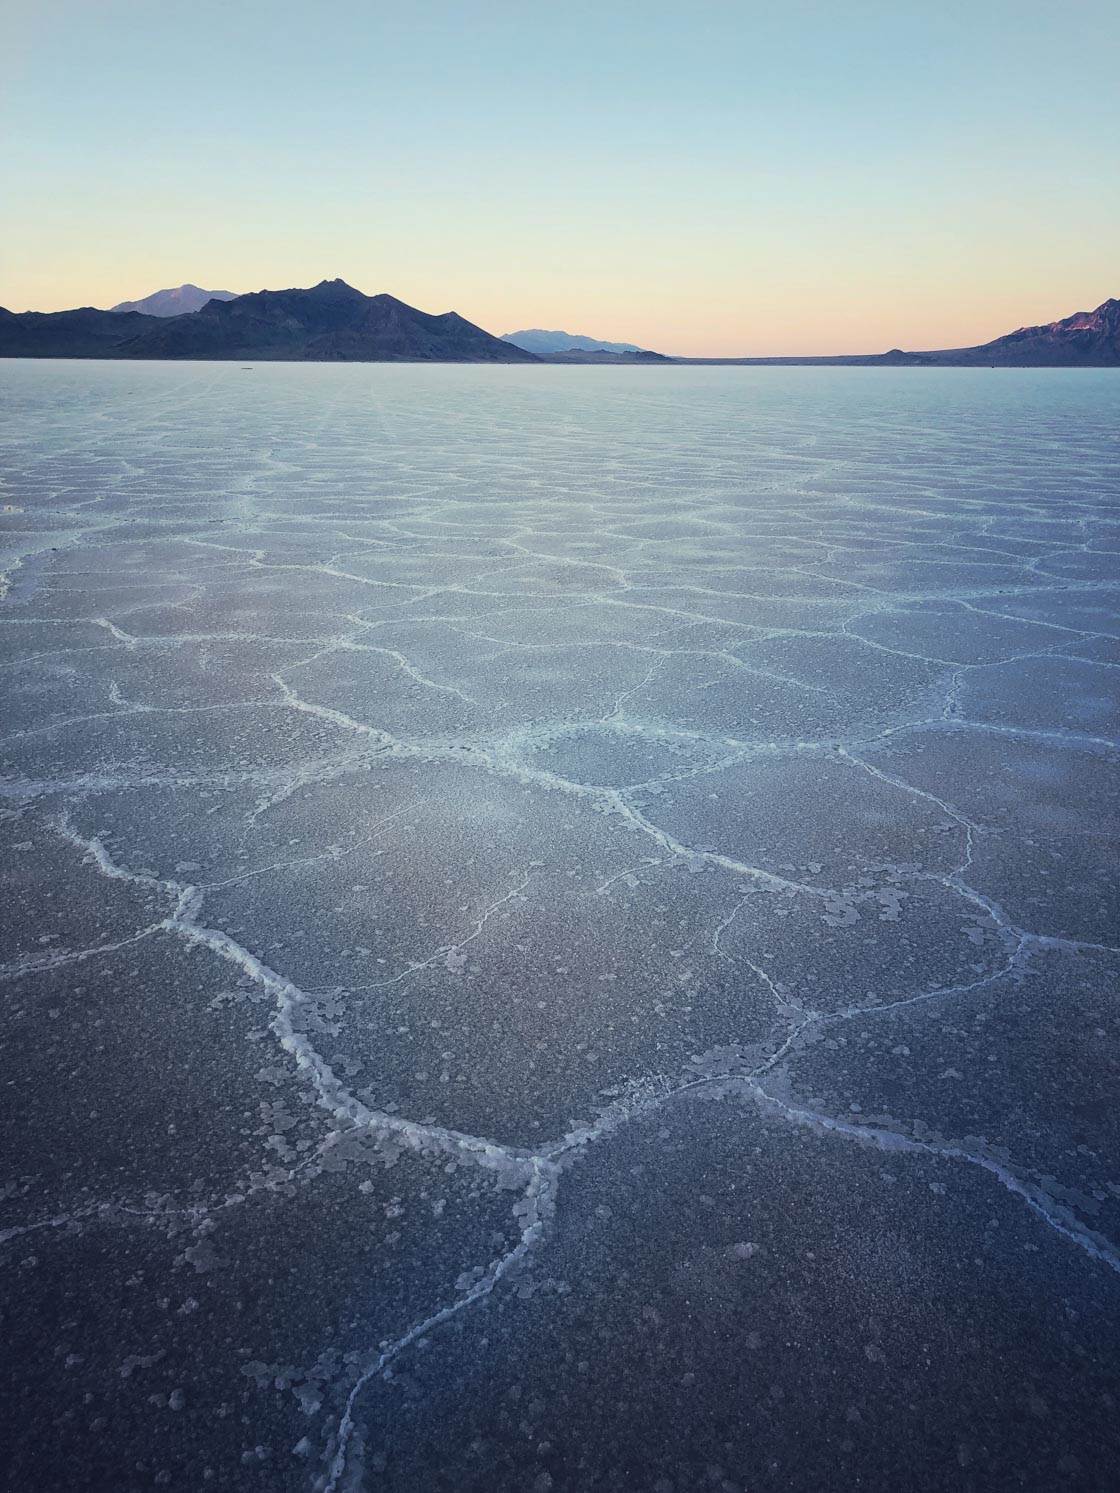
This will add to the drama. It will create contrast between the bright sky and darker foreground areas.
But don’t limit yourself to only shooting into the sun. After you’ve taken a few dramatic sunset shots, make sure you turn around.
Because the eastern sky can be gorgeous, too!
So photograph as the sun sets if you want absolutely stunning shots.
3. Look For A Subject To Use As A Focal Point
If you want to take a dramatic landscape photo, then you need a focal point.
(A focal point is an object that captures the attention of the viewer. It’s the subject of your photo.)
Without a focal point, your image will seem empty. It will also feel chaotic.
Instead, you want to create an ordered photo.
The photo below has a clear focal point: the tuft of grasses on the sand.
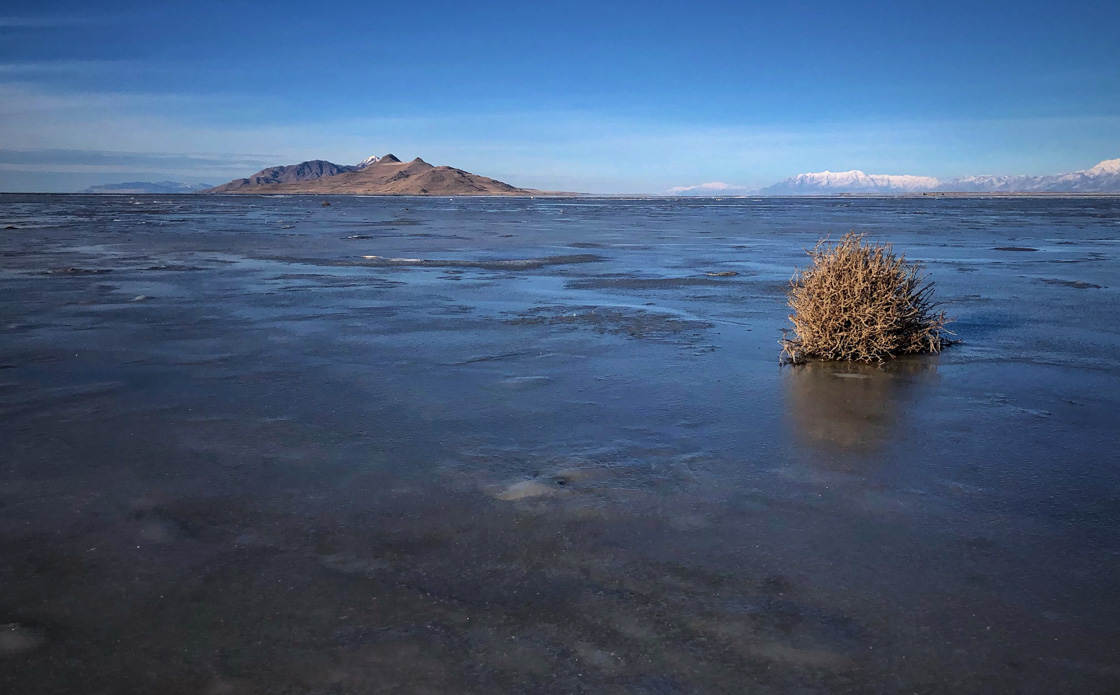
But how do you find a focal point?
Get outside. Walk around. And look for things that stand out.
Specifically, look for difference in an otherwise similar landscape.
For instance, if you find a grove of trees, look to see if there are any unique trees among them. Because a unique tree among a group of uniform trees is a perfect focal point.
It’s something that will capture the attention of the viewer.
Notice how the bent tree stands out among a cluster of straight trees in the photo below. That makes it into an excellent focal point!

That single bent tree immediately draws the viewer’s eye. And the photo feels orderly to the viewer—they know where to look.
Whereas a grove of totally uniform trees–one that has no focal point–would feel chaotic. And you don’t want your photos to feel chaotic.
Rocks and flowers can also make excellent focal points. They draw in the viewer. They create a place for the eye to rest.
So you know how to find a focal point. But how do you position it within the frame?
4. Use The Rule Of Thirds To Position Your Focal Point
The Rule of Thirds is a fantastic compositional principle.
It states that the most pleasing photos have their focal points off-center.
Specifically, the best photos have focal points a third of the way into the frame. The focal points lie along the Rule of Thirds grid, as shown below:
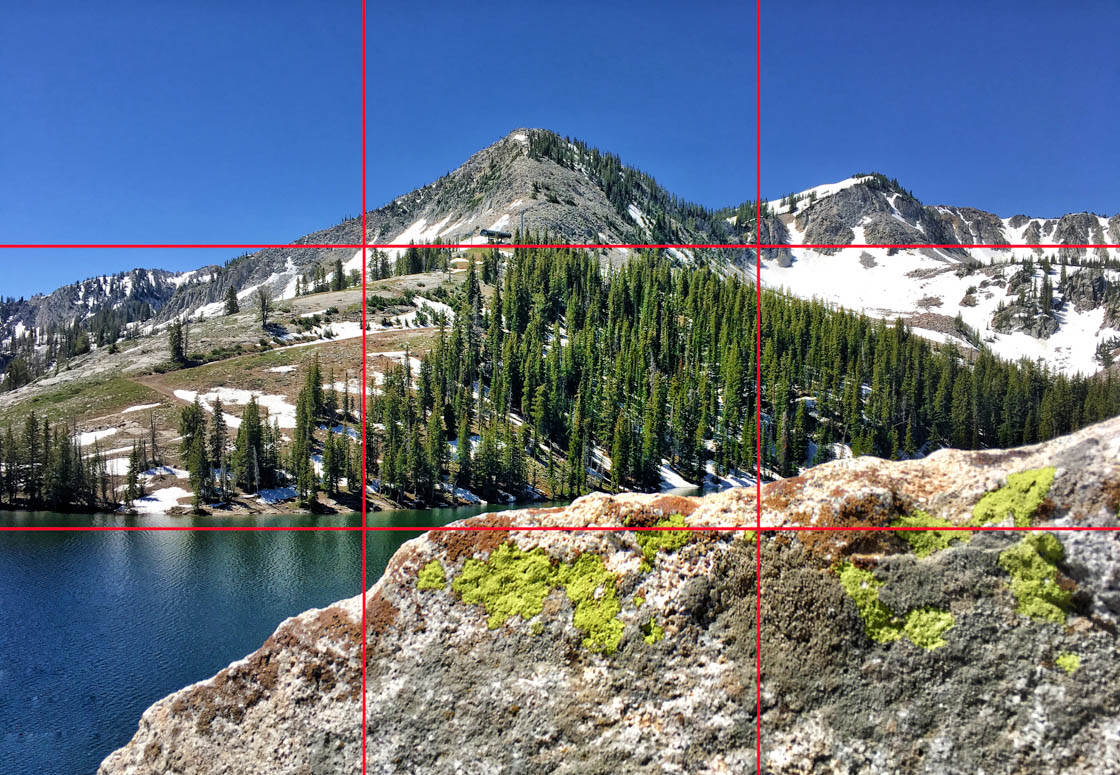
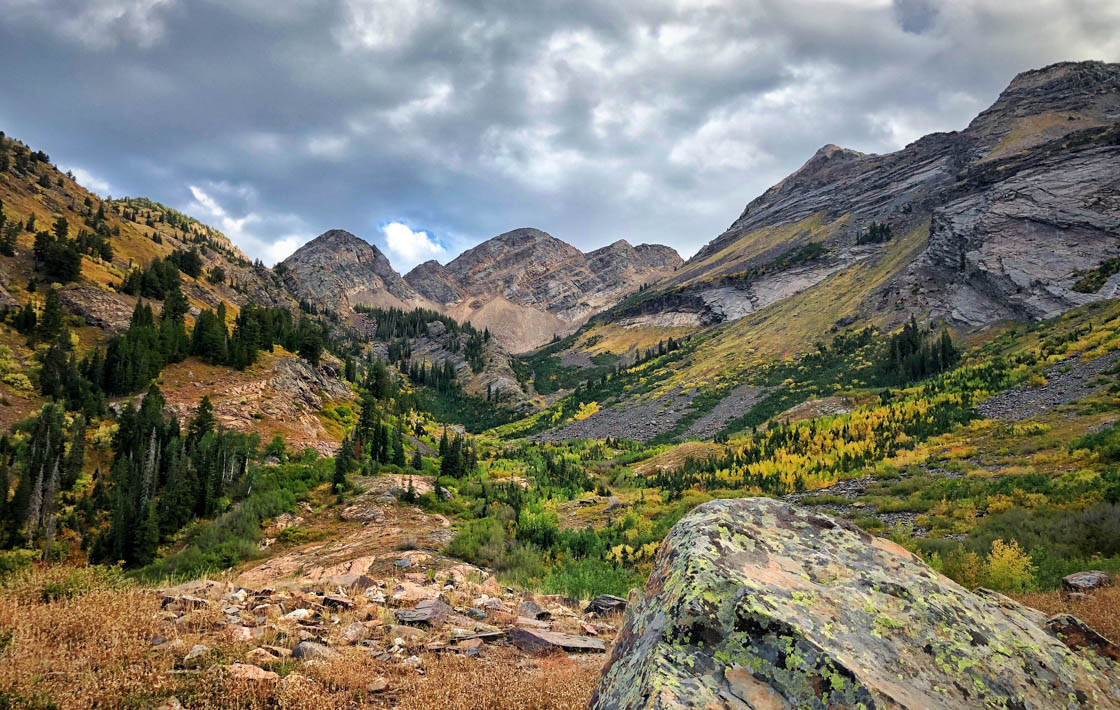
Notice how the rock in the foreground lies along the lower gridline. And the mountains run parallel to the upper gridline. This makes for an ideal composition!
So that’s where you should place your focal point: Along the Rule of Thirds grid.
For especially powerful dramatic landscape photography, you should place your focal point at the intersection along the lower third gridline.
Then make sure that your horizon line runs parallel to the top third.
That’s what I did for the photo below.
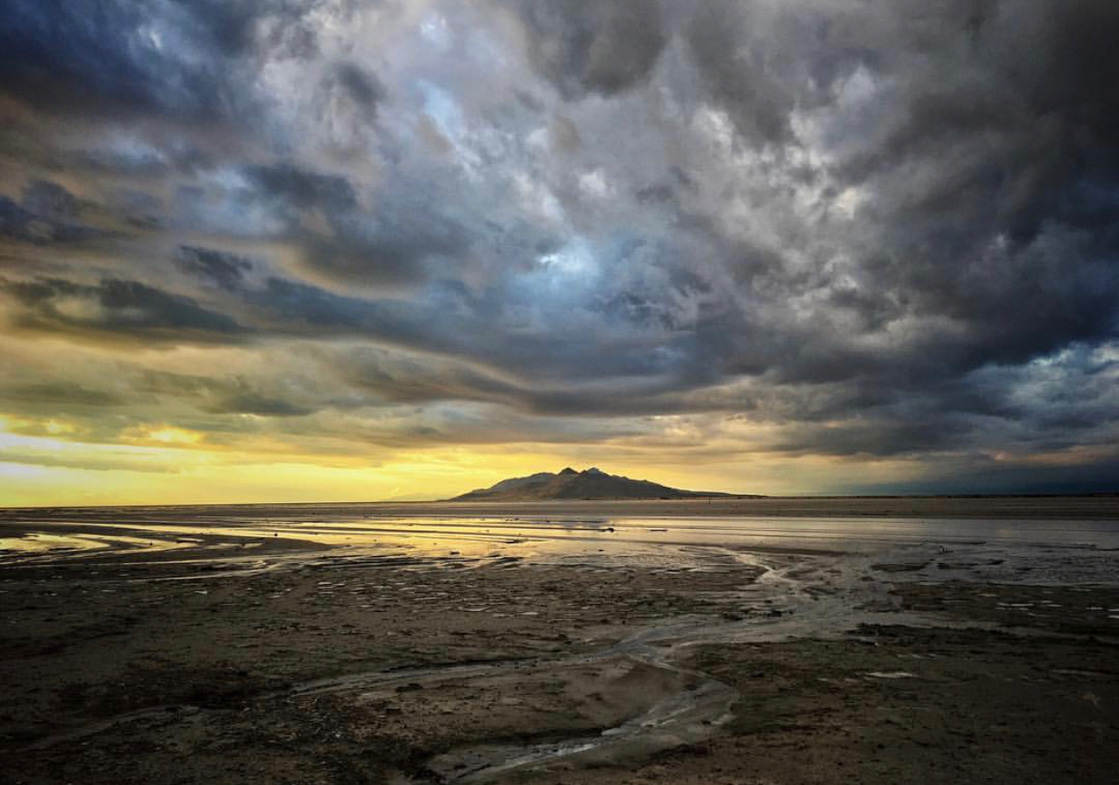
If you have a very dramatic sky, you have an alternative:
Place the horizon line on the bottom gridline. Allow the sky to dominate the frame—giving a sense of power and drama.
If you’re struggling to compose using the Rule of Thirds, try using the camera gridlines.
To activate these gridlines, go to the home screen. Tap Settings, then Camera. Select Grid.
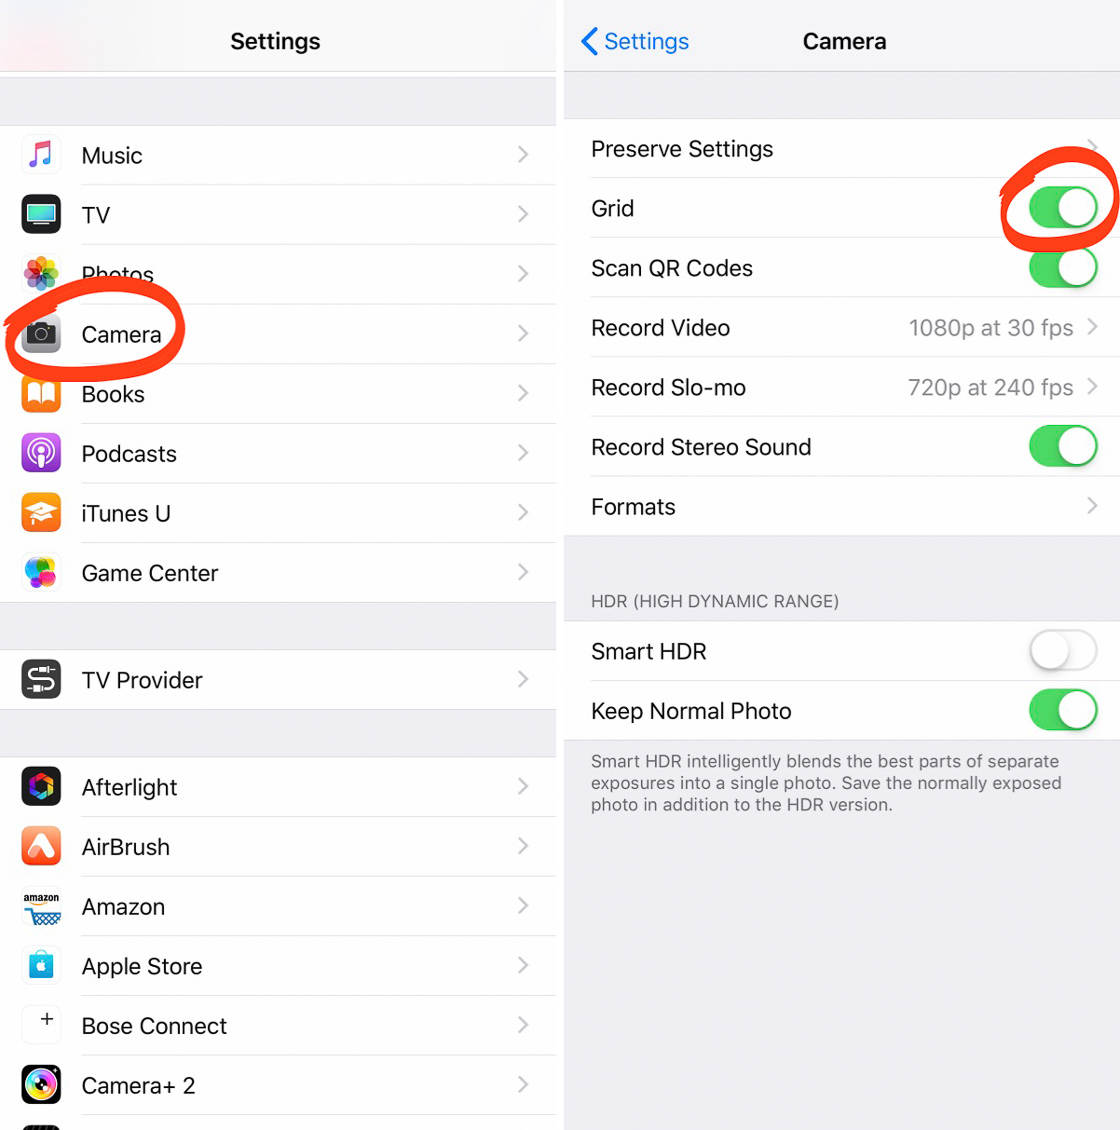
And that’s it! Now you’ll be able to see the Rule of Thirds grid on your iPhone camera.
One last piece of advice for using the Rule of Thirds: Compose slowly.
It’s easy to feel pressure to take a shot and move on. But resist the pressure.
Just stay in one place. Think about the Rule of Thirds. Experiment. Take a few shots.
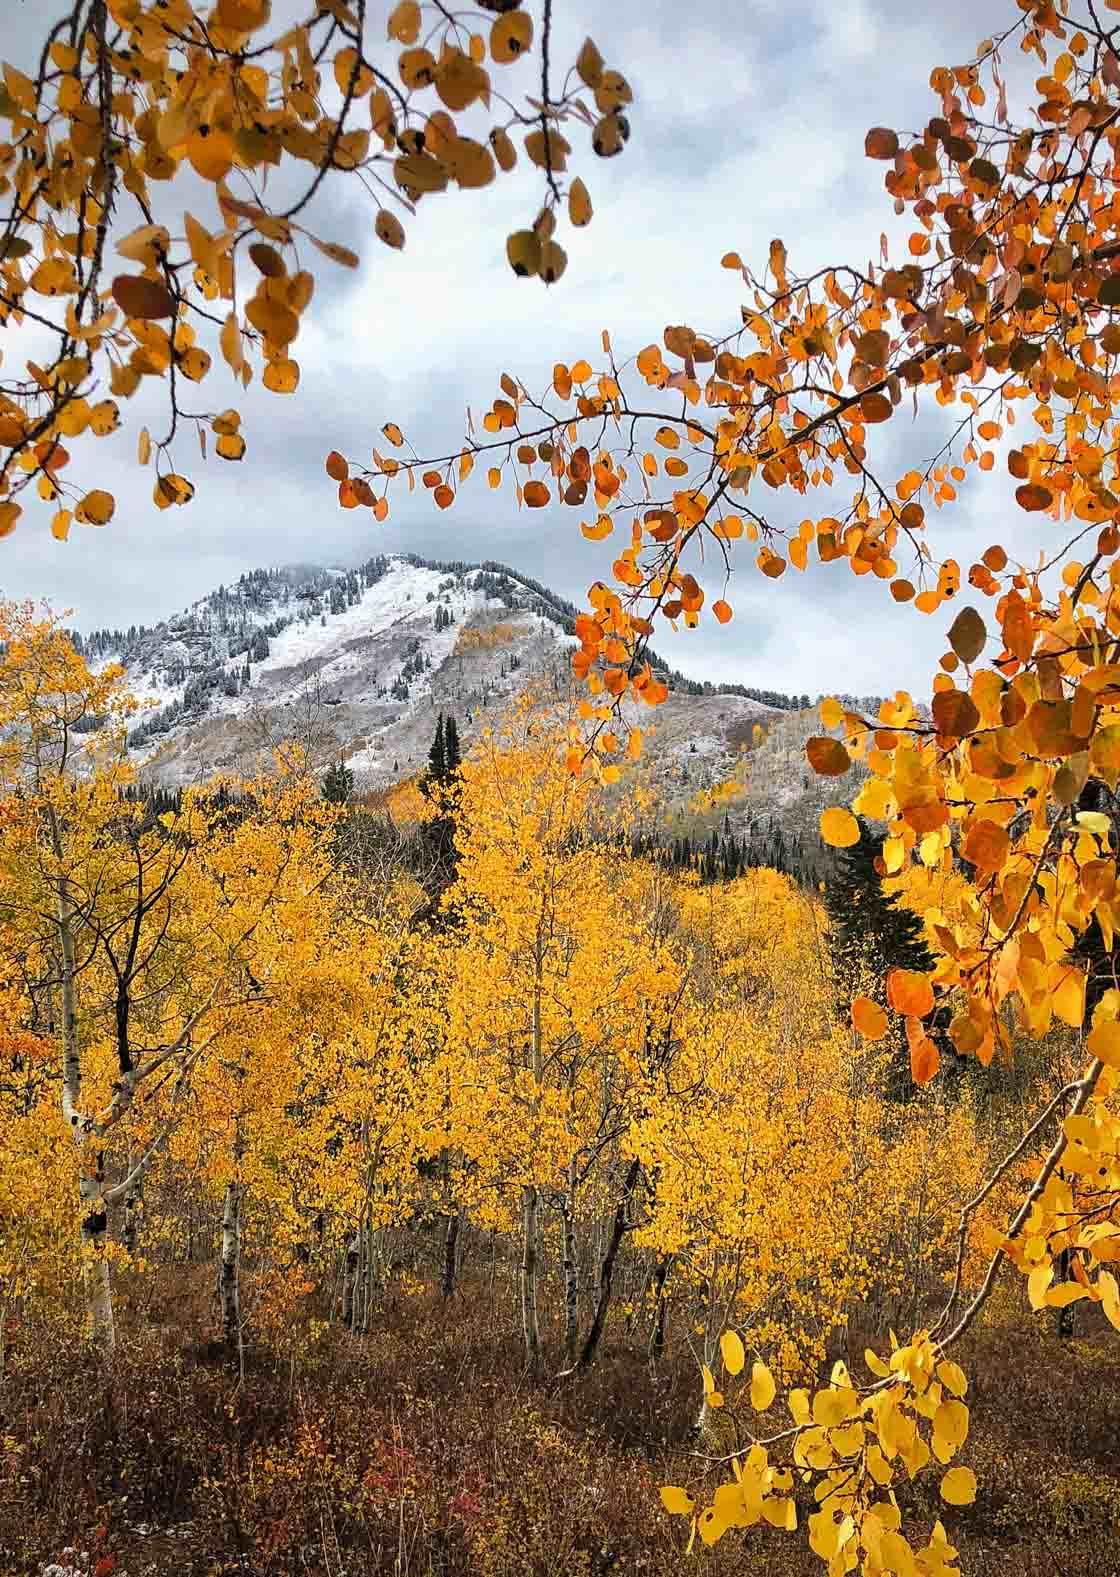
A beautiful composition exists. I guarantee it. You just have to have the patience to find it!
And if you use the Rule of Thirds, it will be amazing.
5. Get Low For Increased Interest And Drama
Once you’ve found the perfect subject and a perfect sky, you’re on your way to creating a dramatic iPhone landscape photography masterpiece.
But there’s a way that you can add a bit of extra drama:
By getting low.
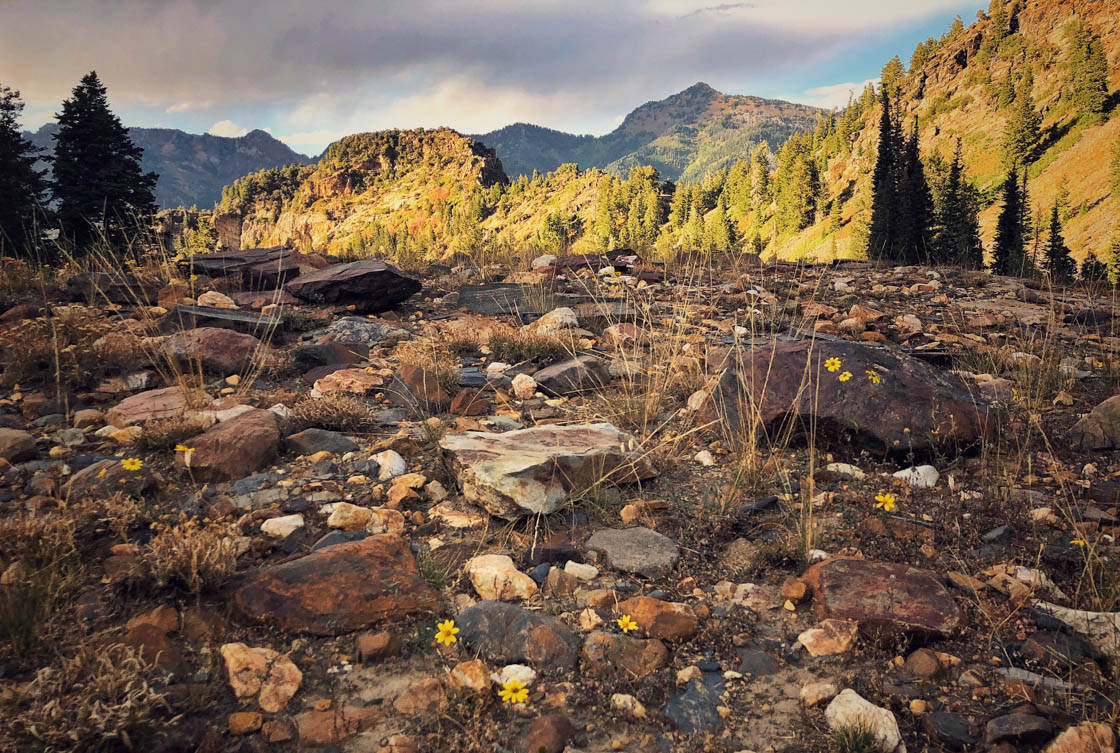
What do I mean by this?
When you’re about to shoot a scene, it’s easy to settle for a photo at chest height.
Resist this urge.
Instead, get down as low as you can. Place your iPhone close to the ground.
Then take your photo.
Why should you do this?
The low angle adds a sense of drama to the photo. It also tends to add some foreground interest—which enhances the photo’s depth.
To increase this further, look for something interesting to include in the foreground of the photo. Rocks, mosses, or trees can work well.
You can also try tilting your iPhone upward–so that you capture a photo like this:
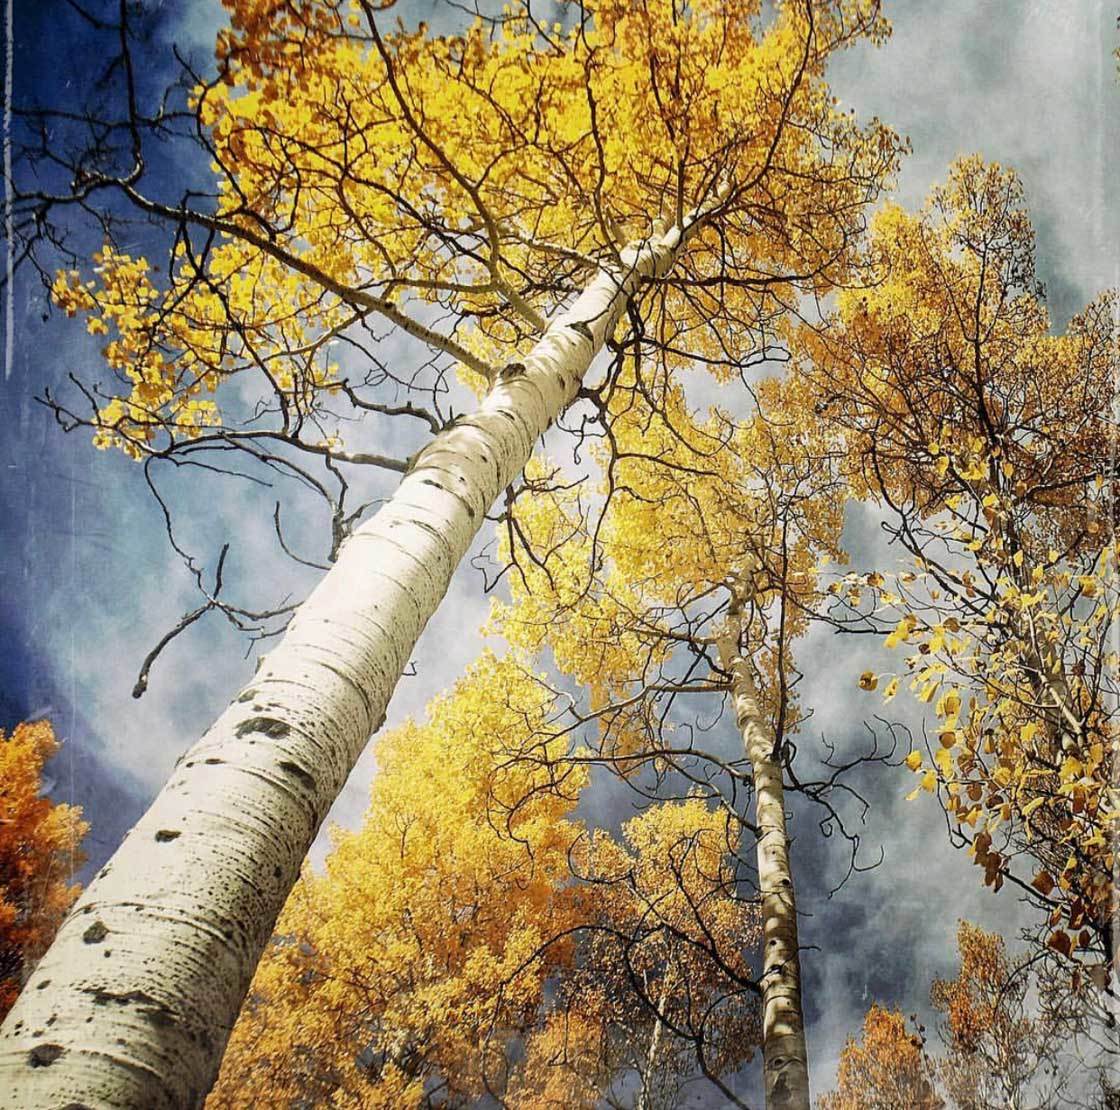
Notice how the upward angle creates a sense of movement and drama. Your eye follows the foreground elements through the frame.
To summarize: Get down as low as you can. You’ll be pleasantly surprised by the amount of drama this adds!
6. Shoot In Intense Weather For Moody Photos
Do you want especially dramatic, moody landscape photography?
Having a dramatic sunset is great. But you can also capture dramatic shots…
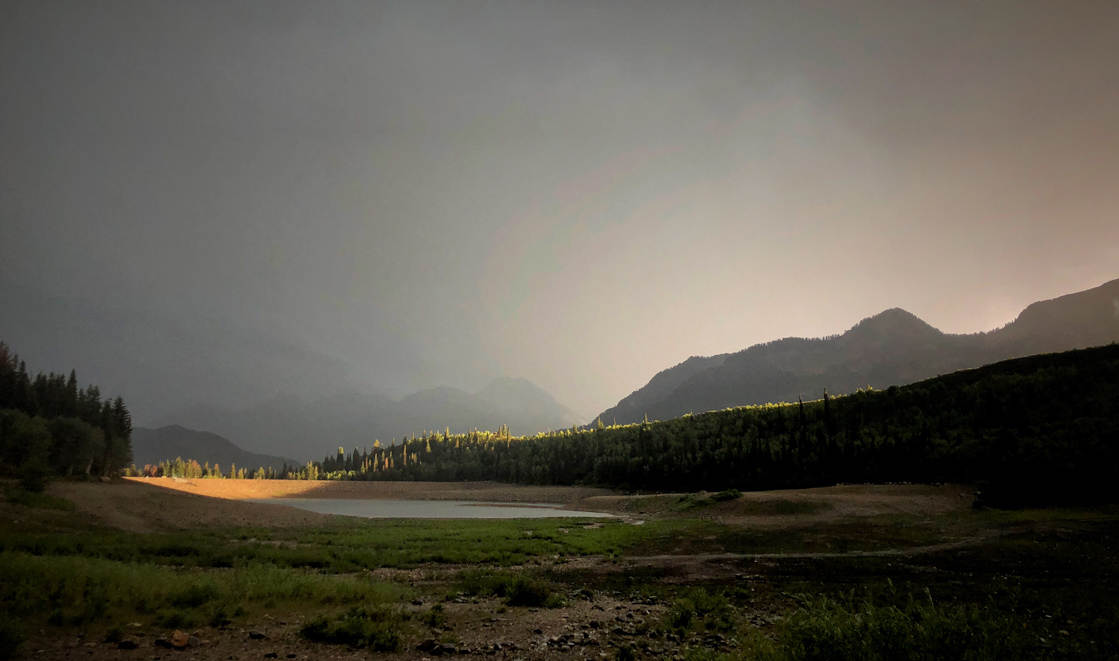
…if you venture out during bad weather.
Foggy days are my favorite. The fog creates a wonderful atmosphere–one full of beauty and mystery.
The fog also serves to soften the landscape. And this makes for better photos overall.
Plus, fog covers up distractions. When it’s foggy, you can isolate lone trees–which make great focal points!
Here’s the bottom line: If it’s a foggy day, get out and shoot!
Rainy days are great, too. The dark clouds add a great moodiness to the scene. And the rain makes colorful leaves more saturated.
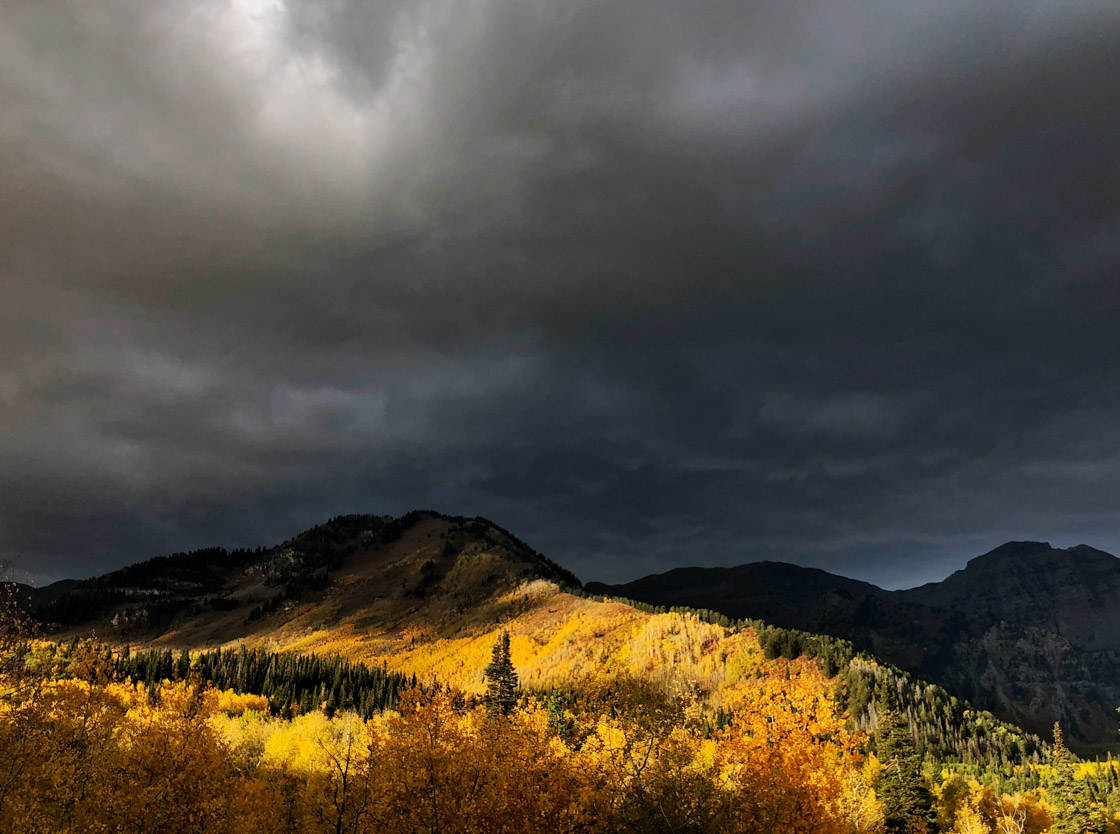
But be careful if you go out during bad weather. Clean the lens before and after each photo shoot. And make sure not to get your iPhone too wet—lots of water can damage it.
Bottom line: Go out during intense weather.
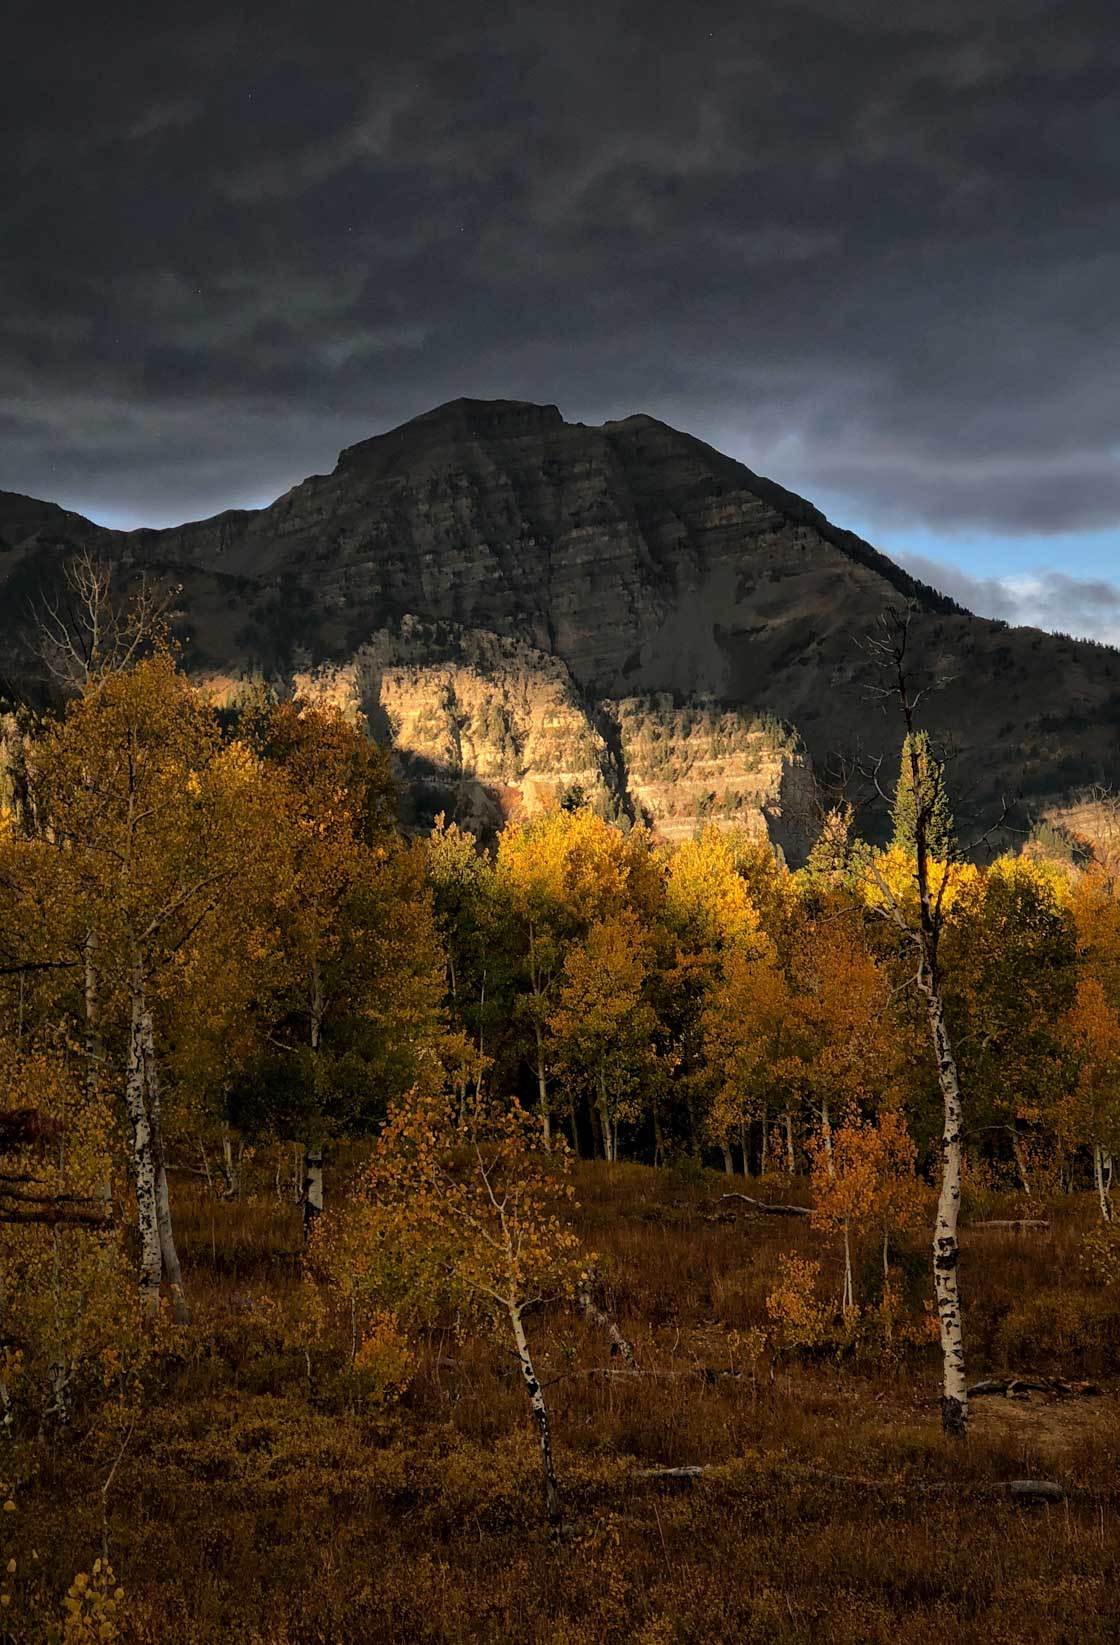
You’ll love the shots you capture.
7. Underexpose Your Landscape Photos To Get The Best Colors
Color makes a huge difference in your dramatic photography.
Bright colors give a sense of happiness. Somber colors give a sense of sadness.
And saturated colors often give a sense of drama. Notice how the bright greens and yellows enhance the photo below:
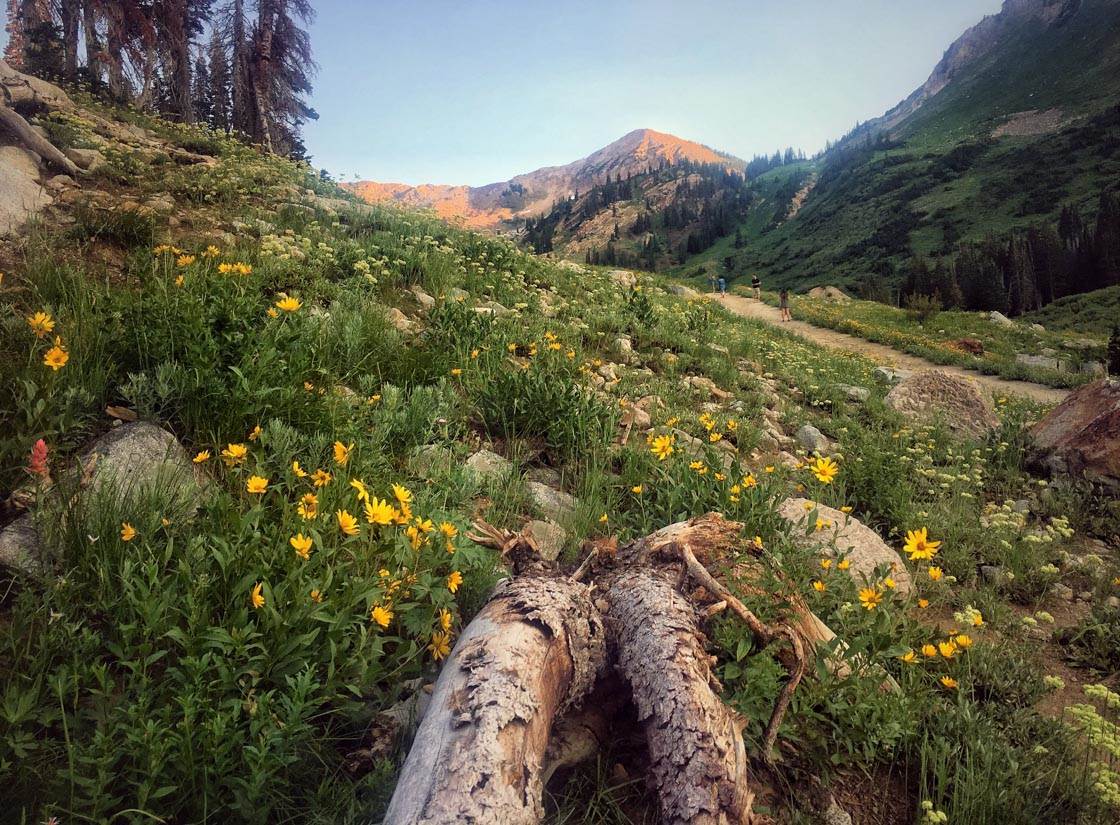
So how do you capture more saturated colors?
One way to capture these colors is to shoot on cloudier days. The clouds diffuse light and enhance color.
But what if you’re shooting under dramatic skies? It’s harder to find dramatic skies on very cloudy days.
Here’s what you do: You underexpose your photos slightly.
(To underexpose is to darken.)
By underexposing your photos, you’ll manage to retain lots of gorgeous colors.
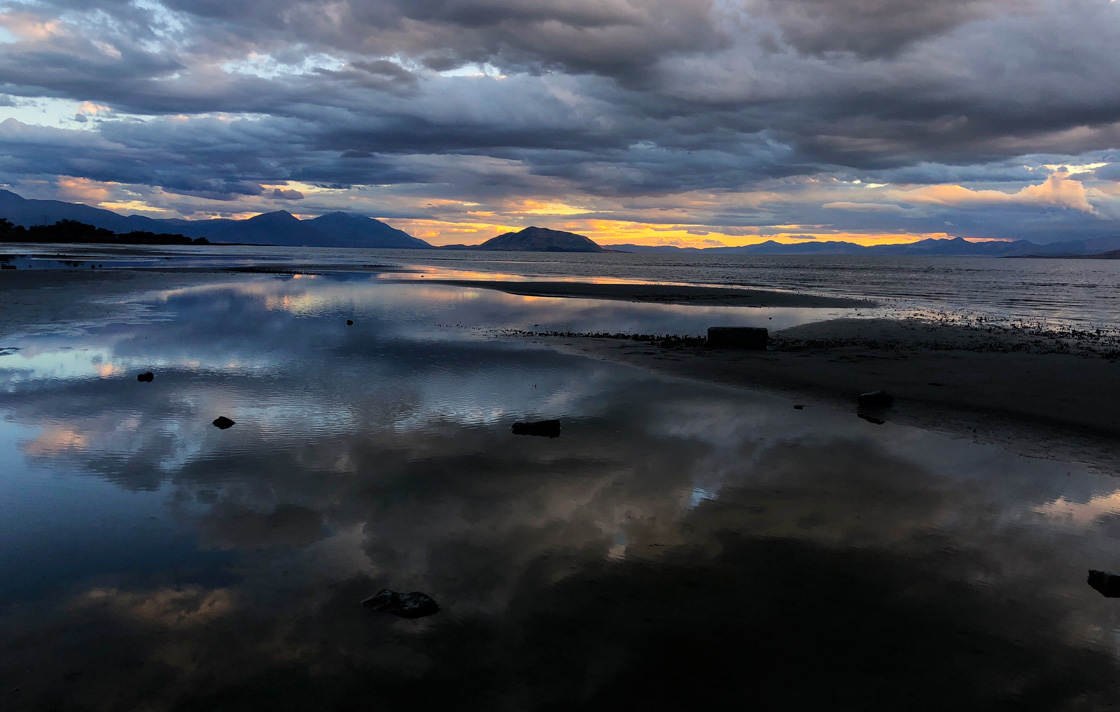
But how do you underexpose?
To set the focus point, tap on the subject of your photo. A yellow square will appear on the screen. Then simply swipe down—and watch as the photo darkens!

Now you can take your photo.
And the colors will be stunning!


Leave a Reply
You must be logged in to post a comment.