The beach presents you with an exciting array of photographic opportunities, but it can also be a challenging location for photography in terms of light and the vast expanse of open space. In this tutorial you’ll discover tips to help you take stunning beach photos with your iPhone.
1. Include A Focal Point
How many times have you been to the beach with your iPhone, taken hundreds of photos of the beautiful scenery and then been disappointed to realise that all of your images look pretty much the same? The problem with beaches is they contain a vast amount of empty space with few prominent features.
One of the first rules of photography is that you should always include a focal point in your image. You need an interesting point of focus that will give the viewer a place for their eye to rest, and then you can build your composition around that focal point. Initially you may find this quite challenging, but over time you can train your eye to see interesting subjects. Scan the scene for anything that stands out – it could be a person, a boat, a pier, a rock, a sandcastle, a lifeguard tower, footprints in the sand – anything that gives your photo meaning.
While the photo below has some interesting sand patterns in the foreground, it lacks a clear focal point. It doesn’t tell a story or hold the viewer’s interest for long.
Including people in beach photography is a great way of introducing a focal point.

Without the woman in the above image this beach scene would be fairly boring – just sand, sea and sky. Including a person gives the image meaning and provides a strong focal point. The woman is the main subject (the thing you are taking a photograph of) and the surrounding beach scene complements the image.
Focal points don’t have to dominate a scene, but they should give the photo meaning. The man in the photo below provides a strong focal point even though he is relatively small in the frame. Including a large expanse of empty space and taking the photo from a distance to keep the man small within the composition helps to convey a sense of scale.
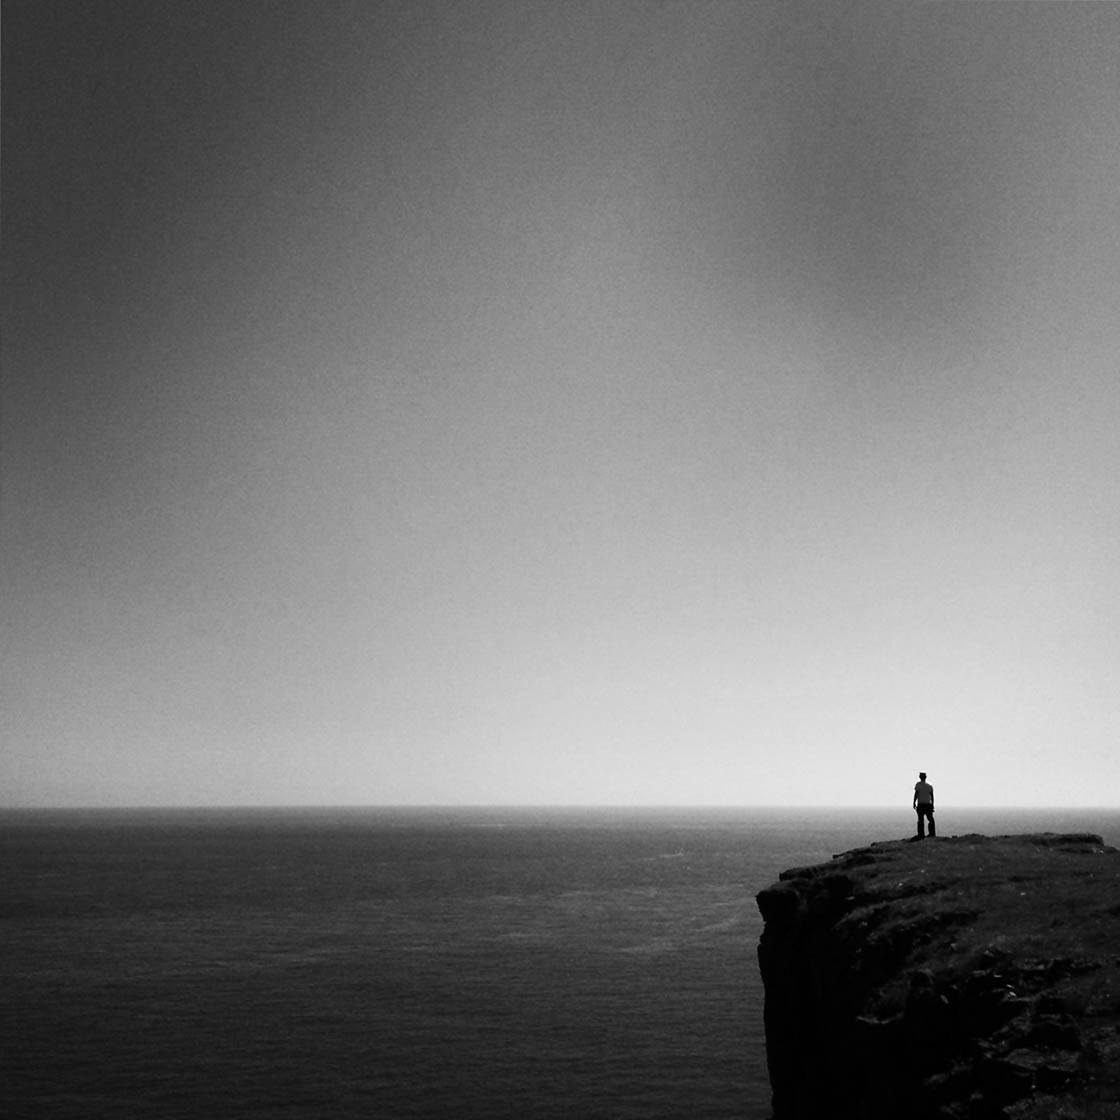
When deciding where to place your main subjects within the frame, think carefully about the “rules” of composition. Where would be the best place to position the subject? It’s often best to adhere to the rule of thirds which states that you should place your main subject off-center. However, in square photos placing your subject centrally can have a powerful impact.
Experiment until you find the best composition for that particular scene.
2. Include Foreground Interest
A great way of adding interest to your beach photos is to include objects in the foreground.
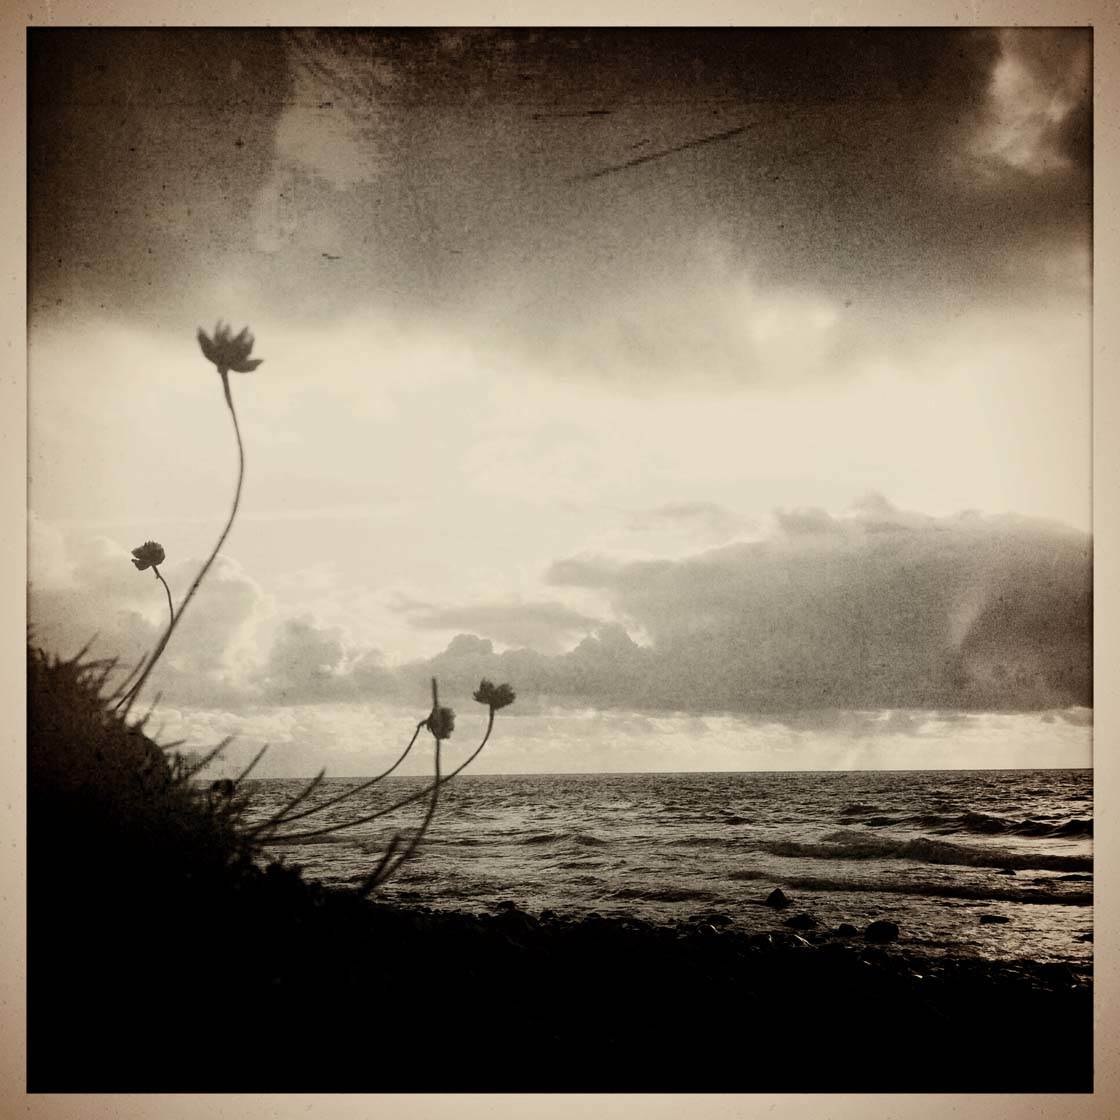
Climbing up into the dunes and including this flower in the foreground has added interest and a focal point to the photo. Foreground objects engage the viewer and make the composition more dynamic. They also add context to the image, providing the viewer with an insight into what the surroundings looked like. Crouching down and taking the photo from a lower angle is often a good technique when trying to include foreground objects.
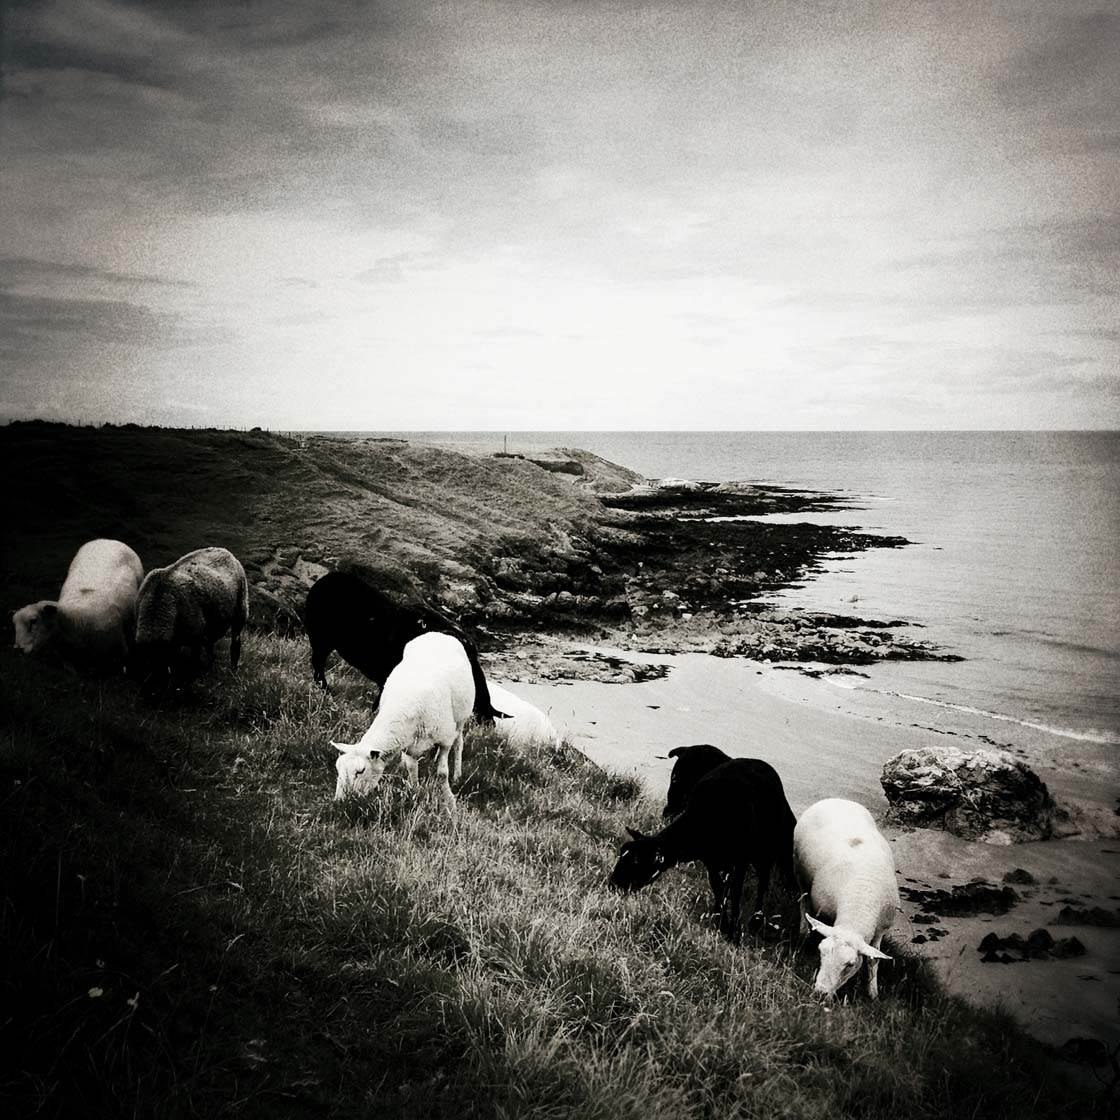
The sheep in this photo provide foreground interest and help to lead the eye into the image. Without the sheep the image would appear fairly flat and you would just focus on the scenery in the distance.
3. Use Burst Mode
The beach is full of subjects moving in unpredictable ways, such as crashing waves, people, birds and boats. This is where burst mode is invaluable to help you capture just the right moment. To activate burst mode simply hold down the shutter button for half a second or longer, and the iPhone will start taking photos one after another.
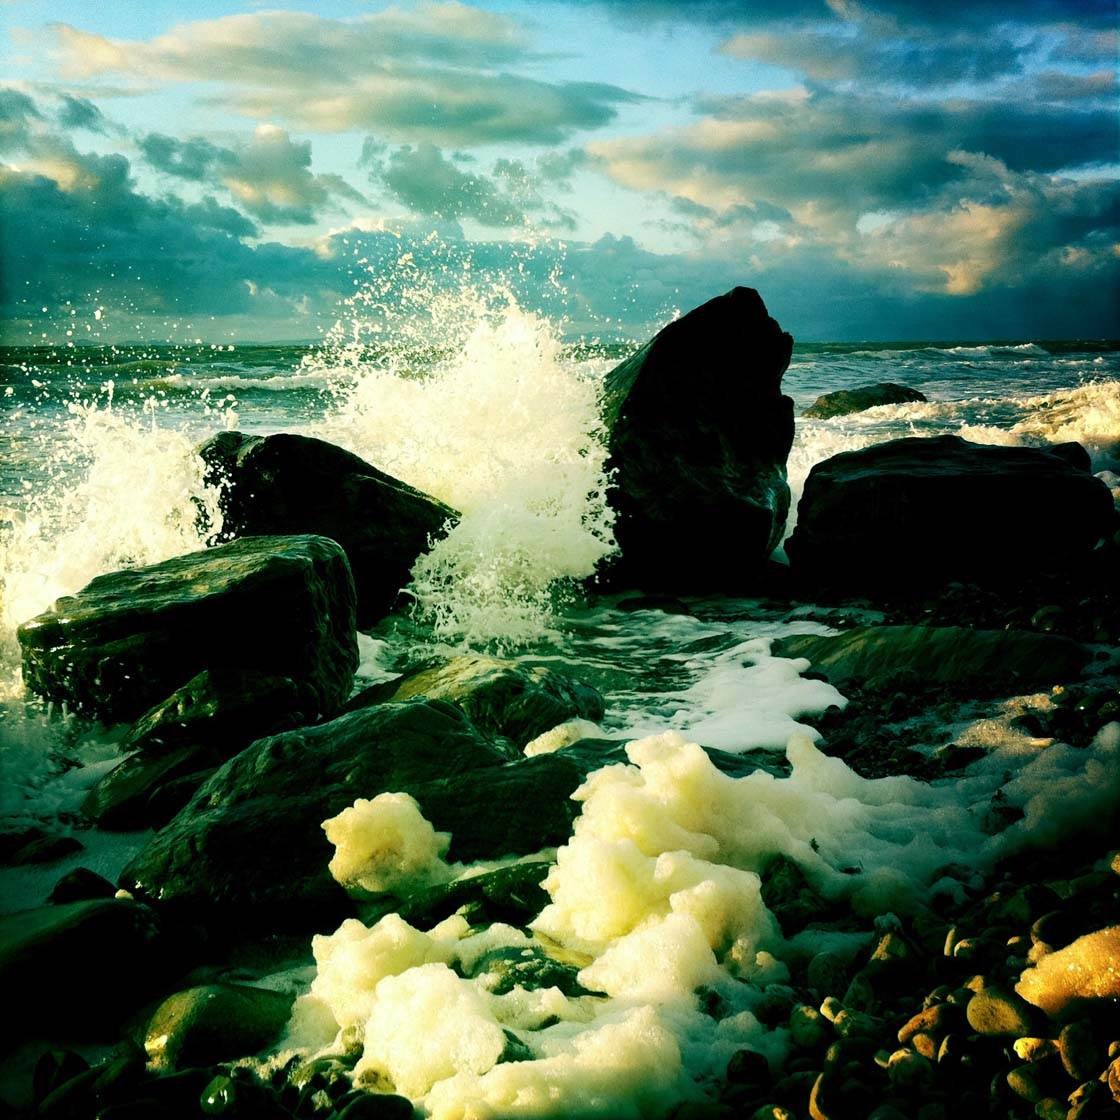
Capturing the splash from crashing waves is really exciting but without burst mode you could spend hours trying to press the shutter button at just the right time. Burst mode enables you to capture the perfect moment in just a few seconds. Try it out next time you go to the beach and I’m sure you’ll get some amazing results!
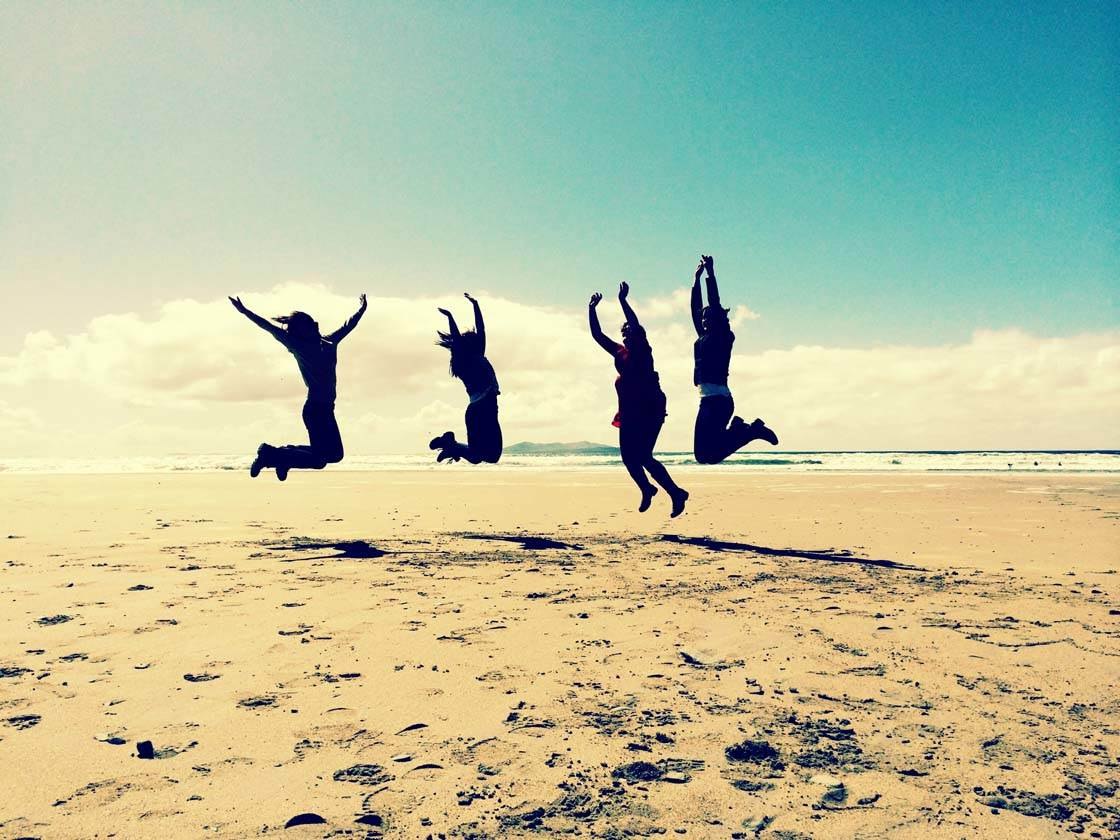
Burst mode is also great when photographing people, as well as other moving subjects such as birds or dogs.
4. Look For Reflections
Water produces some of the most beautiful reflections, and one thing we’re not short of at the beach is water!
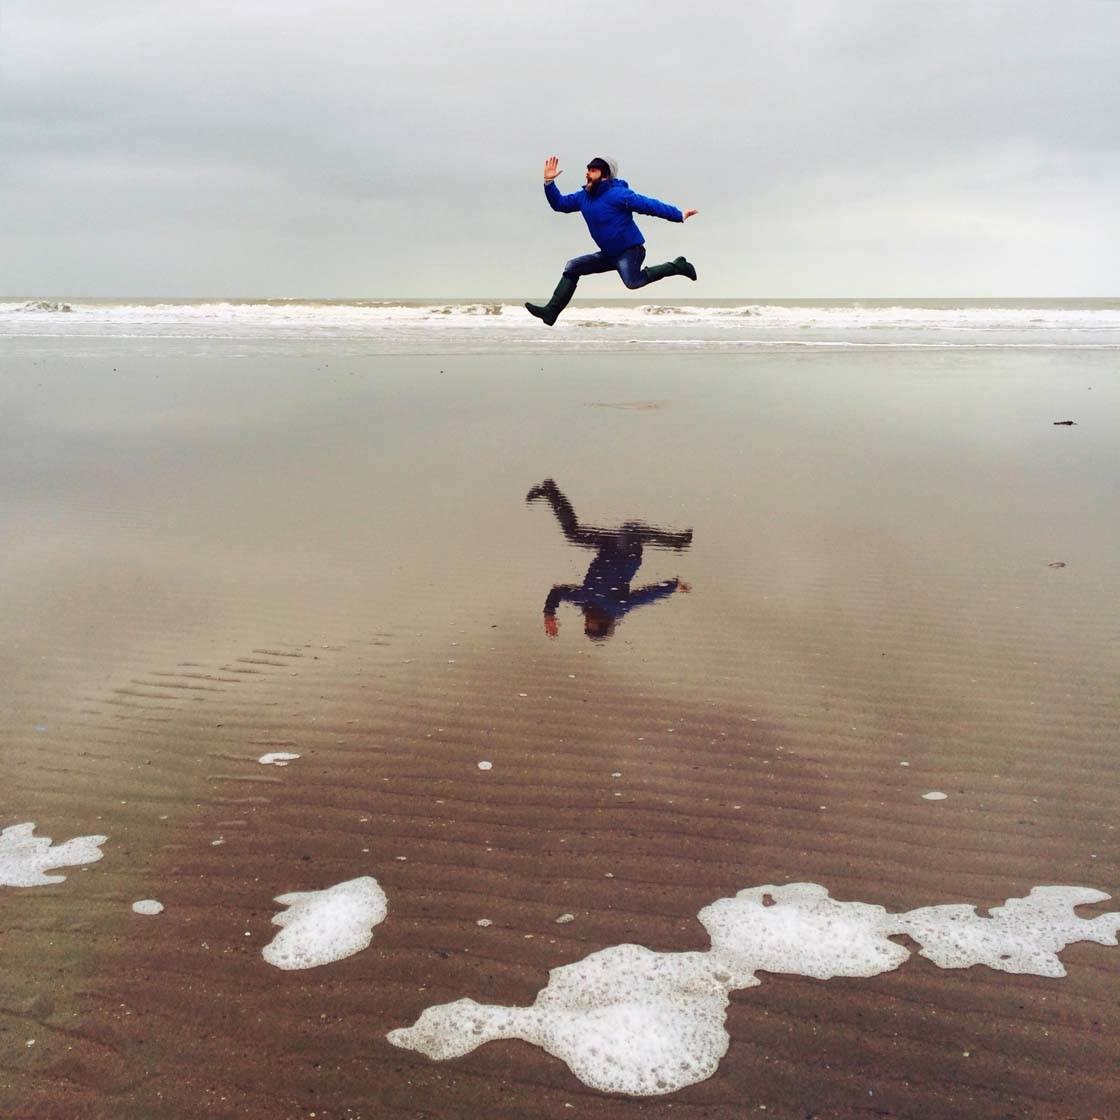
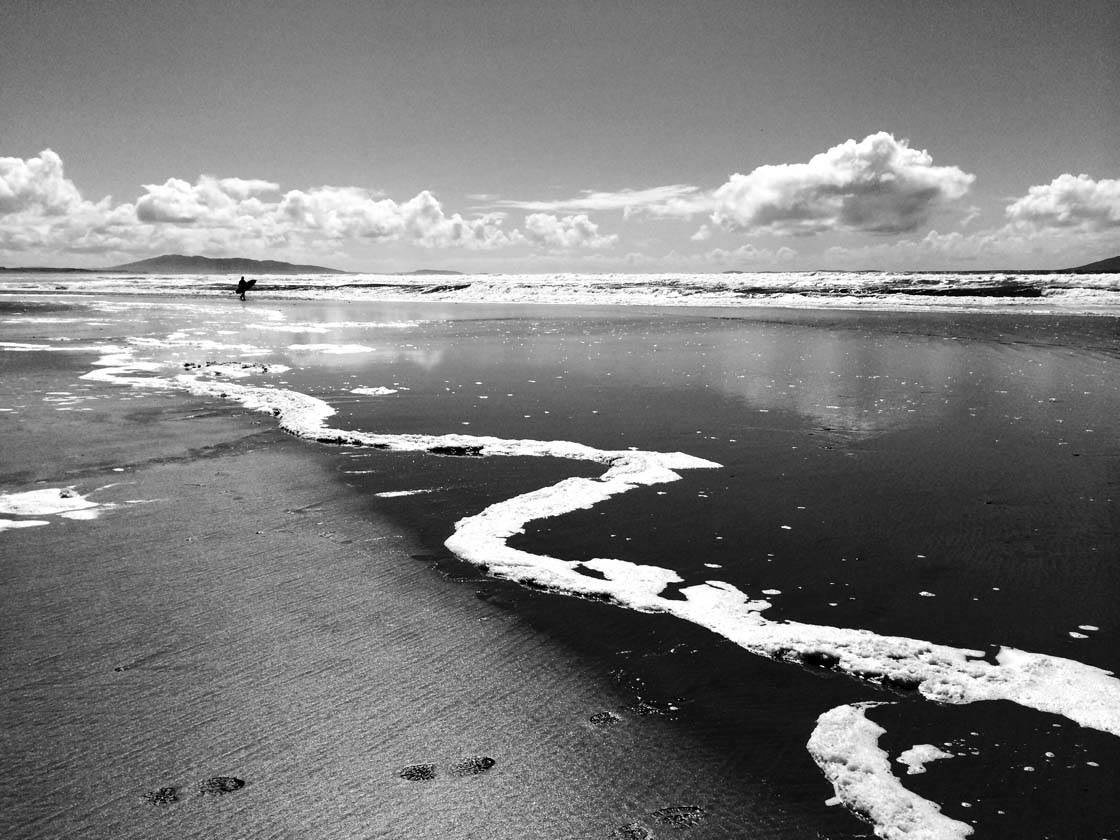
Once you notice a good reflection, explore the composition options. For example, it may look better if you take the photo from a lower angle. In this photo I held my iPhone just a few centimeters above the water, which enabled me to include the interesting white foam in the foreground and to position the jumping man in front of the plain sky.

Harbours and boats can produce some stunning reflections, especially at sunset. The ripples in the water here have distorted the reflections to create a mesmerising zigzag effect.
5. Create Silhouettes
The beach is a great place to capture stunning silhouettes, especially at sunset. How do you do sunset photography with silhouettes?
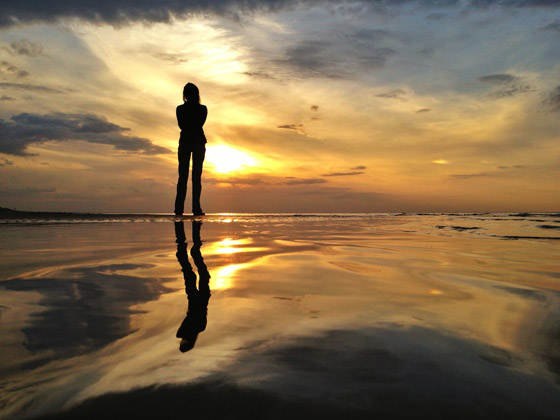
Silhouettes are created when there is a strong light source behind the subject. Place your subject with the sun behind them, then ensure that you expose your image for the brightest part of the scene. To set exposure, simply tap on the screen where you want to set exposure. So in this photo you would tap on the sky as it’s the brightest part of the scene. Shooting from a low angle will ensure that your subject stands out against the sky, rather than against the sea or sand.
6. Find Interesting Detail
One of the problems with beach photography is that all your photos can end up looking the same – just sand, sea and sky. But if you look carefully there’s plenty of interesting detail to photograph. I tend to spend the majority of my time at the beach looking down at the ground!

Look for footprints in the sand, interesting shells or pebbles, seaweed, driftwood, fishing nets or ropes. There are so many textures and intricate details to photograph at the beach once you start looking. Try filling the entire frame with these small details to really give the image impact.

7. Search Out Color
One of the reason beach photos can all look so similar is because of the lack of variation in color. You have brown sand, blue sea and sky, and not a lot else. To make your beach photos stand out, try searching for some vivid colors – I’m sure you can find plenty if you look.

The bright yellow of this bench on the promenade caught my eye, and added a much needed splash of color to my collection of beach photos.

Look out for the vivid colours in fishing nets, buckets and spades, beach balls, lifebuoys, beach huts and boats. Try filling the entire frame with your subject so that the color itself becomes the main point of the image.
8. Use Lines In Your Composition
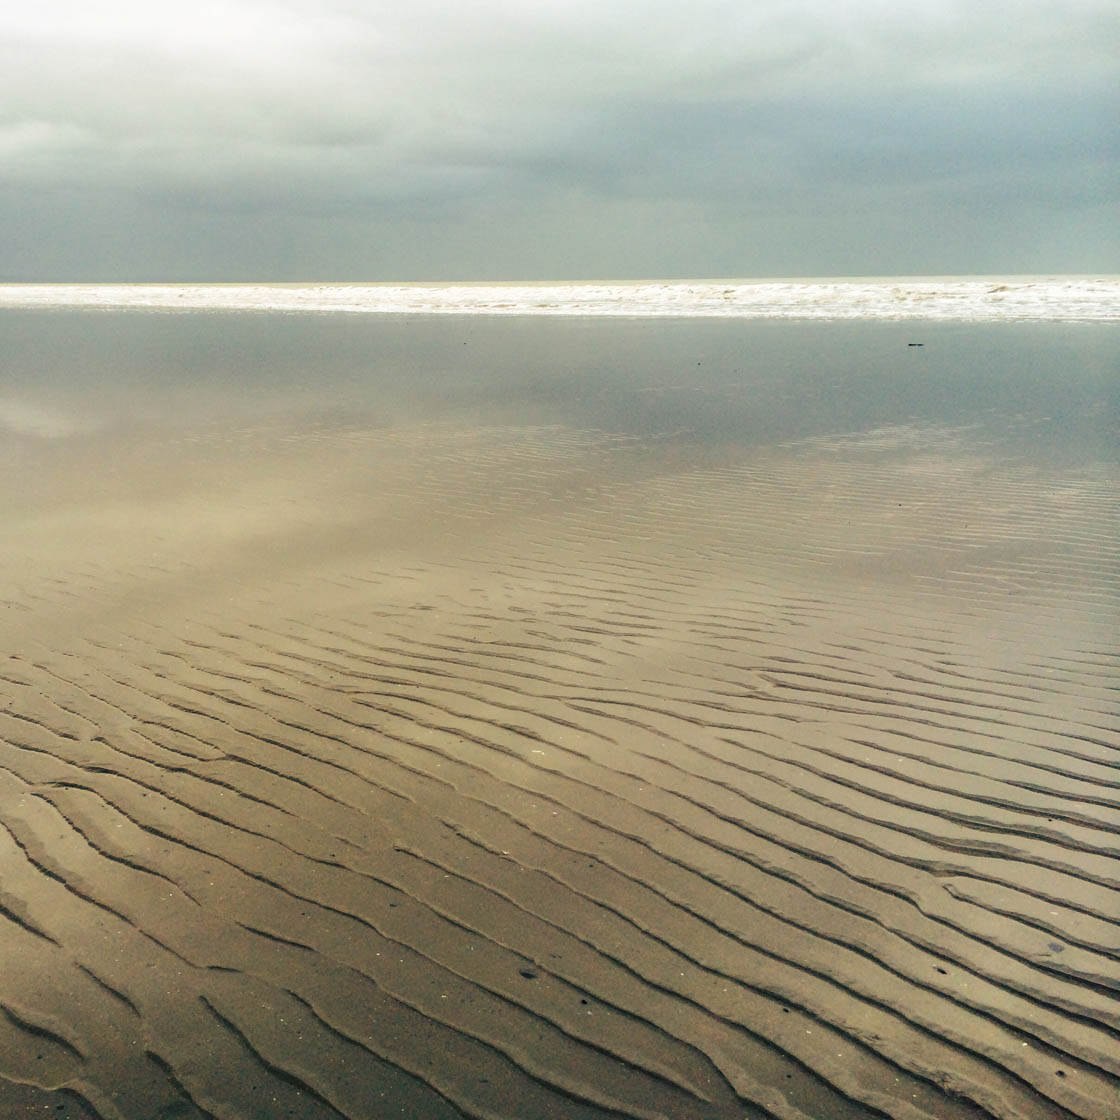
Using lines in your composition is one of the most powerful ways to produce incredible photos with your iPhone. Lines could be straight, curved, S-shaped, converging, parallel or diagonal, and ideally they should lead towards your main subject or focal point. Lines could also feature as the main subject of your image, for example, you could fill the frame with the rippled lines in the sand to produce an interesting abstract image which just contains lines.
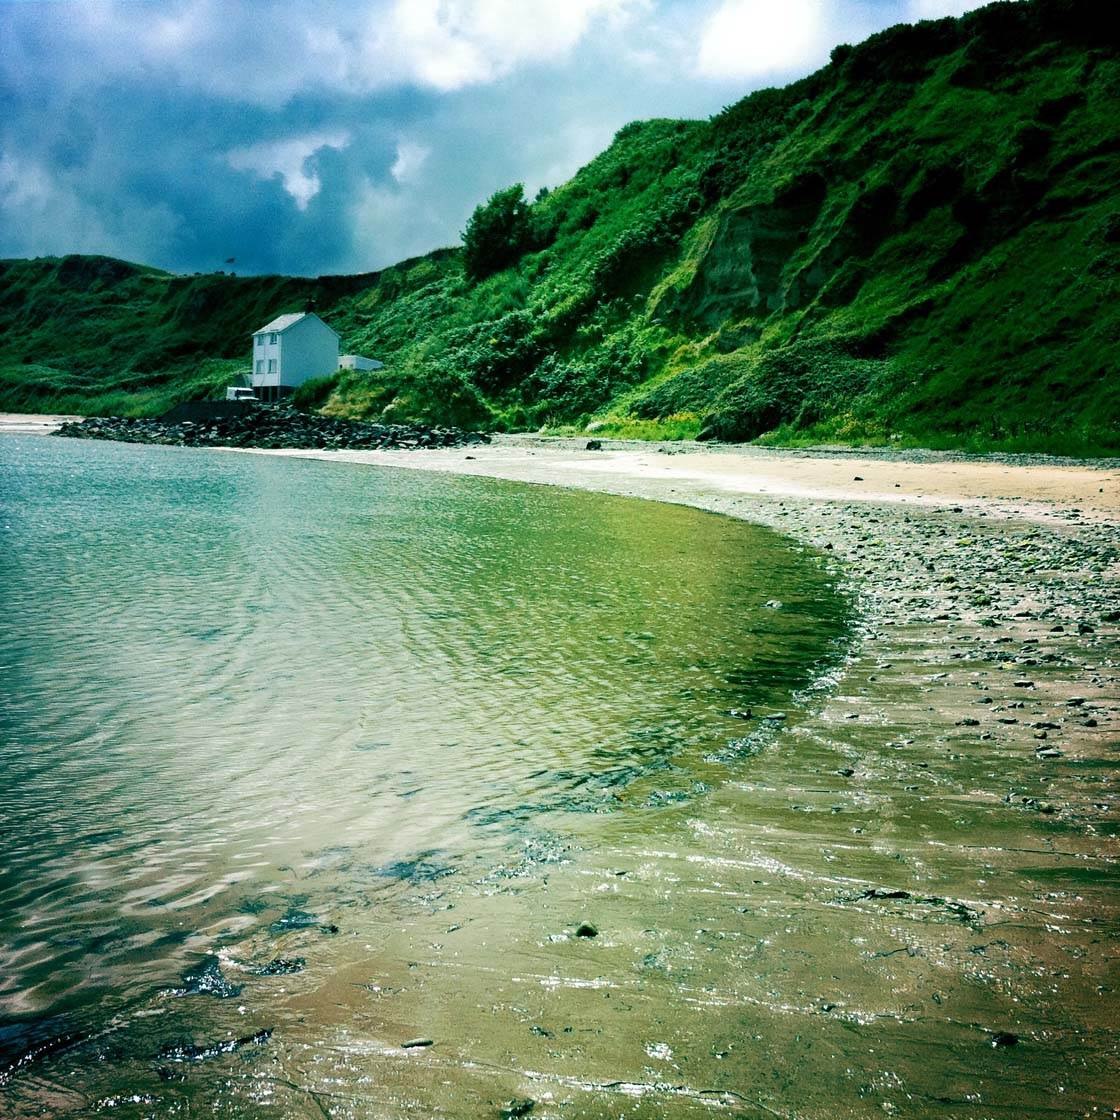
The water’s edge provides an excellent line to use in your composition. Lines generally work best if they start from one of the bottom corners and lead towards the focal point. In this example the curve of the line leads your eye from the bottom left corner, around the image to the beach and cliffs, and finally to the white house which is the focal point in the image.
9. Convert To Black And White
It’s definitely worth experimenting with converting your images to black and white using a post-processing app such as Snapseed or Camera+. It can really alter the mood of the photo, producing some dramatic results. It’s also a great way of bringing to life shots taken on a dull and overcast day where there is little color or detail in the sky.
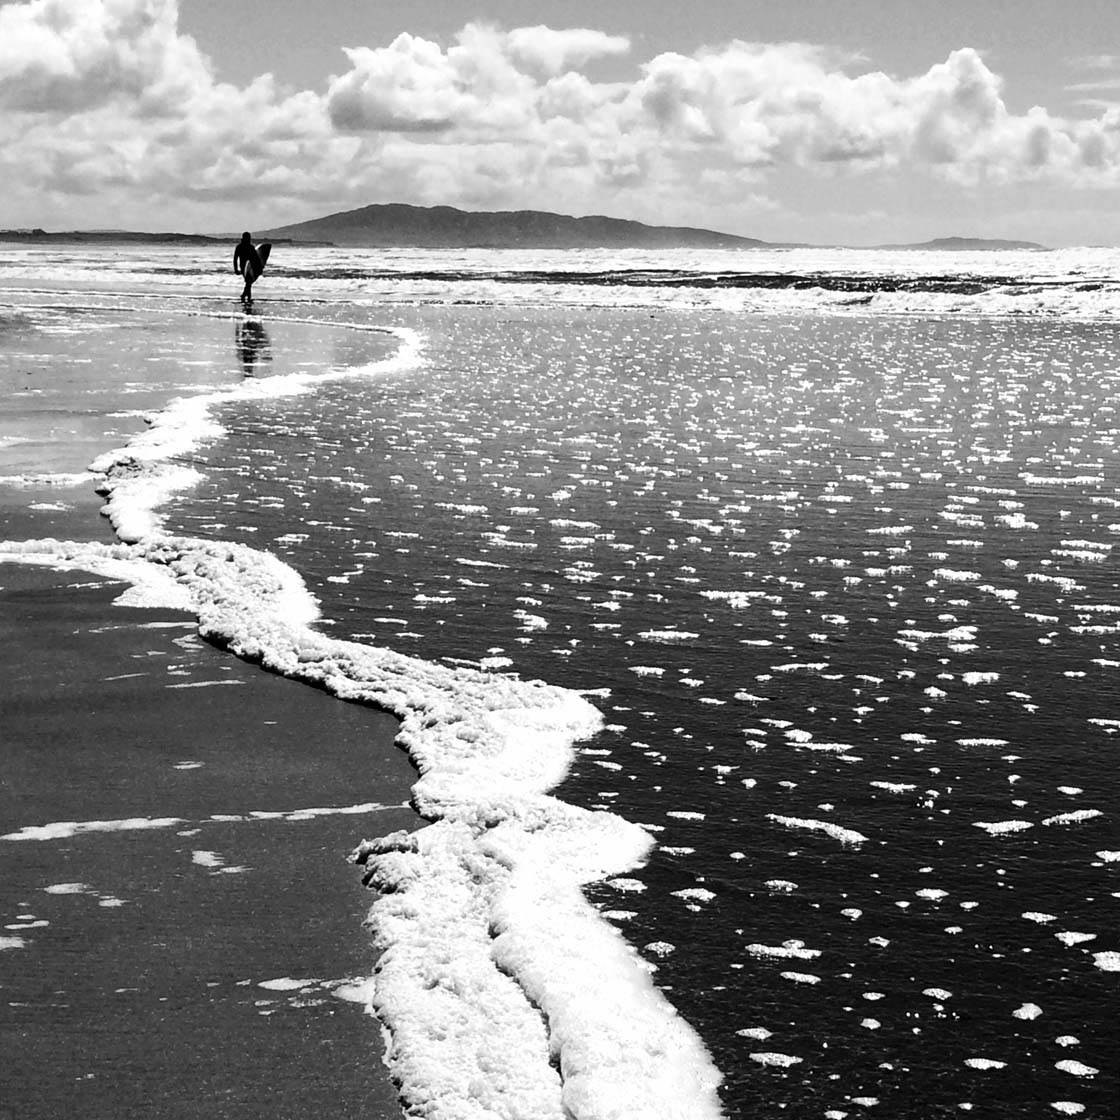
Black and white is really well suited to high contrast scenes where you have very bright and very dark areas. It also worked well for this photo as the foam in the foreground was an ugly yellow which distracted the eye from the rest of the photo.
10. Turn Around
My final tip is one that I find really important in landscape photography, and that is to turn around to see what’s behind you. Often we’re so focussed on the beautiful scene in front of us that we forget to look at what’s behind us, and you could be missing out on some amazing shots.

So, once you’ve taken your photos of the beach, try turning back towards land to see what interesting subjects present themselves. Of course you may have to go and explore, so take some time to wander around. Climb up into the sand dunes, walk along the harbour wall or venture into the amusement arcades. I guarantee you’ll find some photographic treasures!


Lots of good tips and photos. Well written. Thanks!
Glad you enjoyed it! I think Kate did a great job with this article.
Thanks Faye! Glad you found it useful 🙂
Great tutorial, thanks so much Kate and Emil! 🙂
Thank you Karin! Glad you enjoyed it 🙂
Thanks