Improving your photos using photo editing apps is the key to getting your iPhone photos noticed. But what if you don’t get the composition quite right when you take the picture? Luckily, the crop tool in photo editing apps offers you a second chance to create a more eye-catching composition. Trimming a small amount from the edges of your image can make a huge difference, whether it’s to eliminate distractions or create a better overall balance. In this article you’ll discover how to use cropping techniques to create perfectly composed iPhone photos.

1. Get Framing Right When Shooting
Of course, the best option is to get the framing right at the time of shooting. That way you don’t have to crop the photo at all in post-processing.
Not only will this save you time when editing, but it also means that you won’t be reducing the size of your image. When you crop a picture, you’re actually removing pixels from the edges of your image, thus reducing the overall size of the photo.
The more you crop away from your picture, the smaller it will become. If you then try to view or print your photo at a large size, the quality of the image will look poor.
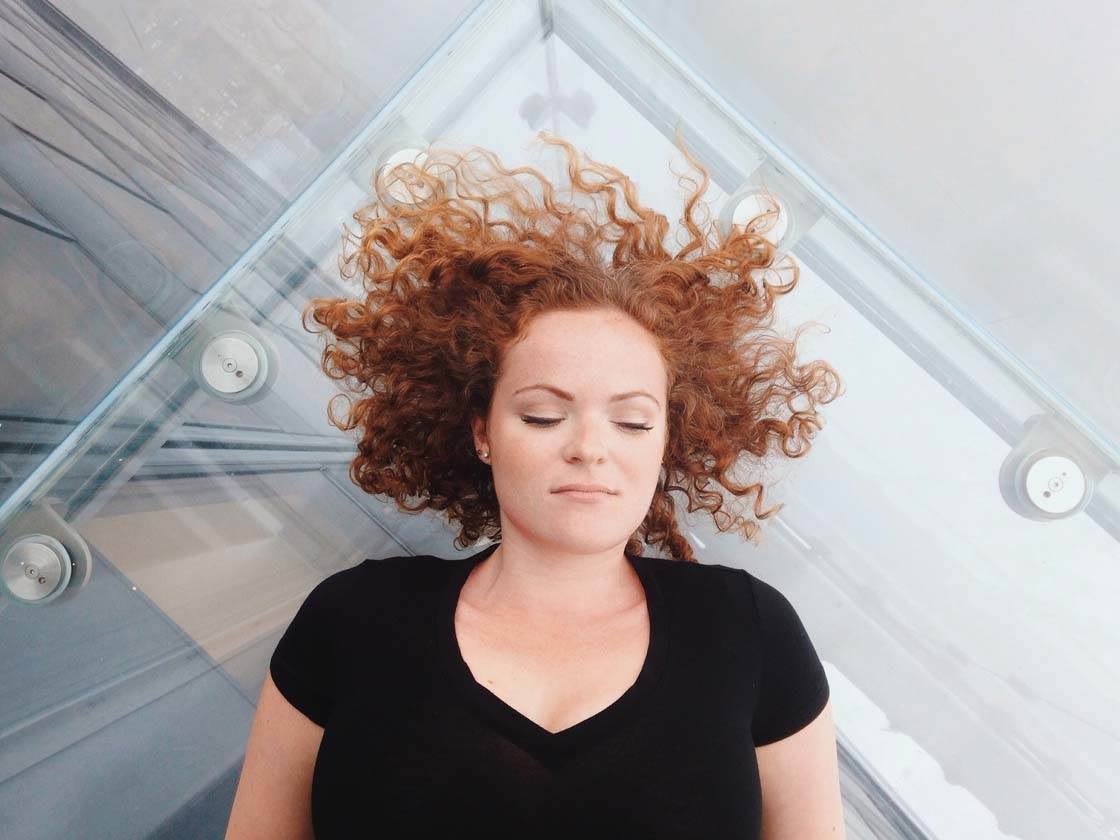
To avoid having to crop away unwanted parts of an image, concentrate on creating a well-composed shot before you press the shutter.
Think about what you want to include in the frame and what you want to eliminate. If necessary, get closer to the subject or take a few steps back to get exactly what you want in the frame.

A good tip to ensure you don’t have any distracting elements around the edges of the frame is to look from corner to corner before you press the shutter button. If you spot any distractions, recompose your shot to eliminate them.
You might need to change your shooting angle to achieve a better composition. For example, if there are distracting elements in the background, try shooting from a low angle to get more plain sky behind your subject.

If you’re creating a symmetrical photo, use the grid in the camera app to ensure the line of symmetry is perfectly central. To switch on the camera’s grid, go to Settings > Photos & Camera > Grid.
Finally, remember that you don’t always have to include the entire subject within the frame. Sometimes, cropping off part of the subject at the time of shooting can create an interesting picture that will intrigue the viewer.
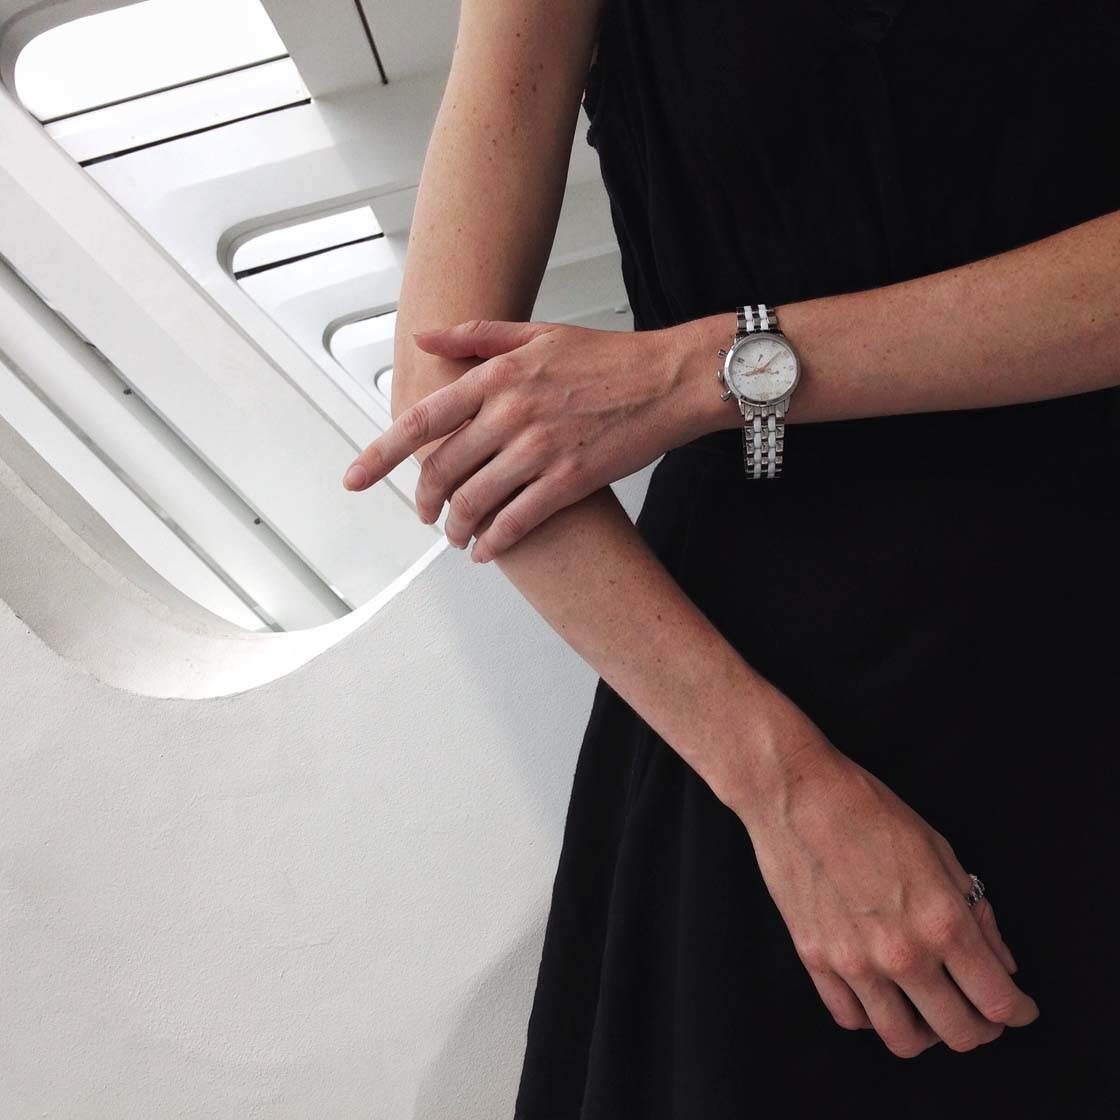
If you know that you don’t want to include the entire subject in the frame, get close and frame your shot exactly how you want it. This is always a better option than shooting from a distance and then cropping in post-processing.
While getting the framing right at the time of shooting is always the best option, this isn’t always possible. Sometimes you can’t get close enough due to obstructions in the foreground such as a road, fence or river.
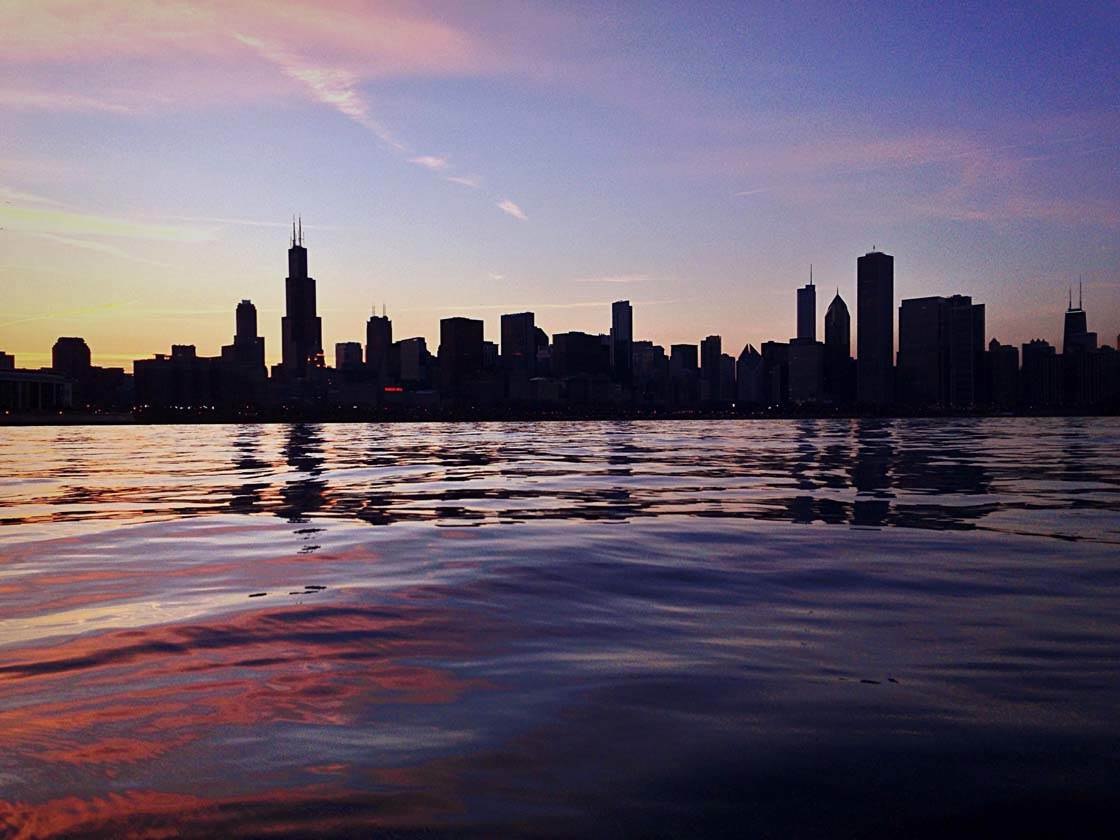
Sometimes you have to take the shot very quickly so that you don’t miss the moment, giving you no time to think about accurate composition.
And sometime you just make a mistake with the composition at the time of shooting, and you only notice your error when you look at the photo later.
In these situations, you’ll need to crop your photo in post-processing in order to eliminate distractions from the edge of the frame or create a more pleasing composition.
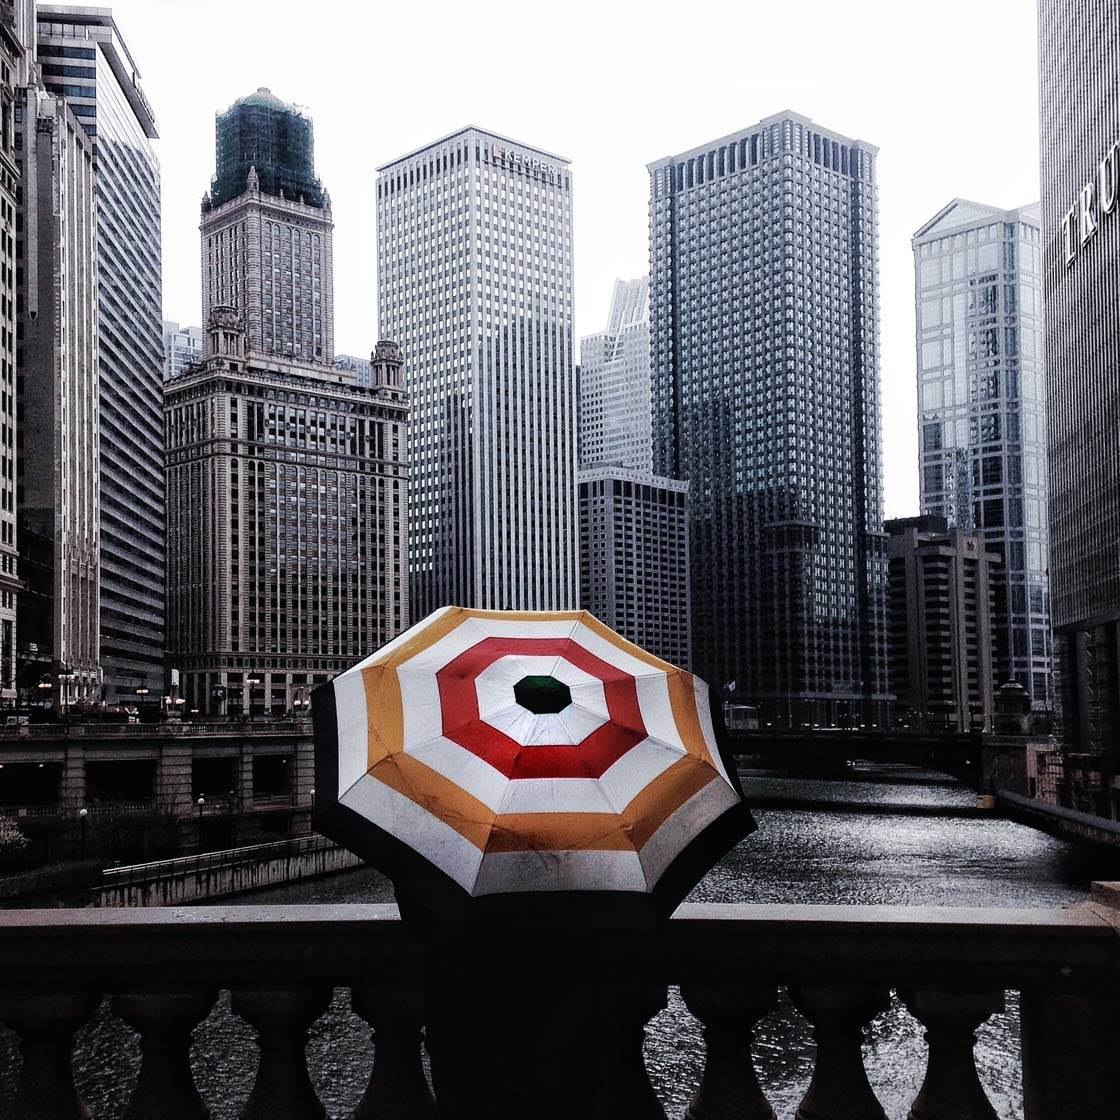
In the rest of the article you’ll discover how you can use cropping to create better composition in your photos.
2. Remove Unwanted Objects
If you take a photo that has distracting objects around the edge of the frame, these can easily be removed by cropping the image. This simply involves trimming the edges of the picture.
There’s no specific app that you need to use for cropping. Almost every photo editing app has a crop tool, so just use the app that you’re most comfortable with. I usually use the Snapseed app since I often edit my photos with this app.
The main thing you should look for in a crop tool is that it has different aspect ratio options, e.g. square (1:1), 4:3, 3:2, 7:5, 16:9, free, etc.
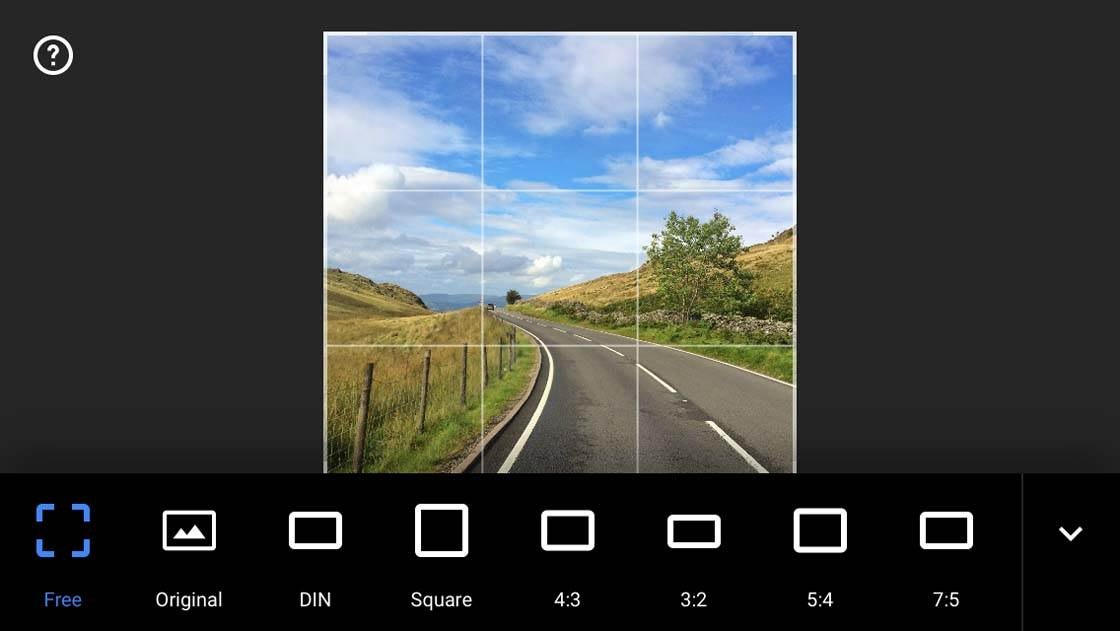
These options allow you to either specify a certain aspect ratio that determines the relative width and height of the cropped area, or to perform a “free” crop where you’re not limited to any particular aspect ratio.
Once you’ve chosen which aspect ratio you want to use, simply drag the corner crop handles to determine the new edges of the image.
Below is a photo that I took inside a building. At the bottom of the frame is a small silhouette of a person and some other distracting objects.

Including a person in the scene often adds to the photo, but in this particular case I decided to crop off the bottom of the frame to create a more abstract image that just focused on the patterns and lines of the architecture.

This is such an easy thing to do in post-processing, but it can make a huge impact to your image. So whenever you’re editing photos, always take a good look around the edges of the frame to check if anything needs to be eliminated.
Remember, the more you crop away from your photo, the smaller the image will become, and the worse quality it will look when viewed or printed at a large size. So only remove what’s absolutely necessary when cropping your pictures.
3. Crop Instead Of Zoom
Sometimes it’s just not possible to get close enough to your subject when taking a photo. The mistake that many people make in this situation is to use the zoom feature in the camera app to enlarge the scene in the viewfinder.
But the digital zoom feature on the iPhone will reduce the quality of your image, so it’s usually best to shoot without zooming in, and then crop away the unwanted edges in post-processing.

Here’s an example of a time where I physically couldn’t get any closer because of the water. I really wanted to create a composition where the two tallest buildings were positioned at the edges of the photo in order to create a natural “frame” for the other buildings.
The only way I could have achieved this at the time of shooting was to use zoom, but this would have resulted in a poor quality image.
So I just took the shot, knowing that I could crop it later. Below is the cropped photo with the tall buildings nearer the edges of the frame.

As a result of this cropping, some of the foreground has also been removed which creates a more balanced overall composition.
Whenever you’re faced with a situation where you can’t get close enough to your subject, don’t use the iPhone camera’s zoom. Just take the shot, then crop away the unwanted edges in post-processing.
Even though cropping reduces the size (and therefore quality) of the image, it gives you more control over how much of the image you remove. Cropping usually results in a better quality image than using the camera’s zoom feature.
4. Crop To Create A Stronger Focal Point
Even when you have the option to walk closer to your subject, you can still make mistakes and shoot from too far away.
The scene will often look great through your own eyes, but when you take a photo with your iPhone everything can seem much further away. This is due to the iPhone having a fairly wide angle lens.
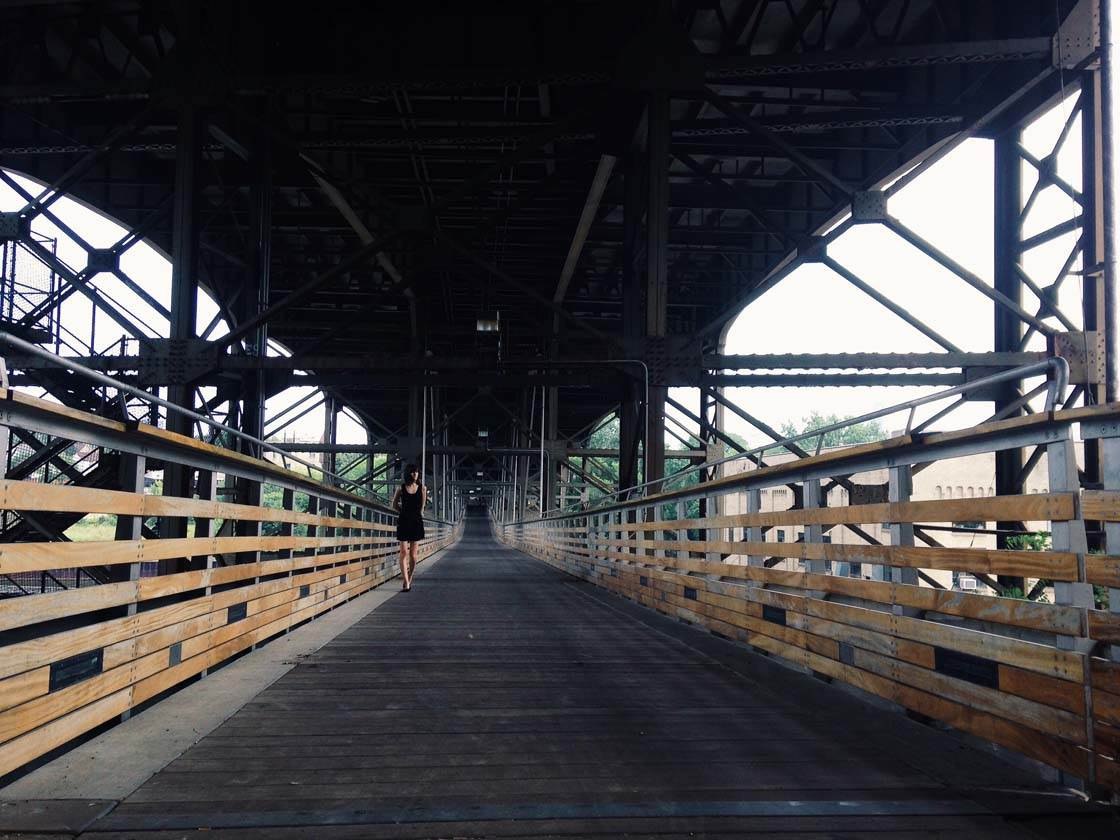
If you take a photo from too far away, your main subject can end up looking too small. This photo is an example of the main subject (the woman) becoming lost within the scene due to the photo being taken from too far away.
By cropping away the edges of the photo like this, you can make your subject appear larger within the frame. This creates a much stronger focal point with more detail visible in your subject.
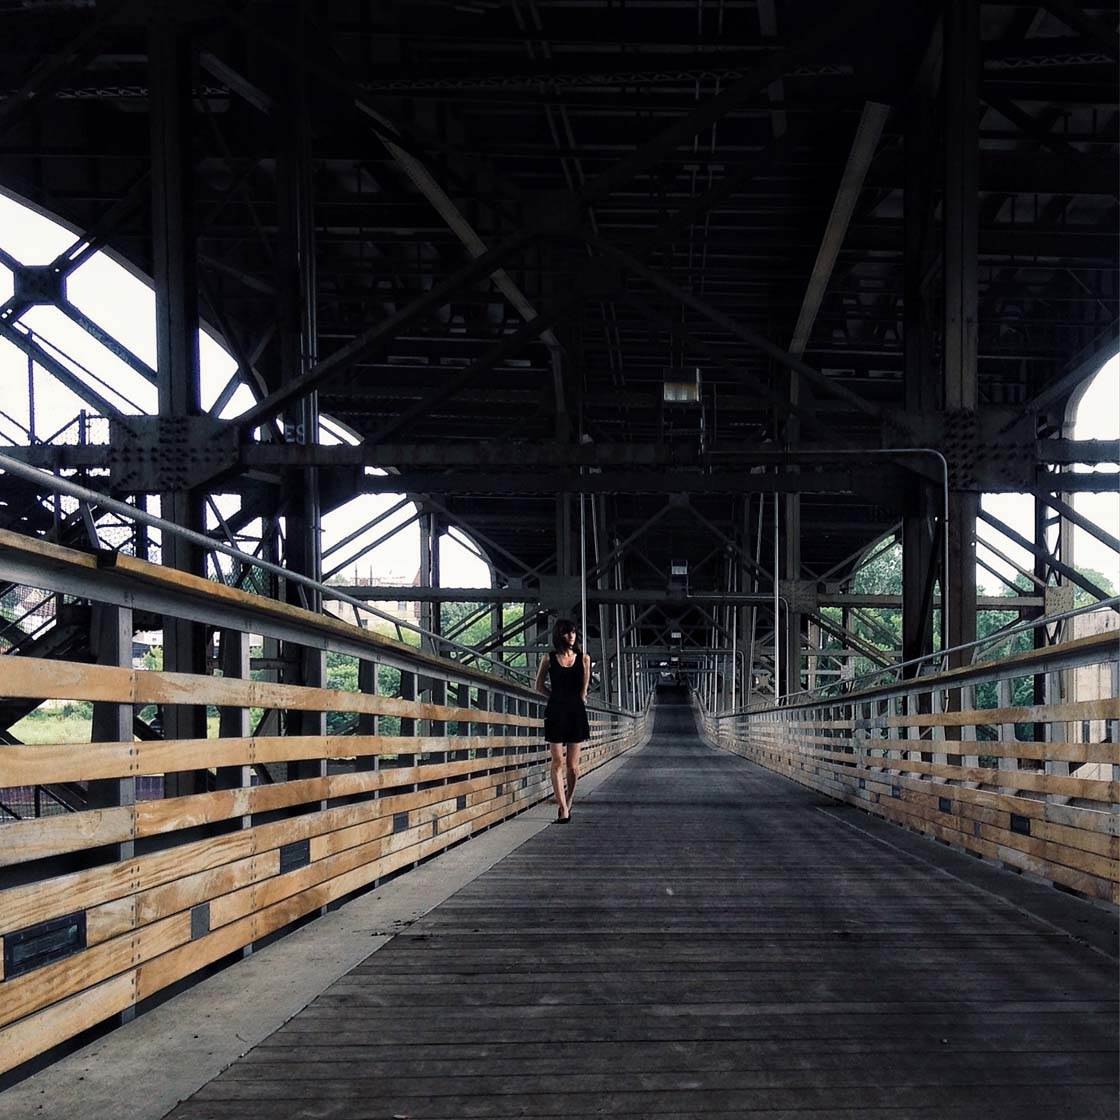
In this cropped version of the photo the woman is more prominent within the scene. Of course, I could have cropped in even further, but then I’d be at risk of making the image too small and reducing the quality by too much.
5. Crop To Create A Balanced Composition
A balanced composition is important for creating a visually pleasing and harmonious image.
Balance can be achieved in various ways, but there are two commonly used techniques: position the main subject in the center of the frame, or position the subject off-center according to the rule of thirds.
Central subject placement tends to look best in symmetrical compositions, and it can also work well in square format images.
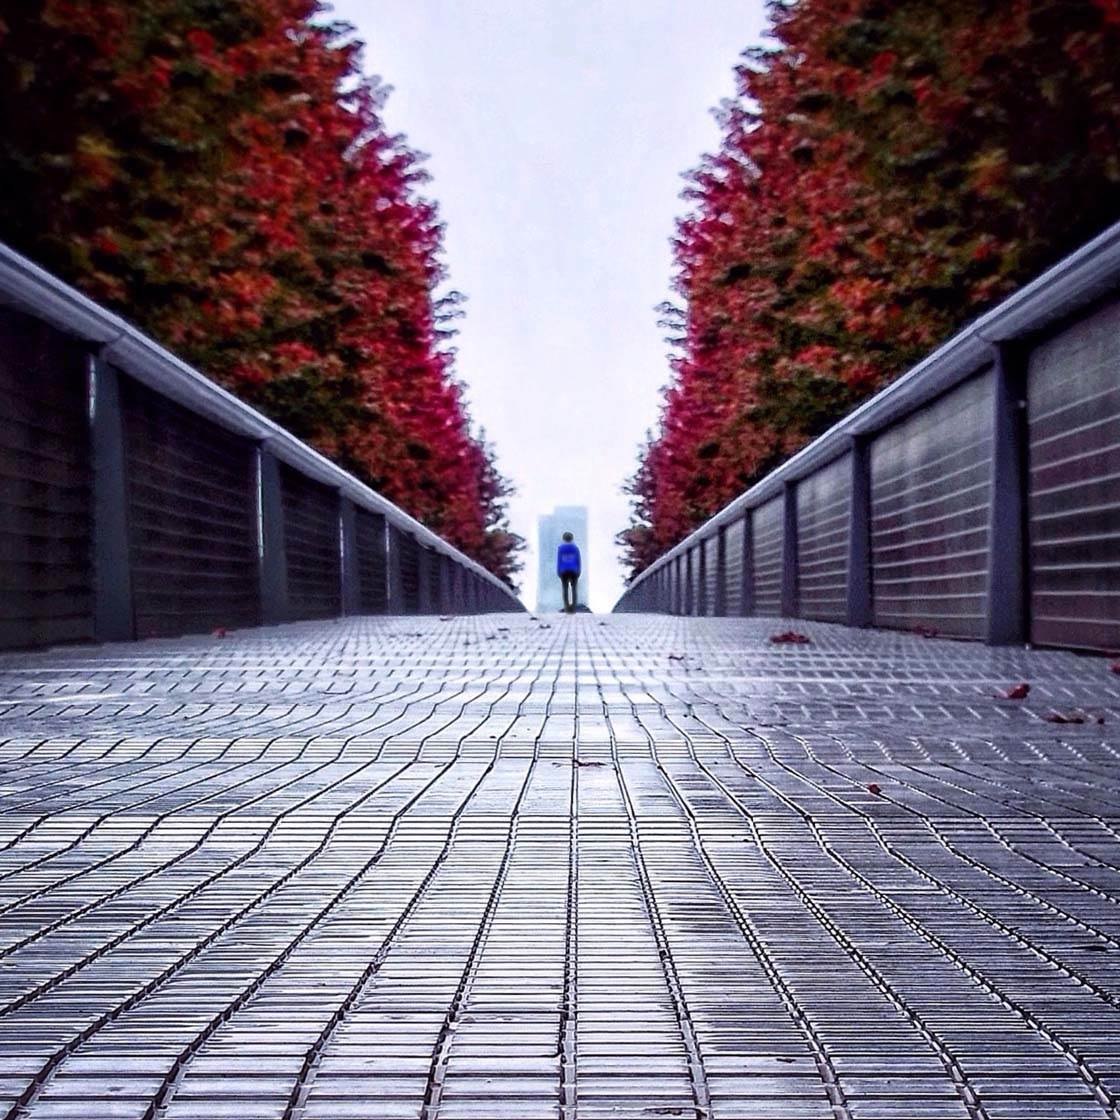
If you don’t quite manage to get your subject in the center at the time of shooting, you can always crop the image a bit to achieve perfect central subject placement and symmetry.
Central and symmetrical compositions tend to have a very strong visual impact. If you want to create a more natural composition, then you should consider placing your subject off-center.
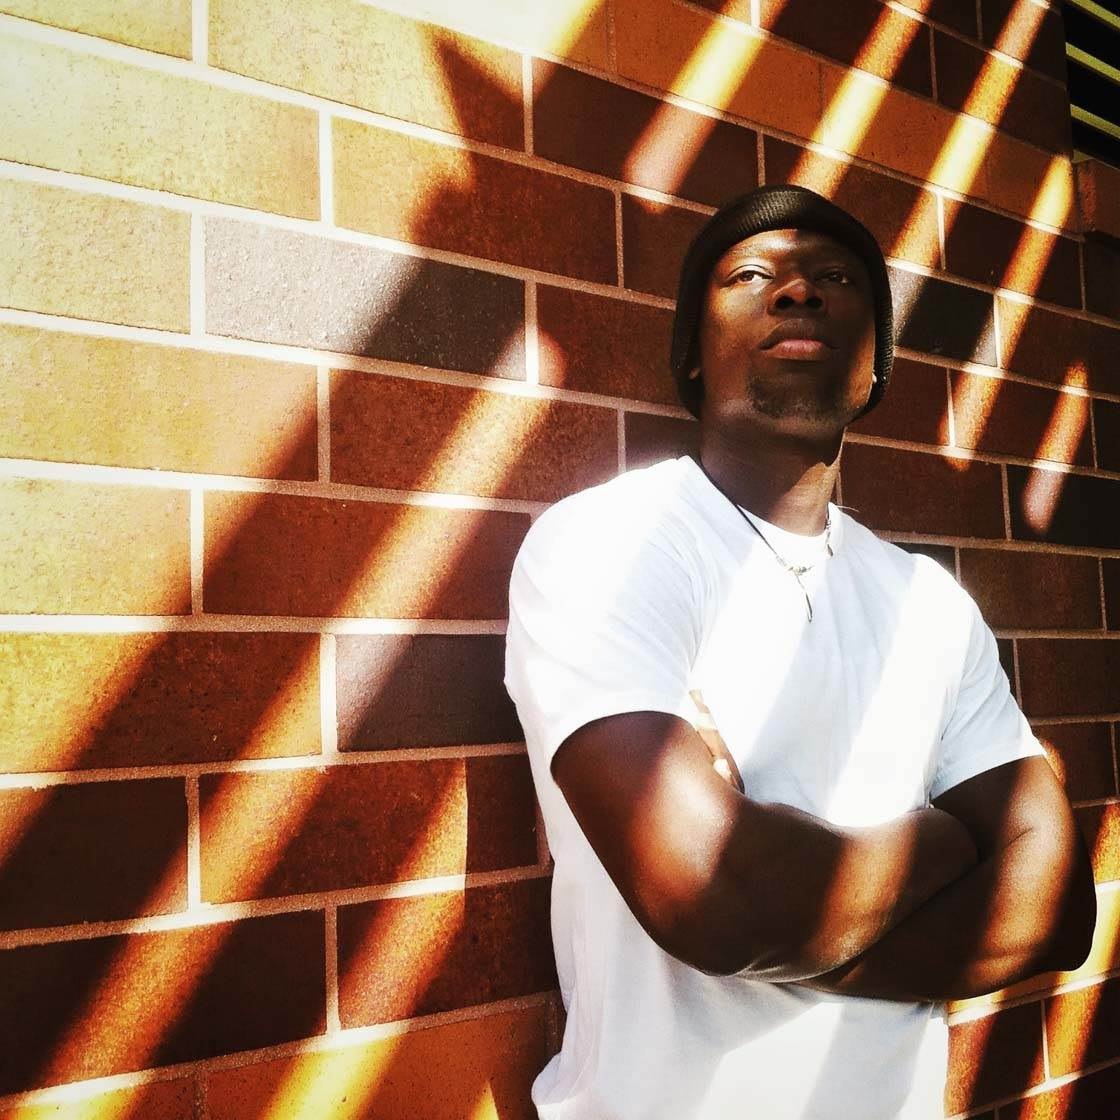
The rule of thirds will help you to achieve a well-balanced off-center composition. This rule states that you should imagine your viewfinder divided into a grid of two horizontal and two vertical lines (switch the camera grid on to see these lines at the time of shooting).
Positioning your main subject on one of these lines, or at the intersection where two lines meet, tends to create the most balanced and harmonious composition.
Again, if you don’t get the balance quite right at the time of shooting, you can crop your photo afterwards to get your main subject just where you want them.
Most crop tools even overlay the rule of thirds grid over your image when cropping. This is great for helping you to line up your subject on the grid.
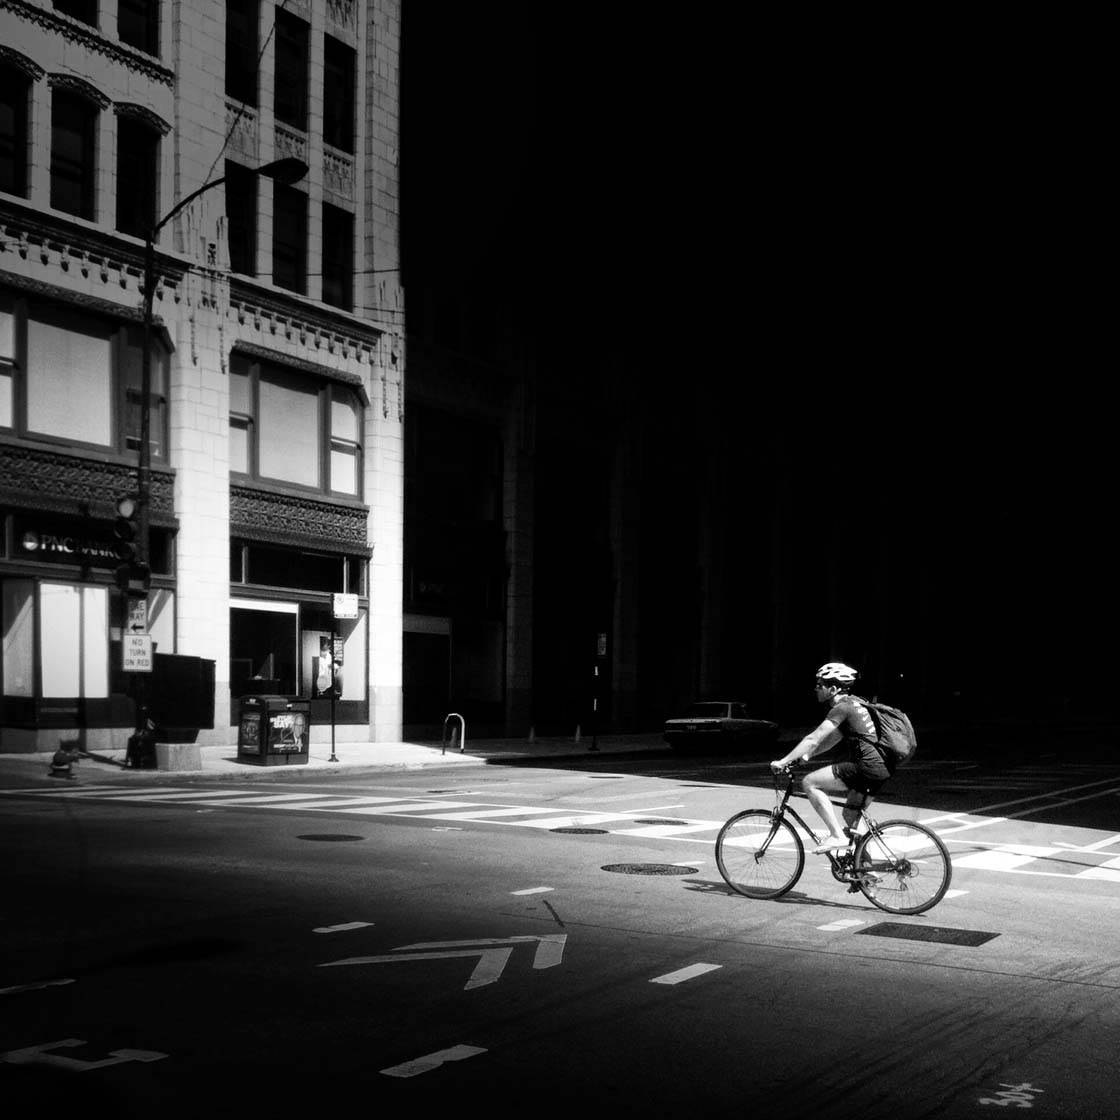
If your subject is moving, you can use the rule of thirds to leave enough space for your subject to “move into.” In other words, position your subject on one of the thirds lines so that they have more space in front of them than behind.
In landscape photography, it’s usually best to position the horizon along one of the horizontal lines on the rule of thirds grid, rather than across the middle of the frame.
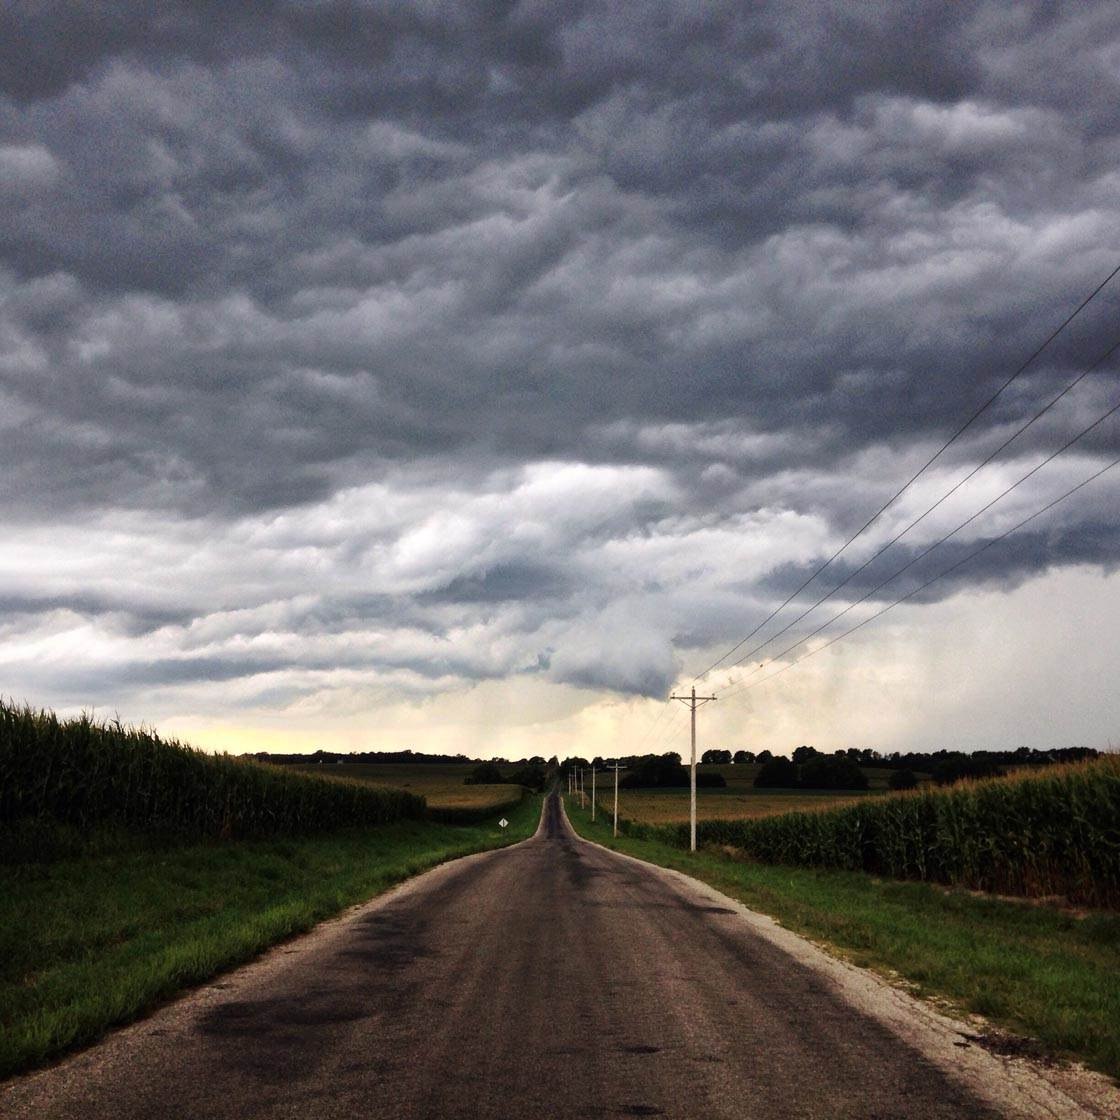
If your landscape doesn’t look balanced, you can crop a bit off the top or bottom of the image to position the horizon lower or higher in the frame.
While it’s important to try and achieve a balanced composition at the time of shooting, these examples show that you can easily tweak the balance through cropping.
Whenever you’re cropping photos, think carefully about where you want the main subject or horizon to appear within the frame, and position your crop area accordingly.
If you’re not sure where you want the subject to appear, experiment with placing the crop area in different positions until you achieve a balanced composition that you’re happy with.
6. Use Leading Lines As A Cropping Template
Leading lines are a powerful compositional tool. A leading line is simply a line in the scene that leads the viewer’s eye into and around the image, for example, railway tracks, a road, a bridge, a staircase, the lines on a building, etc.
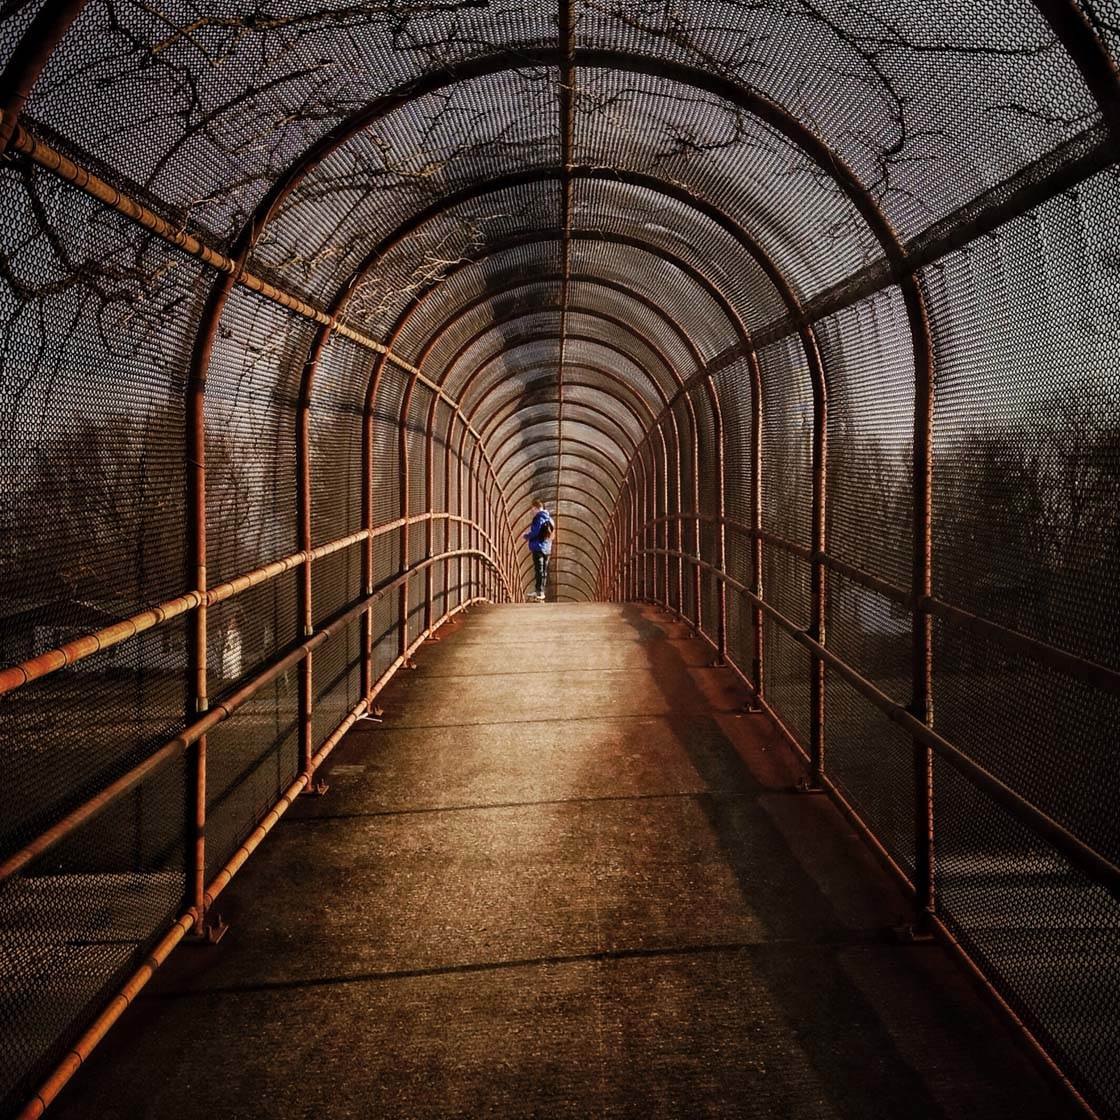
But what do leading lines have to do with cropping? Well, the impact they have on image often depends on where the lines emerge from within the frame.
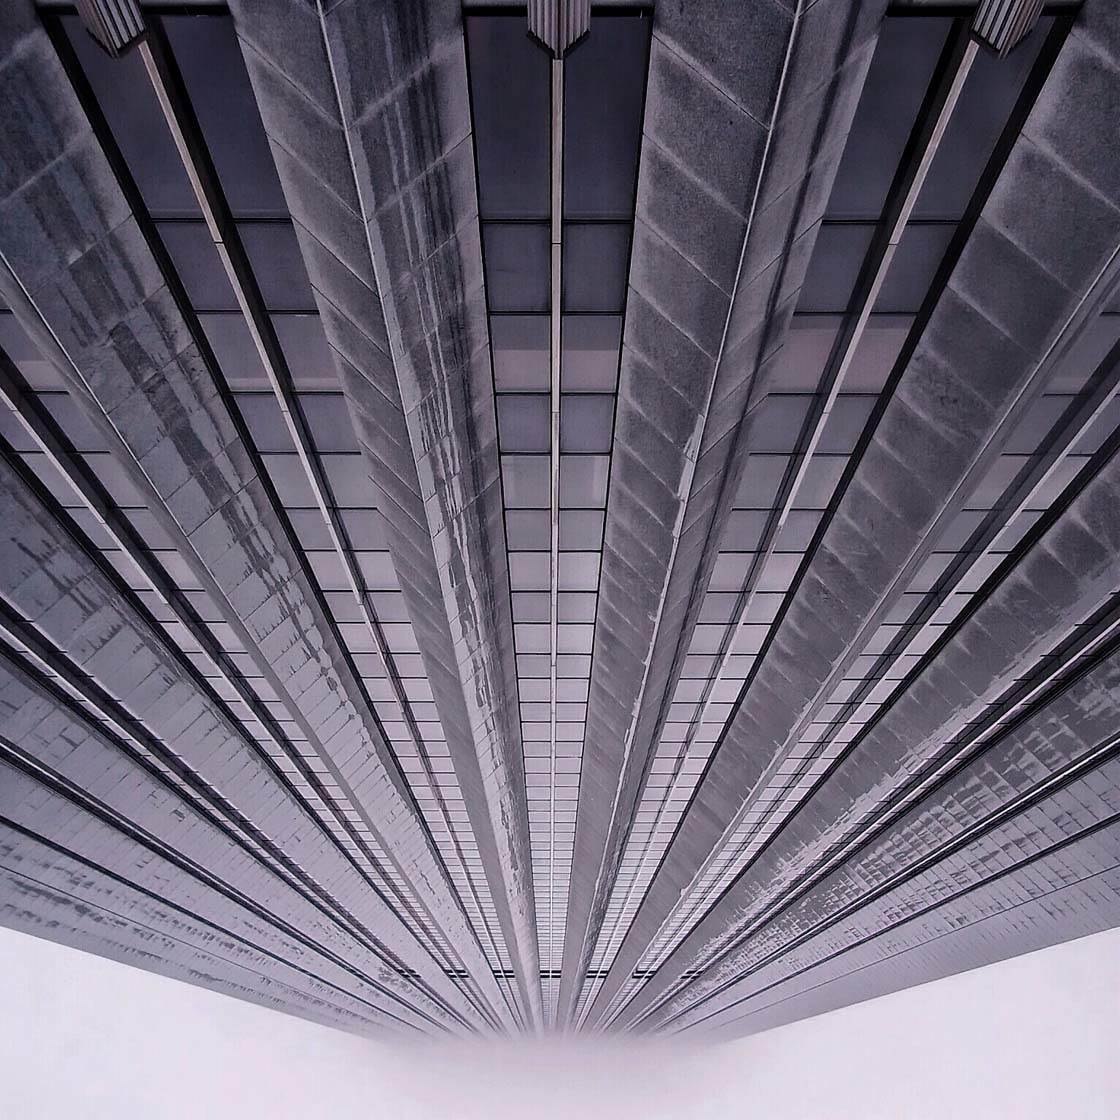
In most cases, leading lines have the most impact if they emerge from or near the corners of the frame.
Obviously it’s best to try and get this right at the time of shooting, but you probably won’t always get it perfect. So a little bit of cropping in post-processing might be necessary to change where the lines meet the edge of the image.
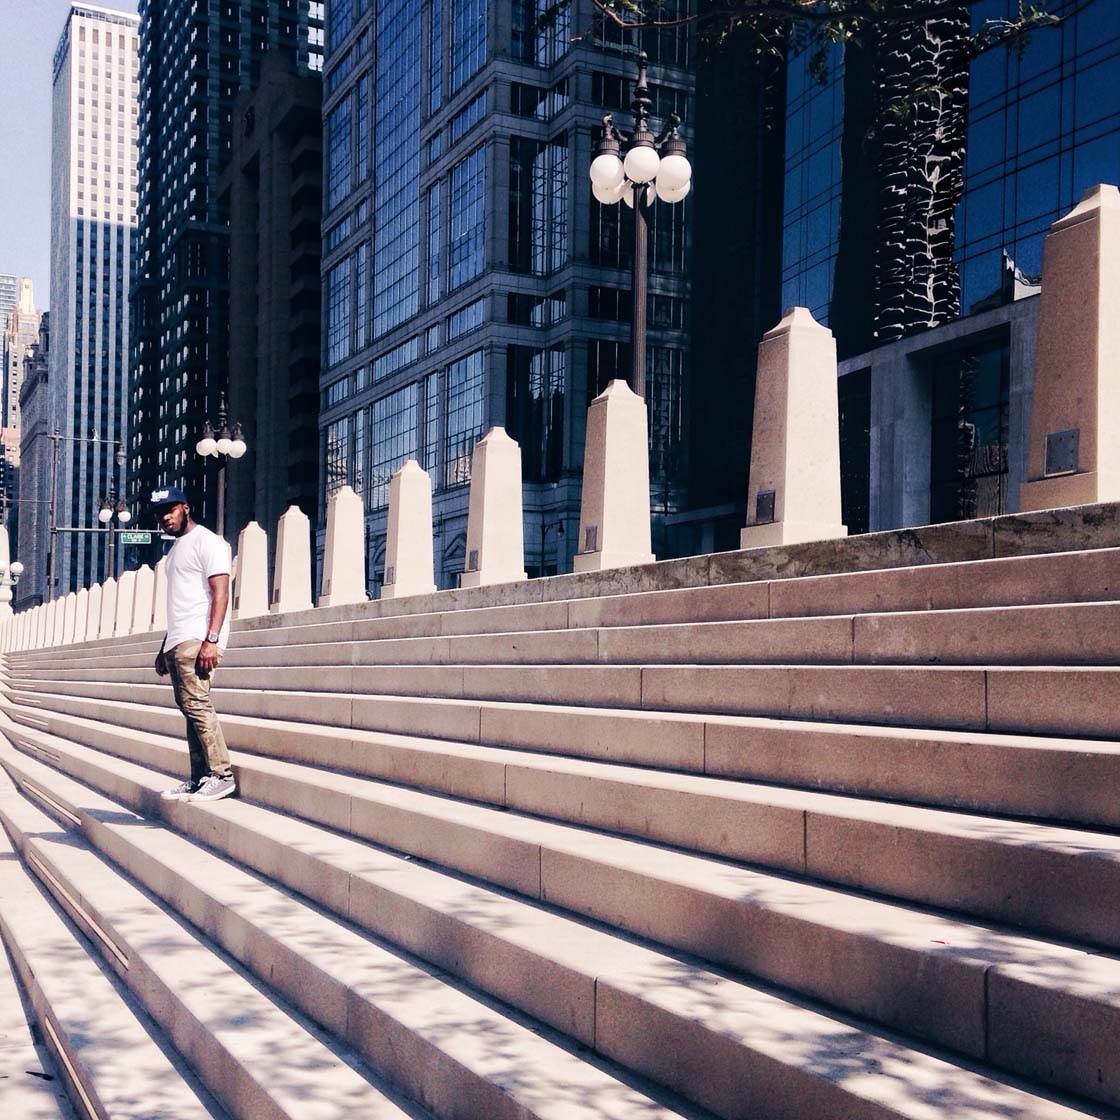
The photo above was cropped slightly to ensure that one of the diagonal lines was emerging directly from the bottom right corner of the photo. Notice how the lines of the steps lead your eye from the foreground toward the main subject.
With symmetrical compositions that contain leading lines, it’s best to try and get a line emerging from both of the bottom (or top) corners.

Again, you won’t always get this perfect at the time of shooting, so you might need to crop the image a little to achieve this.
Whenever you take a photo that contains leading lines, always look at it afterwards to check if the position of the lines could be improved with a little cropping. It really can make all the difference to the visual impact of your photo.
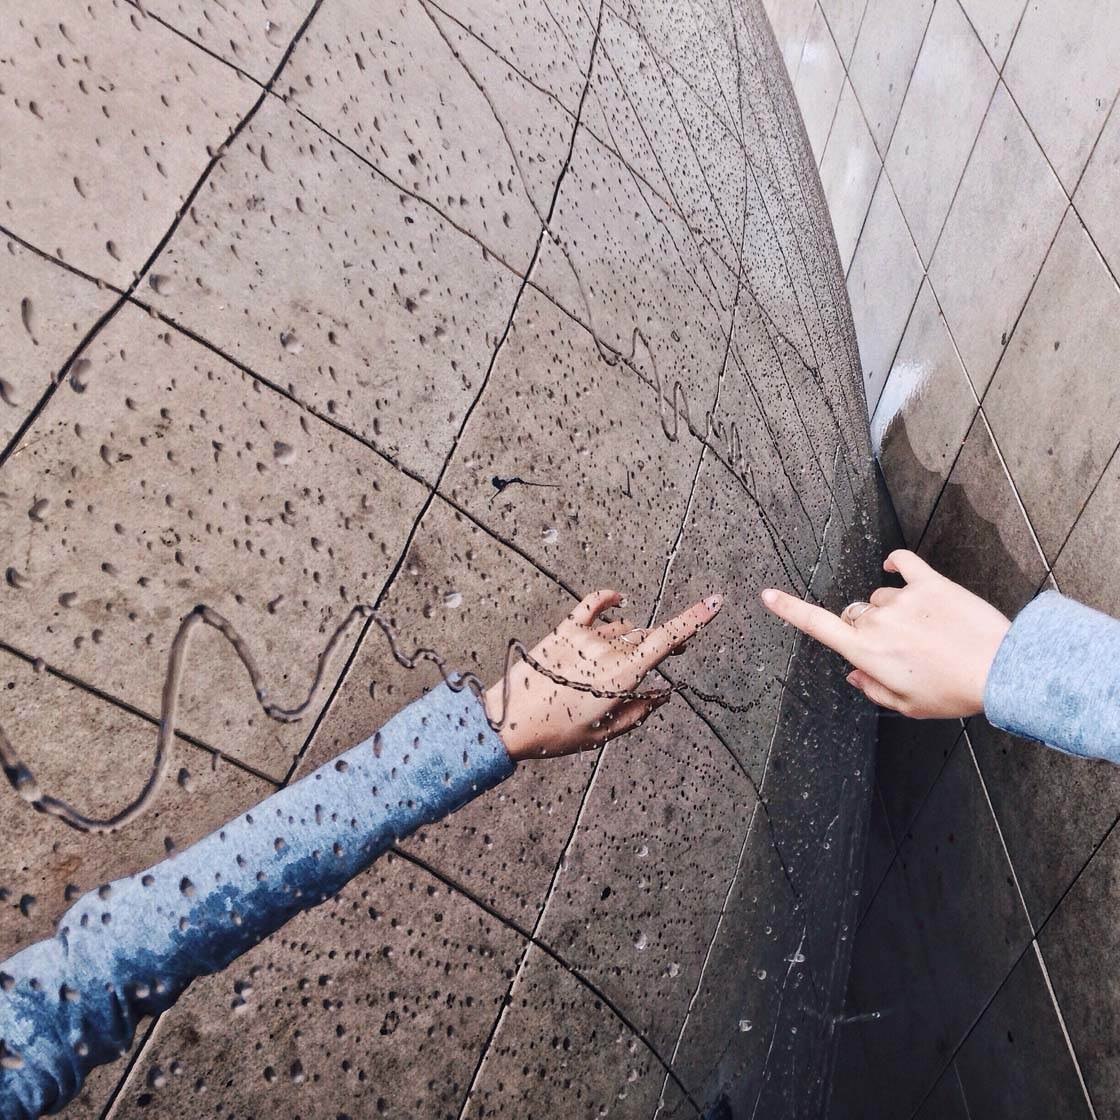
7. Crop To Square Format
Instagram made the square format image incredibly popular. Although the app now lets you upload non-square images, many people have chosen to carry on posting square photos.
To create a square photo you have two options: shoot using Square mode in the camera app, or shoot a rectangular format photo and then crop it to a square in post-processing.
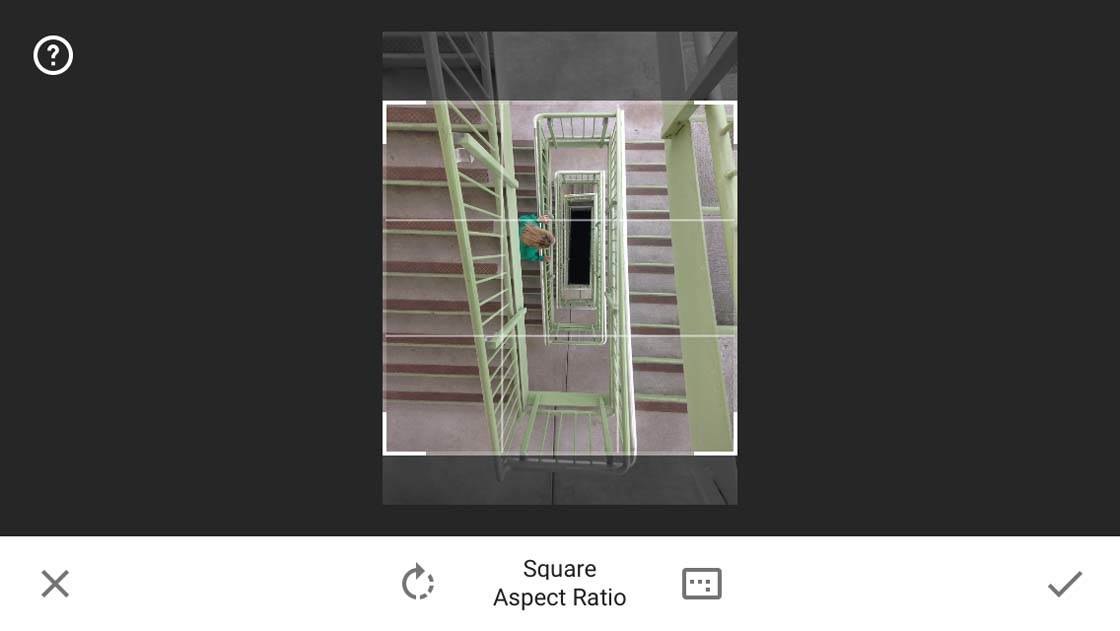
The benefit of shooting directly in square format is that you can compose your shot to fit perfectly within the square frame. However, many people prefer to shoot in rectangular format as it provides more choice over the final crop.
When creating a square crop (otherwise known as the 1:1 aspect ratio), you have to decide which part of the rectangular image you want to get rid of.
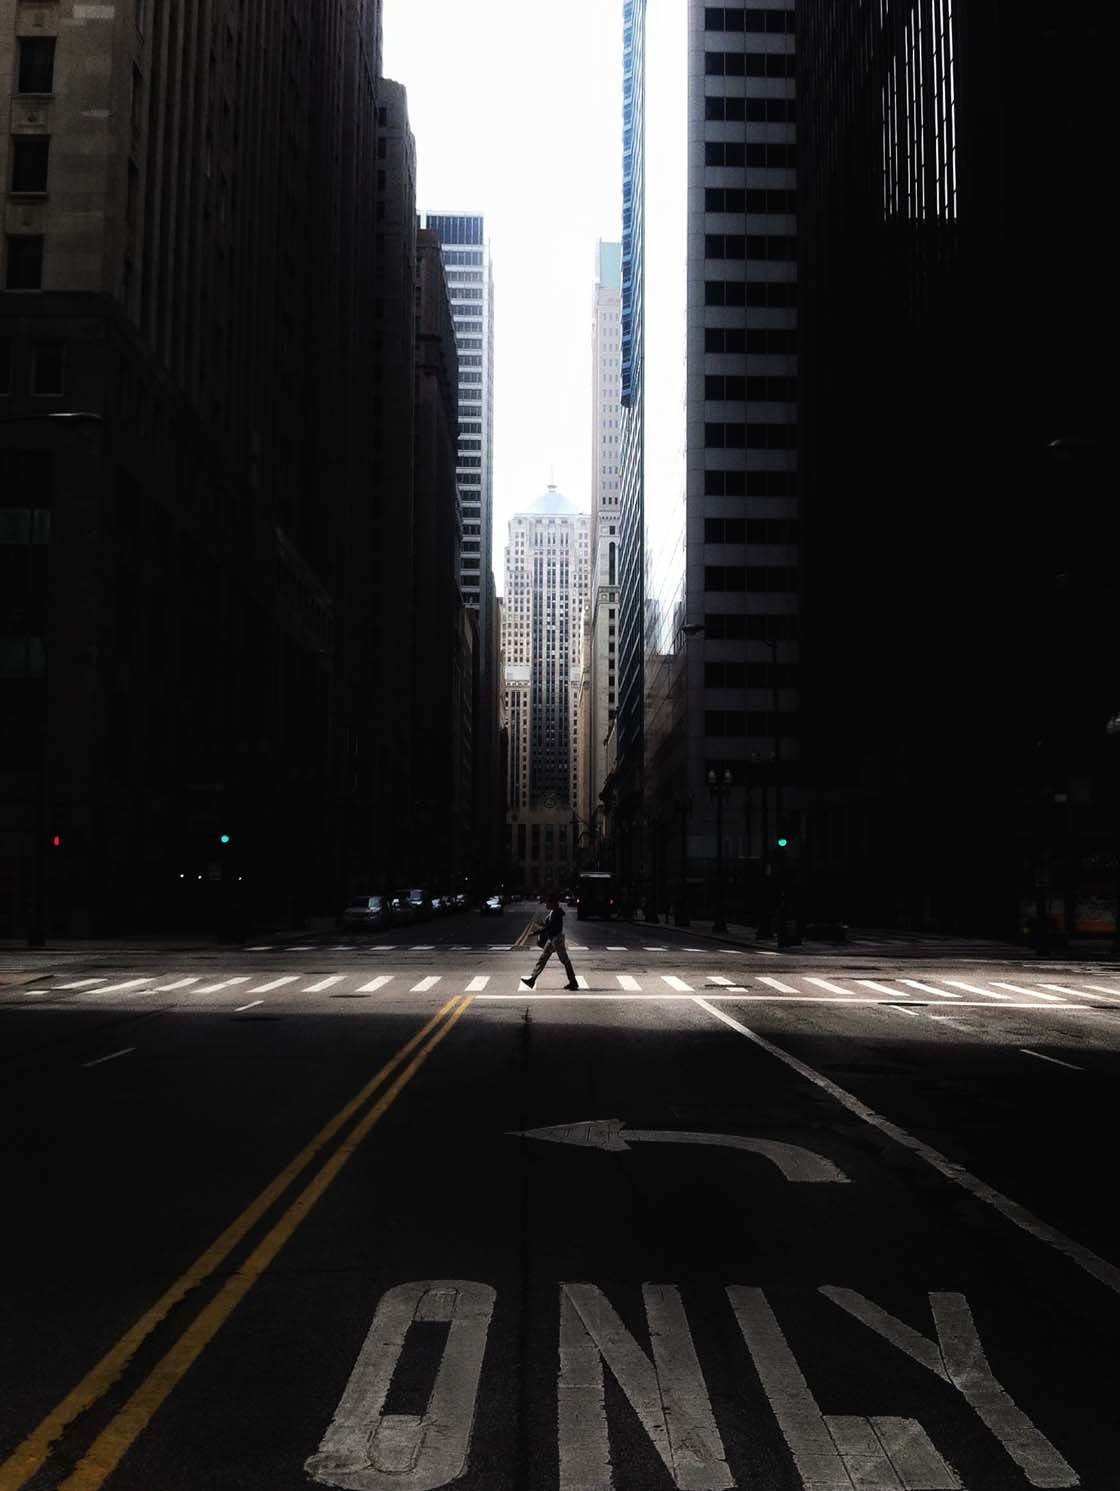
Here’s an example of a photo I shot in rectangular format. Although the “ONLY” sign in the foreground adds to the composition, I chose to crop that out when converting it to square format.
The photo below shows my final crop. I decided that I would rather keep the tall buildings in the shot and get rid of the “ONLY” sign.
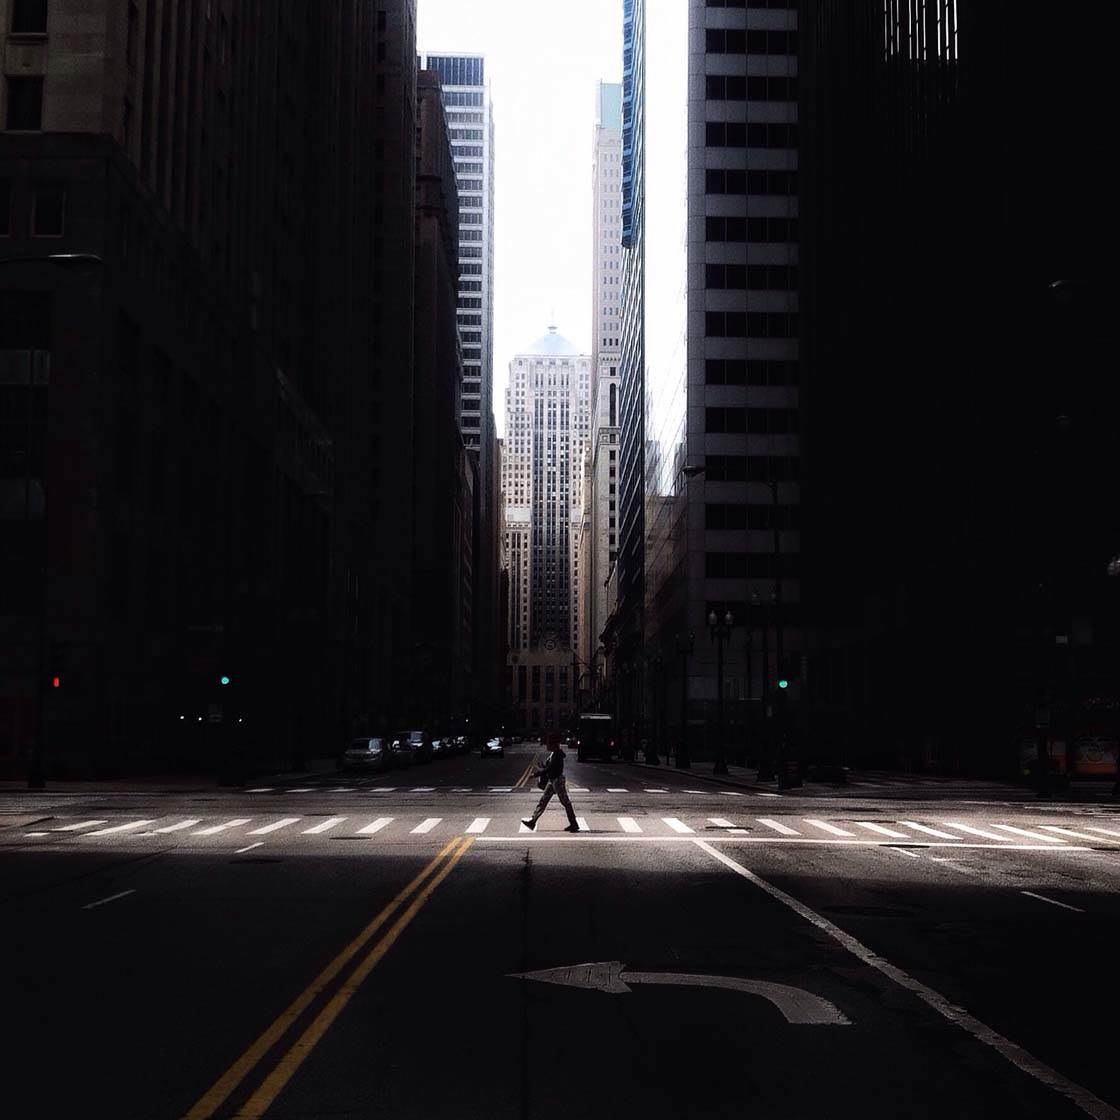
The buildings help to maintain the depth of the urban canyon, and they add a strong sense of scale as they tower above the lone walker.
Even though certain strong elements have been eliminated from the composition, I feel that I achieved the right amount of balance and depth with this square crop.
Some scenes fit better than others into a square crop, so it’s always best to bear this in mind at the time of shooting. If you’re planning to post in square format, consider whether losing part of the image will work with that particular composition.
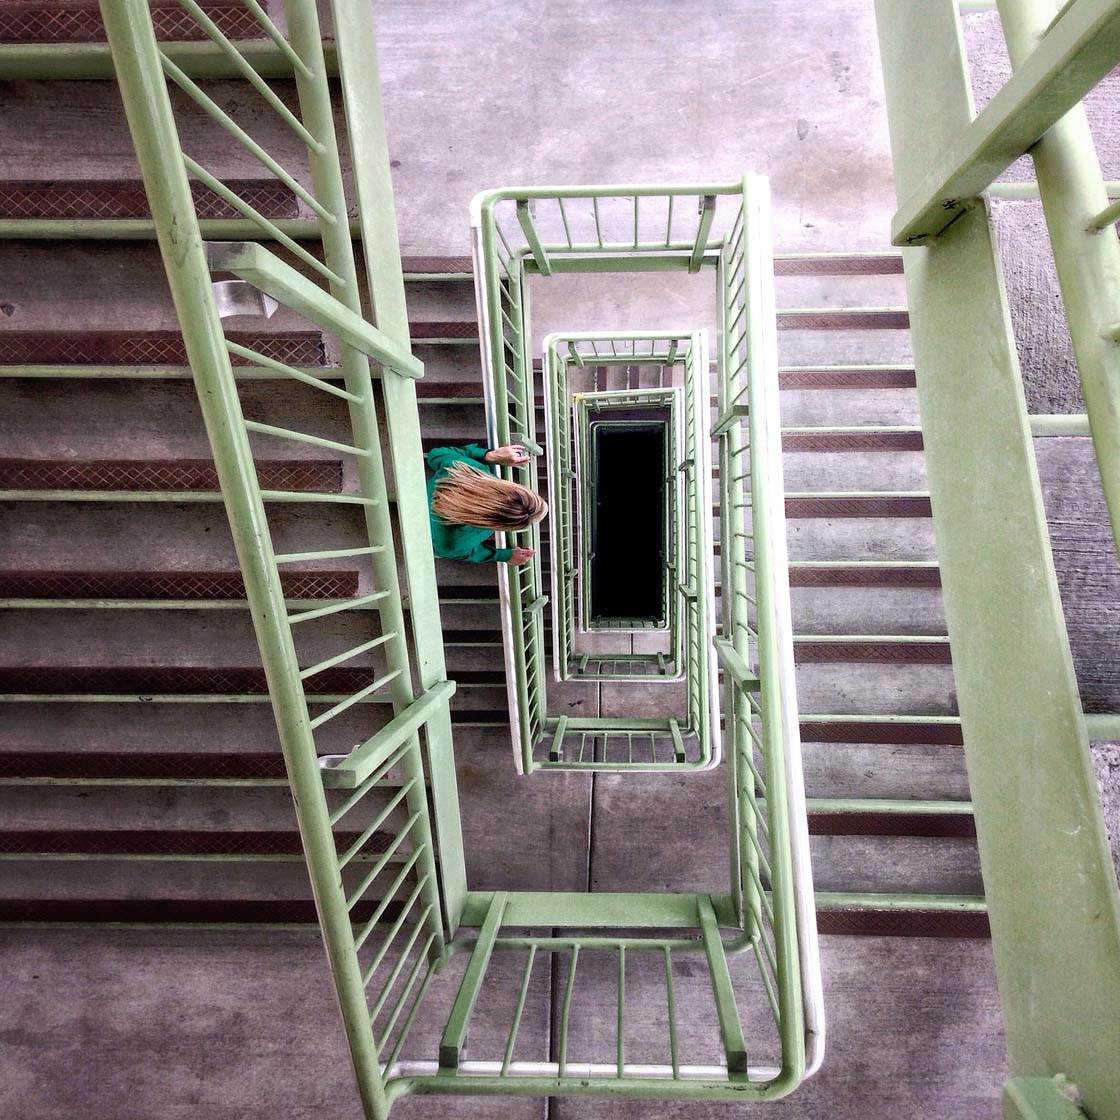
If you’re unsure, try switching your camera to Square mode for a moment. This allows you to visualize how the scene will look when it’s cropped to a square.
8. Crop For Creative Effect
Sometimes you might have a perfectly good image, but with a little imagination you could crop it into something more interesting.
The photo below has a good central and symmetrical composition, and the window frame acts as a great “framing device” to draw attention toward the main subject in the center of the frame.

However, when I looked at the photo after shooting it, I realized that if I cropped off the dark area of negative space below the subject, it might create a more interesting and surreal shot.
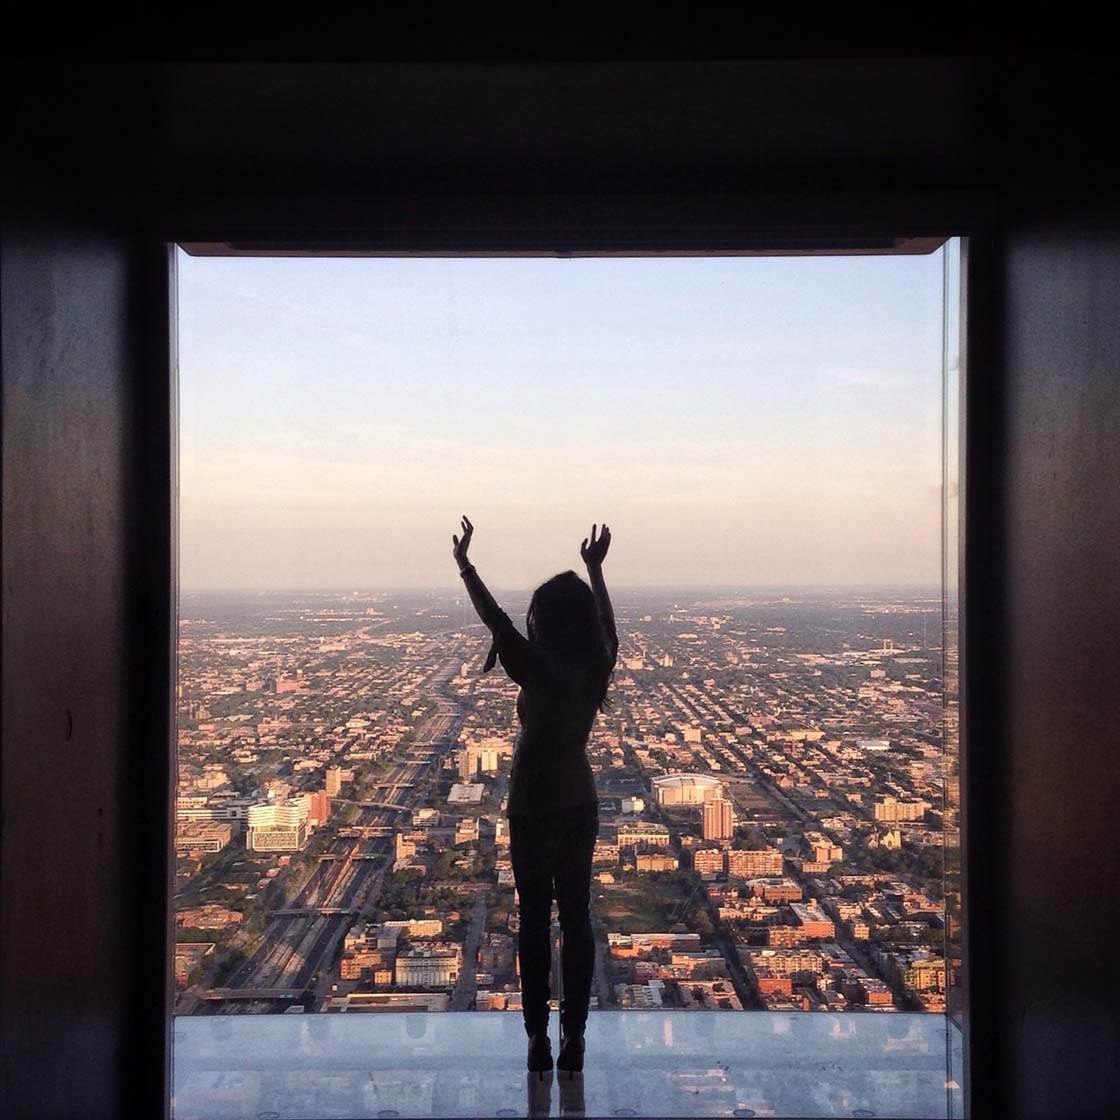
By cropping the photo above the glass level, it looks like my subject is floating above the city on a glass platform. This simple crop has made a big difference to the final impact of the photo.
Playing around with cropping to create a more unique image is great fun. So why not open a photo in your favorite editing app and experiment with cropping different edges of the frame to see what effect it has? You might be surprised at the result!
Conclusion
Creating a strong and balanced composition is essential for getting your iPhone photos noticed. While it’s best to get the composition perfect at the time of shooting, it’s not always possible.
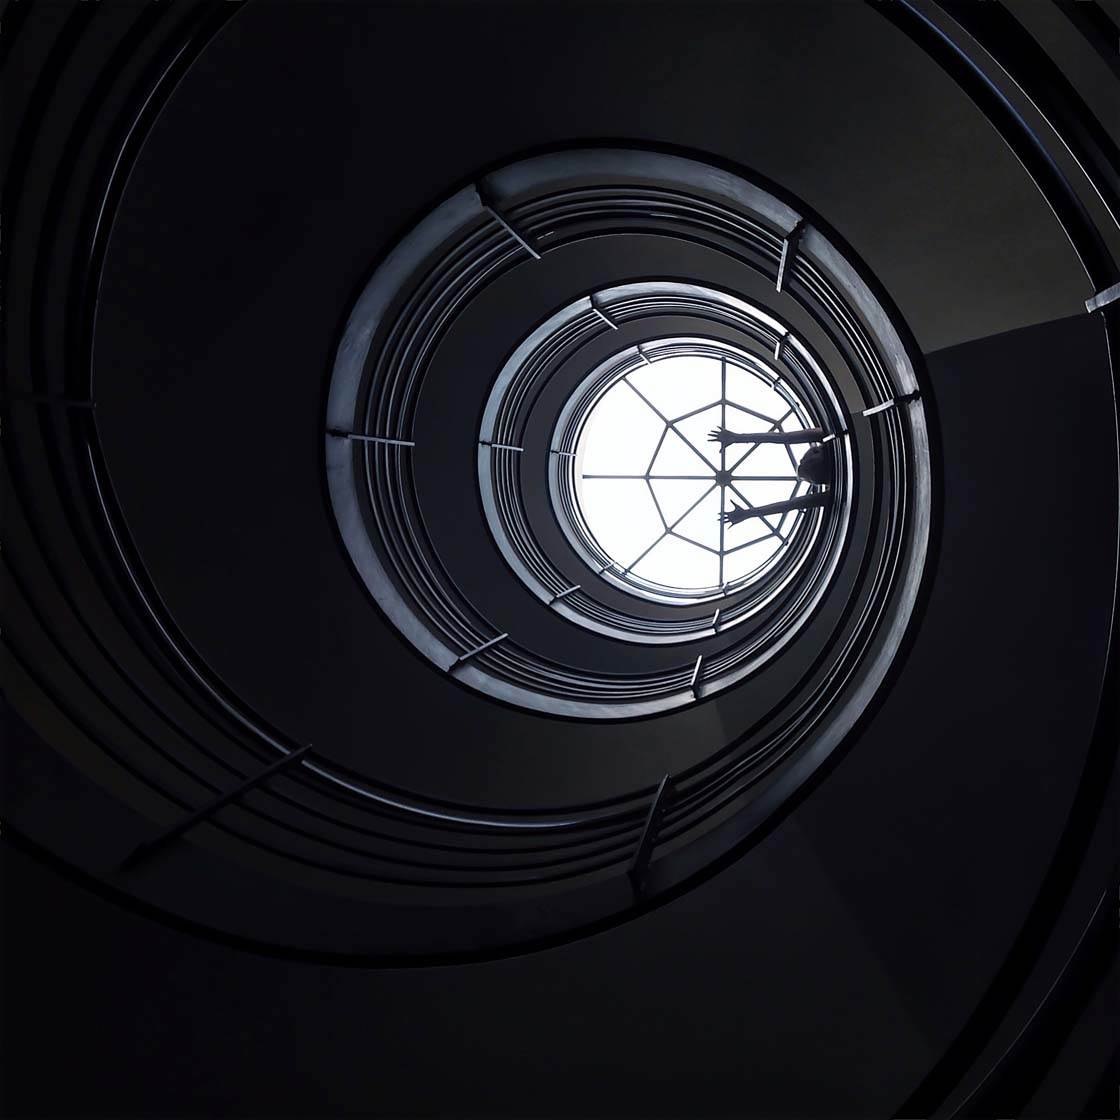
But this doesn’t mean that you can’t create a powerful composition in post-processing. The crop tool gives you a second chance to get it right.

Cropping allows you to trim the edges your image in order to remove distractions, zoom in on the subject, or create a more balanced composition. You can even use it for creative effect.
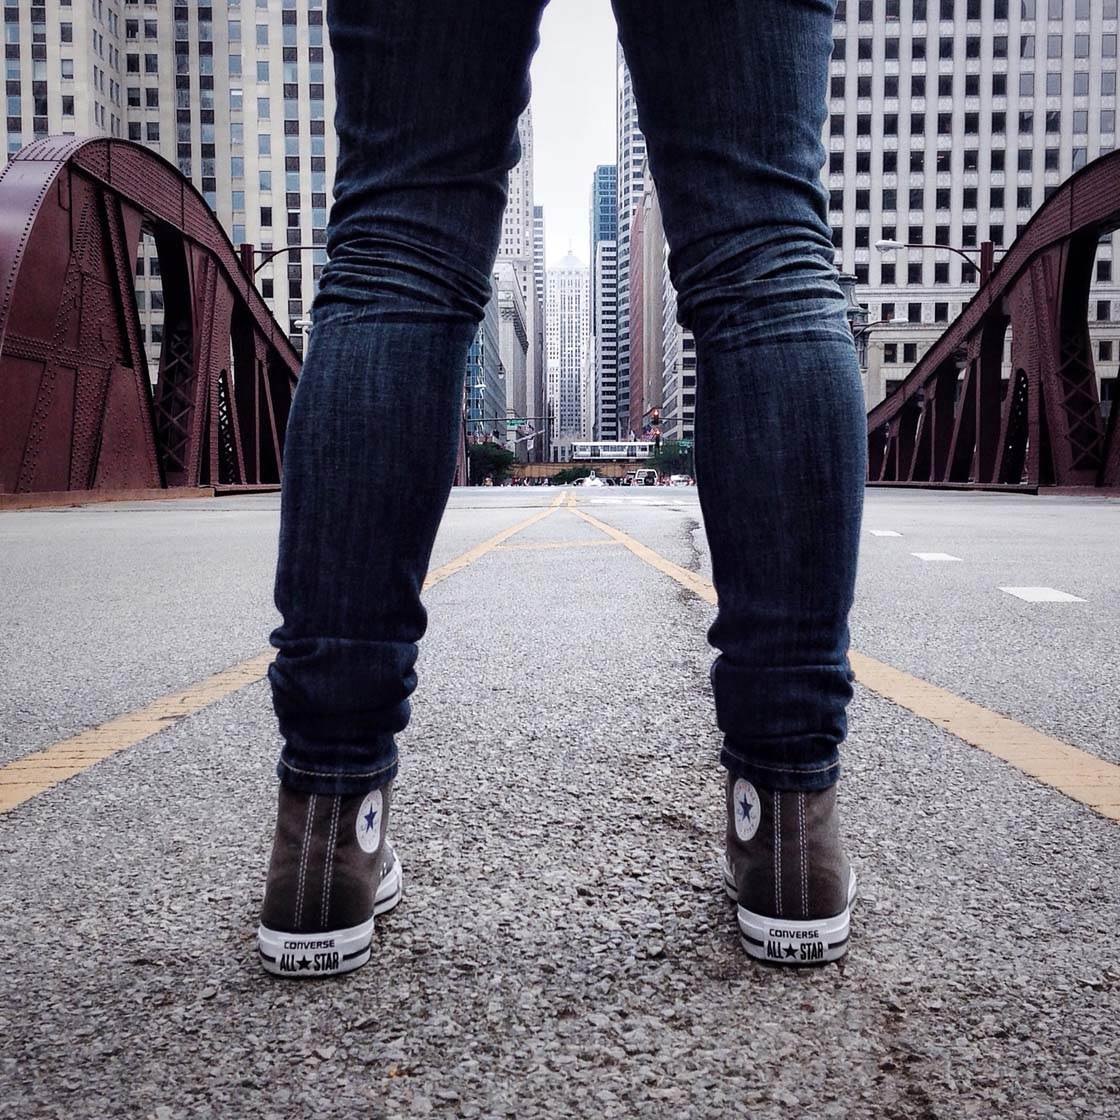
While cropping is a really useful tool, bear in mind that the more you trim from your image, the smaller it will become. This will have an effect on how big you can view or print the photo at high quality, so only crop away what’s absolutely necessary.

Now, why not challenge yourself to go through your iPhone photos and see which ones could be improved by cropping? You might just be surprised at the improvements you can make.


Leave a Reply
You must be logged in to post a comment.