No matter how you look at it, light is the single most important element in photography. Without light, there would be no photography of any sort. Therefore, to improve our skills as photographers, we need to develop our eye to have a keen awareness of the available light. In this tutorial you’ll discover how to use natural light to its fullest potential in your iPhone photography.
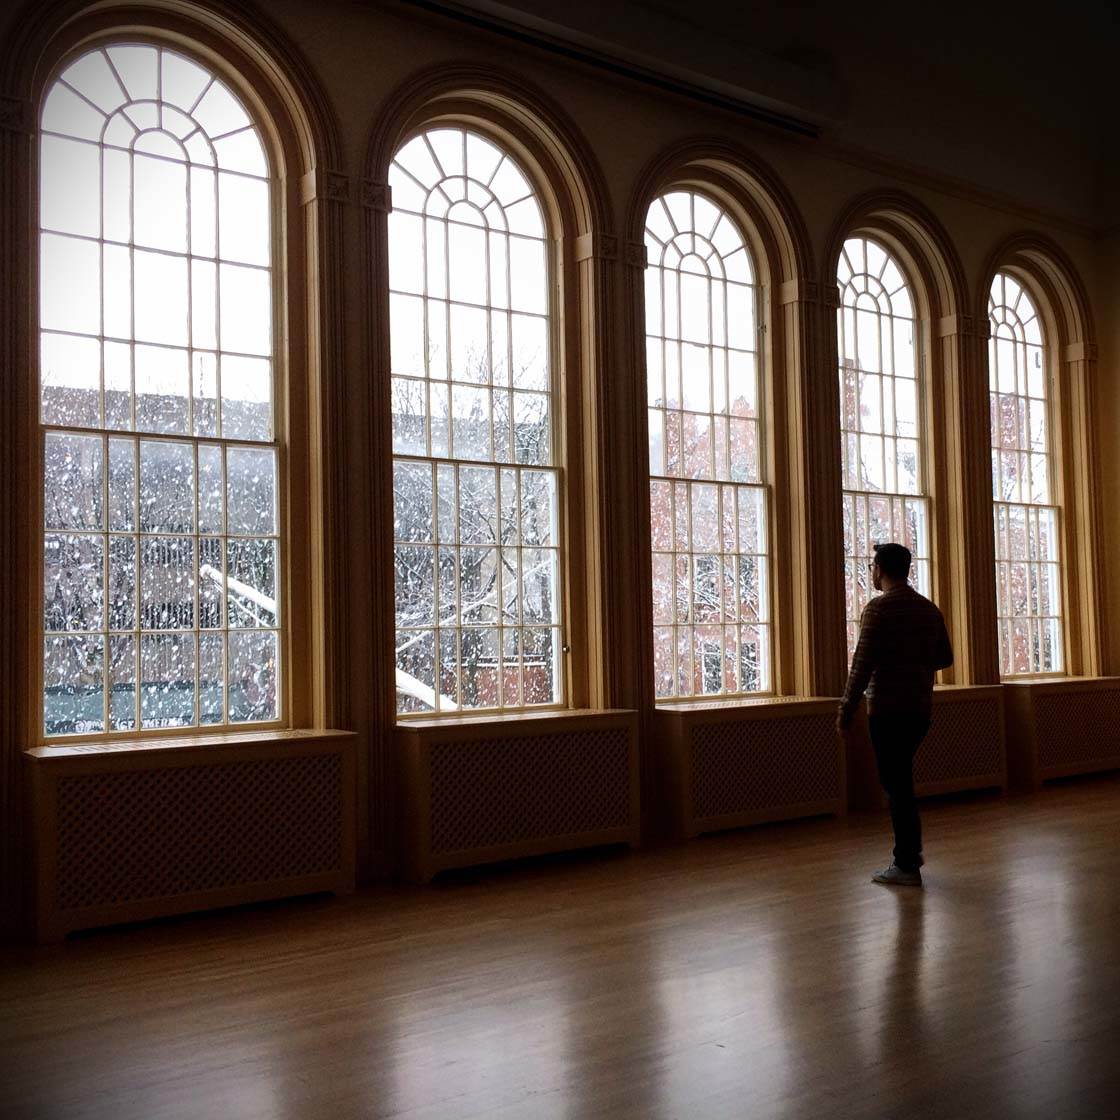
While it is certainly possible to use the built-in flash of our iPhones (or any number of third-party remote flashes or light sources such as the new Nova flash), in this article we’ll be concentrating on how to make use of natural light to illuminate your iPhone photos.
There are many ways to use natural light more creatively that will add power and drama to your images. First of all, let us quickly define “natural light” as simply being sunlight in any form, e.g. direct, filtered, reflected, etc.
This is just to differentiate natural light from the broader category of “available light” which can also include artificial light sources that may be found where you’re shooting, e.g. lamplight, candles, etc. We’ll cover artificial lighting options in a future article.
So let’s take a look at 7 ways that you can make the most of different types of natural light, enabling you to take incredible iPhone photos no matter what type of light you’re shooting in.
1. Work With Direct Sunlight
While sunlight is our number one source of light in photography, it can also be our biggest foe. The lighting on a bright, sunny day (perhaps with a few clouds, but with none of them blocking the sun) can be rather harsh for photography unless we learn to work with it.
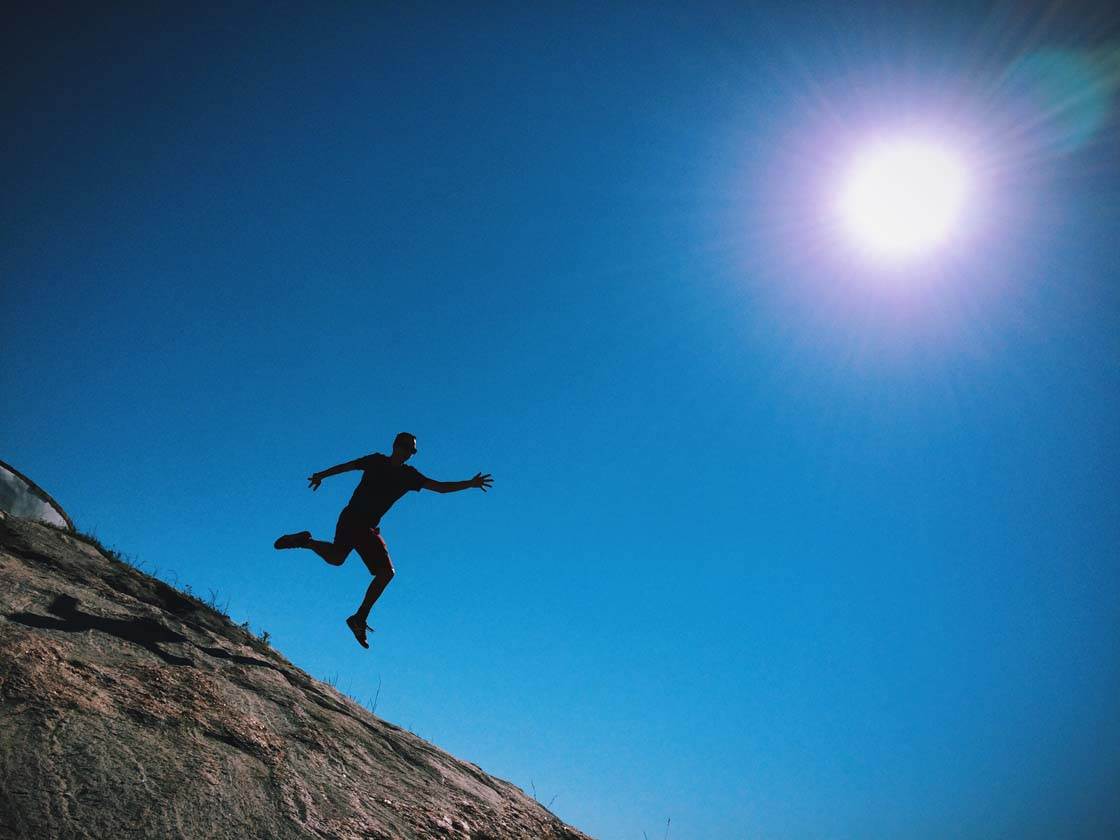
If you’re shooting portraits in direct sunlight, you’re apt to end up with blown-out highlights and poor skin tones. If you have no other options available to you, try using the strong light creatively. For example, if you place your subject between you and the sun, you can create a perfect silhouette shot as shown above.
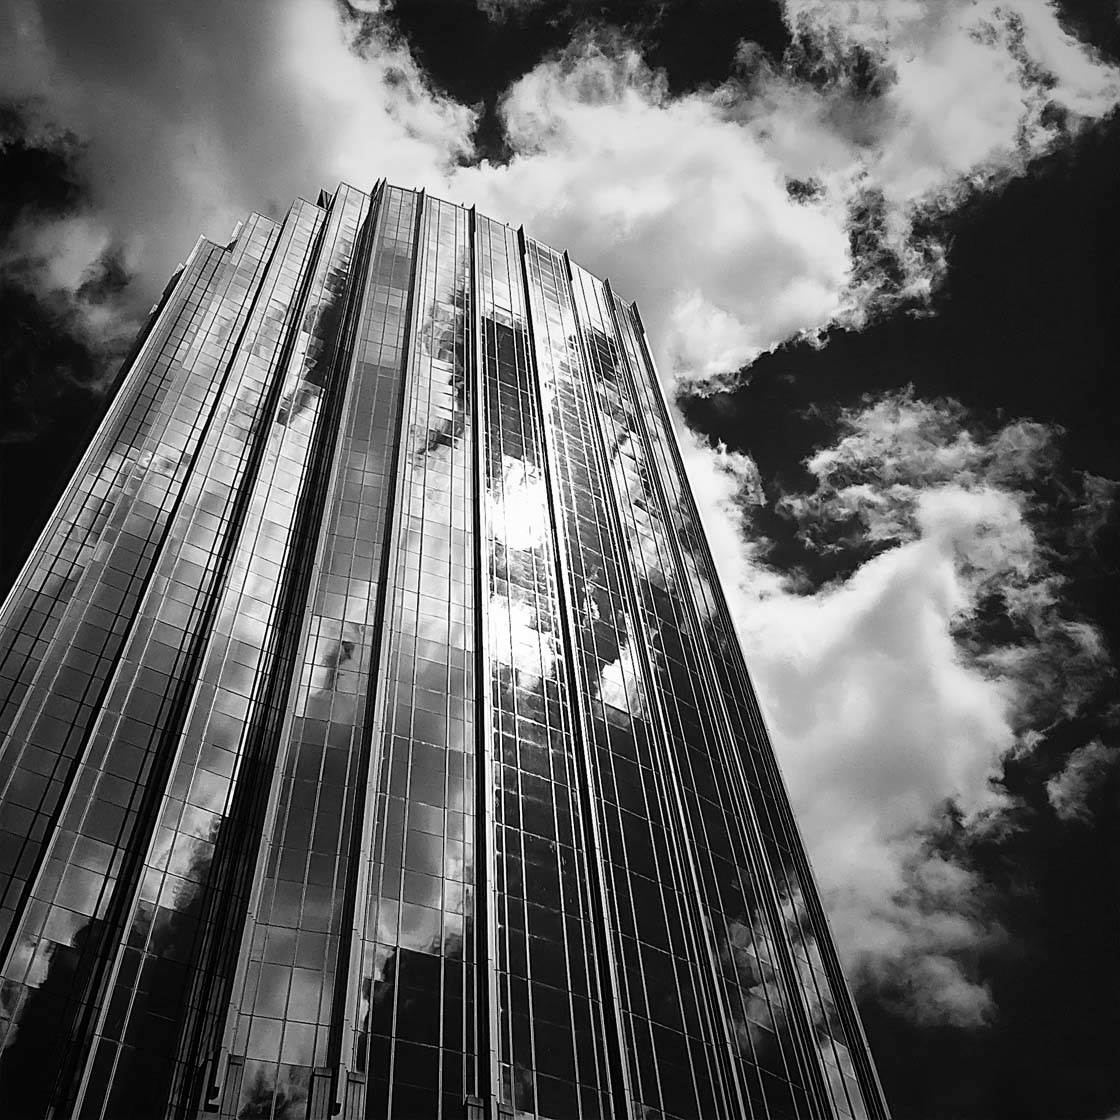
Direct sunlight can also work well for shooting architecture as it can result in an image with strong contrast that accentuates the lines of the buildings. In many cases, the bright sunlight reflecting off of a building can actually add to the drama of the shot.
2. Seek Open Shade For A Softer Light
If you’re stuck with a cloudless sky, but need a softer light for your photos, look for what is often referred to as “open shade.” This is a spot that is out of direct sunlight, but still allows enough ambient light in to create a situation similar to an overcast day.
Great places to find open shade are under large tree canopies, open forest space such as a pine/hemlock grove, large alleys, between buildings in the city, under a bridge, etc. Of course, the time of day will determine how shaded these areas are.
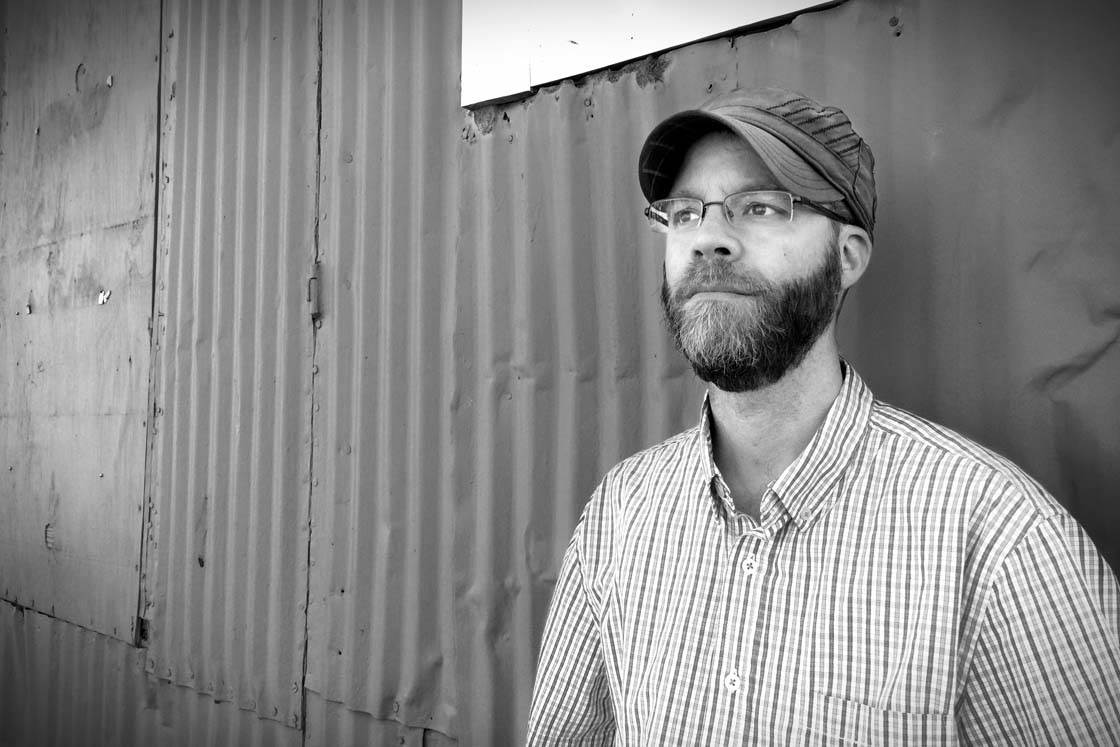
One of the easiest options is to find an outside wall of a building that is facing away from the sun and place your subject in front of it. They will be shaded from the direct sun, but they should not be in deep shadows either.
If shooting under trees, just take care to make sure that enough overhead light is blocked so that you don’t end up with a “dappled” light effect on your subject, which can be very unflattering.
3. Make The Most Of Overcast Sunlight
One of the classic rules of photography is that overcast days are best for “softening” the natural light and avoiding harsh shadows. This makes overcast days nearly perfect for shooting portraits.
A fully-overcast day provides you with more options for placing your portrait subject as the light is spread more evenly across the area. You may end up with a somewhat “flat” or low-contrast image, but that is easily corrected with any number of editing apps.
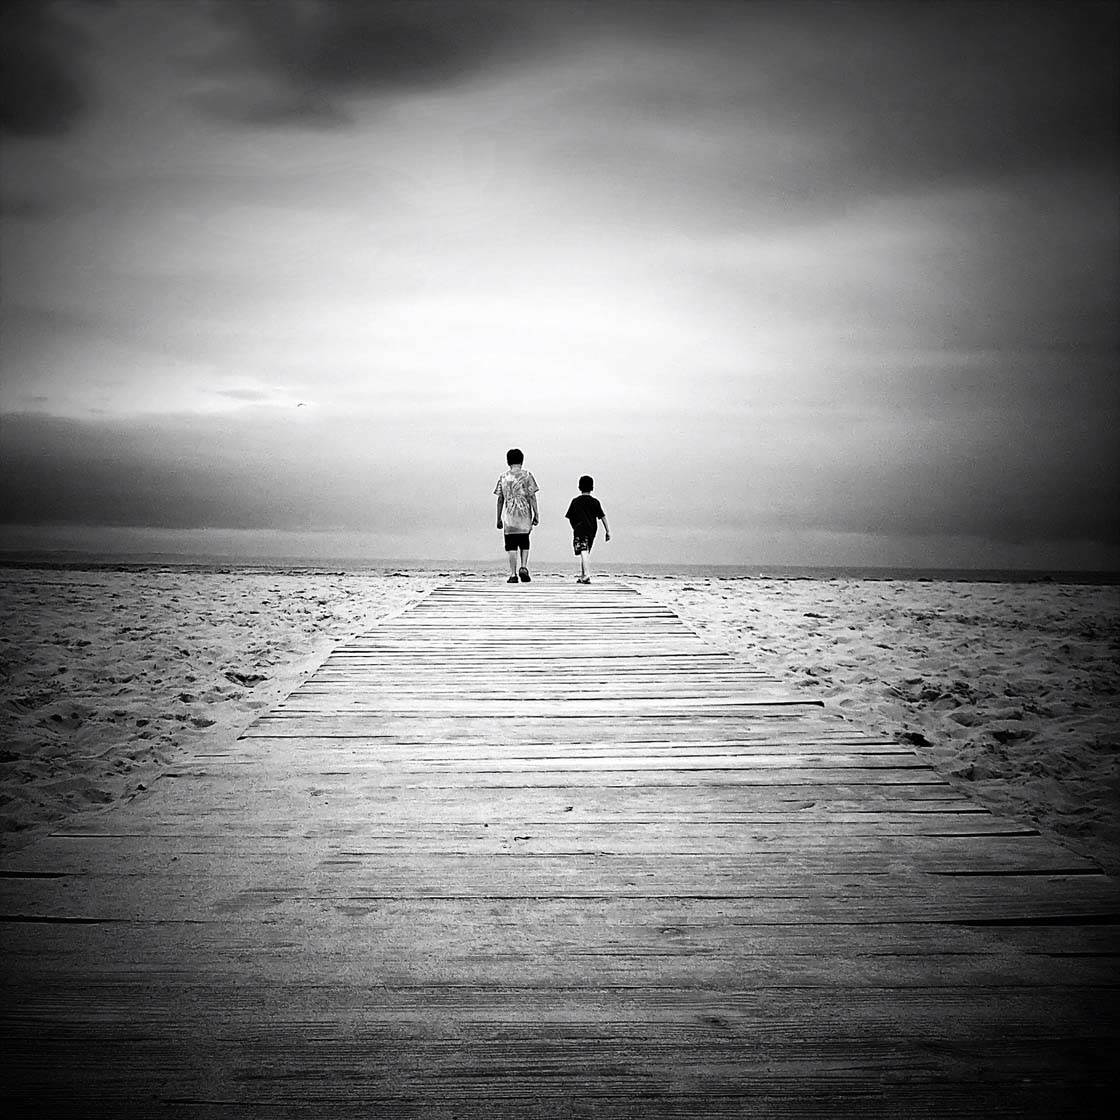
Overcast light is great for more than just portrait photography. The soft, even lighting is great for many subjects including flowers, sporting events, children at play, street photography, and much more.
If you find yourself with lots of free time to go shooting on an overcast day, consider yourself very lucky and take advantage of it!
4. Use Window Light For Indoor Portraits
Let’s move inside for a moment. Sunlight streaming through a window onto your subject can be a very powerful image indeed. When using this type of lighting, keep in mind that you may not want your subject directly in front of the light, unless you’re creating a silhouette of course.
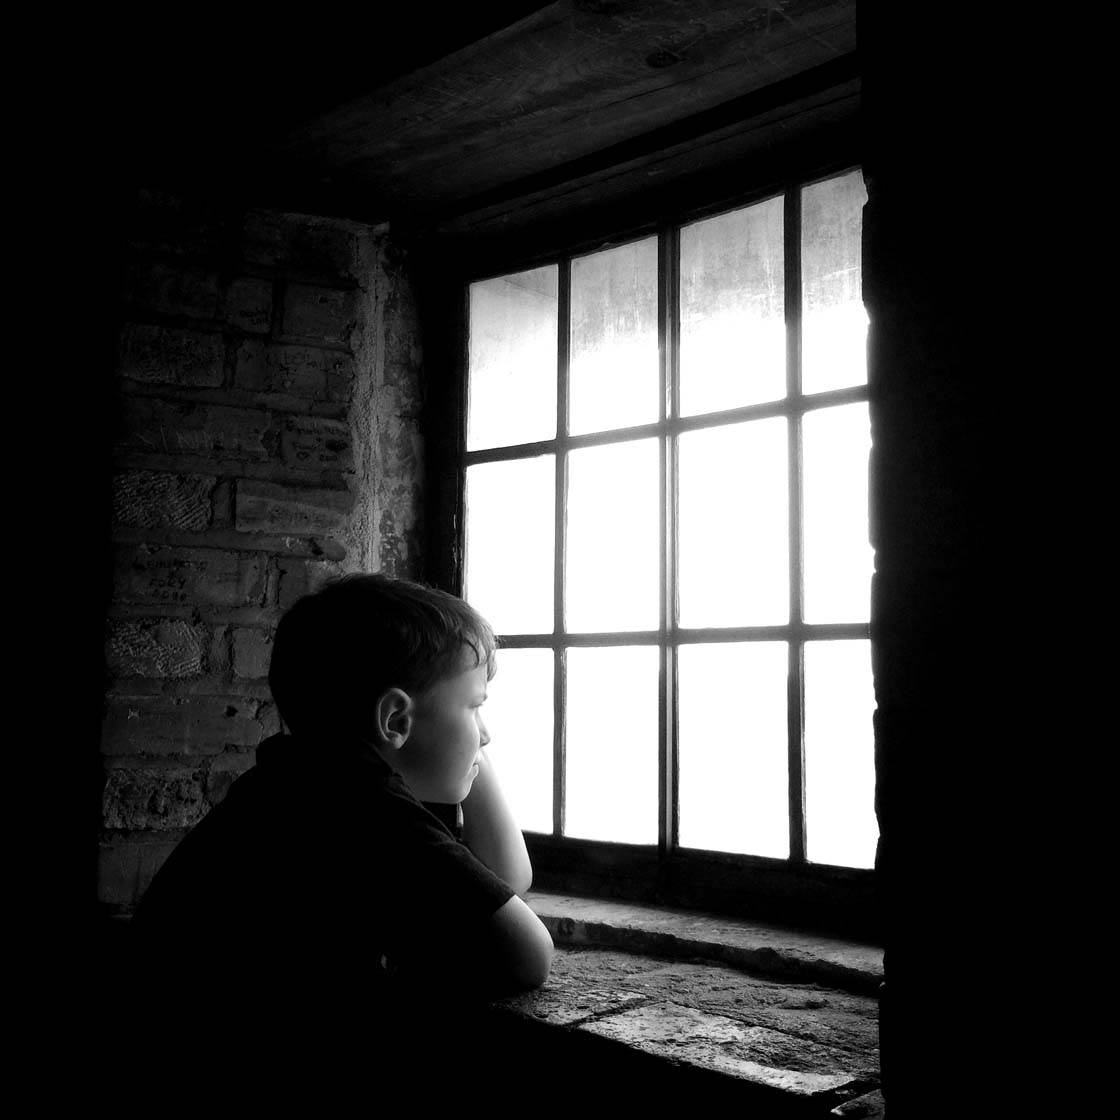
It can be more effective to position your subject so that they’re illuminated from the side, thereby creating a bit of visual tension which can be more pleasing to the eye.
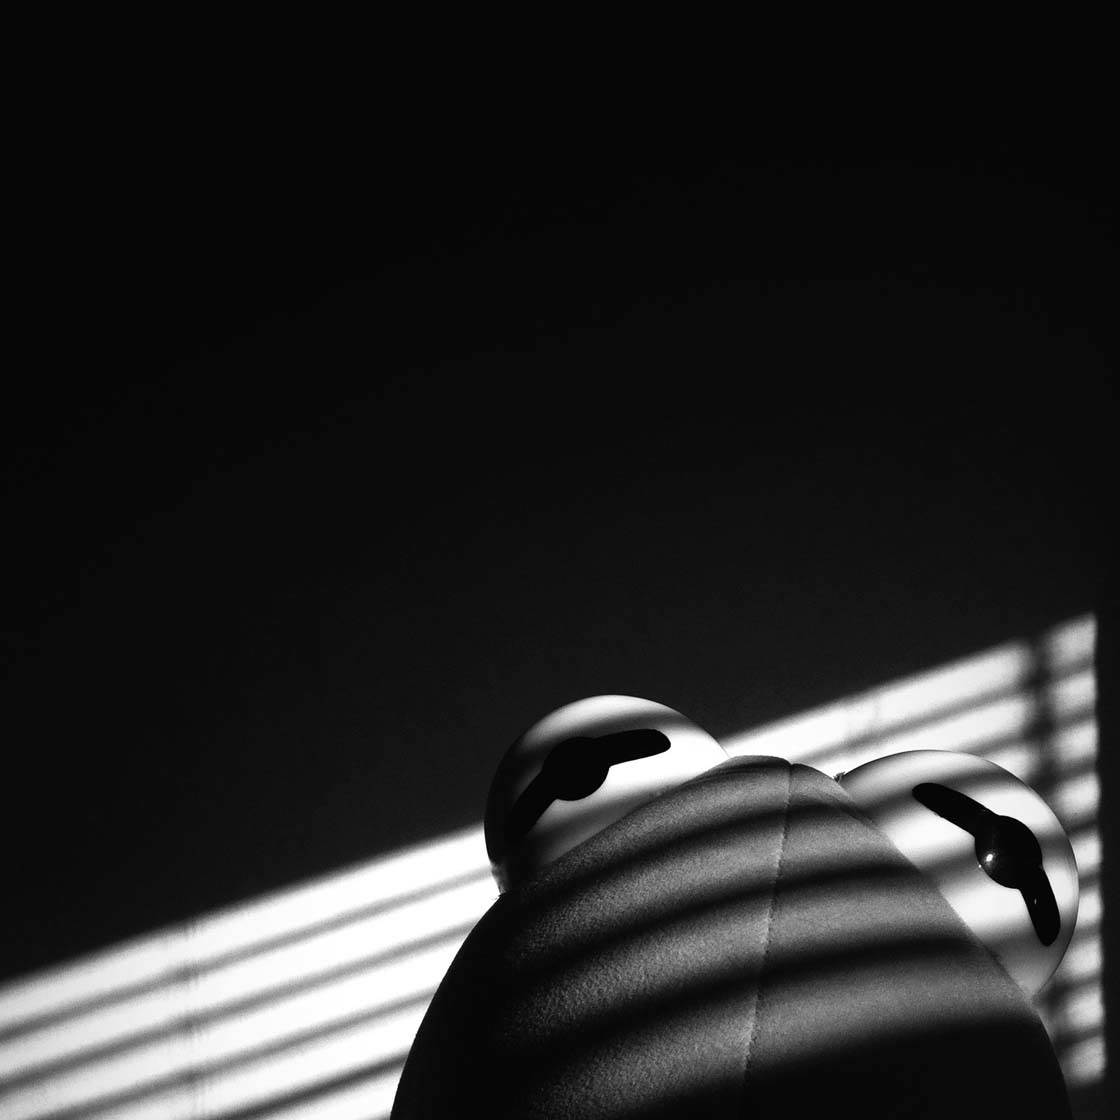
By filtering the natural light through a curtain, mini-blinds, or other window treatment, you can add even more variety and drama to the light that falls on your subject.
5. Reflect The Light
A great way to take control of available natural light is to make use of a reflector. Reflected light can occur naturally as mentioned above in the section on open shade, but for a small investment of time and money you can obtain a simple reflector that you can carry with you when shooting.
The best use for a reflector is to help remove shadows from your subject. For example, in the previous section on window light, you could utilize a reflector in conjunction with the strong light coming through the window to balance the light a bit more. This would reduce the dramatic shadows that occur on the side of your subject facing away from the window.

In this photo of my favorite amphibian, I used a single light source to the left of my subject and a portable reflector on the opposite side to help balance the light.
The easiest option is to simply purchase a small, collapsible reflector from any photography equipment retailer. A small circular reflector with a white side (for softer light) and a silver side (for stronger light) can be purchased for around $20.
However, you probably already have some items that can be used right now with equal effectiveness. In a pinch, a large sheet of white paper can work as a reflector. Even a small white paper plate has served me well in a desperate moment.
Alternatively, if you’re shooting an outdoor portrait, look around for a light-colored wall or other large reflective object that can help balance the light. Experiment!
One of the great things about mobile photography is that it teaches you to be adaptable and spontaneous. You learn to use your surroundings to your advantage as opposed to bringing a bag full of photography gear with you.
6. Use Lens Flare To Your Advantage
This is one of those effects that can be more of an annoyance than a blessing, but if you use it to your advantage, lens flare can be a very effective compositional element.
Your ability to generate a good lens flare may be somewhat dependent on the model of iPhone that you have as the lens elements do vary from one model to another.
I find it best to stand almost perpendicular to the sun with your camera and simply work with the positioning until you achieve the desired effect.
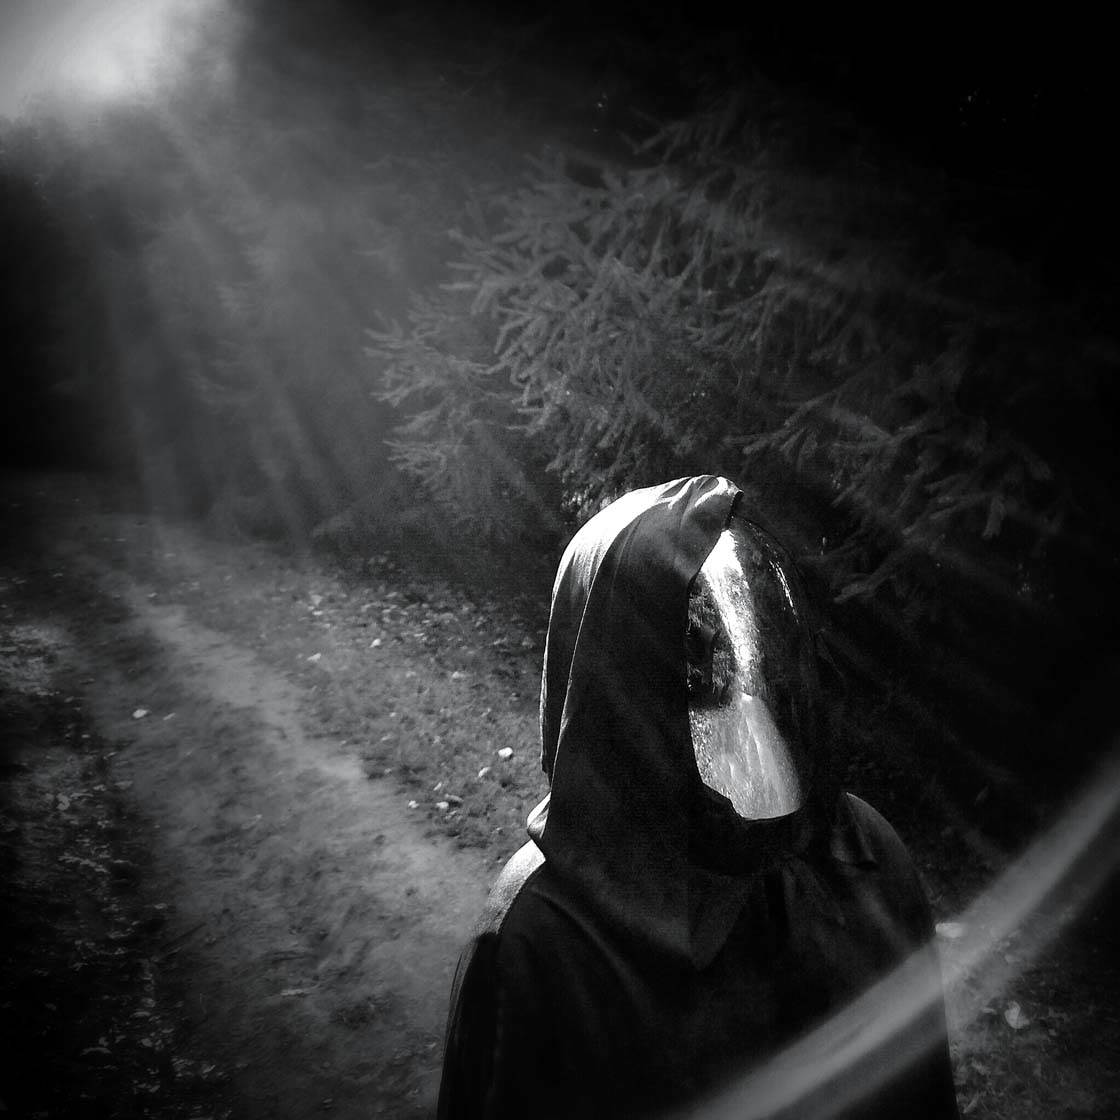
You may find it necessary to first compose your shot based on your light source to set up the flare first. Once you have the flare where you want it, move any other subjects such as people, objects, etc. into the frame.
Now, it should be noted that there are several apps available, such as the popular LensLight app, that will add “fake” flare effects to a photo as part of the editing process.
I’ve used these myself on many occasions to varying levels of success. However, whenever possible, I prefer to capture a true, physical lens flare because the effect is typically far superior.
7. Shoot During Magic Hour
Another golden rule of photography is that the most dramatic light is typically found in the first and last hour of sunlight each day, due to the longer shadows cast by the sun as it sits low in the sky. We call this these times of the day “magic hour.”
Through a bit of creative composition, it can be very easy to make use of this dramatic lighting. Have you ever noticed that a scene may look best early or late in the day while it may appear unremarkable and even dull during most daylight hours? I have.

Because of that, I generally prefer to shoot outdoors during these more “dramatic” light hours as much as possible. I find morning light to be just a bit better/stronger for some reason, but that may just be a personal perception.
Conclusion
Since natural light is likely to be the light source that you most often utilize in taking photos, it makes sense to spend as much time as possible learning how to use it to your advantage.
Sure, it has its shortcomings as mentioned above, but the more you learn to work with natural light, the less it will work against you and your photography. Keep shooting and experimenting with light, but most importantly, have fun!


Great tips! Thank you very much.
Stefan, You’re quite welcome! Thank you for taking the time to read the article! Cheers!
Rob
Thanks for these great tips Rob! I love the window light images – really beautiful lighting 🙂