One of the easiest ways to improve your iPhone photos is to properly expose your image at the moment of capture. While you can always make adjustments to the exposure level afterwards, achieving a well-balanced exposure to start with will make things easier and typically yields better results. This tutorial explores 10 ways to achieve better exposures with your iPhone.
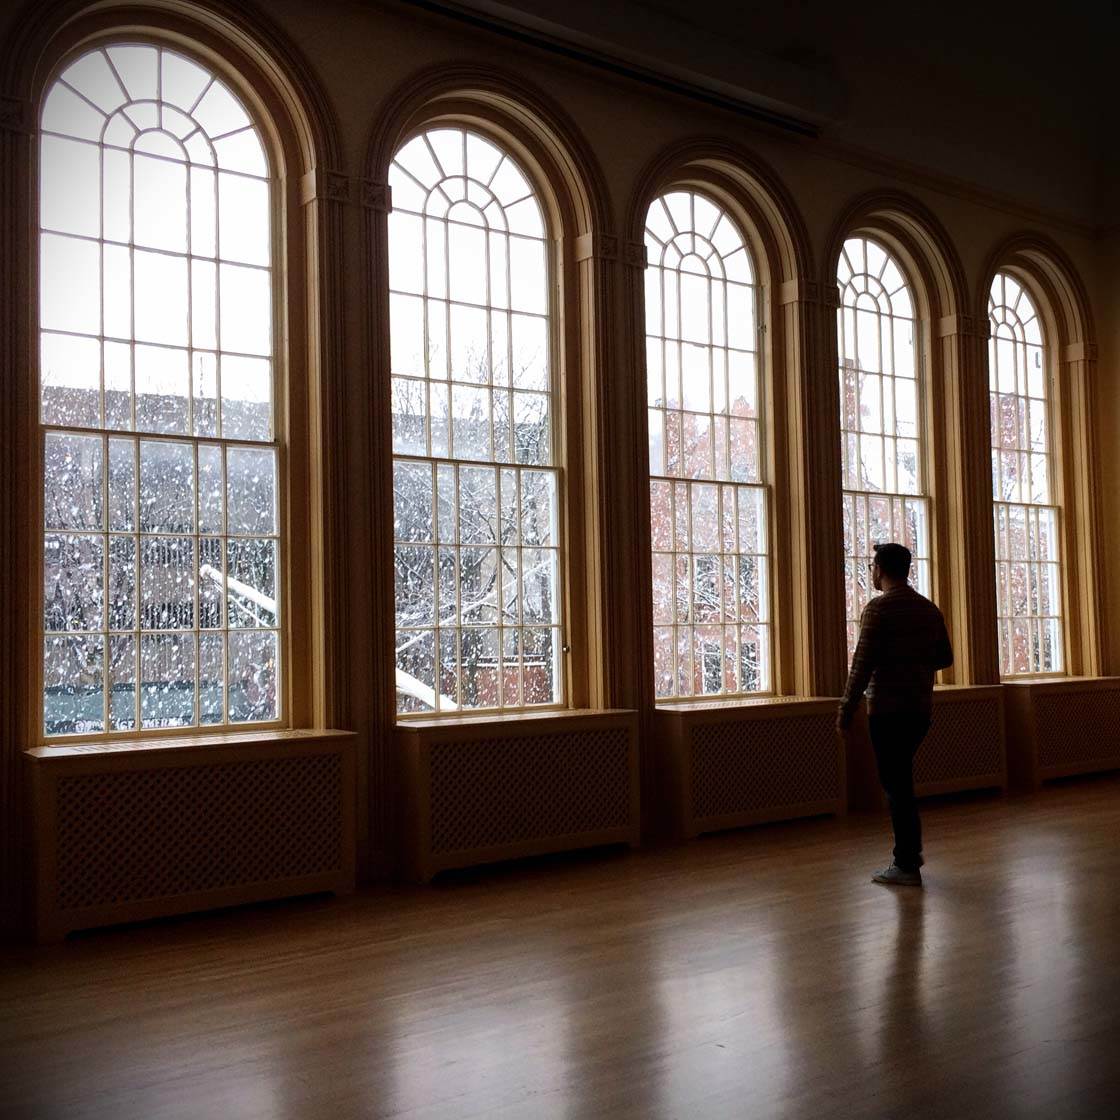
The tips below will help you create better exposed iPhone photos. That being said, just like any other rule of photography, there are always exceptions, and we will touch upon those as well.
It should be said that most of these techniques only work for shooting subjects that are relatively stationary. If you are shooting a moving subject, you may simply not have the time to manually adjust your exposure setting as suggested in the tips below. Just use your best judgement and have fun!
1. Separate Focus And Exposure Points
First of all, if you want to gain greater control over your exposure settings, you’ll need to use a camera app other than the native iPhone camera app. While the native camera app is great, one significant drawback is that it doesn’t allow for setting separate exposure and focus points.
There are so many great camera apps available in the App Store, and it really is up to you to find the one(s) that work best for you. To help you get started I would recommend trying either ProCamera 7 or PureShot.
These have been my go-to camera apps for quite some time for many reasons. However, the only feature that matters for this discussion is that both allow for setting separate exposure and focus points. The technique can vary a bit from app to app, so you will have to try each of them to determine which is most comfortable for you.
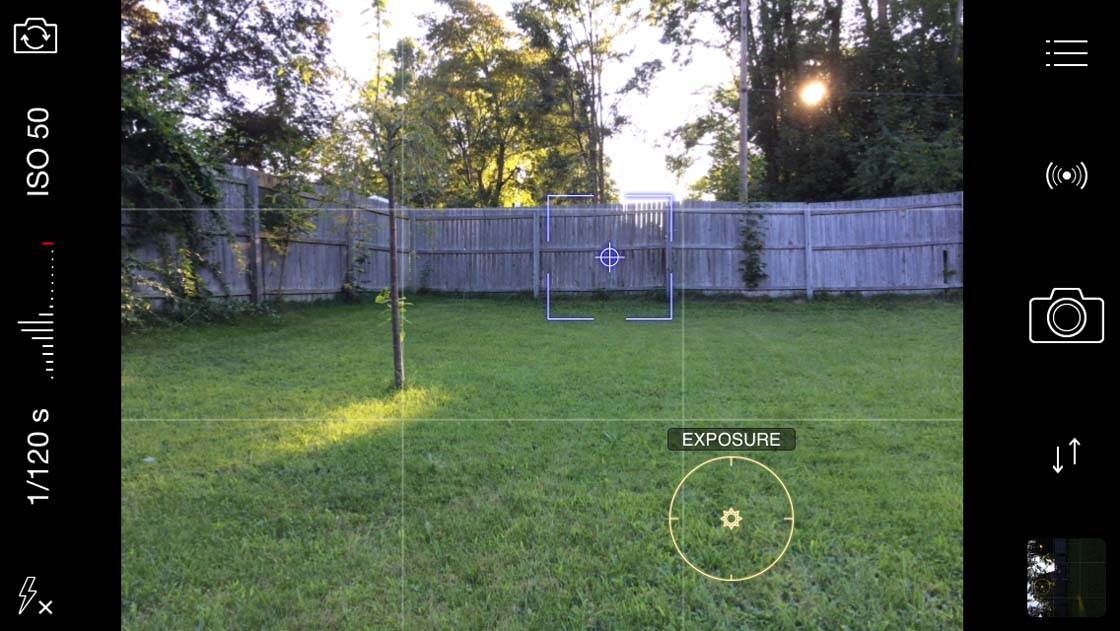
With ProCamera 7, by default, the focus and exposure “crosshairs” show up stacked on top of each other. By placing your finger on this “stack” and dragging off, you will move the exposure point (circle) off of the focus point (square), which can then be repositioned separately. Tapping anywhere on the screen will snap both crosshairs to that point, and double-tapping will reset the focus/exposure point to the center of the screen.
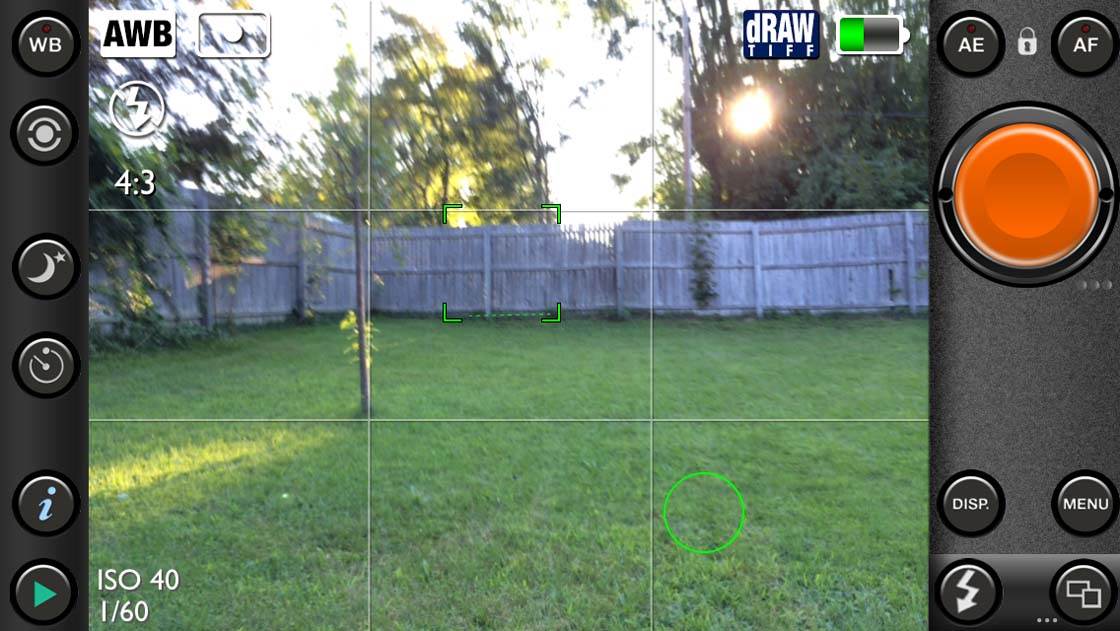
With PureShot, you simply tap to set the focus point (square), and tap and hold (and drag) to set the exposure point (circle).
2. Focus On What You Want To Highlight
Sounds simple enough, right? Well, it actually can be this simple, and this can be a great place to start if you are unsure of how to set your exposure. This is also the one main exception to what I just said about using a camera app that lets you separate focus and exposure points.
If you have one main subject that you want to focus on, such as a single person for a portrait, you may be well served by setting your focus and exposure points in the exact same place. This is actually what the native iPhone camera was built to do, and it can work well in many instances.
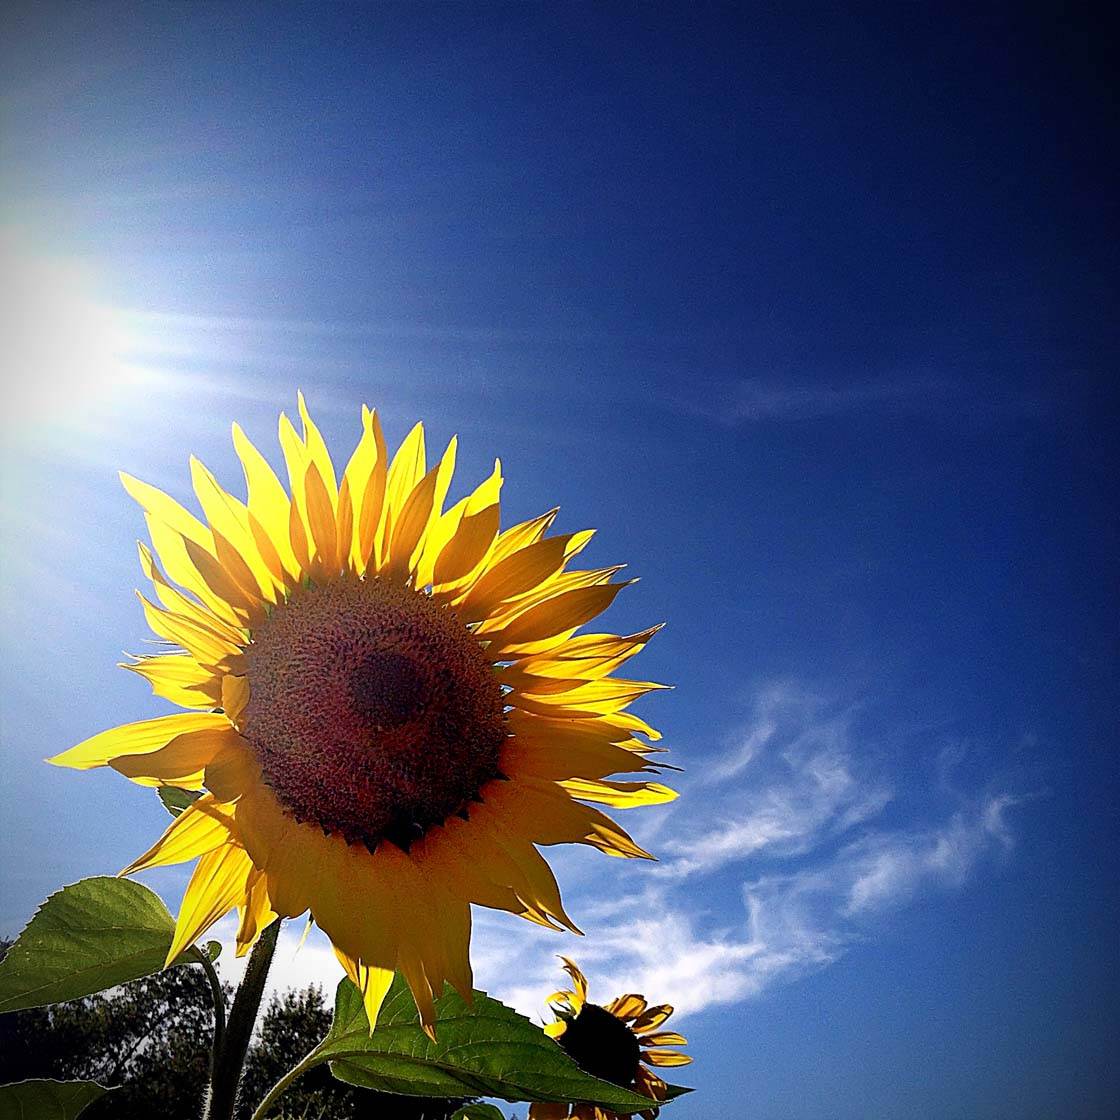
In the sunflower picture above, I set both the focus and exposure points on the flower, so the ability to separate the two wasn’t as important. I still had to reposition them though as the flower is not centered in the frame. In this particular case, using this technique resulted in an interesting balance between the exposure of the flower and the background.
Experiment with a few different subjects and see if this technique works equally well for all of them or if there are some instances where it isn’t as effective. Chances are, you will find many situations where you need to separate the focus and exposure points. To learn more about that, keep reading…
3. Portraits: Expose For Skin Tones
While we are talking about portraits, here is a more refined technique that you may want to consider. If you are taking a relatively close-up photo of a single person, it may suffice to set your focus and exposure points in the same place (probably in the center of your subject’s face).
However, if you look closely, you will likely see a wide range of different skin tones in your subject depending on how the light is hitting them and the color/shade of their skin.

In the image above, I set the exposure for the cheek area and the focus for the eye (another best practice for portraiture). This approach helped to keep the dominant eye in partial shadow for the resulting effect.
Try setting the exposure point for different areas of your subject’s face (forehead, cheek, eyes, etc.) and see how the resulting photos differ (or not). This technique works best the closer you are to your portrait subject. The farther away you are, the less refined you can be in your exposure selections.
4. Expose For Highlights To Avoid Washed-Out Areas
This tip follows right on the heels of the last one in that you may quickly notice that one of the best techniques for setting your exposure in close-up portraiture is to expose for the brightest skin tones on your subject. This helps to avoid washed-out highlights (“hot spots”) where you only see white and no detail.
Unfortunately, no amount of post-processing can pull details out of a washed-out highlight. There’s just nothing there to work with. This is one of the key reasons why it is best to always start with a good exposure.
In fact, a general rule of thumb for all photographers (not just iPhone photographers) is to slightly underexpose your photos. You can always brighten areas that are a bit dark as long as they still hold details. However, overexposing sections of your image will not afford you this latitude when editing your photos.
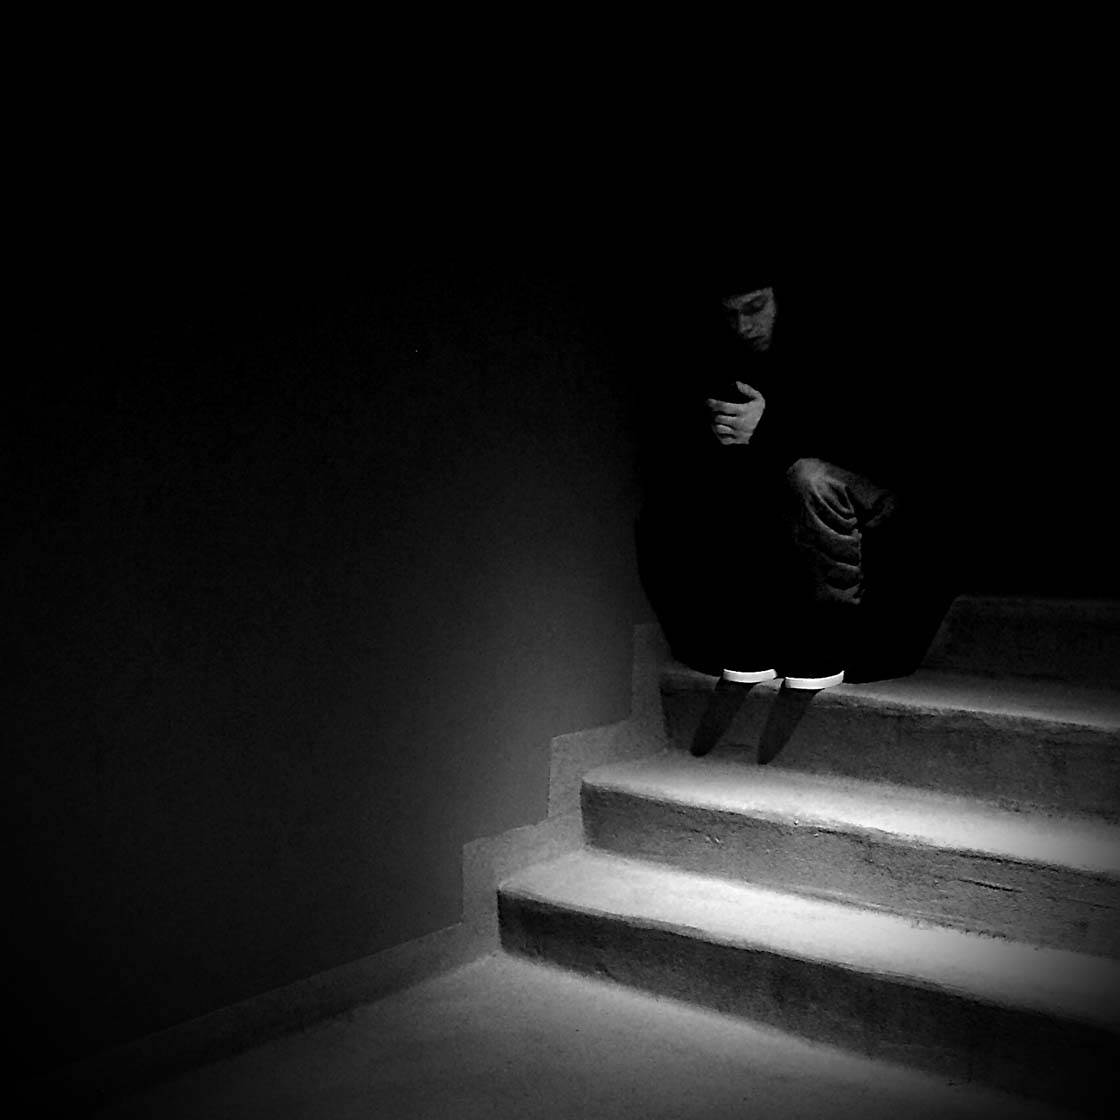
In the above photo, I exposed for the light falling on the stairs so that it wouldn’t wash out and to keep much of the subject in the natural shadows for effect. If I had set my exposure on the person, the stairs would have been washed out and the effect would have been lost overall.
5. Expose For Dark Areas To Bring Out Shadow Detail
This tip is similar to tip #4, but with a different spin. If your image features areas that are in dark shadow and you want to draw attention to the details in those areas, you may want to try setting your exposure point for the shadows to help bring out those details. Be careful though as doing this can cause other, brighter areas of your image to overexpose and “wash out”.
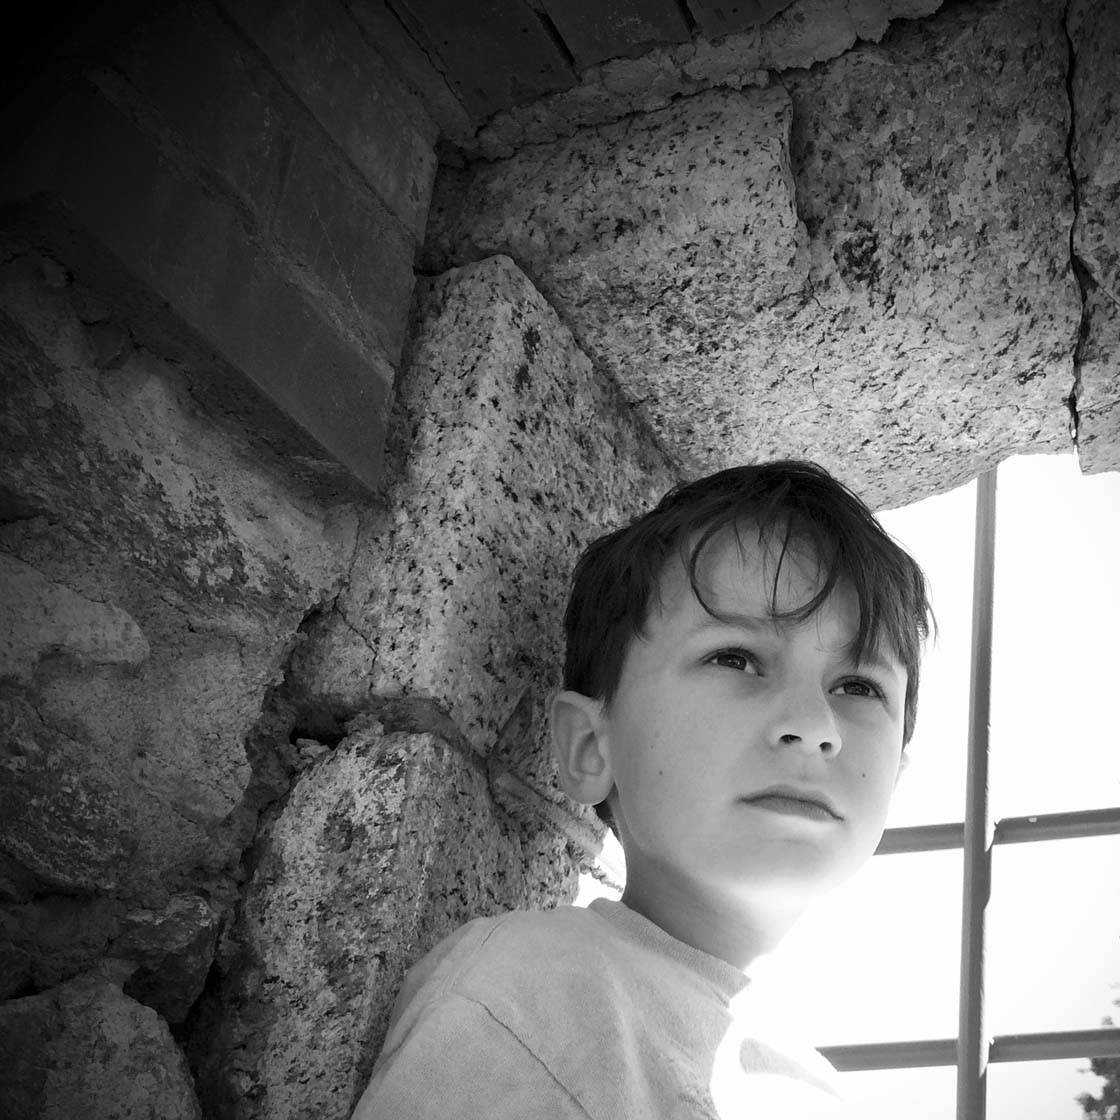
In the above image, the boy and the stonework were in partial shadow due to the strong light coming through the archway. By exposing for the shadow areas, the sky seen through the arch is completely washed out, but it works fine in this sort of composition.
Sometimes you need to set your exposure on something that you wouldn’t expect simply because it gives you the most balanced exposure. This approach works best with “low-key” shots where the image tends toward the dark side overall with only specific sections that are well-lit.
6. Take Advantage Of The iPhone “Live View”
One of the unique advantages of iPhone photography over other, more traditional formats is that while composing your photo, it allows you to see the image exactly (more or less) as it will appear after you click the shutter release button.
Adjust the focus point, and you can see the camera re-focus. Adjust the exposure point, and you will see how the overall exposure of the image is affected.

Use this to your advantage when trying all of these techniques. Simply move the exposure point around on the screen until you achieve an exposure that balances the light and dark areas of the image to your liking.
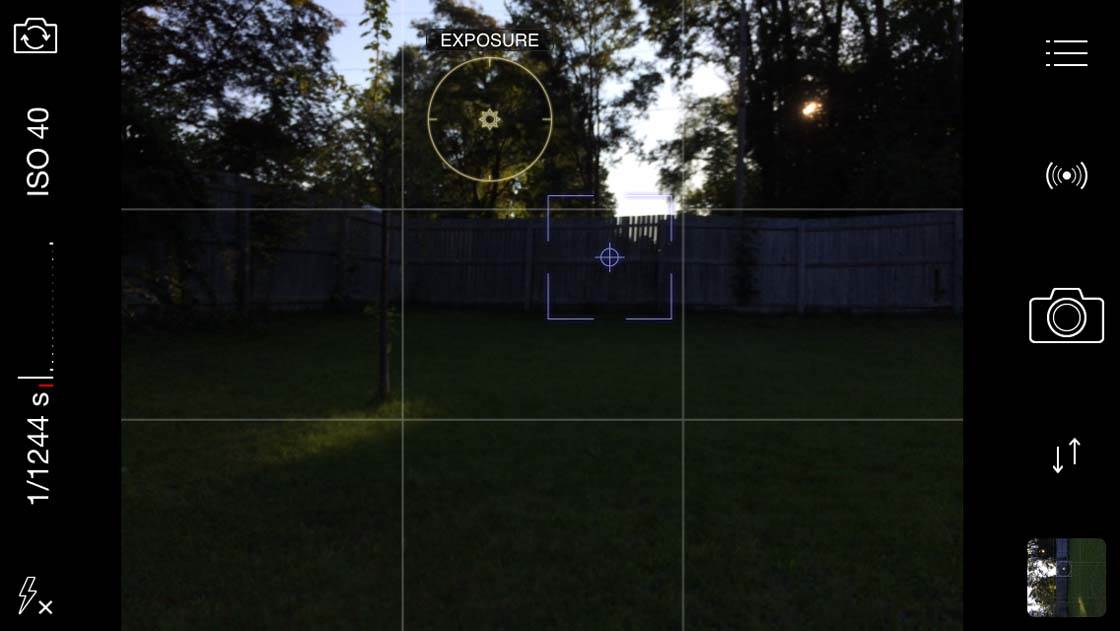
The images above demonstrate how the same scene can offer a wide range of exposure possibilities depending on where you set the exposure point. This is one of the biggest advantages of iPhone photography over traditional film and digital photography.
7. Landscapes: Strike A Balance
A great example of using the live view of your iPhone to set a balanced exposure is in landscape photography. Depending on your lighting (such as the position of the sun), you may find that you have a significant difference between the proper exposure of your sky compared to the ground/trees/etc.
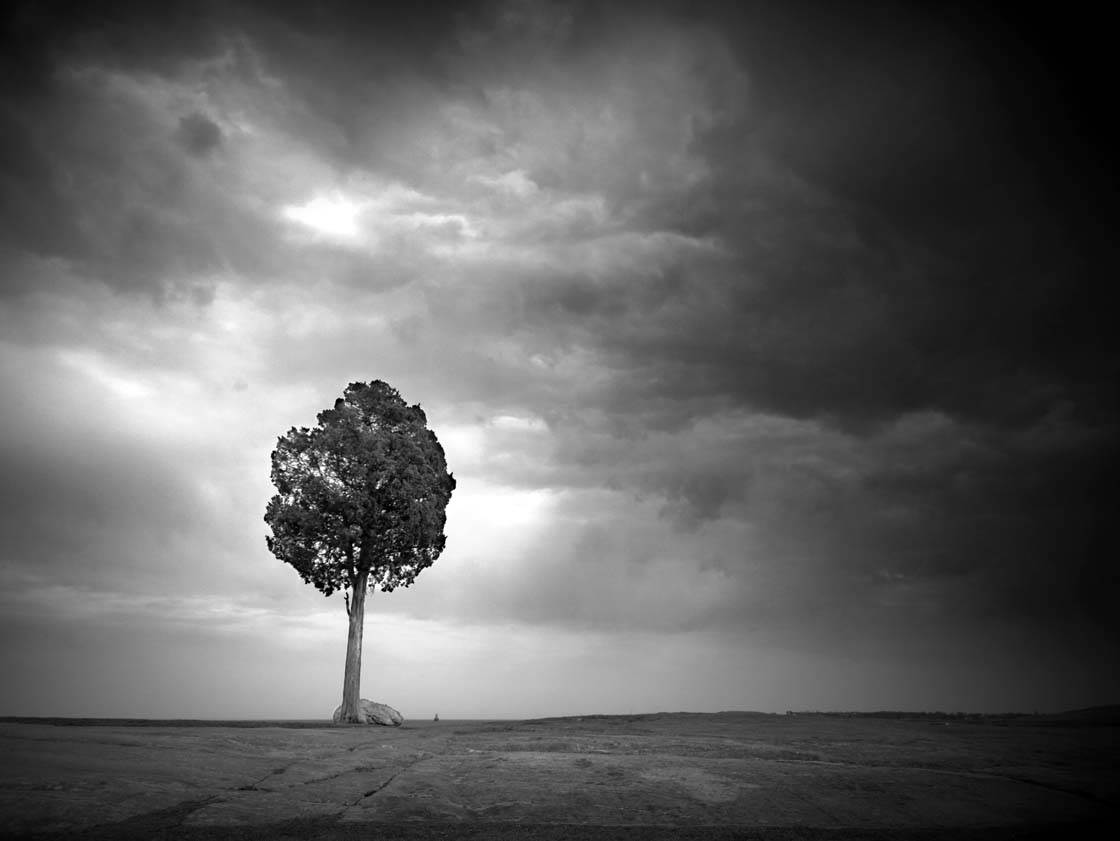
In this case, you will need to experiment with the careful placement of the exposure point to properly light all areas of the image. You may still find it next to impossible to get a balanced exposure in this manner.
If that is the case, do the best you can to avoid washed-out highlights and overly underexposed shadows. Then, if you feel comfortable with it, you can work some magic in post processing to balance the various areas of exposure in your image.
You can also try the HDR iPhone camera setting, but that’s a whole other discussion…
8. Silhouettes
A great example of breaking the rules is to expose for the sky or an otherwise bright background, which can render your main subject in silhouette. This can be a striking image technique. This works especially well outside on a cloudless day if you position your subject in front of the sun (or inside in front of a strong light source).
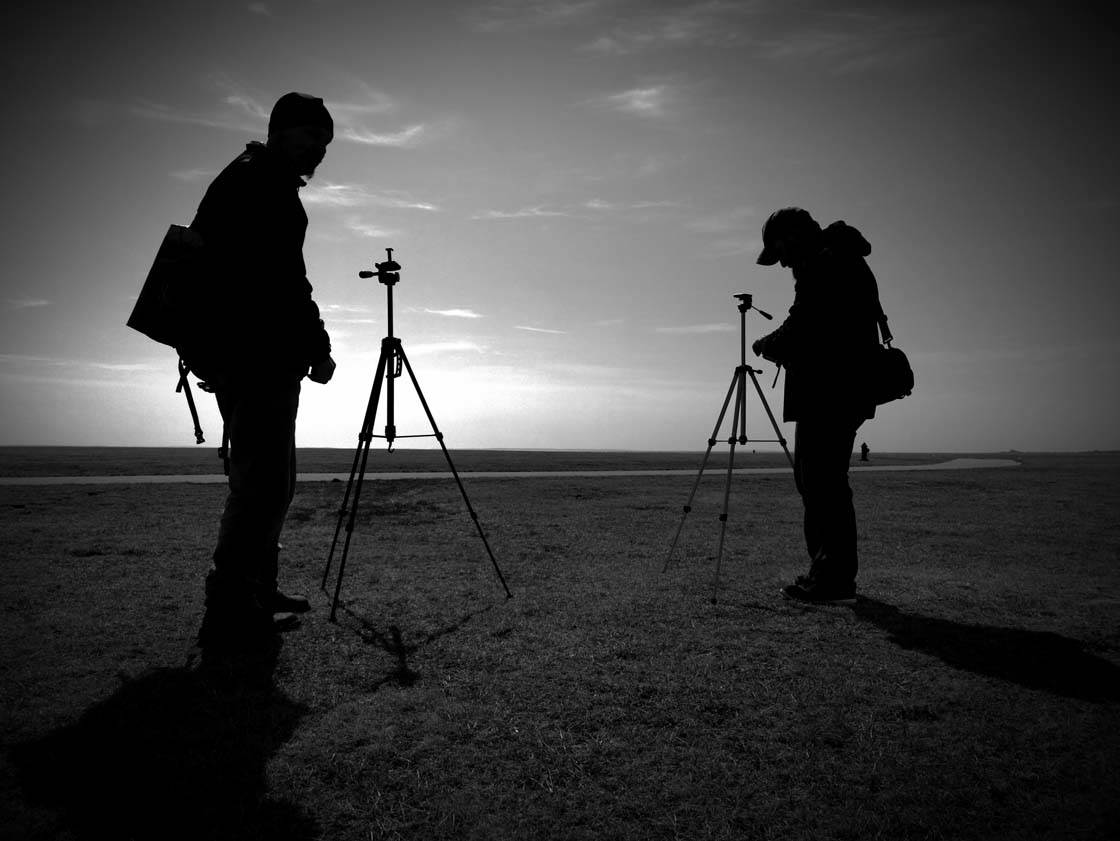
The above image is a classic example of exposing for the brighter background so as to render the main subjects (the people) in strong silhouette.
9. Reverse Silhouettes
For lack of a better term, I refer to this technique as creating a “reverse” silhouette. The idea here is similar to creating a regular silhouette in that you place your subject directly in front of a strong light source (just as with a regular silhouette), but the key difference is that you expose for your subject (in shadow) and not the brighter background.

This renders your subject in a more balanced exposure while completely over-exposing your background. This does go against the practice of avoiding washed-out highlights and other over-exposed areas, but the technique can be quite effective for drawing attention to your subject. As always, experiment and see how it works for you.
10. Be A Student Of Light
If you really want to improve your exposures, you need to become a student of light. Now before you think I’m getting all philosophical on you… well, I guess I am. But it doesn’t need to be complicated. After all, without light, there would be no photography!
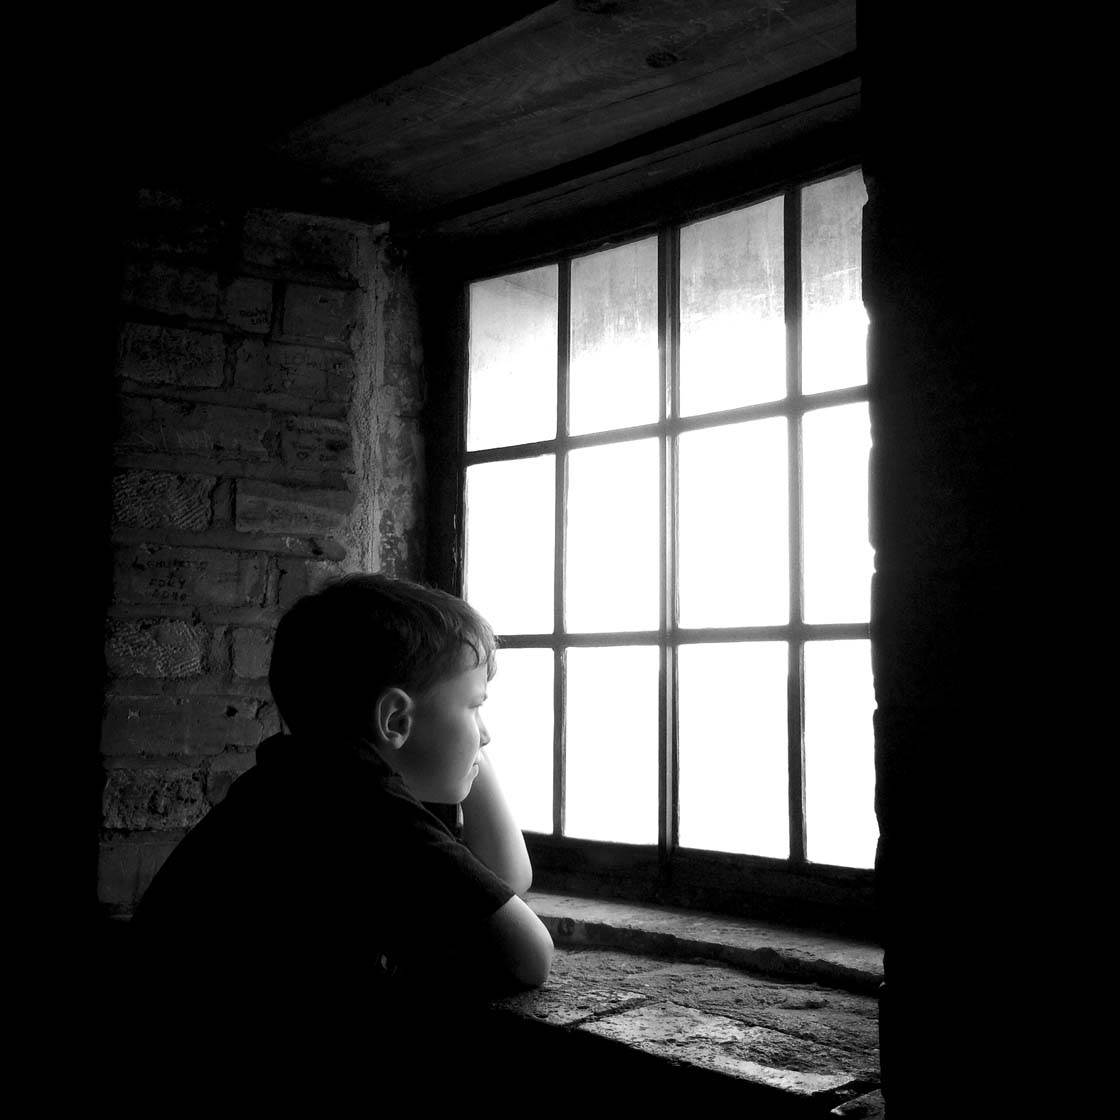
Study light. Examine how it falls on various subjects. Investigate how different textures refract the light. Consider the same subjects in different light at different times of day. Experiment with artificial light. Play with light!
Through experience and simple experimentation, you will gradually become an expert in using light/exposure to its fullest in your iPhoneography. Happy shooting!


The “reverse siloutteing ” idea sounds intriguing. Thanks!
Glad you like the idea Dave! If you give it a go, please let us know how it turns out.
Cheers!
Thanks for this tutorial. I have been practicing exposure with procamera and it really does make a difference!
Thanks Faye! I’m so glad that you found it useful and informative. Cheers!
Hey you have done a great job , I’ve alwayed looked for a place like this.
I enjoyed it a lot. Love from Iran
I believe that exposure is the most important concept . Right now I’m preparing for a Hurricane so i’ll be taking some before and after photos. We’ll see!!