Wedding photography is immensely rewarding. And using your iPhone to capture the event will free you from having to carry around bulky camera equipment all day. If you’re a guest at a wedding, the iPhone is the perfect camera to use – you can keep it in your purse or pocket, ready to shoot at a moment’s notice. Even some professional photographers have started to shoot entire weddings with their iPhone. You really can get great results. In this tutorial, you’ll discover eight essential tips for taking beautiful wedding photos with your iPhone.
1. Tell The Story Of The Day
Photos are great storytellers, and by capturing pictures throughout the wedding day you’ll create an engaging story of this special event.
If you have a chance to be with the bride or groom when they’re getting ready, use this to your advantage and capture some shots with your iPhone. Before the wedding they’ll be excited and probably a bit nervous, so try to capture these emotions in your photos.
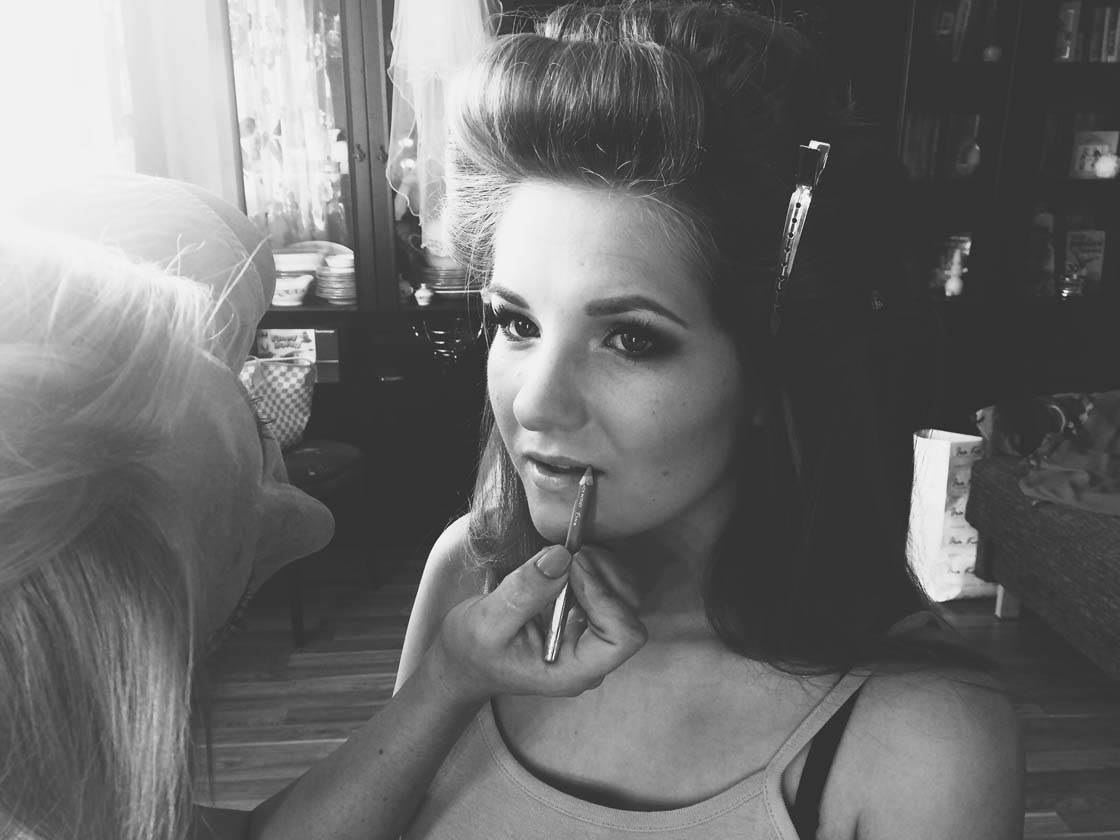
This is also a perfect time to get some close-up portrait shots of the bride. Take a few photos while she’s having her hair and make-up done so that you have a record of the day from the very beginning.
Follow the bride and the groom throughout the day, and take a lot of shots of them together. Be especially aware of the main events, such as the wedding ceremony, signing the marriage register, cutting the cake, etc.
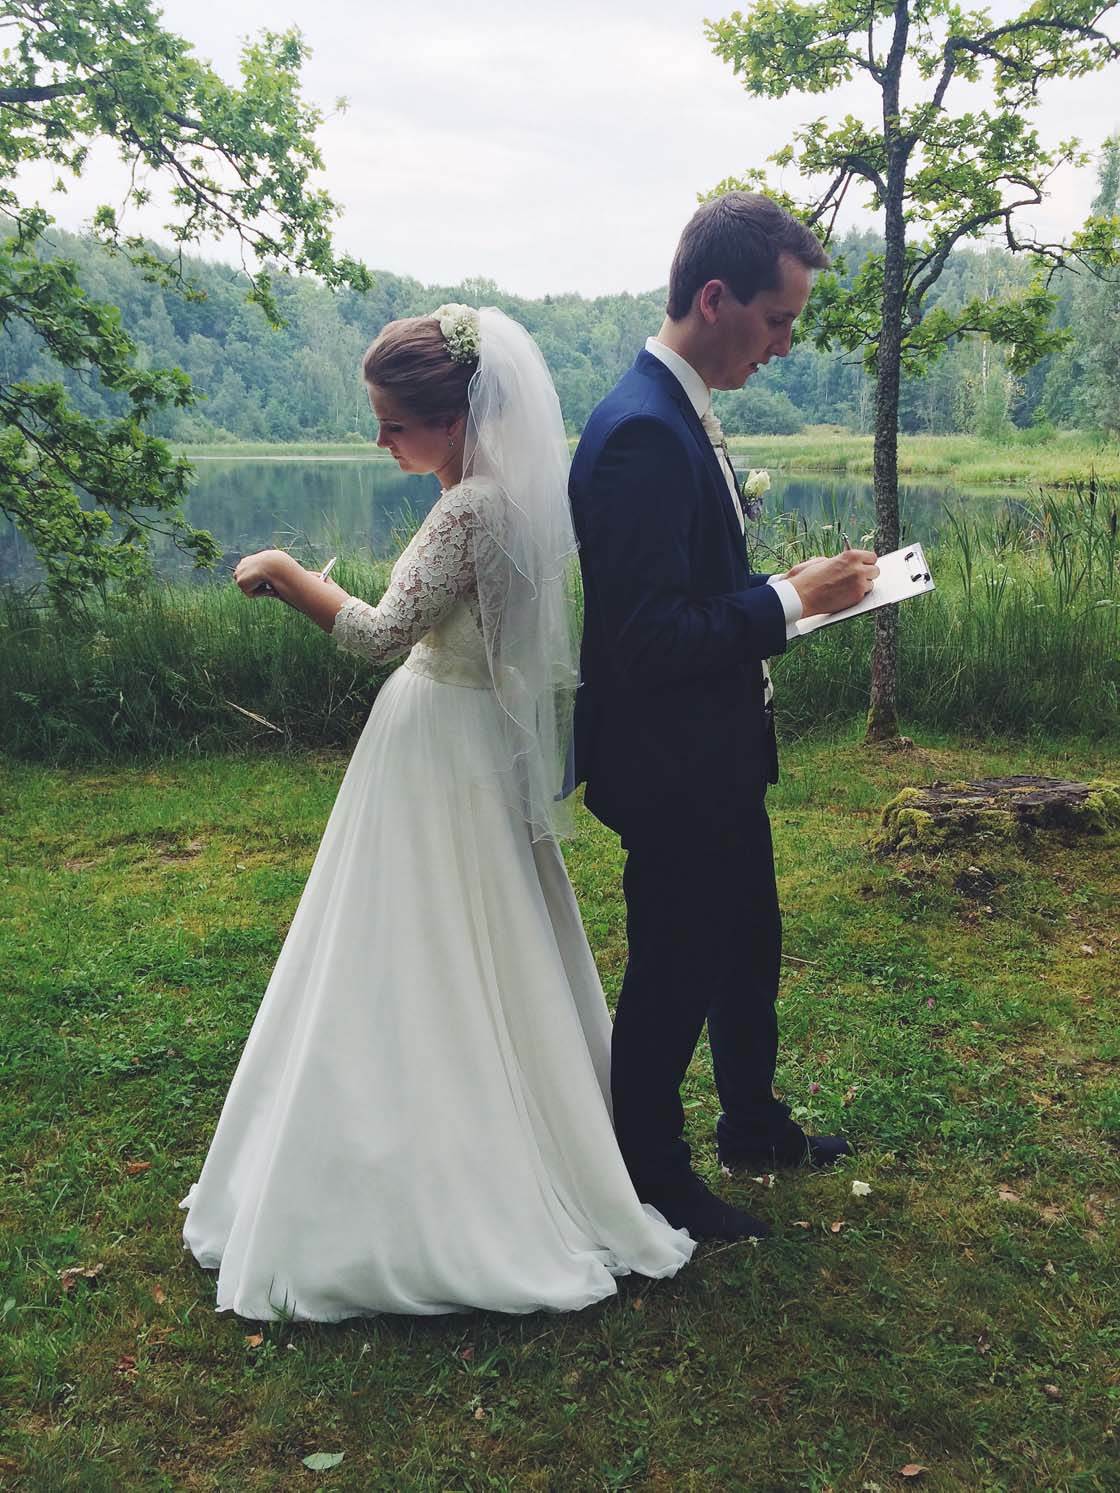
If it’s a big wedding it can be easy to lose the new couple in the crowded scene. To ensure you don’t miss any of the important moments, be prepared and check the program of the day. That way you’ll know exactly where the bride and groom will be throughout the day.
Of course, you should also try to capture some shots of the guests to tell the full story, but don’t worry too much about trying to photograph everyone. When photographing guests, concentrate more on the closest family and friends of the new couple.
2. Shoot In Good Light
When it comes to the weather, most people hope for a bright sunny day for a wedding. But if you’re the wedding photographer, this is usually the last thing you want!
Bright sun can cause all sorts of problems for wedding photographers, including over-exposure of the wedding dress, harsh shadows on faces, and people squinting because of the bright light.
An overcast day is actually much better for photographing weddings because the clouds diffuse the sunlight. This results in a softer and more even lighting, and you won’t have to worry about harsh shadows on your subjects.
If you’re faced with taking photos on a sunny and cloudless day, try to find a shaded area such as beneath some trees, between buildings, or under some kind of canopy that will shade your subjects from the harsh sun.
Of course, sometimes you’ll have to shoot in sunny conditions and you won’t have a chance to move people around. In such cases, you could use a reflector to brighten up any dark shadowed areas on your subject. You could use a professional photography reflector, or a simple piece of white card or paper will do.
Ask someone to hold the reflector so that it’s pointing at the side of the subject’s face where the shadow is. The light from the sun will bounce off the reflector, illuminating the shadows and making them brighter.
This may seem like a very simple trick, but it’s extremely effective. Professional photographers often use reflectors in portrait photography to cast a more even and beautiful light on people’s faces.
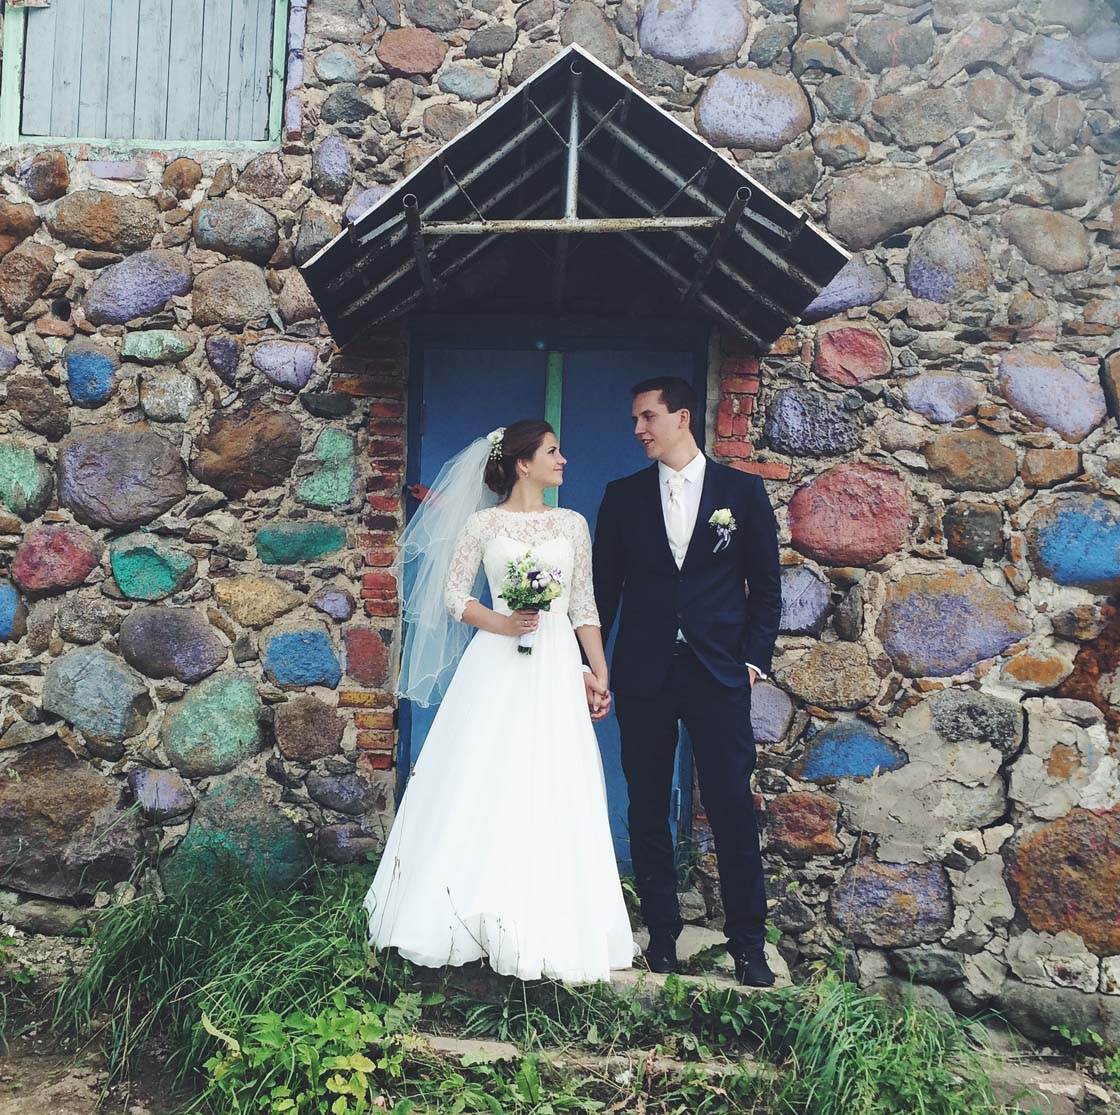
Even if you have to shoot on a very sunny day, I recommend shooting outdoors as much as you can. Shooting indoors can be more challenging due to the low light conditions.
Low light photography can result in blurry photos caused by camera shake. This is because the camera needs to use a slower shutter speed when there’s not much light in the scene. Photos shot in low light can also look grainy. So if you’re shooting indoors, try to find a well-lit area.
Artificial lighting can cast unflattering colors on your subject. So if you’re taking photos indoors during the day, try to use natural window light to illuminate your subjects.
I recommend that you don’t use the iPhone’s built-in flash because the direct light can be very harsh. It’s usually an unflattering light for portrait photos and can make people’s features appear very “flat.”
Using natural light is always the best option for great portrait and wedding photography.
3. Set Exposure For The Highlights
Paying attention to the exposure (brightness) of your photos is important in all genres of photography, but it’s especially important when taking photos of the bride at a wedding.
This is because the bride usually wears a white dress, and the iPhone can struggle to set the correct exposure automatically because of the contrast between the bright dress and the darker surroundings.
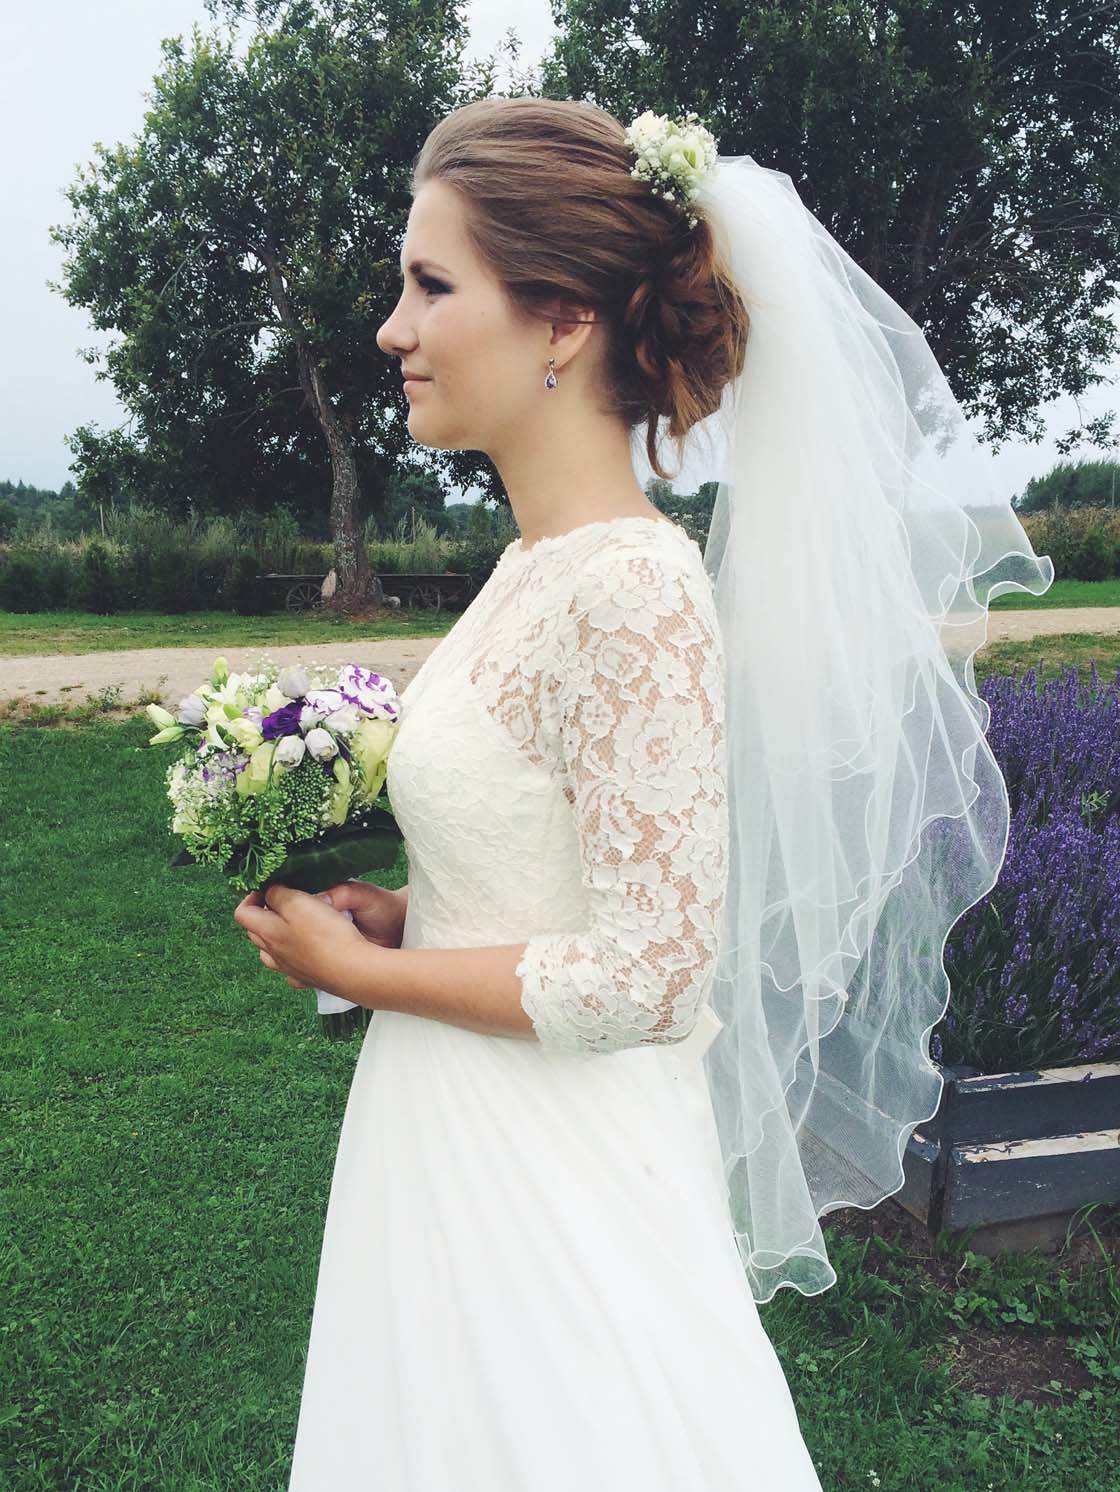
The last thing you want in wedding photography is a photo where the brides’s dress and face appears over-exposed. Over-exposure can cause the brighter areas of the photo (the highlights) to appear completely blown-out (pure white with no detail at all).
To ensure the bride’s white dress and the faces of your subjects don’t appear over-exposed, you should set exposure for the highlights. This simply means manually adjusting the exposure so that the highlights (brighter areas) are correctly exposed with plenty of detail visible.
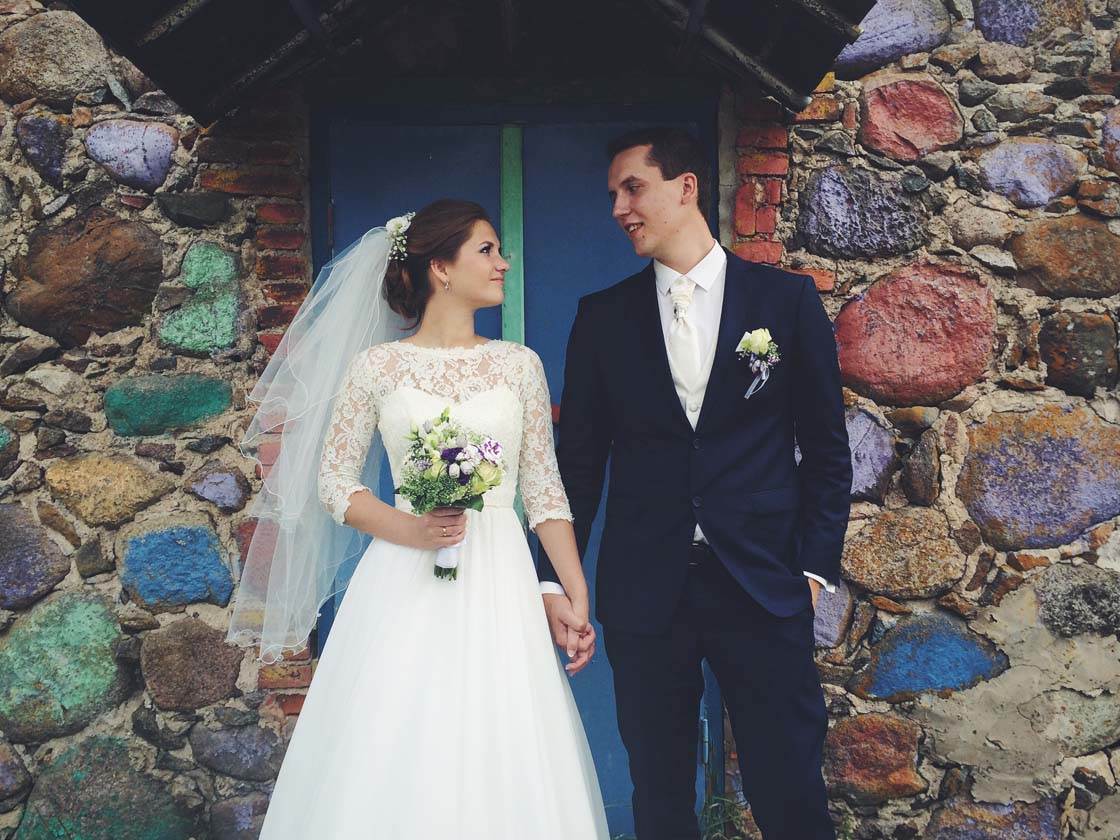
To adjust the exposure in the iPhone’s native camera app, start by tapping on the screen to set the focus (usually this would be on the bride’s face). Now swipe your finger up or down on the screen to access the exposure slider with the yellow sun icon.
Adjust the exposure so that you can see detail in the bride’s dress and the faces of your subjects. Swiping up will make the image brighter and swiping down will make it darker.
Setting exposure for the highlights means that the shadows (darker areas of the photo) might appear under-exposed, but you can usually brighten up these areas easily using editing apps such as Snapseed.
4. Use Burst Mode
When photographing weddings, there’s often a lot of movement in the scene which can result in blurry subjects or clumsy captures with eyes closed, people in the wrong pose, etc.
In such cases, the burst mode feature in the camera app is very useful. It allows you to capture many shots in a short period of time, and you can then choose the best shots from the sequence afterwards.
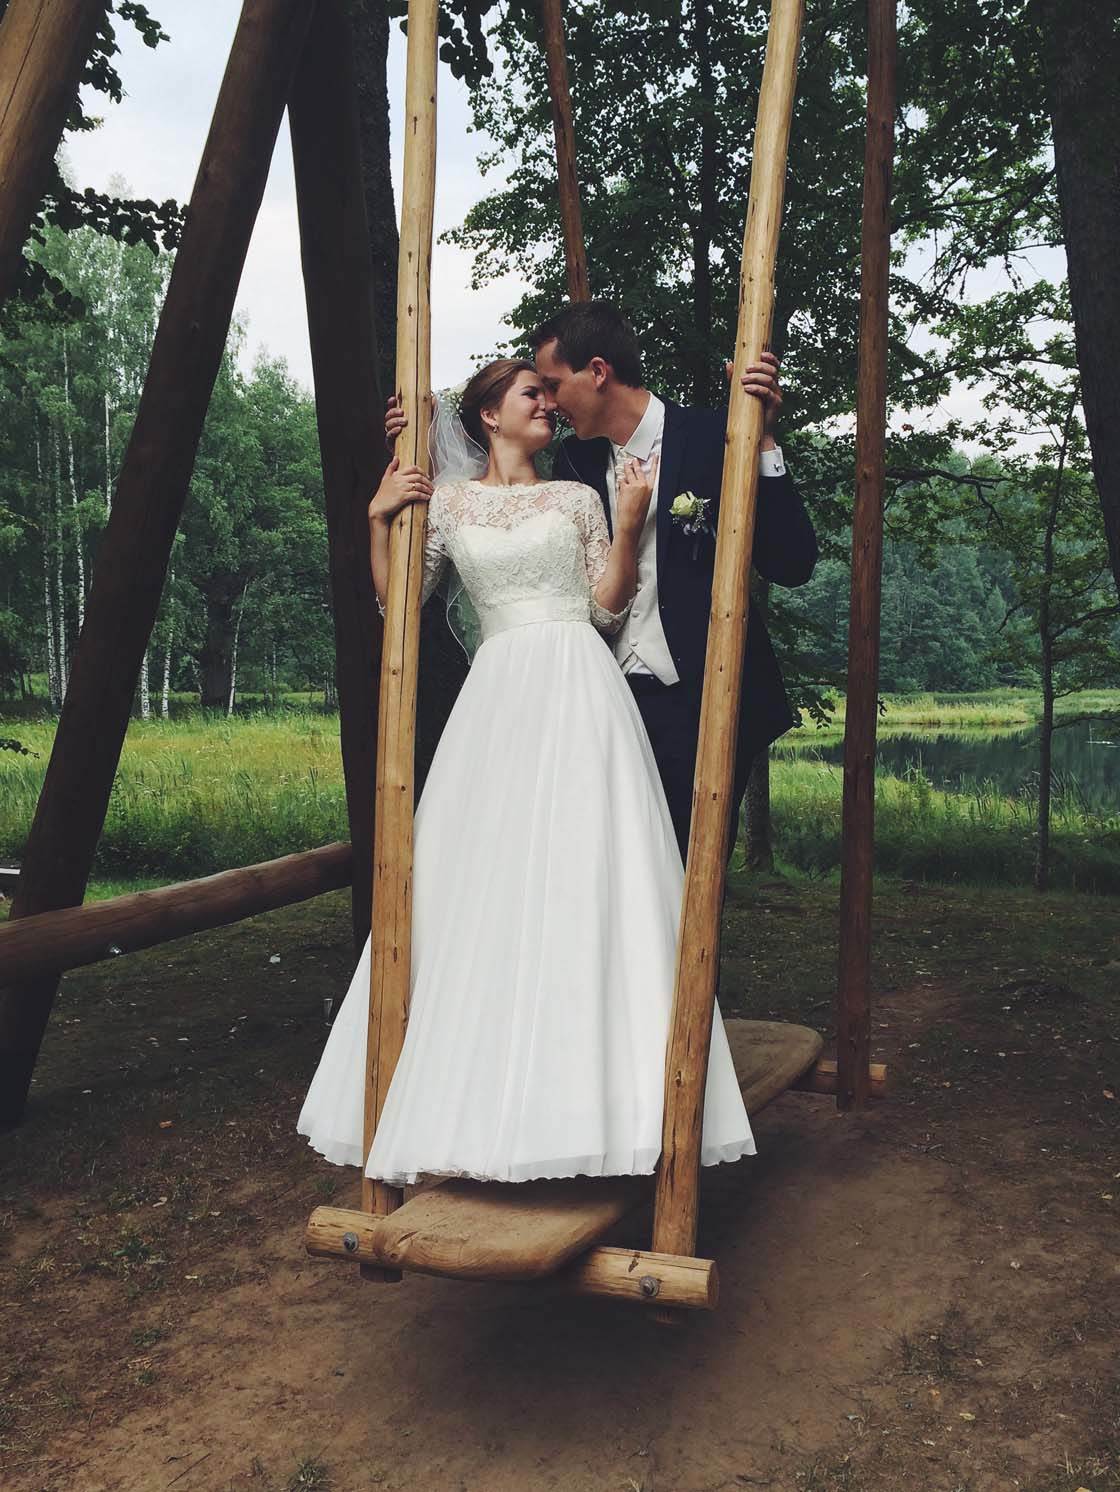
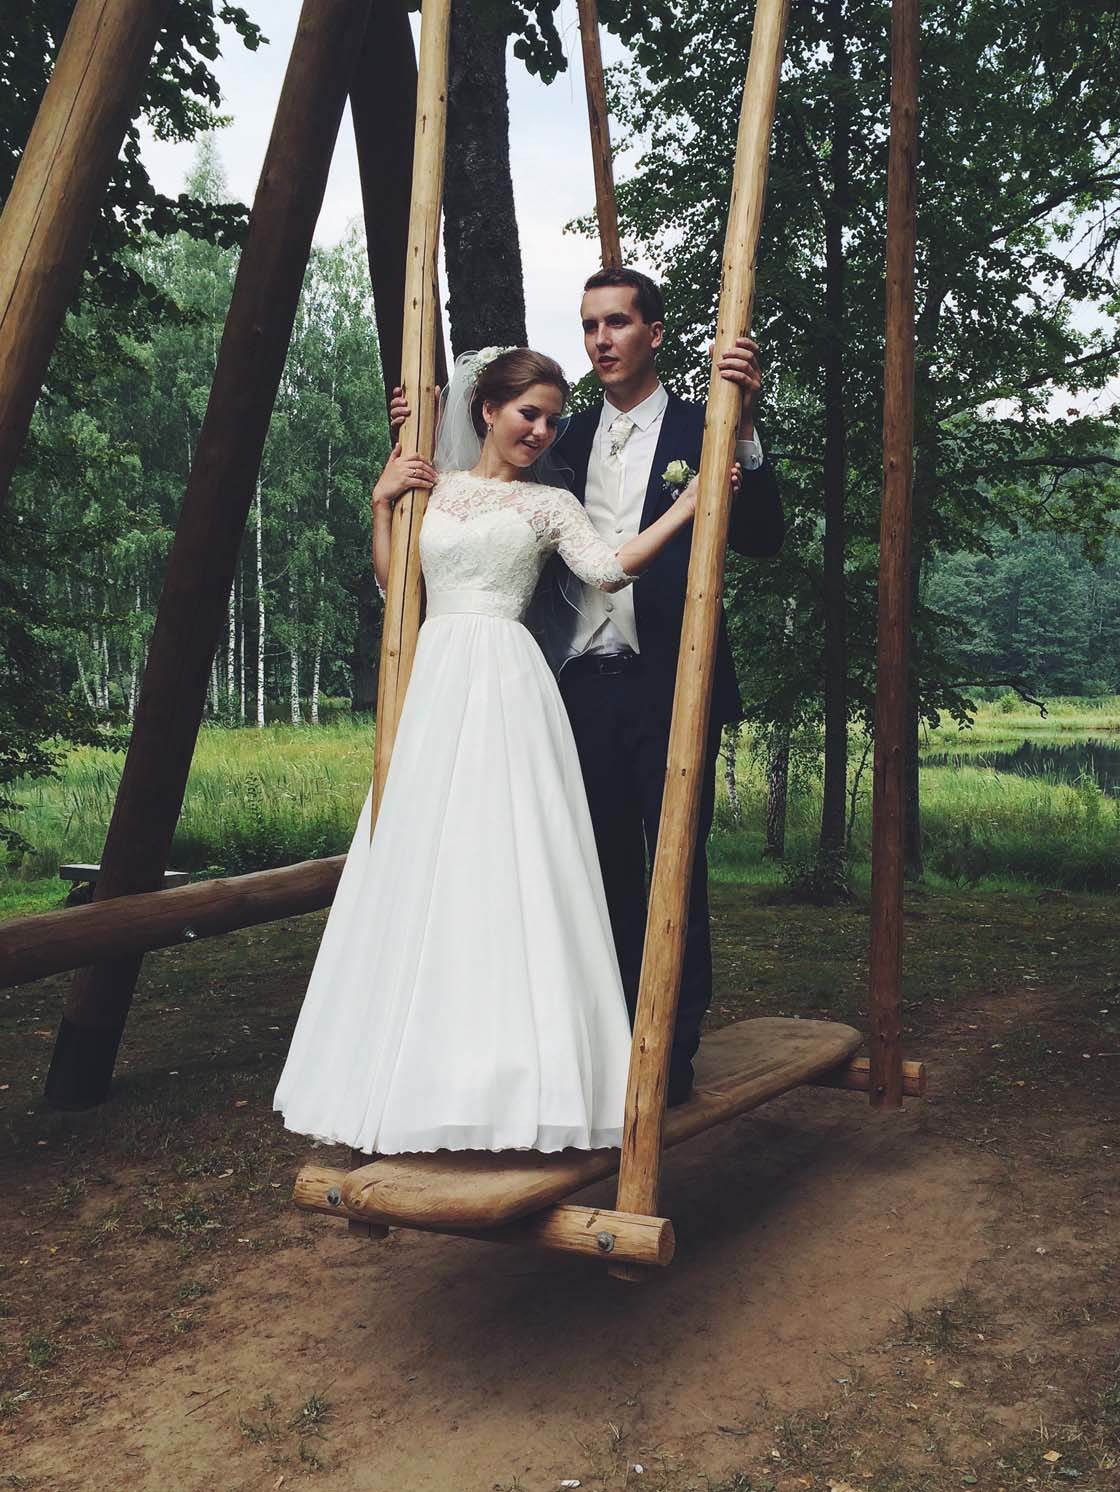
When I was shooting this wedding, the bride and groom posed for photos on a big swing. As they were moving constantly it was difficult to capture the perfect shot, so I used burst mode and took about twenty pictures in just a few seconds. Afterwards I chose some of the best pictures and deleted the unsuccessful ones.
To use burst mode in the native camera app, simply hold down the shutter button for as long as you want to capture photos. The sequence of photos will be saved as a single collection or “burst” in your photos library.
To choose the best photos from the burst, tap the “Select” option, then select the images you want to keep. When you tap “Done” the selected images will be saved to your photos library and the rest will be deleted.
Whenever you’re using burst mode to capture the perfect moment, try to anticipate the movement of your subjects and start shooting just before the moment happens. This will ensure that you never miss the perfect shot.
5. Get Close For Portraits
As well as capturing full-length shots of the happy couple, don’t forget to include some portrait shots from a closer distance.
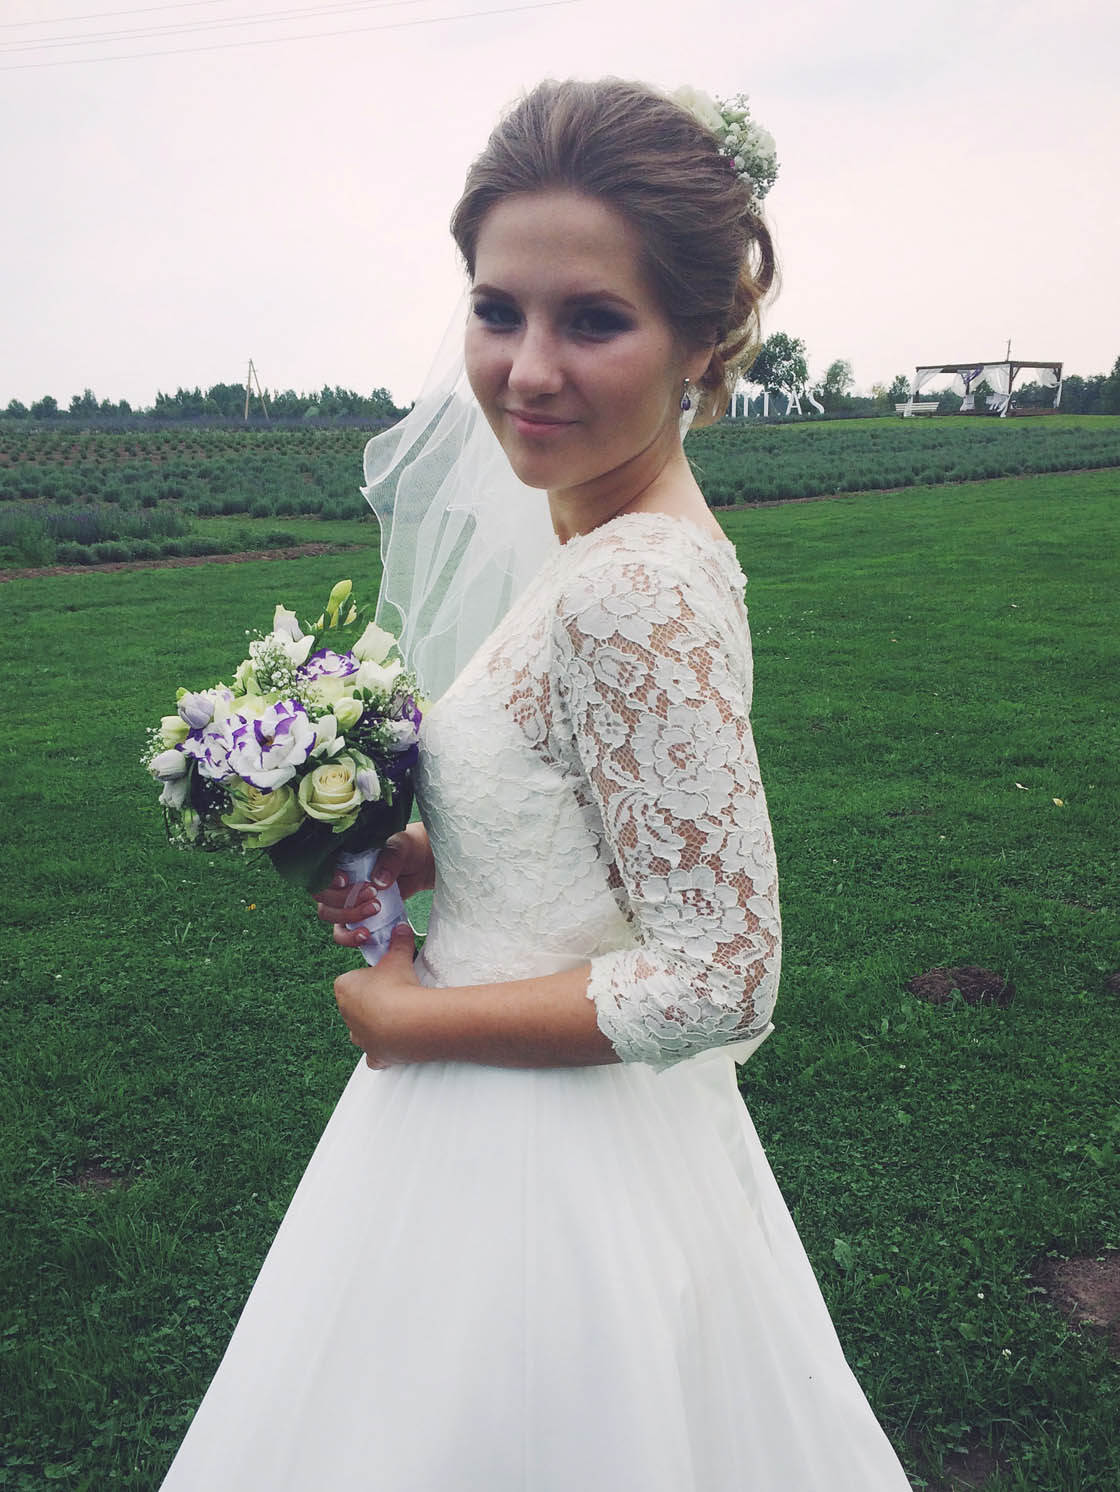
Getting closer to your subject allows you to capture more emotion in your photos as it places the focus on their facial expressions.
This kind of shot allows you to freeze in time the happiness, love and excitement of the new couple. It also lets you capture more detail in items such as the bride’s dress and flowers.
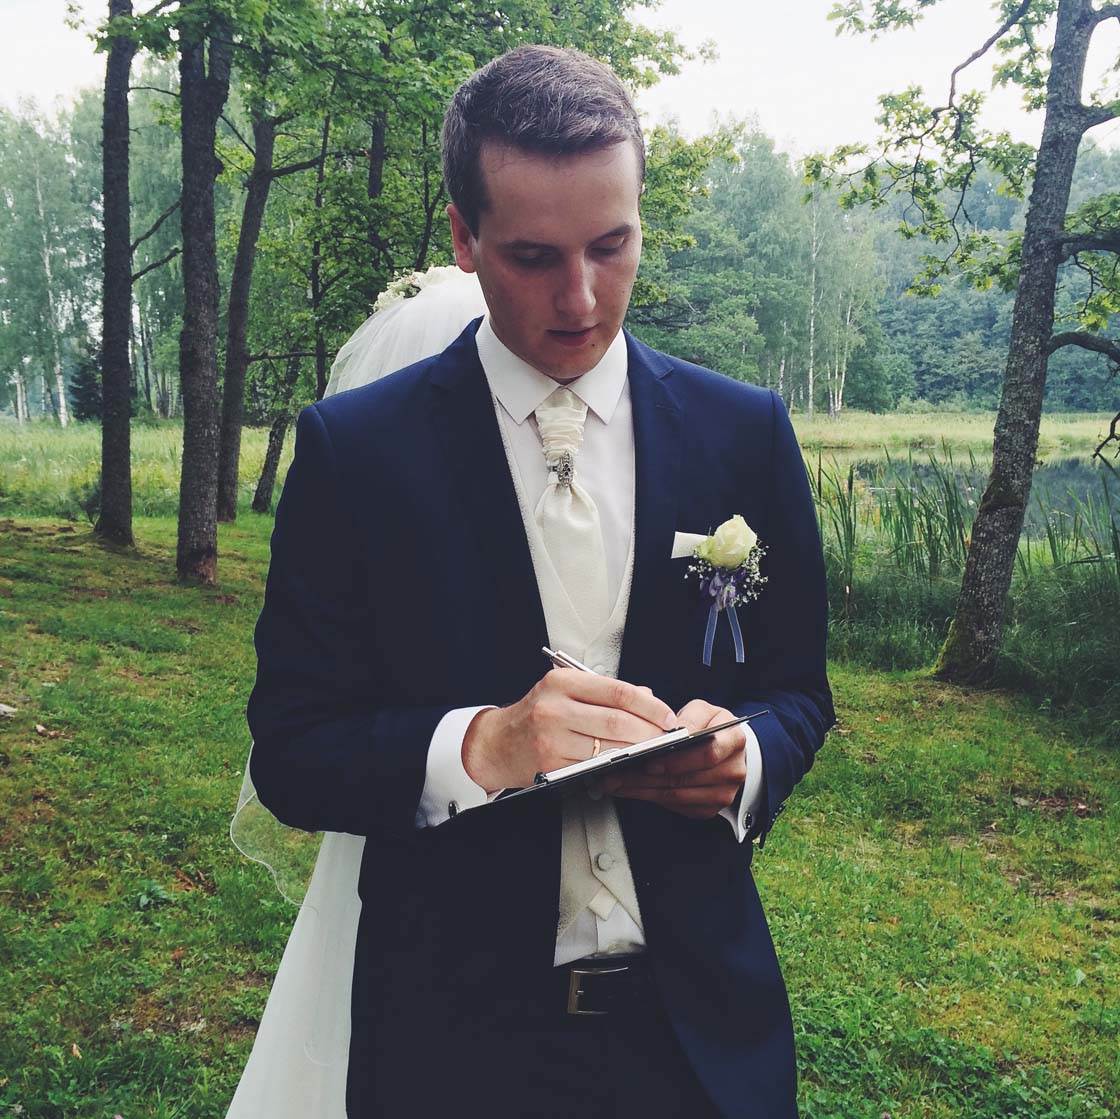
When shooting close-up portraits, never use the zoom feature in the camera app. Using the zoom will destroy the quality of your image, making it appear pixelated and fuzzy.
To get closer to your subject, always “zoom with your feet.” In other words, walk closer to your subject.
6. Eliminate Distracting Backgrounds
Whenever you’re taking pictures at a wedding, always look for ways to eliminate any distractions from the background. This will help the main subjects to stand out, creating clean images with a strong visual impact.
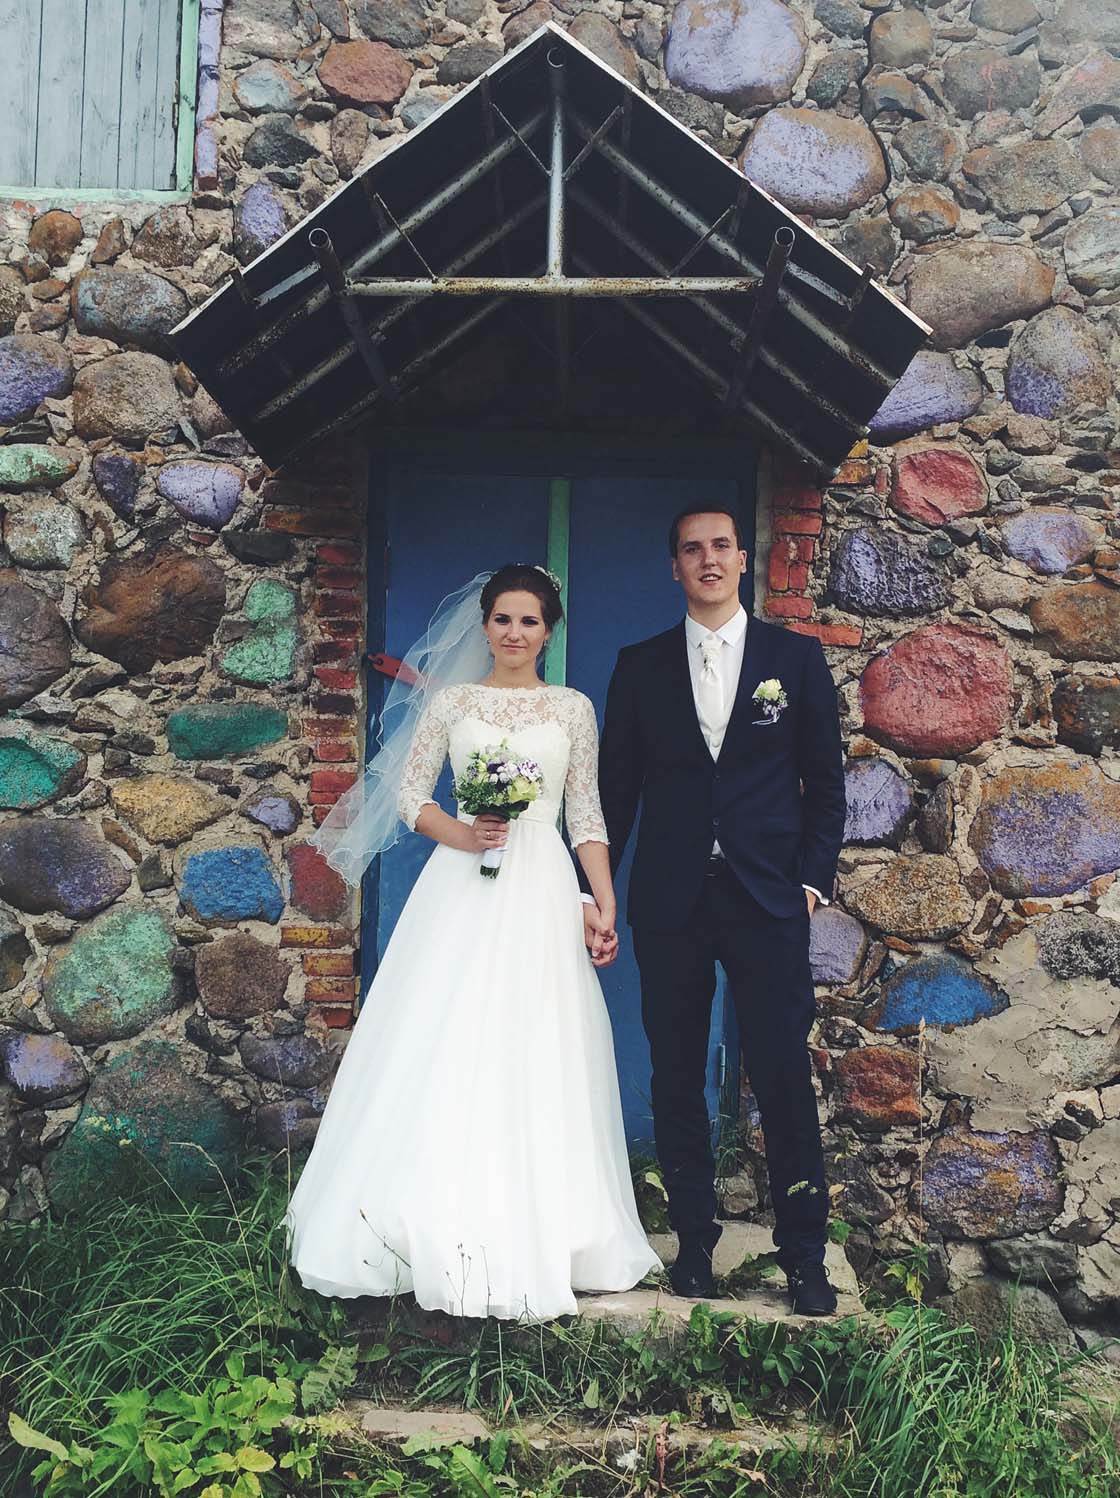
Asking your subjects to stand in front of a wall or other photogenic background will ensure that you don’t have any unwanted people or other distracting objects behind them.
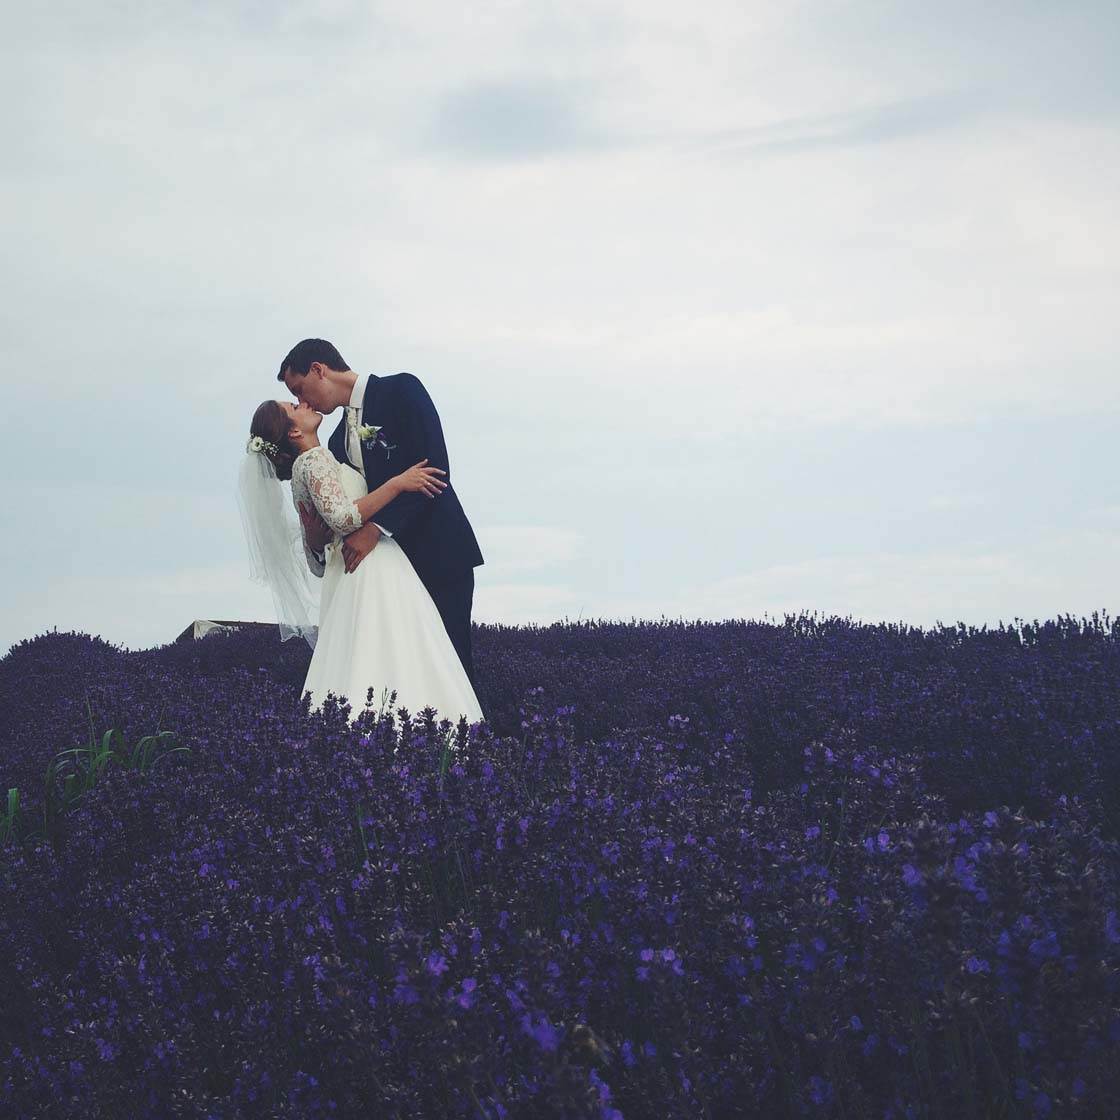
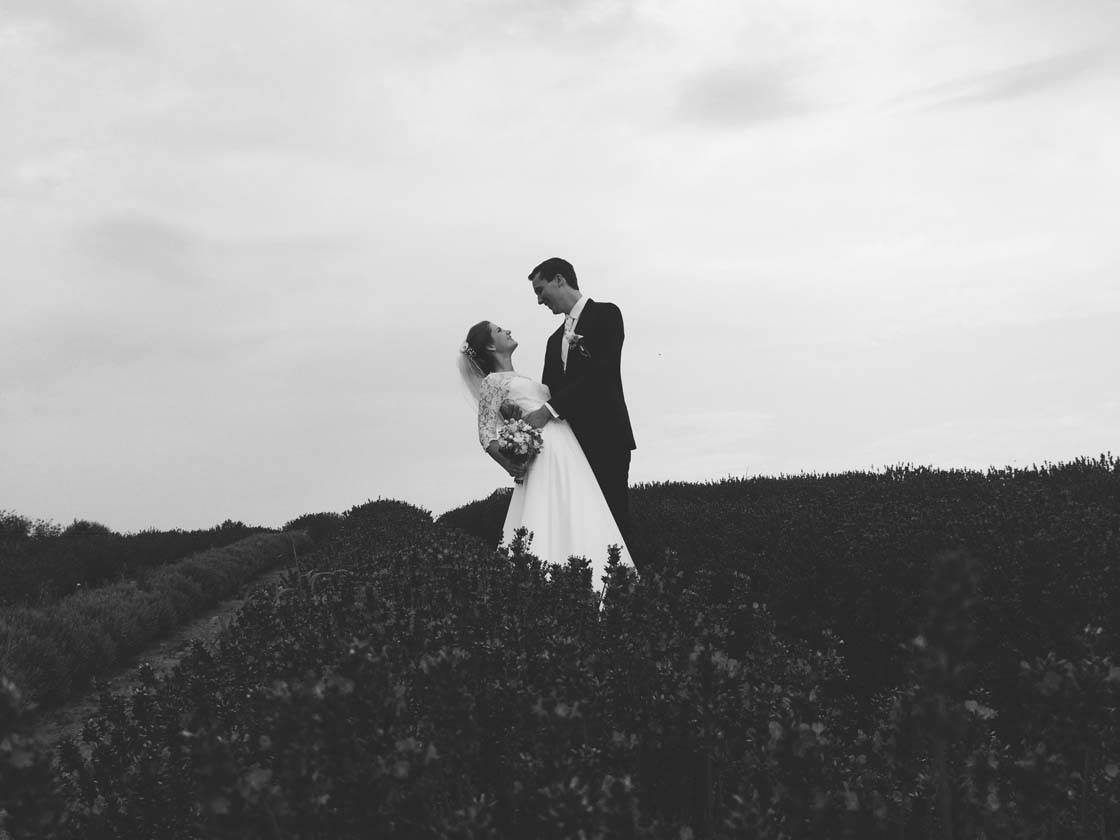
Another option is to take photos in an open area of garden, or even a nearby field. When I was photographing this wedding, one of the spots for the photo shoot was a lavender field.
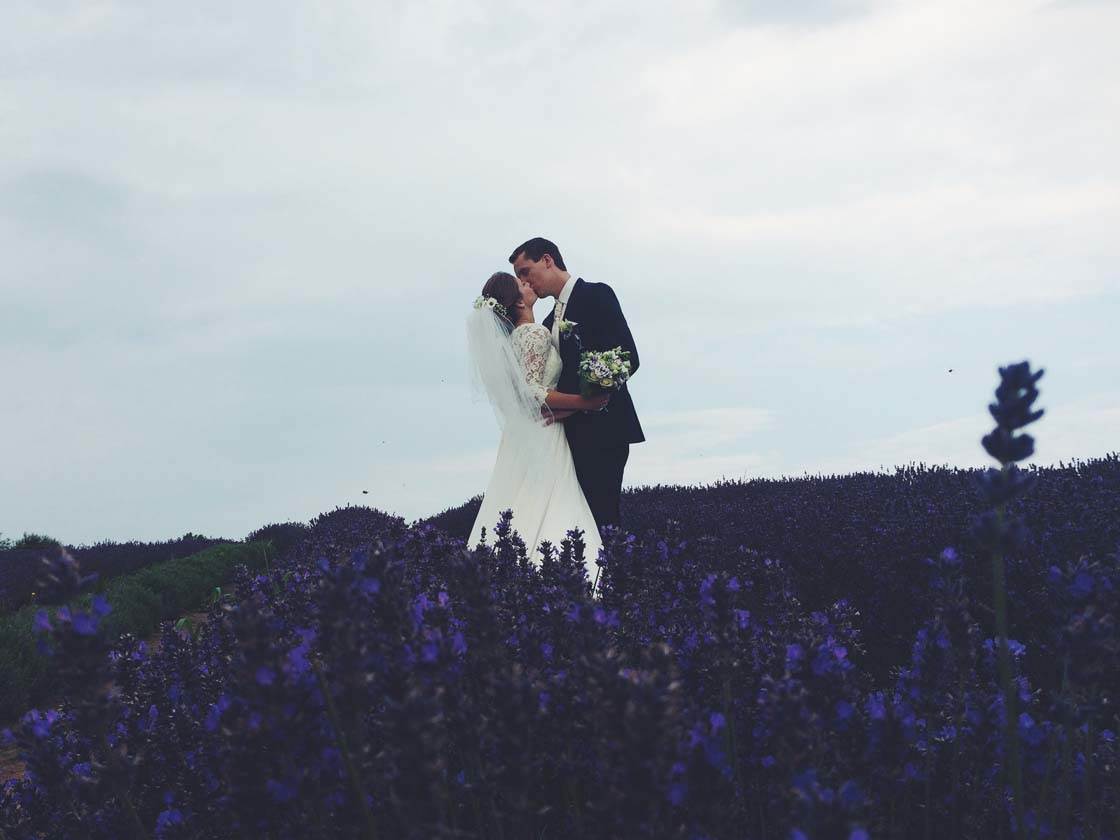
Although the field was huge, it didn’t look very impressive when shooting from standing height because there were trees and houses in the background that took attention away from the bride and groom.
When you encounter an environment like this, shooting from a low angle is a great option. It allows you to get more plain sky behind your subjects and eliminate distracting background objects.
7. Capture The Details
During the wedding day, don’t forget to photograph some of the smaller details that are often overlooked. Get up close and capture the beautiful detail of the flowers, jewelry, wedding cake, table decorations, etc.
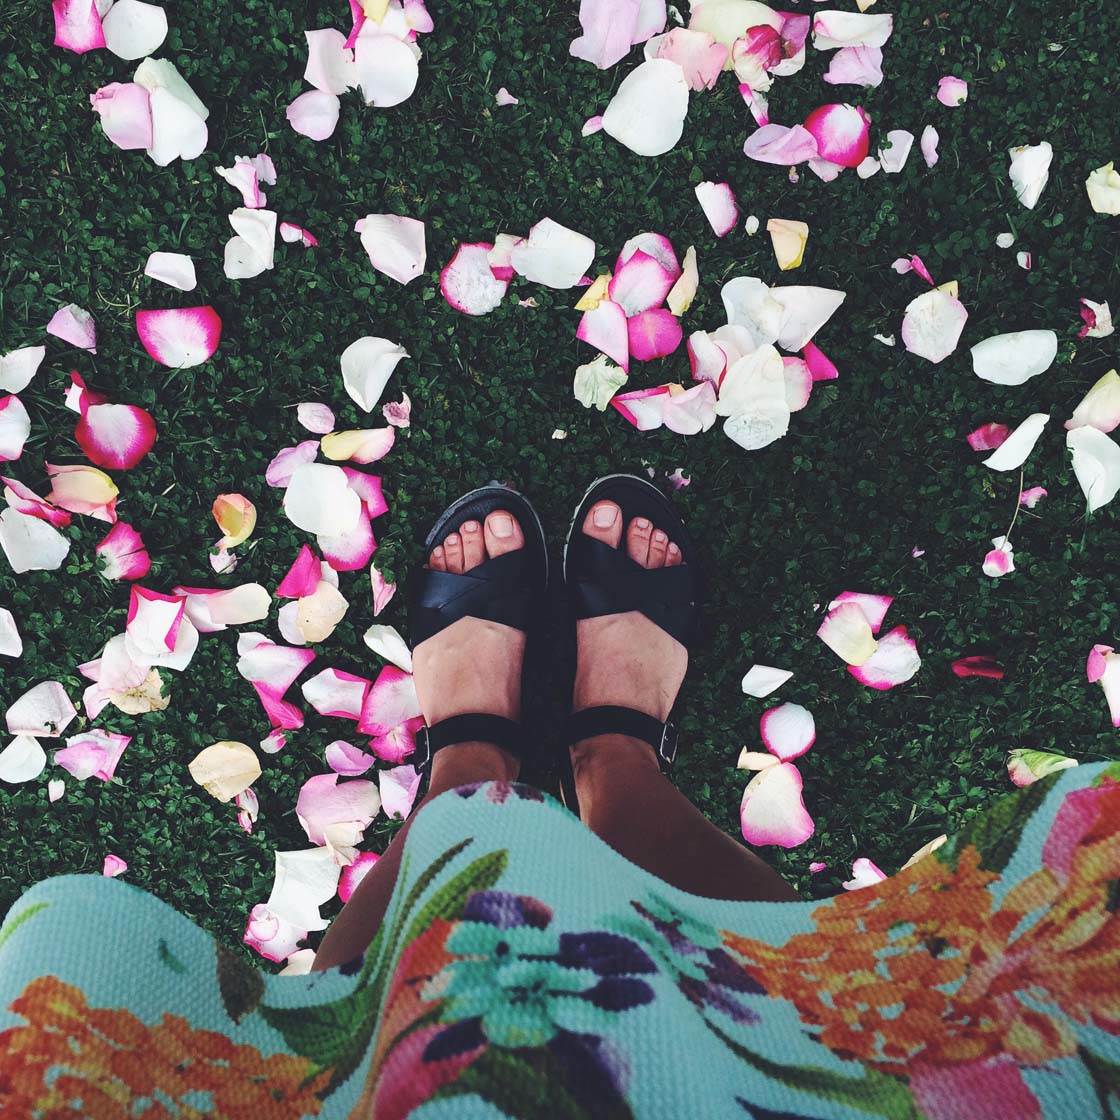
But don’t just go for the obvious shots. Look around for interesting details that others might not think to photograph.
Not all of your photos need to include the bride and groom, so photograph everything that catches your eye – from flower petals on the ground to interesting architecture at the wedding venue.

These kinds of photos help the viewer to get a better sense of the overall concept and environment of the wedding day. And the bride and groom will thank you for documenting these small details.
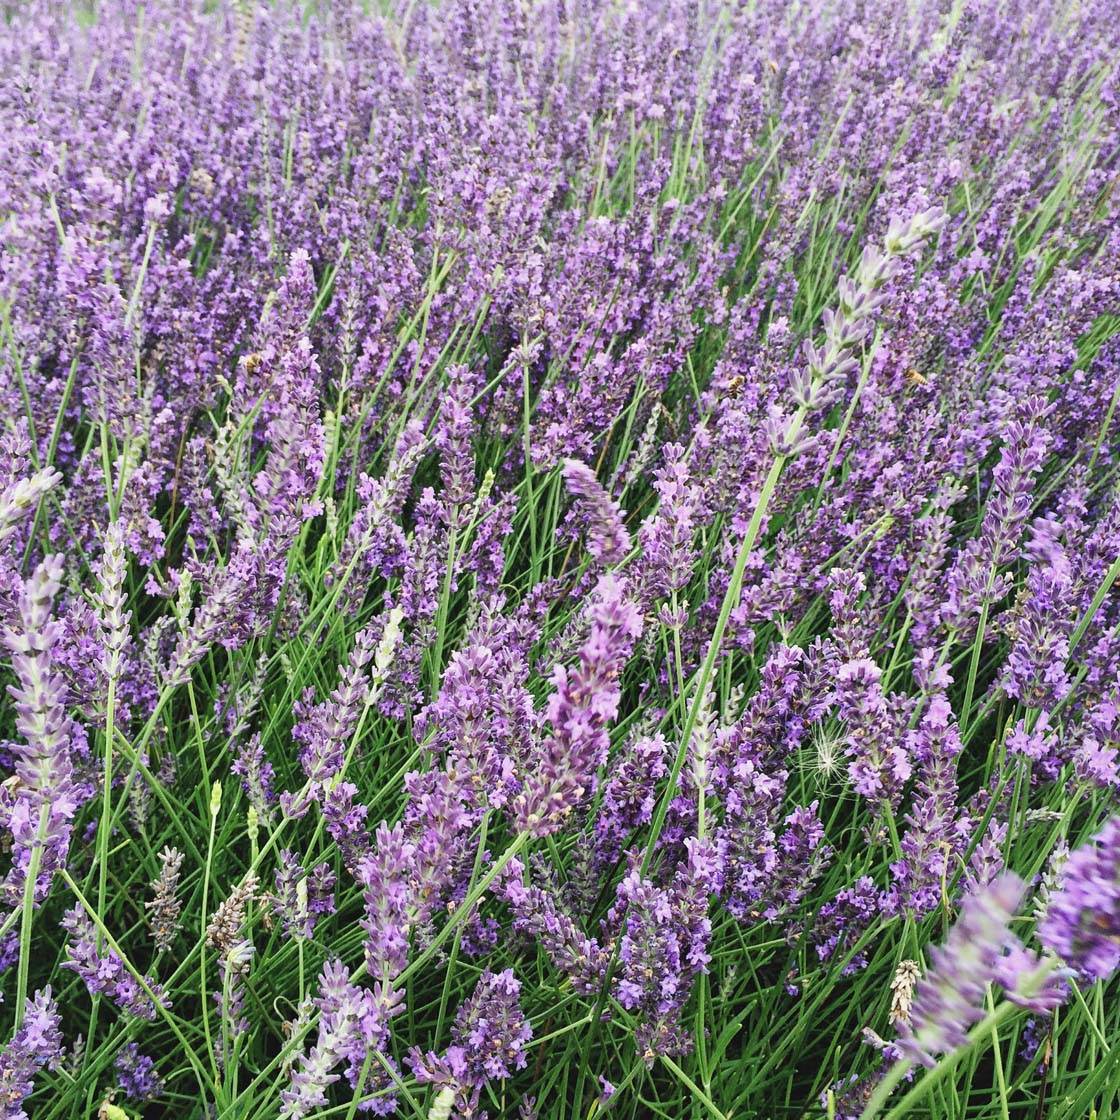
By capturing details you can also emphasize the theme of the wedding. For example, at this wedding the theme was all around lavender and its color palette, so I made sure I captured some close-up photos in the lavender field.
8. Convert To Black & White
Black and white conversion works really well for wedding photography because it adds atmosphere and a classic, timeless feel to the photos.
It’s also perfect for photos where background colors distract the viewer’s attention from the main subject. By removing all color from the image, the viewer’s attention is drawn toward the main subject and away from the distracting background.
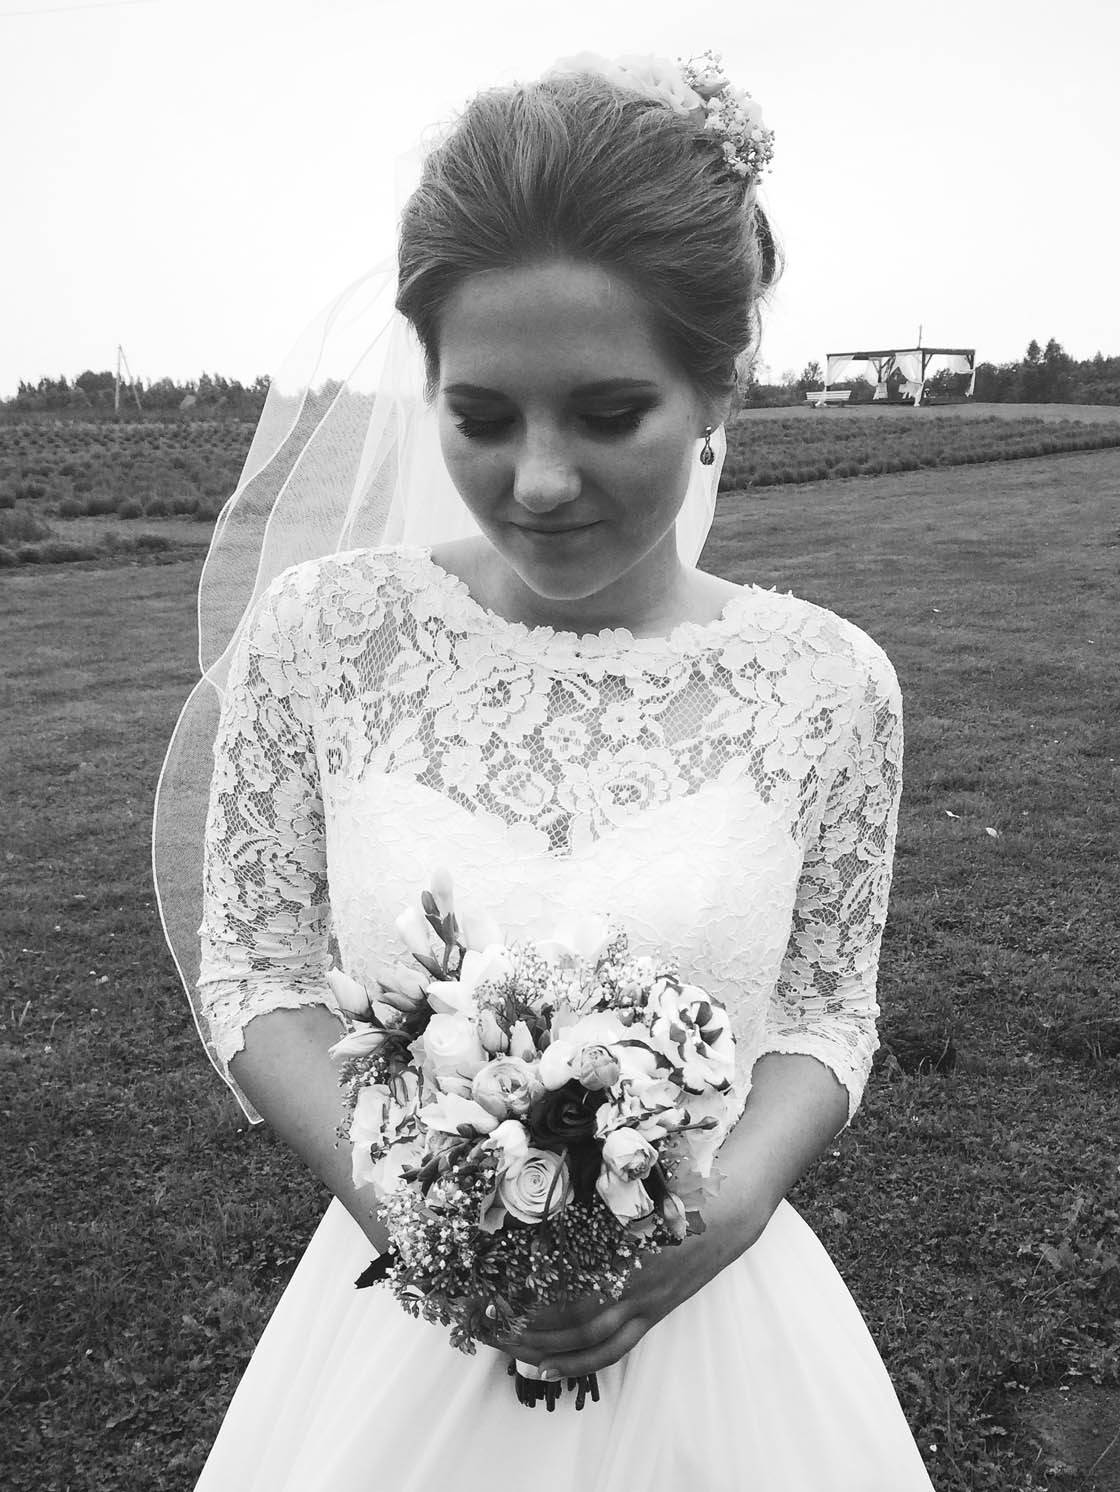
If you’ve taken photos indoors under artificial light, your images may have an unflattering orange color cast. Converting to black and white is an easy way to remove this color from the photo.
Another great benefit of black and white conversion is that it can sometimes save an image that has over-exposed highlights. Removing the color often makes these areas less obvious within the composition.
So if you notice that the bride’s white dress is over-exposed, try converting the photo to black and white and you’ll likely notice a significant improvement.
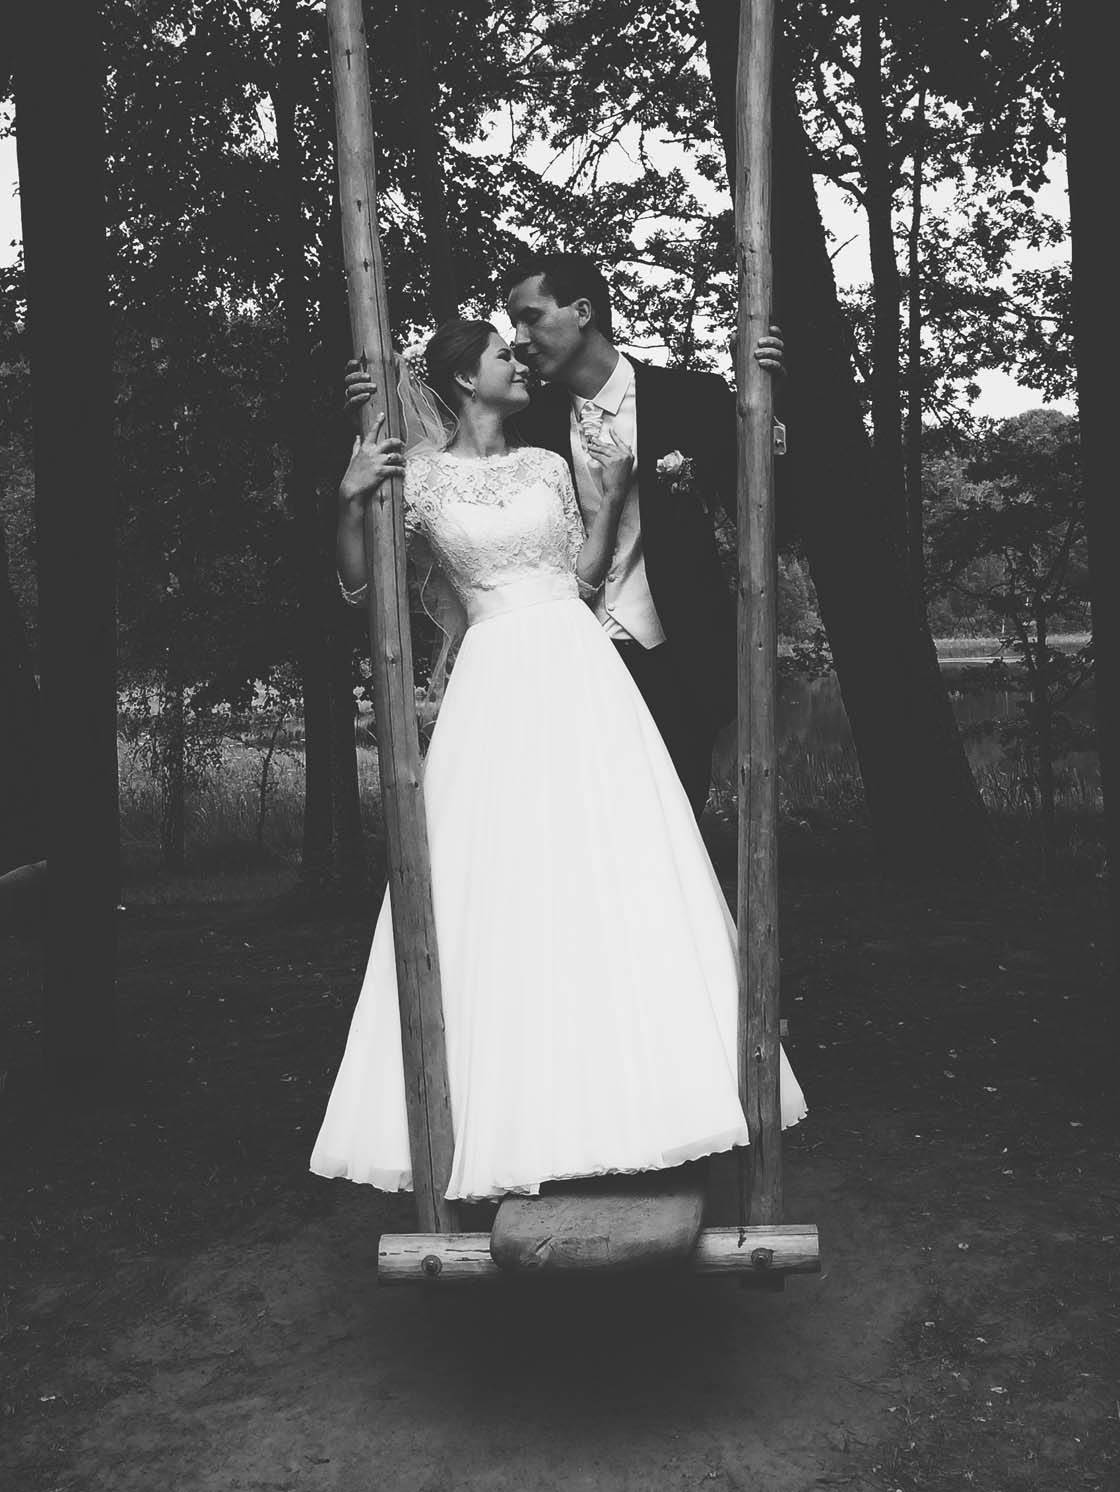
There are many photo editing apps that are great for creating black and white images, including Snapseed, VSCO and Filterstorm Neue.
After converting to black and white, you often need to tweak the brightness and contrast settings to ensure that the image has enough contrast to make an impact. Just be careful not to brighten the highlights too much.
Conclusion
Your iPhone is perfectly capable of taking stunning wedding photos. The tips covered in this article will enable you to shoot the best possible photos, even in challenging light conditions and busy environments.
When you next attend a wedding, try to capture all of the special moments and details so that your photos tell a complete story of the day.
Consider the type of light you’re shooting in, and make sure you expose for the highlights so that the bride’s dress and people’s faces are correctly exposed with plenty of detail visible.
Try to eliminate distracting backgrounds so that maximum emphasis is placed on your subjects. And don’t forget to shoot using burst mode for the best chance of capturing unique moments when your subjects are moving.
Finally, you might want to consider converting your photos to black and white, especially if the photos were shot in harsh light or if they have distracting backgrounds.
If you keep these tips in mind, you’ll be prepared to capture all kinds of wonderful wedding moments with your iPhone.


Awesome Article!!!
Glad you enjoyed the article! 🙂
Even with less cost on a wedding you still can enjoy it as long as the memory is there.
To those who want professional photographer you may check on Bella Luca Photography.