Do you struggle to take amazing travel photos with your iPhone? iPhone travel photography can be extremely rewarding—if you know how to do it. In this article, you’ll discover 9 tips for stunning iPhone travel photography. You’ll come away with the ability to take amazing photos of your next trip!
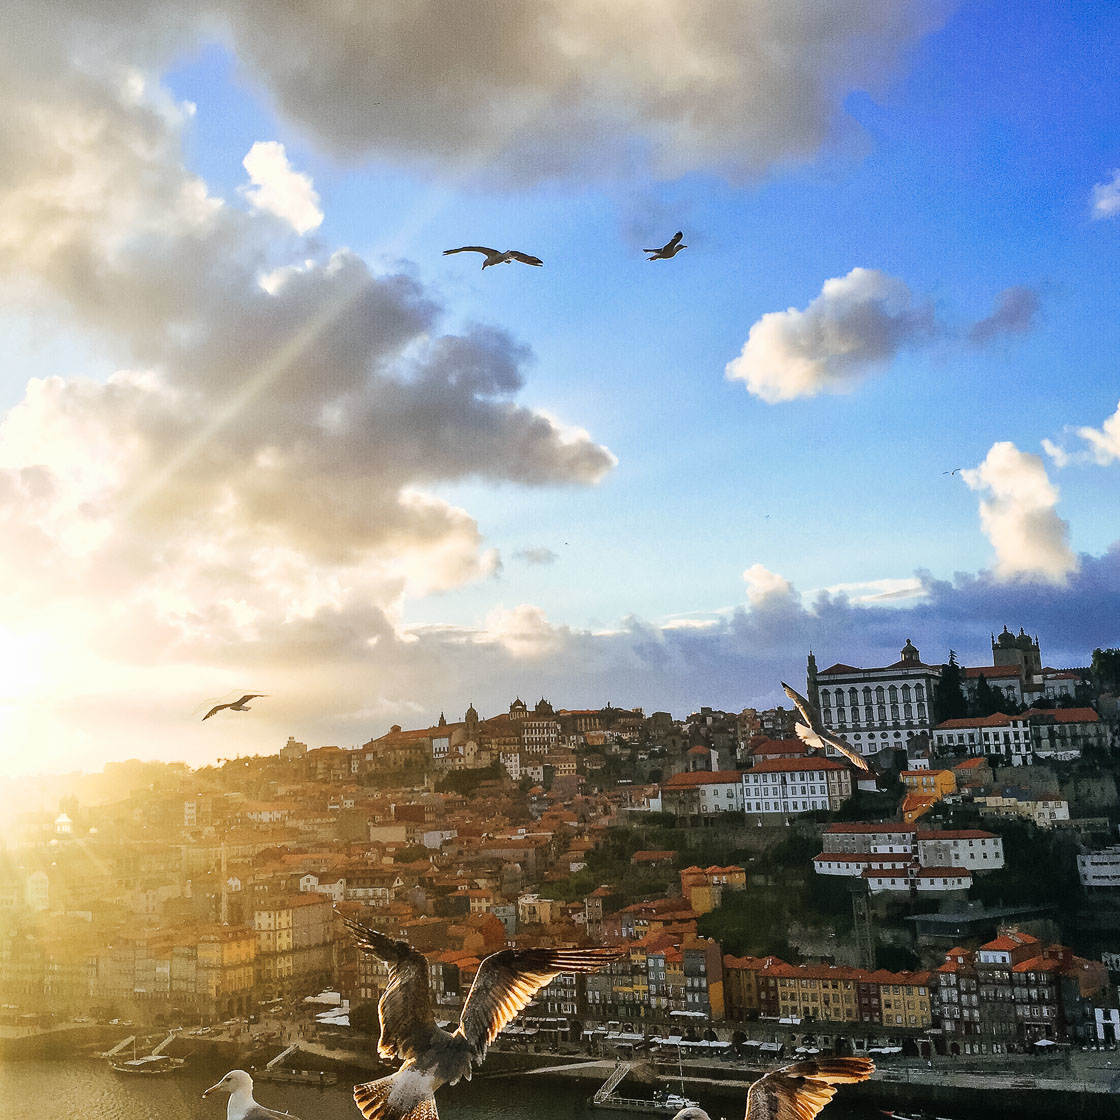
1. Fully Document Your Trip With Photos Of Your Journey
Do you want to tell the full story of your adventures? Then you need to take travel photos all the time!
Don’t limit yourself to photos of your destination. Photograph the journey, too.
Why is this important?
The journey is an essential part of the traveling experience. So, if you want to document your trip, you should take some photos at the beginning of your travels.
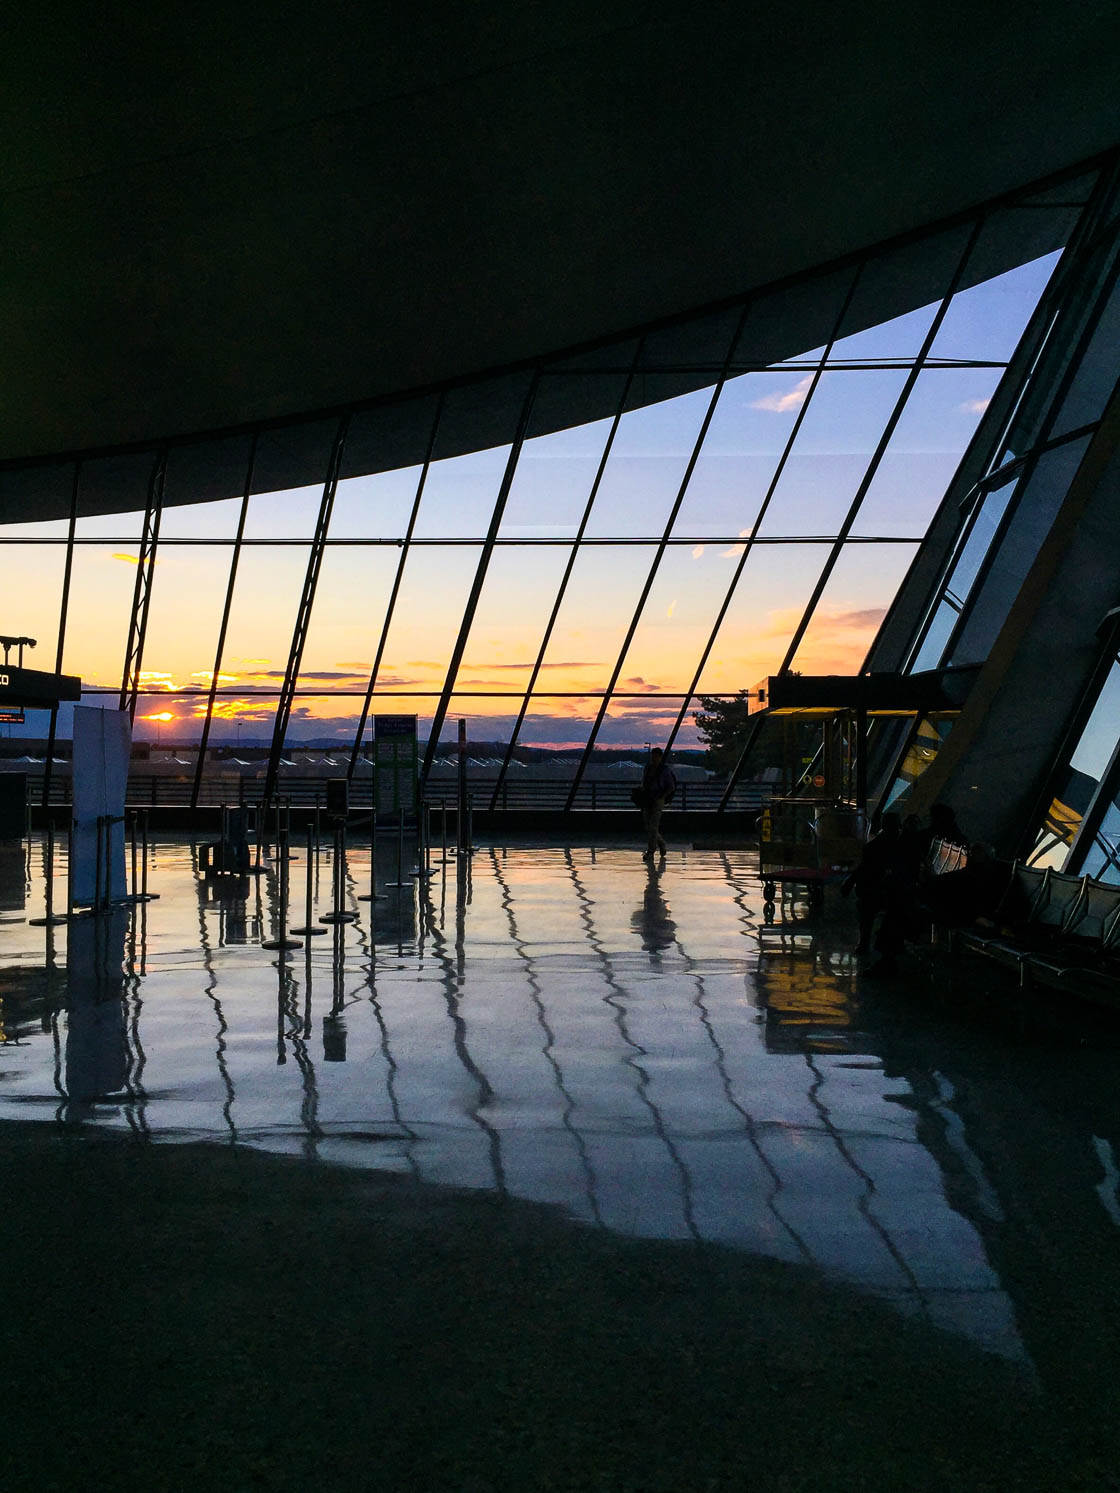
Plus, travel photography is about showing adventures. You want to show the exciting journey!
How do you photograph the journey? Below are a few tips.
If you’re flying, take photos at the airport. There can be all sorts of interesting shots: long hallways, huge windows, and monstrous planes.
When you’re traveling, take photos out of the plane, train, or car windows. Be sure to include window frames or airplane wings! This helps the audience view the trip through your eyes. They’ll experience your adventure more completely.
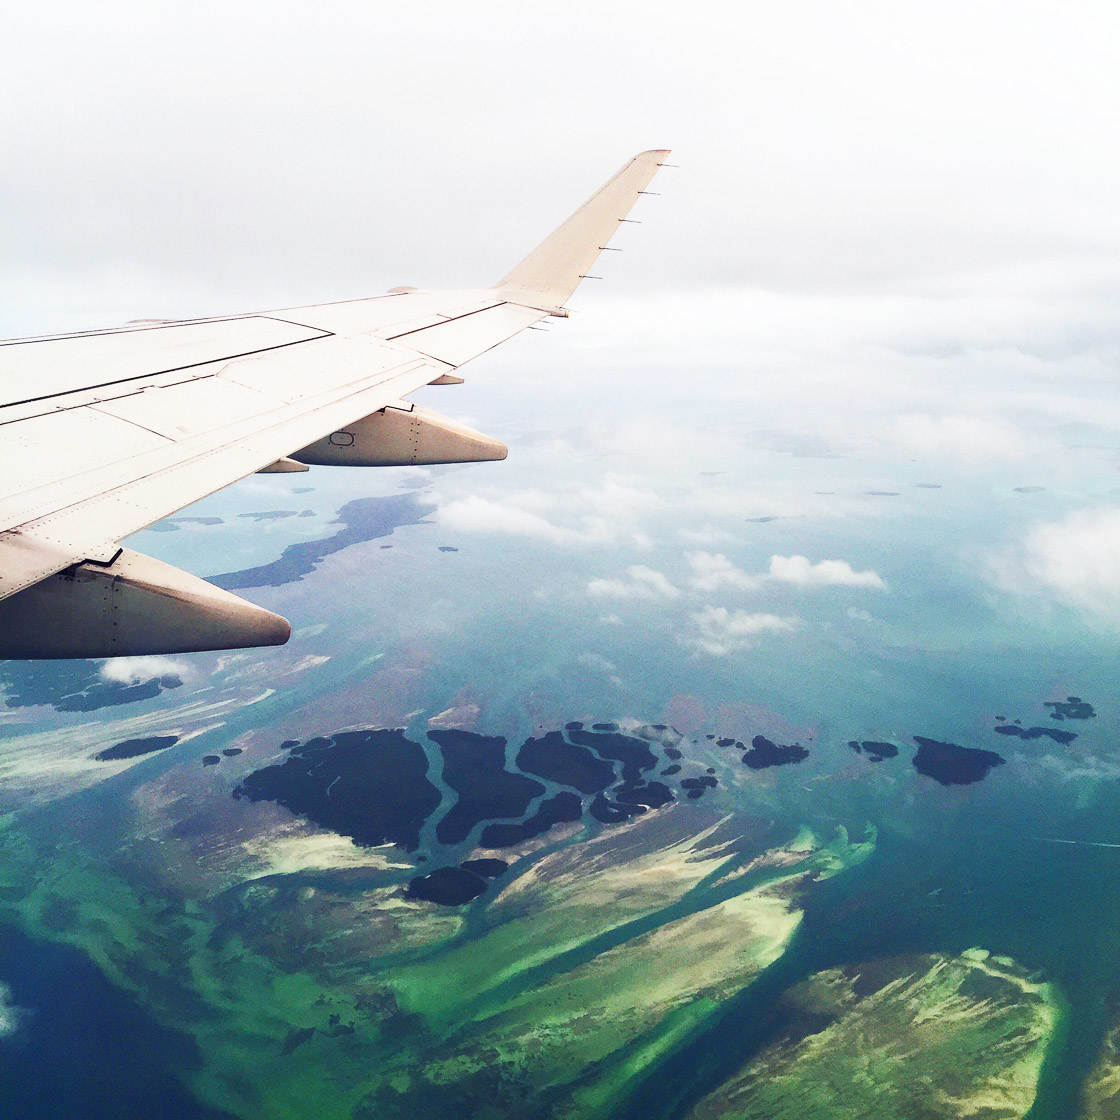
I took the photo above through a plane window. I included the wing to help the viewer imagine themselves in my position.
Next time you’re traveling, take photos on the way to your destination. This will allow for the most complete story of your travels!
2. Avoid The Cliché Tourist Shots For More Unique Images
Do you want to create unique travel photography? Most destinations have been photographed repeatedly by tourists. This has resulted in mountains of identical photos. I’m sure you know the ones: the Statue of Liberty posing at sunset, for instance.
So how do you take original shots?
Start by promising yourself that you won’t take many of these touristy shots. Then, in the days leading up to your trip, research your destination online. See what photos have been taken by others. Try to find places that haven’t been photographed endlessly.
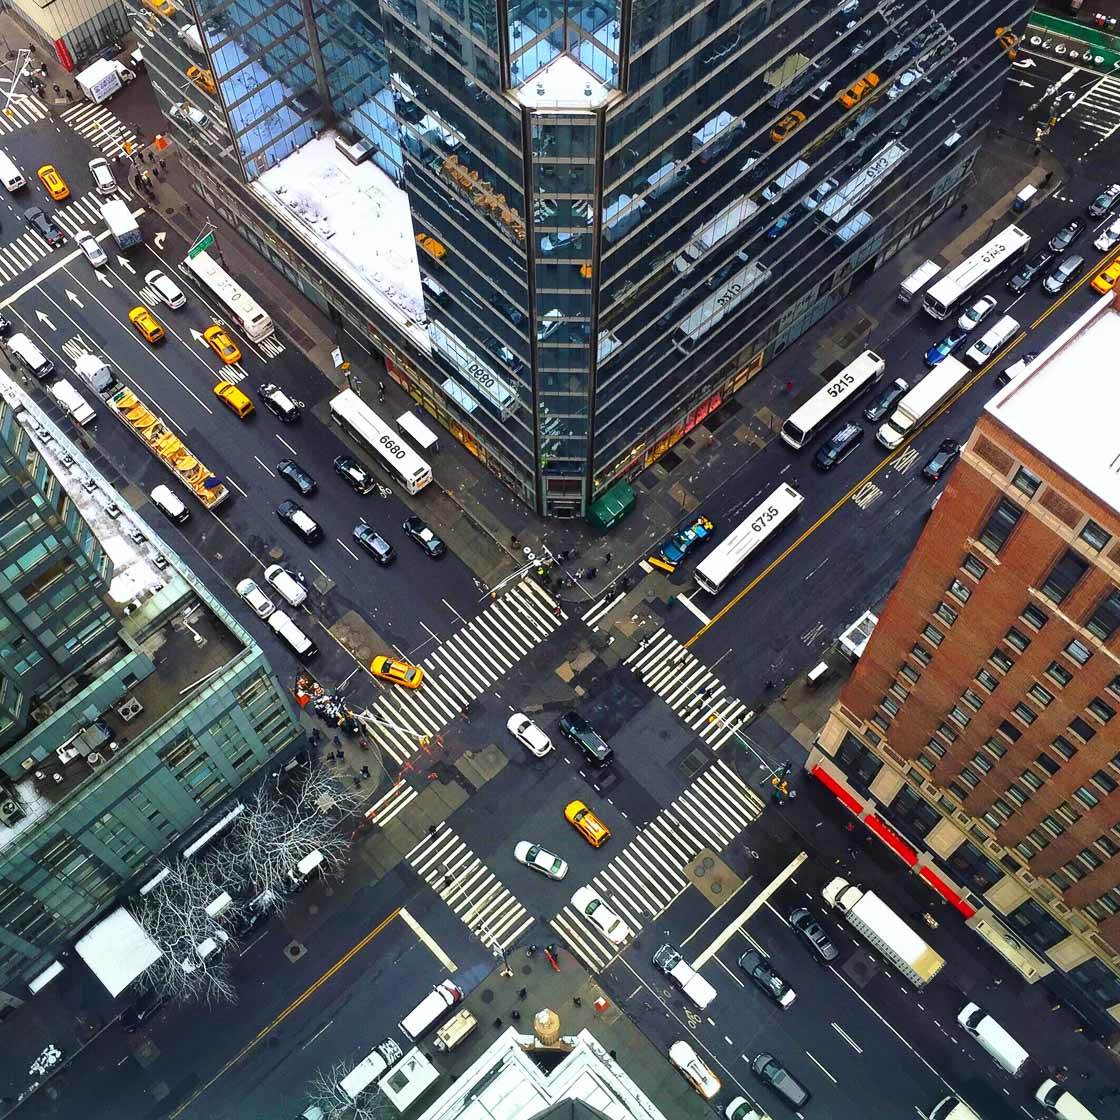
Looking at the photos taken by others can also inspire you! They can give you ideas of what you’d like to capture. Just make sure you put your own unique spin on any similar photographs you take.
What other ways can you take original travel shots?
When you arrive at a photo location, walk around. Look for a new angle—an angle that you haven’t seen in any other photos.
You can also shoot when the lighting is unique. For instance, try shooting at sunrise and sunset. These are the times when you’ll capture unique light and colors. Plus, your pictures will be beautifully lit!
Another opportunity for unique photos is during bad weather. Rain, snow, and fog will dramatically alter your images. The fog in the photo below adds a much-needed sense of atmosphere.
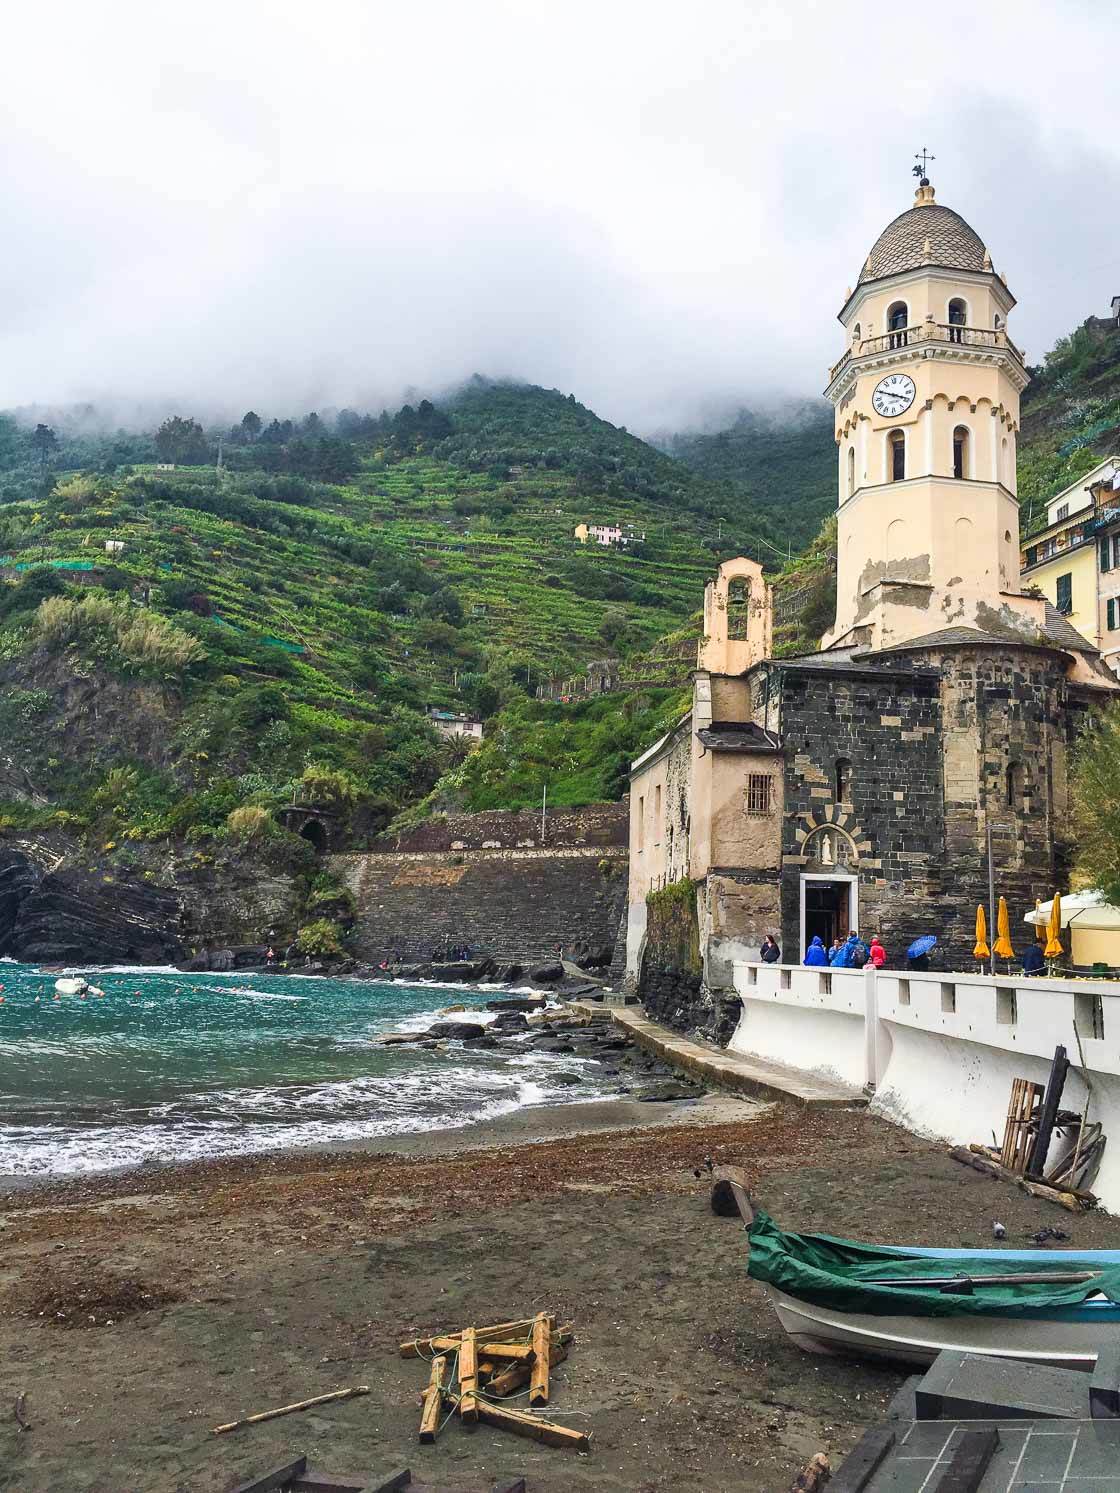
If you want to take unique images, avoid the overdone touristy shots. Instead, try to find something new. You’ll come away with images that you can be proud of.
3. Switch On HDR For Perfectly Exposed Travel Photos
Exposure is the level of brightness in a photo. When a photo is too bright or too dark, it lacks detail. The whites get unpleasant and washed out. The blacks become muddy and overwhelming.
A perfectly exposed photo, however, has a beautiful amount of detail. How do you get a beautiful amount of detail in your iPhone photos?
You use HDR.

The HDR setting is an iPhone camera feature that captures photos of bright and dark parts of a scene. It then combines all the photos together to create a perfectly exposed image.
HDR is especially useful for travel photography. This is because you often have to shoot in difficult lighting situations: toward the sun, inside museums, and in harsh sunlight.
With HDR photos, you can avoid overly bright skies. Therefore, you can take beautiful sunset photos at the beach!
You can also avoid losing detail in the shadows. This will allow you to take wonderful indoor photos of buildings.
How do you activate HDR mode?
First, make sure that you turn off Smart HDR (known as Auto HDR on some iPhone models). Tap Settings, then Camera. Uncheck Smart HDR (or Auto HDR).
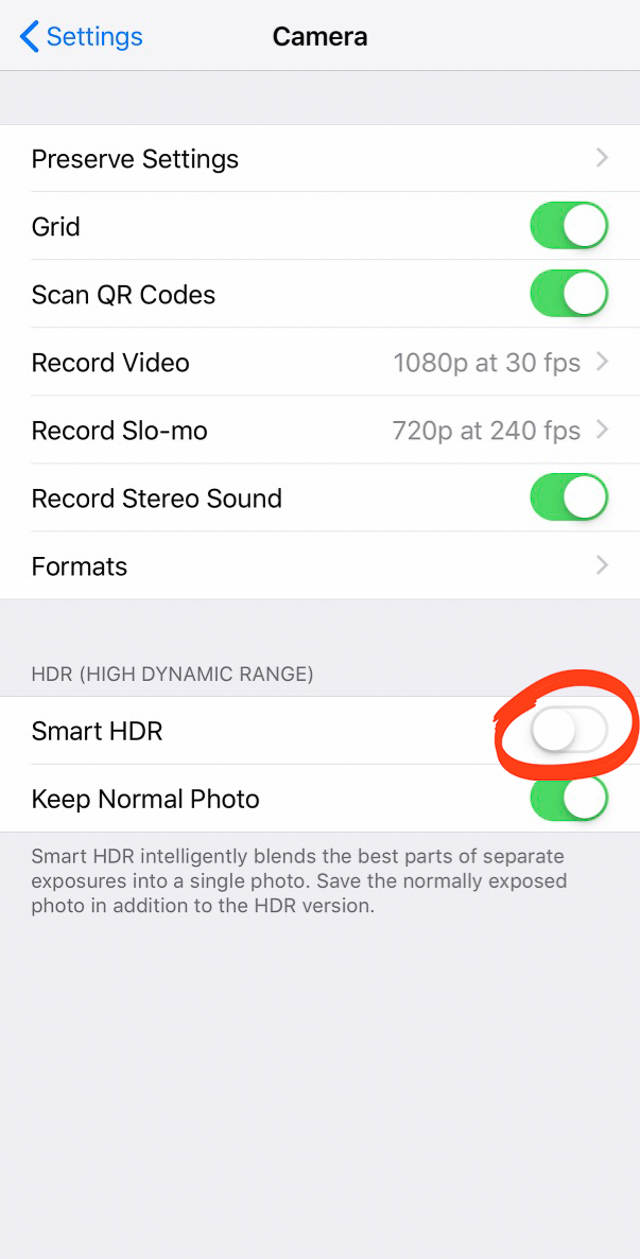
You should also select the Keep Normal Photo option just below the Smart HDR tab. This acts as a backup. It saves the non-HDR version of an image in your photo library. Therefore, if you don’t like the HDR effect, you can always use the normal photo!
Then go back to your camera. Tap the HDR icon at the top of the screen. On some iPhone models, you must then tap On. And all of your iPhone photos will use HDR!
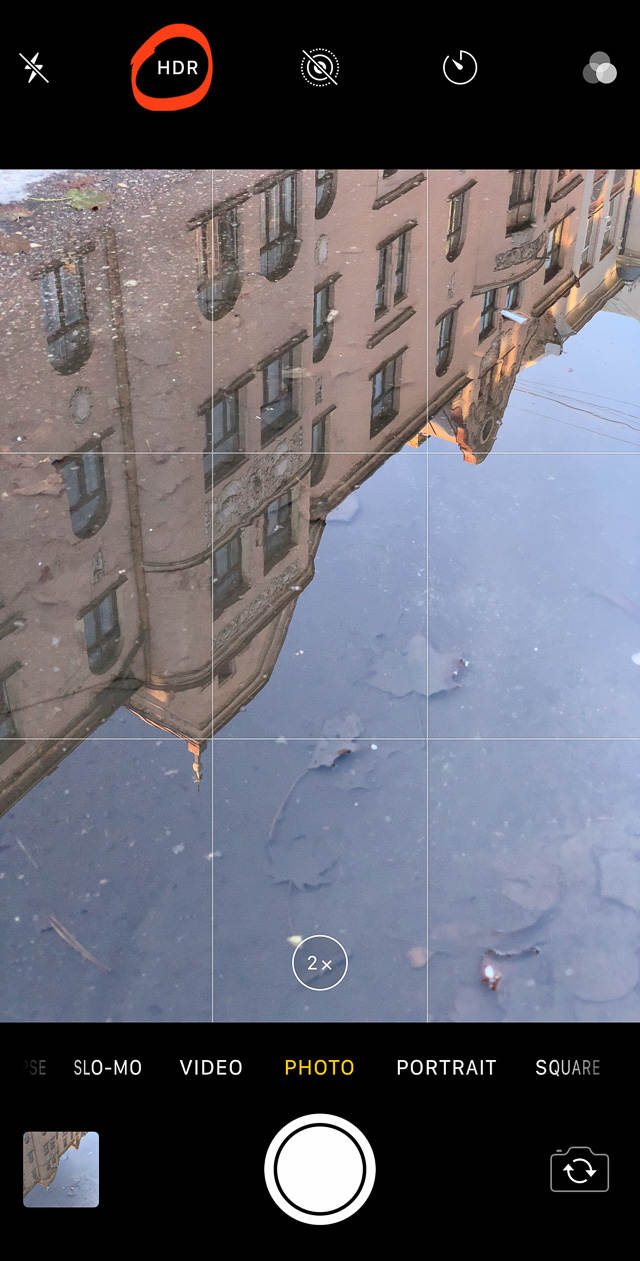
Now, whenever you take a travel photo, you can be sure that you’re getting the most balanced exposure possible.
4. Take More Personal Photos By Including People
Do you want your travel photos to feel very personal? Do you want the audience to connect with them? If so, you should include people in your photos.
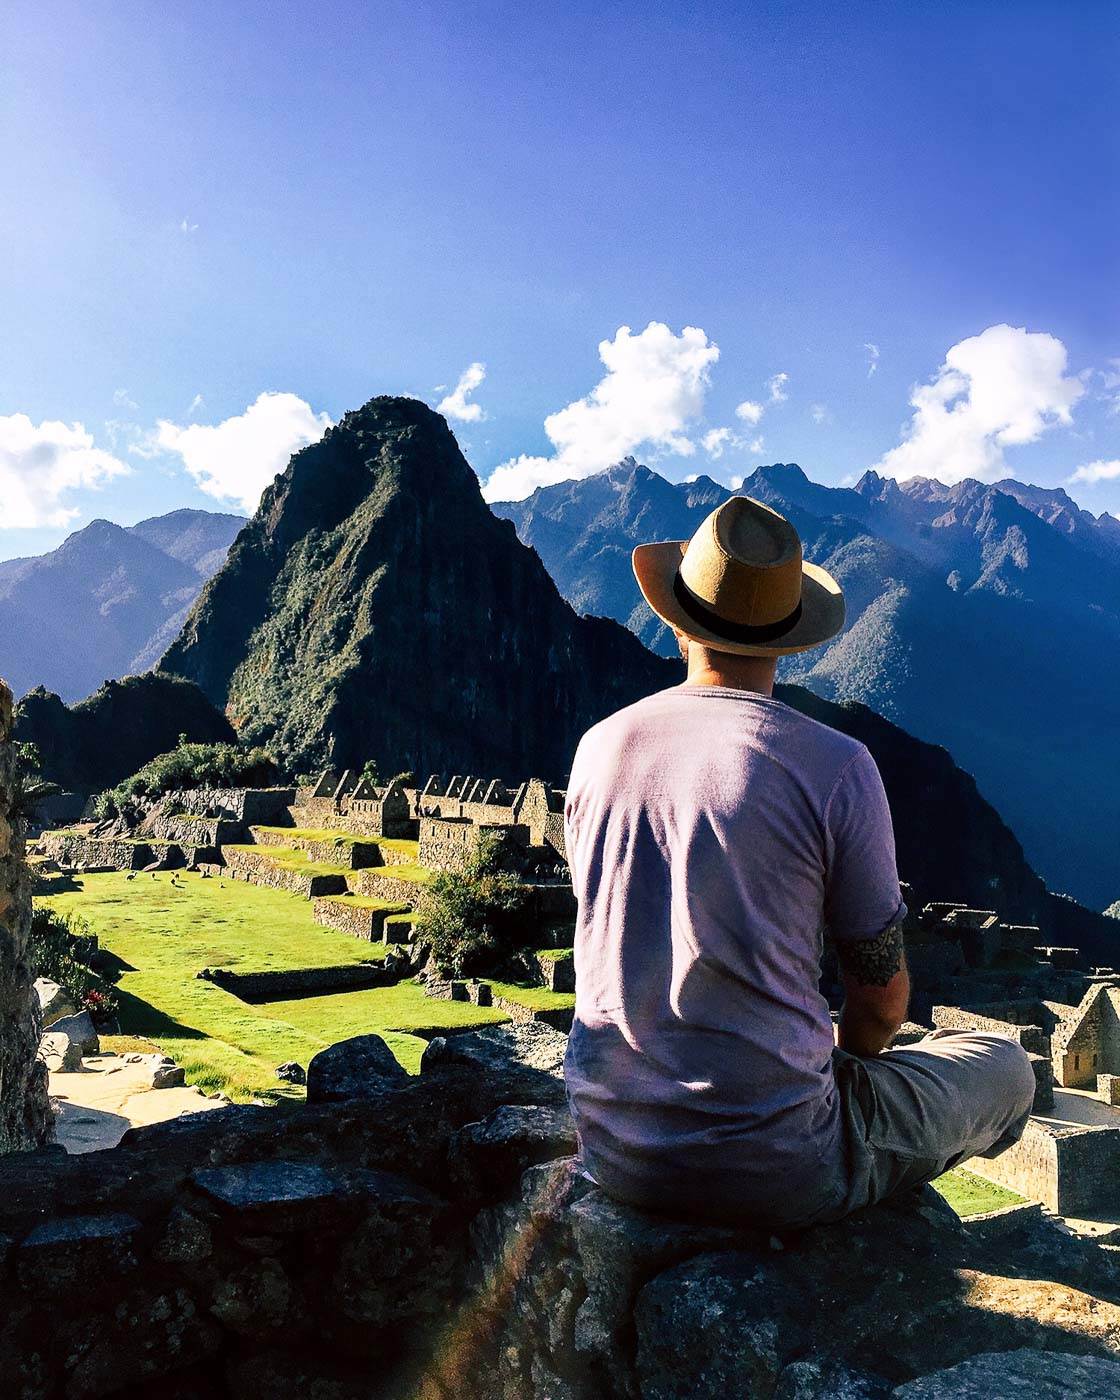
Start by showing your travel companions. This will help viewers understand what it’s like to be traveling together! That’s what I did in the photo above.
Include yourself in some photos. This will give viewers a window into your world.

You can also add people to your photos of scenery. Why is this good? Photos of scenery can seem a bit vast and unapproachable. Adding a person creates a warmer, more personal touch.
The scene below was intimidating and imposing—until I saw some people walking through it. That’s when I pulled out my iPhone.
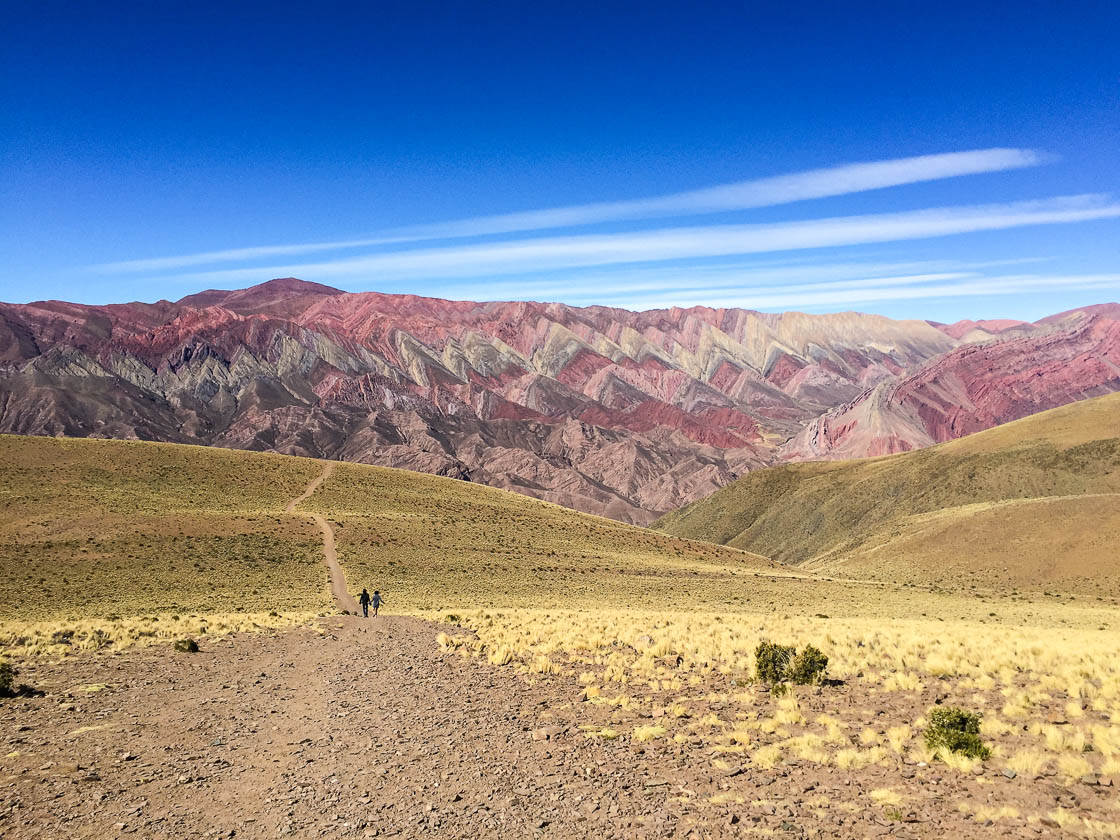
If you’re looking to take personal travel photos, then include people. Viewers will immediately connect with your images.
5. Capture The Details Of Your Location For An Original Perspective
What’s a new way to show your travel destination? Take shots of a location’s details! These images offer an original look at your destination.
How do you find great subjects for detail shots?
When you’re walking, look around. Find things that others may not notice. Look down at the road. Carefully observe buildings. Peer through windows and walk through stores.

For instance, you can capture wonderful images of the local food. This is also a great way to portray the culture of your location. Take the photo from directly above the food (pointing your camera down) for a flattering shot. This is how I photographed the food in the photo above.

Souvenirs can make for great close-up subjects, as well. In the photo above, I took a picture of a souvenir display. The bright colors and mishmash of subjects resulted in an energetic, original photograph.
Make sure to photograph details. These images will be truly original!
6. Photograph Architecture To Capture The Culture Of Your Destination
If your goal is to portray the culture of your location, then you need to take some architectural photos.
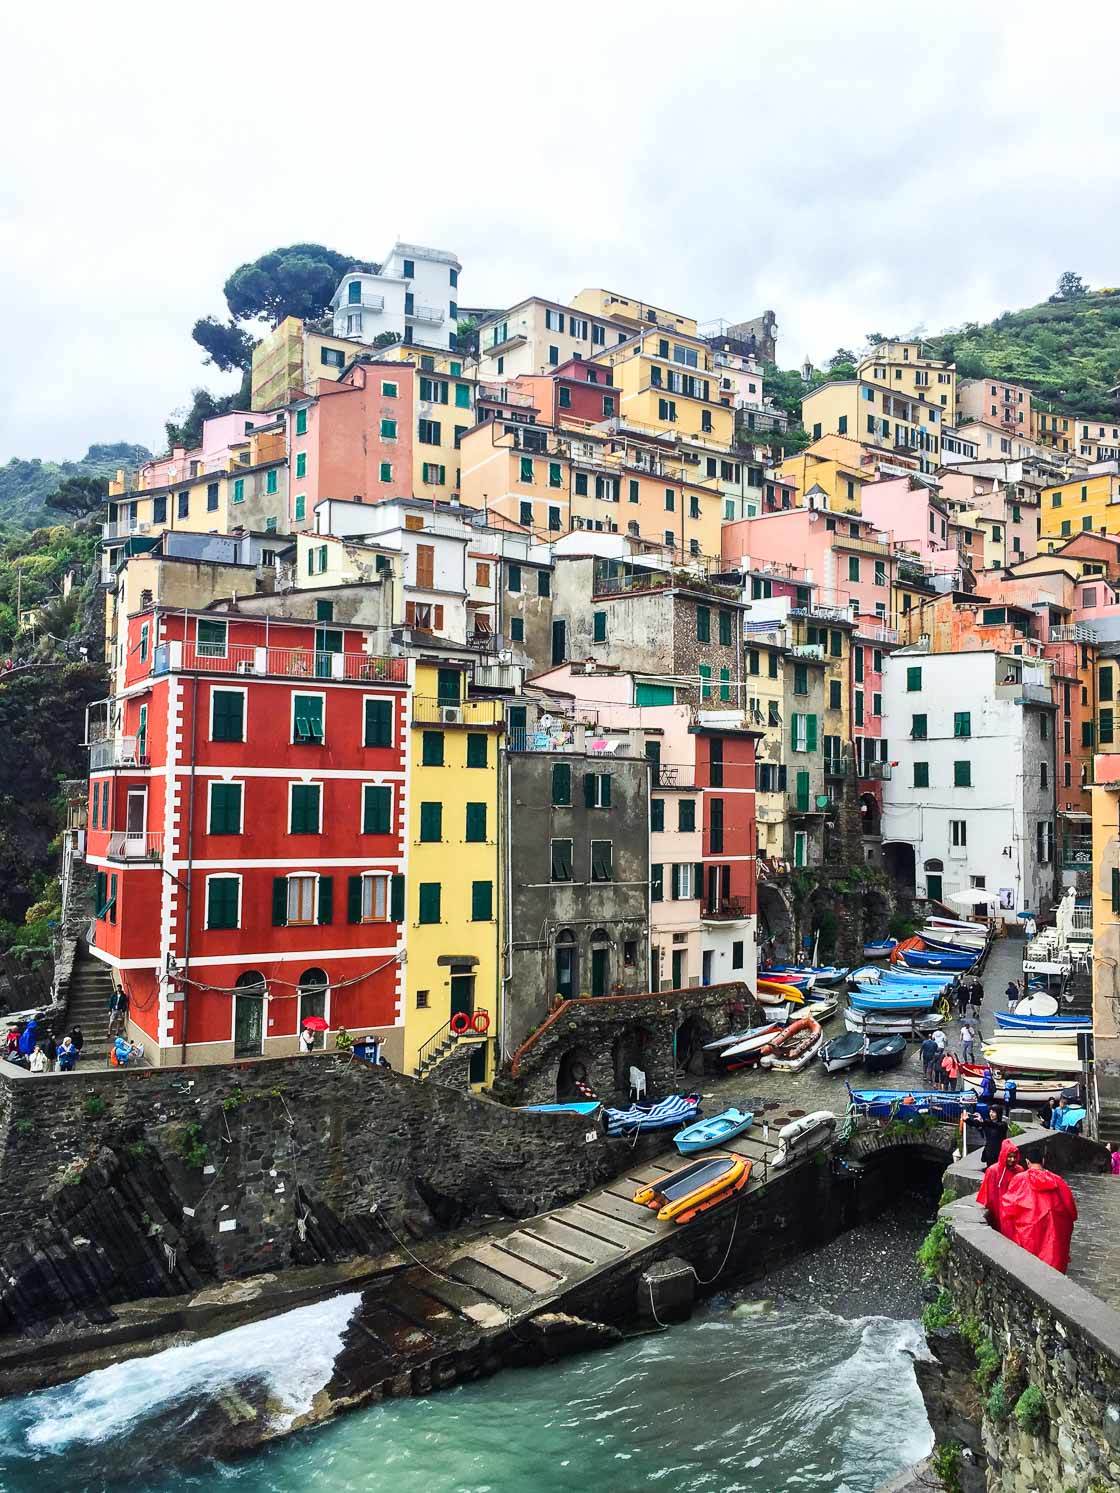
Photographing architecture is one of several simple travel photography techniques that will allow you to capture the culture of your destination.
Plus, architectural photography is a lot of fun!
How do you take great architectural photos?
One tip is to take symmetrical images, such as the one below. This creates a bold visual statement.
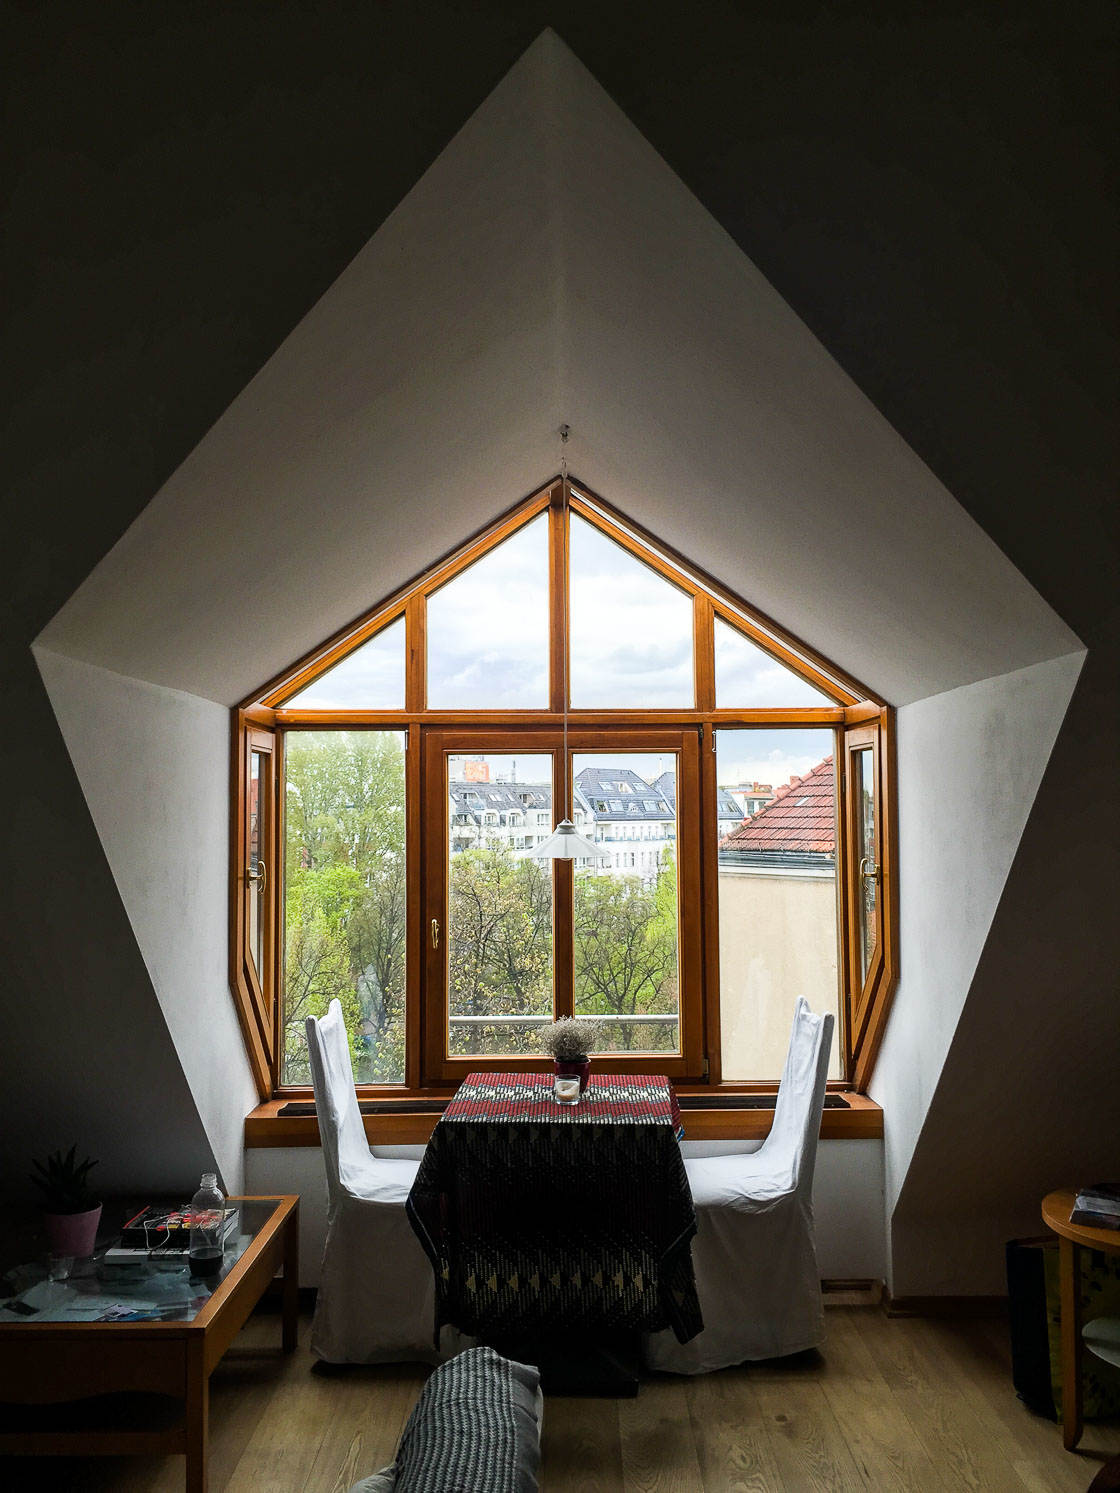
Another tip is to use repetition in your photos. Start by looking for patterns in buildings. Look for repeated squares, lines, or colors. Then take your shot! For the photo below, I was drawn to the repetition of the balconies. That’s what compelled me to capture the image.

Do you want to capture the culture of your location? Then photograph architecture!
7. Capture Action Shots To Bring Your Travel Photography To Life
Do your travel photos feel a little flat? Are you tired of taking static travel photos? If so, that’s okay.
It’s time to capture some stunning action photos!
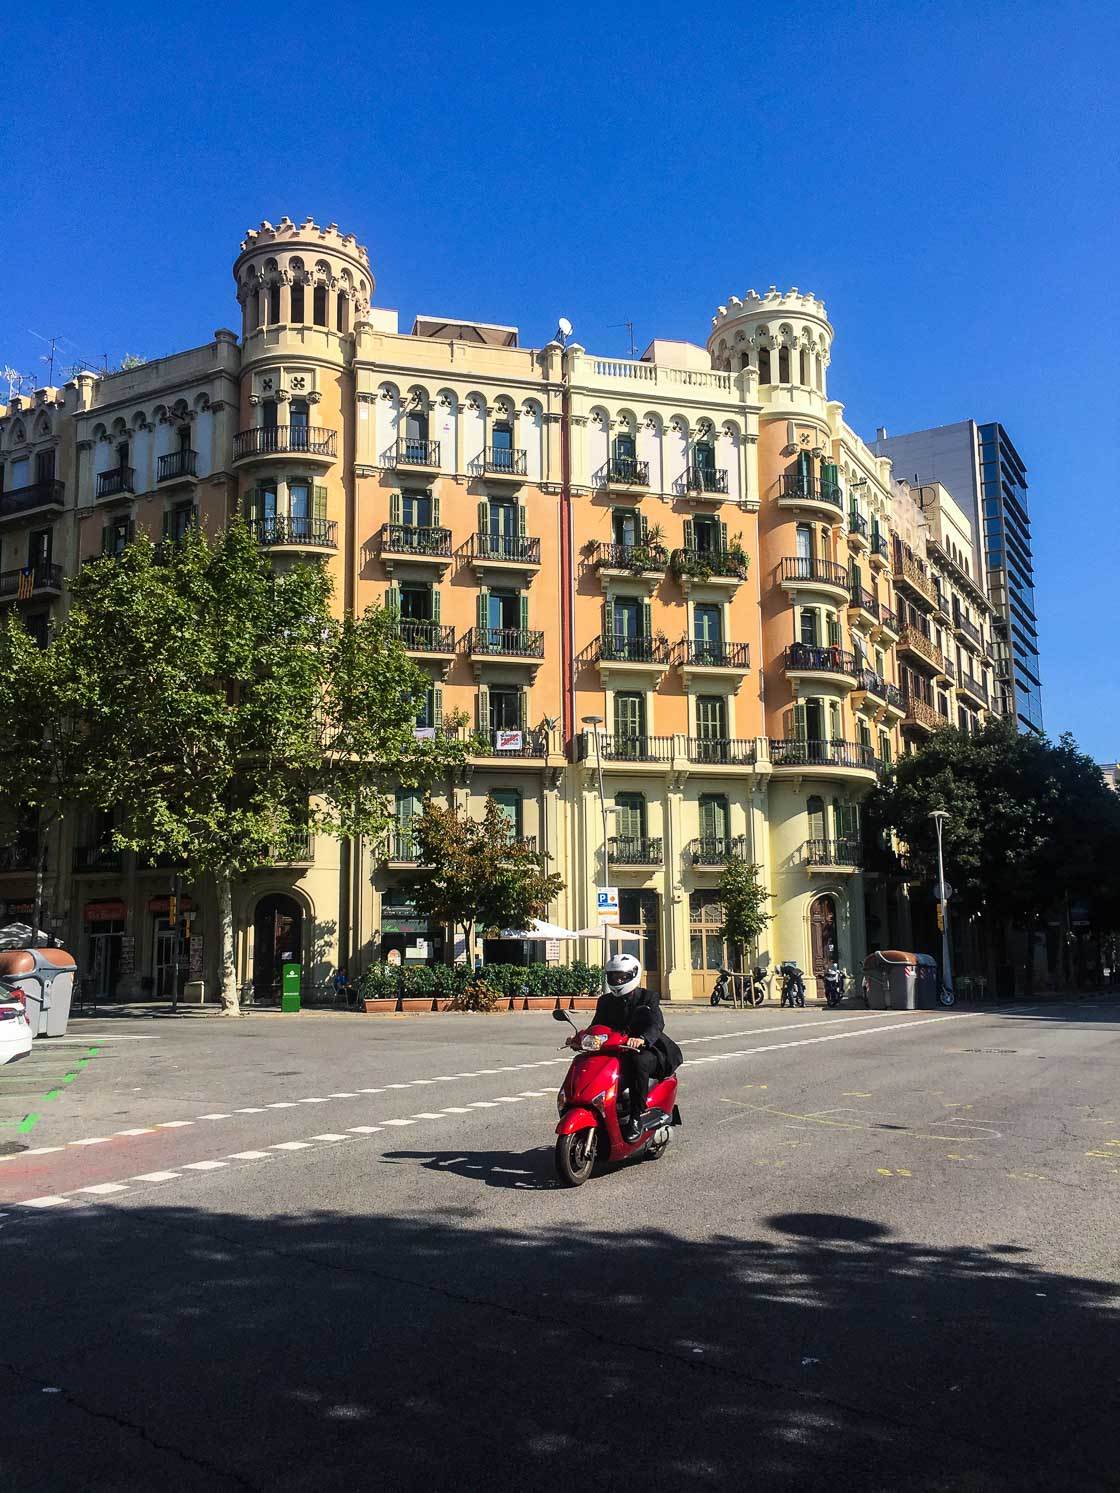
How do you capture stunning action photos?
Start by looking at what people are doing around you. Look at vehicles in the area. Look at how nature is moving—for instance, how waves are crashing on a beach.
All of these subjects make for great travel pictures. However, you have to know how to take pictures quickly. Otherwise, you’ll miss all the action!
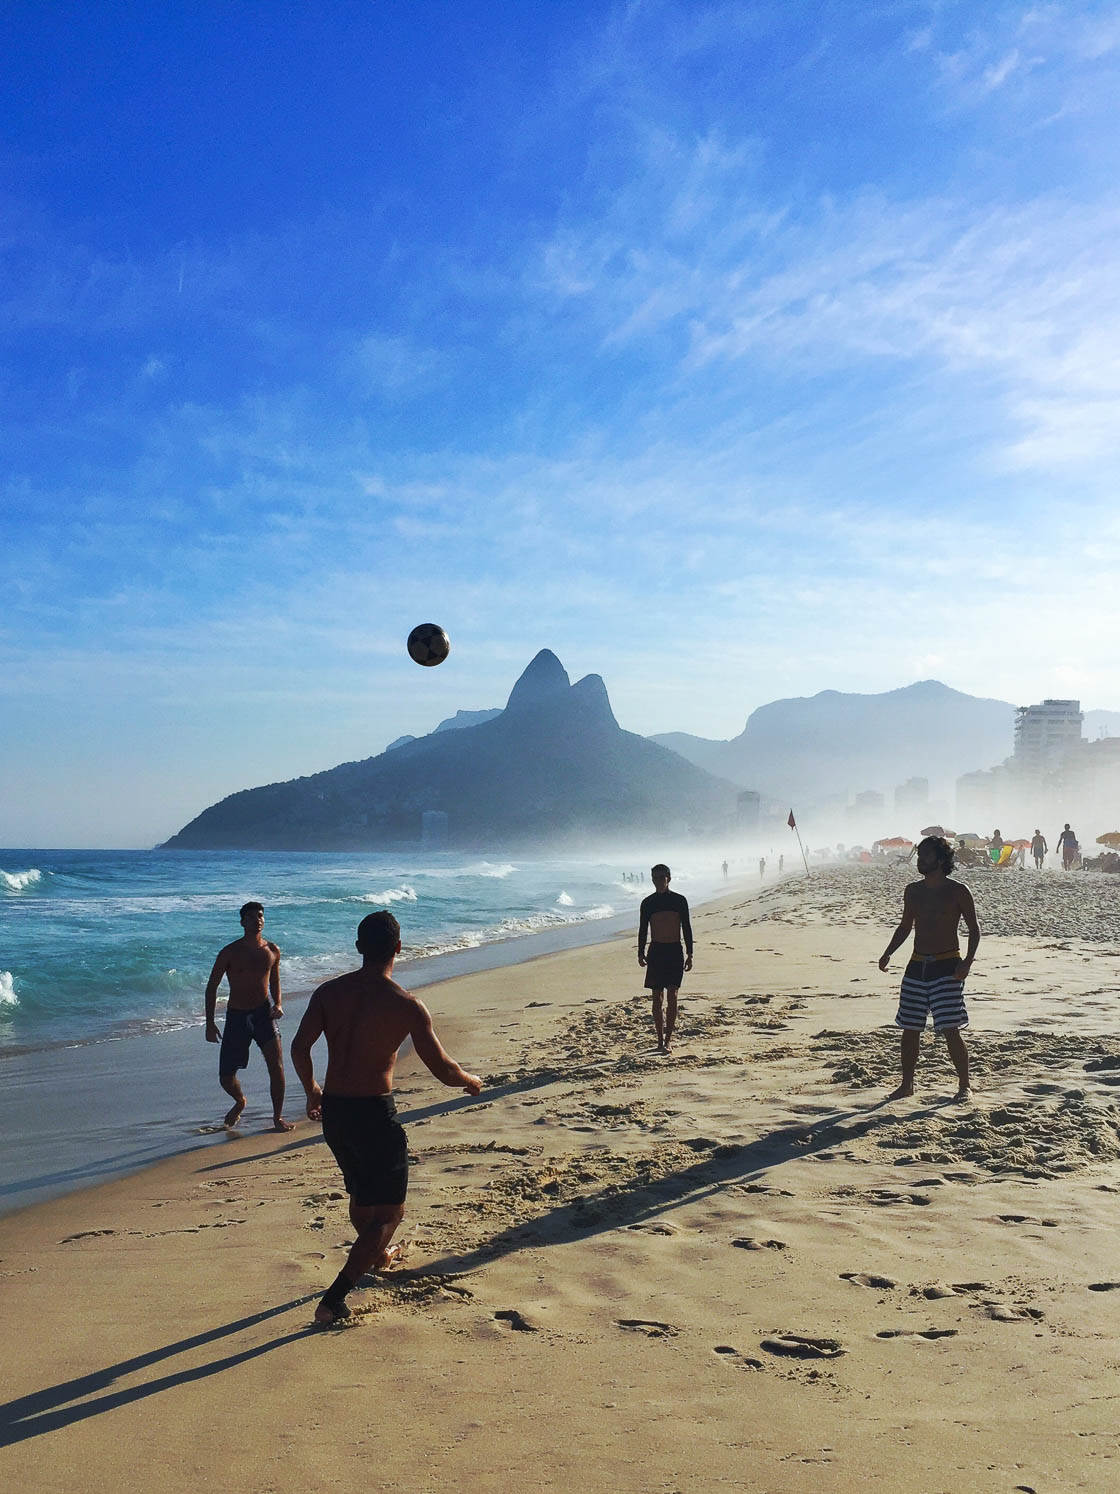
Fortunately, there are two great techniques for photographing action scenes.
First, you can access your iPhone camera in seconds! Start from the lock screen, then simply swipe left. Your camera will spring open, ready for action.
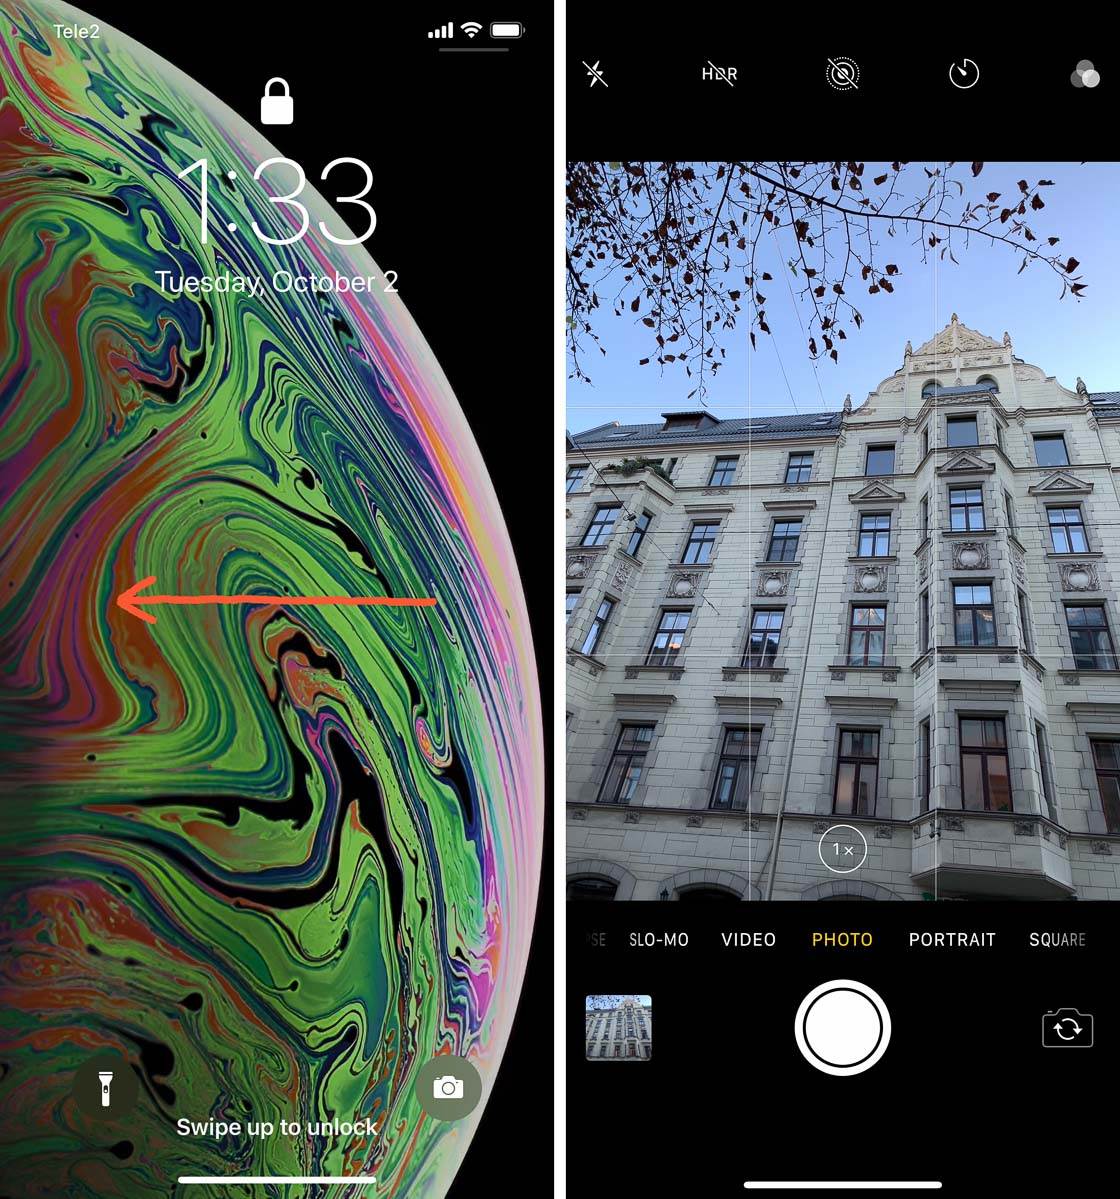
Second, you can use burst mode. This iPhone camera feature allows you to take around 10 photos per second!
To use burst mode, simply hold down the shutter button. Your iPhone will start taking pictures! When you’re ready to stop taking pictures, let go of the shutter button.
If you take action photos, your travel photography will come to life. Try using burst mode for an even higher chance of getting great action shots.
8. Shoot From A High Vantage Point For An Iconic Travel Photo
It’s important to capture the details of a place. But it’s also important to capture the location as a whole.
Ideally, you should get at least one picture that sums up your destination. This photo will represent your whole trip. It will be your iconic travel photo.

How do you capture such a photo?
You shoot from up high!
While you’re out walking, look for a vantage point. This might be a tall building, a parking garage, or (if you’re a hiker) a mountain.
Once you’ve made it to the top of your vantage point, take your image! One trick to capture the whole scene is to use your iPhone’s Pano mode. This will create a beautiful panoramic photo. I used Pano mode to photograph the amazing scene below.
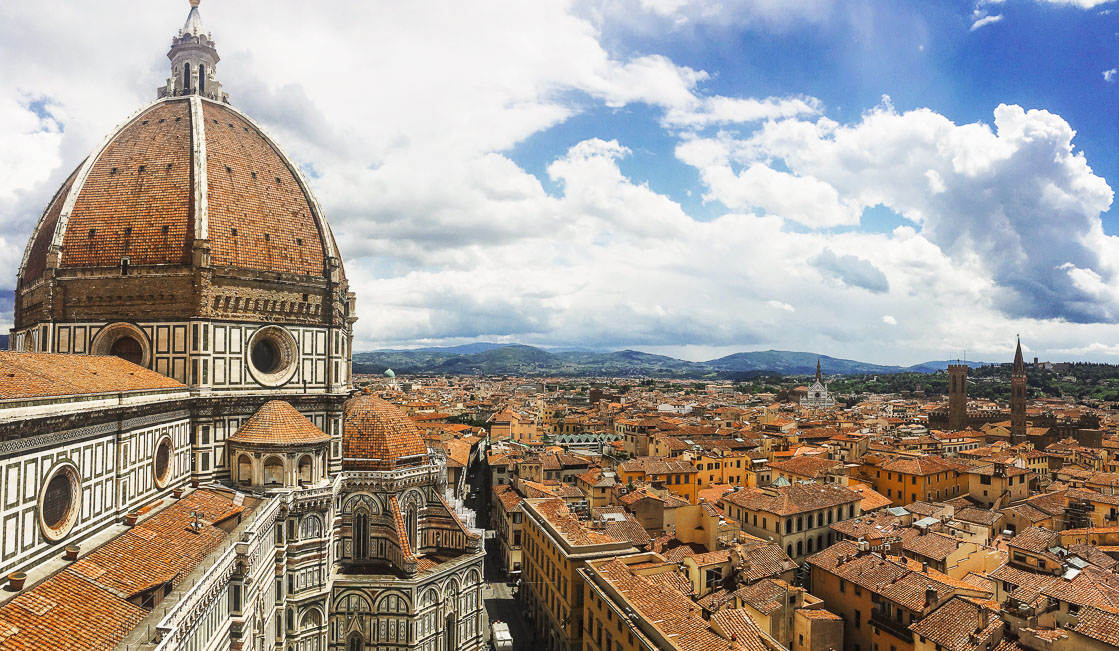
If you want a shot that represents your trip as a whole, shoot from up high. You’ll come away with some breathtaking images.
9. Tell Stories Through Your Photography For Captivating Travel Photos
Great travel photography captivates the viewer. It makes them think more deeply about a location. It makes them imagine a scene.
Therefore, if you want to take great travel photos, you need to tell a story. Even among a group of great travel photography tips and tricks, this is extremely important.
To tell stories, make sure you include elements in your photos that create perspective. By this, I mean that you should include objects, such as windows and dashboards, that make it feel like the viewer is part of the scene.
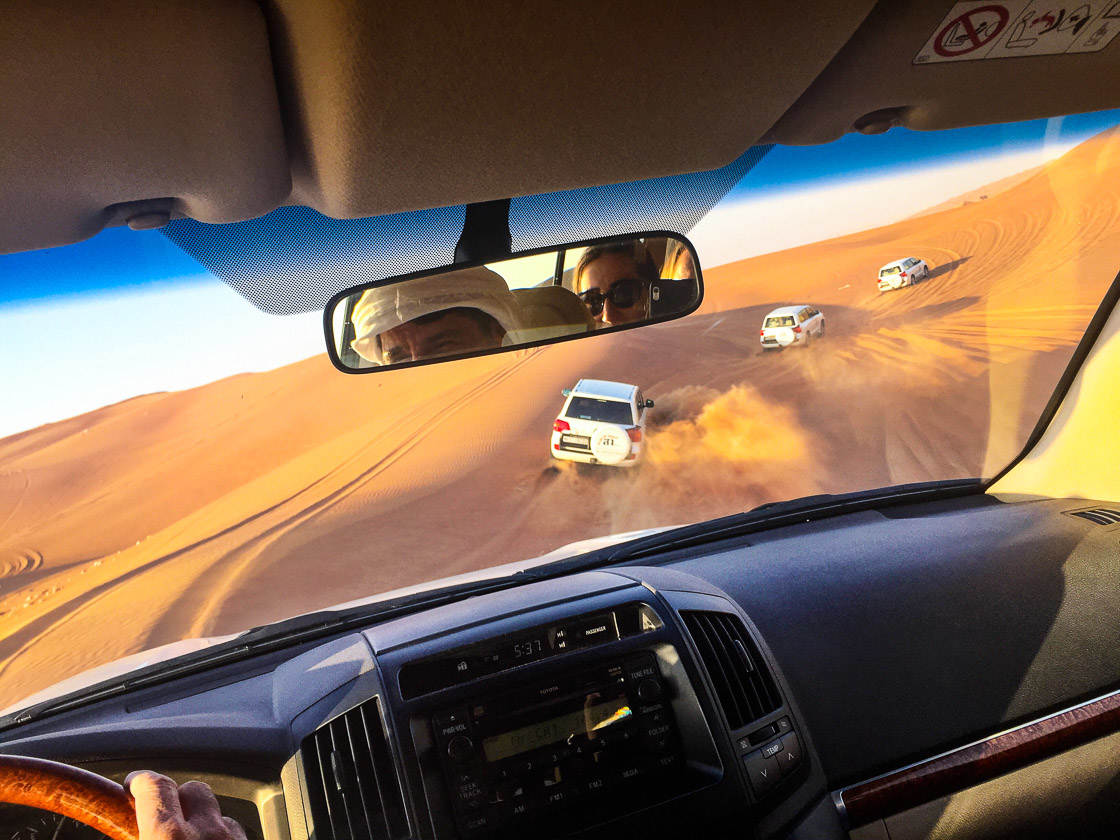
In the photo above, I included the car window and dashboard. This allows the viewer to connect with the image. They can put themselves in my position.
To tell a compelling story, you should also include people in your photos. Make sure to have an interesting setting, too. Both of these elements help communicate a story to the viewer.

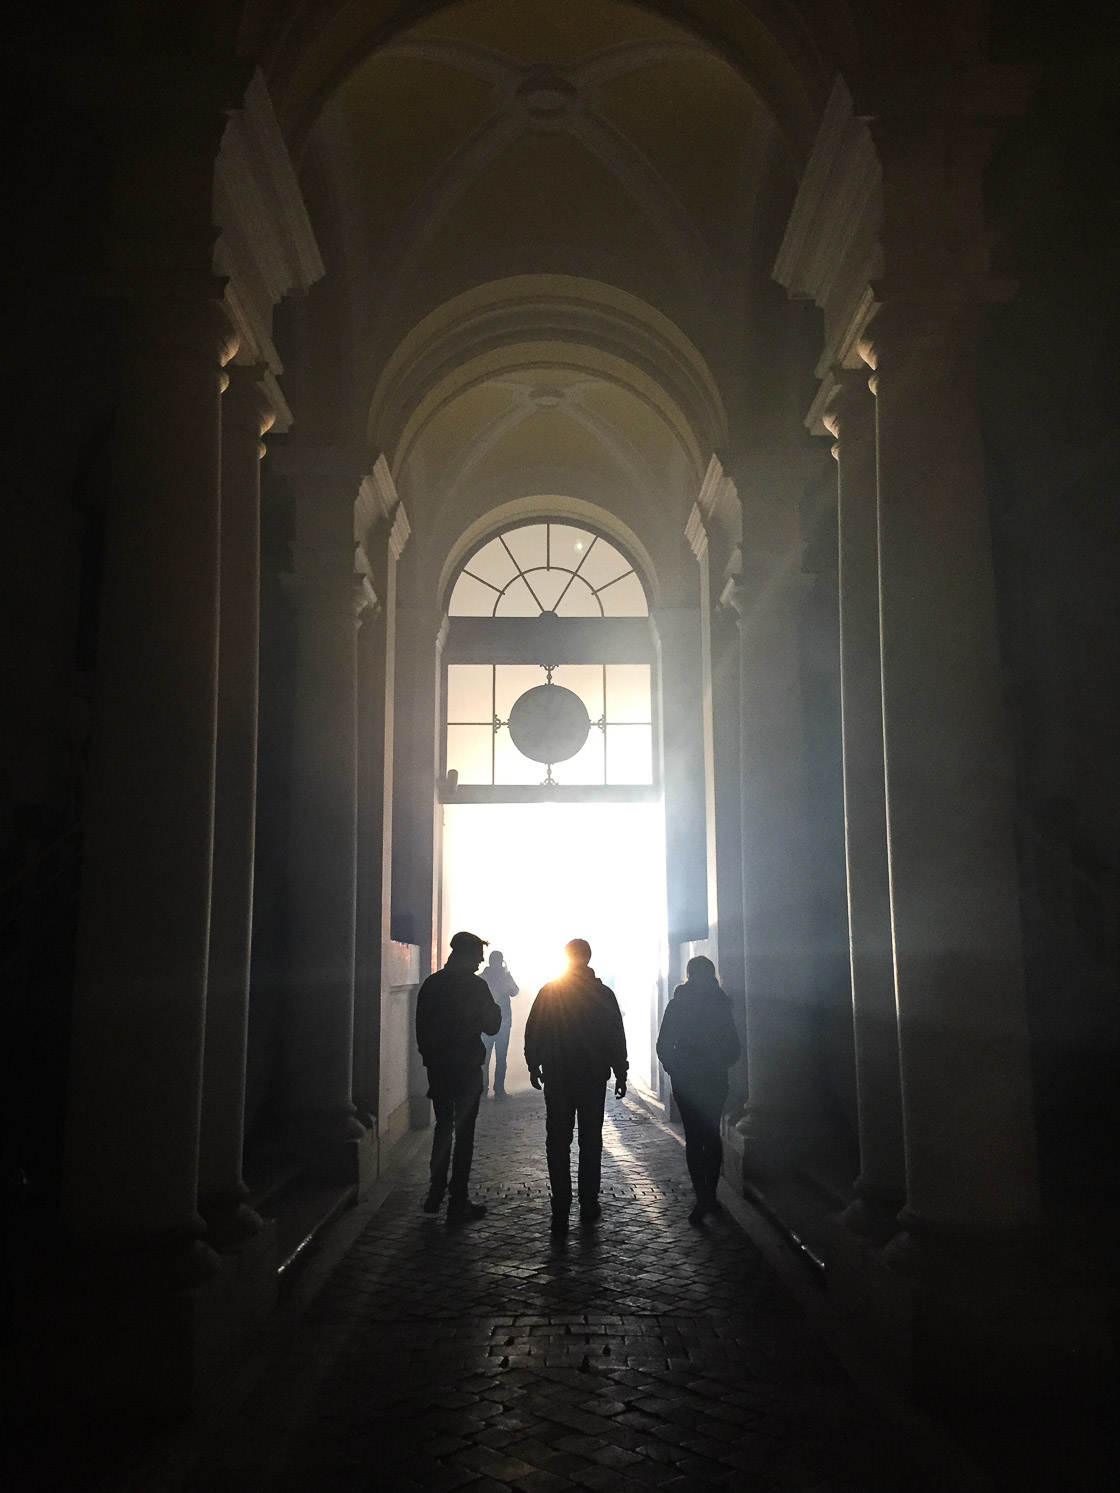
Another travel photography technique for telling great stories is to include mystery in your photographs. This can be created by including lots of shadows and silhouettes in your photos.
For instance, in the photo below, the location is shrouded in shadow. The people are silhouettes. It’s difficult to tell what the main subjects of the photo (the people) are going to do. Therefore, the viewer is free to come up with a story on their own!
Do you want to take your travel photography to the next level? Then tell stories.


Emil — Question on travel. We are planning a 2+ week New England trip this fall, and I anticipate taking many photos, primarily on my 16 GB 4S. I have, in the past, transferred photos nightly to my laptop, but may not have my laptop with me. Can you recommend a method of backing up photos while traveling? If I use photostream, can I delete the photo from my phone, and not lose it? What about uploads to a site like Flikr? Any suggestions would be most appreciated!
You should buy a wifi pen drive 128 gb
If you travel with camera, try our new photo guide app Fripito: https://appsto.re/us/I00_X.i