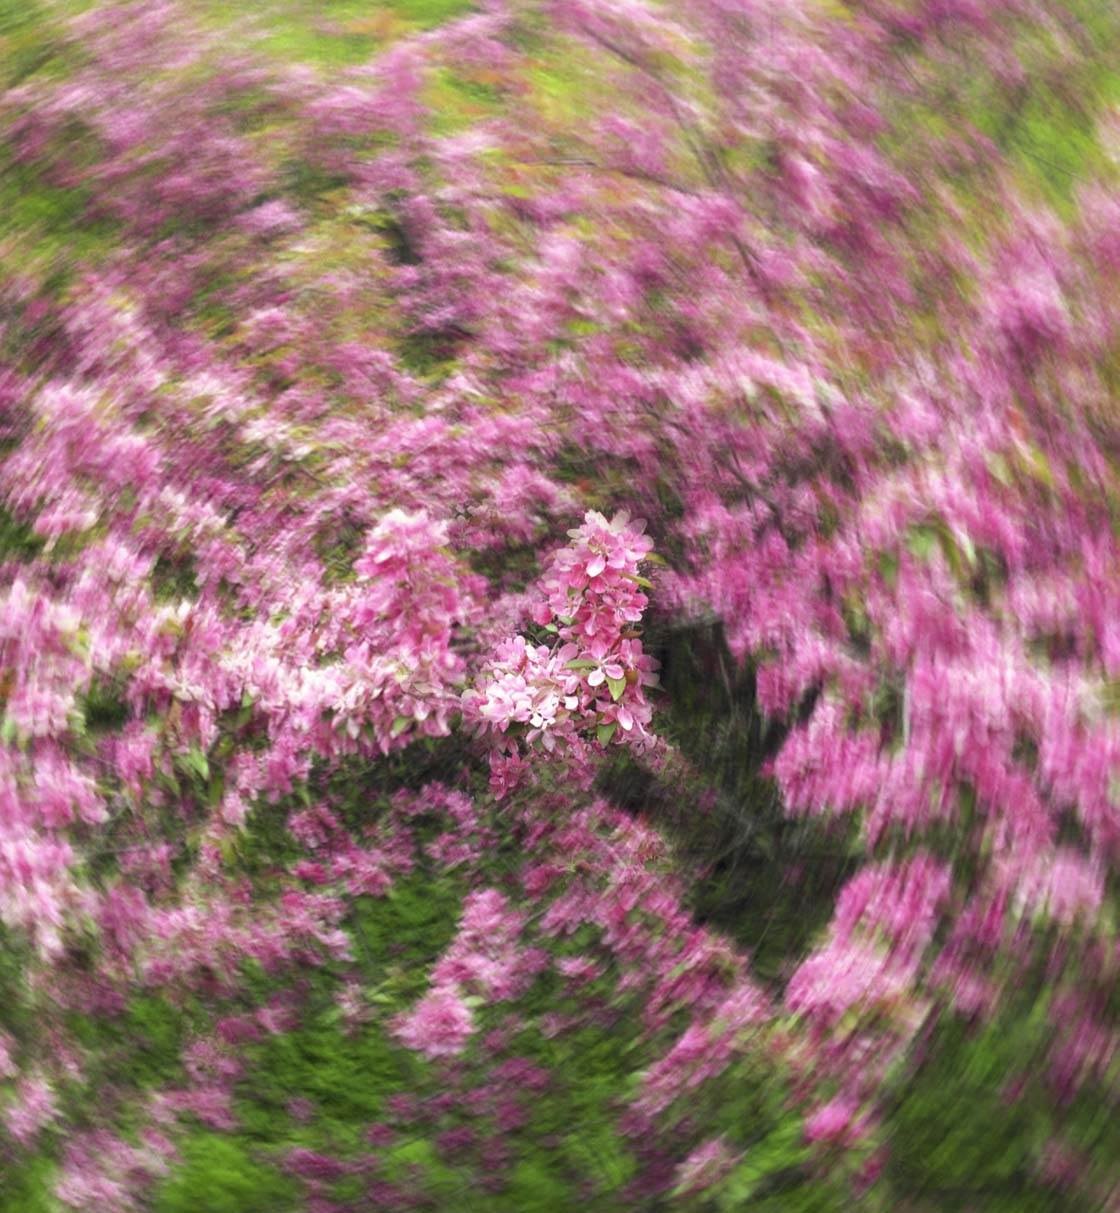
Do you want to try something a little different with your iPhone photography? In this tutorial you’ll discover a fun and effective way to create fine art nature photos using the Slow Shutter Cam app. Simply follow our step-by-step instructions and you’ll be able to use your iPhone to create these beautiful rotational slow shutter images on various plants and flowers.
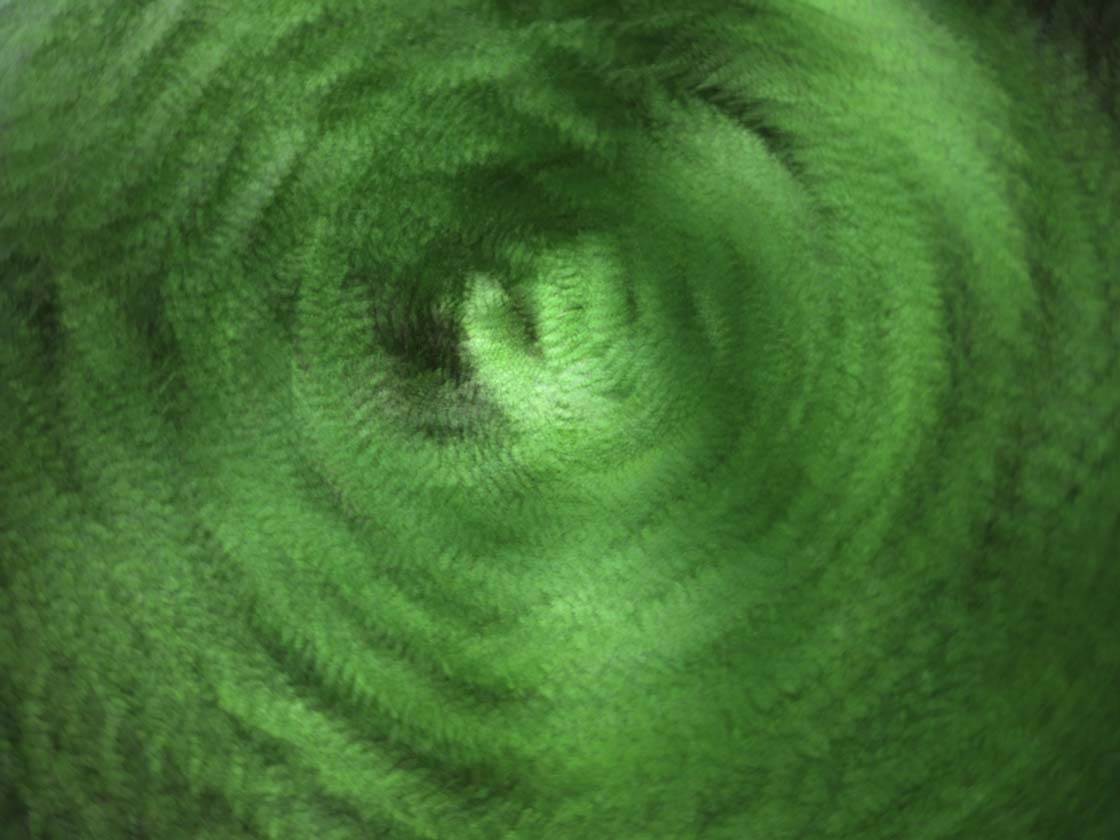
What Is A Rotational Slow Shutter Image?
In my early years as a young aspiring photographer I really set my foundations on nature photography, learning from the excellent books of photographer and author Freeman Patterson.
In many of his books he introduced new ways of creating painterly images by using multiple exposures, slow shutters and camera rotations.

While the results are impressive, the technique is actually quite simple. You set your camera to use a slow shutter speed (long exposure time) of several seconds, then you rotate the camera in a circular motion while the photo is being taken.
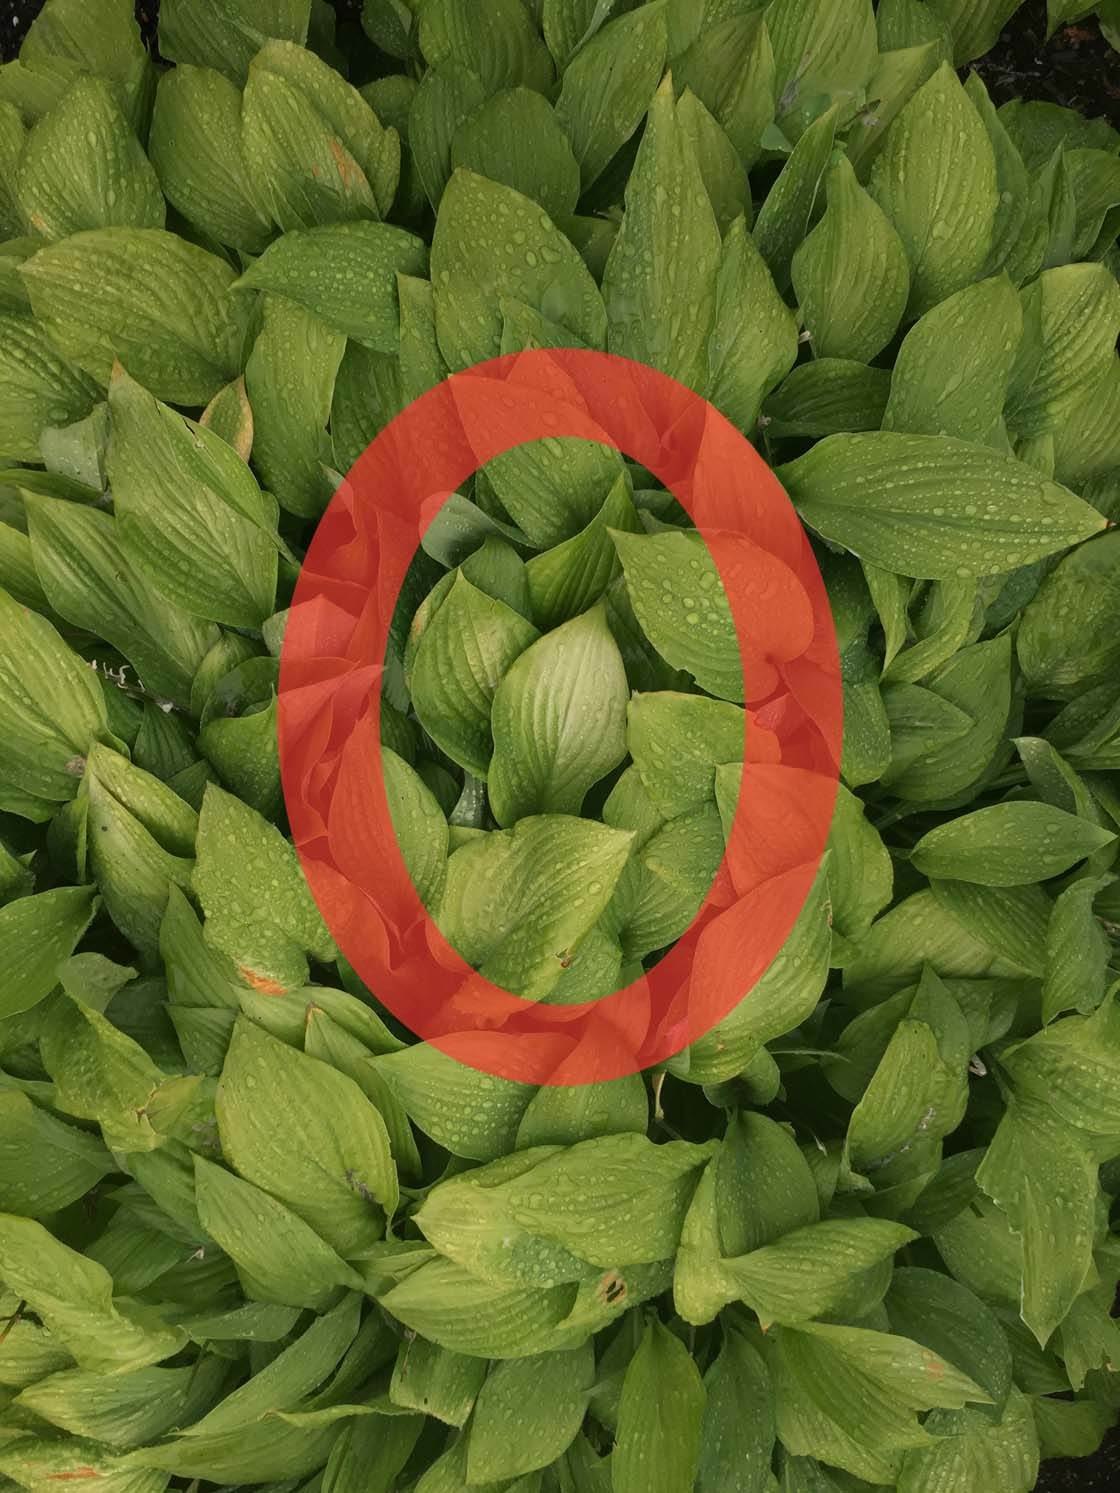
The combination of the rotation and the slow shutter speed creates a beautiful circular motion blur effect.
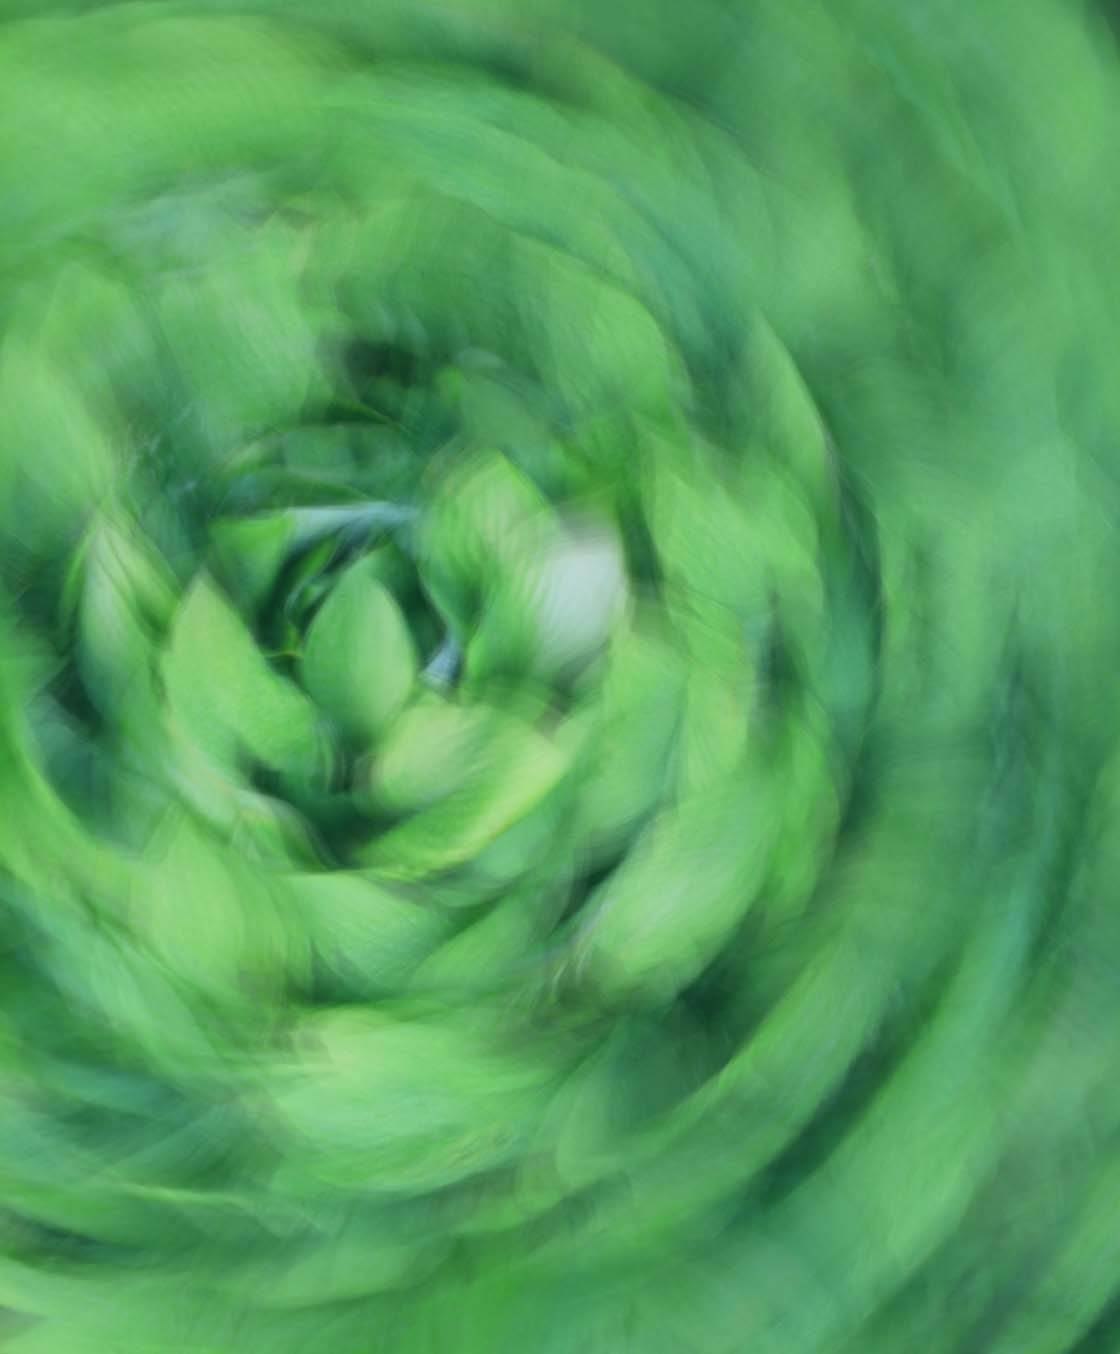
By varying the exposure time and the speed that you rotate the camera, you can achieve different degrees of motion blur.
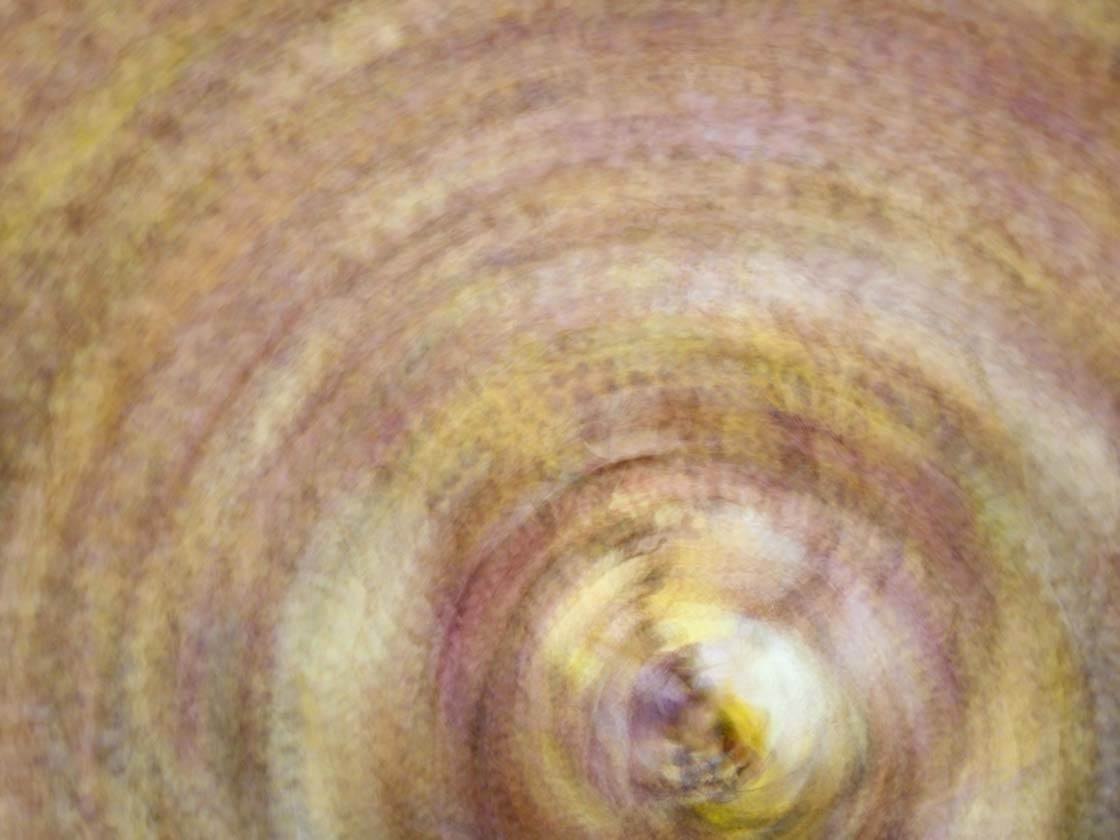
The faster you spin the camera, the more blurred it will become. A slower rotation will keep more sharp detail in your subject, especially in the centre of the image.
Slow Shutter Cam App
Instead of using slide film like Freeman did, we’ll be using our iPhones to create similar results. While the iPhone doesn’t really have a manually adjustable shutter speed option like that of an SLR camera, there are apps that mimic the slow shutter effect.
One of the best apps for this kind of photography is Slow Shutter Cam ($0.99). It’s useful for many different types of artistic iPhone photography.
The most prominent uses of this app are to create beautiful long exposure photos of waterfalls, soften flowing water, and create light trail images. But for the purpose of this article, we’ll only be using the app to create rotational multiple exposures.
How To Create Your Slow Shutter Image
Once you’ve downloaded the Slow Shutter App from the app store, you need to find some plants or flowers to photograph. So get out into your garden, or head out into the woods or to your nearest public garden.
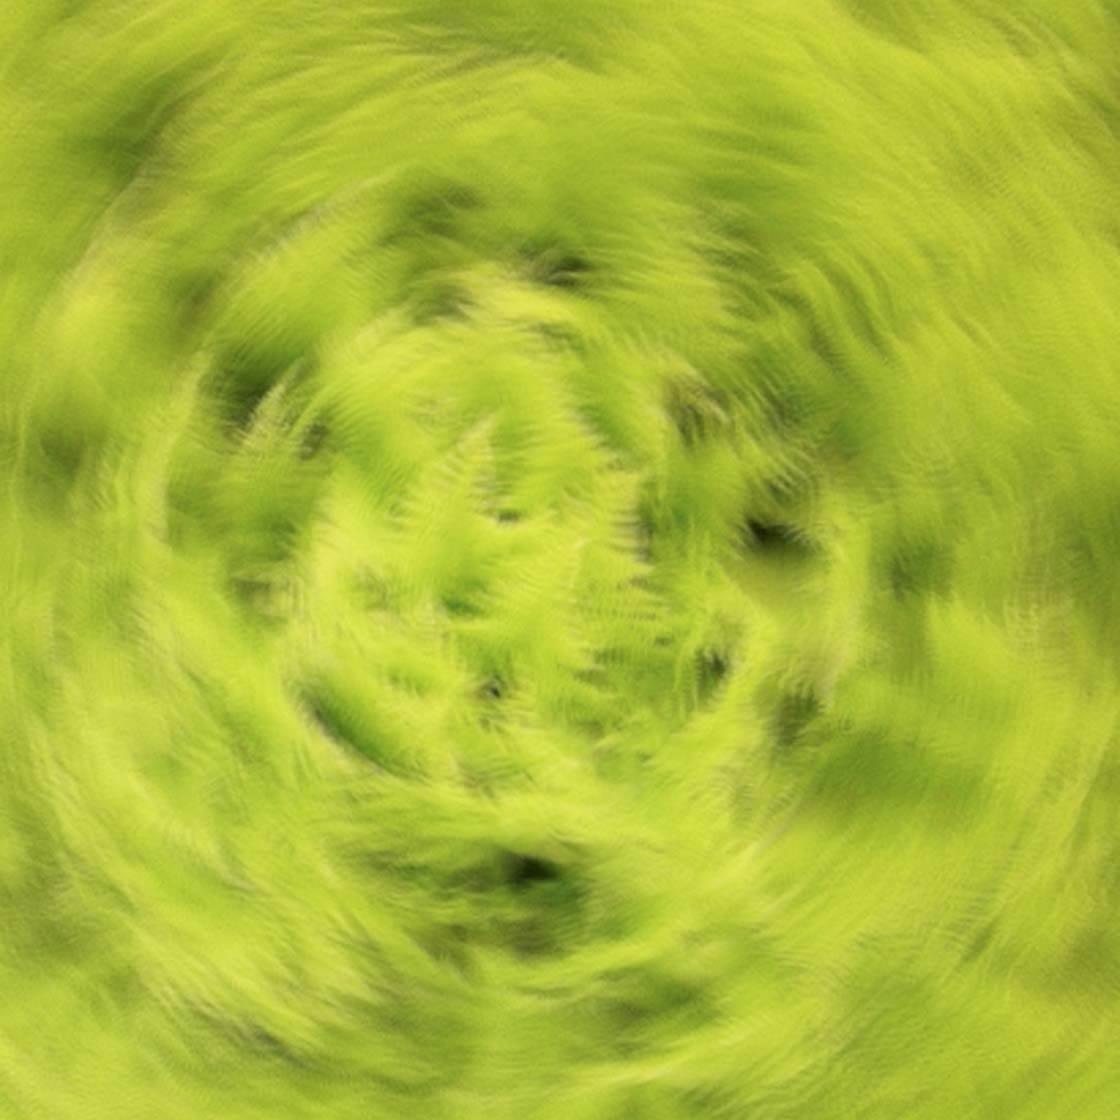
What you should be looking for is a tight grouping of similar sized leaves or flowers. If one flower or leaf stands out in particular, you can use that specific item as the center of your camera rotation.
In my example shot below, you’ll see that one leaf stands out a bit more than the others, so I placed it in the center of my composition. This is the user interface view that you’ll see when you open the Slow Shutter Cam app:

Before you start shooting, tap on the little gear icon at the bottom right of the screen to access the settings:
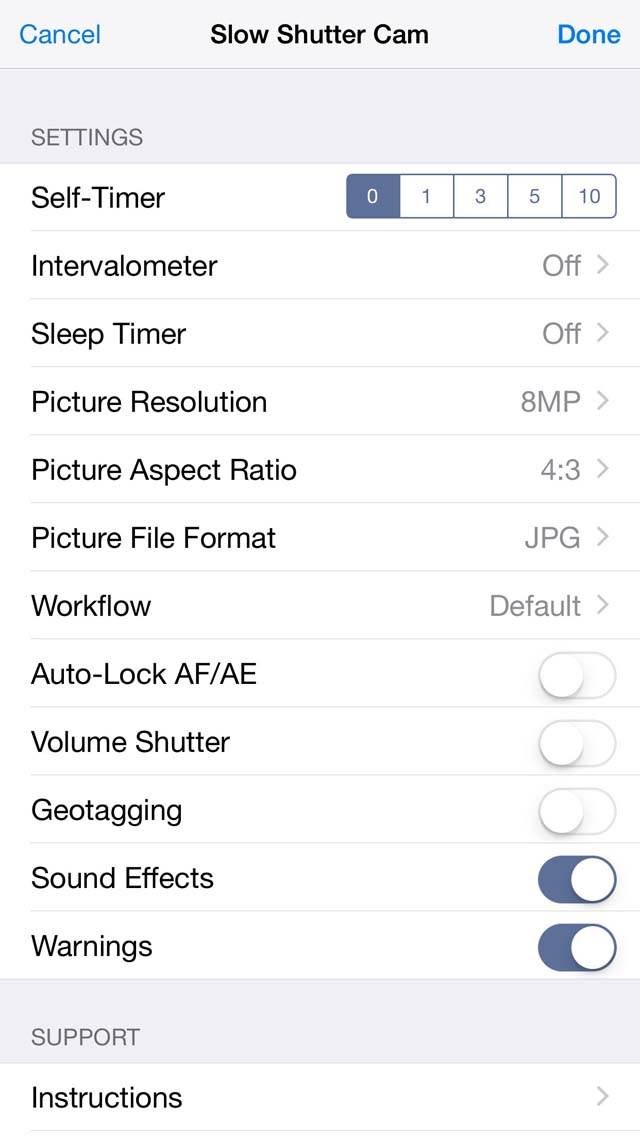
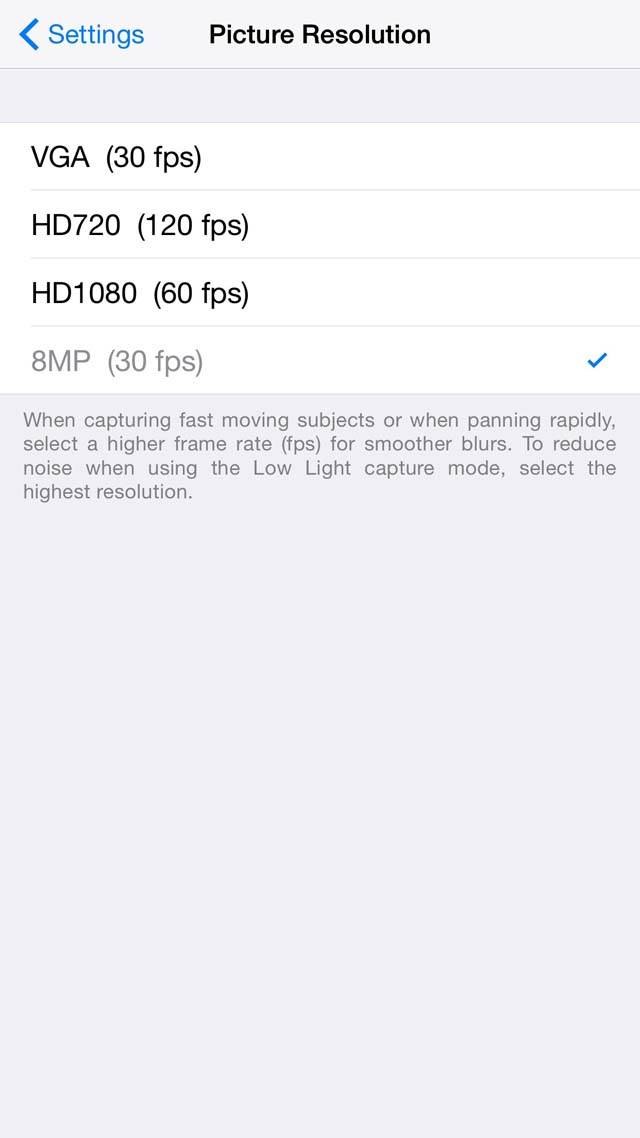
I suggest that you change your Picture Resolution to the highest setting possible, e.g. 8MP (the latest iPhone 6s models have 12 megapixels):
The other features can remain at their default settings, although for advanced photographers you may want to switch JPG for TIFF in the Picture File Format menu.
You can now tap Done to return to the camera view. There’s one more step before you start shooting, and that’s to set the capture settings. Tap the little circular camera iris icon at the bottom left of the screen:
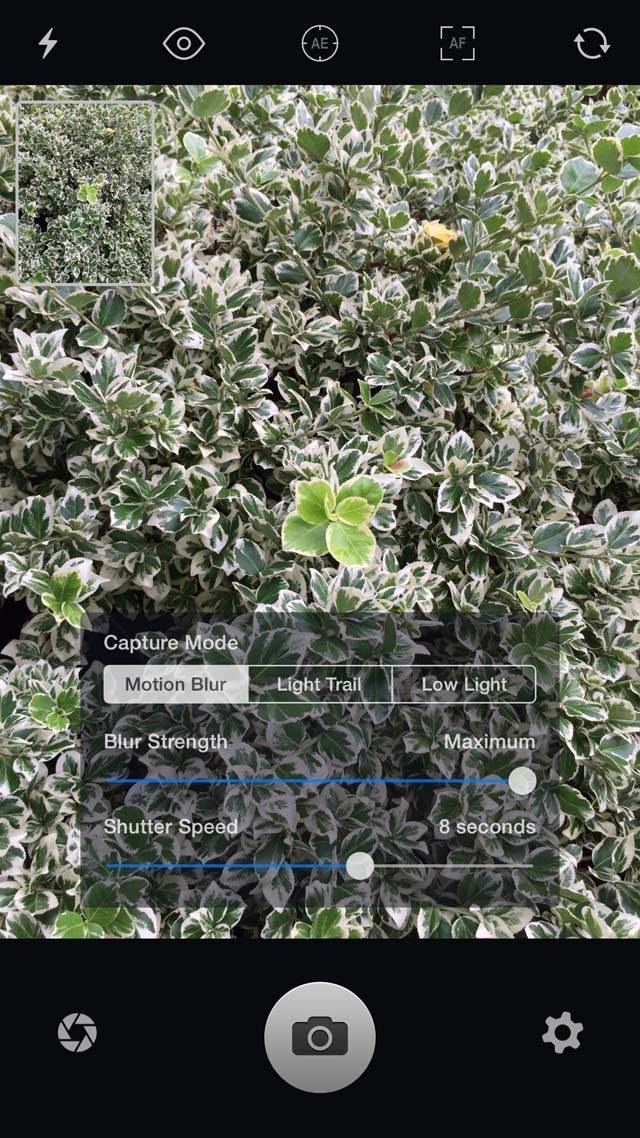
For our purposes we only need to change the Blur Strength from Medium to High. The default Shutter Speed of 8 seconds is usually fine, but feel free to experiment with other shutter speeds if you like.
Motion Blur is active by default, and this is the only option that we’ll be using for this tutorial. When you’re ready to leave the menu, simply tap on the same round camera iris icon on the bottom left to return to the camera view.
There are other options on the top row (flash, magnification, Auto Exposure Lock, Auto Focus Lock, and flip camera) but we don’t need them for creating our painterly abstract iPhone photographs:
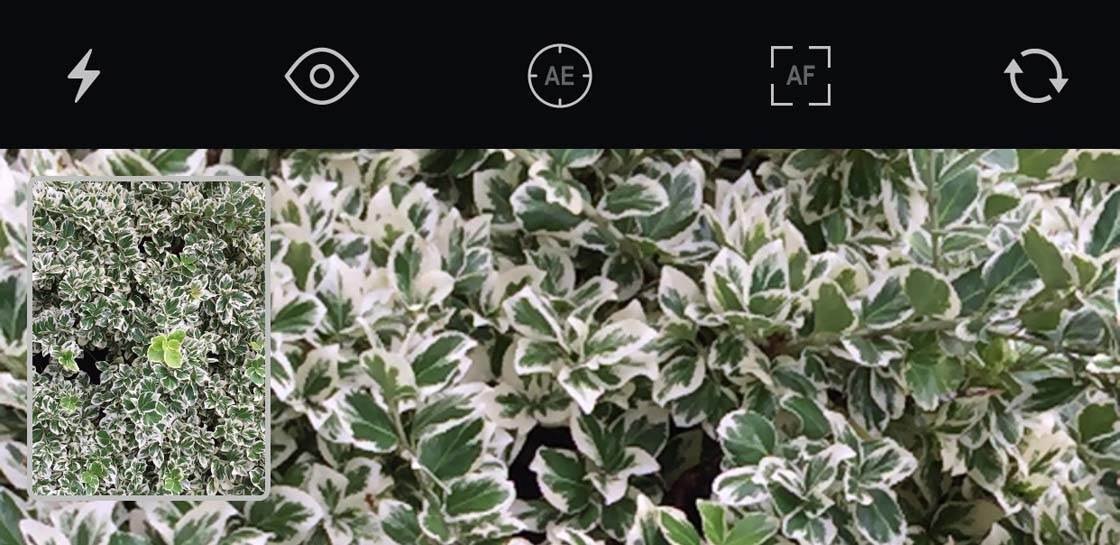
You’re now ready to start shooting! You should have the normal camera view on your screen that looks similar to this, but with your own flowers or plants:

Ensure your chosen, well defined plant is in the dead center of the frame. Then tap the shutter button (circle with camera) at the bottom of the screen, and slowly rotate your iPhone either clockwise or counterclockwise. Try your best to keep the main flower or plant in the center of your rotation.
When the 8 second exposure is finished, you’ll be shown three options near the bottom of the screen (Clear, Edit and Save):
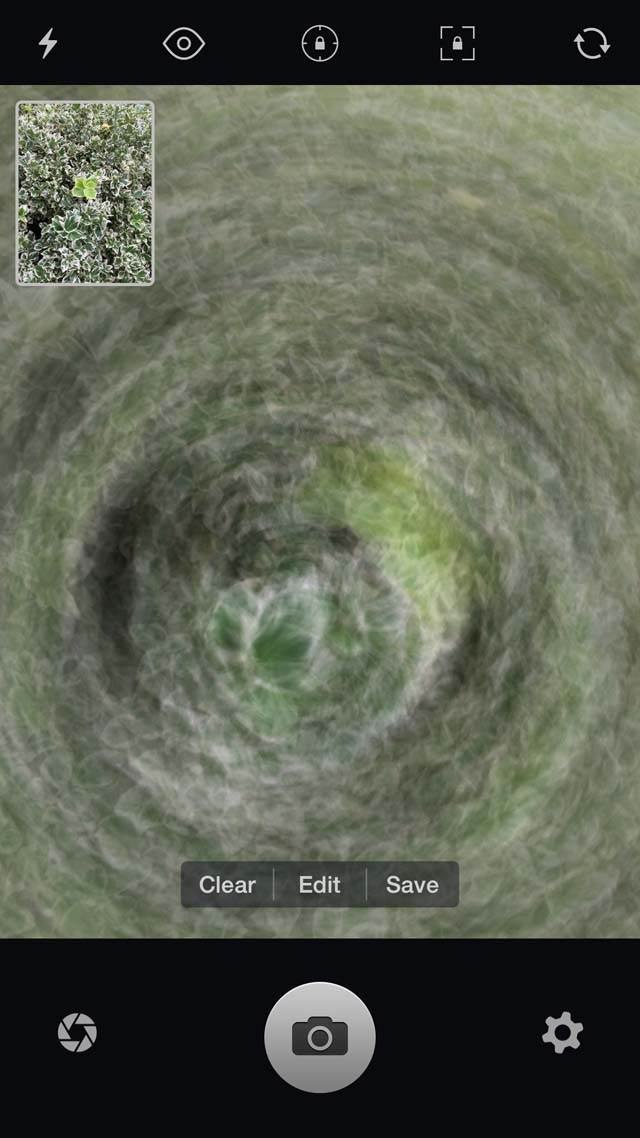
If your image looks like a mess, don’t feel discouraged! It took me several tries to get this particular image. If you don’t like your results, press Clear and try again.
I included this example to show that even if you were a little off-center by mistake, the photo can still be salvageable via cropping, or simply having a very acceptable off-center composition.
At this point you may rightly say that the photo looks washed-out and uninspiring. This is normal for the app, which is why they also add an Edit option just after the exposure is finished. Tap on Edit, and you’ll see the following screen:

We don’t need to do anything with the Freeze option that comes up as the default, so we’ll start instead with Contrast:
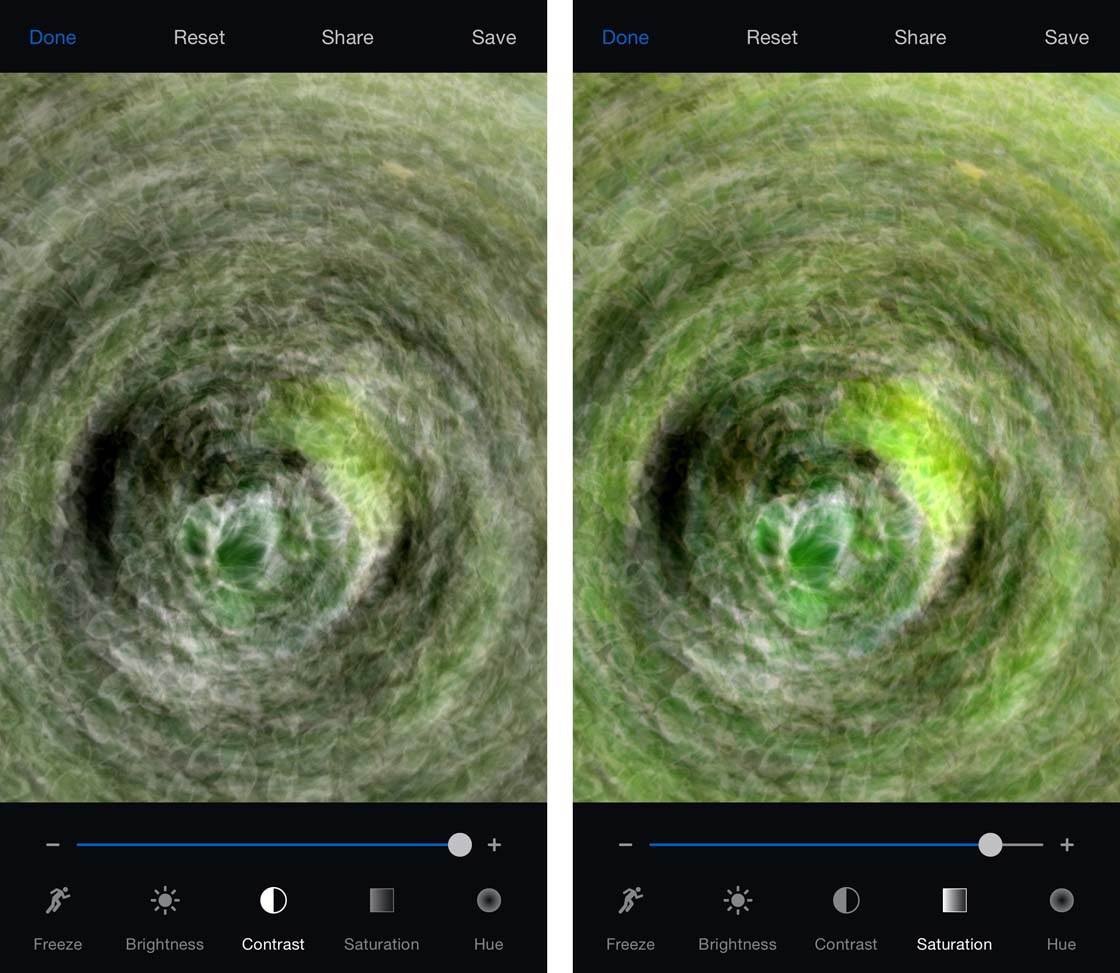
I usually like to jack the contrast up to maximum as I find that the image straight from the camera is very low contrast. You don’t need to follow my order, but I often do Contrast first, then boost the color Saturation to almost maximum.
If I feel that the image is then too bright or too dark, I’ll make a small adjustment with Brightness. And then finally I like to work on my green colors by adjusting the Hue slider:
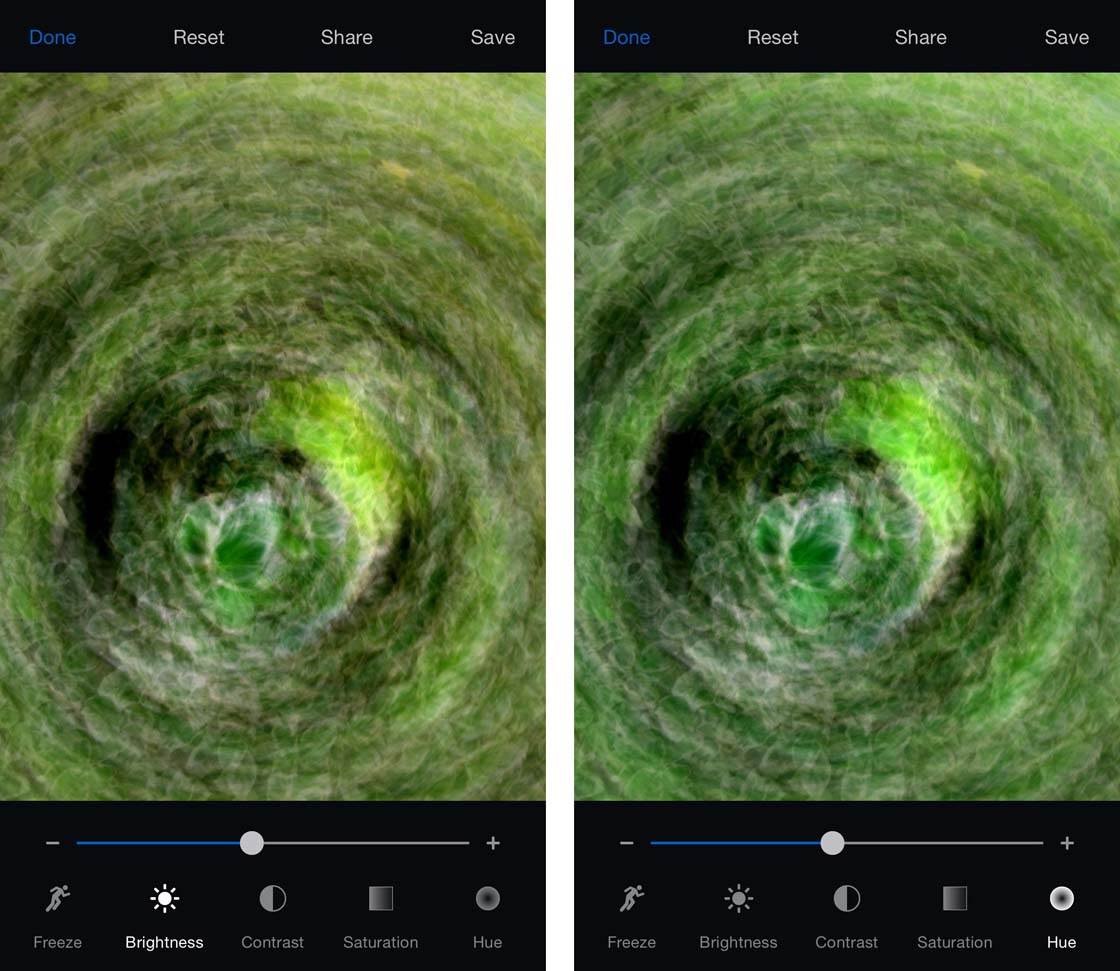
If you’re photographing vegetation that’s not green in color, the Hue option may be unnecessary. However, for green subjects the Hue option can bring even more green into the scene if you feel it adds to the final image.
When you’re finished with your creation, tap the Save option at the top right of the screen, then close the Slow Shutter Cam app.
Crop The Image (Optional)
Now I’m going to crop my image, but if you like your photo the way it is, you can skip this step. I’m going to show you how to crop using the native iOS Photos app, but you can use a different editing app if you prefer.
Open the Photos app and locate the image within your Photo Library. Tap the Edit option at the top right of the screen:

Tap the Crop tool at the bottom of the screen (in between the blue Cancel option and the three interlocking circles icon). You’ll now see a view that looks similar to this screenshot:

Click the Aspect Ratio icon which is located at the bottom right of the screen, just above the faded-out Done option. Your next screen will have many crop ratio options which are all usable, but for my purposes I want a square crop for easy Instagram upload:

After selecting your aspect ratio, drag the image if necessary to crop away the areas you don’t want, then tap the yellow Done option at the bottom right.

Congratulations! You’ve completed your nature abstract image.
Further Inspiration
If you want to take this slow shutter abstract technique further, here’s a bit of extra inspiration. If you live in or near the woods, you can use a group of trees to create a slow shutter painterly image.
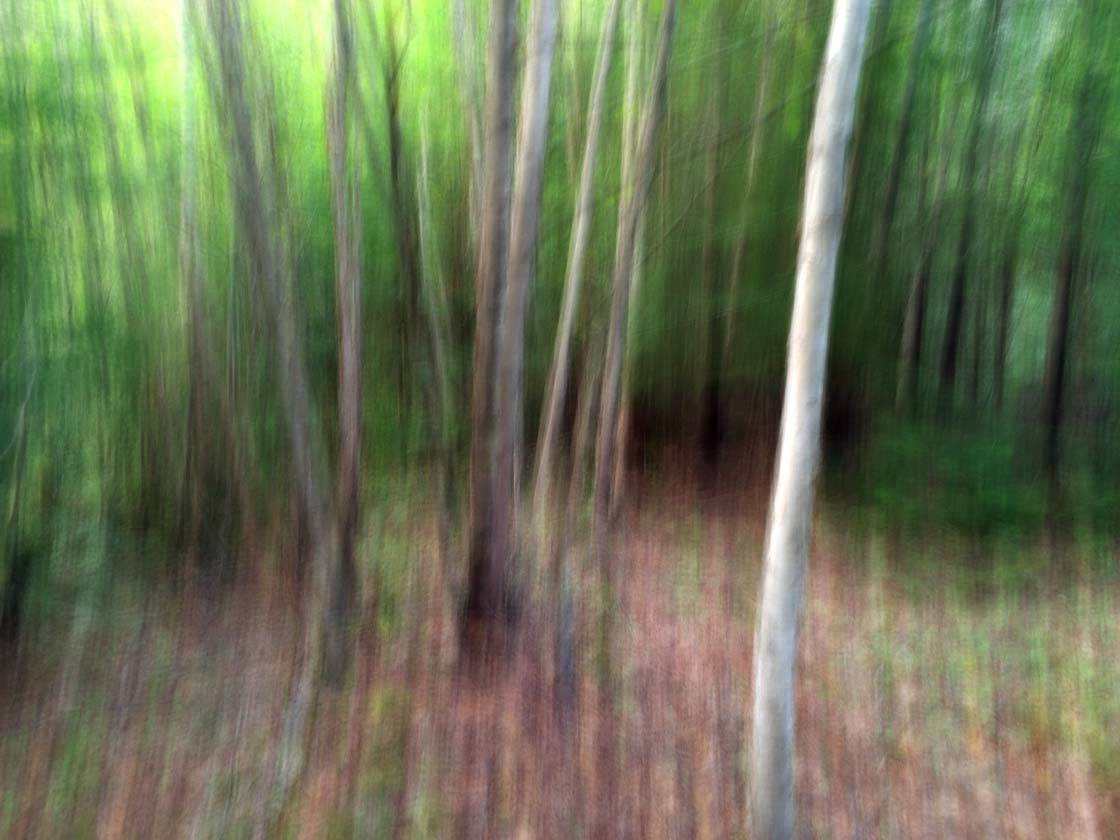
But instead of a clockwise or counterclockwise circular camera rotation, why not try a vertical panning motion?
You can follow all of the same steps that have been laid out in this tutorial, except for this technique you’ll be holding your iPhone out in front of you, moving it up and down in a vertical motion.
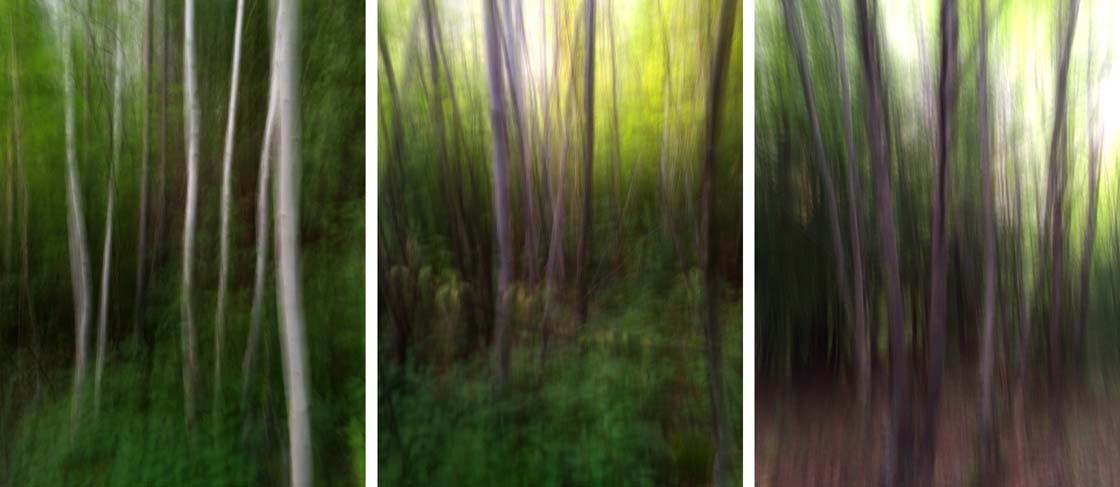
Of course, you don’t even have to stick to photographing nature. You could try out this technique with any subject. The key is to experiment as you never know what the results might be.
Whatever you decide to photograph with the Slow Shutter Cam app, you’re sure to create some unique abstract images with your iPhone. Have fun!


Thanks for this tutorial Mark – a very creative use of the Slow Shutter Cam app 🙂
Love the way one can create unique images with this app. . . Thanks for a great tutorial Mark. Much appreciated.?
Thank you Rosa, I’m very glad you enjoyed it!