Few things are more inspiring than reflection photography. Reflections are incredibly beautiful, and once you start looking for them, you’ll be surprised to discover that they are all around us. In this tutorial you’ll discover everything you need to know about reflection photography so that you can take stunning reflection photos with your iPhone.
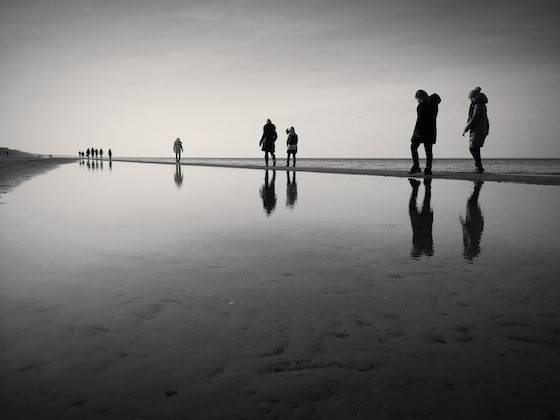
1. Find a Reflective Surface
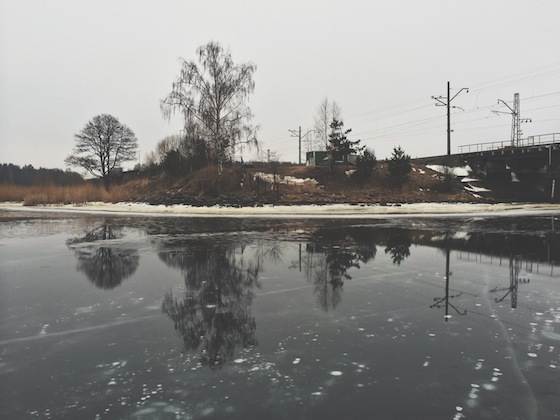
The first step in reflection photography is relatively straightforward – you must find a reflective surface. Once you train your eye for it, you’ll realize that reflective surfaces are literally all around us. Some of the most beautiful reflections are found on the surface of water. Any bodies of water including tiny puddles are perfect for water reflection photography.
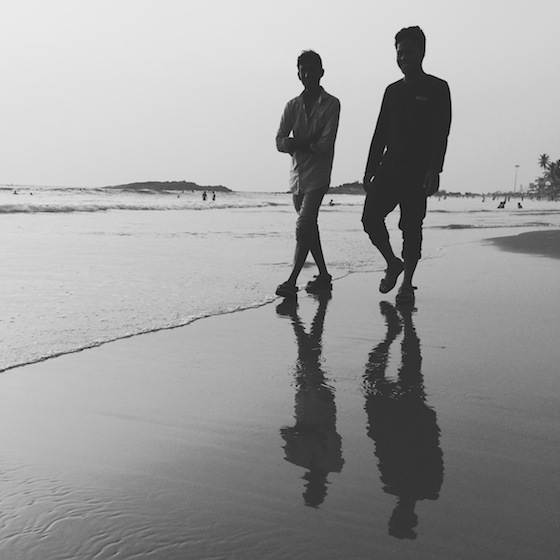
Besides water, you can find great reflections on any glass surfaces, on shiny cars, on wet tarmac, on ice or even on your own sunglasses. Once you start paying attention to reflections you’ll realize that they are everywhere, and all of them are perfect for creating beautiful photography.
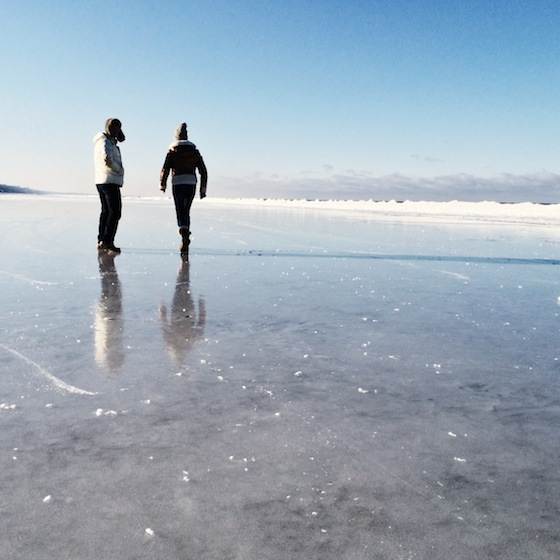
2. Find a Unique Subject
Once you’ve found a reflective surface, the next stop is to find an interesting subject for your photo. Of course, you should always include your subject in the reflection because that’s what the human eye will be paying attention to. If your subject is not found in the reflection, the viewer probably won’t even notice that there is a reflection.
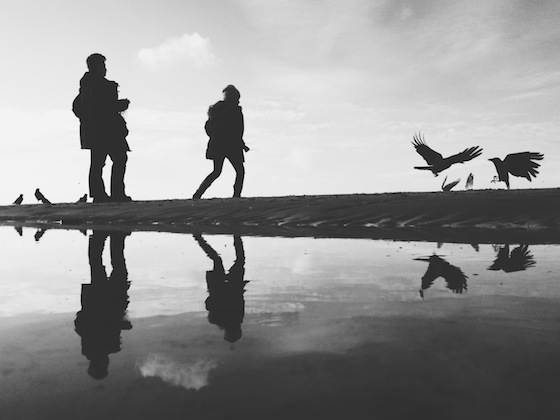
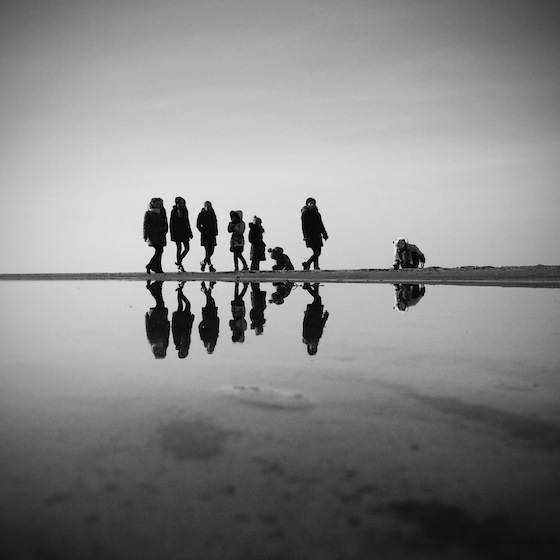
People are amazing subjects for reflection photography, especially if you combine reflections with silhouettes as I’ve done in the photo above. Of course, you could also use animals, buildings or other inanimate subjects. In fact, you can use pretty much anything as your subject as long as it stands out and creates an interesting photo.
3. Mix Reality and Reflection
When you start taking reflection photos, it can be tempting to focus on nothing but the reflection. However, your reflection photos should always show a healthy mix of reflection and reality.
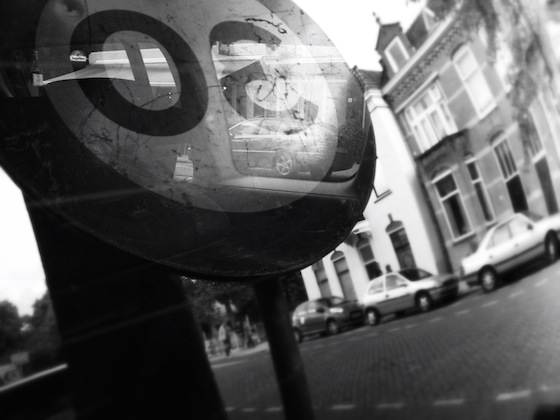
This photo shows a reflection in the back window of a car. Would you even realize it’s a reflection unless I told you? The strange thing about reflections is that they are not that interesting themselves, but they can really make your photos stand out when you combine reality and reflection in the same photo.

Finally, your reflections don’t necessarily have to be huge. Even a relatively small reflection like the one in the photo above can be an interesting addition to your composition.
4. Eliminate Distractions
I really believe in simplicity, so I try to do whatever I can to simplify my iPhone photos. The best way to simplify reflection photos is to remove any distractions from the frame so that only the important parts of the image – namely the subject and it’s reflection – are left.
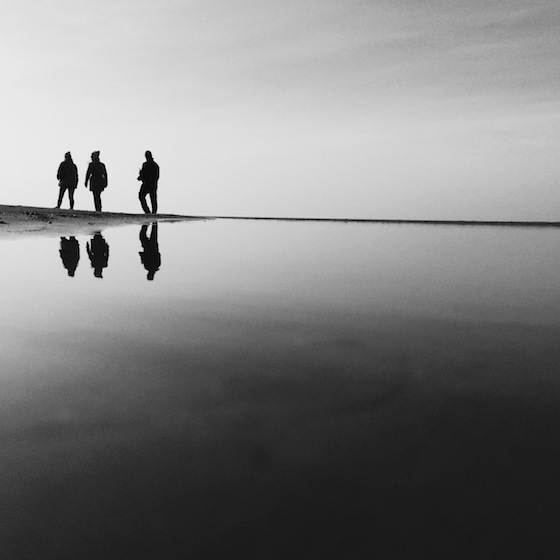
There is something pure and magical about eliminating everything but your subject and it’s reflection from the frame. This is more easily done on the beach or next to large bodies of water, so keep that in mind on your next trip to the beach.
5. Get Close to the Surface
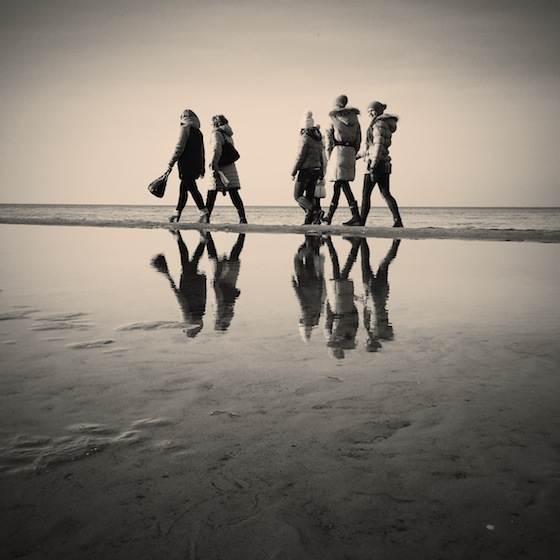
One of the best things that you can do to really make your reflections photos stand out – and something that often cannot be done with a DSLR – is getting really close to the reflective surface. In fact, many of the photos you see on this page were taken less than an inch from the surface of water.
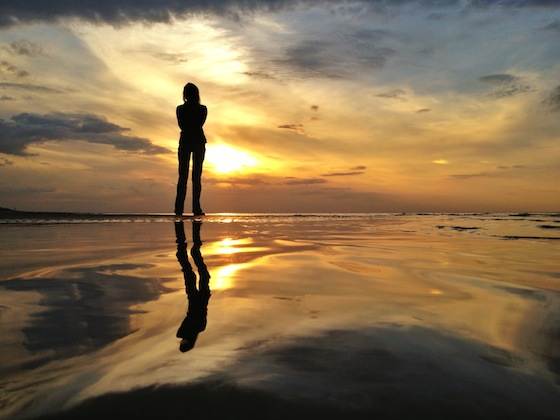
This allows you to position your subject with nothing but the sky in the background (great for removing distractions), put emphasis on the reflection and create a symmetrical photo where the reflection extends towards the horizon. And if there are small waves in the water, they will create unpredictable distortions in the reflection.
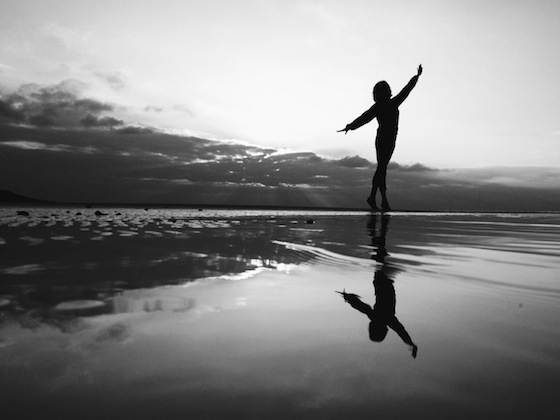
Focus is the one thing you should watch out for when you place your iPhone close to the surface. By default the iPhone sets focus somewhere in the middle of the photo, so if you use this technique the autofocus might often fail you. You’ll get more consistent results if you use a dedicated camera app like Camera+ to move the focus point out of the reflection.
6. Use Waves for Distortions
Your reflections don’t need to be perfect like a mirror. In fact, reflections become so much more interesting when they are unpredictably distorted by waves. The photos in the previous section were greatly enhanced by tiny waves in the otherwise calm see. But what if there are no waves?
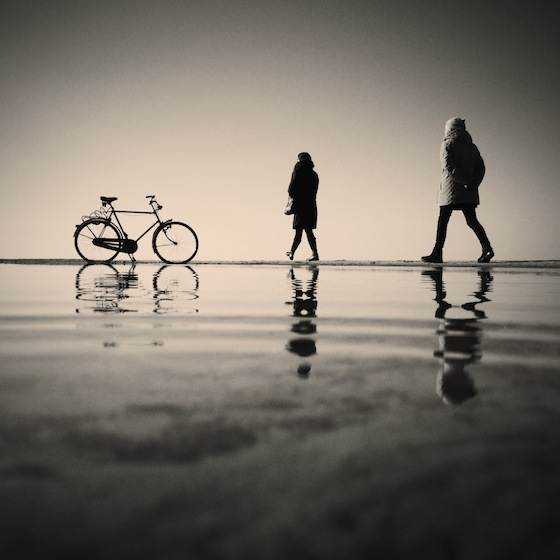
This photo was taken in a tiny puddle on the beach where there were no waves, so I created the waves myself. Just before taking the photo I splashed my hands into the water a few times to create the circular waves that you can see in the middle of the photo. If putting your hands in a puddle doesn’t sound like a good idea, you can also create waves with your feet or by throwing a small pebble into the water.
7. Photograph Imperfect Surfaces
While there’s a time and place for beautiful mirror-like reflections, distortions and imperfections in the reflected image can often be just as interesting. Besides waves, you can also use uneven surfaces to add a unique character to your photos.
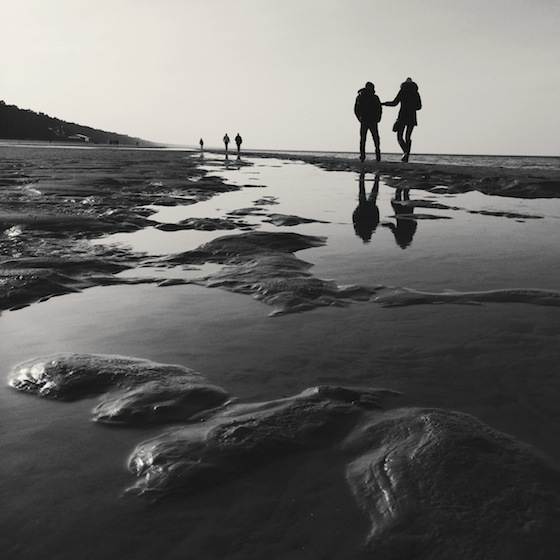
Here I combined the reflection of people with sand structures in the foreground, which makes this photo more unique and shows the viewer what’s actually going on in the scene. It also adds a new dimension to the photo so that it’s interesting not only in the background, but also in the foreground.
8. Emphasize Symmetry
Symmetry is one of the most powerful tools in reflection photography. After all, most reflection photos show some degree of symmetry, and you can easily emphasize it to create a visually dramatic effect.
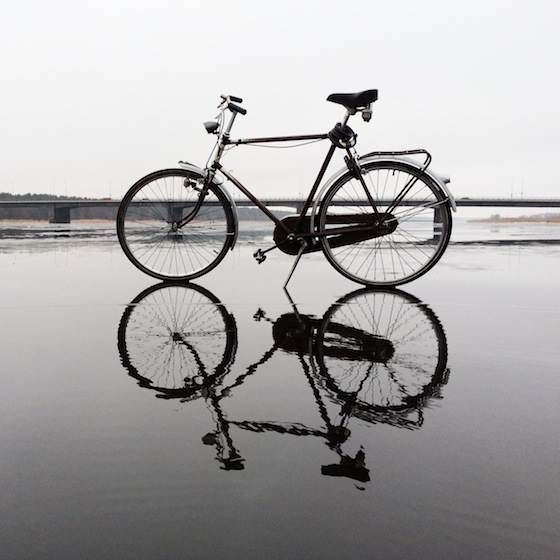
If you take a close look at the photos on this page, you’ll notice that the reflected and non-reflected parts are often divided exactly in half, which further emphasizes the inherent symmetry of reflection photos.
9. Take Long Exposure Photos
When there is movement in the water but your reflection subjects are not moving, you can take amazing long exposure photos. For that you need an iPhone tripod and an app called Slow Shutter Cam, which you should set to Motion Blur mode and experiment with all the other settings.
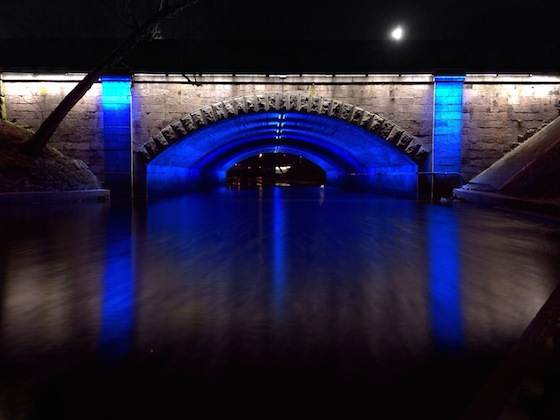
Long exposure photography allows you to create blurred and dreamy reflections as long as there is some movement in the water. Check out my landscape photography tutorial for more tips on doing long exposure with the iPhone.

10. Take Hundreds of Photos
Taking many photos is the one thing that can make a huge difference in your reflection photography. But I’m not talking about five or ten photos. I’m talking about hundreds. In reflection photography there are so many things that are out of your control that the best thing you can do is take hundreds of photos and select the best ones afterward.
How could you possibly control the posture of your subjects, their alignment in the scene, and possible distortions on the surface of water? But once you let go of your desire to control the scene and take as many photos as you can, occasionally your subjects will align themselves just right for that once-in-a-lifetime photo opportunity.


Love this. Great post Emil!
Thank you David!
I absolutely love reflections they are fun to photograph. Your posts are always insigthful.
Thank you Patrick! Reflections are super fun!
If you like reflection photography, you should definitely participate in #IPSReflections photo contest on Instagram. You can find the contest rules at the bottom of this post: http://iphonephotographyschool.com/portrait-contest/
Very interesting, I’ll definitely keep an eye (and the camera) on the reflections around me. good job
Thank you Marlon. Good luck!
Another great tutorial, Emil. I will definitely start keeping an eye out for reflections. Your pictures are beautiful!
Thank you! Let me know how it goes.
great post and photos as always Emil!
Thank you Stefano!
Another great tutorial and very nice pictures. I look forward to your email very week. I have learned so much about photography, especially iphoneography
thanks
Mike
Thank you Mike, I’m so happy to hear that!
Great tips Emil, these images are awesome can’t believe all that I’m learning from you site. Thanks!
Thank you Jeff! The most important thing is that you implement what you learn, so pay a close attention to reflections the next time you take photos. Good luck!
Very good post, since I discovered your blog, I have been very motivated to follow all the tips your share here, thanks for sharing them Emil!
Thank you Juan, I’m so happy you’ve enjoyed my blog!
Really inspiring stuff Emil. Thanks for the great tips.
I’ve been seeing a lot of reflection photos in my Instagram, and have been wanting to take some myself. Now that I’m looking for it, I see reflective surfaces everywhere! Looking forward to capturing some cool reflective photos!
thank you Emil! It was a great Tutorial! 🙂
hi im Cameron tipple, really don’t like these
Fantastic pictures all round. Really liked the bicycle reflections especially.
Glad you enjoyed the pictures in this article Dave. Reflections are one of my favorite photography subjects 🙂
Please suggest apps which suits for 7.1,as camera+ only suitable for8 only
Excellent tips! Thanks.
Glad you find the tips helpful, Joyous! 🙂
Love the posts! Thank you.
You’re most welcome, Kasey! I’m happy that you enjoyed the article. 🙂
Most people don’t even think of taking more than one or two pictures of anything. I’ve asked people to take pictures of me or me and my (kids, dog, friend, partner, etc.), check the phone later and see 1 or 2 non-interesting, totally forgettable snaps. I feel like one of the fussier people on the planet when I feel sad about it (get out of my head, Mom! I can ask for decent pictures of me!) but that’s the reality of knowing how to use the phone better than other people. Taking hundreds in any kind of setting is helpful.
LOL about your Mom comment. My wife frequently has the same thoughts. 🙂
So wonderful-thanks!
Glad you enjoyed this Thom 🙂
Thanks for pointing me to these tips Emil (even if this post was from a couple of years ago ;)). It helped to reinforce what you had in your original “iPhone Academy” course. Also, thank you for enabling those of us who purchased that course to get access to your updated version…you truly understand the concept of ‘life-time’ customer value. I’m planning to sign up for your editing course when it becomes available again.
So glad to hear you found this tutorial helpful, and hope you’re enjoying the updated course 🙂
Great post!!! I love it!! It helped me a lot!!!
I talked to my friend about it and she is enthusiastic
So glad to hear this helped you Nives! 🙂
my version
Great shot Lemuel! Shooting from a low angle really helps with capturing silhouettes and shadows 🙂
Great post. Gave me specific ideas….
Awesome, really pleased to hear that Barbara.
I have an older I-Phone 4-S & don’t do anything but E-Mail & Text. How do you put words in the back ground of your photos?
Hi Paula. The free Snapseed app allows you to add text to your photos, and it’s a great photo editor too.
Awesome pictures!!!
Glad you like then Ravi! 🙂
hihihi!!!
Very inspiring.
Reflections are fun and sometimes very intriguing. You have given me some additional ideas. Thanks!