Are you looking for a way to spice up your ordinary iPhone landscape photos? If so, this tutorial will show you how to turn a dull landscape picture that you’d never normally share into a beautiful piece of art. In this step-by-step workflow you’ll learn how to use a number of apps to create this beautiful painterly-style landscape, complete with added trees and birds. You won’t believe what the original image looked like… Read on to find out!
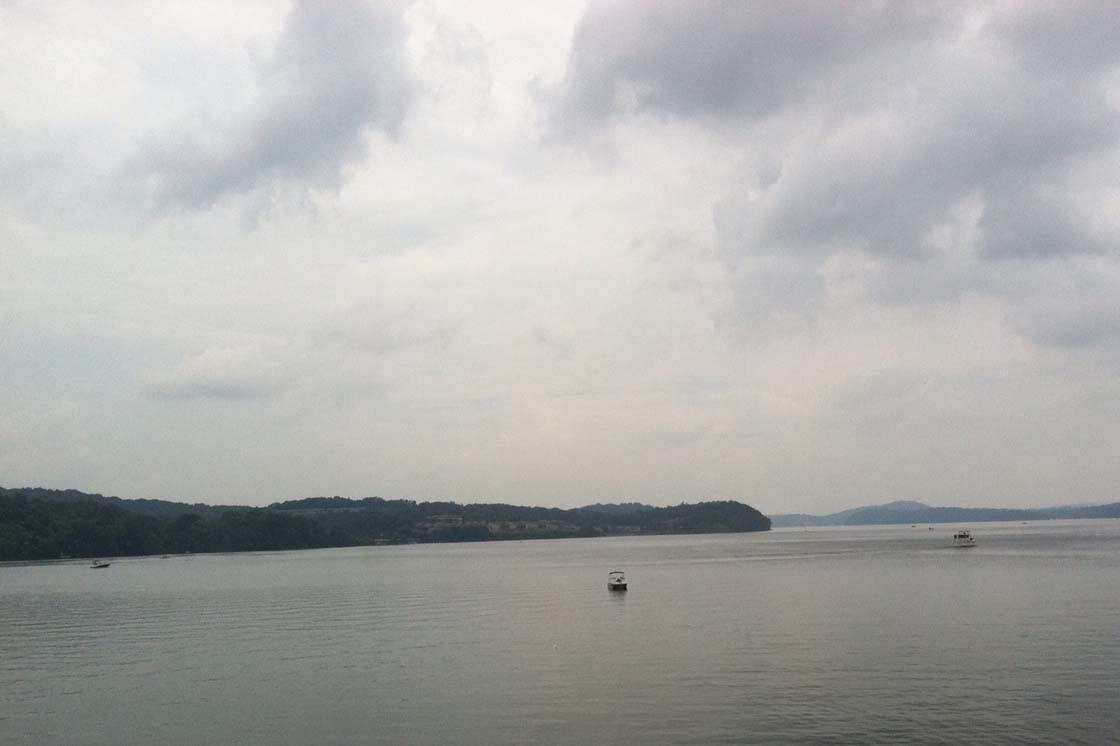
The original photo (shown below) was taken while riding in a car. As we crossed a bridge, I took a photo of this river from the open car window.
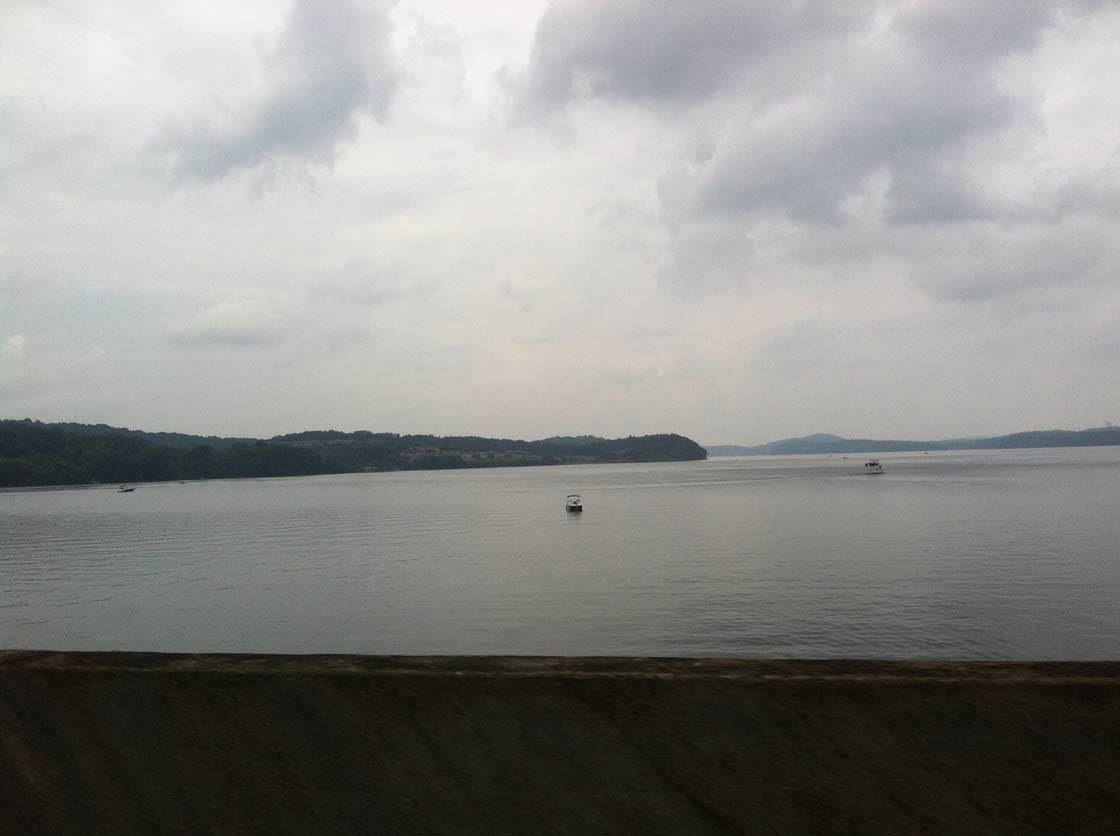
The photo doesn’t look that special, but I knew it had potential and would make a good starting point for creating a painterly style landscape photo.
If you’d like to follow along with this step-by-step tutorial, click here to download the original image. Alternatively you could use one of your own landscape photos.
Now I’ll take you through the step-by-step process to create this beautiful painterly landscape photo, complete with added trees and birds!

Step 1: Crop Photo
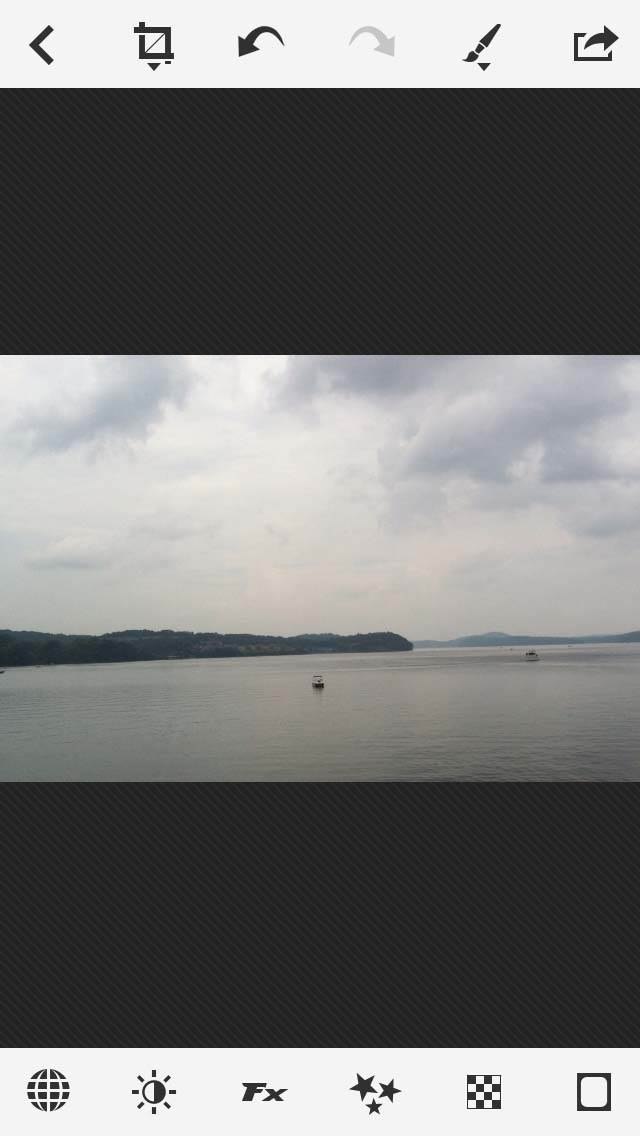
The first step is to crop the image to remove the dark area from the bottom of the scene. You could use any editing app to perform the crop, but I chose to use PhotoToaster because that’s what we’re going to be using in the next step to enhance the image.
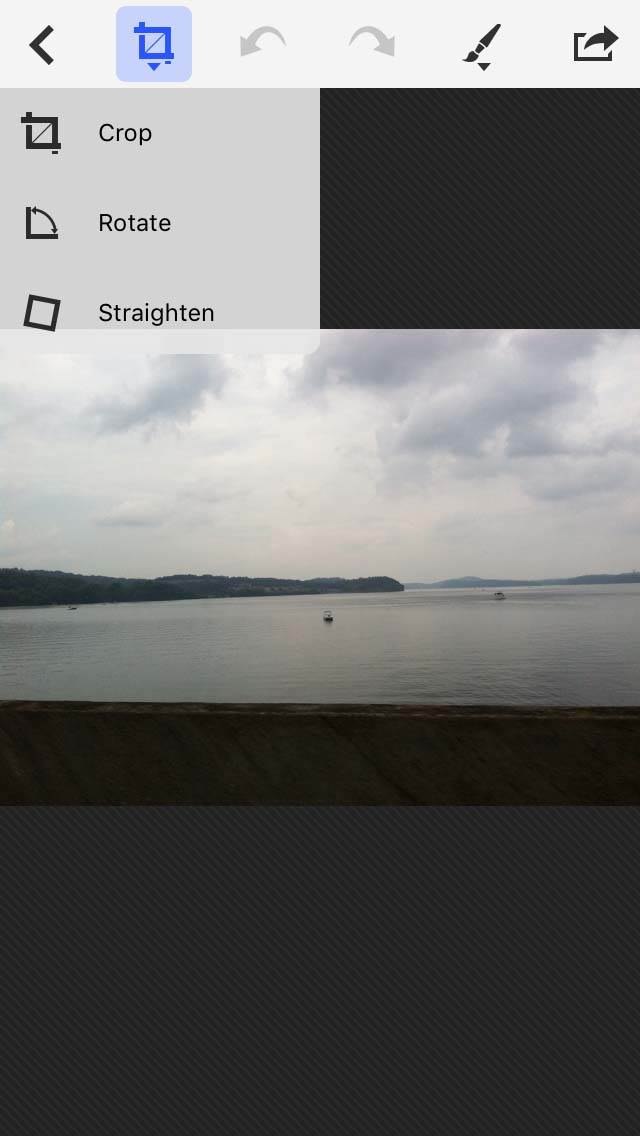
Once you’ve opened the image in PhotoToaster, select the Cropping tool and choose Crop from the menu.
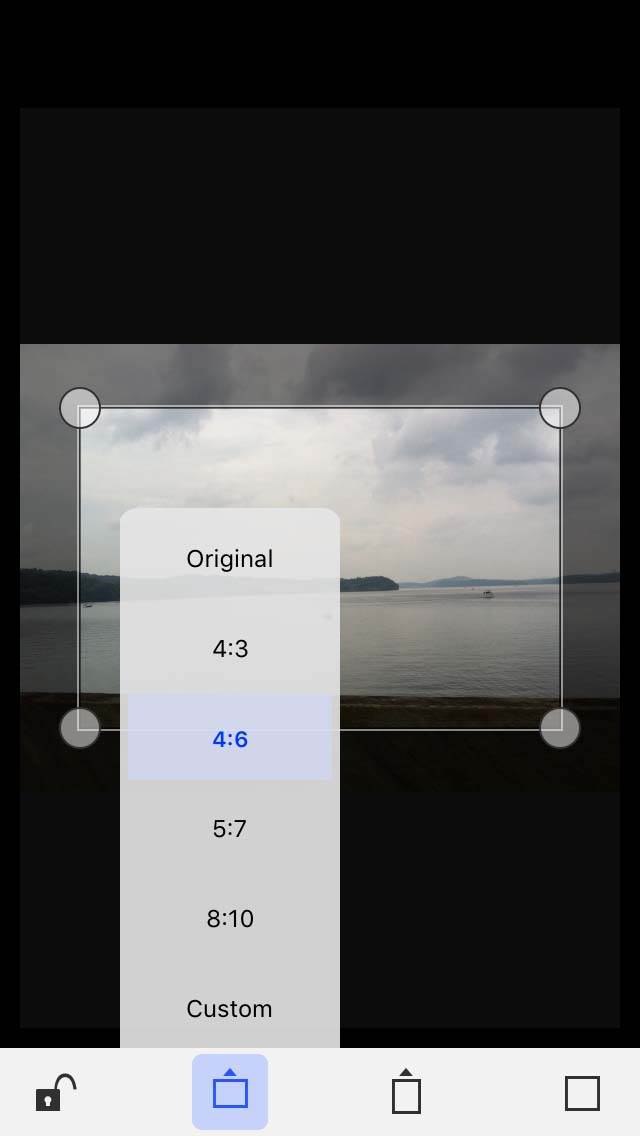
Select the Horizontal mode from the options at the bottom of the screen, then choose the 4:6 aspect ratio. Keep the central boat roughly in the lower middle portion of the frame.
Your cropped image should look similar to this:
Step 2: Enhance Photo With A Filter
While the photo is still open in PhotoToaster, you’re going to add a filter to enhance the colors in the image. Tap on the globe icon in the lower left corner to access the filter options.
A pop-up wheel will appear with four preset sections: My Presets, Basic, Deluxe and Supreme. Each time you tap on the wheel a different section will appear.
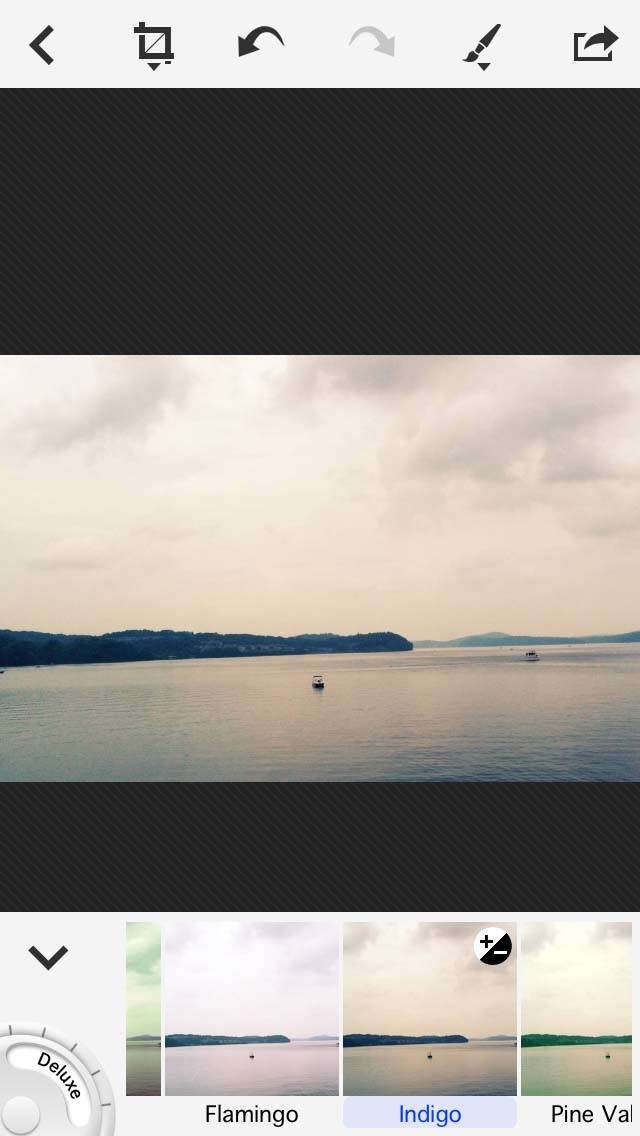
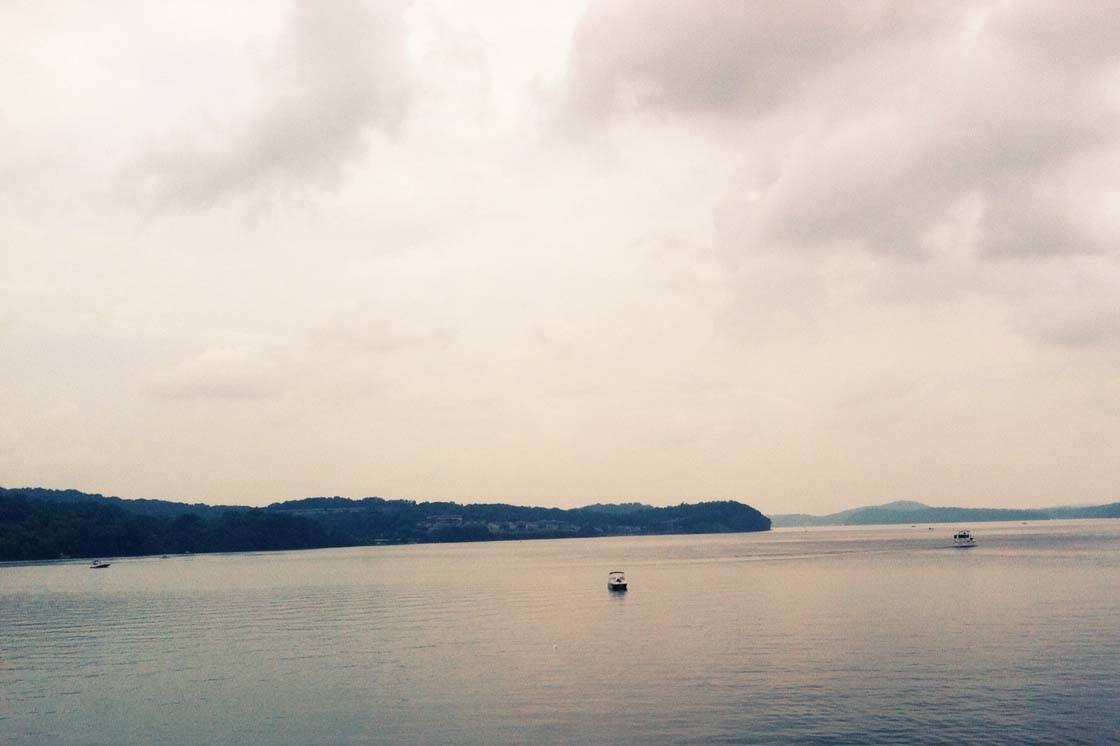
Choose Deluxe section on the wheel, then swipe across the filter icons and select the Indigo filter. This warms up the colors in the photo, making it look more like it was shot during the golden hour of sunrise or sunset.
Now, you’re ready to save the photo. Tap the Save icon at the top right of the screen. Your cropped and filtered photo should look like this:
Step 3 (Optional): Create an ARTREE
To add some extra foreground interest to my landscape photo, I decided to add some trees. A simple way to do this is to use the ARTREE app which automatically generates beautiful tree images that you can use in your pictures.
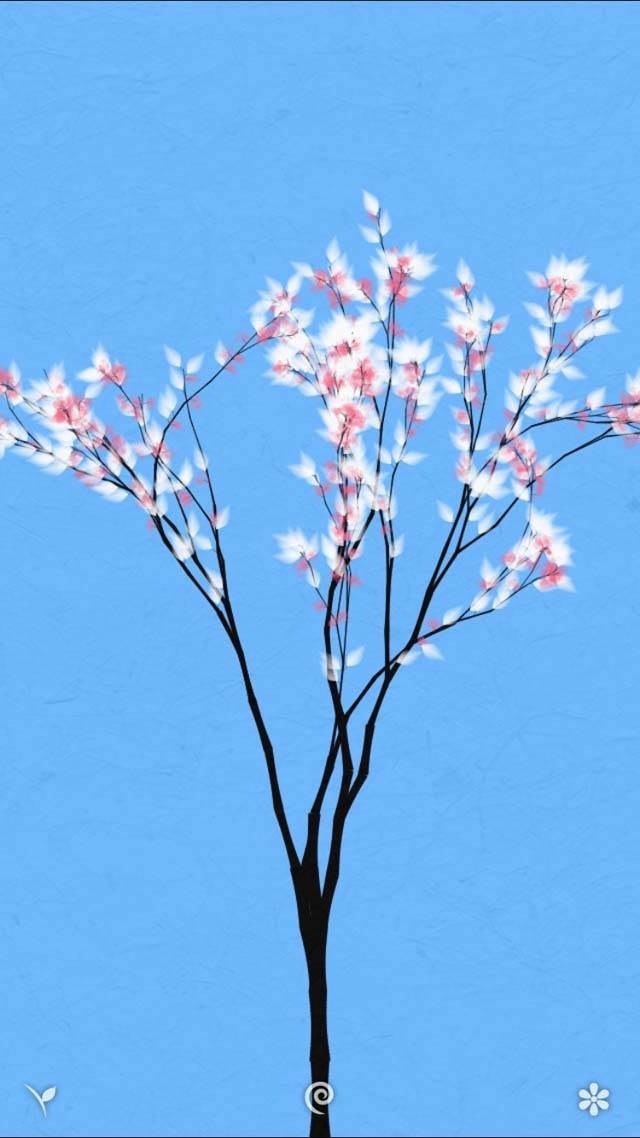
The app’s algorithm creates a unique tree each time you use it. When you hold the iPhone in portrait orientation, a single tree grows. In landscape orientation, a forest grows. For this project, use landscape mode so that you end up with several trees in your photo.
You can select the background color and texture as well as the size, color and shape of the tree node, flower and leaf. To do this, access the settings by tapping on the leaf icon in the bottom left corner.
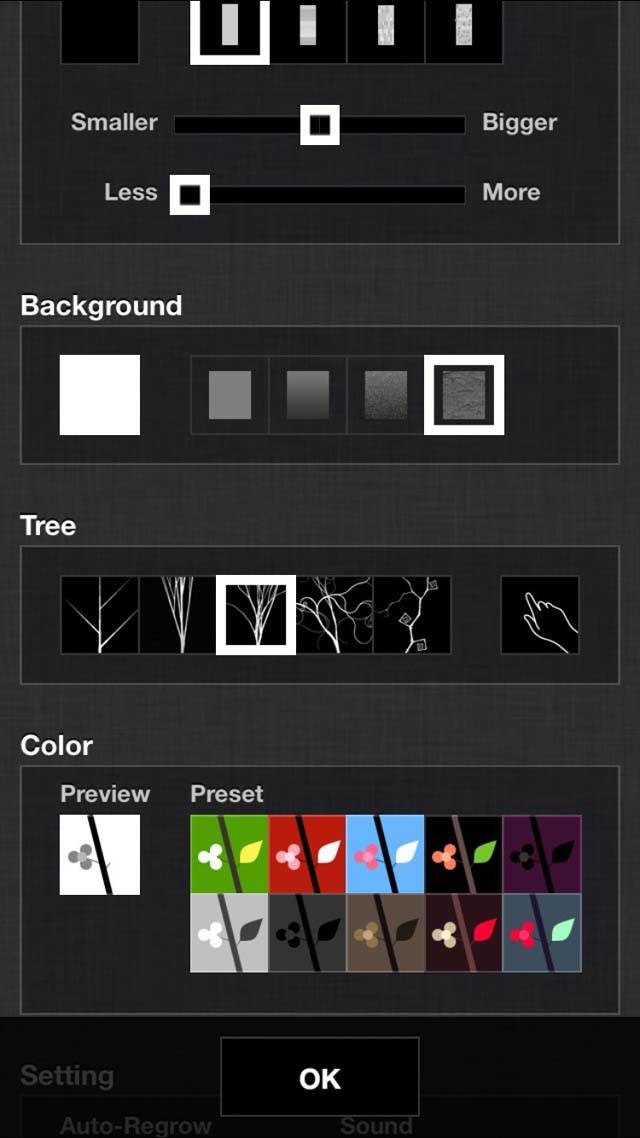
In the screenshot above, you can see my selection for the background, tree type and color. You can use these settings to make your trees larger, smaller, and with many or no leaves and flowers. Make sure you tap OK when you’ve chosen your settings.
Once your settings are in place, tap the center spiral icon at the bottom of the screen to automatically generate your tree landscape. If you don’t like the image, tap the spiral icon again to redraw. You can always stop the process by tapping the flower icon in the bottom right corner.
Once you’re happy with the trees that you’ve generated within the app, tap the same flower icon to save the image to your Photos library. If you don’t tap to save the image, your ARTREE will fade away and a new one will emerge.
Below is the ARTREE image that I used for this project. If you want to use this image, click here to download it. Alternatively use your own trees that you just created in the ARTREE app.
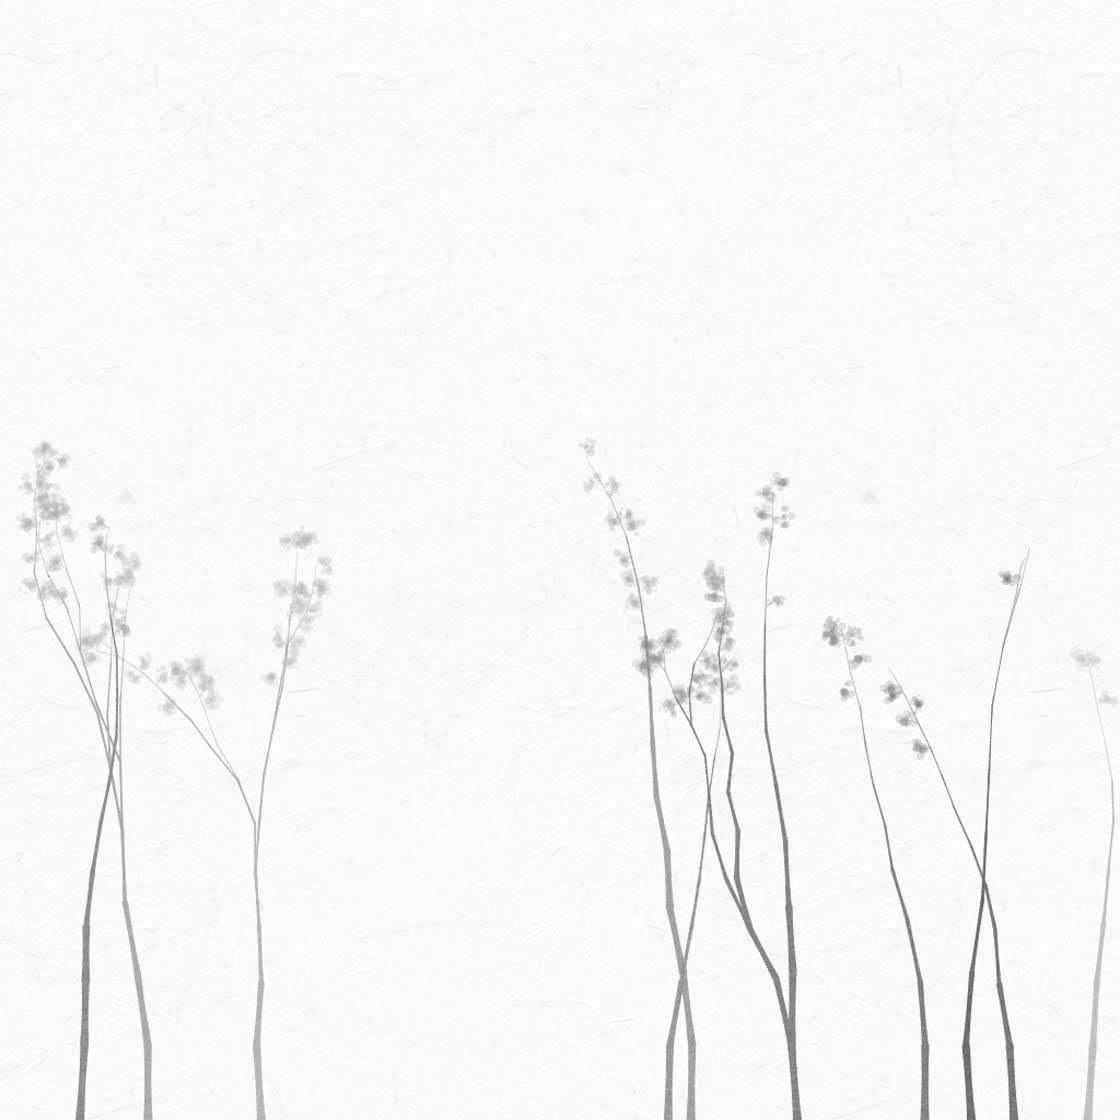
Since there’s no control over where or how the trees grow, advanced iPhone photographers may wish to use an editing app like TouchRetouch to remove any unwanted trees in order to leave space for the boats on the river.
Step 4: Superimpose The Trees Over The Landscape
Now, you’re going to superimpose the ARTREE image over the landscape photo that you enhanced in PhotoToaster. You’ll be using the Superimpose app for this process.
This app requires you to use two photos: a background photo and a foreground photo, which are then merged together. The PhotoToaster edit will be your background photo and the ARTREE will be the foreground image.
After opening Superimpose, tap on the first icon at the top left. Tap Photos in the Import Background section to access your Camera Roll, then select the landscape picture that you edited in PhotoToaster. Tap Choose to import the photo.
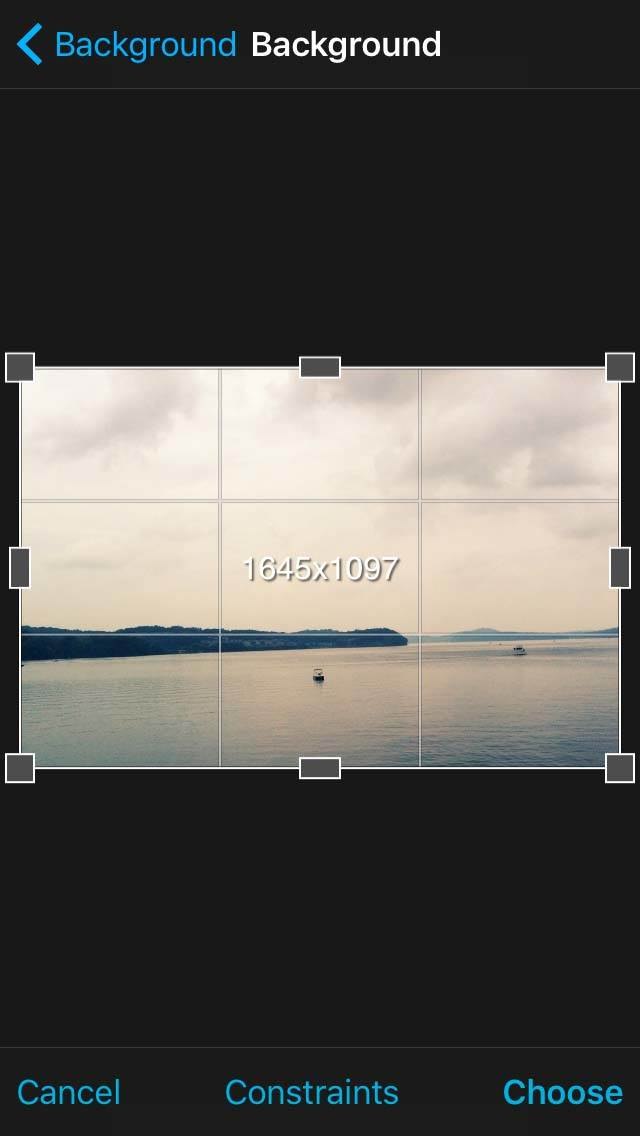
To import the foreground photo (the trees), tap the top left icon again, then tap Photos in the Import Foreground section. Select the trees image that you either created in the ARTREE app or downloaded using the link in Step 3.
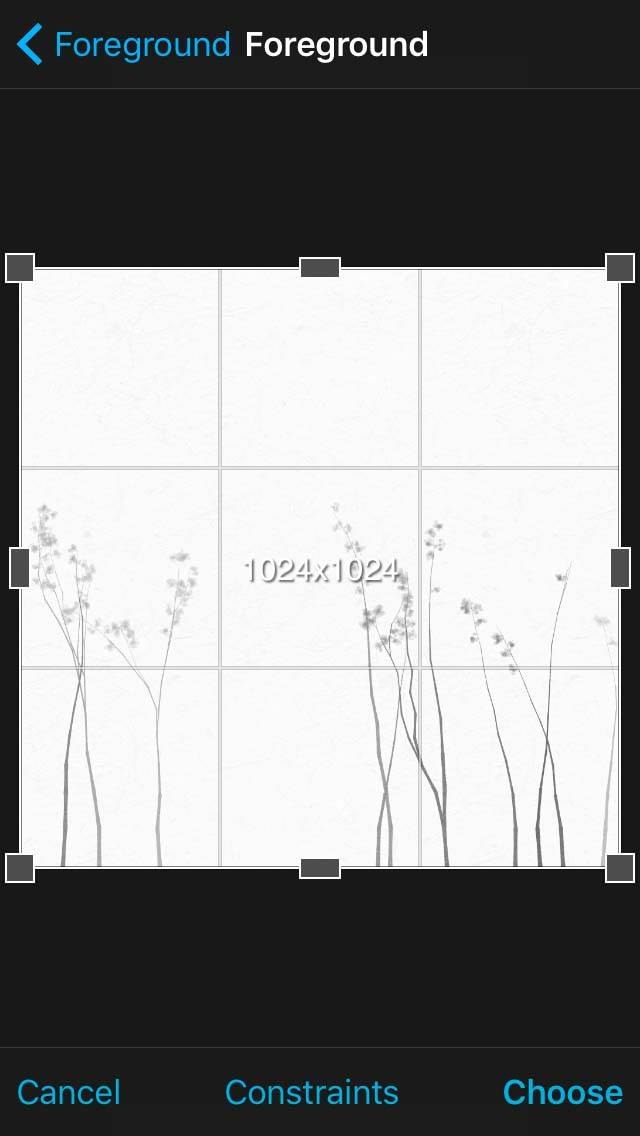
You now need to make the trees image fit properly over the landscape. Tap the Transform tool at the bottom of the screen, then alter the size and placement of the ARTREE photo – do this by pinching, stretching, or dragging with your fingers.
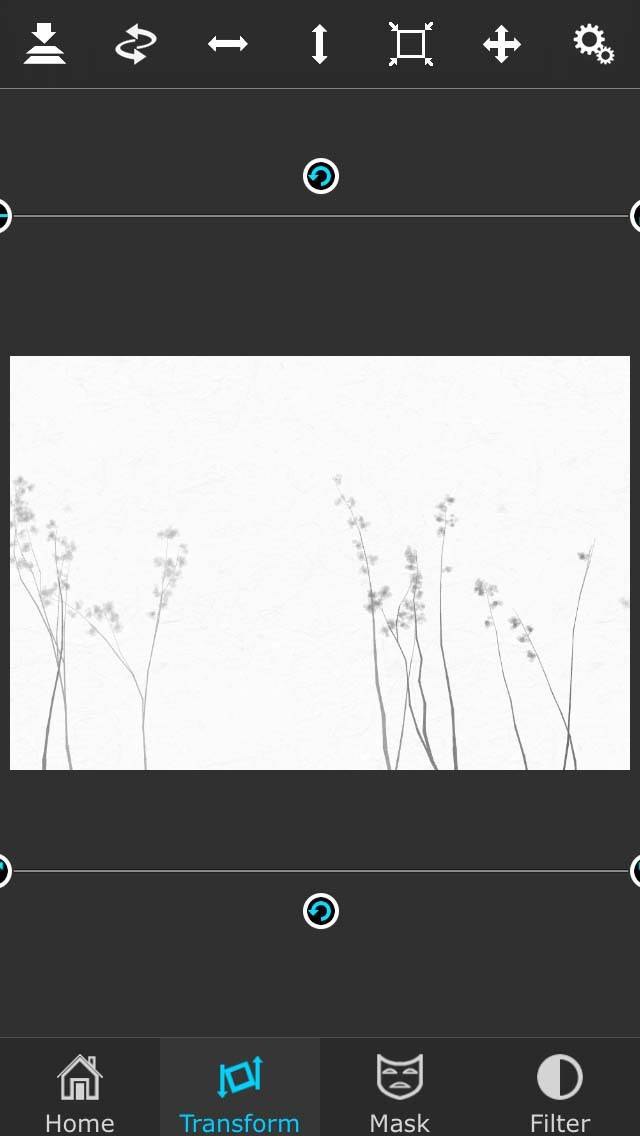
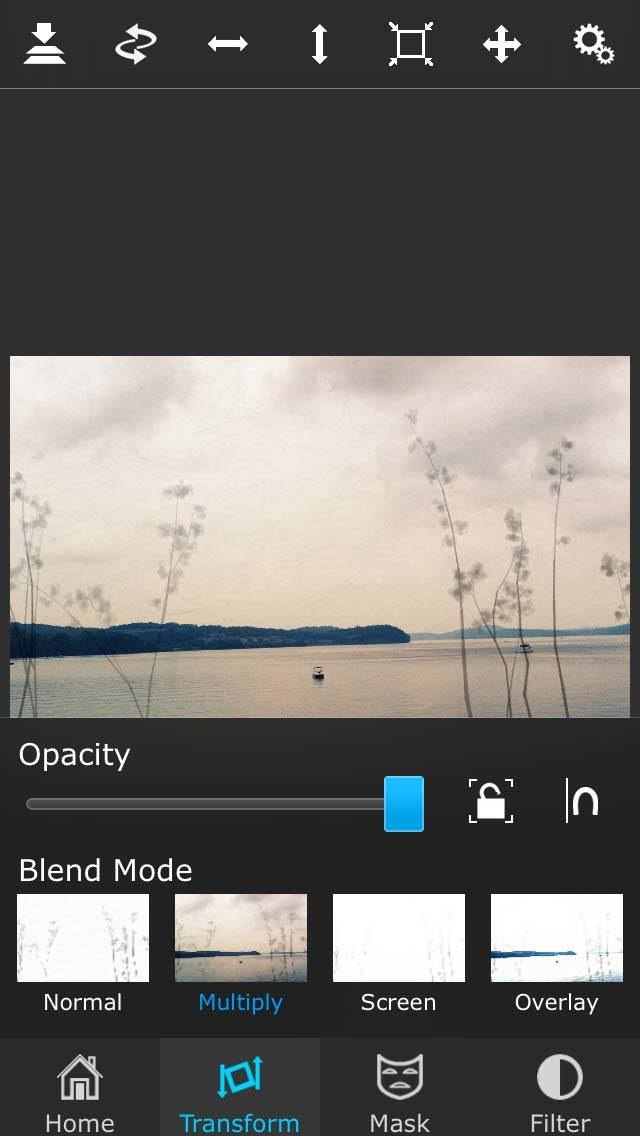
To make the white parts of the tree image transparent, tap the Settings icon at the top right of the Transform screen, then change the Blend Mode to Multiply.
Tap the Settings icon again to return to the photo, then make any final adjustments to the size and position of the trees if you wish.
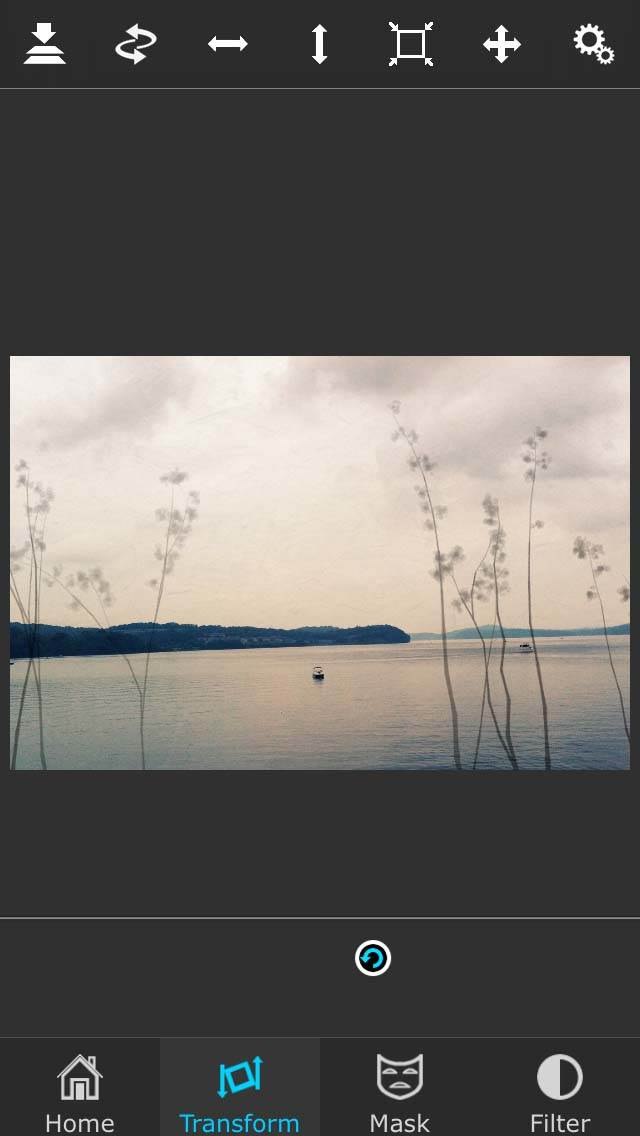
Once you have the foreground ARTREE placed where you want it, you need to save this composite image. Tap Home at the bottom of the screen, then tap the second icon at the top of the screen. Select Photos in the Export Destination section to save the image to your Photos library.
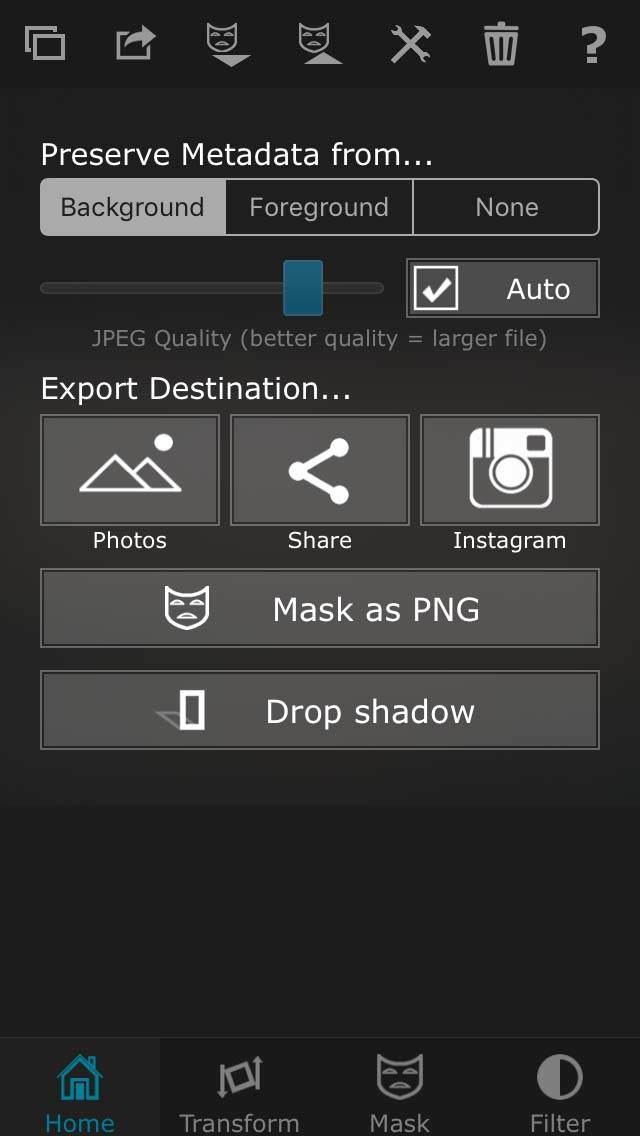
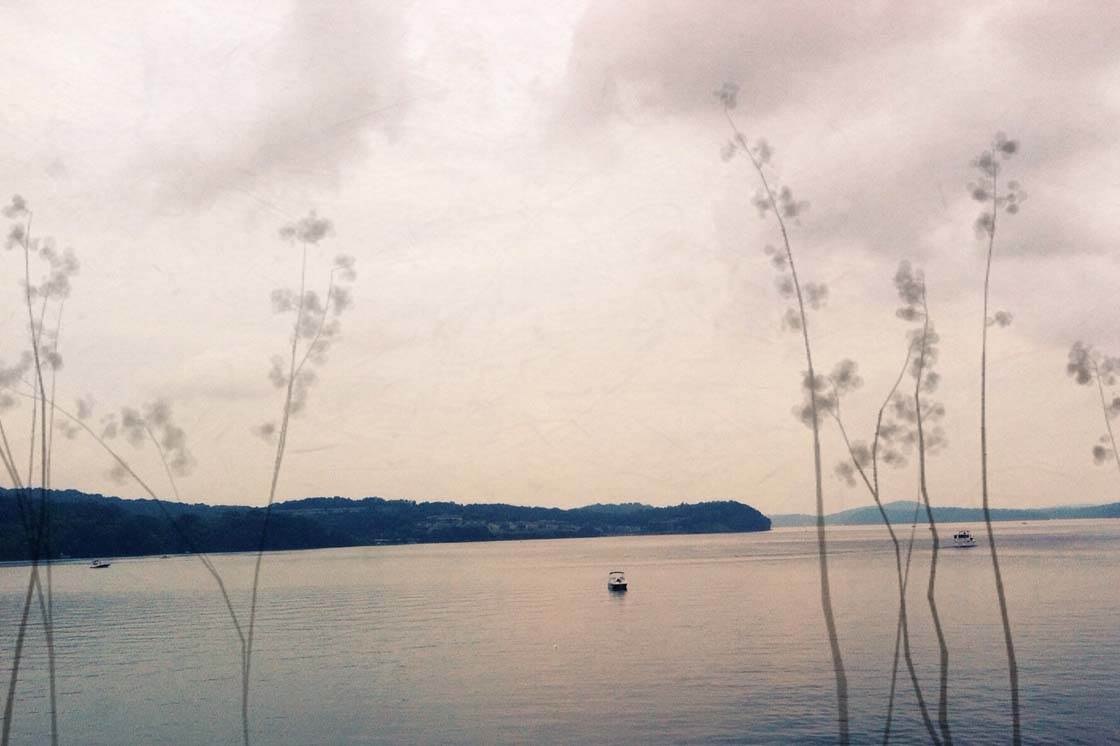
Below you can see what your image should look like now. At the end of this project you’re going to need to use this image again.
To make it easier to find, it would be a good idea to add it to your Favorites in the Photos app. Open the Photos app and open this image from your Photos library, then tap the heart icon beneath the photo to add it to your Favorites album.
Step 5: Apply A Paint Effect
In this step, you’re going to use the Brushstroke app to apply a painterly effect to the image. Brushstroke is one of the best painting apps for making a photo look like a painting.
Painting the image helps to integrate the original landscape photo and ARTREE elements. After opening the Brushstroke app, tap the Photos library icon on the left.

Select the composite photo that you just created in Superimpose, then tap the arrow at the top right of the screen.
At the bottom of the screen, swipe across the filter options, then select the S3 filter in the Simple section.
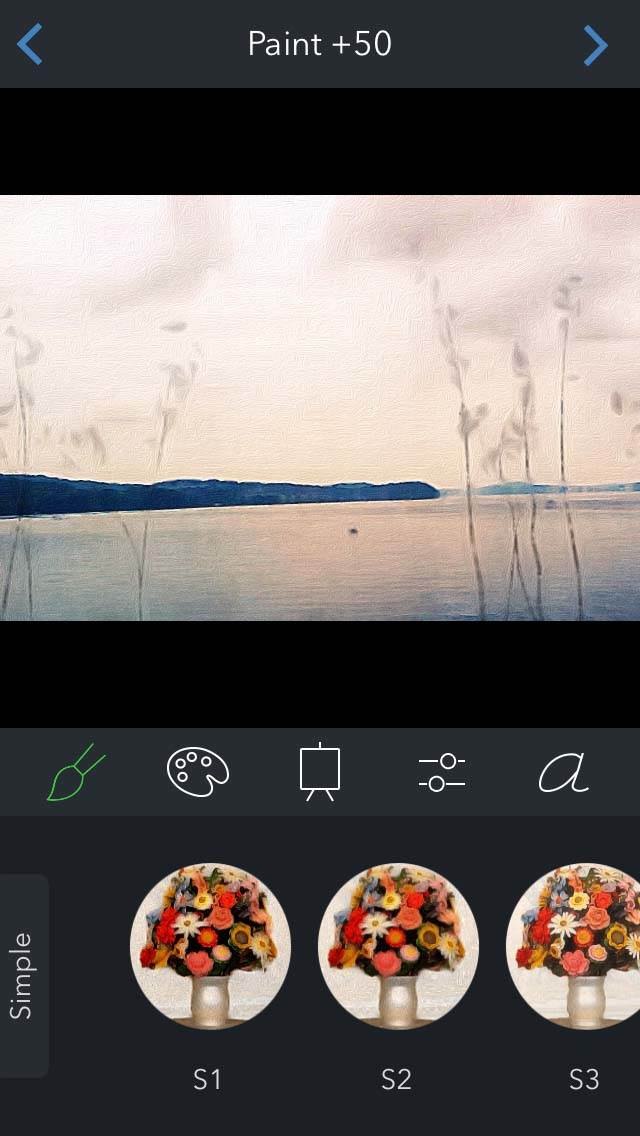
The default Paint setting is +50 but you’re going to move it up to +100. To do this, slide your finger to the right across the photo. You’ll see the slider at the top of the screen increase to +100.

To save the photo, tap the arrow at the top right of the screen, then tap Save.
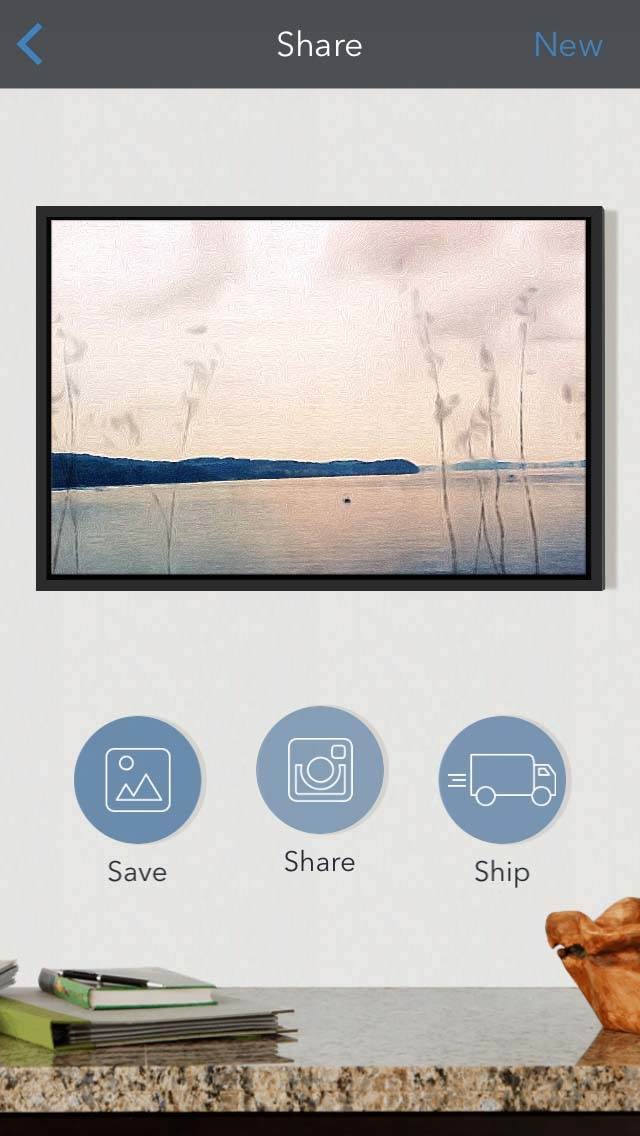
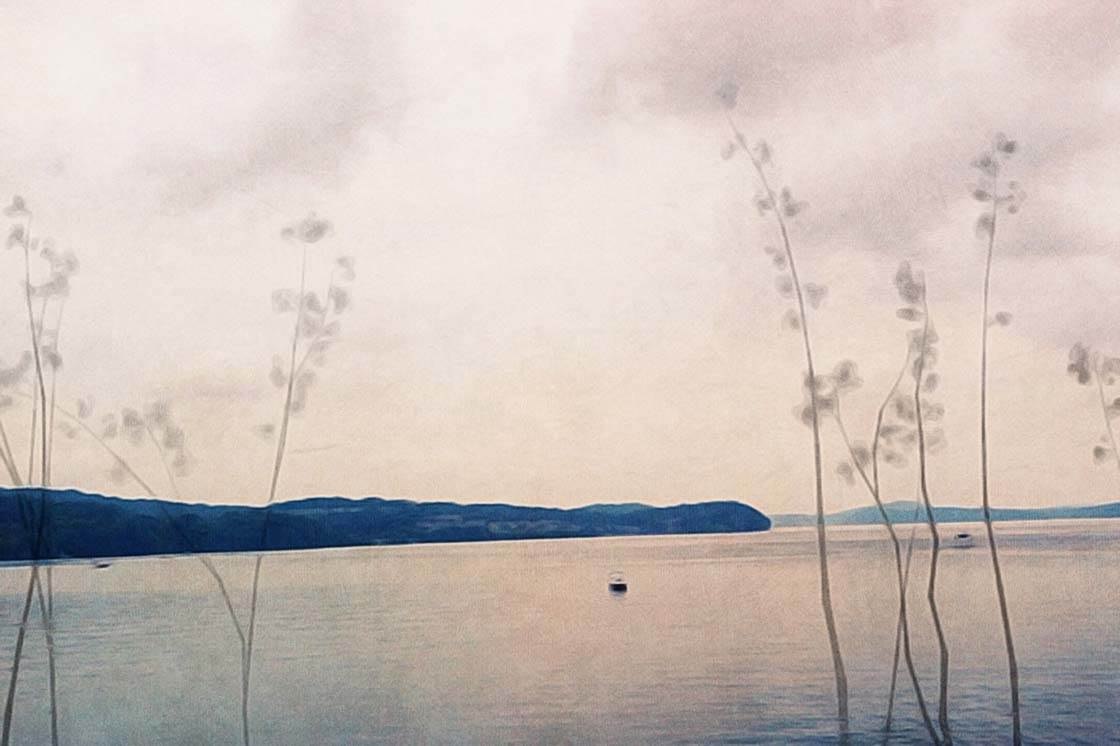
Below is the image after painting it in the Brushstroke app:
Step 6: Add Texture & Birds
Next, you’re going to use the Distressed FX app to add texture to the photo that you just painted. Texture helps to create mood and atmosphere in your image. You’ll also learn how to add flying birds into the sky of your photo.
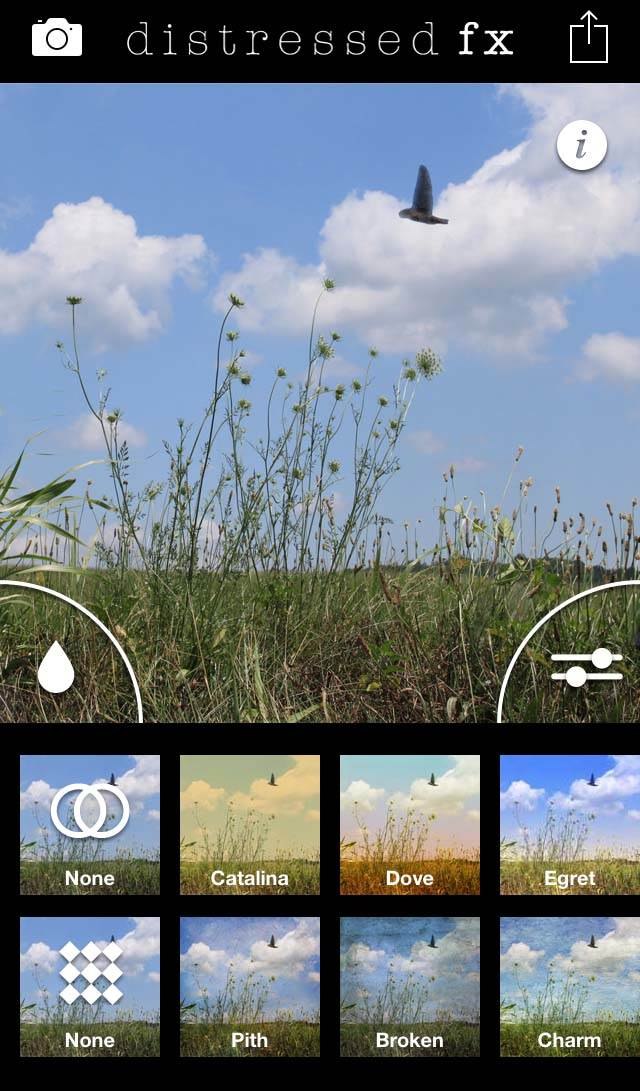
Tap the Camera icon at the top left, then select Choose From Library. Select the painted photo that you just created in the Brushstroke app, then tap Choose.
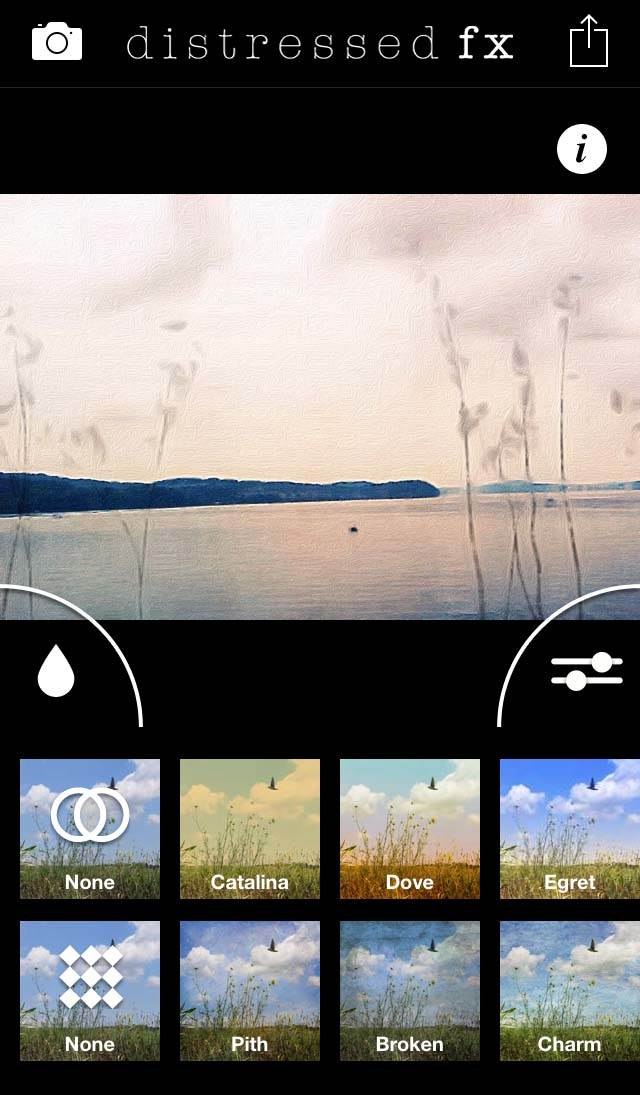
After opening the painted photo, you’ll notice two rows of icons at the bottom of the screen. The top row contains Overlays and the bottom row contains Textures.
Swipe across the icons in the bottom row of textures and select the Charm texture. The screenshot below shows the image with this texture applied.
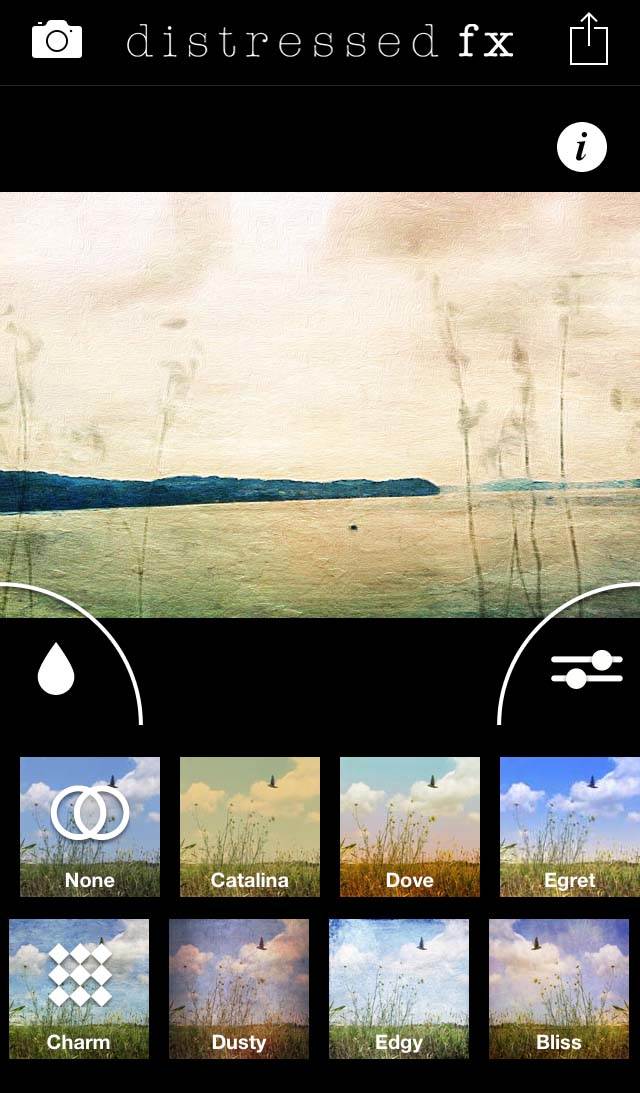
In the top row of icons, swipe across and select the Birds overlay.
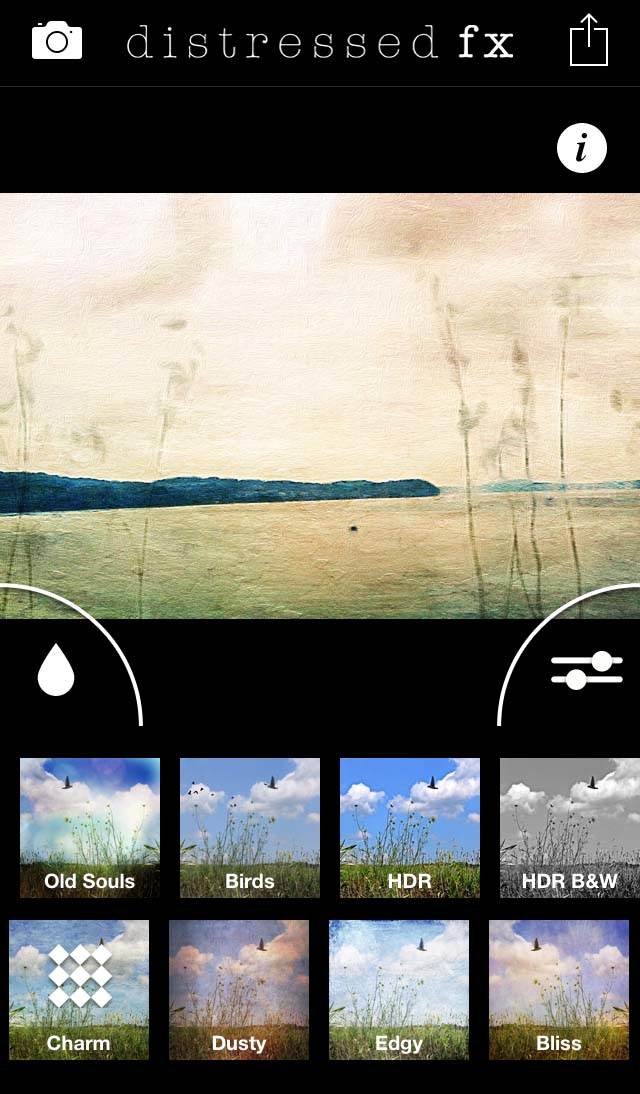
There are many different choices for the Birds overlay, including a single bird or an entire flock of birds flying in different directions.
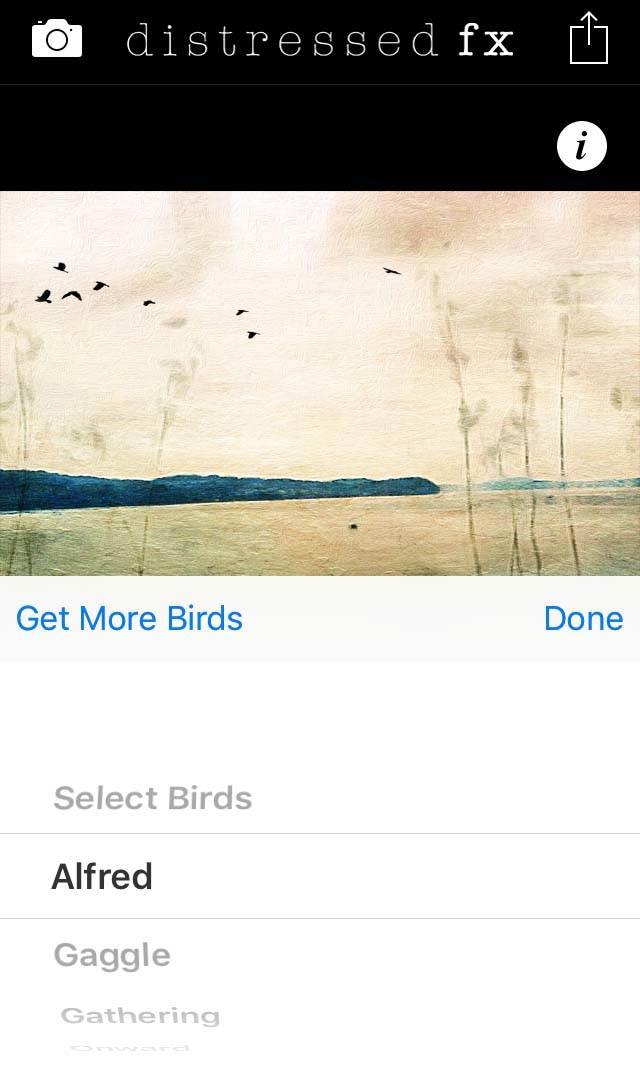
For this project I used the Alfred option. Tap Done when you’ve selected the Birds overlay that you want to use.
To save the photo, tap the icon at the top right of the screen, then tap Save.

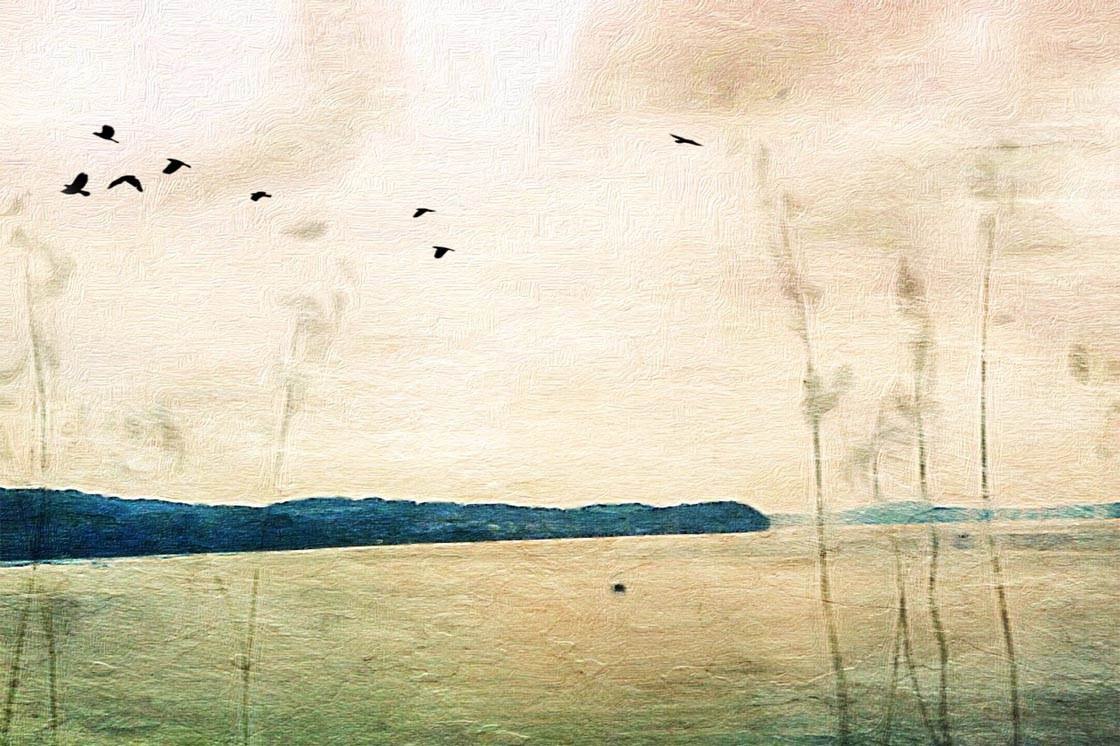
Here’s what your image should be looking like now:
Step 7: Blend Textured & Non-Textured Edits
For the final step in the workflow, you’re going to blend the painted/textured edit that you just created with the non-painted/textured version that you created in Step 4.
This levels out extremes in each photo and the blend often creates wonderful nuances that bring out the best qualities from each edit. You can use the Superimpose app to blend the two images together.
Open Superimpose, then tap the top left icon and select Photos in the Import Background section. Select the textured photo with the birds that you just created in Distressed FX, then tap Choose.
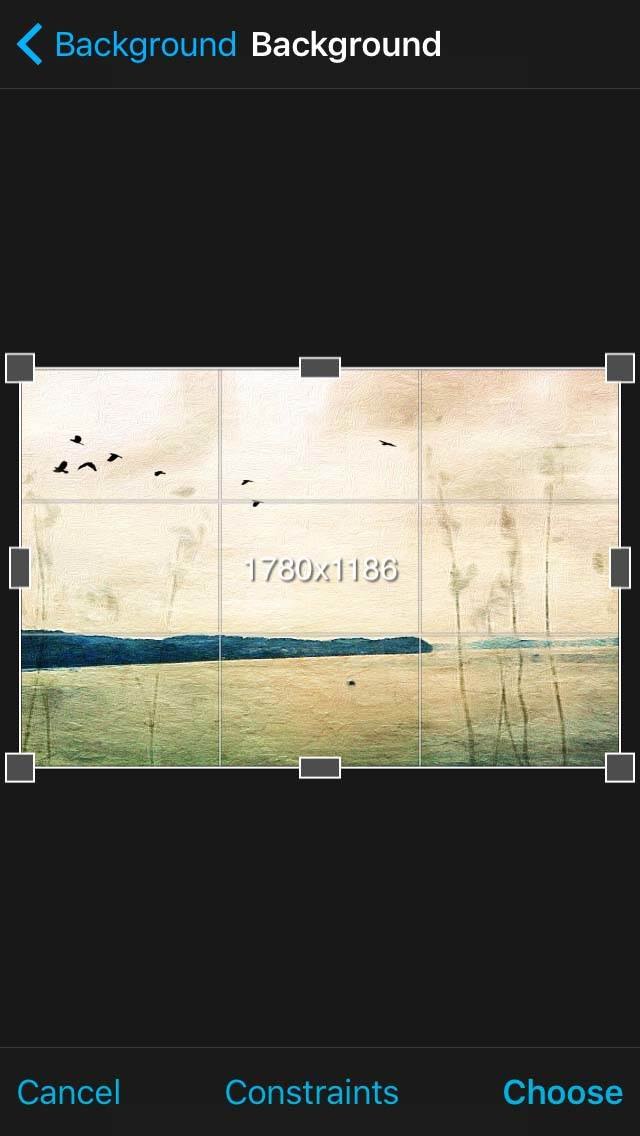
Tap the top left icon again and select Photos in the Import Foreground section. Select the non-textured photo that you created in Step two (the one with the trees superimposed onto the landscape).
If you added this image to your Favorites in Step 4 you can easily find the image in the Favorites album (rather than the All Photos album) when opening it in Superimpose. When you’ve selected the photo, tap Choose.
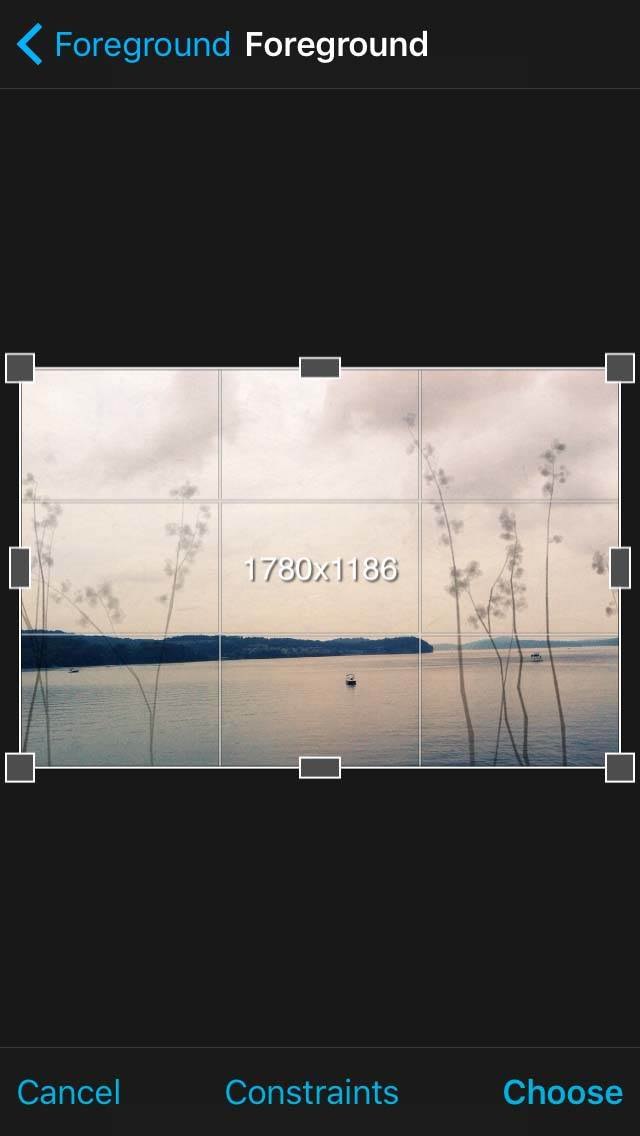
Tap the Transform option at the bottom of the screen, then tap the icon second from the right at the top of the screen to make the foreground image the same size as the background.
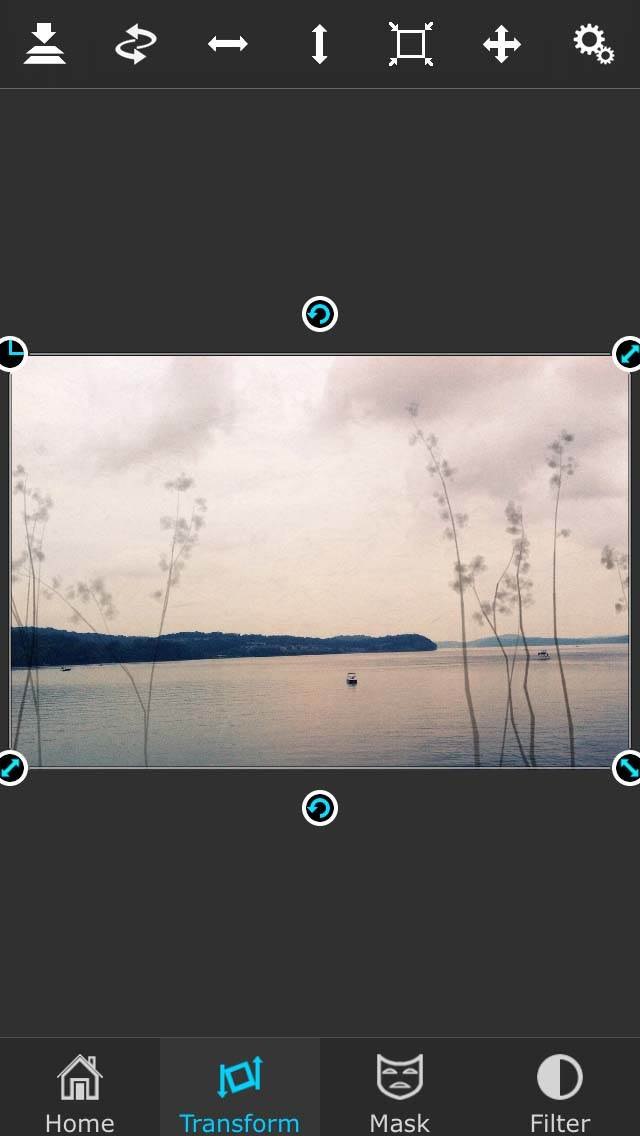
Tap the Settings icon at the top right of the Transform screen, then set the Blend Mode to Multiply.
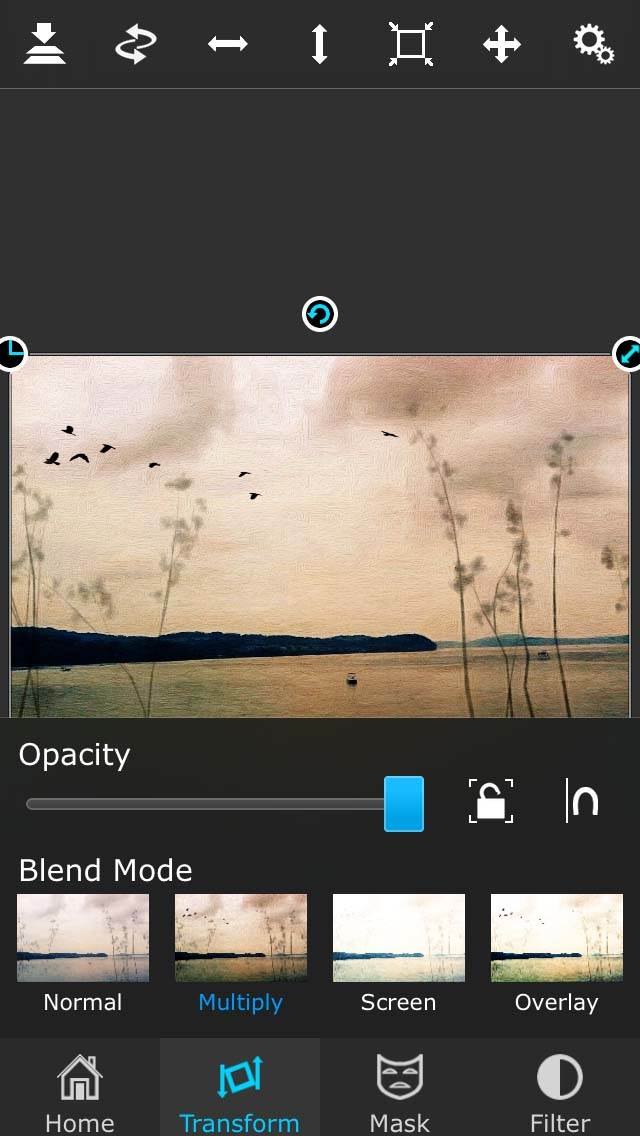
Tap Home at the bottom left, then save the image by tapping the second icon from the left at the top of the screen – tap Photos in the Export Destination section.

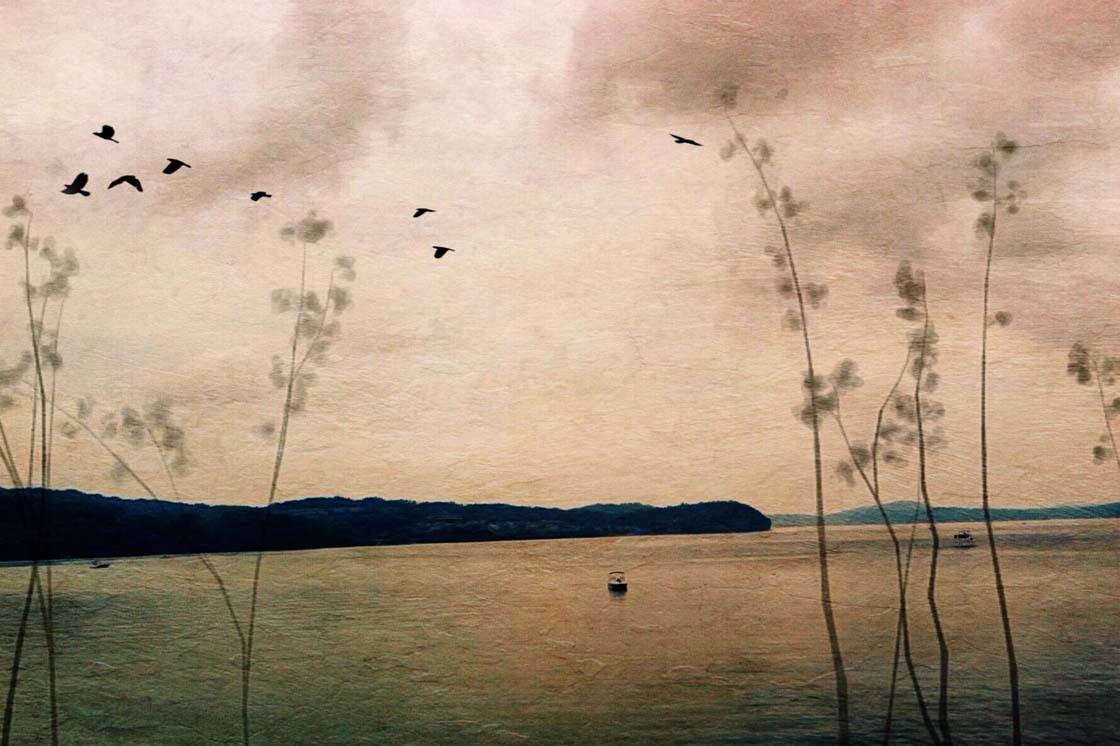
Your final image should look like this:

Or if you skipped the ARTREE step, your image should look like this:
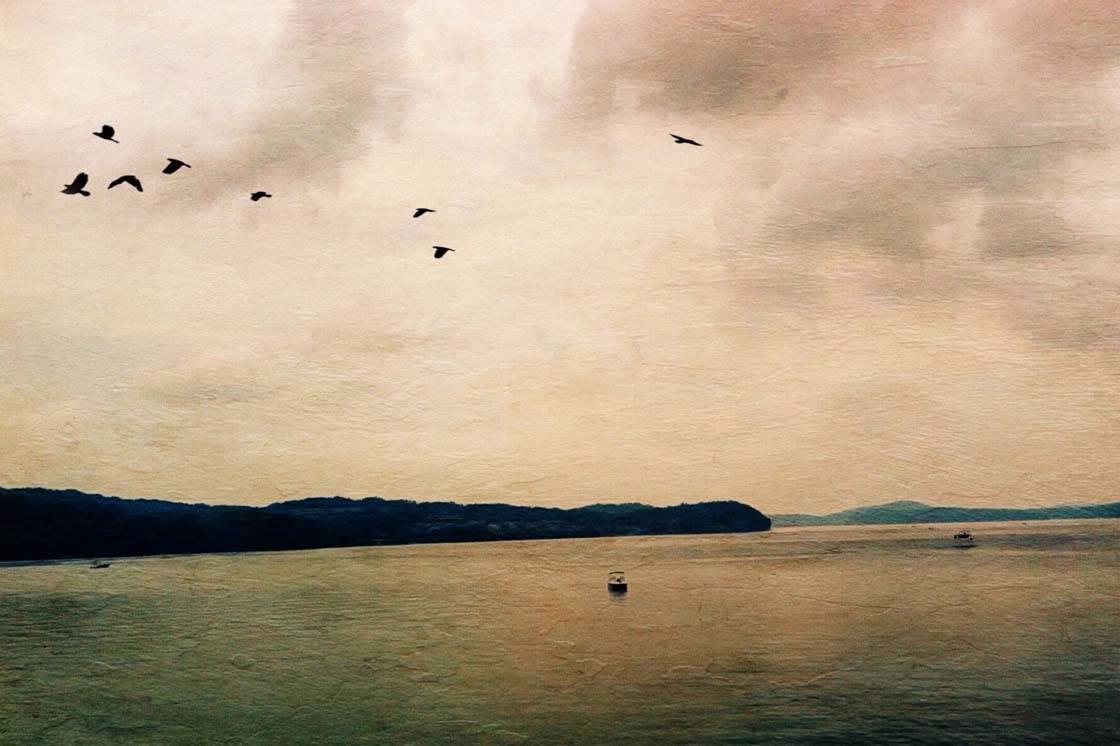
I hope you’ve enjoyed creating this beautiful painterly landscape photo, complete with added trees and birds.
You can use this same workflow with many different kinds of image, so don’t be afraid to experiment with your own photos. You’ll be amazed at what you can create!

Cool image! I love Waterlogue for doing watercolor style effects. It would work great with this process!
Thanks! I love Waterlogue too and it would be great to try an alternate edit with that app!!
This was a great tip! I enjoyed how you went step by step! Perfect!
Thanks!
Glad you liked it. Thanks for reading!!
If you buy any of these apps will they show up on my other Apple devices. I would much rather edit my photos on my MacAir computer than on my iPhone? I also have an iPad.
Yes – you only have to purchase the app once and then you can download it to all of your devices (unless on the rare occasion the developer has released two separate versions – one for iPad and one for iPhone).
So informative! I learned some things. Thanks Kristen!
Happy to hear, Faye!!