When it comes to camera replacement apps for iPhone photographers, there’s a seemingly endless list of options. While many people stick to using the native camera app due to its ease of use and accessibility, it’s definitely worth considering third-party camera apps. In this article we’ll take a look at the new Manual Camera app. And you’ll discover how to use the iPhone manual camera controls such as exposure, ISO, shutter speed and white balance.
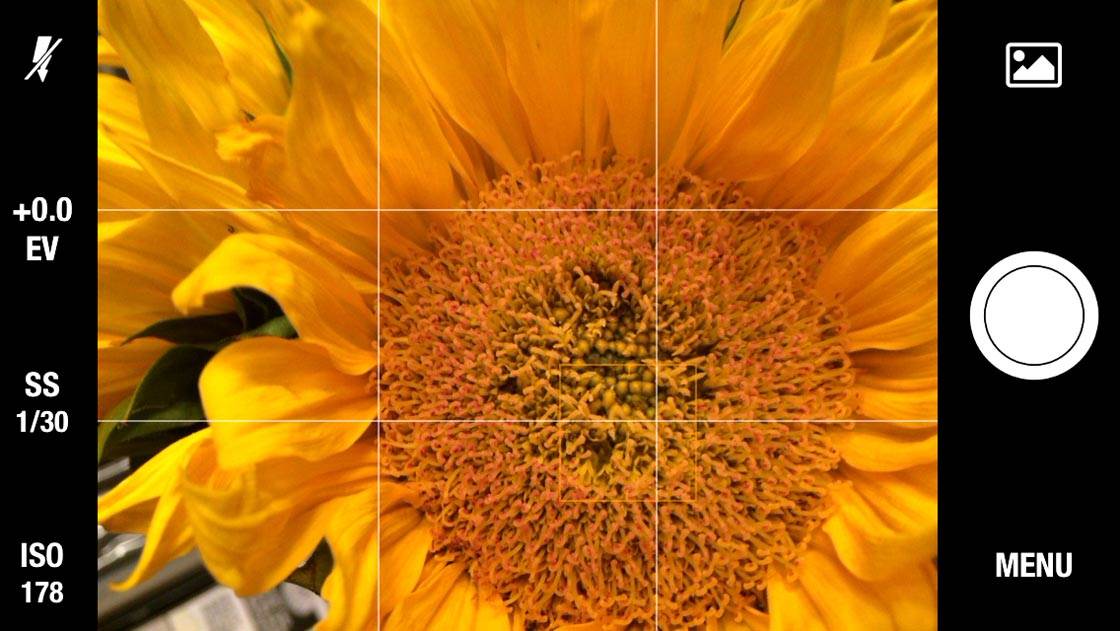
Many camera apps offer multiple shooting modes, built-in filters and other editing tools for post-processing images. Some even try to emulate the shooting experience of using a DSLR to some degree.
The new Manual Camera app ($1.99) from the developer 34BigThings offers a variety of custom settings for manually adjusting exposure and color when taking photos, but without all of the editing options that some other camera apps offer.
So, is this app worthy of our consideration as a replacement for the native camera app? Let’s take a closer look.
Overview Of Manual Camera
The Manual Camera app is a straightforward, easy-to-use camera replacement app with very few frills. What it lacks in features, it more than makes up for in ease-of-use. The user interface is very clean and uncluttered, making it easy to apply your chosen settings and capture a photo.
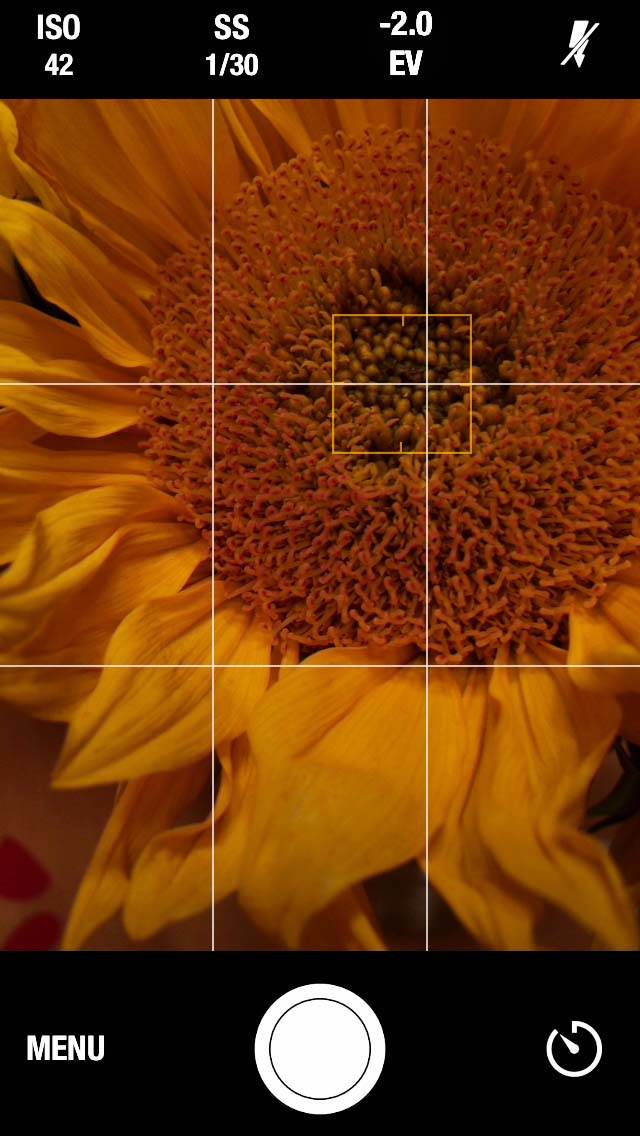
Simply start by tapping anywhere on the screen to set your point of focus, just like you do in nearly every other camera app. This also sets a basic level of exposure based on where you tap (auto exposure).
If the image looks good to you at this point, you can simply press the shutter release button and take your photo. However, you also have the option to further adjust the settings – from a simple fine tuning of exposure, all the way to something far more extreme depending on your vision.
Manual Exposure Features
Manual Camera offers quick access to all of the standard manual exposure settings for your iPhone’s camera including ISO, Shutter Speed and Exposure Value Compensation (EV). These are accessed by way of the icons along the top of the app.
Tap on any one of them and a box appears in the middle of the screen displaying available options for that setting. Simply select the value you want, then tap away from the box.
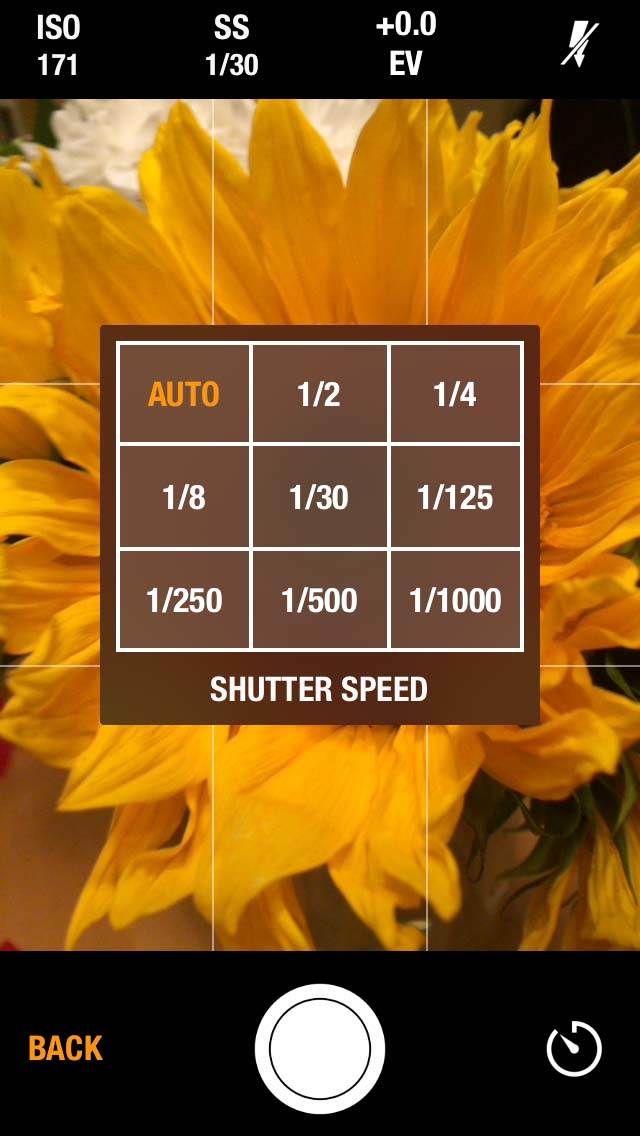
Tapping the SS (Shutter Speed) option at the top of the screen gives you access to a range of shutter speed values shown in fractions of seconds. Shutter speed determines how long the shutter stays open for when a photo is being taken.
Slow shutter speeds let more light in and are therefore needed when shooting in low light. You can also use slow shutter speeds to capture motion blur. To avoid camera shake and blurry photos when using slow shutter speeds, it’s best to use an iPhone tripod and iPhone tripod mount.
Fast shutter speeds let in less light so are great for shooting in bright light. A fast shutter speed will freeze movement and doesn’t require the use of a tripod.
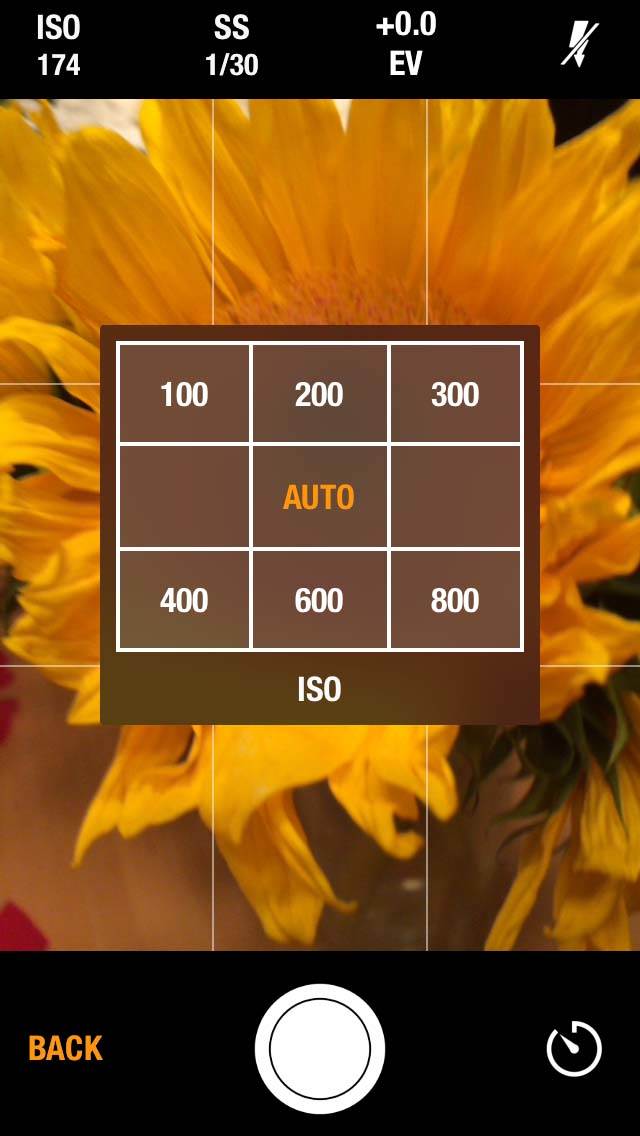
Tapping the ISO option at the top of the screen gives you access to a range of ISO values. The higher you set the ISO, the more sensitive the camera becomes to light, which in turn means you can use faster shutter speeds.
This is great for low light photography where slow shutter speeds can result in camera shake if you’re not using a tripod. When you tap an ISO value, you’ll see the shutter speed change at the top of the screen.
The downside to using high ISO values is that it can introduce digital noise which may result in grainy photos, so this is something to consider when setting your ISO.
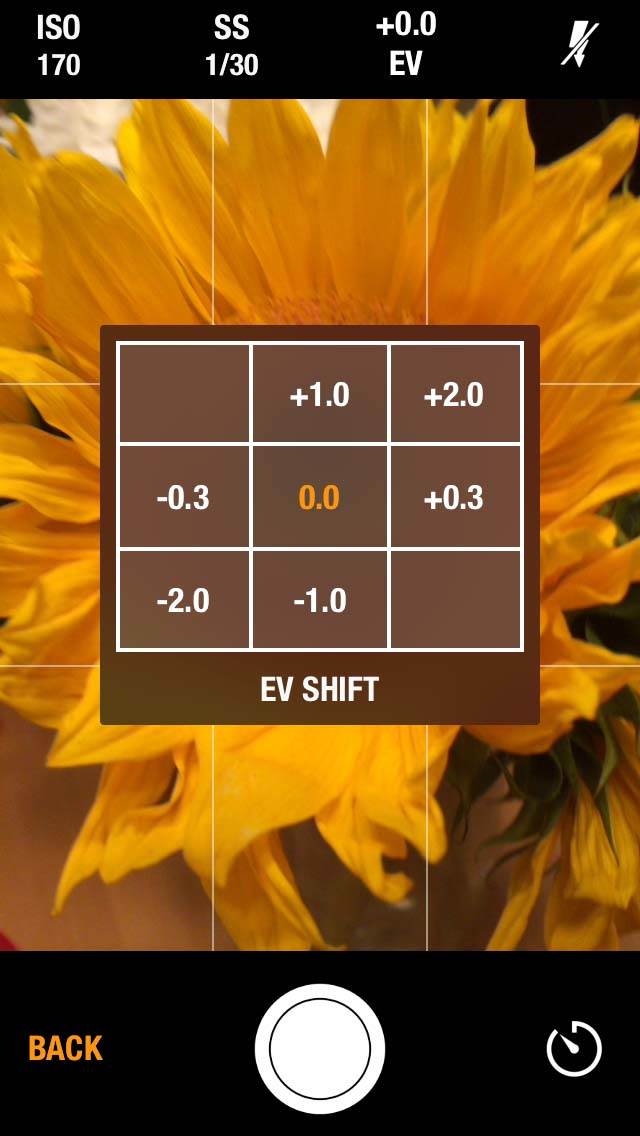
Tapping the EV option at the top of the screen gives you access to a range of Exposure Value settings. The plus (+) values make the image brighter and the minus (-) values make the image darker.
In addition, you can also adjust the EV compensation at any time by simply sliding your finger up and down on the screen to adjust the value by 1/3 of a stop, up to a value of +2.0 or down to -2.0.
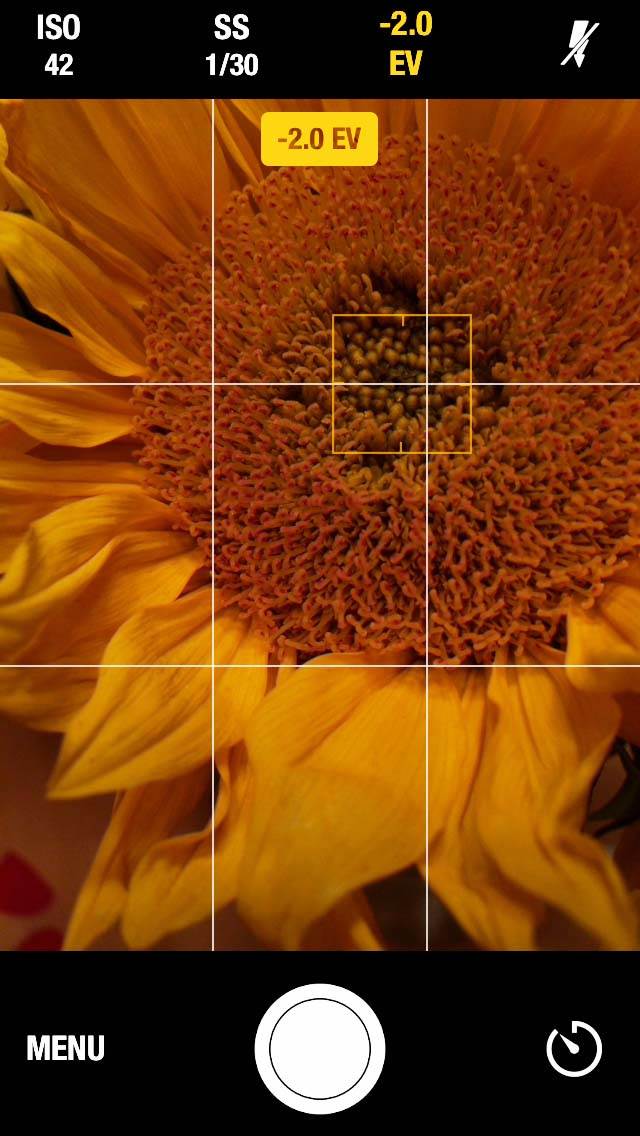
In fact, the range of EV options is greater when adjusting it using the slider. If you use the EV menu at the top of the screen, you only have access to a few specific values.
Additional Settings and Features
Finally, by pressing the Menu button in the lower left-hand corner, an additional menu pops up with access to the above exposure settings along with other shooting and preview options.
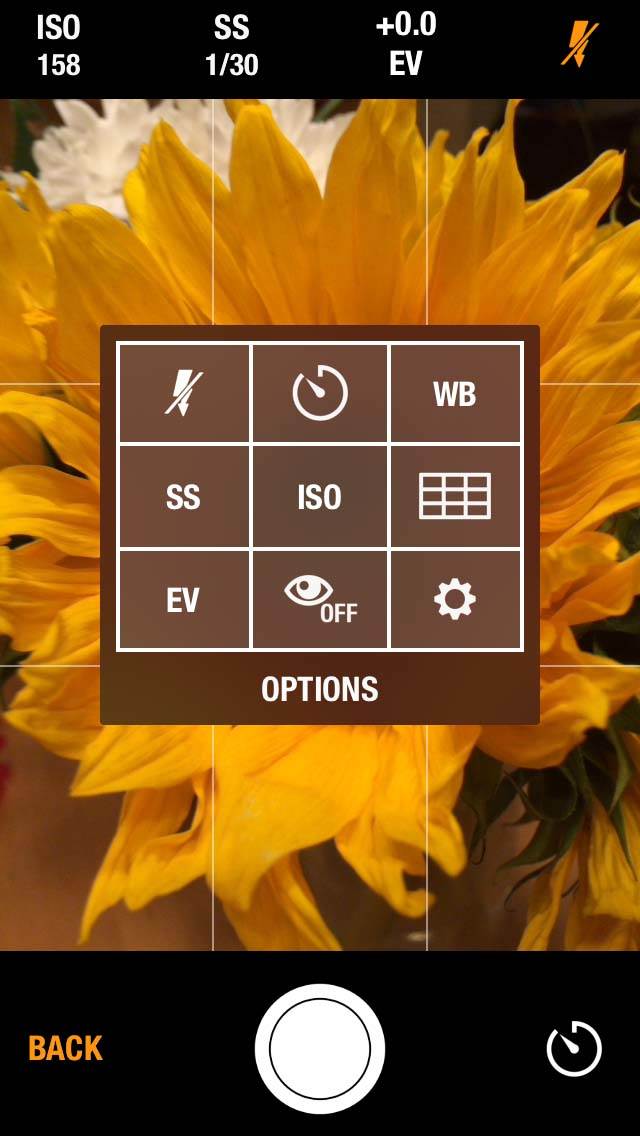
You can adjust the color balance of your image using the WB (White Balance) setting. You can display a rule-of-thirds shooting grid, use the self-timer, set the length of time that photos are displayed for after shooting, and customize the shortcut button in the lower right-hand corner.
At any time you can switch the flash on or off by tapping the Flash icon (lightning bolt) at the top right of the screen.
What The App Doesn’t Do
The one manual setting that is noticeably absent from the app is a manual focus slider. However, while this can be a nice feature to have, especially if you’re trying to use depth of field to create a very specific look, it’s hardly a necessity for everyday shooting.
Most users simply want to focus on a specific subject in their viewfinder, and tapping to focus works like a charm in the majority of situations.
Manual Camera also doesn’t offer any option for adjusting the resulting image resolution and file format or size. All photos are saved as JPEGs at the standard level of resolution that is on par with that of the native iPhone camera app.
If you’re looking for a camera replacement app that also shoots video, Manual Camera is not that app. For that matter, Manual Camera doesn’t offer slow motion, time-lapse, or panorama mode either.
If any of these features are really important to you, there are other great apps that specialize in each of those features that you can consider.
Conclusion
If you’re interested in a camera app with built-in effect filters and/or more advanced settings, then Manual Camera is probably not for you.
However, if you prefer a simple, straightforward approach to capturing images, yet enjoy the creative freedom that manual exposure control offers, then Manual Camera is definitely worth checking out and may even become your go-to camera app for still photography.


Thanks for this Review Rob. I like the simple and intuitive user interface of this app. It feels like the native camera app but gives you more control over manual settings.
probably only one lack for me is the missing hdr
Otherwise looks fine for me, like the interface
No one has rated this app on the app store. I would feel better about buying it if someone would rate it one way or another.