Do you struggle to take good iPhone photos in low light? Despite dramatic improvements in the sensor of the newer iPhones and the introduction of the true tone flash, the camera can still struggle when there’s not much light in the scene. But with the right tools and techniques you can actually create stunning low light photos with your iPhone. In this article you’ll discover a range of useful tips and techniques to help you take better iPhone photos in a variety of low light situations.
1. Hold Your iPhone Steady
When taking photos in low light, one of the most important things to keep in mind is the shutter speed that your camera is using. Shutter speed simply refers to the length of time that the light hits the camera’s sensor during the exposure.
In low light conditions the camera has to use a slower shutter speed to allow more light in to create a well exposed shot. But the problem with slow shutter speeds is that if the camera moves while it’s taking the shot, the resulting image will be blurred due to camera shake.
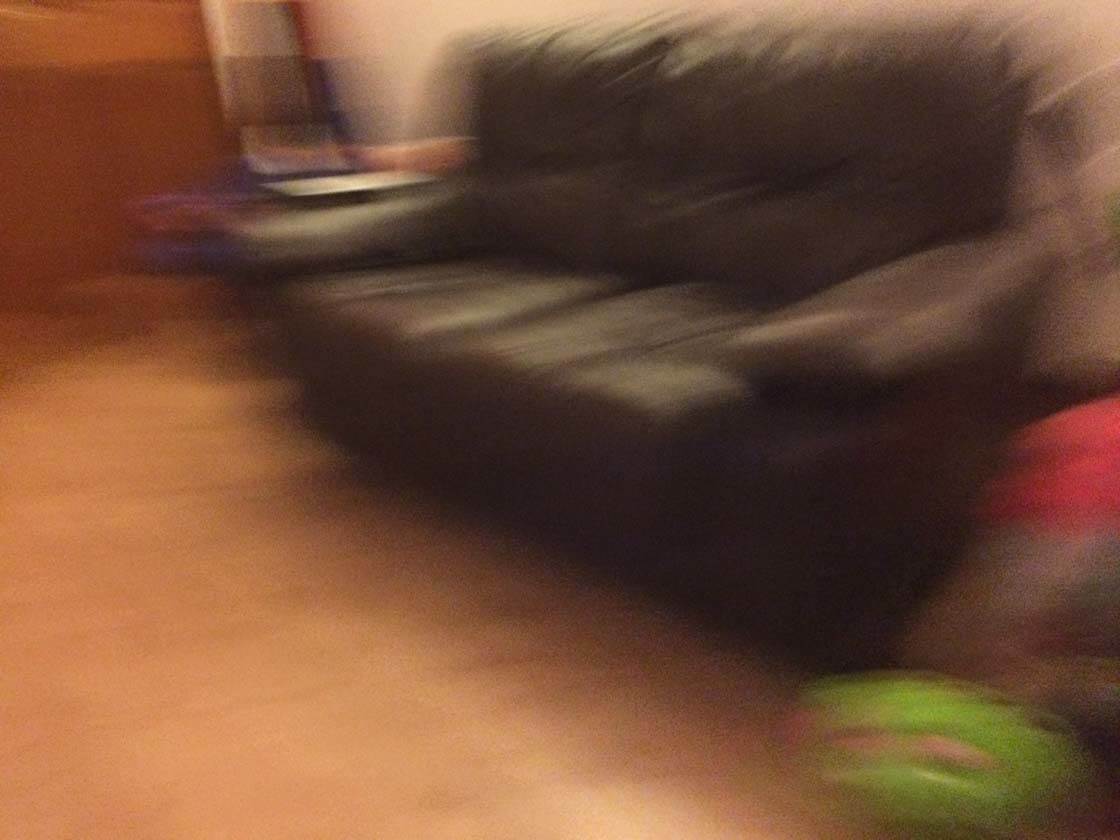
Therefore it’s very important to keep the camera still when shooting in low light. Either hold the iPhone tightly with two hands or use a stable fixed object, such as a door frame or nearby tree, for support. Alternatively, you could use an iPhone tripod such as the Joby GorillaPod.
Always remember that keeping the camera absolutely still will result in a far better and sharper shot when shooting in low light situations.
2. Use Window Light When Shooting Indoors
Whenever you’re shooting indoors, you’ll probably have issues with low light. The best way to counteract this is to shoot near windows to try and make use of the available natural light.
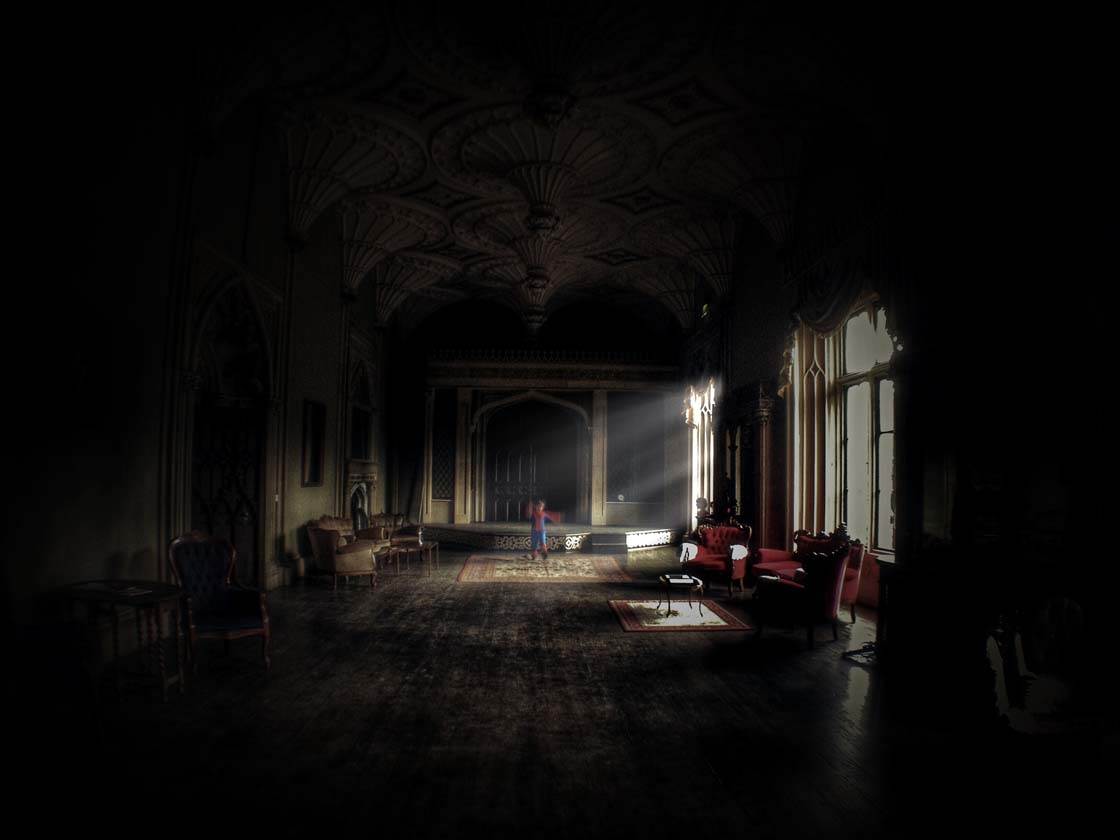
If the room is particularly dark, the light streaming in from outside can add a dramatic quality to the image as shown in this photo.
The photo below was taken in the same room but it wasn’t quite as dark. The light coming in through the window and catching the dust created a nice overall mood to the photo.
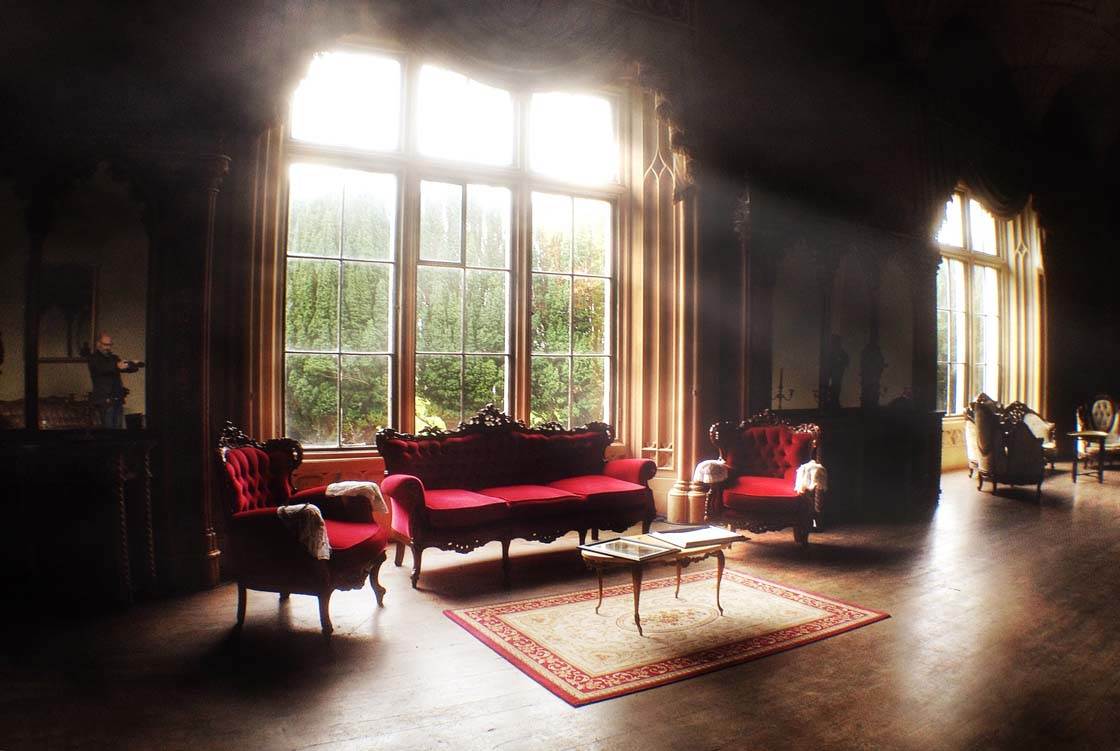
I’d originally shot the furniture on the other side of the room away from the window, but the images were very grainy as a result. This is a common problem when shooting indoors. Using natural light from windows is the best solution to this problem. By the way, can you spot the sneaky selfie in this photo?!
3. Create Stunning Silhouettes At Sunset
Two of the most popular subjects for low light photography are sunsets and silhouettes. The two go hand in hand, and they’ll result in some stunning shots.
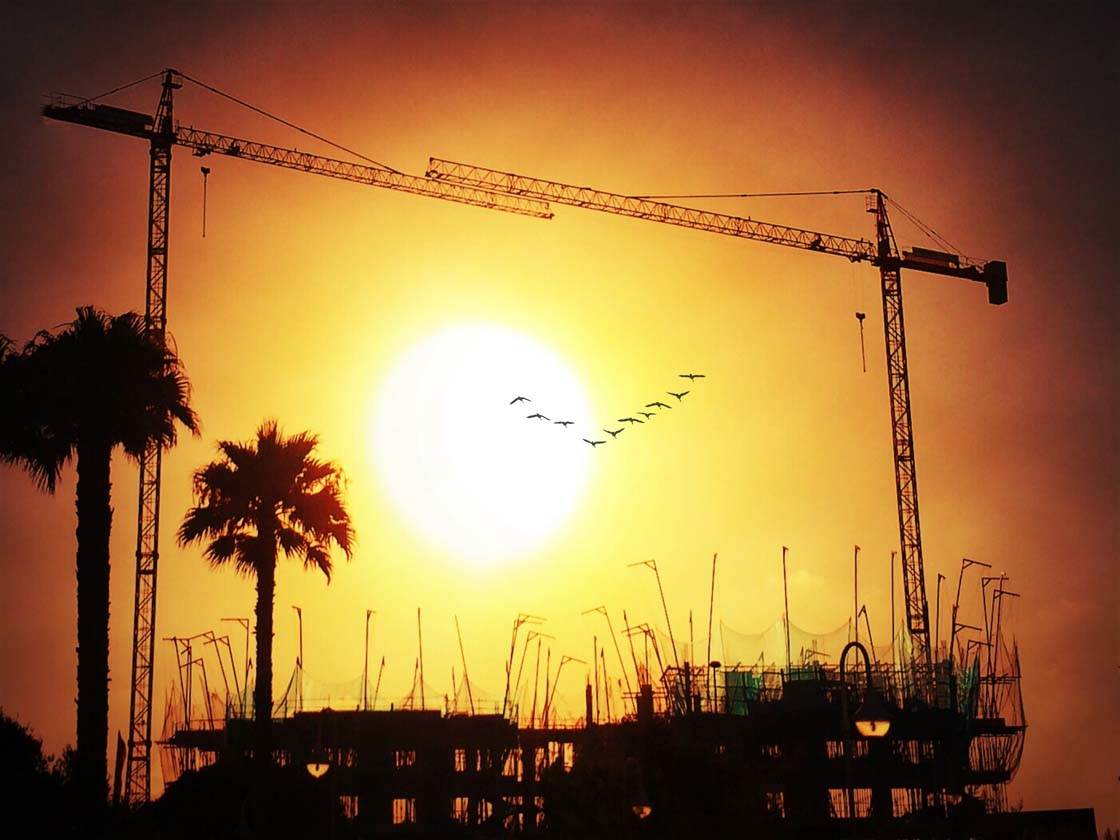
To create a silhouette you need a strong light source behind your subject, so shooting directly into the sun a good option.
After tapping to set focus, swipe up or down on the screen to tweak the exposure if necessary. You often need to swipe down to make the image darker so that the sky doesn’t appear too bright and the subjects appear as dark silhouettes.
When you’ve captured your shot, don’t be too disappointed if it doesn’t look like the golden sunsets that you’re used to seeing. You can easily use an editing app to boost the colors and make further adjustments to the exposure if necessary.
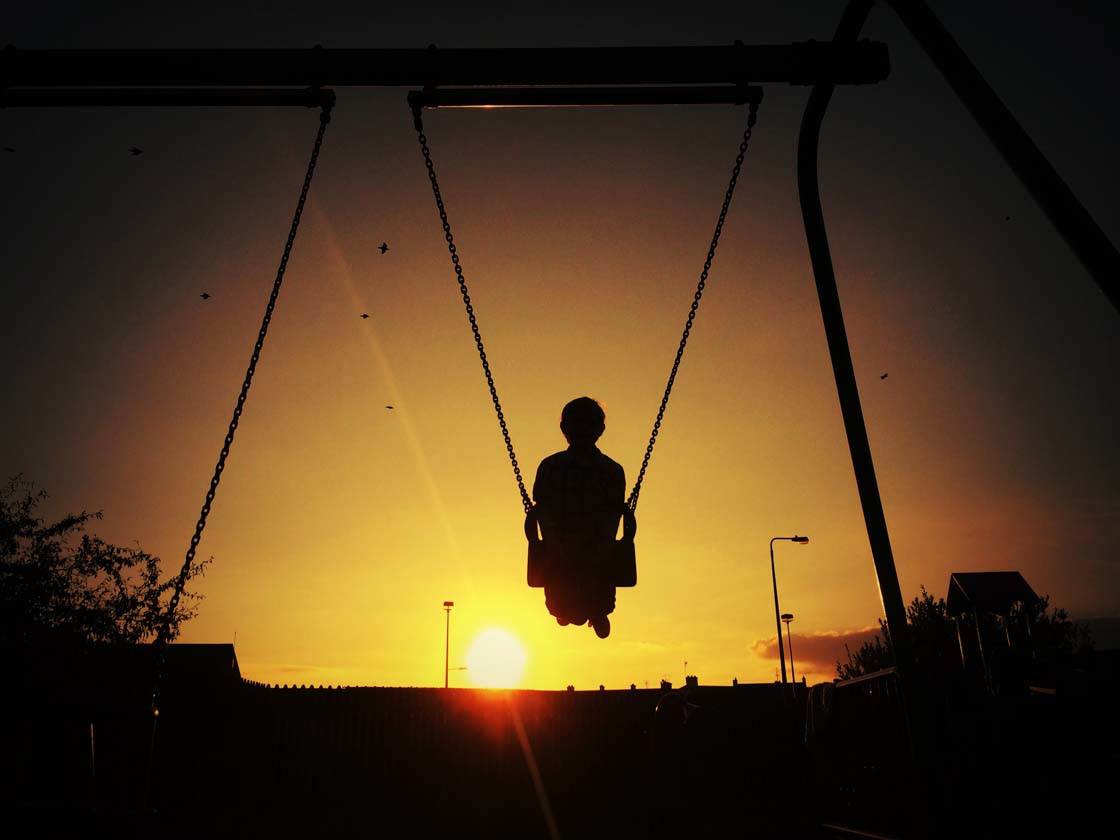
I usually use the “Sunset Filter” in the PhotoToaster app. This filter adds a beautiful warm glow to your image, and it also increases the contrast slightly which makes for better silhouettes.
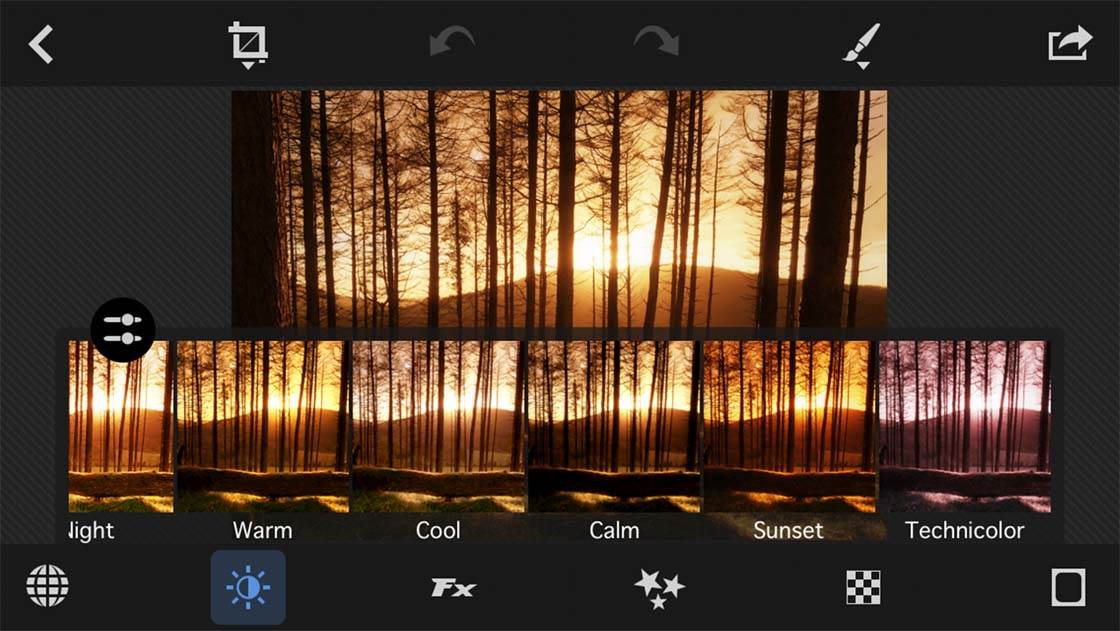
If you’re not happy with the end result, all of the filters in PhotoToaster are customizable so you can adjust it to suit your needs. The two examples shown above were taken with the native camera app and edited with the “Sunset Filter” in PhotoToaster.
4. Capture The Ambience At Music Concerts
Shooting live concerts can be notoriously difficult at the best of times. Because of the constantly changing stage lights you can be shooting in intense light one minute and near darkness the next. Shooting in these conditions with a DSLR camera is challenging, and with an iPhone it can be almost impossible.
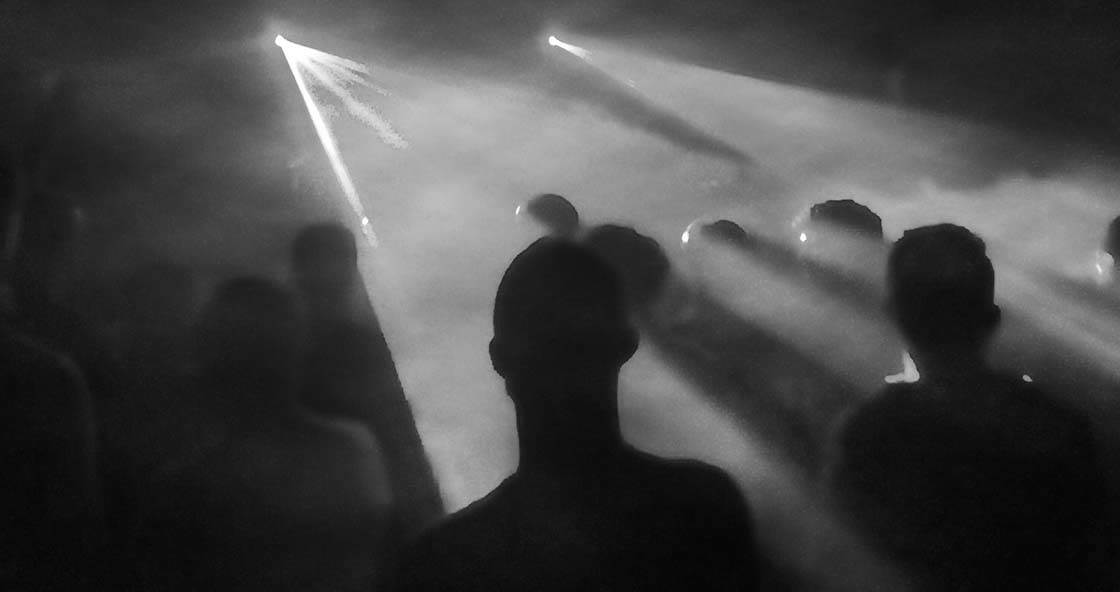
The first thing to bear in mind is that you’re not going to get the type of close up shots that you see in music publications. Those photos are taken with high end cameras and telephoto lenses. The best thing to do when shooting with your iPhone is to look at the bigger picture.
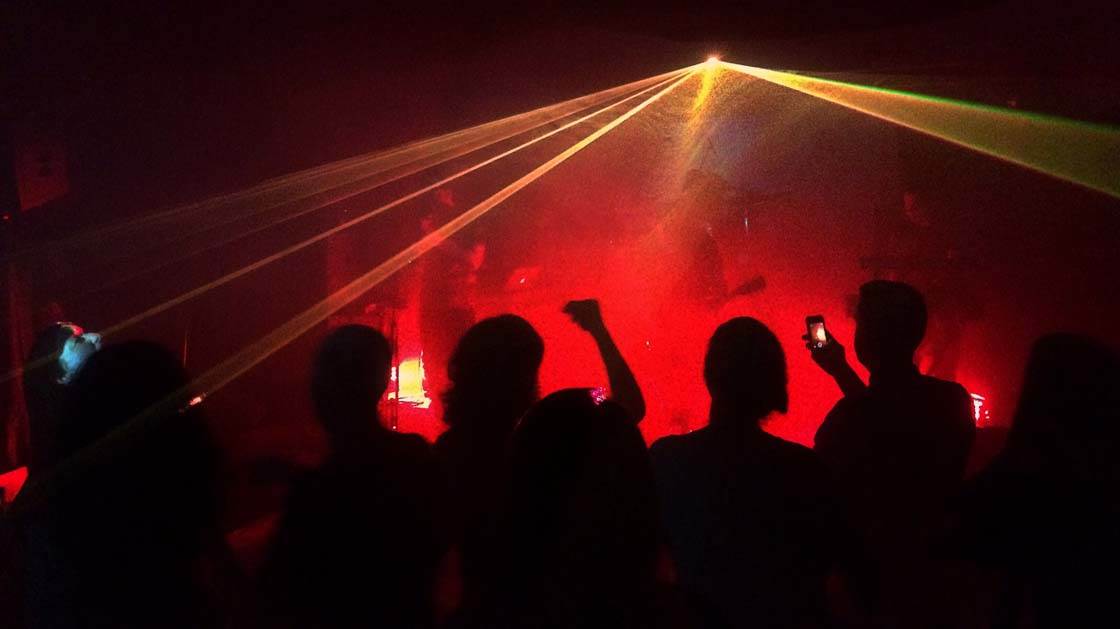
Watch the sequencing of the lights and the actions of the audience around you. The scene will be constantly changing as the lights change. Pick a subject and just keep shooting, preferably using burst mode. When you go back and review the shots later a lot of them will probably be unusable but you’ll get a few keepers.
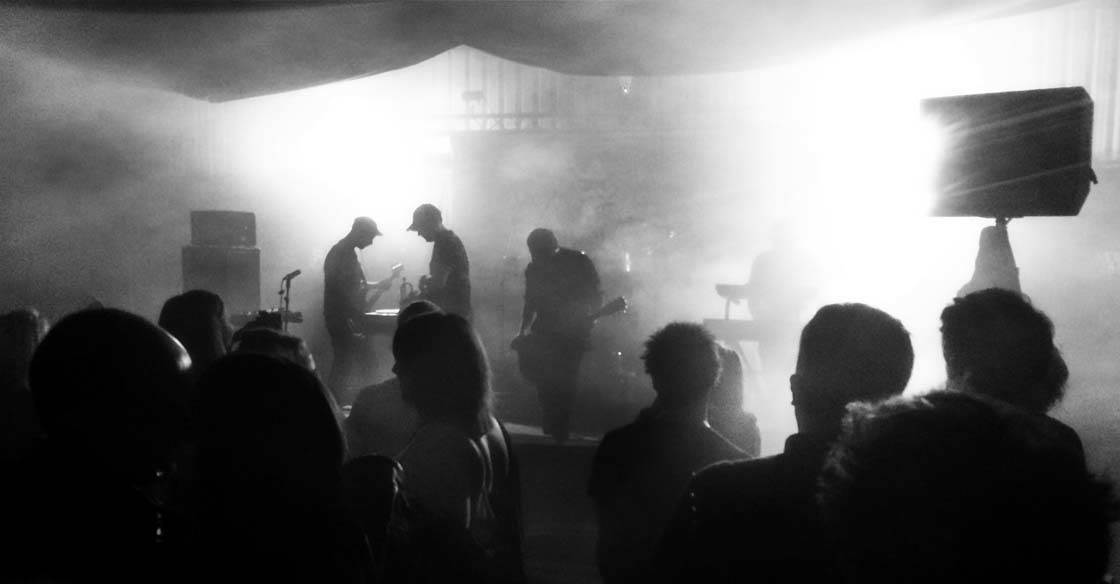
These examples were all shot with my iPhone at the same concert from different points of view. They show how moving around and being aware of your surroundings can produce different results. The idea should be to capture the overall mood of the gig rather than the detail.
5. Use Foggy Weather To Your Advantage
Shooting in foggy conditions can be challenging due to the lack of bright light in the scene, but it can also result in quite dramatic and moody images. One of the advantages of shooting in fog is that it will hide a distracting background.
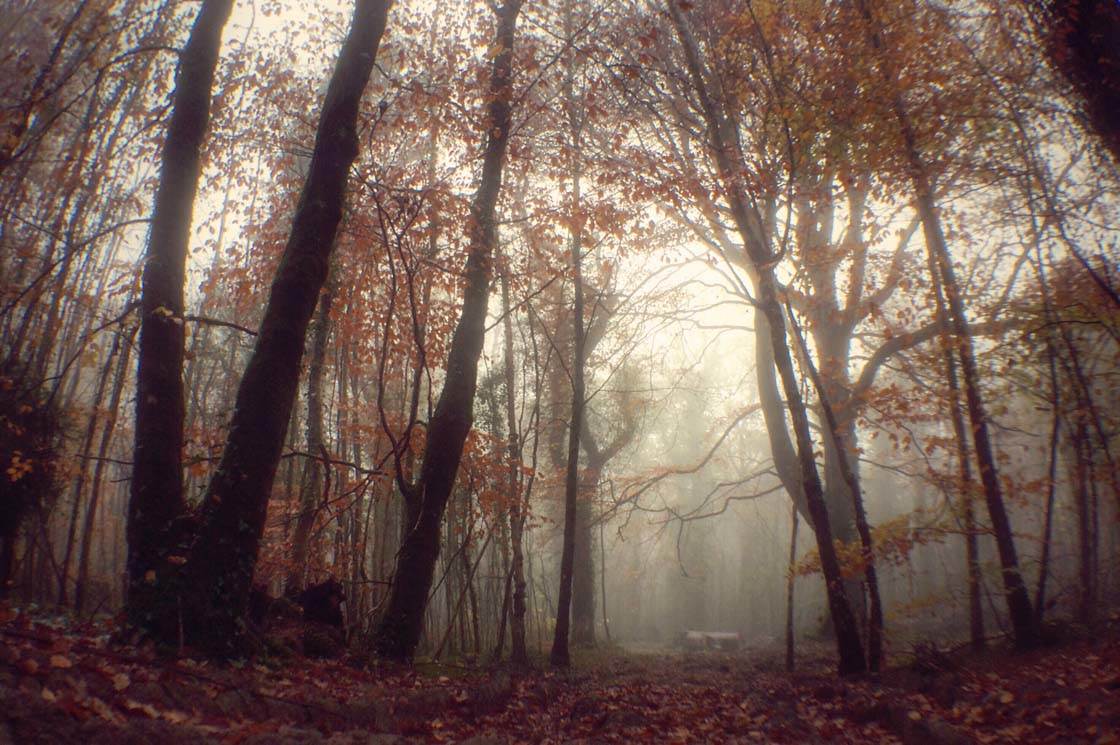
Foggy conditions are ideal for capturing incredible forest photography. In normal weather conditions the trees can just blend together and it’s very hard to get anything to stand out. However, when it’s foggy only the trees closest to you will stand out as you can see in this photo.
Remember that shooting in low light foggy conditions under the shade of trees will mean that your camera needs to use a slower shutter speed. So make sure you hold the camera steady or use a tripod to avoid any camera shake and blurry photos.
6. Use External Light Sources
Introducing external light sources to compensate for low light could be considered a bit of a cheat in an article discussing low light photography, but it’s an obvious solution and if it’s done right it can result in some interesting shots.
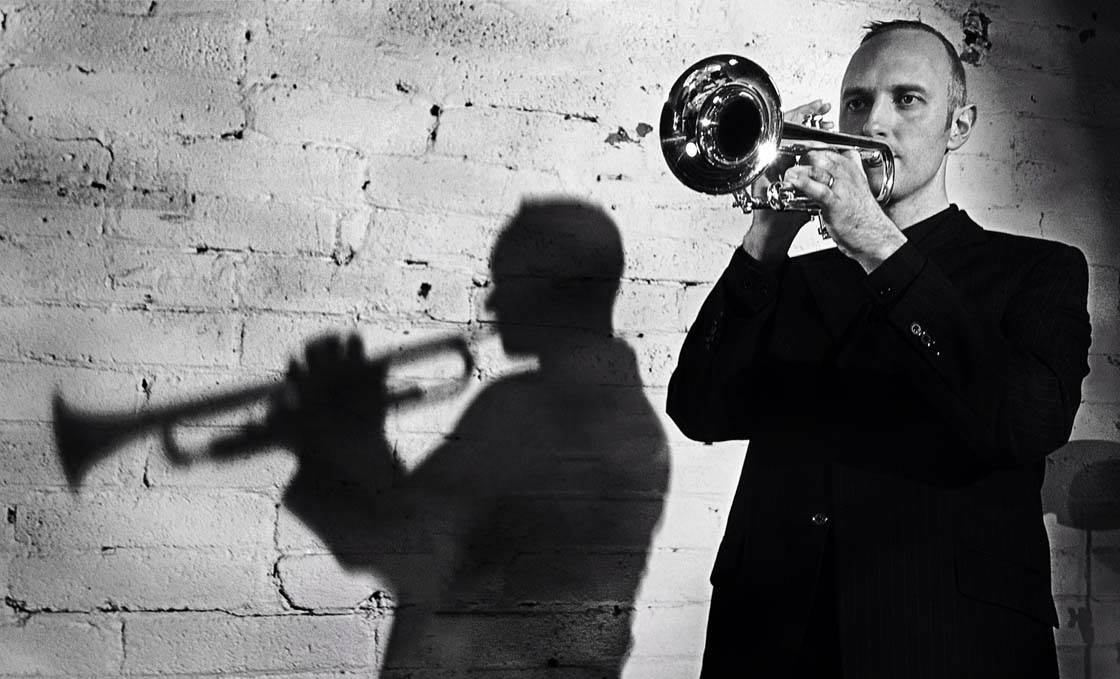
This first example was taken at a video shoot for a friend’s band. The location was an old building that was in the process of being converted into a rehearsal studio.
There were no windows in the room so a couple of studio lights had to be used for shooting the video. During a break the trumpet player took the opportunity to get in a bit of practice. One of the studio lights cast a great shadow onto the whitewashed brickwork.
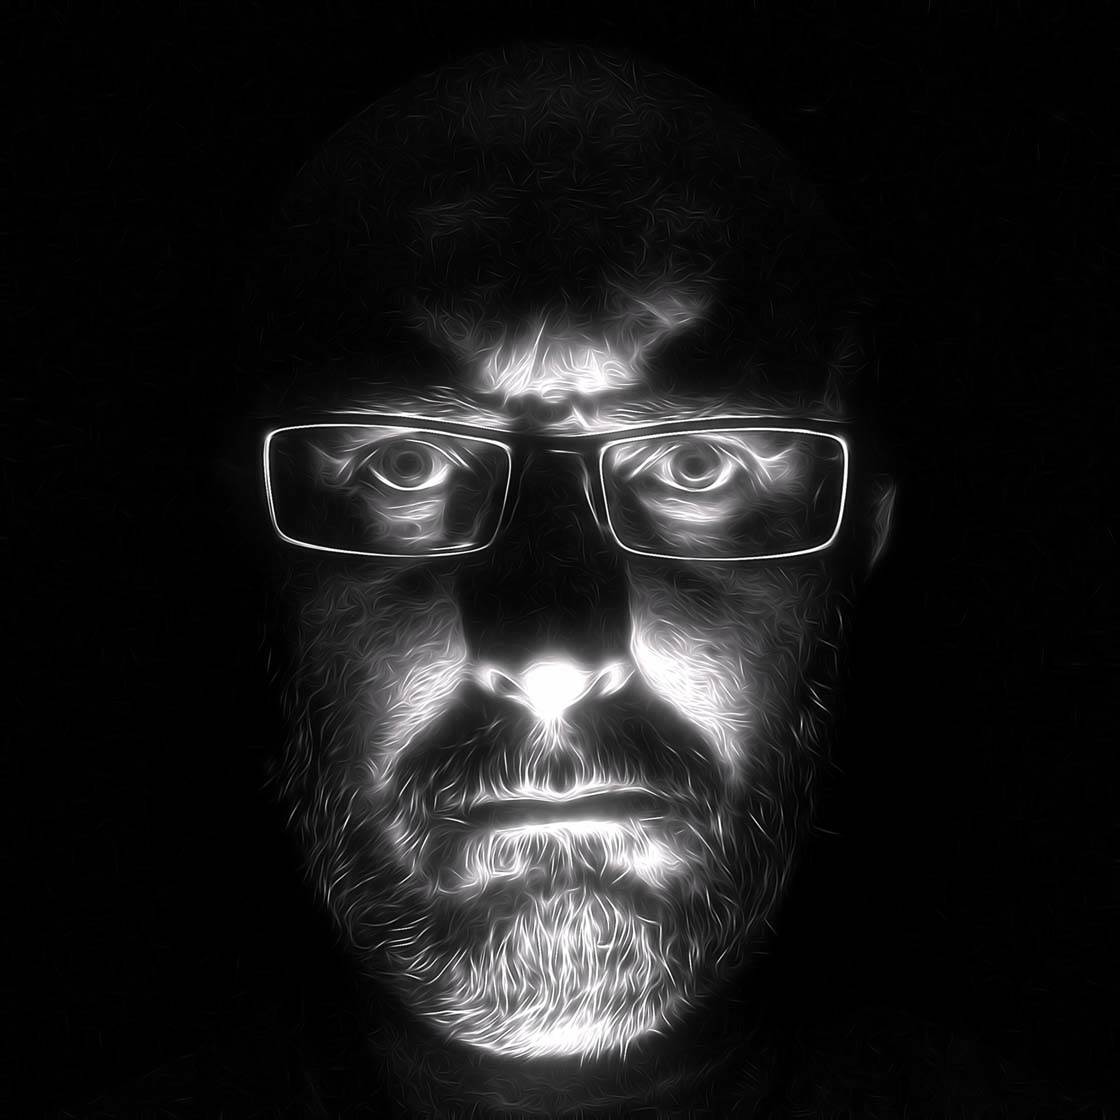
This second example was just a bit of fun. I turned off the lights, put a torch under my chin and took a selfie. Both of these examples show that by using a single focused light source in low light conditions can create really interesting and unique images.
7. Edit Using Selective Exposure Adjustments
PhotoToaster is a very versatile app, and one of the features that I use most is the lighting brushes. These brushes are very useful for brightening or darkening different areas of a photo. I use this a lot when I take outdoor shots in low light if the sky is in the frame.
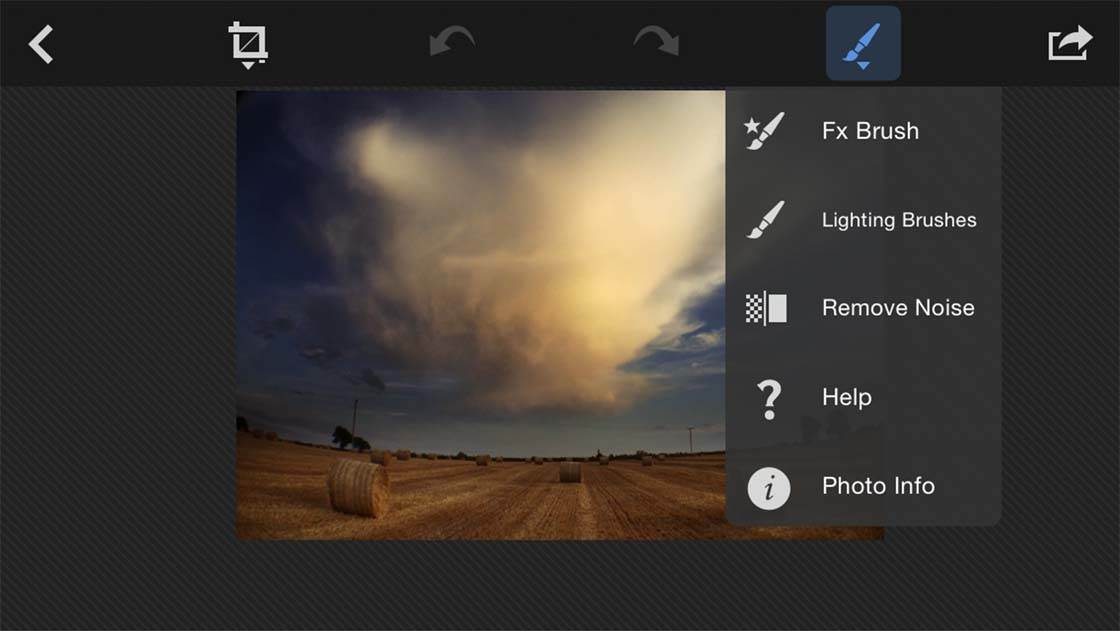
If you try to expose the sky properly it’ll leave the foreground very dark, and if you try to set the exposure for the foreground you’ll be left with a sky so bright that all the detail will be lost. The best way around this is to let the camera set the exposure itself. This will usually result in a slightly brighter sky and a darker foreground, but the detail will still be there.
After taking the photo, I then open the image in PhotoToaster. The lighting brushes can be found by touching the brush icon at the top right of the screen. This will open a drop-down list and the lighting brushes are the second option in the list.
Just pick the brush you wish to use and apply the effect by rubbing your finger over the area you want to change. By using a combination of these brushes you can darken the sky and brighten the foreground, thereby evening out the light in the image.
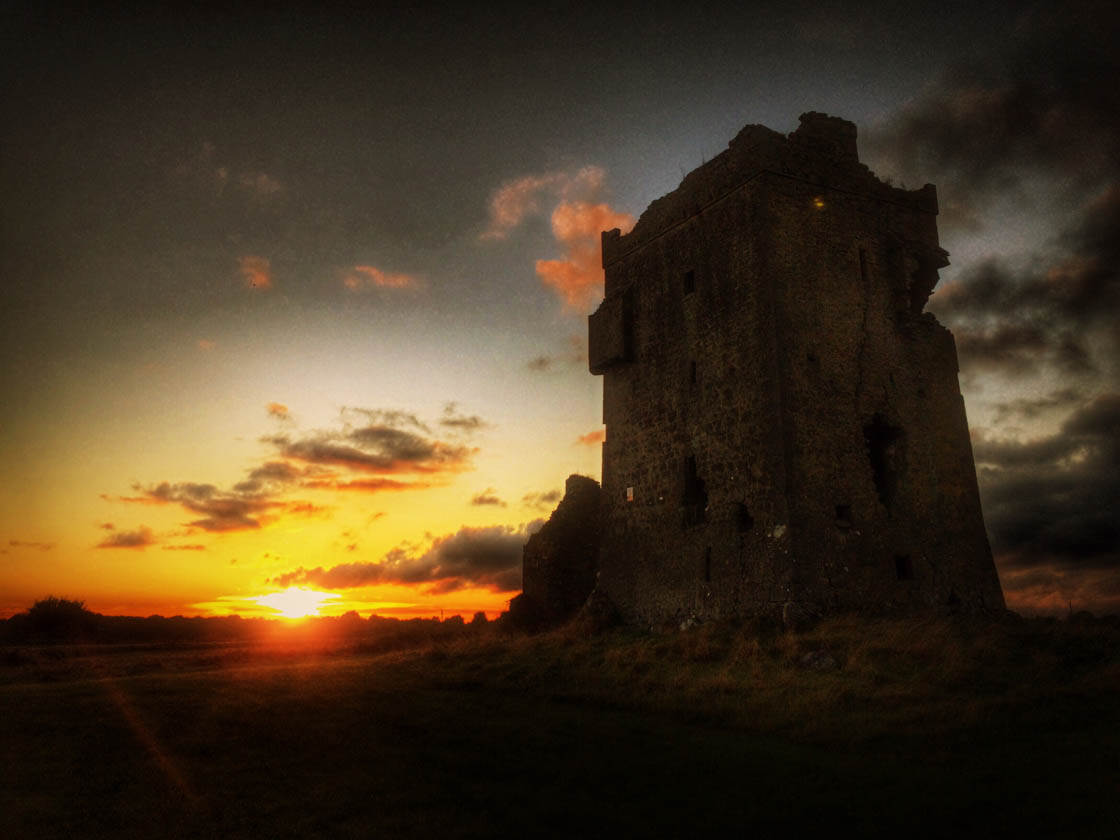
In this photo I used the brushes to darken the sky to help the clouds stand out and lighten the tower to emphasize the stonework. In the original image the sky was washed out and the tower was just a dark boring black monolith.
8. Use HDR To Bring Out Detail
Another useful tool when shooting in low light is to use the iPhone HDR effect. These tools are very useful for bringing out detail that would have been lost due to lack of light.
You can create HDR images at the time of shooting or afterwards in post-processing. The technique I use most is to apply the HDR effect in the Snapseed app after shooting my image.
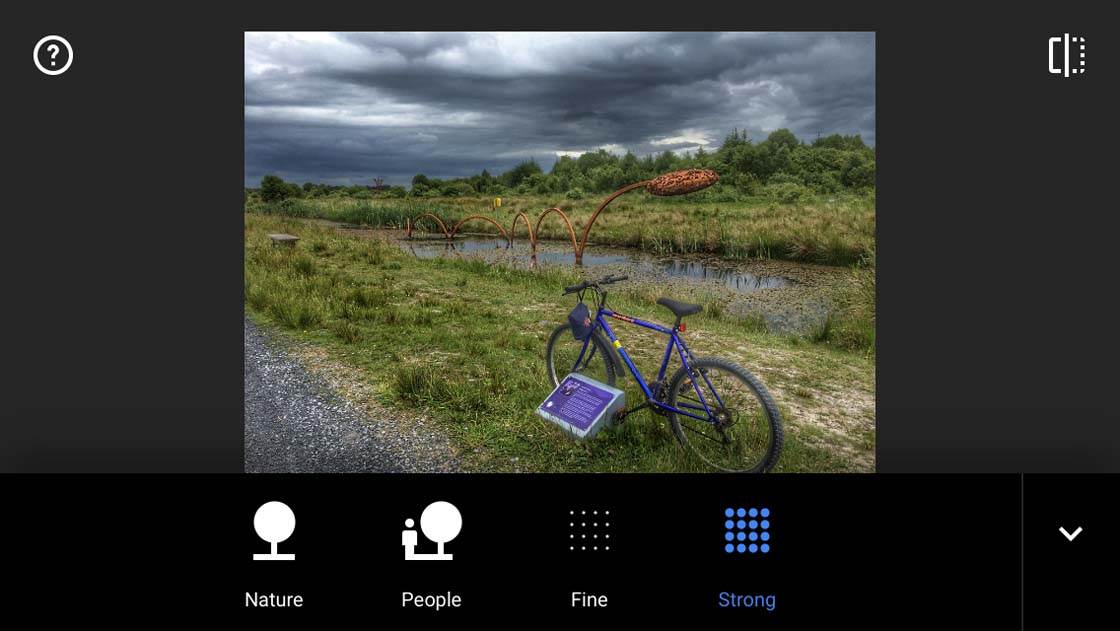
I like the fact that there are four different HDR modes in Snapseed and each is fully customizable. You can adjust the filter strength, the brightness and the saturation. You can also apply smoothing to the effect – this is useful because if you go for a strong HDR effect it will result in quite a grainy image.
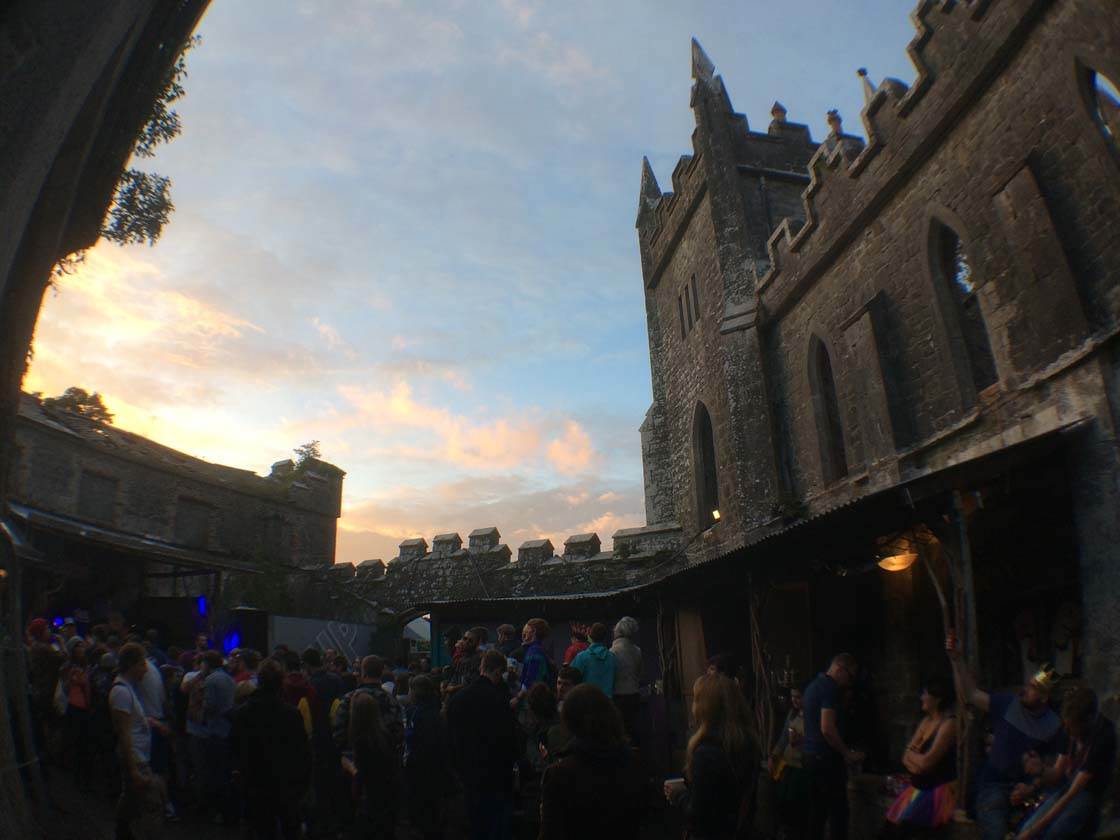
The original image above was taken late in the evening. The camera on the iPhone is quite good in low light, but still a lot of the detail in the courtyard was lost and the sky was overexposed losing detail there too.
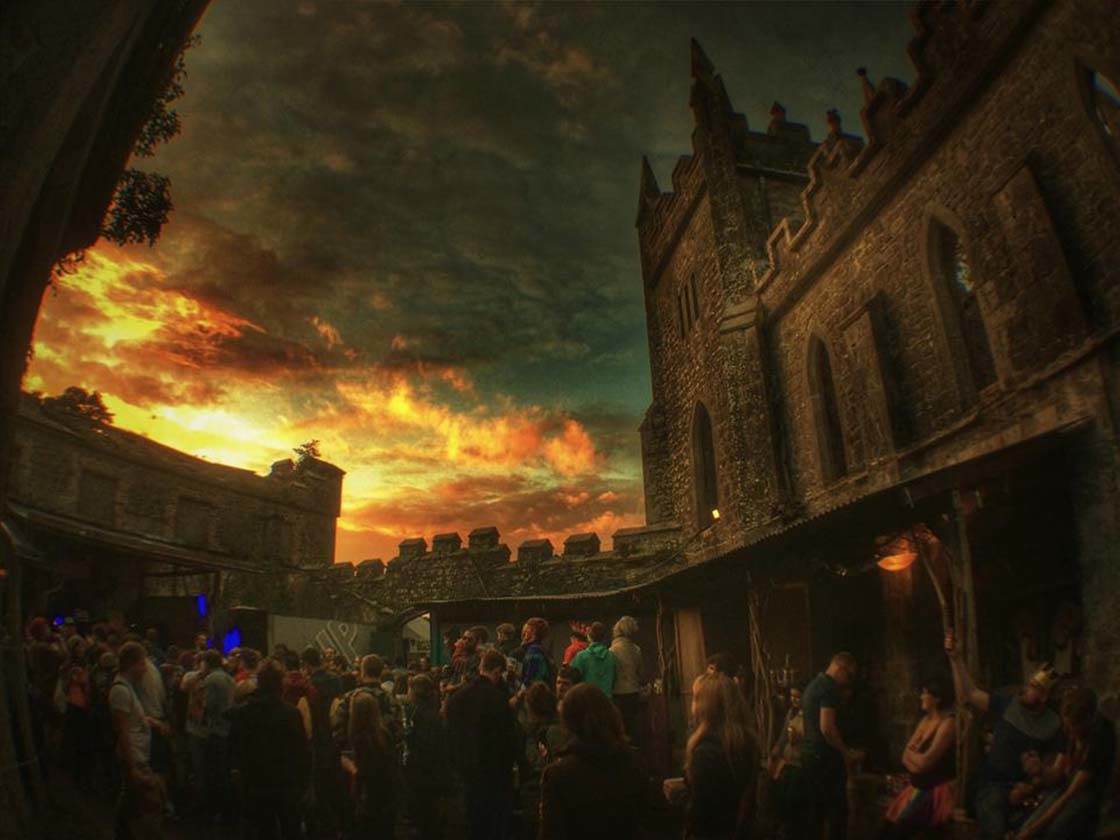
Using the HDR tool in Snapseed brought out the detail in the castle brick work and also brought the sky alive as well. I used the filters in Tadaa to adjust the overall color and tone of the shot to make it look more like a painting than a photo.
9. Use The Day For Night Technique
Anyone who’s tried to shoot night time scenes with an iPhone knows that the results aren’t always great. A little cheat for getting great night time shots comes from the “Day for Night” method of film making.
This method involves shooting a scene in daylight but using a blue filter and under-exposure to create the illusion of night. Both of these tricks can be recreated using apps on the iPhone. In this example the original shot shown below was taken at midday.
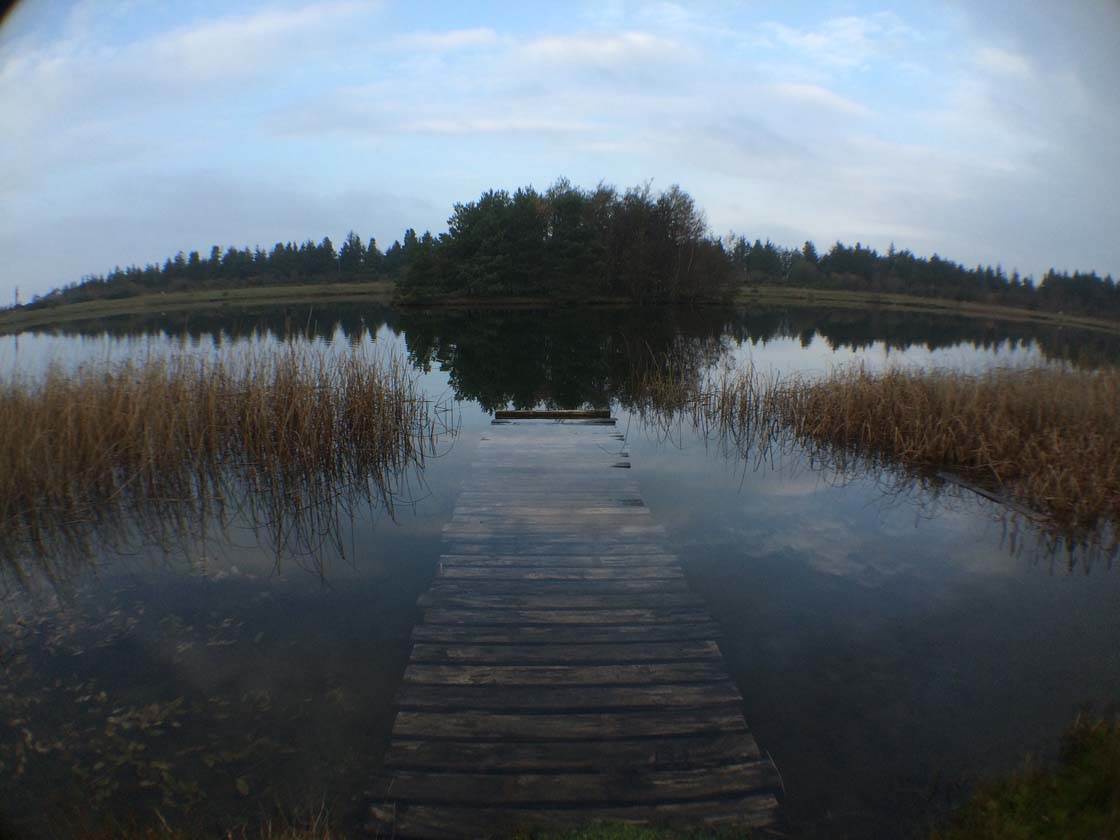
I then used the Blue Steel filter in the Tadaa app to recreate the effect of using a physical blue filter. The filters in this app are adjustable so it can be toned down to leave some color in the shot.
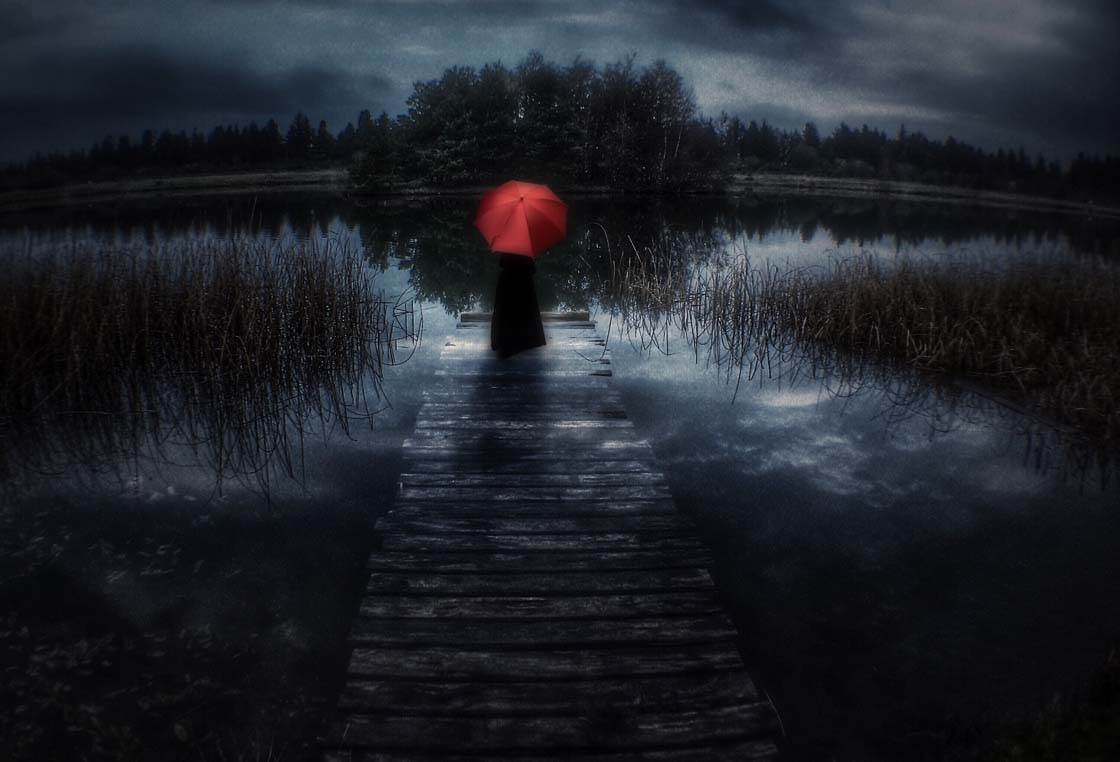
I then used the Tune Image function in Snapseed to darken the image and adjust the color balance towards the cool (blue) side. The other obvious addition is the lady with the umbrella. You can learn how to add people and other elements into an image in our fantasy editing tutorial.
As you can see from the above examples, you should never let the lack of suitable light stop you from getting some unique shots.
To learn more about using light to create amazing iPhone photos, check out this great video tutorial by Eric Mueller: 7 Simple Tricks For Using Light To Create Beautiful iPhone Photos.


Thank you so much Paul for your great tips! Soooo fantastic!!! I’m looking foward to you next articel.
Thanks very much Denny. Glad you liked it 🙂 Hope you enjoy the next article as much.
You can see my day for night photo in instagram: @dennyf
I could not save a link here ???
Thank you Paul for inspiration and following on instagram 😉
Cheers. Look forward to seeing more of your pics on Instagram 🙂
Thanks for the tips, Paul. Low light is where I struggle the most.
You’re very welcome Faye. Hopefully they will be helpful for you.
Thanks for this great article Paul. Really useful tips! 🙂
Thanks very much Kate. Glad you enjoyed it 🙂
Fab read, Paul, and I’ll be taking a new look at PhotoToaster for sure. My own beach photography is just woodshedding – trying different ways to create contrast in twilight and then, once the sun’s up, to make to most of the silhouettes.
My own maxim has been to shoot from the shadows so the sun’s glare doesn’t need to be factored in. When shooting owards the sun it’s always interesting to put the lens into the shadow of somethingsomeone.
Something I do a lot – especially with my ocean shots is to save two drastically different edits of an image. One to get a perfect sky, then a second to get good contrasts in the shadowy areas. then I combine the two versions using ImageBlender.
So basically what you are saying is don’t use the flash from the phone cause it sucks real bad. I’m sorry but I’ve owned 2 iphones and the Iphone is hands down worst at taking night shots with flash. The photos come out with a white washed blurry glow over everything.
same, i have 6s and 6s plus but never able to take good photo in nightout
this is taken on iphone 6s but quality is not what i wanted… can you correct it ?https://uploads.disquscdn.com/images/dfd46db2d7362af1de3597ceb87b88ef018cb029a13f6cbc84786d4172ebe534.jpg