With so many HDR apps available these days, do we really need another one? Well, the answer to that question really depends on how much you like those HDR apps that are currently available. The latest entry in the list of HDR apps is Fusion HDR Camera, and in this article we’ll take a look to see if it’s just another run-of-the-mill HDR app, or if it’s unique enough to stand out from the crowd.
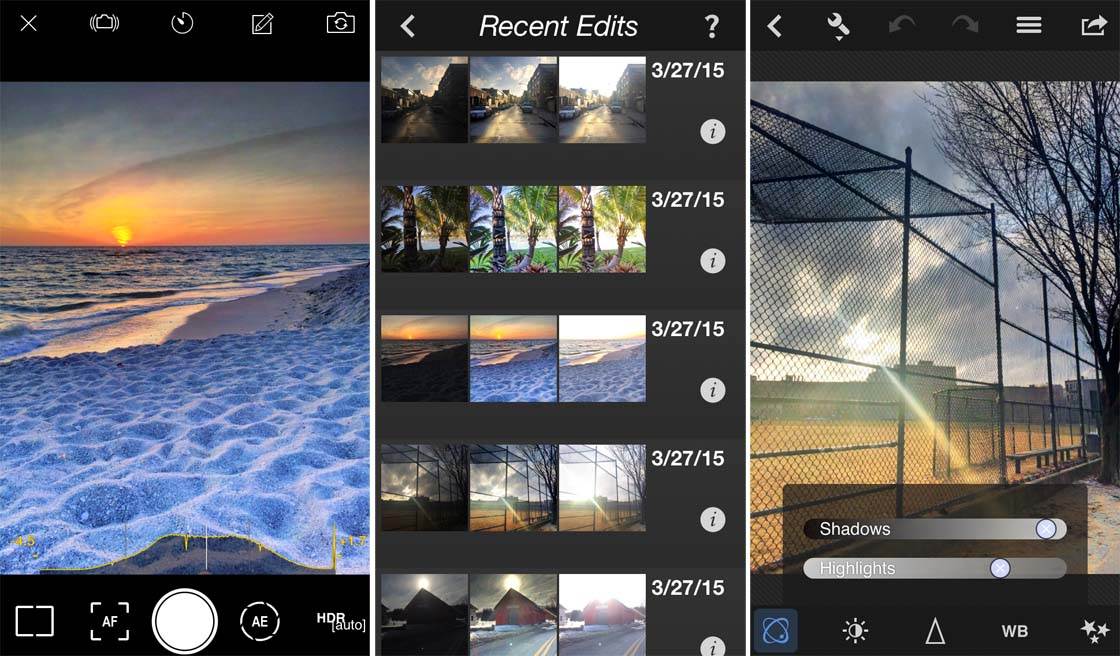
Fusion has been developed by East Coast Pixels, Inc. (the same developer that brought us the excellent, yet underrated PhotoToaster app). Fusion is available to download from the App Store for $1.99.
What Is A HDR App?
If you’re unfamiliar with the concept of HDR(high dynamic range) apps, here’s a quick overview. These apps create HDR iPhone photos by capturing multiple, yet different exposures of the exact same image and then combining them into one photo with a more balanced overall exposure.
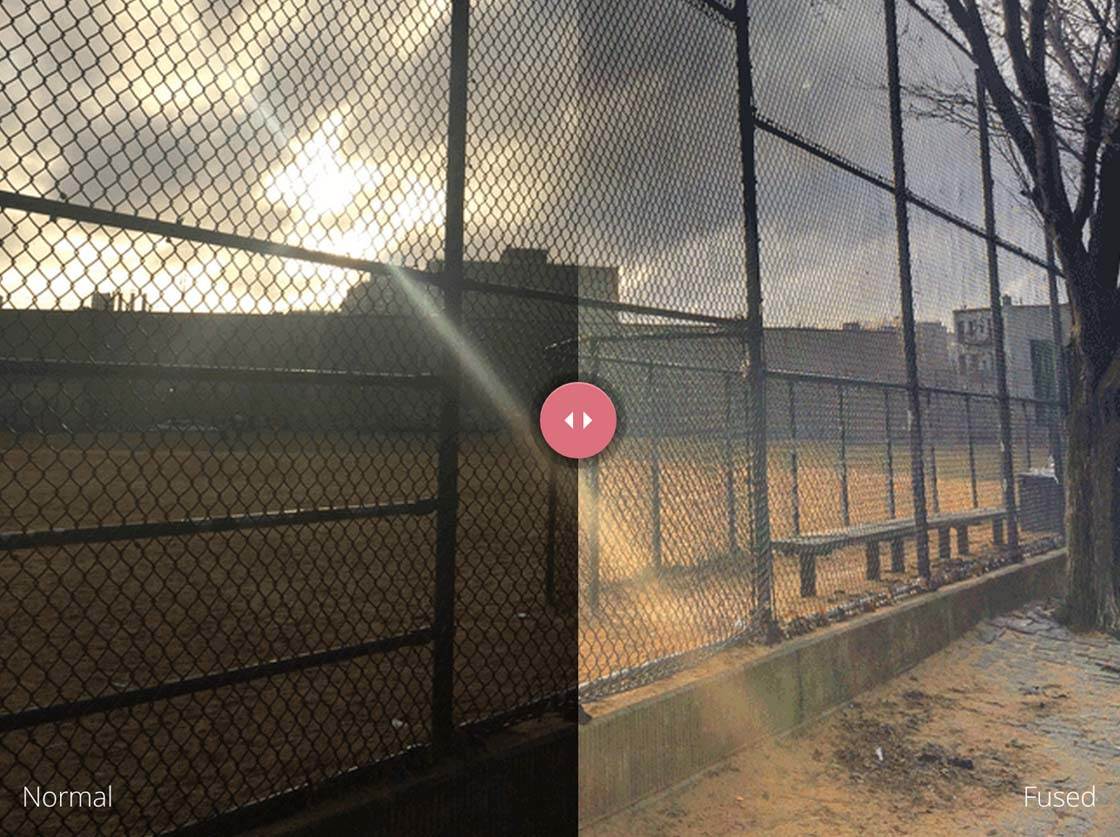
The result is an image that overcomes the limited range of a digital image sensor and better represents what the human eye can actually see.
How Does Fusion Work?
Fusion starts off like most HDR apps in that it takes three photos in rapid succession, all at different exposures and then combines them into one image. This approach is often referred to as “bracketing.”
By leveraging the new burst mode in iOS 8, Fusion makes its three bracketed exposures in only 3/10ths of a second. This reduces the possibility of camera shake and helps to ensure that the three images can be easily aligned into a single image.
Here’s an example of the three different exposures that resulted when I pressed the shutter button.
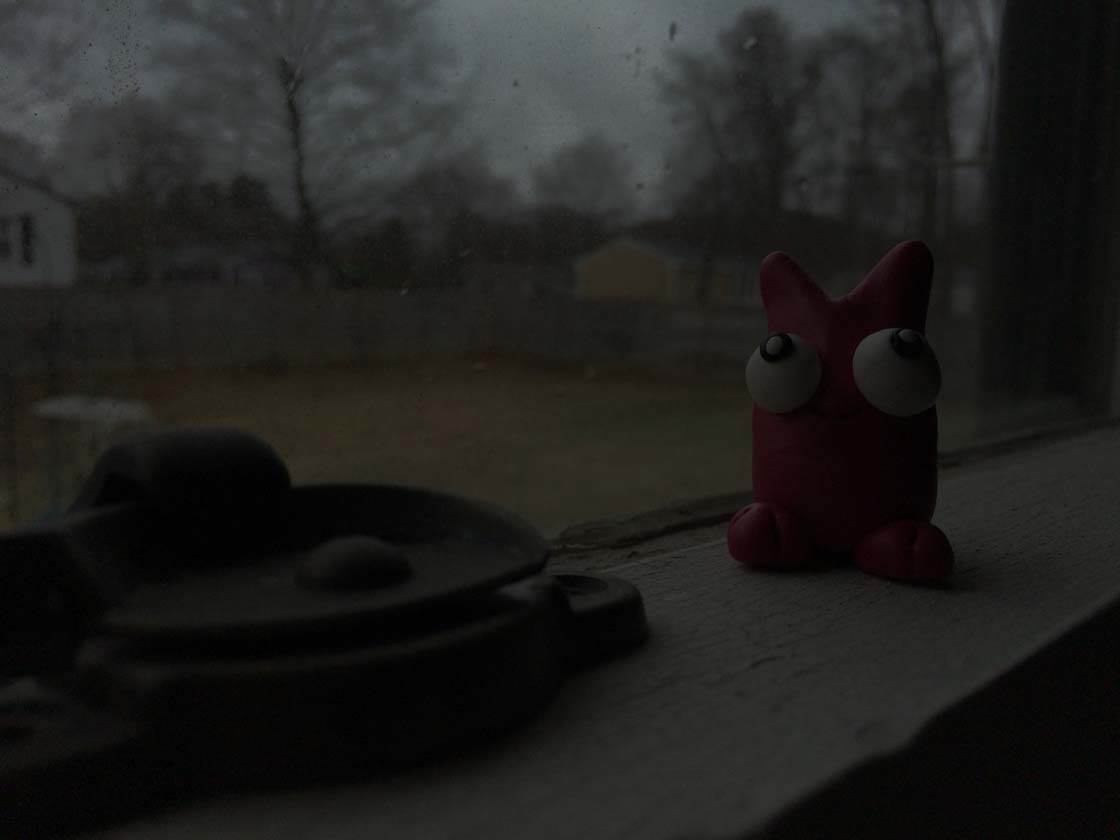
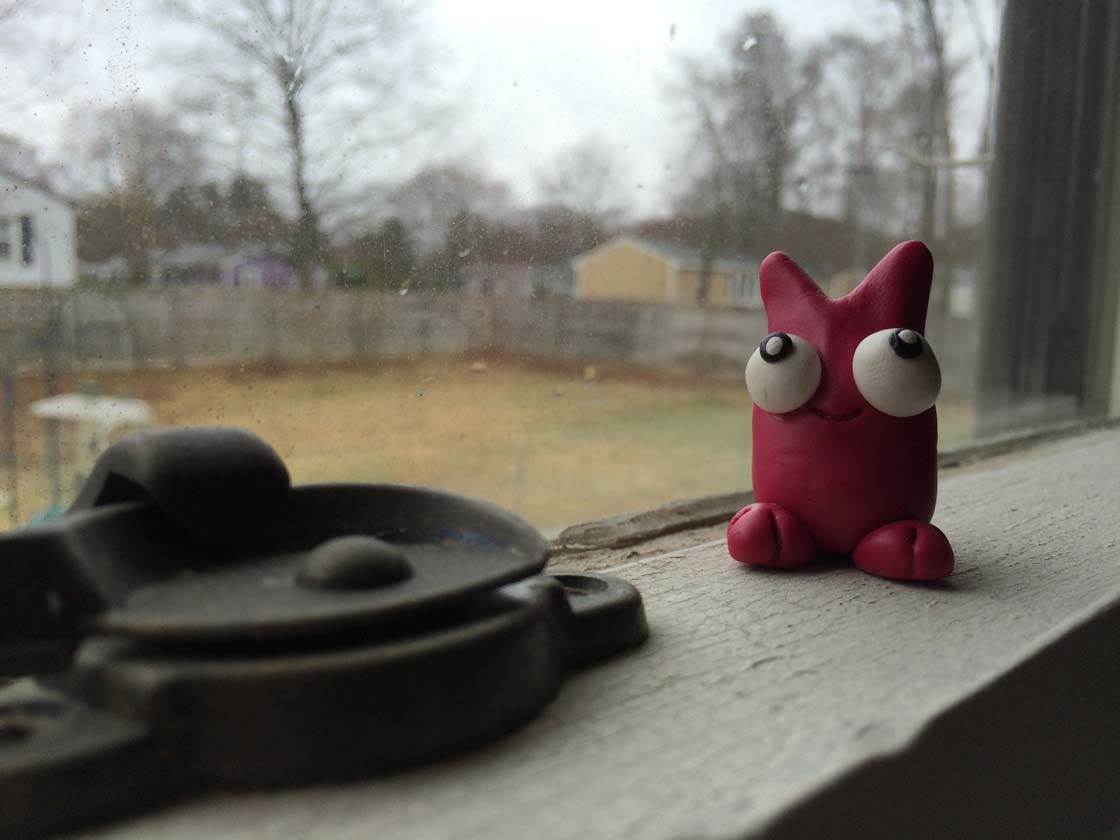
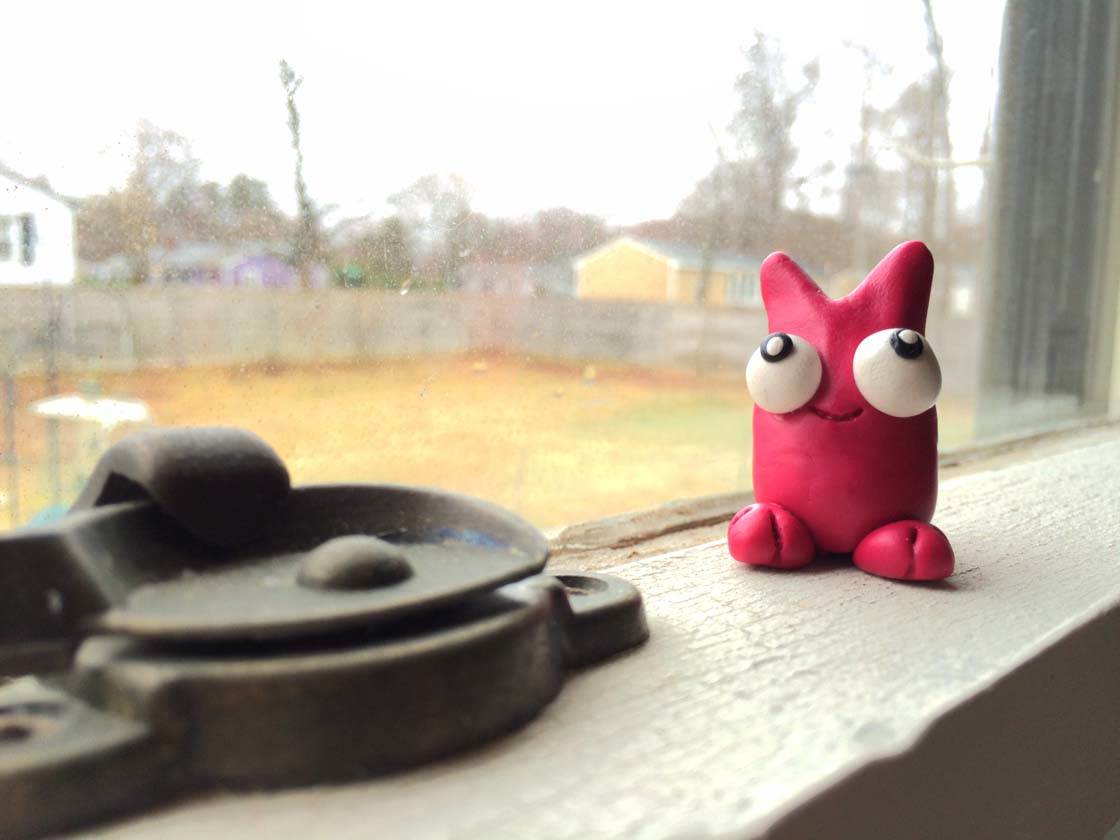
Below is the resulting image after the Fusion app has combined them – the photo has detail in the shadows, highlights and midtones.
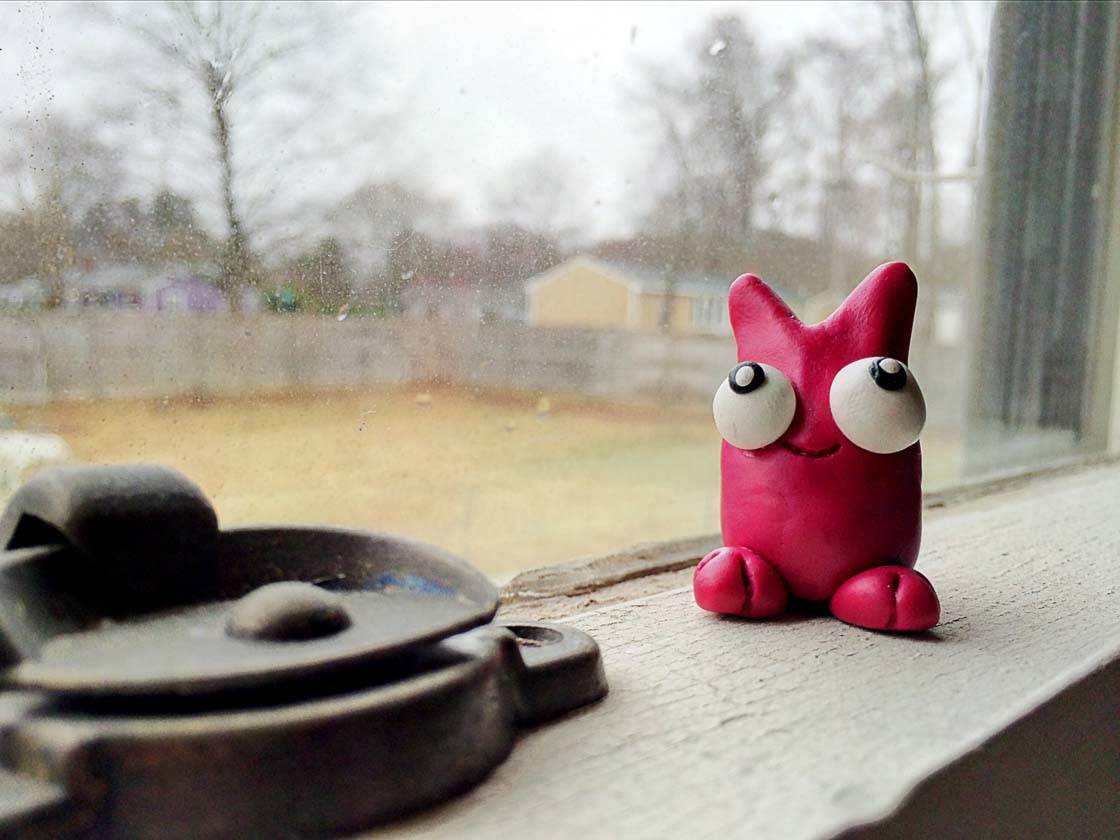
You can simply allow Fusion’s bracketing to be automatically determined based on an algorithmic analysis of the scene, or you can manually set the exposure range of the brackets at either two (2.0) or three (3.0) stops over- and under-exposed. This manual option is great to have, but I found that the Auto setting did a great job nearly every time.
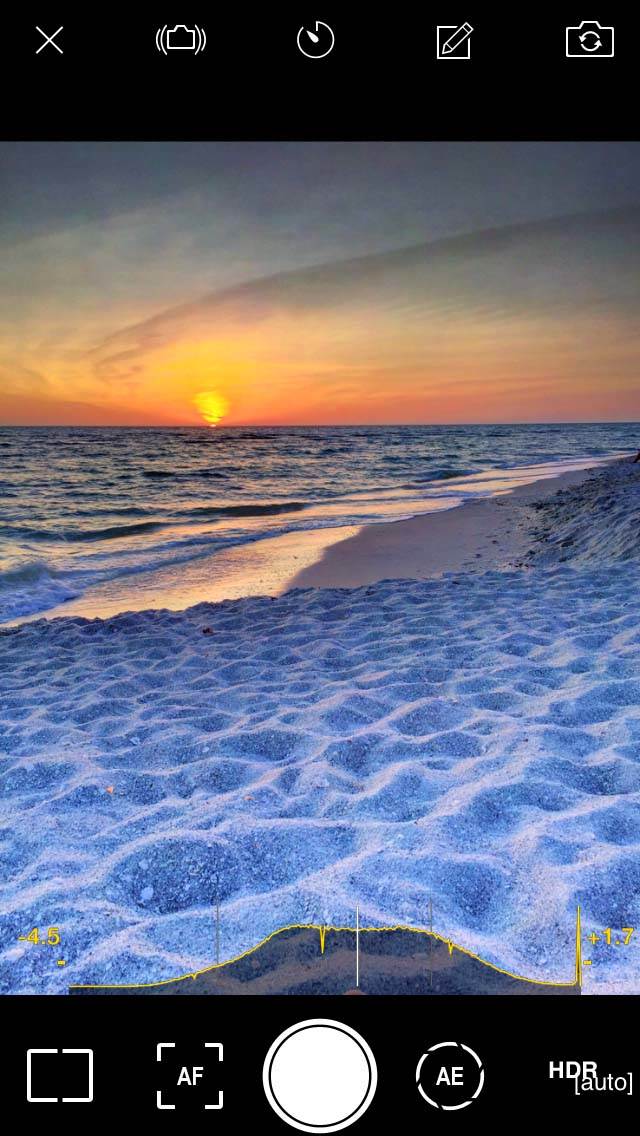
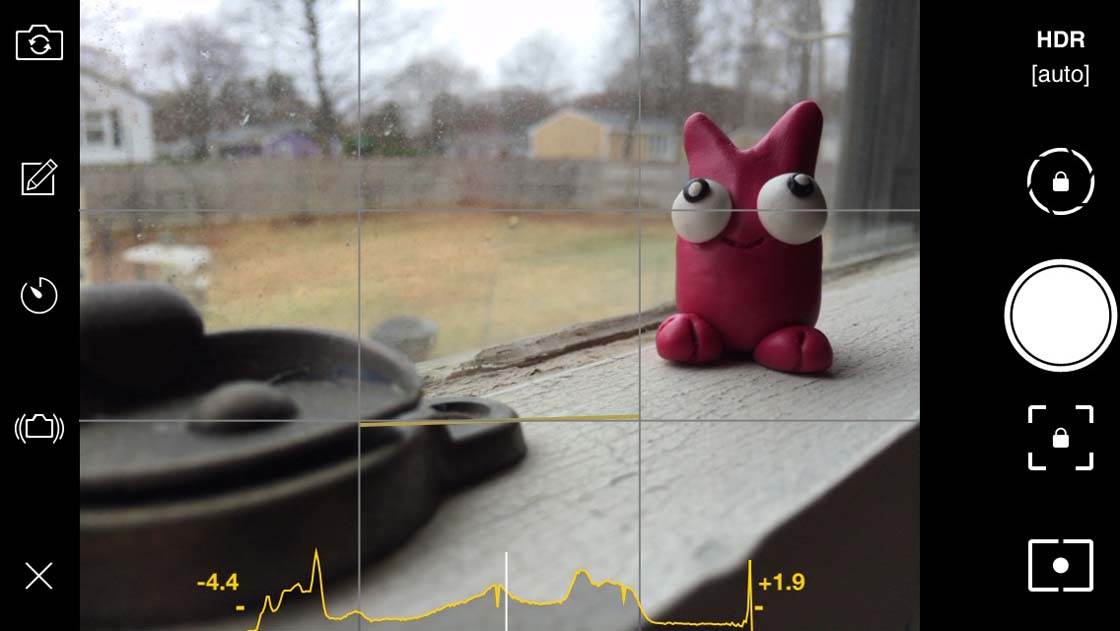
Fusion also offers many of the standard options found in nearly all camera apps including exposure lock, focus lock, a self-timer, and even an anti-shake feature.
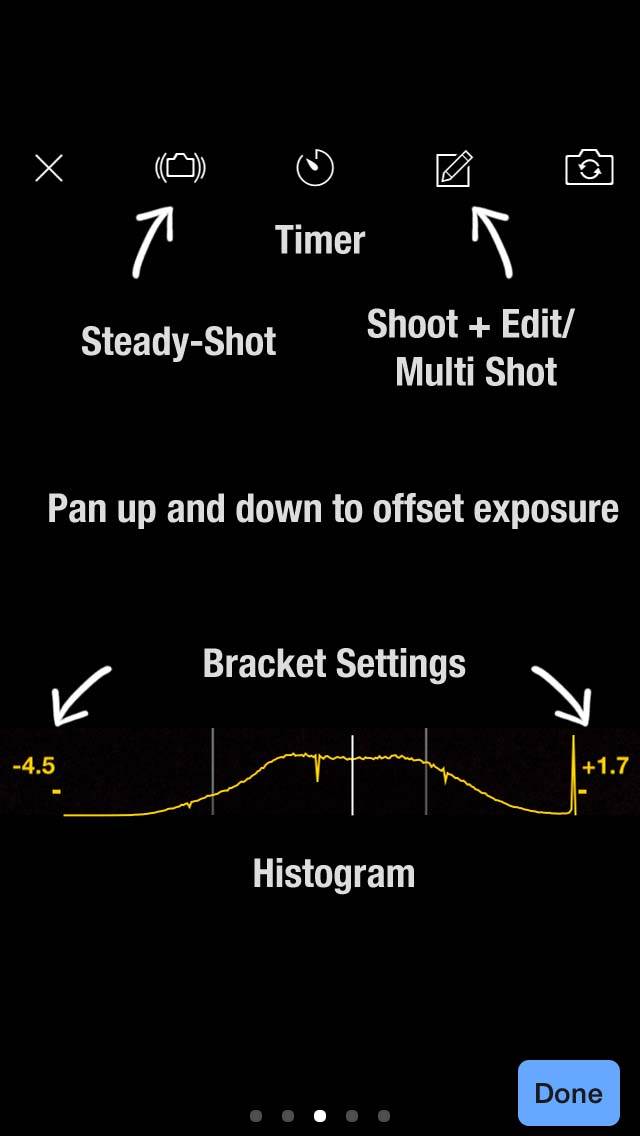
A helpful histogram at the bottom of the screen gives you immediate, real-time feedback on the exposure levels of your current scene.
Adjusting Your HDR Photos
After capturing an image (or more accurately, a series of three images taken at different exposures), you can either take additional photos and edit later, or you can go directly to Fusion’s built-in editor.
The editor instantly aligns the multiple photos taken for each shot to remove any slight camera movement, and then provides you with an initial “fused” result. Fusion then blends the best exposed areas of the three photos to create a more well-balanced image.
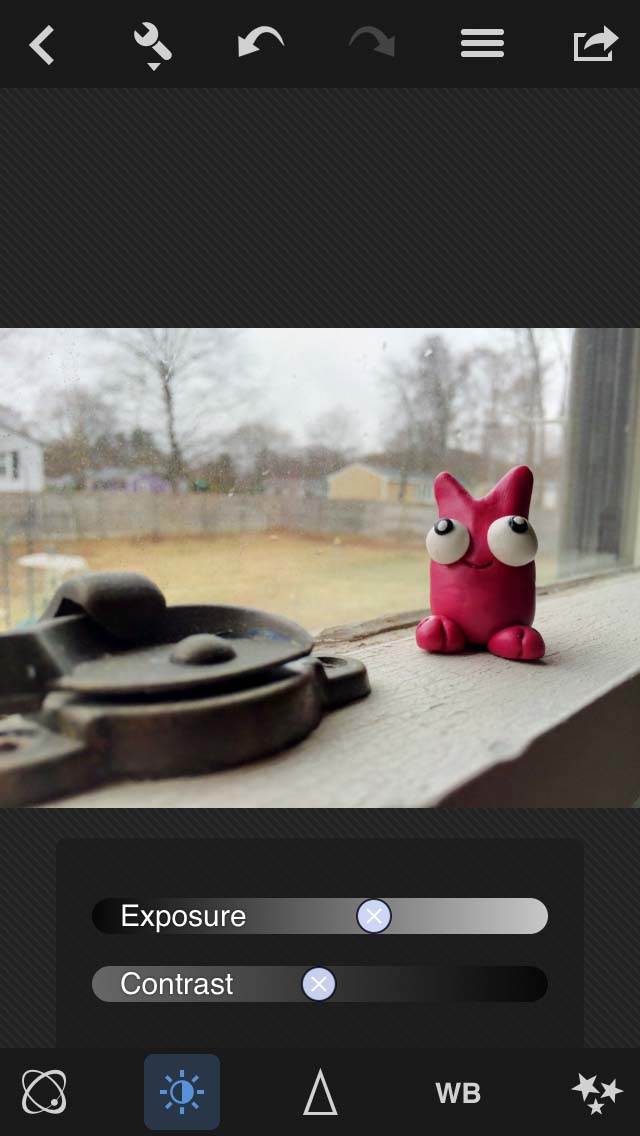
From here, you can further adjust the look of your image through a number of edit settings including Shadows, Highlights, Exposure, Contrast, Sharpen, Intensity, White Balance and Saturation/Warmth.
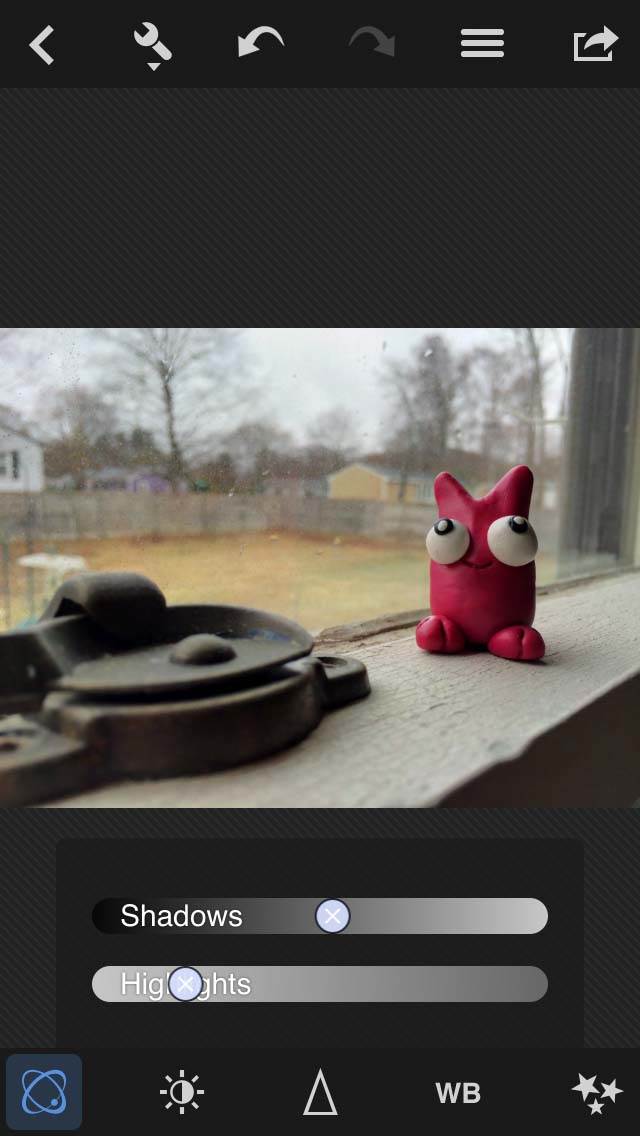
You can also pinch zoom your image while making all of these adjustments to better see the details.
Detailed Photo History
Fusion stores all brackets of each of your recent photos so that you can return to them later and make additional edits before re-saving them.
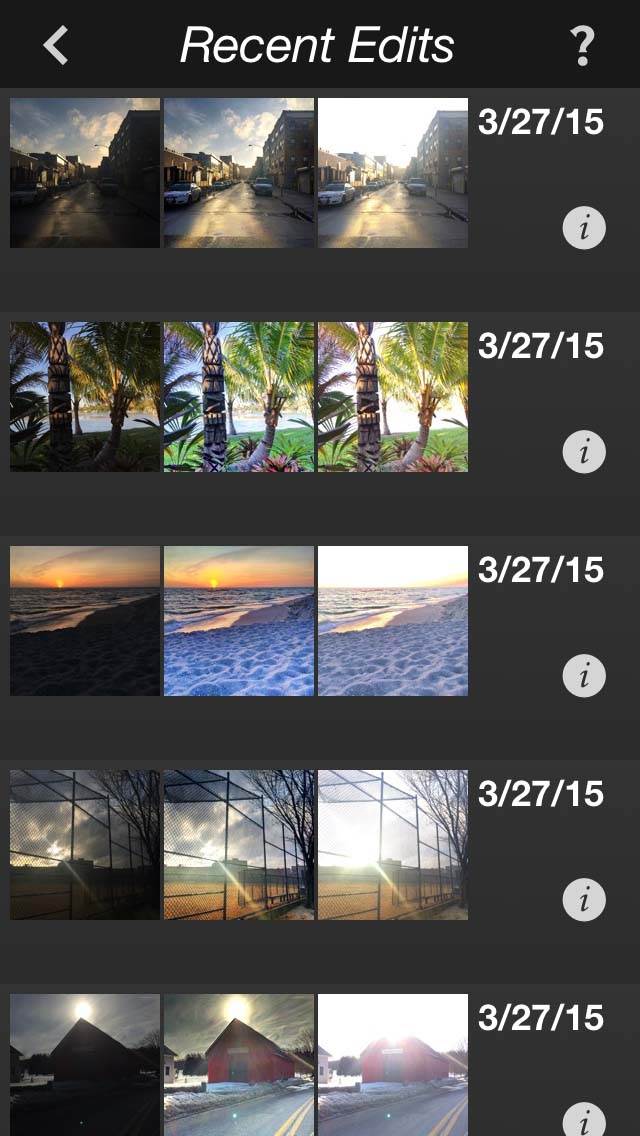
You can access this list of “sessions” by pressing the back button in the upper left corner of the edit screen (or the “X” if in camera mode) to return to the home screen, and then tap Recent.
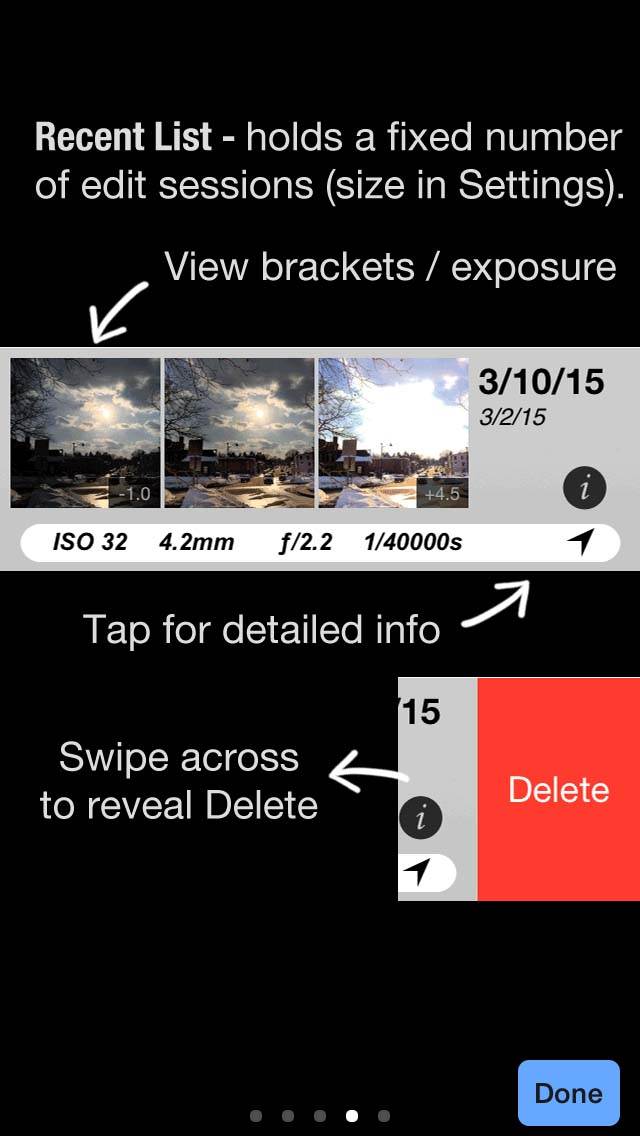
The session manager includes a thumbnail display of the three brackets for each image captured. Not only can you reopen individual sessions for further editing, but you can save up to 200 sessions and selectively delete those that you no longer wish to keep.
The Verdict
So how does the HDR image quality of Fusion compare to other HDR photo apps? Personally, I have never been a big fan of HDR as the end result is often very artificial looking.
Most HDR apps only seem capable of rendering images with too many shadow details and muddy highlights, which results in a lack of tonal “depth” in the photos. This is often referred to as “retina burn.” If this is the look you’re going after, then there are many such HDR apps that can produce those sort of images.
While Fusion is certainly capable of creating those same sort of extreme HDR images, the wide range of available adjustment settings gives you the option of dialing in a far more subtle HDR effect that may be more visually pleasing to some tastes.

It is this ability that makes Fusion stand out from the crowd of existing HDR apps. If you like to create HDR photos, then Fusion can provide you with additional levels of control to help you take your images to the next level.
If you’ve never been a big fan of HDR (like myself), then Fusion may be the app that changes your mind and shows you what truly great HDR photos can look like. I’ll be keeping it on my phone for the foreseeable future for sure.


I tried it out. I thought the results were pretty decent. I exported the bracketed shots to my computer, and used Photomatix to make an HDR of them. I tend not to “overcook” my HDR productions, so it was a pretty fair comparison. In general, to my eye, the Photomatix result was “better,” bu Fusion did a really credible job.
Thanks for the article. I will try it! My favourite HDR app for now is Vivid HDR, which is a free “mode” inside the ProCamera 8 camera app for iOS. This is my goto camera by the way. Anyway, Vivid HDR is highly recommended. Cheers
I want this app pleas
my mail AppStore rshad18s@gmail.com