Have you ever considered turning your iPhone photos into abstract works of art? Are you looking for inspiration and ideas to help get you started? Or do you have the creative vision but don’t know which apps to use? In this tutorial you’ll discover a variety of ways to create stunning digital artwork from your iPhone photos, with suggestions for which apps to use to create different artistic effects.
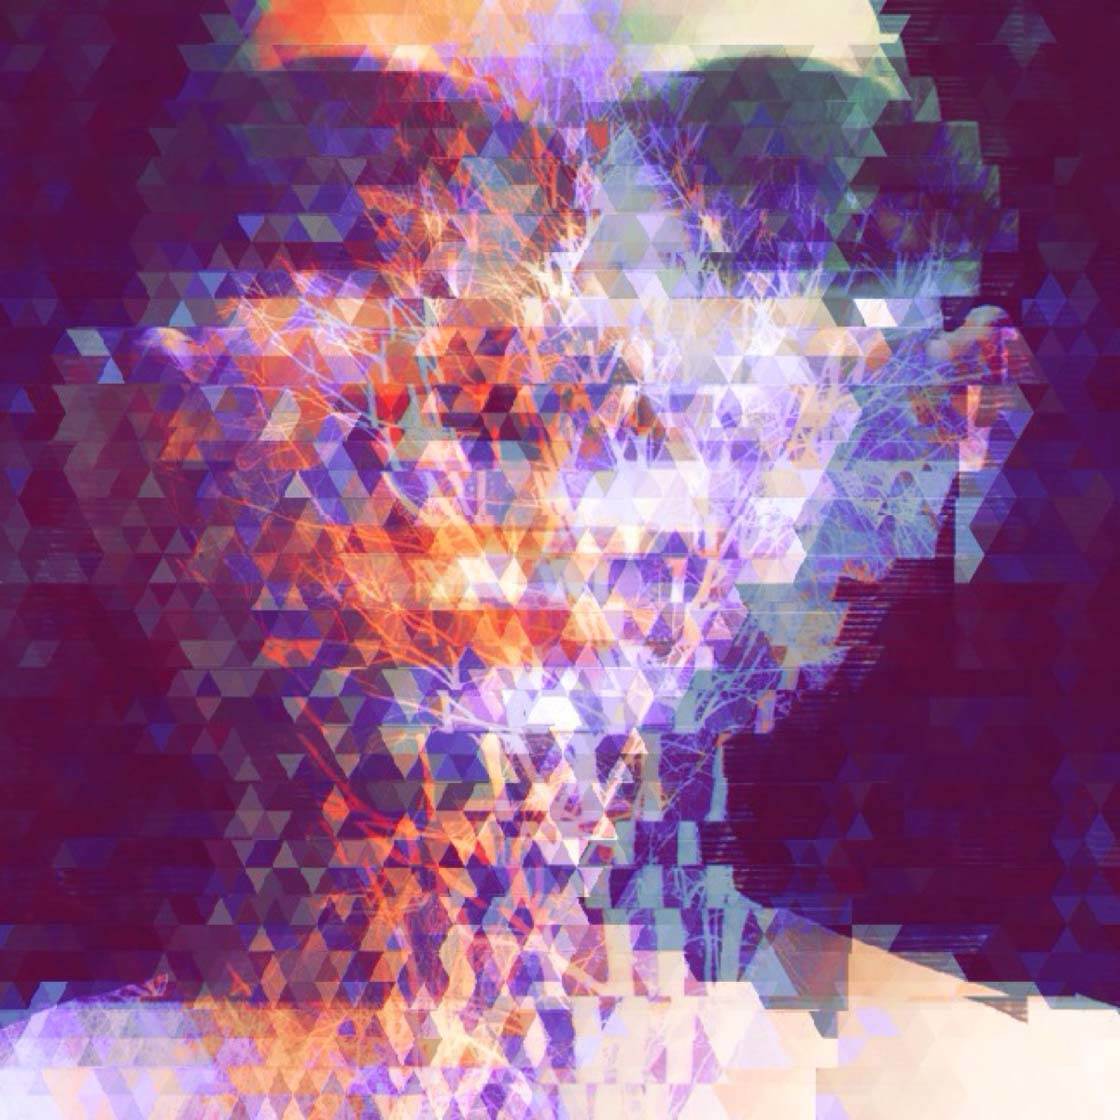
Why Create Abstract Digital Art?
The first reason you might want to create this type of art is creative freedom. Abstraction indicates a departure from reality. Because abstract art doesn’t have to be an accurate representation of the subject, you have the freedom to be as creative with your photo editing process as you wish.
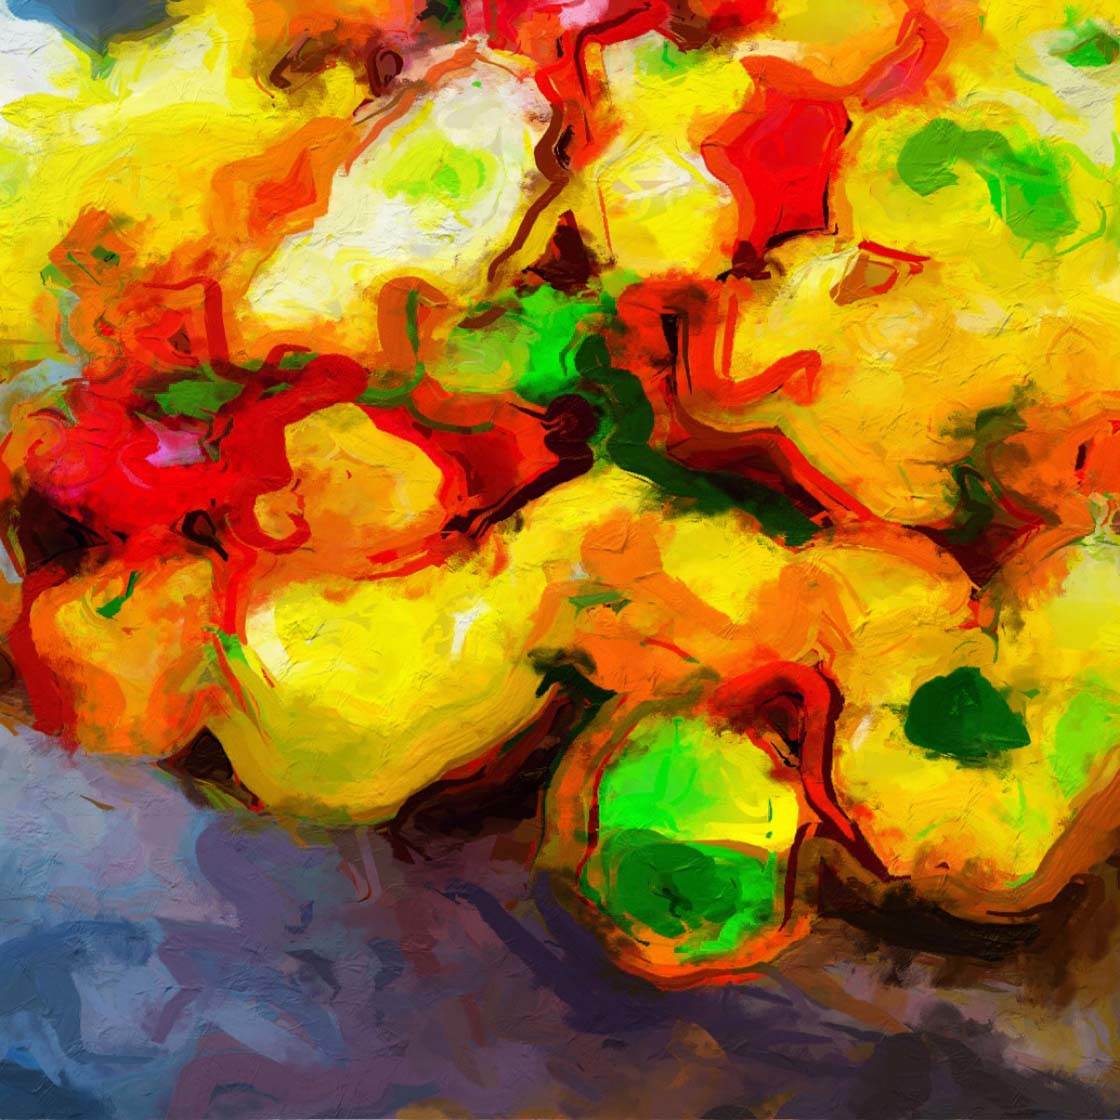
The second reason is to play and experiment with photo editing apps. I enjoy taking photos with my iPhone but I especially love the process of editing them.
Working with a variety of photo editing apps to transform my iPhone photos has given me a broad knowledge and helped me get over any fears of learning new apps.
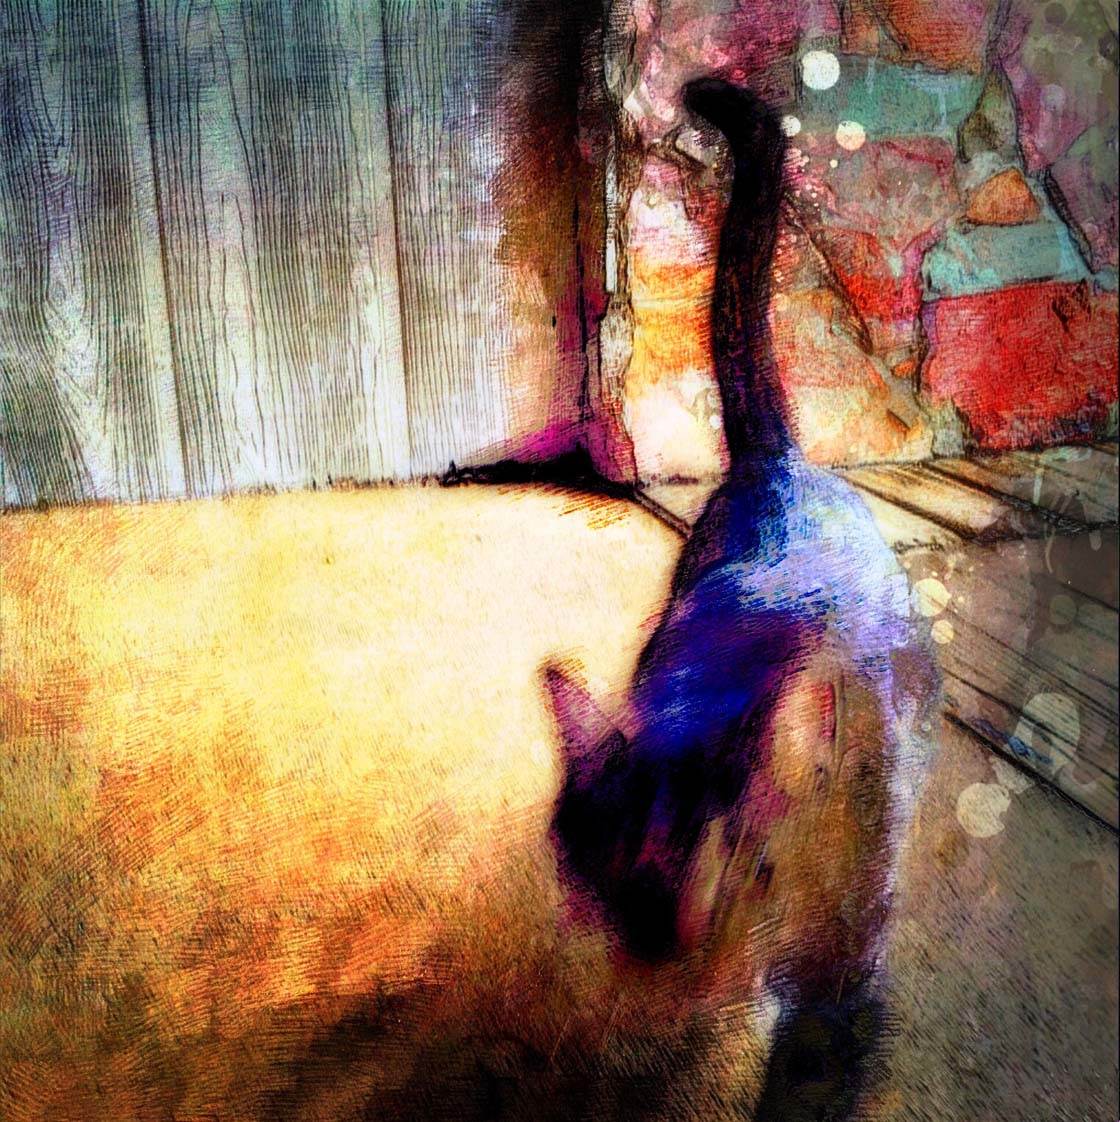
Finally, one of the best reasons to do this is to train your photographic eye. Although an abstract image may appear to be completely disorganized, a good abstract emphasizes composition. Creating abstracts trains your eye to notice shapes, lines, colors and patterns.
In this tutorial we’re going to take a look at three ways to create abstract art with your iPhone photos. We’ll be exploring distortion, layering techniques and painterly effects. For each technique I’ll suggest a selection of different apps which can be used to achieve these effects.
1. Distort Your Photo
One type of abstract is representational, which means that what you see may not look realistic but you can get an idea of what it is. Blur is one of the easiest ways to create a representational abstract.
Blur softens the edges of your subject so that the focus is on just the colors and overall shape. It also distorts by adding a sense of exaggerated movement. You can find some great blur effects in apps like iColorama, Focus Motion and BlurFX.
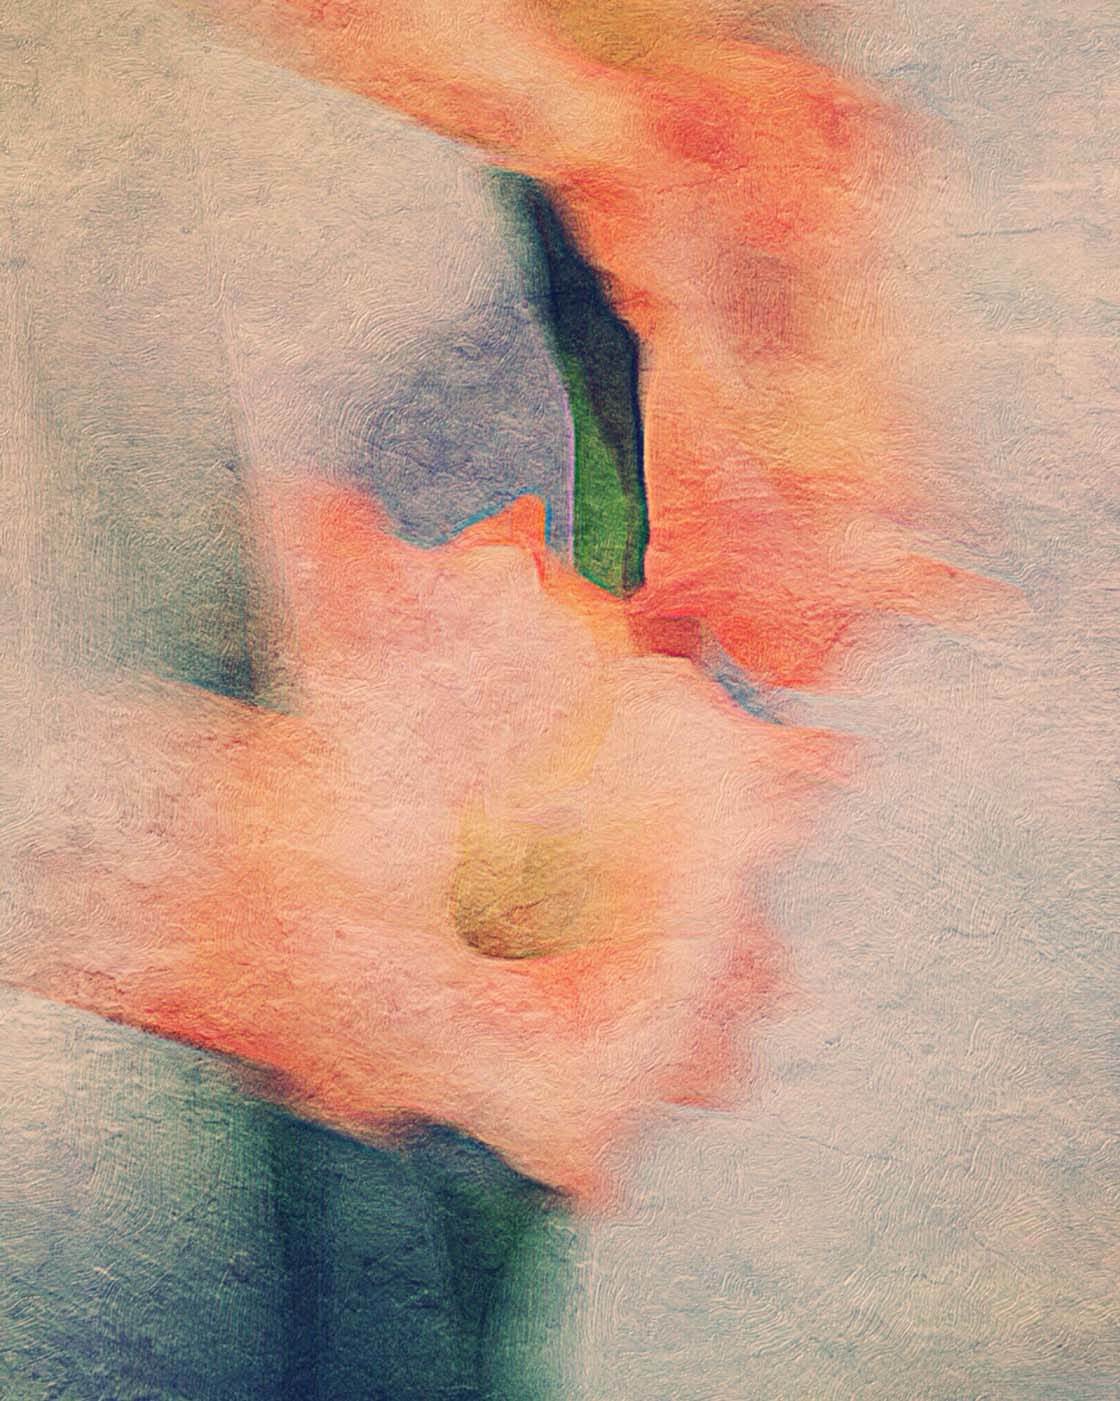
To create the image above, a motion blur effect was applied to the gladiolus flowers. This effect was then enhanced by softening the lines with a painterly preset in the Brushstroke app. A strong texture was also added in the DistressedFX app (check out our tutorial on applying textures to your photos).
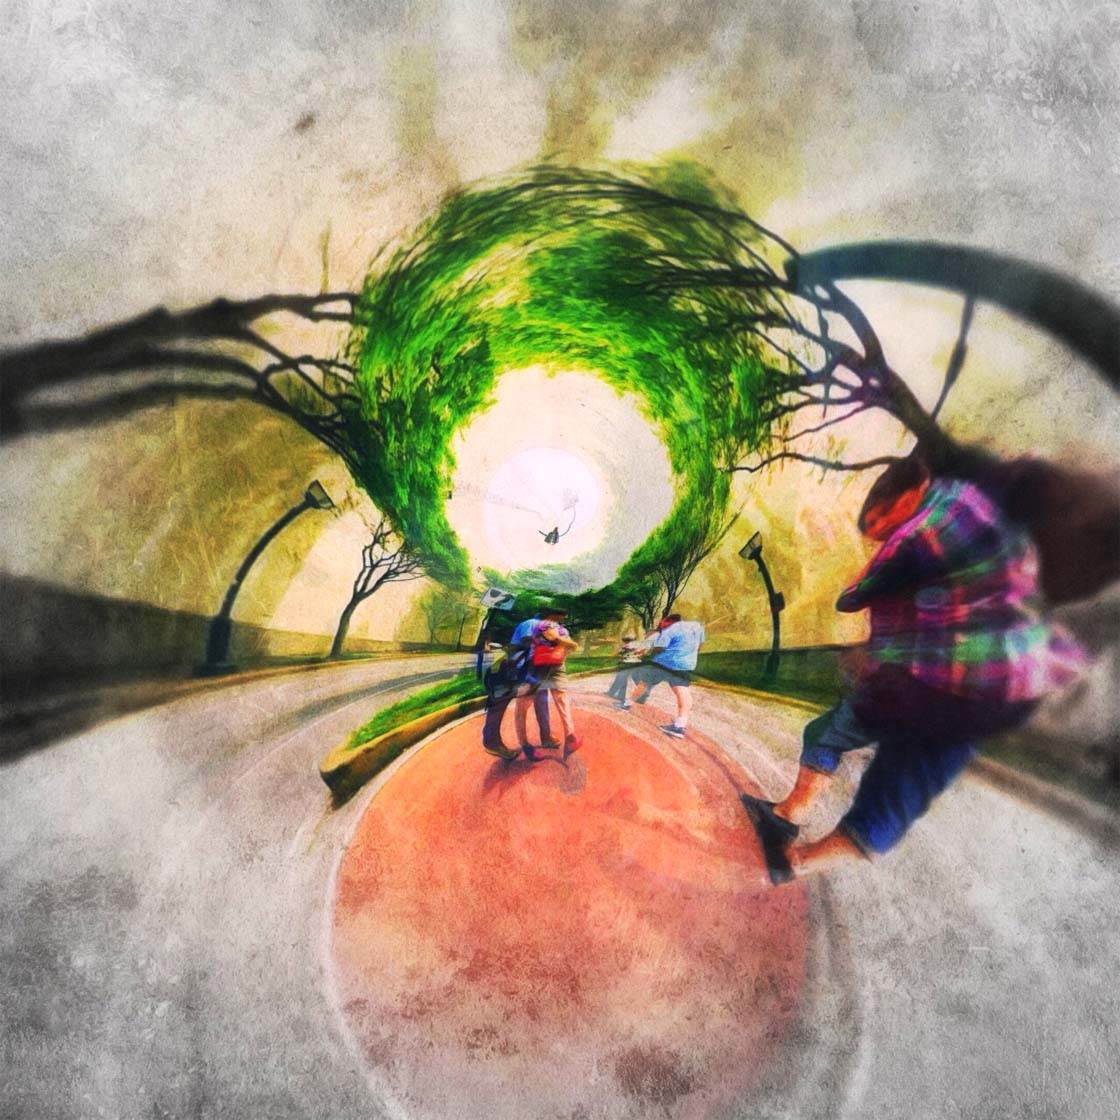
Another type of distortion is the tiny planet effect. The tiny planet effect (also called stereographic, little planet or little world effect) turns your photo into a circular image imitating a small planet.
The bottom third of the photo becomes the center of the planet and the top of the photo wraps around the planet. There are several photo editing apps that will easily produce this effect such as RollWorld, Tiny Planet Photos and Circular+.
One of the things I love about applying a tiny planet effect is that even the most mundane photos get a lift. The photo below of people crossing the street was just sitting in my Camera Roll.
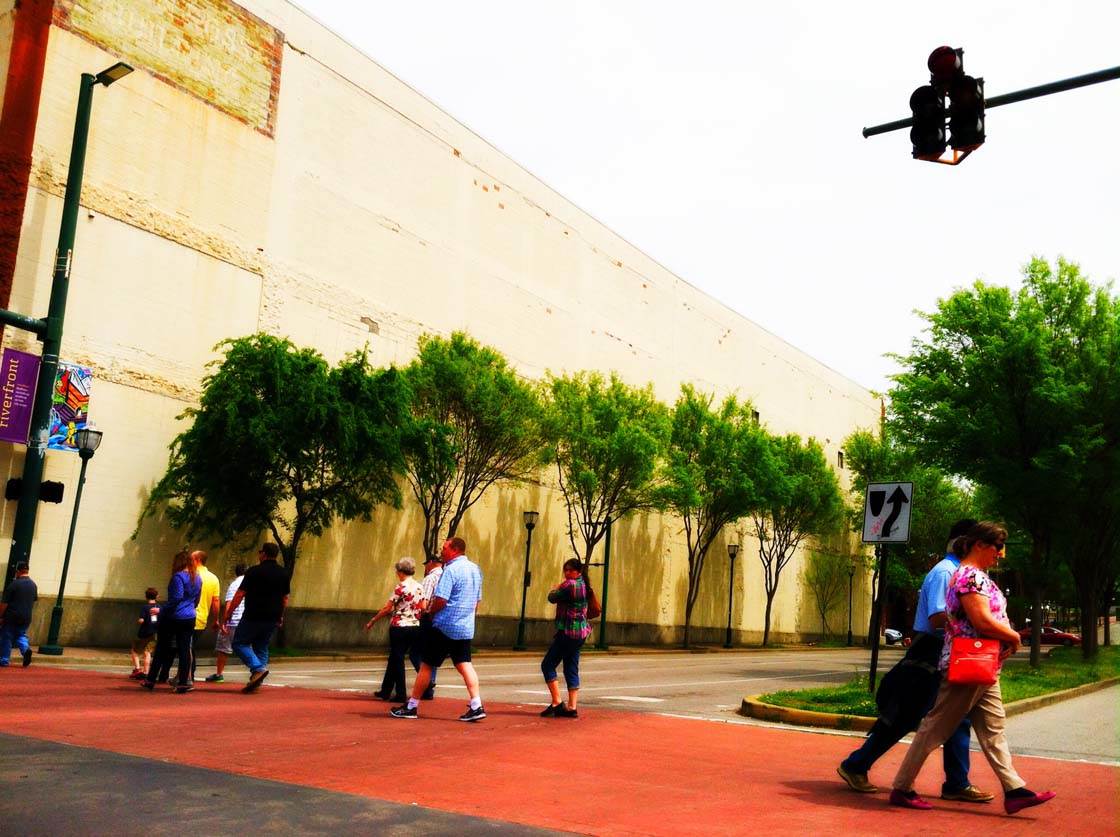
When I turned it into a tiny planet in the RollWorld app as shown below, the story and point of view became more compelling.
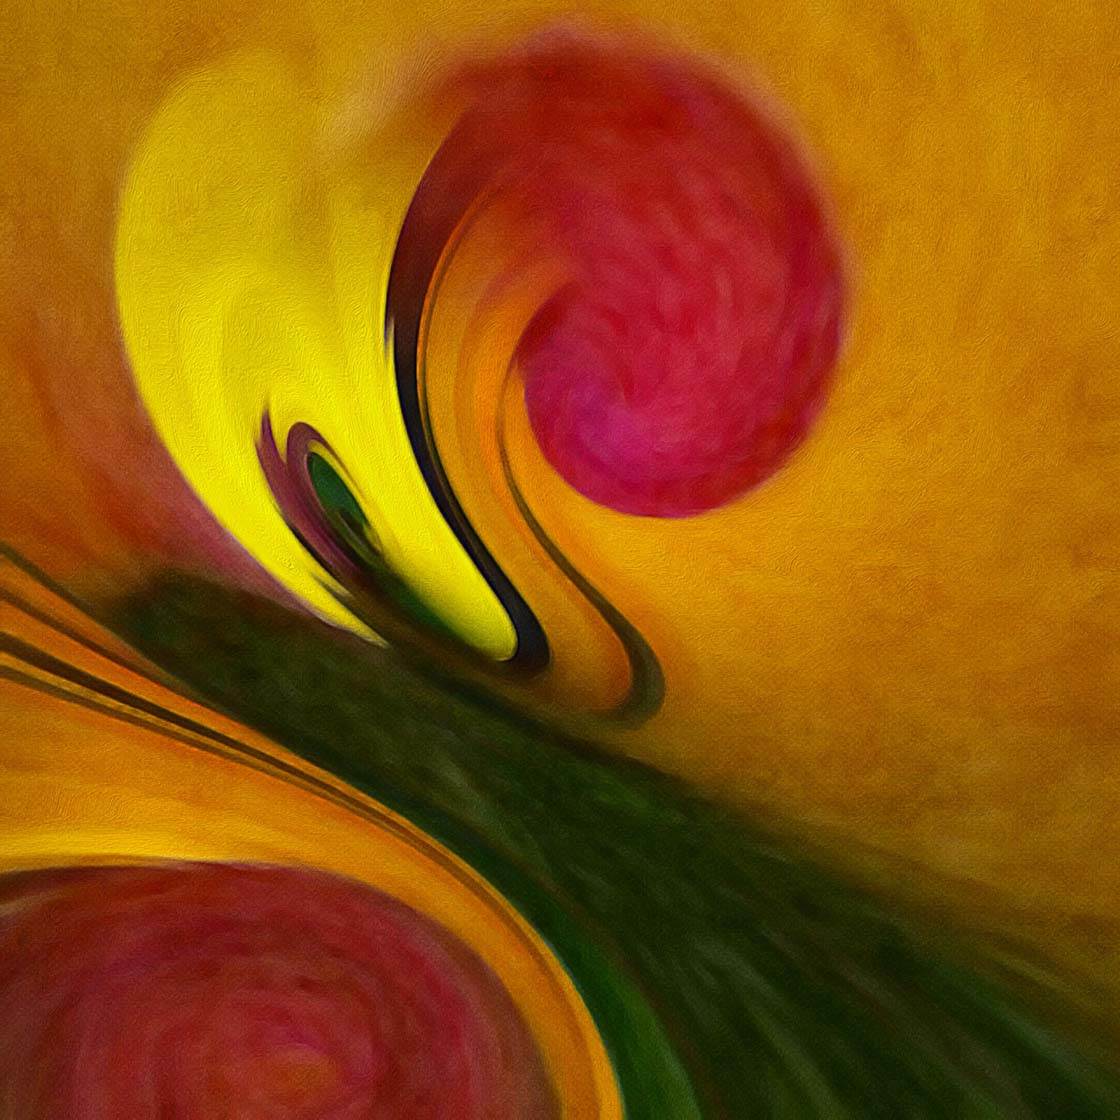
The tiny planet image below began as a simple bouquet of flowers. Using the RollWorld app, it becomes a unique flower abstract (check out our tutorial on how to create these amazing flower abstracts).
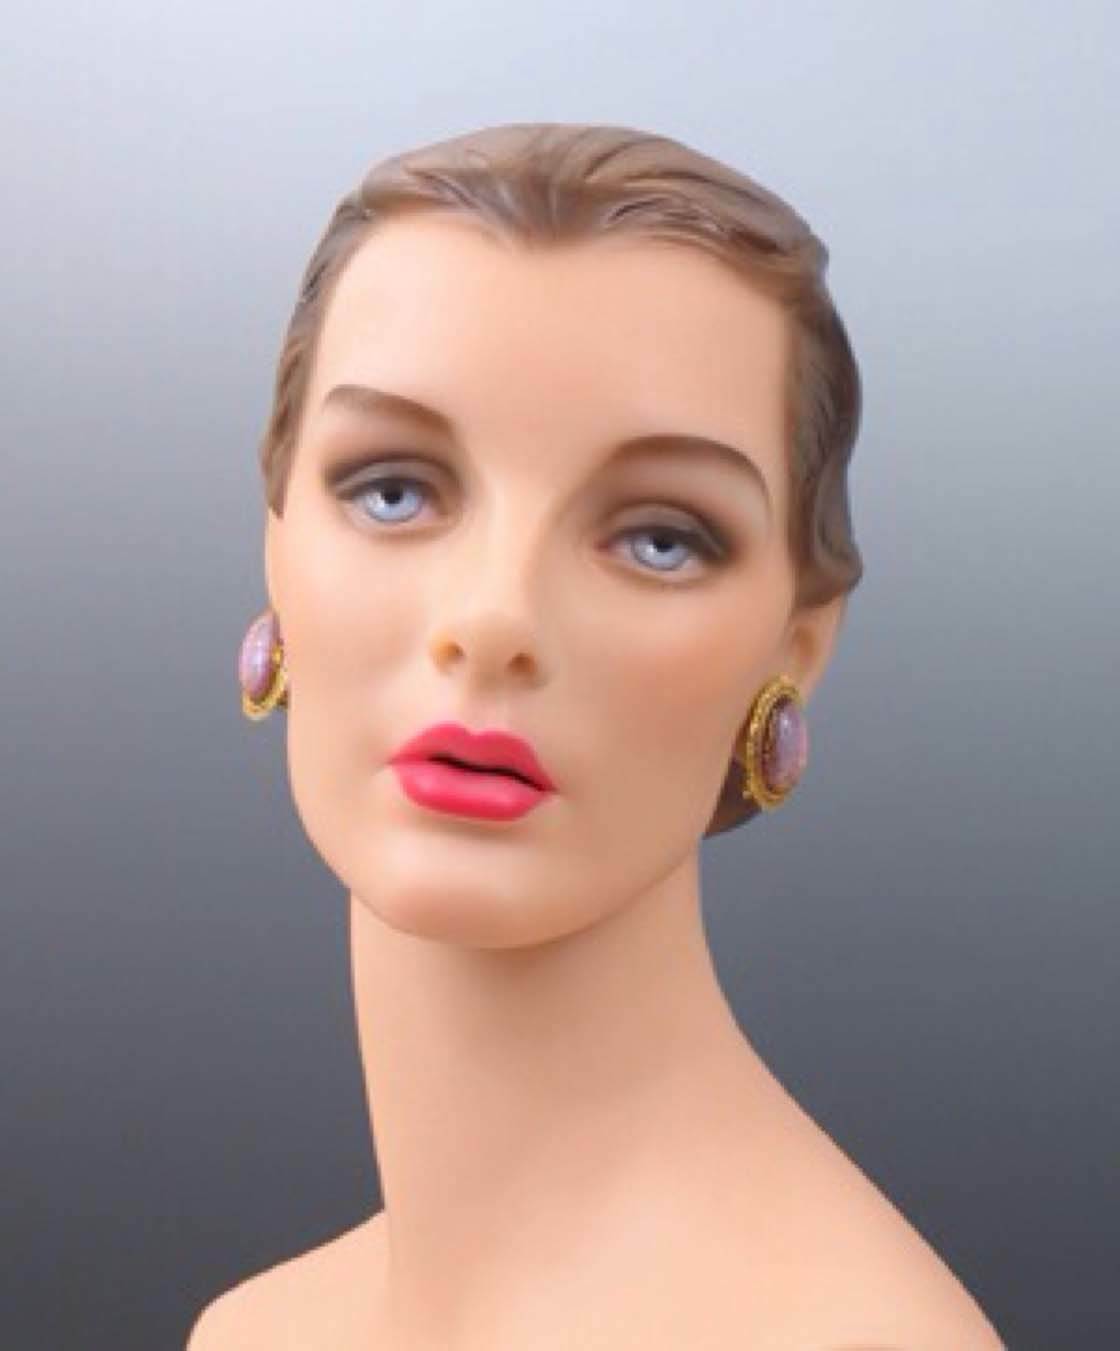
Liquid distortion is also fun. This type of distortion allows you to twist, pull, pinch and expand specific areas of your photo as if you were playing with putty. This is the main effect I used to distort the mannequin faces below. First, you’ll see the original image of the mannequin.
And below is what she became after reshaping her face, pinching in her neck and lips, elongating her chin, and drooping her eyebrows.
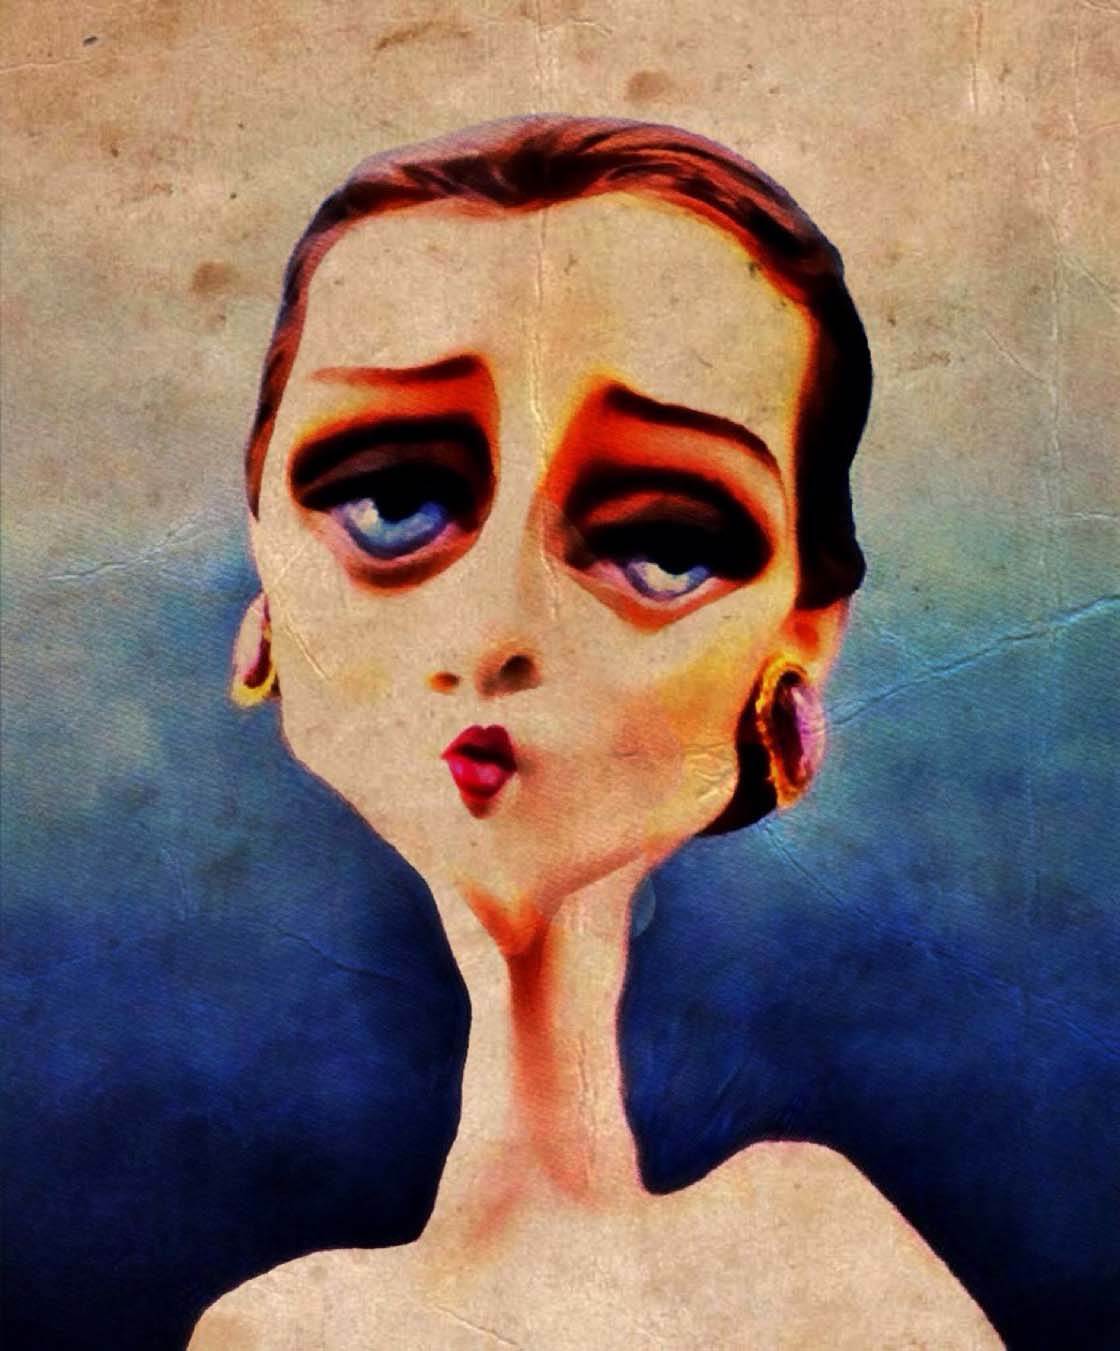
You can apply this surrealistic plastic surgery to other subjects as well, using apps like Photo Deformer and Elasticam.
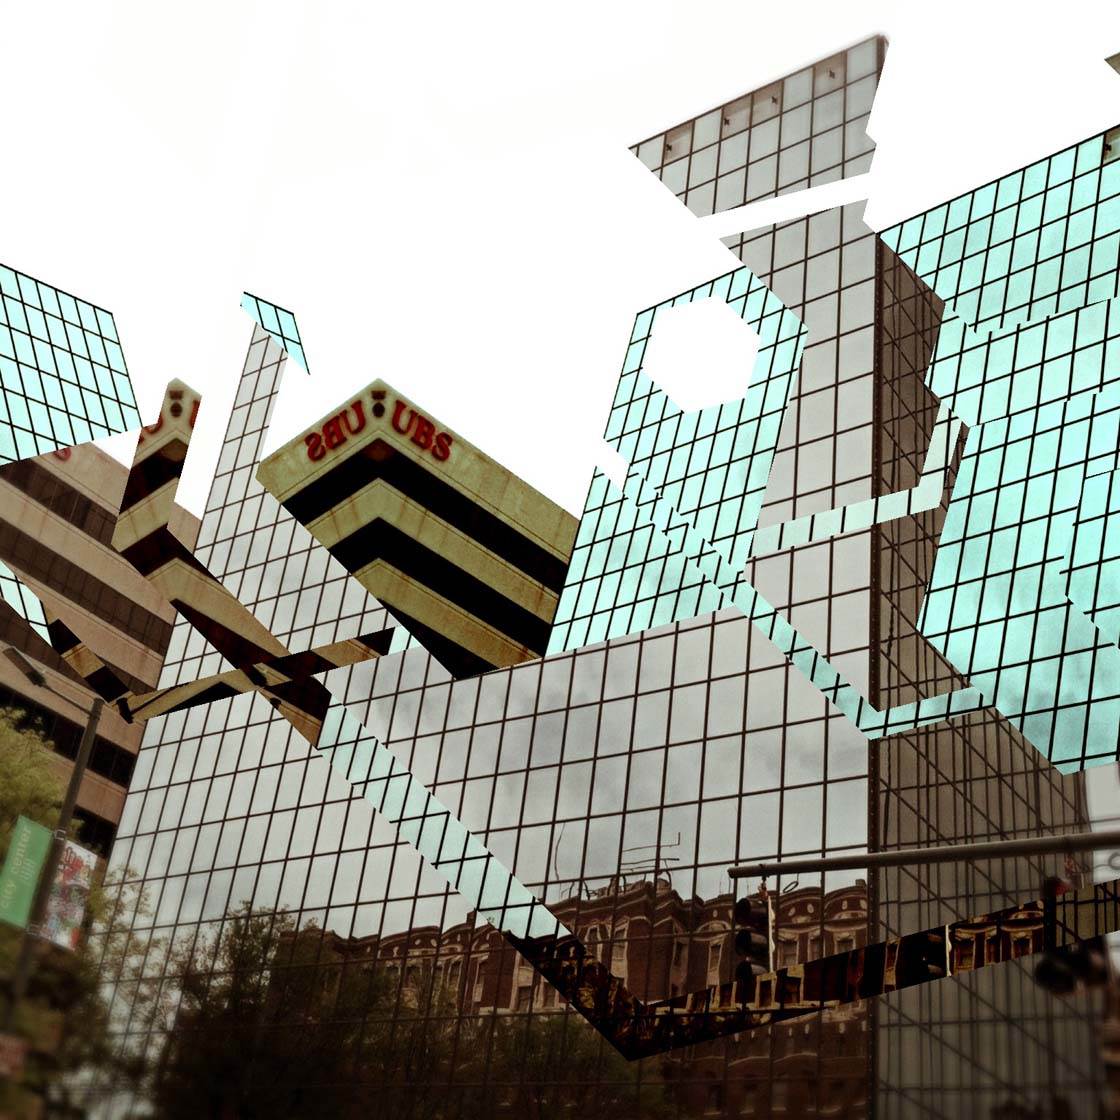
If you prefer less organic and more linear distortions, the Fragment app is a great choice. It offers geometric, mirror and kaleidoscopic effects to create a variety of shapes and patterns.
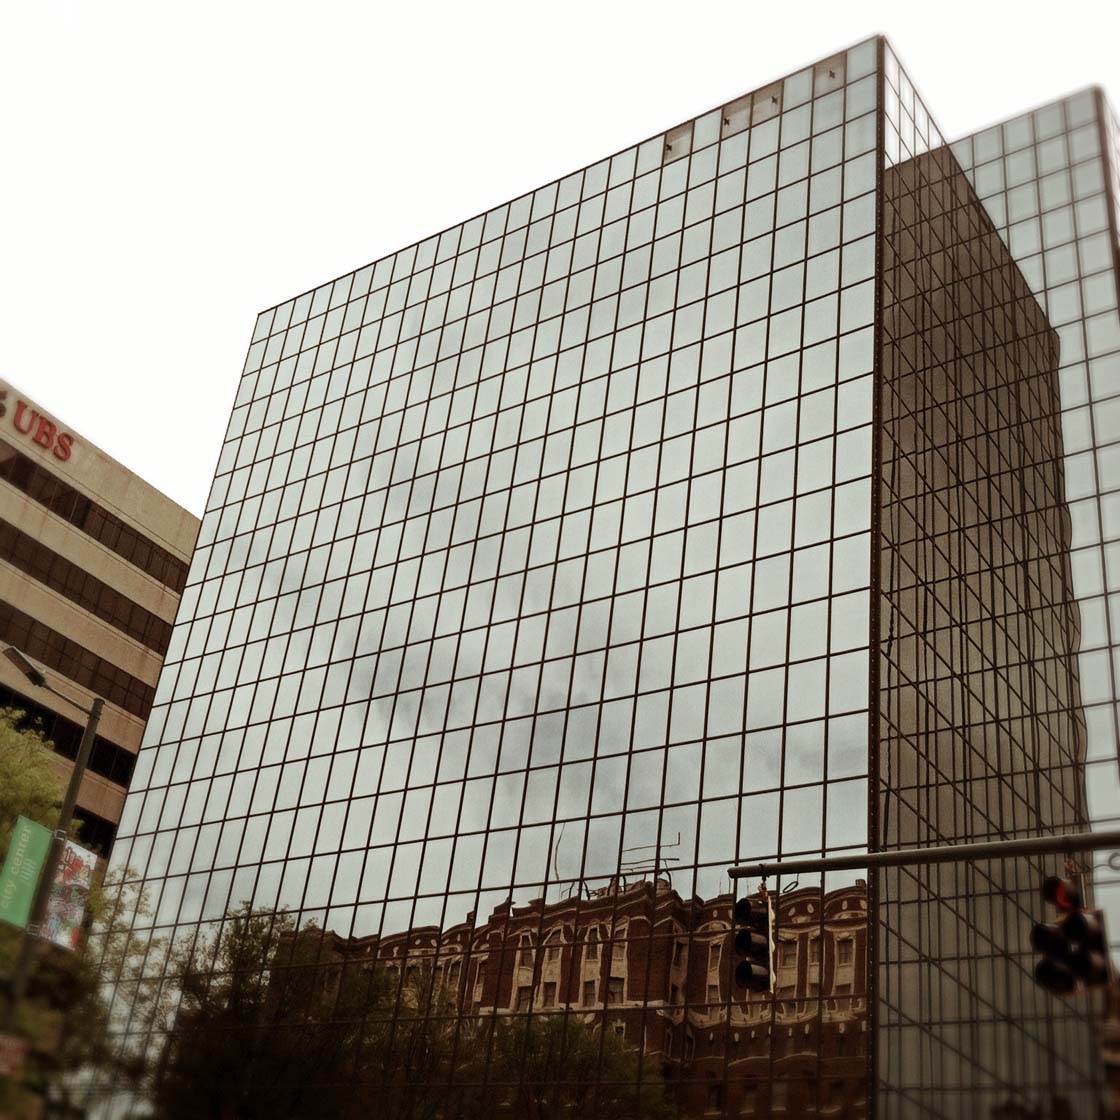
Above is the original image of a building that I chose to turn into an abstract piece of art. Using the randomizer feature in Fragment, I settled on the abstract version below that looks like shattered glass.
2. Layer Multiple Images
Another way to create abstracts with your photos is with a photo layering process. Essentially, you’re creating a collage or multiple exposure image, where different photos overlap each other and merge into one unique image.
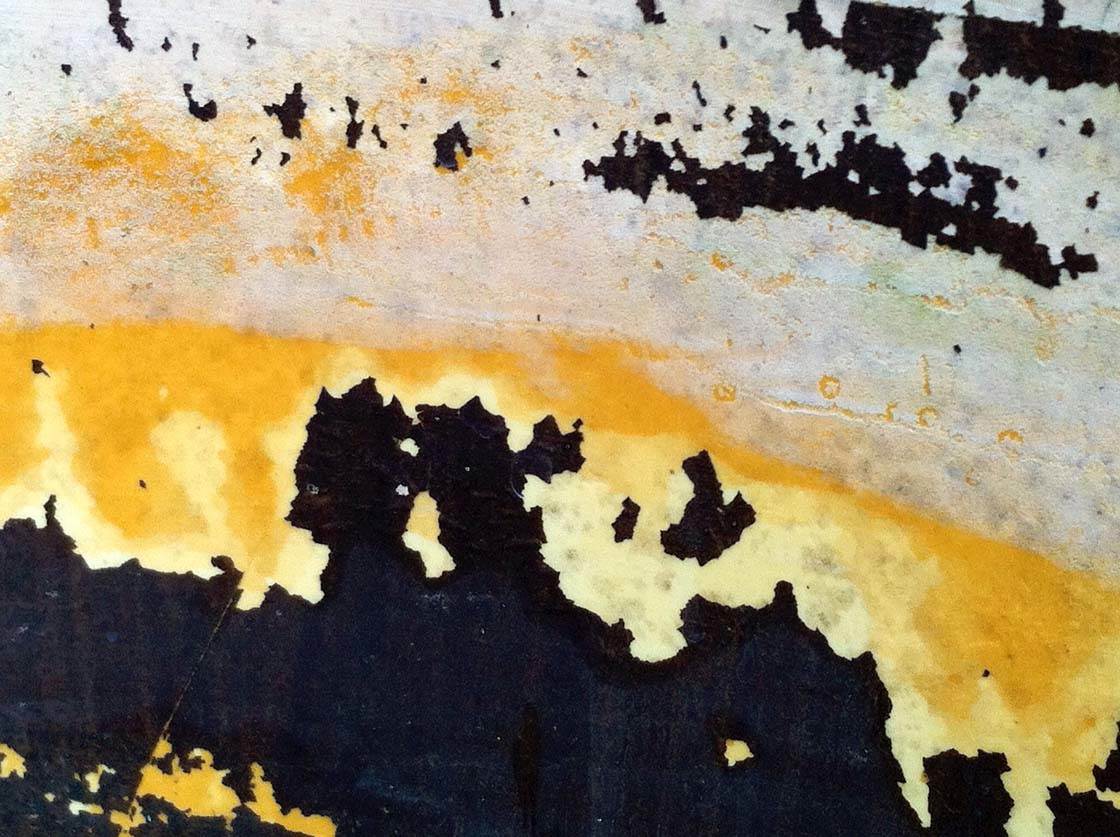
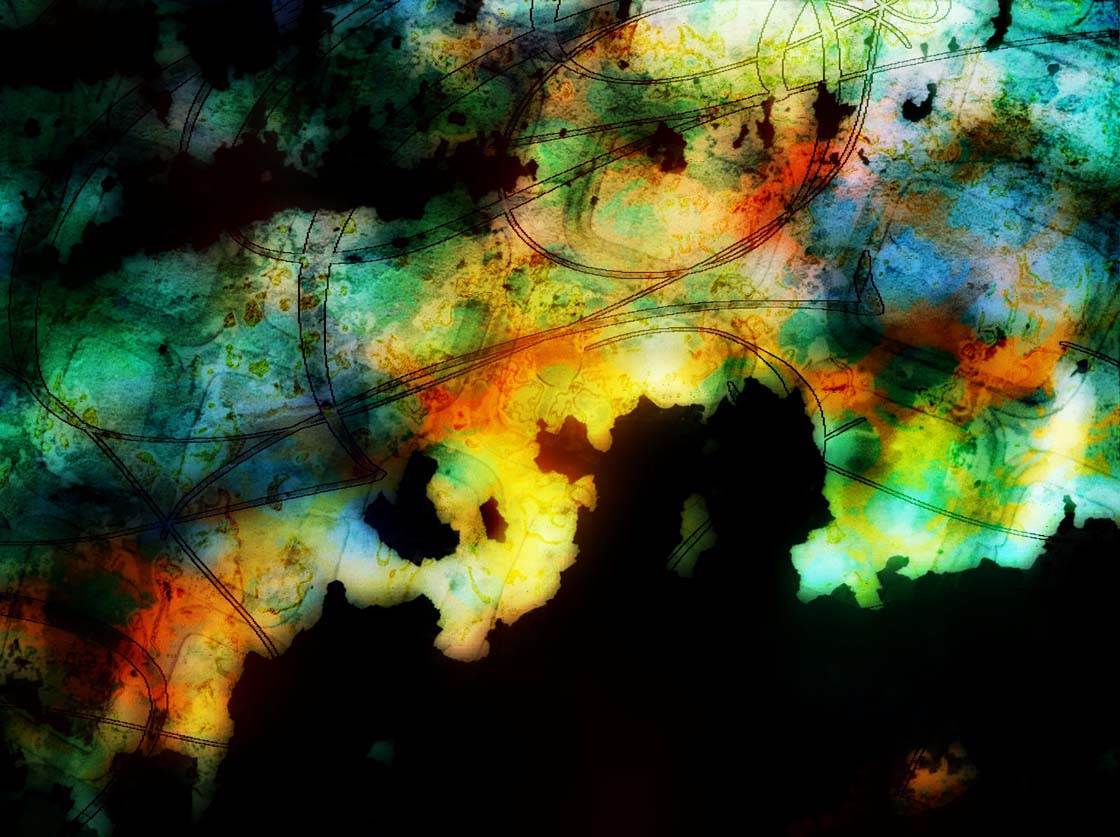
I found the texture of the inside of a barrel in the photo above to be a compelling abstract on its own. It inspired me to create the multi-layered abstract image below.
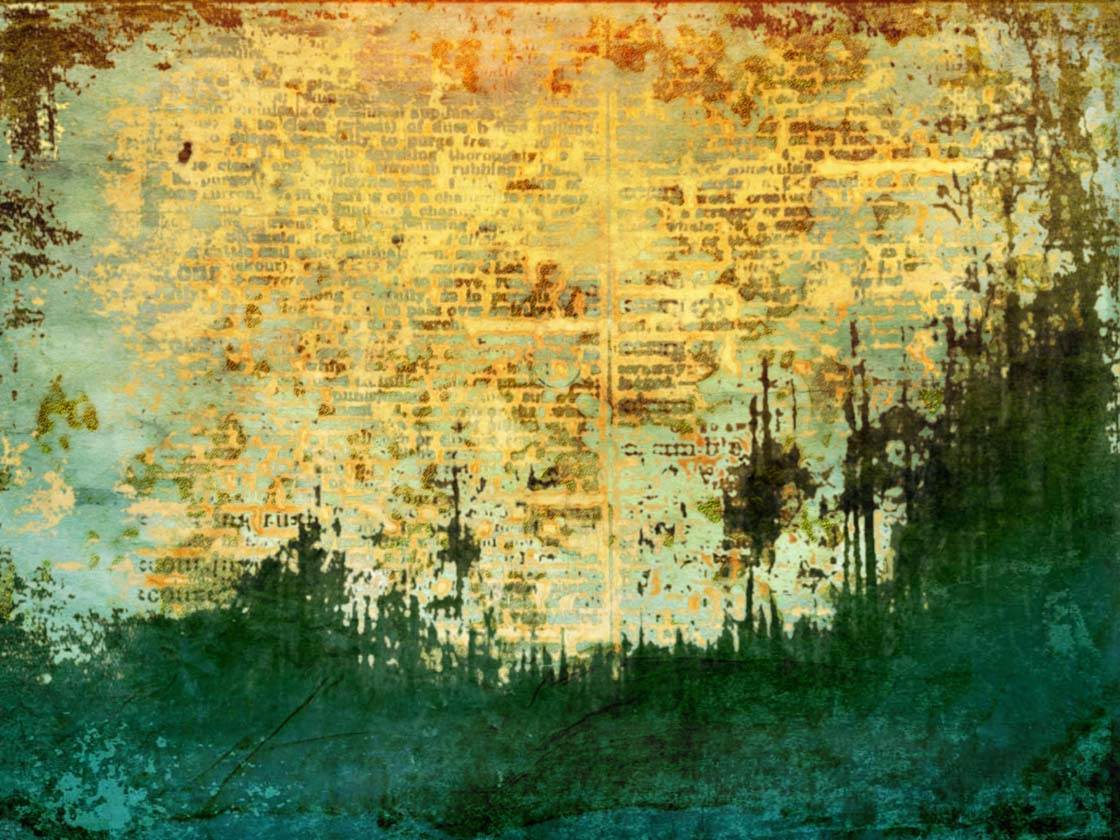
Trees are wonderful subjects for creating unusual abstract effects. The image below began as a photo of a row of trees in the distance. This was layered with a photo of a page from an old dictionary.
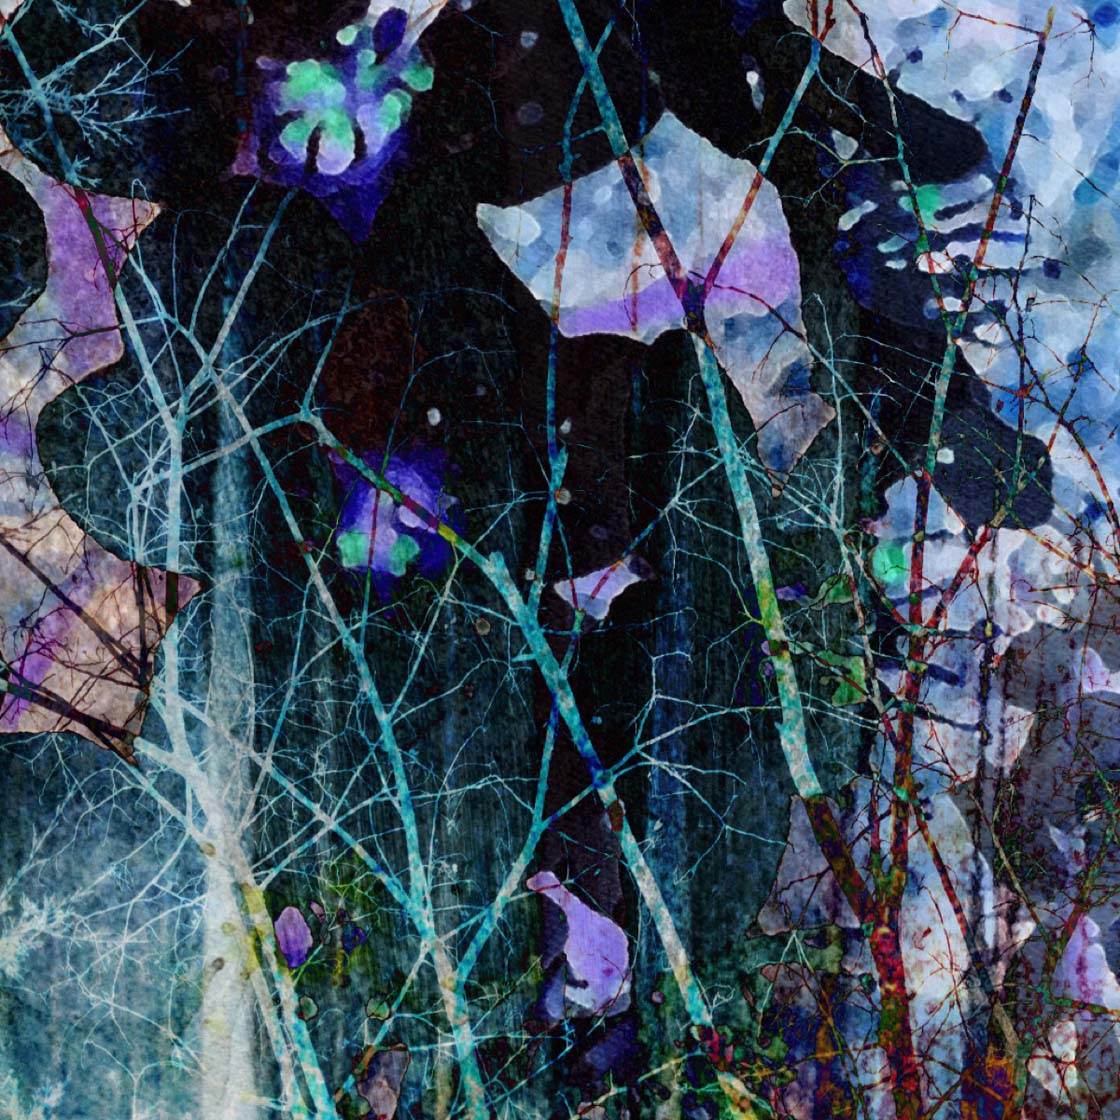
You don’t need to use your best photos for the layering process. Even photos of ordinary subjects will work well in this type of abstract. The image below consists of photos of trees and objects you might find in and around the home.
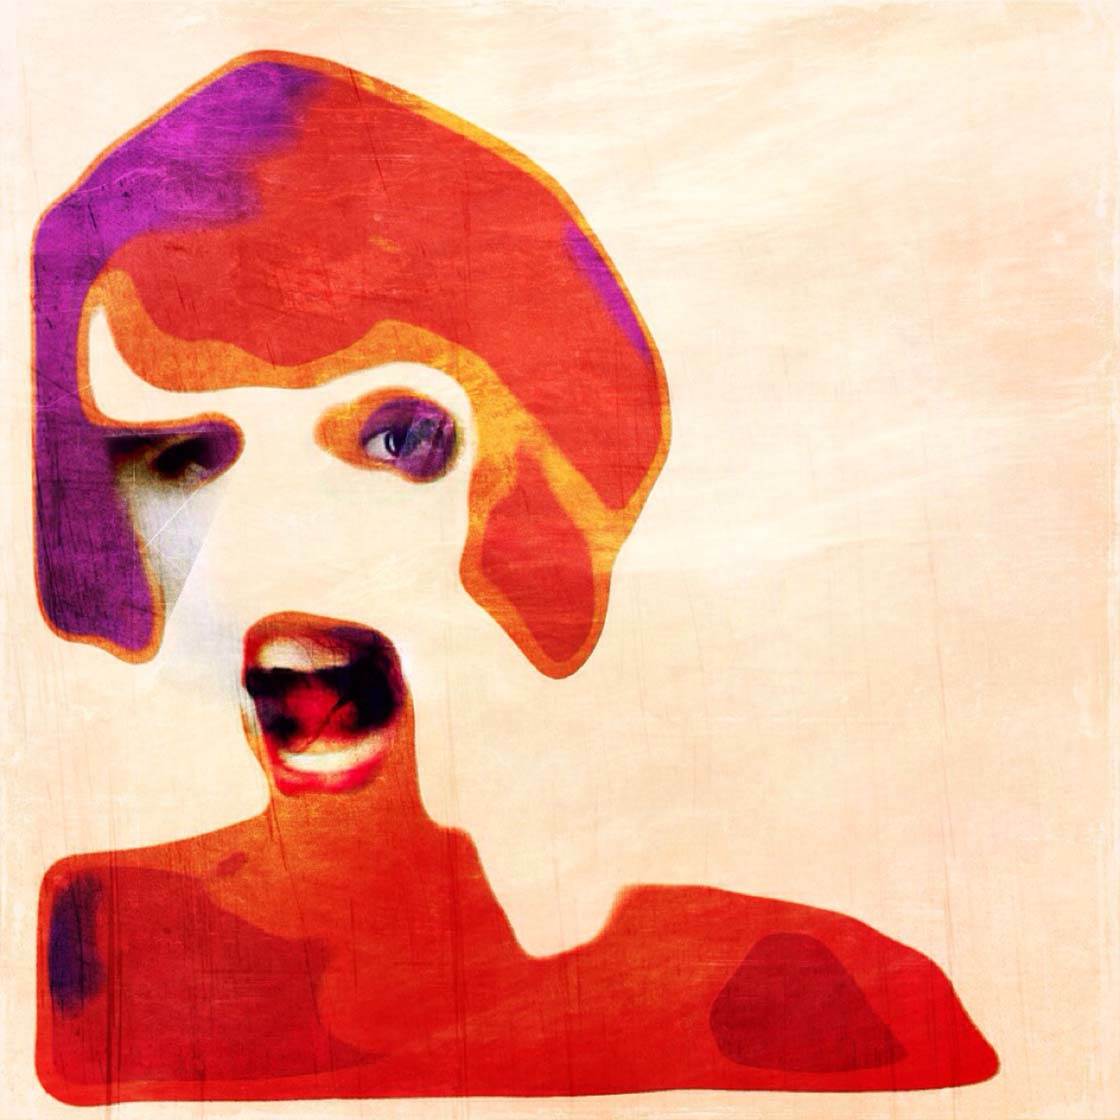
I often recycle my edited photos to create a brand new image. For the face collage below, I layered parts from various portraits and self-portraits to create something new.
Apps that I like to use for layering and blending different images together are Leonardo and PS Touch.
3. Apply Painterly Effects
I’ve discovered that using specific painterly style apps can also abstract your photos in wonderful ways. This process is about simplifying your photo to its basic shapes, patterns and colors.
The key to this method is to soften the edges of the subject and highlight the colors without making anything too distinctive. Apps that work well for this are Glaze, Waterlogue, Repix, Aquarella, Clever Painter and Brushstroke.
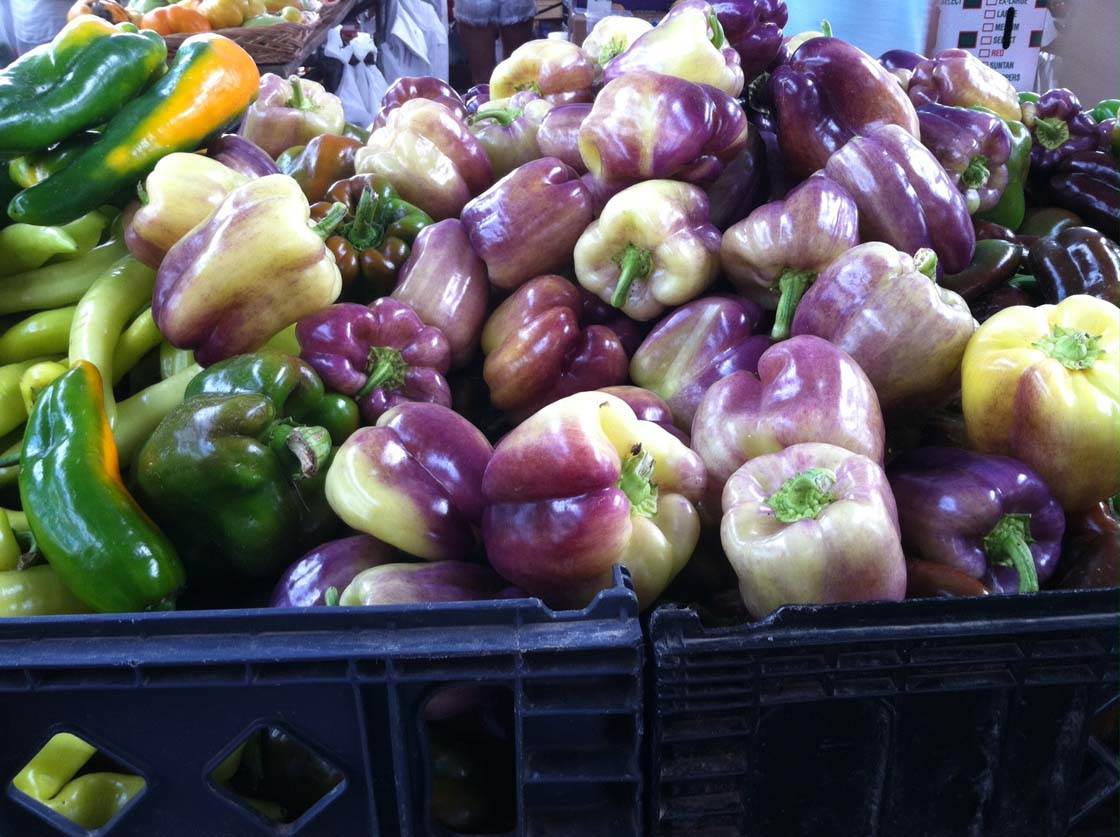
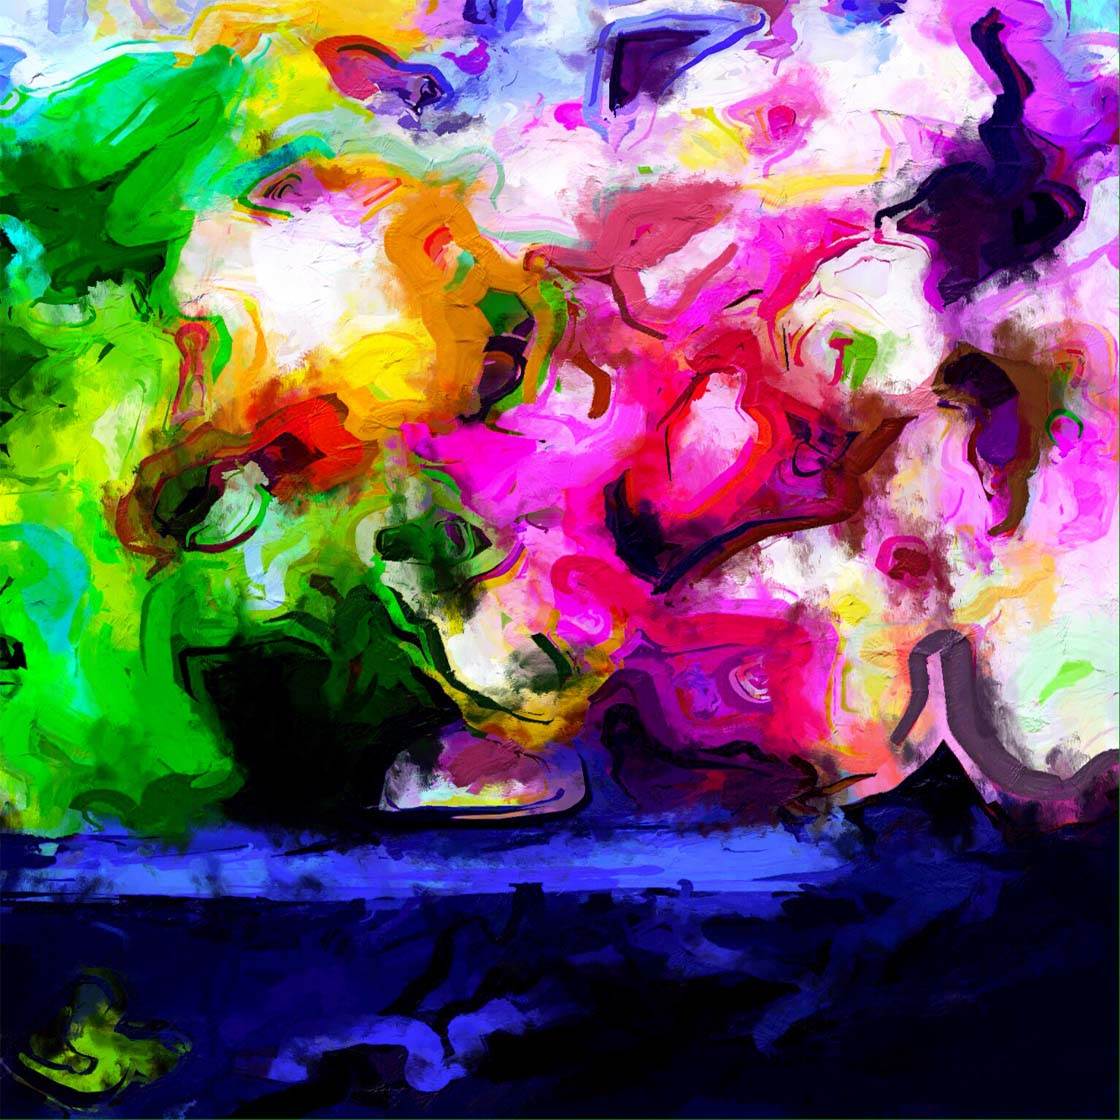
The above photo of peppers in a crate at a farmer’s market was transformed into the colorful abstract below using the Glaze and Clever Painter apps.
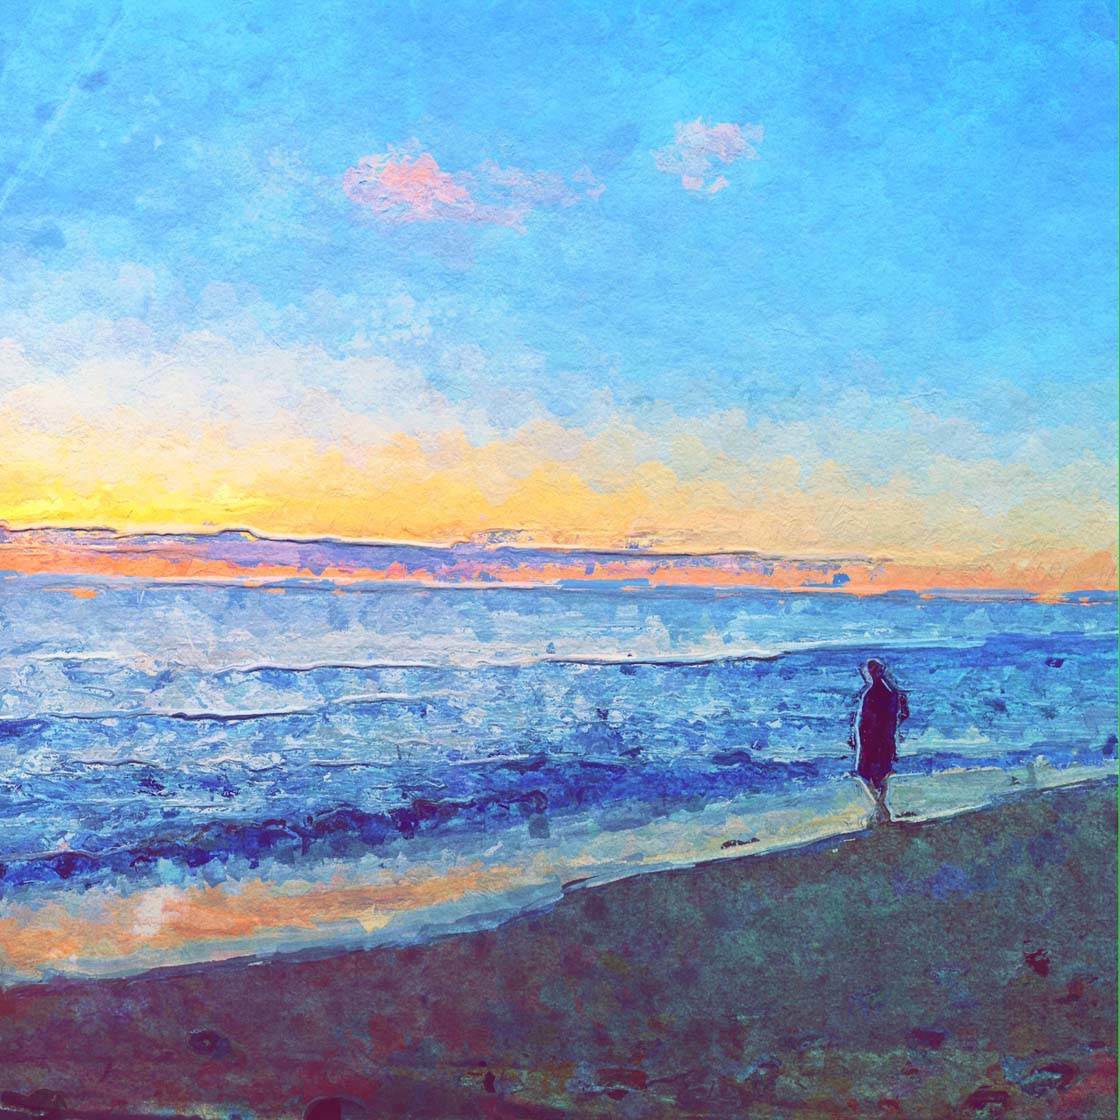
You can also use this method to produce a representational abstract or one that represents a real object. For instance, I used the Glaze app to emphasize texture and color in this image of a man standing at the shoreline.
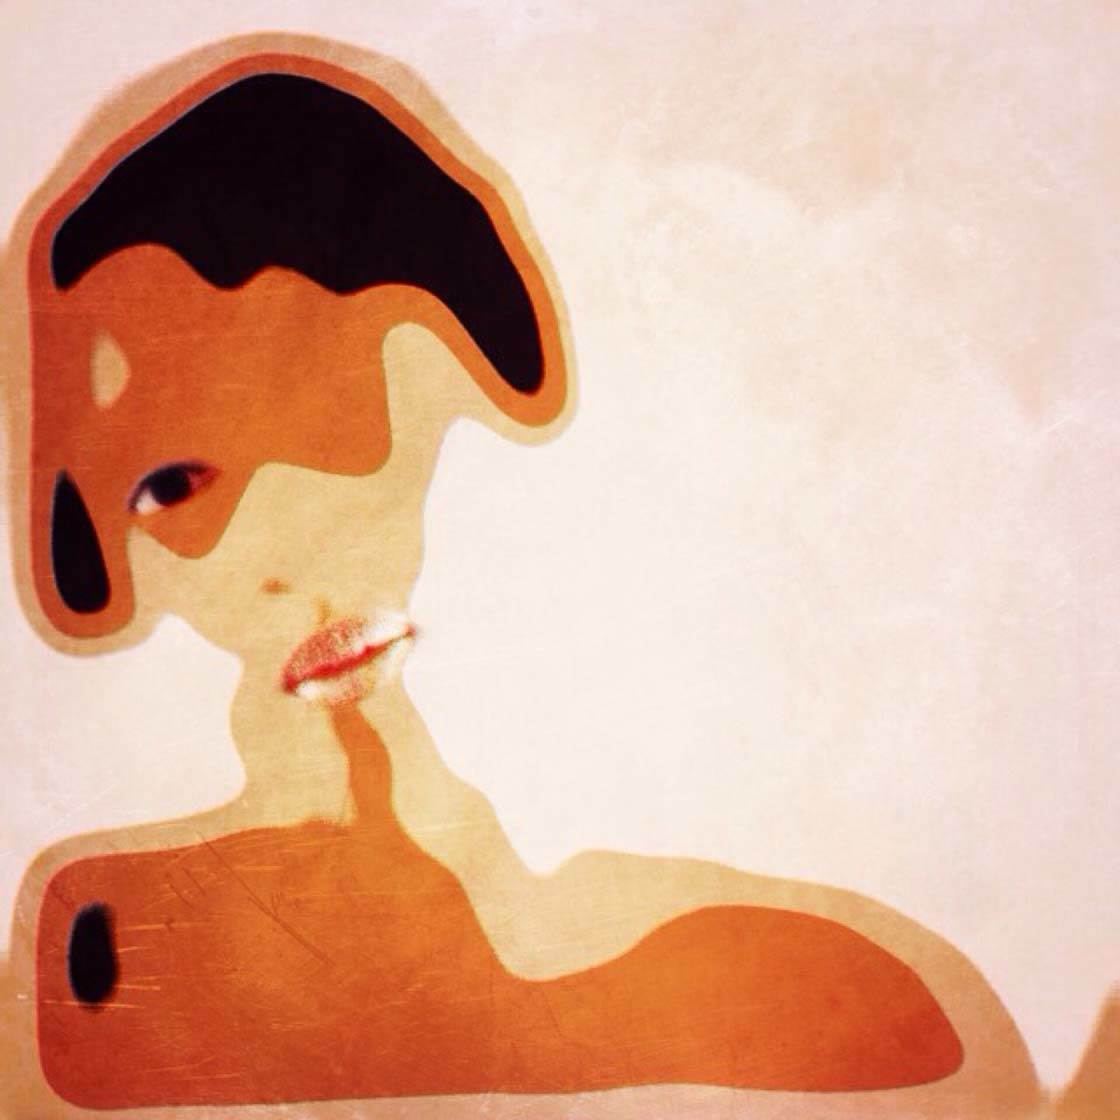
Below I used the Silk preset in the Repix app to simplify this self-portrait.
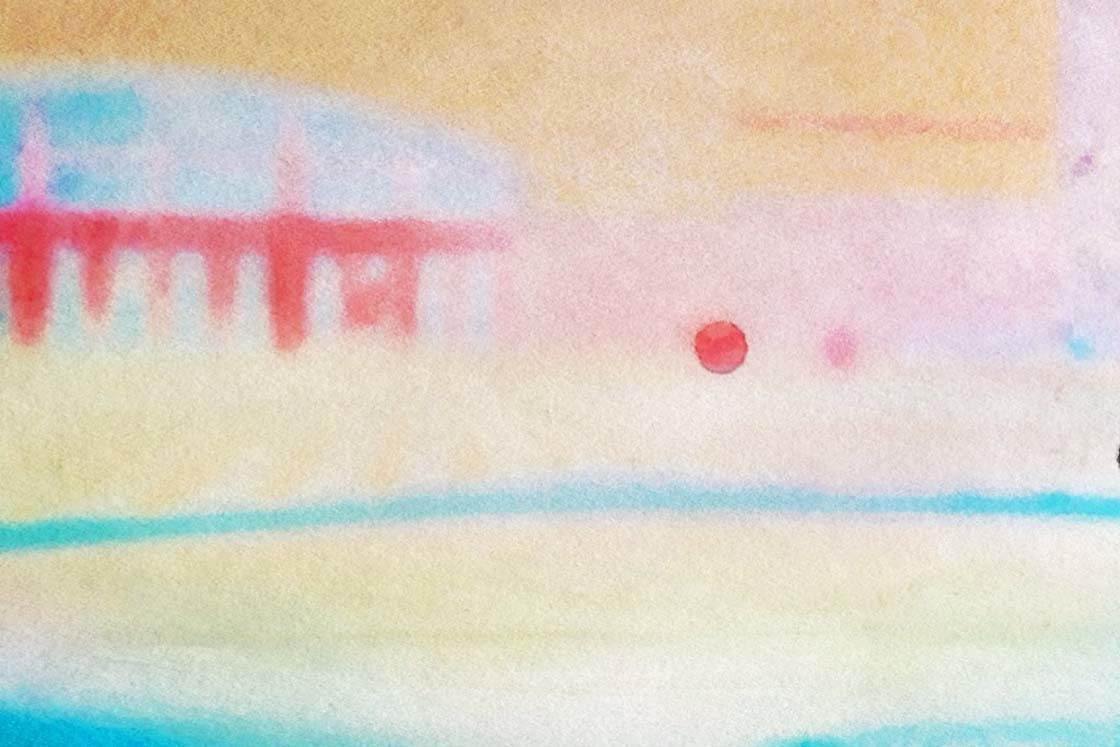
Sometimes you may have a terrible photo but one with great composition for an abstract. These photos are excellent for this technique.
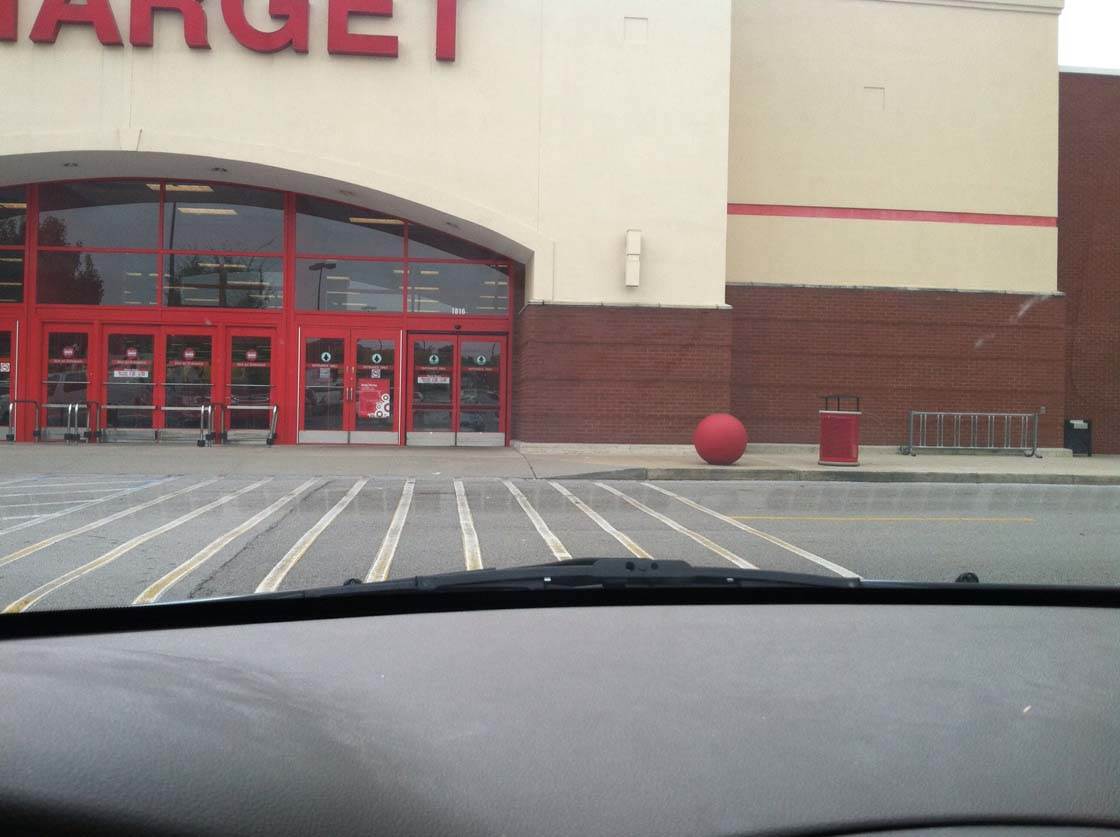
For example, this is a photo taken from the inside of my car and it’s definitely not one I would put on social media or on my blog. However, this same photo, edited in Aquarella, produced the soft, pastel abstract that you see below.
Are you now feeling more inspired to create your own abstract digital art from your iPhone photos? Hopefully this article has presented you with some new ideas for creativity with the iPhone photo editing process.
The three methods covered in this tutorial (distortion, layers and painting) give you a good starting point for your own artistic projects. Of course, you can combine all three methods mentioned in this tutorial, and you’re likely to discover new techniques once you start exploring the apps. For example, apps that turn photos into drawings have plenty or artistic filters for creating abstract art.
In the near future we’ll be publishing more in-depth step-by-step tutorials for some of the methods discussed in this article. But in the meantime, don’t be afraid to experiment with different apps and try out the creative tools they have to offer. You never know what amazing works of art you’ll create from an ordinary iPhone photo!


which one did you use for the first photo?
Hi Lisa, I combined two different methods mentioned in the article – the distortion + layering method. First, I layered a photo of a mannequin with a photo of trees. Then I edited the resulting image in Decim8, an app that “destroys” the photo to create unusual effects.
~Kristen
Thank u for the lesson. I love creative editing of my photos and learned some new tips from u!
Thanks Sue. Hope you can put the info to good use!!
~Kristen
Wow, I love these images Kristen! Thanks for all the great tips, and I look forward to some more step-by-step tutorials on this topic soon 🙂
Would love to see more discussion of this topic and to see more images. Thanks!