Do you often notice old, forgotten subjects like abandoned houses, broken benches or old vehicles? Objects that appear old, broken, alone or left behind make great subjects for your iPhone photography. Not only are they full of visual interest, but they evoke emotions, memories and a great sense of mystery. In this tutorial, you’ll discover how to shoot and edit wonderful iPhone photos of old forgotten and abandoned subjects.

What Makes Old Abandoned Subjects So Interesting?
People often consider things that are old or broken to be without value. But forgotten and abandoned objects are begging for photographic attention because they evoke memories and mystery. Every old abandoned subject has a story to tell.
Forgotten objects have the power to depict a specific place and time. This is why they’re often the subject of documentary photography, which chronicles significant and historical events as well as everyday life.
You may be walking right by great photo opportunities each day. But you don’t have to go out of your way to seek out hidden objects or find abandoned buildings. Forgotten subjects are often left in plain view.
The first step to photographing forgotten subjects is to start noticing them within your surroundings. So we’ll begin by looking at a few ways to make sure you don’t overlook these great photography subjects.
1. Focus On Qualities
Instead of focusing on the objects themselves, train your eye to search for specific qualities. Forgotten and abandoned objects are typically old, broken and alone.
If you have difficulty noticing these things, create a personal photo challenge around it. For a week, photograph everything that appears old, broken or solitary.
Once you start looking more closely, you’ll soon find yourself noticing forgotten subjects everywhere around you.
2. Change Your Venue
It also helps to travel to new locales so you can see your environment and the objects in it with new eyes.
You may not notice forgotten objects where you live, around the places you pass everyday. But when you visit a new city or venue, your eyes will be open to seeing everything for the first time.
Another tip is to get off the beaten path. You’ll often find abandoned buildings and great photo opportunities in isolated areas with little foot traffic.
As a note of caution, be careful if you’re planning to photograph inside an abandoned building. Trespassing is illegal and abandoned buildings are dangerous and structurally unsafe to enter.

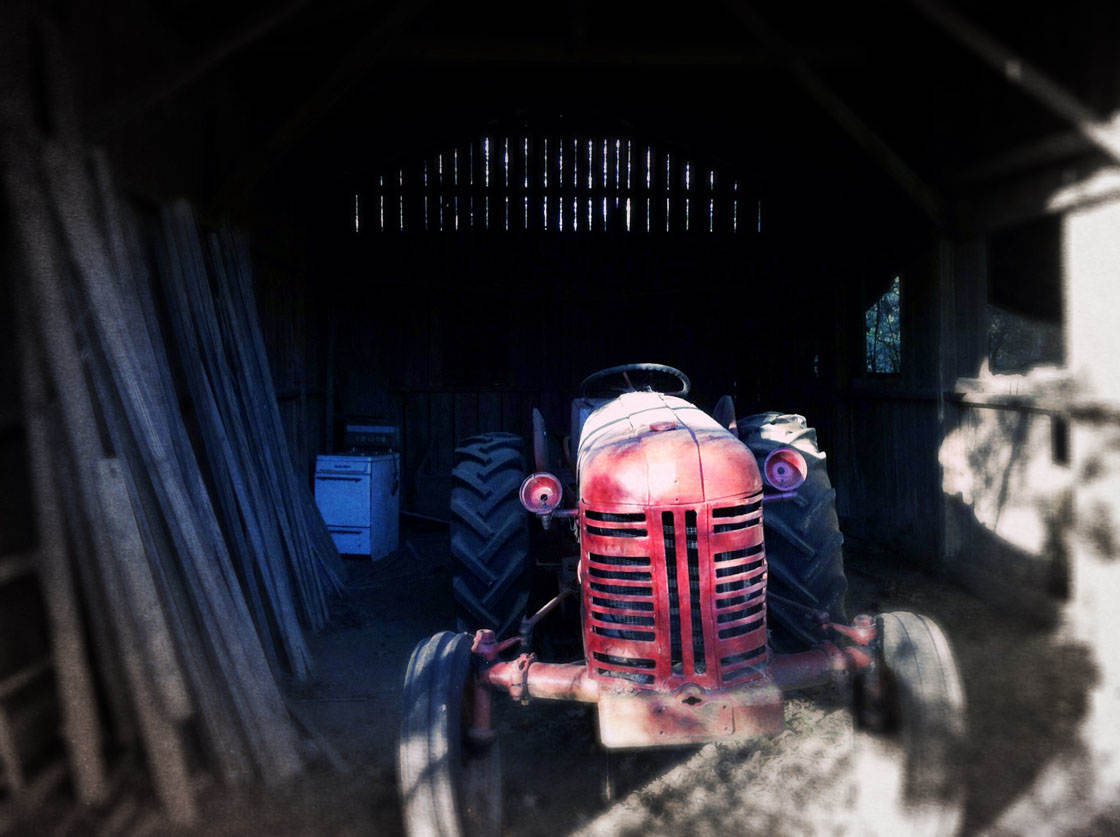
However, you don’t need to find abandoned buildings to take photos of forgotten objects. You may not need to look any further than in and around your own home.
Basements and attics, particularly in older homes, often hold wonderful items that make fascinating subjects for your iPhone photography.
3. Find A New Perspective
Another way to notice forgotten objects is to change your viewpoint. Typically, while you’re walking along a street, you’re facing forward and looking at things that are in front of you at eye level.
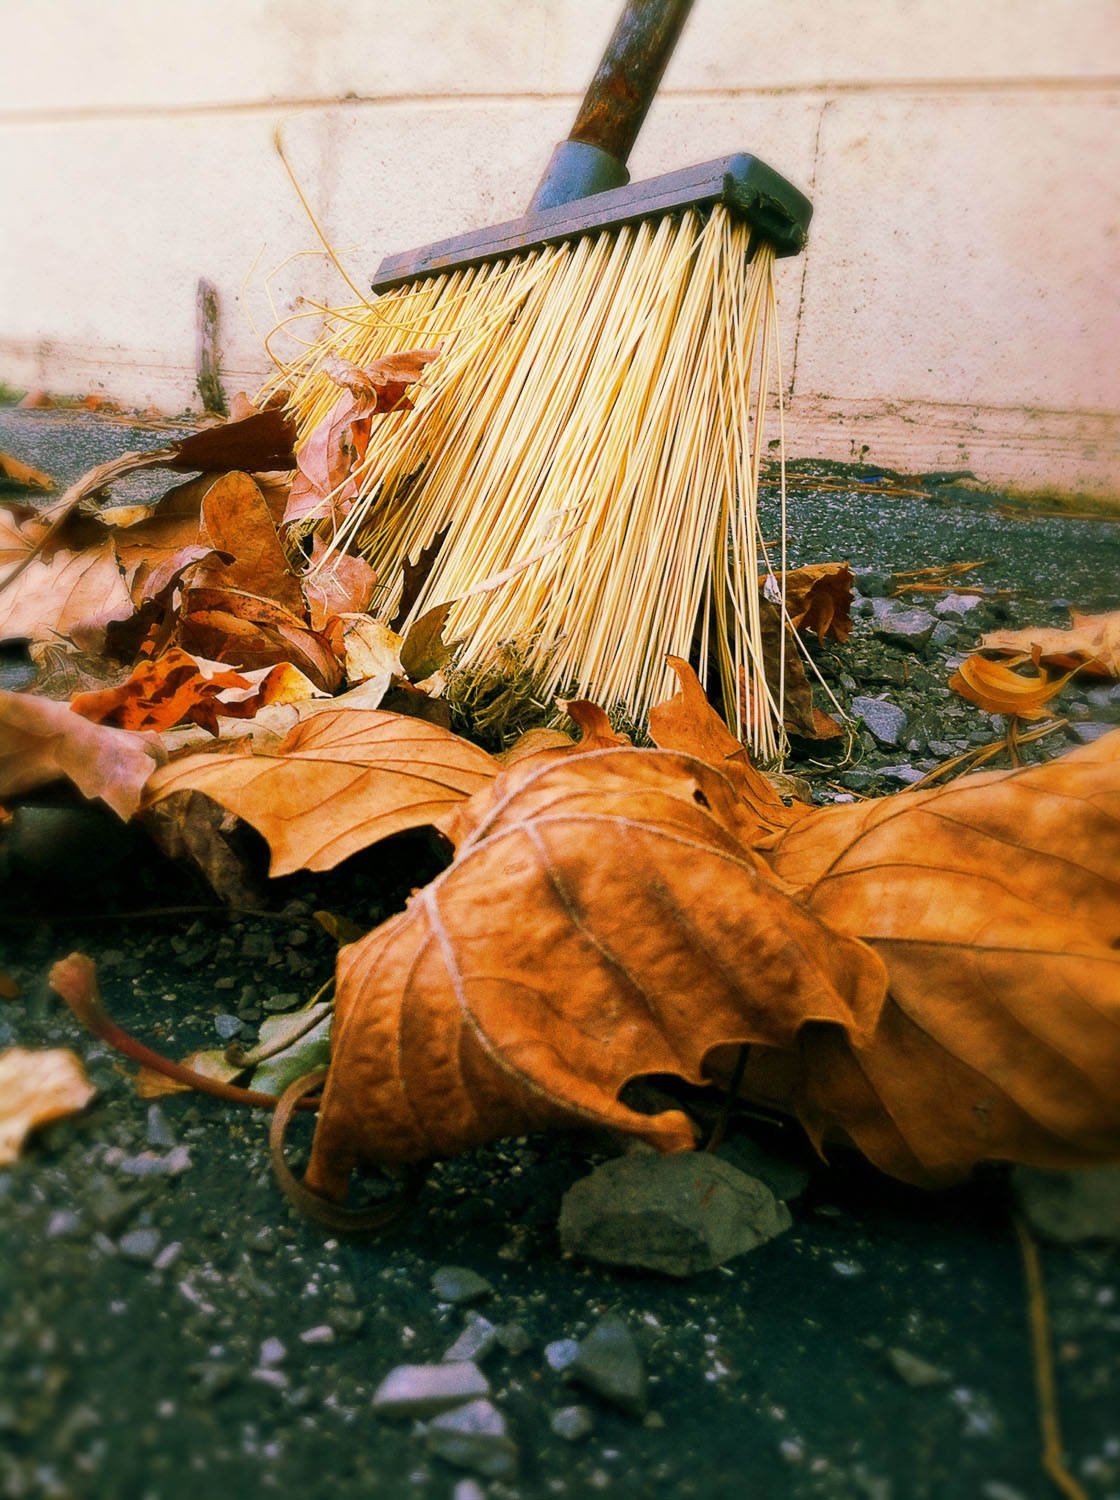
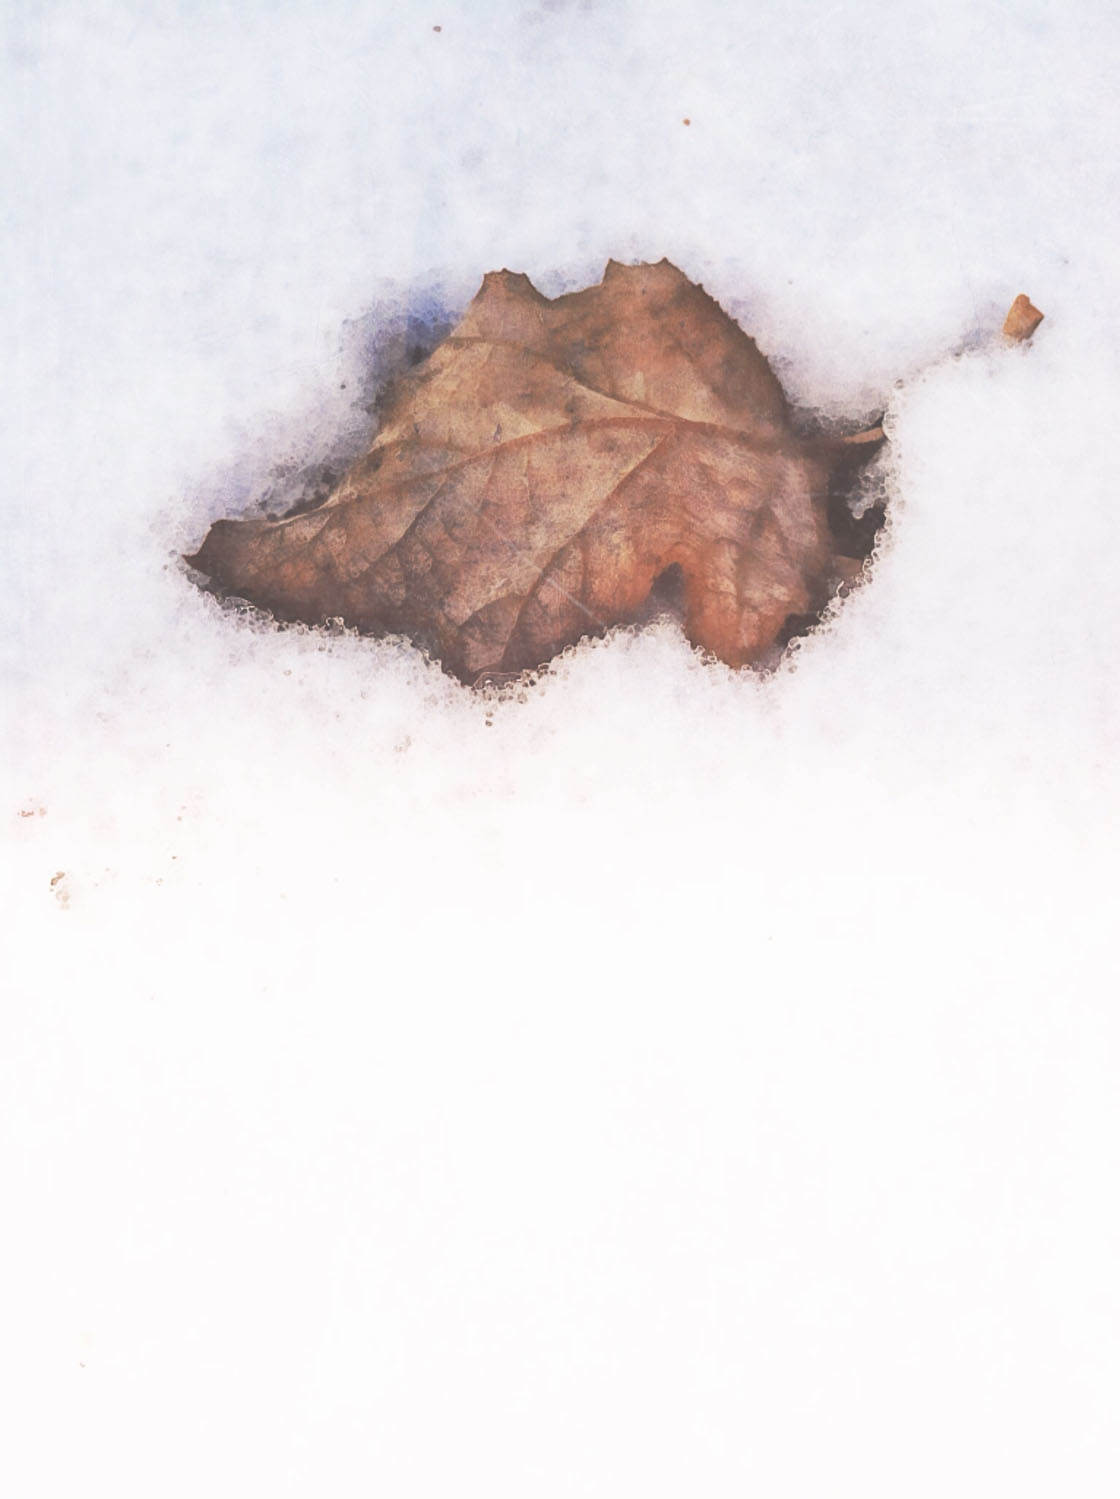
To notice forgotten objects, try looking down at the ground. When you look down, you’ll often see something that someone has dropped and left behind.
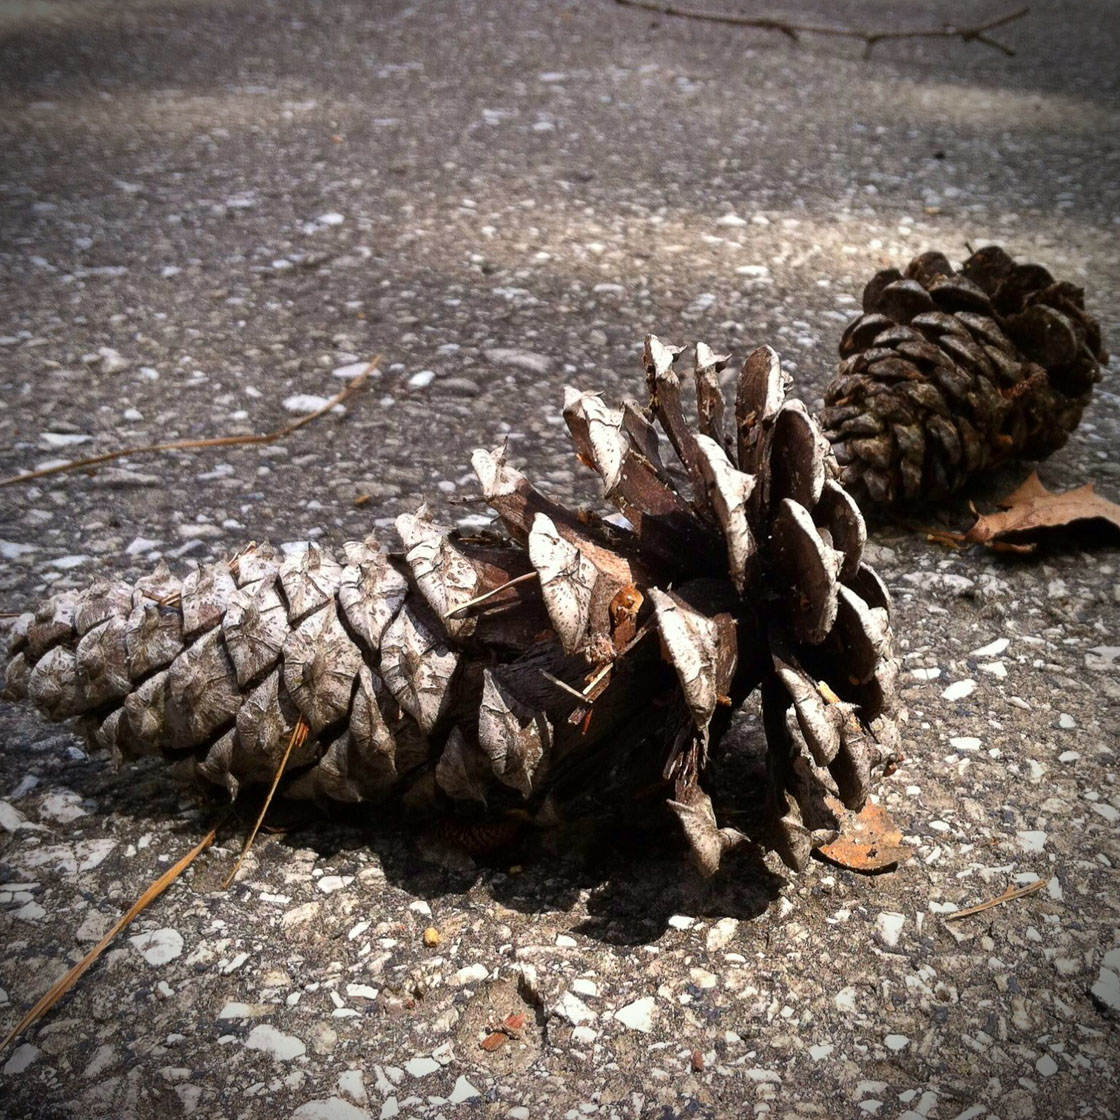
You’ll also notice that nature produces unnoticed and quickly forgotten objects, like a pile of unswept leaves or fallen pine cones.
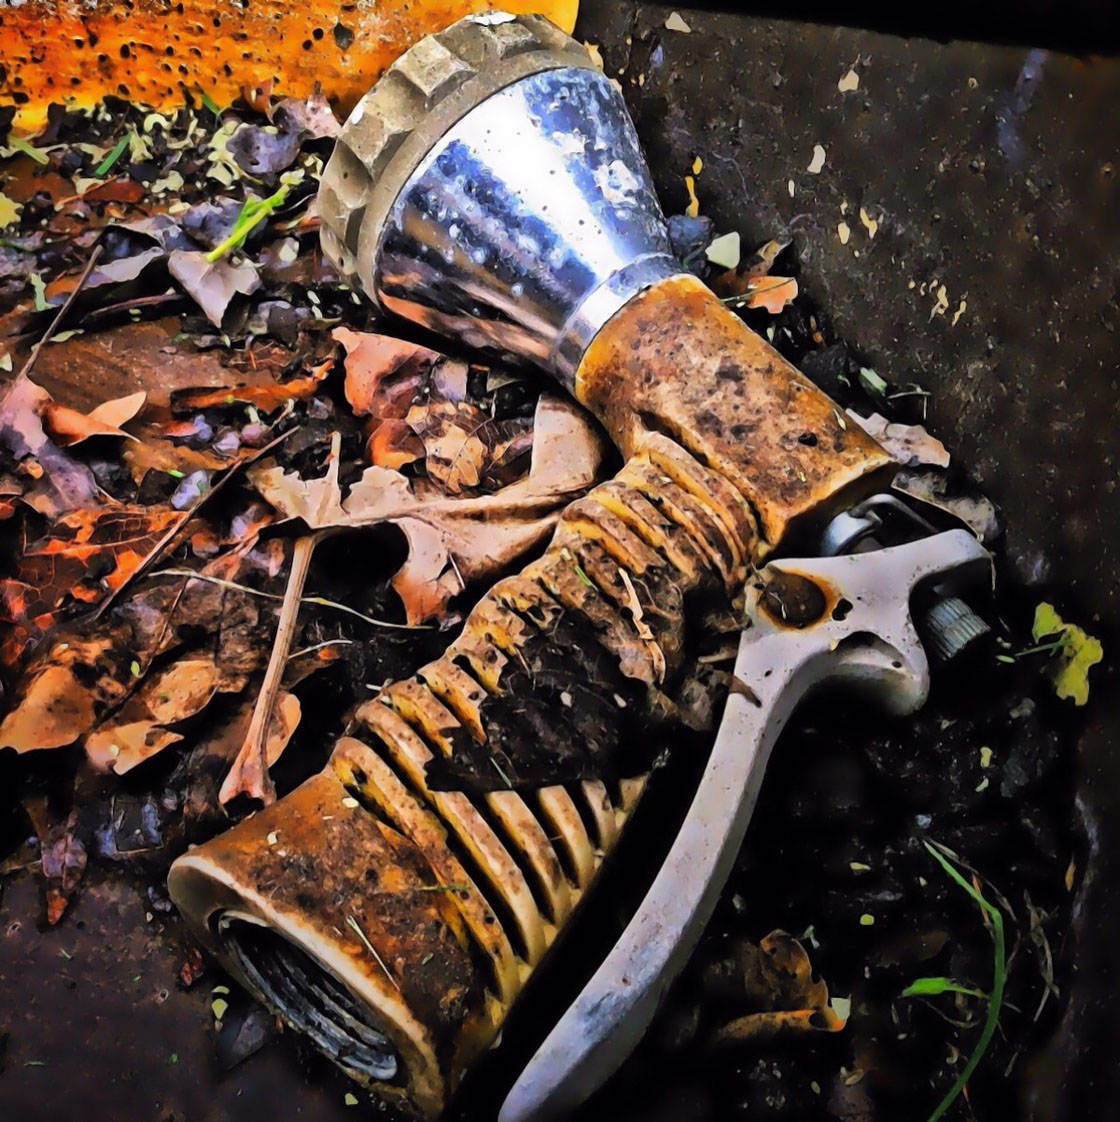
Remember to look underneath or inside of things too. This photo began when I looked inside a barrel and discovered that this garden hose was left inside.
Now that you know how to notice forgotten subjects, let’s explore some techniques for photographing them to bring out their mystery and meaning.
4. Determine The Best Angle
There’s often an angle or focal point that’s best when shooting a subject that will bring out its character, for example, a sense of decay, emptiness or neglect.
To determine the best angle, walk around it if possible. Get closer. Consider what you want the viewer to see, then position yourself so that you place emphasis on the most important aspect of the scene.
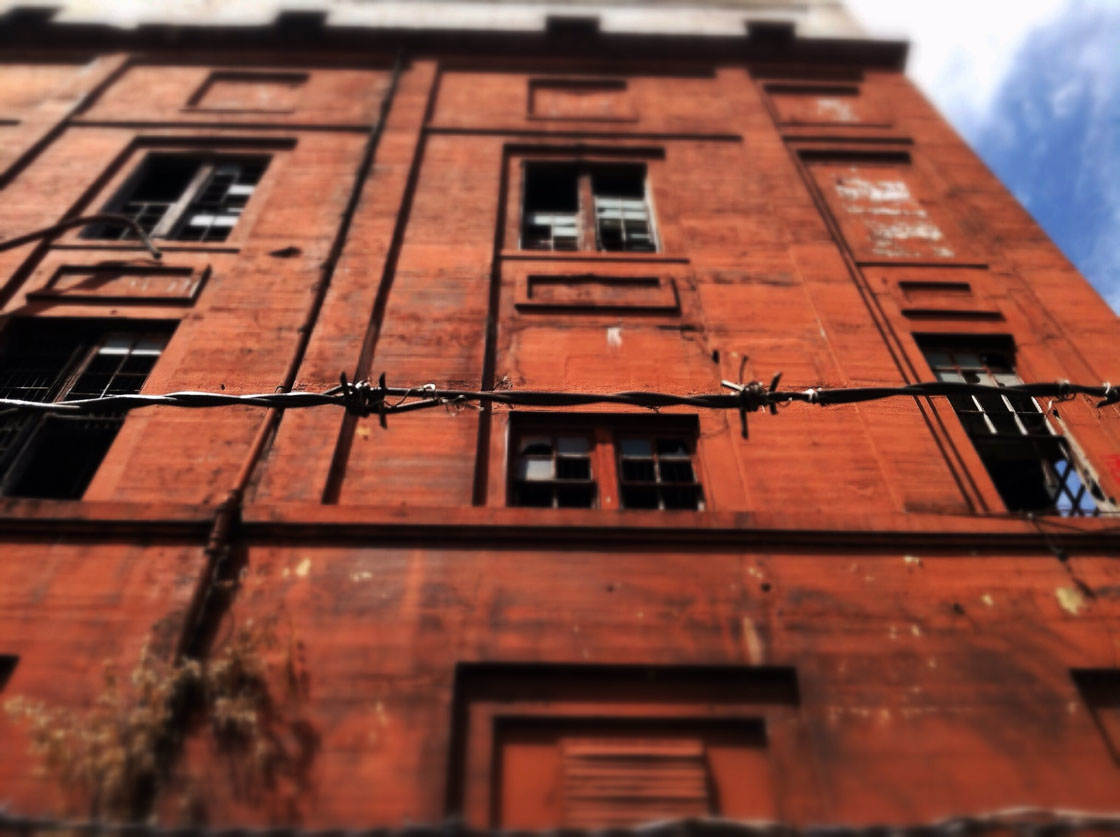
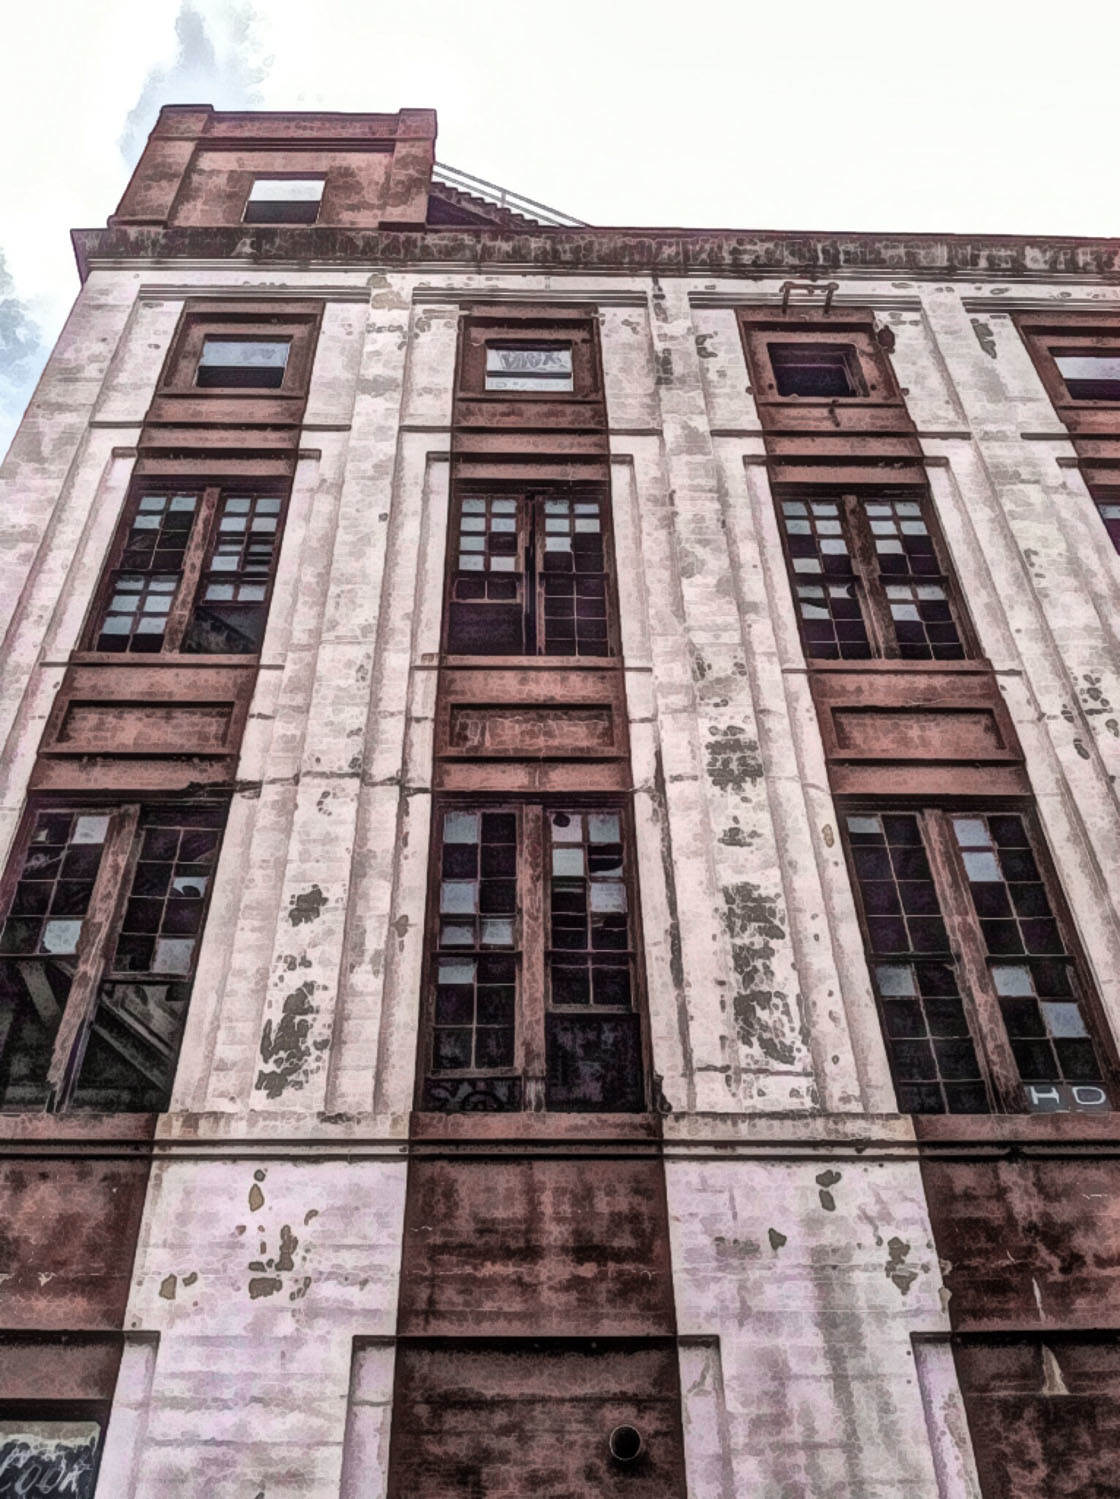
Shooting wide in horizontal orientation can make the scene appear more empty and foreboding. For this shot, I used a horizontal orientation and photographed from below to make the building appear large and ominous.
However, instead of focusing on the building, I set the focus on the barbed wire in front of the building to emphasize the sense of danger.
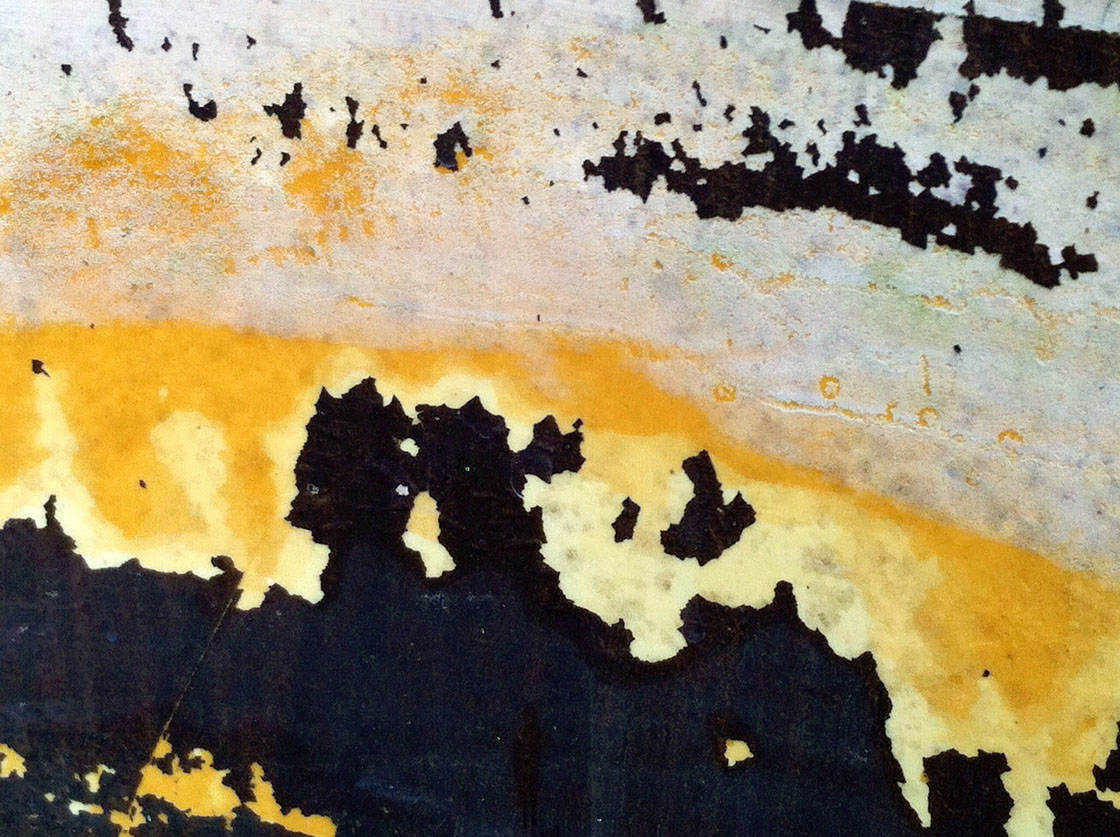
5. Work With The Light
The type of light you shoot in can make a big difference to how the photo turns out. So how can you utilize lighting to enhance the qualities of a forgotten or abandoned object?
Remember that the light during different times of the day creates different moods.
Midday lighting casts strong shadows. It’s rather harsh and usually not ideal for most photos, but it can help to capture the grittiness of the subject.
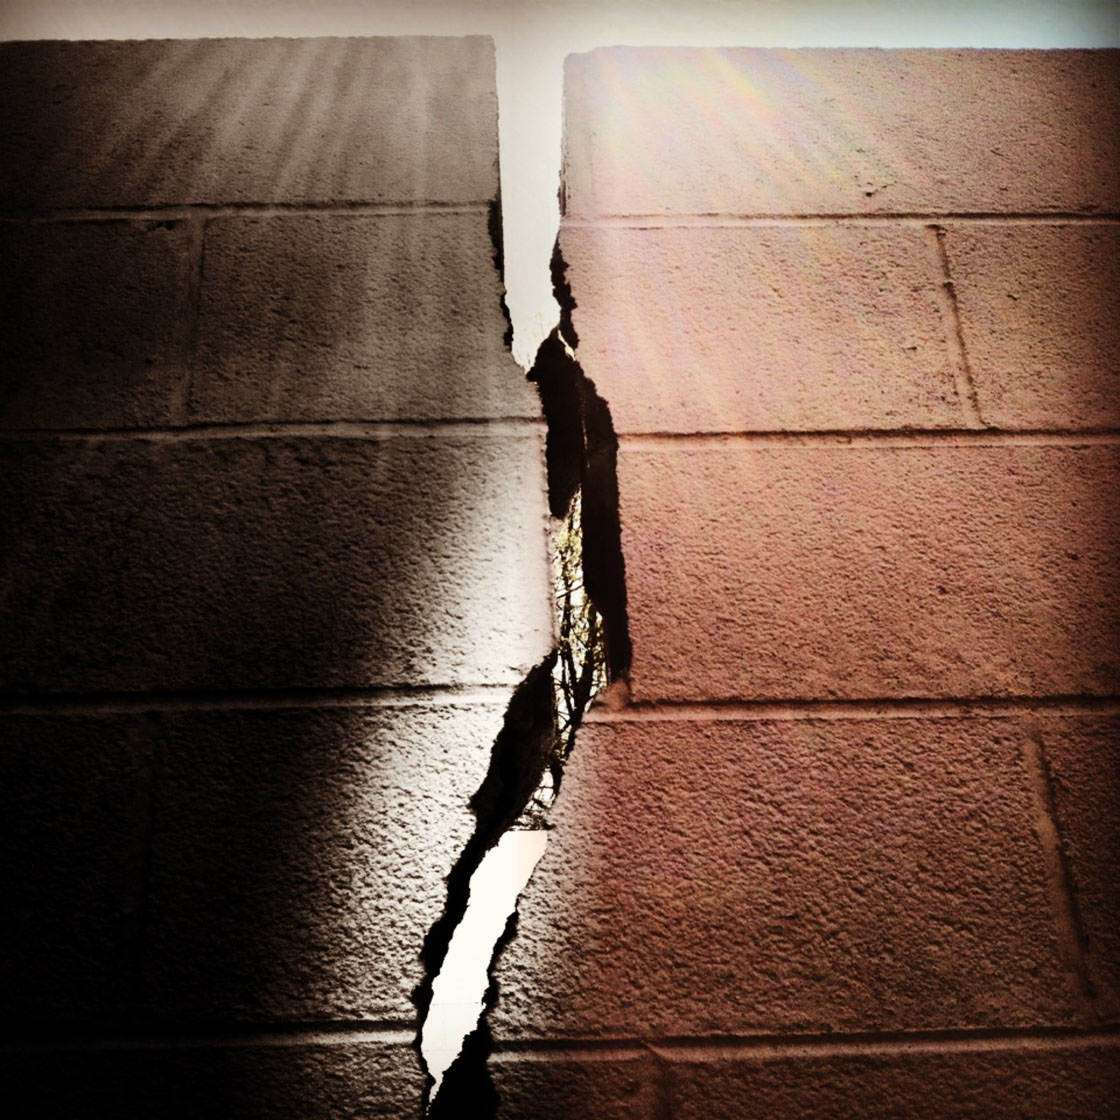
In the photo above, the midday sun streams through the top of the wall emphasizing the strong crack running through it.
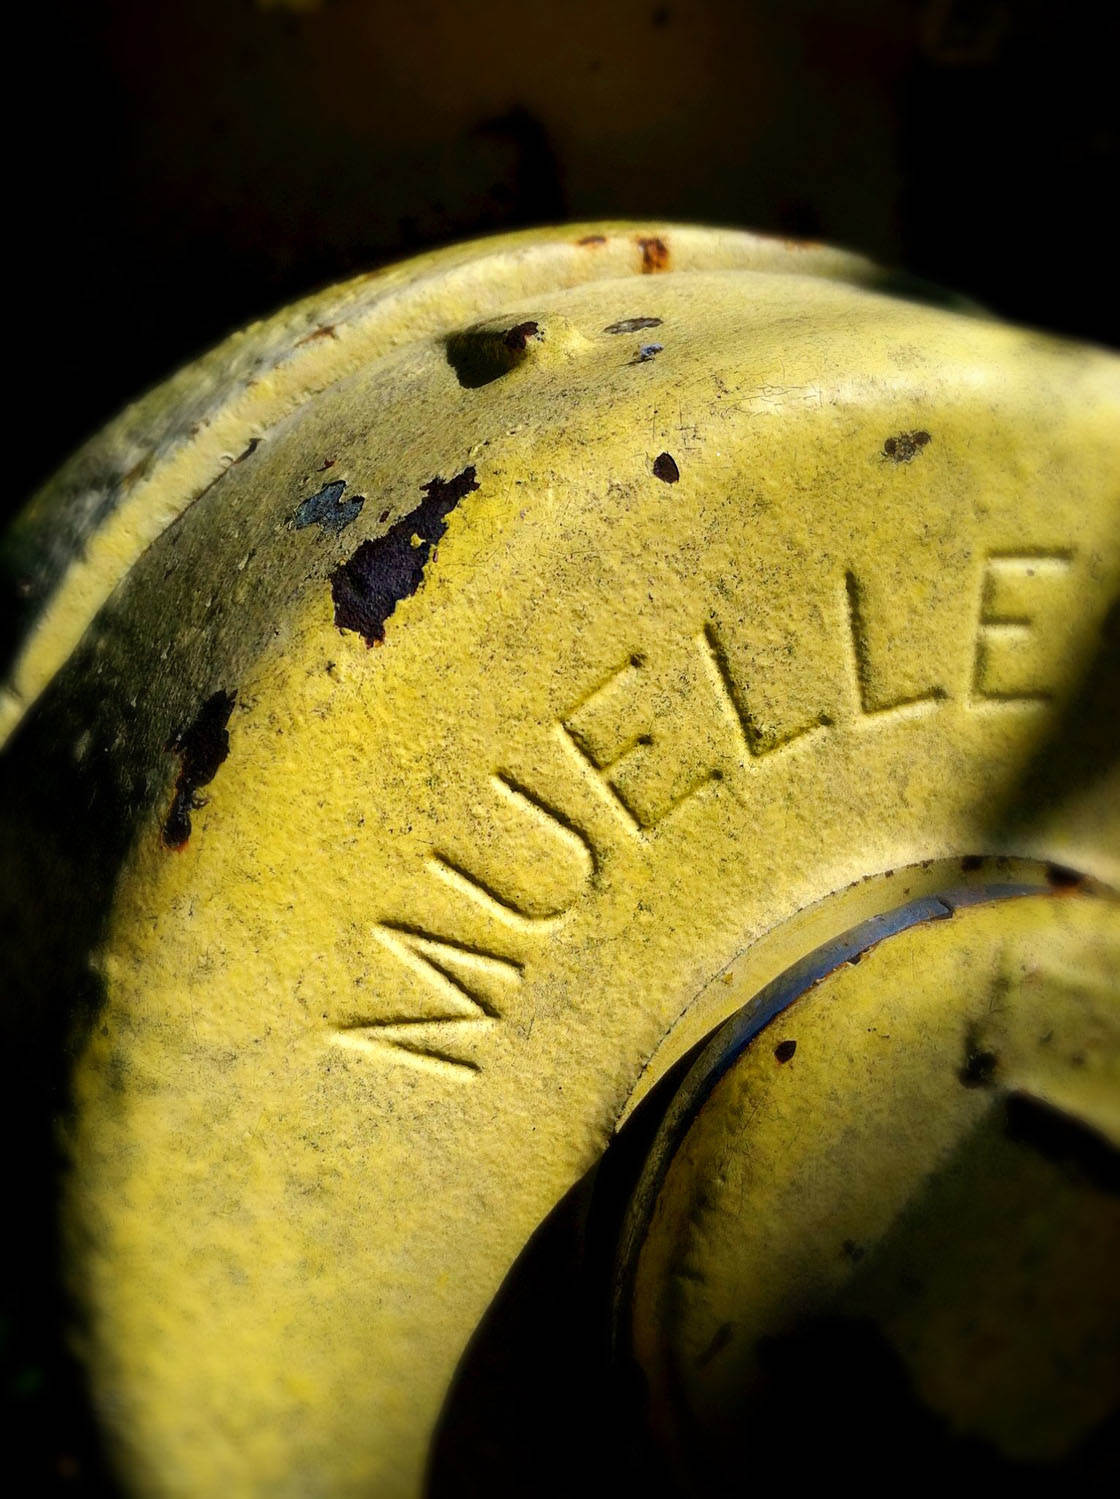
Side lighting is great for capturing the texture and detail of your subject. To use side lighting, make sure the sun or your light source is coming from the side of the object.
This kind of lighting also works well for enhancing architectural lines on buildings because of the shadows that it creates.
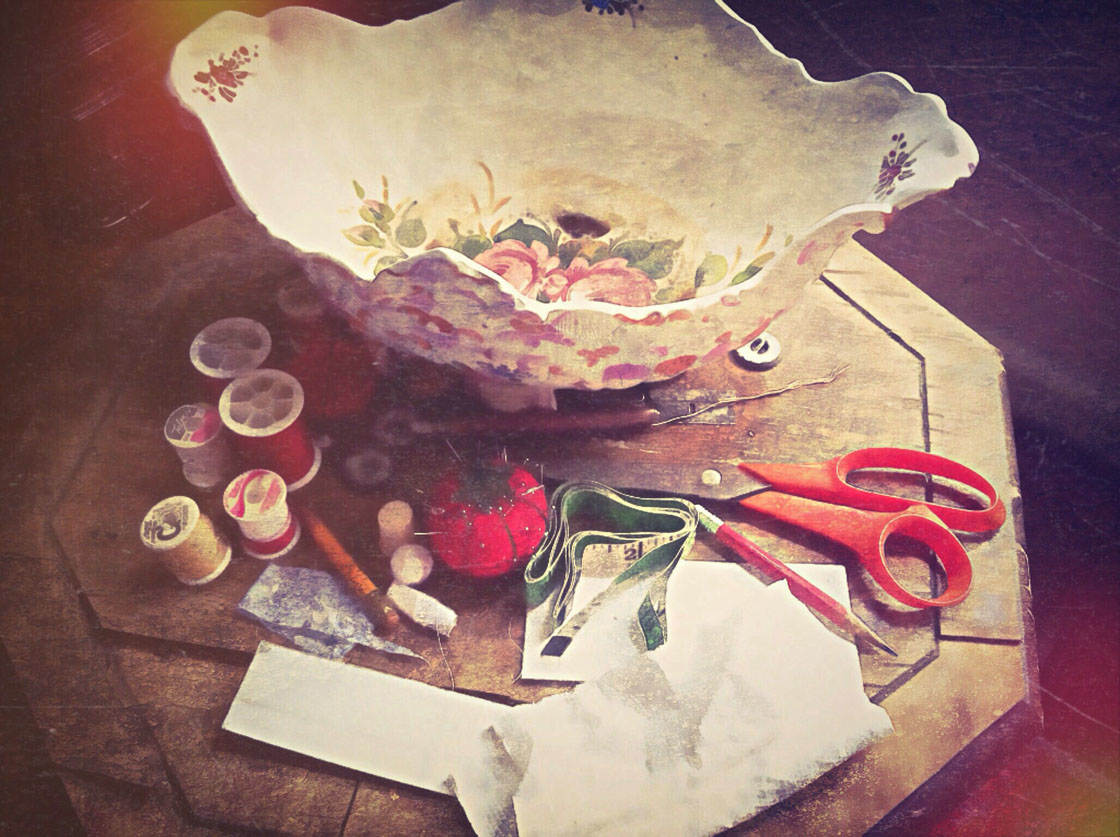
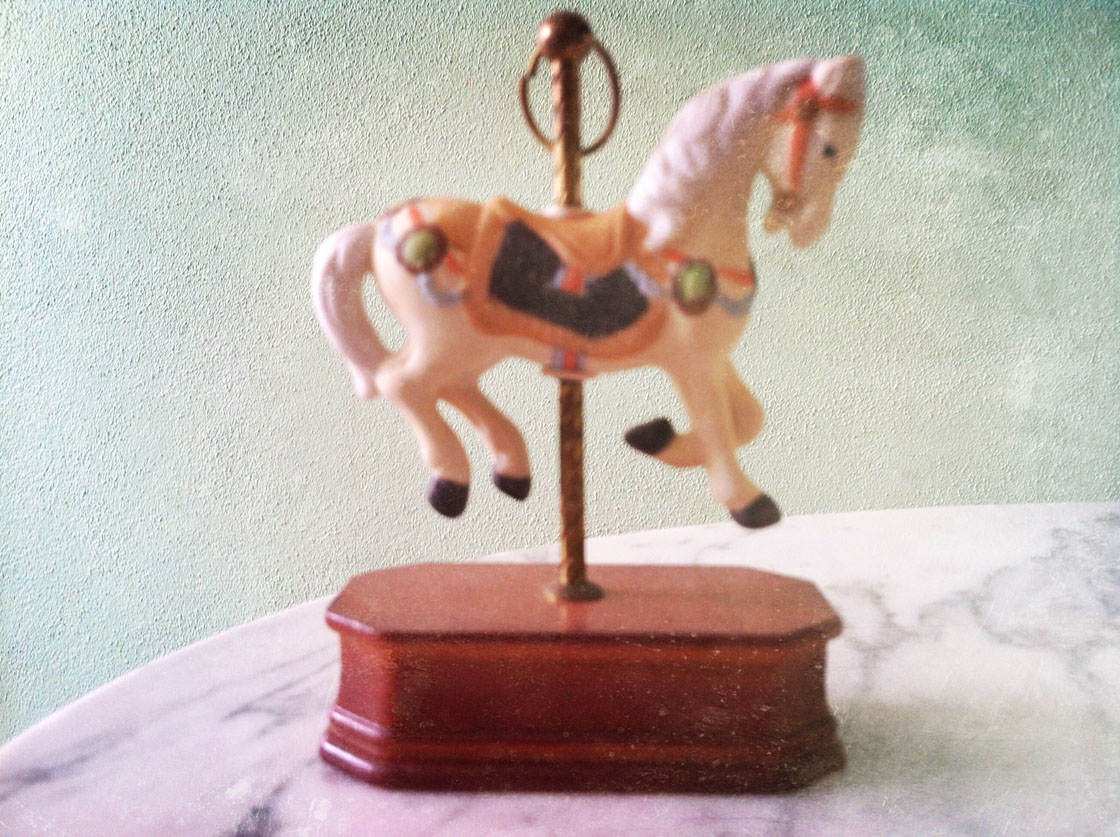
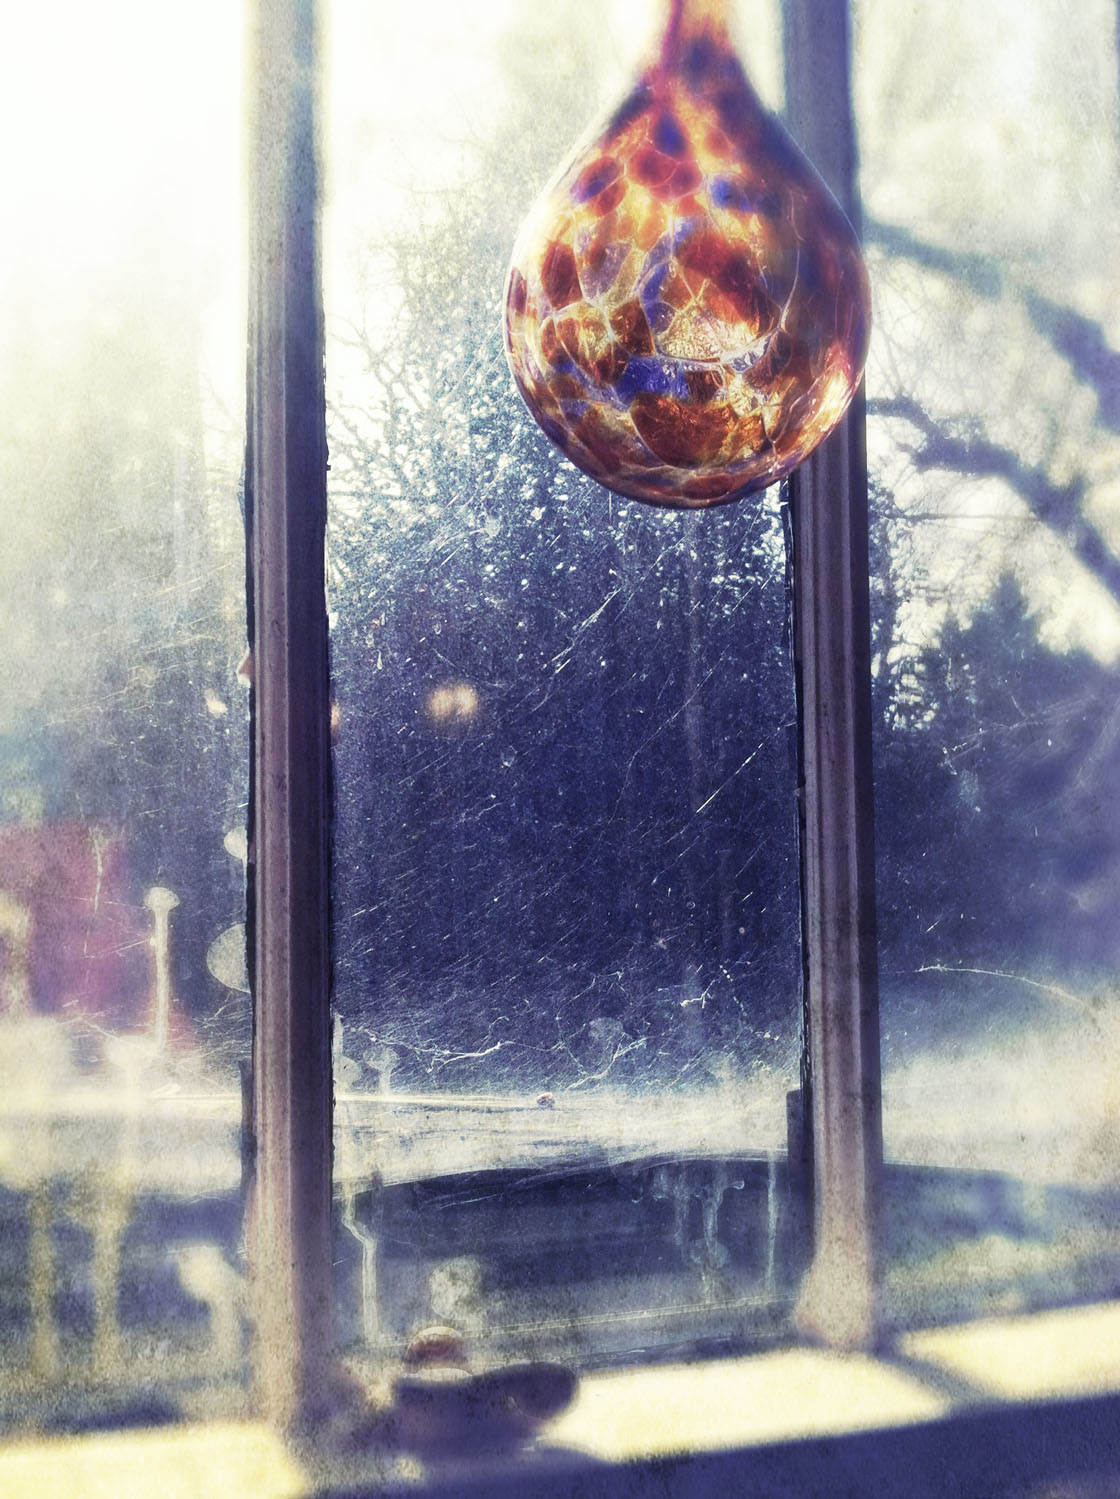
If you’re shooting vintage items indoors, use soft window light to create a calming atmosphere that will add to the nostalgia of the scene.
6. Show Context
If possible, photograph a wide shot to show the object in the context of its surroundings. This gives your photo a story and a sense of place and time.
There’s often an interesting juxtaposition you can see between the forgotten object and its environment.
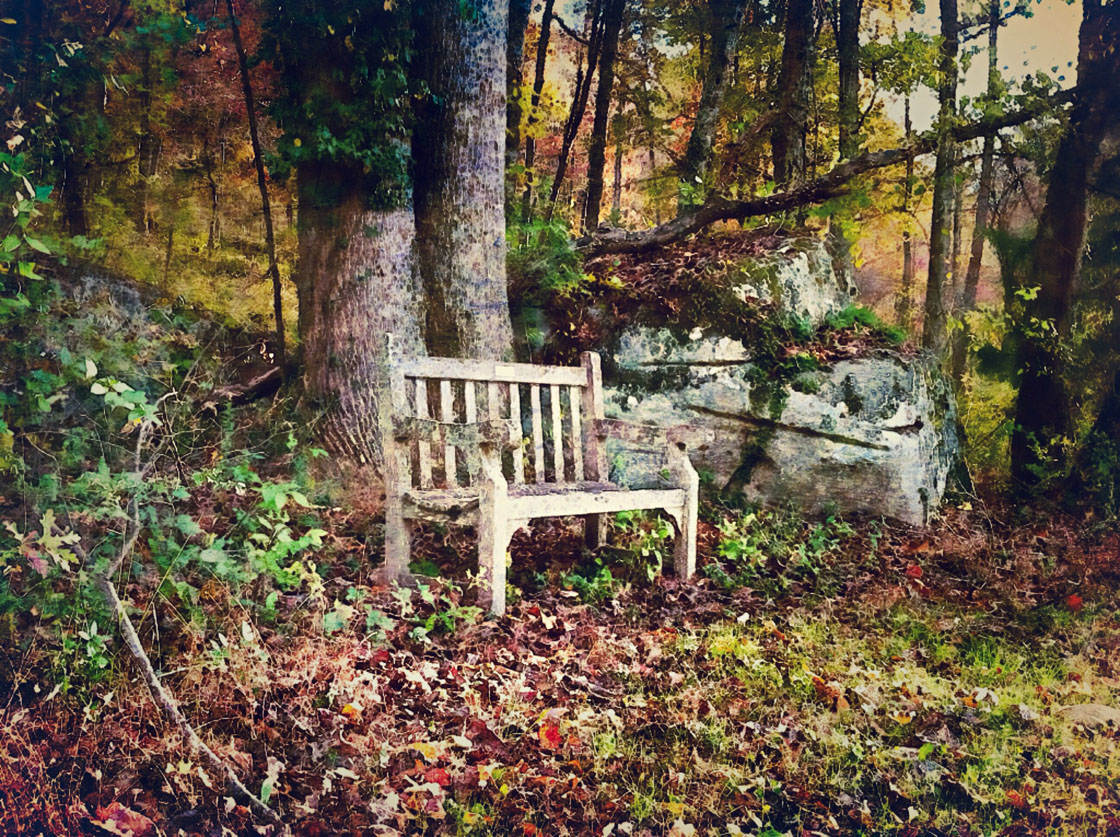
For example, in the photo above, the old bench has become completely integrated with its surroundings and is now just another part of the forest.
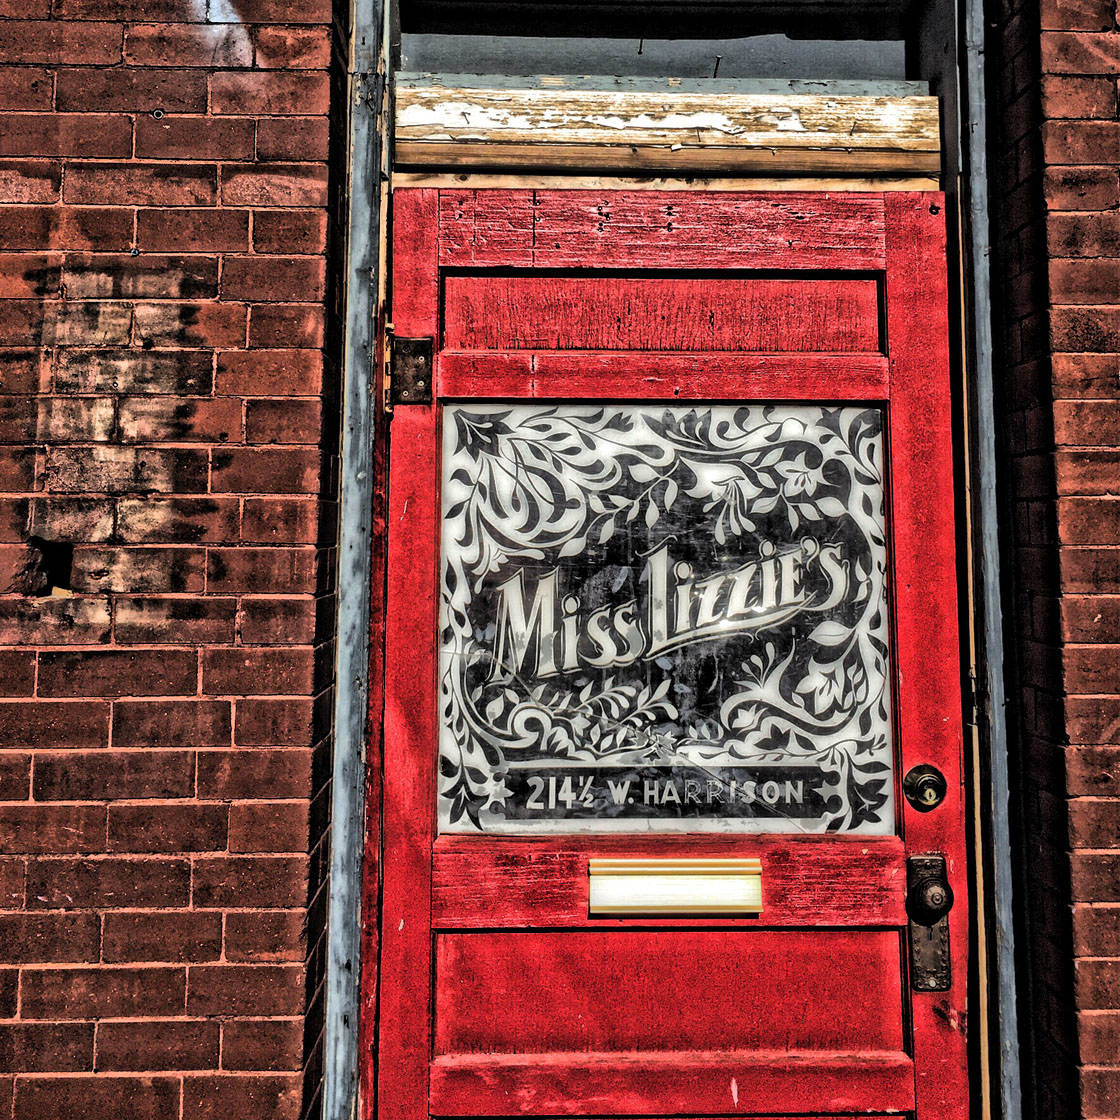
7. Focus On Interesting Details
It’s the details like peeling paint, cracks or accumulated debris that make an object appear forgotten or discarded.
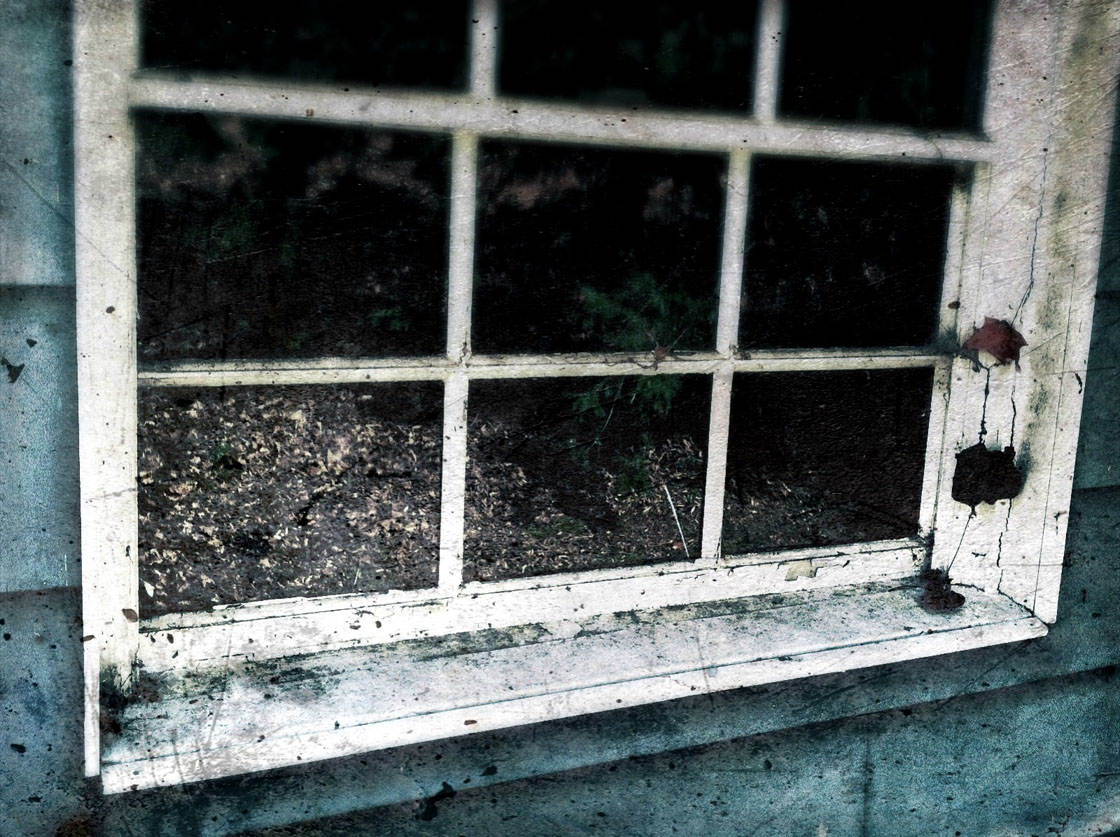
Remember to capture details like this that add authenticity to the subject and convey a somber mood.
Get up close if necessary to capture the small details and textures that indicate the subject has been abandoned or forgotten.
8. Use Negative Space
Use negative space to emphasize a solitary mood. Negative space is the space around the subject that’s largely devoid of any subject matter, such as a blank wall or a large expanse of sky.
Negative space works really well for creating mood and atmosphere in photos. It can also make objects appear smaller, more delicate and fragile.
This is why adding negative space to your photos of forgotten objects helps to emphasize their old, alone and broken qualities.
How To Edit Your Photos Of Abandoned Subjects
Now that you’ve learnt different ways to capture great iPhone photos of forgotten subjects, let’s take a look at how to use image editing apps to enhance their old and abandoned qualities.
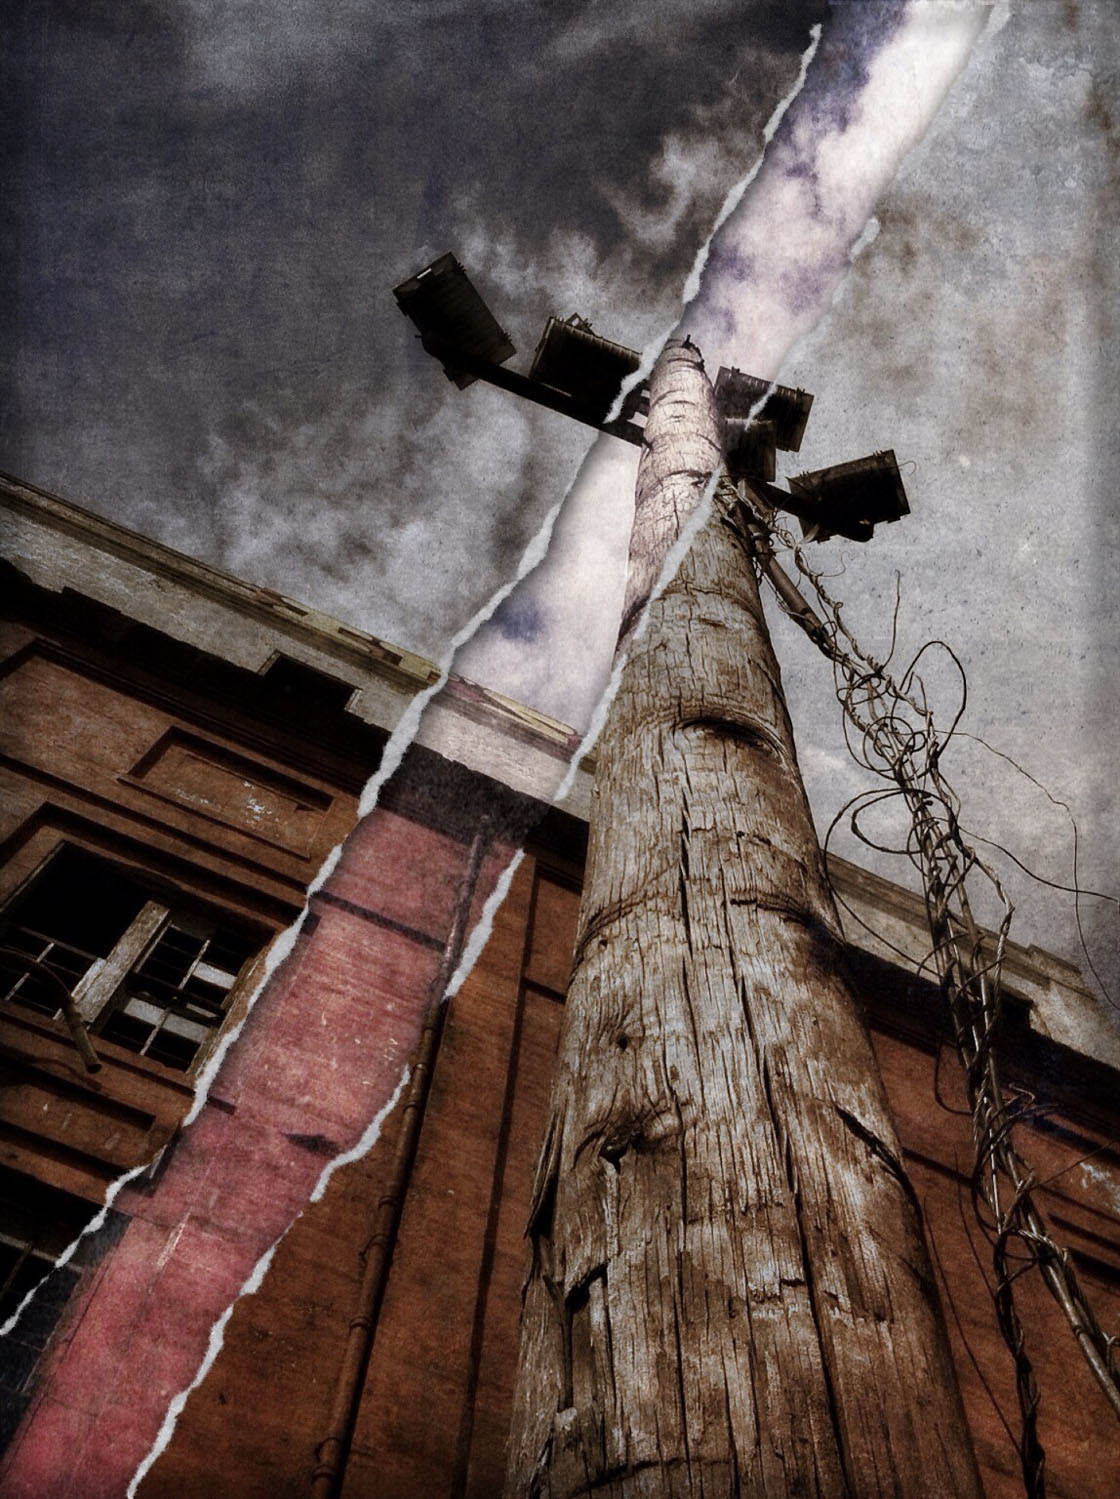
Photo editing can help to highlight the story of the object and intensify the gritty details.
In this section we’ll explore three different techniques for editing your iPhone photos of forgotten and abandoned subjects: black and white, grunge and HDR.
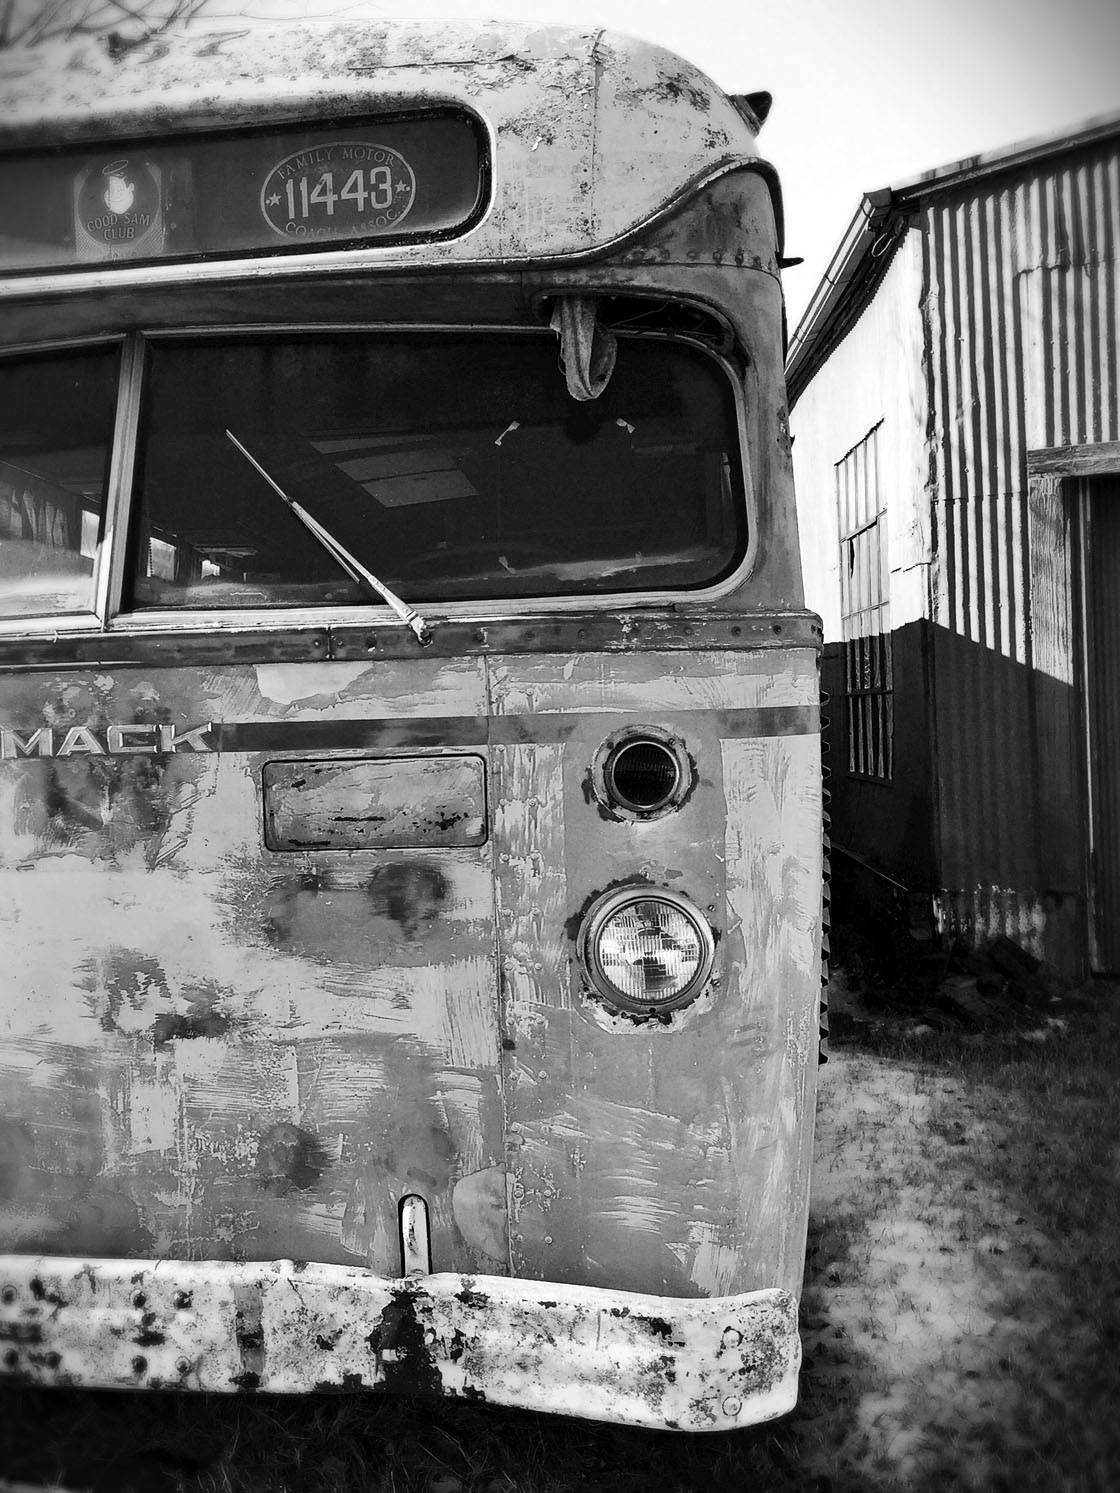
Editing Technique 1: Black & White
Black and white editing helps to simplify busy scenes and isolate the subject when the background is distracting. It’s also great for storytelling and highlighting emotion.
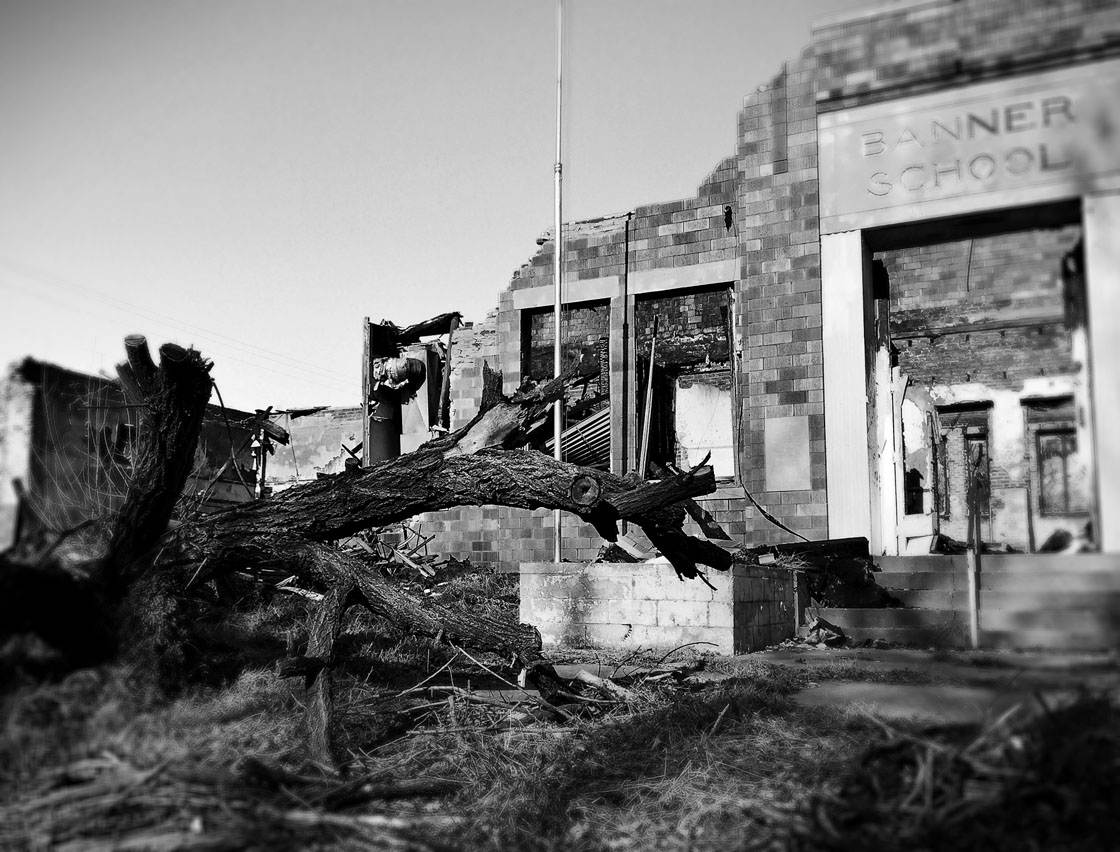
This scene of a burned down school had a lot of different elements including fallen trees and the scattered debris from the building. The black and white edit helped to simplify all of the elements and make the photo easier to comprehend.
There are many different apps to use for black and white editing. One of my favorites is PhotoToaster which offers a variety of iPhone filters for converting images to black and white.
Presets are great if you’re a beginner iPhone photographer who may be unfamiliar with using the adjustment controls to fine tune photo editing.
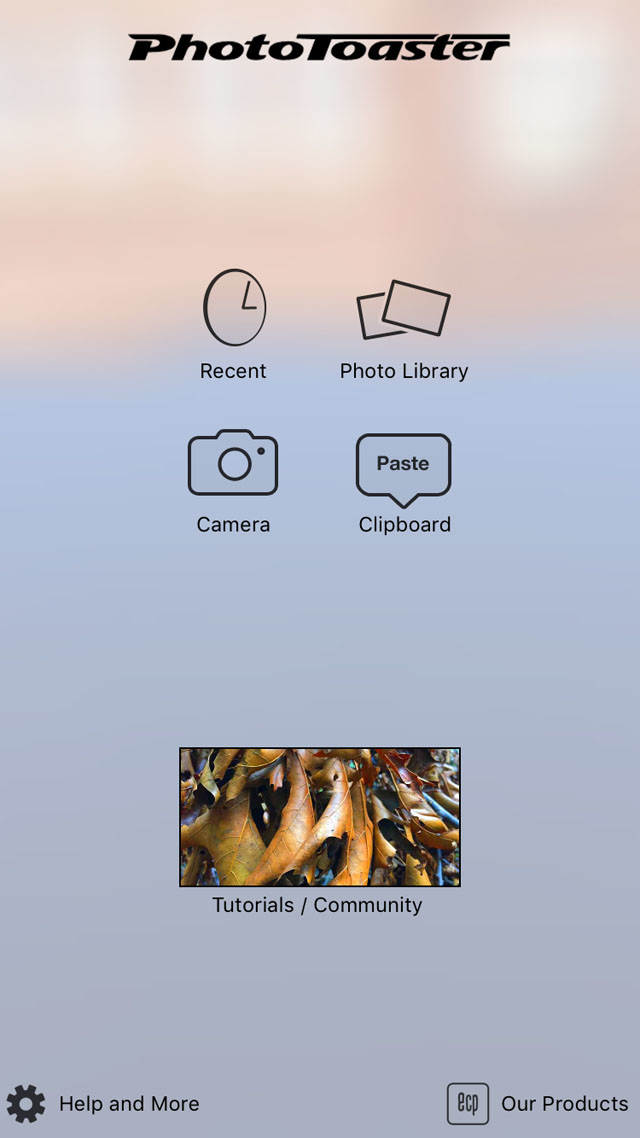
Using PhotoToaster to apply a black and white filter is easy. Open the app and tap Photo Library to find the photo you wish to edit:
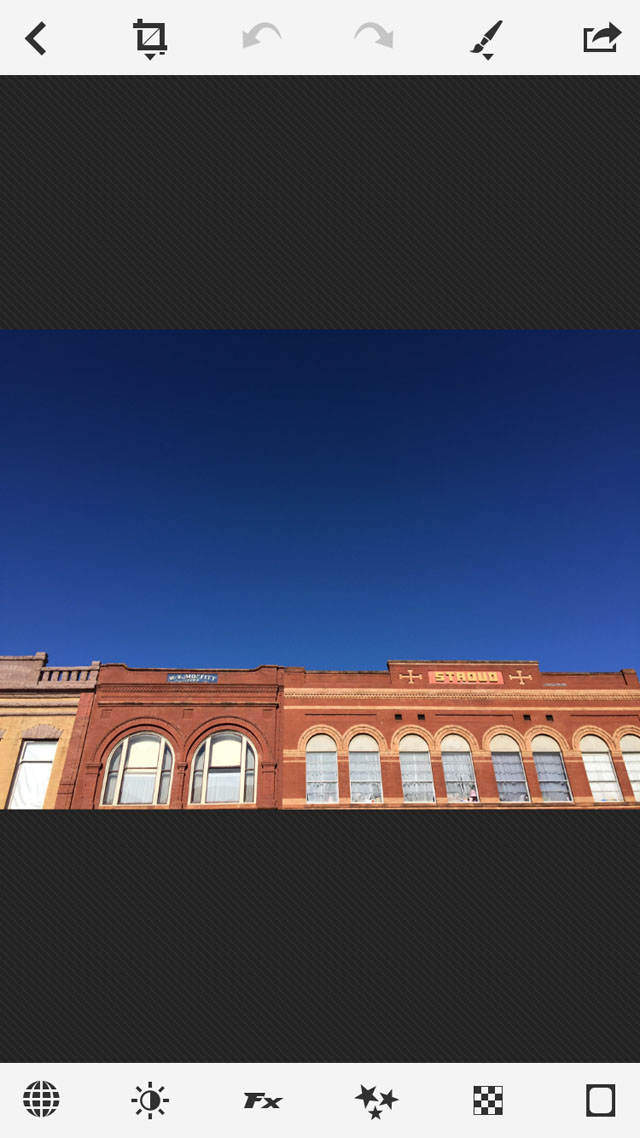
Once you’ve imported the photo into the app, you can access the Global Presets by tapping the globe icon in the bottom left corner:
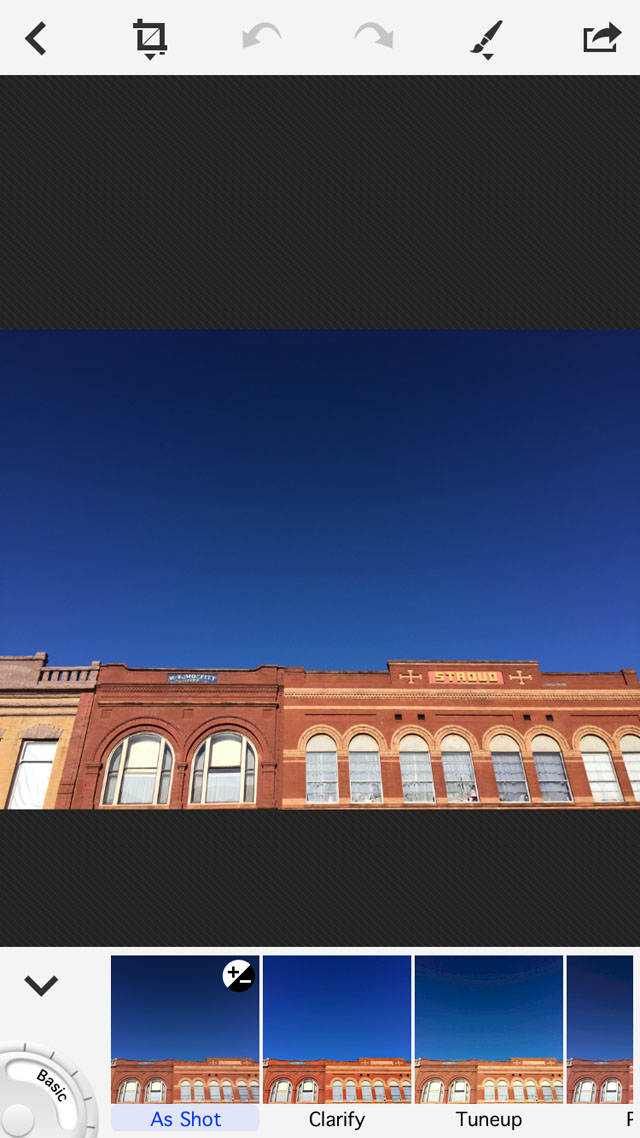
You’ll notice a dial that appears in the left corner. When you tap it, it changes to access three different categories: Basic, Deluxe and Supreme.
Each category contains a variety of presets including black and white filters. The Basic category contains the most basic black and white filters, including filters for both B&W portrait and landscape photos:
The Deluxe and Supreme categories add more layers to the filters like blur and texture effects:
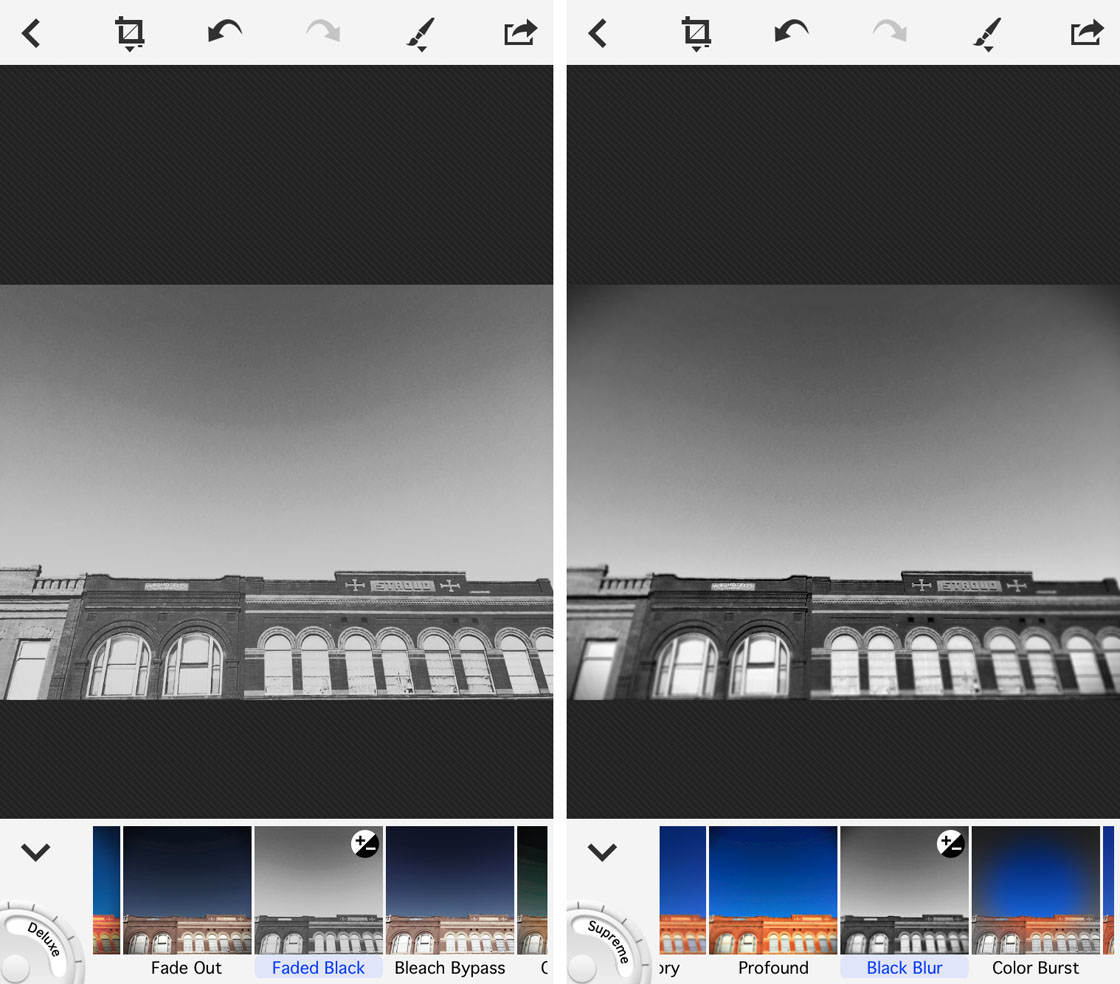
Here’s the same photo edited with three different filters, one from each category:
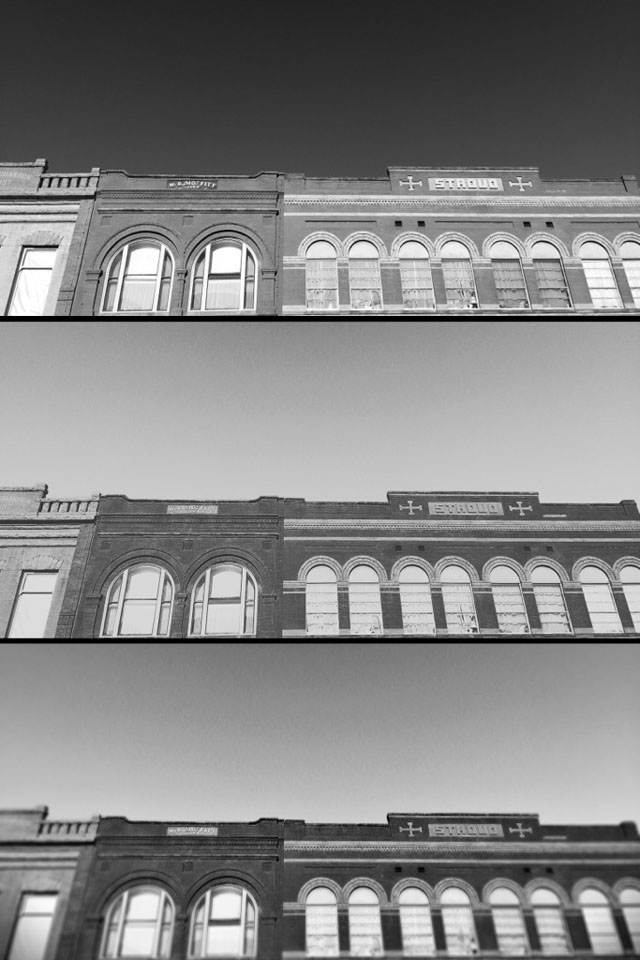
The top photo was edited using the B&W Landscape filter in the Basic category. The middle photo was edited with the Faded Black filter in the Deluxe category. And the bottom photo was edited using the Black Blur filter in the Supreme category.
Editing Technique 2: Grunge
Grunge is another great editing option for old and abandoned subjects. Grunge effects are gritty and grainy textures.
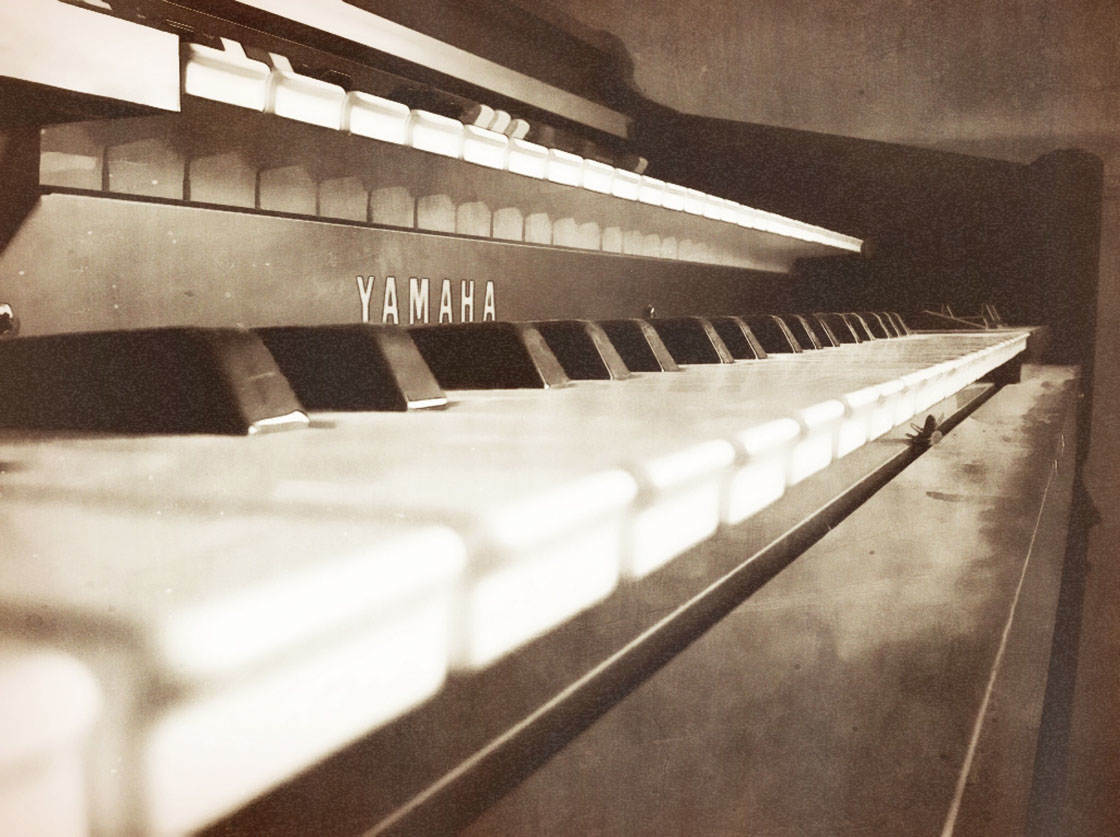
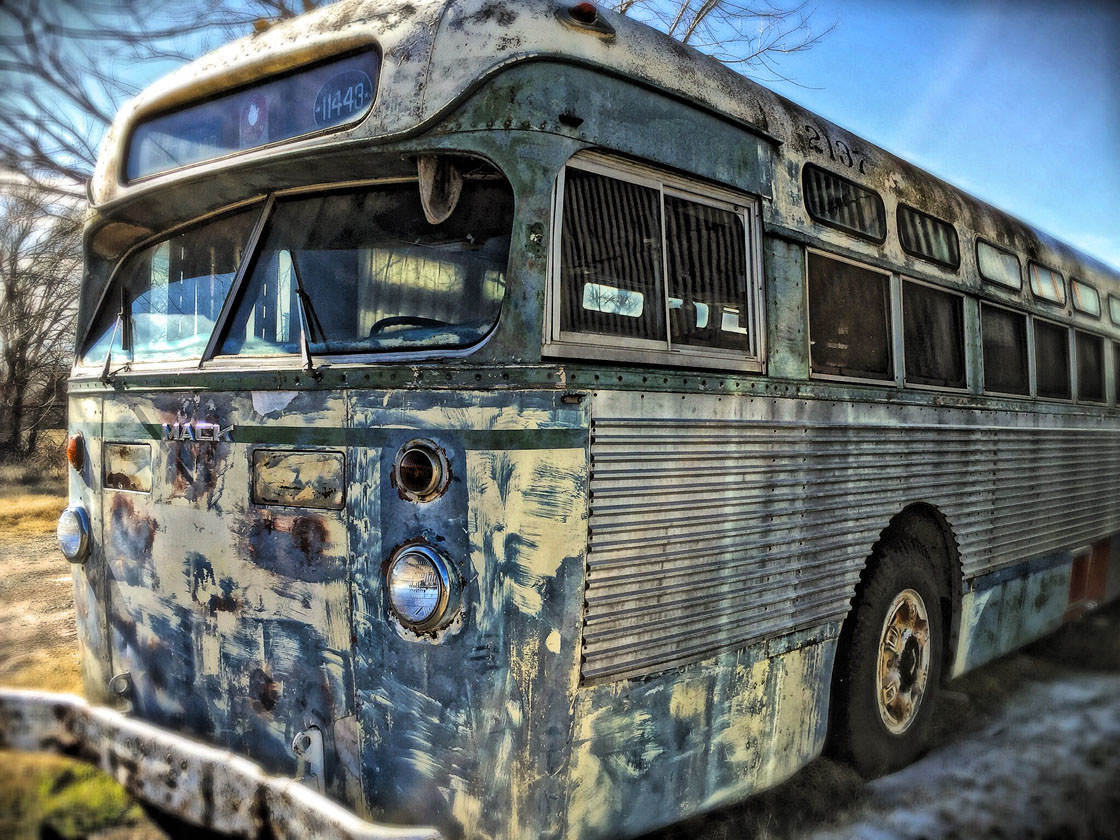
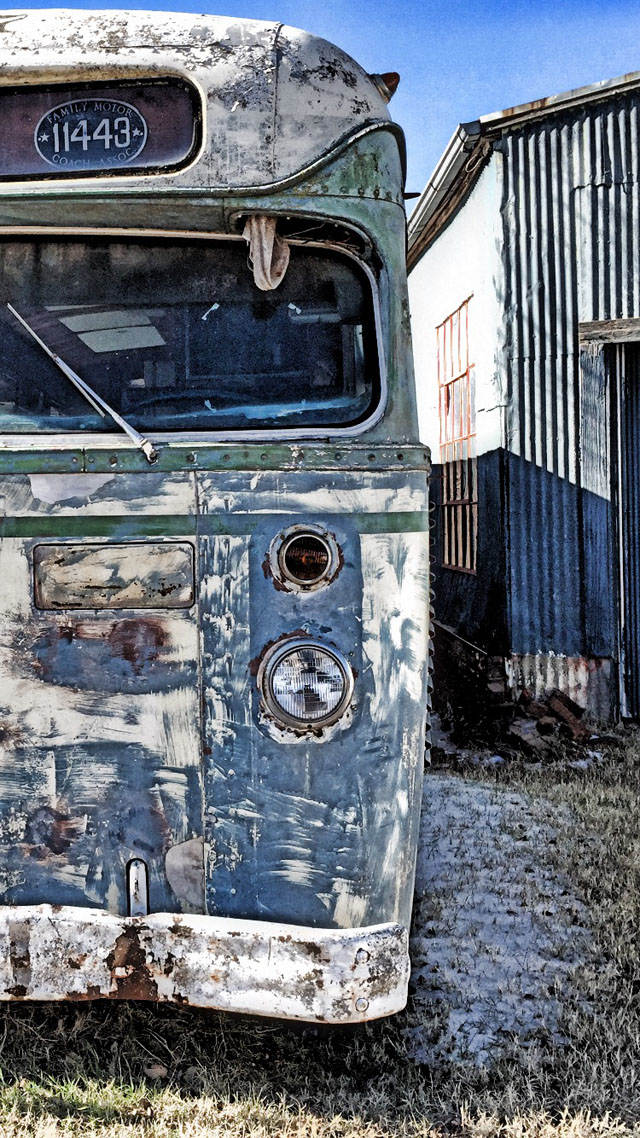
Forgotten objects are typically old and broken, and grunge is great at bringing out these qualities. For example, grunge textures make this unused organ have an aged and vintage appearance.
One of my go-to apps for grunge textures is Mextures. This photo editing app features hundreds of textures based on gritty and grainy film, dusty vintage film scans, and tasteful grunge.
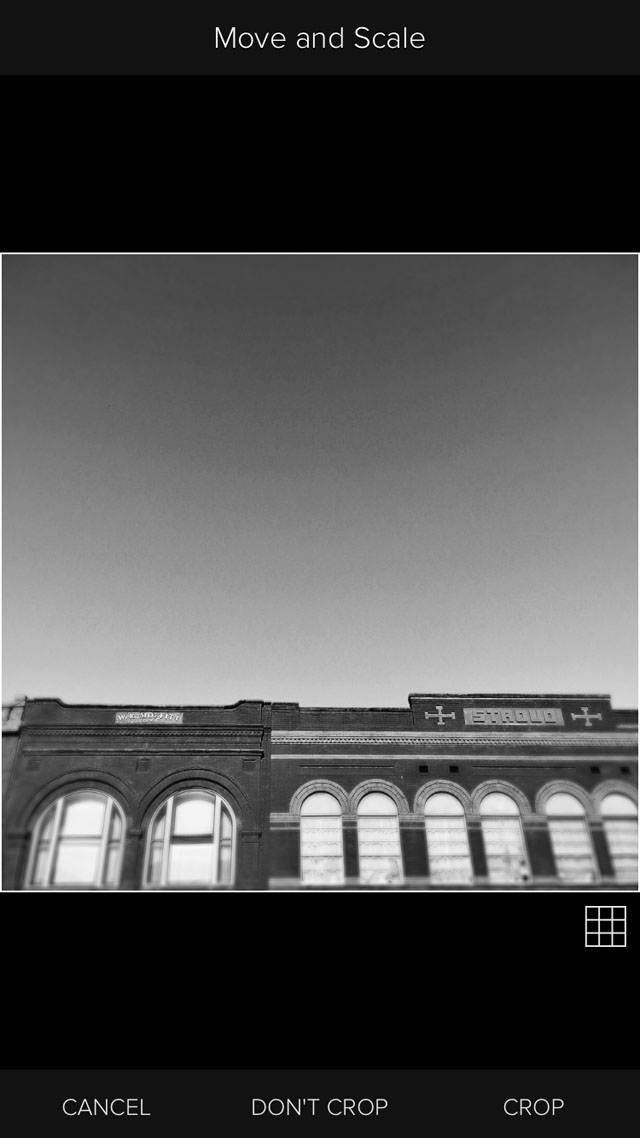
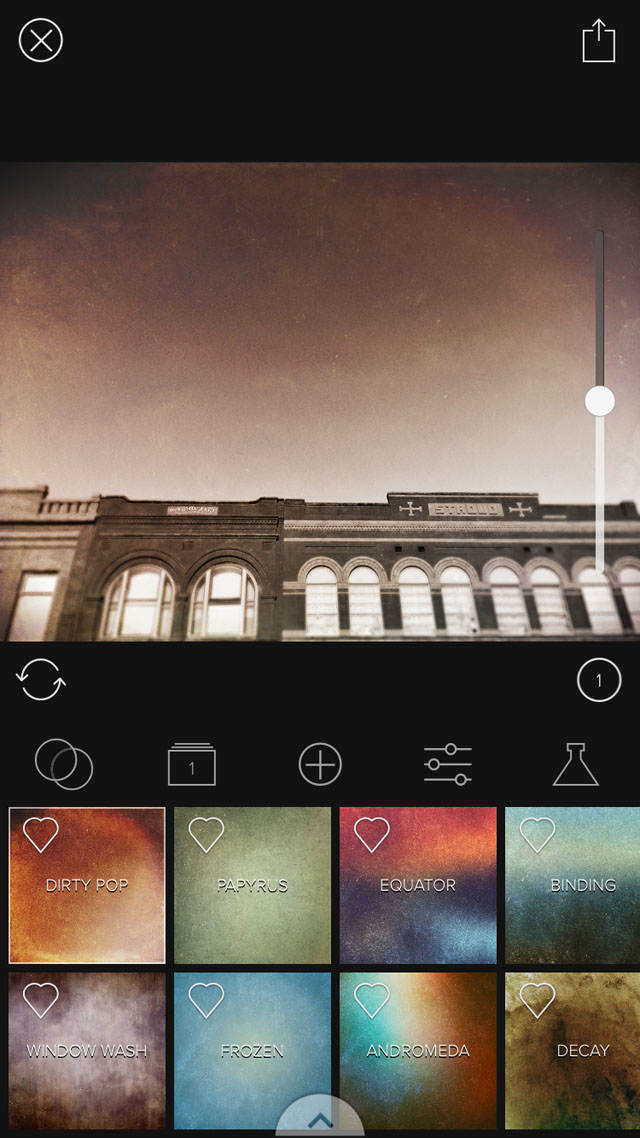
In this app, textures are layered on top of the photo for a unique look. To add a grunge texture, open the app and tap Library to pull in your photo:
On the next screen, you can move or scale the photo. If no changes are necessary, choose Don’t Crop:
You’ll now see a list of Texture Categories. We’re using the Grunge category for this tutorial:
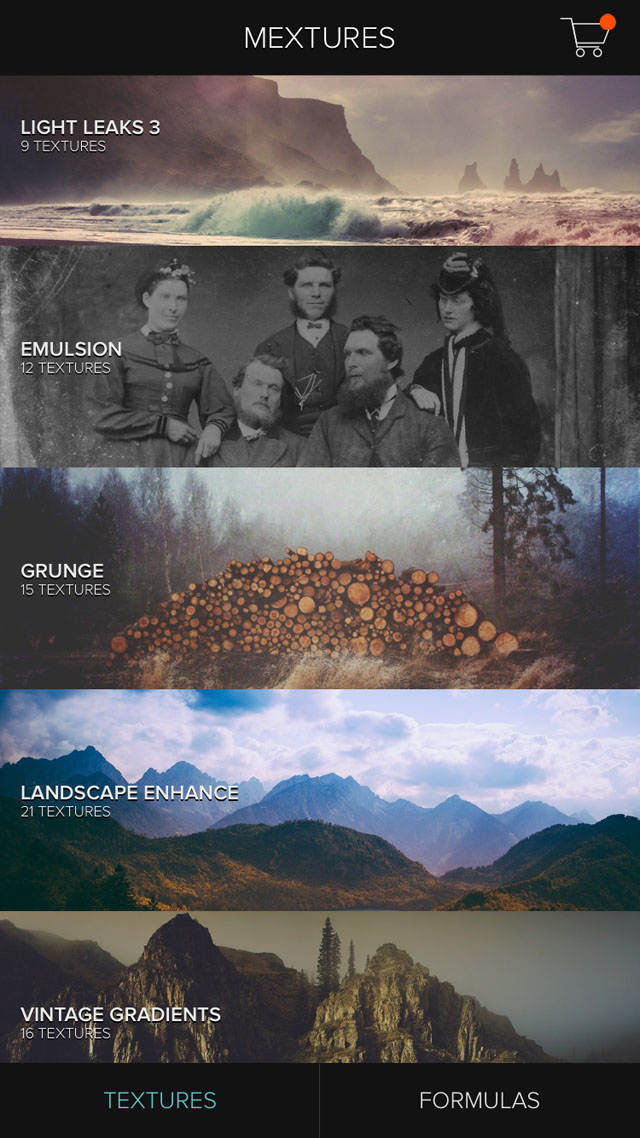
Once you’re in the Grunge category, you’ll see a variety of grunge textures. You can simply choose one to apply to your photo, and use the slider on the right side of the screen to adjust the intensity of the texture:
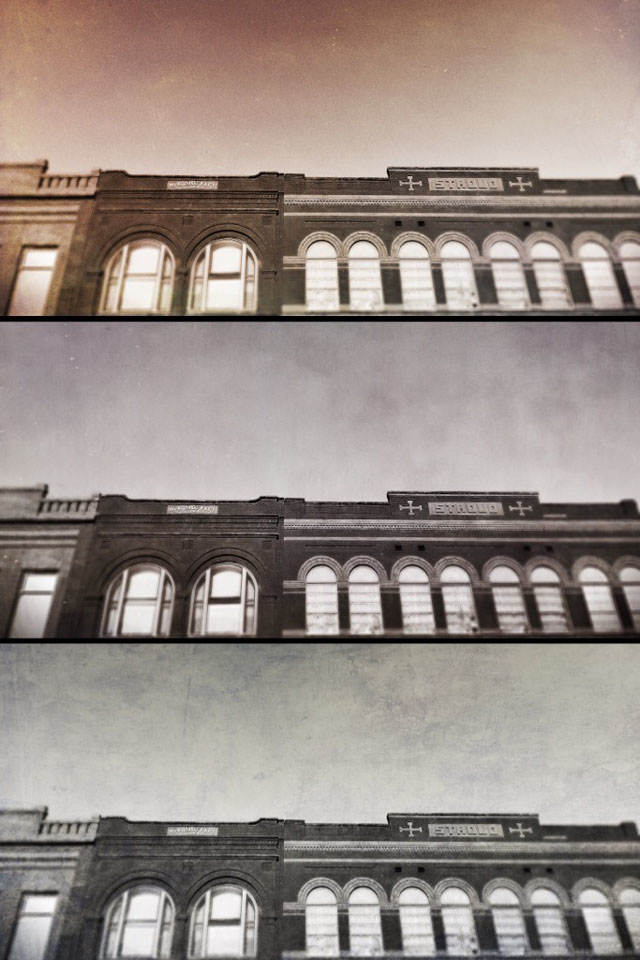
From top to bottom, the textures applied below are Dirty Pop, Window Wash, and Concrete Jungle:
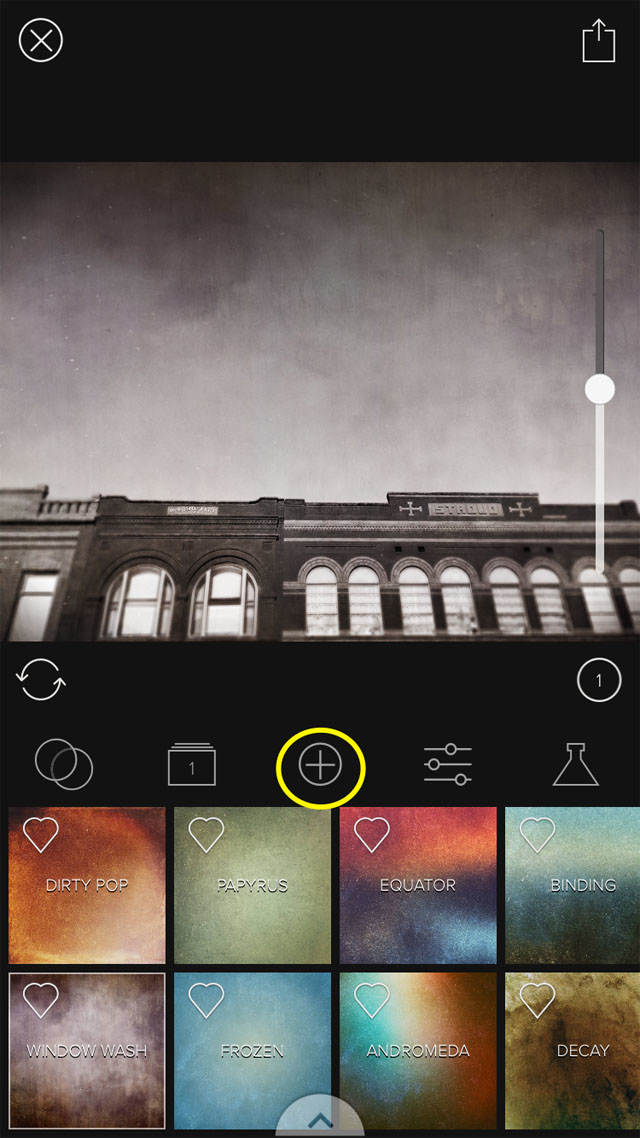
For an even grittier effect, you can add more layers. You could add another Grunge layer or use some of the other Mextures categories. The Grit and Grain or Emulsion categories are great for intensifying the grunge effect.
To add another layer, tap the plus (+) icon. Select the category you wish to use and select the texture:
The photo below has three layers: the Window Wash texture from the Grunge category, the Jefferson Emulsion texture, and the Blizzard texture from Grit & Grain:
Editing Technique 3: HDR
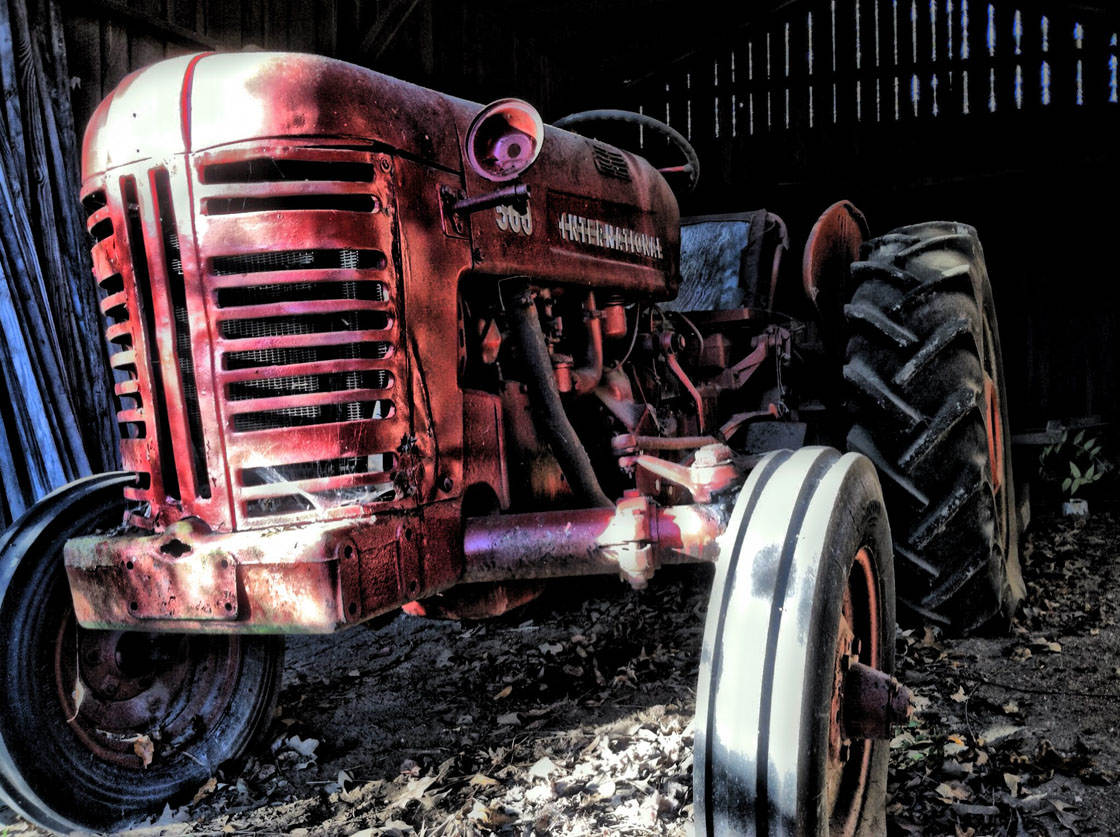
HDR stands for High Dynamic Range, and it’s all about creating an image that has color and detail throughout both the highlights (bright areas) and the shadows (dark areas).
HDR tends to make a photo more dramatic. It brings out the details and allows you to see the grit, cracks and lines in forgotten subjects.
You can actually create an HDR photo through shooting as well as editing. If you use an app such as Pro HDR X to take your picture, it’ll take three photos of the same scene, each with a different exposure.
The exposures are then blended together to create a single image with the most dramatic range of shadows and highlights.
When I want to boost the HDR effect of photos in post-processing, I frequently use the Simply HDR photo editing app.
Simply HDR is great for enhancing bland or under-exposed photos. It creates stunning images with an extended range of light and detail.
To use Simply HDR, open your photo by tapping the Get Photo icon at the bottom of the screen:

Next, tap the star icon (next to house icon) to see the different preset filters and categories.
You can choose from a variety of categories including HDArt, Black And White, and Shadows & Lights. Each category contains over twelve filters so there are many choices and options:
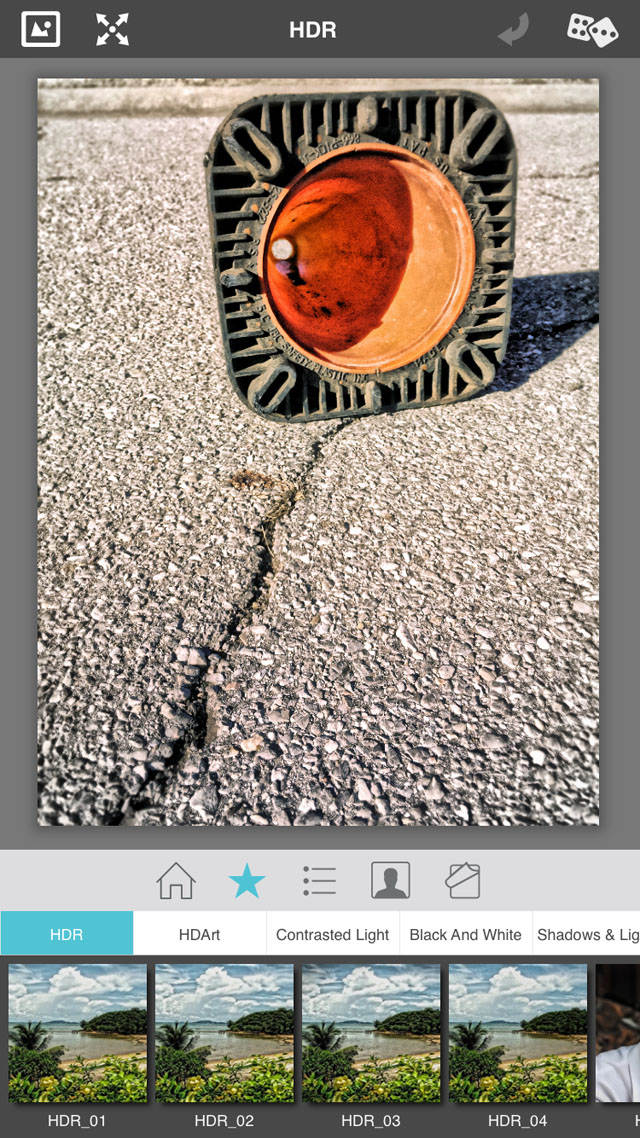
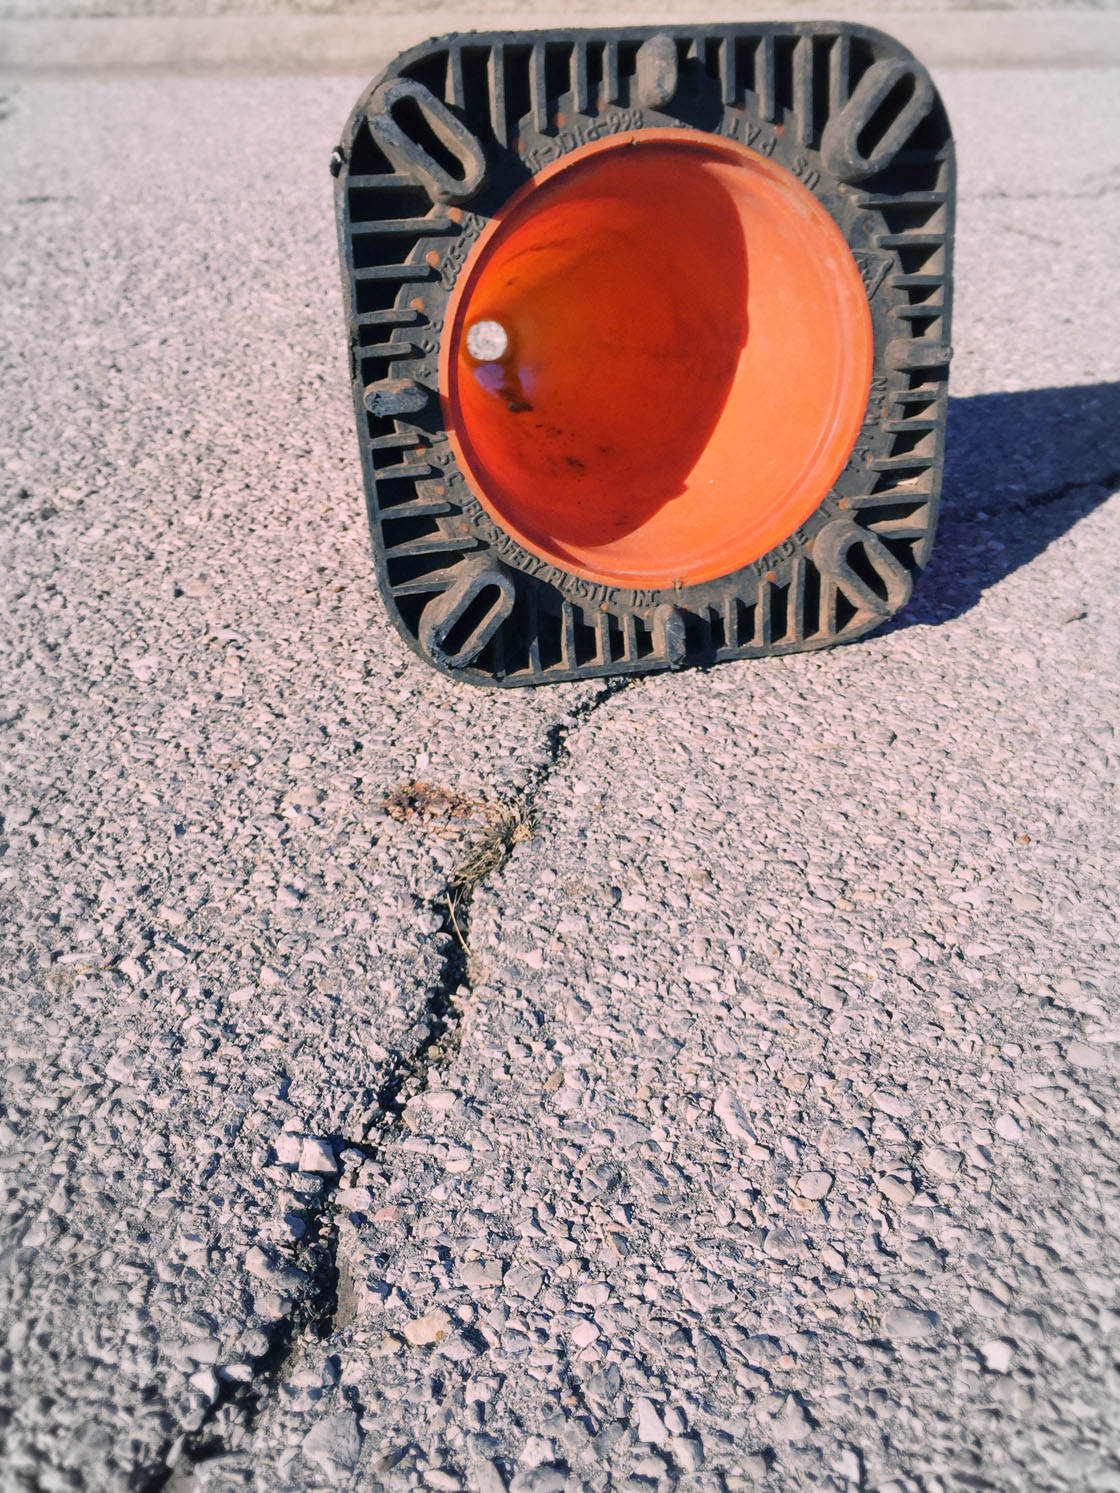
The photo below was edited using the HDR_01 preset at full strength:
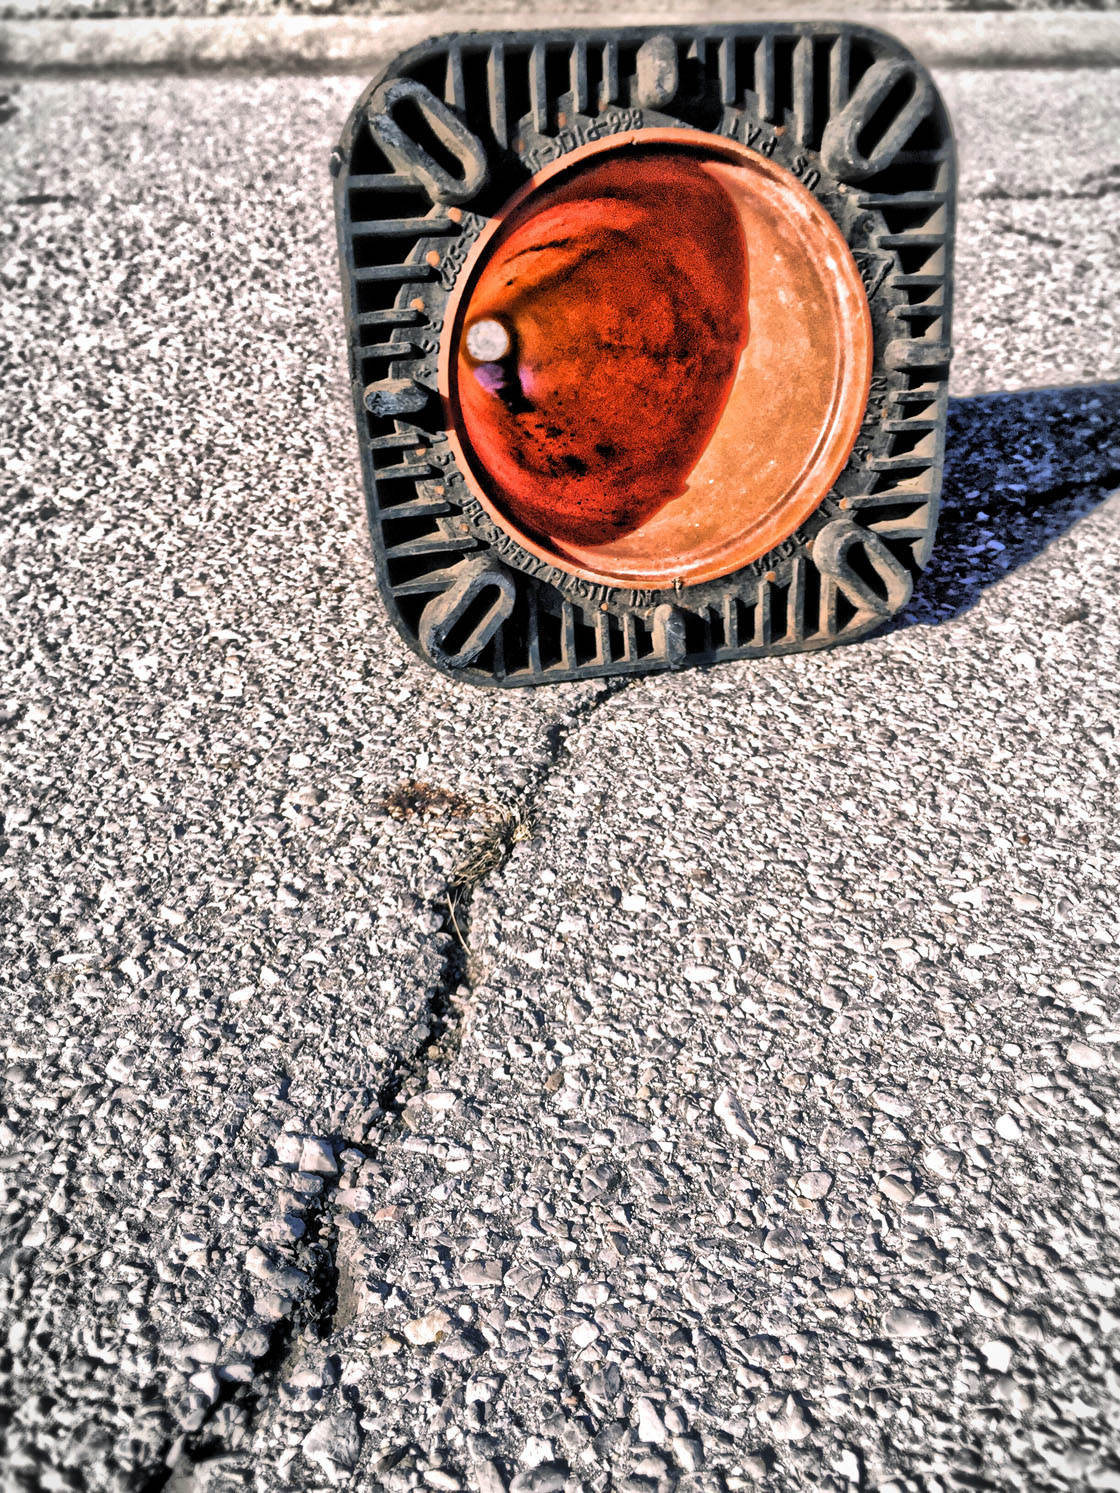
You can see all the detail it brings out in the concrete and the pattern in the base of the traffic cone. But it also creates dark grunge effects inside the cone which may or may not be desired.
Keep in mind that this app tends to over-exaggerate the HDR effect, so it’s important to adjust the strength until you find something you like.
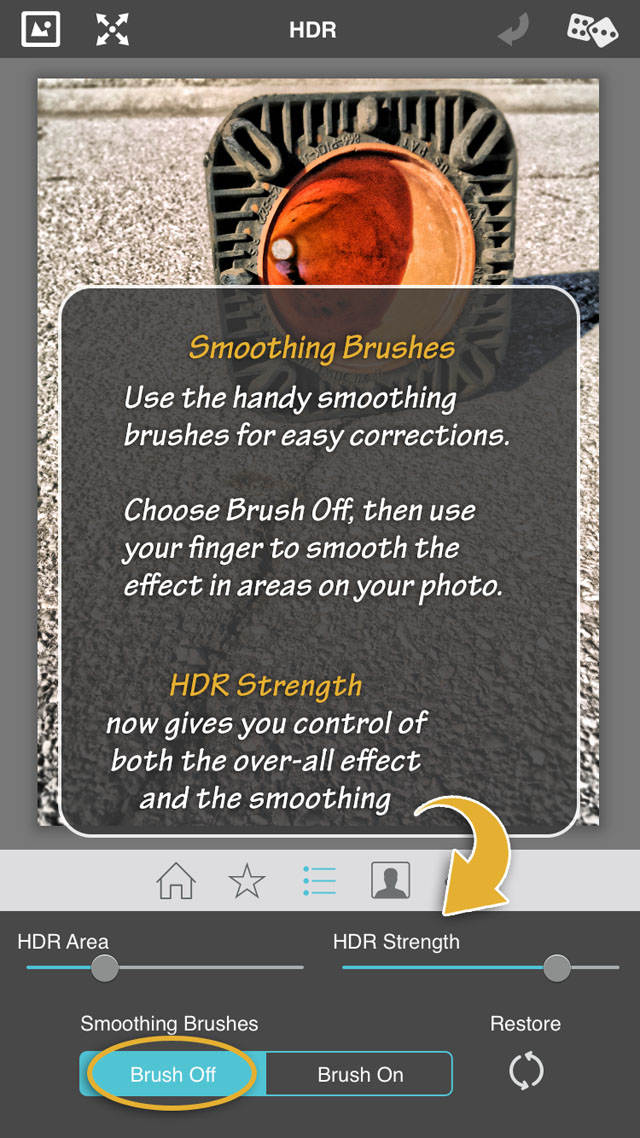
Once you choose a filter, you can adjust its strength by tapping the settings icon (to the right of the star icon):
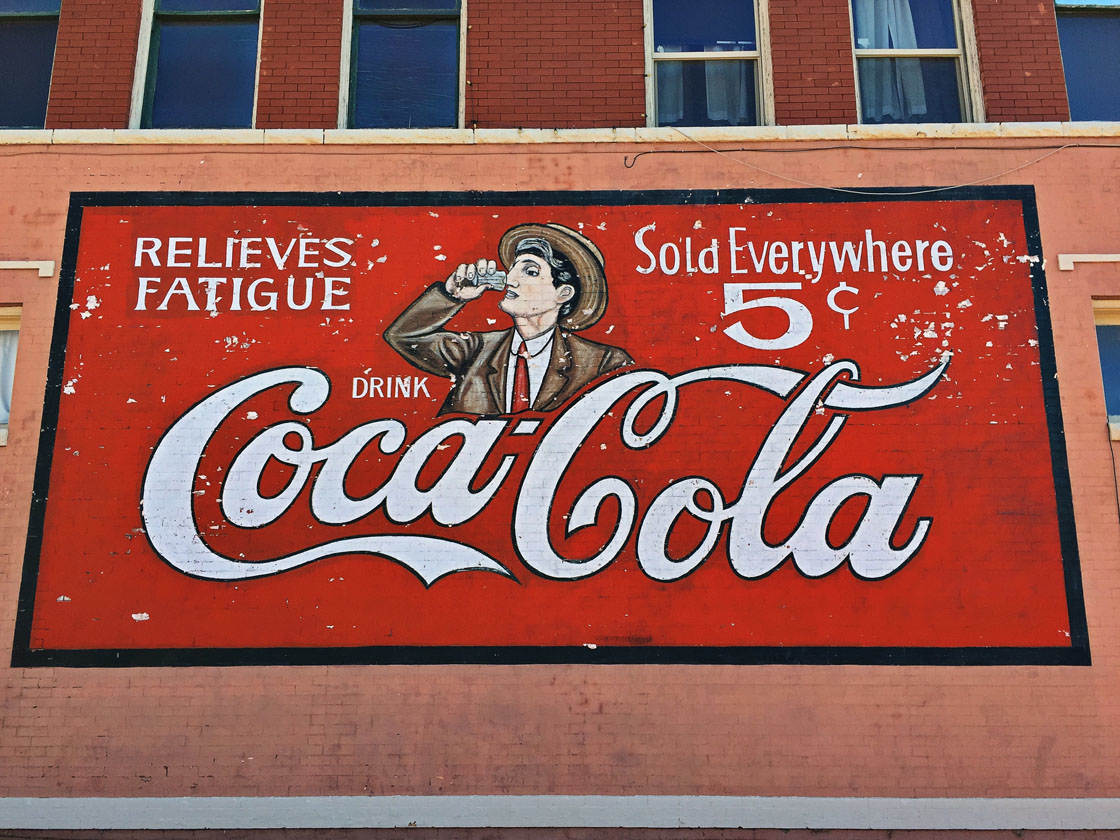
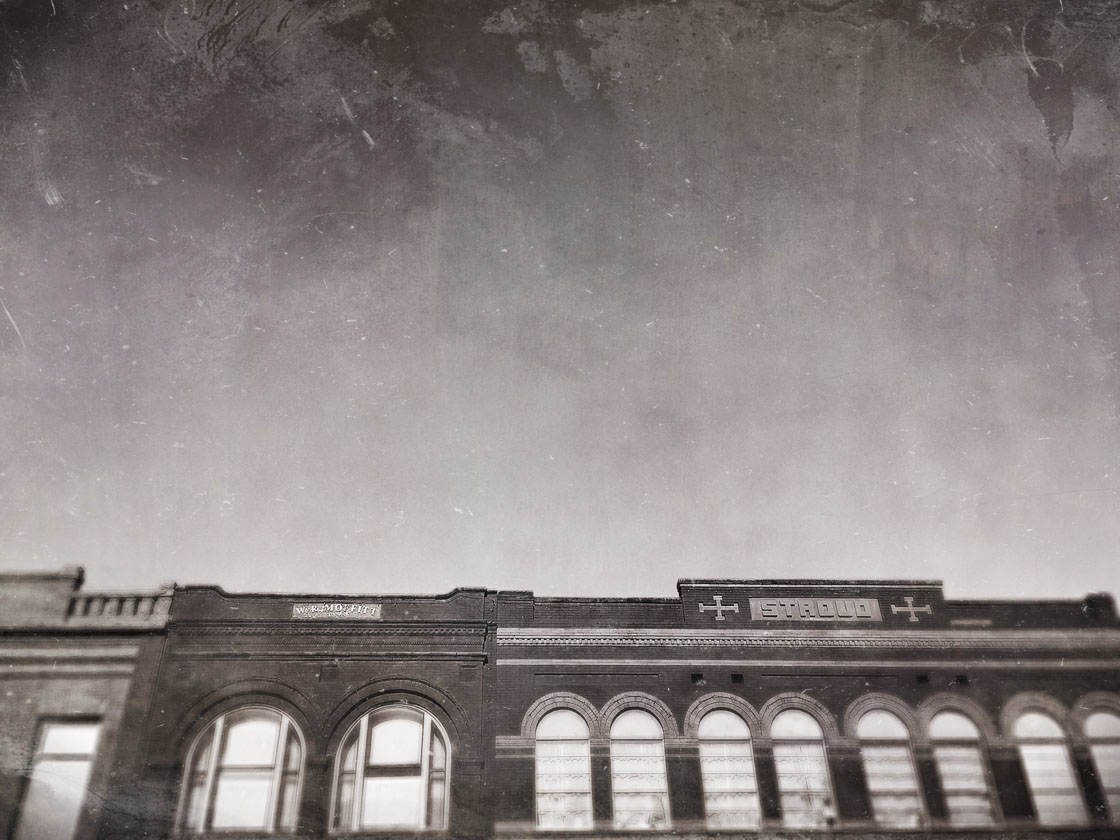
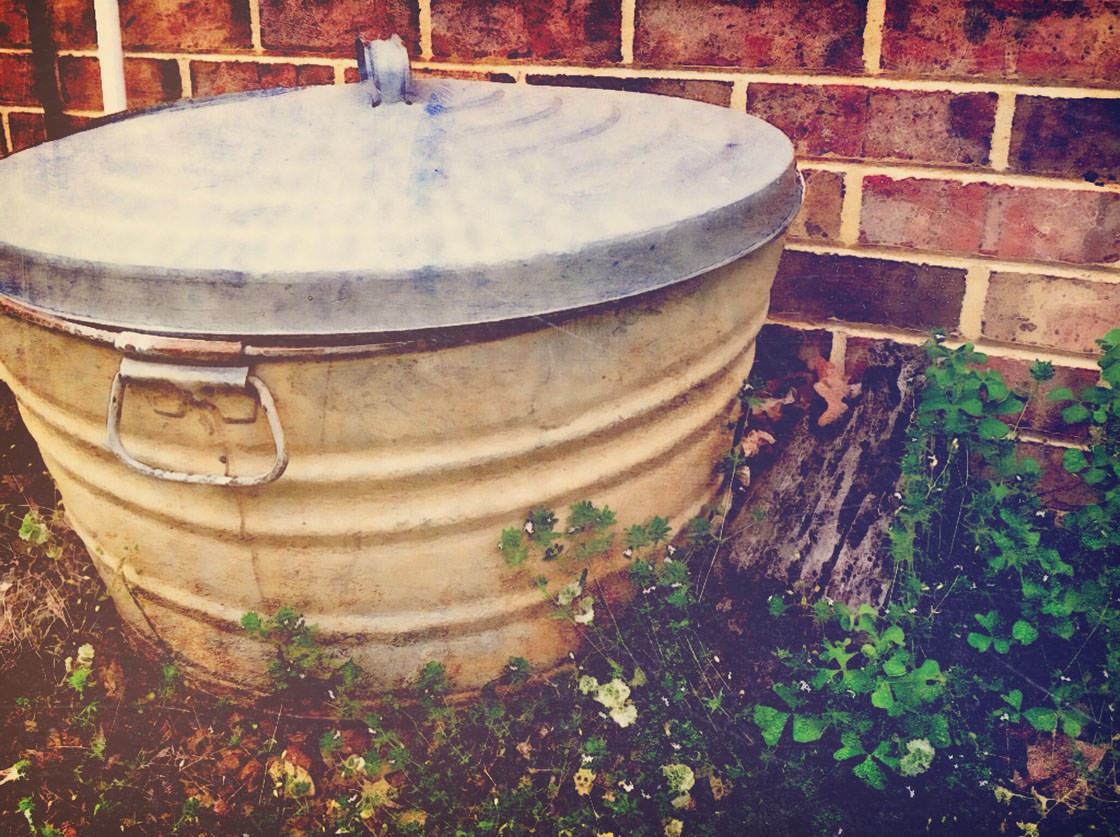
HDR also enhances the texture of torn edges and peeling paint, producing a very tactile quality in your photos. For example, the HDR edit below brings out the brick detail in this retro sign:

Conclusion
If you’d like to expand your range of iPhone photography subjects, taking photos of forgotten and abandoned objects is ideal. It really does open up a whole new world of photo opportunities.
Train your eye to notice these subjects by exploring new places and perspectives. Once you start looking, you’ll soon begin to notice interesting old and abandoned subjects all around you.
Once you find a forgotten object, remember to make the most of light and composition to capture the details and show context to create an evocative photographic story.
And don’t forget the importance of editing your images to enhance the subject’s details and create a certain mood in your iPhone photos.

Very nice article!!
It would be nice if you create a printable version.
In this way, people could print it or those they would keep physical as a book.
Glad you enjoyed the article, Robin! And thanks for your suggestion, we’ll look into it. 🙂