Flowers make a great iPhone photography subject, and they’re a joy to shoot because of their natural beauty and stunning colors. But have you ever considered the different techniques for editing your flower photography with photoshop apps? There are so many ways to enhance their beauty, and in this tutorial you’ll discover five editing techniques from subtle enhancements to artistic effects such as painterly styles, textures, motion blur and abstracts.
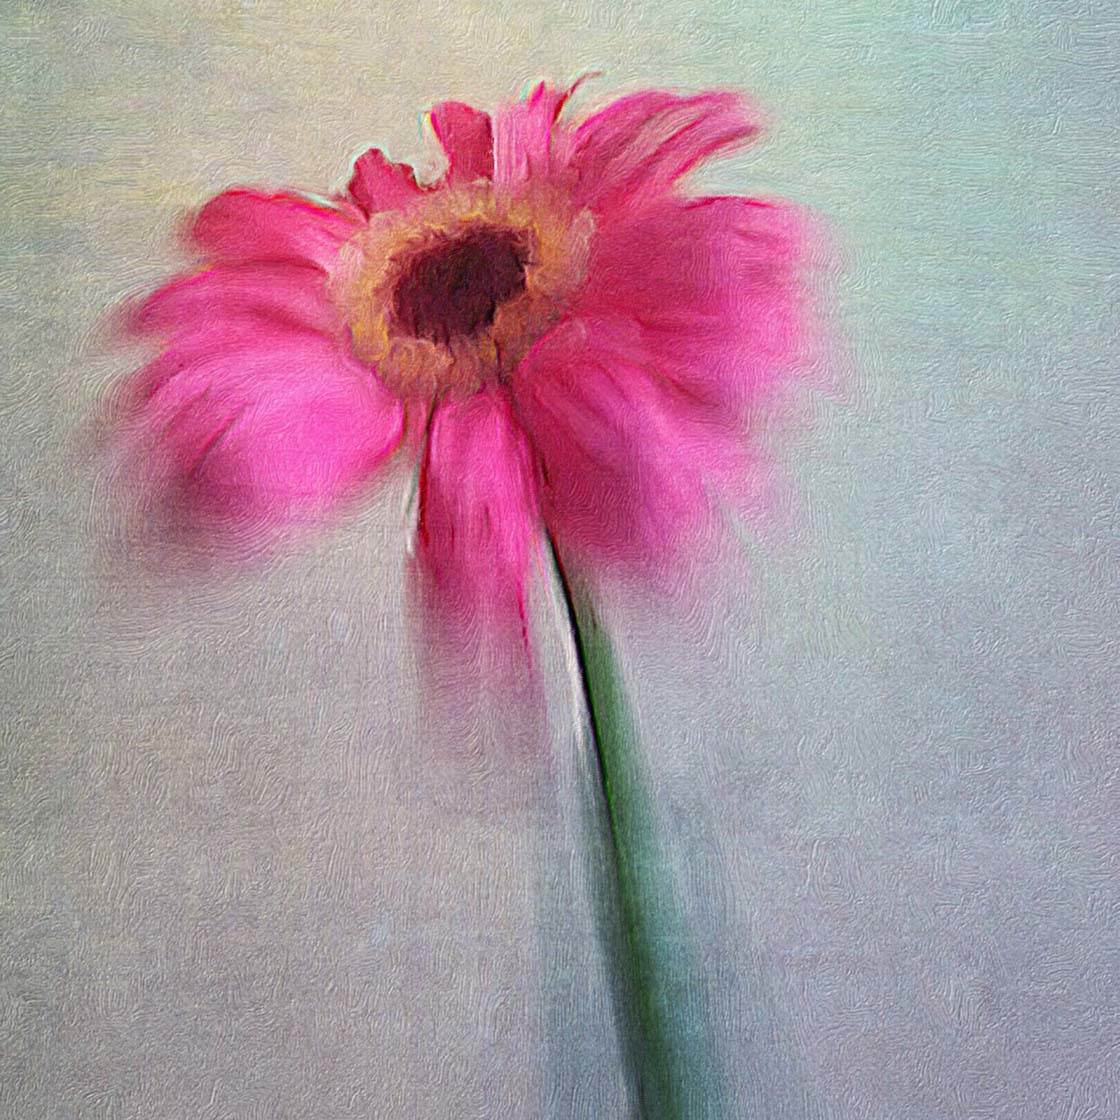
I really enjoy photographing flowers and editing them in creative ways. Image editing apps can help you to fine tune your image and bring out the beauty you saw when you snapped the photo.
Whether you want to use subtle edits to enhance the natural colors, or apply artistic and abstract effects, there’s a huge range of photo editing apps that offer creative tools to suit your needs.
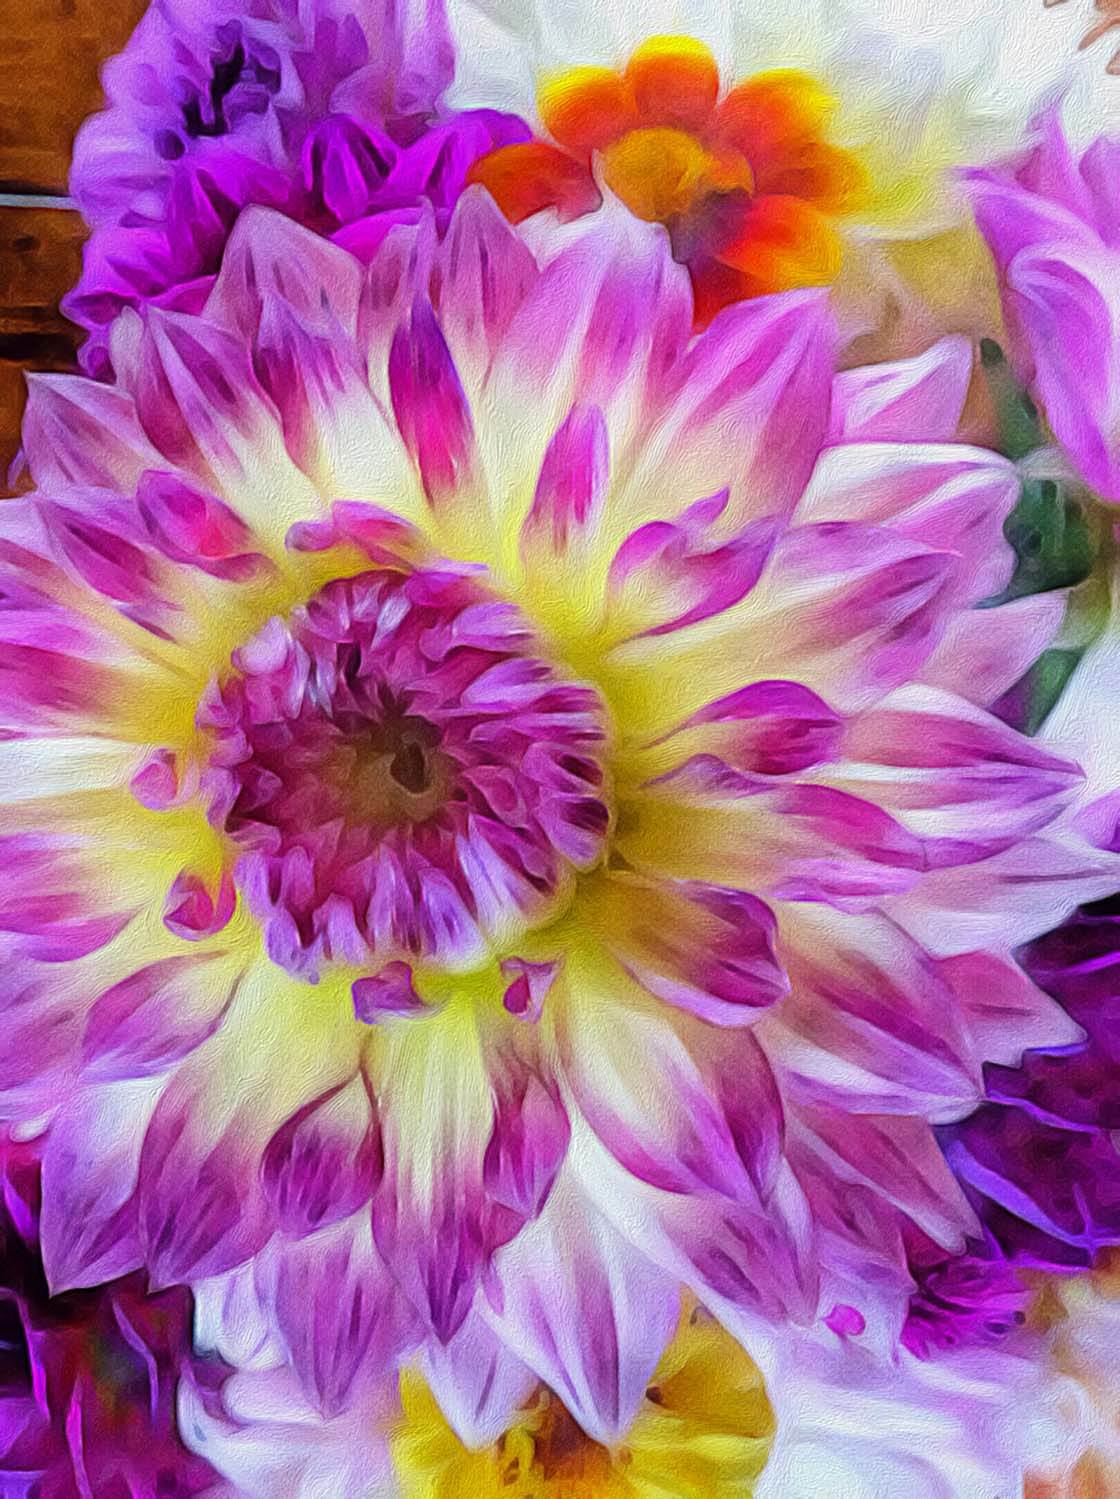
But it’s important to understand the limitations. There are a few photo editing tools that are not ideal when editing flowers. There are also certain techniques that work best for specific flower colors and arrangements.
In this tutorial, you’ll learn how to bring out the beauty of your iPhone photos of flowers with five different editing techniques. I’ll suggest a number of apps that you can use to achieve these effects, but there are plenty more apps that offer the same sort of options, so you can use whatever you’re comfortable with.
1. Add A Simple Filter With Vignette
Flowers are so beautiful and their colors are so stunning that you often don’t need to do much editing. But a little bit of subtle editing can really make your flower photos pop.
Using filters is probably the most common way that iPhone photographers edit their photos. There are some great iPhone photo filter apps available. Snapseed and PhotoToaster offer basic filters that will add subtle improvements to your photo. And the VSCO filters are beautiful and understated.
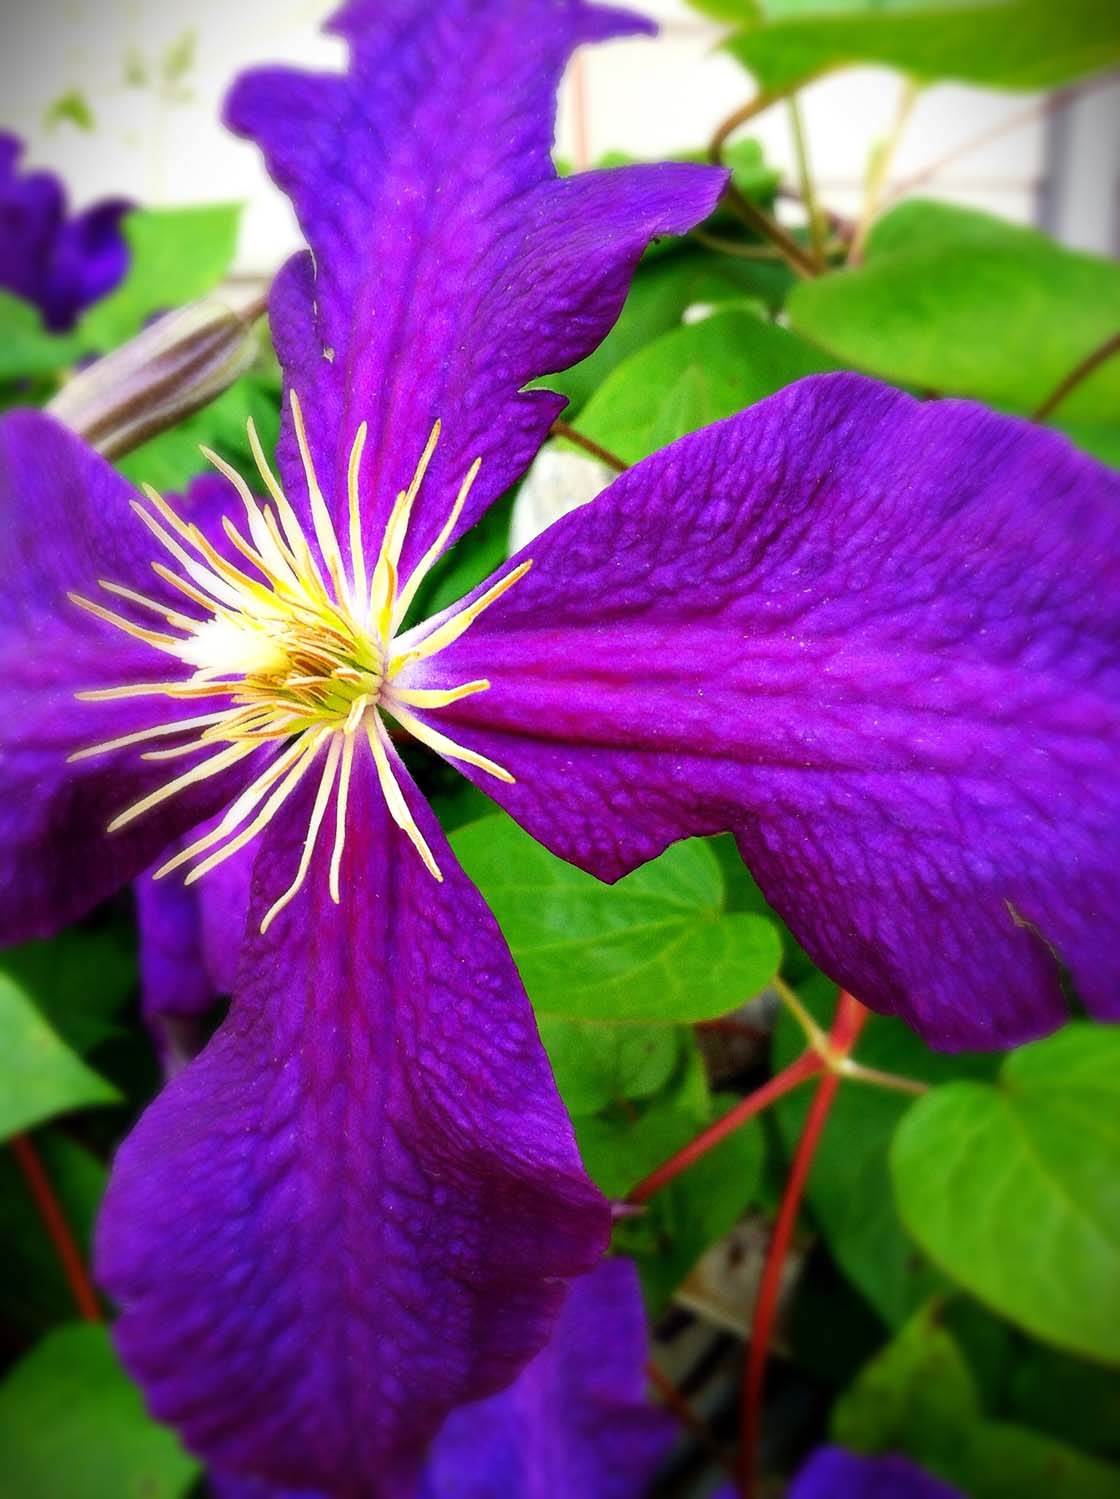
If you’re not familiar with basic photo editing, check out our in-depth tutorials on using the Snapseed app, VSCO app and PhotoToaster app to enhance your images.
Before applying a filter, consider what you’re trying to achieve with the photo. When it comes to flowers, it’s best to use filters that increase brightness and clarity, enhance color, add drama or evoke mood.
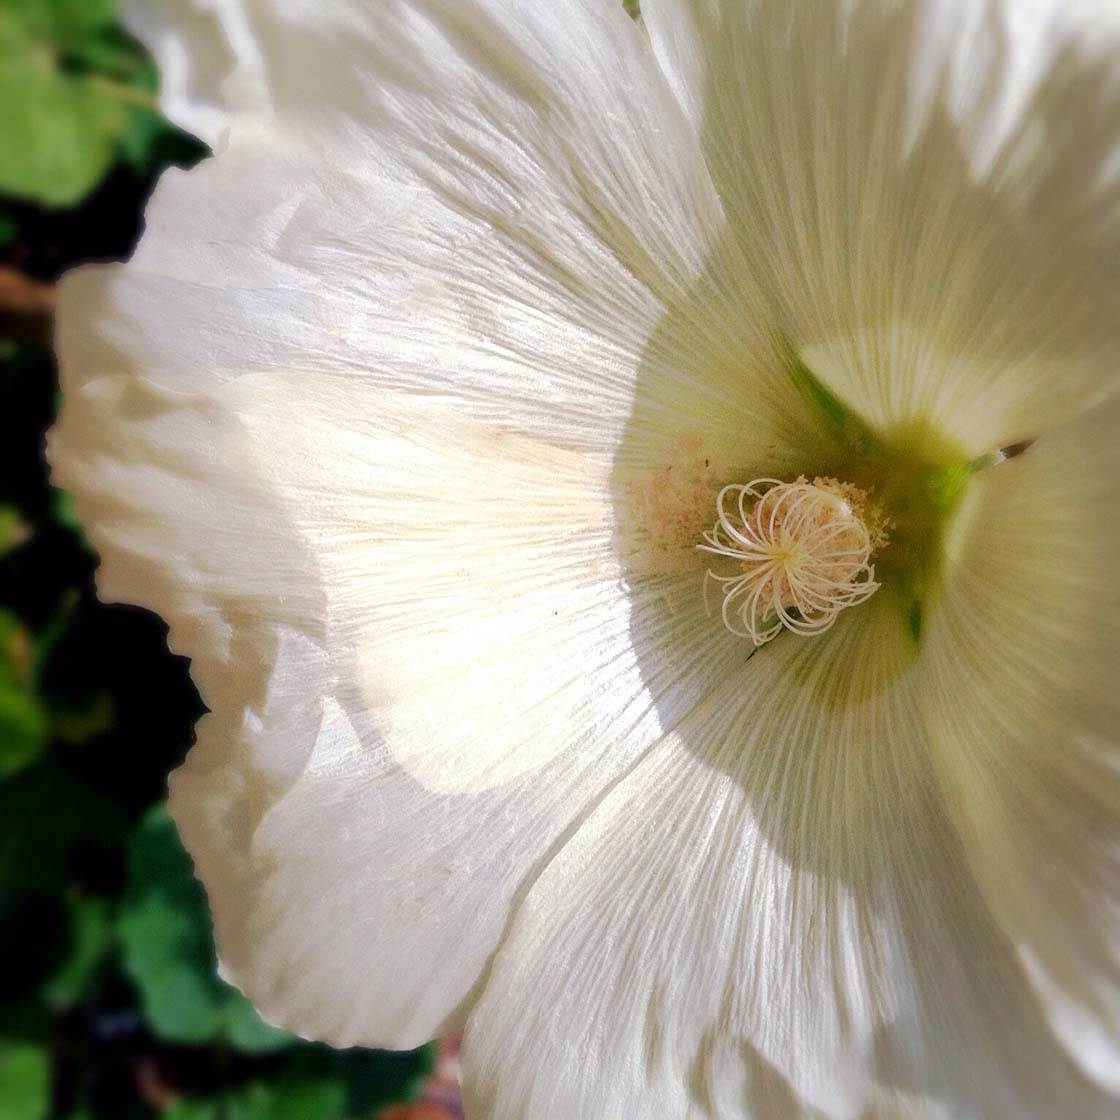
To achieve a natural edit that works well with most flowers, just use your app of choice to add a simple filter that enhances the natural beauty of the flower.
You might also want to add a subtle vignette. Vignetting means darkening the corners of the image so that the outer edges become less distracting and attention is focused on the center of the photo.
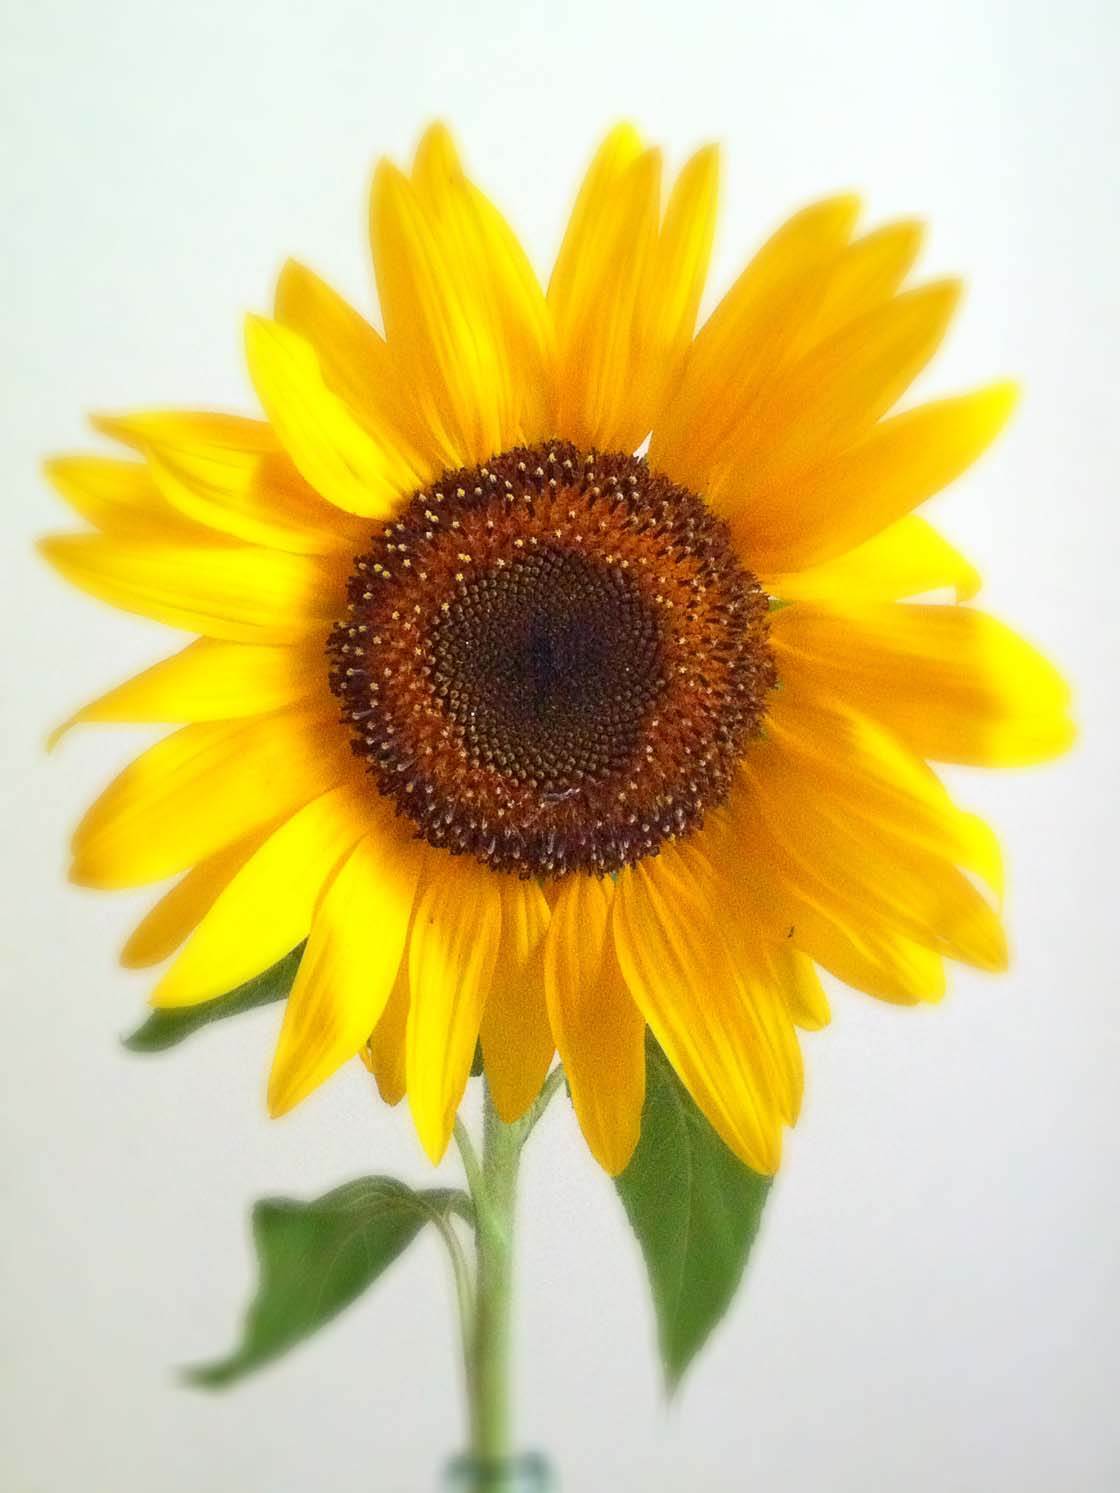
Many filters already include a vignette, but in most apps the strength of filters and vignettes can be adjusted. Always experiment with the intensity of these edits as you can ruin a photo by applying filters and vignettes at too high a strength.
For flowers photographed outdoors, use filters that brighten and enhance the color. In the original photo below, the flowers appear bland and the surrounding scene takes the focus away from the flowers.
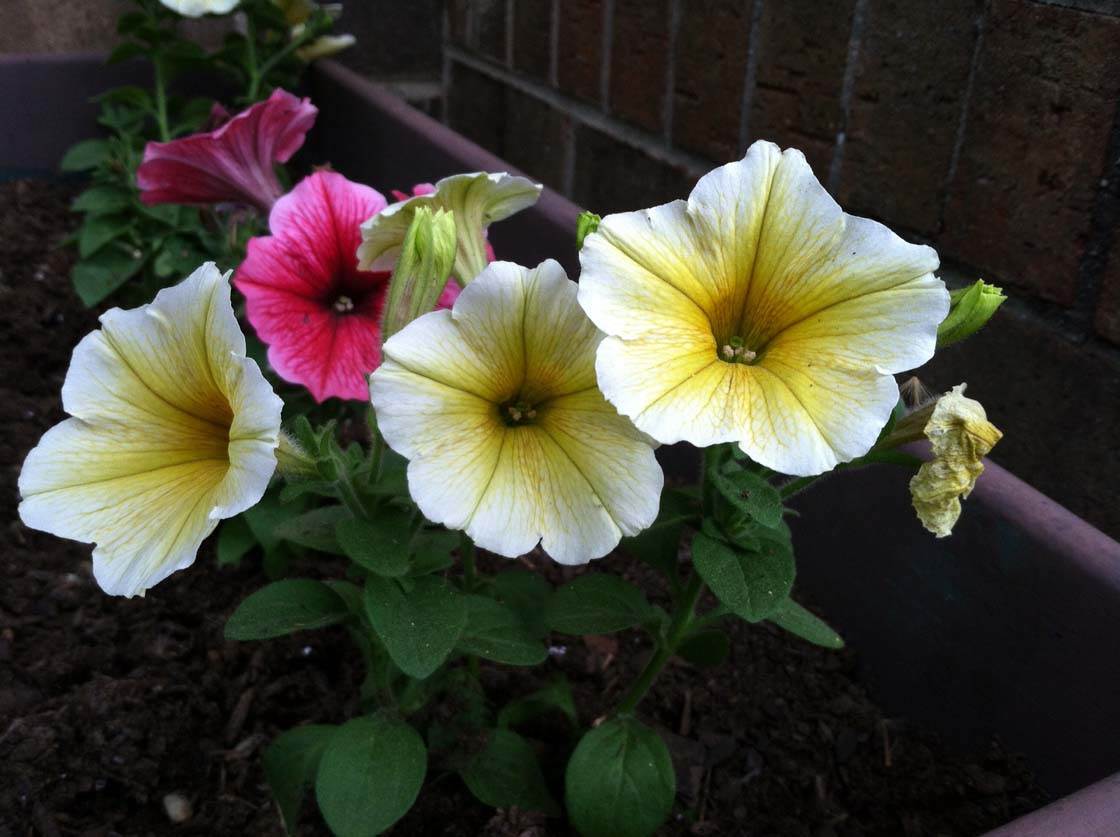
I used the Profound filter in PhotoToaster to add color contrast and a blur vignette as shown below. This type of vignette blurs the edges of the photo so that the center appears to be in sharper focus.
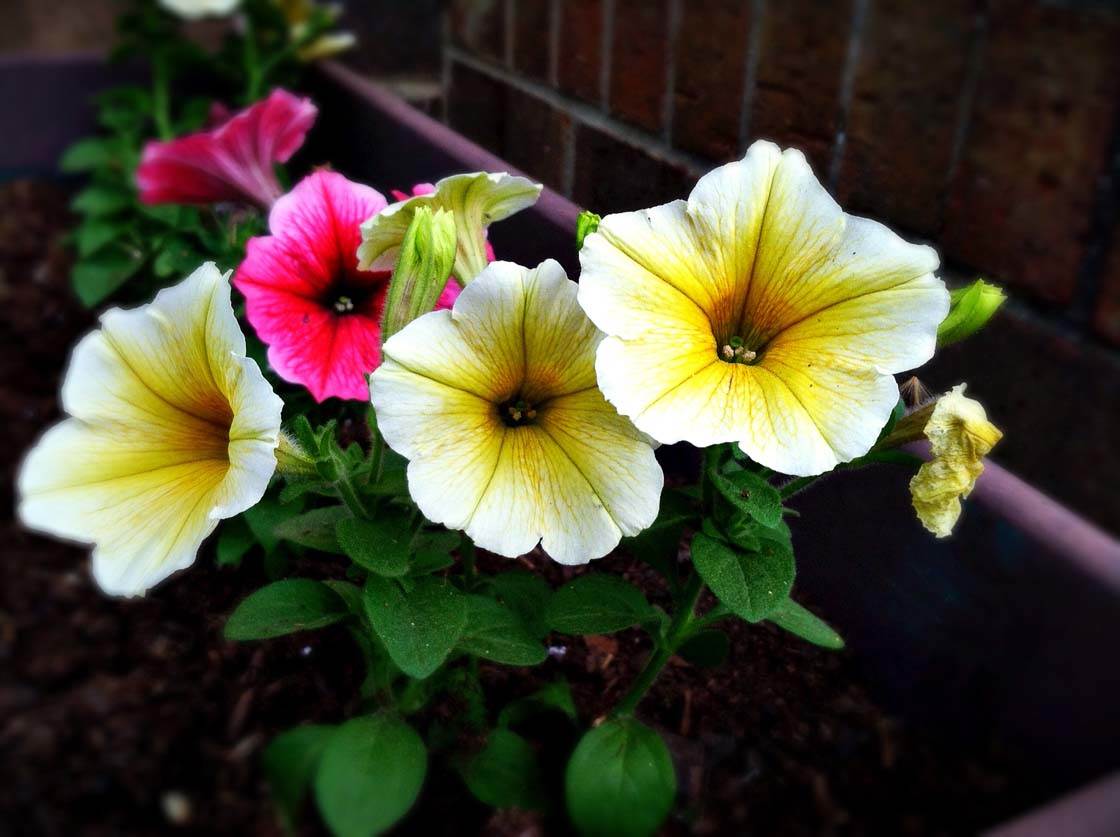
In the edited photo above, you can still see the elements around the flowers, but they aren’t as distracting. Now the flowers take center stage.
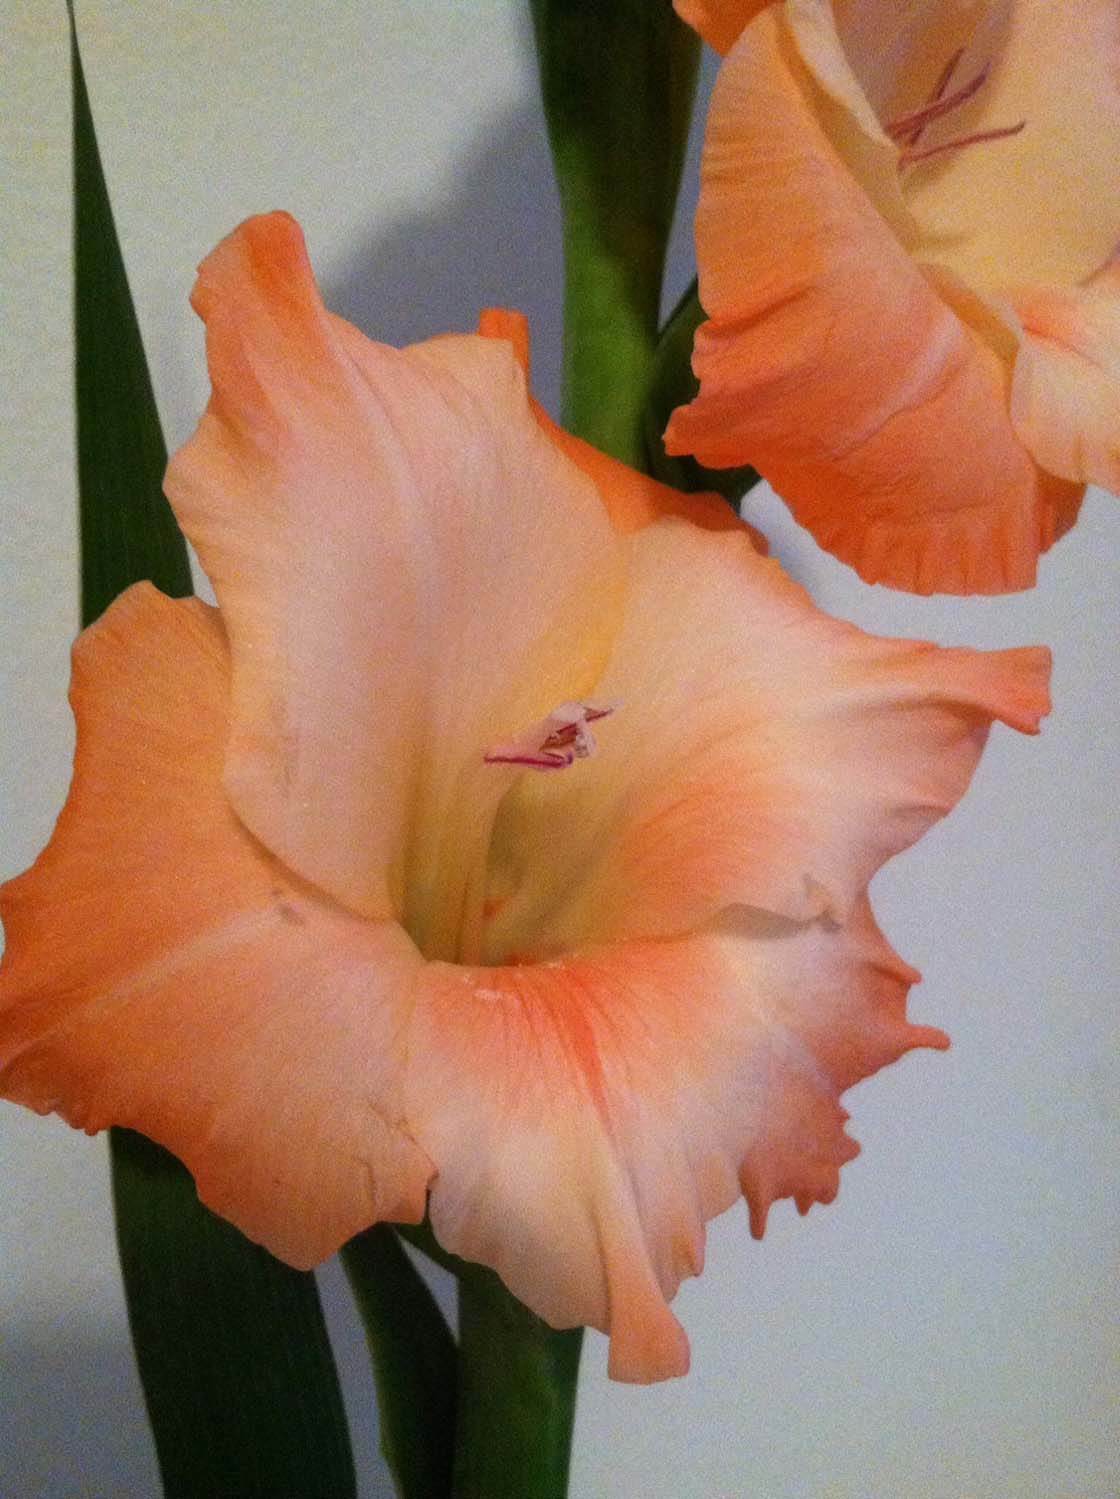
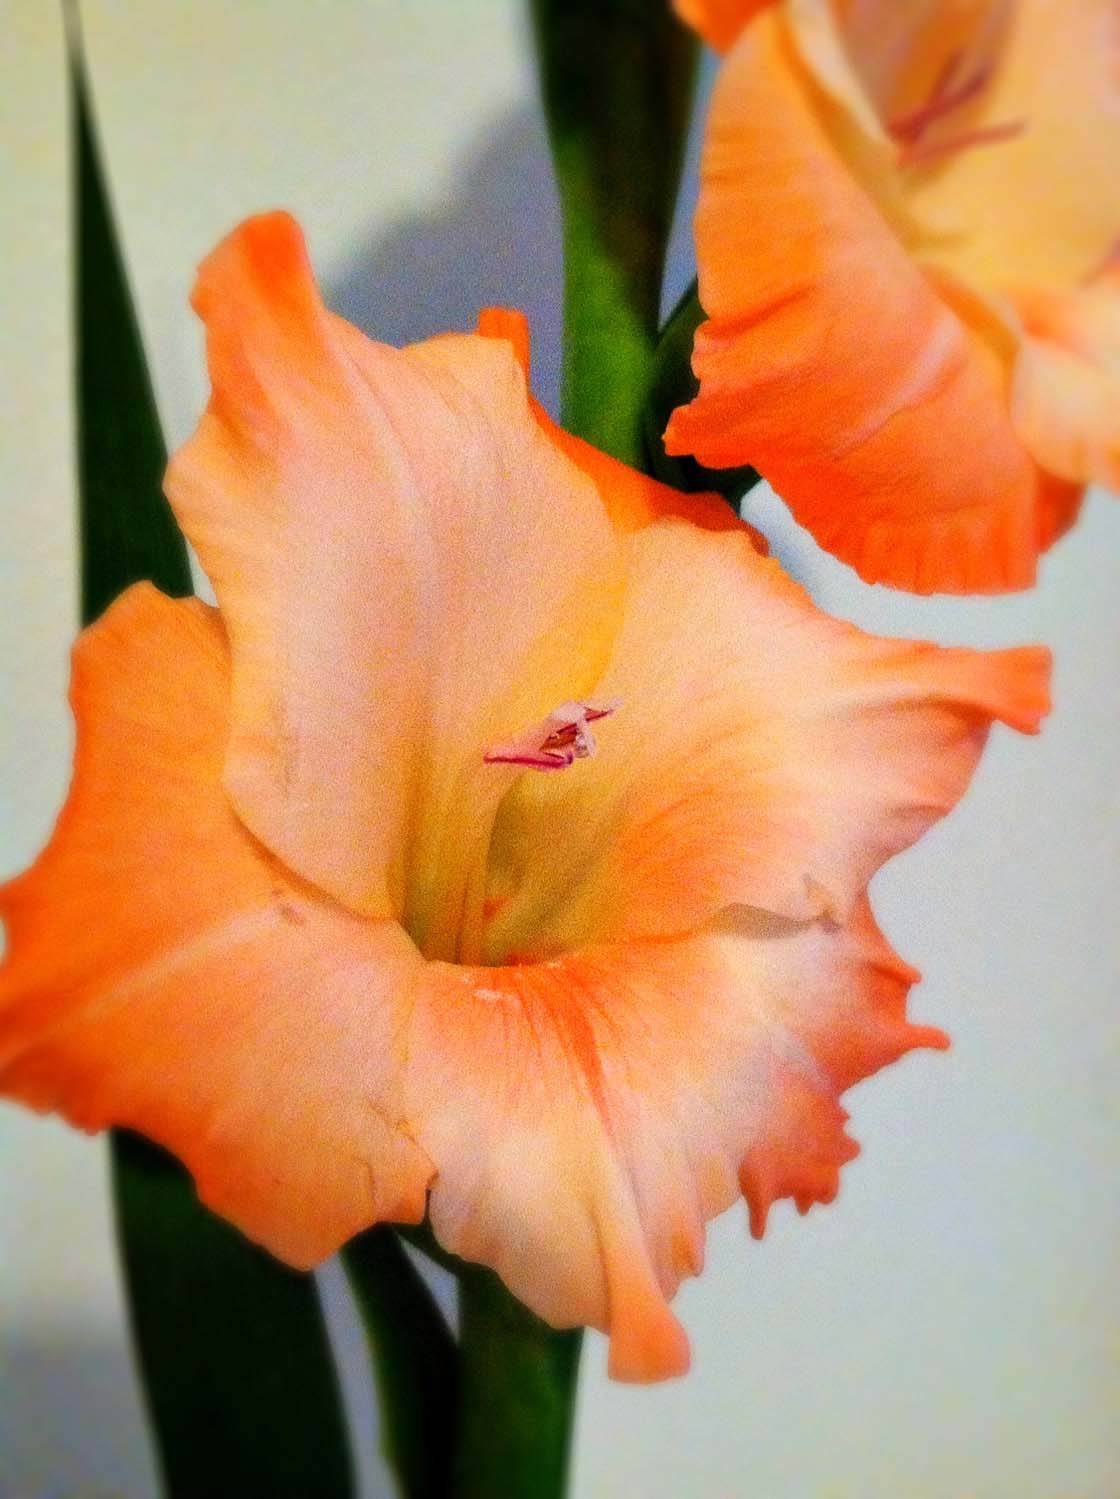
The photo above was shot indoors with dim lighting which produced a washed out flower and a grainy photo. The same PhotoToaster filter was applied to punch up the color and smooth out the overall graininess (see below).
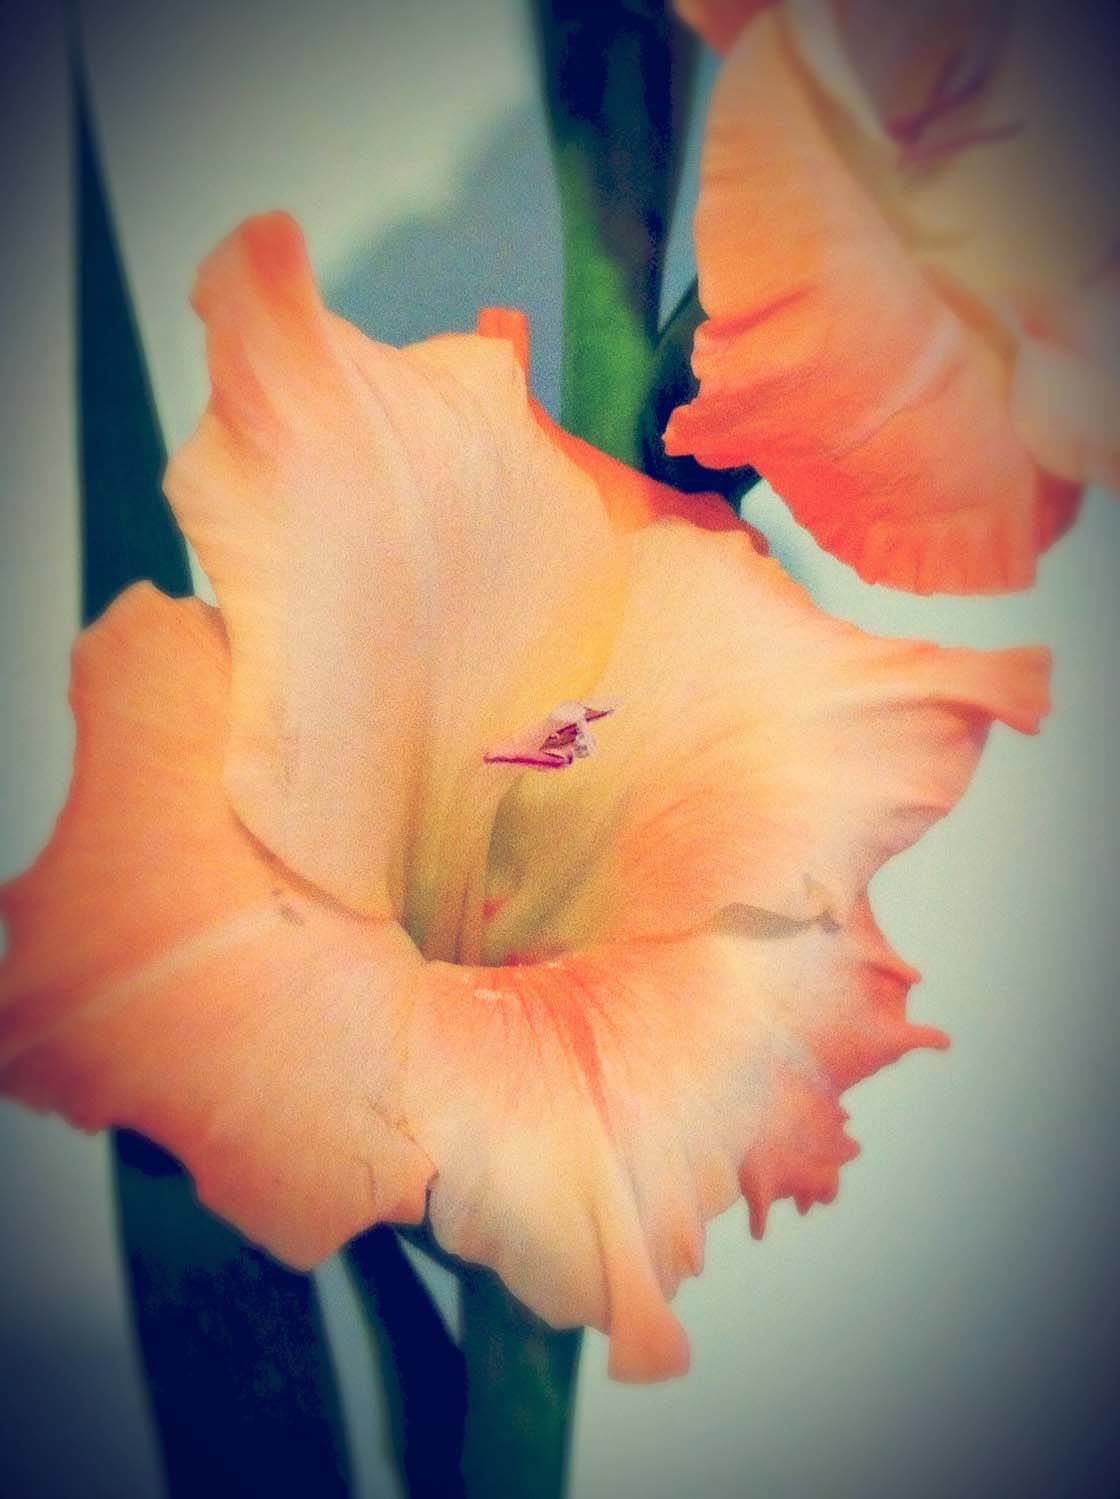
For a different appearance, you could take this same edit and then edit it again in another app. I used the Free5 filter in Vintango to evoke a different mood as shown below. You’ll notice that the Vintango filter adds a soft, faded overlay with a dark vignette around the edge.
2. Paint Your Flowers
If you like to get a bit more creative with your photo editing, you can “paint” your flowers with an app, or combination of apps, that converts your photo to a drawing or painting.
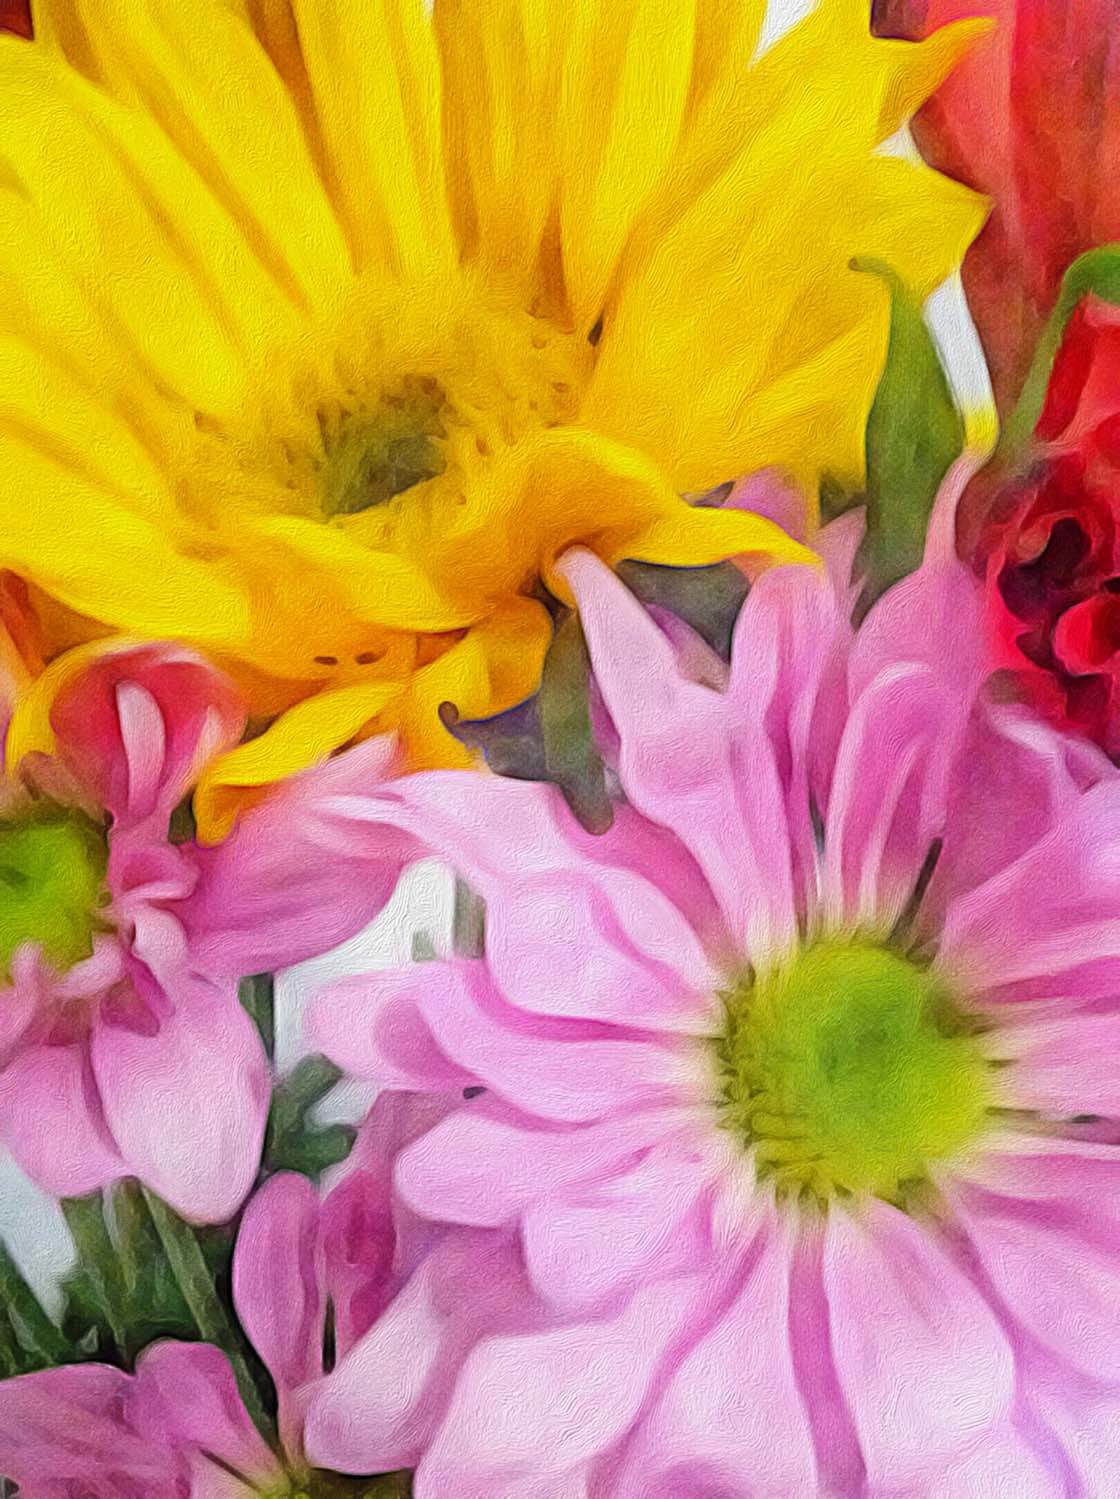
In my opinion, this type of edit works best with cut and staged flowers. With staging, you can isolate flowers and leave out distracting plants and other vegetation that you might find surrounding the flower outdoors. For staging, I typically use a small bunch of flowers or a dramatic single flower.
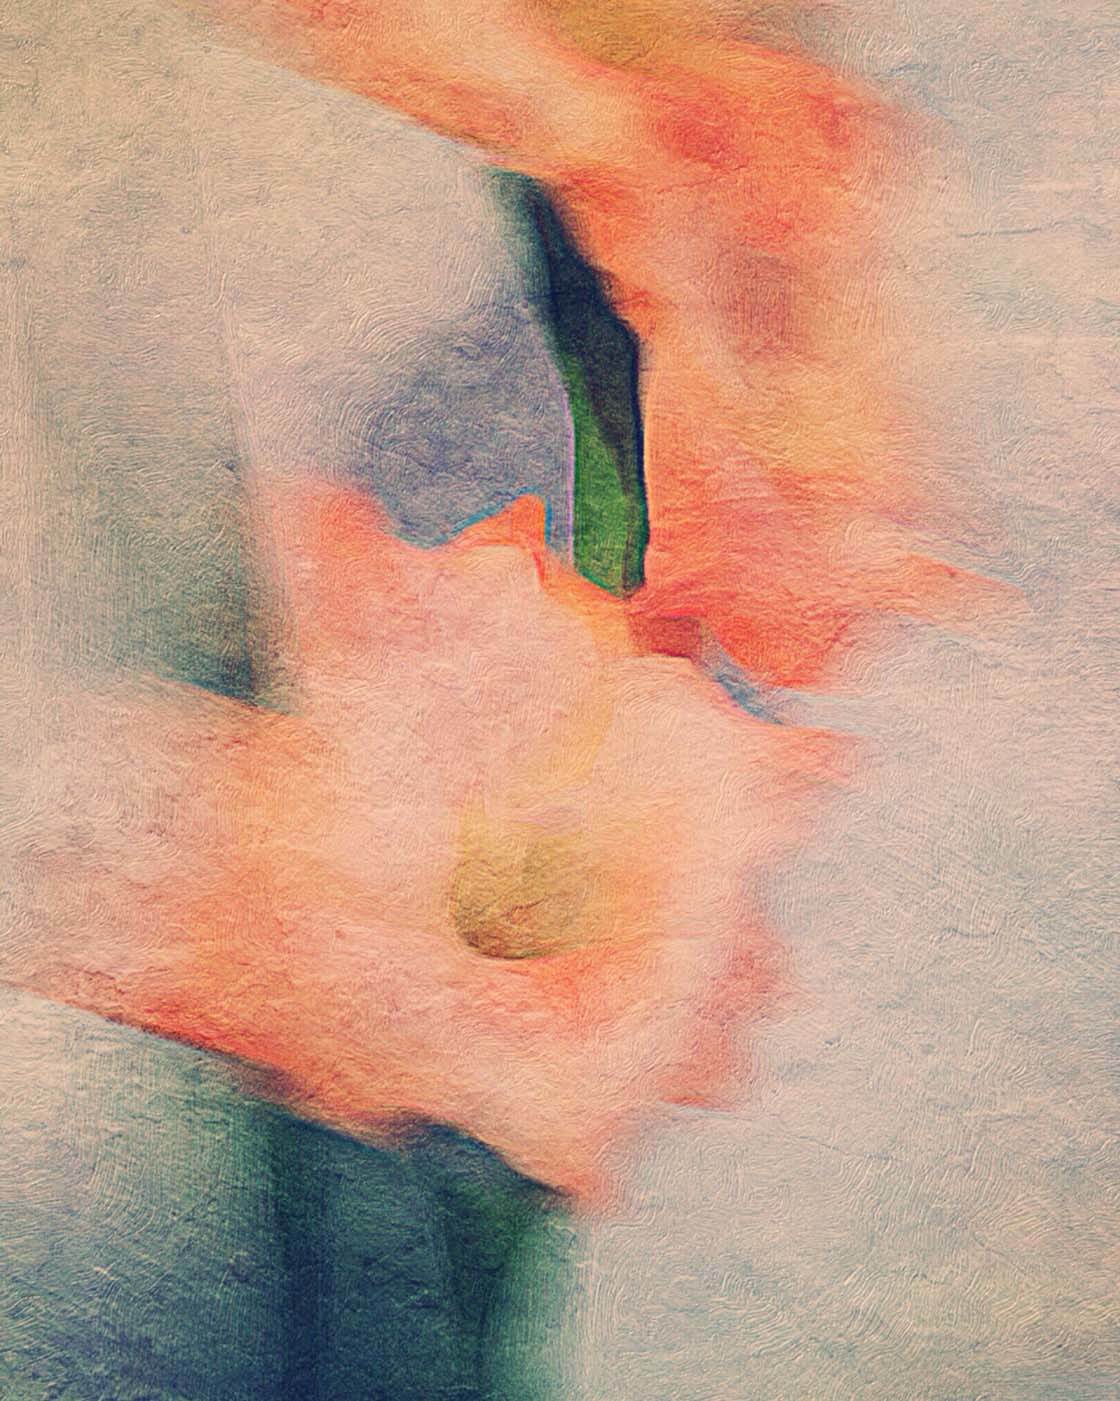
“Painting” softens the final image and removes the details of the original photo, therefore, it’s a great option if you have a blurry image of a beautiful flower.
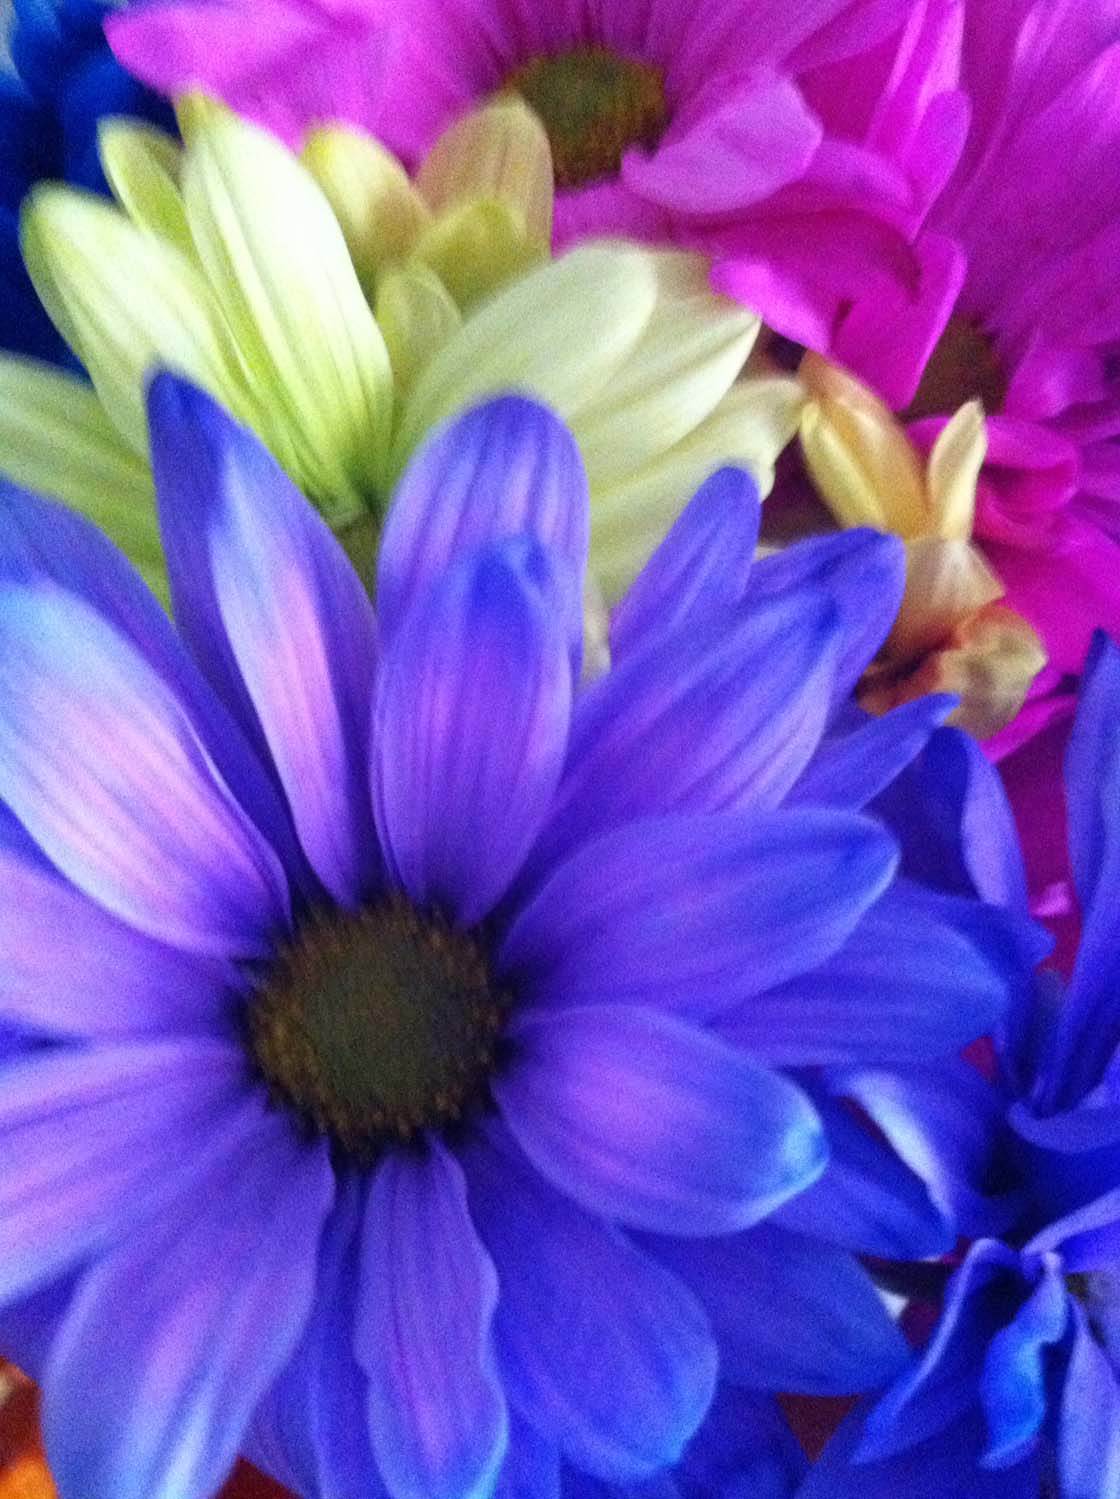
The photo above was shot with the iPhone too close to the flowers which produced a blurry image. However, the lack of detail works well with a painterly style that doesn’t require sharp details.
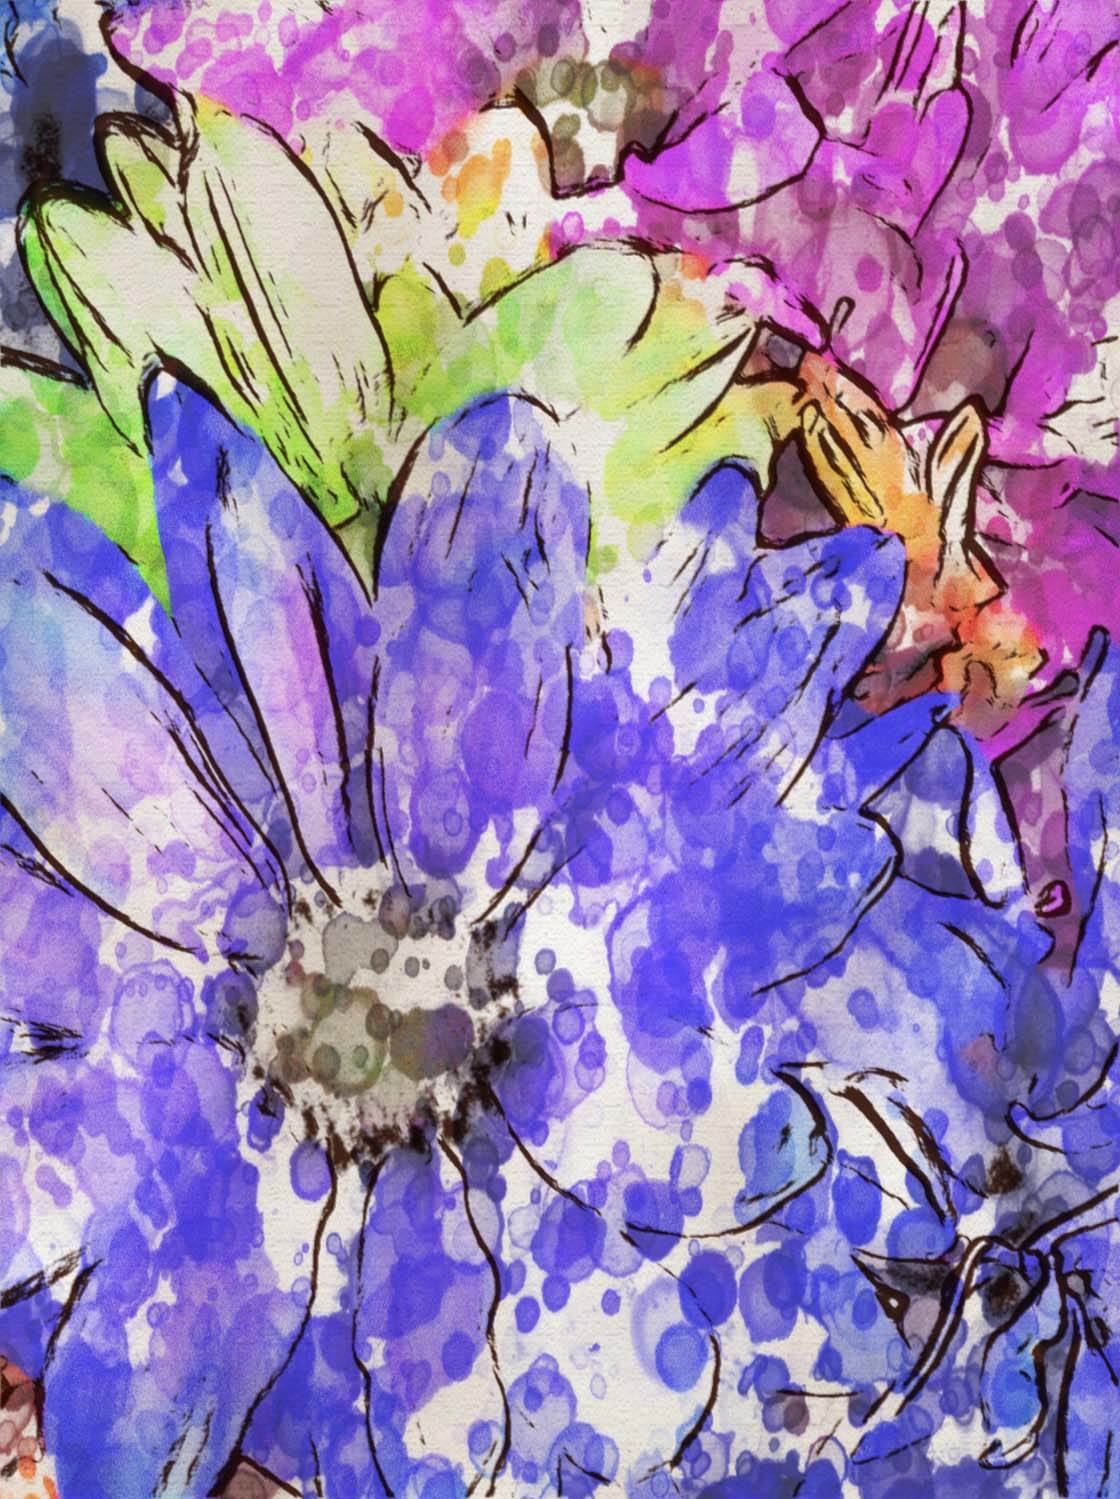
I edited the blurry photo with the PhotoArtista – Haiku app which produces a unique watercolor tie-dye effect as shown above. The final image relies more on the color of the flowers rather than the detail.
Sometimes, you wish to capture the beauty of a single flower, highlighting its color or shape. In the image below, the intense color and sharp contrast was produced on my iPad using the Moku Hanga app. This app translates your photo into a Japanese style wood-block print, with emphasis on flowing chiseled outlines and brushed-on color.
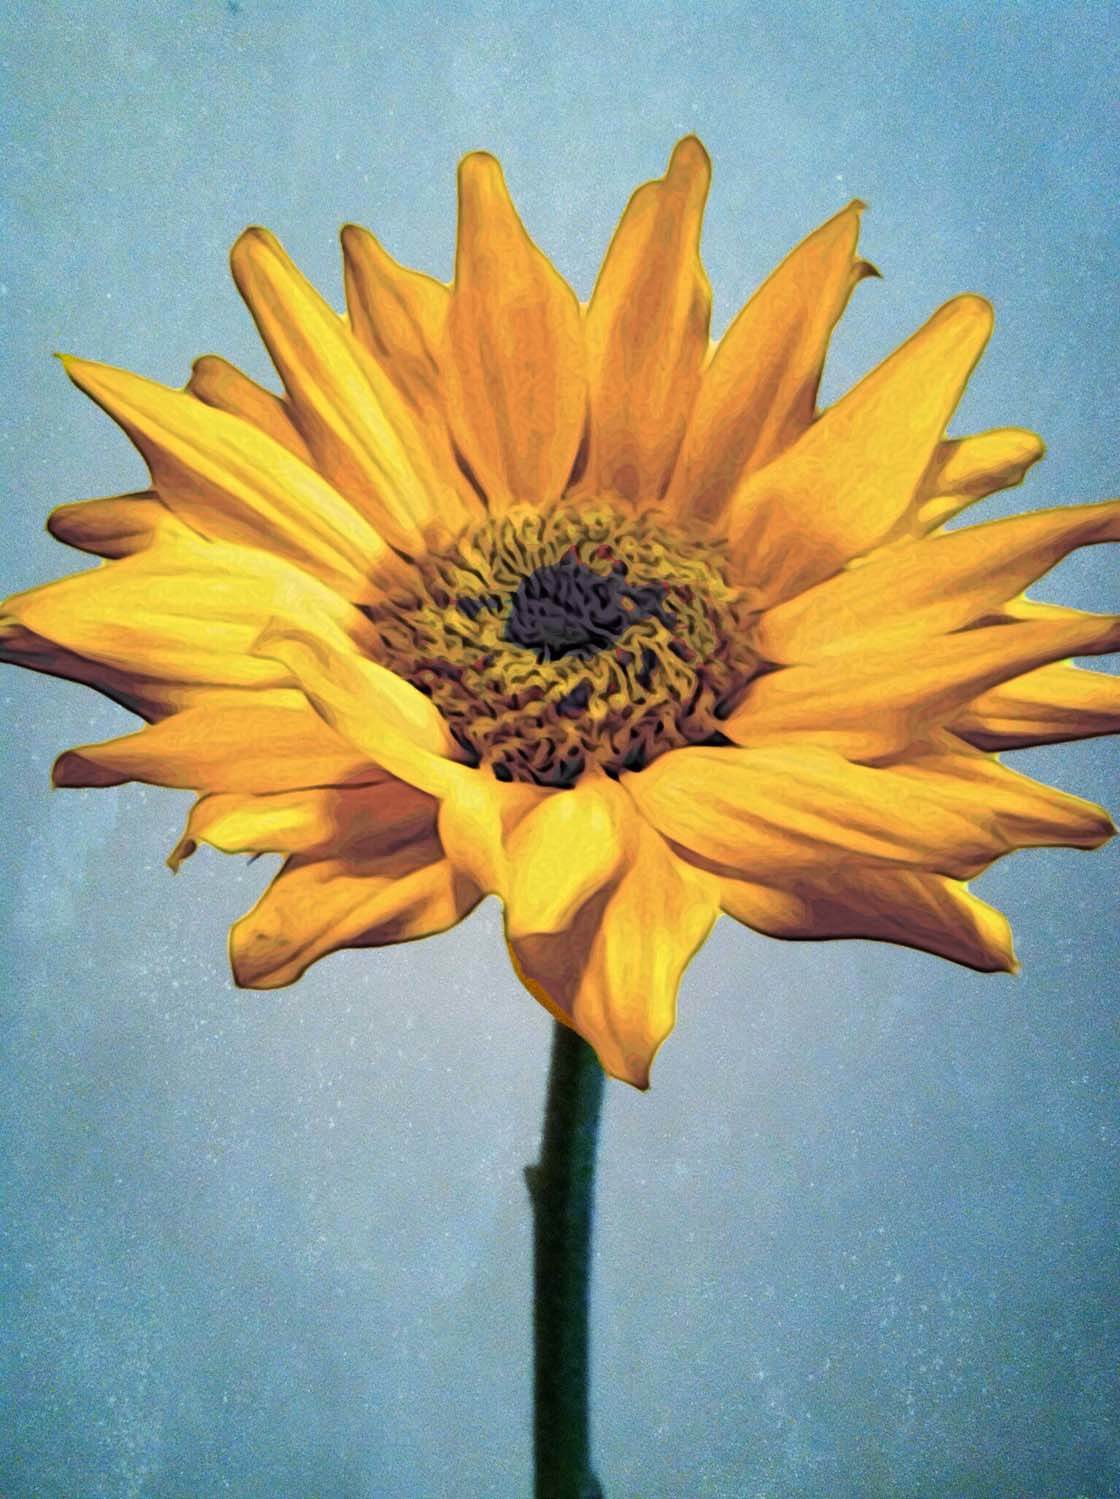
As you can see, you can create a wide array of painted flowers using different apps. Some of my favorites for this type of edit are Brushstroke, Painteresque, and Waterlogue. Of course, blending two or more apps together will generate even more possibilities.
3. Create Drama With Motion Blur
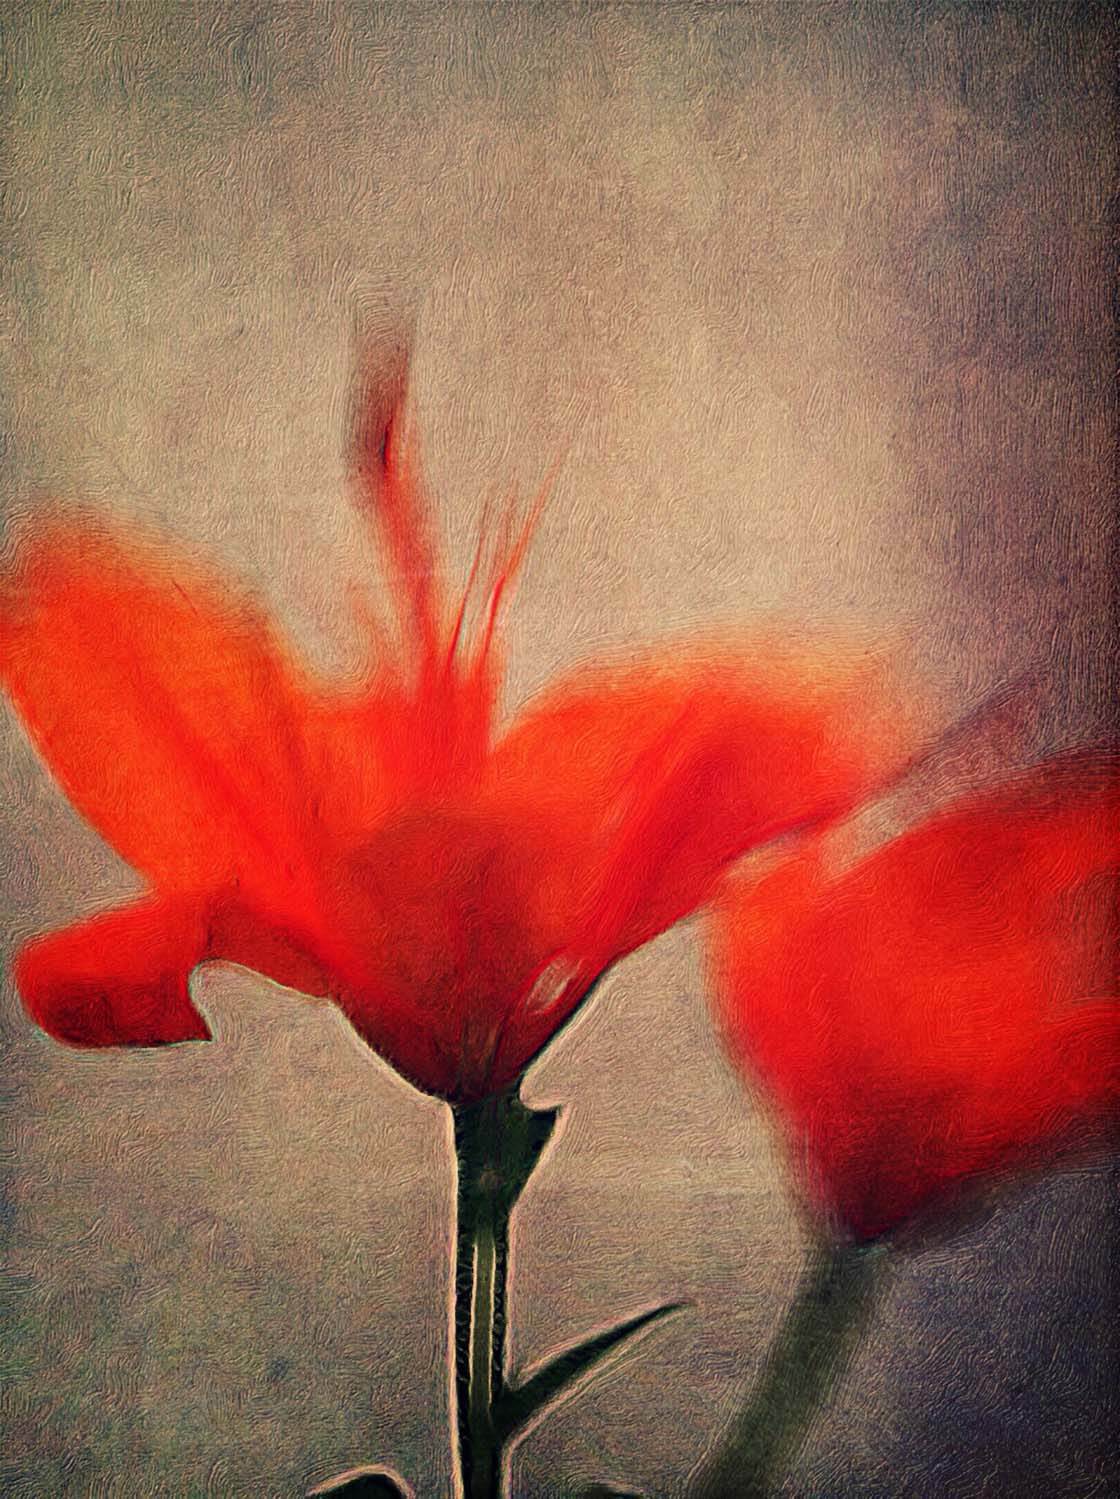
Creating motion blur with apps adds interest and drama to flower photos. It gives the flower a sense of movement or a windswept appearance, as in the photo below.
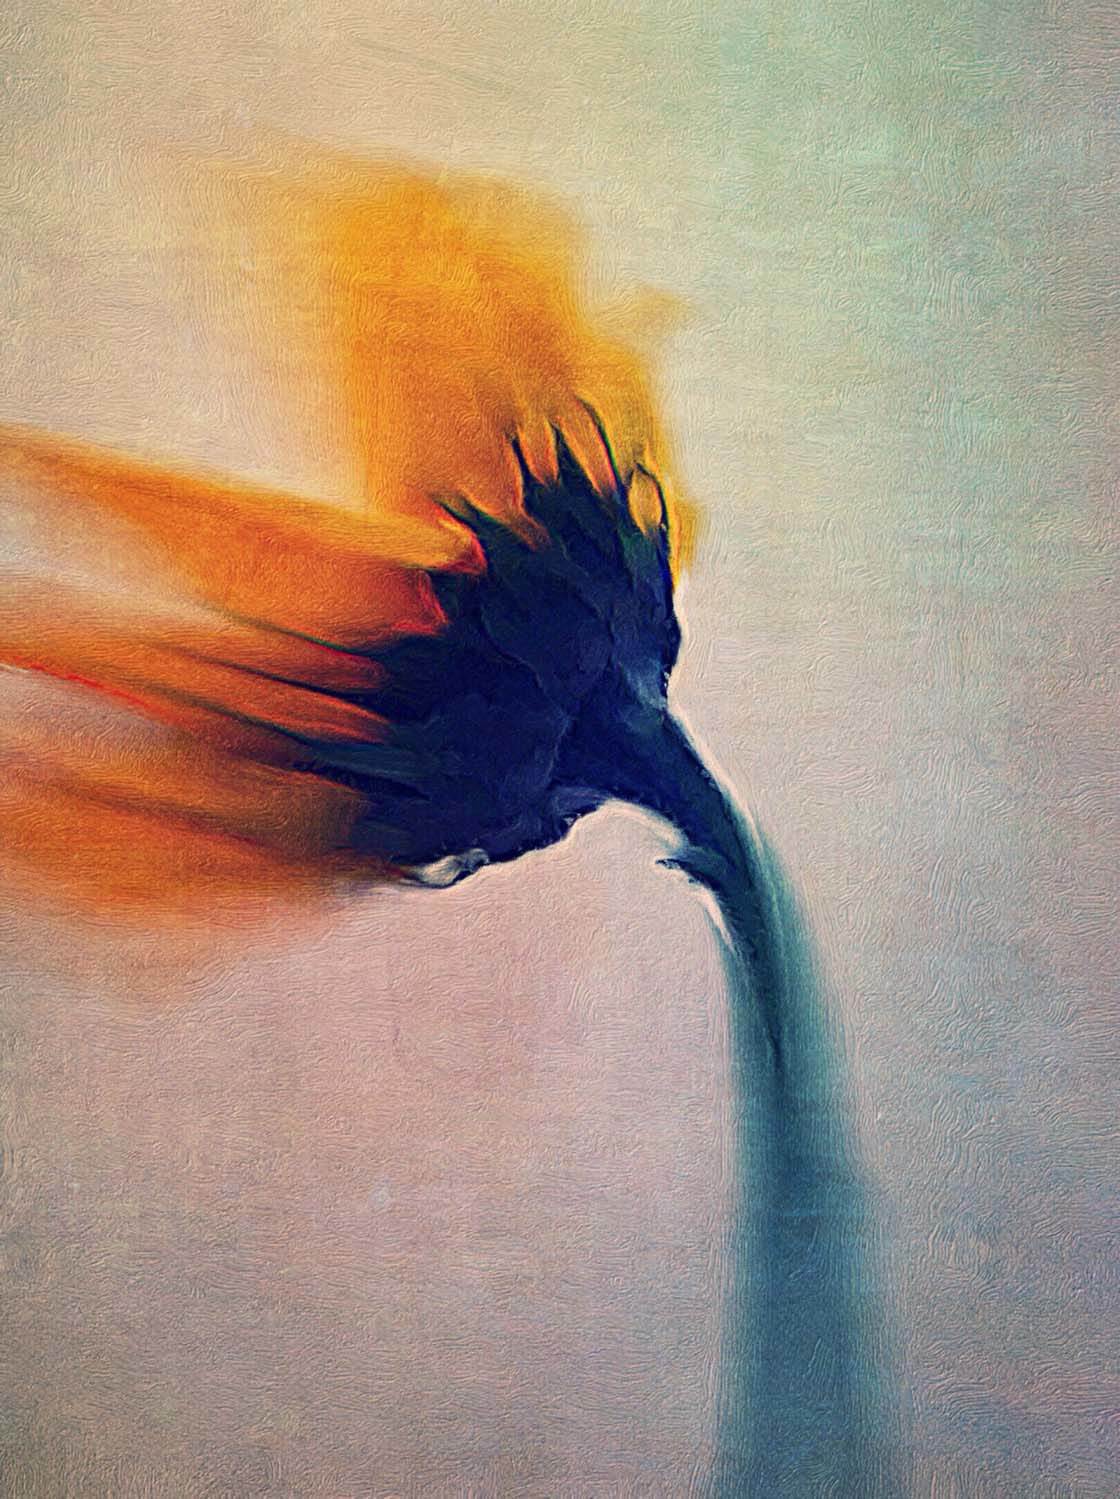
A motion blur can sometimes be created by moving the iPhone as you shoot the image, but to achieve a precise effect it’s best to create it in post-processing using an app. The iColorama app offers many blur options, including a zoom blur.
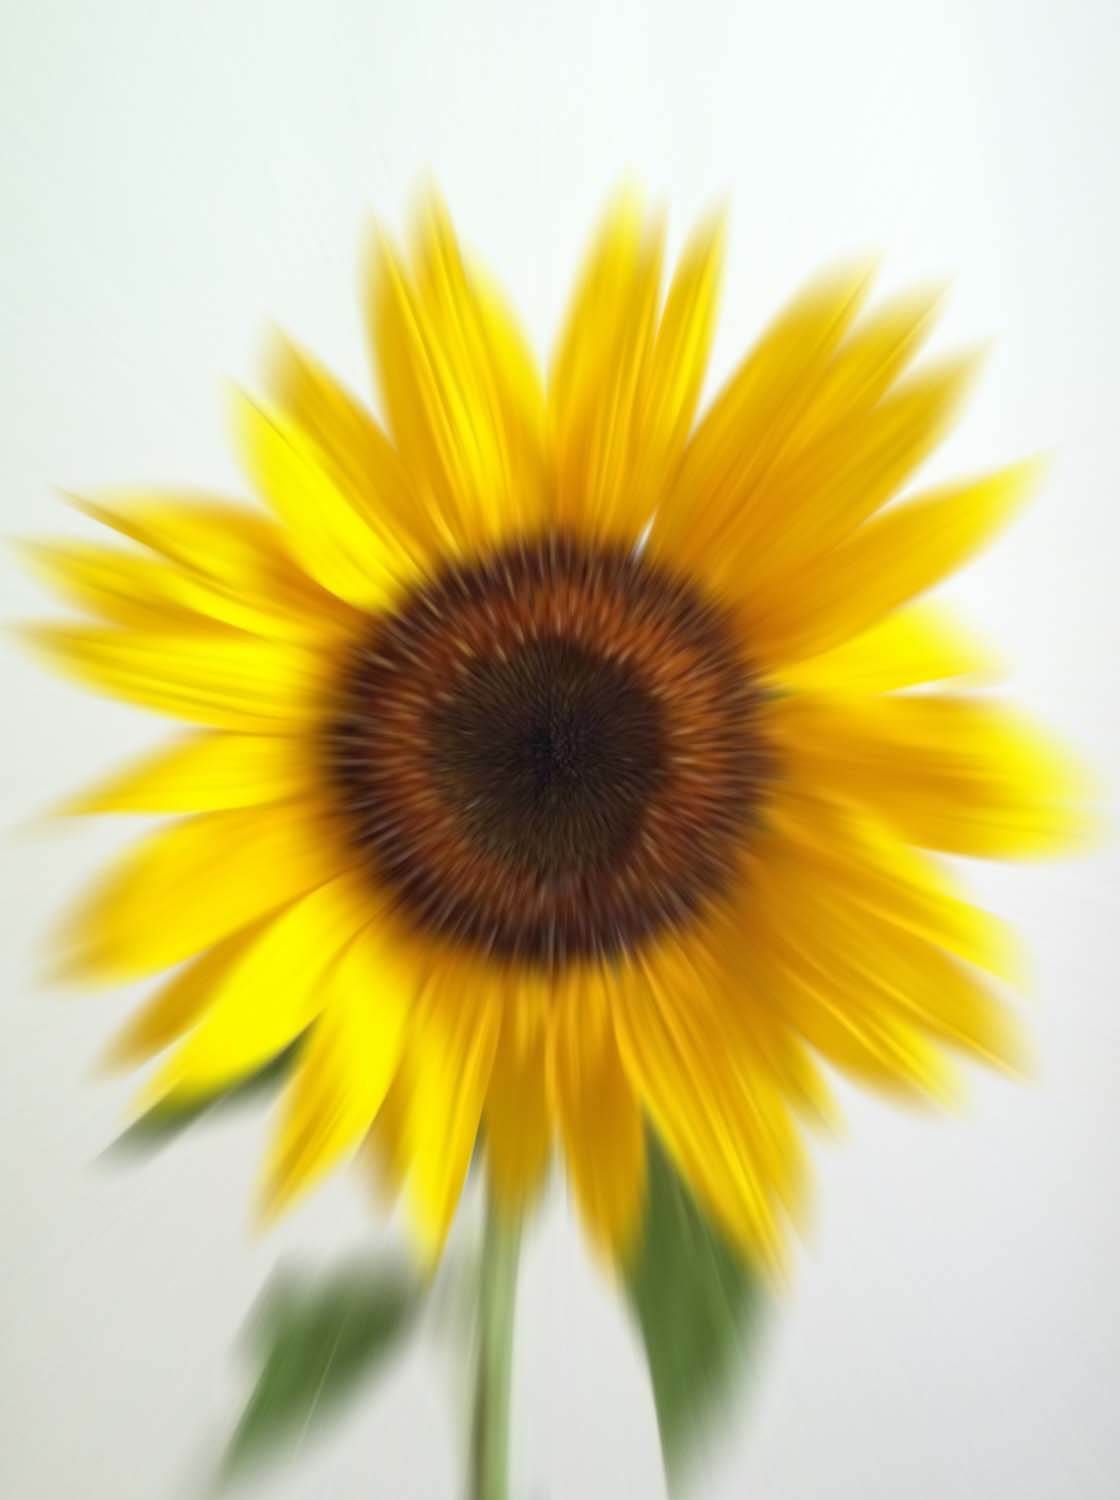
Zoom blur generates a blur that radiates from the center, which you can see in the photo above. This type of blur is great for flowers with petals that radiate out from the center.
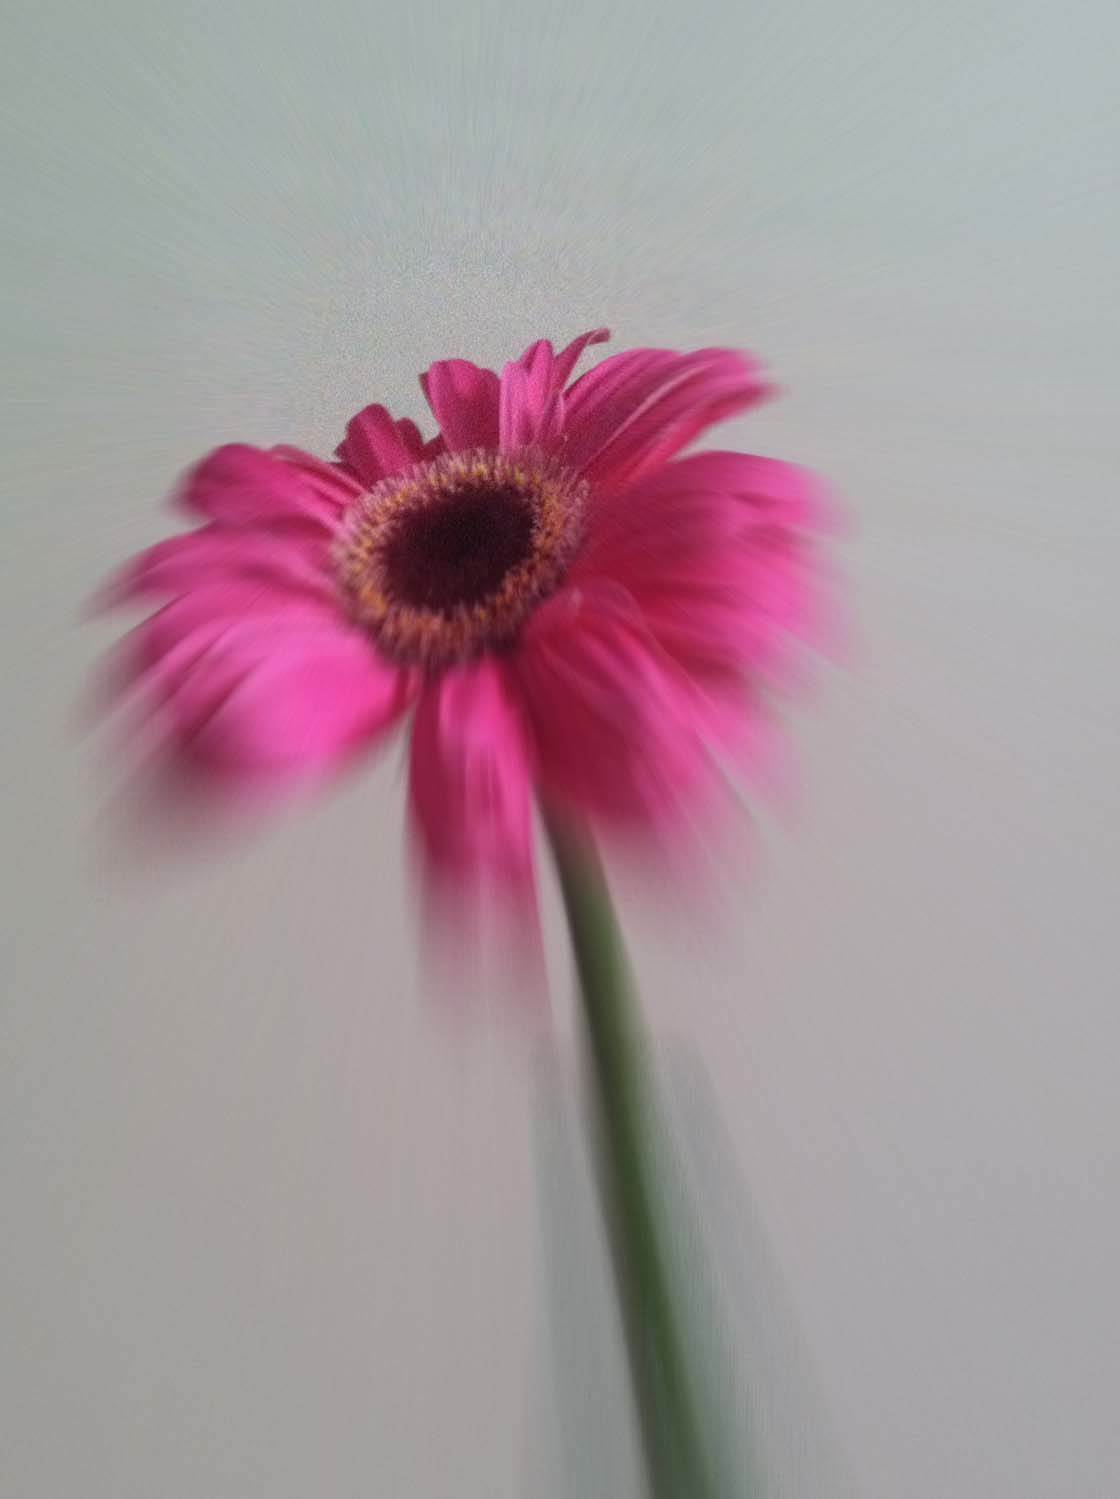
Motion blur softens the edges and lines of the photo in a similar way to painting effects, as you can see in the photo above. However, for the most impact, use both blur and paint effects.
You can see how well these blended effects work in the photo below. The motion blur creates drama and the paint effects soften the entire image.
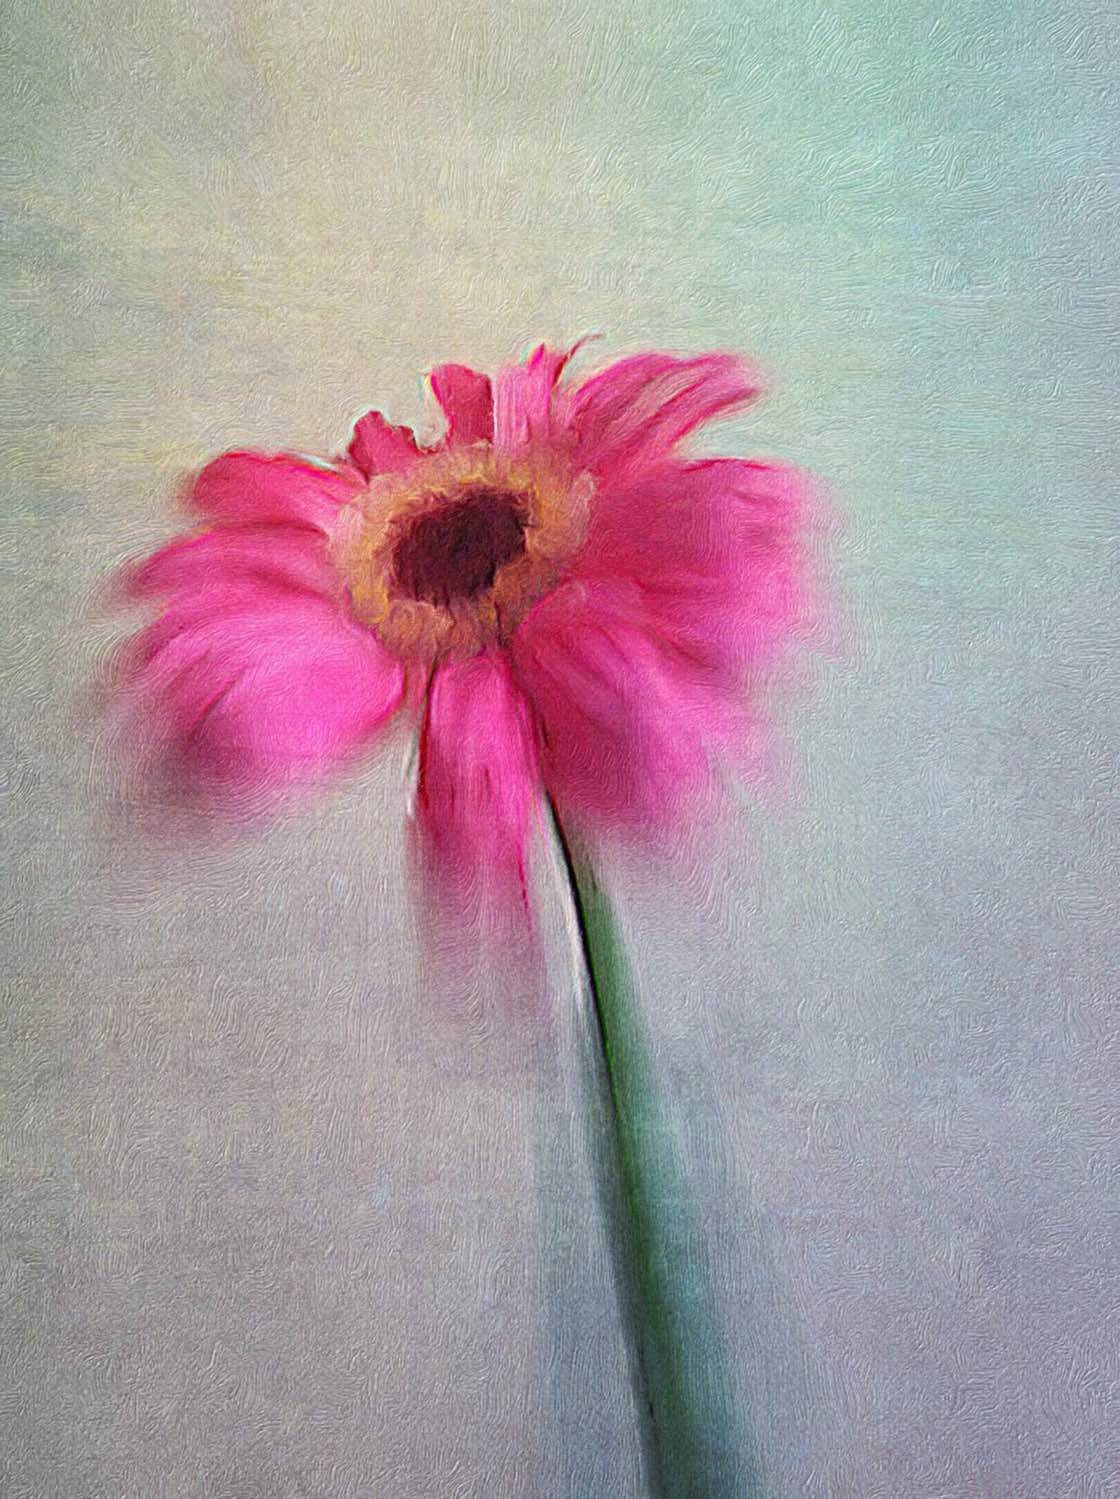
When using blur, it’s best to stay away from bunches or groups of flowers and use a single flower if possible. This is because the blur helps to draw the eye directly to the flower in a dramatic way. If you try to blur five different flowers in the same image, you lose your focal point.
4. Evoke Nostalgia With Texture
Old photos always tell interesting stories. Applying distressed textures to your iPhone images using apps can create the feel of an old photo. By applying them to your flower photos, you can evoke a sense of nostalgia.
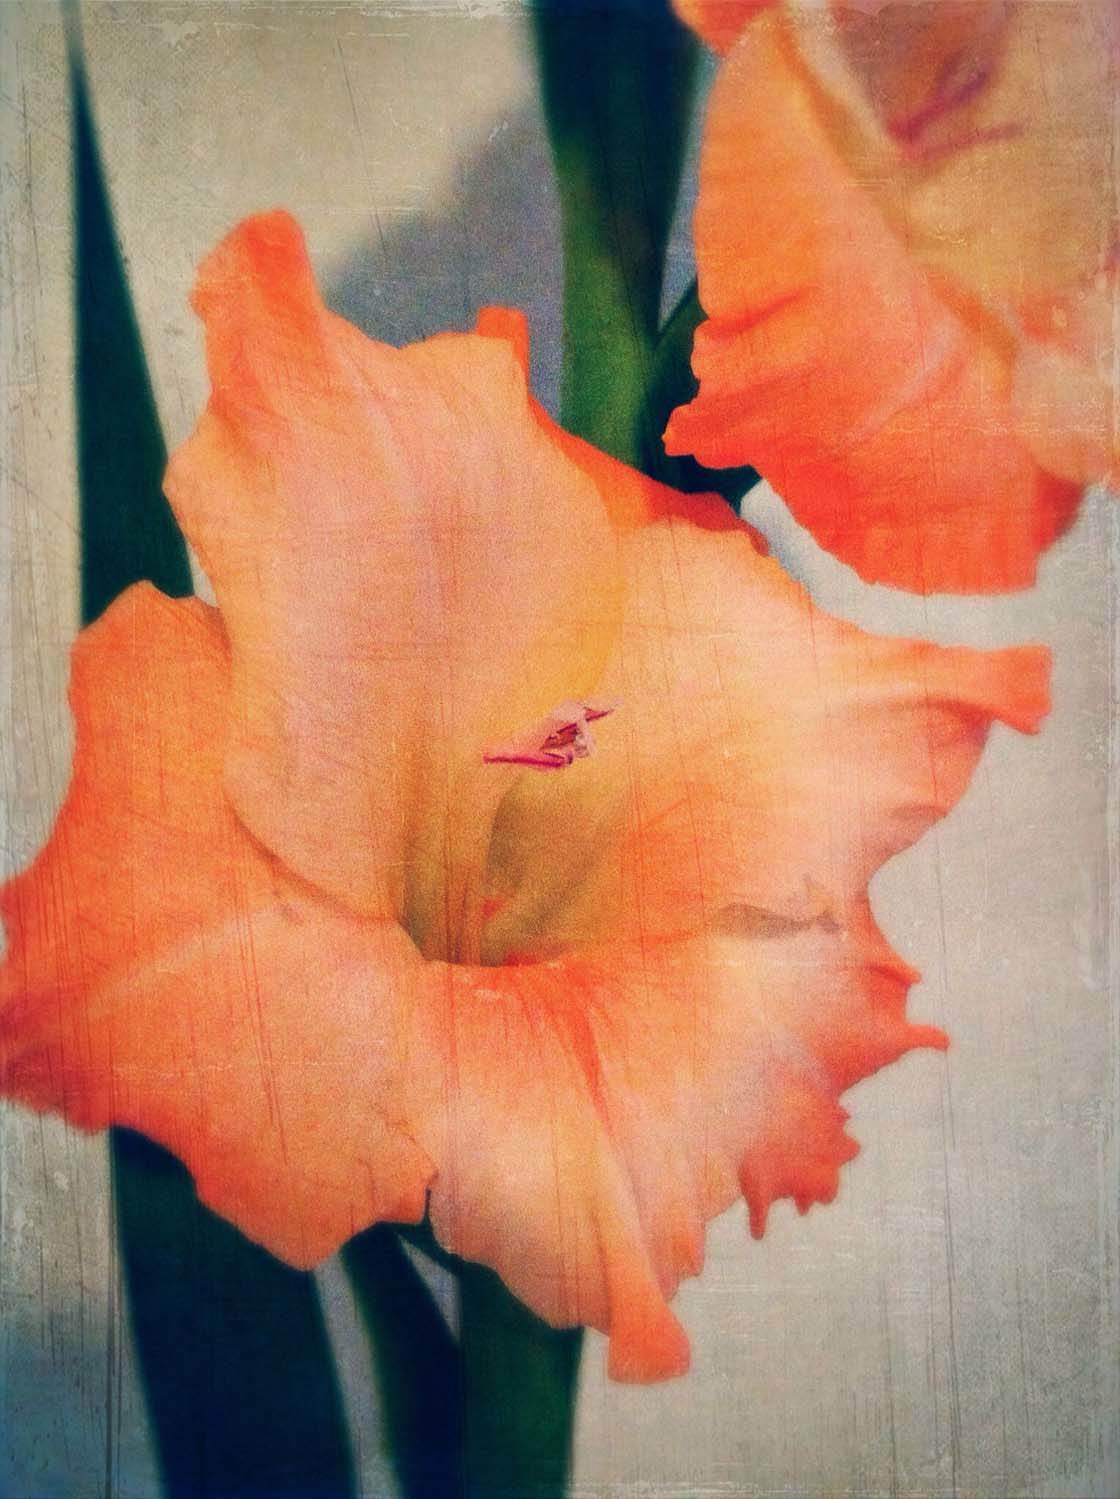
It’s important to note that texture doesn’t work well with all flower colors. The orange color family, as well as flowers with desaturated colors like white, pink, and yellow seem to work best with textures.
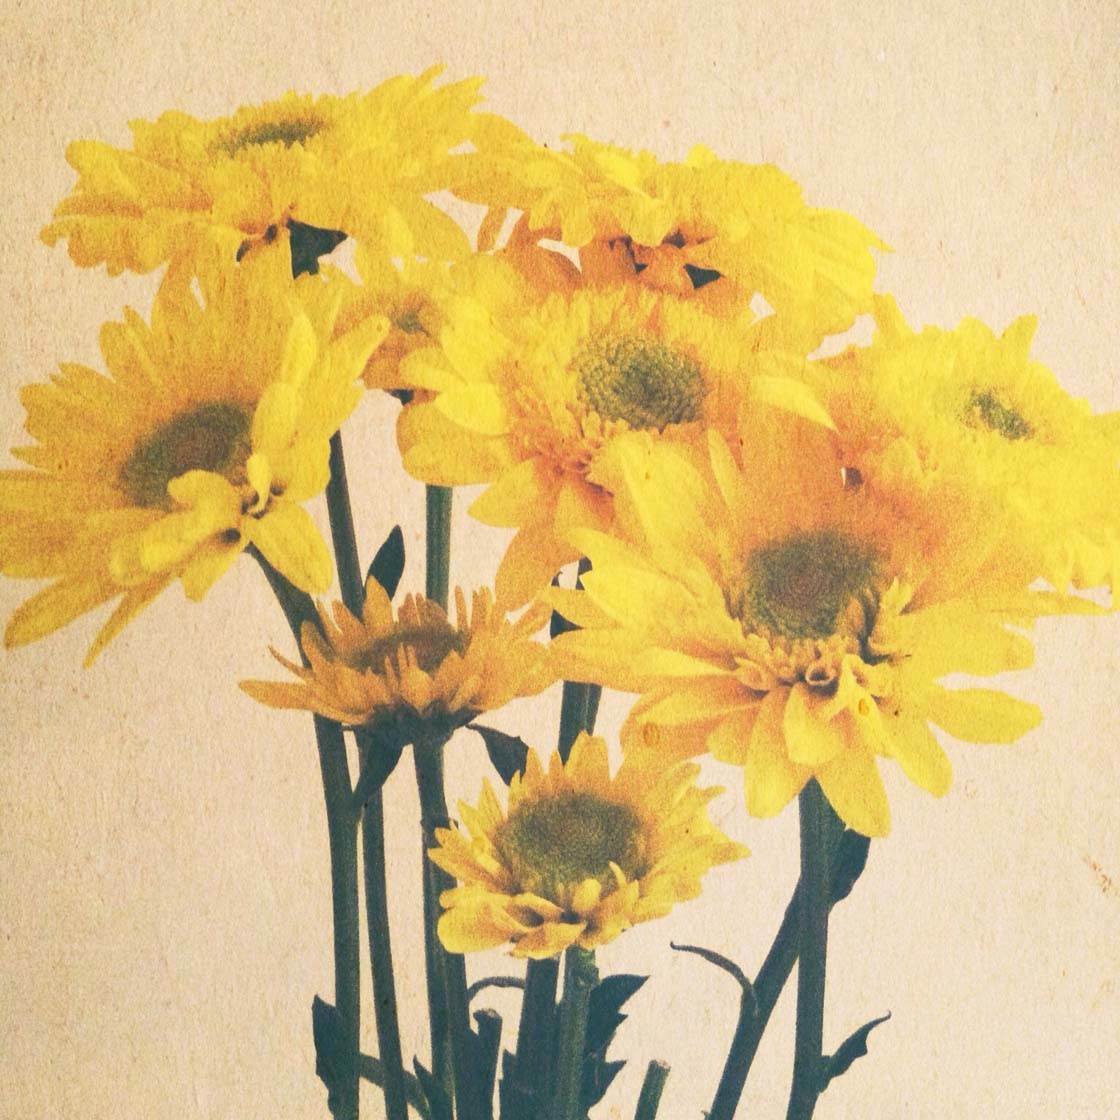
Remember that texture creates a dirty, gritty layer over the photo so it will tone down or fade the brightness of flowers. Sometimes this will overpower the flower so you must be careful with how much texture you apply.
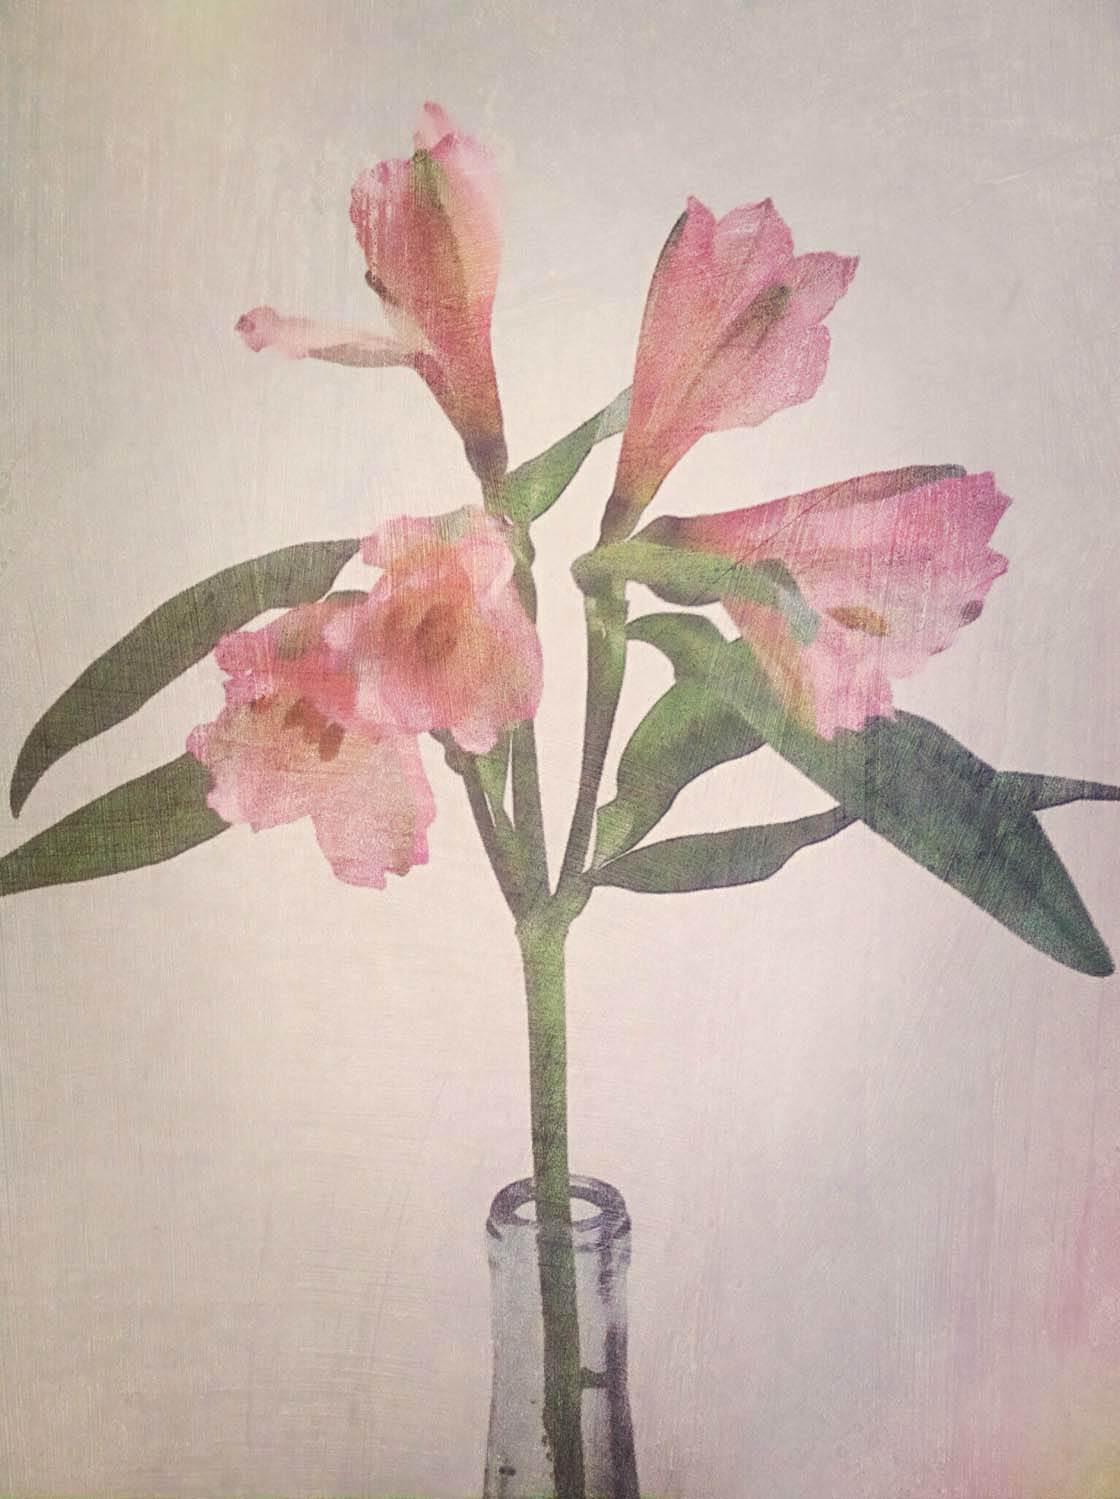
One rule for applying texture is to apply it until you just begin to notice it. However, sometimes, you want to achieve a strongly textured and faded photo.
For example, I edited the blurred pink flower photo that we used earlier in the Stackables app to produce a tintype effect photo that’s almost devoid of color as shown below.
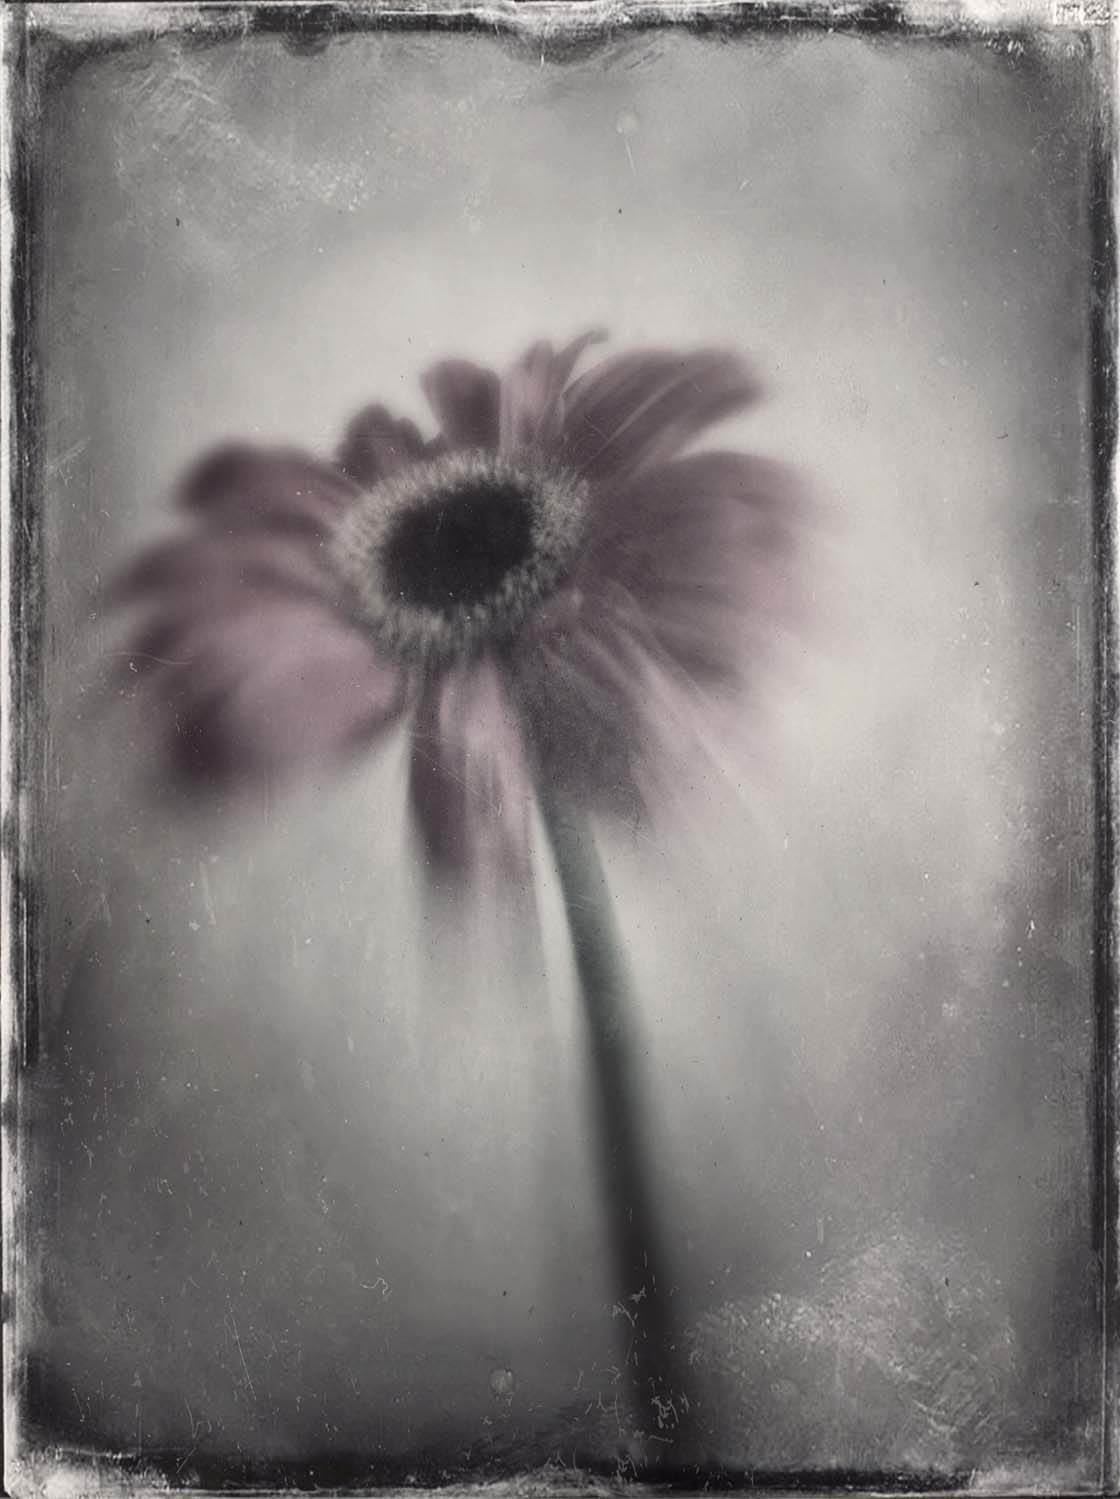
Some of my favorite apps for creating textured flower photos are Mextures, Alayer and DistressedFX.
5. Get Creative With Abstracts
Why would you want to take a perfectly good flower photo and turn it into an abstract? One reason is simply to stretch beyond your imaginative boundaries.
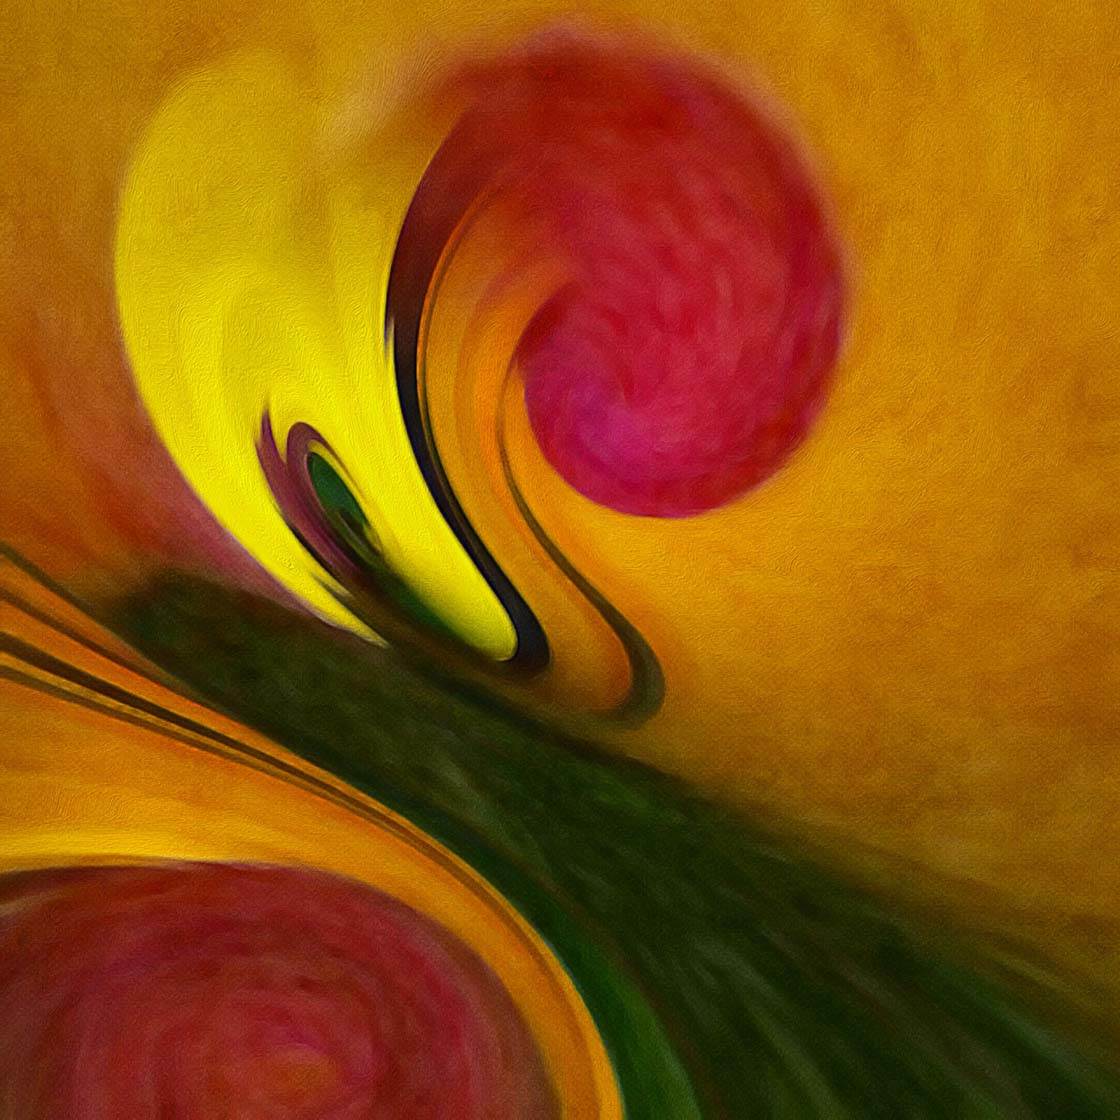
Turning your finished flower edits into abstract pieces of art will help you see the many possibilities within each photo you that you take.
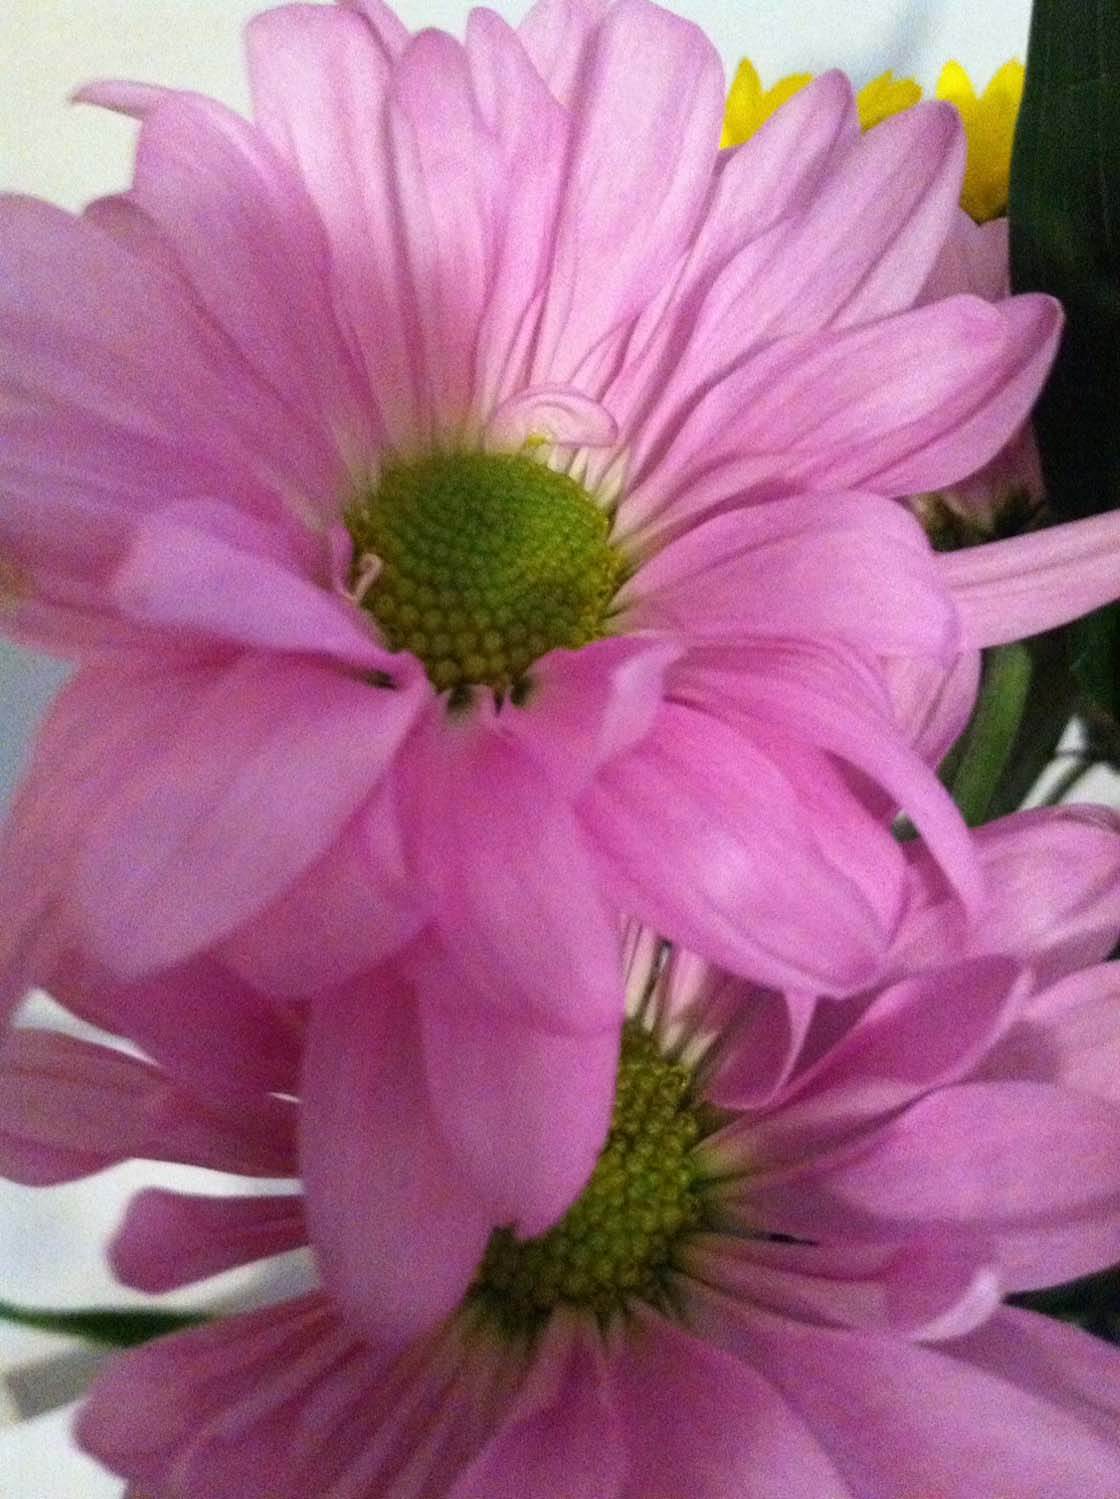
Another reason for doing abstracts is that sometimes it can bring out elements lacking in the original photo. For instance, a large shadow hides the beauty of the flowers in the original version of the photo below.
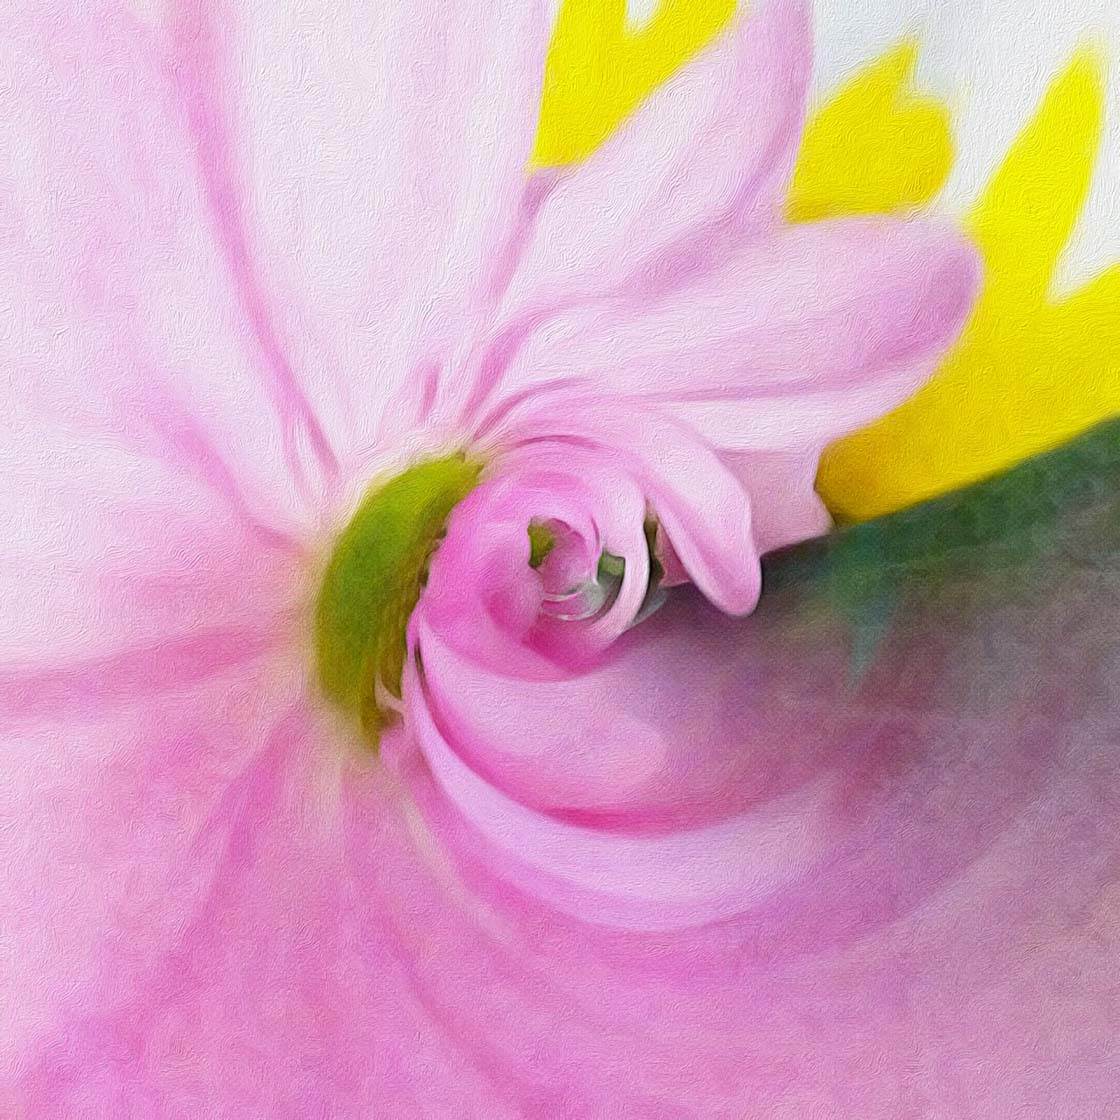
So I used RollWorld (an app that creates a “tiny planet” effect) to abstract it. The final image below conveys a delicacy and brightness that the original doesn’t have. The yellow flower behind the pink flowers also becomes more prominent in the abstract.
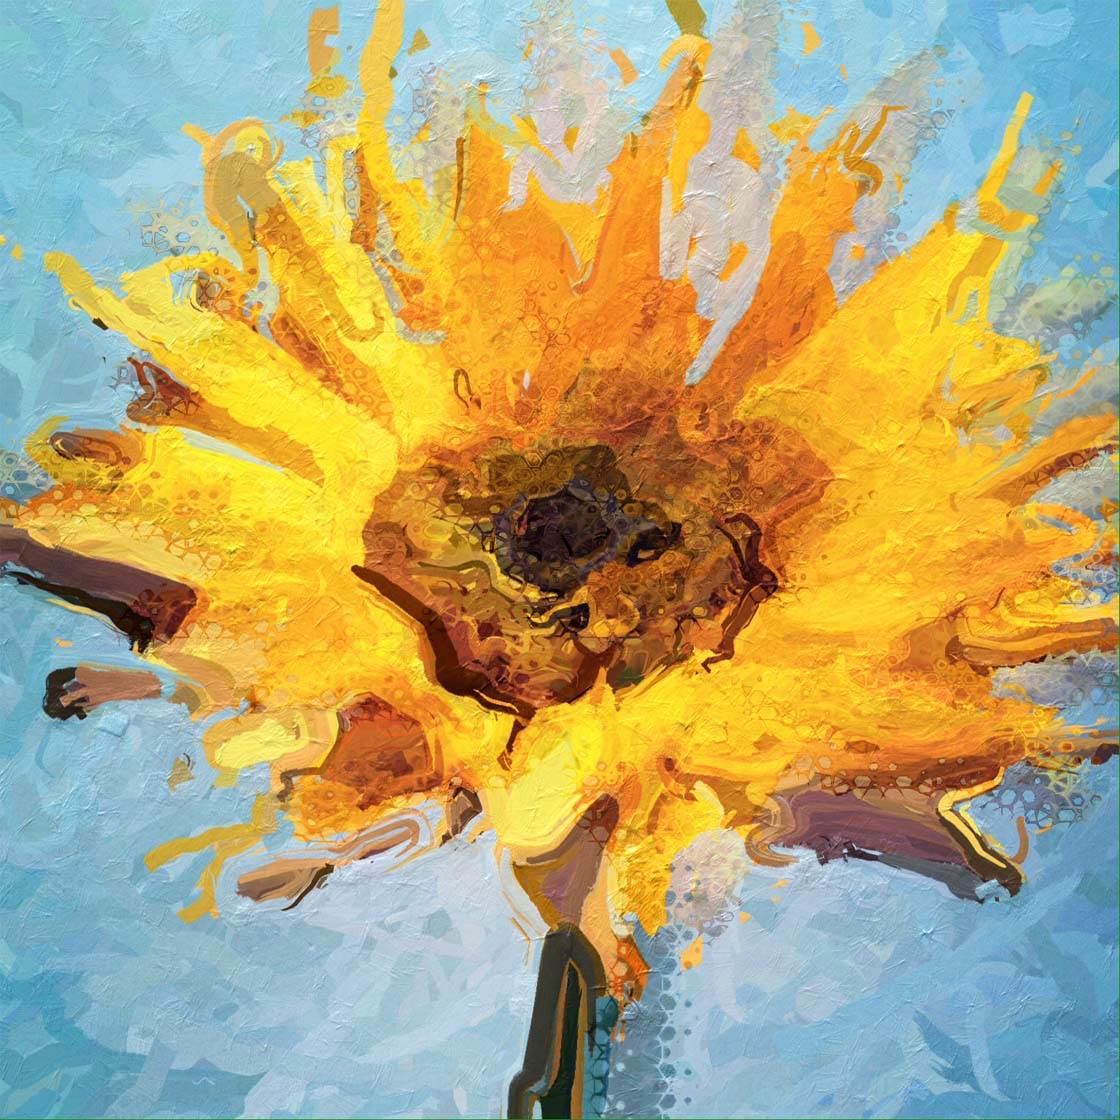
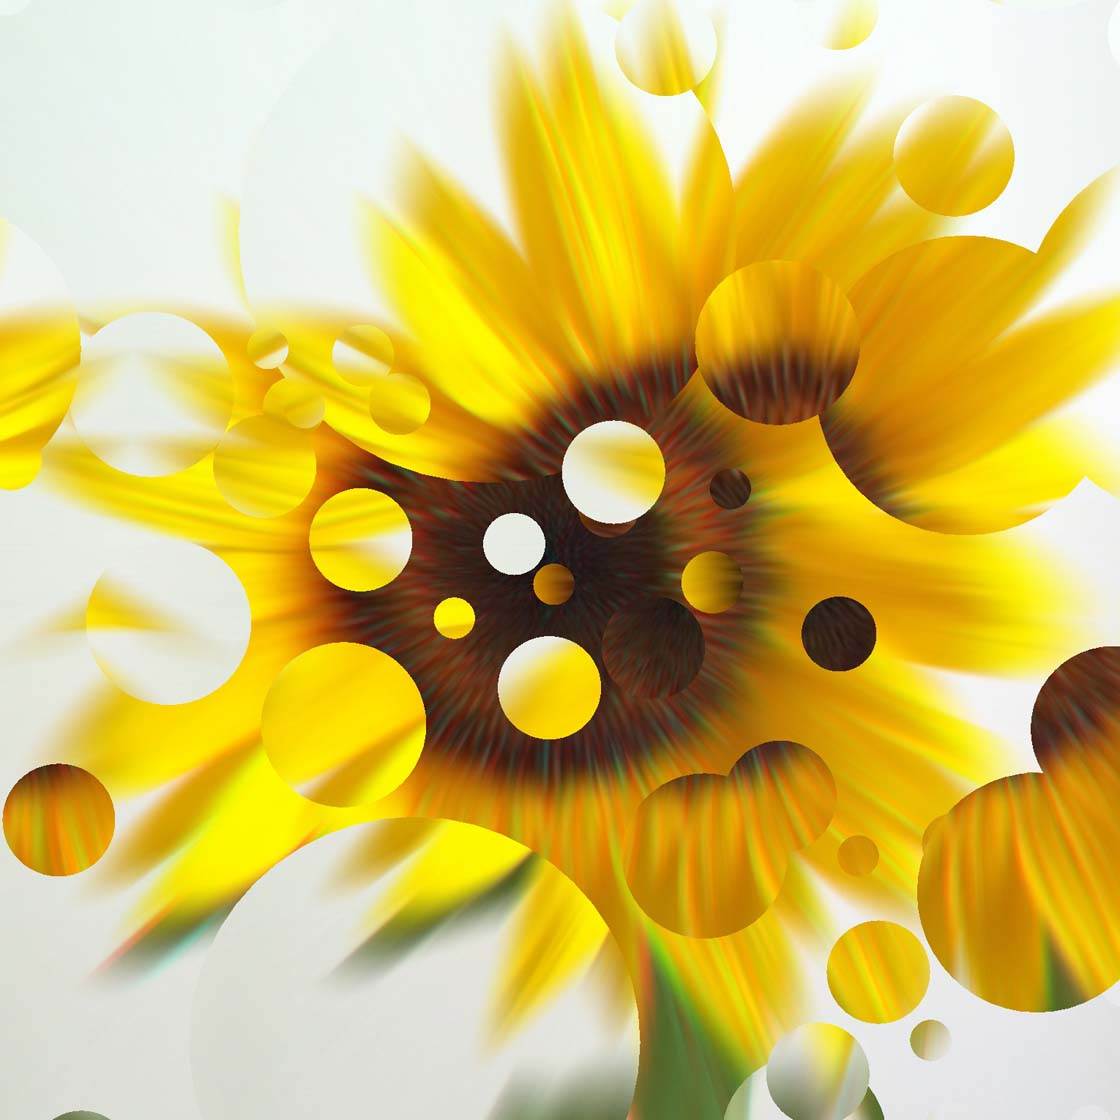
If you prefer more linear and less organic abstracts, try apps like Fragment, or use the Kaleidoscope defect in the Defqt app. Below is our sunflower zoom blur image edited in Fragment to create a contemporary abstract of the flower.
Now that you’ve seen the many ways that you can edit an image, the next time you photograph a flower, consider taking it to another level of creativity with one of these photo editing ideas!


I loved your tutorial Kristen! I’ve never tried the blurring effect on a flower so that is something I’m going to try next. Thanks so much 🙂
Hi Rosa, so glad you liked the tutorial! I started experimenting with blur one day and really like the effect on flowers. iColorama has a variety of blur effects to try.
Very informative tutorial, Kristen. You mentioned a few apps I didn’t know about and would like to try. Like Rosa, I’m especially curious about the blur effects.
Thanks so much Faye! I’d love to check out what you do with the blur effects!