Do you struggle to take beautiful landscape photos with your iPhone? You’re not alone. Landscape photography can be tough. But by following these pro tips, you’ll be able to capture unbelievable iPhone landscape photos in no time!
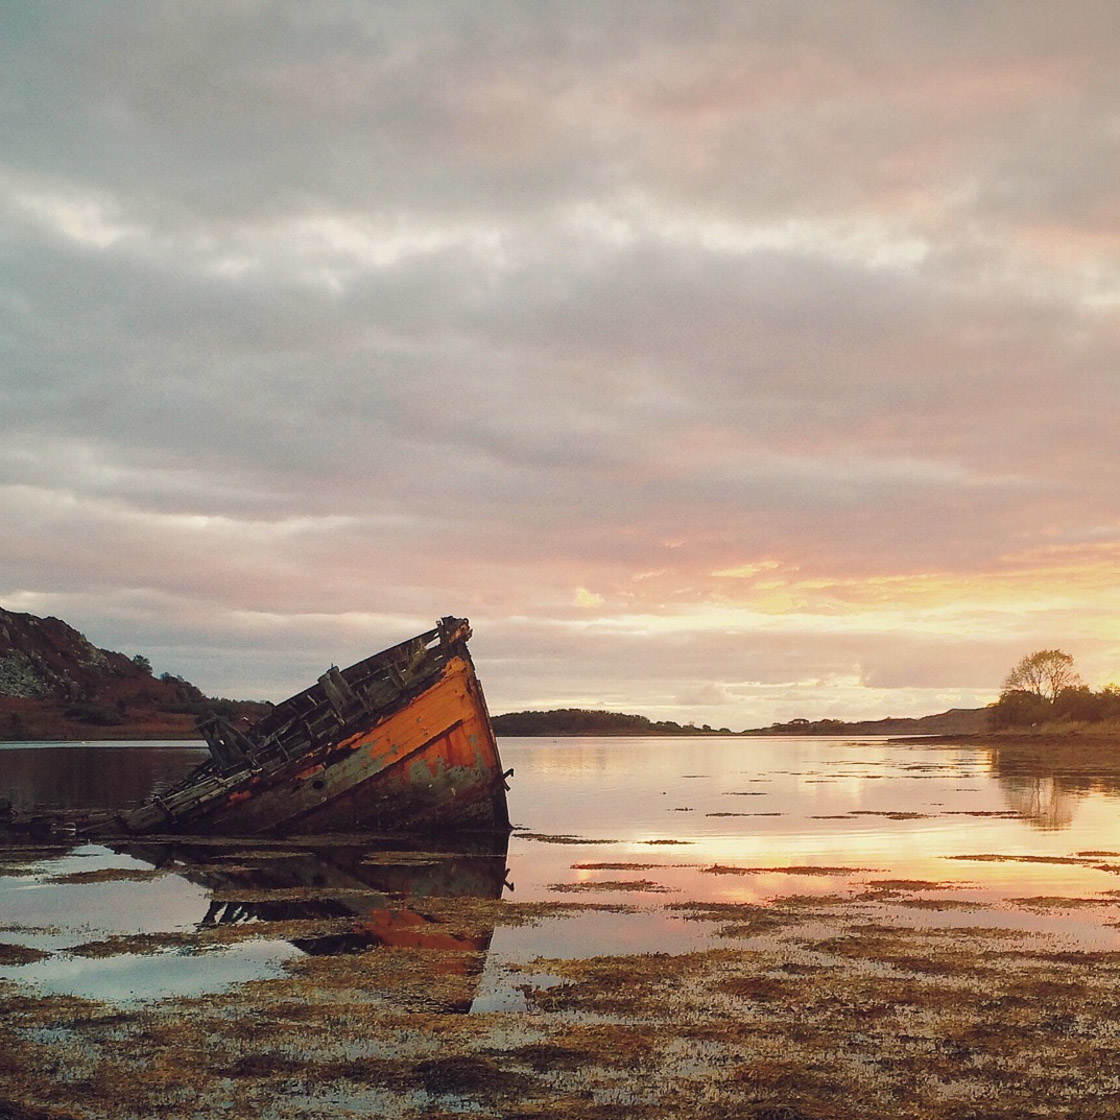
1. Get The Horizon Straight For Professional Landscape Photos
Getting your horizon straight can be hard, and it can seem unnecessary.
Yet you’ve got to do it. You must get your horizon straight.
Why is this so important?
Here’s the painful truth: Nothing shouts ‘amateur photographer’ more than a slanted horizon in a landscape photo.
Fortunately, there are two simple ways to ensure that you never get a slanted horizon again.
The first way uses the iPhone camera grid.
First, tap Settings, then Camera. Make sure that Grid is selected.
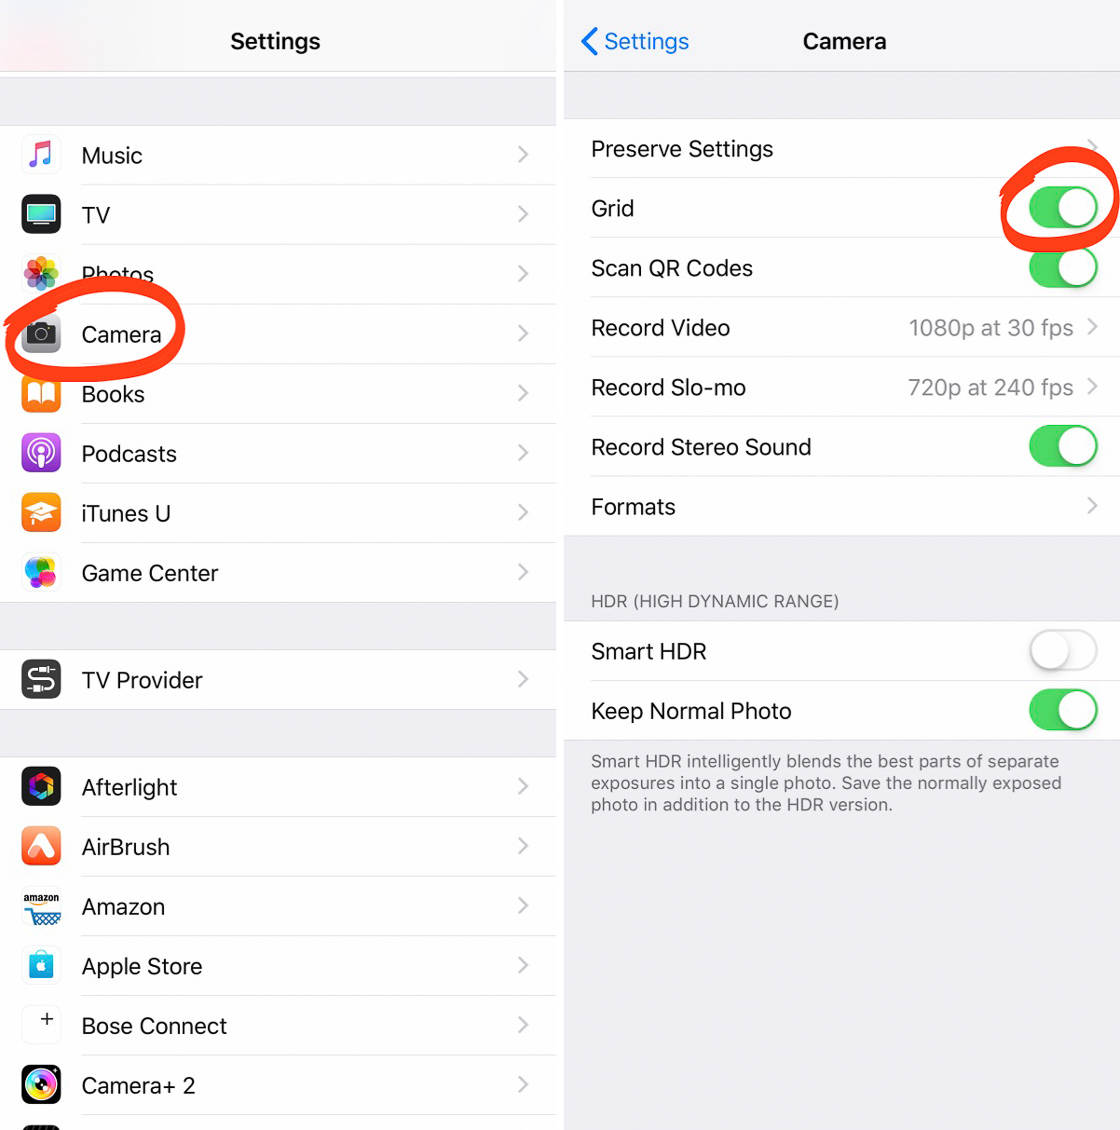
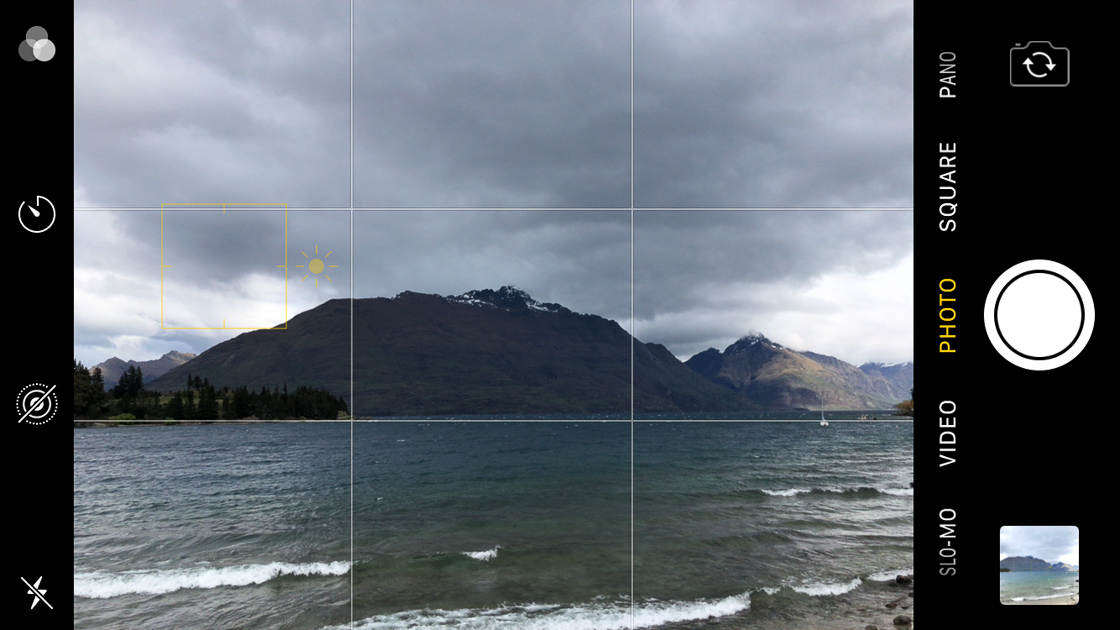
Now go back to the Camera app and look at your iPhone. You should see gridlines running across the screen.
So here’s the technique: Simply align your horizon using the gridlines. It’s that easy. That’s how I aligned the horizon in the screenshot below.
But what if you’ve already taken slanted images? Is there a way to rescue these photos?
There is. Simply open the photo in the Photos app. Tap Edit.
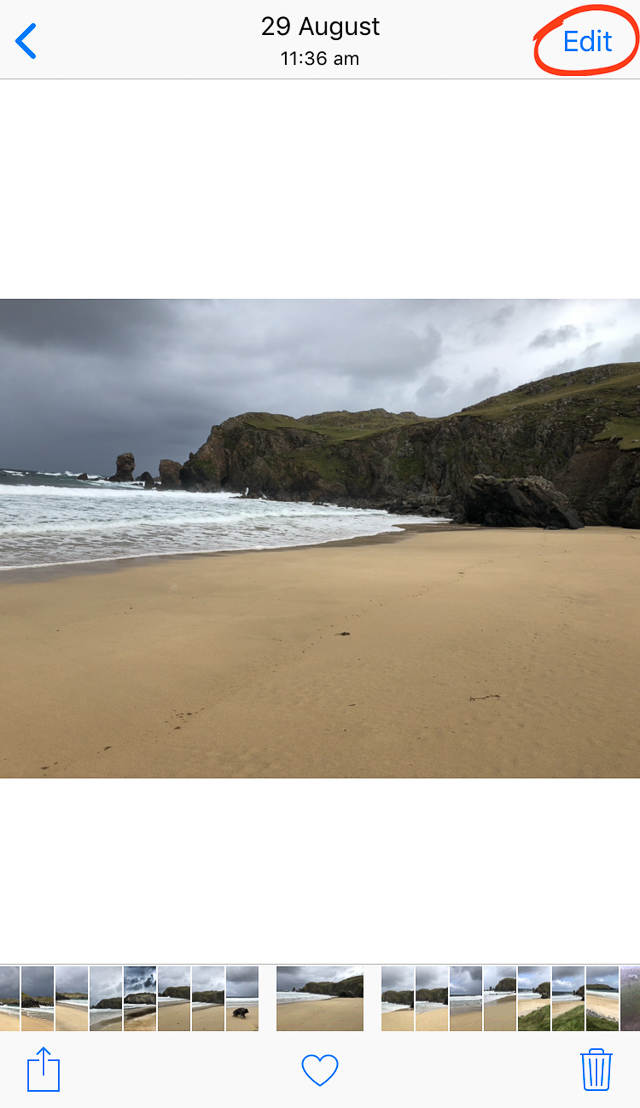
Then select the Rotate tool. Hold your finger on the number scale that appears below your image. Move left or right to adjust the angle of the photo.
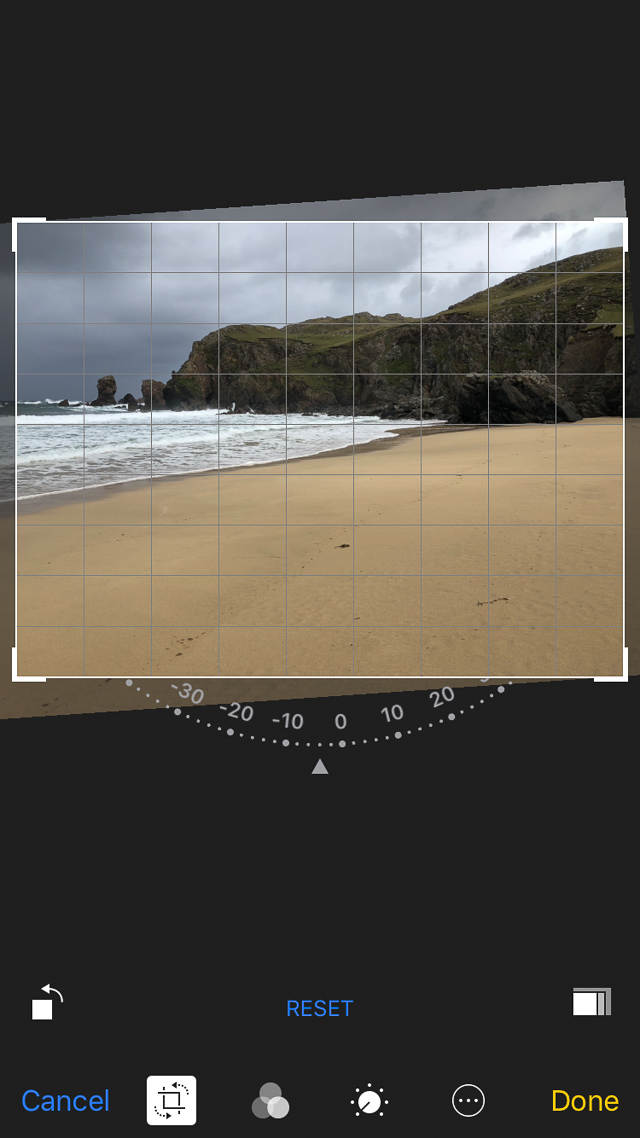
Once the photo has a straight horizon, simply release your finger from the screen. Then tap Done.
If you use these techniques, you’ll never have a crooked photo again.
2. Avoid Bright Sunlight For Beautiful Landscape Photography
How’s the light in your landscape photography?
Because bad lighting can ruin your landscape photos.
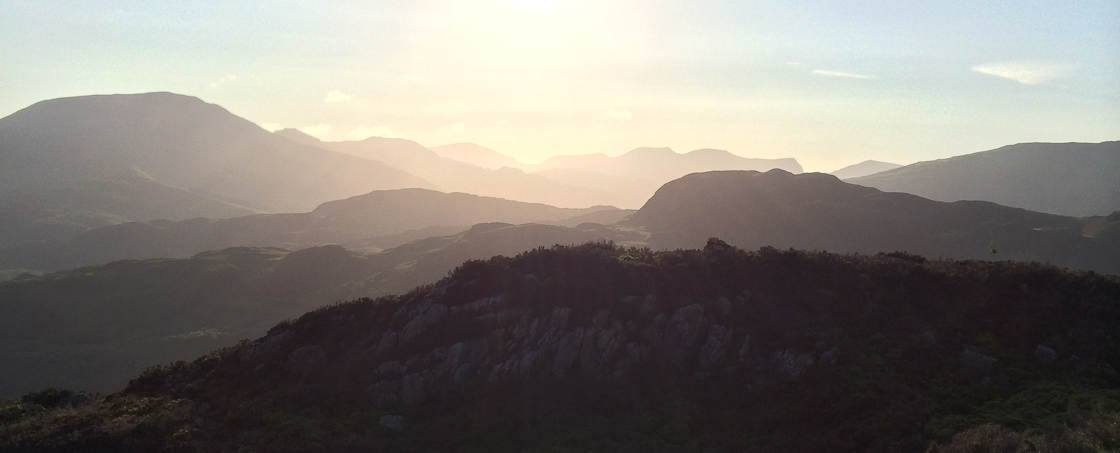
You might be in the most stunning location imaginable. But if the lighting is poor, your photos will be flat and lifeless.
What counts as poor lighting? There’s one form of lighting that you should avoid like the plague: bright sunlight. That is, you should avoid the type of light you find at noon on a sunny day.
Bright sunlight is terrible for landscape photography. It comes with a whole host of issues, such as:
- Lens flare
- Strong shadows
- Overexposed whites
- Blurry images
So don’t shoot during bright sunlight.
Instead, shoot just after sunrise and just before sunset.
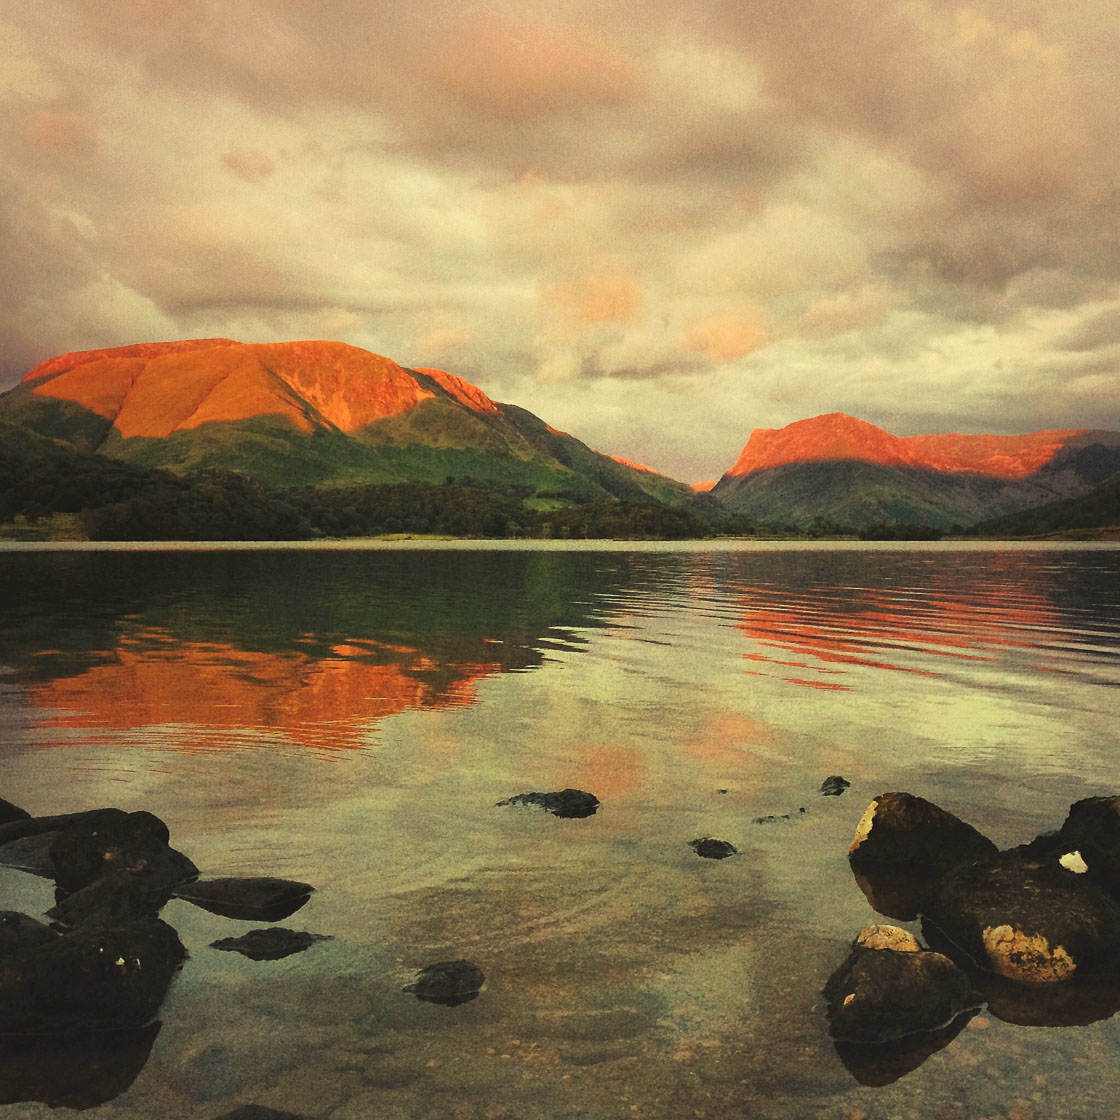
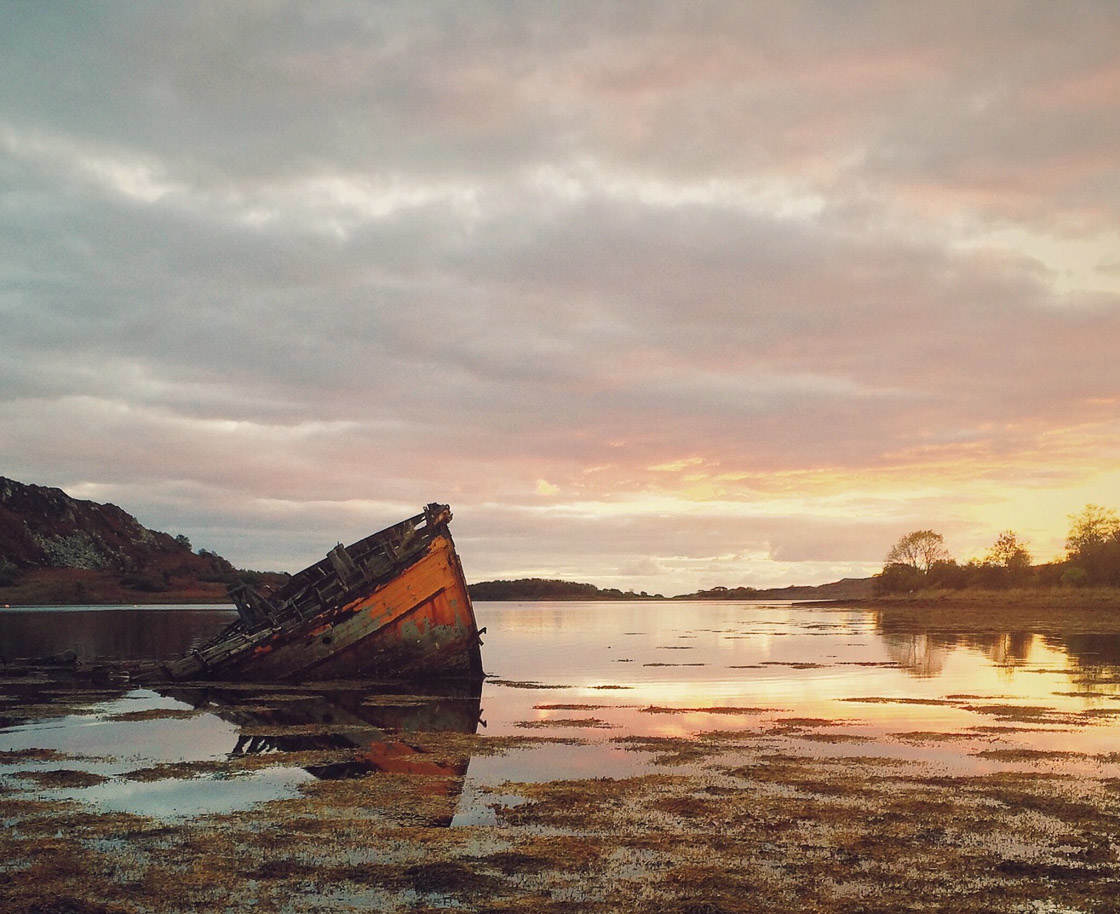
The light will be soft and golden. And your pictures will look amazing. Notice the light in the photo below: perfect and warm!
3. Capture Impressive Skies For Compelling Photographs
Do you want to do dramatic landscape photography? Do you want landscape photos that draw the viewer in?
Then pay attention to the sky.
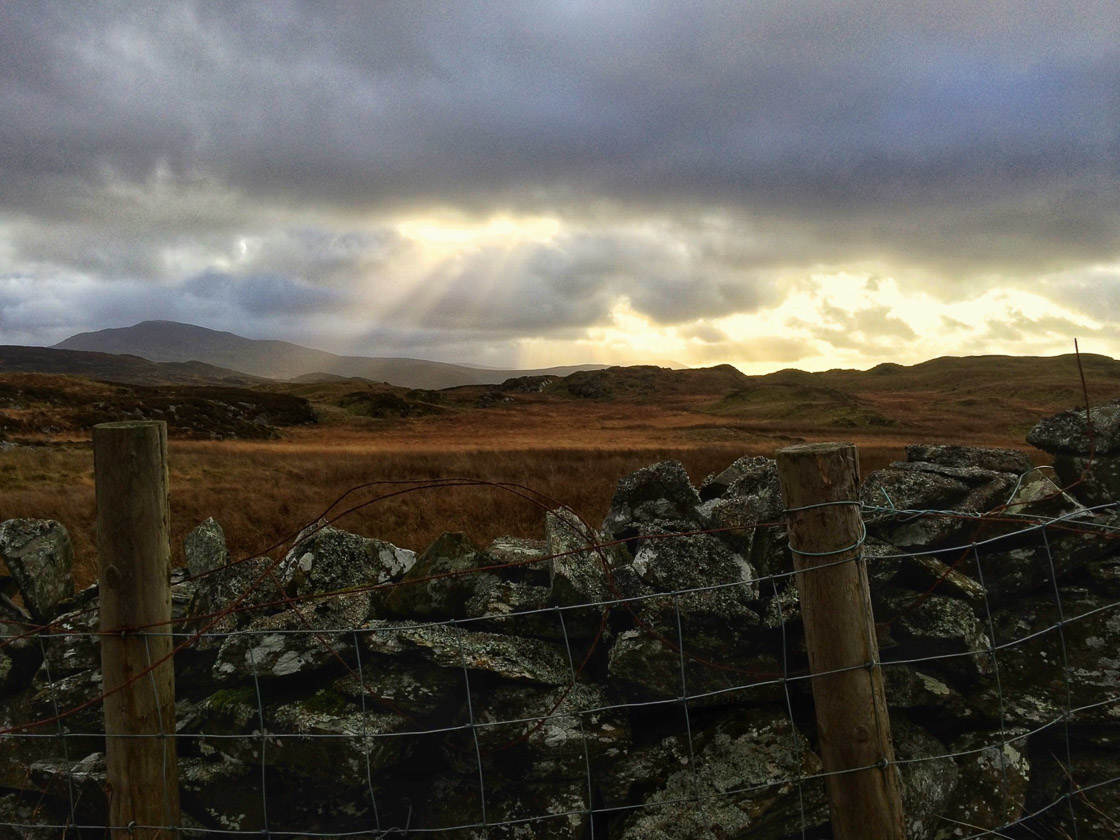
Landscape photography isn’t just about getting great shots of the land. Clouds, sunsets, and weather all play a huge role in the overall strength of a landscape photo.
Therefore, keep an eye on the weather forecast.
For instance, do you want dramatic, moody images? Then shoot when the sky is stormy (this works really well if you’re doing rural landscape photography).
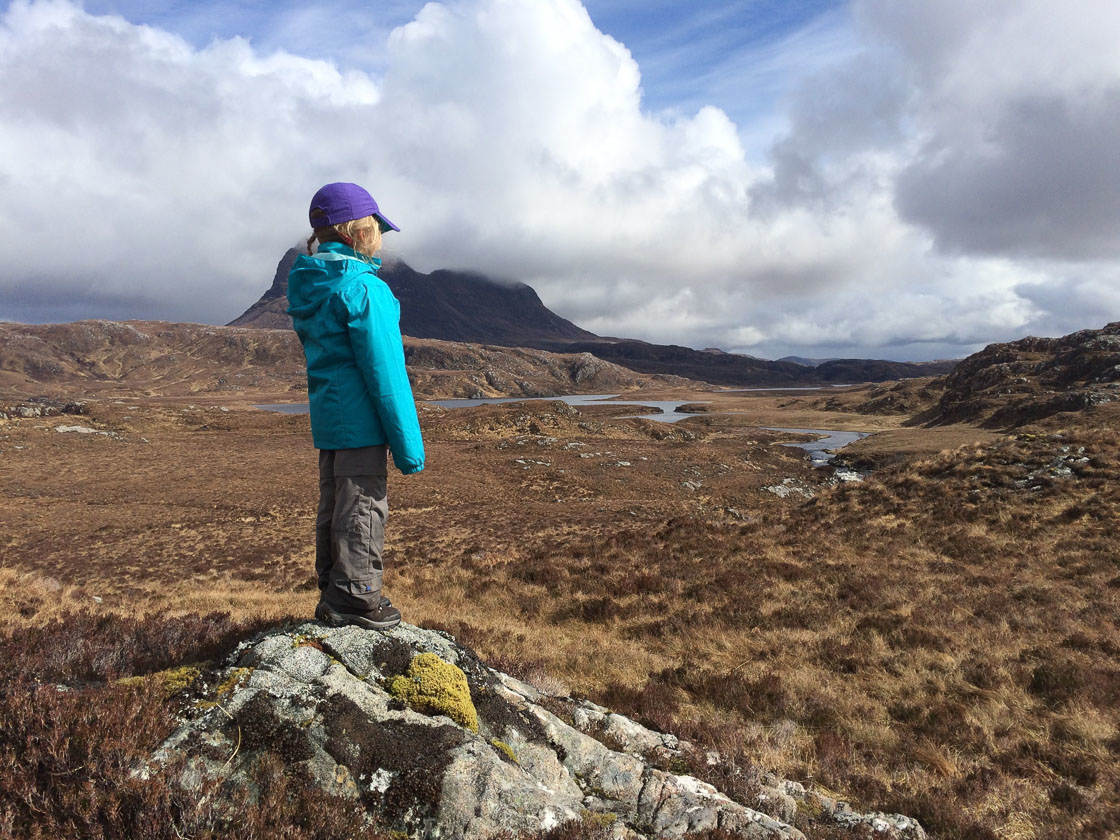
If you’re looking for something more cheerful, shoot on days with white, fluffy clouds. That’s how I got the shot below.
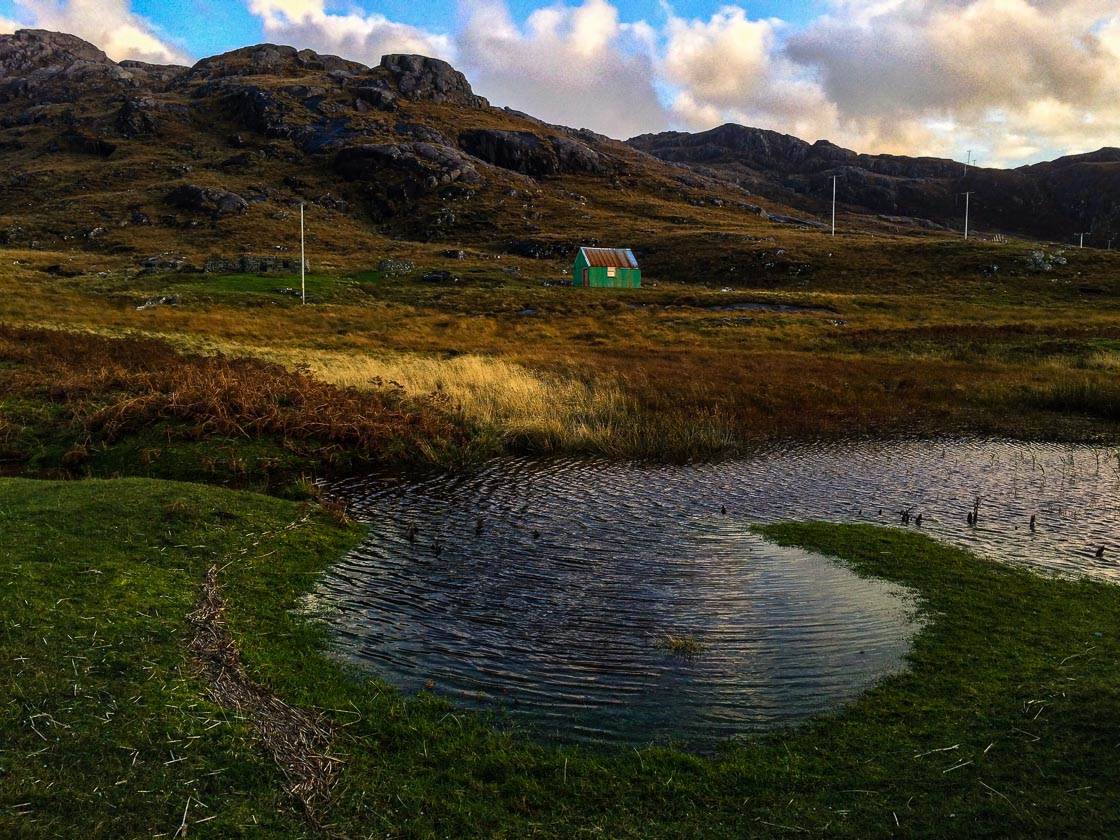
Time of day is another important consideration.
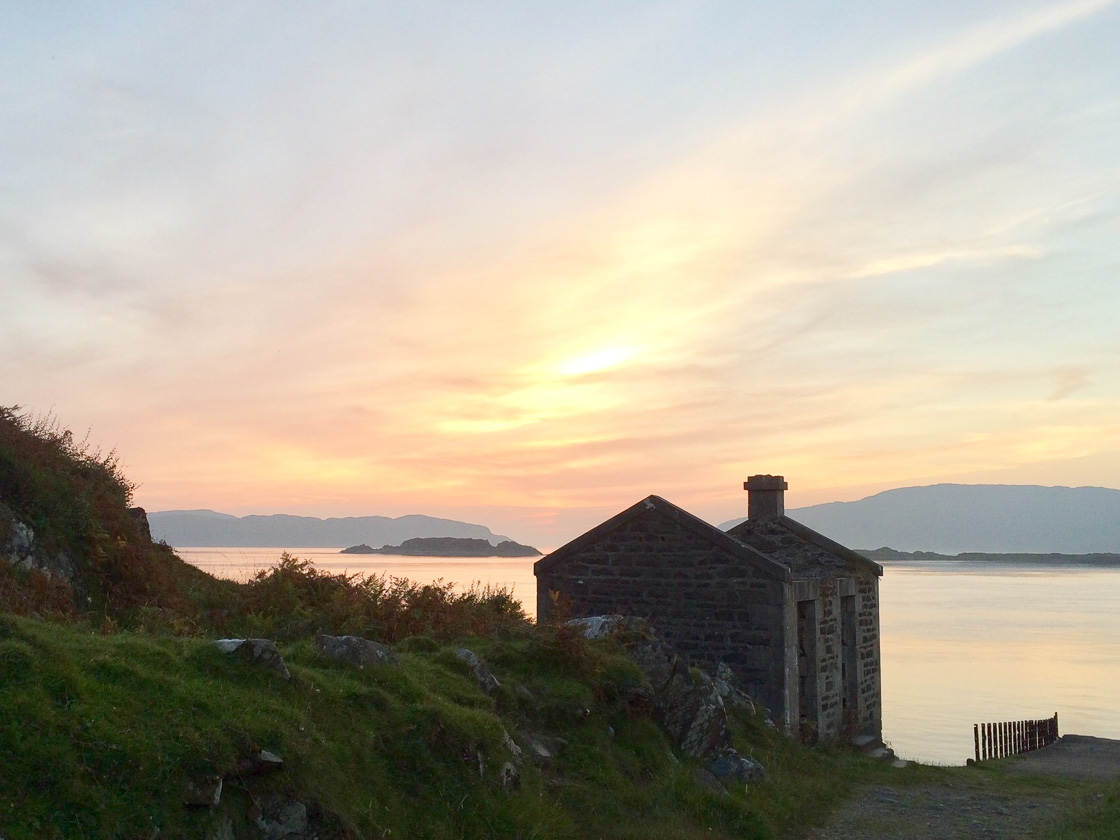
If you shoot at midday, skies tend to be boring and lifeless. At sunrise and sunset, however, skies come alive. Clouds turn pink and orange. This is a landscape photographer’s dream.
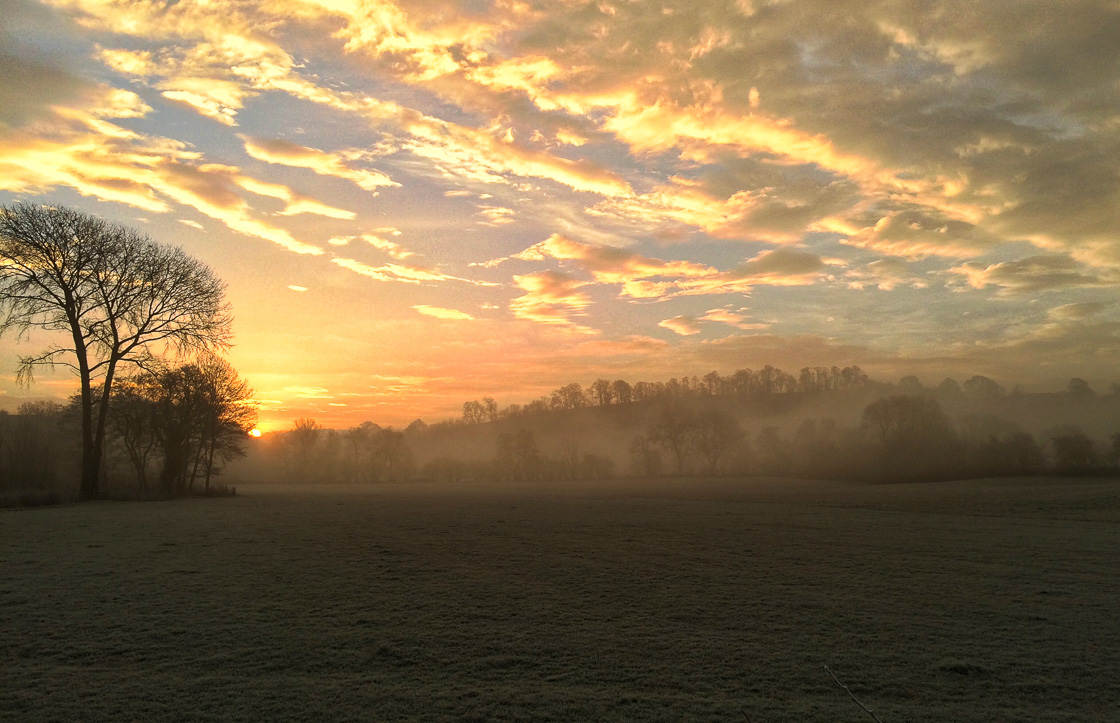
How do you get the best results? Capture impressive skies.
4. Create A Sense Of Depth For Dynamic Images
Do you often feel like your landscape photos are flat and boring? You’re not alone. As a landscape photographer, you have to work to get powerful images.
Do you want to know an easy technique for creating powerful, dynamic images? Here it is: Create a sense of depth in your photos.
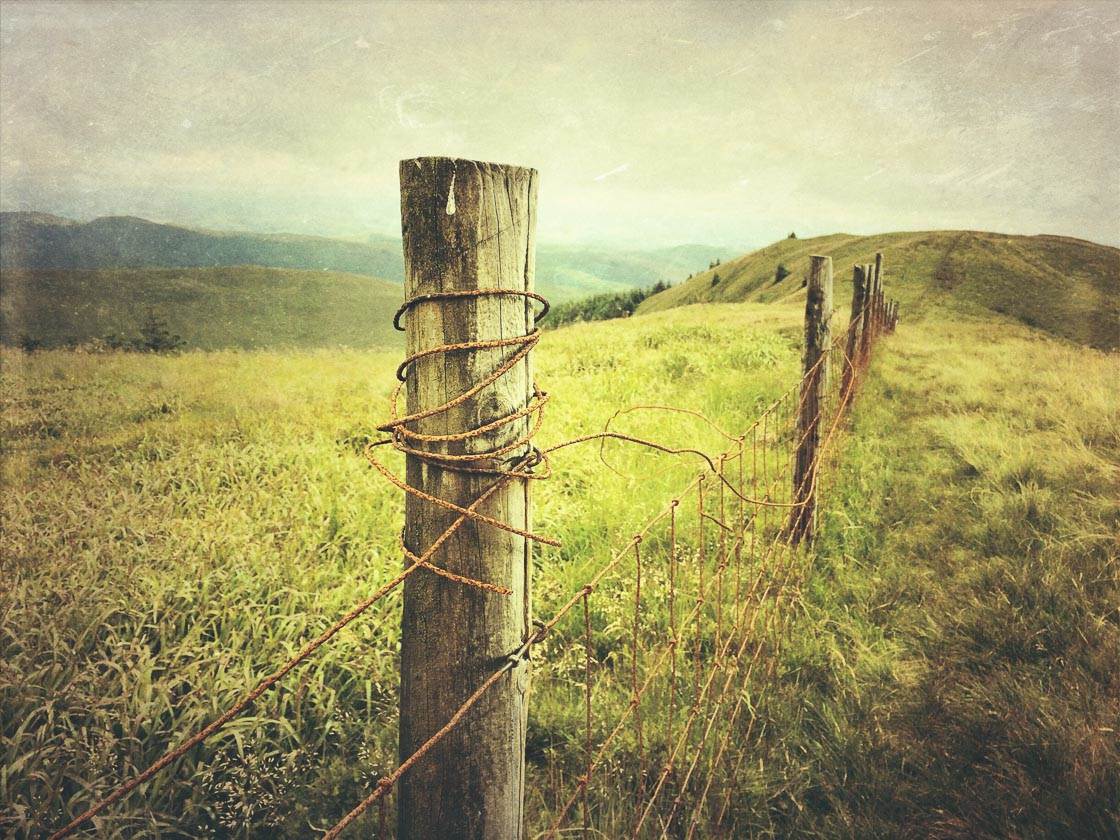
That is, lead the viewer’s eye from foreground to background. Make the landscape feel spacious.
How do you do this?
First, use leading lines. Leading lines are lines that draw the eye into a photograph. Incorporating leading lines into your photos is a great way to add depth.
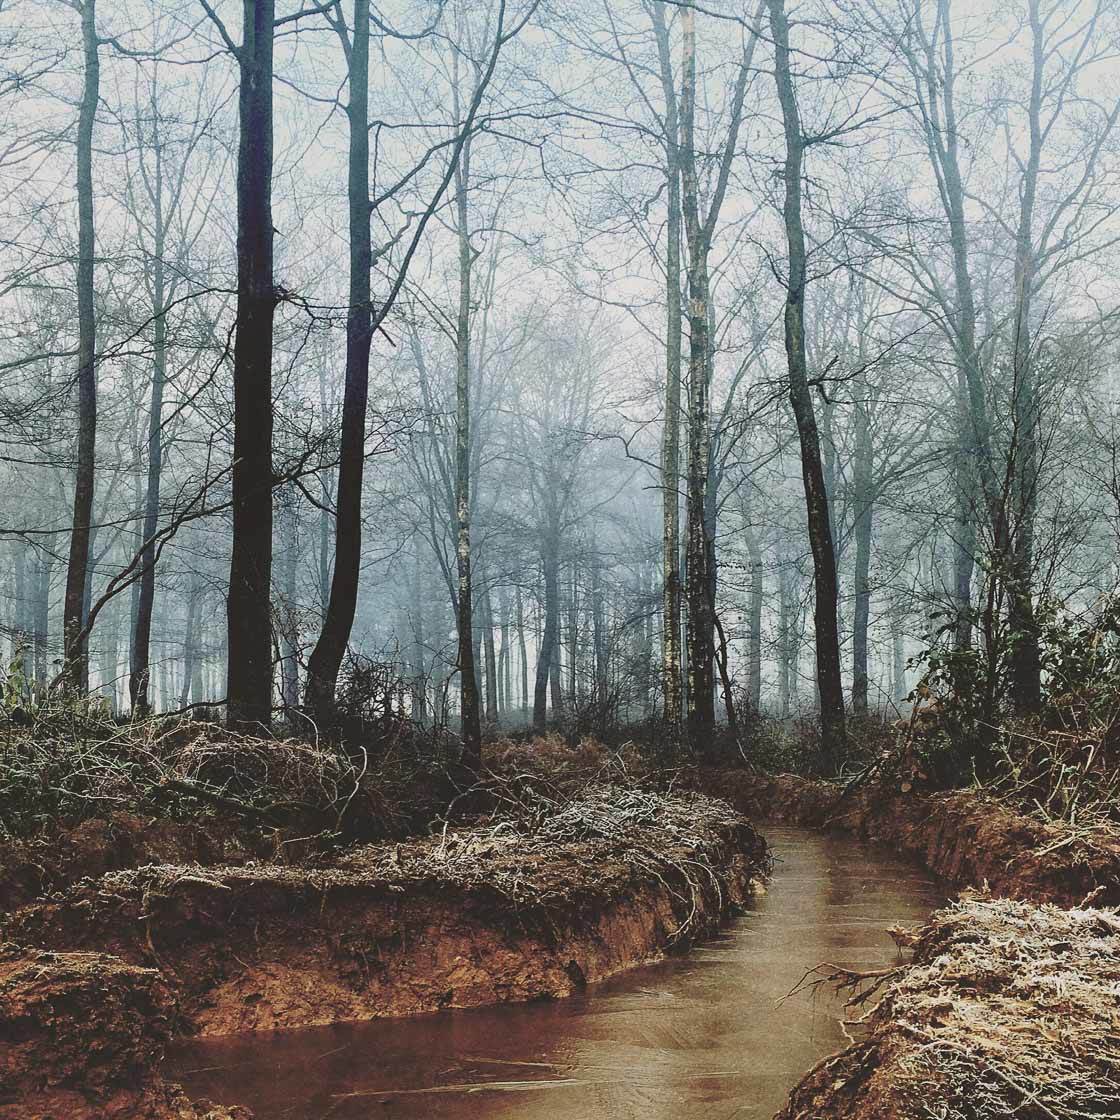
In landscape photography, the best leading lines tend to be paths, rivers, fences, and roads. I used a river as a leading line for the photo above. However, anything can work as a leading line!
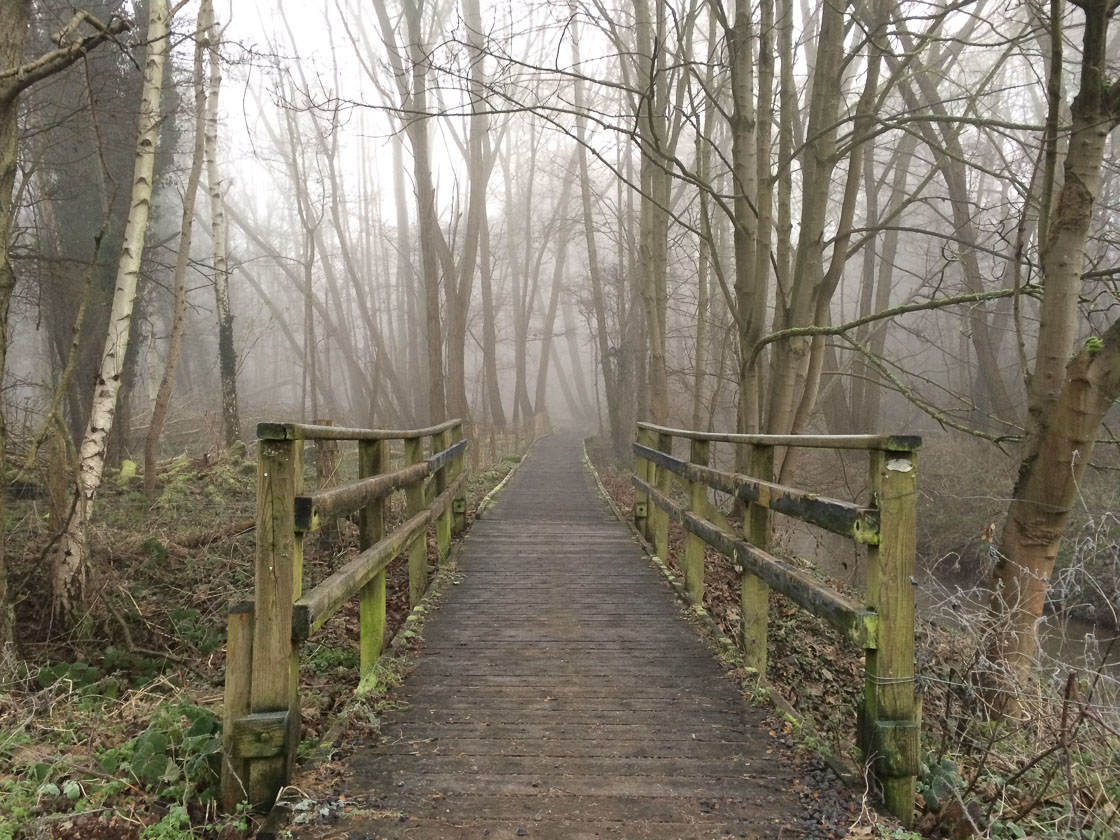
Second, include objects in the foreground of your image. Once you’ve found a beautiful landscape, don’t start shooting. Search out objects nearby—objects that you can put in the foreground of your photo.
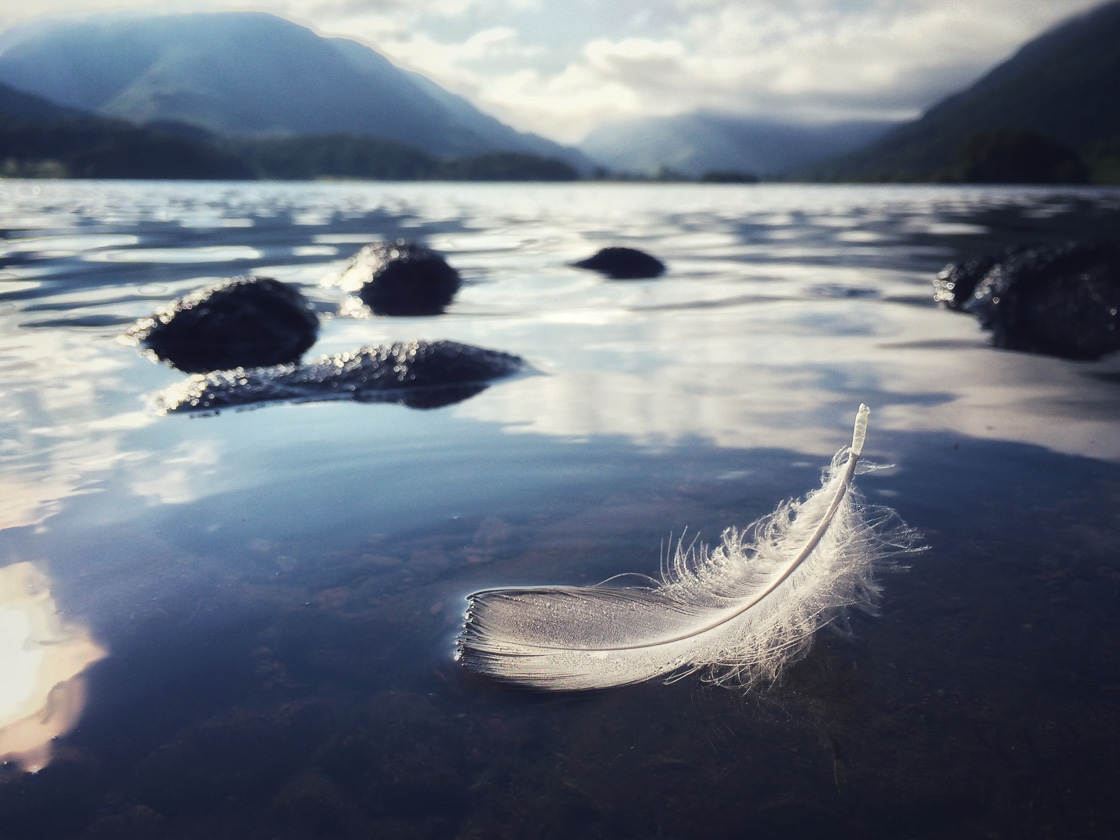
The feather in the photo above is a great foreground object. It adds depth to the image.
For the greatest effect, get down low to the ground and get near the object. This will make the object loom large in your photos.
Then, when you finally take the shot, you’ll come away with a dramatic, three-dimensional image.
Remember: If you want dynamic images, keep an eye out for leading lines. And don’t forget to look for foreground objects.
5. Include A Focal Point For Eye-Catching Photos
Landscape images need focal points.
A focal point is the main element of interest in a scene. It’s what captures the viewer’s attention.
Without a focal point, your landscape images will feel empty.
Therefore, make sure you have one.
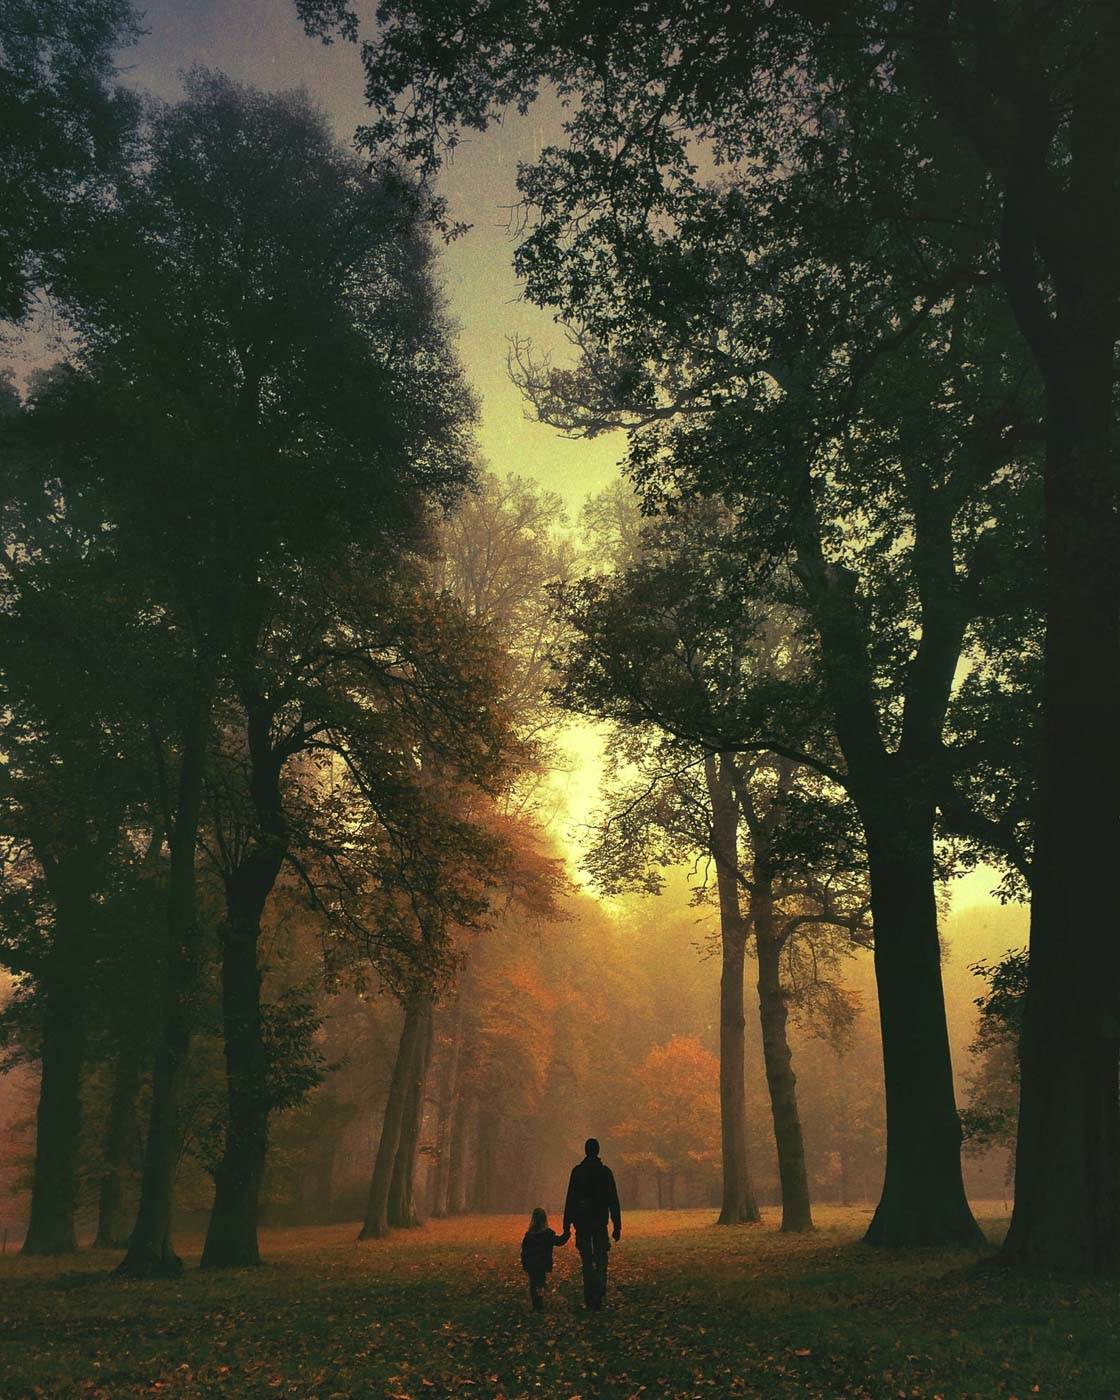
People make great focal points in landscape photos. If you include people in your photos, the eye will be drawn to them. And they’ll give your images a sense of completeness.
For instance, consider the photo below. Without people, it’s a nice shot. But people add a sense of completeness to the photo. People make it far more powerful.
If you want eye-catching images, you must use focal points. They’ll draw the viewer right in.
6. Use The Rule Of Thirds To Create Beautiful Compositions
Composition refers to the way elements are arranged in a photograph.
And if you want beautiful landscape photos, you must create beautiful landscape compositions.
How do you do this? What compositions are beautiful?
One technique for better compositions is the rule of thirds. The rule states that the best compositions have elements a third of the way into the frame.
In other words, you should place the most important parts of your photographs along this grid:
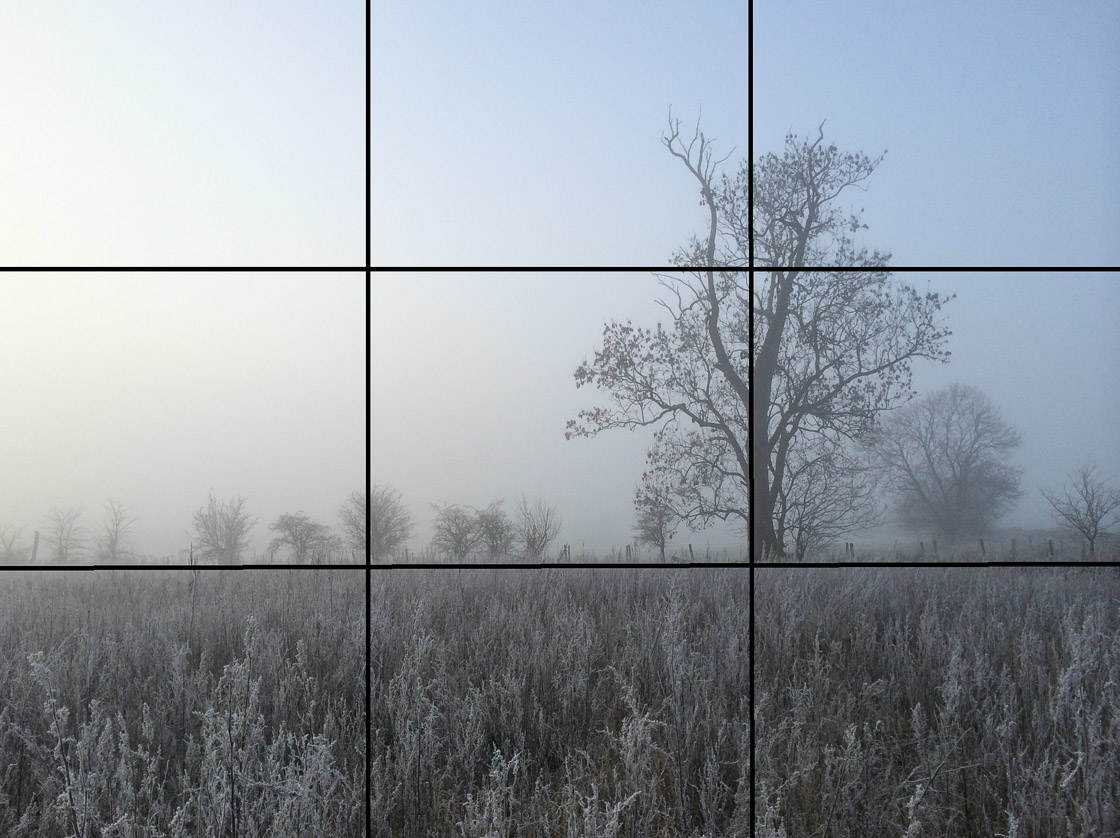
For instance, it’s a good idea to place horizons along the top and bottom gridlines. And if you have a subject in the foreground, try to place it at one of the lower two junction points (the places where the gridlines cross).
Notice how the horizon is aligned perfectly with the top gridline.
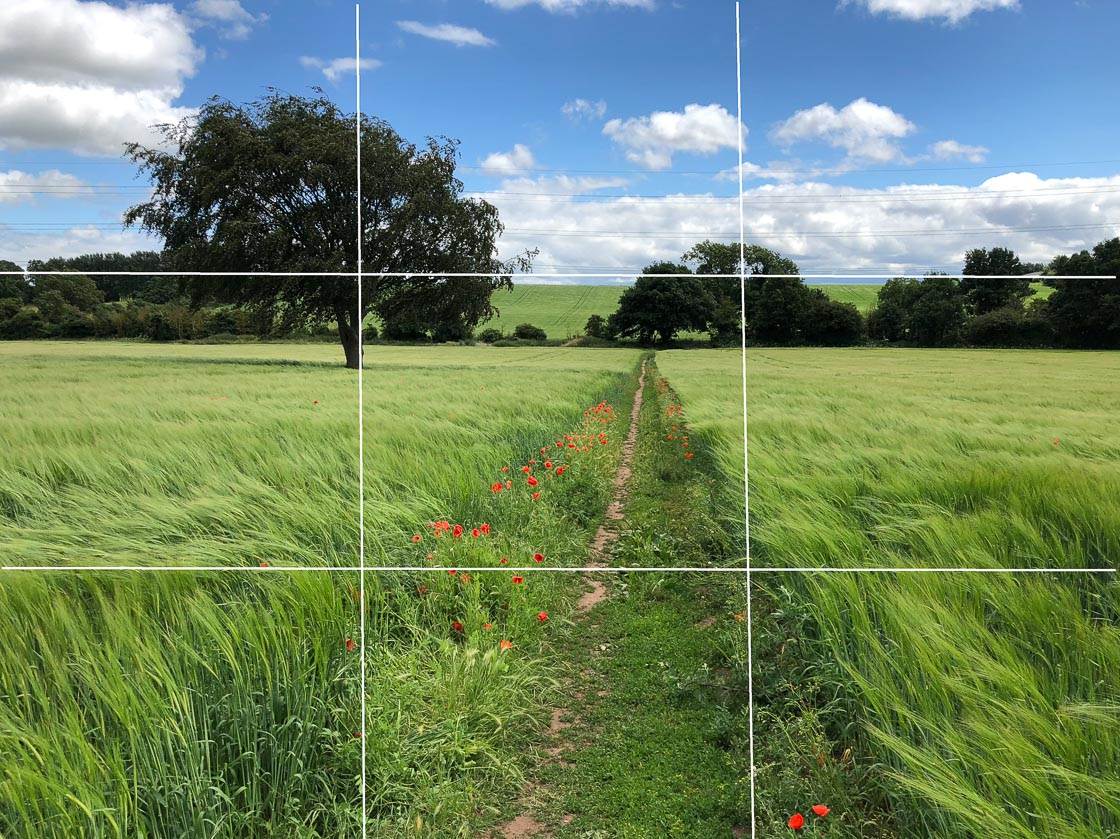
Do you want to know a trick?
You can actually see the rule of thirds grid while taking photos with your iPhone!
On your iPhone’s Home screen, tap Settings. Tap Camera. Then select Grid.

When you go back to your camera screen, you’ll be able to see the rule of thirds grid. And you’ll be able to use it to create awesome compositions—every time you take a photo.
7. Keep Your Compositions Simple For Powerful Photographs
What’s one thing you can do to instantly improve your landscape photography?
Simplify your compositions.
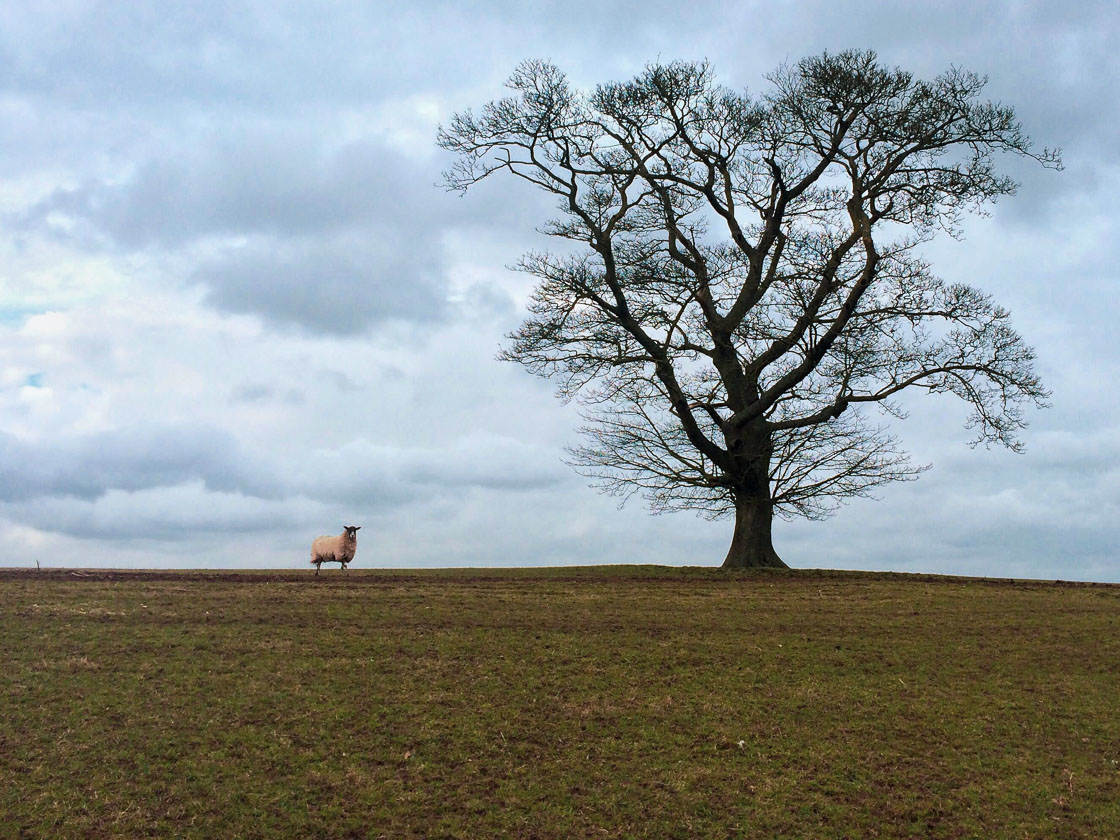
Too many elements in a composition result in clutter. They result in chaos, and the viewer doesn’t know where to look.
In general, a complex image is hard to pull off.
Instead, you need to give your subjects some breathing room. Don’t try to include three main subjects. Look for scenes with only one or two elements, and focus on capturing these.
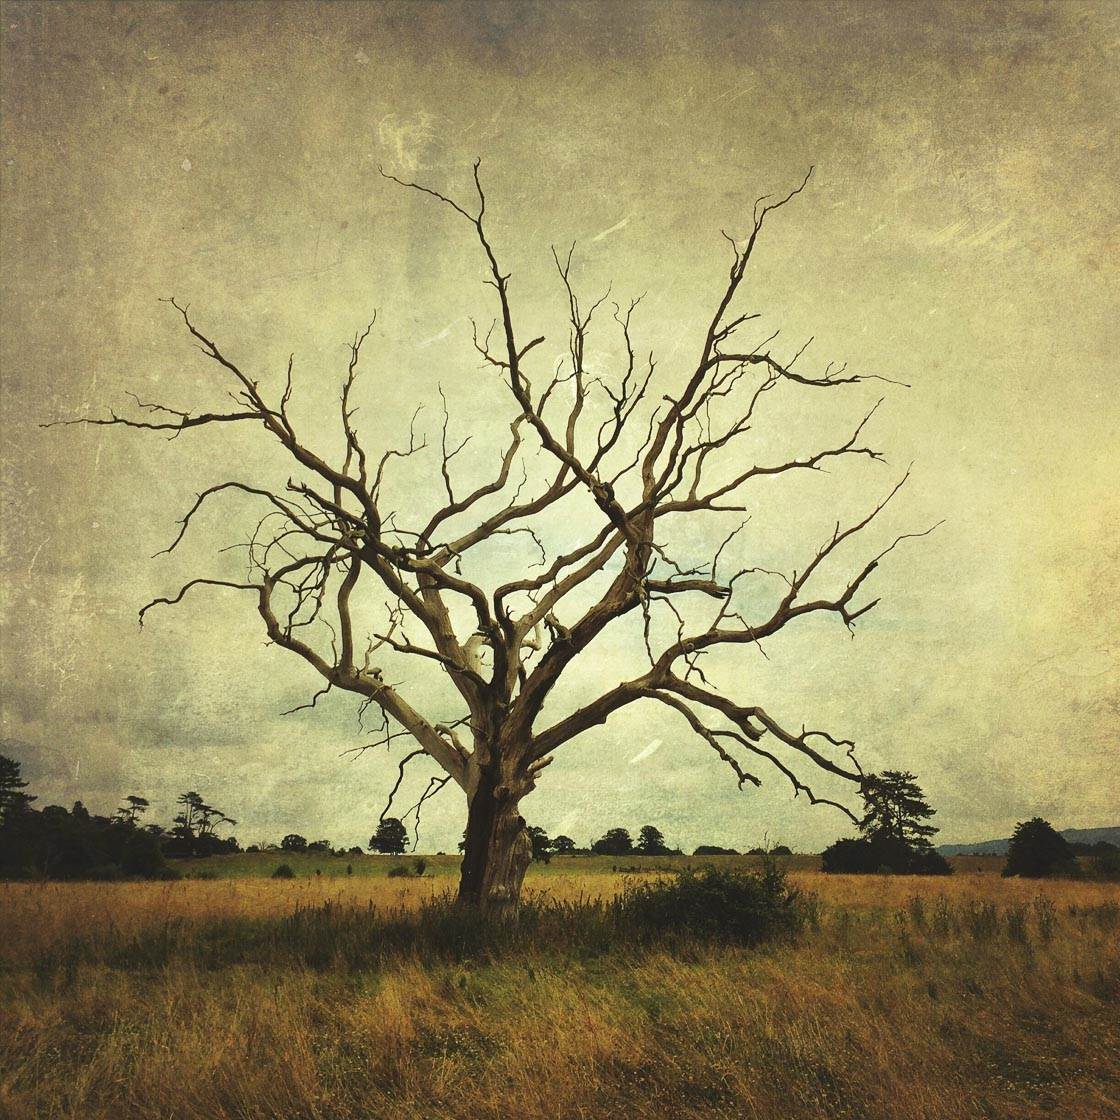
For example, lonely trees make great landscape subjects. You can use lonely trees to create compelling, simple images. That’s what I did for the photo below.
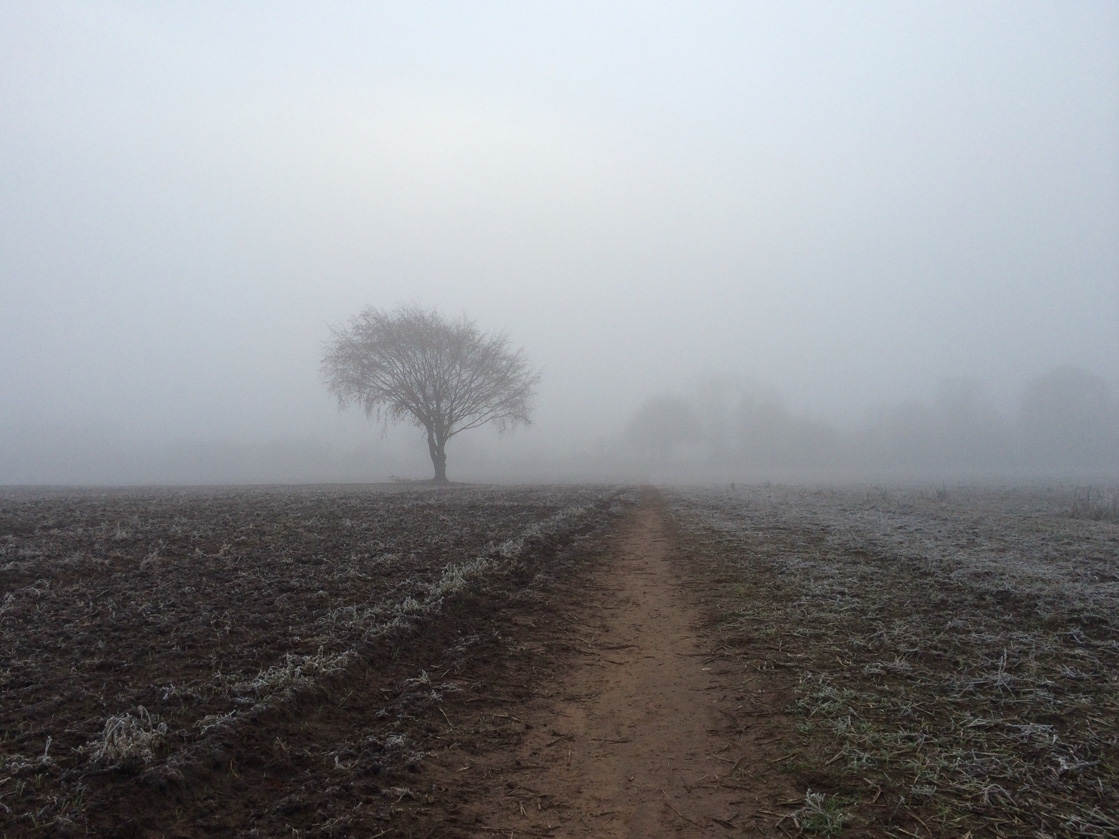
You can also simplify by including negative space in your photos. Negative space is the part of a photo where nothing is really going on. There’s nothing to focus on, and that’s okay.
A common form of negative space is empty sky. It doesn’t draw the eye. Instead, it helps the viewer to focus on the main subject. For example, the sky in the photo below helps the viewer to focus on the main subject: the trees.
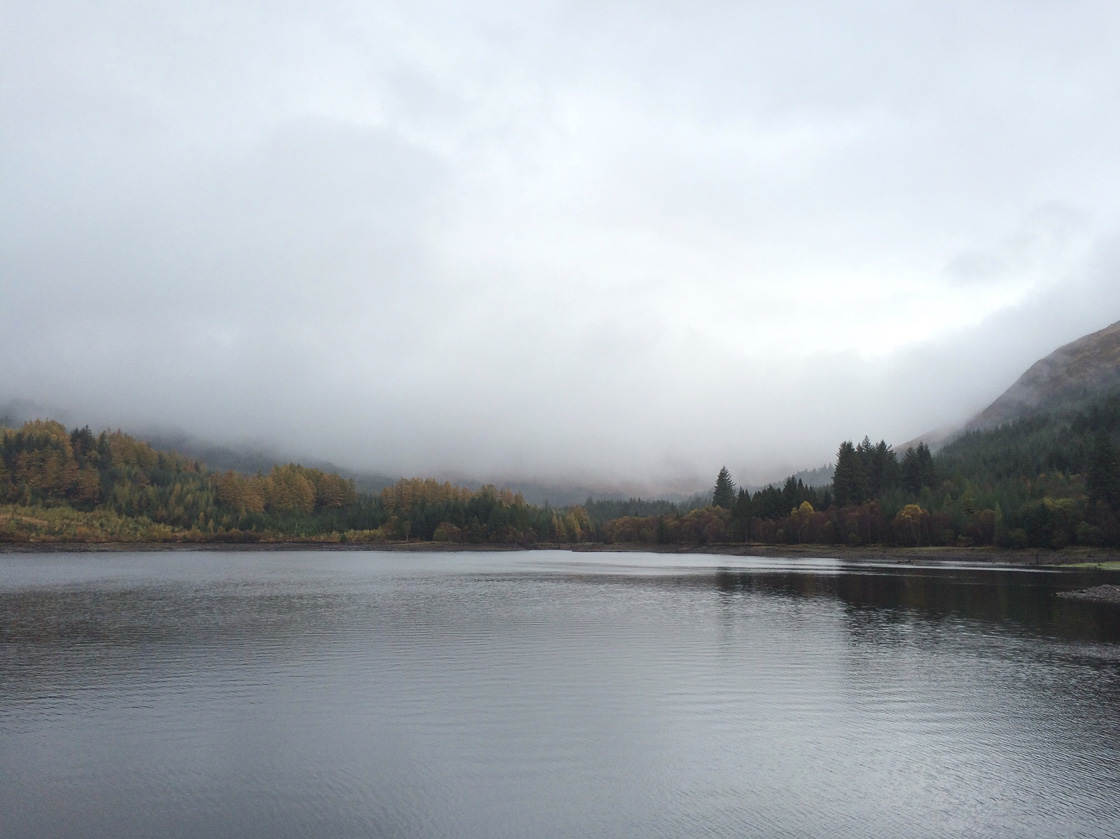
One last way to simplify your photography is to cut down on color. That is, make sure you only have a few colors in your scene. Too much color makes for a chaotic image.
The photo below has a simple, earthy color palette. The colors don’t overwhelm the eye. Instead, they add a sense of peacefulness to the image.
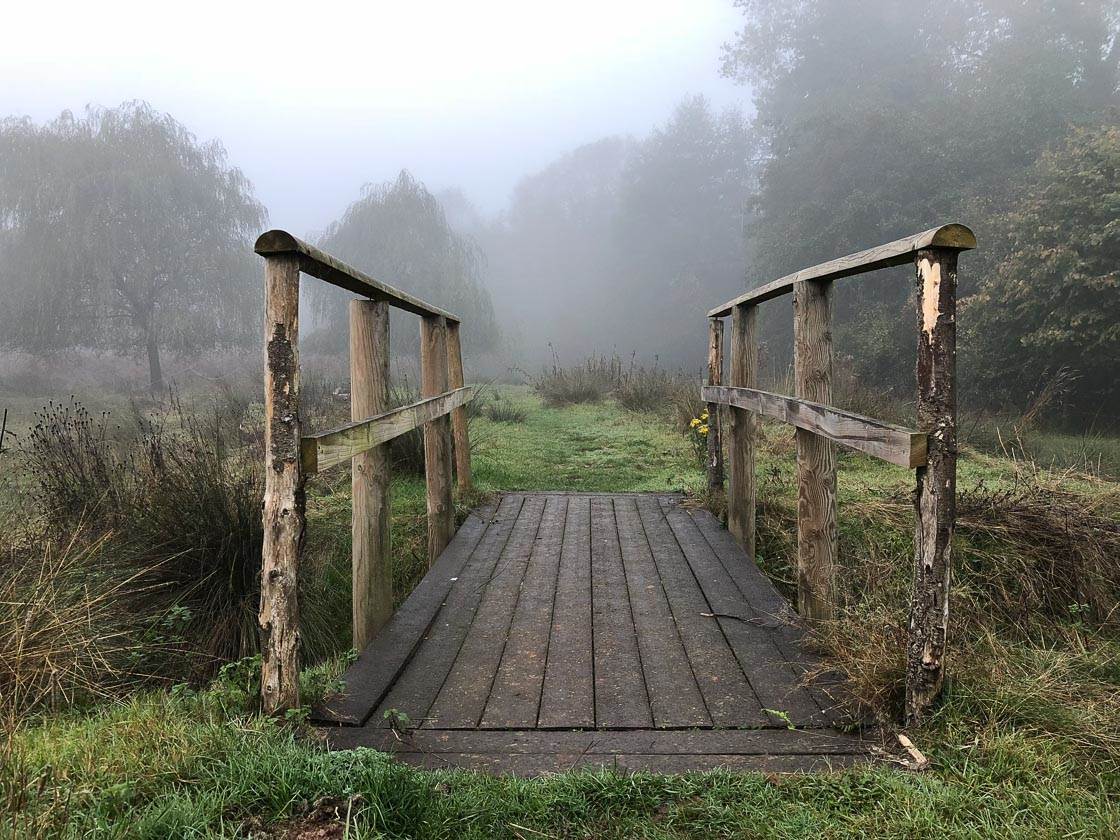
Remember, when it comes to landscape photography, less is more.
8. Take A Panorama For A Breathtaking Landscape Photo
Do you want to create a truly breathtaking landscape photo? Do you want your photo to capture the vastness and grandeur of the scene?
If so, then you should take a panorama.

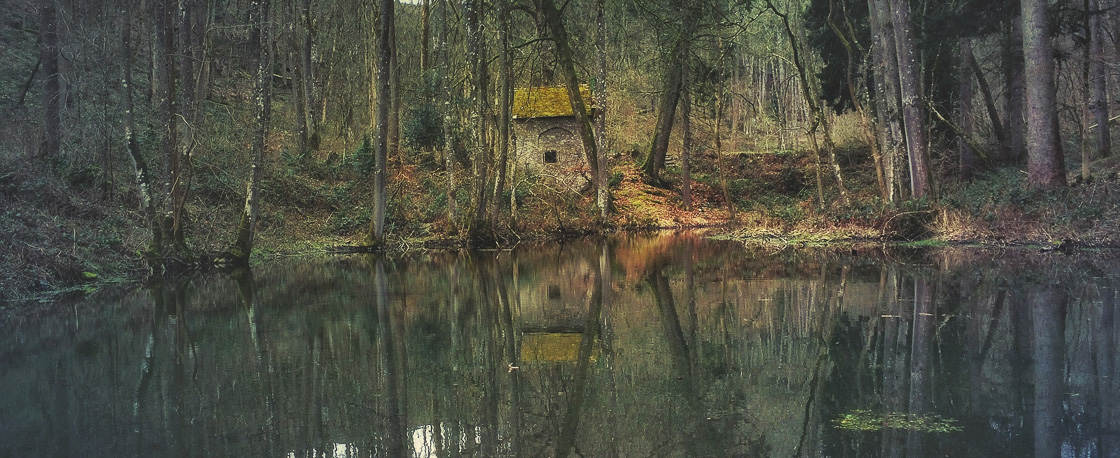
Panoramas are extremely wide photographs. They’re made by stitching together several normal photographs. The photo above is a panorama.
In fact, you can take a panorama photo using only your iPhone.
Open the Camera app and swipe to find the Pano shooting mode. You’ll see directions on the screen, indicating how to move your iPhone while taking a panorama.
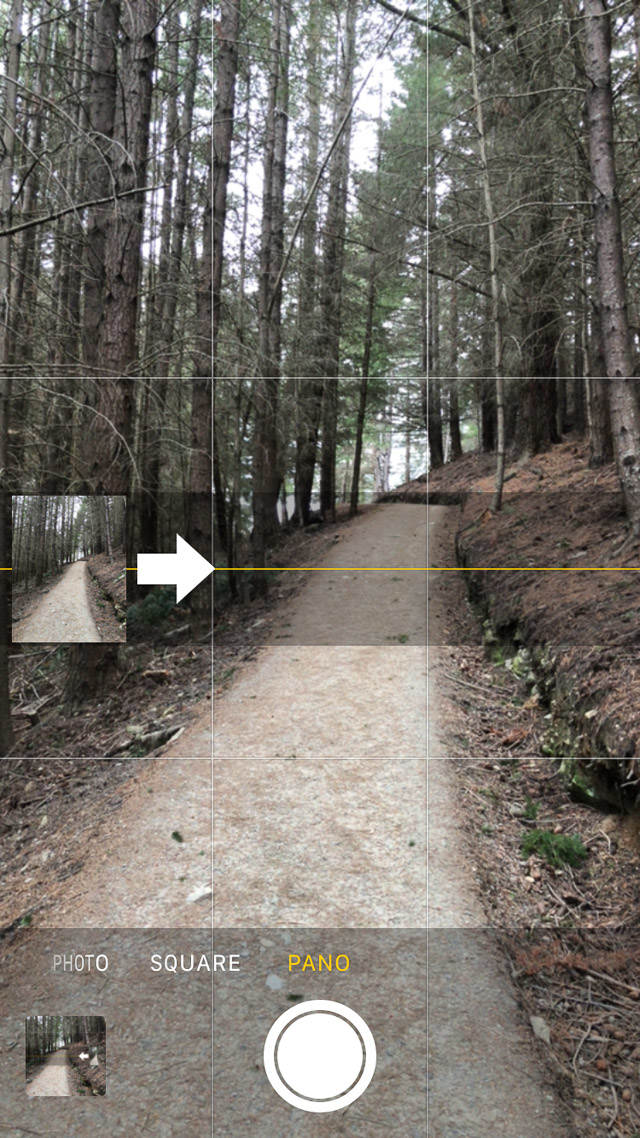
Press the shutter button. Then follow the directions, slowly panning your iPhone across the scene.
When you’ve finished taking your panorama, tap the shutter button again. You’ll be able to view your completed panorama in the Photos app.
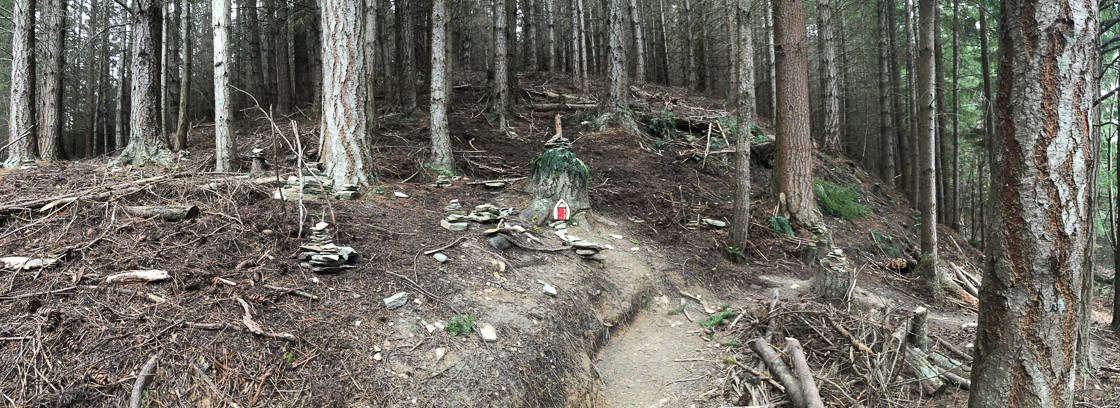
Panoramas are fantastic for capturing sweeping vistas that are just too big to record in a normal image. Take pano shots when you encounter vast landscapes.
But how do you ensure you take the most beautiful landscape panoramas? Here’s an important tip.
Don’t include too much of the foreground in your panorama. Foreground elements get distorted by the wide, panoramic field of view. So it’s best to avoid including these.
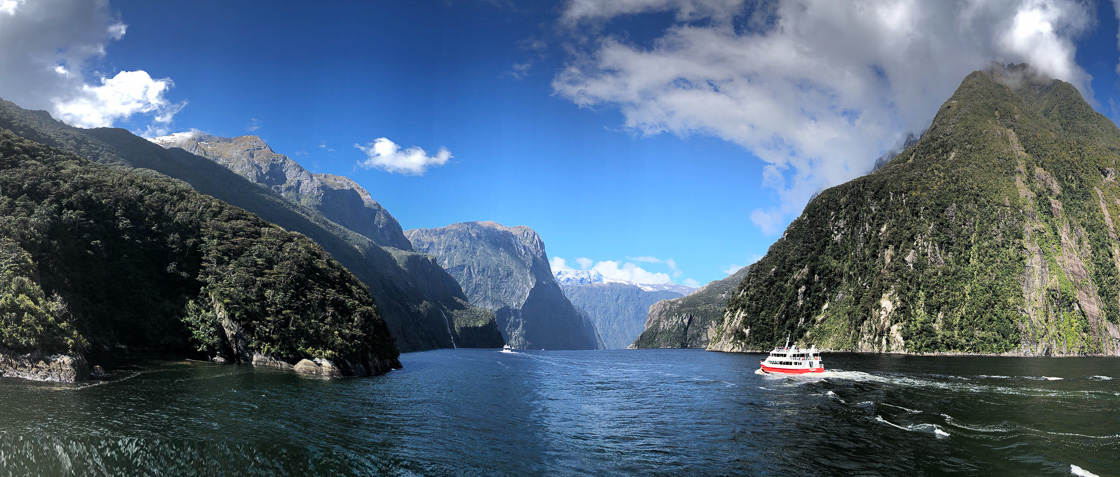
If you want sweeping, breathtaking images, take panoramas.


Exceptional and well written. Thank you!
Thank you Cary!
I also wanted you to add to the conversation that I take photos with my iPhone 4 and I print them out through a professional printing company and have sold many. There is a market for it and people cannot believe the pics are from my iphone
I’m sorry I wanted to add dang typos lol
Nice! Where can we see your photos?
amazing camera for landscape photography. In this article you’re going to learn how to take landscape photos that look just as well – if not better – than the actual view.
Since HDR combines multiple photos into one, you also don’t want to have any movement in the scene.
Lots of good information. Beautiful photos too!
Thanks, happy you like it!
Thanks for such a great article and tips. Glad you use the same awesome app for slow shutter work. Great images man!
Thank you so much! I’m glad you enjoyed the article.
I agree, this is a well written article. Personally, I had stopped using proHDR after I came across VividHDR. VividHDR takes photos faster and the results look more natural.
Well done Emil.
Thanks! I’ve been experimenting with VividHDR but I’m not that happy with the user interface and how you can never tell if the photo has been saved. Also, the natural HDR look is a little plain at times but I don’t like the other looks in the app.
Great article Emil. A subject very dear to my heart:)
Thanks Dave, happy to hear that from a great landscaper like you!
Thanks for article Emil. Taking landscape photo using iphone is quite challenging for me before. This article gives me the information needed to take good landscape photo. Keep is coming.
Happy to hear that Fadhil!
Make sure you apply the things you learned, that’s the only way to really get better at photography.
Halo, Emil…
Weee, I’m so happy to find this site since I’m so new to iphoneography. Very useful site. Thank you so much for sharing great tips and tutorials.
Thank you Ain! Let me know if you have any questions!
Hi Emil,
great article, as always.
I tried Pro HDR (just free version) and I really like how it handles the photo. My question is, what output resolution have the paid version? Because in free version it adds watermark of course), but the photo quality is awful compared to the photo from iOS camera app. Also resolution is 478×636 pixels. Not to mention that the app isn’t optimized for iOS 7 and iPhone 5/5s display. And any chance you could send me link to one of the image in this post in full resolution? 🙂
Nice pictures btw.
Don’t use the free version. The paid one saves photos in full resolution, there’s no watermark, and there are no quality issues. Also, the paid version is updated for iPhone 5/5S.
I just wanted to try it before buying the paid version (I always do that if possible) and well…this scared me. Thanks a lot, now I have no worries and will buy it, can’t wait to test it in forest, thanks again Emil 🙂
many thanks for this blog, agree, i’m a street shooter and iphoneography also so this tips are very useful, many thanks broh
So glad you found these tips useful Freddy! 🙂
Great article. Looking at Pro HDR on the app store, I see there’s a new version for iOS 8 called “Pro HDR X”. However, the comments seem the app is not as good as the previous version, so I was wondering if anyone has experience with the new app and the “old” one.
Just looked at the US app store, the reviews there are much better than in the german app store (I’m from Germany). I think I’ll give Pro HDR X a try, I often run into situations where I want to take HDR photos especially with landscape photography, but also situations with high contrasts.
Hi Emil. have you taken any videos with the iPhone 5s i have done some and when I download them to my laptop windows 7. and play them back all the videos are sideways. I there a n app to make them play correctly?
Hi Linda! This article might help you with your upside down video problem: http://iphonephotographyschool.com/iphone-photos-upside-down/
Great tutorials, easy to read and full of awesome tips. I’m looking forward to checking out the apps you suggested.
Thank you so much! I’m glad you enjoyed the article.
On my last trip I took many vista photos with a foreground and background. The foreground came out, but the background was really pale in color and I couldn’t saturate it enough in editing. I used an iPhone 4s at that time. Any suggestions?
Hi Dana. The best thing to do in future would be to slightly under-expose when taking the photo. That way the background will have better exposure, and if the foreground appears too dark you can brighten the shadows in post-processing.
I purchased now the Pro HDR X and Slow Shutter Cam. Will post some pic soon 🙂
Deeply appreciated and wonderful!
This is an old article but clearly still very useful! Thanks! Do you know of any bluetooth/wifi remotes that will work with Pro HDR?
Hi Daniel, glad you found these tips helpful 🙂 I’ve read that a remote shutter won’t work with Pro HDR, but it will work with Pro HDR X. We cover the use of the Pro HDR X app in this tutorial: http://iphonephotographyschool.com/hdr/
Thanks, any idea where you might have read that? I am using Pro HDR X but can’t find a compatible remote.
Hi Daniel. I found it on a customer review on this product on Amazon (I’m in the UK so it’s the UK Amazon site): https://www.amazon.co.uk/Hapurs-Bluetooth-Wireless-Control-Shutter-Black/dp/B00N8J7SIM
Here’s what the reviewer said:
On my iPhone 6 I just turned on Bluetooth and then the remote and in a few seconds it was ready to pair (and paired without problems). So far I have the remote working with
iOS Camera app
Camera+
Big Lens (uses iOS camera app)
Camera Awesome
Pro HDR X (Old Pro HDR didn’t work)
Basically, if your photo/video app supports volume to capture, it’ll work with this (on iOS)
Great! I have a general question. What is the largest canvas or print picture one can make from an iPhone photo and still have a sharp resolution image.
This article will help you Nichole: iphonephotographyschool.com/print-iphone-photos/
Hey, this was really instructive–for me, especially the foreground and diagonal tips. Thanks, Emil. https://uploads.disquscdn.com/images/a063e57232803dddd4298332d118fc5aeb809fcb2c14cc0a98011c0615f1c548.jpg