Do you want to take amazing winter images on your iPhone? Winter offers stunning opportunities for photos. However, capturing incredible winter photography can be a challenge. In this article, you’ll discover 9 tips for photographing unbelievable winter scenes.
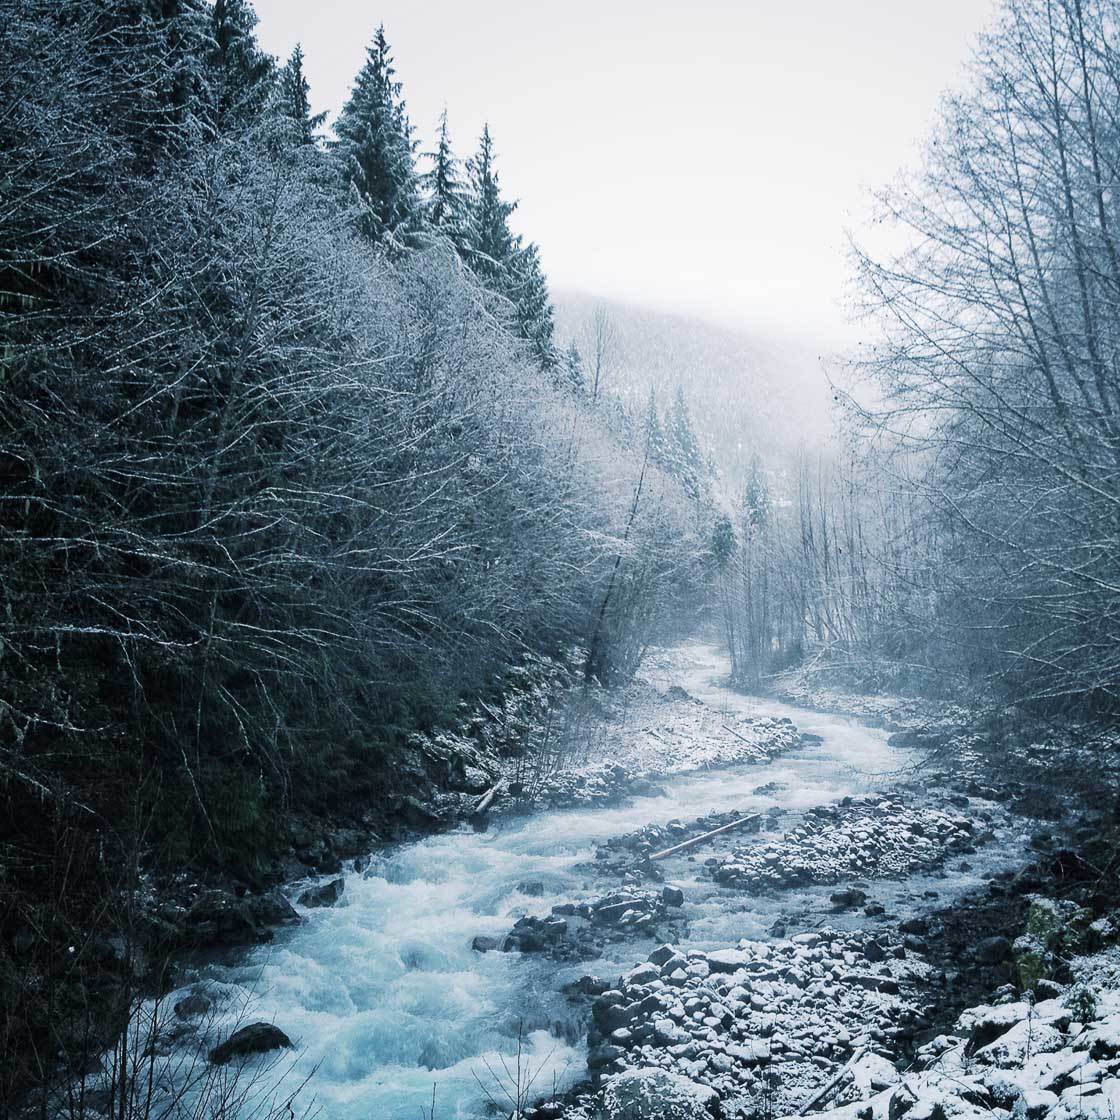
1. Take Cold Weather Precautions To Protect Your iPhone
If you want to take beautiful winter photos, you have to start by acknowledging the limitations of your iPhone.
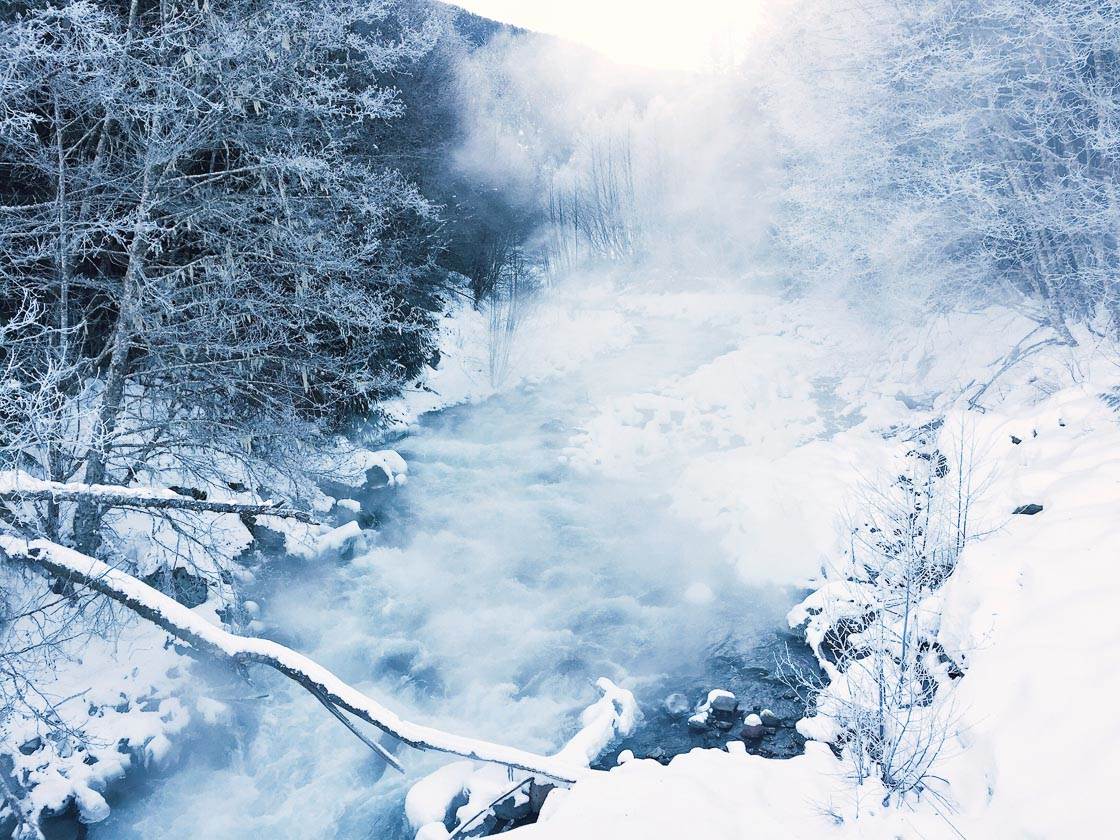
And here’s an important limitation: iPhones and cold don’t really mix.
So there are several precautions that any iPhone photographer needs to take when heading out during winter.
First: When you’re not using your iPhone, keep it in your pocket.
Why is this?
Extreme cold decreases battery life. If you keep your iPhone exposed to the cold, you’ll find the battery decreasing rapidly. Pretty soon, you won’t be able to take any pictures!
Only take your iPhone out when you’re ready to do some actual winter photography.
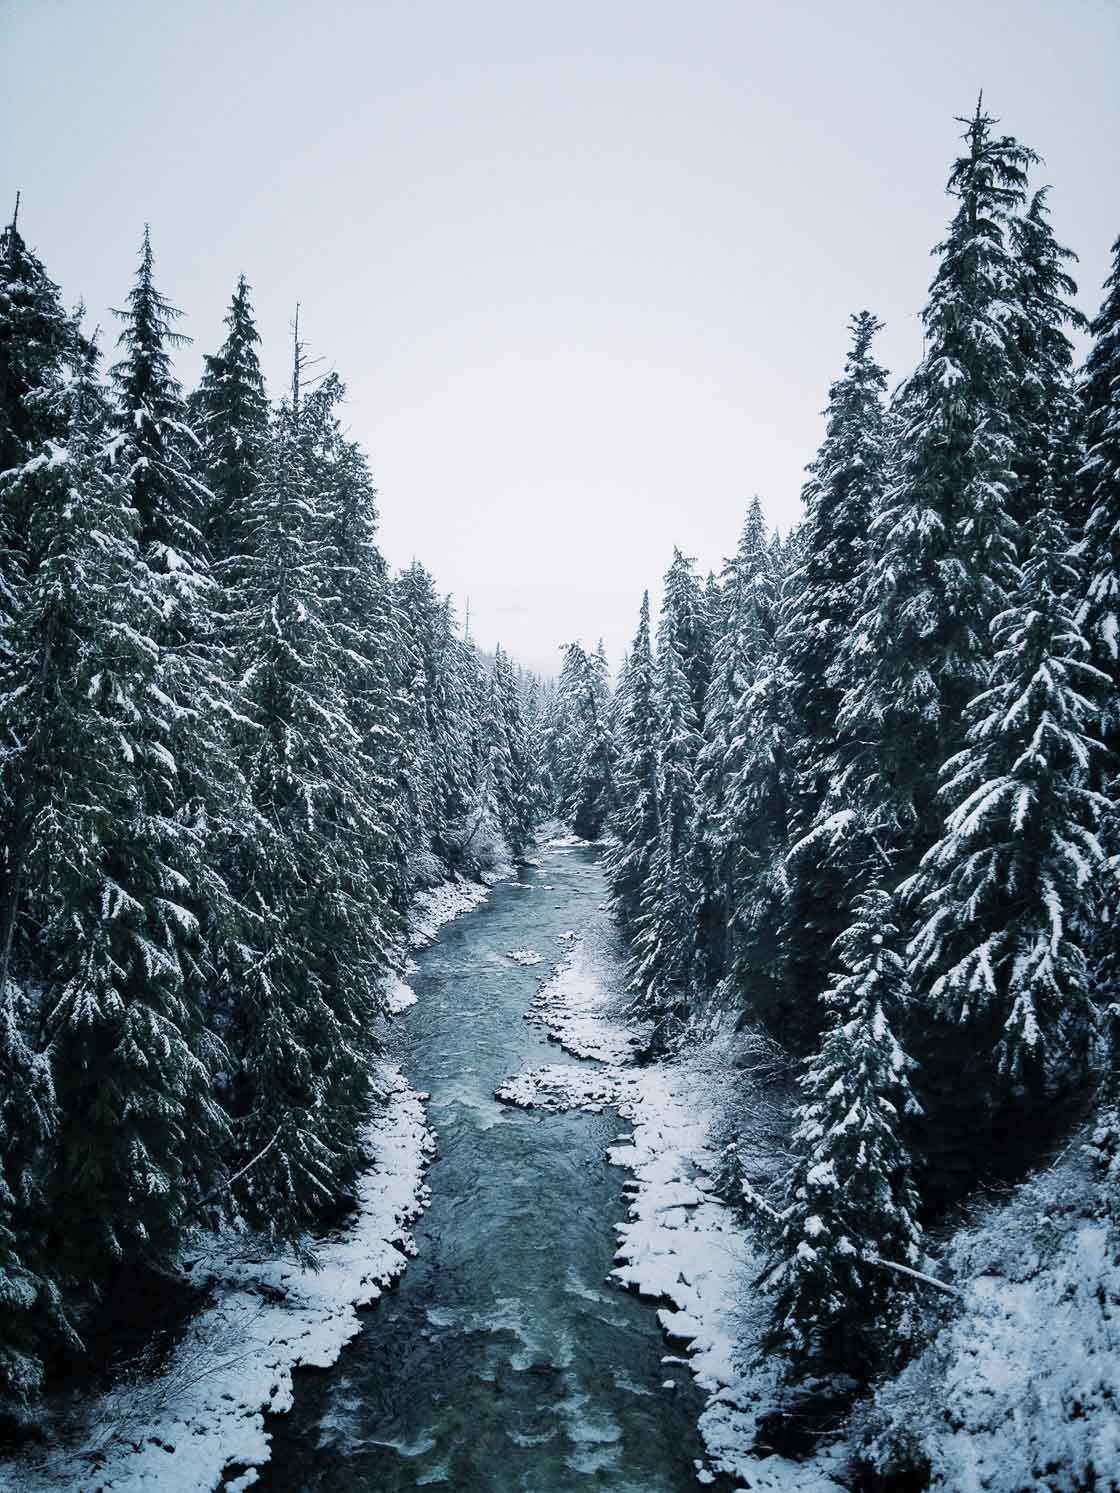
Second, beware of condensation on the lens.
Condensation on the lens occurs when your iPhone goes (rapidly) from a cold environment to a warm environment. For instance, condensation can happen when you take your iPhone from the cold outdoors into the warm house. Condensation can also happen when you move your iPhone from the cold outdoors into your warm pocket.
So keep your iPhone in your pocket, but don’t keep it too close to your body. Too much heat will cause your lens to fog up.
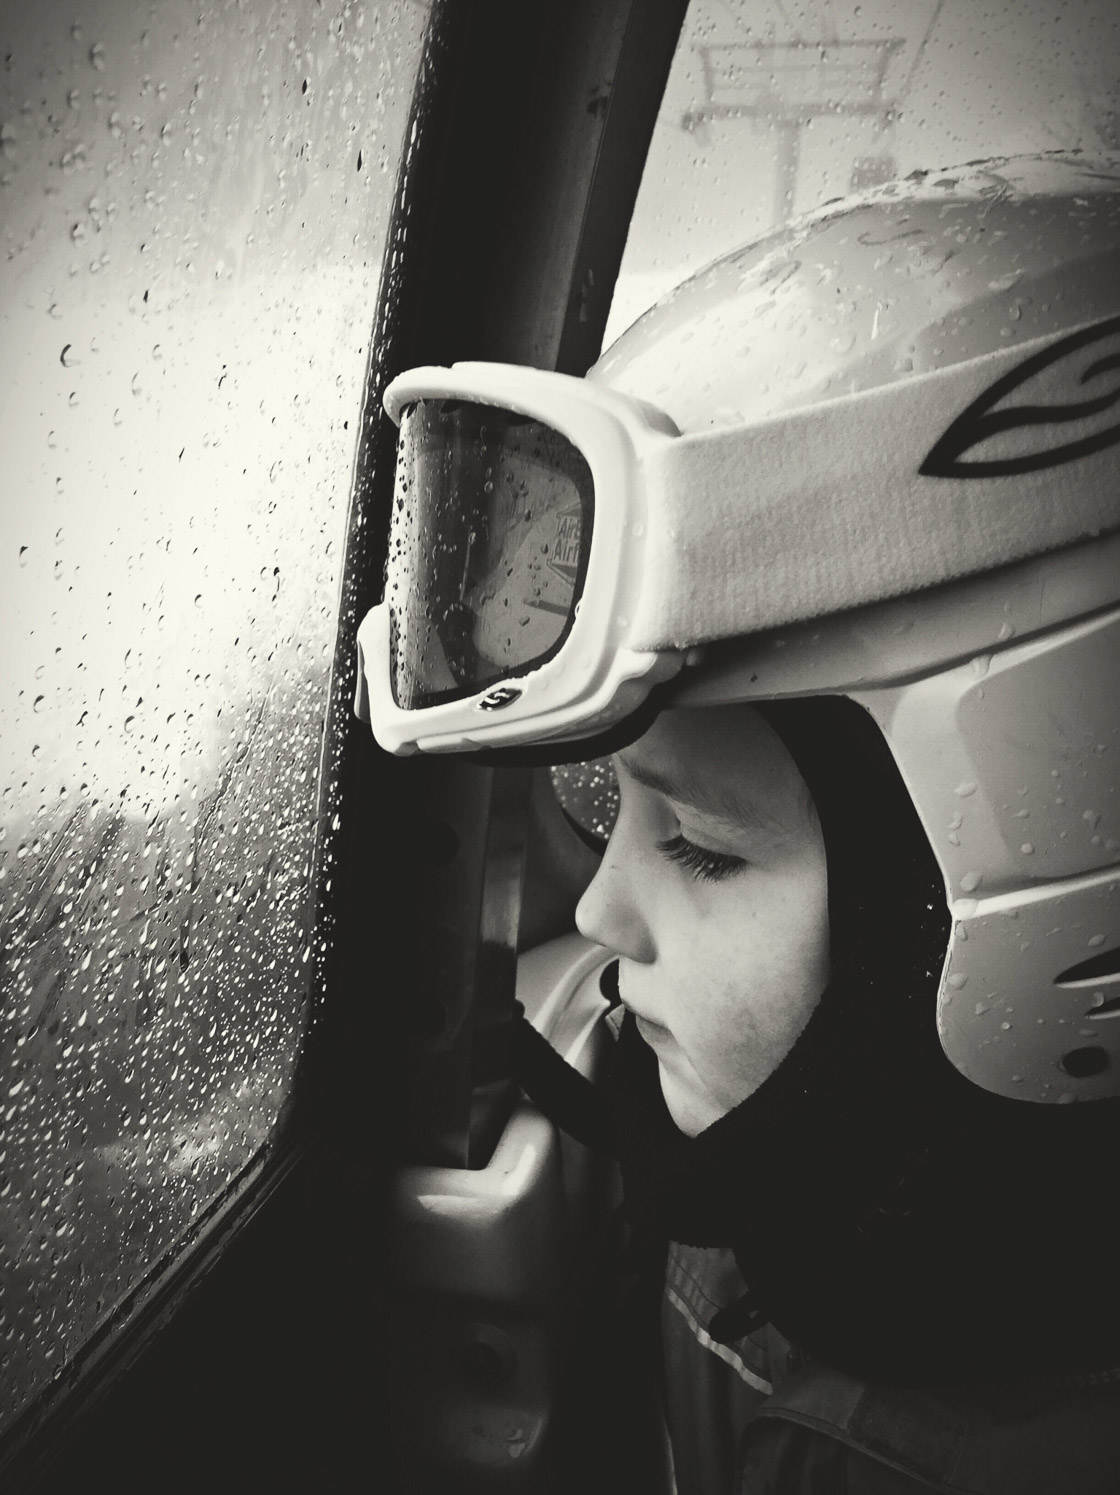
Instead, put your iPhone in an outer pocket. That way, the temperature will be less extreme. Condensation will be much less likely.
And before coming back inside after a winter photography outing, keep your iPhone in your pocket for a bit. You need to let the lens slowly adjust to the new temperature. You don’t want to pull out your iPhone for a shot, only to find that it’s fogged up.
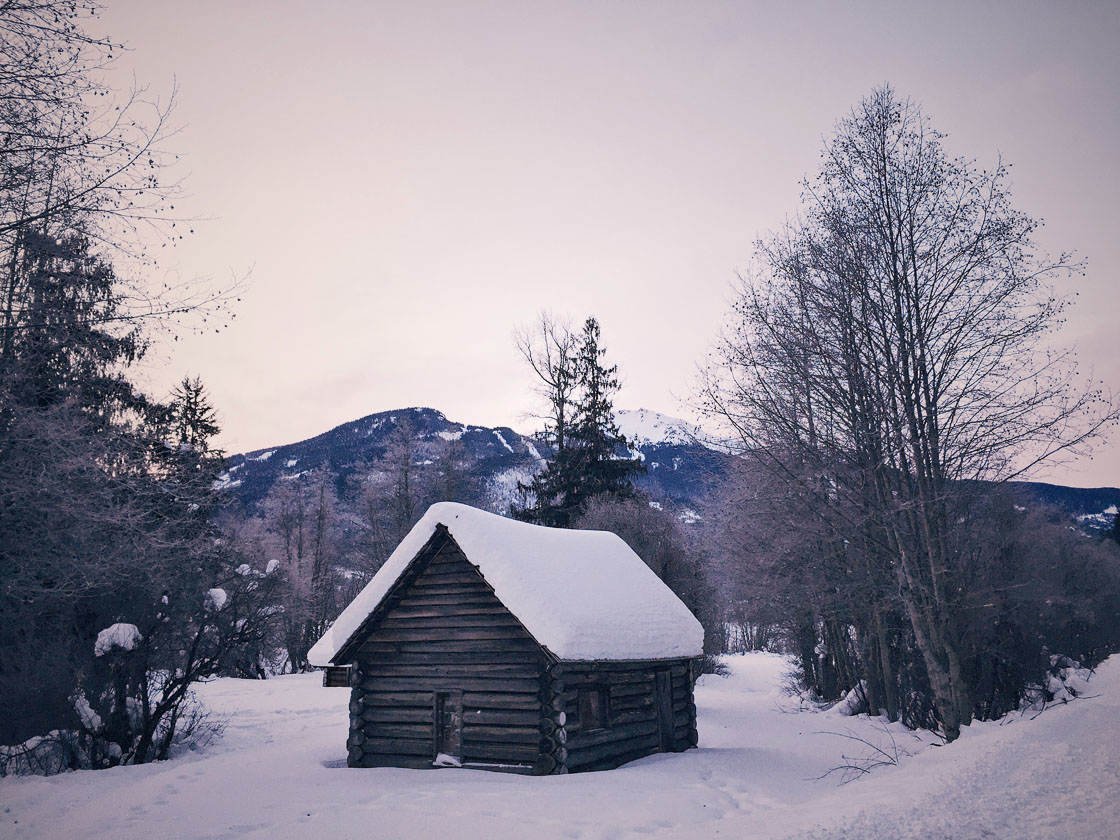
Unfortunately, it’s difficult to eliminate condensation entirely. So make it a habit to check for condensation on the lens each time you shoot. If you see small droplets of water, go ahead and wipe them away. And if you ever feel like your pictures are looking blurry, check the lens!
If you want to take stunning winter images, you should first attend to your equipment. Take proper precautions, and you’ll be shooting amazing images in no time.
2. Go Out While It’s Still Snowing For Stunning Winter Photography
When’s the best time to shoot amazing winter photos?
Go out as soon as it starts snowing.
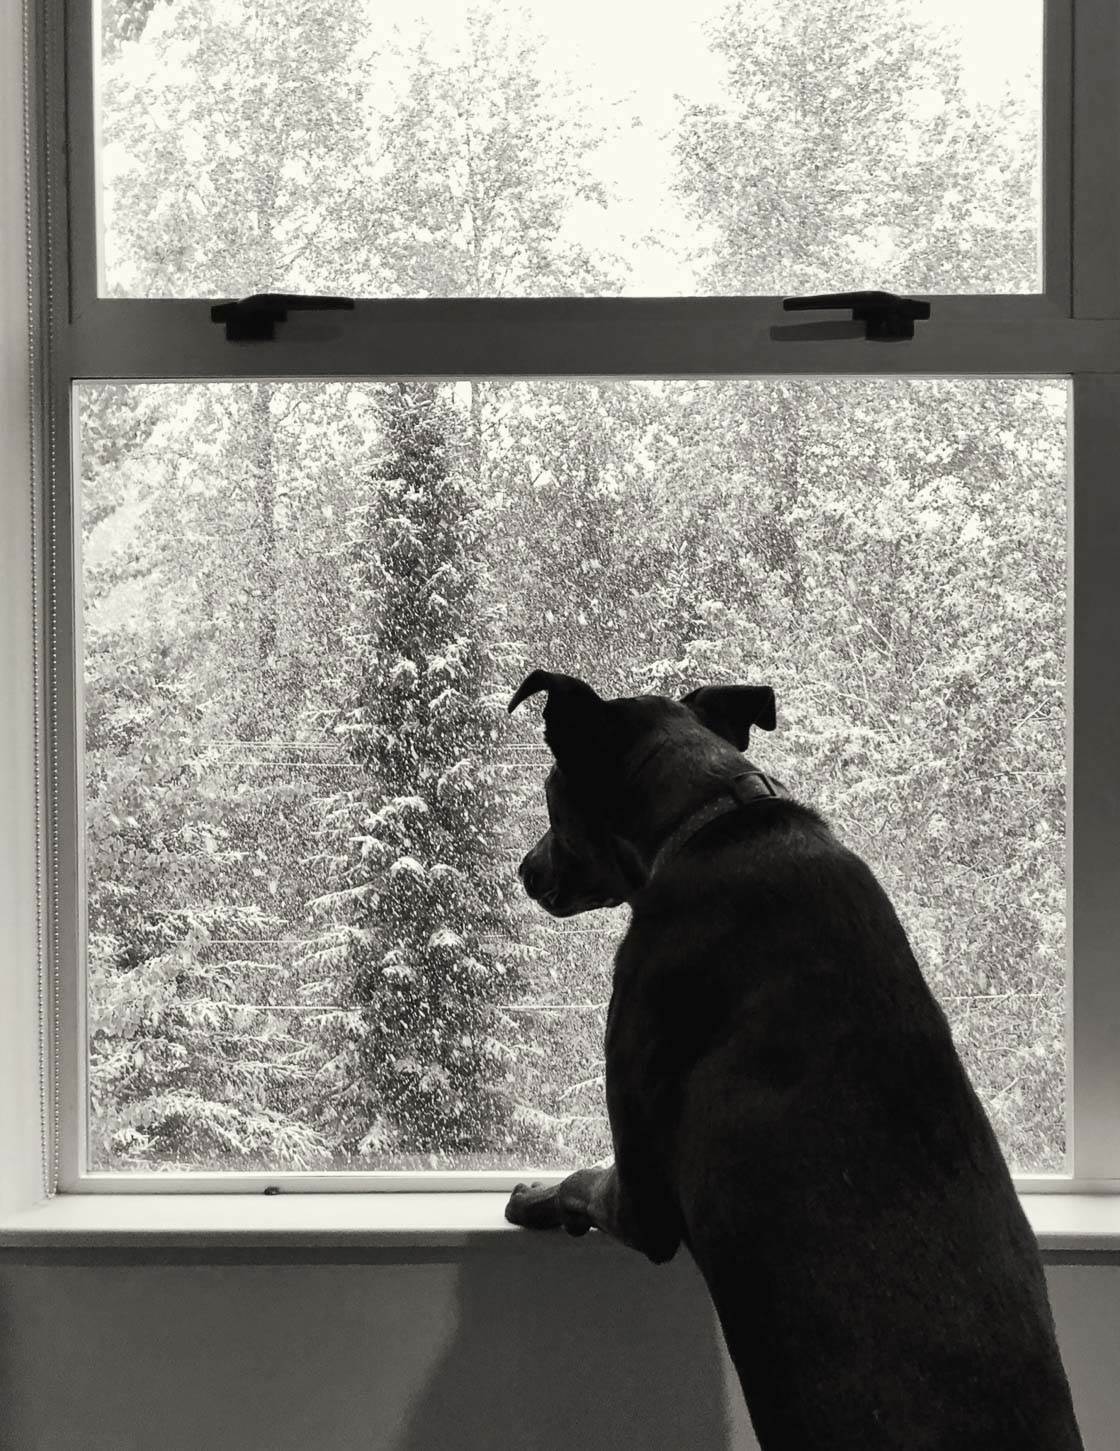
This is because a snow-covered environment is astonishingly beautiful. Everything turns pure white. Everything becomes simplified.
Plus, if you go out while it’s snowing, the snow is fresh. That means that people haven’t muddied it. They haven’t walked through it.
They haven’t disturbed the winter wonderland.
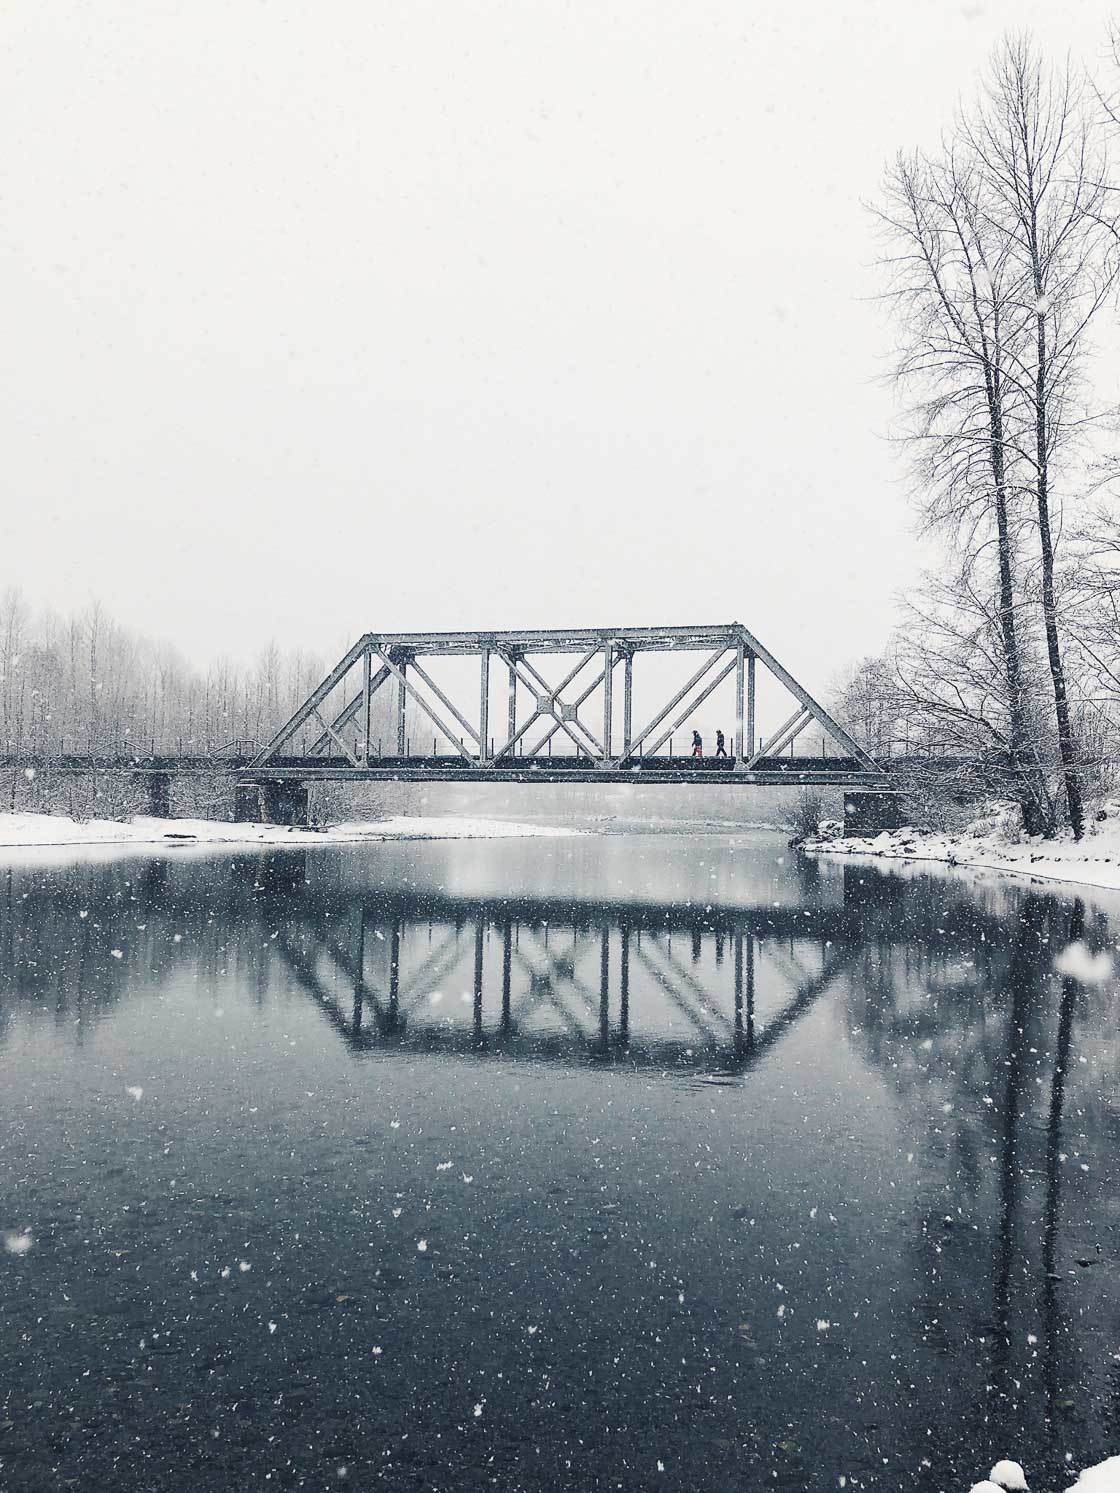
Shooting in the snow will allow you to take some incredible shots. For instance, you can photograph a field—a field with absolutely no footprints. You can photograph an undisturbed forest trail.
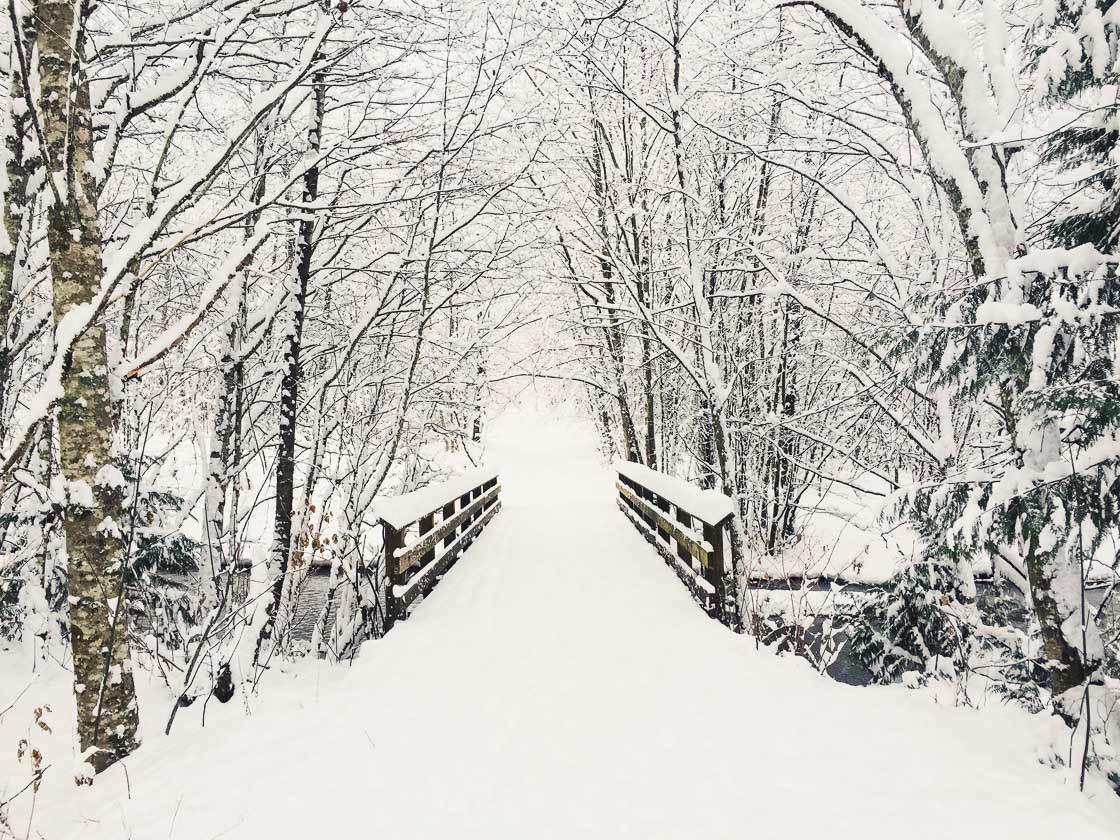
Do you want to know another reason you should photograph while it’s snowing?
Because you can photograph the snowflakes.
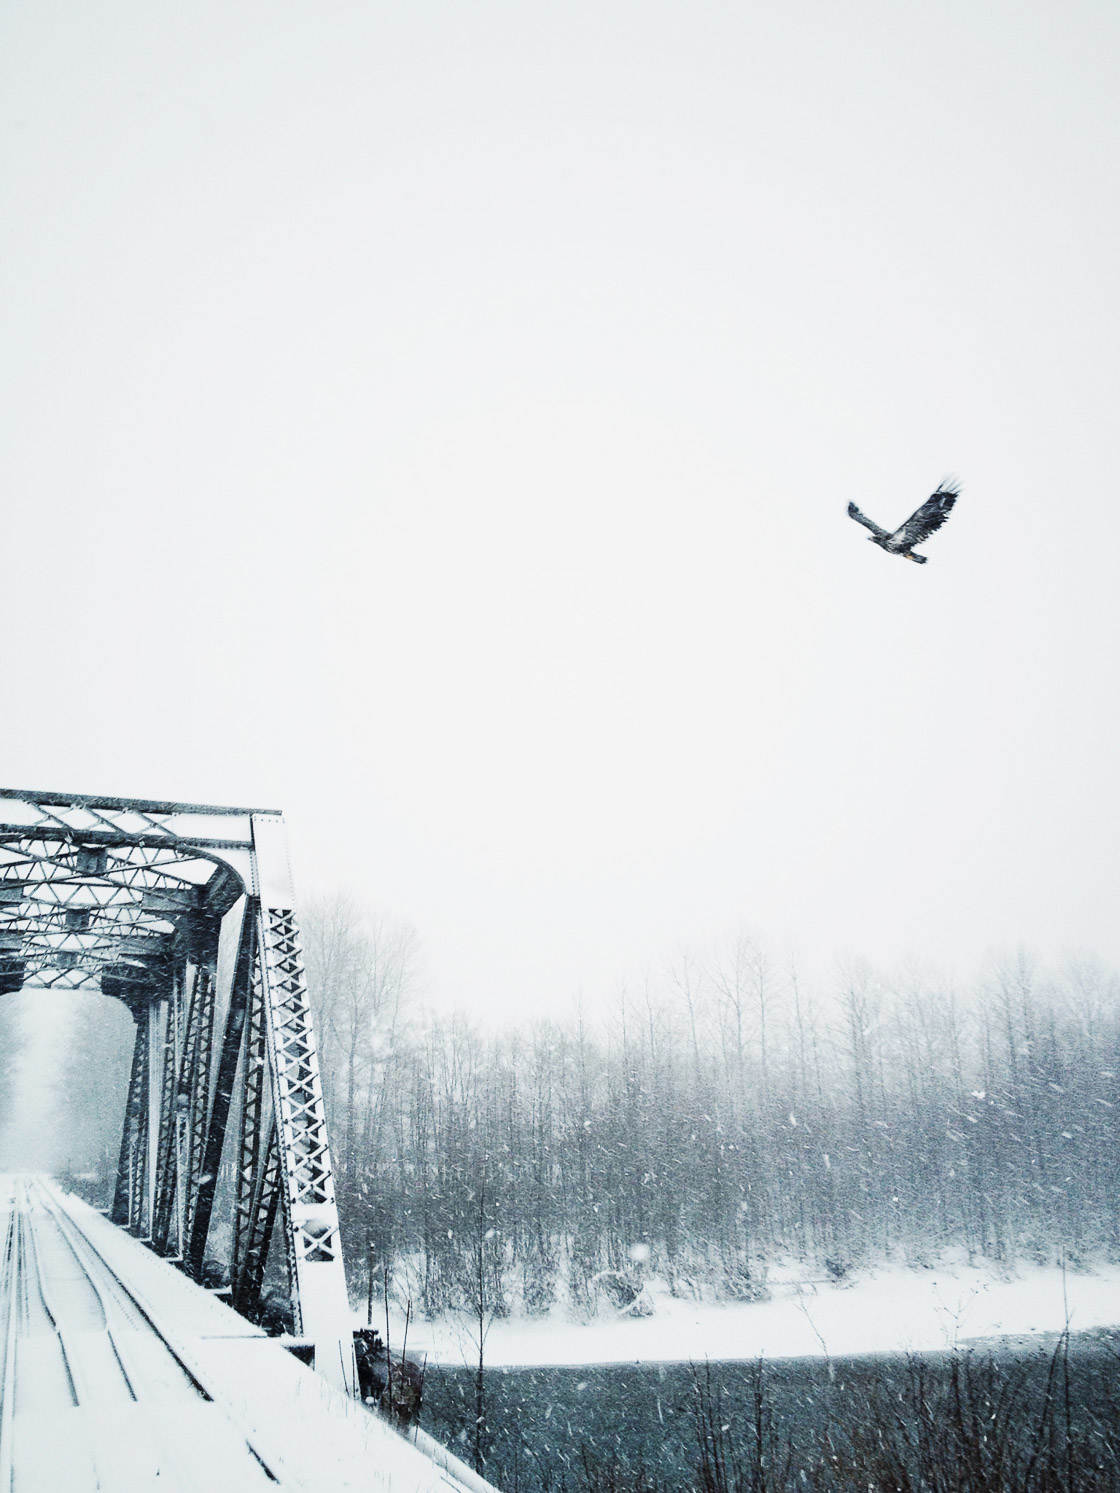
If you get out while it’s snowing, you can include snowflakes in your scene. And if you capture snowflakes falling from the sky, it makes for some magical images.
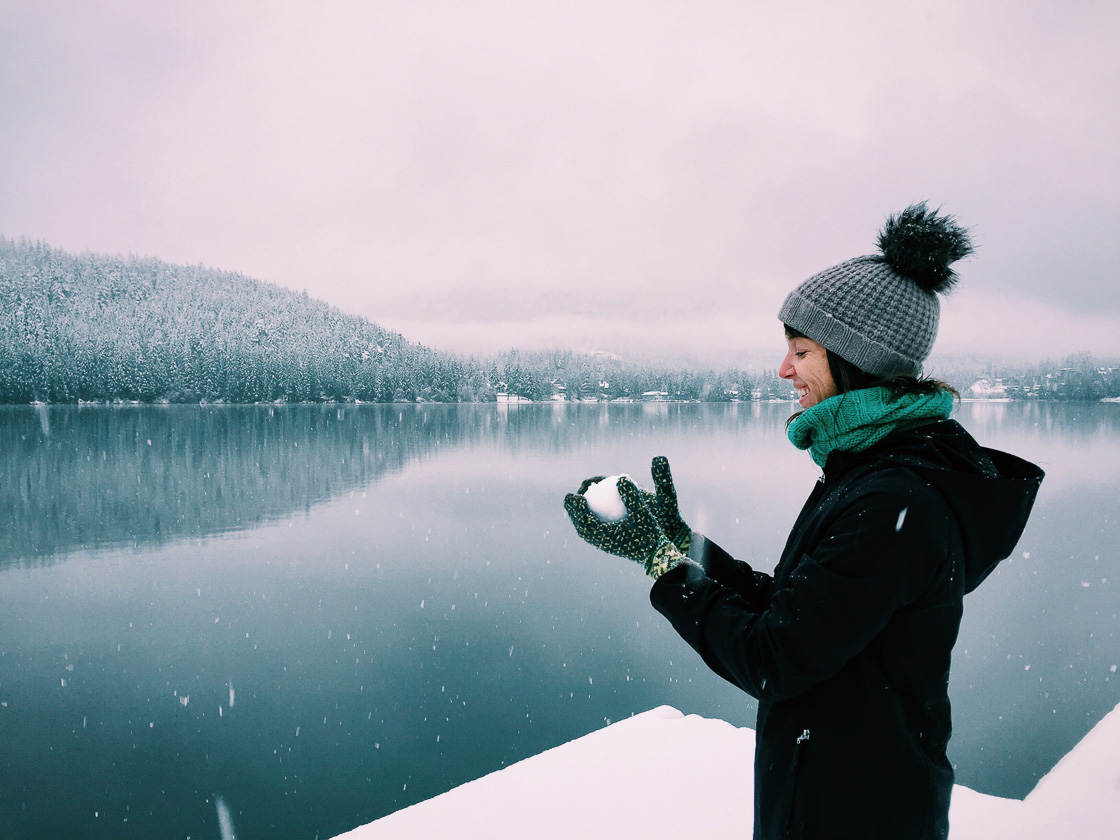
Just make sure you take lots of shots. Large snowflakes can obstruct your lens and ruin your image. So don’t stop shooting after one or two images.
To capture the image below, I took quite a few shots—because I didn’t want to come home empty-handed!
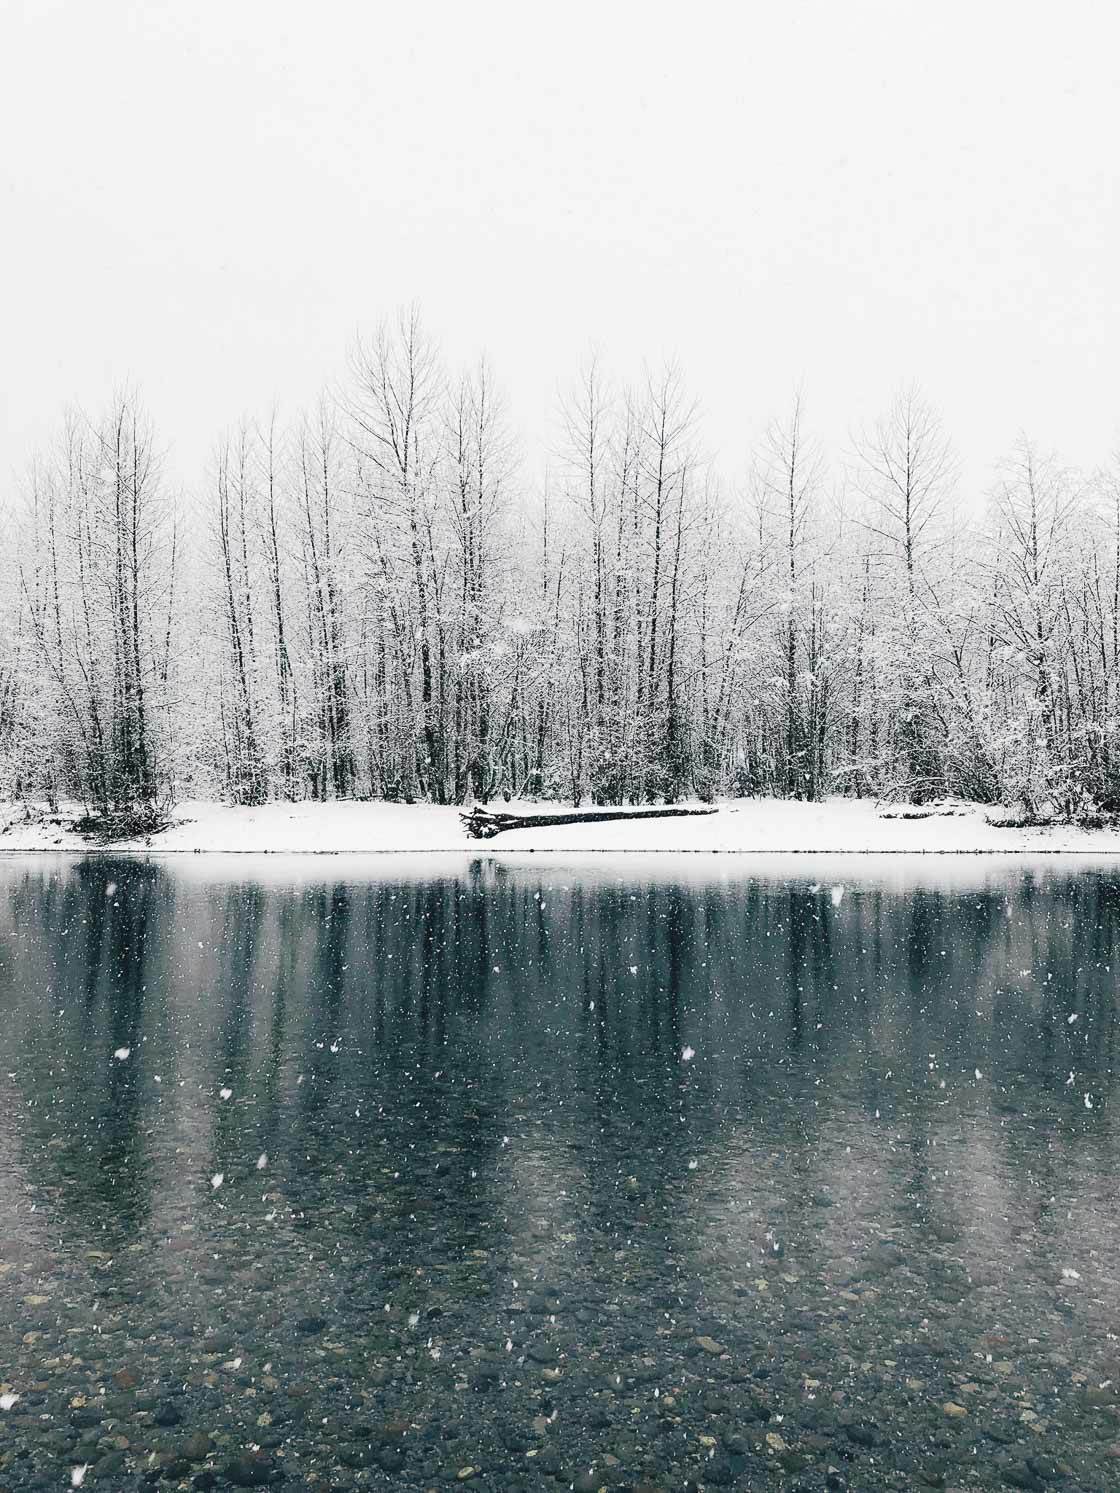
If you want to capture beautiful snowscapes, shoot while it’s still snowing. That way, you can capture a pristine, snow-covered environment.
3. Keep Shooting With The Sun Out For Brilliant Winter Photos
It pays to shoot while the snow is still falling.
But it also pays to shoot when the sun comes out.
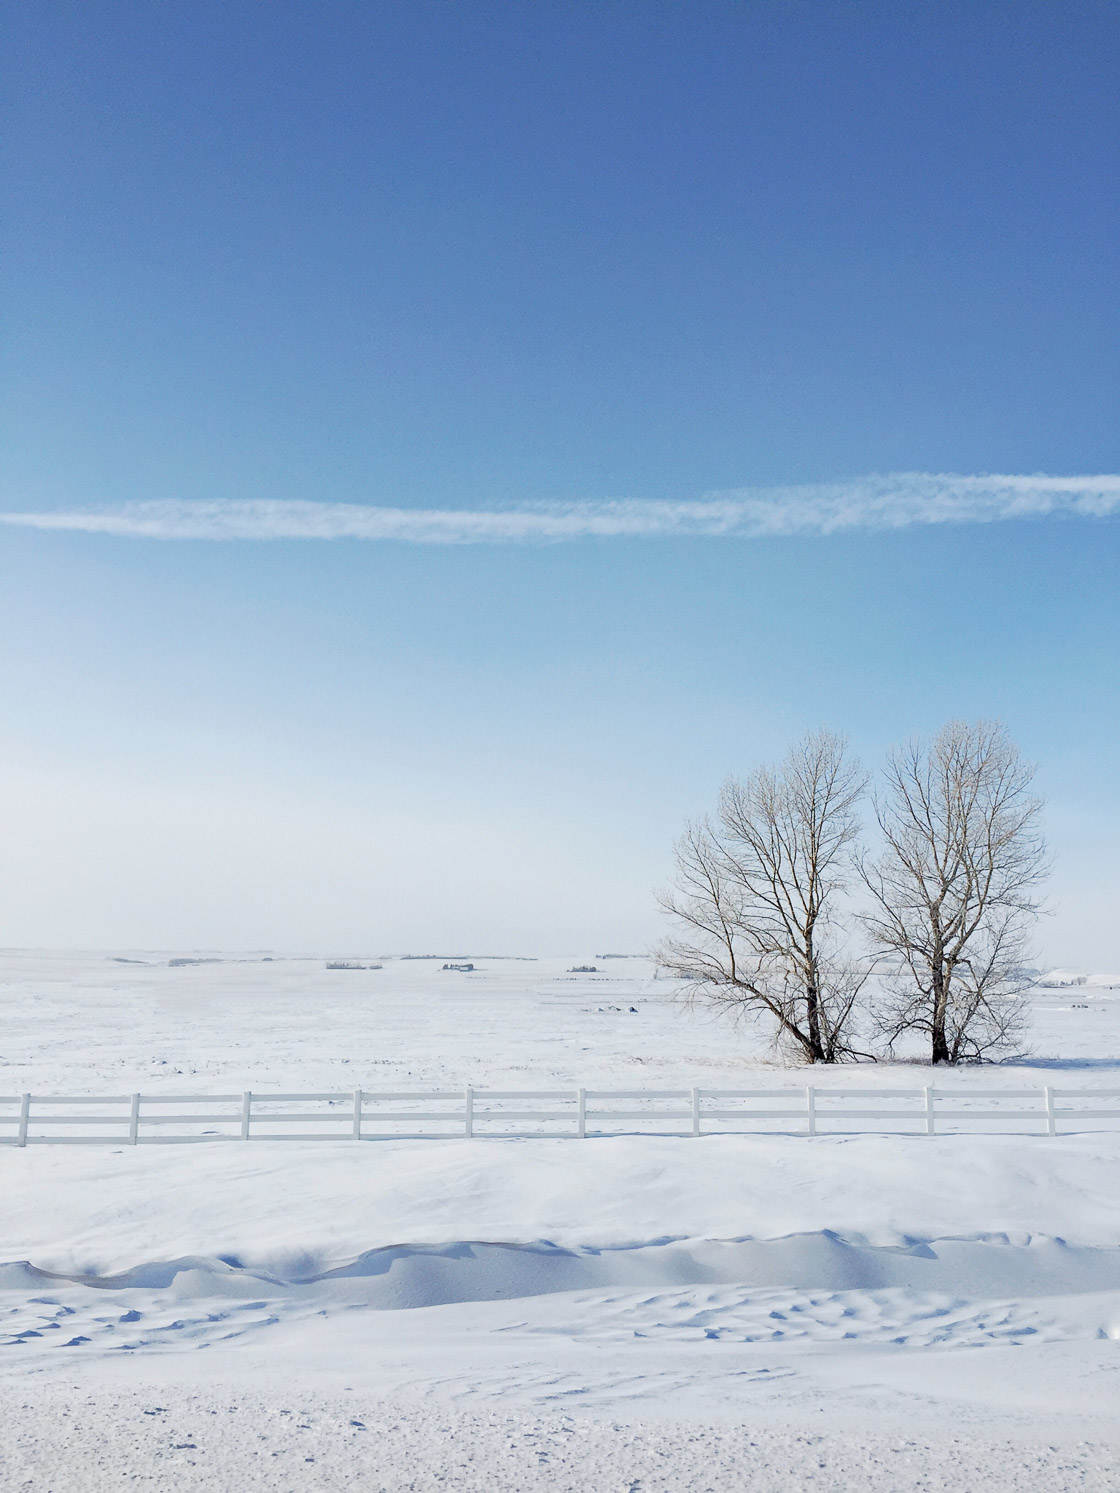
Why is this?
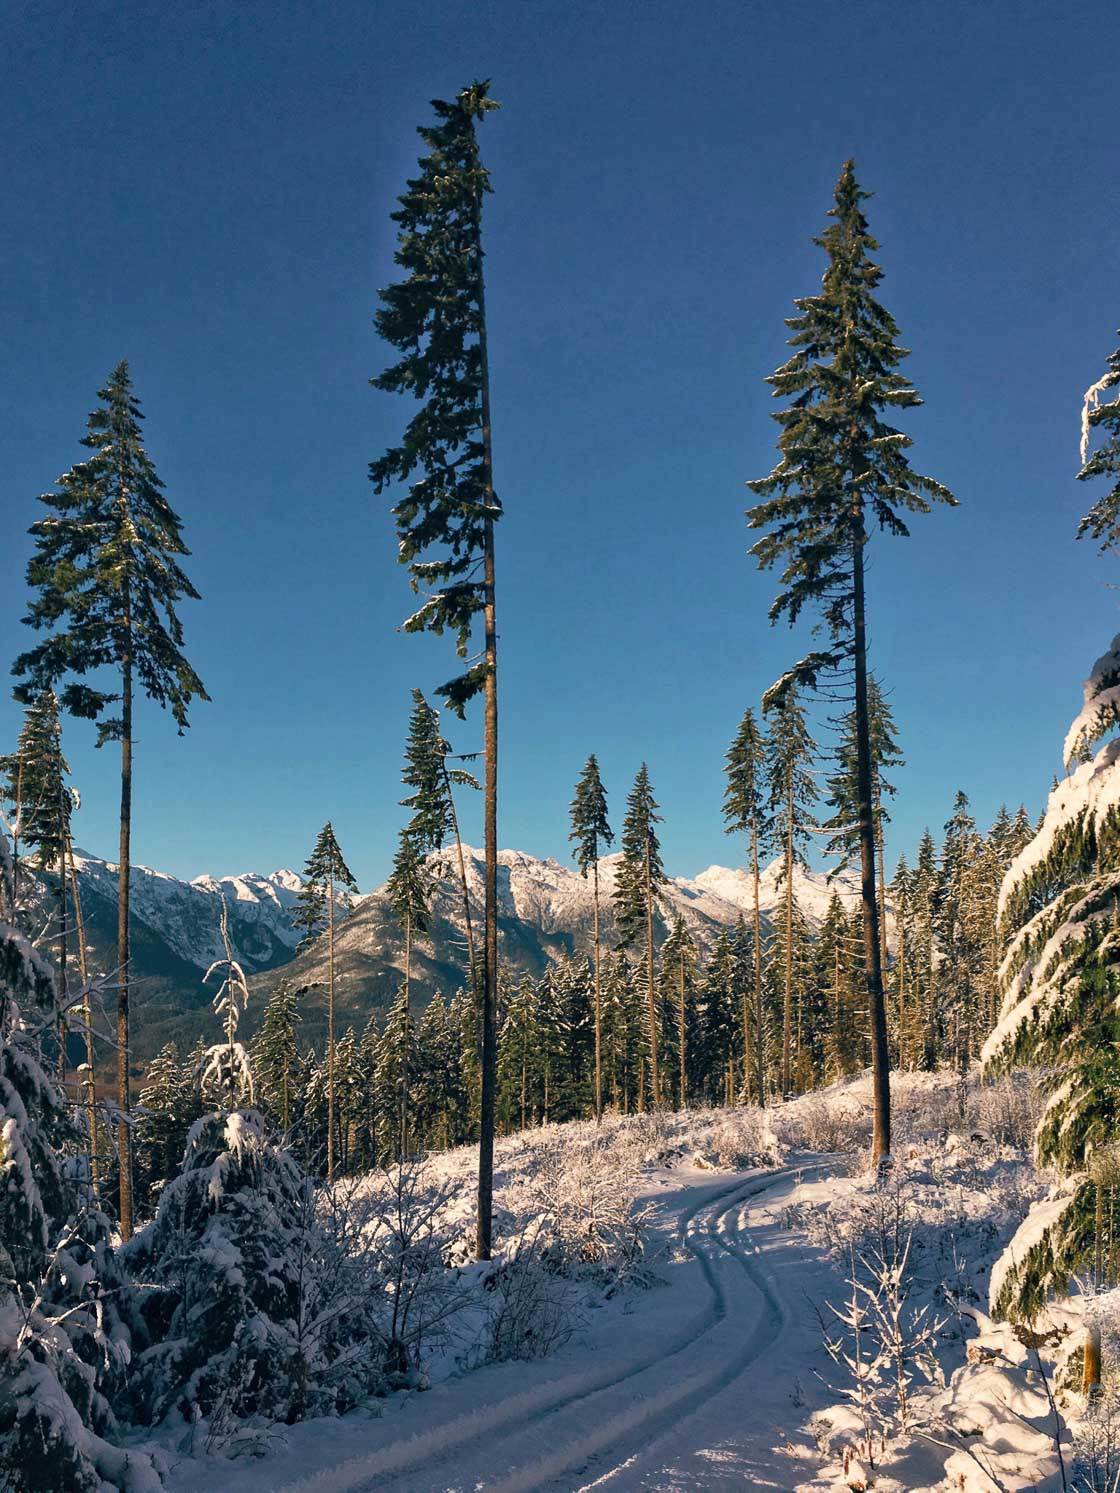
When the sun comes out, the sky is often a bright blue. And this bright blue makes for a beautiful photograph. It contrasts with the white of the snow. It creates a photo that really pops.
Here’s a tip: If you live in the Northern Hemisphere, point your camera due north. In the winter, the northern sky is a beautiful deep blue. This makes for even more impressive images.
And here’s another tip: When the sun is shining on the snow, try to take some backlit images.
What does this mean?
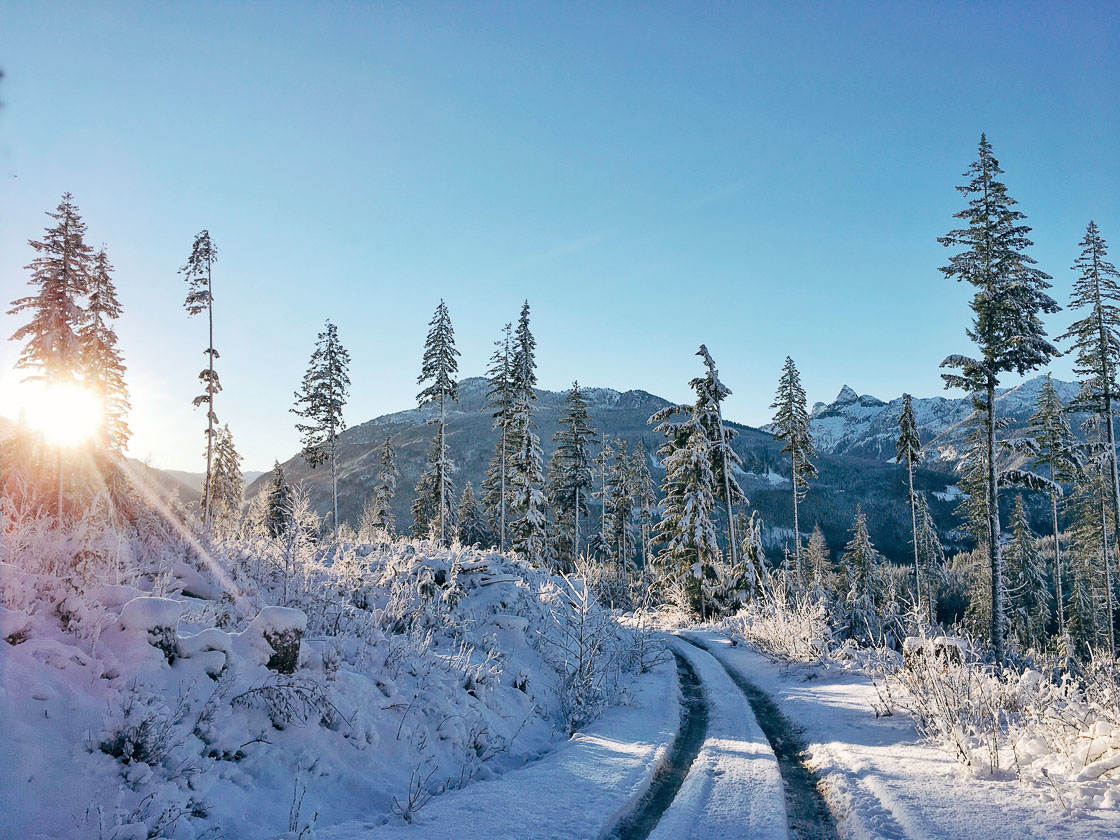
A backlit image is lit from behind. So when the sun is low in the sky, position yourself so that you’re facing the sun. Then you can shoot.
The image below was backlit. Notice how the sun was directly in front of me as I took the shot.
Why should you take backlit shots?
First, white snow reflects the light. So the snow on the ground acts as a giant reflector. This adds some punch to backlit images. Your subject will be lit from both behind and in front!
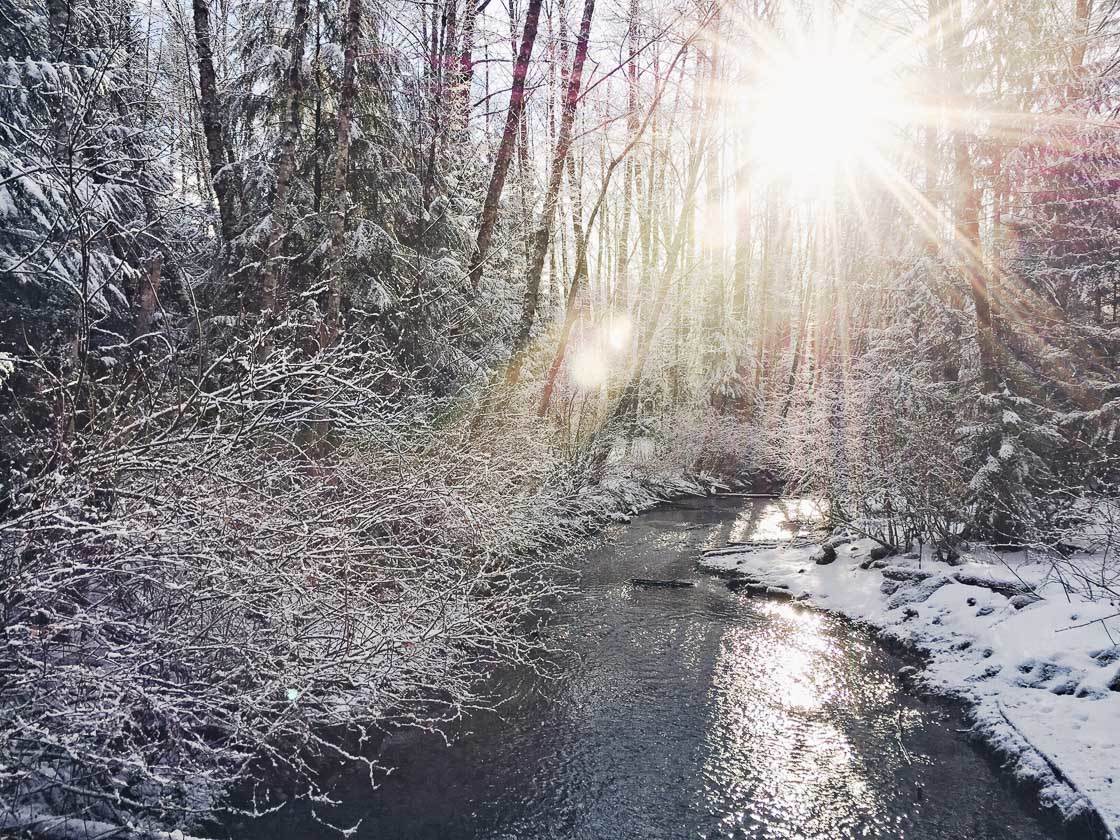
Second, backlit snow creates a beautiful effect. Specifically, the shining sun reflects off the ice crystals—and this results in some stunning backgrounds.
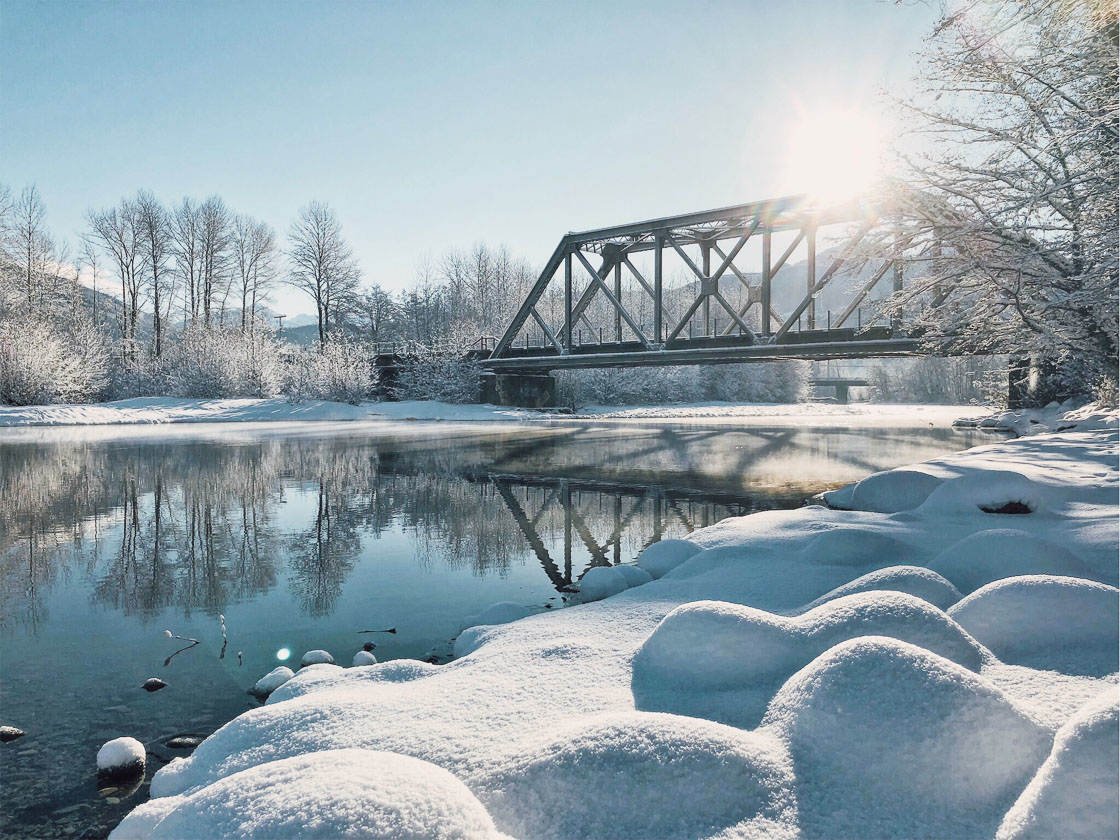
So next time you have sun after a snowfall, get outside! You’ll be thrilled by what awaits.
4. Increase The Exposure To Get Perfect Detail In Your Winter Photos
Do you want to create beautifully exposed winter images? That is, do you want images that have perfect amounts of detail?
If so, then you need to expose carefully.
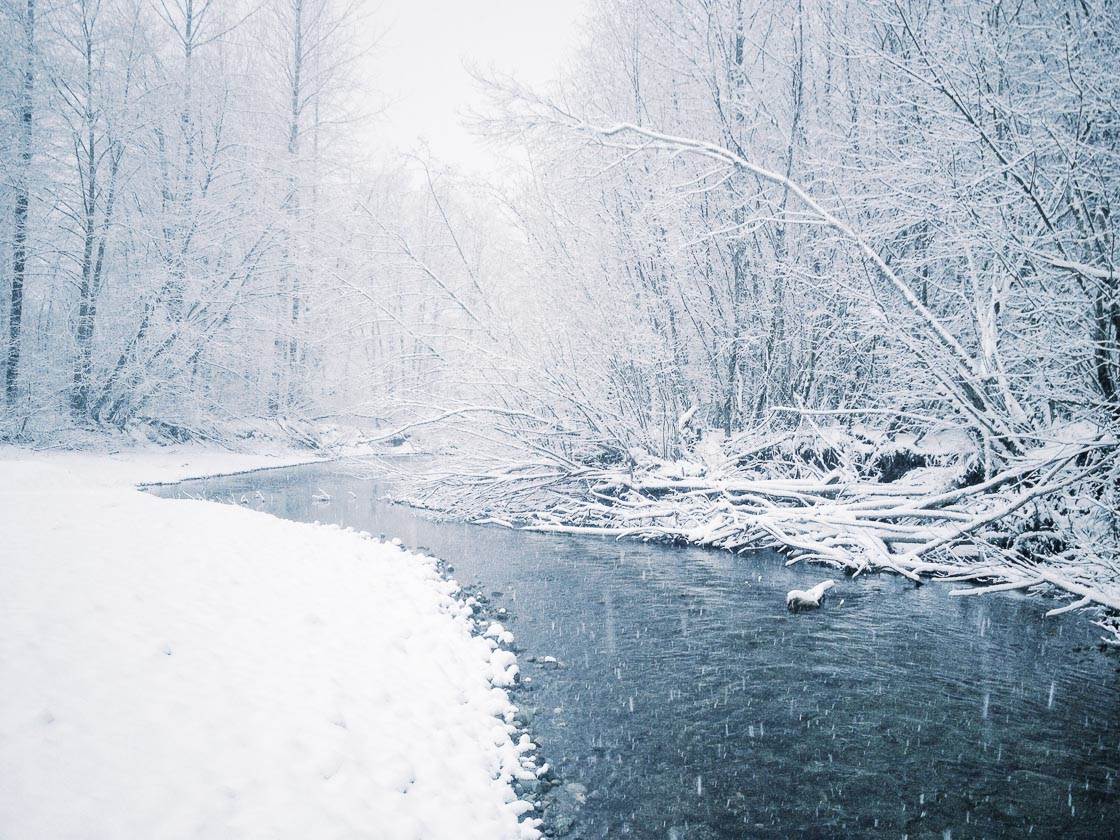
Exposure is the level of brightness in a scene. And—generally speaking—the best exposure is the one that leaves the most detail in the photo.
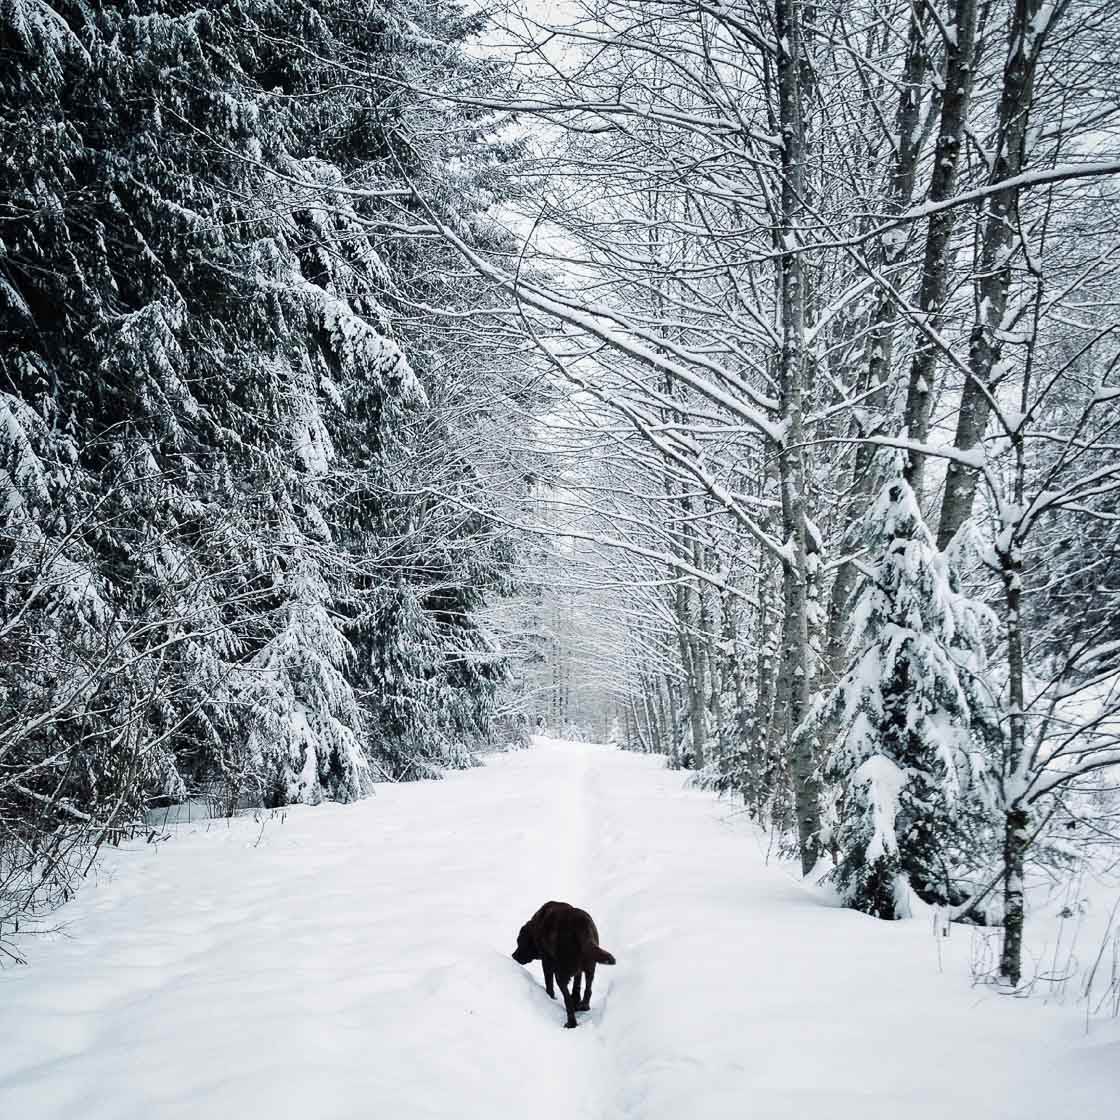
Notice how the photo above has a lot of detail in both the snow (the whites) and the dog (the blacks).
On the other hand, an exposure that is too bright results in no detail in the bright parts (right, below). An exposure that is too dark results in no detail in the shadows (left, below).
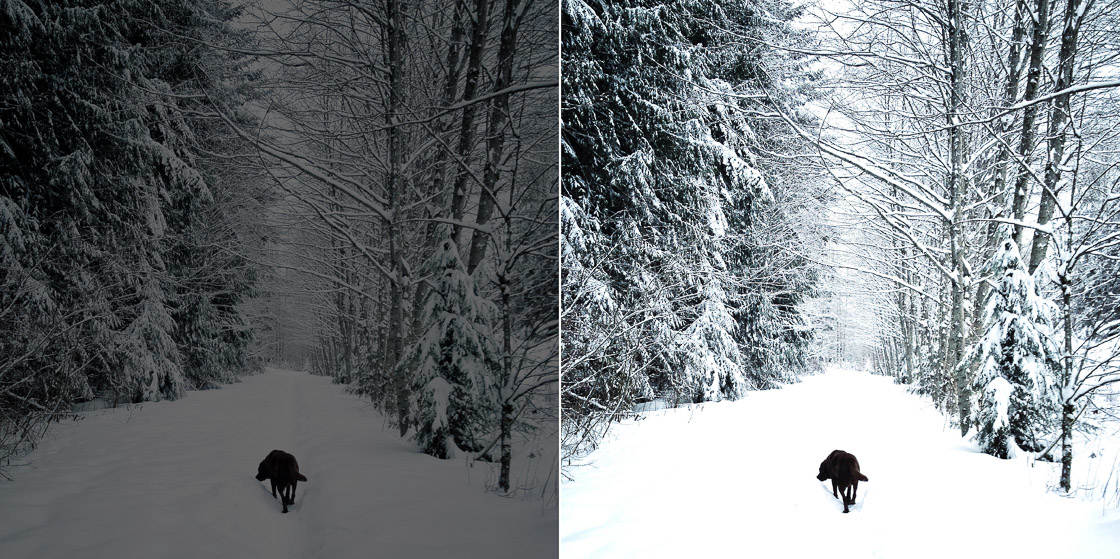
This is what you want to avoid.
When you’re photographing snow, your iPhone detects the bright white environment. It exposes for the whiteness—but, in order to compensate for such an extreme color, it darkens the image.
In other words, when you photograph snow, your iPhone makes the snow too dark.
What does this mean?
It means that you have to brighten your winter photos.
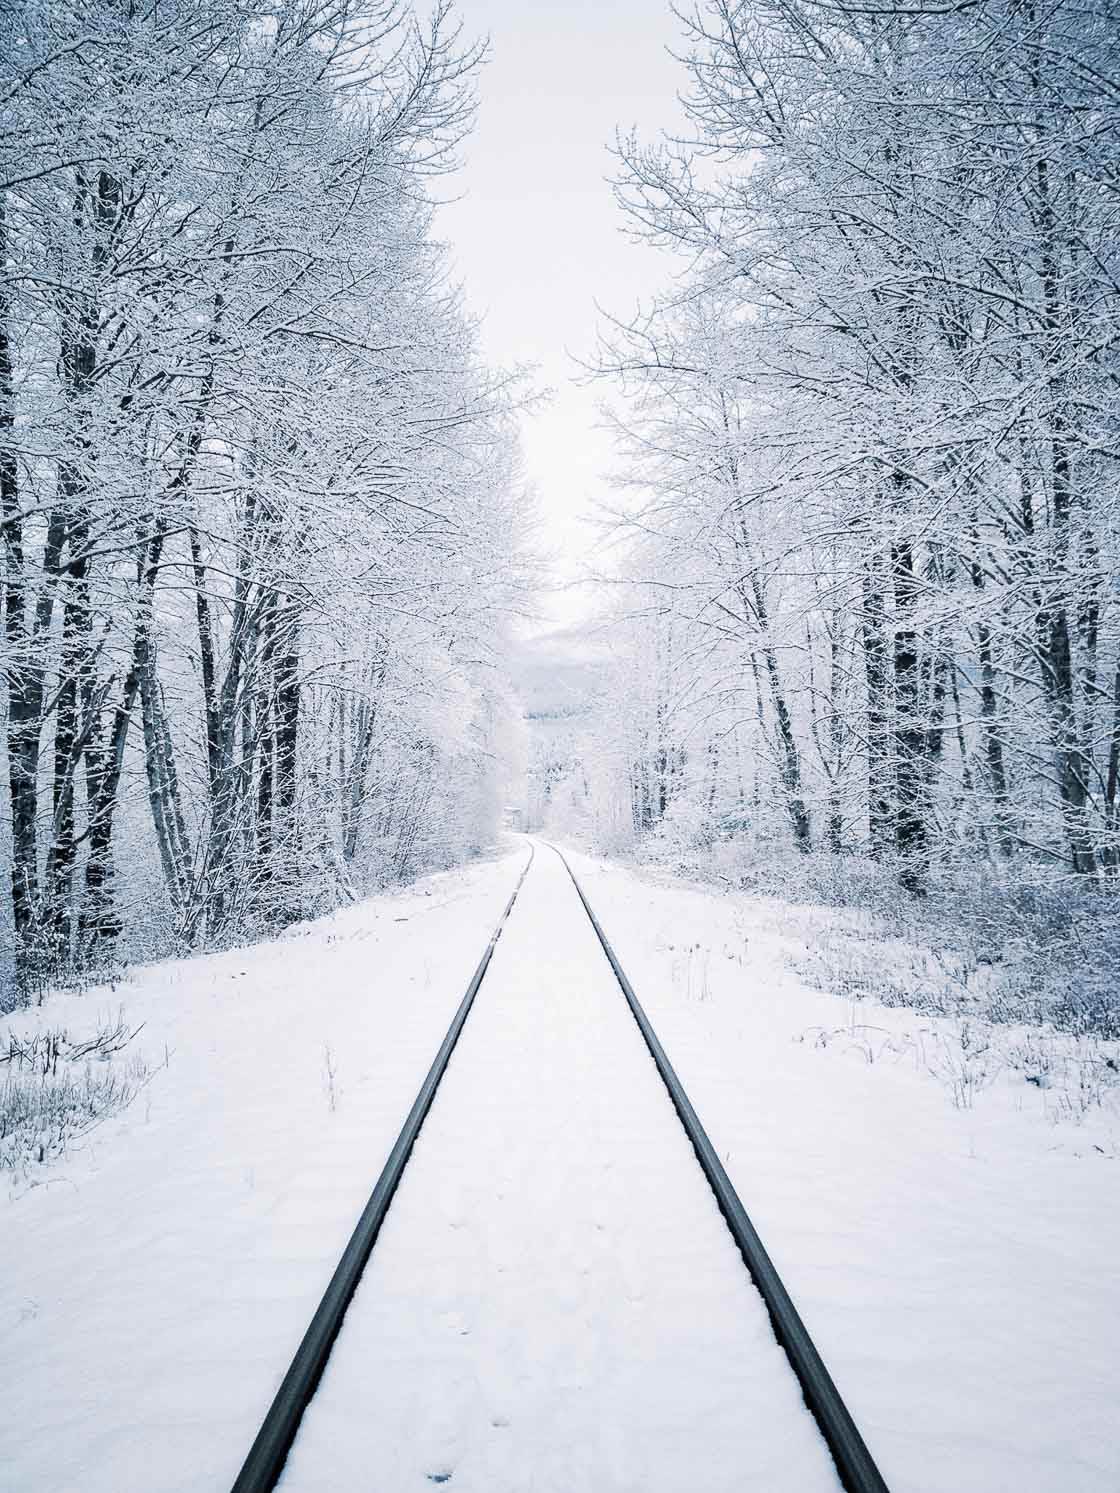
And, ideally, you do this with manual exposure.
Here’s how it works:
Turn on your camera to take a photo of snow. Look at the screen. Does everything look a bit too dark?
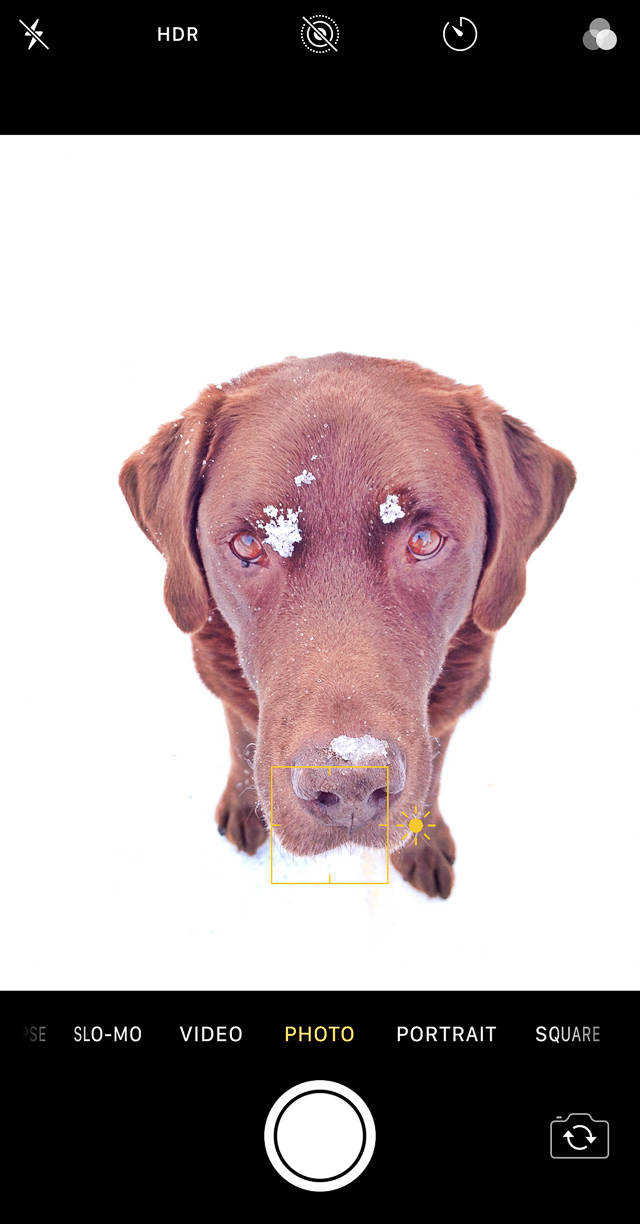
If so, tap on the screen. You’ll see a yellow square appear where you tapped (as shown in the photo below). Swipe your finger up.
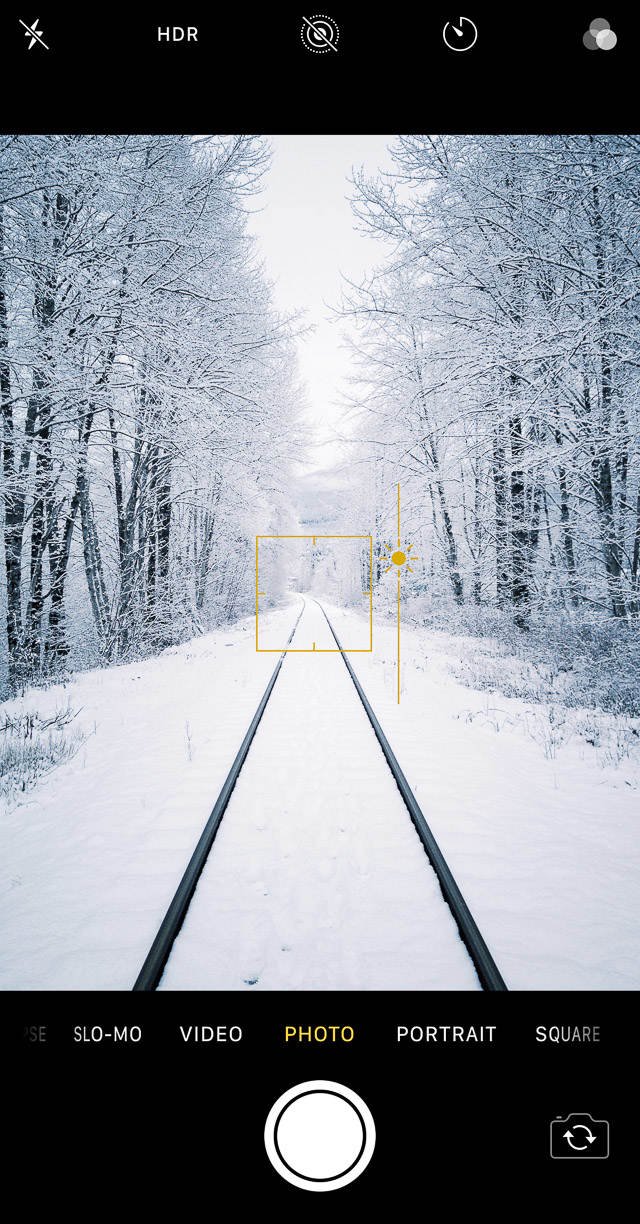
When you do this, the scene will brighten! This is because you’re manually exposing for the scene.
Then take your shot.
Of course, you should always check the iPhone screen before shooting. Make sure that you’ve exposed in a way that you’re happy about.
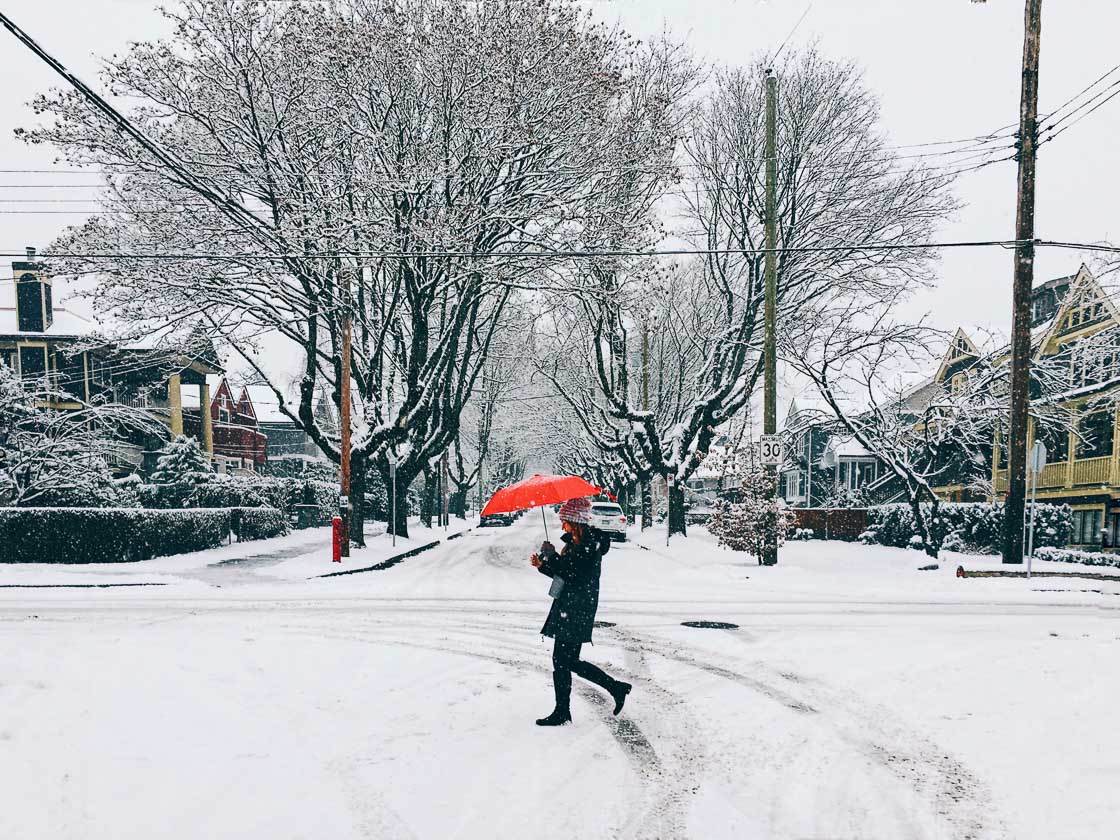
And be careful—you don’t want to brighten up the scene too much. Otherwise, you’ll lose detail in the whites of the scene (i.e., the snow and the sky).
If you expose properly, your winter images are guaranteed to have more detail.
5. Find Winter Trees For Charismatic Subjects
We’ve talked about the best light for shooting winter scenes. But what are the best subjects for winter photography?
What should you try to photograph?
One amazing photography subject is winter trees.
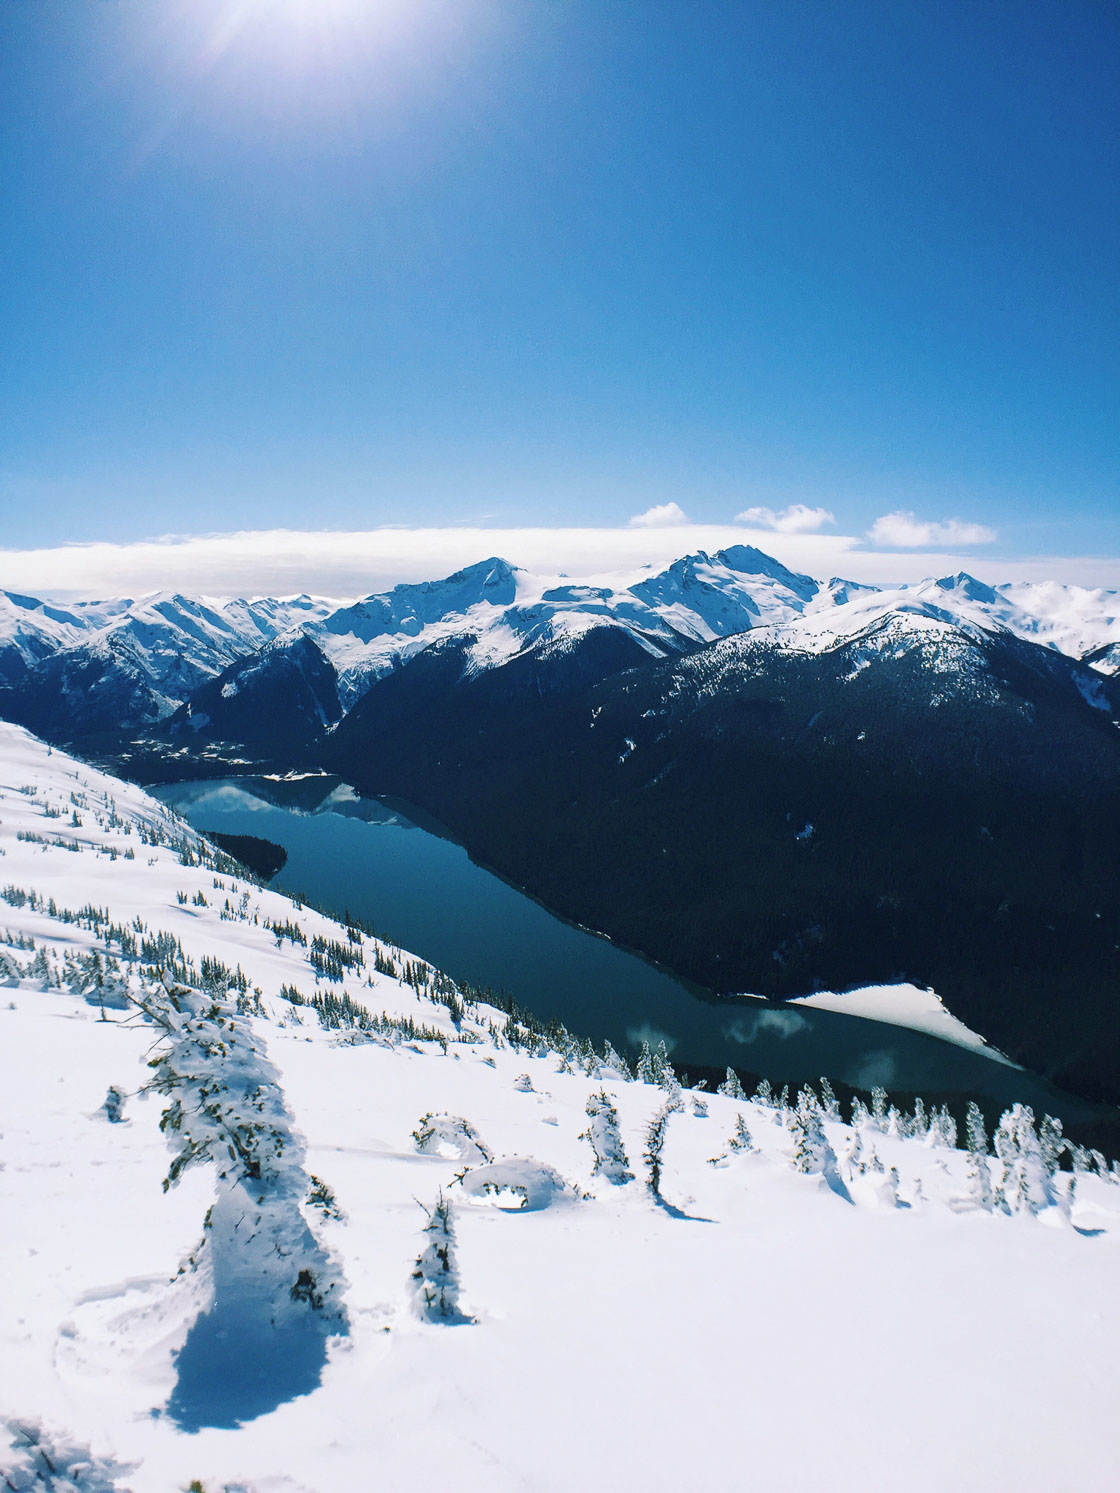
Trees in winter are beautiful and elegant. They make for powerful, artistic images.
Because nothing captures the essence of winter like a snow-covered tree.
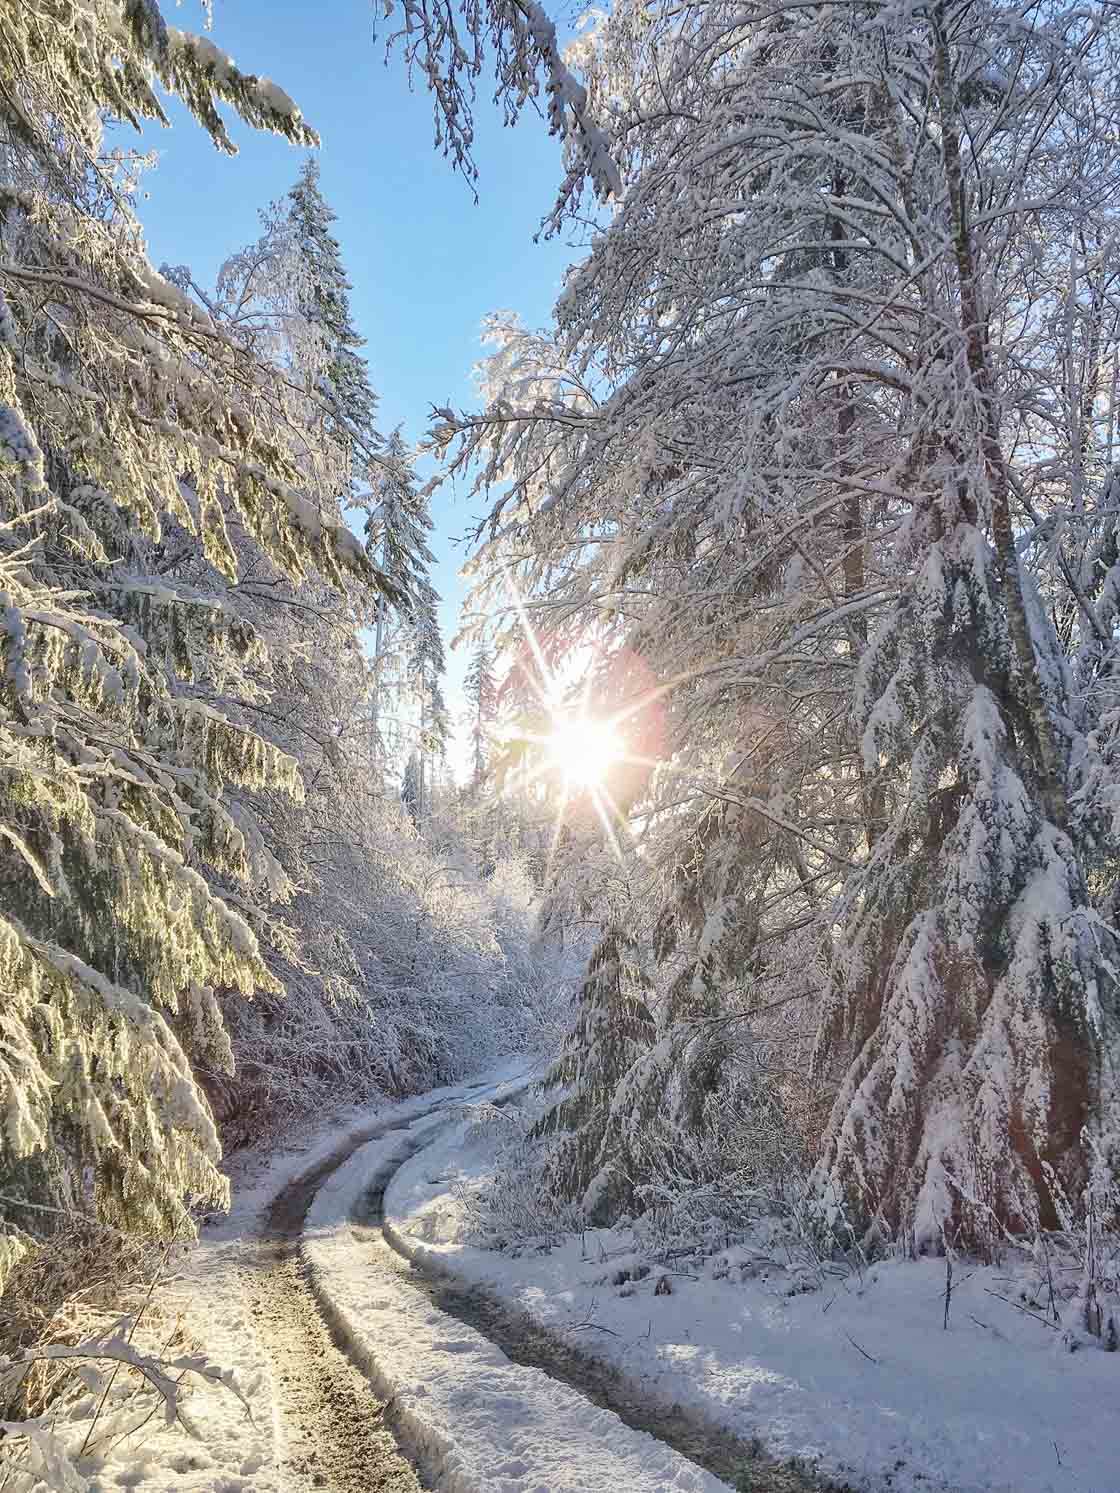
In fact, when trees get covered in snow, they become something special—they become “snow ghosts.” They can be seen—barely.
Look at the trees in the photo below. They’re covered in snow. And they have a beautiful, sculptural feel to them.
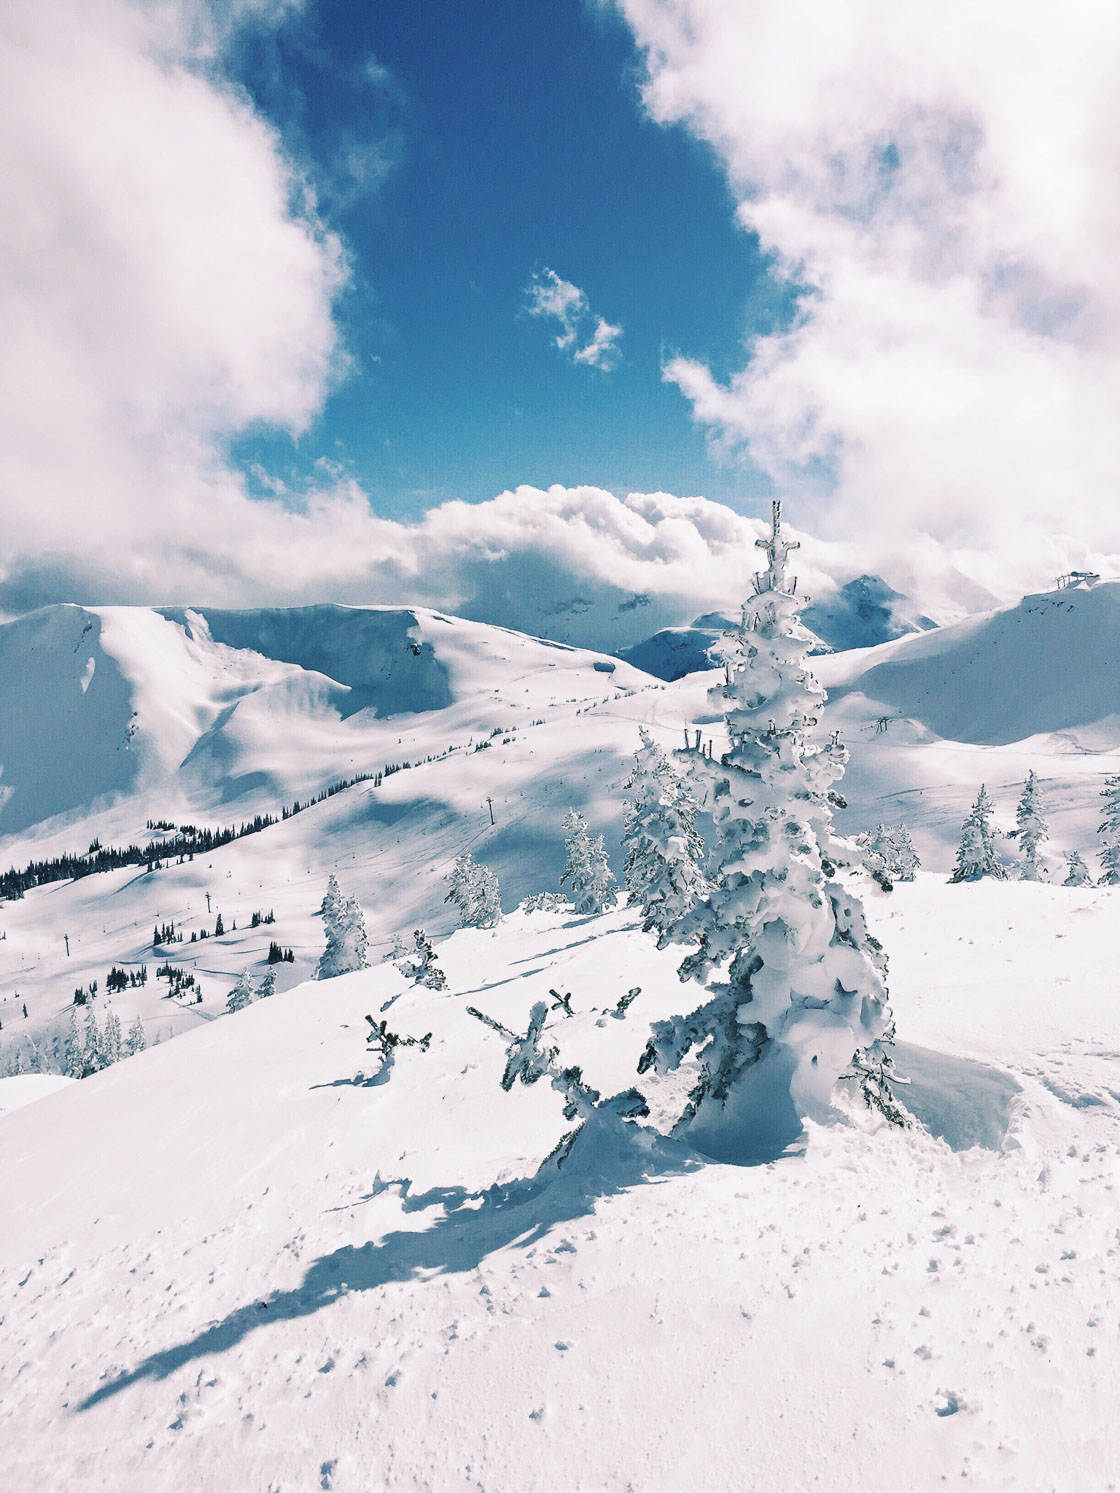
Let me emphasize: When trees lose their leaves, they’re often boring.
They’re boring…until the snow starts to fall. That’s when the trees become special.
Look at the trees in the photo below. The snow has made them into beautiful sculptural subjects!
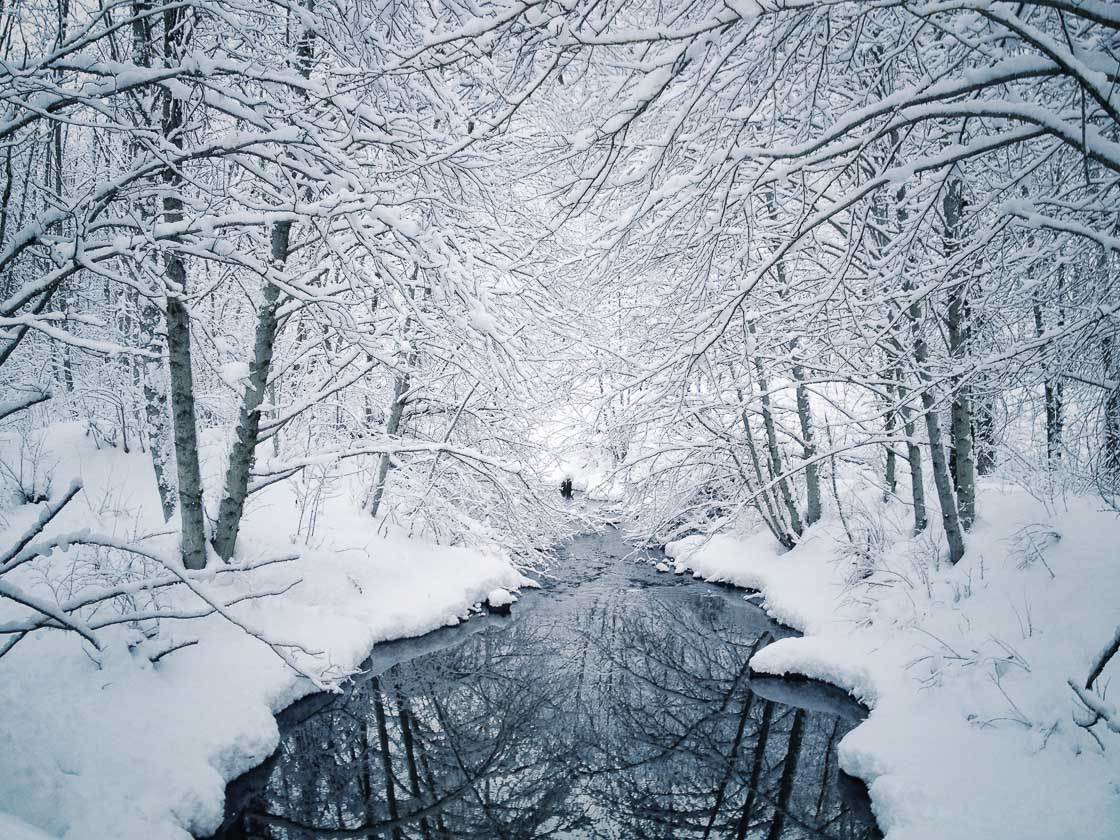
And evergreen trees are great subjects, too. They contrast beautifully with the snow. They’re green. And they pop off a white background.
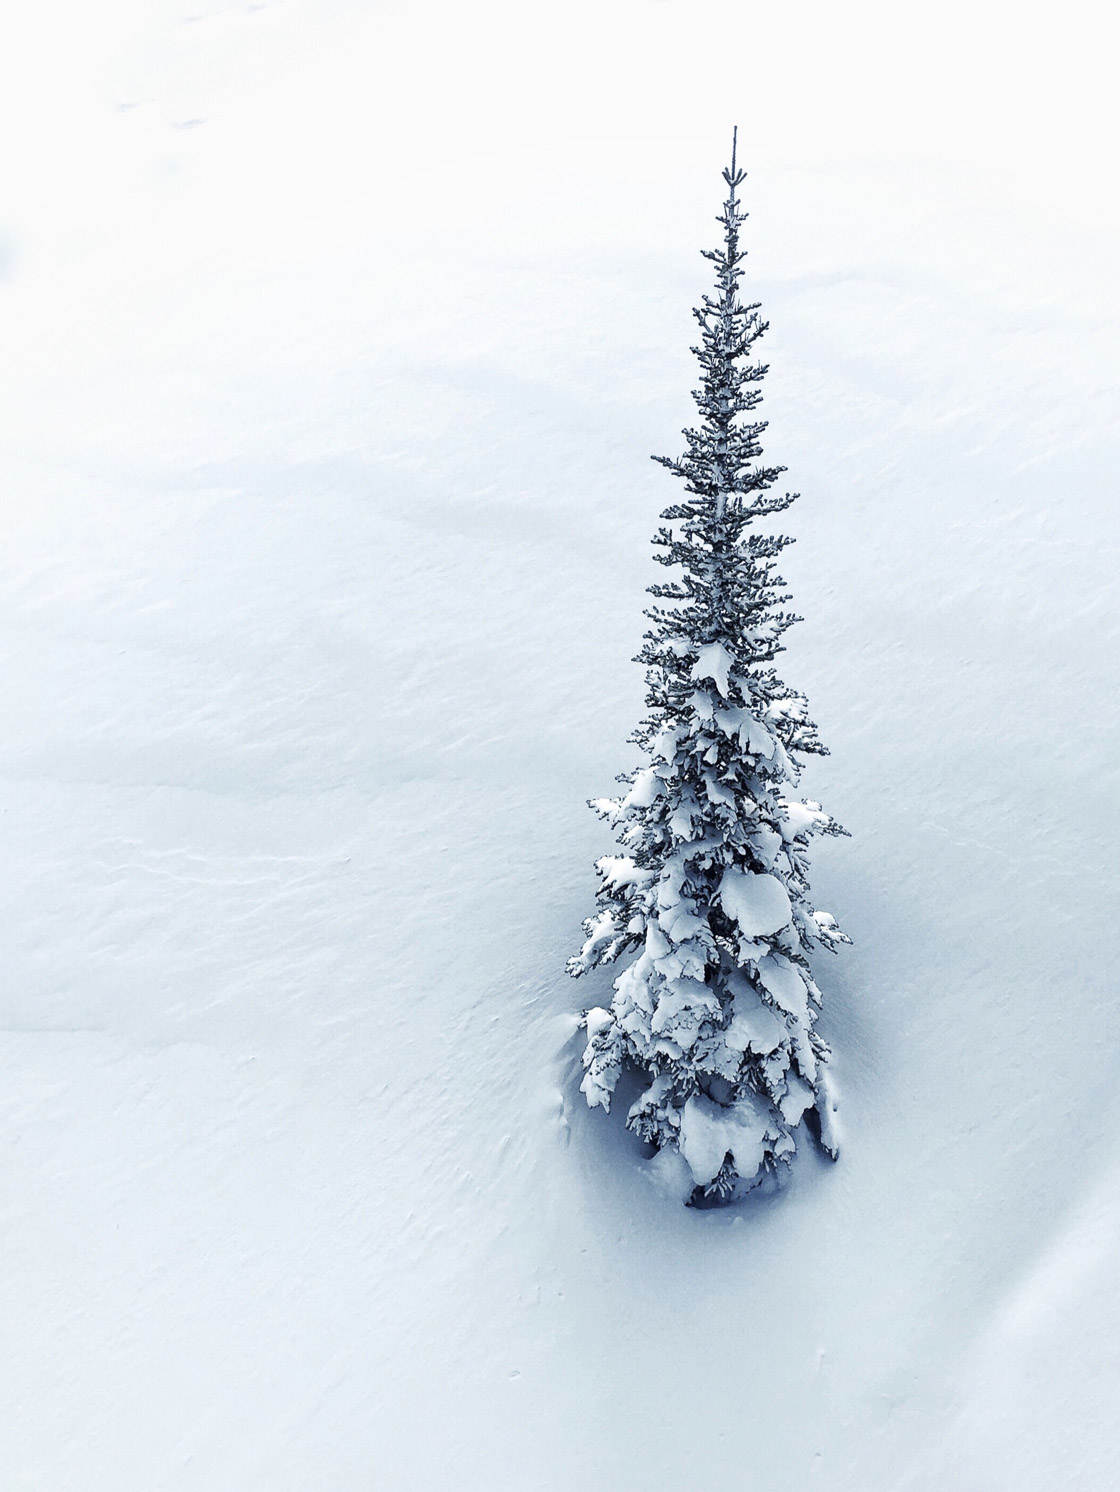
That makes for some amazing images.
Photograph trees in winter.
You won’t regret it.
6. Use Minimalistic Compositions For Peaceful Winter Pictures
Do you want to create beautiful winter compositions?
Then use minimalism.
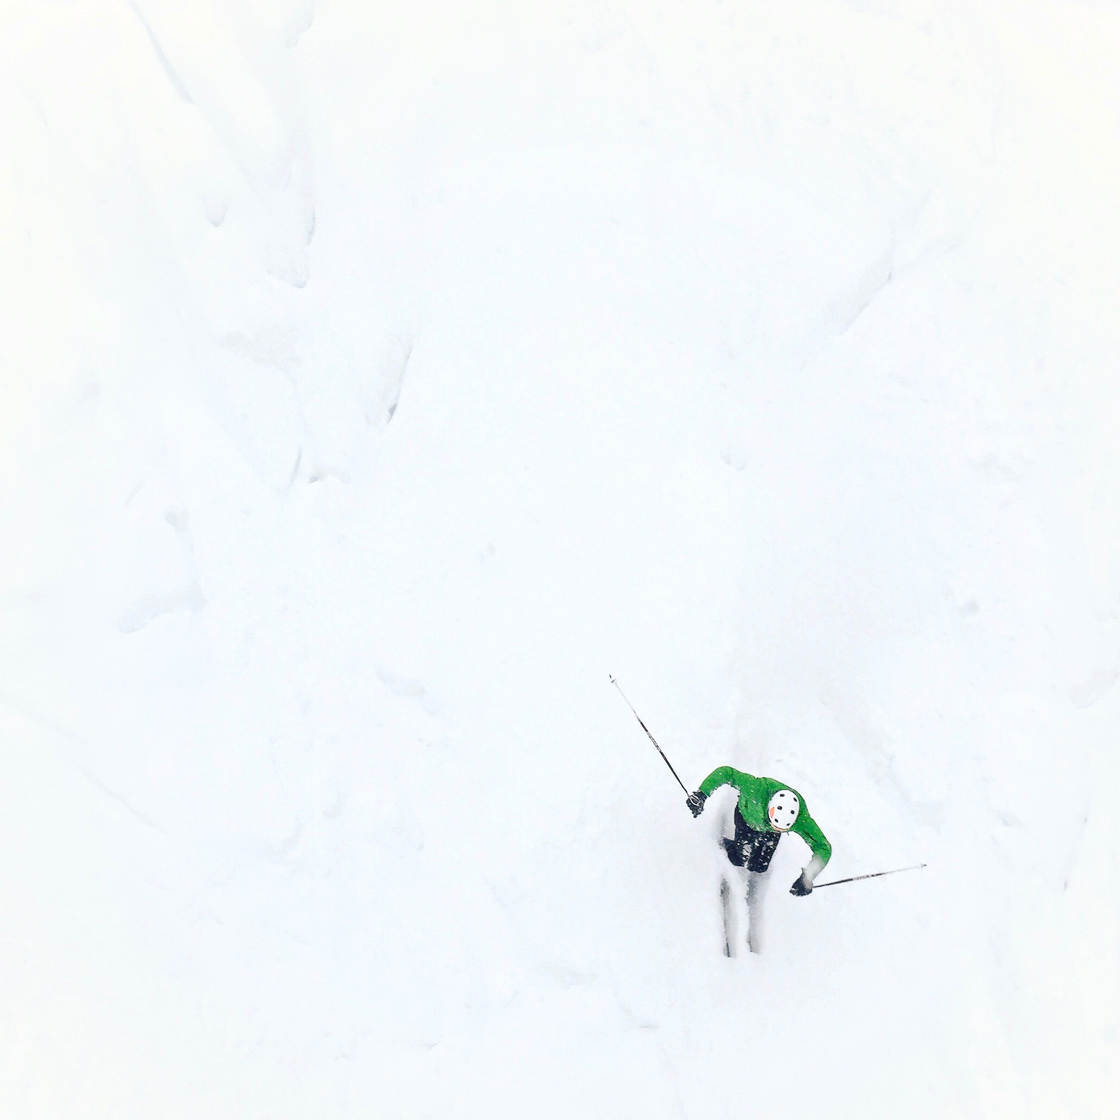
You might be wondering: What, precisely, is minimalism?
Minimalism is a photographic style. In essence, minimalism requires that you include very few elements in your scene. In a minimalistic photo, most of the scene should be empty.
Winter scenes lend themselves to minimalism. The snow simplifies things. It takes away complexity. There are fewer elements in snow-covered scenes.
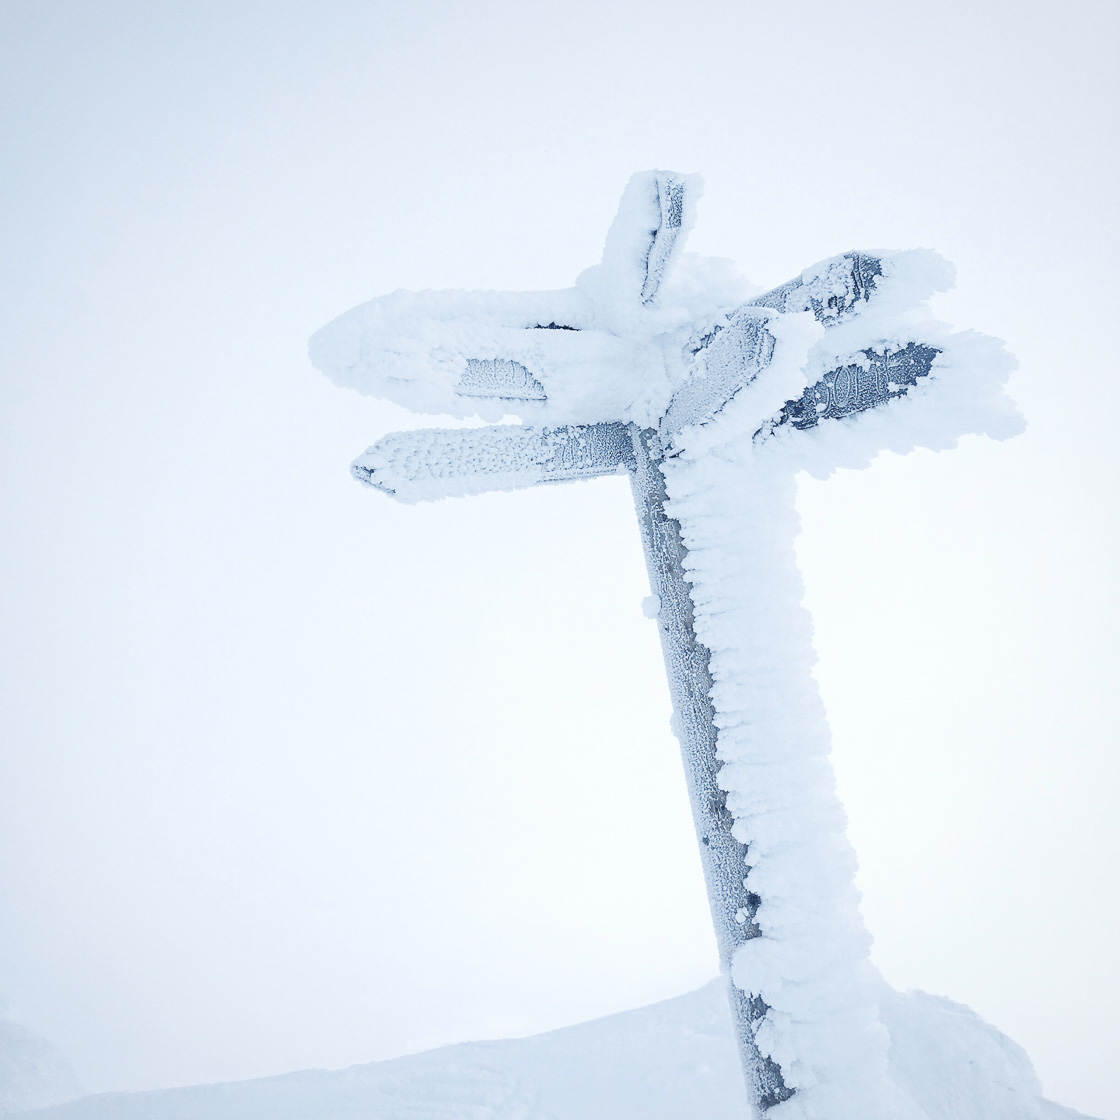
So when you go out to shoot, look around you. See the simplicity.
You’ll see snow-encrusted trees.
You’ll see a pure blanket of snow.
And you’ll see a world that is clean and pristine. You’ll see a world that is minimalistic.
But how do you do the best minimalistic winter photography?
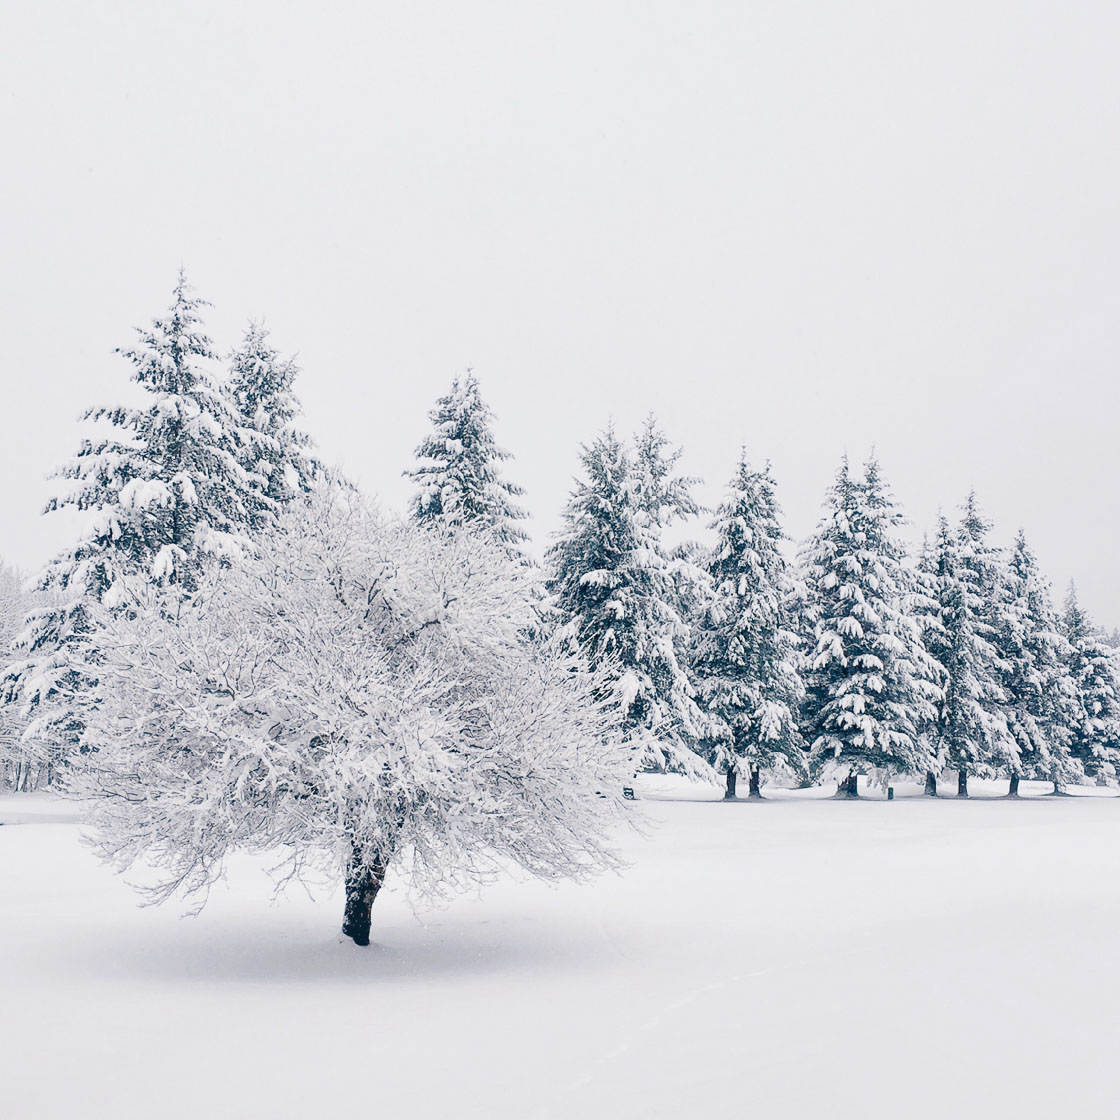
Look for elements that you can isolate. For instance, you can often find single trees in winter. Try to make them the only object in your photo. Move closer until the tree is alone in the frame.
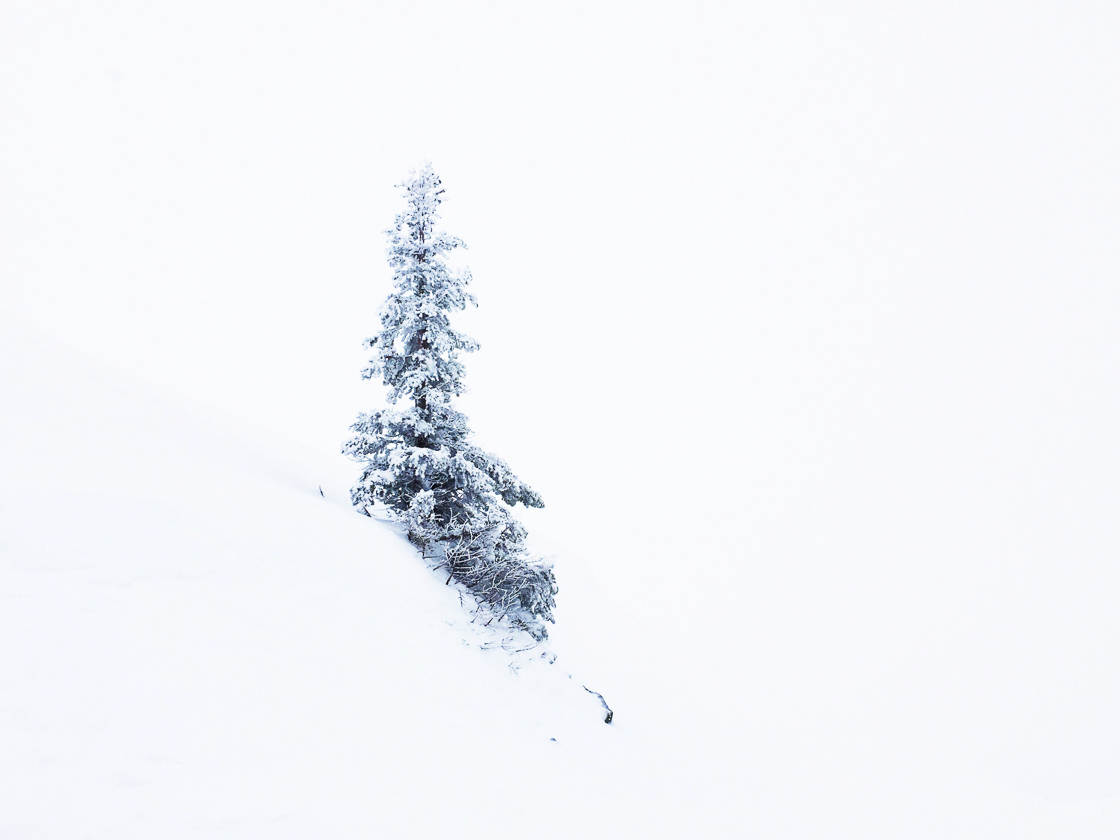
Don’t put the tree directly in the center of the frame. Instead, place the tree off to one side, like in the photo above. This creates an emptier feeling. And that will make for a more peaceful, minimalistic winter image.
You can create wonderfully peaceful winter scenes—if you’re willing to become a minimalist. The emptiness will create a feeling of solitude and quiet.
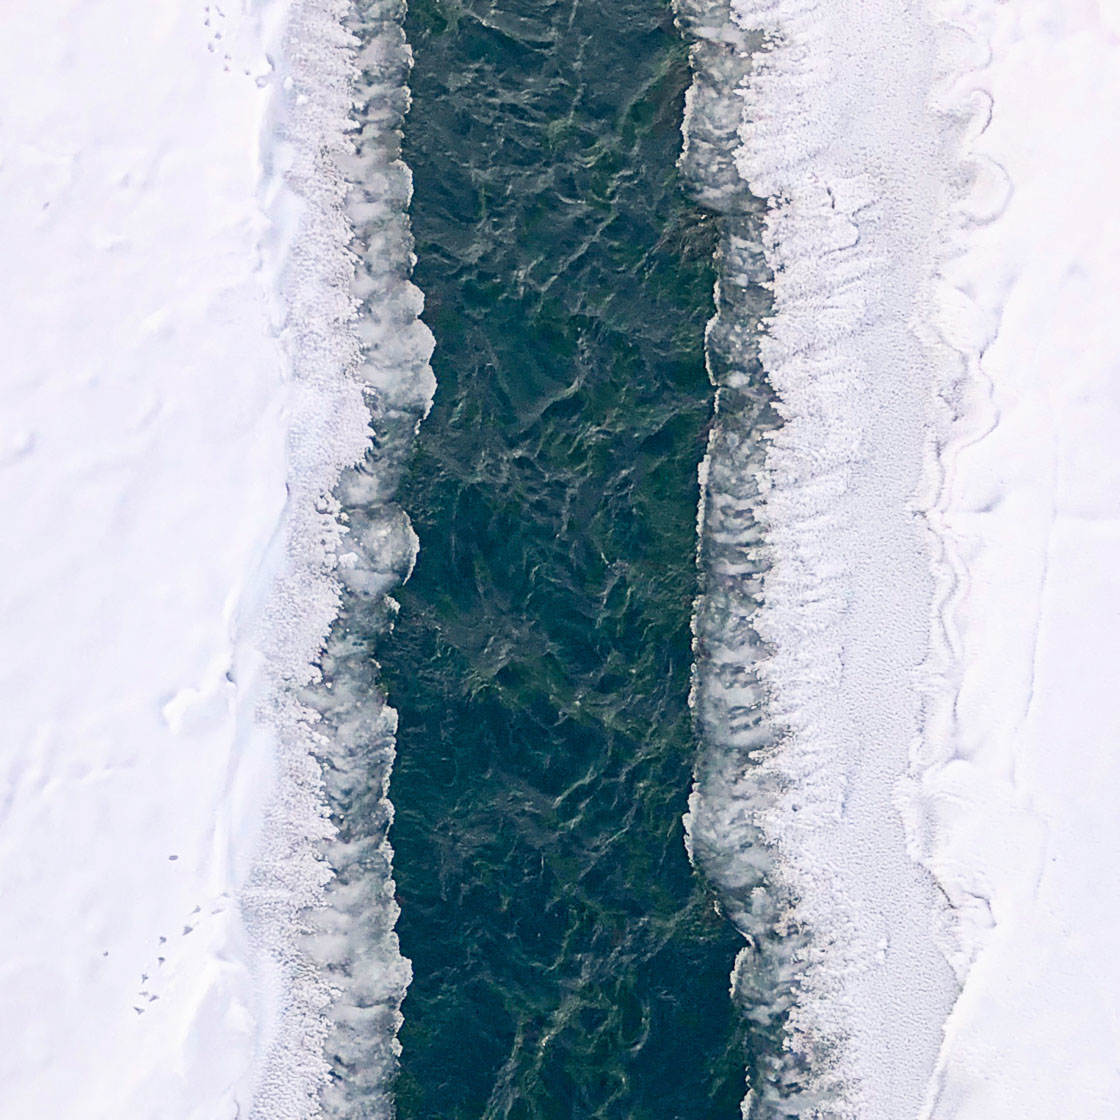
And your winter photos will be taken to the next level.
7. Change The Color Temperature To Enhance Your Images
The color temperature refers to the warmth or coldness of a scene.
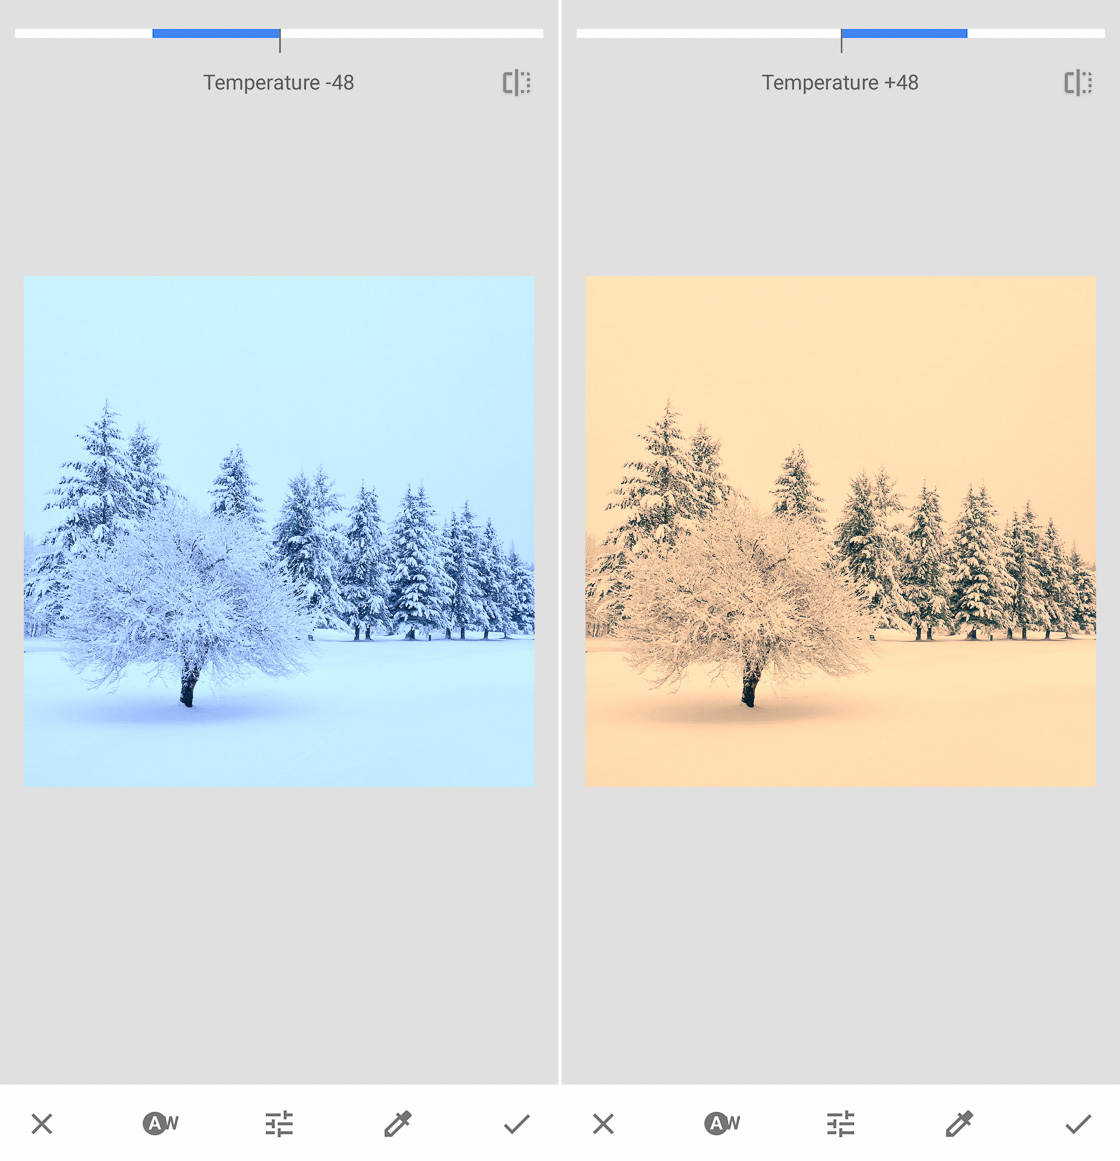
A photo can have a bluer, colder look (left, below). Or a photo can have a yellow, warmer look (right, below).
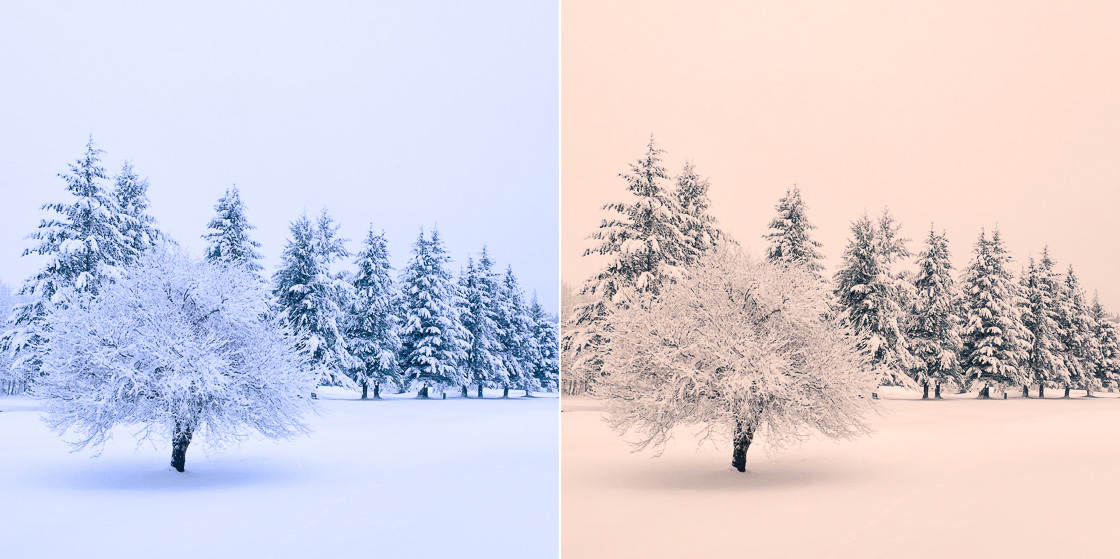
How does this apply to winter photos?
Snow feels cold by nature. But you can get amazing winter pictures by playing around with the color temperature. You just have to experiment.
How do you do this?
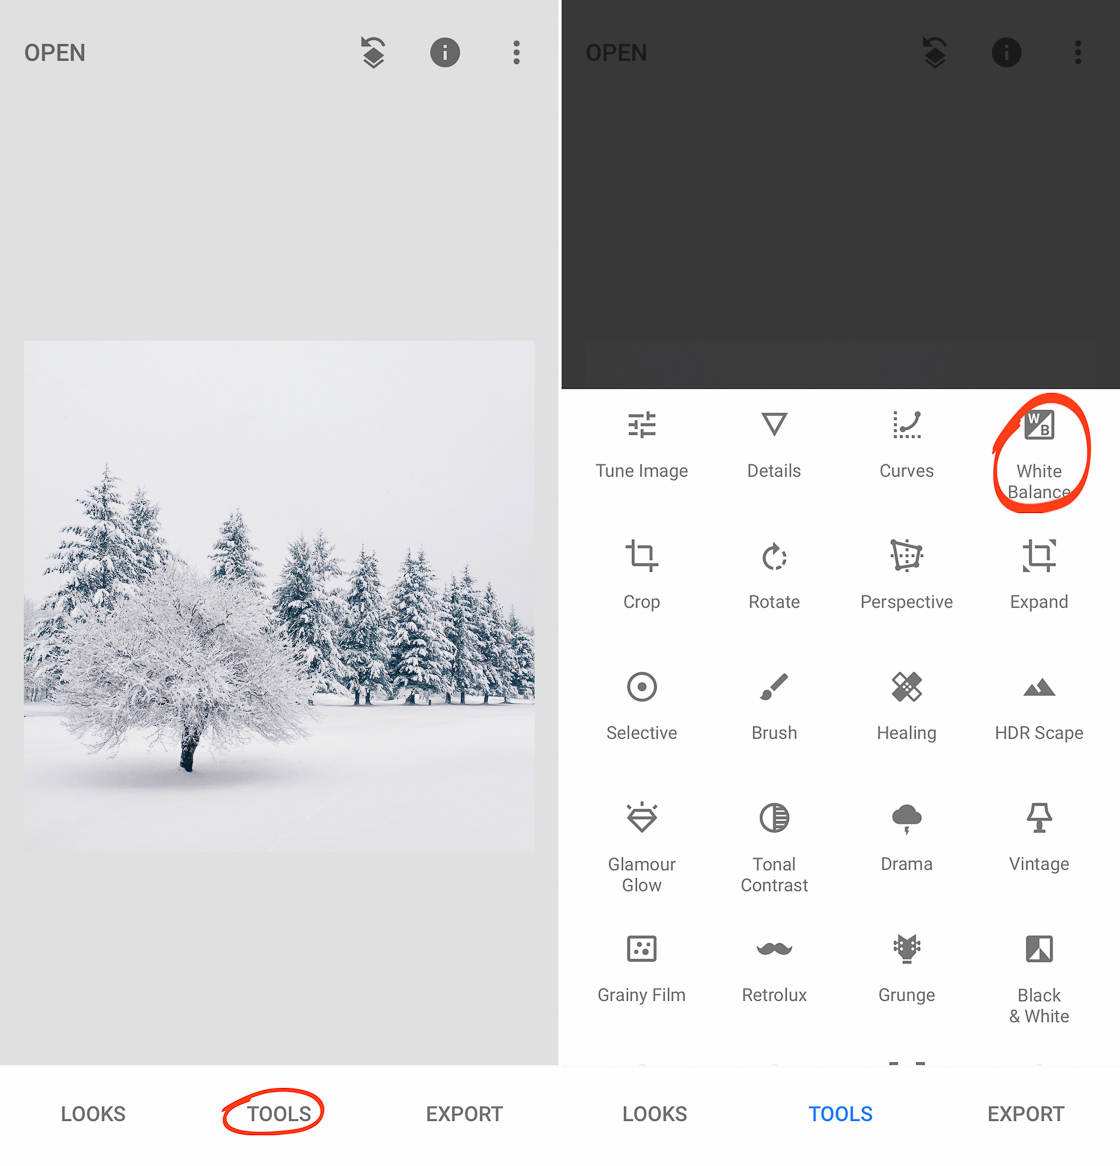
Start by opening the Snapseed app.
Select Tools, then White Balance.
And use the Temperature slider to warm up or cool down your image. Swipe left to cool down the image. Swipe right to warm it up.
But how should you change the temperature of a new winter image?
Start with how you naturally saw the scene.
If you took your photo at sunset, then you were likely working with some warm sunlight.
Try accentuating that warmth.
This can be fun because it creates a contradiction. You have a warm image—in a cool environment.
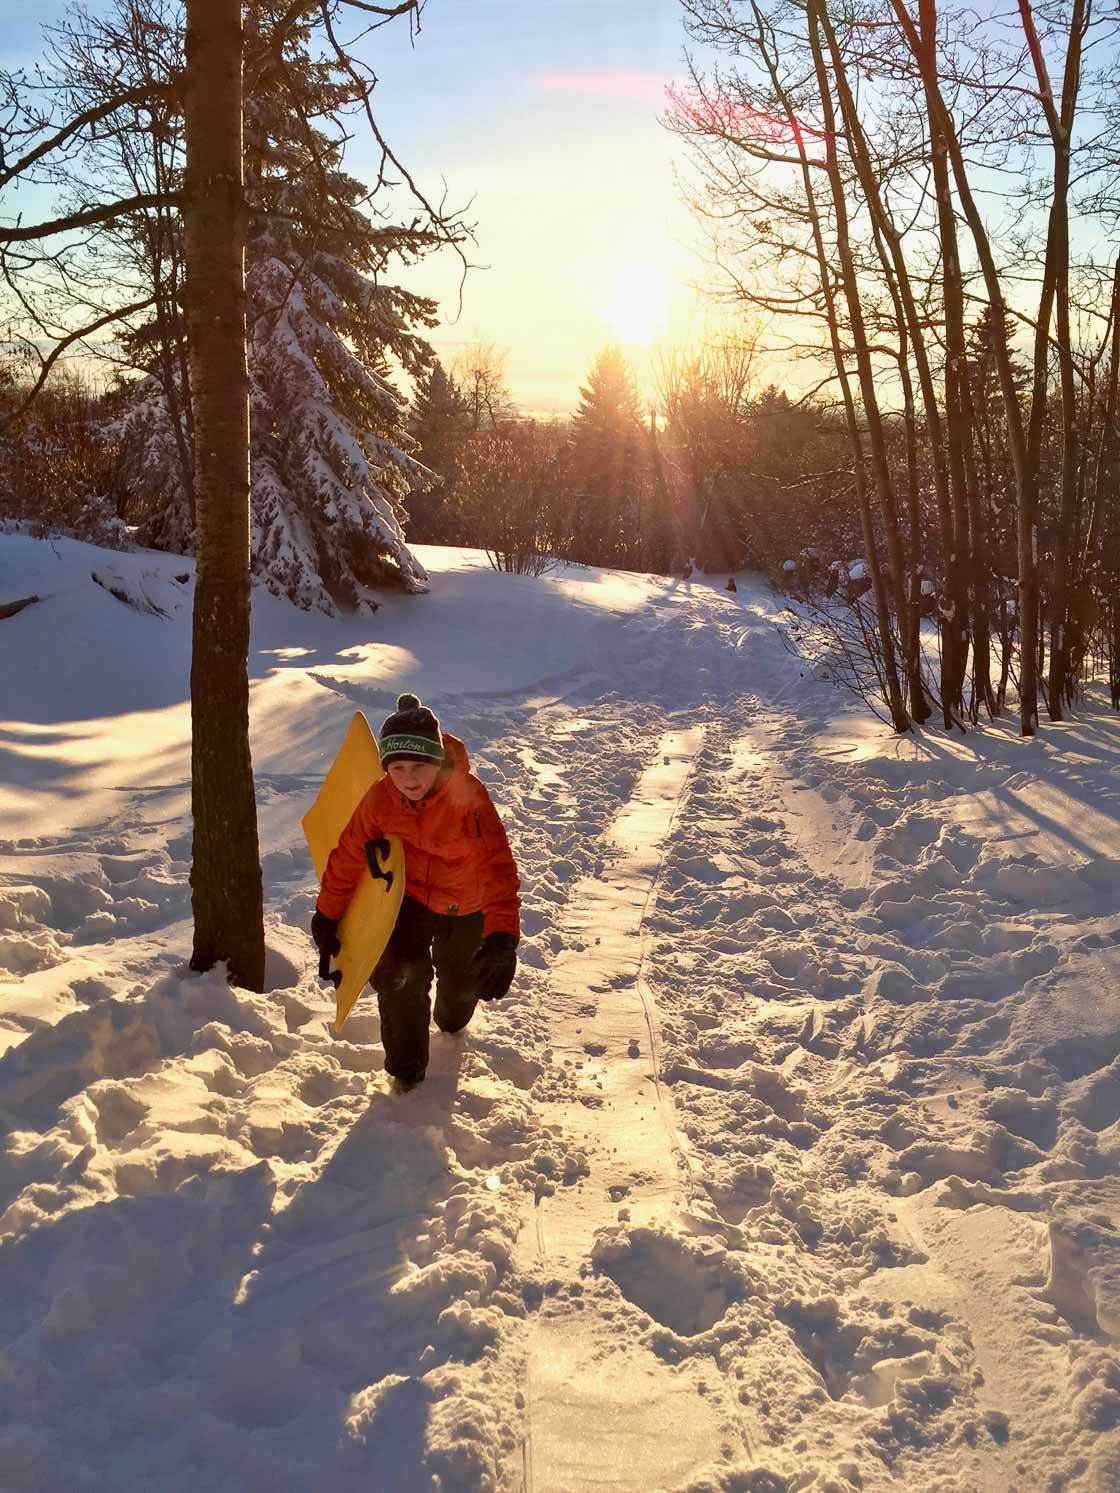
The image above has a warmer feeling. Yet it was taken on an extremely cold day!
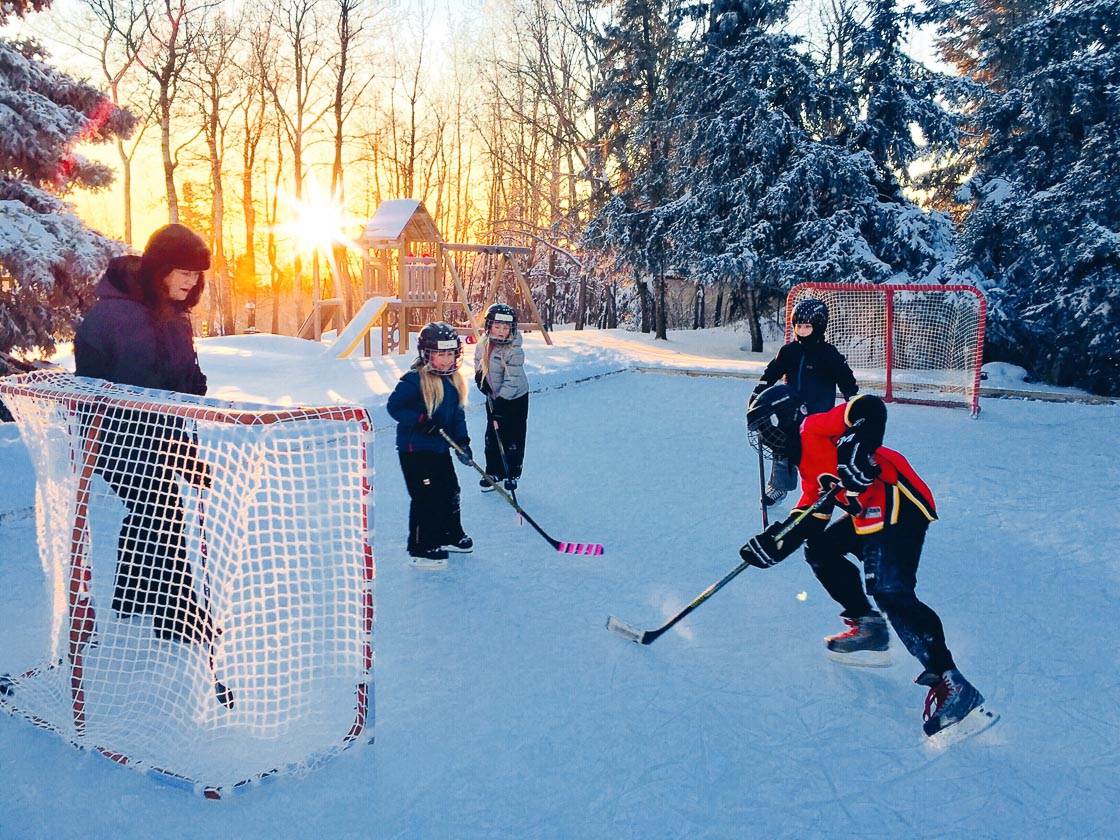
On the other hand, if you took the image under cloudy conditions, the light will have been cold and blue. Try to recreate those cold conditions.
This will lend a pleasant, crisp feel to your winter image.
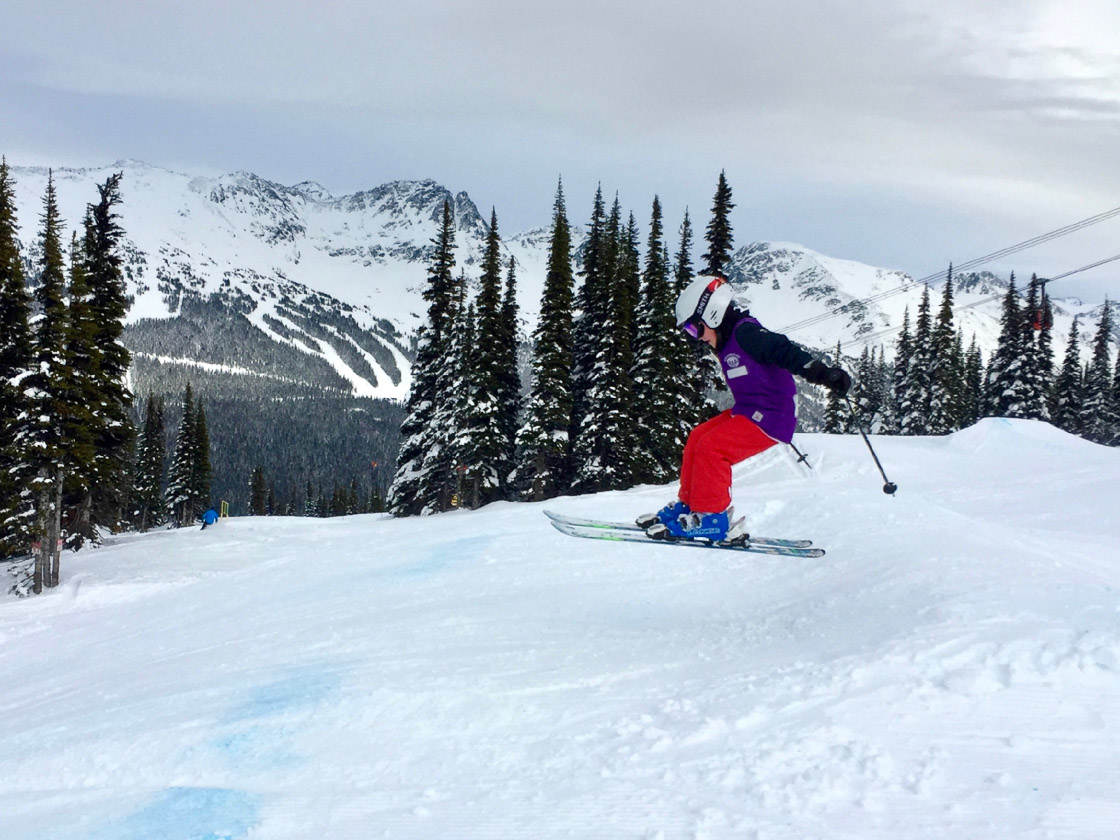
Be careful, however. You don’t want to make your image too foreboding or uninviting. If you drop the color temperature too much, that is what will happen.
The photo below is cold. But it’s not so cold as to be uninviting.
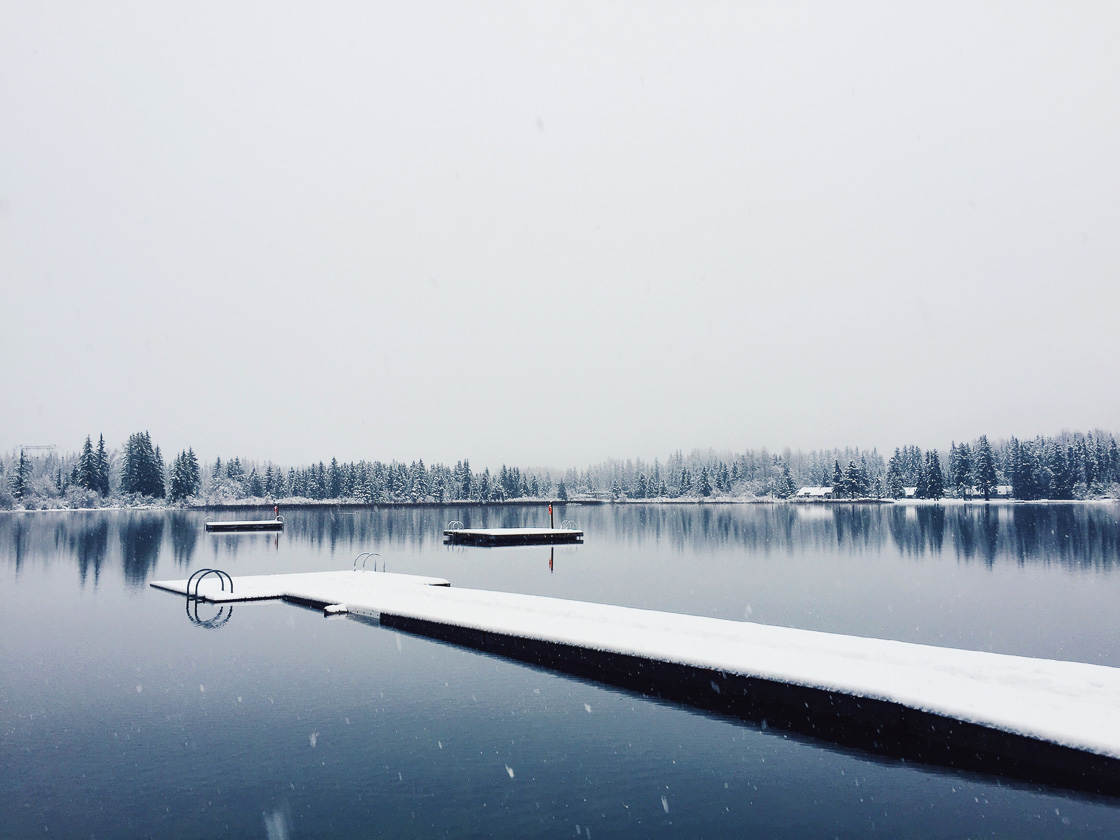
In general, I like to give some sense of solitude to my winter images. That’s why I suggest adding a hint of cold to your winter photos.
The choice is ultimately yours. Just always consider the color temperature of your winter pictures.
Because changing the temperature can result in some truly beautiful images.
8. Use Leading Lines To Draw The Viewer In
How do you create compelling winter compositions?
Minimalistic compositions are powerful. But what if the scene doesn’t lend itself to minimalism?
For instance, what if the scene has several elements? What if the scene is too complex?
Here’s a tip: Use leading lines.
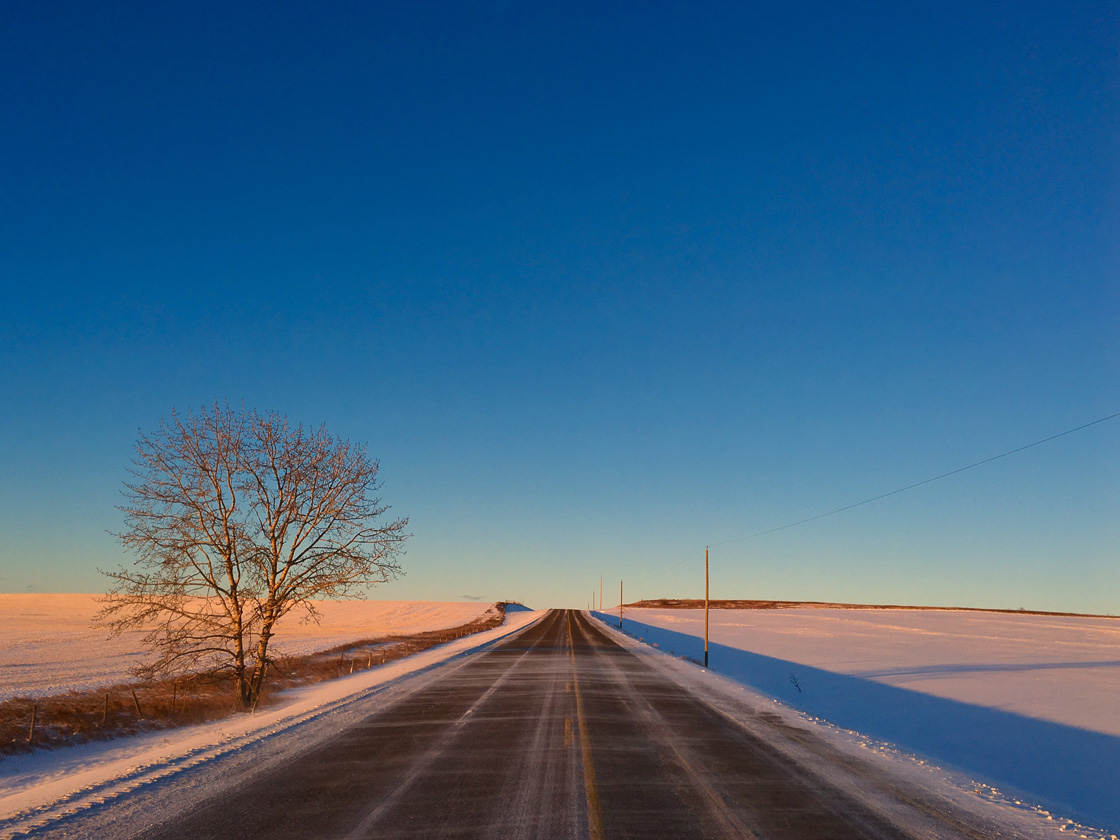
Leading lines are lines that draw the viewer into the frame. They create a path for the eye to follow.
The goal in composition is to control the viewer’s eye, and this is what leading lines do.
In a snow scene, they prevent the viewer from getting lost in a sea of white.
Look at the photo below. Notice how the curves of the snow act as leading lines. They help add direction to an otherwise chaotic scene.
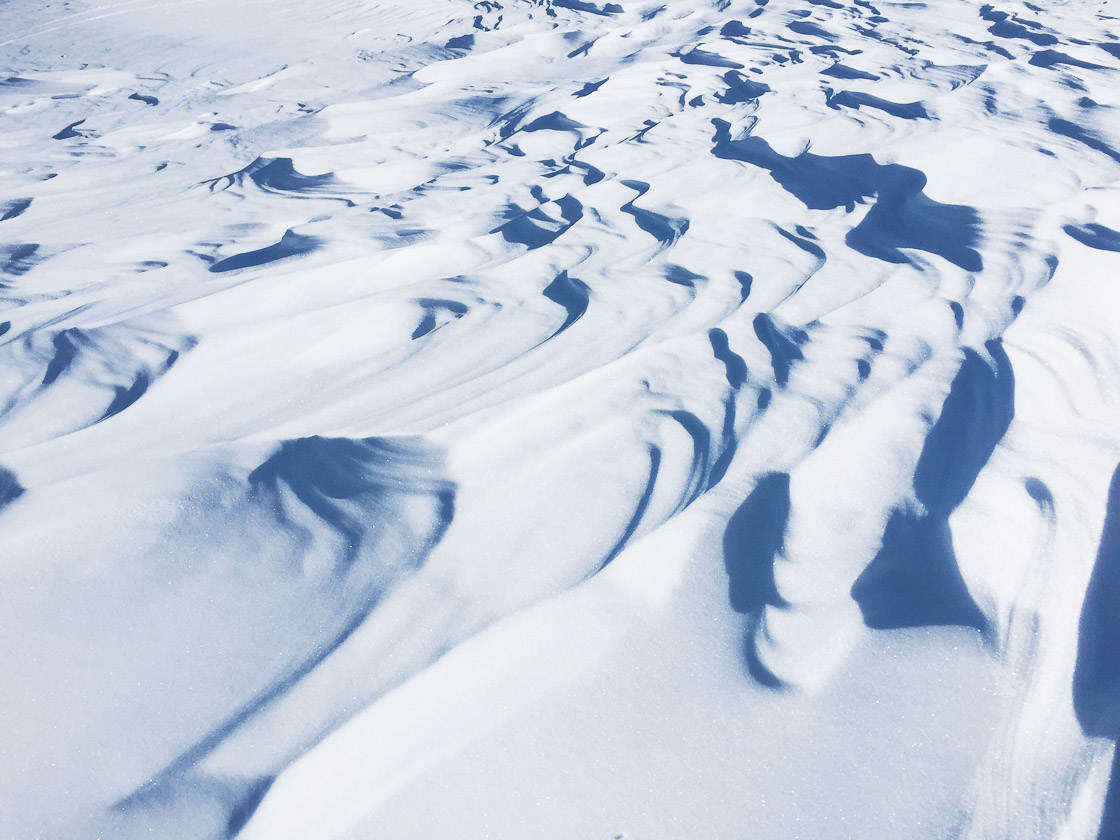
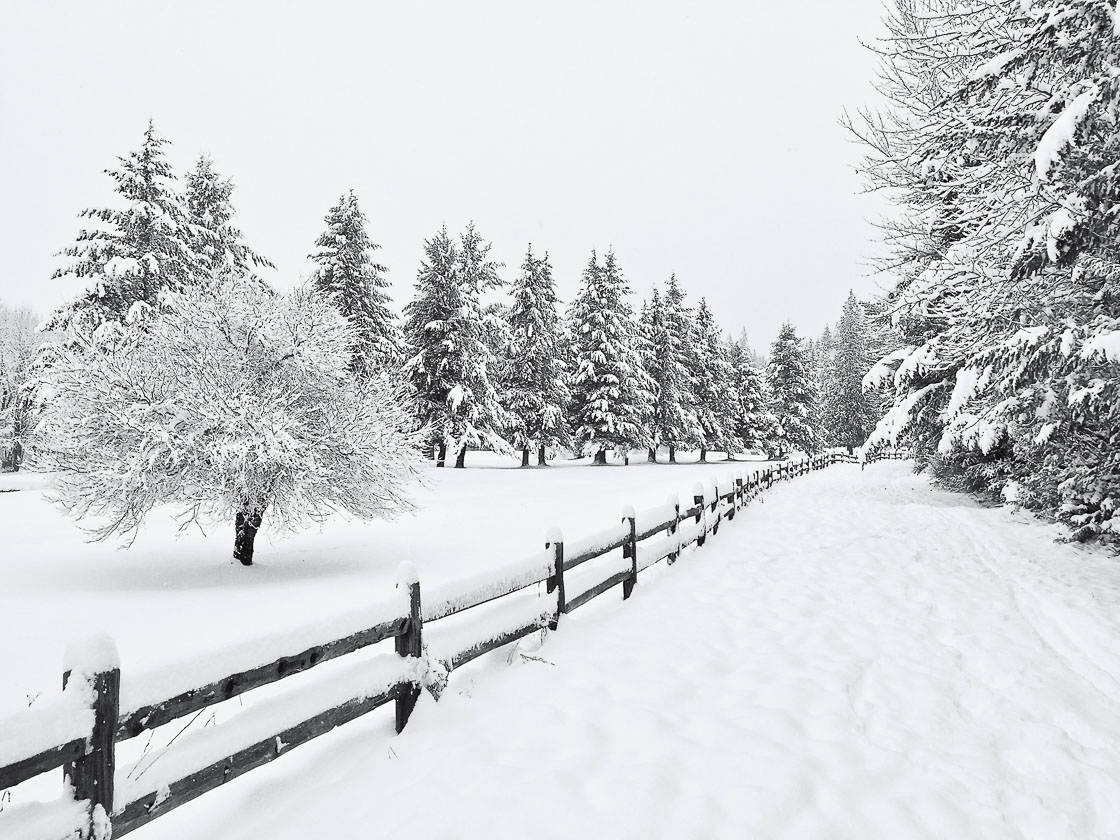
Leading lines can be anything: roads, footprints, even shadows. In the photo below, the fence acts as a leading line.
So use leading lines.
If you do, you’ll make gorgeous images that captivate the viewer.
9. Get Close To The Snow For Original Winter Photography
Do you want to take some unique winter images? Do you want to take winter images that have never been done before?
If so, then you should try taking some close-ups.
Start by finding an interesting winter subject. You might find a snow-covered berry. Or you might find some ice crystals.
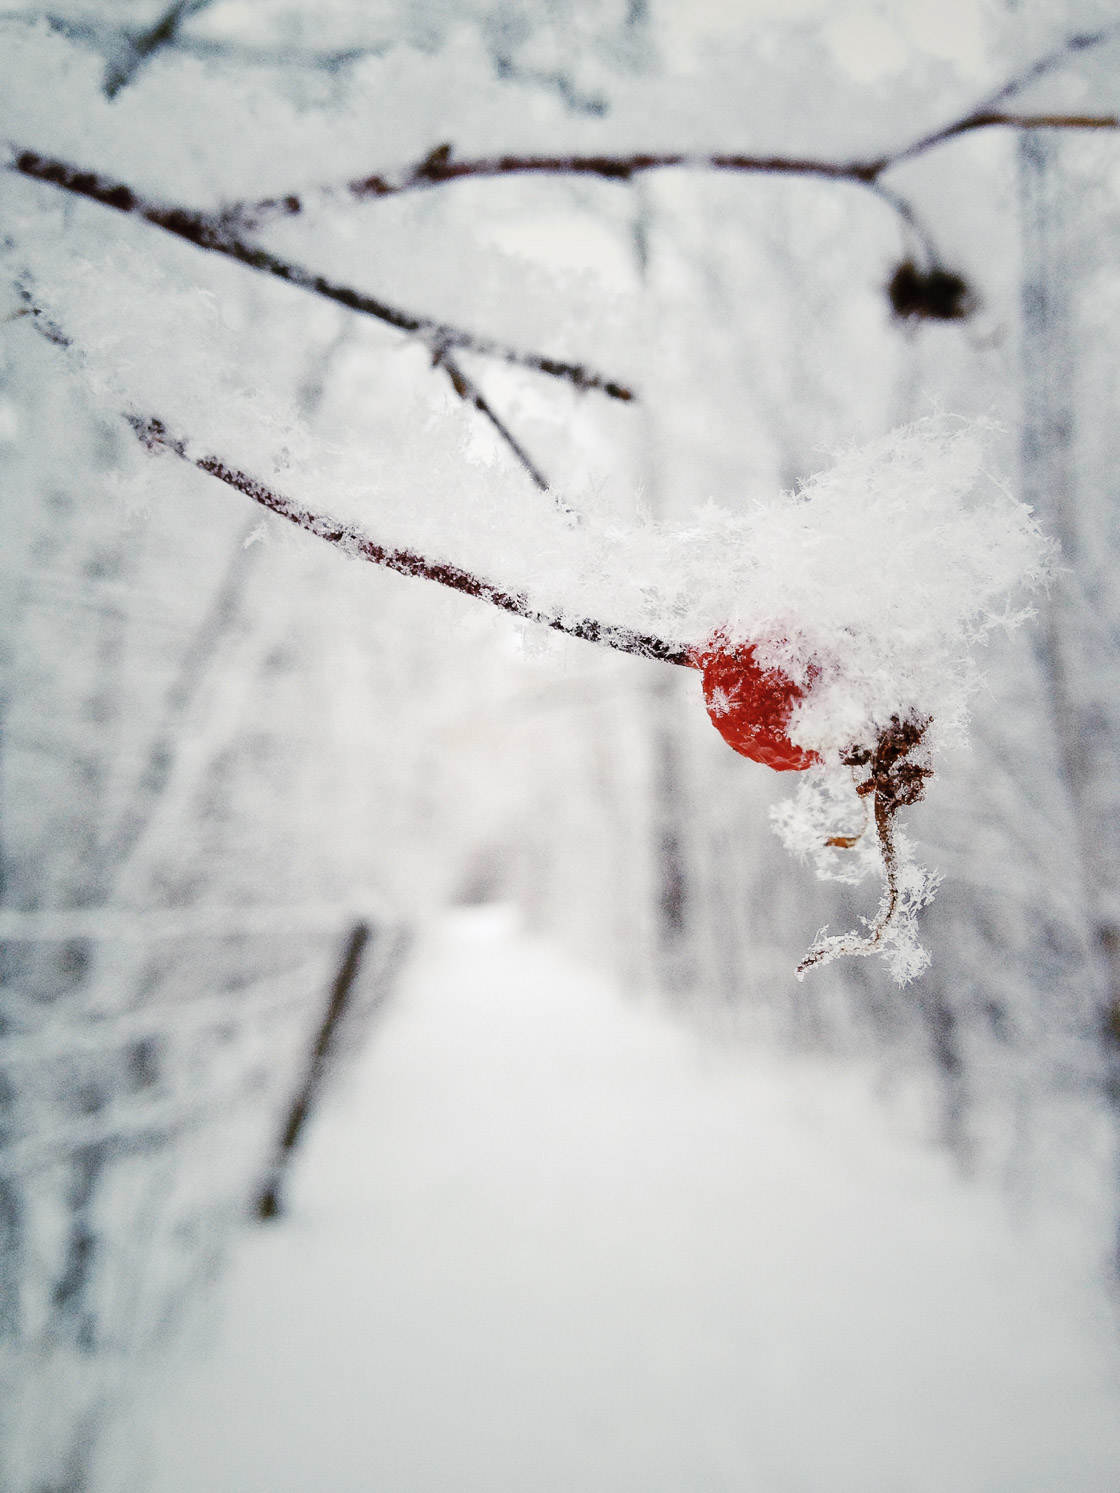
Move in toward your subject. Isolate it.
Then take your image.
A good close-up image forces the viewer to pause. It gets them excited about seeing something they’ve never considered!
And here’s something that most people don’t know: The iPhone can actually focus quite close.
Take advantage of that fact.
And show people things they’ve never seen before.
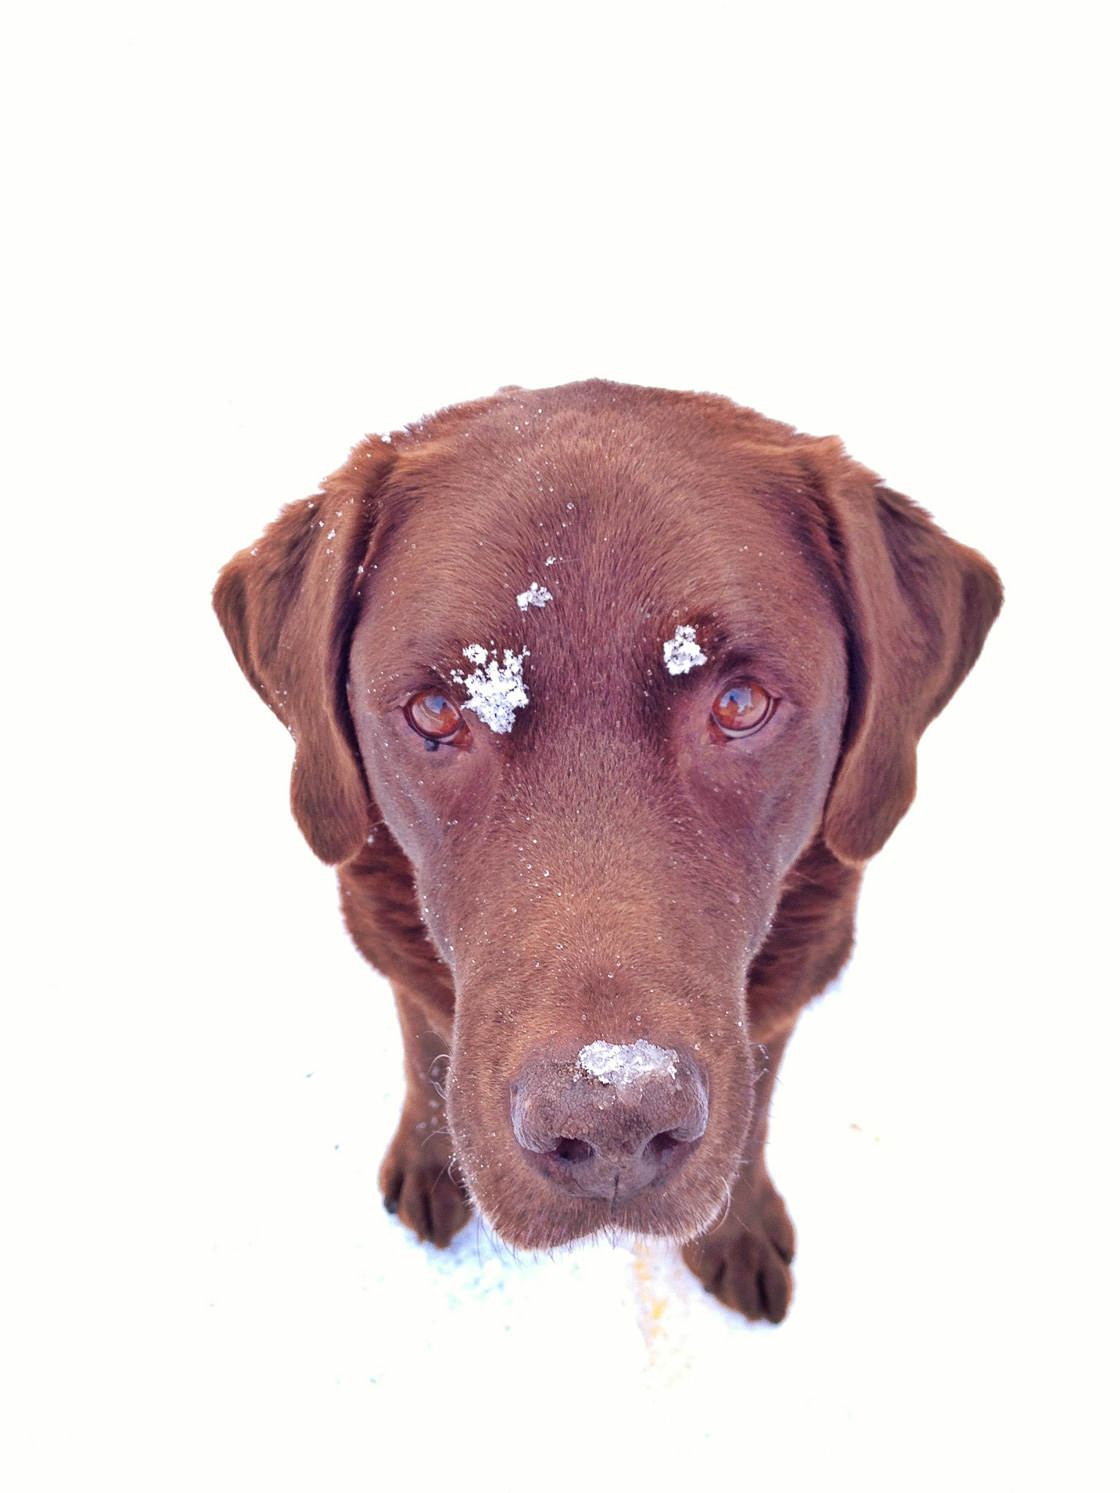
For instance, the photo below emphasizes the snowflakes on my dog’s nose.
When you’re out walking, look around. Find some small things in nature. Twigs, dead leaves, and berries all make for excellent close-up images!
Another tip: When you’re shooting close-up images, make sure you focus manually on your subject.
Simply tap the element of the photo that you want the camera to focus on. A yellow square will appear around your finger. And your iPhone will make sure that that part of the image stays sharp.
Notice the yellow square in the image below. I tapped to set focus on my dog’s nose!
Do you want to know another great thing about getting close?
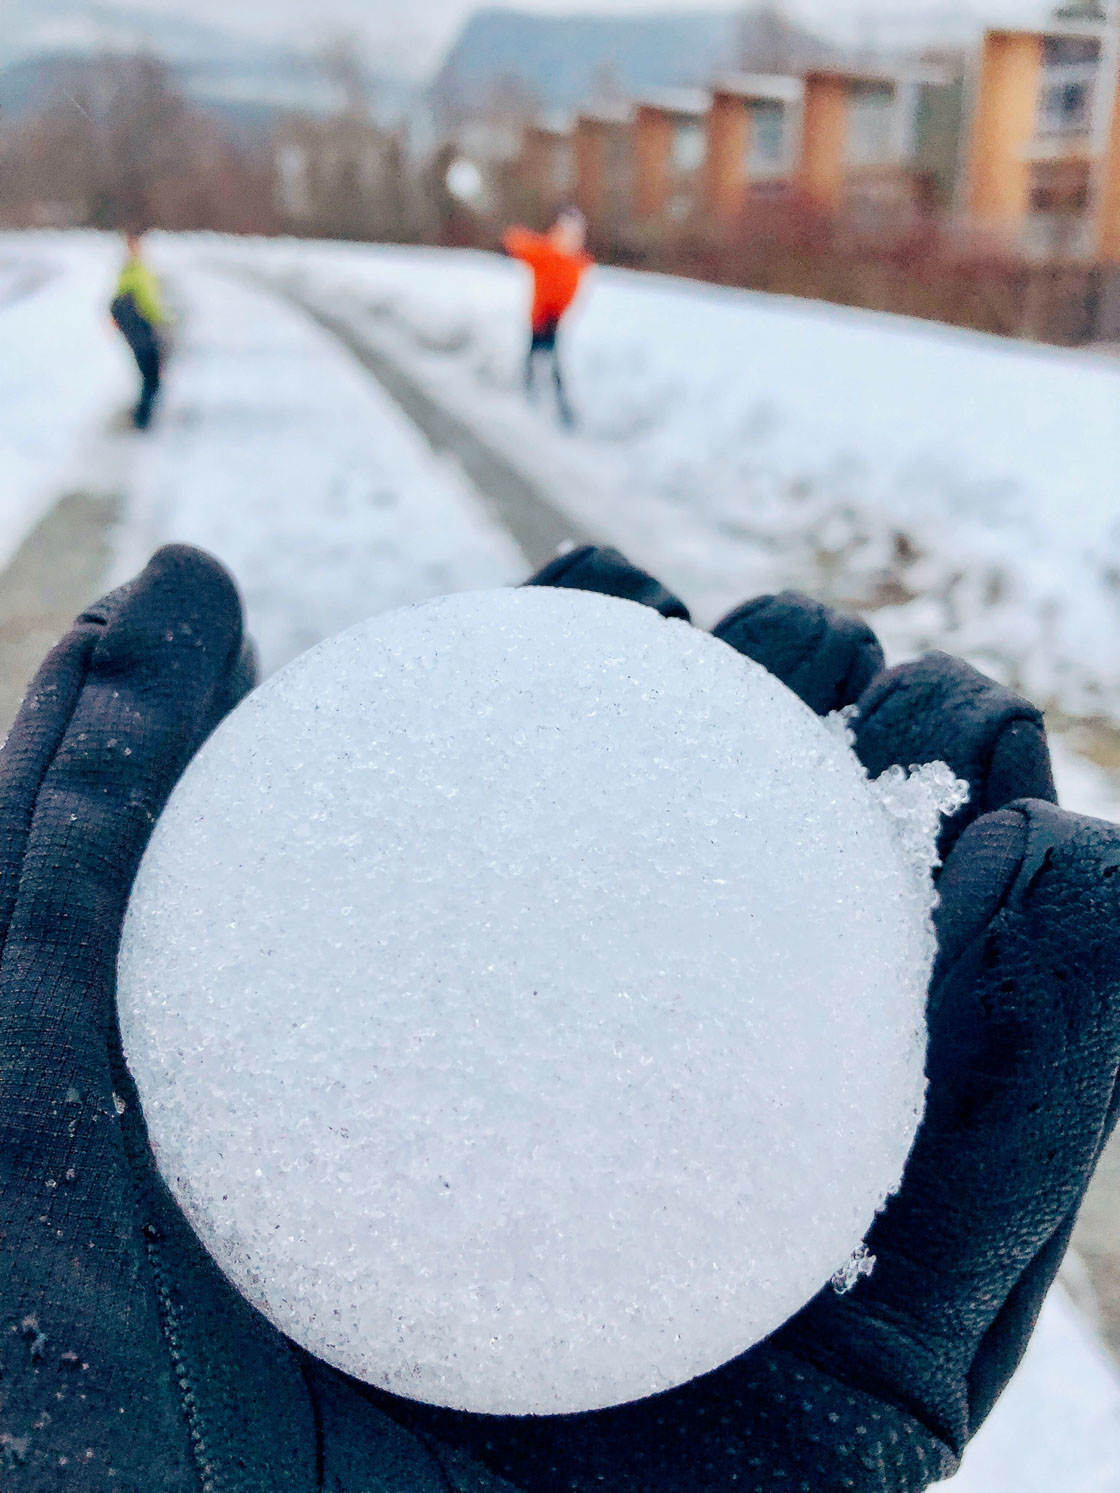
In general, the closer you are, the more your iPhone camera will blur the background.
Notice the way the background has been blurred in the photo below.
Why is this great?
Because a blurred background will make your subject pop.
This only happens when you’re focusing very close. So take advantage of that!
Do you want stunning, never-before-seen images? Then take some close-ups.
You won’t be disappointed.


Leave a Reply
You must be logged in to post a comment.