There’s nothing more frustrating for us iPhone photographers than to run out of battery power just as we’re about to take a great photo. Luckily, there are many ways to ensure that you always have enough power to take that next great shot. In this article you’ll discover a selection of software and hardware solutions for maximizing your available battery power so that you can take amazing photos all day long.
1. Review Your iPhone Battery Settings
The first thing you can do to help maximize your iPhone’s battery life is to review your phone’s settings. You may not even realize it, but there are many default settings that may be unnecessarily reducing battery life.
By going to Settings > Battery, you can view a list of all apps that you’ve recently used, and how much battery usage they each represent.
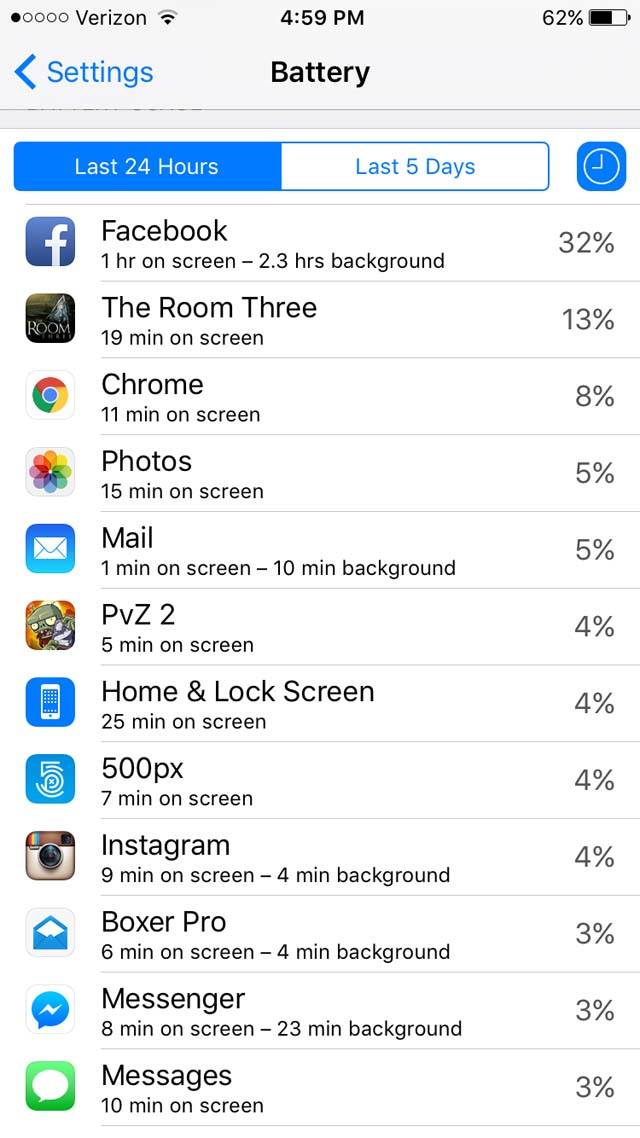
This will help you keep an eye on which apps are the most power-hungry so that you can keep your use of them to a minimum when you’re unable to charge your phone.
Under the Battery setting, there’s also the relatively new “Low Power Mode” that you can activate when your battery power level starts to become low.
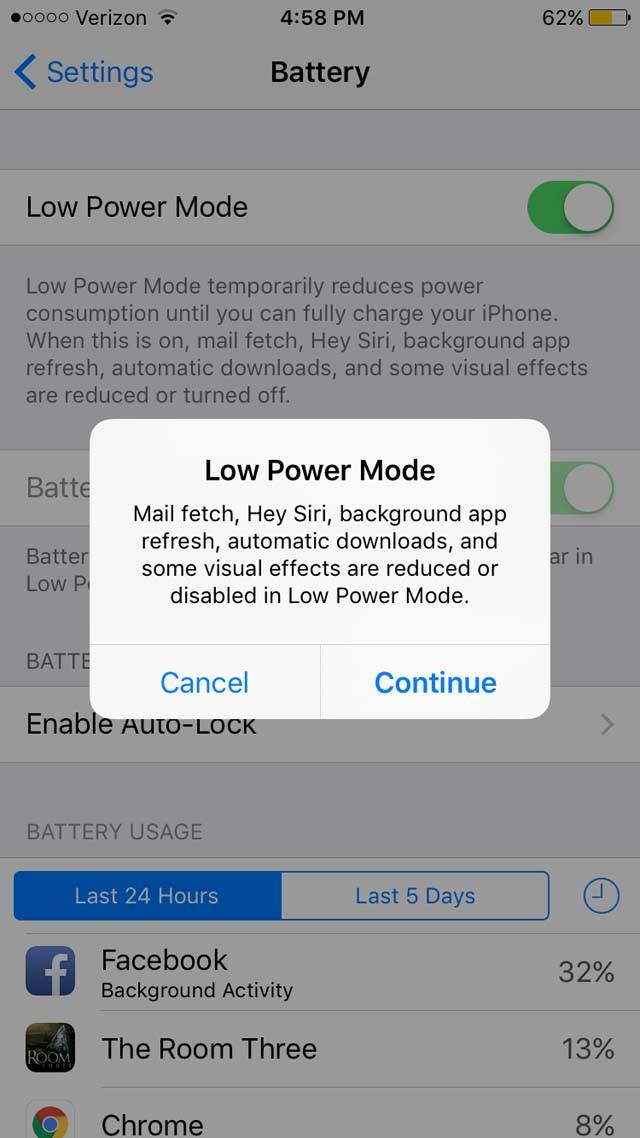
This will reduce power consumption by turning off many background functions as well as some animation effects.
This isn’t a setting to use all the time unless you want to dramatically reduce the effectiveness of your iPhone, but it’s a great way to stretch the last 10-20% when you still need to take more photos.
2. Conserve Power
There are some other settings that you can tweak in order to conserve battery power. To start, unless you’re using any Bluetooth accessories, turn this off by going to Settings > Bluetooth.
Leaving Bluetooth on all the time will significantly reduce your iPhone’s available power. Only turn it on when you actually need to use it.
Similarly, even just reducing your iPhone’s default display brightness will help save power. The backlight is one of the biggest power thieves there is.
To access the brightness settings, go to Settings > Display & Brightness. Alternatively you can swipe up from the bottom of the screen at any time to access the brightness slider on the Control Panel.
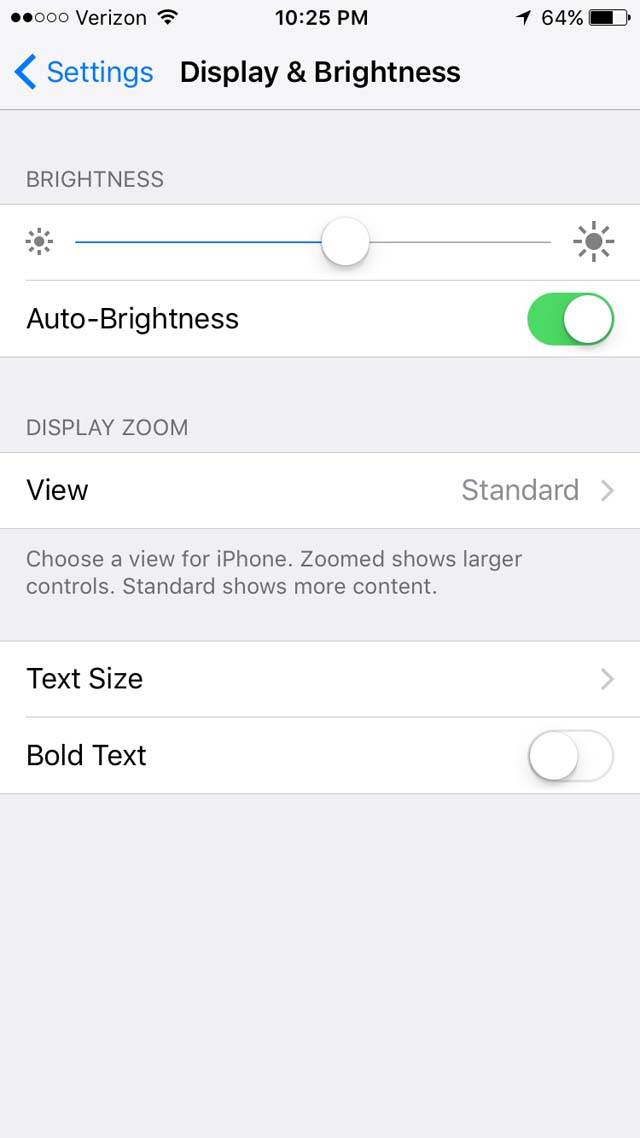
I typically set my brightness at just above the halfway point (55-60%). Your preference may vary based on when and where you tend to use your iPhone the most, but generally speaking, there’s little need to ever turn the brightness setting up all the way.
Additionally, turn on the Auto-brightness feature and your iPhone will automatically adjust the brightness according to the ambient light. This helps conserve battery power by using only as much light as is needed.
Just bear in mind that if you shoot photos with the screen brightness turned down, they’ll look brighter when you turn the screen brightness up again.
When you really need to conserve power, you could put your iPhone in Airplane Mode. You can do this through the Settings app, or you can simply swipe up from the bottom of the screen to access the Control Panel and activate it there.
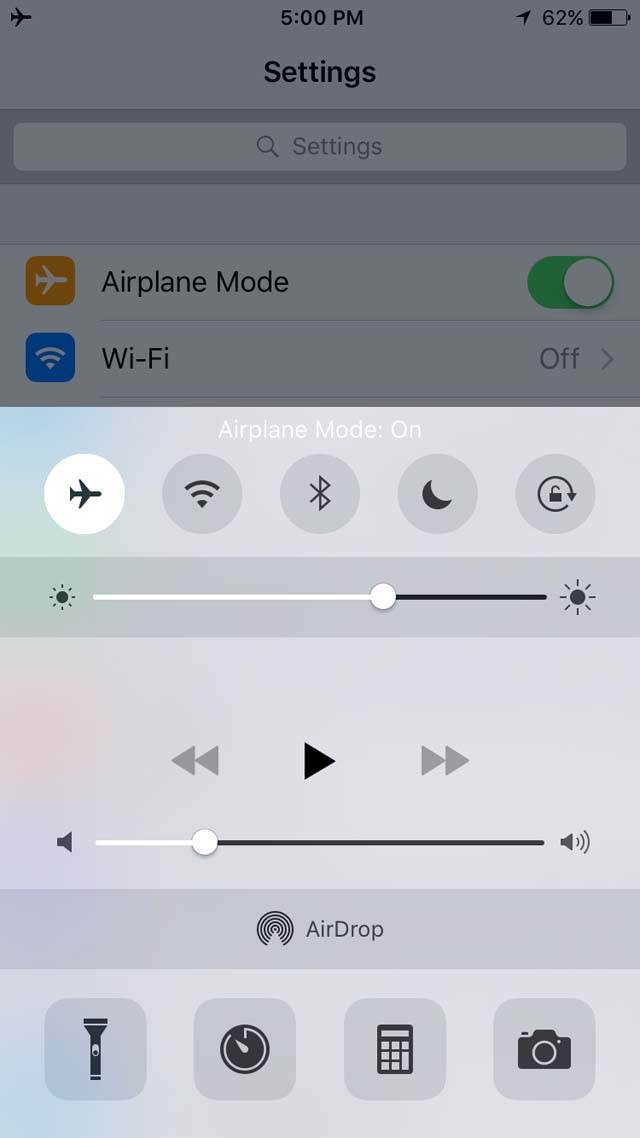
Airplane Mode turns off Wi-Fi and Cellular data, which will make a significant difference to the amount of battery that your phone is using.
This certainly isn’t a good option if you need to communicate with others, check a map, etc., but it’s easy enough to turn it on and off very quickly, so it can be another great way to manage a low battery until you can recharge.
3. Use An External Battery/Charger
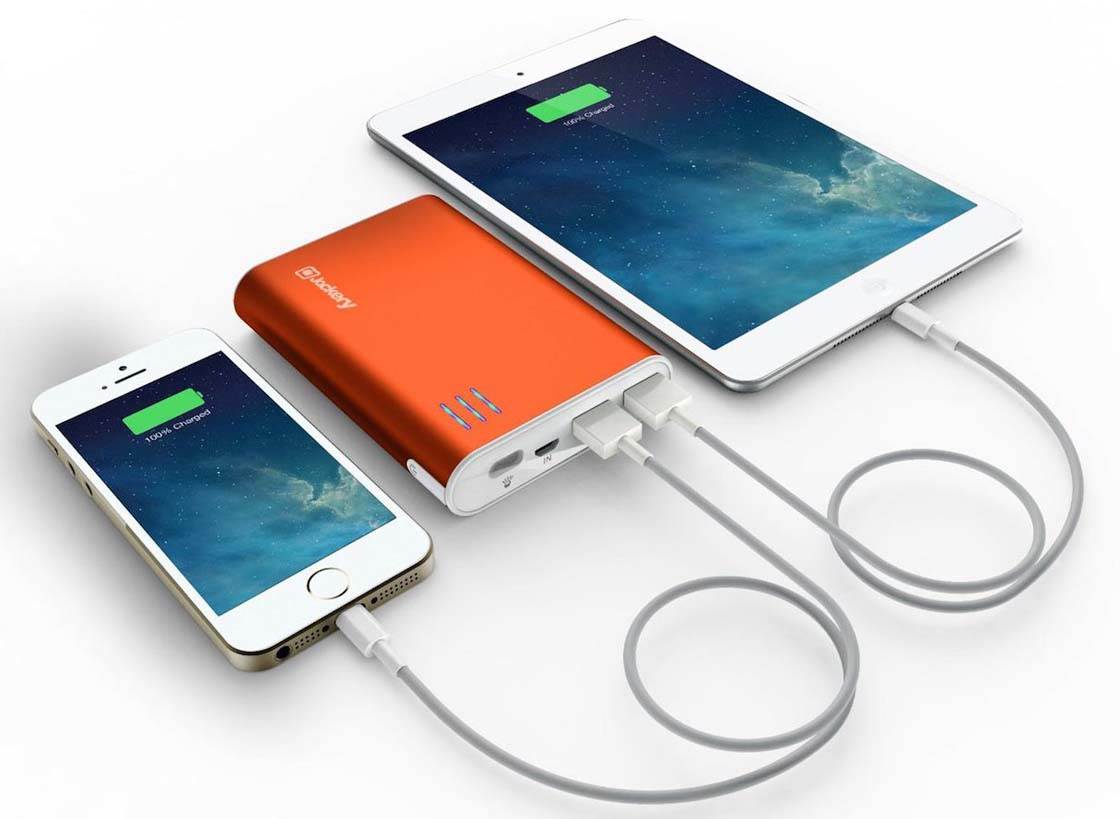
An external battery/charger is a must for all-day photo excursions. Luckily, there are many options available depending on your needs and budget.
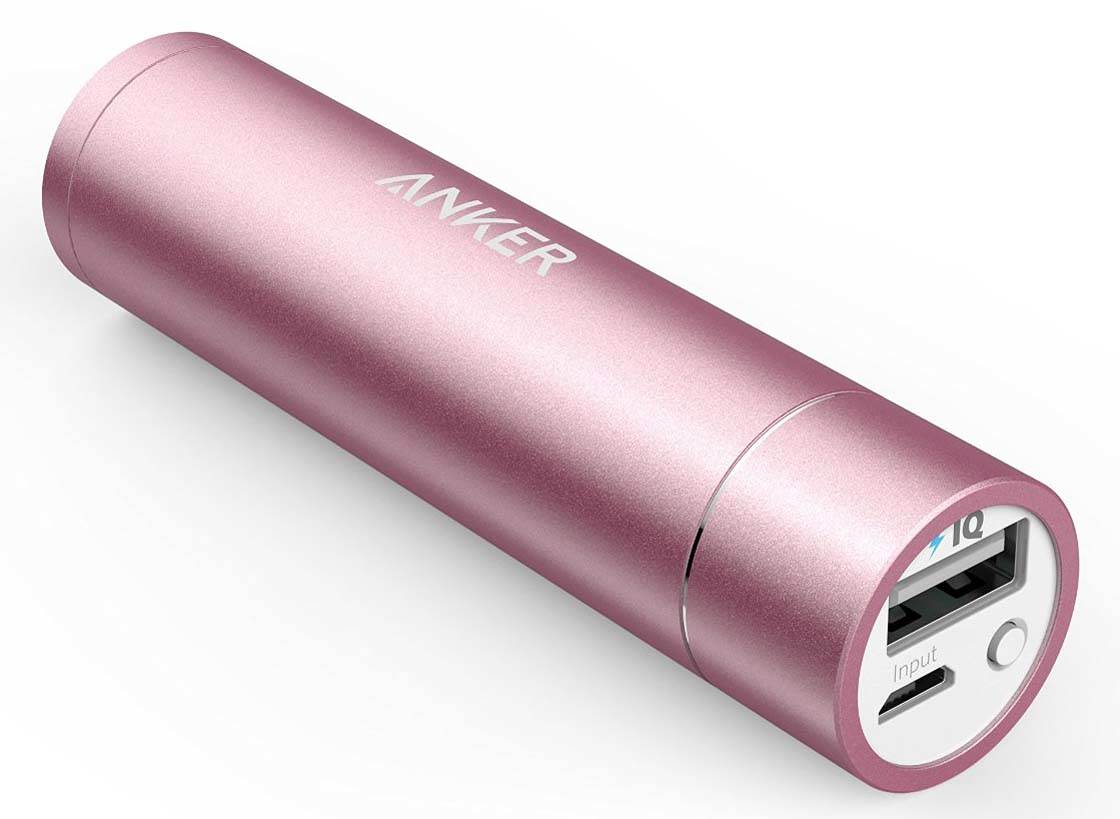
The simplest and cheapest external batteries will only charge your iPhone once or twice (if that) before they need to be recharged themselves, but that may still be all that you need to keep you going until you can “plug in.”
The larger batteries are capable of charging your iPhone up to six (or more) times before they need to be recharged.
This may be overkill for most, but it can be great to have for long trips and camping where you might not have easy access to mains power for a length of time.
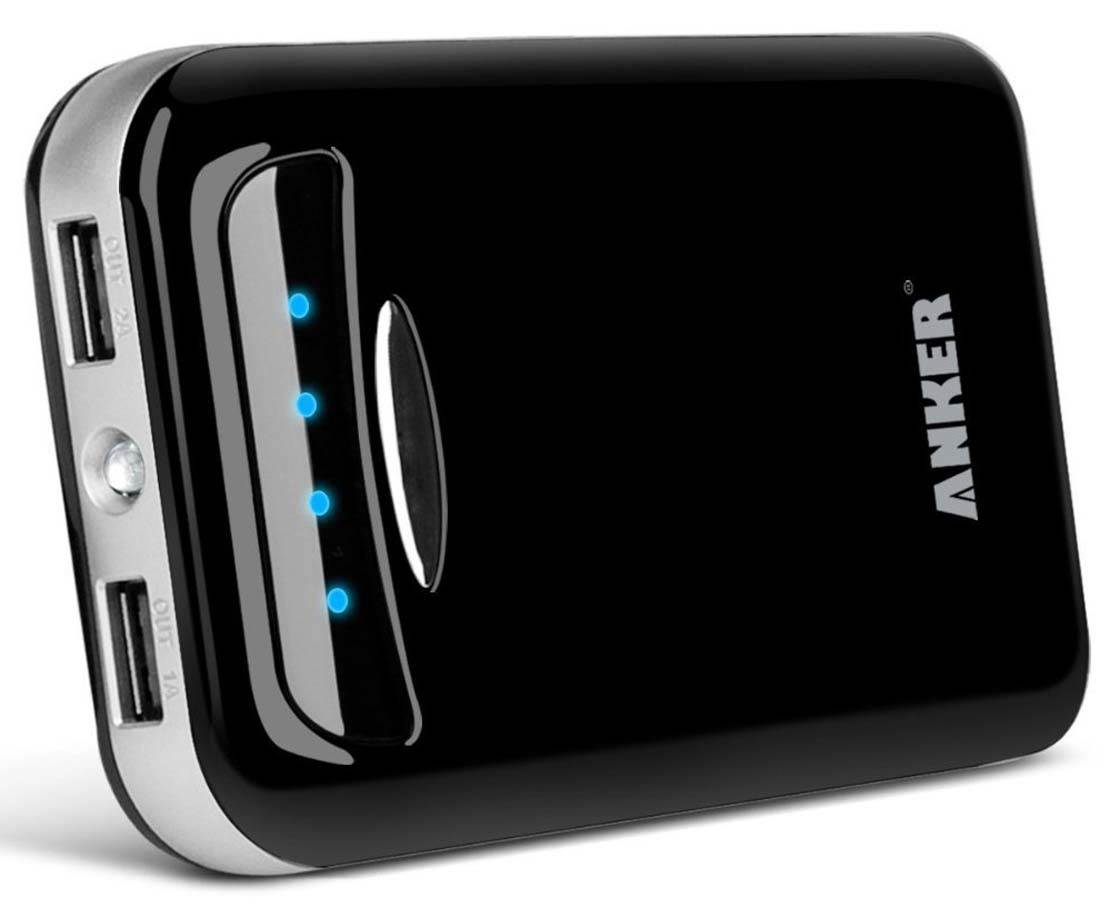
Personally, I use an Anker Astro E5 for longer photo walks and other trips, and it’s never let me down.
Combined with my 6-foot USB cord, I can keep my iPhone plugged into the Anker while it stays tucked away in my backpack for all-day shooting. I’ve yet to run out of power using this approach.
In addition to Anker, there are many other popular and effective brands such as Jackery.
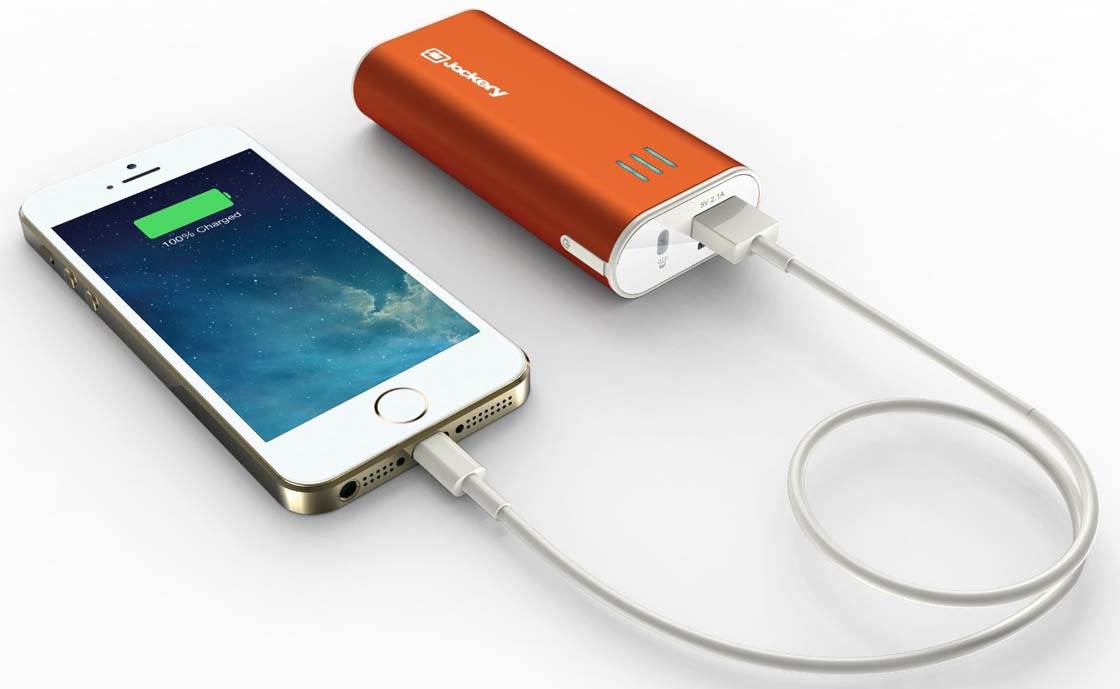
Take some time to consider your particular needs, and then research the various models that are available to determine which one best fits your requirements. You’re sure to find several options that fit your needs and budget.
4. Invest In A Battery Case
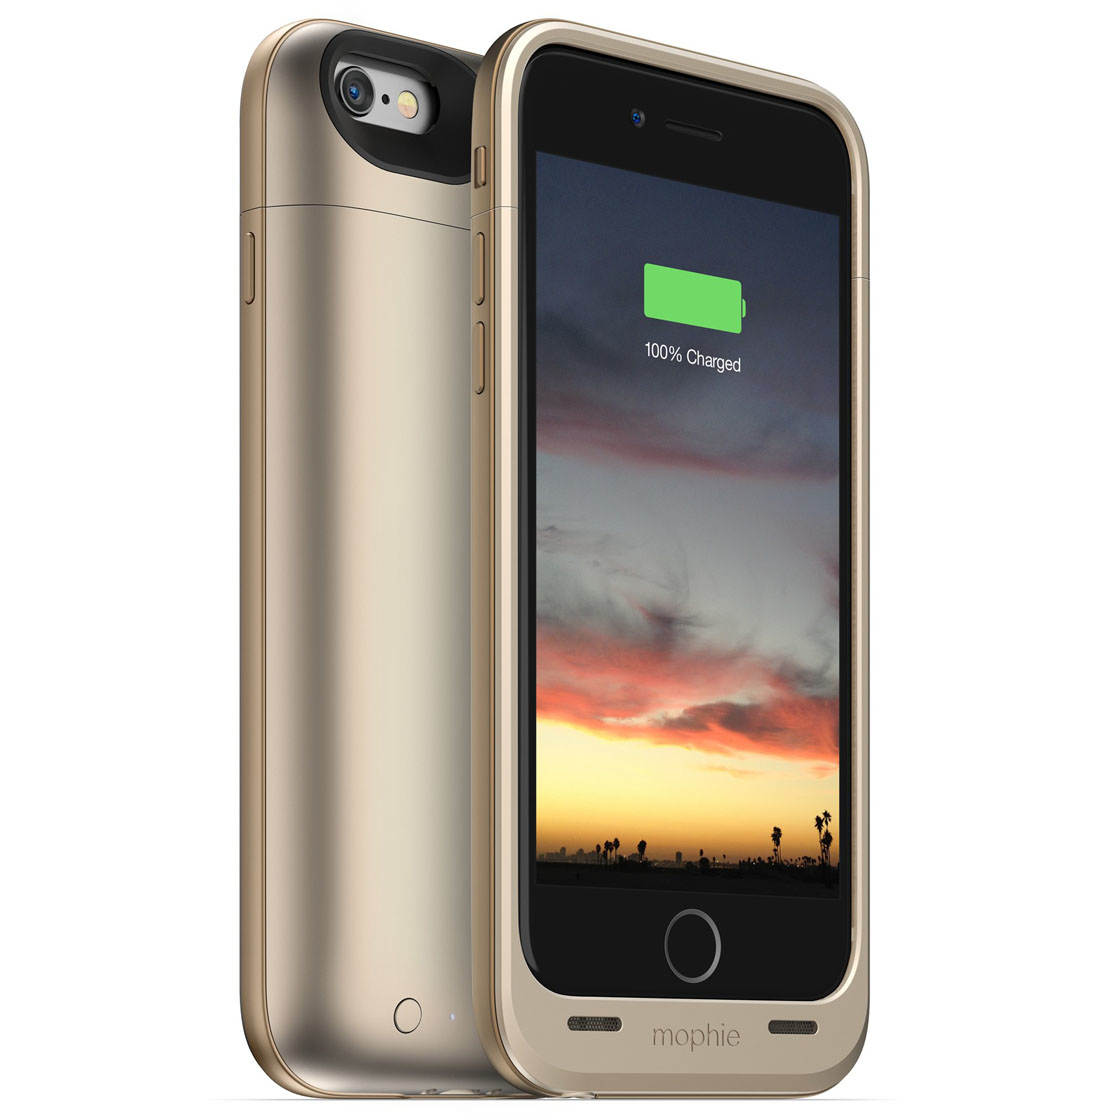
If you don’t like the idea of a separate external battery, you might prefer to use an integrated battery case such as the excellent Mophie Juice Pack.
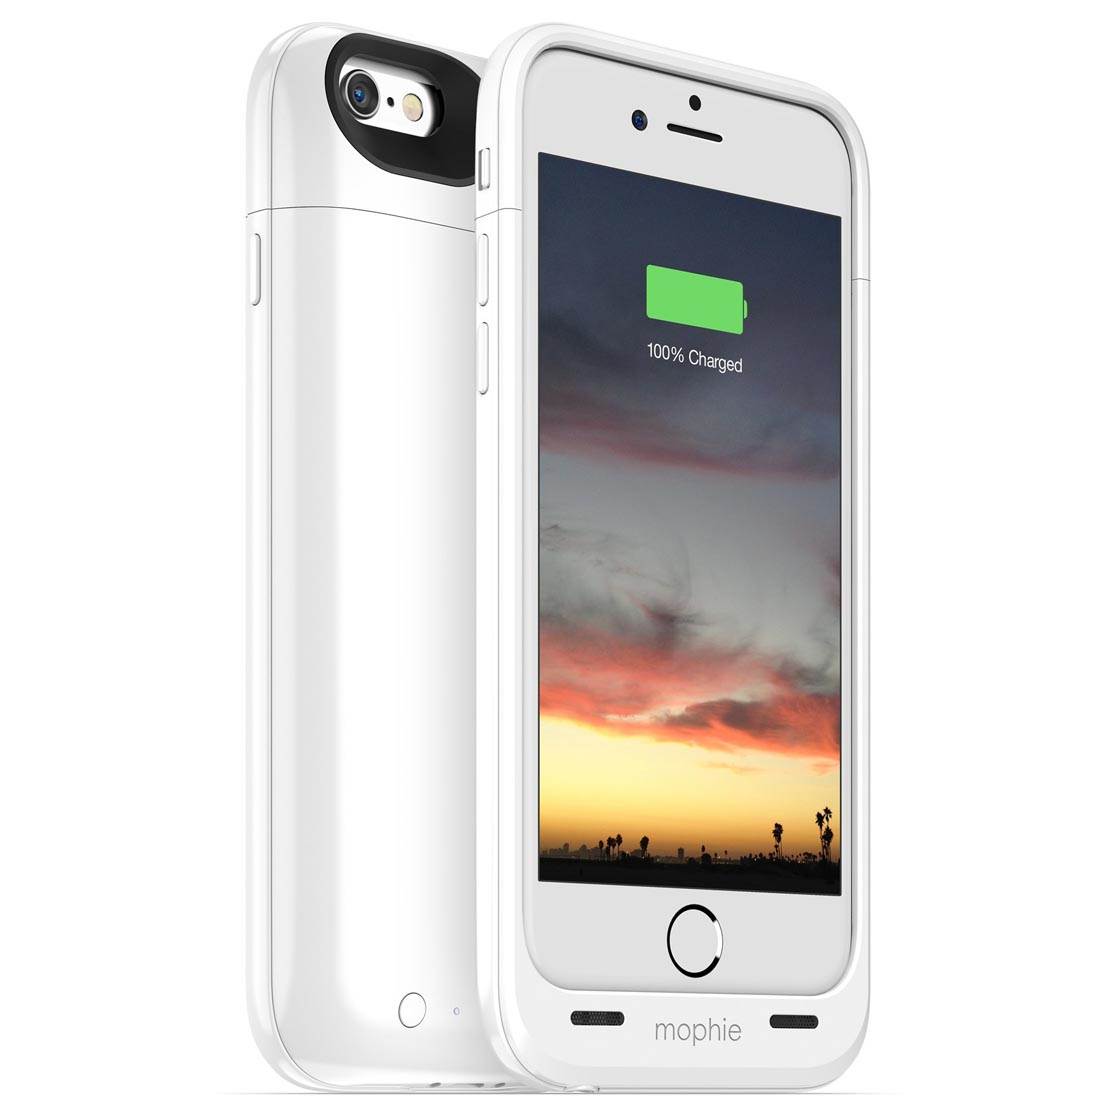
This compact and convenient case protects your iPhone as well as giving you extra battery power for extended shooting time.
Another option to consider is the brand new Smart Battery Case from Apple. Costing around the same as the Mophie Juice pack ($99), this new Apple case may not deliver the same amount of power, but it’s supposed to make up for that by being “smart.”
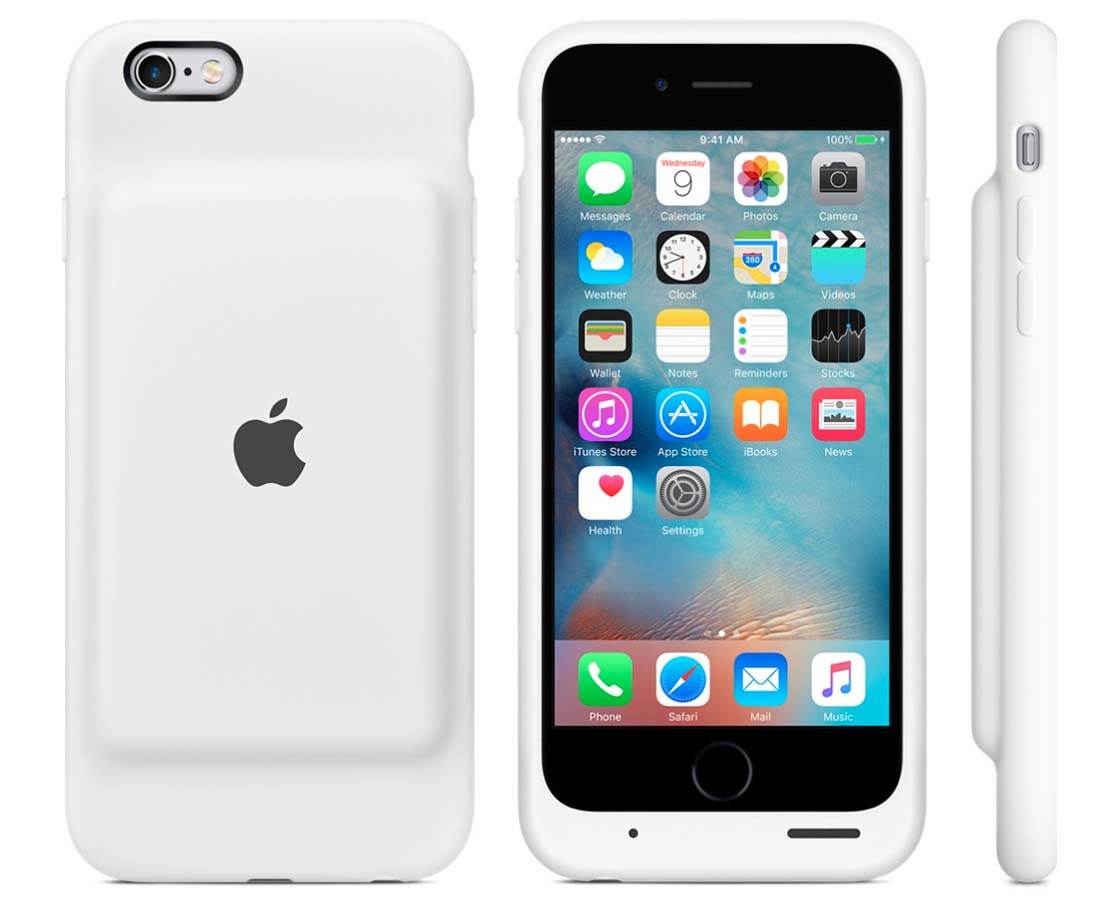
The case fully integrates with your iPhone in that your iPhone’s lock screen displays separate levels for the battery case and your iPhone’s built-in battery.
While other cases simply push power to your iPhone’s built-in battery, the new Apple Smart Battery Case works “with” your iPhone battery.
If you like your accessories as integrated as possible, then the Smart Battery Case might be a good option.
5. Make Use Of Available Power Supplies
When it comes to charging your iPhone on-the-go, an external battery or battery case is the obvious choice. However, don’t overlook other available options.
For one, I always carry a regular wall charger with me when I go on photo walks.
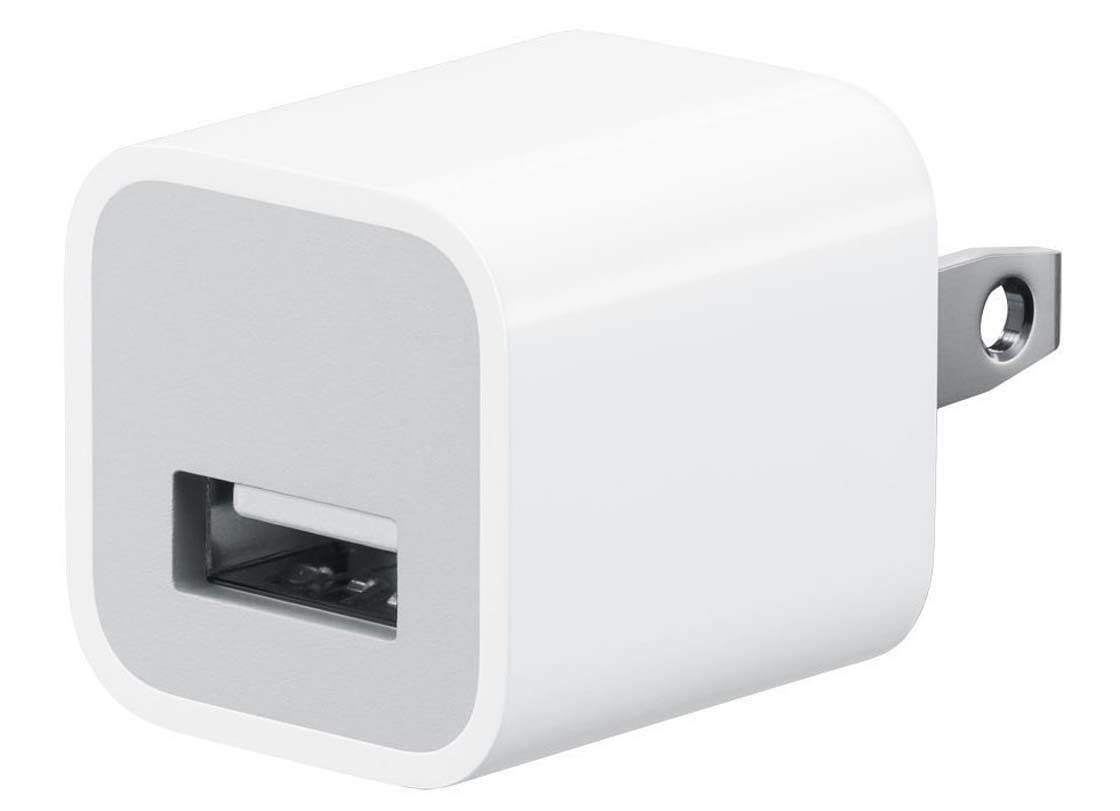
Instead of waiting for my battery to become critically low, I’ll simply plug it in for a few minutes here and there when grabbing coffee in a cafe, eating lunch, and even waiting for a subway (you never know where you might find a publicly-accessible wall outlet). This helps to keep it charged and ready-to-go.
If you’re traveling by car, ensure you have an in-car phone charger to keep your battery topped up while you’re on the move.
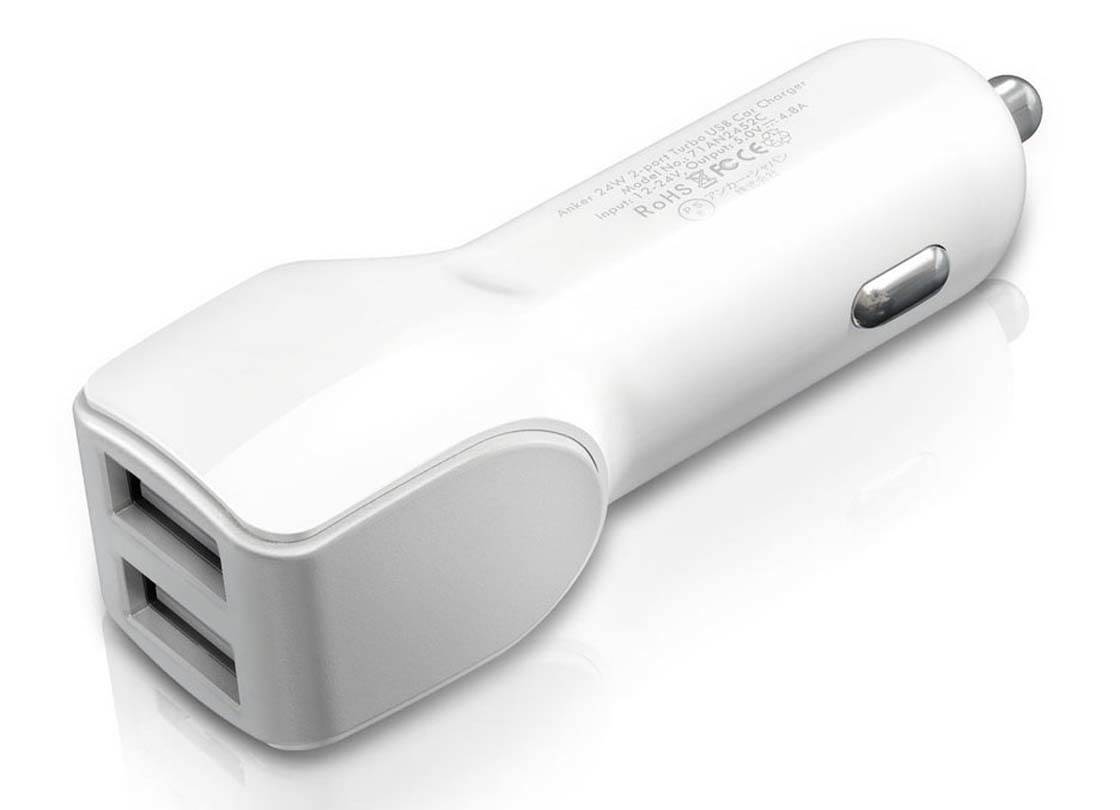
I’ve used a two-port car charger from Anker for years, but there are many other great options as well. The two-port variety is very convenient in case you want to charge more than one device at a time.
6. Lengthen Your Power Cable
One last thing to consider is the length of the USB power cord that you carry with you for charging your phone.
All iPhones come with a standard three foot (1m) cord for charging. However, this can be too short when trying to reach the only accessible AC outlet in a cafe, or if you’re using your iPhone in the backseat of someone else’s car while charging it.
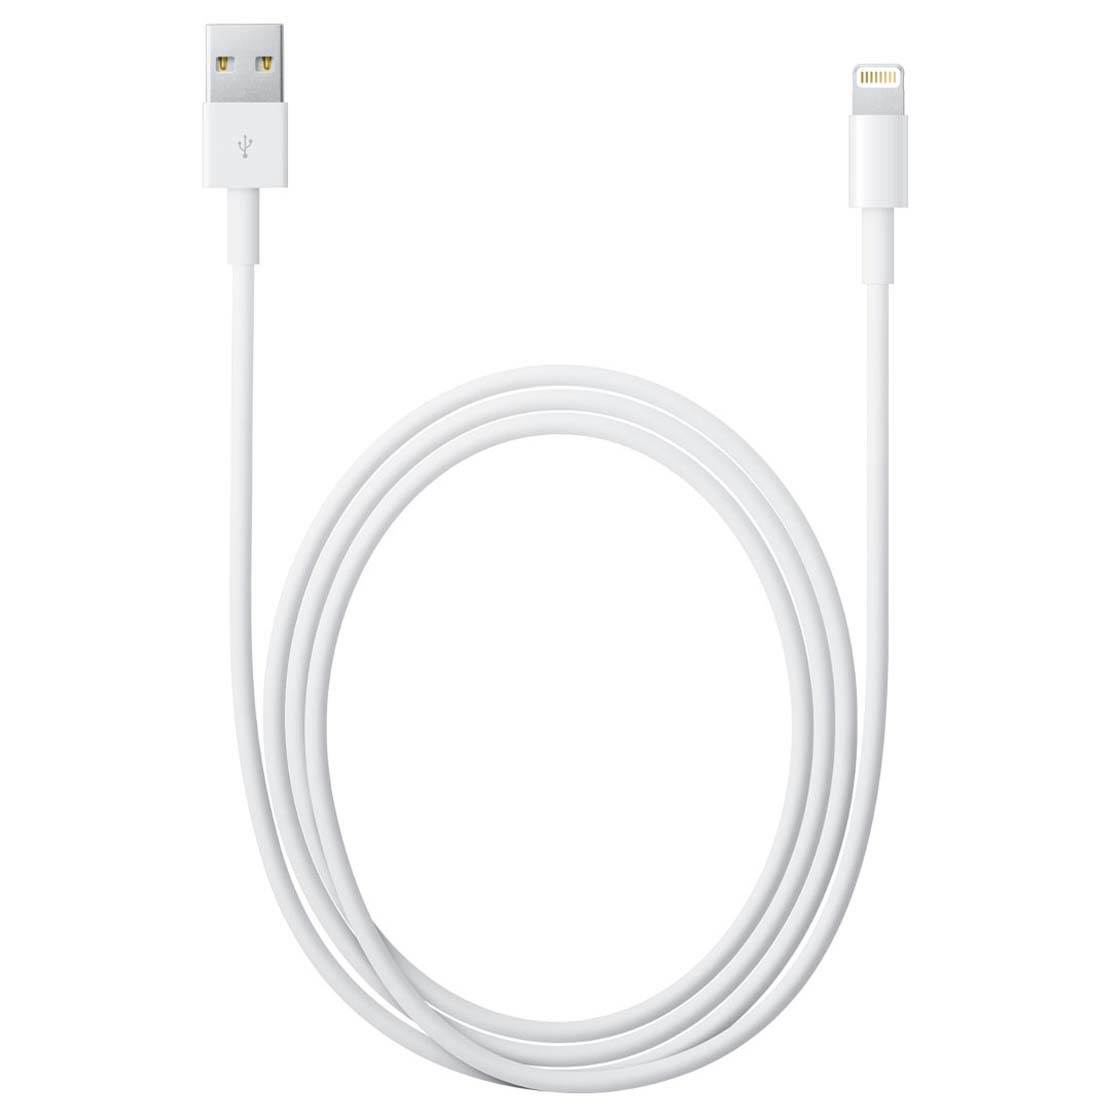
I purchased a six-foot (2m) cord for this very reason, and it’s become my most-used power cord. It’s especially great for use with my external battery.
I can keep the battery pack in my backpack or shoulder bag and continue to shoot with my iPhone while it’s charging, with no restrictions on my physical movement (a three-foot cord would be too short in most cases for this type of use).
Final Thoughts
While battery technology continues to lag behind real-world demand, there are many easy steps that you can take to maximize the usable power of your iPhone’s battery.
From no-cost changes to your built-in settings to a wide range of power accessories, you have plenty of options to take advantage of.
Start with the easy settings and see what works best for your needs. If you still need more power, consider an external battery or battery case to keep your iPhone topped up while you’re out shooting.
Your ability to take photos with your iPhone should only be limited by your subjects and your imagination, not your battery life.


Would it not also help to come out of the camera app when not actually shooting so that there is no live view?
Yes, that would definitely help too 🙂