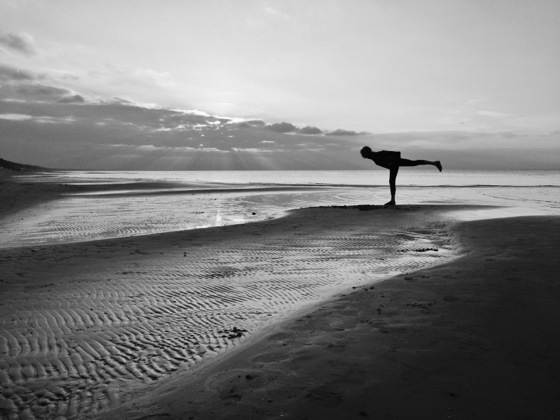
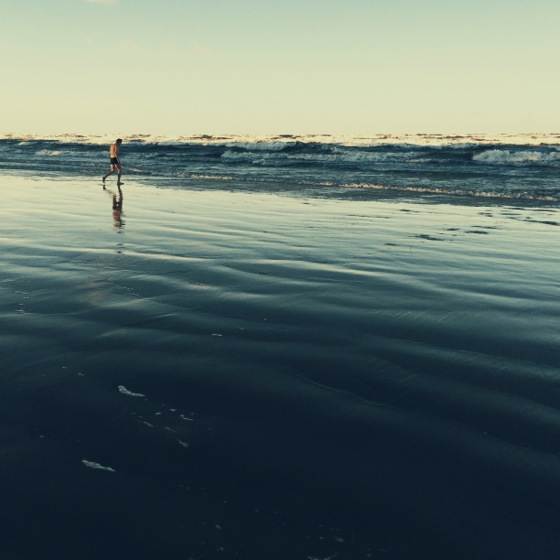
Looking back at 2013, I see how much I’ve grown in my second year as an iPhoneographer and how much learning and experimentation there is to be done in 2014. But today I want to take at moment to share the 10 most important things I learned about iPhone photography in 2013.

1. Shooting Every Day
The number one thing that helped me become a better iPhoneographer this year was shooting on a daily basis. I used to take photos only on special occasions, but this year I took almost all my best photos when I was going out with the sole purpose of taking interesting photos.
It doesn’t matter if there’s nothing of interest to capture, if the weather is bad, or if you’ve already taken every possible photo in your neighborhood. About half of my photos this year – including most photos you see in this post – were shot within a few hundred meters from my home.
Every time I thought I had already seen everything and captured everything, I could still find something new that was worth capturing. In fact, my travel photos were generally worse than the shots I took in my neighborhood. Taking a careless shot of a magnificent view or a great landmark can only result in a boring, low-quality photo, but when you go out of your way to find beauty and unique stories in the ordinary you can really grow as a photographer.

2. Persistence
Another crucial thing I learned this year was the importance of persistence. There will always be times when you can’t find anything interesting or unique to capture, or when you feel that you’ve already taken essentially the same photos before.
You’ll probably be tempted to give up and go home, saying that there’s nothing left to capture in this area, these light conditions or with these subjects. But if you persist and keep trying past the point of hopelessness, you’ll eventually stumble onto something extraordinary.
This summer I was taking sunset photos on the beach, and while the light conditions were perfect, I was getting frustrated by the lack of interesting subjects in the area. Every photo I took reminded me of other photos I had already taken, and I was very disappointed with the results.
I was already going home when I saw a little girl who was about to fly a kite. This was the perfect shooting opportunity I had been waiting for the entire evening, and I was able to capture unique photos of the girl launching a kite, which is something I had never photographed before.

Had I gone home earlier, I would have missed this great opportunity and not captured anything unique that day. The same thing has happened to me time and time again.
3. Leading Lines
The concept of leading lines is one of the most important composition guidelines I learned this year, and it has helped me with many photos that would have otherwise not worked out so well. I first learned about leading lines from Matt Kemp’s iPhone Photography Pro video course.
In essence leading lines are important lines in your photo that can be used to draw attention to your subject. The best leading lines are diagonal, and they typically start at the bottom section of the photo, leading the viewer diagonally towards the subject as seen below.

4. The Diagonal Principle
The diagonal principle states that important subjects in your photo should be aligned diagonally so that the composition is balanced both horizontally and vertically. This is particularly useful when you have multiple subjects in your photo and you want them to fill up the entire frame.
When you align your main subjects horizontally or vertically, your photo will get out of balance and the resulting composition typically won’t look very good. But when you align your subjects along the diagonal, the resulting composition will typically be much more harmonious.

The diagonal principle helped me improve many photos this year, including this beautiful river photo. In this photo the main subject – the orange rock at the top right – is complemented by the smaller rock at the bottom left, and the diagonal alignment makes the composition balanced both horizontally and vertically.
5. Symmetrical Compositions
Symmetrical compositions go against many of the so-called composition rules, most notably the rule of thirds, which is why I was initially hesitant to take symmetrical photos. However, when I started taking them, I immediately fell in love.

While symmetrical compositions may not work in every photo, there are times when they work extremely well, especially if you want to create a really dramatic photo.
6. The Importance of Empty Space
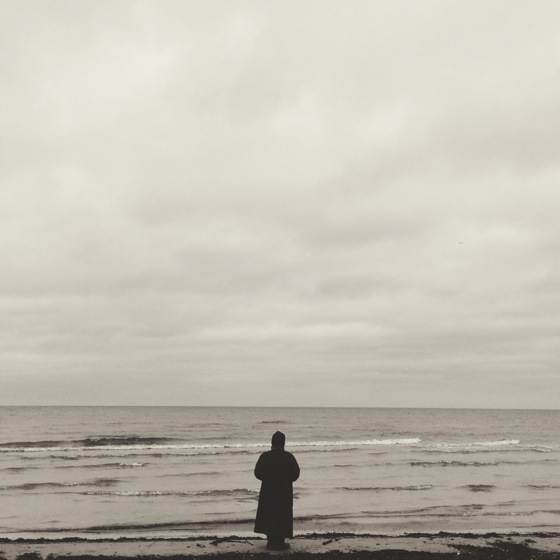
Empty space (also known as negative space) is another useful photography concept I explored this year. Empty space is particularly useful when you want to make your photos more dramatic while also putting more emphasis on your main subject like I did in the following photo.

When your photos have a lot of empty space – especially if they are square photos – it often makes sense to depart from the rule of thirds and place your subjects closer to the edge of the photo so that large empty areas become even more pronounced, thus making the photo even more dramatic.
7. Shooting From a Low Angle
Sometimes just changing the angle can make your photos much more interesting and unique, and often the easiest way to do so is to get low with your iPhone. Most photos are taken from the height of an adult chest since that’s the easiest thing to do, but not necessarily the best.

This photo illustrates what happens when you get low with your iPhone. The perspective becomes a lot more extreme, you can include more interesting details in the foreground, and the photo in general becomes more unusual even if your photo subjects are relatively mundane.
8. Placing the iPhone Directly Above Water
As a natural extension from the previous tip, I also found out what happens when you place the iPhone just an inch from the surface of water. Now, this is risky business and you could potentially destroy your iPhone, but until that happens you’ll get some really outstanding photos.
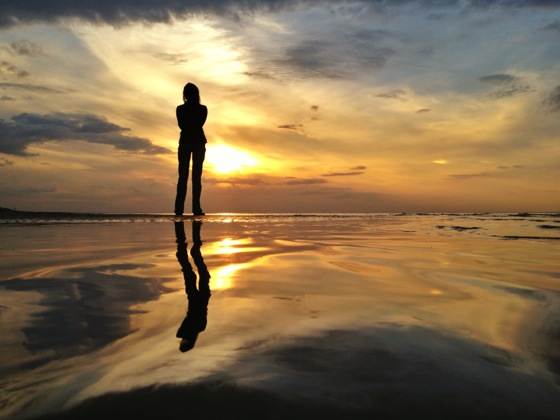
Placing the iPhone just above the water makes even tiny waves look huge, which adds unique distortions to everything reflected on the surface. If there are no waves, you can actually create them yourself by throwing a small rock into the water, which is another tip I picked up from iPhone Photography Pro video course.

In this photo you can also see how I captured the woman with nothing but sky in the background, which is a pretty interesting angle that you can only get thanks to the low camera placement.
9. VSCO Cam Presets
In terms of photo apps my biggest discovery this year was VSCO Cam, which is a great app with simple but good-looking photo editing features. The best thing about VSCO is editing preset filters which allow you to easily create analog photography inspired looks for your photos.

Of course, there are many other apps that offer filters and presets for your photos, but VSCO is unique in terms of photo quality and the analog look that you can achieve. Unlike other filter apps, VSCO filters are also rather subtle (which is a good thing), and you can adjust the strength of any preset to get exactly the kind of look you want.
To get the most out of VSCO Cam, you should probably purchase some paid presets. The $5.99 preset pack was surely one of the best app investments I made in 2013.
Learn how to use this fantastic app with our in-depth VSCO tutorial.
10. Using Fewer Photo Apps
Throughout the year I also went through many different photo apps, and downloaded many more that I never really had a chance to explore, which made me realize that I don’t need more photo apps. I just need to pick a handful of good ones and really learn how to use them.
This is exactly what I did, and my iPhone photography workflow improved as a result. Even though I now use fewer apps than before, I have a much better understanding of what can be done with each app and which apps I should use to process any given photo.


I’m so happy to have found your blog! Thank you for the great tips and lessons. I really enjoy your style and look forward to learning much more about iPhone photography from you.
Thank you so much!
I like this. It is well laid out, gives helpful, thought provoking ideas and examples. Some things I have not thought about 🙂 I shoot on average around 30 frames a day. Sometimes I wonder what the hell I meant to capture, but remember those photos when I make a collage: wouldn’t you know it, it was perfect 😉
Thanks Jeffrey, glad you liked my lessons from 2013!
Like many others, I am so glad I found your blog. I have learned so much and thank you for that. Just read your email regarding black and white photos and am grateful for the tip. Snapseed is my most used editing app. I’ve not done too much in black and white but hope to experiment more.
Glad my blog has helped you! Let me know if you have any questions.
Thank you so much!
This helped a lot. Thank you!
Happy to hear that!
Thanks for sharing your knowledge. Simply awesome when knowing how to be effective. You helped me to see beauty more than just the norm.
I just found your blog. I am new to I photography and am frustrated by dark faces in bright light. I like to backlight subjects but can’t get detail in the faces. Help!
I never thought about using your iPhone’s camera in photography would result to a great photo until I learned about your site. Yes, I’ve used mine for special events but for daily use? I’ll practice the tips you’ve mentioned above, especially the “Shoot Everyday” part. Keep up the good work, man. A site regular here. Haha! Hoping to learn more from you.
What jumped out for me in your photo #4 — more than the diagonal principle — is the cool triangle formed by the three rocks! I discovered your blog and website just this morning and have been learning a lot – I really like it. I’ve been a point-and-shoot enthusiast for years, but I’m thinking 2015 is the year I go mobile. (Gotta get the phone first!) Thanks for all your effort and sharing your knowledge — keep up the good work!
All the tips applicable for all the models i mean for 4s 5 or only for the latest models 5s 6 6s. currently i am having 4s so can i do all these things with my model?
Yes these tips are definitely all applicable for a 4s 🙂
awesome blog mr. emil, i am new to photography and your blog is really helpful. thanks.
So glad to hear that Edd! 🙂