Lens flare from the sun can make or break a photo. If you get it wrong, the strong light will dominate the image, causing over-exposure and low contrast. But if you get it right, you’ll capture dramatic rays of sunlight and beautiful warm light hazes that add a magical quality to your images. While lens flare can be completely avoided, embracing it will give your photos a whole new lease of life. In this tutorial you’ll discover how to capture stunning lens flare in your iPhone photos, as well as using apps to add sun flare in post-processing.
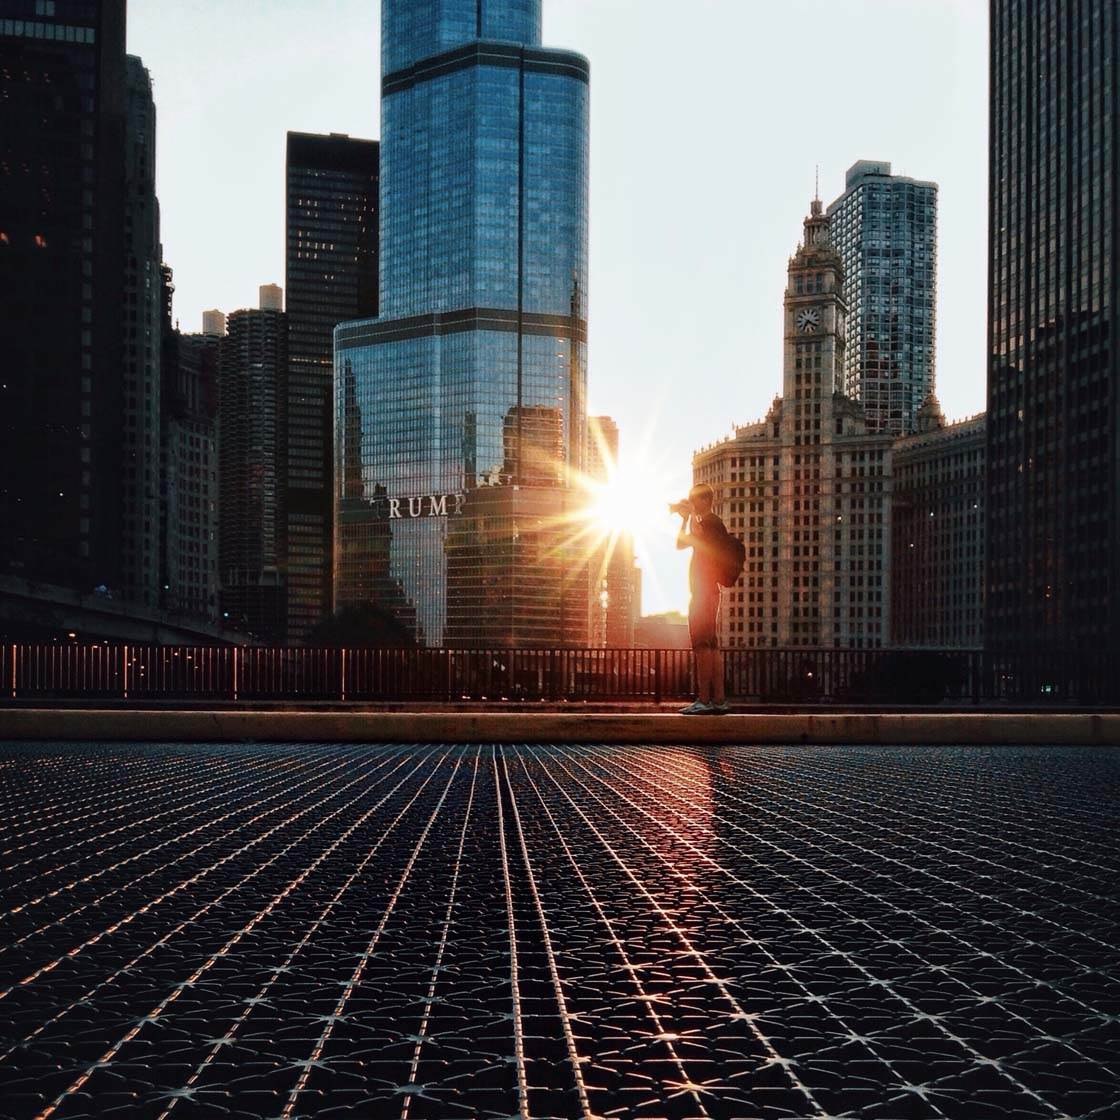
1. Shoot Toward The Light
To capture lens flare in your photos, you need to shoot into the sun. We’re often taught not to do this because the bright sunlight can ruin our images.
But if you get it just right you can capture dramatic lens flare without the negative effects of over-exposure and low contrast.
It usually works best if you have have an object such as a tree, person or building which you can position partially in front of the sun. This will reduce the amount of bright light while still allowing you to capture the rays from the sun
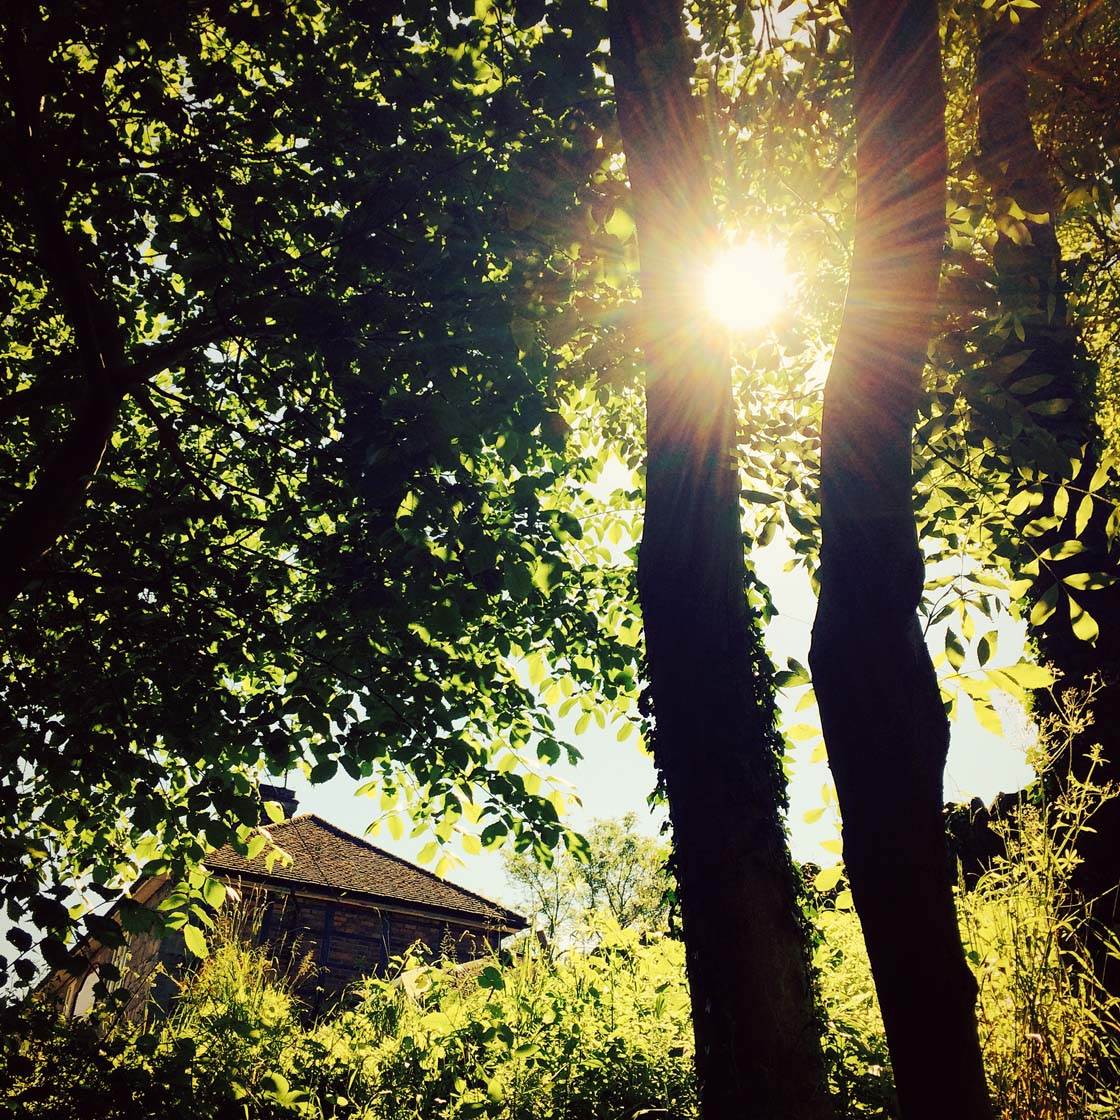
Whenever you’re shooting in bright sunlight, pay attention to the direction of light and use your surroundings to your advantage.
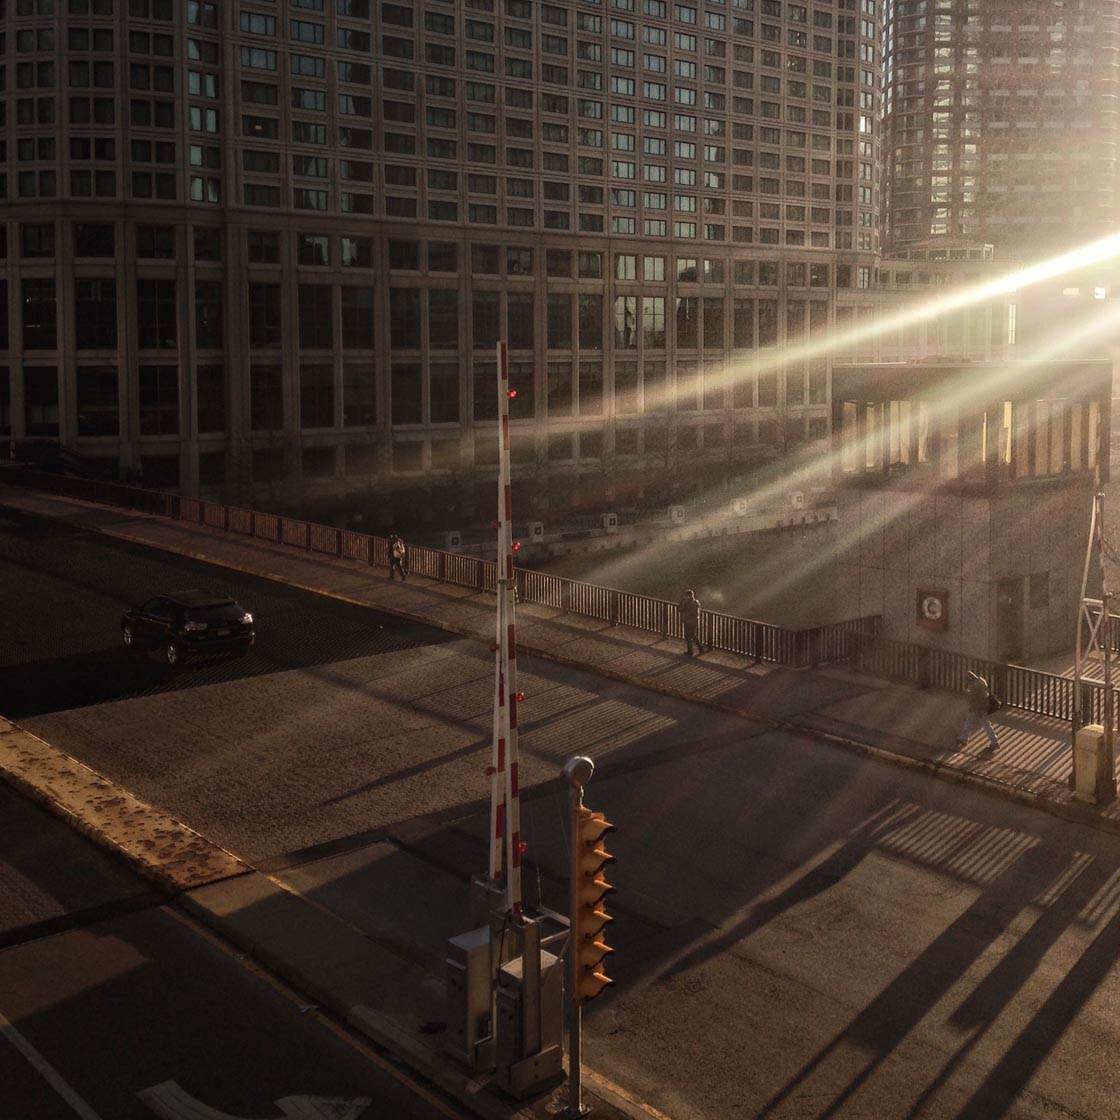
If you’re surrounded by large reflective buildings, you might even be able to capture lens flare from the sun’s reflection. This is exactly what I did in the photo below which was taken early in the morning shortly after sunrise.
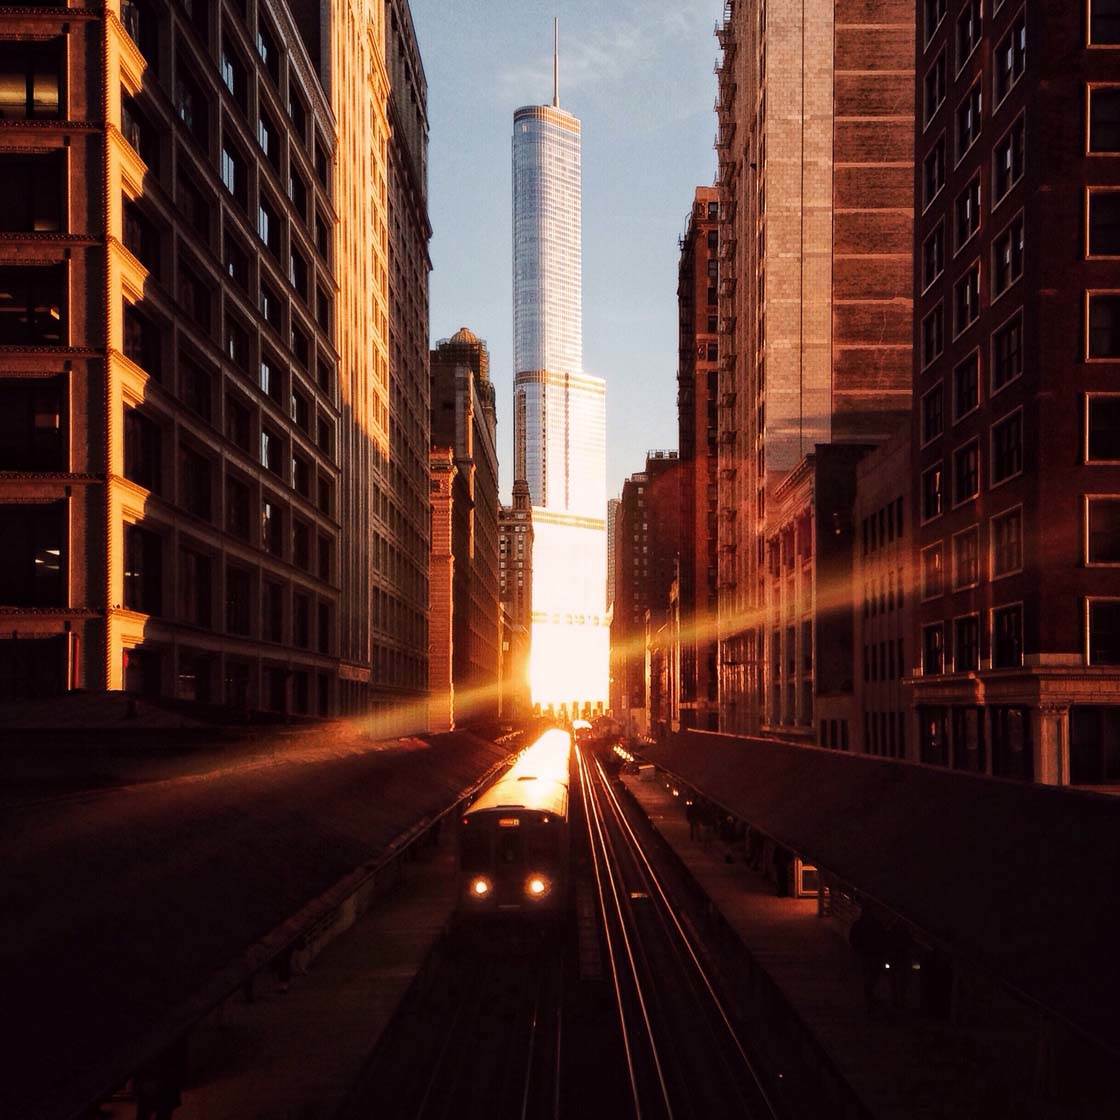
Light from the rising sun reflected off the building at the end of the urban canyon, creating a strong golden lens flare complimented by shadows and light on the buildings.
The golden hours of sunrise and sunset are great times to capitalize on lens flare. This time of day often produces the best results because the light is warmer and softer. It’s also much easier to compose a photo with the sun in the composition when it’s lower in the sky.
2. Experiment With Different Angles
Lens flare only occurs when the sunlight hits the camera’s lens at certain angles. So you’ll need to experiment with the angle of the iPhone until you see lens flare appear in your photo.
Once you see the flare in your viewfinder, make small adjustments to the shooting angle until you get just the amount of lens flare you want. Changing the angle will also have an effect on where the flare appears within the image.
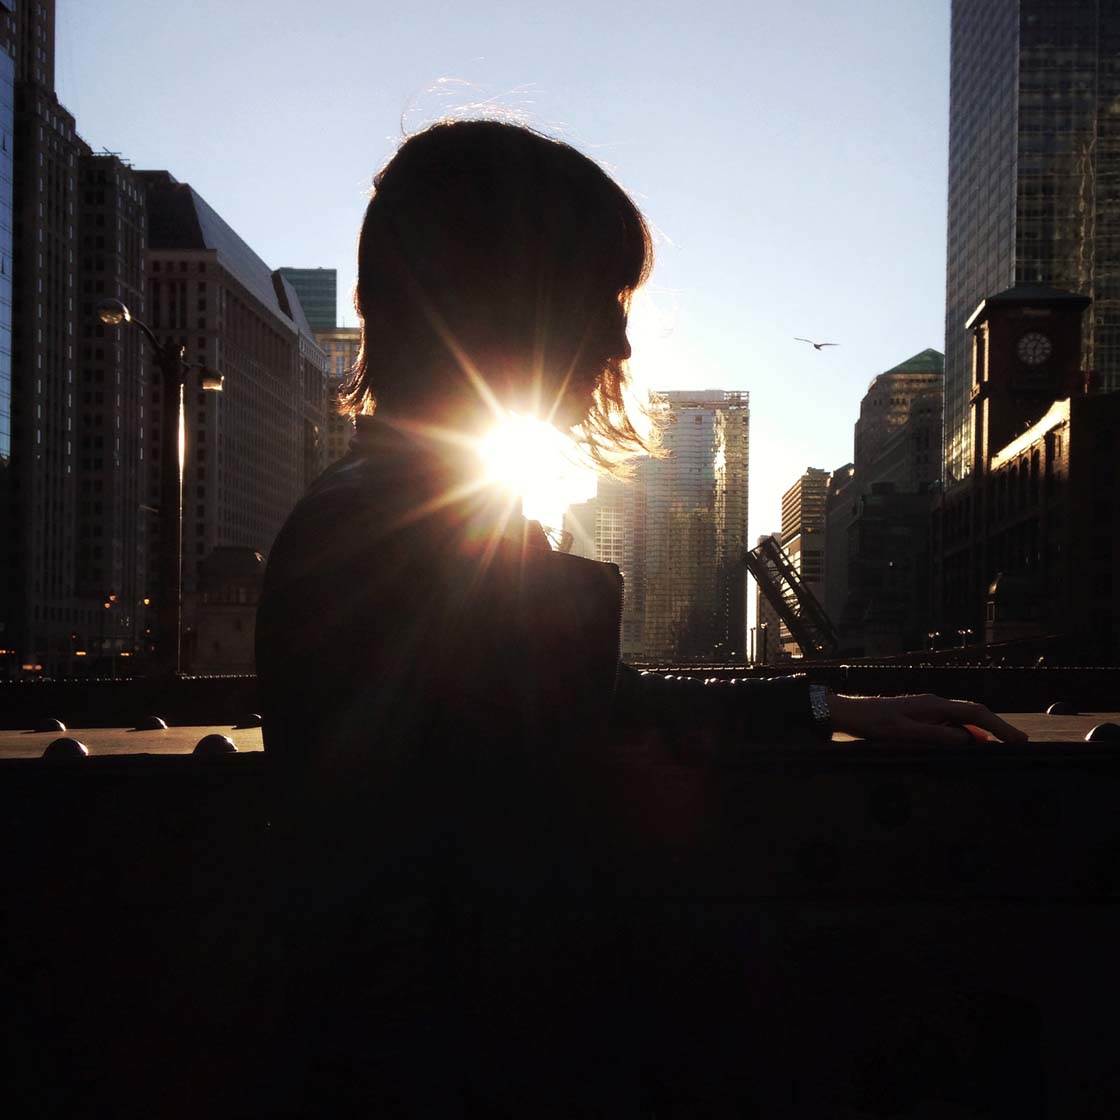
The lens flare should enhance your composition, rather than obstruct it. The best lens flare images occur when the subject and the flare complement each other perfectly.

In this photo, beams of light are raining down onto the subject, drawing the eye toward the focal point. The lens flare adds a magical quality to the portrait, enhancing the mood of the photo.
If the lens flare is too large or bright it will dominate the composition, so be sure to move around to hide certain parts of the flare with other objects in the scene.
A great way to create subtle lens flare is to use a solid object to cover the brightest part of the sun, with a subtle glow or flare around the edges.
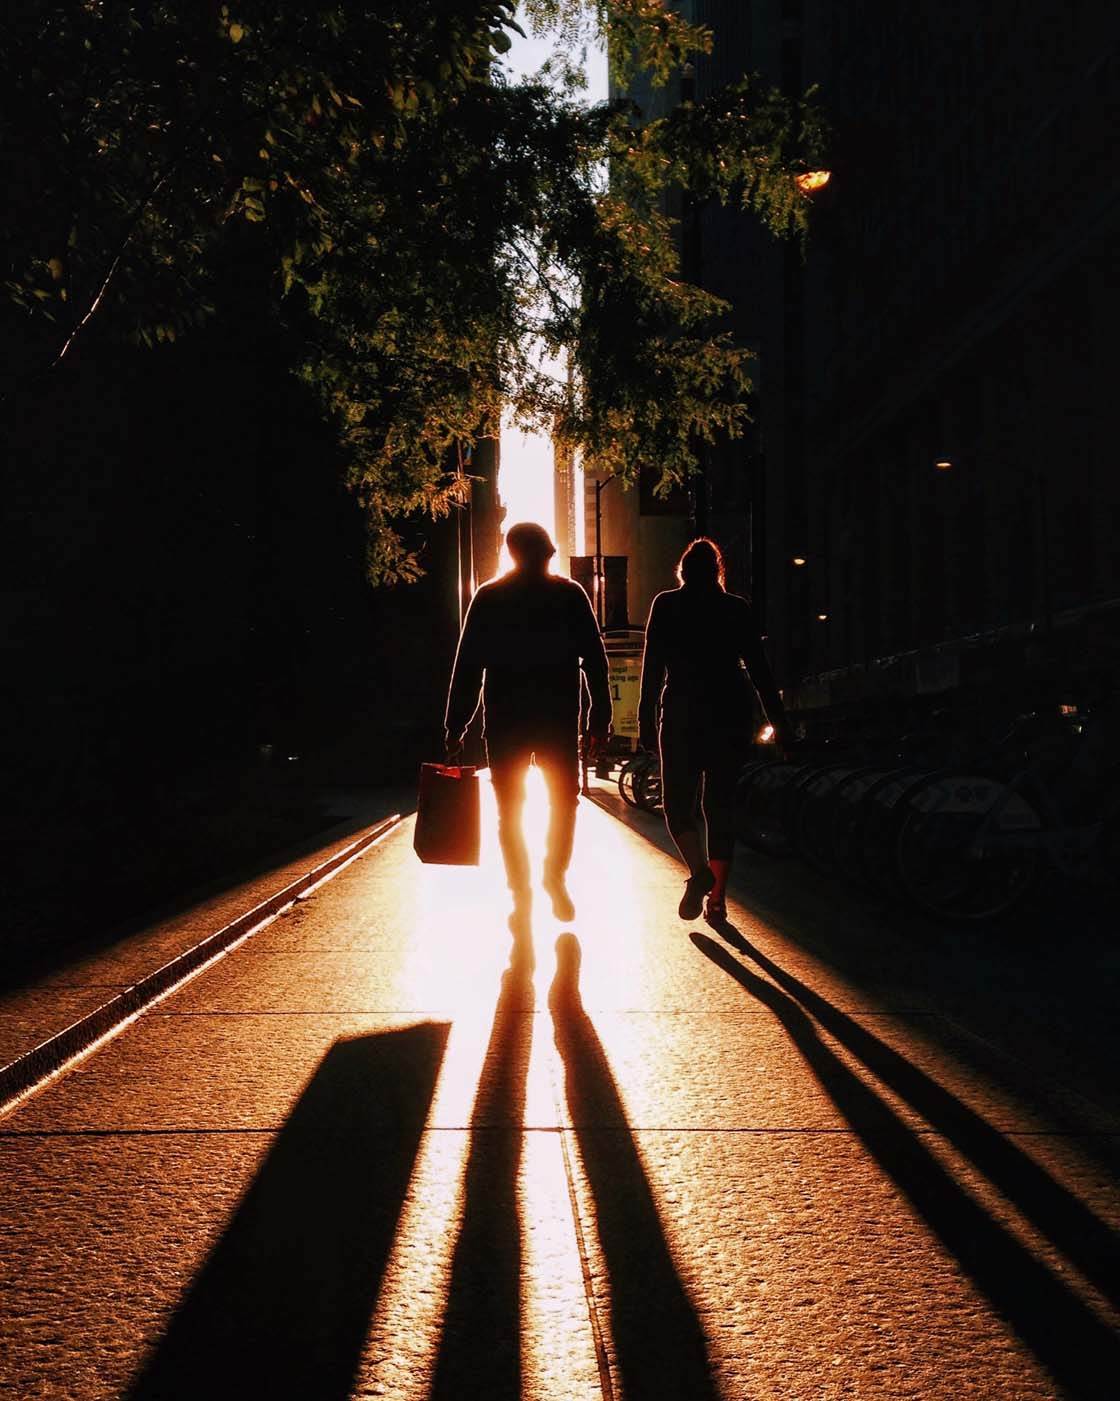
In the photo above, I shot from just the right angle so that the man in front of me blocked the sun. The lens flare has been carefully streamlined so that it appears as a soft glow rather than an intense flare.
It creates a strong focal point, but also bathes other parts of the scene with beautiful golden light. Creating silhouettes in front of the sun can also result in a stunning rim light effect around the edges of the subject.
3. Shoot In Burst Mode
Capturing the lens flare exactly where you want it can be tricky. The intensity and direction of the flare can change with the slightest movement of the iPhone.
So a handy tip is to shoot using the burst mode feature while you make small adjustments to the angle of the iPhone. Burst mode allows you to capture a sequence of photos in quick succession, and then choose the best images from the series.
To activate burst mode, simply hold the shutter button down in the camera app. The iPhone will keep shooting photos until you release your finger.
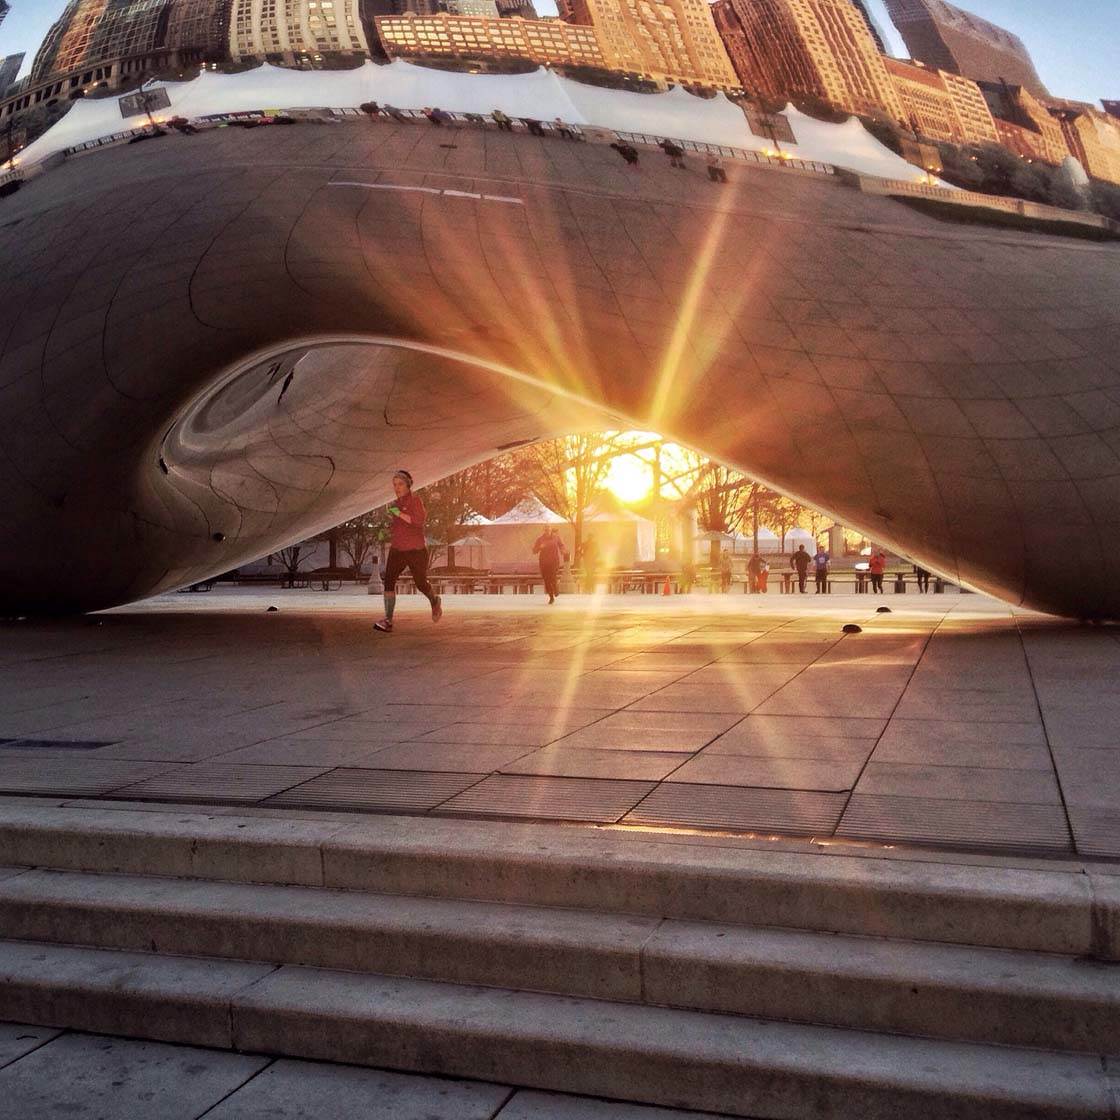
Be sure to change the angle of your iPhone slightly as you attempt to capture the scene in burst mode. Keep a steady hand as you move the iPhone otherwise you might end up with camera shake.
An extra benefit of shooting in burst mode is that it’s great for action shots like the one above where the people in the scene are running. Burst mode allows you to capture the moving subject in the perfect pose.
Once you’ve finished shooting, open the burst collection from your photo library and tap Select. Select the photos you want to keep, then tap Done. Any photos that you didn’t select will be deleted, and the rest will be saved.
4. Reduce Exposure
One of the main problems with lens flare is that it can ruin a photo by causing over-exposure. If the sun is too bright within the composition, it’ll create a large bright area where no color or detail is visible, and the rays of light will lower the contrast within the scene.
So before you press the shutter, take a careful look at the image in your viewfinder to see if you need to reduce the exposure (image brightness) in order to make the image darker.
To reduce the exposure level of your image, start by tapping to set focus on the area of the scene that you want sharp, then swipe down on the screen to make the image darker.
The aim is to preserve as much color and detail as possible, which still capturing the lens flare from the sun.
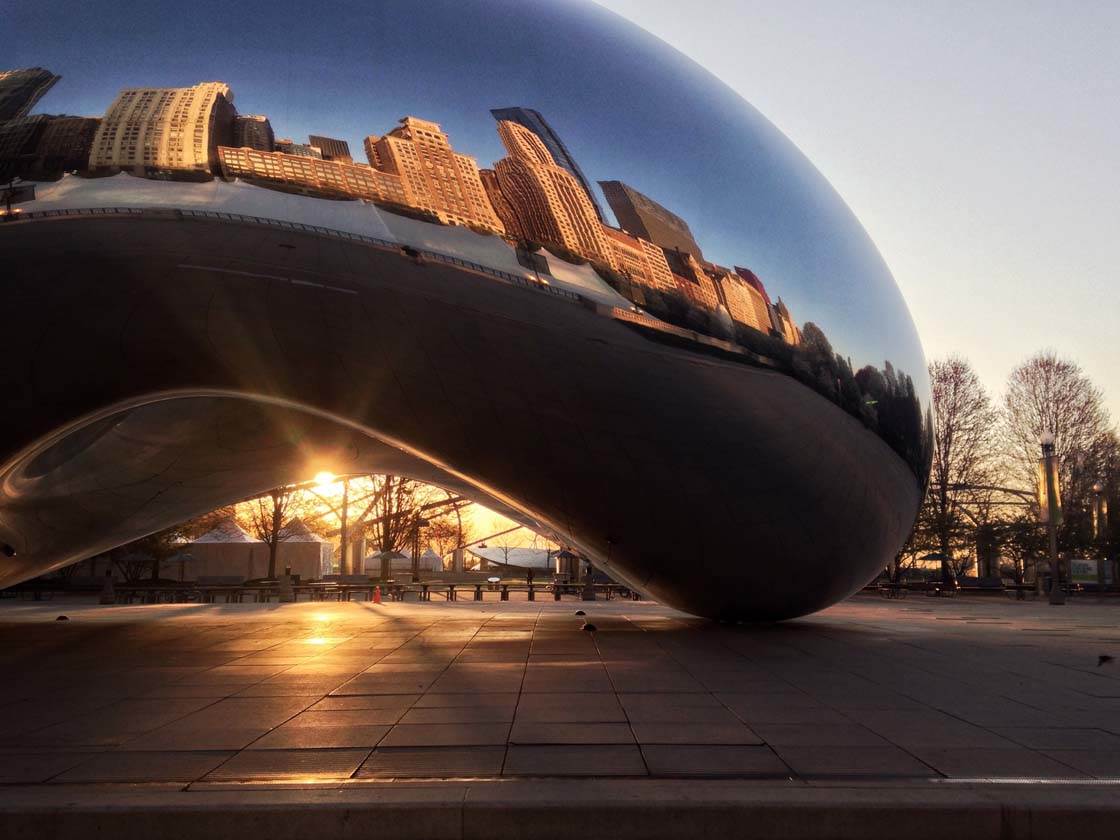
The lens flare in this photo is quite subtle because I reduced the exposure. But it provides a nice focal point and the sunlight appears a lovely warm orange rather than a harsh bright white.
Reducing exposure helps to draw the viewer into the photo and toward the focal point, rather than being distracted by the super bright light.
5. Shoot With The Sun Slightly Out Of Frame
One of the challenges of shooting directly into the sun is that the bright light can ruin the photo. Even if you reduce the exposure, sometimes the sunlight is so strong that it will completely dominate the scene.
If the sun is creating a large over-exposed area that appears pure white, and the lens flare is reducing the contrast of the image too much, the best option is to shoot with the sun slightly out of the frame.
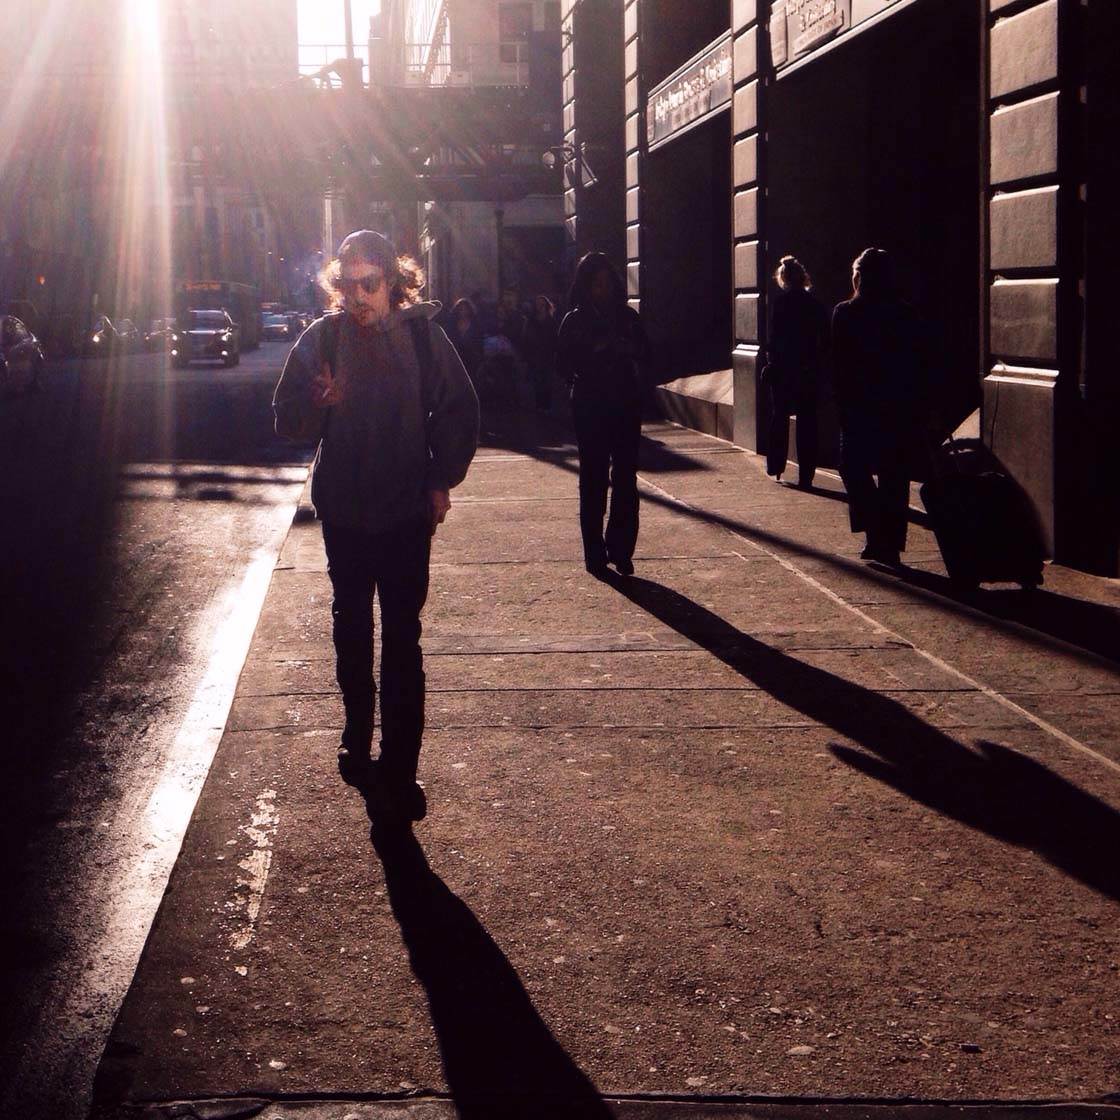
This doesn’t mean that the lens flare from the sun can’t be harnessed into an effective compositional element. You can still include the lens flare, allowing it to peek in from one edge or corner of the frame.
Having the sun slightly out of the frame often allows you to create a much more pleasing image. Try to compose your shot so that the rays of light point toward your main subject or draw the eye through the scene.
6. Create Or Enhance Lens Flare Using Apps
If you struggle to capture good lens flare, you could always add it to your photo in post-processing.
There are some great apps that allow you to add very realistic lens flares to your photos. LensLight and Lens Distortion both have a great selection of different flare effects.
The most realistic results are usually achieved on photos where you’ve already captured the sun in the scene. You can then use the app to add some flare to the sun, or even enhance the lens flare that you’ve managed to capture.
Alternatively, you can add lens flare to a scene that doesn’t include the sun in the composition. But keep in mind that you should only add lens flare when you’ve captured a decent amount of light in the scene.
Adding lens flare to a photo taken in low light or on an overcast day won’t work well because you wouldn’t normally capture lens flare in these conditions.
When adding lens flare, always keep in mind the direction of the light, then add the flare in the direction that the sunlight would be coming from.
If you’ve captured or added lens flare in your photo, but the colors don’t complement the scene, a simple option is to covert the image to black and white.
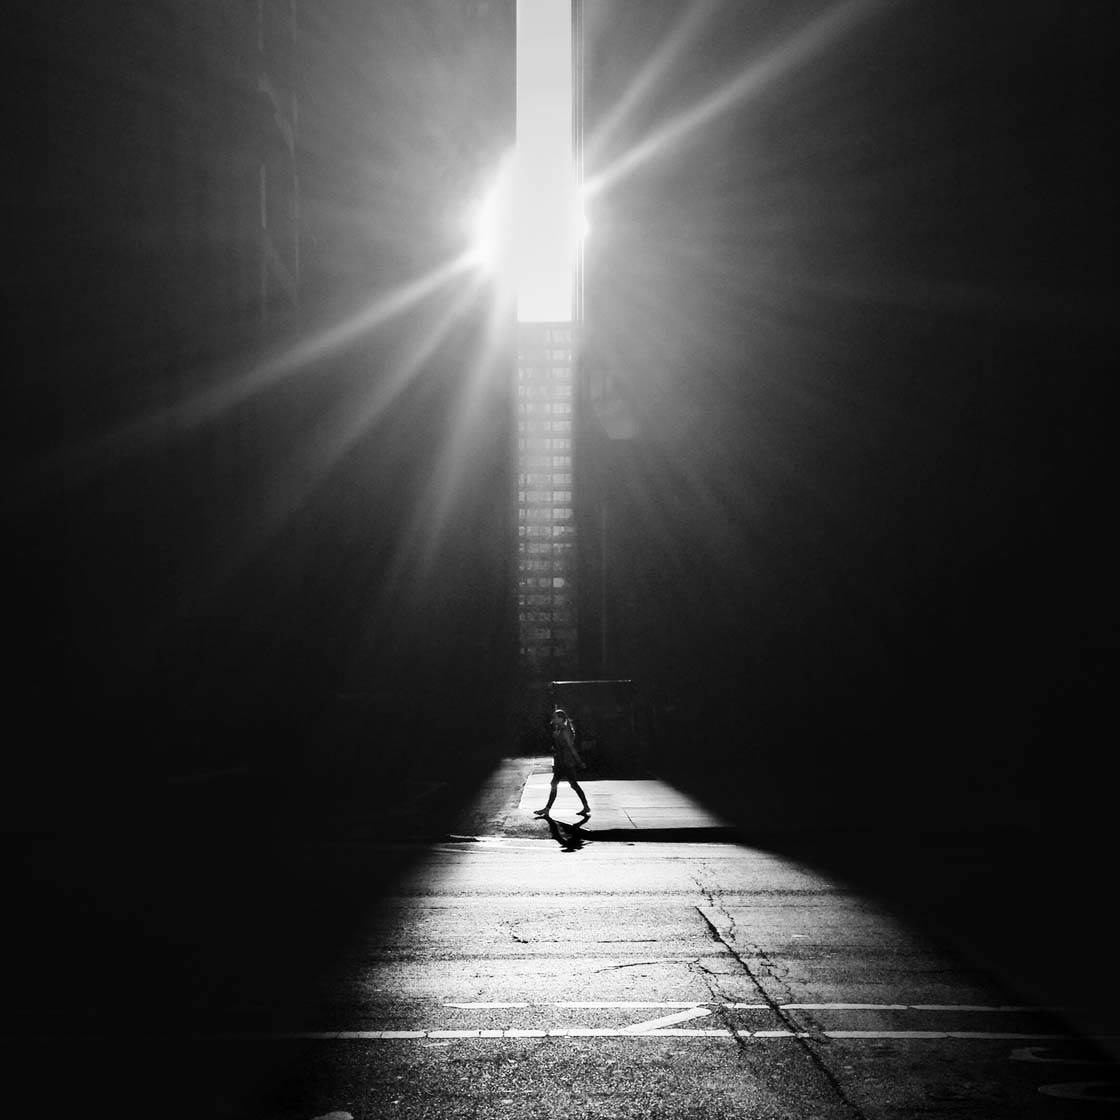
A black and white conversion can also help to emphasize the lens flare. When the color is removed, the contrast between dark and light becomes more obvious, defining the individual rays of light within the scene.
Conclusion
While lens flare can be tricky to capture, the techniques in this tutorial will give you the best chances of creating beautiful sun flares in your photos.
So the next time the sun is shining, venture outdoors and start shooting into the sun.
Experiment with your shooting angle, use objects in the scene to partially hide the sun, and compose your shot with the sun slightly out of the frame if necessary.
To maximize your chances of capturing the perfect lens flare, shoot using burst mode while you slowly adjust the angle of your iPhone. If the sun appears too bright, reduce the exposure level in the camera app.
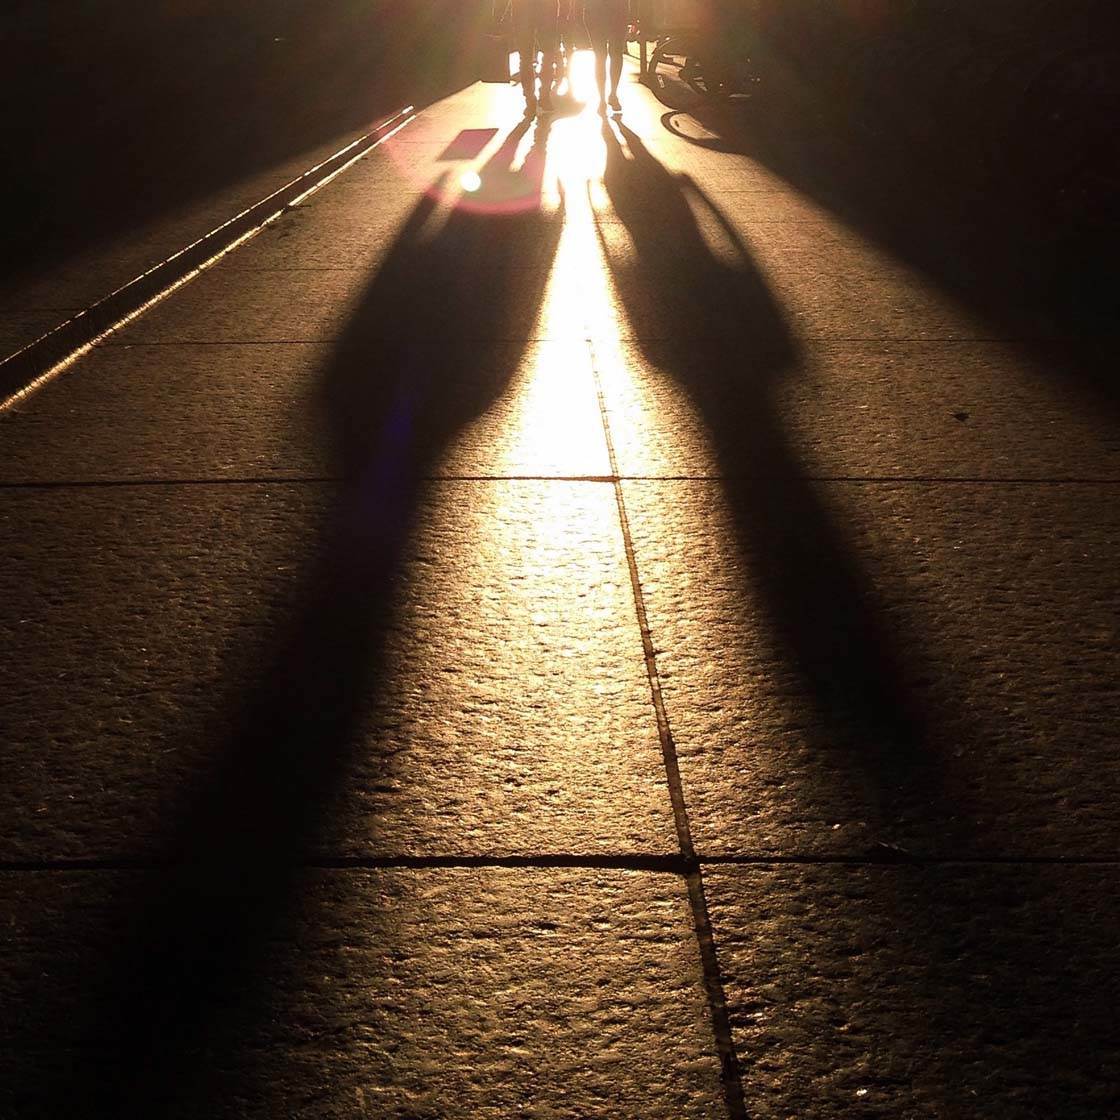
A good lens flare photo should use the sun’s light to enhance the composition, rather than letting it dominate the scene.
And remember, if you don’t manage to capture good lens flare at the time of shooting, you can always enhance it or add different flare effects using apps such as LensLight and Lens Distortions.
With a bit of practice you’ll soon be able to harness the sunlight to create dramatic and magical lens flare in your iPhone photos.


Hi can you do this with candles and other light sources like lightbulbs or is it just for the sun. I can’t believe that someone hasn’t made an app for the starburst filter effect on an iPhone.