I’m delighted to share this interview with Jorg Siebler who takes wonderfully dramatic iPhone photos. With a passion for exploring abandoned buildings and capturing stunning light at golden hour, he enjoys taking full manual control of his iPhone camera to capture the beauty and drama of the scene. In this interview you’ll learn more about Jorg and how he shoots such great photos with his iPhone.
Tell us a little bit about yourself.
I live in Ann Arbor, Michigan. I moved here from Germany more than 17 years ago. The original plan was to stay for three years, but that plan failed miserably.
My four daughters were all born here in the US and are a huge part of my life.
For the last 20 years, traveling has been a big part of my job and it’s allowed me to see and experience different countries and cultures.
How did your iPhone photography journey begin?
I’ve always been interested in photography, and I got my first SLR camera when I was 12 years old.
Once digital point-and-shoot cameras became half way decent, I started to use those too. And five years ago I even invested in a Nikon D7000 DSLR.
Taking the DSLR on business trips was mostly an exception because it was just another thing to carry around, and most of the time I don’t really have the time to shoot anyway.
But once I got my first iPhone (5S), things started to change for me.
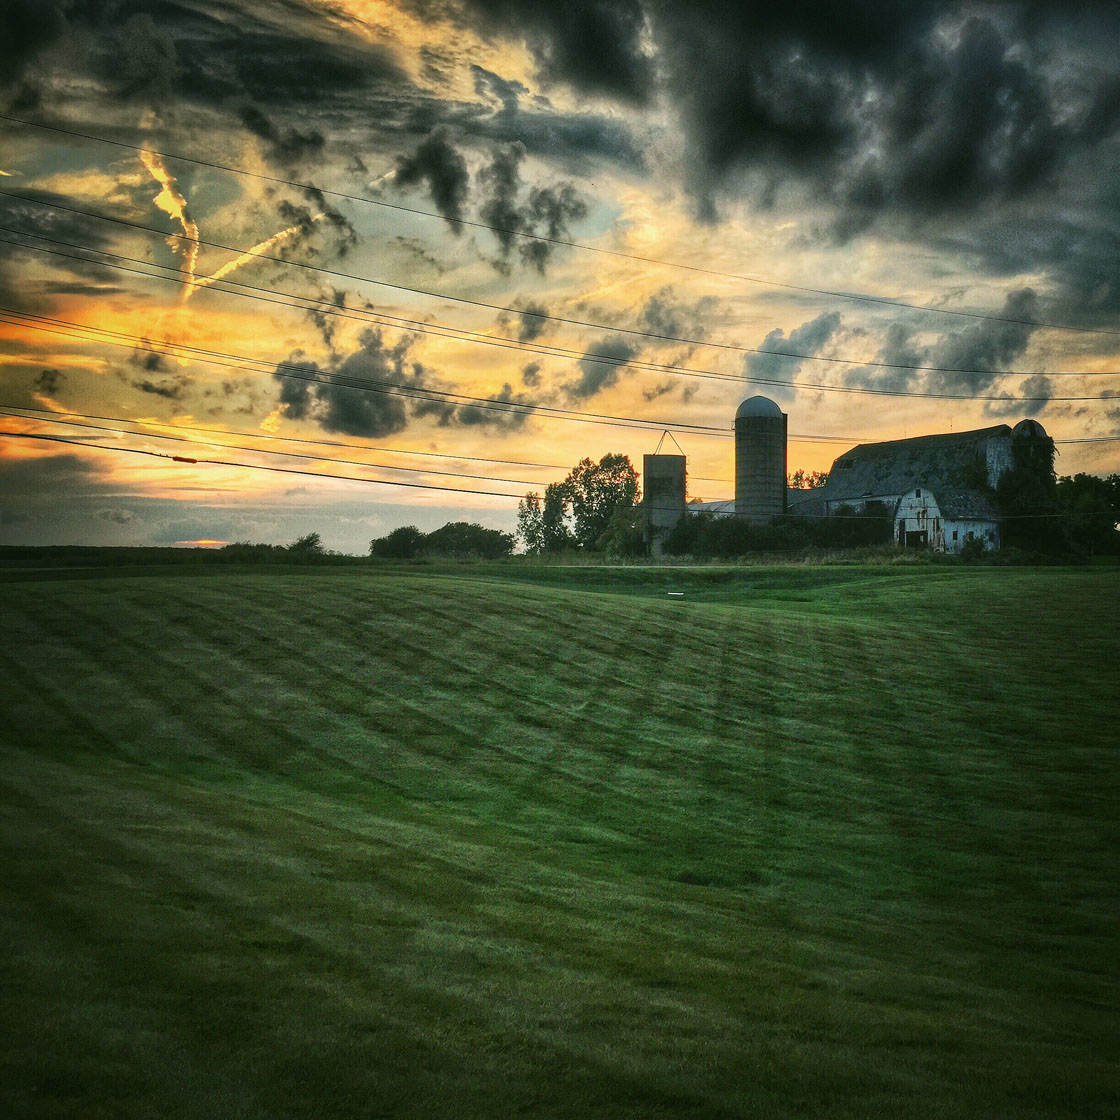
Having a great camera with me at all times meant that I started taking pictures while traveling, on my way to and from work, or when I was on a run with my dog.
A little more than a year ago I stumbled upon the iPhone Photo Academy course run by iPhone Photography School.
I was amazed to see what the iPhone camera was actually capable of and I became hooked.
At almost the same time, on a cold Sunday morning, I decided to look at some abandoned buildings in Detroit.
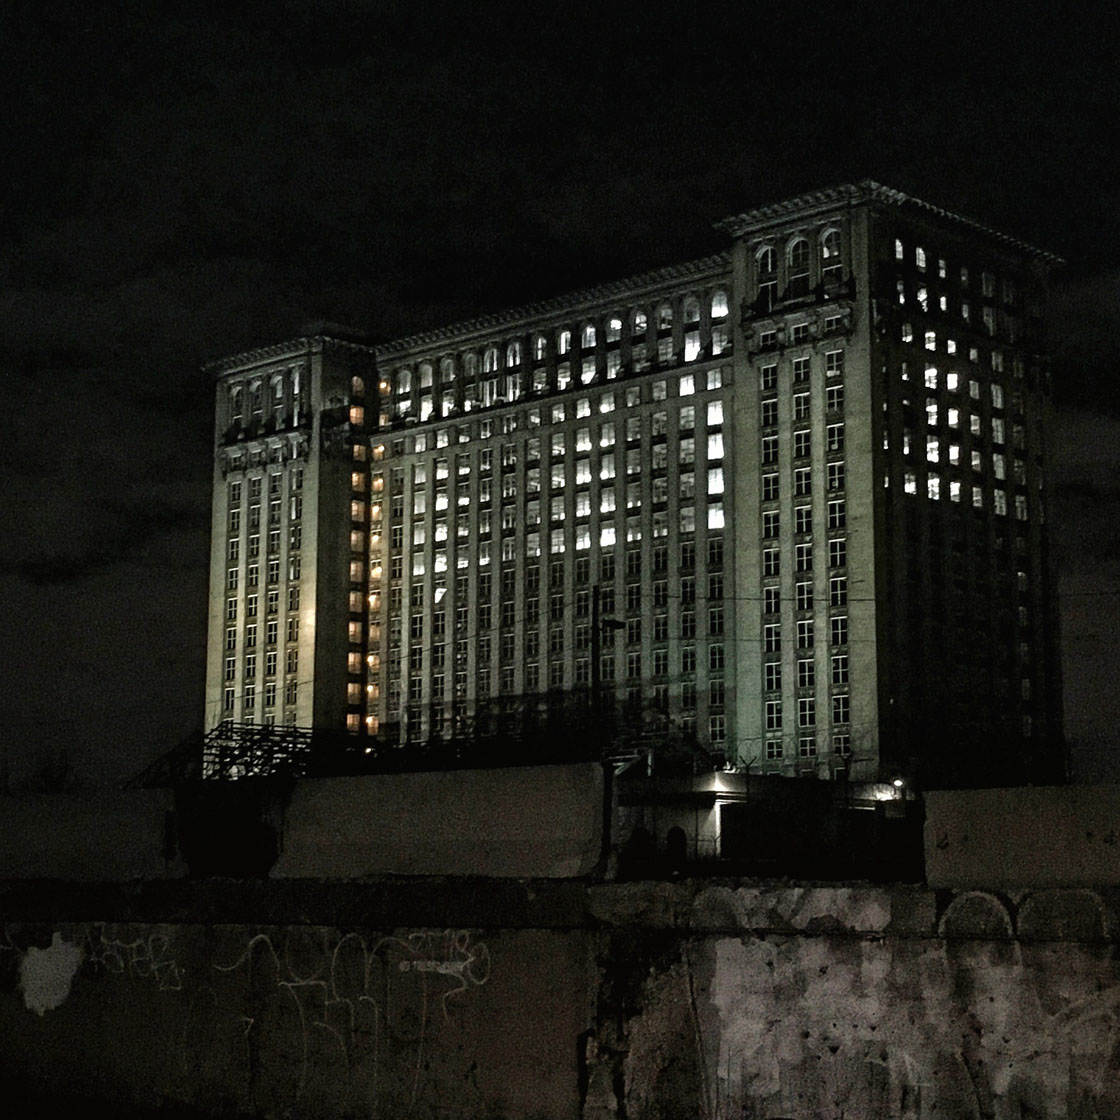
The Michigan Central Train Station was the first, followed by the Masonic Temple, the Fisher Body Plant 21 and some abandoned churches.
I’m still new to this, but I love going to downtown Detroit to look for abandoned places, or even just to walk through the city.
I mostly post my pictures on Instagram where I follow some amazing photographers and people who share the same passion as me.
Through these connections I’m getting inspired and motivated to produce better pictures. Instagram is also great for finding out about interesting locations that I put on my long list of places to explore.
What is it that draws you to abandoned places for photography?
The first abandoned place I looked at was the Michigan Central Train Station. I hadn’t been to Detroit for many years.
My oldest daughter is a dedicated ice skater, and she practices multiple times a week 15 minutes from downtown Detroit.
As she wasn’t old enough to drive herself, one Sunday morning I decided to check it out. A couple of days earlier I saw a picture of this beautiful building and I wanted to see it with my own eyes.
It was a cold Sunday morning in January 2015, and when I first saw it I was immediately amazed. A homeless guy came towards me, and honestly at first I was a little scared… it was Detroit!
But he just came to tell me about the building, the history and other places I should look at. He told me where to go to get a good angle to take great pictures of this “beauty.” He changed completely how I looked at Detroit.
I started to look for more abandoned buildings, and now I have a long list of places that I want to explore.
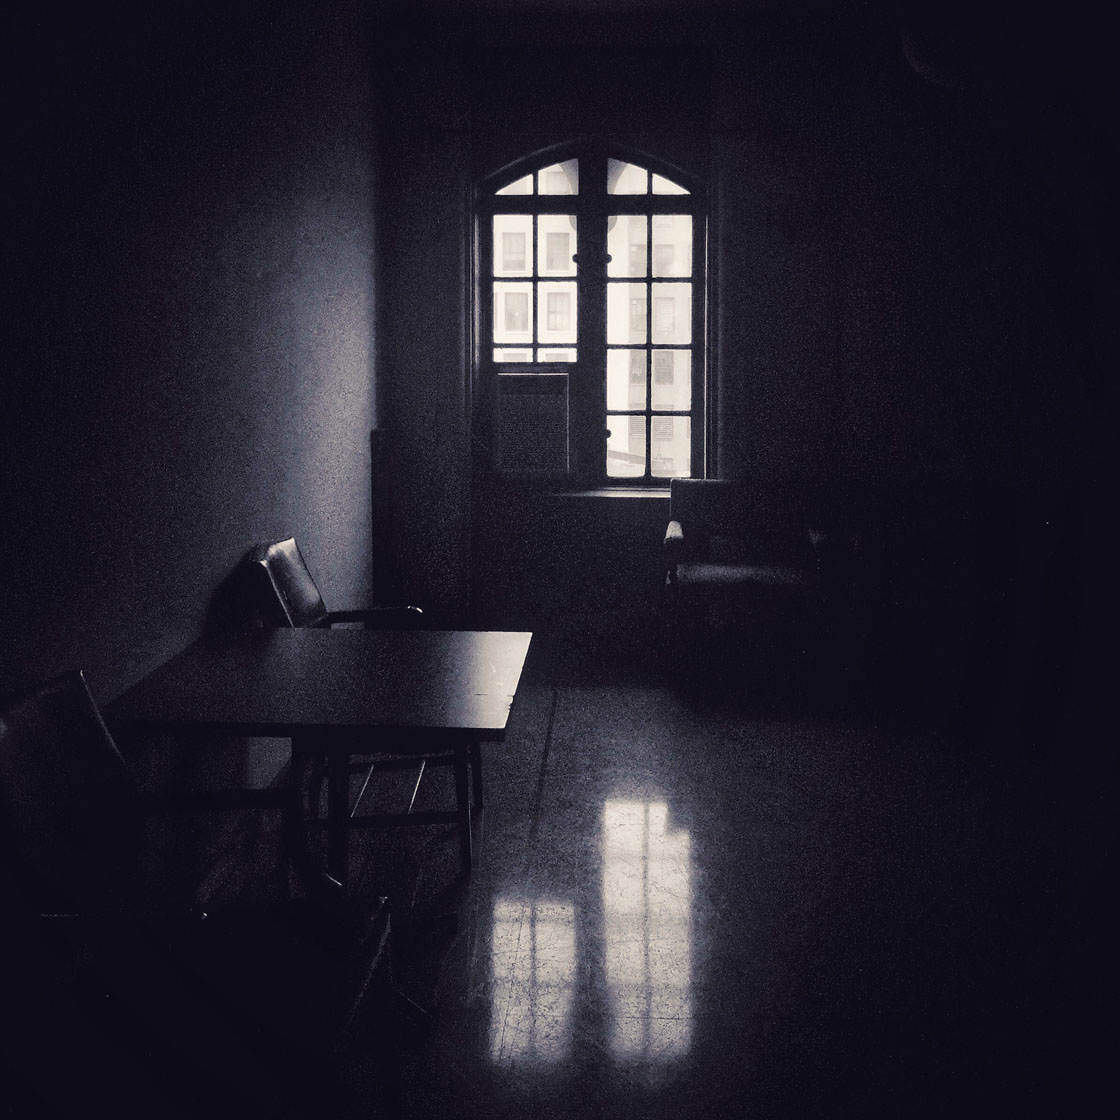
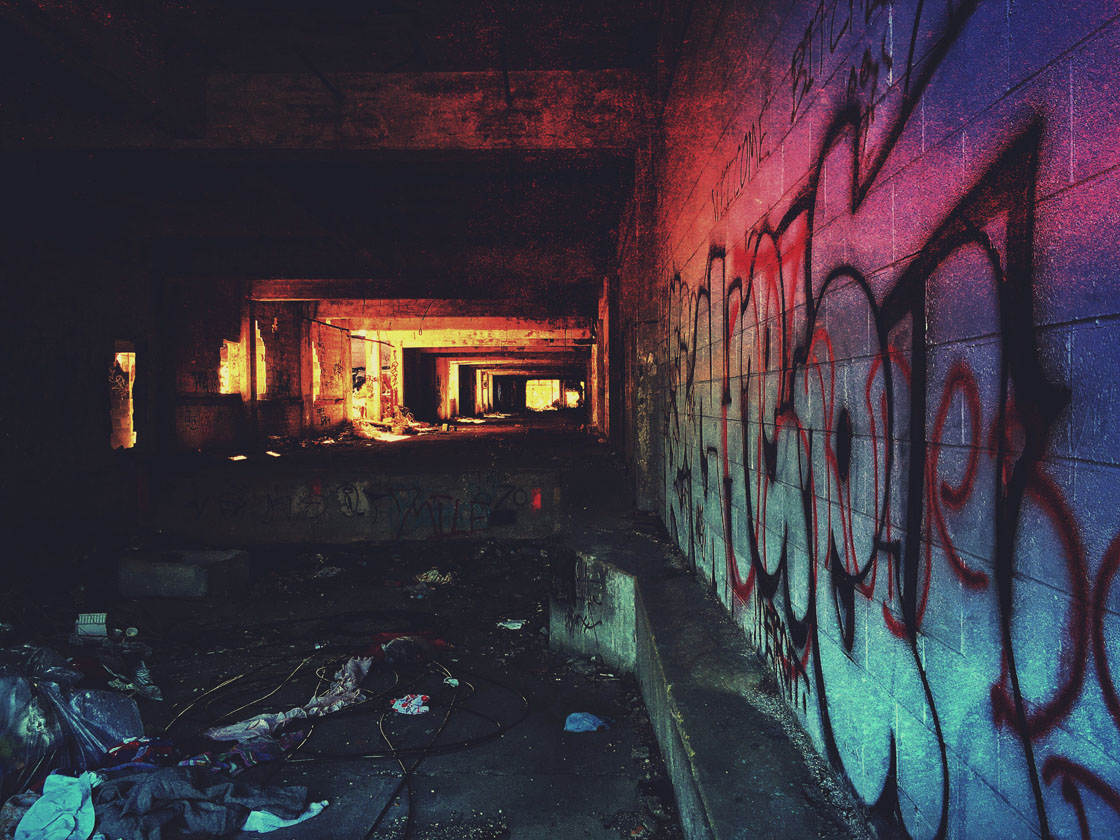
What draws me to these places is the combination of destruction and beauty, the history that seems to still live in these places, and the realization that if you don’t take care of things they fall apart.
Being all by myself on top of an old plant in the early morning, watching the sun rise and lighting up the place is just incredible… even if it is freezing cold!
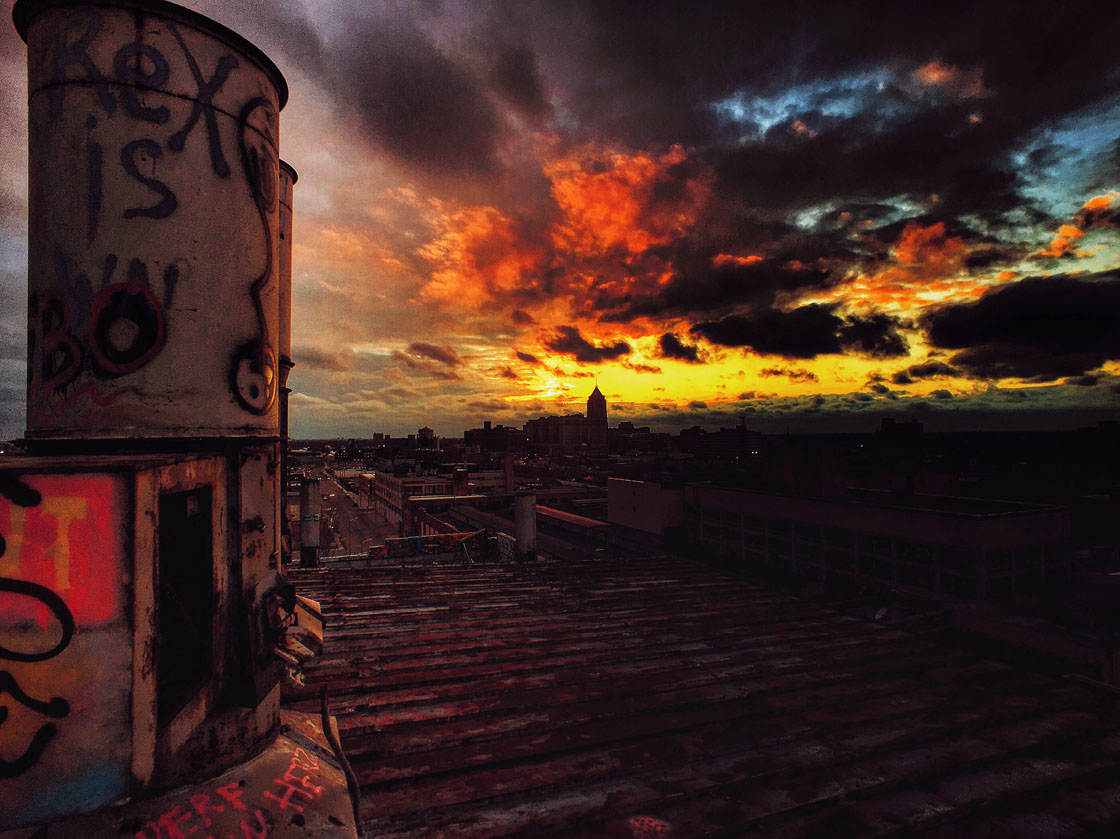
What tips do you have for capturing the essence and mood of these abandoned locations?
I like going back to the same place at different times of a day. To see the places in a different light is very interesting.
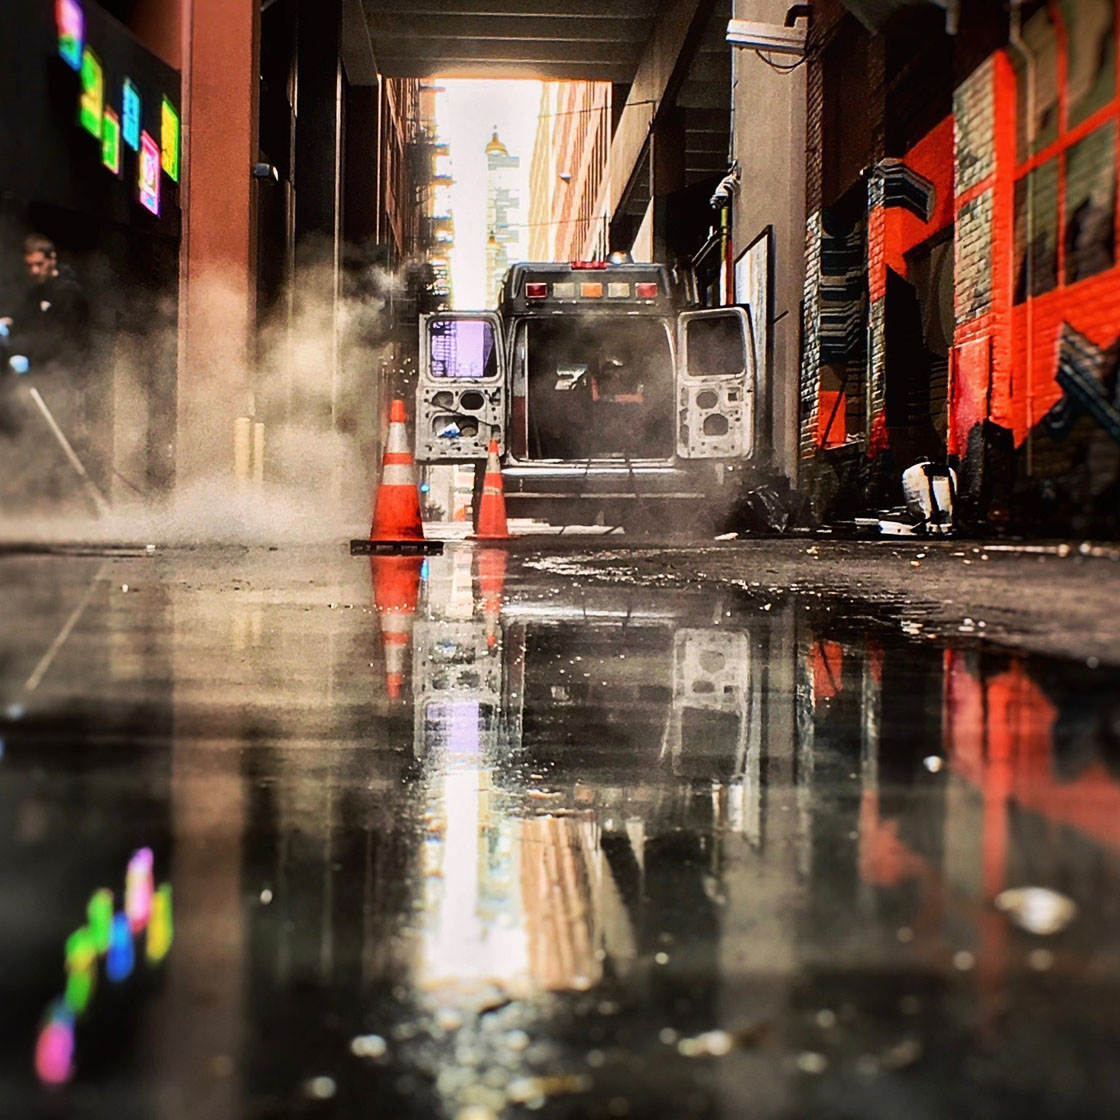
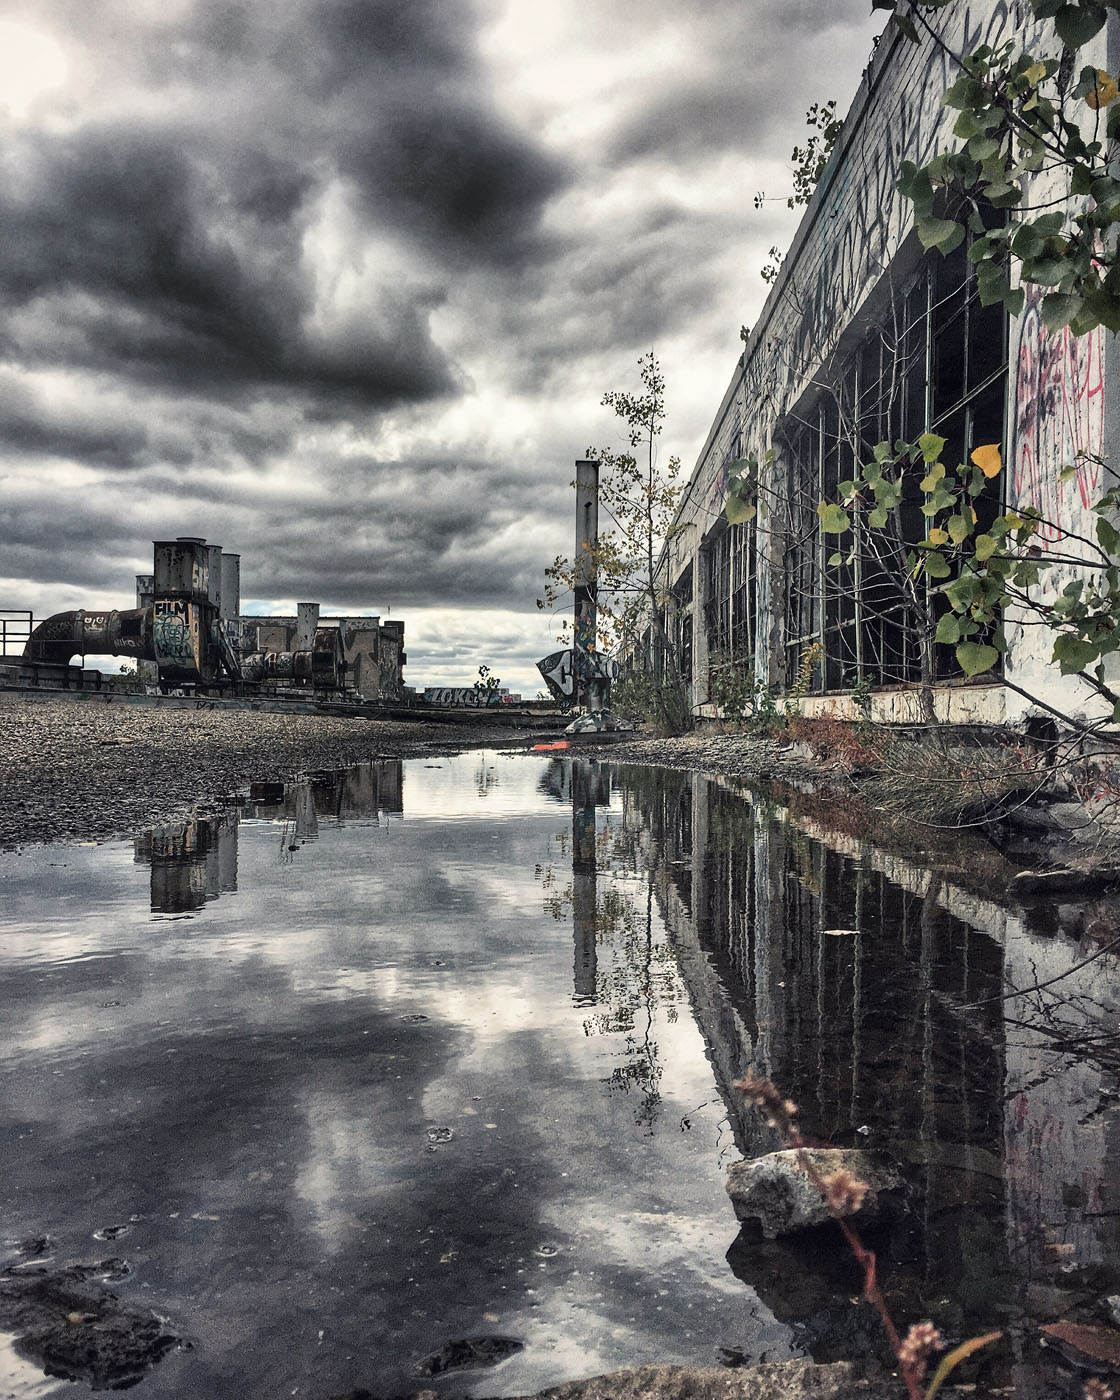
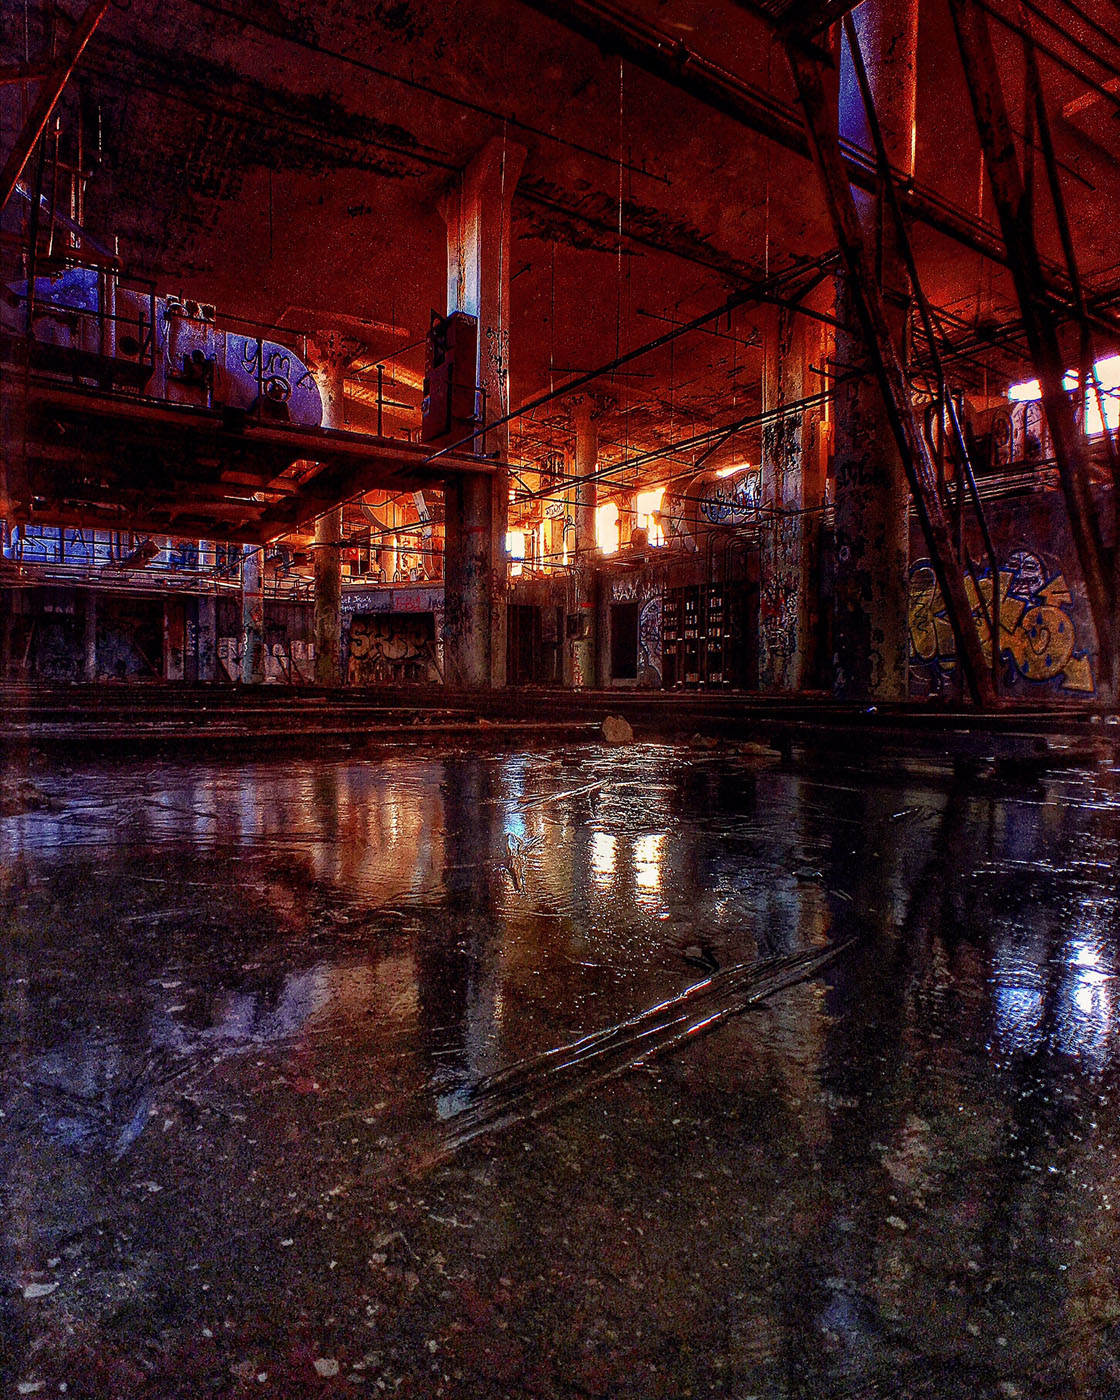
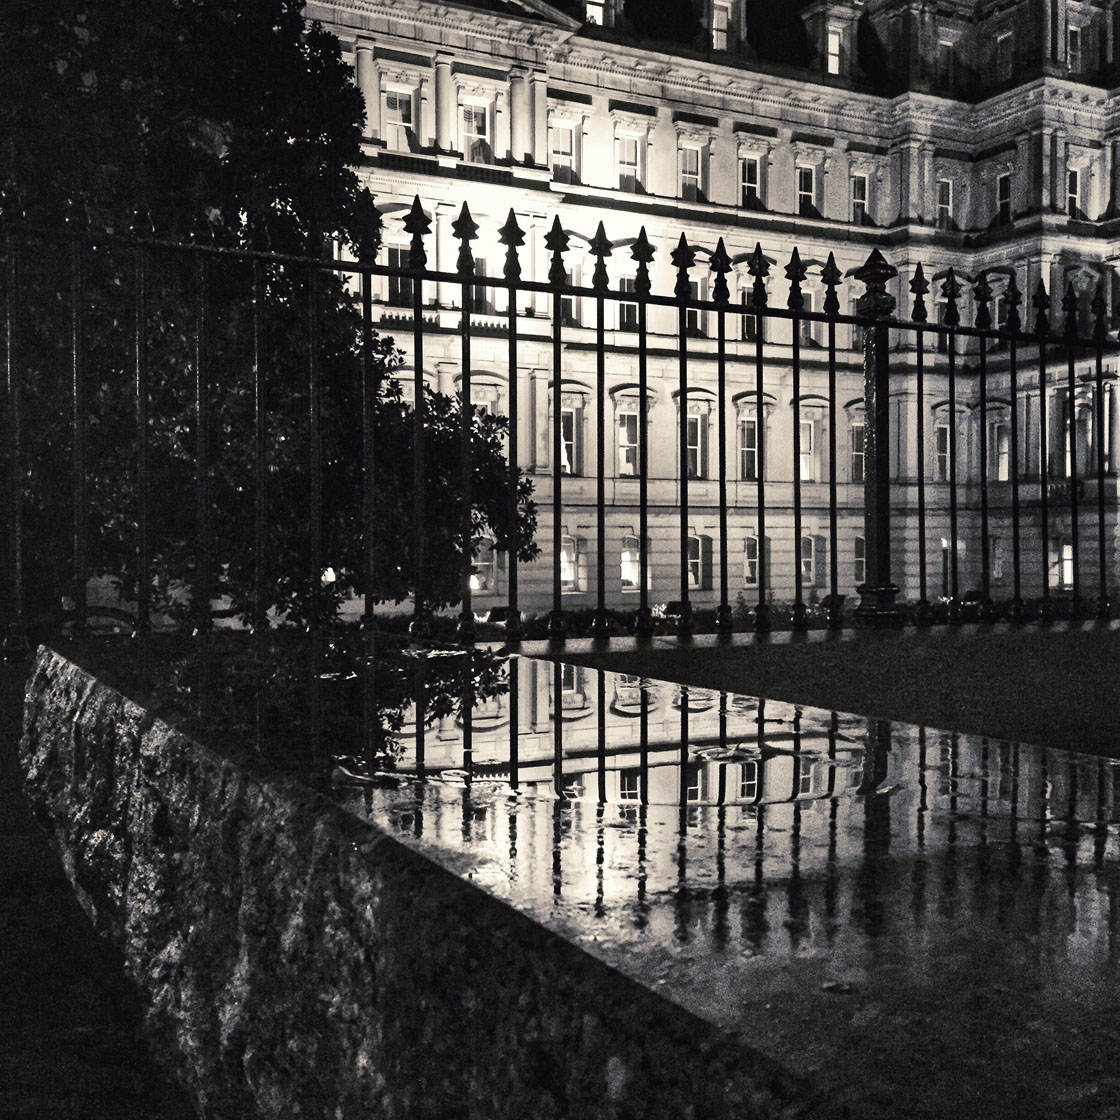
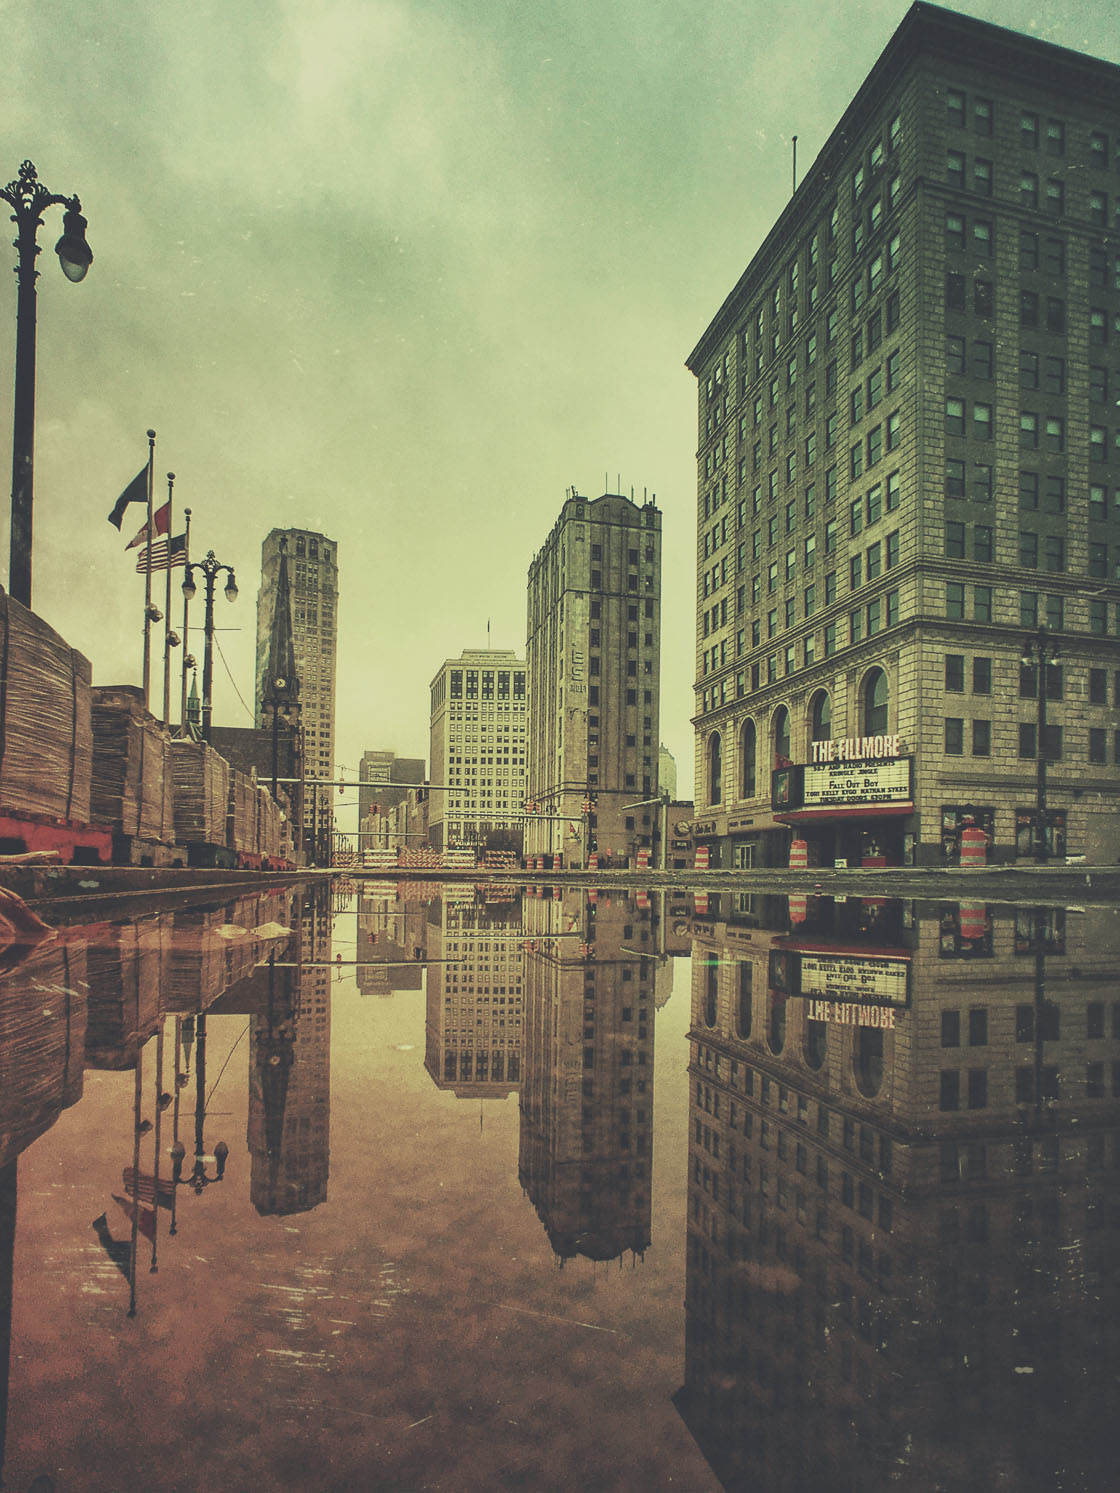
A great time to go is after the rain. This gives you some great opportunities to create interesting puddle reflections. Sometimes frozen puddles on the roof work great as well.
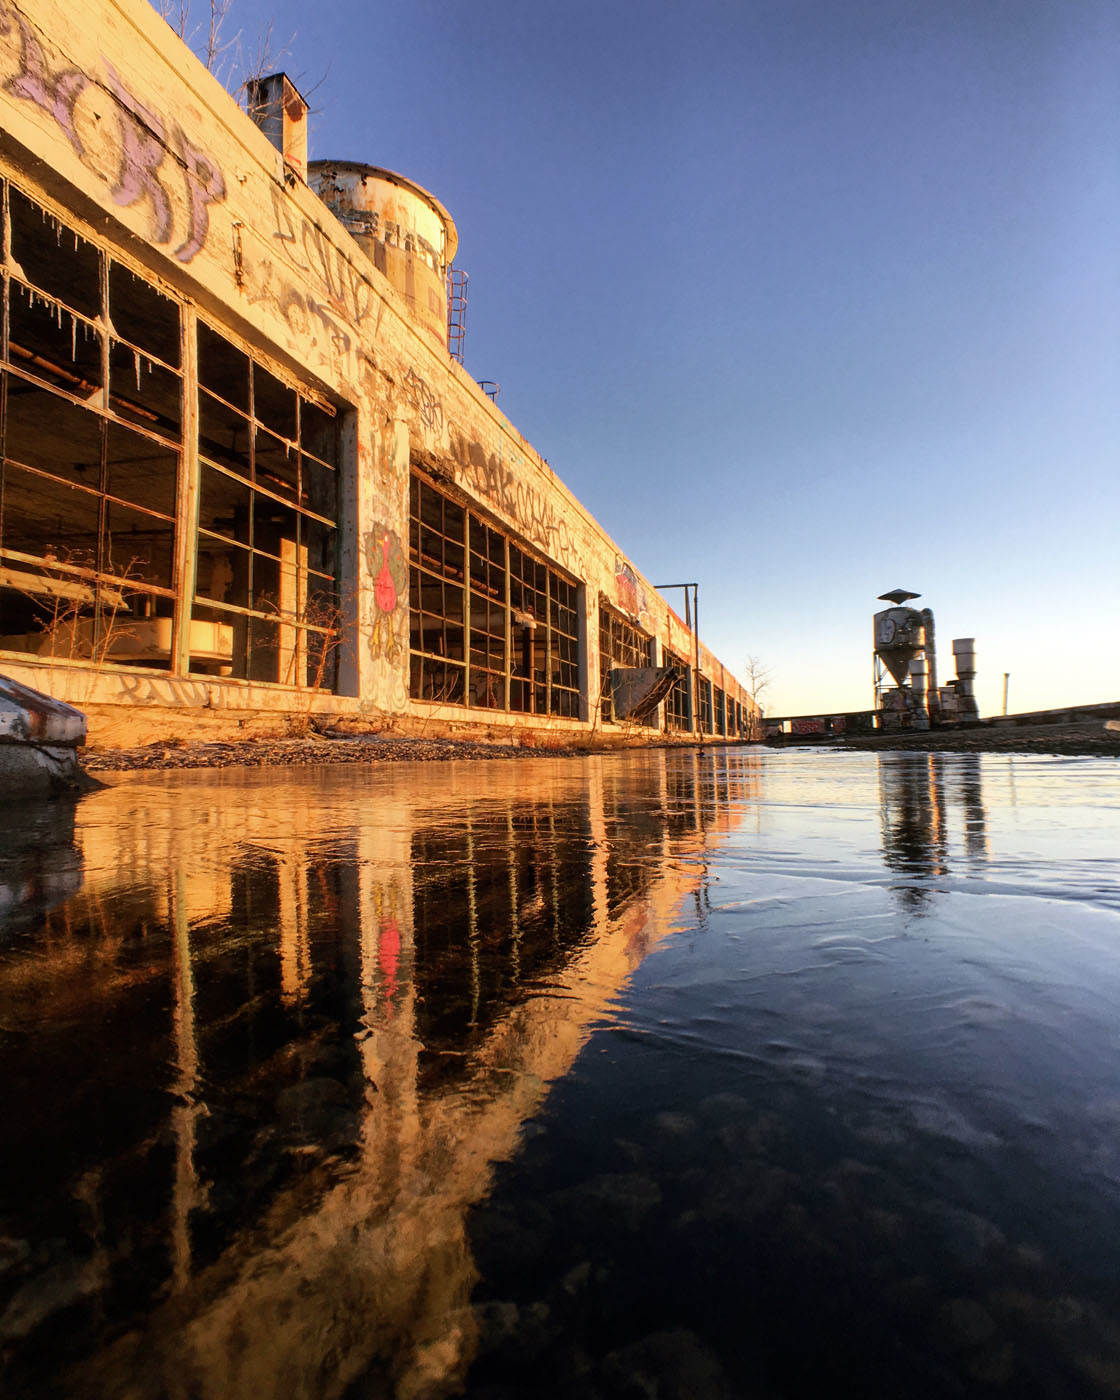
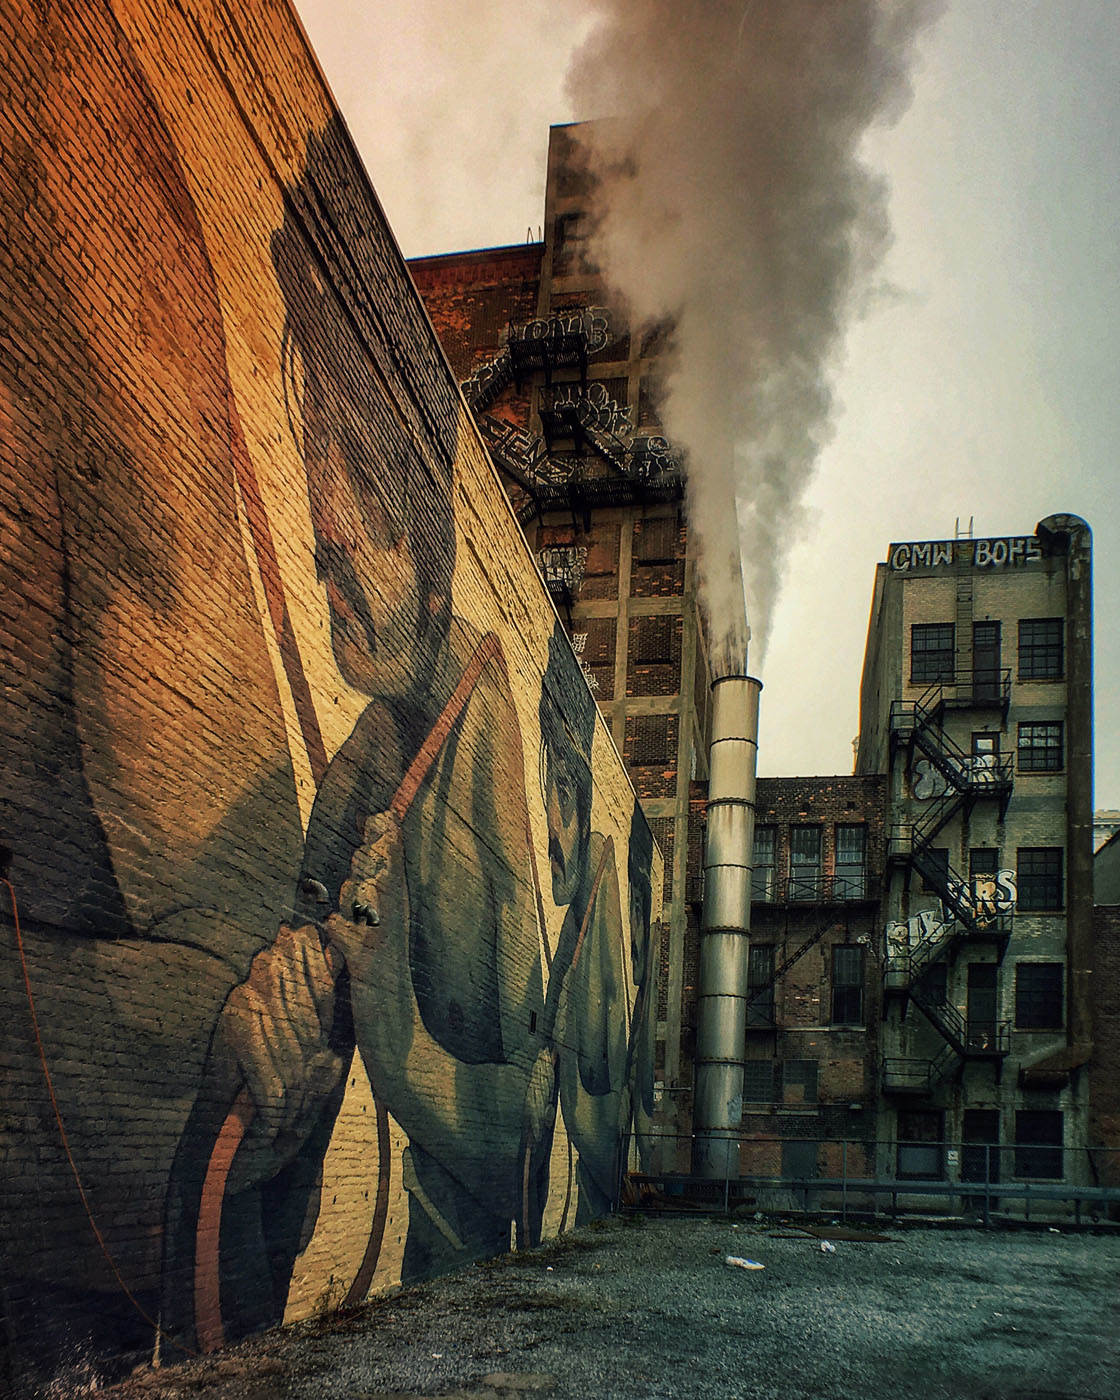
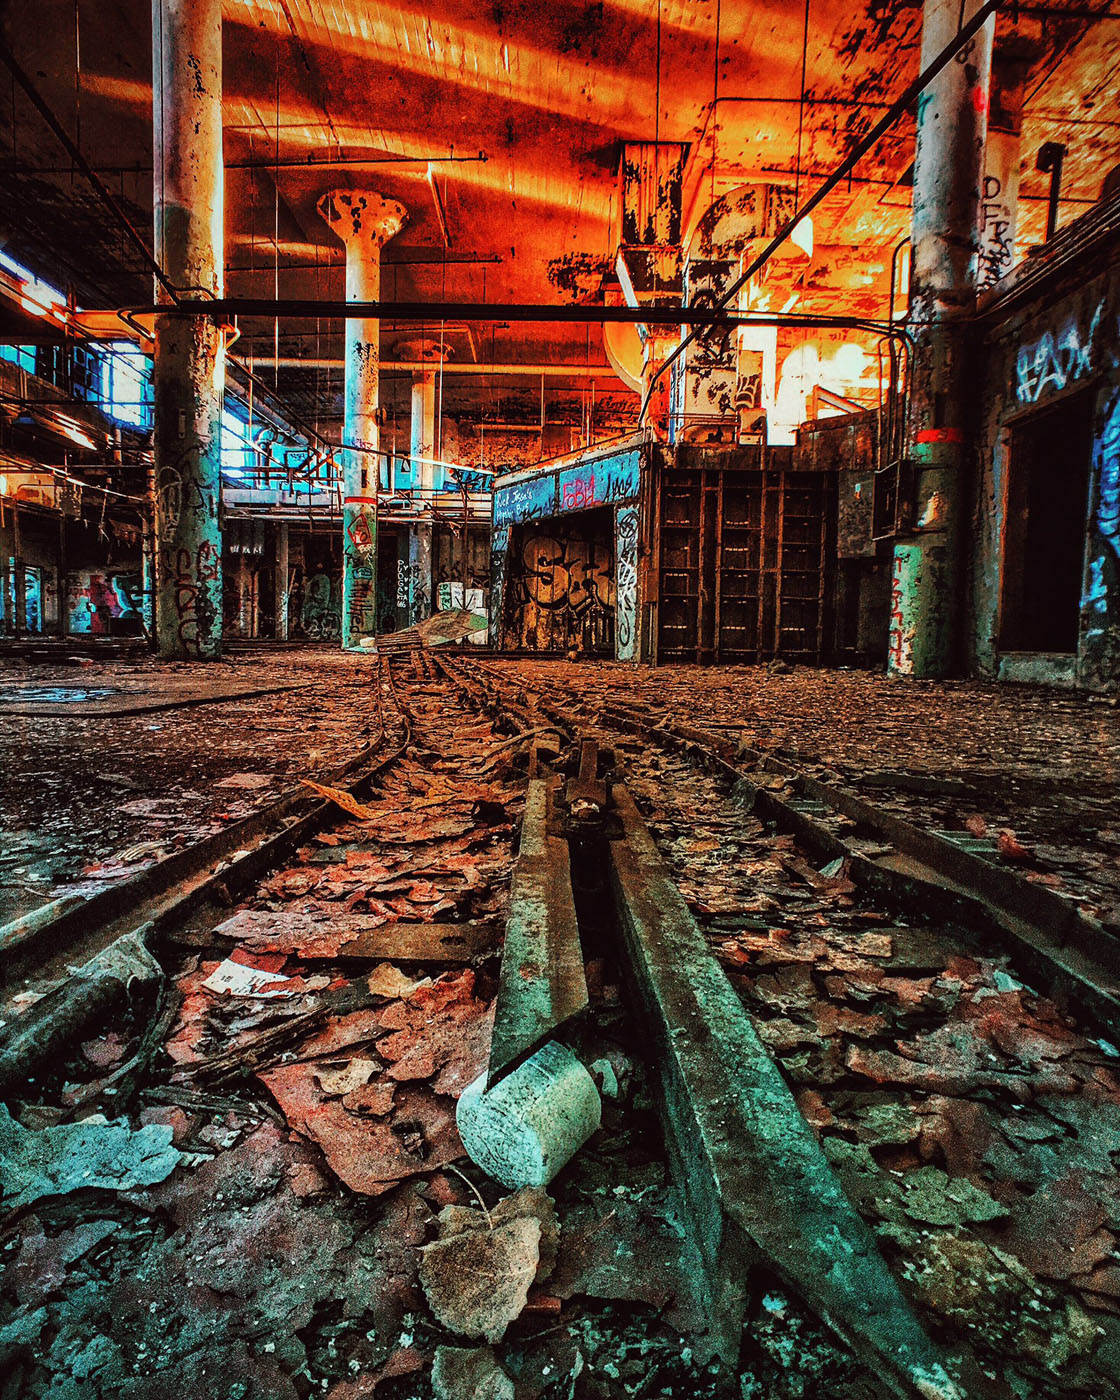
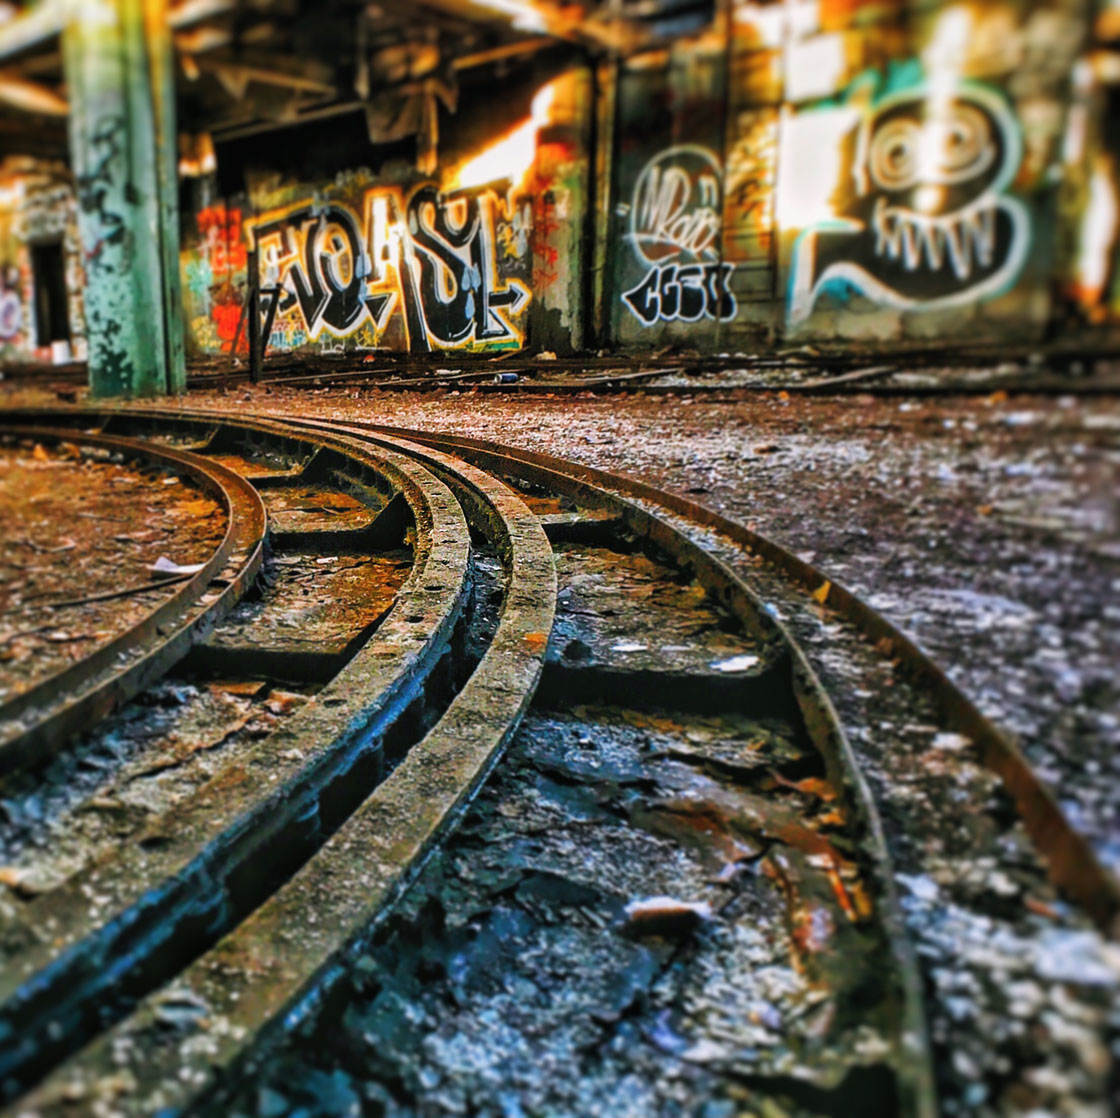
I like shooting from unusual angles – close to the floor, from high up, and from corners that you normally wouldn’t look out from. I try to show the place in a way you that you normally wouldn’t see.
When I edit, I always zoom into the different areas of my photo. By doing that I often find details that I didn’t realize were there when I was at the place shooting.
Then I either try working with that, or next time I go back I know what to look for.
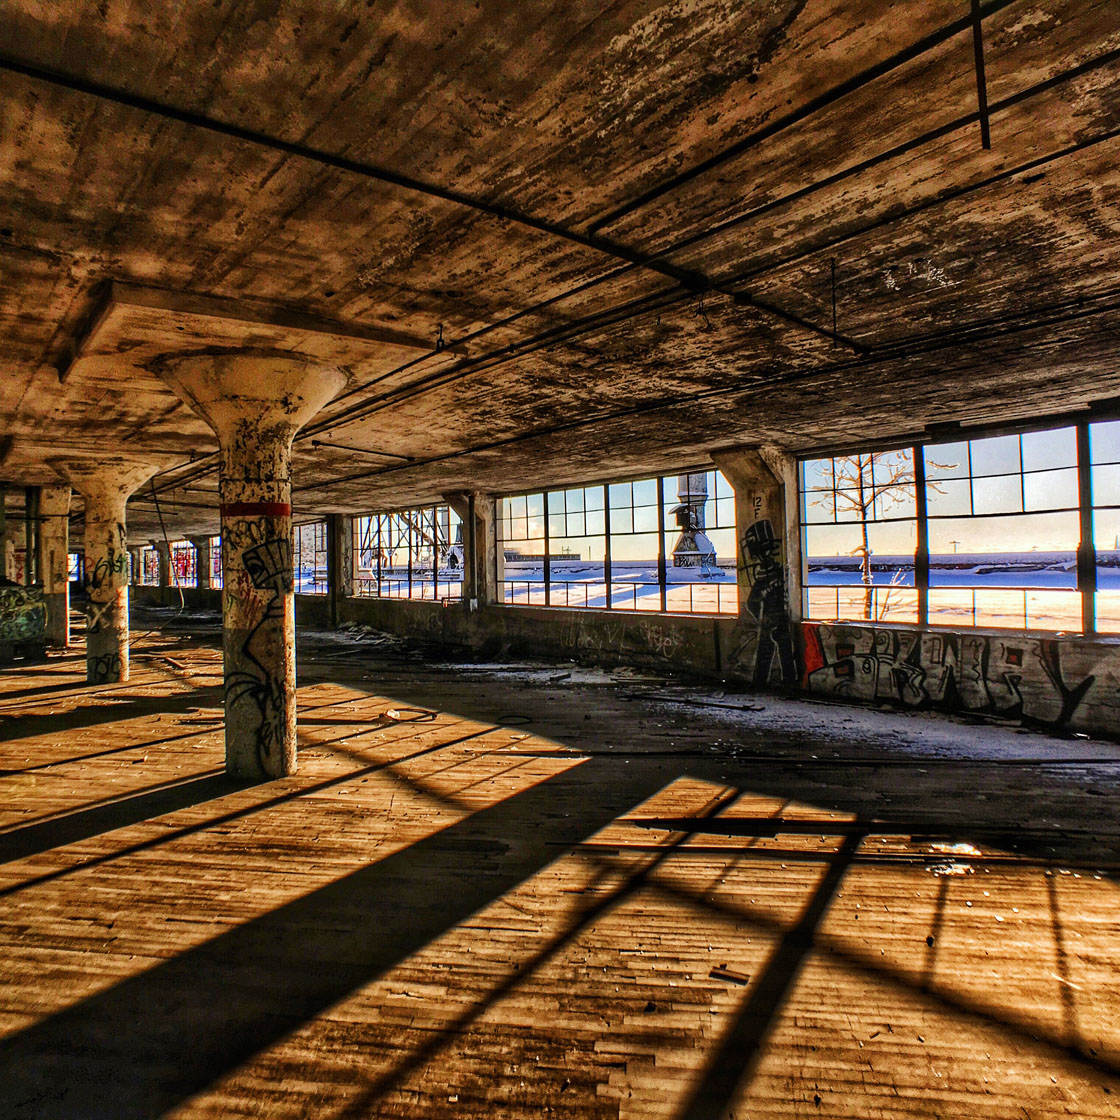
Most abandoned places have broken windows which look really interesting with the sunlight shining through and shadows being created.
Taking photos in abandoned buildings often involves shooting in fairly dark conditions. Do you have any tips for capturing good quality photos in low light?
I seem to be lucky to still have a fairly steady hand, so most of my pictures are taken without a tripod. In fact, I don’t even own an iPhone tripod (yet!).
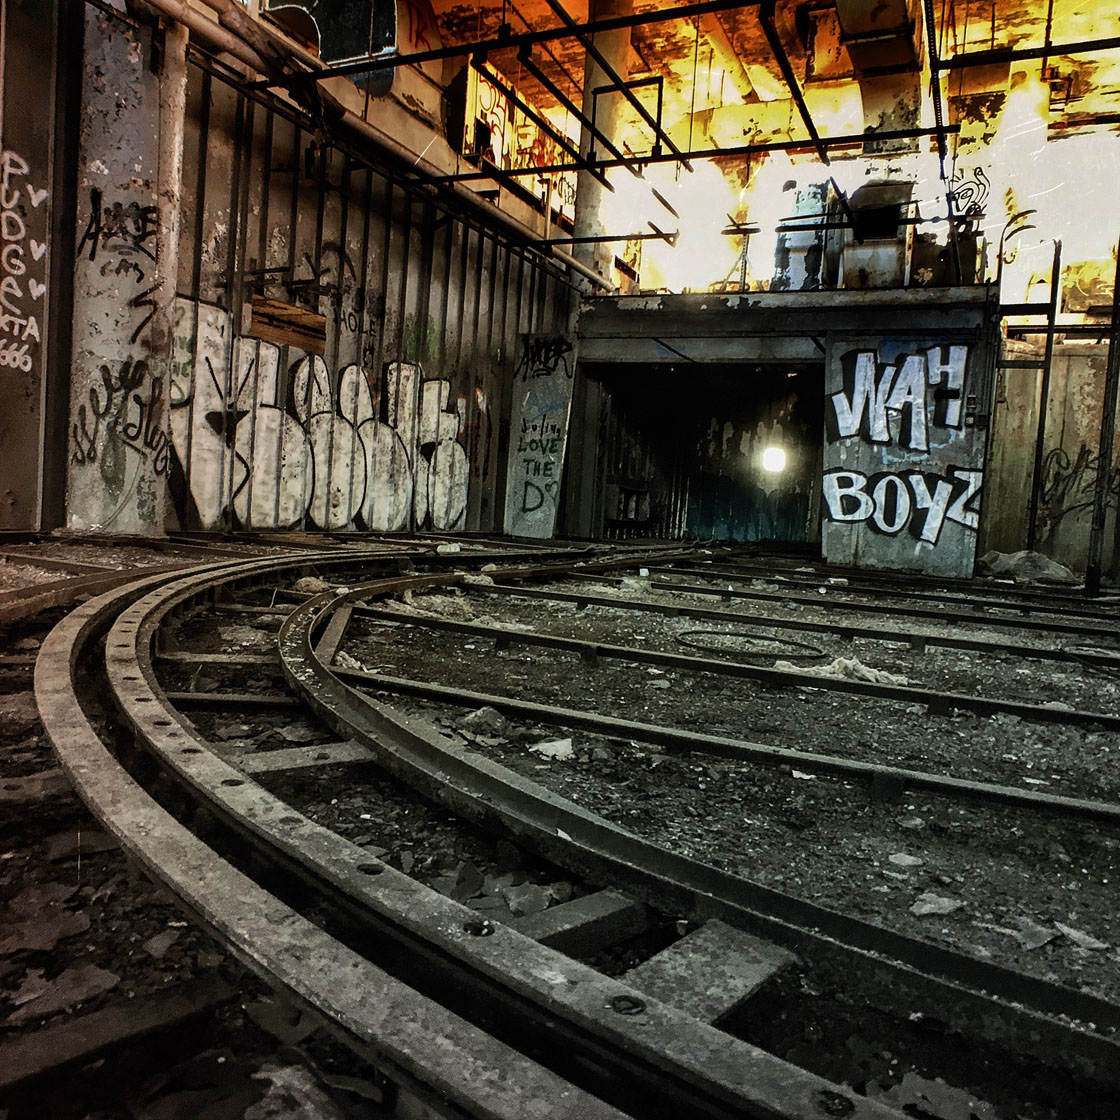
Having your iPhone camera in Auto mode usually creates pictures with a lot of grain because of the higher ISO level chosen by the camera.
That’s why I like to shoot with the Camera+ app. It has manual settings that allow me to keep the ISO as low as possible while accepting a slightly slower shutter speed.
What composition tips would you give to beginner photographers who want to start shooting more eye-catching photos in urban environments?
Always look for unusual ways to shoot a place. Try to photograph the same subject from different angles and perspectives.
When editing, always zoom in and move your picture around in the frame. Sometimes you’ll find views that you wouldn’t have imagined when you actually took the picture.
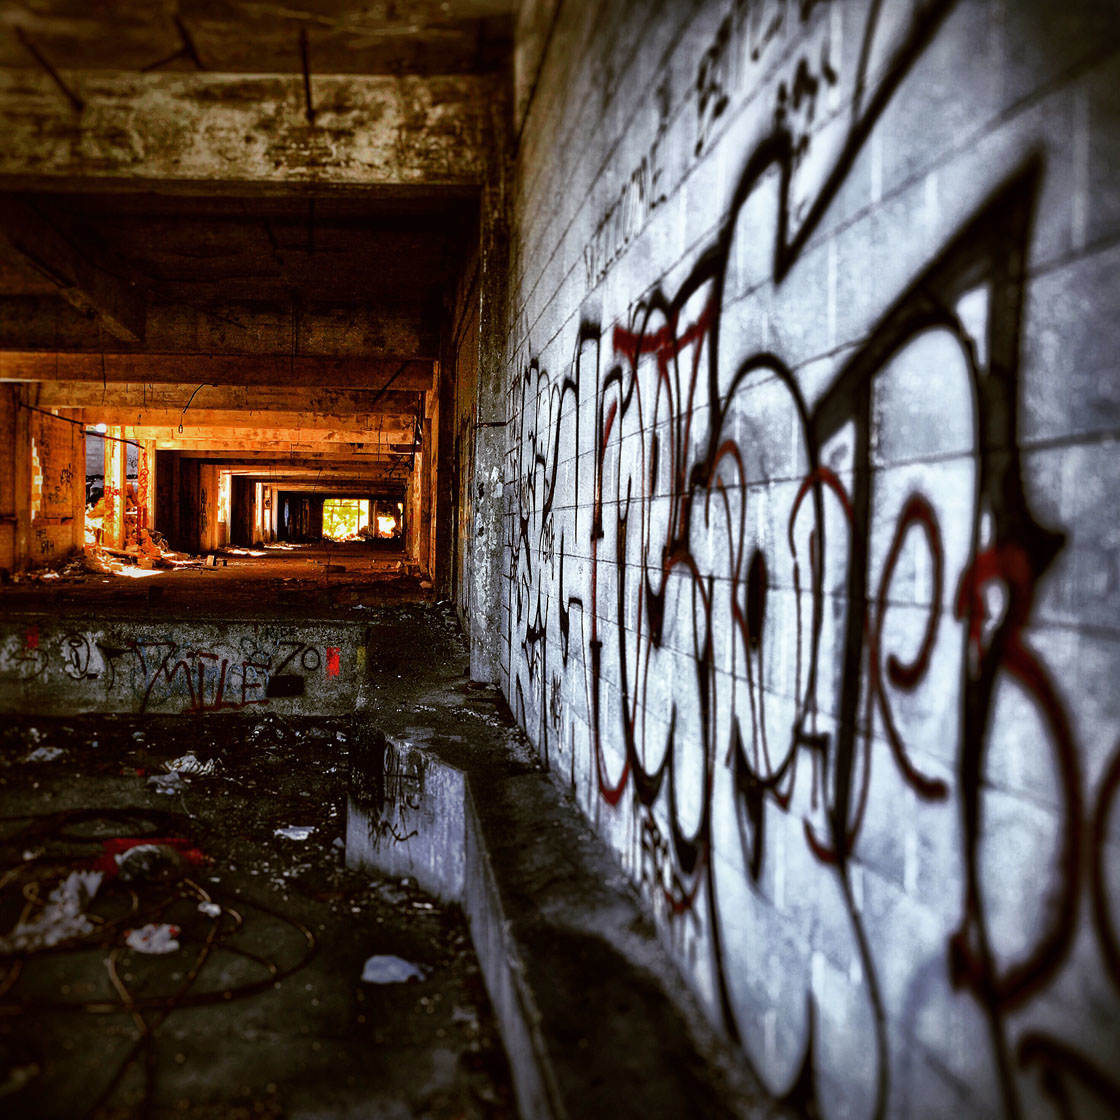
Then when you go back or go to new places, you’ll start to see things differently. Always try new things!
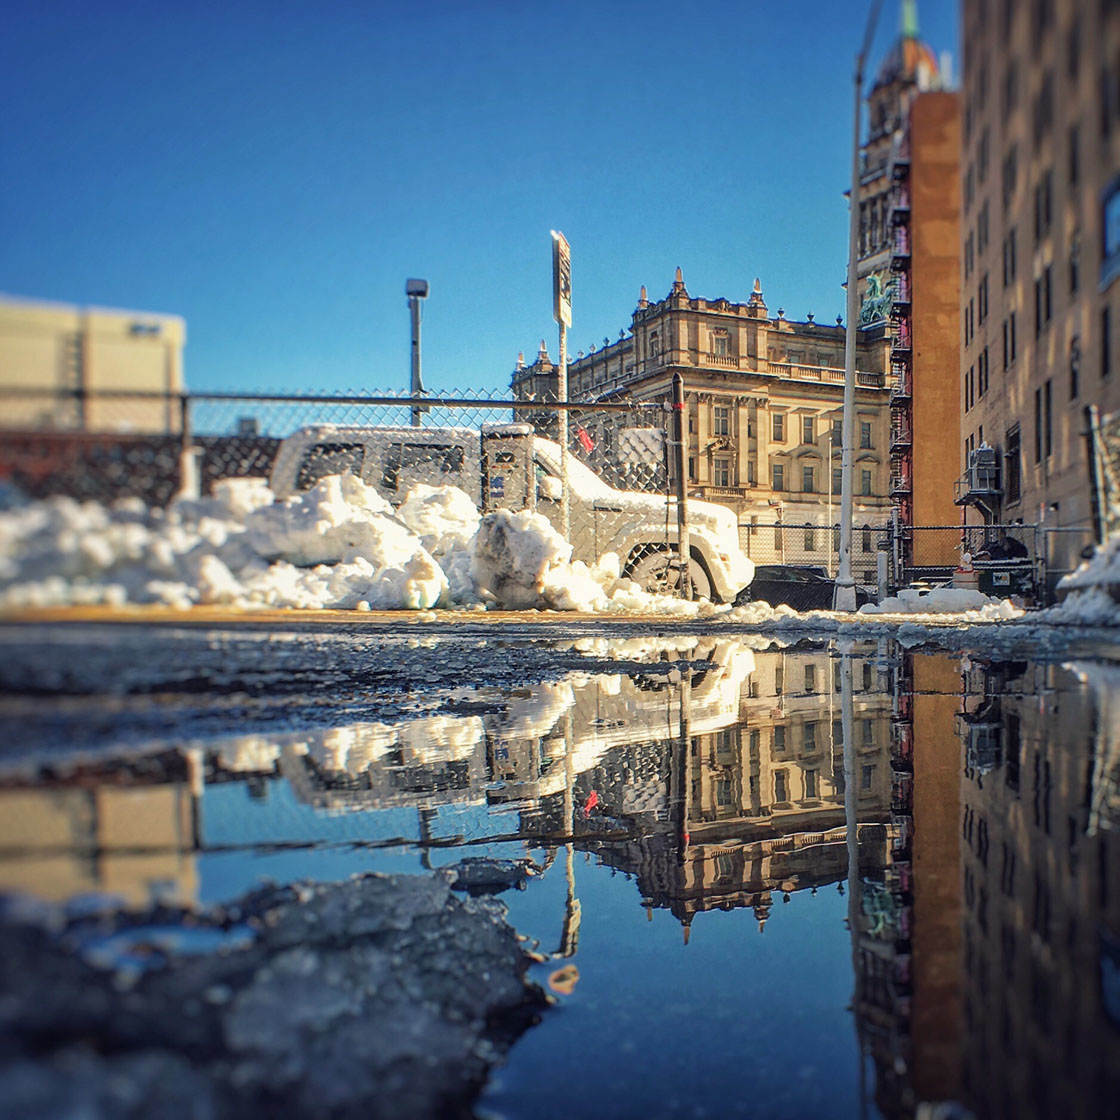
For puddle reflections, it’s usually best to get as close as possible to the puddle with the lens almost touching the water.
What else do you like to photograph with your iPhone?
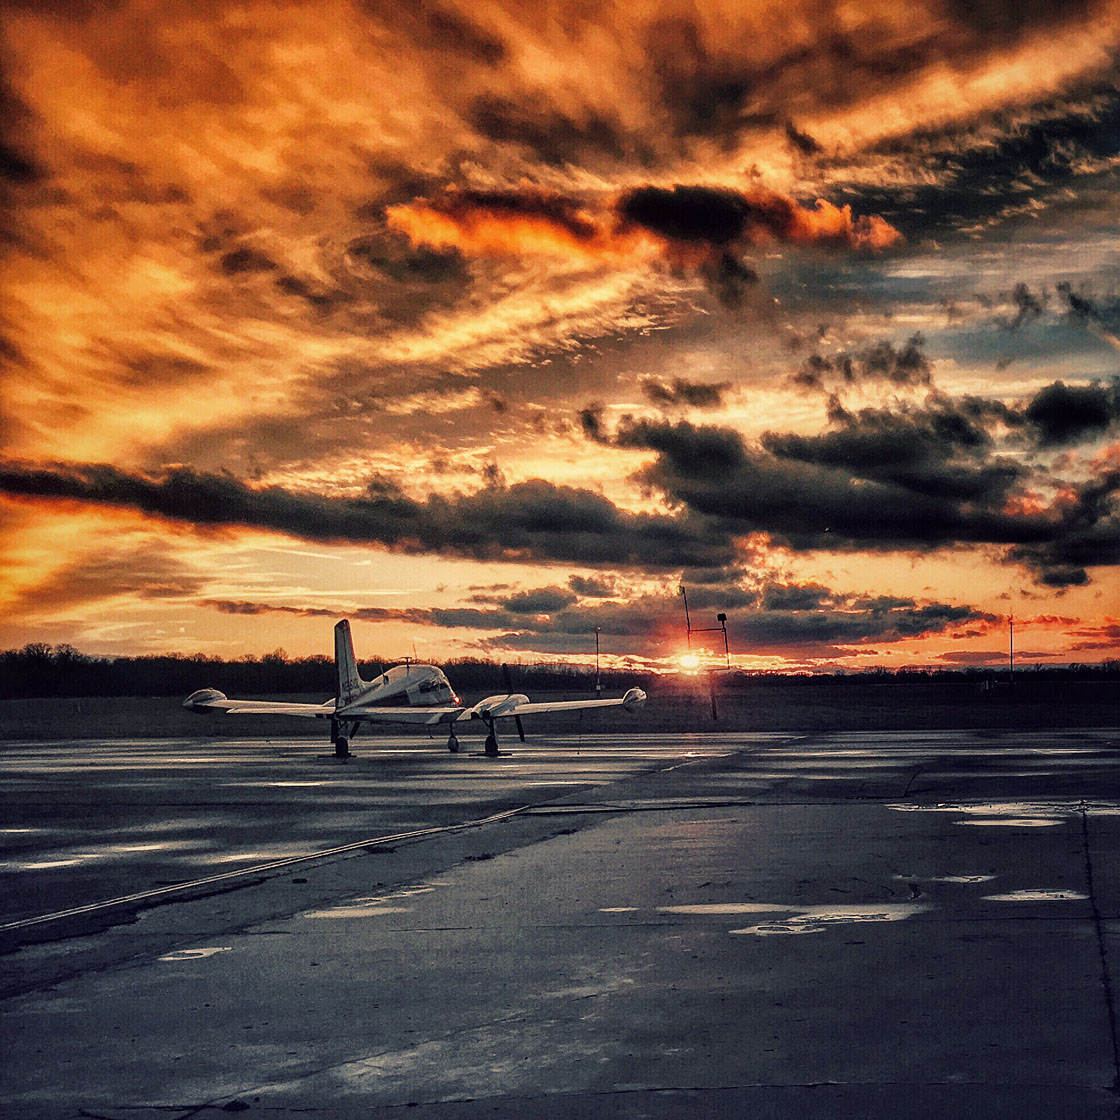
I’m big fan of sunrise and sunset, and I love reflections. When I can combine these two things, that will make my day.
I also like to shoot architecture, nature, clouds, street photography, and I should probably also mention my dog who loves to be a model!
You’ve enrolled on our iPhone Photo Academy, iPhone Editing Academy and iPhone Photo Masters courses. What did you get from these learning experiences and how has it changed your approach to iPhone photography?
I got so much out of these programs, so here are just some of the highlights:
iPhone Photo Academy taught me the basic rules of composition, and that there are apps like Camera+ that give me access to the manual camera settings such as shutter speed and ISO.
iPhone Editing Academy taught me the basics of editing and cautioned me not to over-edit. It also showed me how to use the masking tool in the Snapseed app, which is one of my favorite editing tools.
iPhone Photo Masters introduced me to new areas and genres of photography, helping me gain a deeper understanding. Now, when I’m out there shooting, I look differently at the subjects, lighting, shadows and so on.
The online community for these courses is just great. There are so many talented photographers working on the same assignments and it’s so interesting and inspiring to see what they’re coming up with.
There’s praise and constructive criticism, which either makes you feel good or helps you look at your work and try to improve.
People often share their little tips and tricks, suggesting things you can try to make your picture more interesting. Sometimes it’s hard not to become addicted!
Let’s talk about photo apps. Which camera apps do you shoot with?
I mostly use Camera+. I like it because it gives me full access to the manual camera settings, yet it’s still very easy to use.
Recently I also started to use the Slow Shutter app, mainly because I want to start taking more pictures in low light and experiment with long exposures and light streaks.
Once in a while I used to try the Hipstamatic app, but the results are just to random that I pretty much stopped using it.
What are your favorite apps for post-processing?
At least 95% of my editing starts with Snapseed. I like it because it gives me a lot of tools and never lets me down.
Also, sticking with mostly one app means that I know how the different tools will affect my picture before I actually apply them.
That helps me a lot with seeing the end result that I’m going for before I actually start editing the picture.
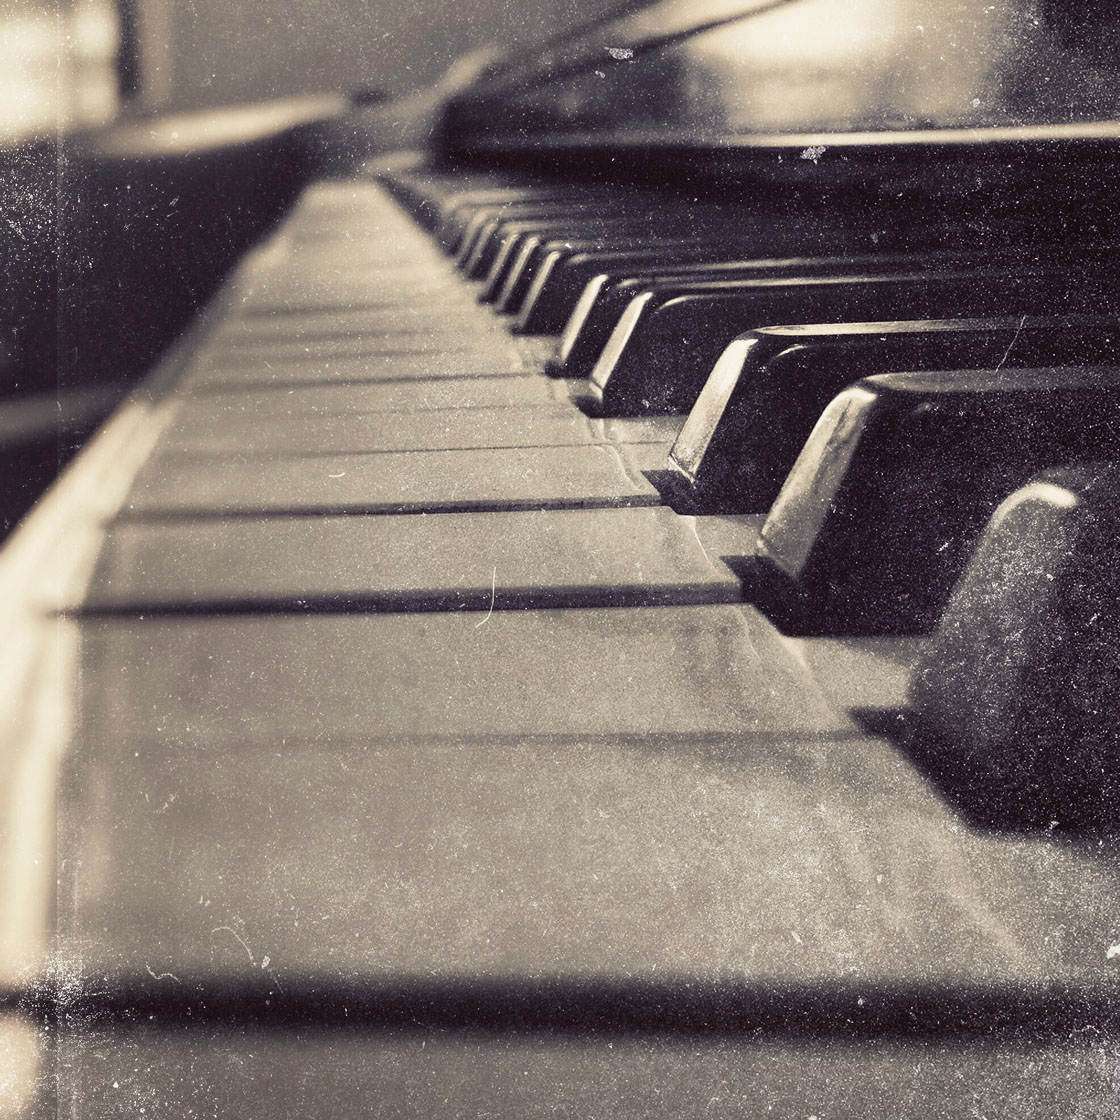
I’ve also started to use Mextures more often as a second level of editing. In the beginning I had some issues understanding it and I almost gave up on it. But I stuck with it and now I really like it.
Other apps I sometimes use are SKWRT for straightening, and Superimpose for merging images. This is a very interesting technique and I want to get much better at it.
When posting pictures on Instagram, most of the time I add a final touch using its editing capabilities.
You sometimes use textures to enhance your photos in post-processing. What kind of images do you find work well for this style of editing?
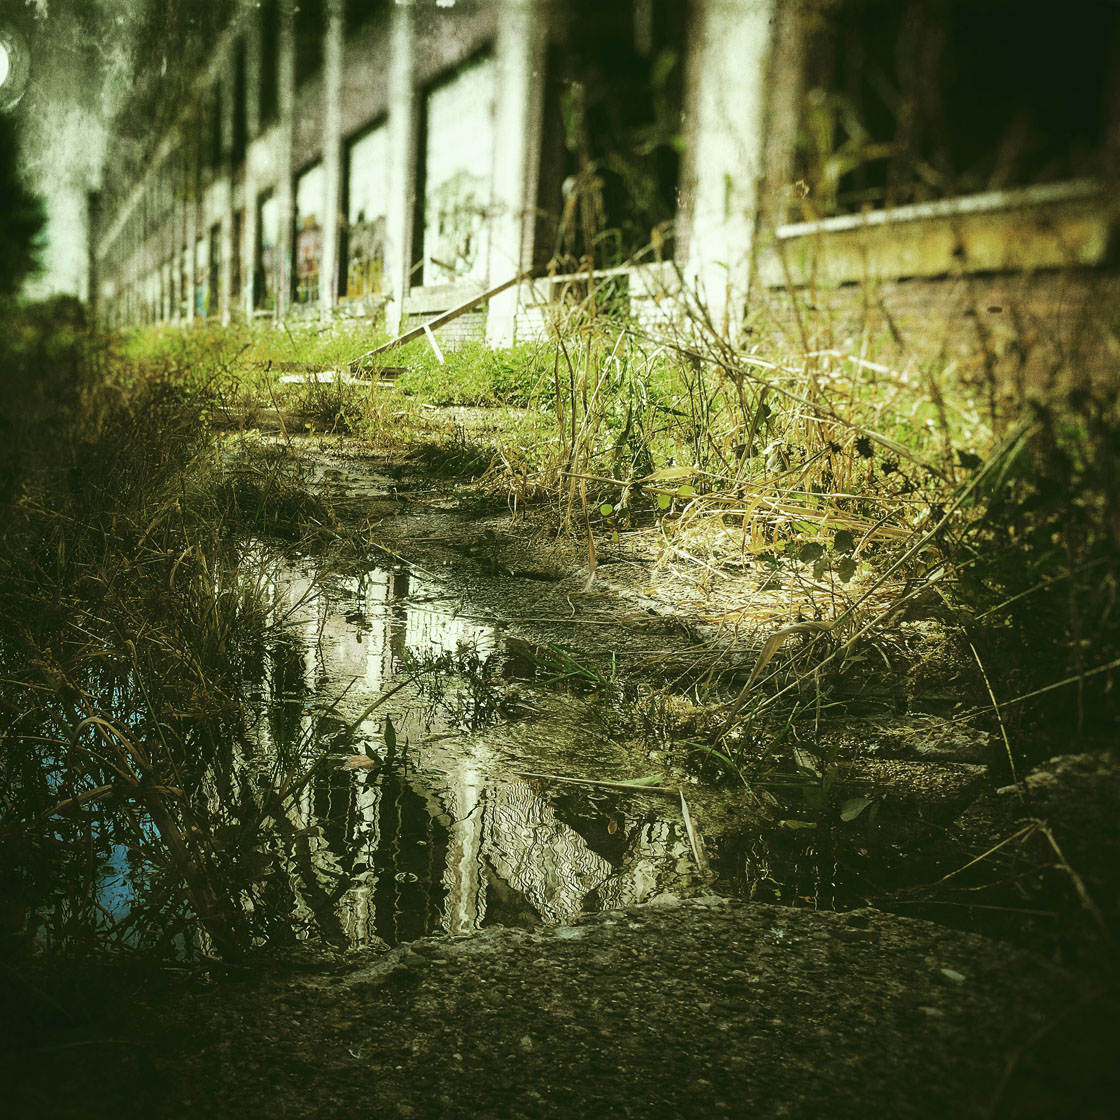
I add textures to images when I want to convey a certain mood, such as darkness, destruction, sadness, and sometimes creepiness.
It works especially well with windows and stairs in abandoned churches.
Do you use any iPhone photography accessories?
As I mentioned earlier, I don’t have a tripod yet. But I’m actually looking for the “right” one right now.
I have a Moment wide angle and tele lens. These work really well, and I particularly like the wide angle lens which helps with shooting from unusual angles inside buildings.
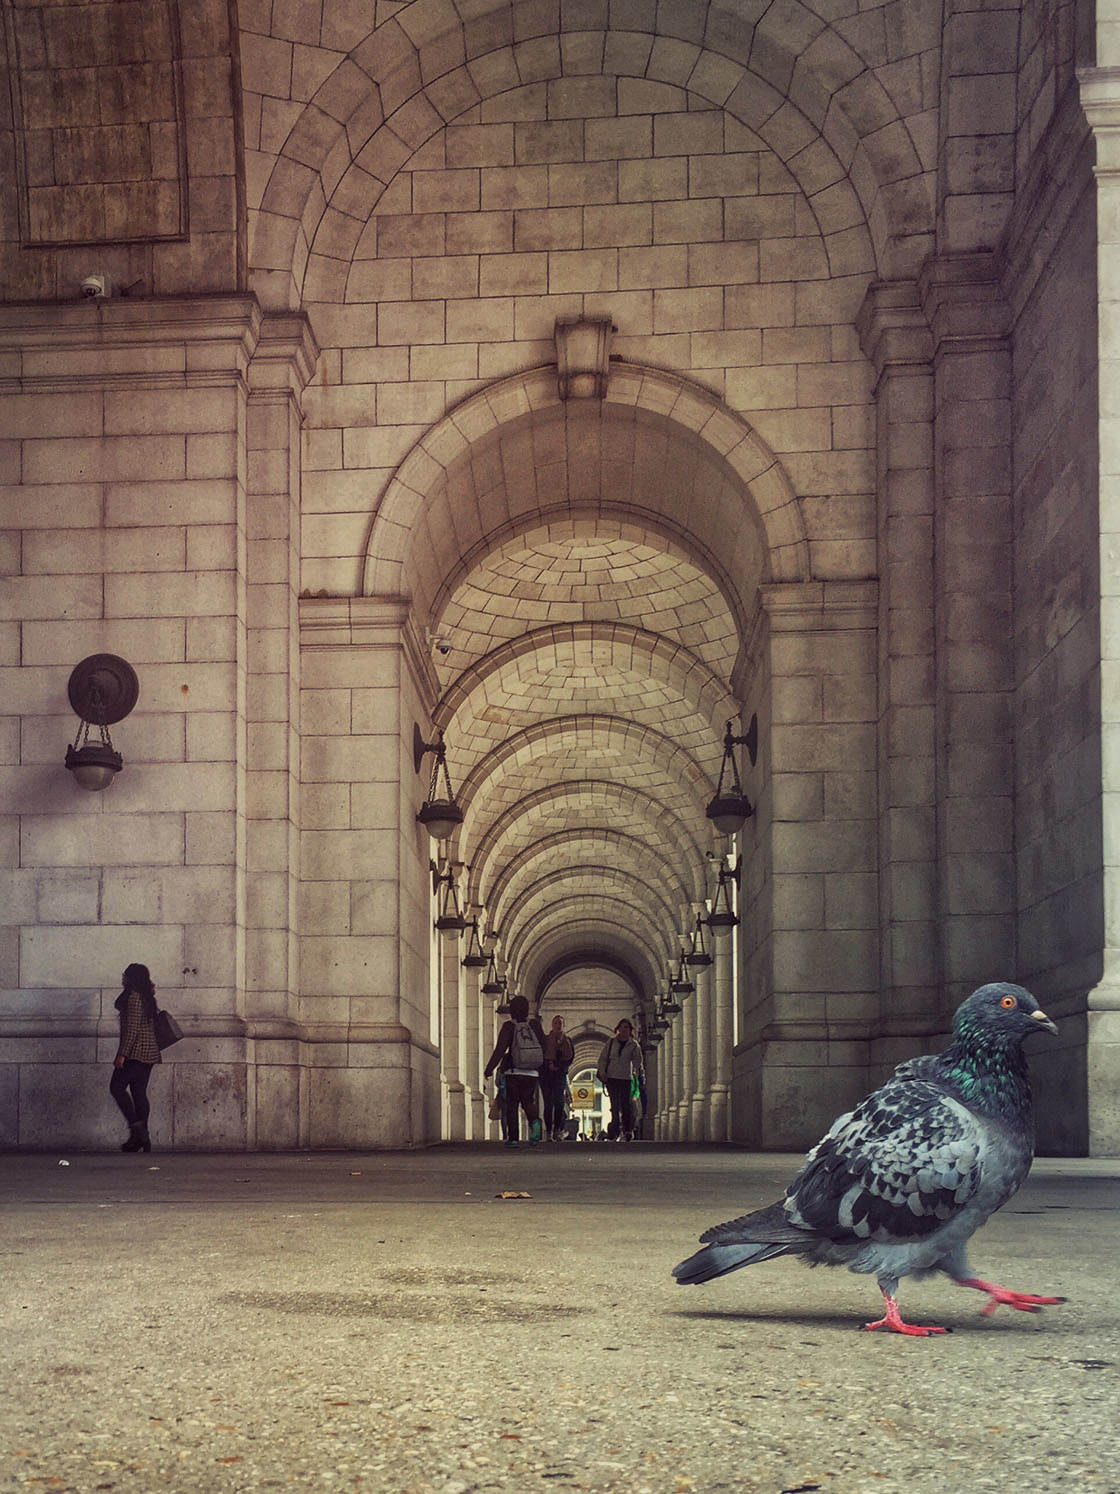
Other than that I’ve learned to always have an external battery charger with me. This is especially useful when it’s cold outside which can affect the iPhone’s battery.
Connecting the iPhone to the charger prevents the phone from turning off without any warning. This is actually a trick I learned from the iPhone Photo Academy community.
Can you briefly explain the story and editing behind your three favorite iPhone photos?
Picking three pictures is really tough, but I’ll try!
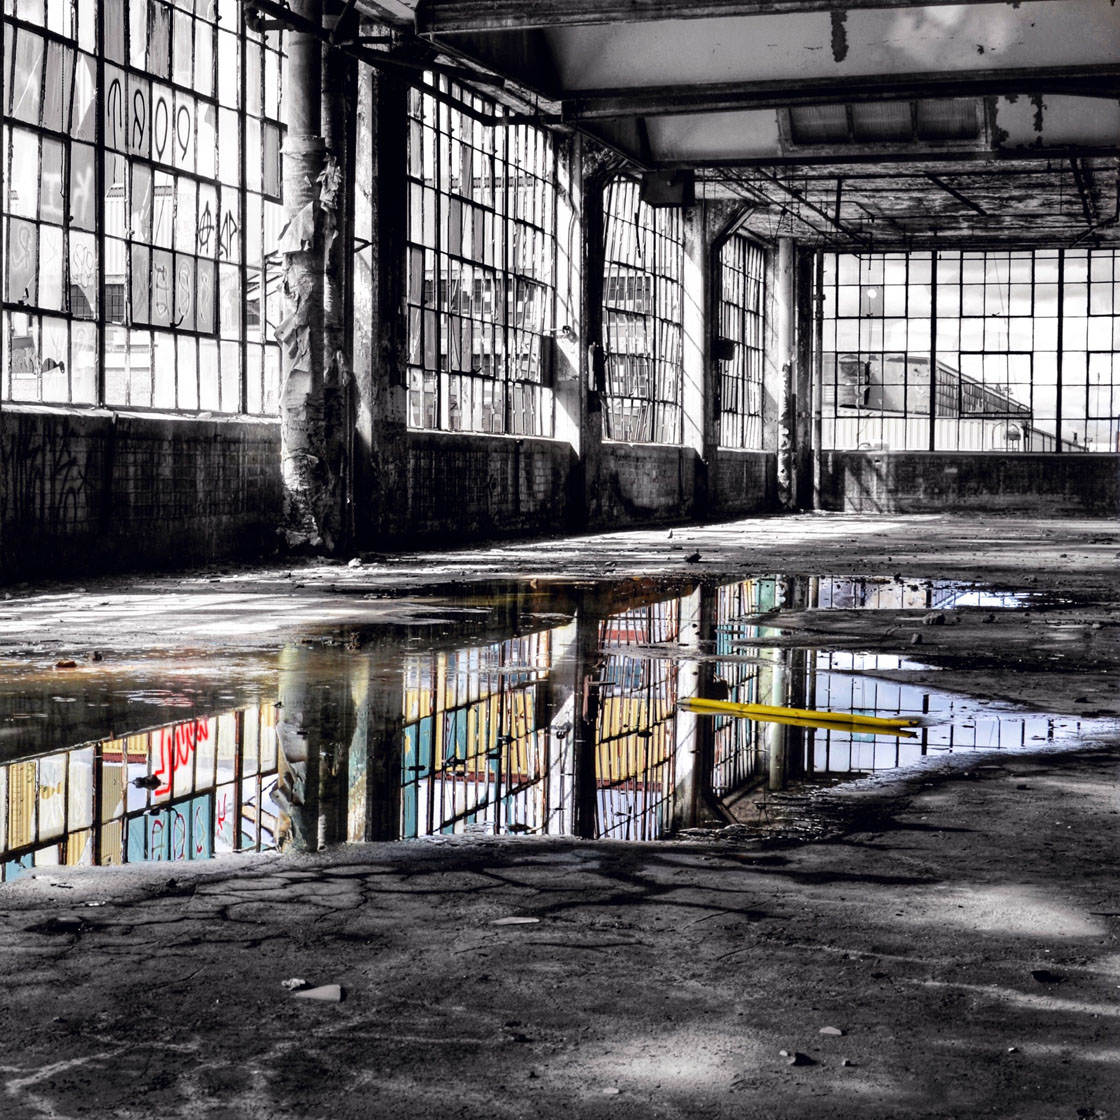
This first photo is from the Fisher Body Plant 21 in Detroit. I love this place! I took this picture the first time I went there and I can still remember how I felt… amazed, scared and happy.
The puddles were created by rain water trickling through the building. You can hear the water dripping everywhere when you’re there. The windows are partly broken, written on, or have different color shades.
When I edited this picture, I made minor adjustments in Snapseed before converting it to black and white. I did this because I wanted to emphasize the feeling of destruction and loneliness.
Finally, I used the masking tool in Snapseed to bring back the colors in just the puddle reflection.
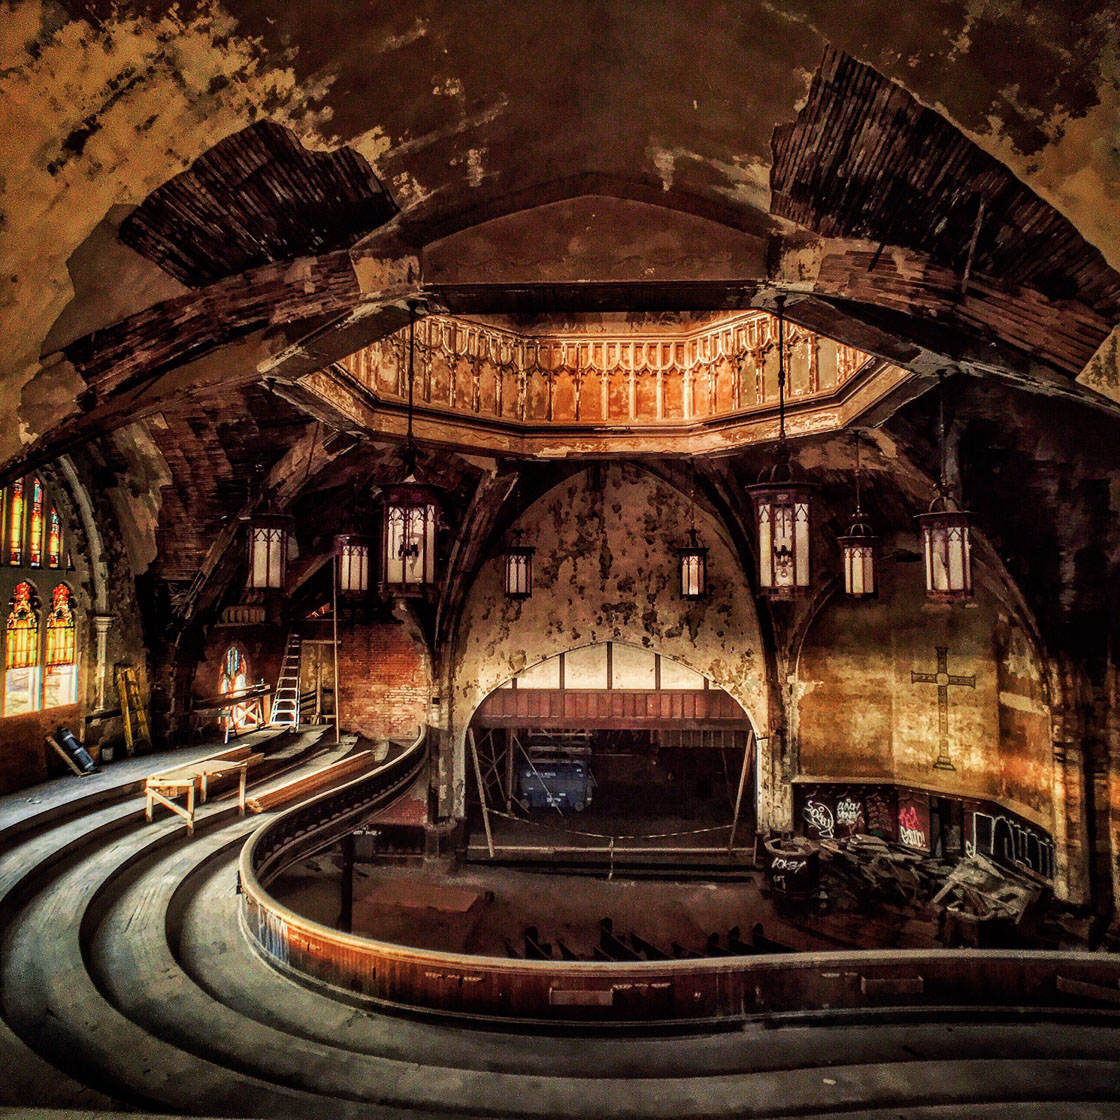
The second image is from the Woodward Avenue Presbyterian Church in Detroit – also called “Curvy” because of all the curves inside it. I like this picture for showing those curves, the lighting and part of the destruction.
I did some minor edits in Snapseed, mainly trying to bring out some details (using the Details tool). I also used the Brush Tool to lighten up the lanterns hanging from the ceiling.
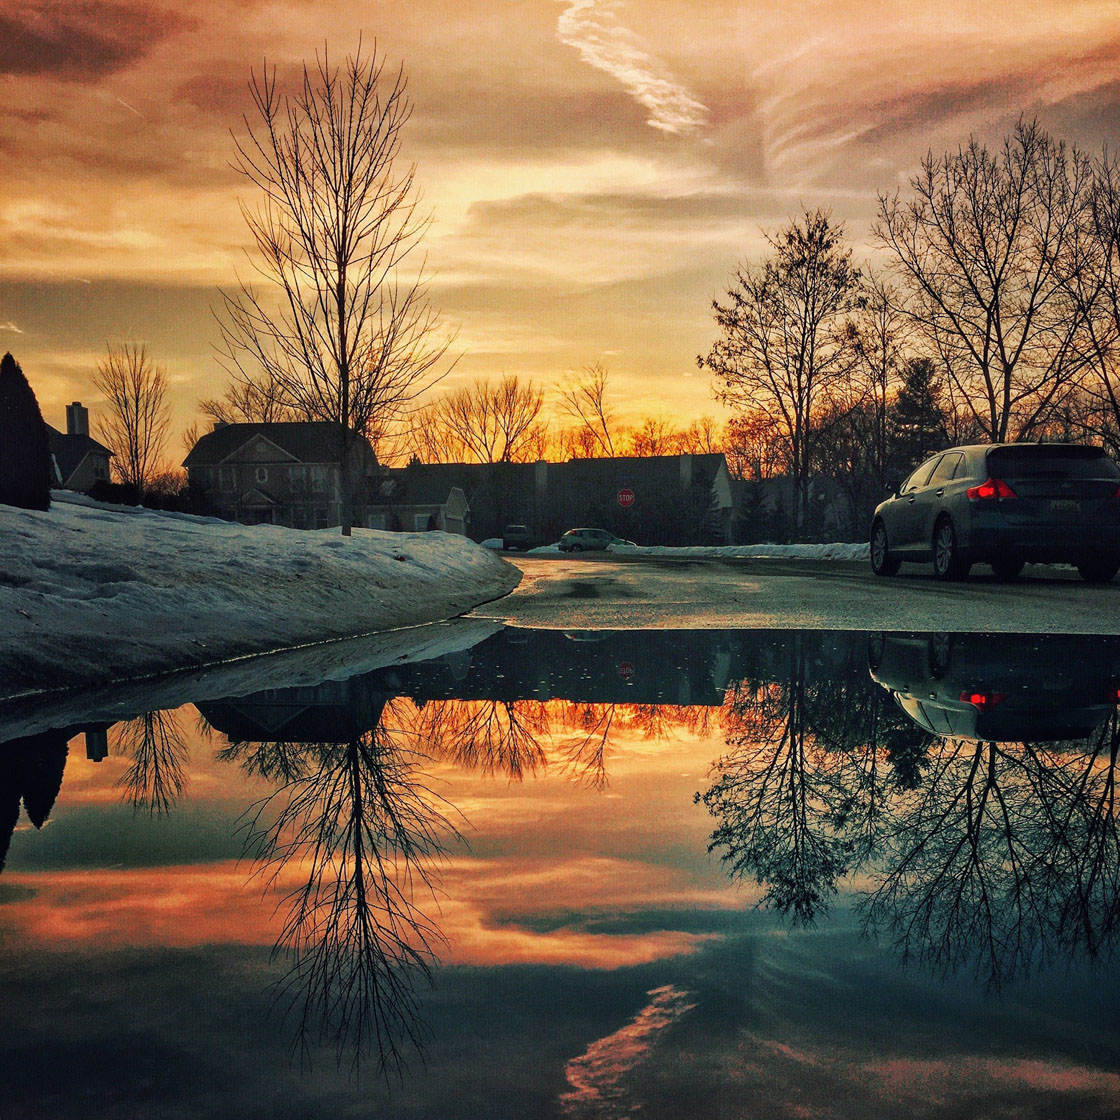
The third one is a photo that I took while I was on a run with my dog. I chose this because I want to show that to take an interesting photo you don’t have to go far.
There are so many interesting and beautiful things around us all the time. You just need to keep your eyes open and look for them.
I edited this in Snapseed to bring out the shadows a little more, then I added a little mood in Mextures.
What tips do you have for beginner iPhone photographers who want to start taking more creative photos with their iPhone?
Join iPhone Photography School and enroll on the iPhone Photo courses to learn the basics and understand the most important apps.
Then go out and shoot, shoot, shoot. Don’t get hung up on too many apps. Choose a couple that you think you’ll like and stick with those until you really understand them.
Take the same picture and edit it in different ways multiple times. This will help you understand how the different tools work and how they’ll affect your picture.
When you go out taking photos, go back to places that you’ve been to before. Try to take pictures of the same subject in a different way. Look for interesting light and shadows.
The more pictures you take and look at, the more you’ll start to see things when you’re out there shooting.
And just accept that not every picture you take will be great. Try new things, and if you don’t like the result you always have the option to just hit delete.
Also, follow photographers that shoot pictures of places or subjects you like. They’ll give you a lot of ideas and inspiration.
Which iPhone photographers do you admire the most?
I’m not sure that I can say that I have a favorite iPhone photographer. Actually I’m not a big fan of categorizing into iPhone photography and others like DSLR.
I think the iPhone is a great tool to take great pictures. And I love it because I always have my iPhone with me which means I always have a great camera to take pictures with.
But if I look at other people’s work, I don’t really care what they shoot with. I care about what they take pictures of and how they do it.
I follow photographers on Instagram who have the same interests. By doing this I constantly get new ideas and learn from them.
Photography to me is about capturing light, a subject or a moment, and not about who’s using which type of camera.
My favorite photographers are probably Tony Detroit @tonydetroit, Mustafa Seven @mustafaseven and Chris Burkard @chrisburkard.
But there are many other photographers that I admire and learn from.
Where can we see your iPhone photography?
You can find my work on Instagram @jorgsiebler.


Really nice tips and interviews. Great to see what others are using for apps themselves.
If you don’t try to learn you never will learn a lot of killer stuff on your own.
Happy to hear you enjoyed this interview Donald. Learning from other photographers is awesome way of improving your own photography 🙂