This week I got a chance to interview @iGasms, a fellow iPhone photographer and Instagram user. His photos have been repeatedly featured in our iPhone photo contests, and he has often surprised me with his ability to create very unique compositions where one would least expect them. In this interview you will have a chance to learn more about the creative process behind @iGasms photos.
Tell us a little bit about yourself and your iPhone photography.
I’ve been taking pictures since I was eight years old. I remember borrowing the family camera, a Brownie Starflash, for a school trip to the Zoo. I was so excited I burned through the film in the first 30 minutes. Since then I’ve shot with numerous cameras from the Polaroid Zip to medium and large format. Thanks to the iPhone, Instagram is my first venture into the world of social media.
Why are you using your iPhone instead of a more capable digital camera?
For years I carried an SLR with me, particularly if I thought there’d be an opportunity to photograph something interesting. Because of its size and weight, more often than not, it sat idle and eventually found its way back in the bag at home. Though lacking in versatility, the iPhone is always with me and has opened up opportunities that would otherwise have been missed.
What apps, if any, do you use for taking photos besides the native camera app?
I’ve tried a number of camera apps including Camera+ and ProCamera, however, I’ve recently been using PureShot. PureShot is highly configurable and loaded with features. A great companion app is ProHDR. ProHDR takes two photos of the same scene; one for highlights and one for the shadows then combines the two extending the dynamic range.
What are your favorite apps for post-processing? Are there any functions or features that you find particularly useful?
I do the heavy lifting with PhotoForge2. PhotoForge2 is like Photoshop for iOS. This is where I’ll adjust exposure, colour, cropping and even add multiple layers. The Clarify and Shadow/Highlight tools are great for pulling out extra detail or giving your photos the HDR look.
For images lacking that “little extra something”, Snapseed and Afterlight are great for creating ‘looks’ and applying unique image treatments. So many photos look great in black and white and my favorite app is Dramatic Black & White. There are a number of presets, all of which can be adjusted to taste. What’s really cool is the ability to adjust the size, shape and direction of the spotlight.
A useful app I’ve used recently is TouchRetouch. TouchRetouch utilizes brush and lasso tools to automatically retouch blemishes or remove distracting elements from your photos – very much like Content Aware Fill in Photoshop. There’s even a clone tool.
Do you use any external accessories to improve your iPhone photography?
I read the reviews on numerous add-on lenses ranging in quality and price from $30 to $300. I settled on the Olloclip system for its combination of quality and ease of use. All add-on lenses are fairly soft around the edges but decent in the middle.
I purchased the Magnetic GorillaPod but haven’t had occasion to use it, yet.
What advice do you have for new photographers who want to start taking artistic photos with their iPhone?
Try to fill the frame with your subject and watch for distracting elements or backgrounds. It’s much easier to isolate your subject with a DSLR or point and shoot camera, so be careful to include elements that add to your composition, not detract.
Learn the basics of composition. The rule of thirds is your friend and perhaps the easiest to master.
Hold your iPhone steady by bracing your elbows against your sides or chest. Whenever possible, lean against a solid object like a tree, car or fence. Tap the phone lightly to take the shot and pause for a second afterwards to ensure you don’t shake the phone. This is particularly important when shooting in darker locations.
Can you describe the story and editing process behind your three favorite iPhone photos?
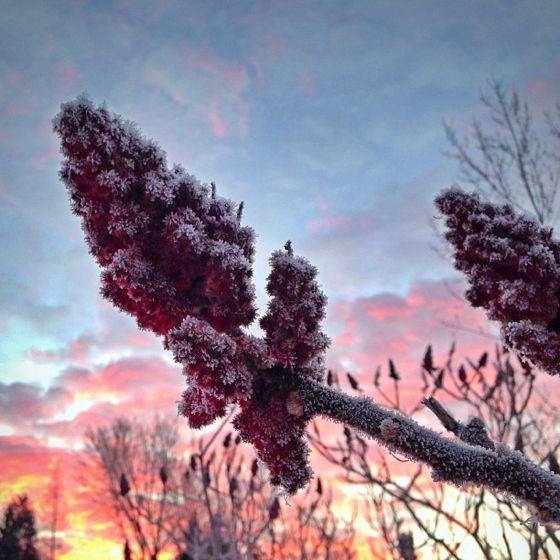
Fire & Ice
This image is perhaps my most intensive processing endeavor. The photo was taken at a local conservation area back in February of this year with the temperature at -12˚C. After getting home and thawing out, I sat down to process the photo. The image was flat, a little underexposed and the subject was partially silhouetted. In PhotoForge2 I used the Shadow/Highlight and Clarify tools to bring out detail throughout the photo and increased the Vibrance to give it punch.
The subject was still somewhat silhouetted so I processed a second version with the same tools, focusing solely on the tree branch.
I then opened the first photo (with the improved detail and colour) and imported the second processed photo (with the improved tree branch) as a new layer. By adding a layer mask to the second photo, I was able to paint in the improved tree branch without affecting the background. It took quite a bit of trial and error painting the mask on the iPhone’s tiny screen, however I feel the added balance was worth the effort.
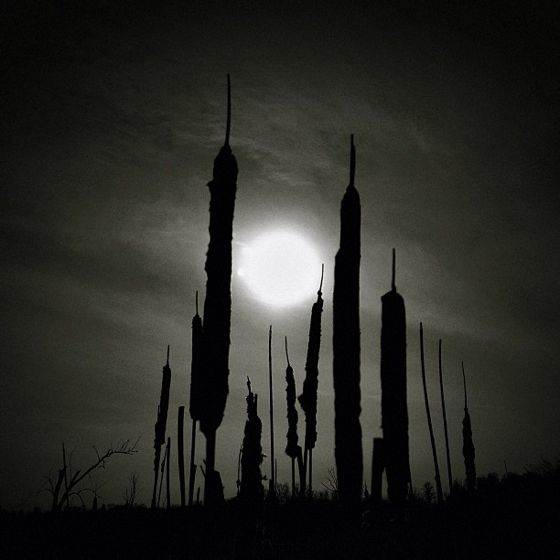
Moonlight Rush
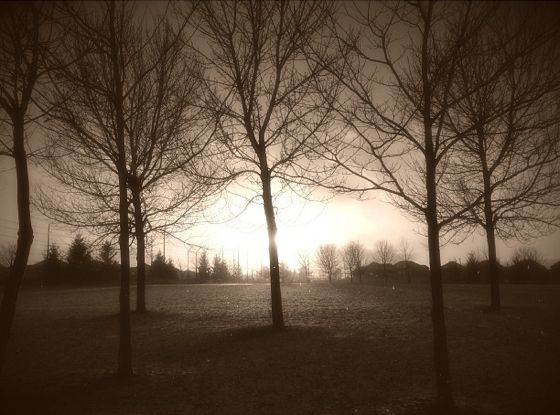
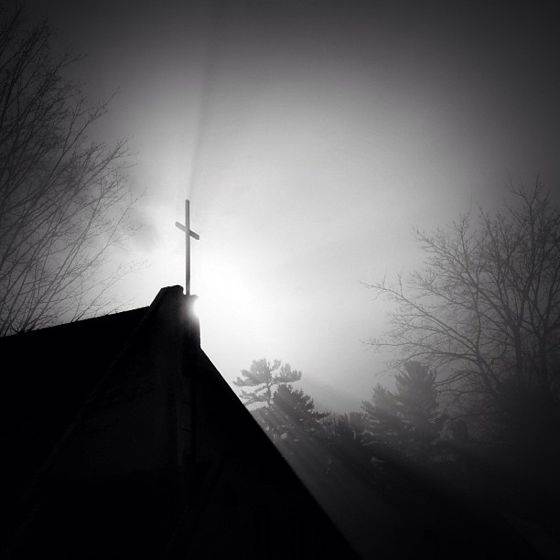
This image was taken at the same conservation area. Though the title would lead you to believe the photo was shot at night, it was actually taken late afternoon. By pointing the camera pretty much right into the sun, the camera meter selects the smallest aperture and fastest shutter speed, which underexposes the photo. The image was converted to black and white in Dynamic Black & White. Vignetting was applied in PhotoForge2, and TouchRetouch was used to remove an airplane and a few stray branches on both sides of the photo.
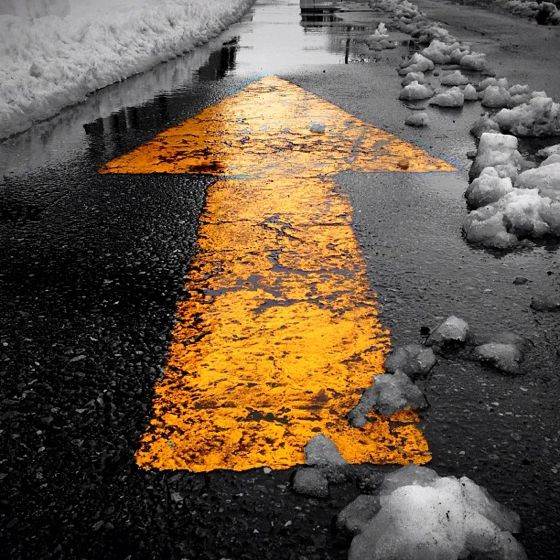
That Way
Currently my most ‘Liked’ photo on Instagram. This is a prime example of a found opportunity. During a lunchtime walk to a local coffee establishment, I took a detour around the back of a strip mall. As soon as I turned the corner, there it was on the ground. With the snow melting and the asphalt nice and black the arrow stood out in relief so I got down low, snapped a few shots.
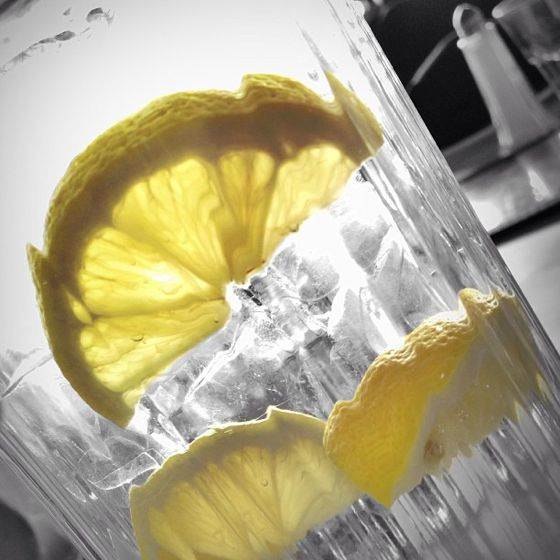
Processing was done in Color Splash to completely neutralize the pavement and to saturate and enhance the arrow. A trip to PhotoForge2 for some vignetting and done.
Where can we see your iPhone photography?
Only on Instagram @iGasms.


Leave a Reply
You must be logged in to post a comment.