iPhone photography isn’t just about taking photos. It’s also about having fun, being creative, and using the wide range of editing apps available to create something truly unique. Producing fantasy-style images is one of the most imaginative and exciting ways to let your creativity flow. In this tutorial you’ll discover how I created this composite fantasy-style edit using several different images and a small collection of photoshop apps for iPhone.
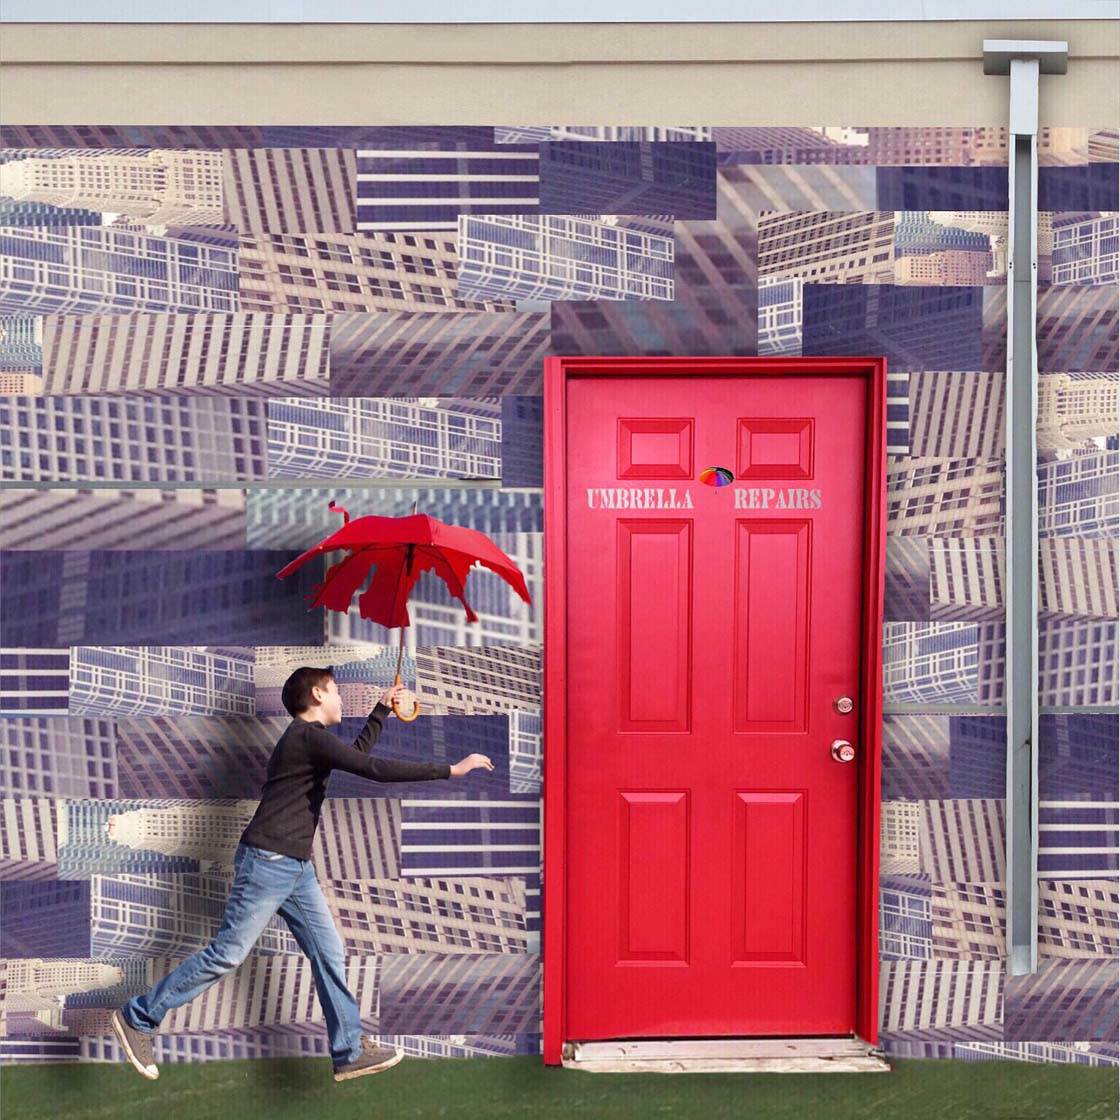
I’m asked nearly every day to share the steps I took to create some of my fantasy-style photos. If you’re wondering what this means, a photo that is edited in “fantasy style” means that you took liberties when editing a photo, changing it slightly or drastically to create a new and original piece of art.
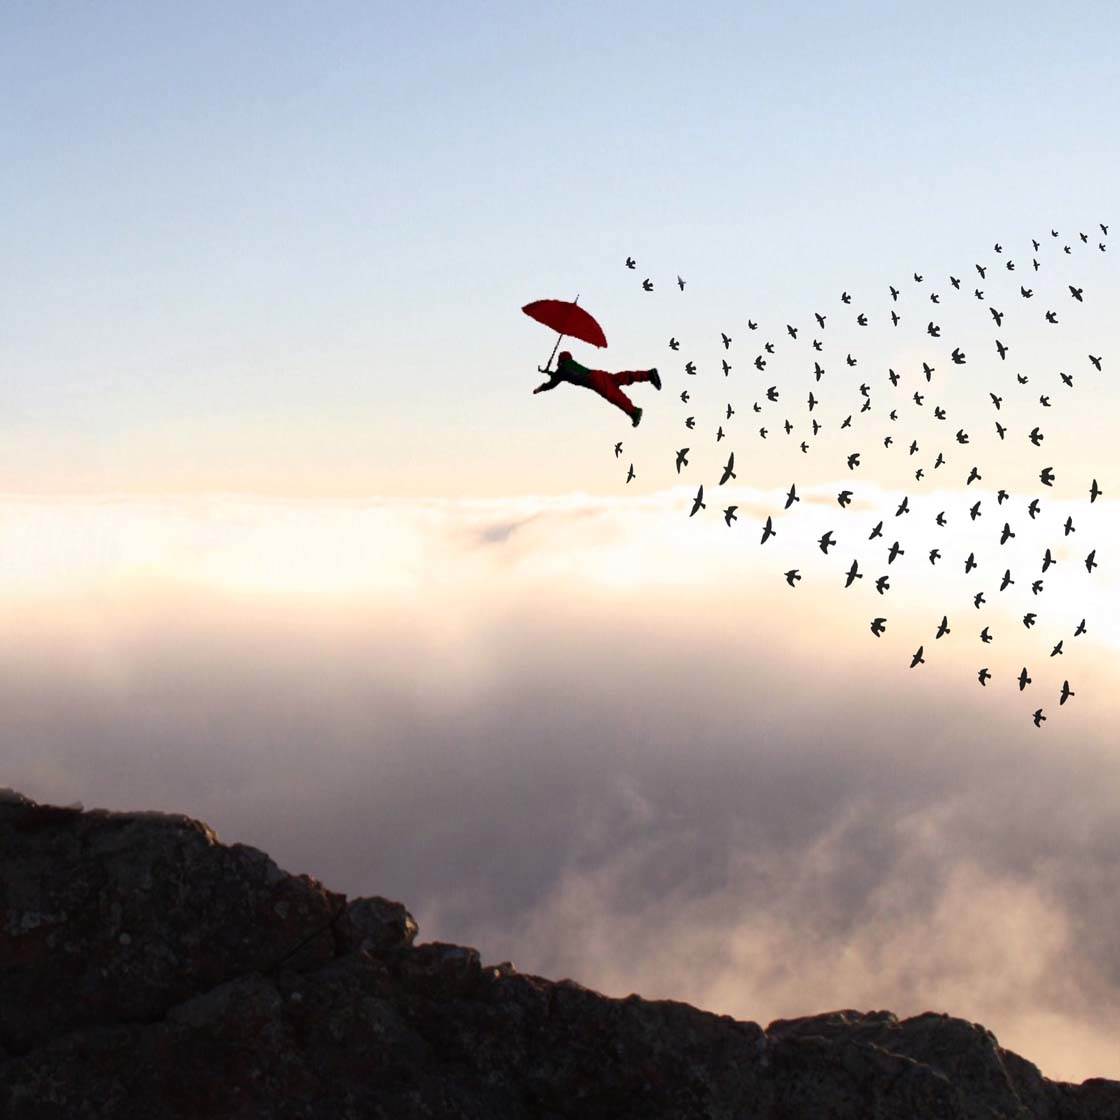
I currently participate in two Fantasy Edit groups on Instagram: @fantasy_friday and mn_niceedit. They keep me busy, but they’re my favorite type of photos to post. Every week we all edit the same photo and put our own spin on it. One hundred percent of my editing is done on the iPhone.
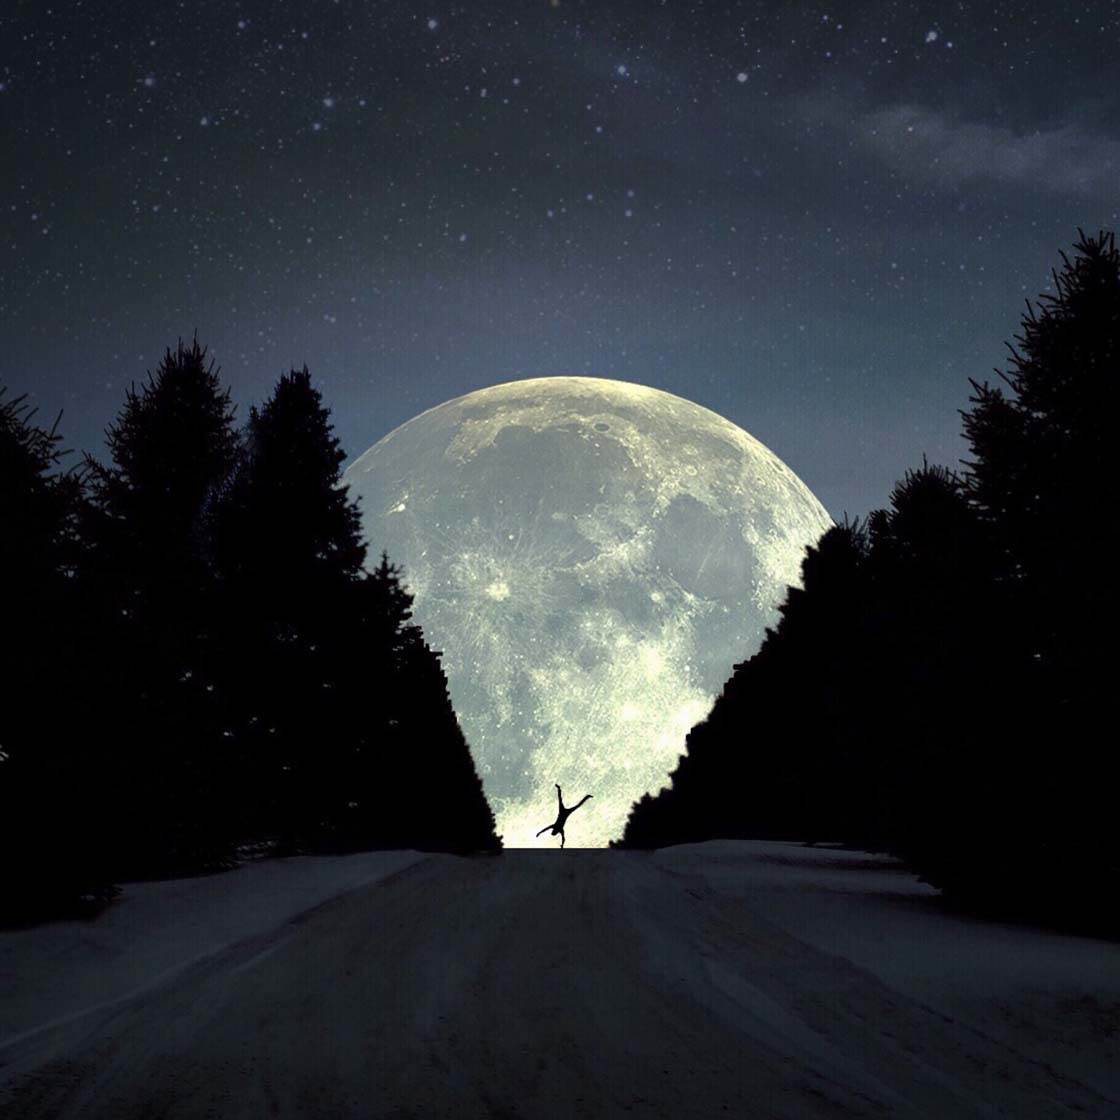
You really can make a completely different photo from the one you started with. The only limitation is your mind! To get some inspiration and ideas, you can see more of my edits on Instagram @shineonyoucraydiamond.
Please note that I’m an untrained, hobby iPhone photographer and all of the techniques I’m sharing with you are self-taught. I’ve learned to use a variety of apps based on need, e.g. “I wish I could add a bird right here,” and the way I use these apps may possibly not be the “right way.”
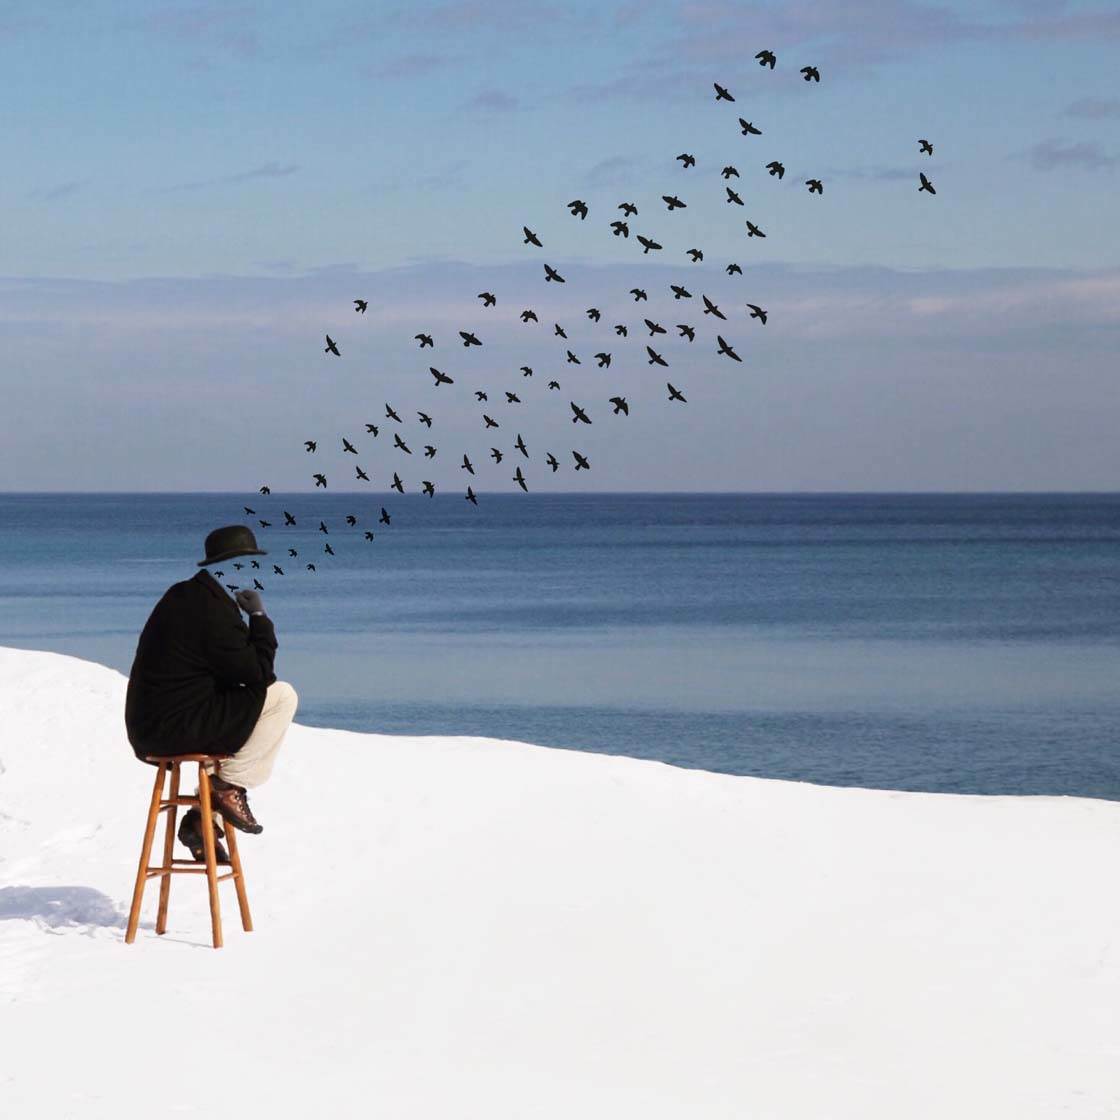
I suspect that there are many different ways to go about using these apps, but I’ve found that the more you play around with them, the more you’ll learn how to use them for your specific editing needs.
So let’s now take a look at how I created the “Umbrella Repairs” fantasy edit shown at the top of this article.
How I Created A Fantasy Edit iPhone Photo
Below is the original photo that was submitted to one of the Fantasy Editing Instagram groups that I belong to. It was taken by my friend @AndrewJHays (Andrew has a wonderful Instagram account that is filled with minimal-style photos that give you a subtle peak into his genius mind).
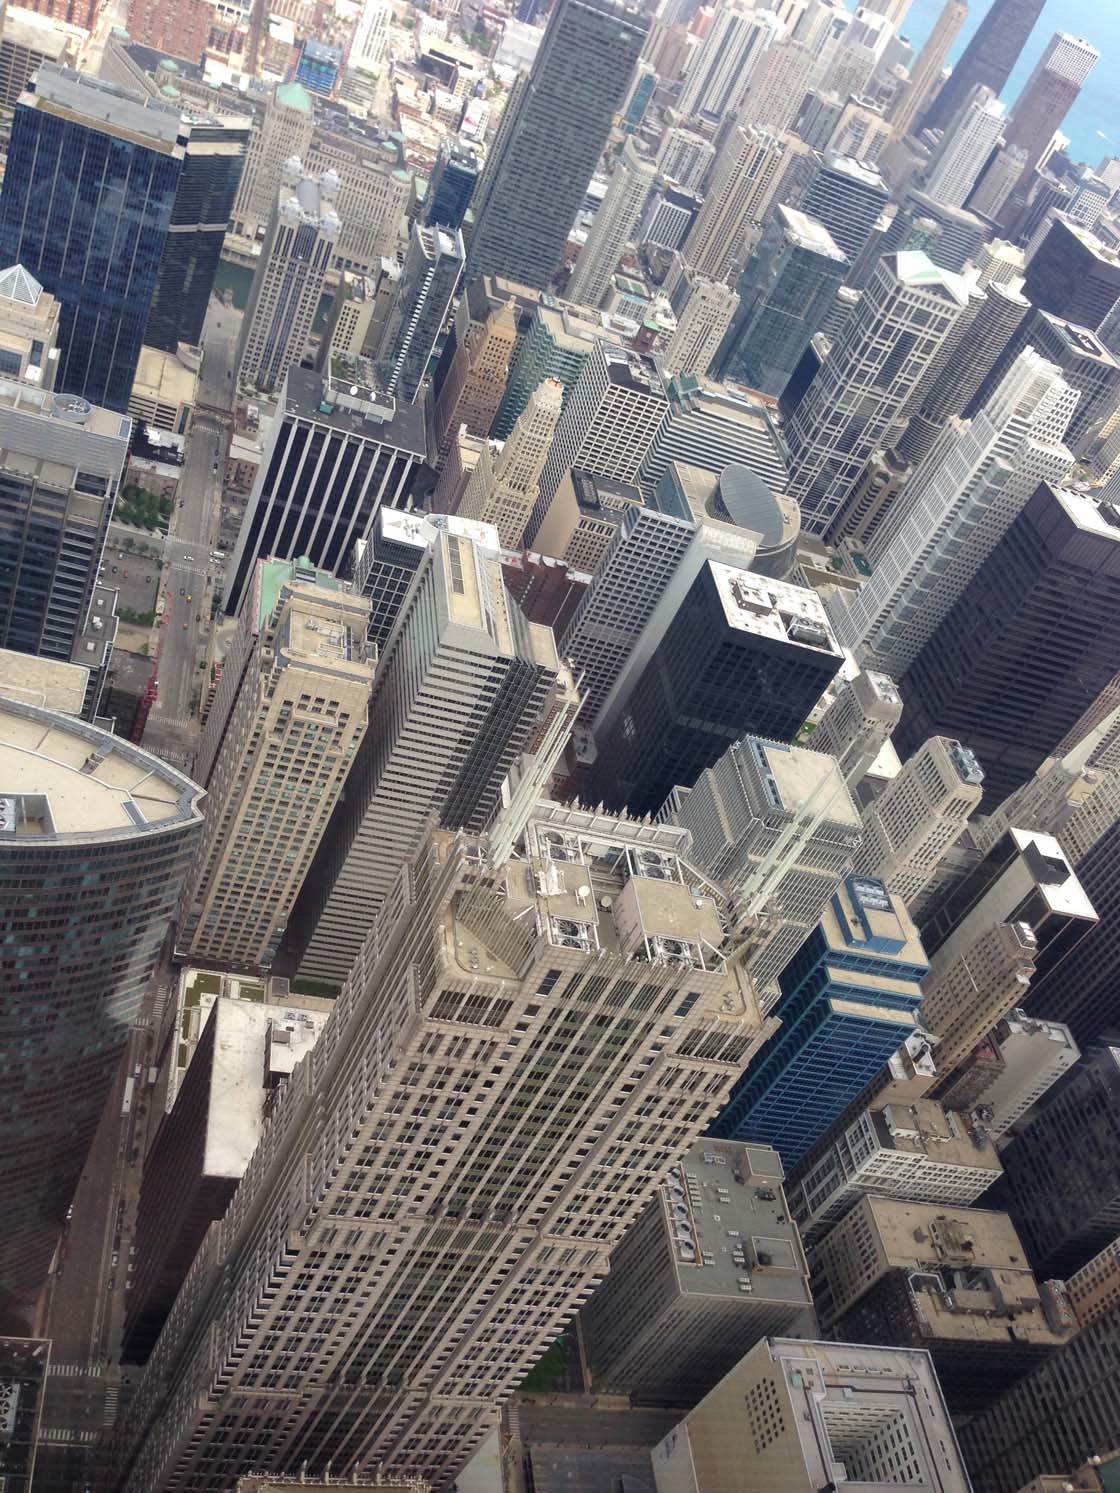
Now, when I first received this photo my gut instinct was to flinch. Not because it’s a bad photo – it’s a great photo. It just isn’t my style, and it looks very hard to edit. So I took a step back and tried to look at this photo in a way that wasn’t about the editorial content of the photo – cool skyscrapers, must be NYC, etc.
Instead I looked at it in a much simpler manner – large rectangles, very little sky and a lot of texture. I decided that for me, the texture was my favorite part of this photo. So that was my starting point for creating a fantasy-style artwork from this image. I realized I could “cut out” small rectangular blocks from the original photo, and use them to create an abstract-style wallpaper.
My first step was to isolate the different textures of the buildings. I used the Superimpose app to do this. If you’re not familiar with how to use Superimpose, it allows you to add, or “superimpose,” objects from one photo onto another.
For example, if I had a simple sunset photo and I wished to add a bird into the picture, I would use Superimpose. First I would choose the sunset as my background photo. Then I would choose a photo of a bird as my foreground photo. I would use the masking tool to cut out the bird and erase its surroundings so that it would be isolated.
Finally, I would resize the bird and change its contrast and exposure to match the background and save my completed photo. An additional, but not required step, would be to “Save” that mask in case I wished to add the same bird to a different photo someday down the road.
So now that you know what Superimpose can be used for, I’ll show you how I used it with this image of the buildings. I started by choosing a random photo for my background. It didn’t matter at all what the photo was because I was going to completely cover it with my textured blocks.
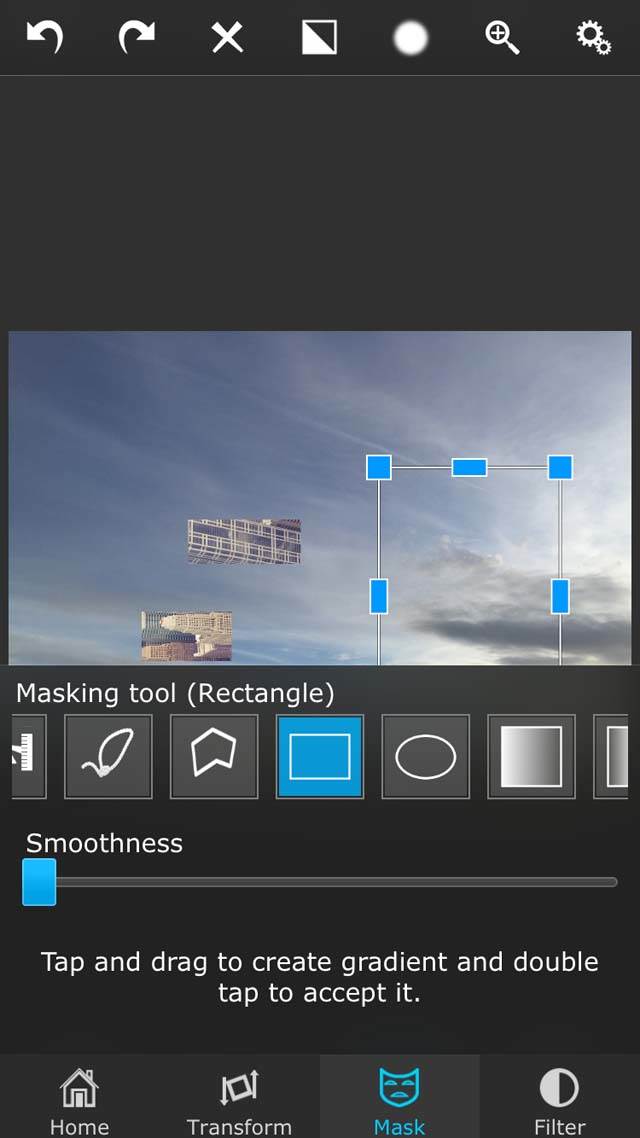
I then added the buildings image as the foreground photo and deleted almost all of this image until only a mere rectangle of texture was left. I did this by using the Rectangle Masking Tool under the Mask tab. If you want to mask out areas free-hand, you would use the Brush tool.
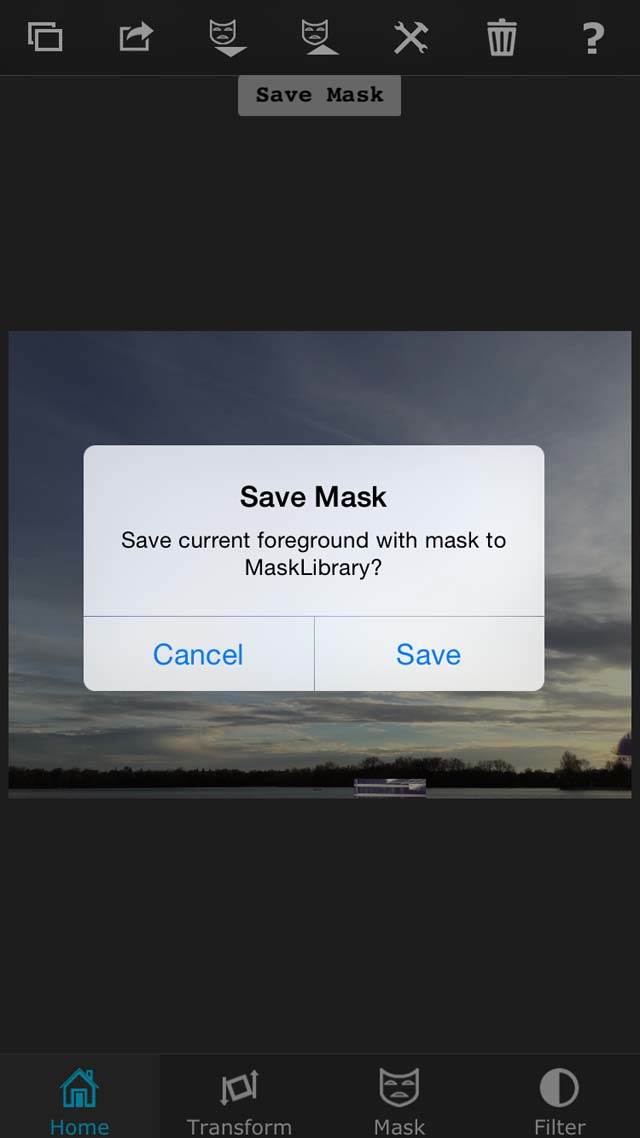
I then saved the rectangle as a mask by tapping the Save Mask button (icon of a mask with an upwards-pointing arrow) at the top of the screen. I then started over, isolating a new texture from the building photo each time.
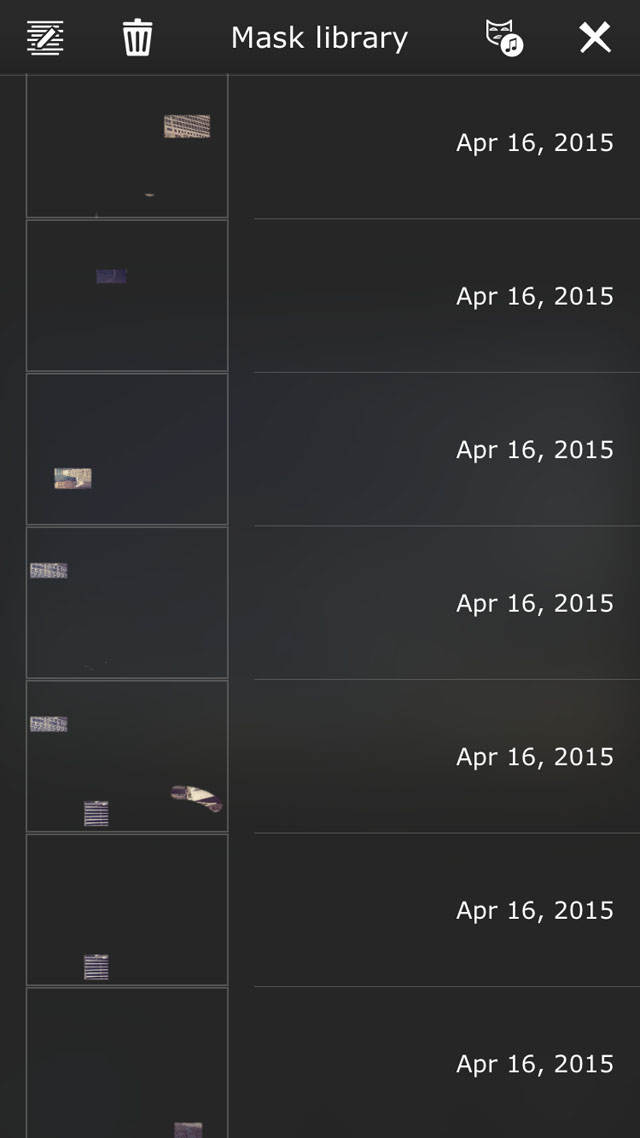
After doing this numerous times, I had a small library of textures saved to my Saved Masks area in Superimpose. It was quite a long process to isolate the different textures. Fantasy style edits can take a lot of time and patience, but it’s also a great deal of fun!
Then I got to the interesting part. This is where your imagination is your strongest “app.” I could use those blocks of texture that I’d masked to build anything I wanted. I settled on creating an abstract-style wallpaper. I chose a random photo as the background – remember it doesn’t matter what it is as it’s going to be completely covered with rectangular blocks.
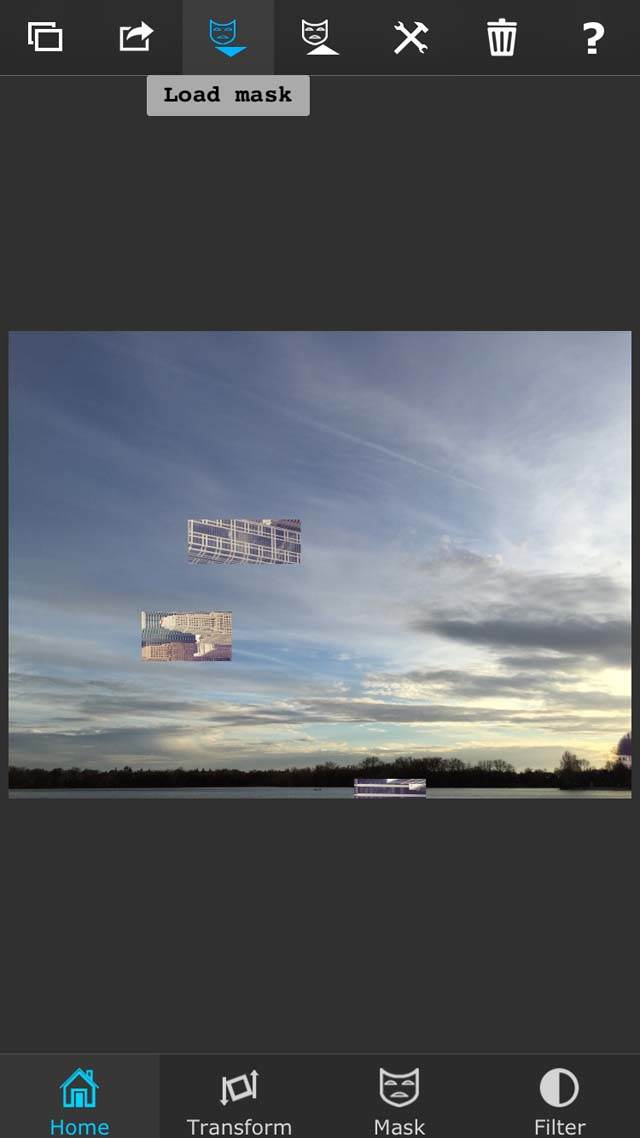
I then added my textured rectangles, one by one, until the entire square was filled with my new wallpaper. To add the rectangles that I’d saved as masks earlier, I used the Load Mask button at the top of the screen (icon of a mask with a downwards-pointing arrow).
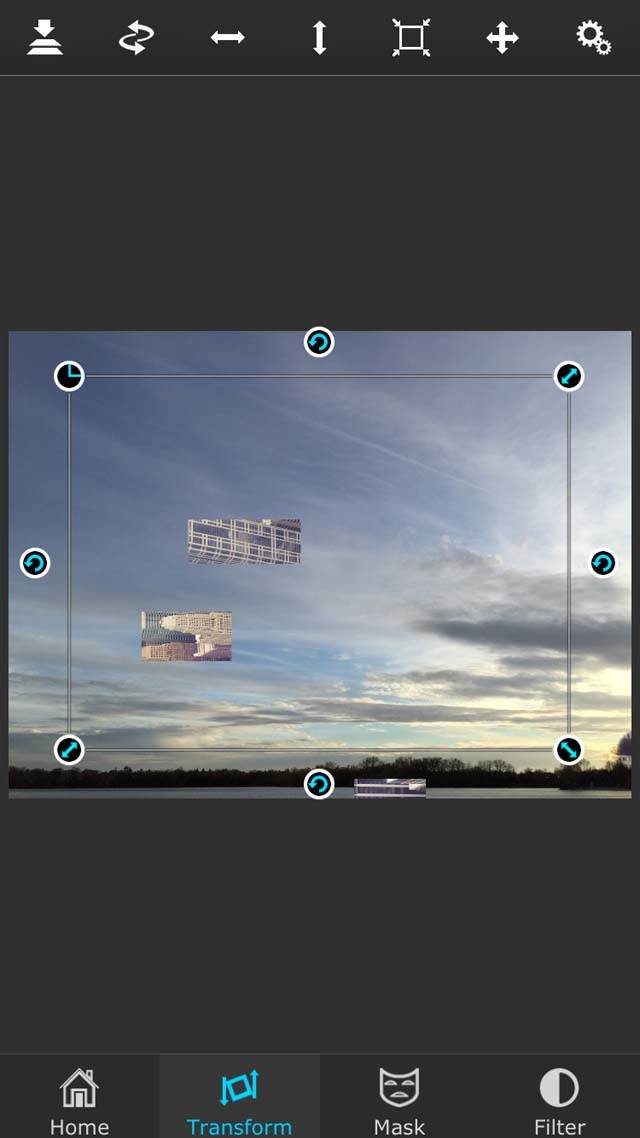
Once you’ve added a rectangle layer, “lock” it into place using the Merge Down tool (top left icon shown in screenshot above) under the Transform tab. After that you’re free to add another rectangle from your saved masks.
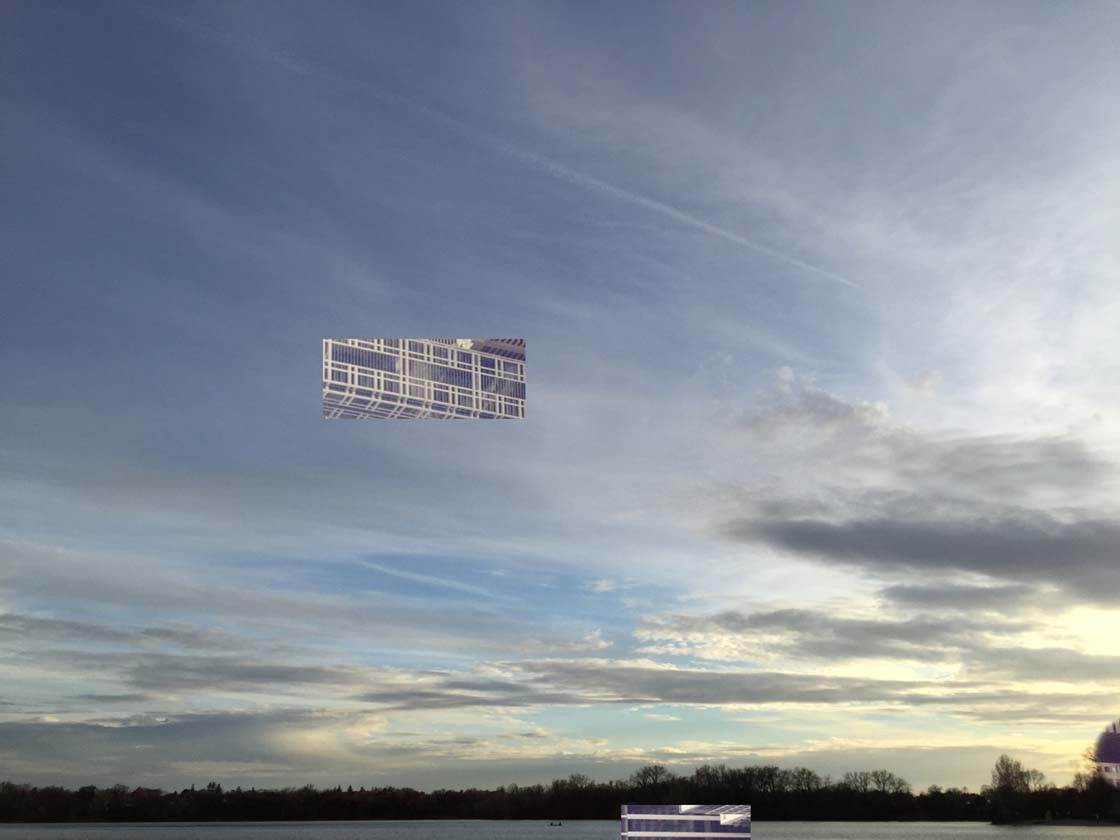
Above is what it looked like when I first started adding my textured rectangles onto the background image, and below is the completed “wallpaper” which is basically a collage of multiple rectangles cut out from the original image of the buildings.
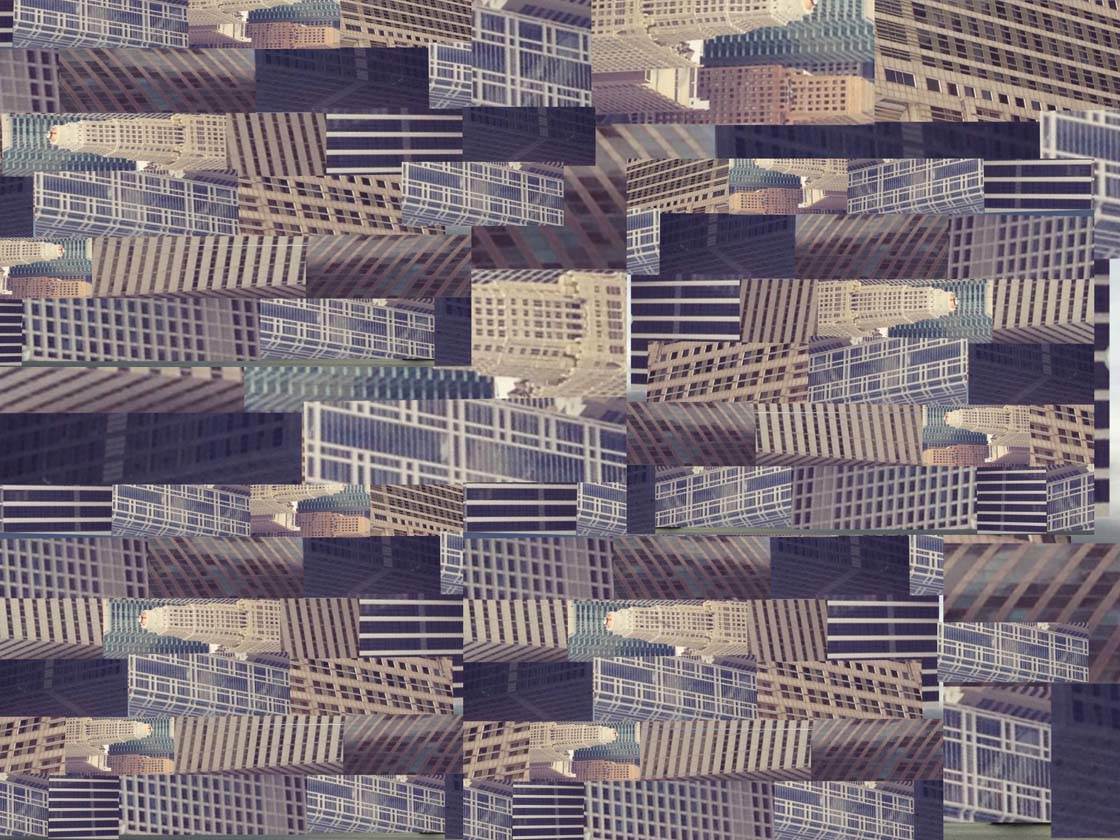
After the wallpaper was created, I started the next step. This is the really fun part – creating a story! Again, I used the Superimpose app, cutting bits and pieces out from other photos and adding them onto my wallpaper. So my wallpaper had become the background onto which I would add other elements.
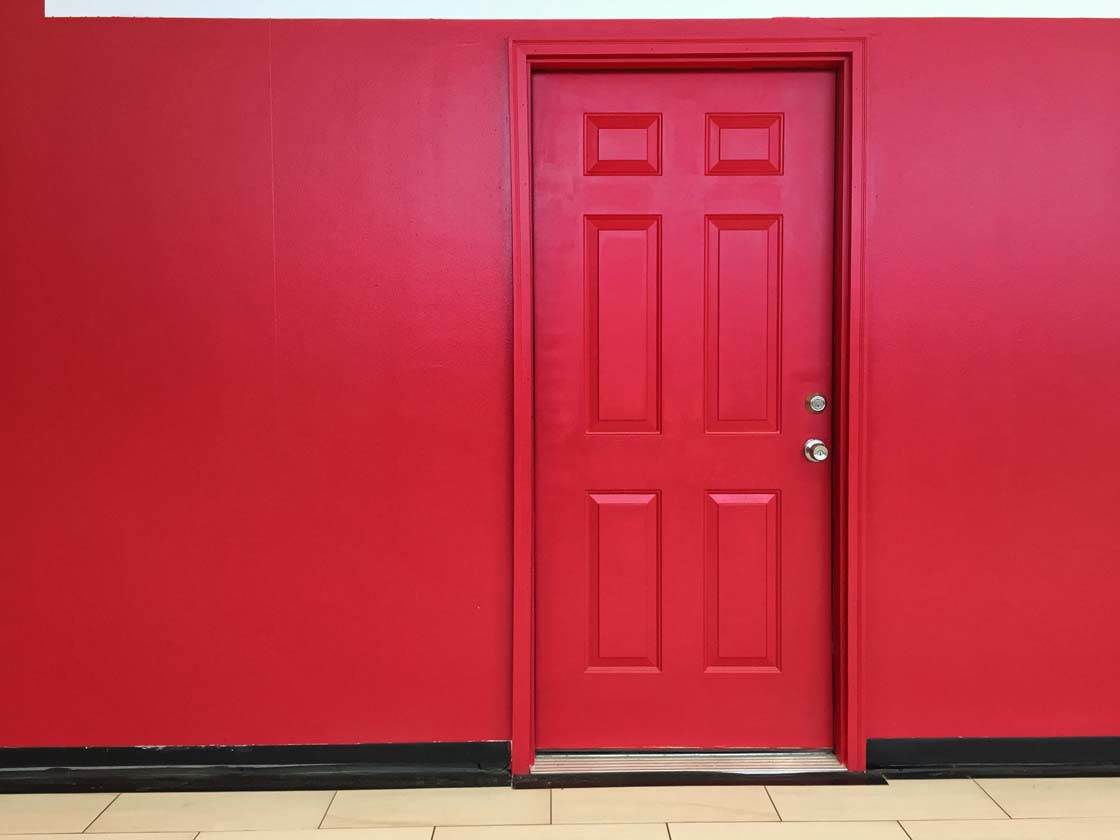
For example, I took this photo of a red door and masked out everything apart from the door. I then superimposed the door onto the background wallpaper.
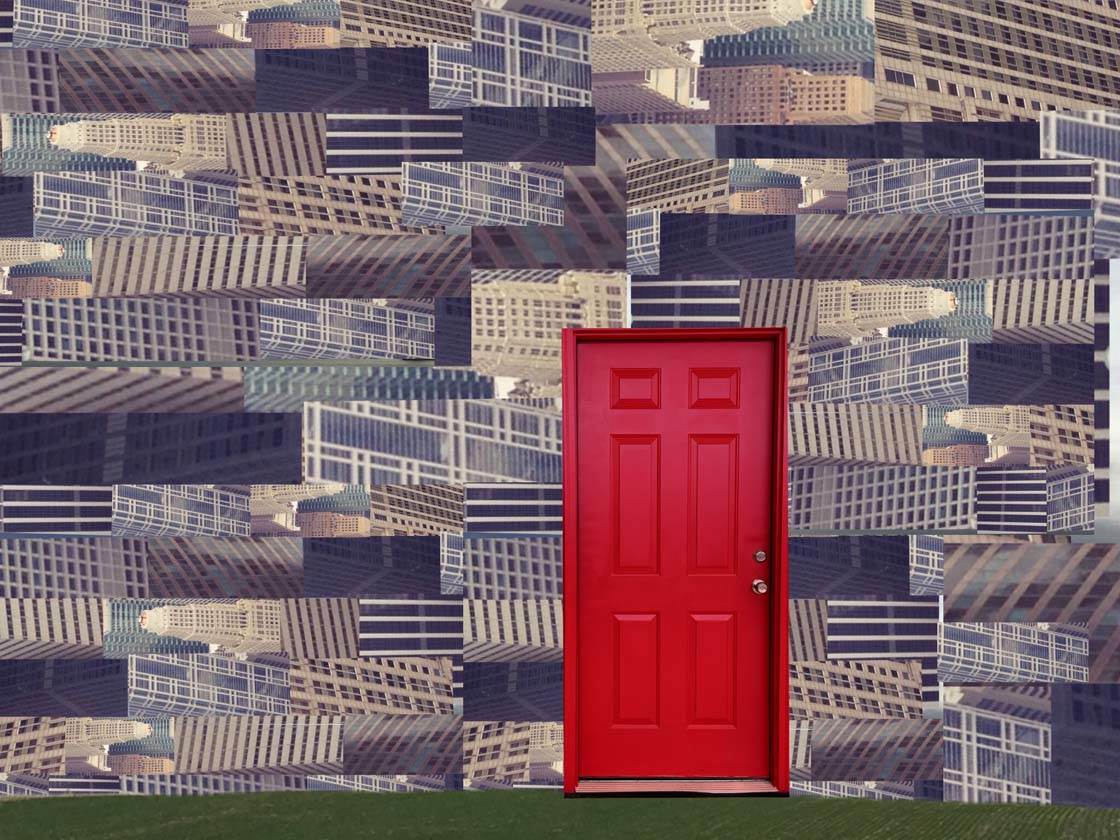
Using the same technique, I added some grass from another photo to the bottom of the image.
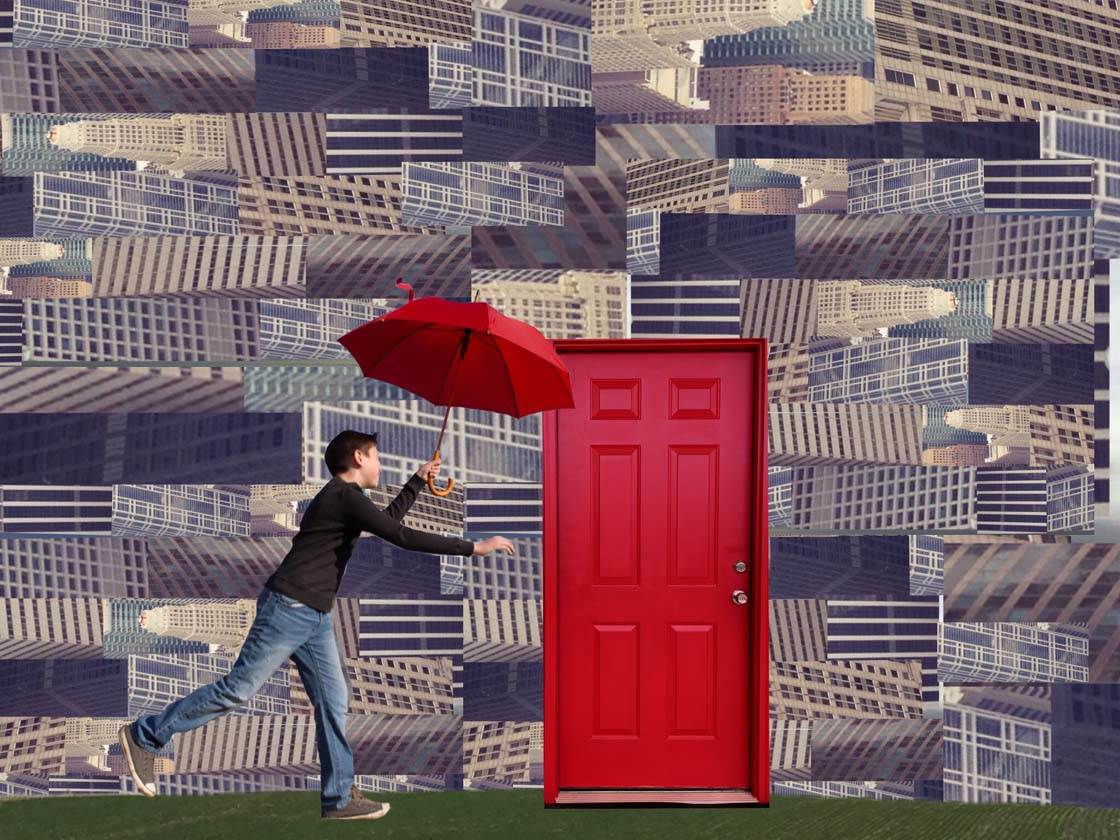
I then added a photo of a boy holding an umbrella, positioning him in the frame so that he looks like he’s about to open the door. Can you see how I’m now starting to build up a story within the image?
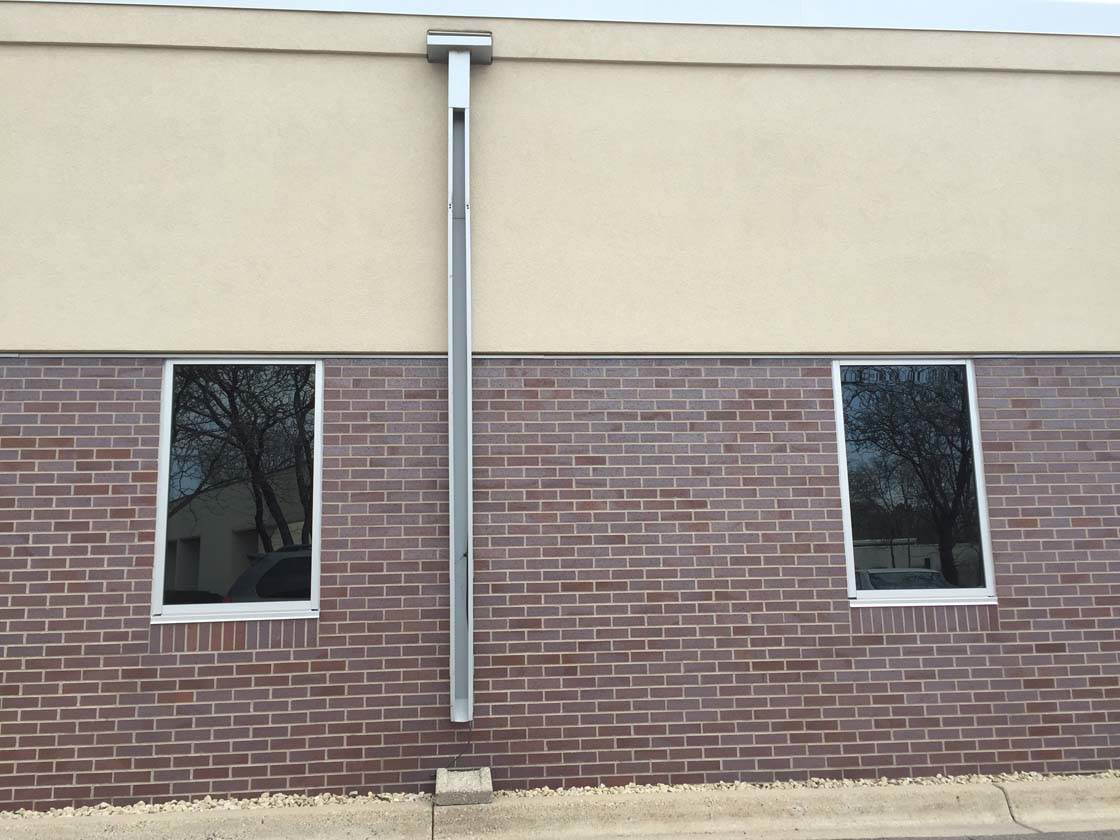
I took another photo of a building and masked out all of the parts that I didn’t want to use, then superimposed this onto my image to provide guttering and a top for my building. I also used the mask tool to delete parts of the umbrella until it looked sort of ragged.
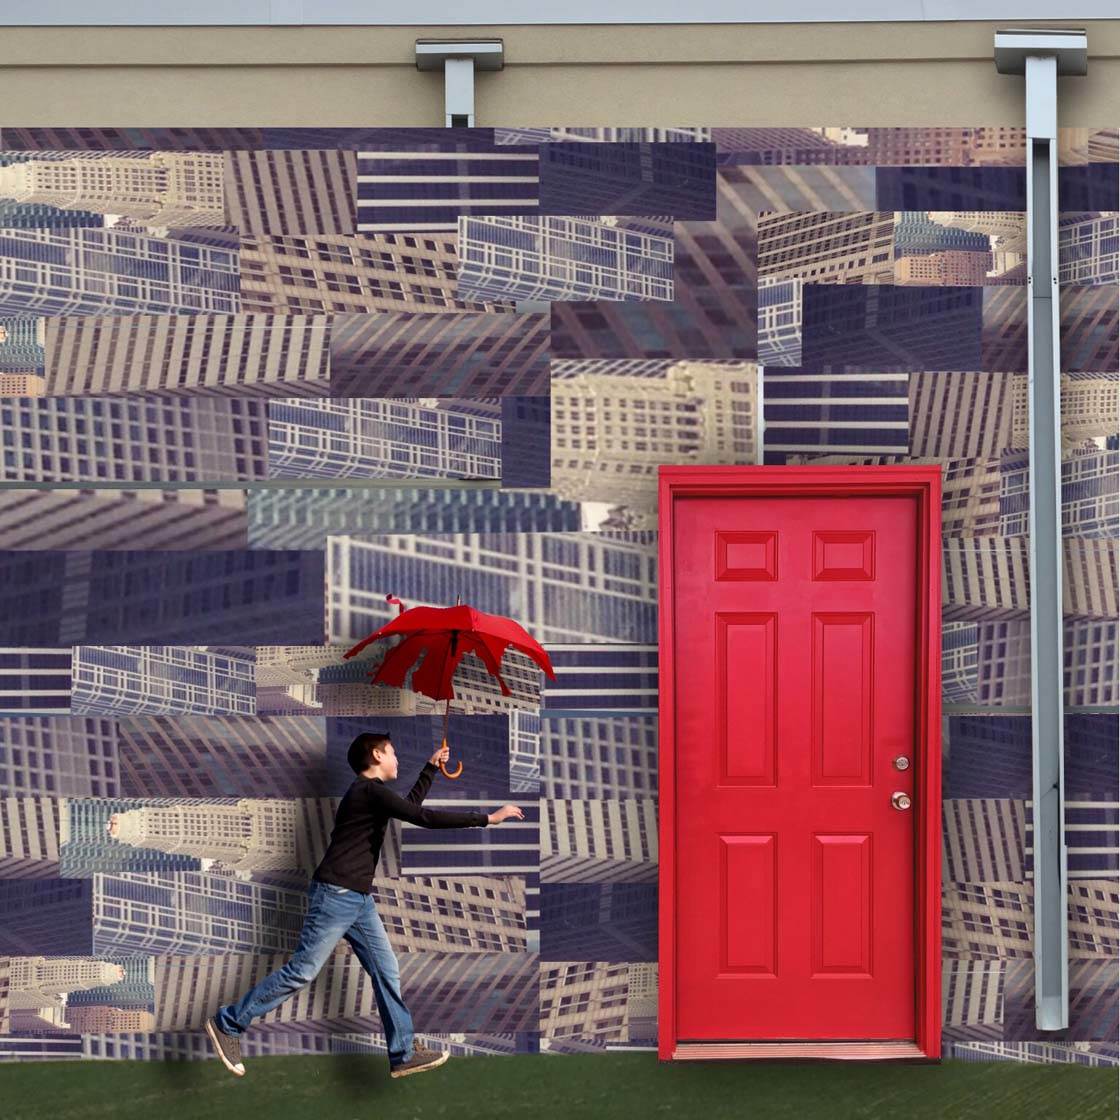
I then played with the contrast, exposure and transparency of each element. By duplicating the boy and umbrella, slightly off-setting him behind the original boy, then taking the saturation and transparency down, I was able to make a shadow of these elements.
After I superimposed the elements into the positions that I liked, I decided to add one more piece to my story – some lettering on the door. I used the Photoshop Touch app for this. This isn’t an app I use very often but I knew I could use it for text.
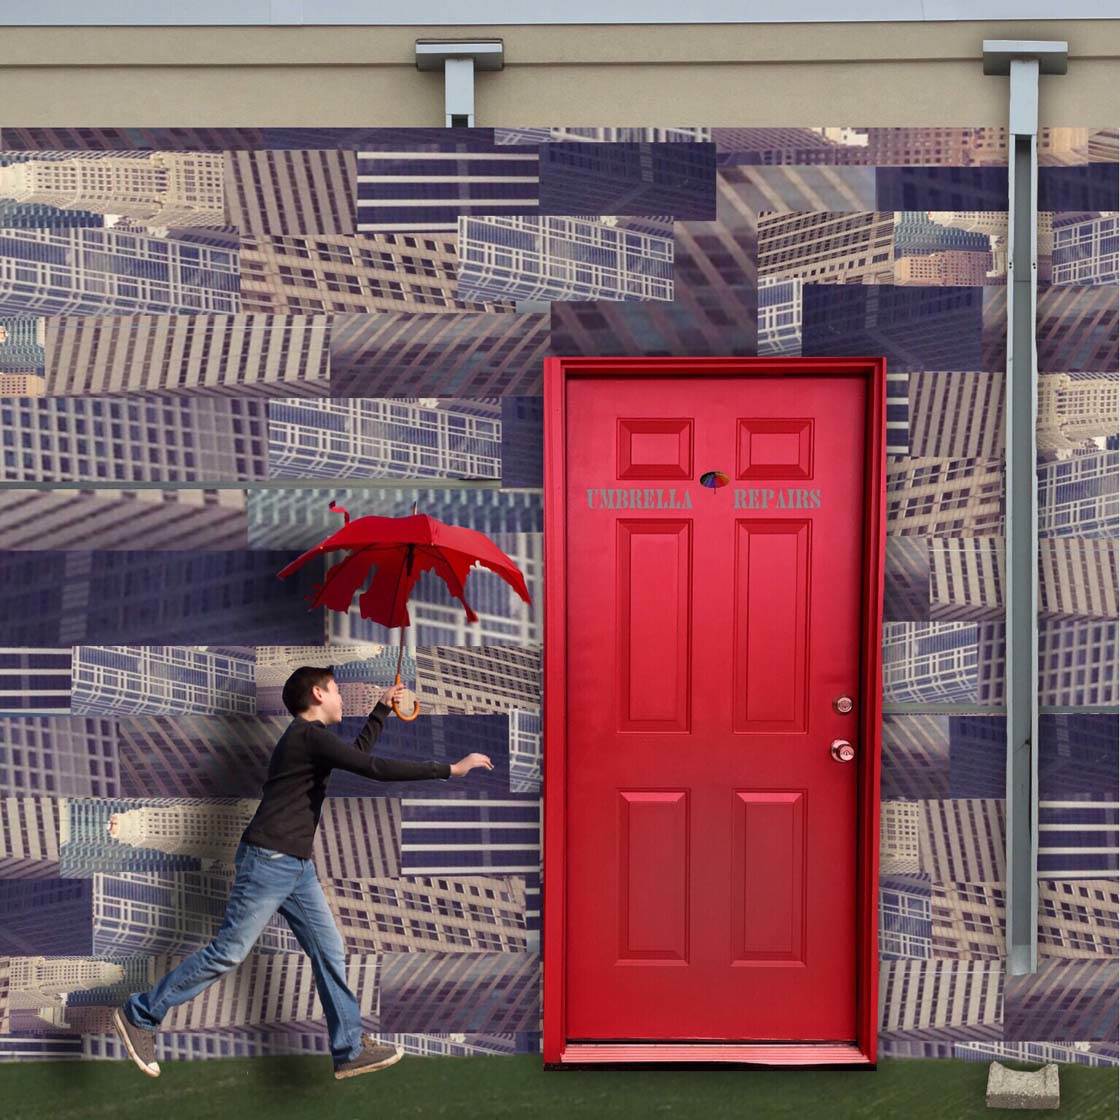
I opened up my photo in this app, and went to the tab that was labeled “&” where you’ll find a Text tool. It was here that I experimented until I was able to add the words “Umbrella Repairs” to my photo.
After all of this was done, I opened the image in the TouchRetouch app to “clean up” any error areas in my photo. This is a great app for removing objects and unwanted marks, or “cloning” pixels from one area of the image to another.

Above is the final version of my fantasy edit. And as a reminder, below is the image that I started with!

For me, the fact that I can build any sort of story or scene straight out of my imagination is the source of my love for photography and Instagram.
Sometimes I build scenes using props and friends, and sometimes I use apps to manipulate images in various ways, as I’ve done here. Either way, knowing that the possibilities are limitless makes every new photo a fun adventure!
So set aside some time to experiment with different ideas and apps, let your imagination flow, be creative and experiment. I hope you have as much fun as I do with this style of editing!

Wow -immense amount of steps to create new images – I don’t have the patience for this type of photo illustration but appreciate those who do.
Thanks for showing us this complex edit as a step by step process Jill 🙂
Thanks so much Jill. It is always a pleasure to meet someone who loves creating editing. Your tutorial is wonderful. I have my favourite crazy ‘disassembled’ pieces of photography saved in my iPhone library for creative purposes. It’s good fun and totally relaxing and a great way to let your imagination fly.
Awesome Jill! Great explanation !
nice job, thank you!
btw, some nice source images for editing – http://www.tomswallpapers.com/31659-builds-night-view-city-home-the%20city-landscape-night.html
Glad you enjoyed this tutorial 🙂
Thanks Jill, fantastic work to do. I hope when I`m in pension I will have the time and patience to do edits like that.