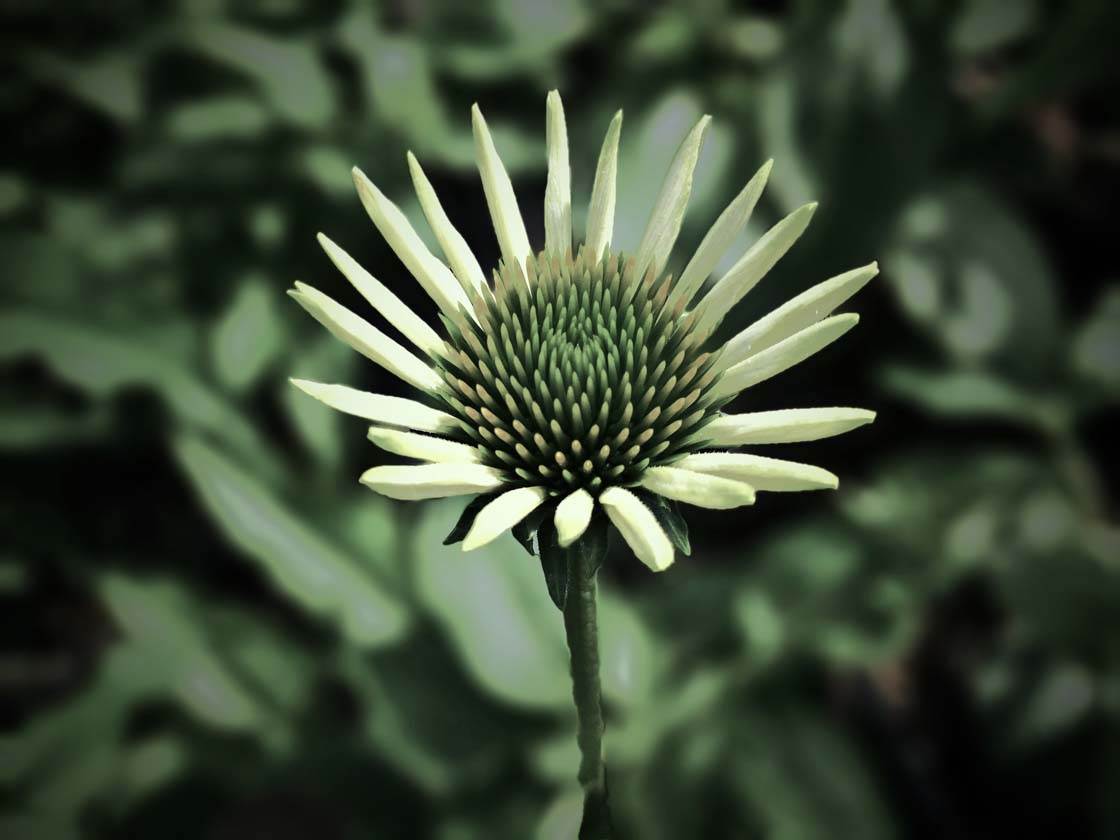
Are you looking for a free app that offers a fast, easy and intuitive way to edit your iPhone photos? If so, you should try out the new Ultralight photo editing app. It’s free to download and offers a unique approach to basic editing tools. Redefining the notion of “simple yet powerful,” Ultralight is a joy to use and yields fantastic results. In this article you’ll discover how the Ultralight app offers a new experience in iPhone photo editing.
22 Filter Presets That You Can Actually Use
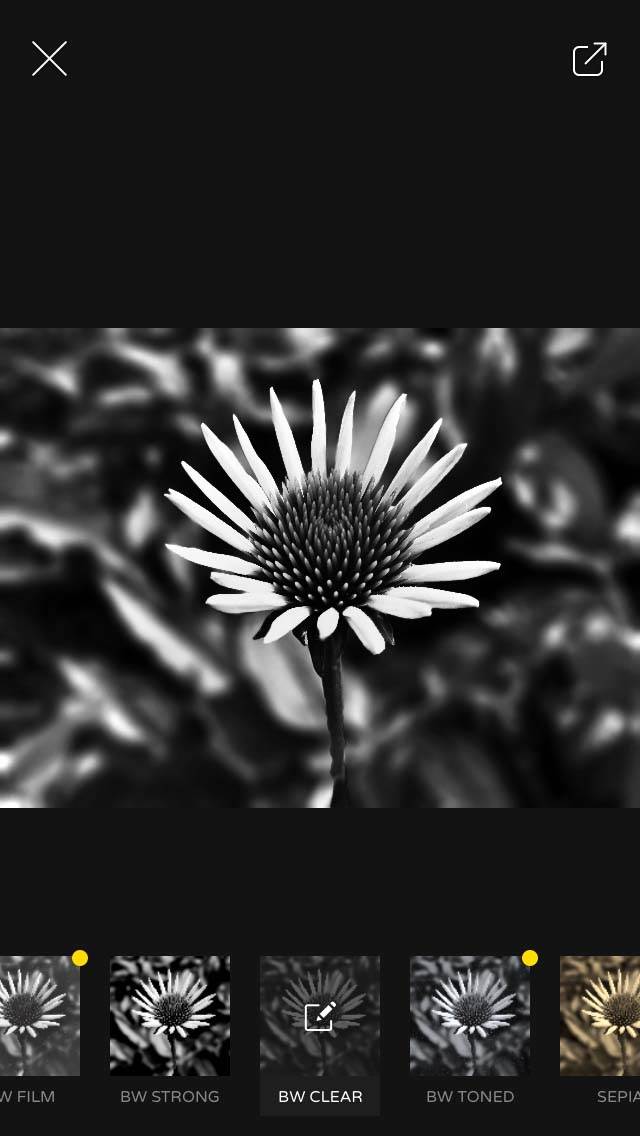
Like many other editing apps, Ultralight starts you out with a collection of filter presets. These are a great way to test out some different looks and styles, but you’re never limited by them.
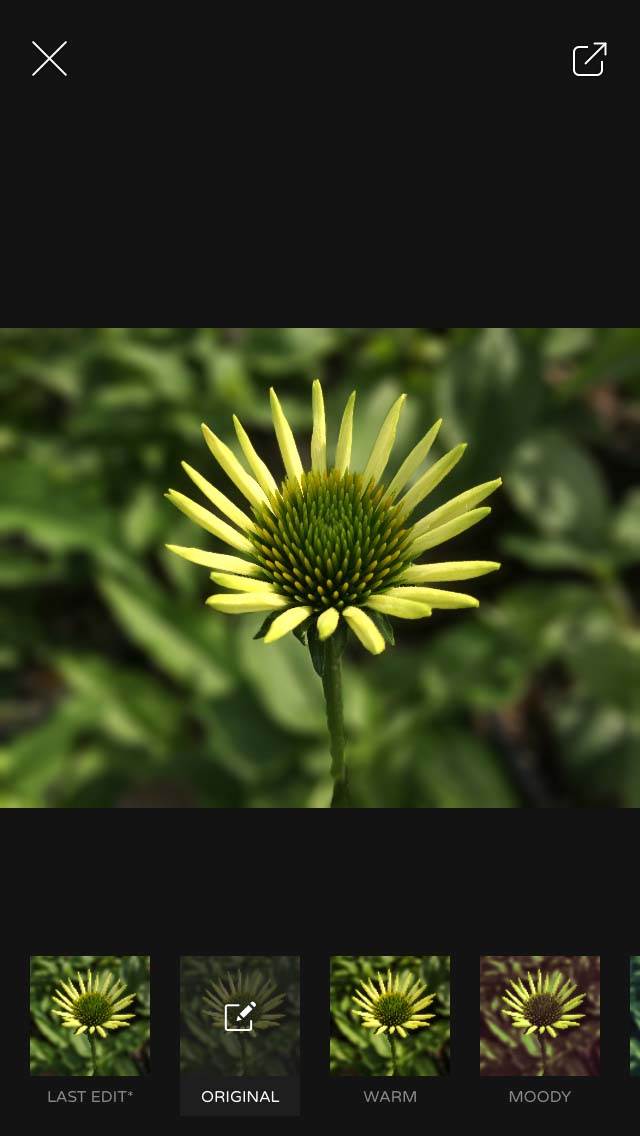
The collection of presets is quite diverse, with none of them being all that overdone. Often, I find that presets are a bit too harsh or even gaudy.
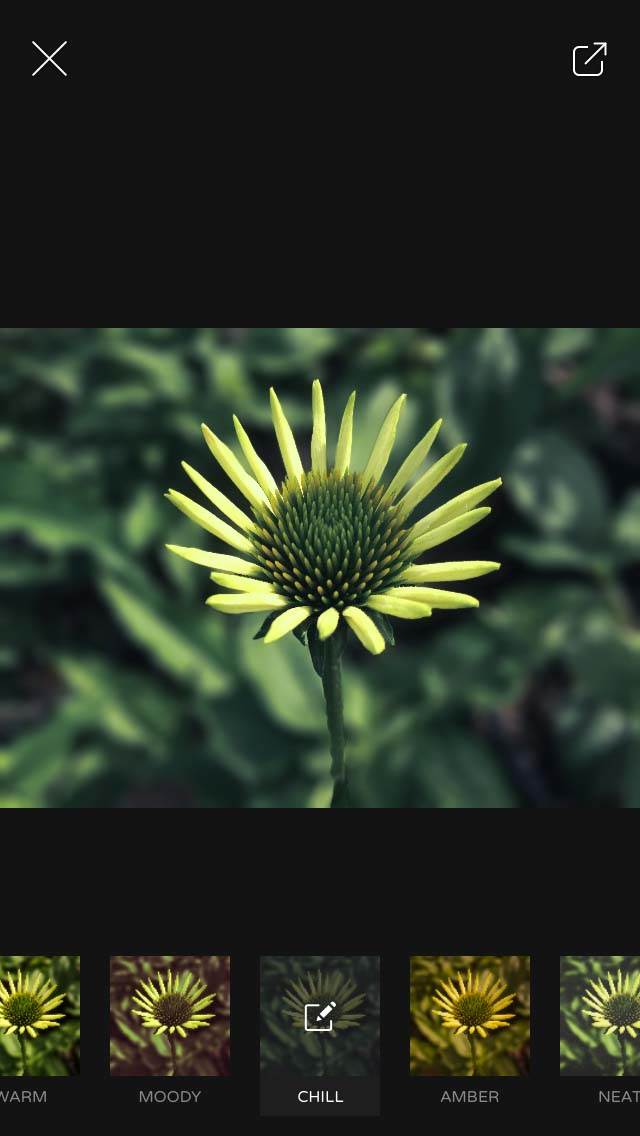
Ultralight’s presets are more akin those in the VSCO Cam app. Many of them can be applied and used with little additional tweaking (although you can always make further adjustments if you wish).
A Unique Approach To Basic Adjustment Tools
After selecting a preset (including the option of no preset at all) you’re brought to the main collection of adjustment tools for further refining the look of your image. This screen features a range of basic editing tools.
The interesting thing is that while the tools themselves are fairly basic in their functionality, they offer a wider range of control than other similar collections.
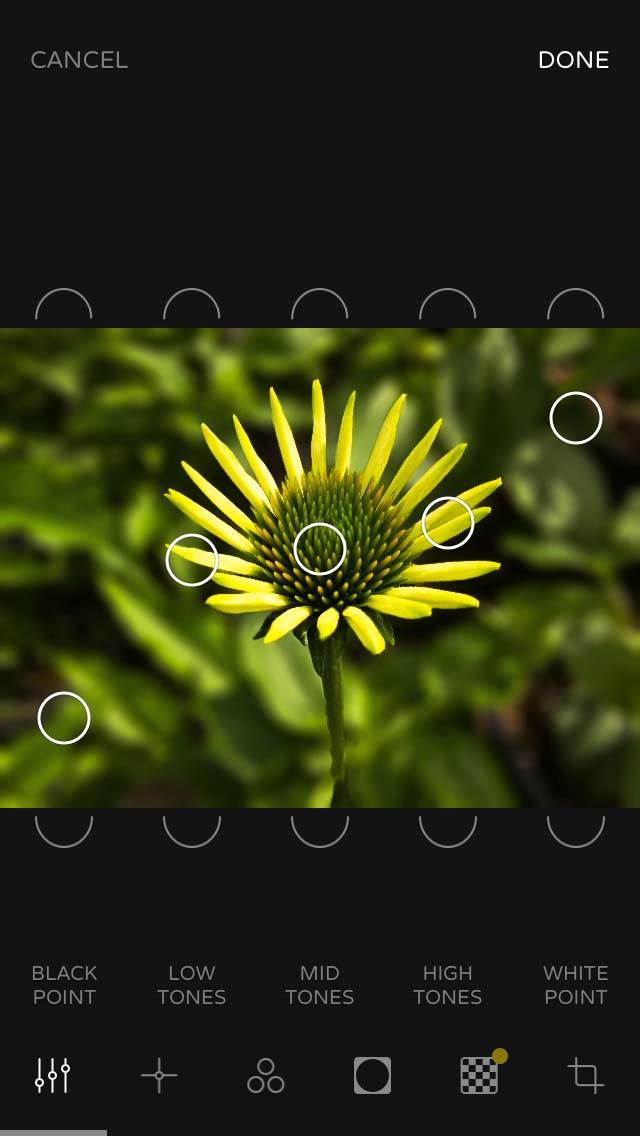
For example, the first tool you encounter allows you to adjust the brightness of your image, but in very focused segments. Through a range of “over-image” sliders, you can adjust the Black Point, Low Tones, Mid Tones, High Tones, and the White Point.
This means that you have selective control over the brightness of each of these tonal levels. This provides a very wide range of control and is similar to a Curves tool, but not as complicated.
You’ll also notice that there are no other separate brightness or contrast adjustment tools. The reason for this is that you simply don’t need them with this sort of control already available to you.
For example, by lowering the Black Point and raising the White Point, you’ll effectively be increasing the overall contrast of the photo (again, with more precise control).
Dynamic Saturation & Temperature Adjustments
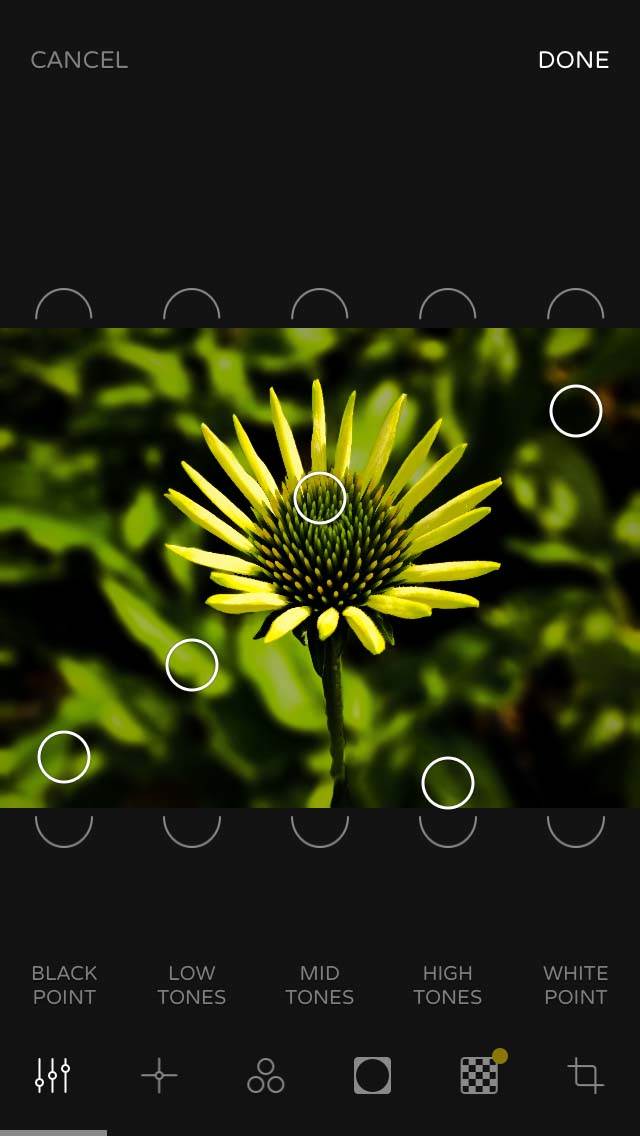
Ultralight’s approach to adjusting saturation and color temperature is equally unique. By way of a two-dimensional adjustment “field,” you can simultaneously adjust the saturation (S) and color temperature (T).
To adjust saturation, swipe up or down (upwards = more saturated and downwards = less saturated). To adjust color temperature, swipe left or right (left = cooler and right = warmer).

This approach allows for quick, yet powerful control over these two adjustments. It also allows you to really push each of these adjustments to various extremes if you desire.
Creative Control Over Image Color
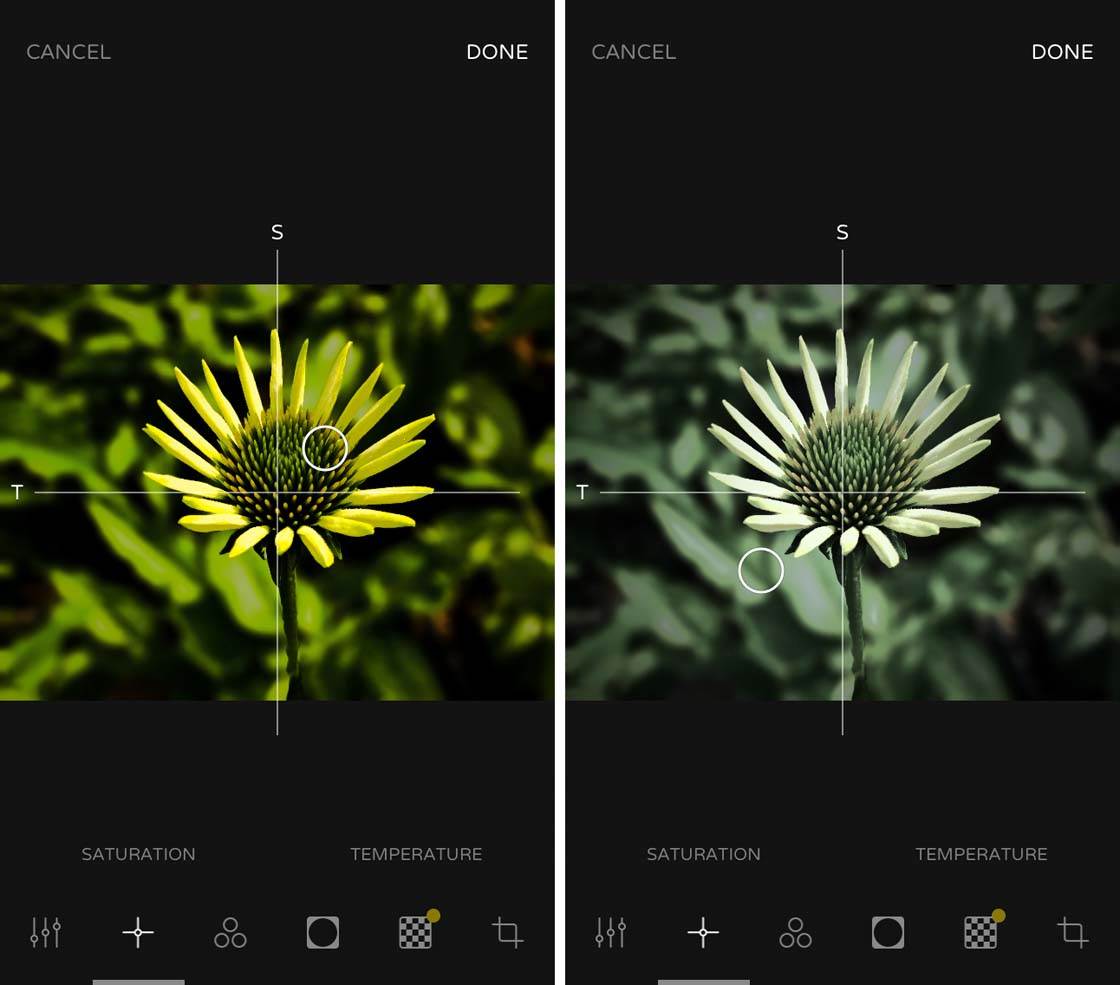
Another cool feature is the Colorize tool. This allows you to adjust the color palette of your image in several ways.
You can colorize the entire image with a color of your choice, e.g. green, blue, red, etc.
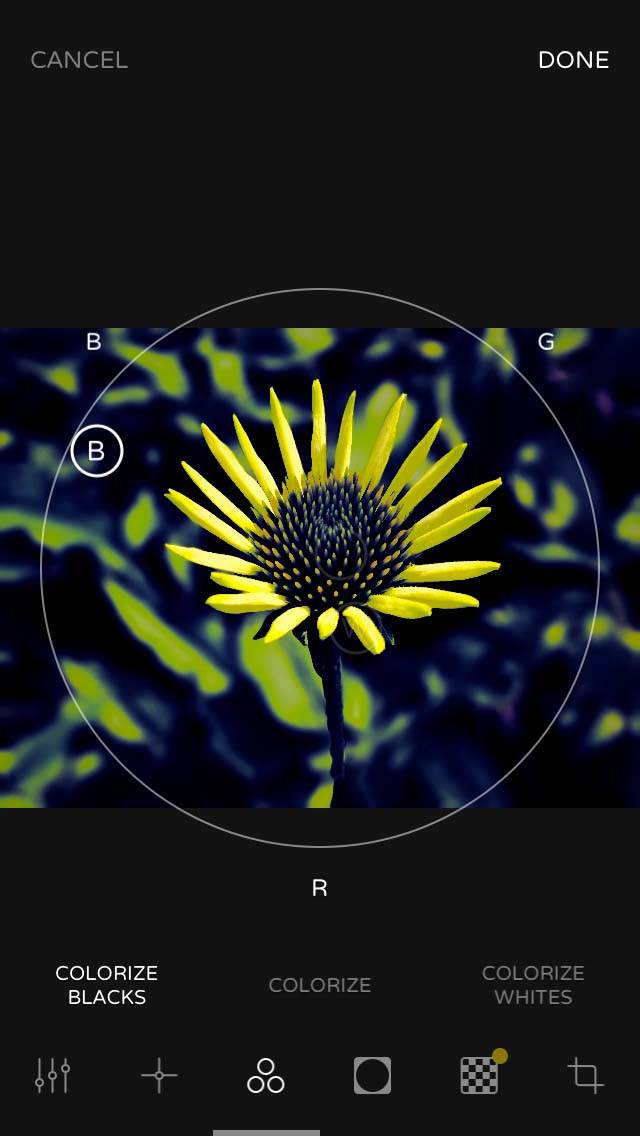
Alternatively you can use the Colorize Blacks option to change the color of just the dark tones (as shown above). Or you can colorize just the light tones using the Colorize Whites option (as shown below).
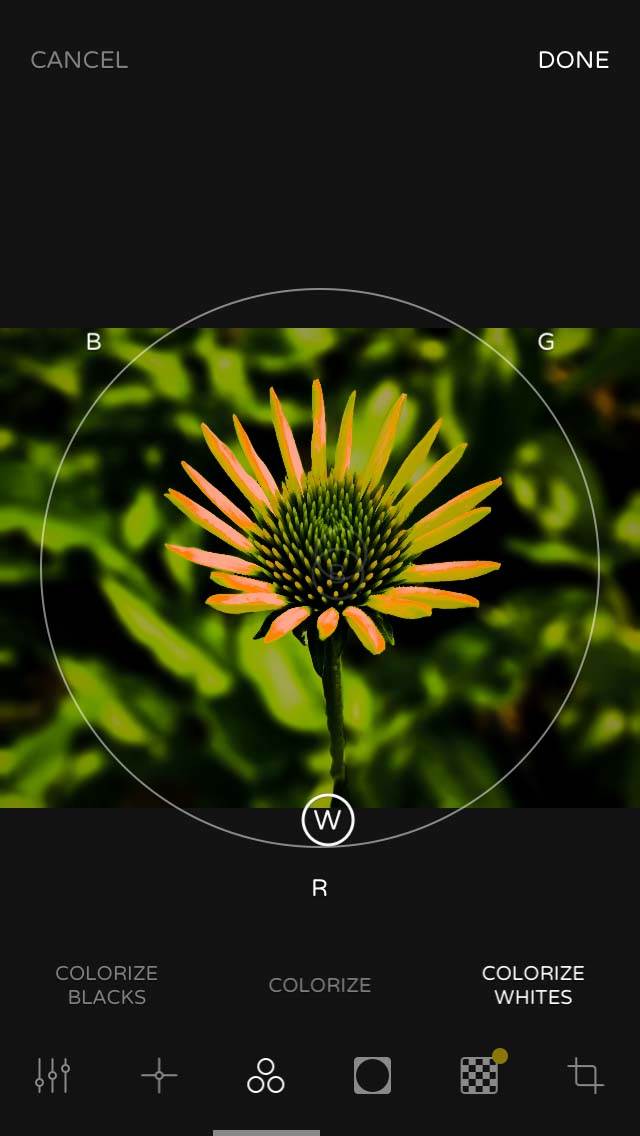
The adjustment is made using an RGB (Red, Green and Blue) color “wheel.” This feature may not be of much use for most of your images, but where it shines is in making small tweaks to the colors of the shadows or highlight areas.
More extreme adjustments can be used creatively, but likely won’t be used by the majority of casual photo editors.
Add Vignettes & Adjust Clarity
Like any good editing app, Ultralight offers a nice vignetting tool along with a Clarity adjustment as well. Both function by way of a circular adjustment tool.

Either options could have worked just as well with a linear adjustment tool, but the circular tool is a refreshing change of pace. Both functions work well and will satisfy most users’ needs in these two areas.
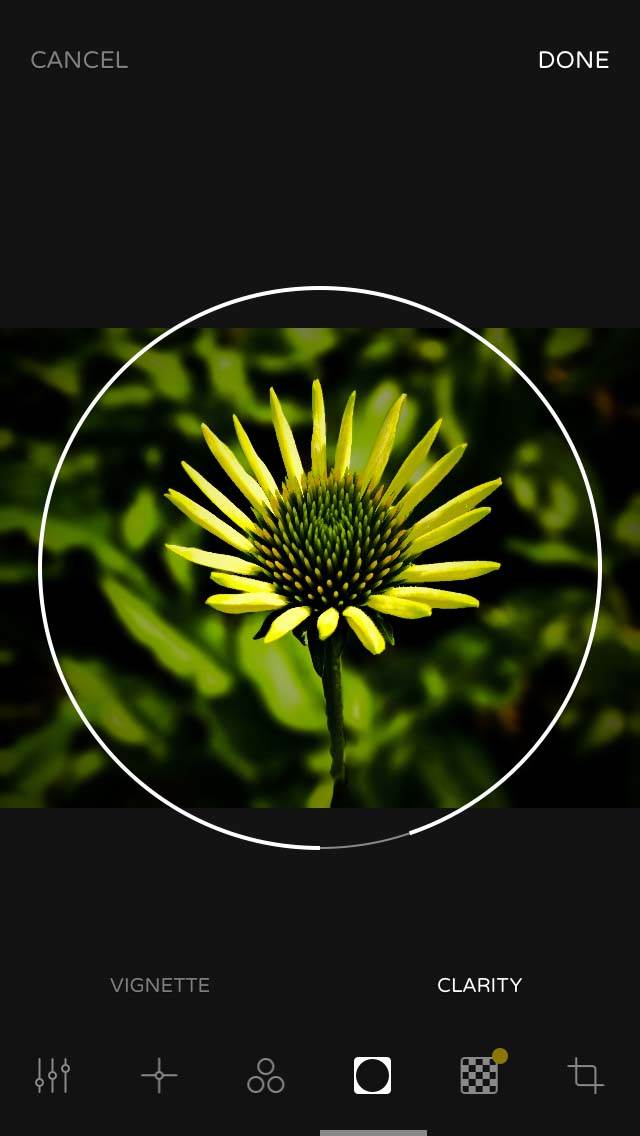
The Clarity tool, in particular, works well without over-clarifying your images. With some other apps you can end up with halos and other unsightly artifacts when using the Clarity tool.
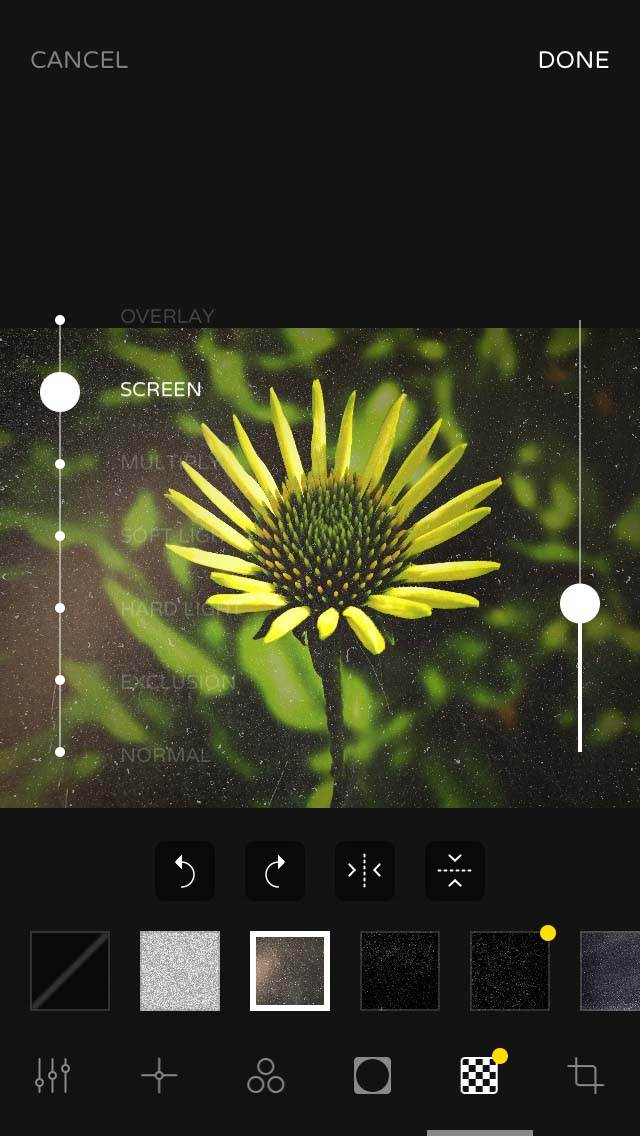
Powerful Texture Tool
Ultralight also includes a built-in tool for adding textures to your images. It must be noted that only a few textures are included with the free version of the app, while the remainder must be acquired via an in-app purchase.
If you’re not into adding textures, then you can simply ignore this section. However, if you like to add texture even some of the time, you should give this a try and see if it suits your approach before purchasing additional filters.
In addition to being able to rotate and flip the texture layer, you’re also able to control the type of blending via the slider on the left side of the screen.
Ultralight offers all of the most popular blending styles found in higher-end apps and even desktop applications like Photoshop. Having this sort of control can make a huge difference when layering textures over your photos.
Crop Tool
Ultralight offers a basic, free-form cropping tool along with a straightening slider and a rotate tool. You can also select a 1:1 (square) crop to prepare your photos for sharing via Instagram.
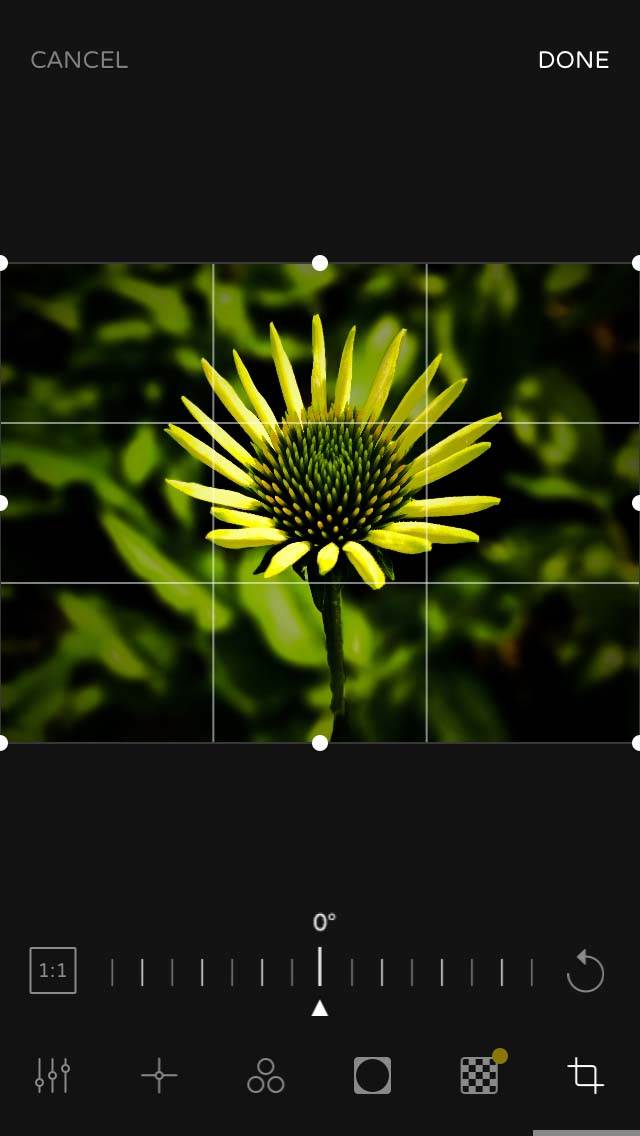
No other aspect ratios are available for cropping. It would be very beneficial for the developer to add in other standard aspect ratios with a future update.
Save & Share Your Photos
After cropping, you can elect to save your finished photo to your Camera Roll, share directly to Instagram, or a variety of other options depending on the apps you have installed on your iPhone.
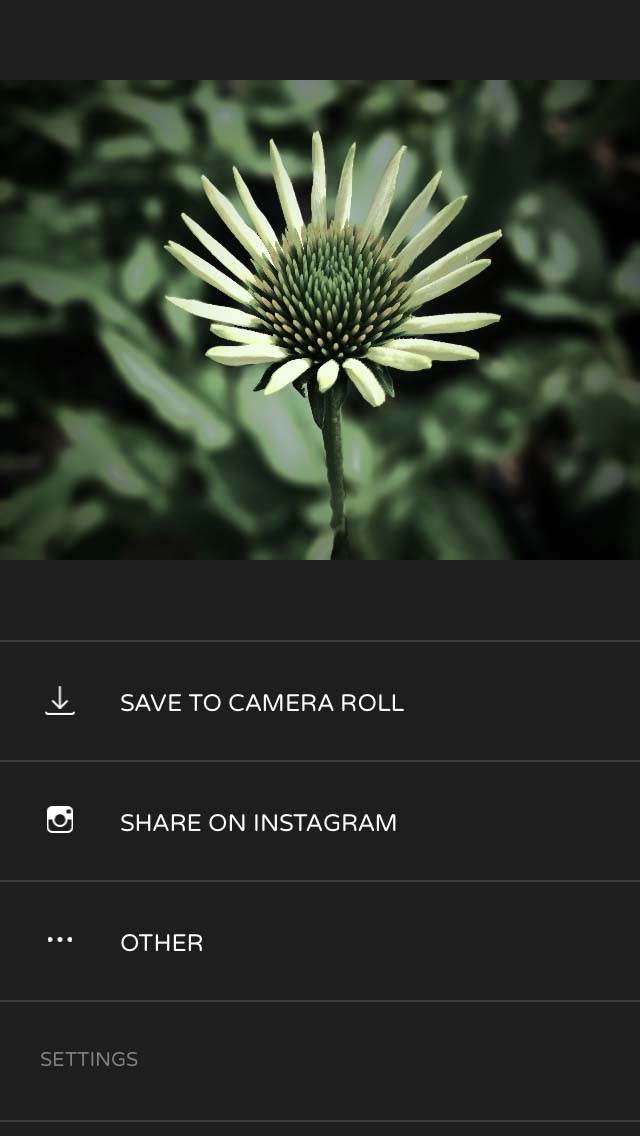
Photos are saved at full JPG resolution. Saving as TIFF support is not currently available.
Conclusion
Ultralight is a fine option for editing your iPhone photos if you like to have a fair amount of control, without having to fuss with confusing menus. I would highly recommend this app to all mobile photographers.
The Ultralight Photo Editor app from Timi Koponen can be downloaded for FREE from the App Store with additional in-app purchases (textures) available.

Leave a Reply
You must be logged in to post a comment.