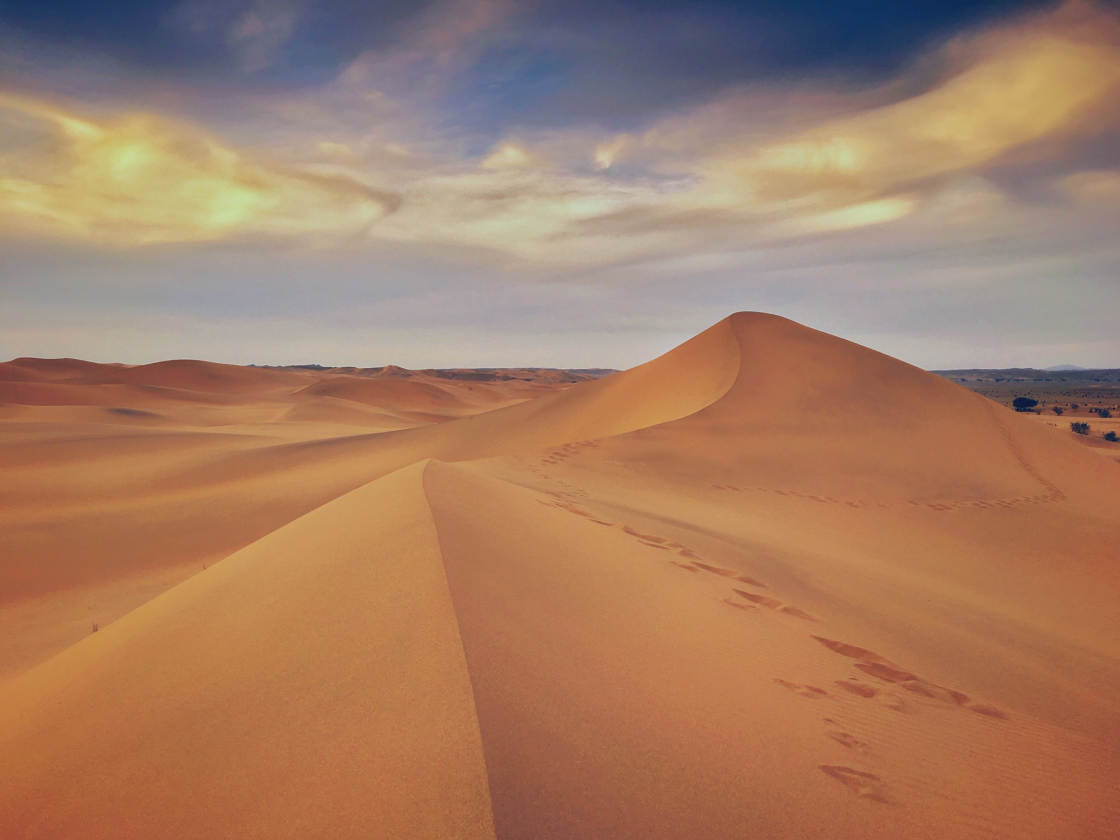
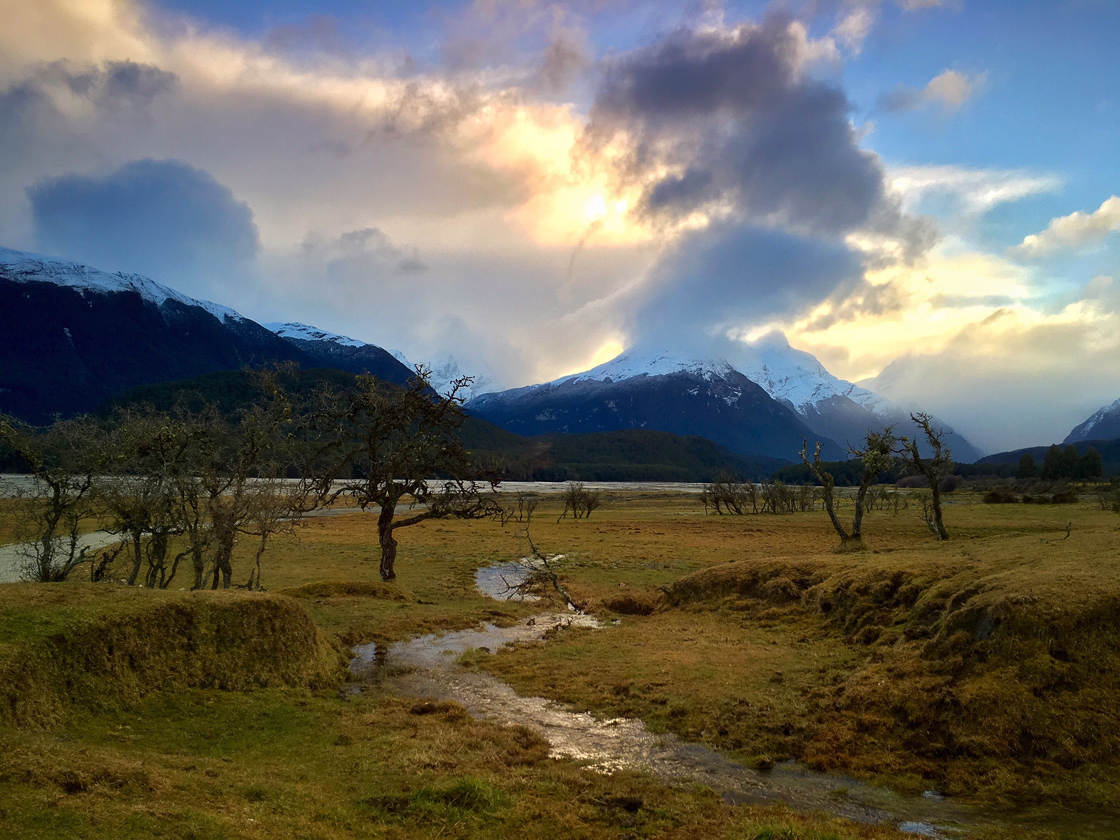
Do you struggle to take amazing iPhone photos of wide, sweeping landscapes? Do these vast scenes look flat and lifeless when you capture them in a picture? It doesn’t have to be this way! In this tutorial, you’ll discover 5 tips for incredible wide landscape photography with your iPhone.

1. Use Leading Lines To Draw The Viewer Into Your Landscape Picture
If you’re wondering how to take good landscape photos with iPhone…
…you’ve got to create gorgeous compositions.
You’ve got to create compositions that captivate the viewer and draw them into the scene.

So here’s your first wide landscape photography composition tip:
Use leading lines.
Leading lines are simply lines that draw the viewer into the frame.
They generally start at the bottom of the photo. Then they lead up and into the scene.

Leading lines can be any type of landscape feature. They can be roads, paths, rivers, walls, fences, or fallen trees.
The important thing is to bring the viewer into the frame—and compel them to take in the gorgeous scenery.
Leading lines are amazing for conveying a sense of depth in your landscape photos. They lead the viewer’s eye deep into the image.
But how do you find leading lines?
When you’re at a location, scan the landscape.
Do you see anything line-like?

Do you see any paths, streams, or roads?
If not, don’t worry. Most scenes have a leading line of some sort—you just have to look carefully.
Once you’ve found your leading line, follow it with your eyes. Look for a subject on the horizon, one that the leading line can direct the viewer toward.
Then compose with this subject in mind.
S-curves often make for the best leading lines. They wind around the frame, bringing the viewer deeper and deeper into the shot.

However, what if the shot doesn’t lend itself to a leading-line composition?
How else can you create stunning landscape compositions with a strong sense of depth?
Here’s what I recommend…
2. Find A Foreground Subject For More Engaging Compositions
If you’re struggling to find a leading line, then here’s another great composition tip:
First, find a beautiful background. This might be a gorgeous ocean landscape. Or it might be a sunset.

Next, look for an interesting foreground subject.
That is, look for an element that you can put in the foreground of your photo.

For instance, you could use a rock. You could also use a few flowers or a plant. That’s what I did for the photo above.
The important thing is that you include an eye-catching subject in the foreground.

When composing your photo, try shooting from a low angle. This will make the foreground subject loom large in the frame—so it’s the first thing the viewer sees.
Get on your knees. Crouch if you have to.
Only then should you take your photo.

Why does a foreground subject work so well?
A beautiful foreground subject acts sort of like a leading line, creating a sense of depth.
First, the viewer is captivated by the interesting foreground. Then their eye moves toward the background.

Anything that makes the viewer look from foreground to background will create strong compositions with wonderful depth.
So try to include a foreground subject in your photos.
It will make a huge difference to your wide landscape photography.
3. Simplify Your Wide Landscape Photography For The Most Striking Shots
You’ve discovered two useful composition tips for beautiful wide landscape photography:
You know how to use leading lines. And you know how to include a foreground subject.

But…
How do you arrange the rest of your photo in a pleasing way?
How do you make sure that your photo really stuns the viewer?

Fortunately, I have one tip for you that will really take your wide landscape photography to the next level.
And it’s not even hard.
You just have to simplify the scene as much as you can.
A simple photo has no distractions.
A simple photo has no unnecessary elements.

A simple photo has exactly what’s necessary, and nothing more!
So go ahead and compose your photo.
Then…
Scrutinize every element.
Ask yourself:
Is this part of the photo unnecessary? If I could choose whether to include it, would I?
If you find an unnecessary element, then you should reframe your shot—without that element.
Fortunately, this isn’t as hard as it sounds. You can do some simple things to get rid of unnecessary elements.

First, you can try raising or lowering your iPhone. This can deemphasize certain parts of the scene (the unnecessary parts!).
You can also try taking a few steps to the right or left. This can be a great way to remove distracting parts of the photo.
Finally, you can reframe your photo—where you shift your iPhone to cut out certain parts of the scene.

No matter which you choose, just make sure you simplify your photos.
That’s how you’ll capture the most gorgeous, wide landscape photos.
4. Shoot In The Morning & Evening To Capture Beautiful Golden Light
To capture jaw-dropping landscapes, you need amazing light.
There’s no way around it.
Fortunately, finding amazing light isn’t difficult—once you know what to look for.

So here it is:
The light tends to be best in the early morning and the late afternoon. These times are known as the ‘golden hours.’
Why? Because the rising and setting sun creates some wonderful golden light.
And this kind of light looks amazing in wide landscape photography.

So I recommend you shoot in the early morning and late afternoon, if possible.
It’s generally easier to get to locations in the late afternoon (because you won’t have to find your way in the darkness).
But the early morning has its advantages, too. If your location is a popular one, the crowds don’t tend to become a problem until mid-morning.

So wake up early, and you can have the location all to yourself.
5. Capture Interesting Clouds For The Most Stunning Landscape Photos
Another thing about light:
If it’s a very cloudy day, the light is a lot less interesting. You lose the golden glow that makes morning and evening so wonderful.
However, if the sky is only partly cloudy…
…then make sure you get out to shoot!
Because partly cloudy skies make for incredible sunrises and sunsets–the type that will take your breath away.
Here’s what I recommend:
A few hours before sunset, check the sky.
Do you see interesting clouds? Do you see a partly cloudy horizon?
If so, then prepare–because you’re going to have a gorgeous sunset on your hands.
You should also note:
Interesting clouds are fantastic for creating black and white landscape photos.
Because black and white photos are all about contrast. And fluffy, white clouds add incredible contrast to a landscape scene.
In the photo above, the dark foreground and sky contrast with the brilliant white clouds.
Which is exactly what you want in a black and white landscape photo.
So make sure you pay attention to the light and the sky in your landscapes.

Shoot during the golden hours–and make sure you find some clouds.
Your wide landscape photos will be gorgeous.


Leave a Reply
You must be logged in to post a comment.