Do you want to capture gorgeous black and white silhouettes with your iPhone? Doing amazing black and white silhouette photography may seem technical and difficult. But it’s actually quite simple! Read on to find out how to take incredible black and white silhouette images–using only your iPhone.
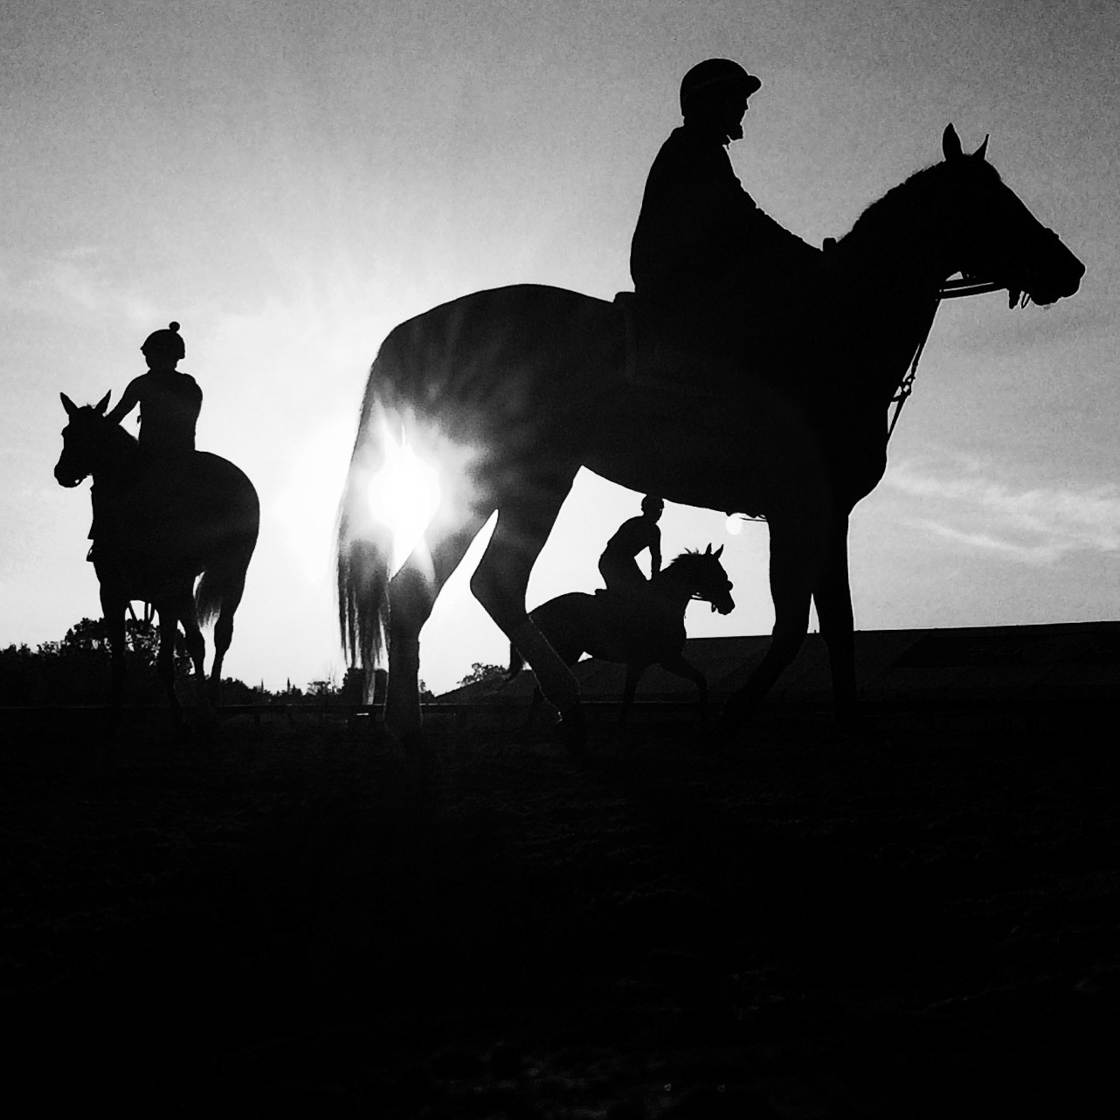
1. Shoot Into The Light To Capture A Gorgeous Silhouette Picture
In silhouette photography, proper lighting is essential.
So if you want to create stunning silhouettes, you have to choose your lighting carefully.
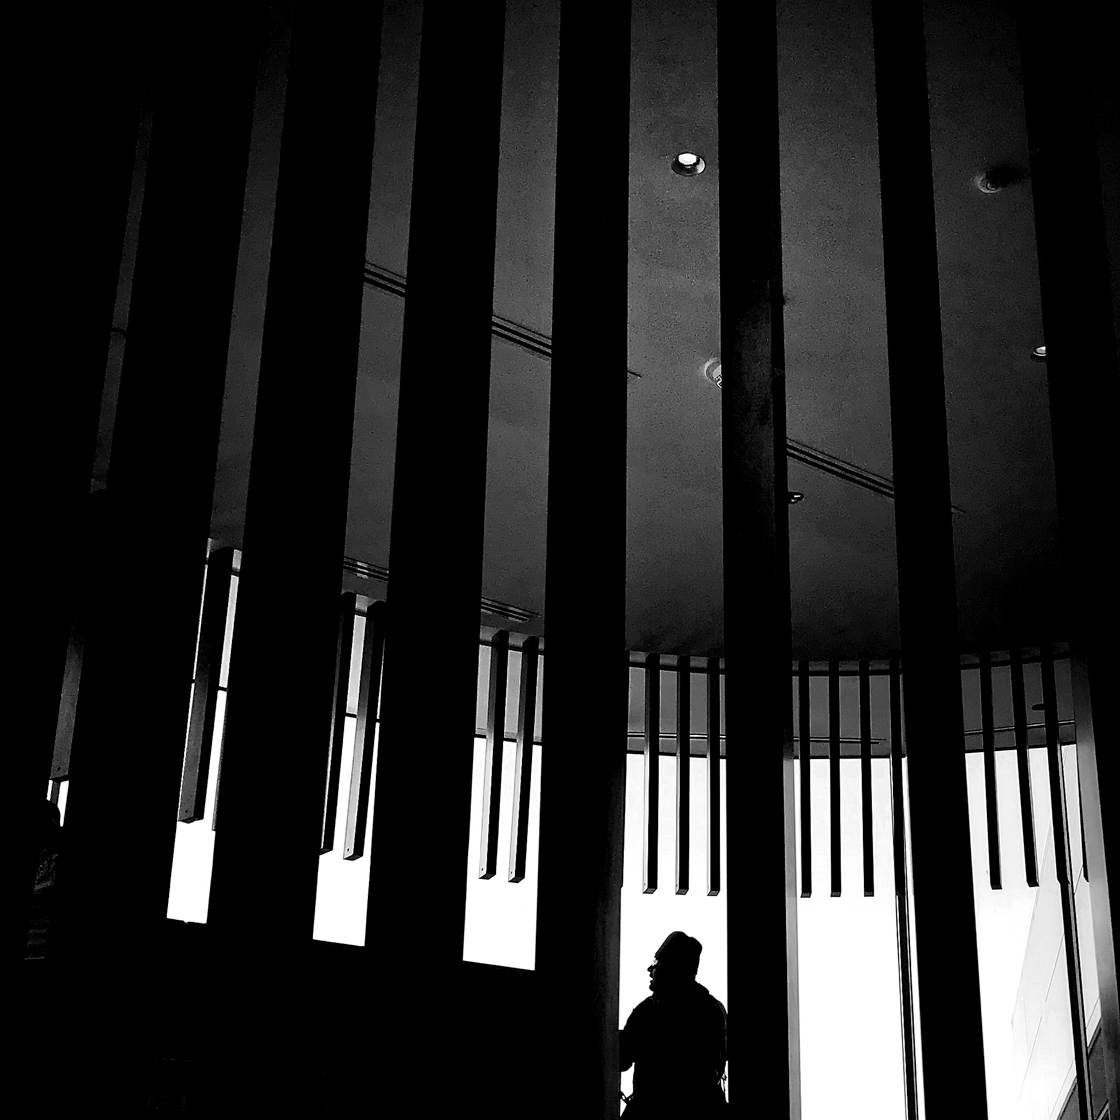
What light is best for black and white silhouettes?
There’s a simple answer: backlight.
Backlight is the type of light you get when you shoot toward the sun. That is, your subject should be between you and the light source.
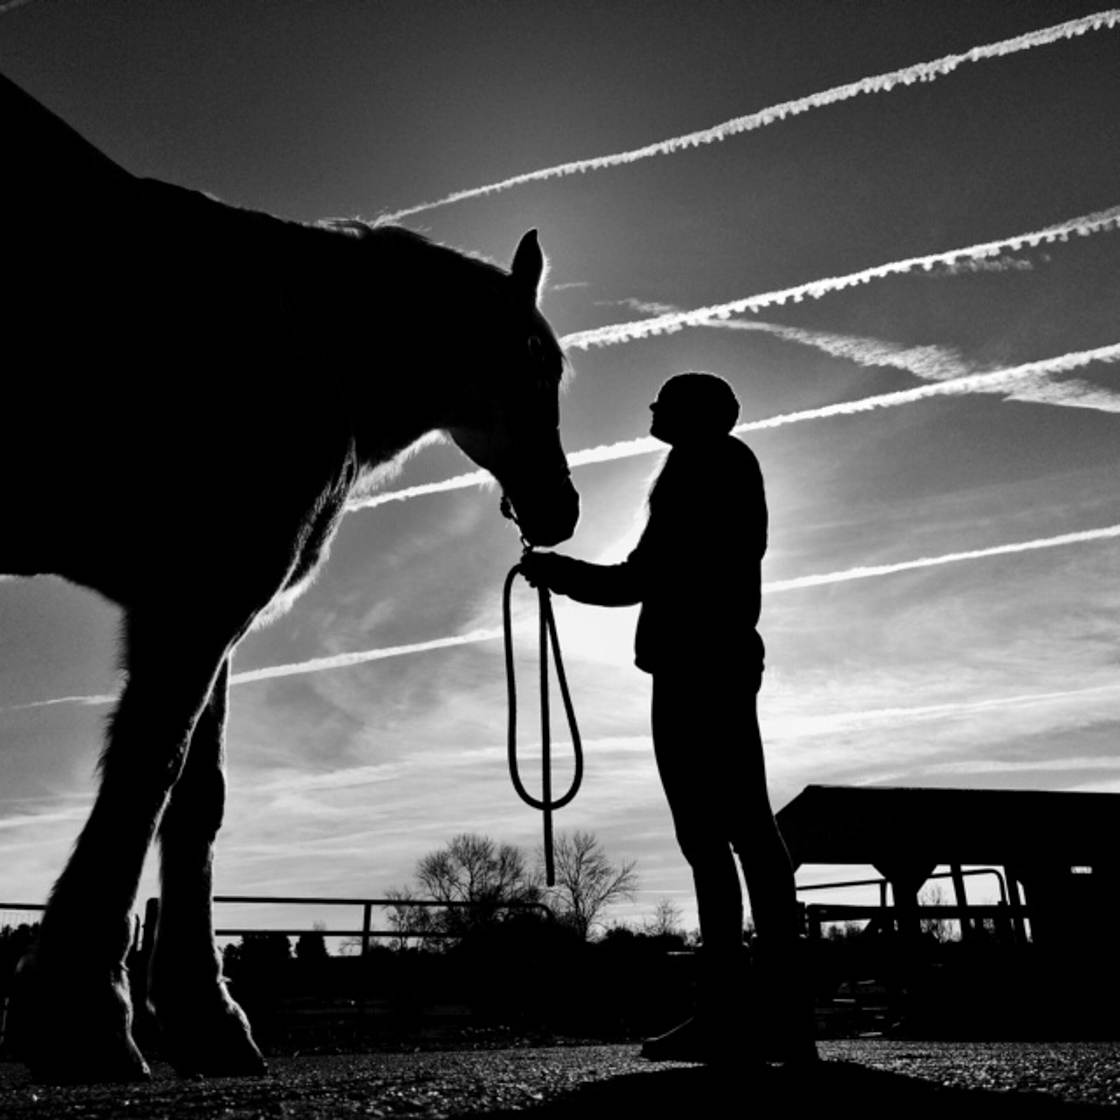
In the photo below, the light is clearly coming from the sky behind the subject.
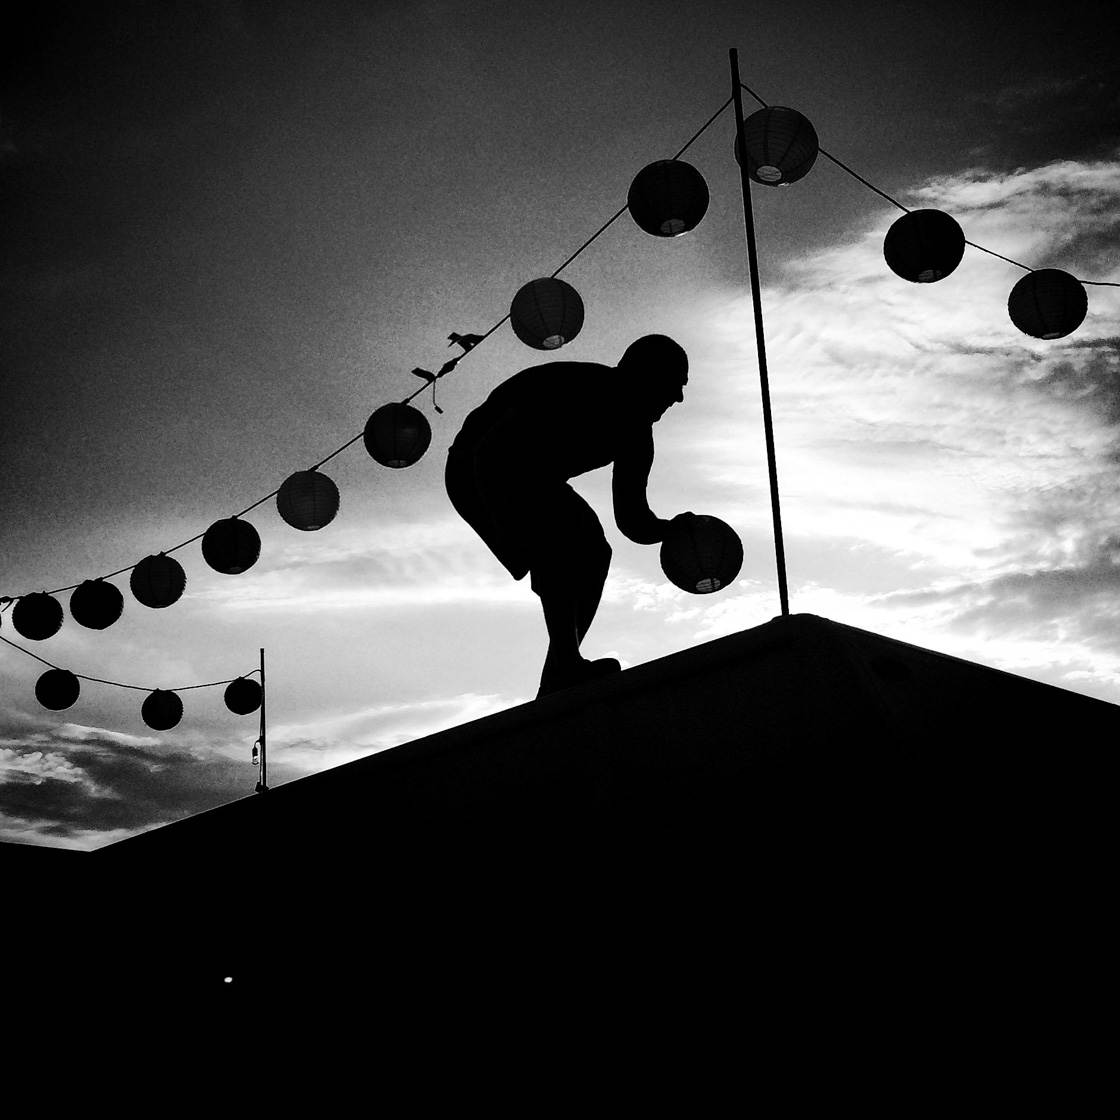
In ideal situations, the light source (generally the sun) is directly behind your subject. However, it’s okay if the light source exists slightly off to one side. Just make sure that your subject is lit primarily from behind.
You also need to make sure that your photo is sufficiently dark.
(After all, silhouettes require dramatically dark subjects.)

You can do this pretty easily. When you’re about to take a photo, first tap on the iPhone screen. You’ll see a yellow box (as pictured below). Then swipe downwards. This will darken the photo. And it will create a gorgeous silhouette.
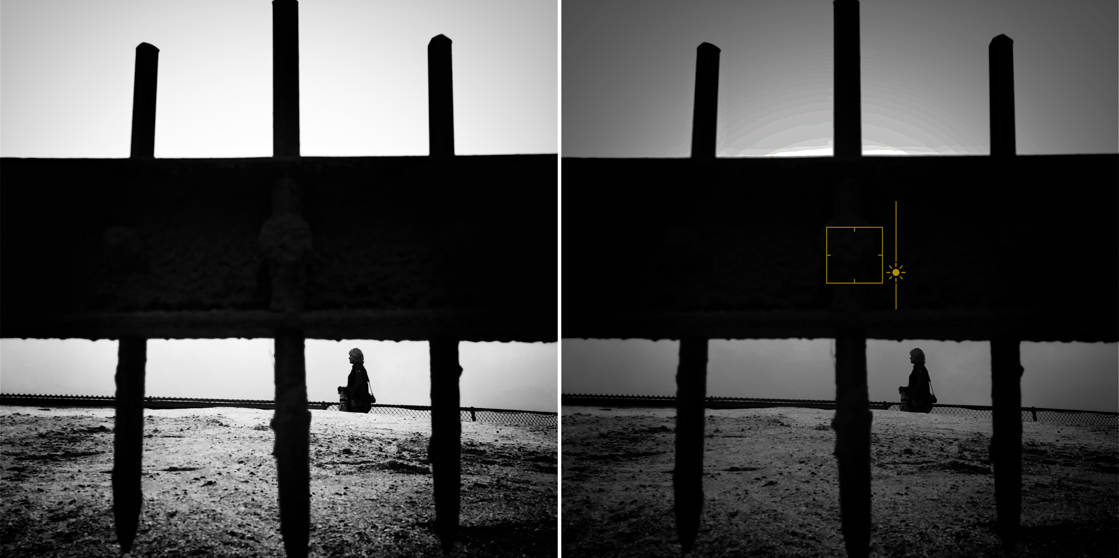
But why is backlight so good for a black and white iPhone silhouette?
First, backlight renders the main subject completely dark. It results in a bright background–but a very dark subject. This is what you want in a silhouette, as explained above.
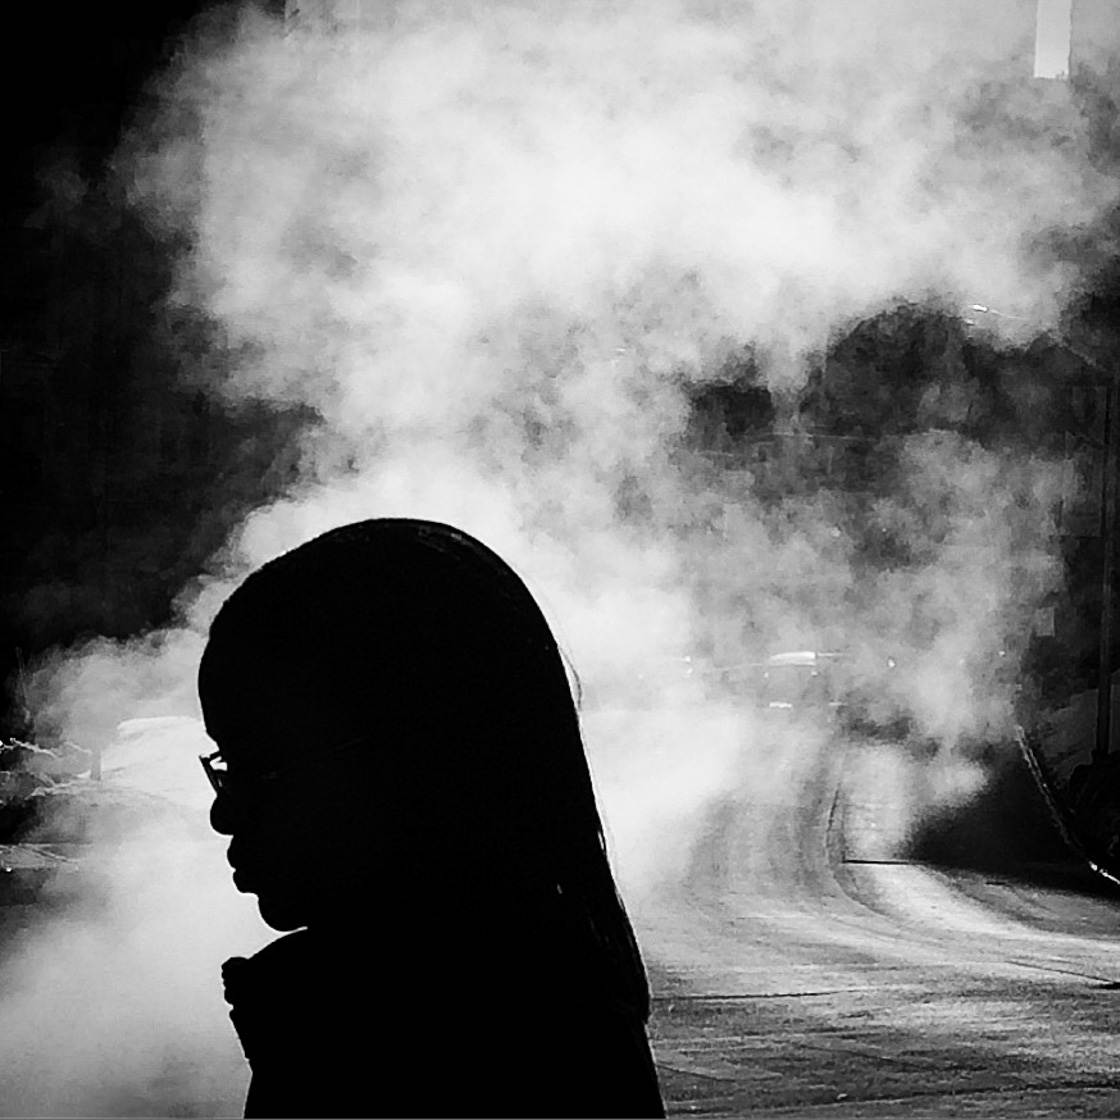
Second, backlight creates a lot of contrast between the subject and the background.
(Notice the dark subject against the bright background.)
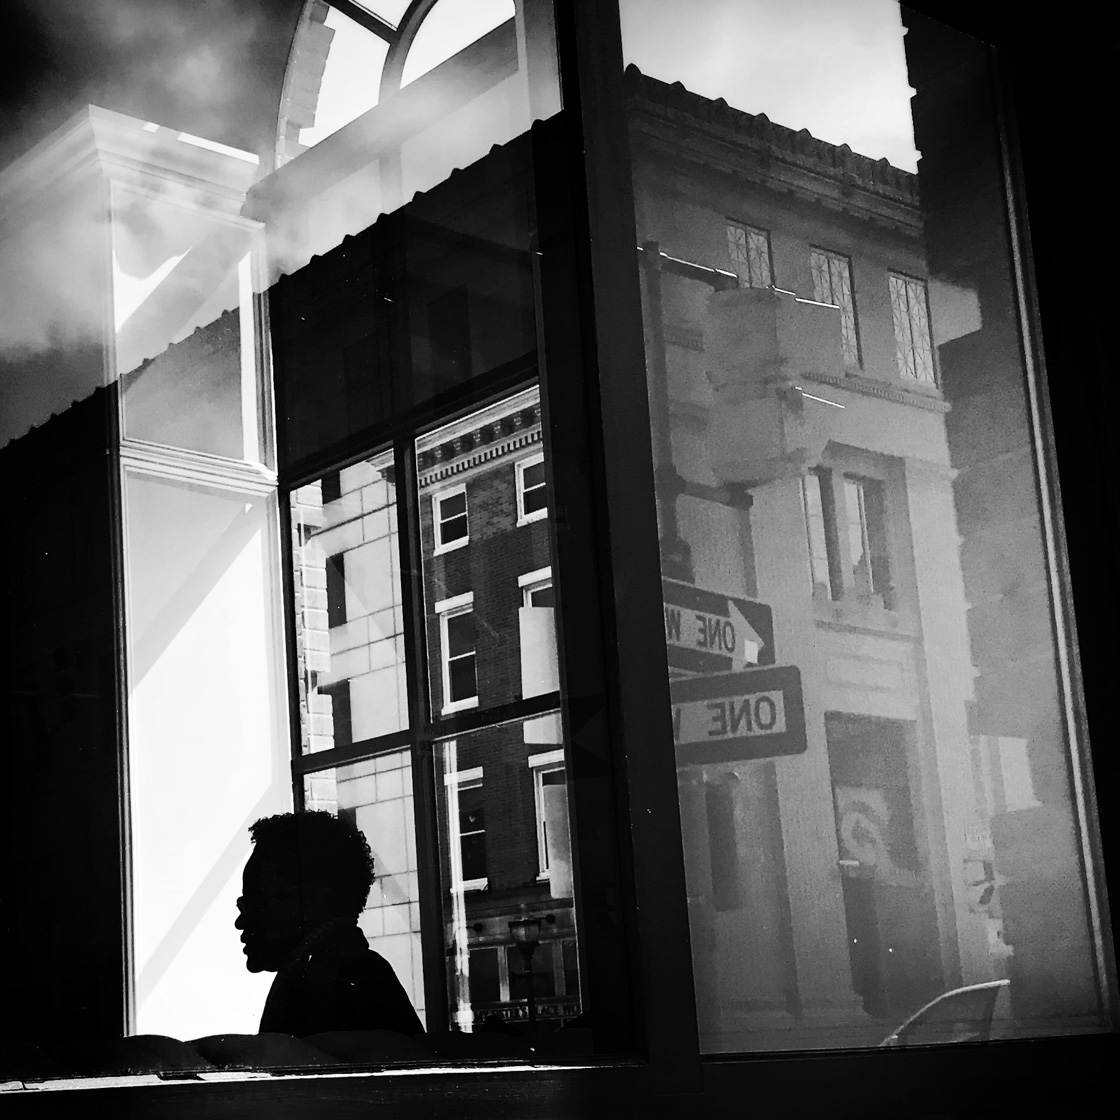
Contrast is great for black and white photos. It makes them dramatic. In fact, when it comes to black and white, more contrast is almost always better.
To recap: If you want gorgeous black and white silhouettes, shoot toward the light.
Your pictures will be much more striking.
2. Shoot In Late Afternoon For The Best Light
Do you want to create jaw-dropping silhouettes?
Then you should pay attention to the light–and make sure you shoot in the late afternoon.
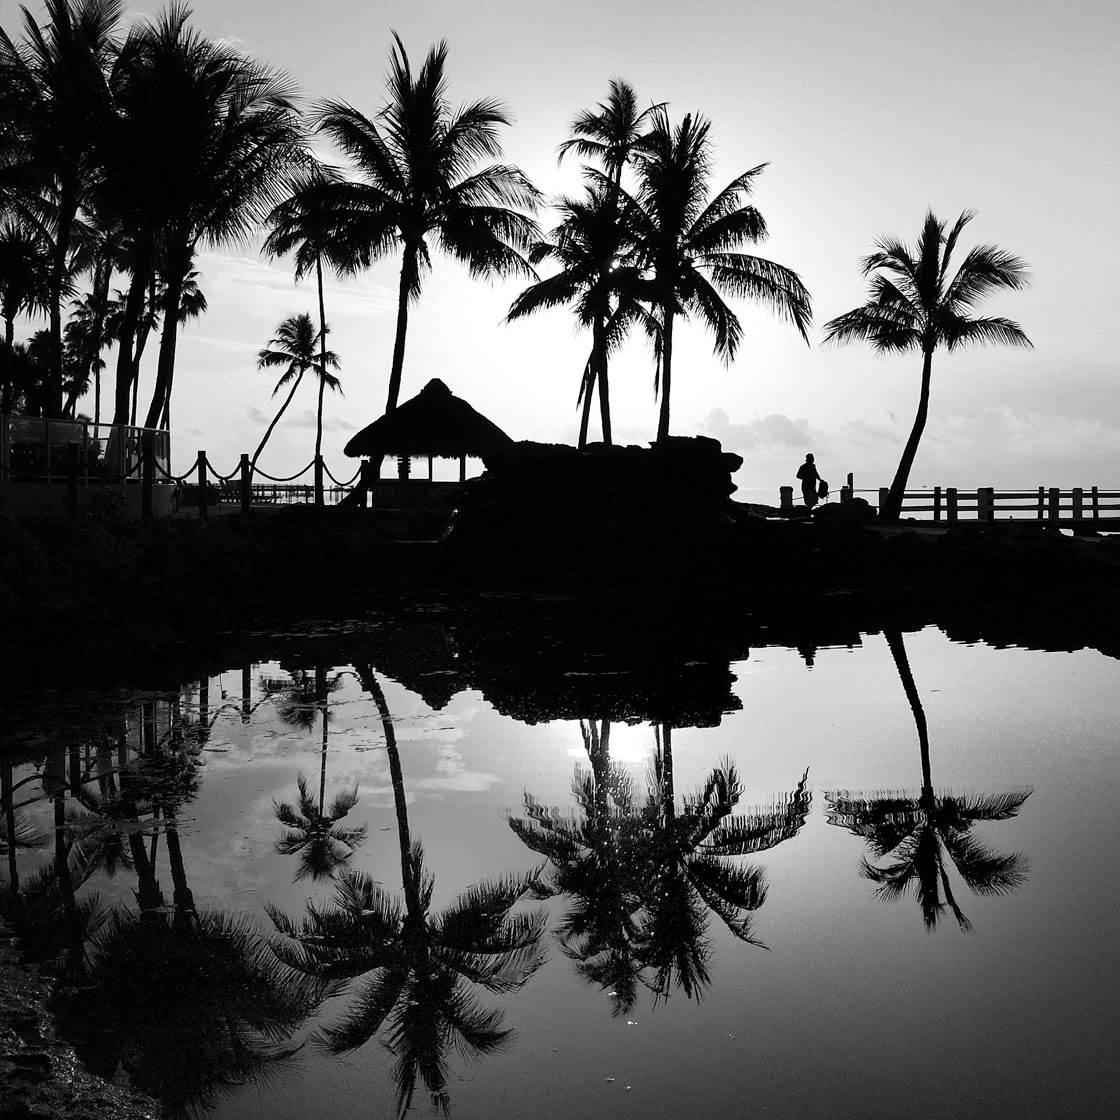
Late afternoon light is great for silhouettes. This is because the sun is low in the sky. And this makes it far easier to shoot into the sun.
Plus, late afternoon light is rich and golden. It can even add a halo to your backlit subjects.
But late afternoon light is also great for black and white photography. Because late afternoon light creates long, dramatic shadows.
Look at the dramatic shadow in the photo below. I could never have achieved this shot without late afternoon lighting.
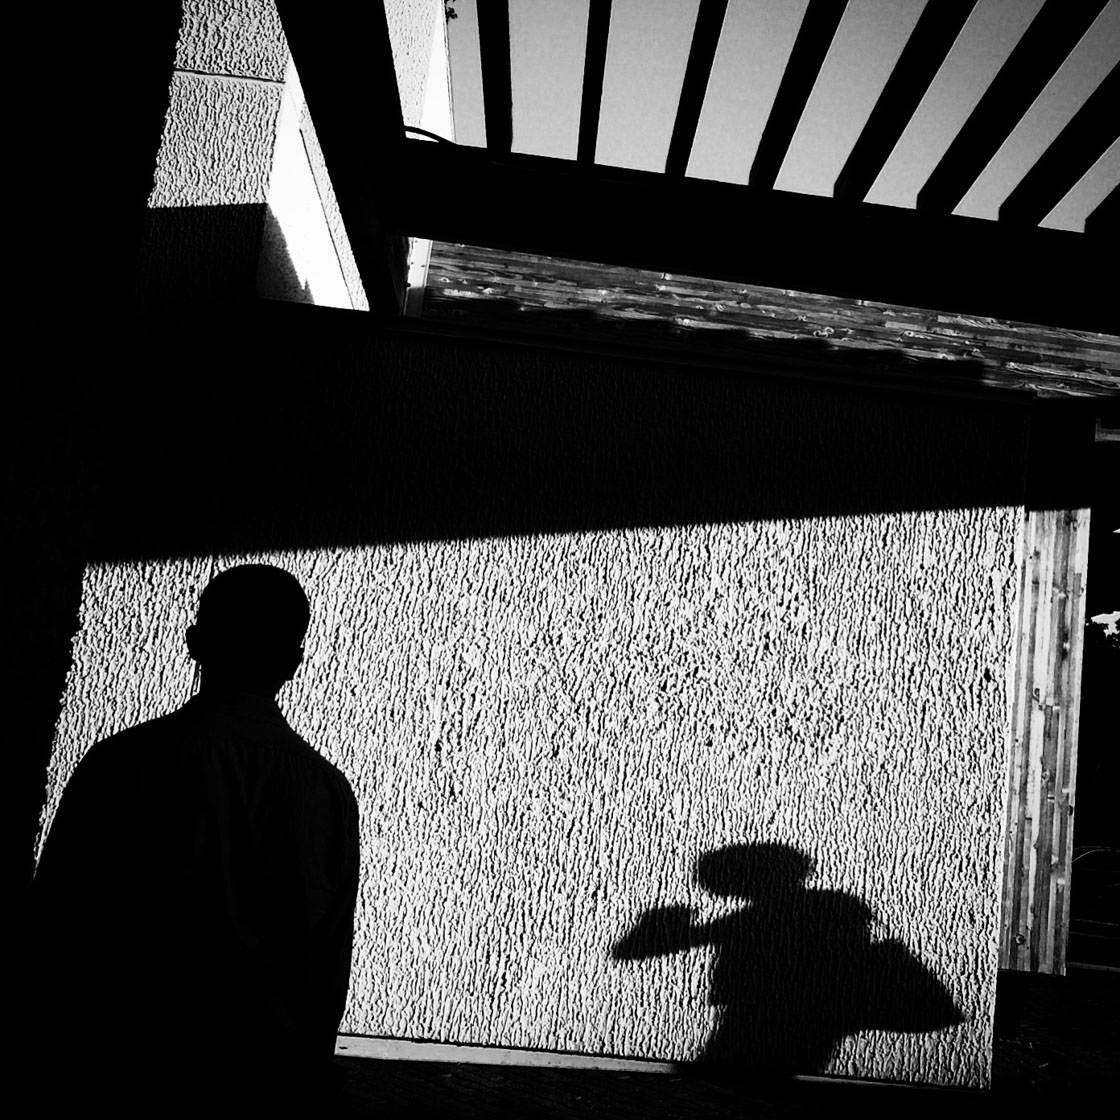
And you can use these shadows in your black and white photography. You can use them to create interest or to lead the eye around the frame.
For instance, try focusing on just the shadow of your subject. If you do this during midday, your subject will have hardly any shadow at all. You won’t get a good shot.
But if you do this in late afternoon…
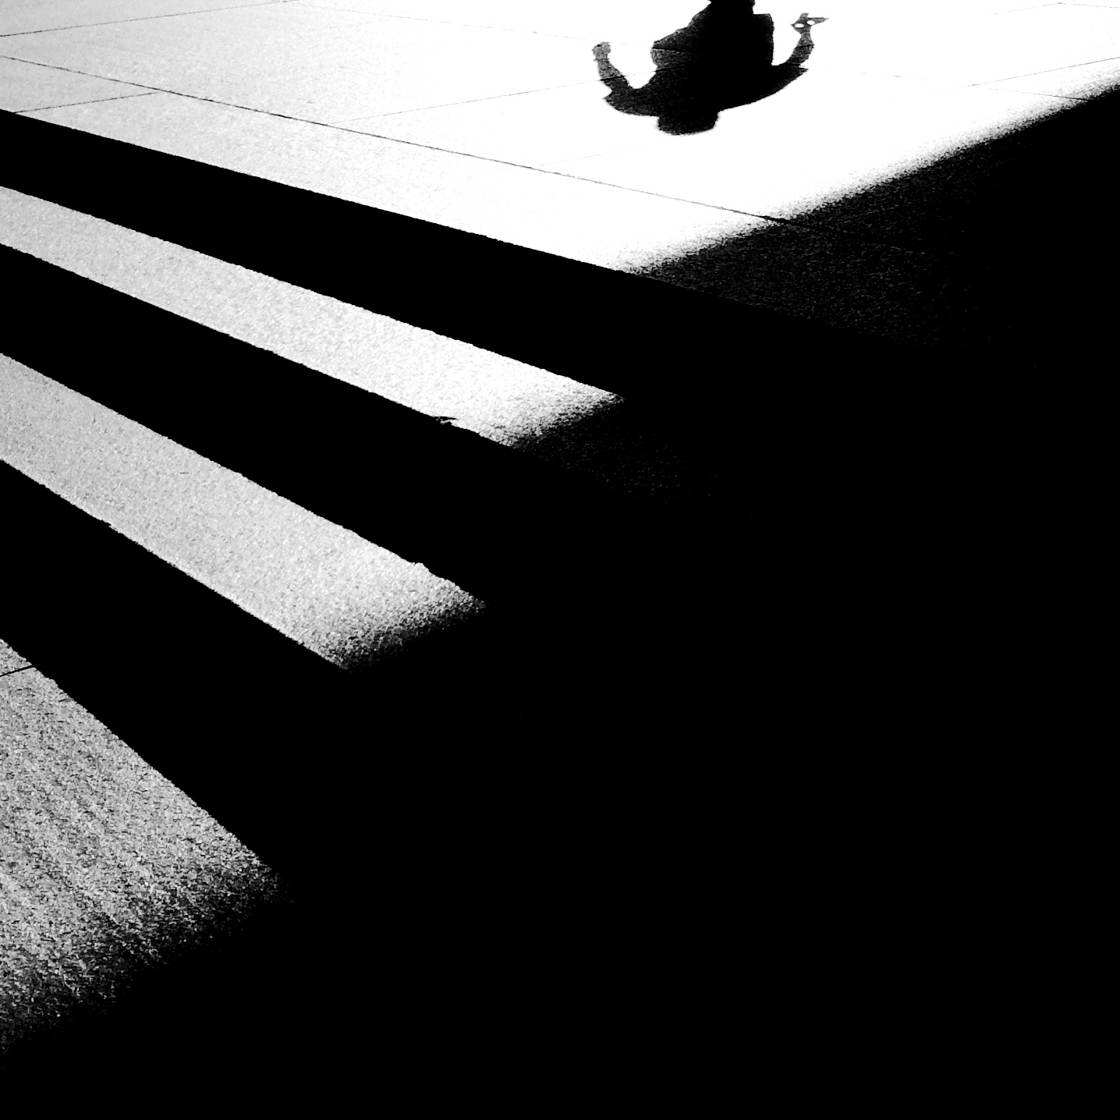
…your subject will have a long, dark shadow.
And this will really draw the eye!
So shoot in the late afternoon. Your pictures will quickly improve.
3. Use A Human Figure As A Focal Point For Amazing Silhouette Pictures
Now that you know how to create a striking silhouette, you need to choose a silhouette subject.
That is, you need to choose the element of your photo that the viewer should focus on. You need a focal point.
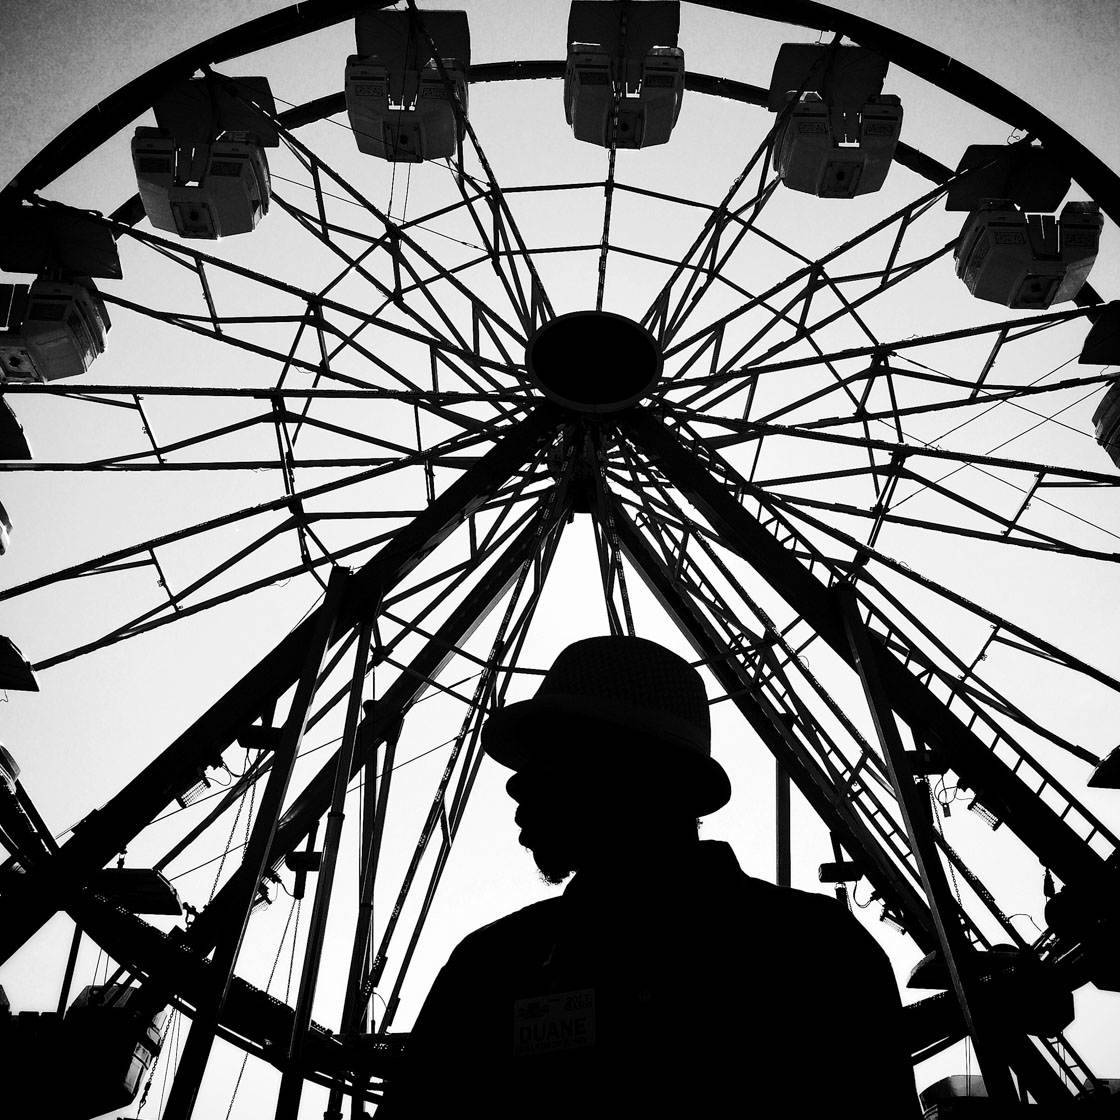
What makes a great black and white silhouette subject?
A great subject is easy to recognize. And a great subject catches the eye.
That’s why I recommend that you use people as your main subject.
People offer very clear outlines–which makes for easily discernible silhouettes.
Plus, people are abundant. You can walk around town and find lots of people to shoot.
Here’s a trick: When you’re shooting people, make sure that you capture them walking alone. A single person is much more compelling than a group.
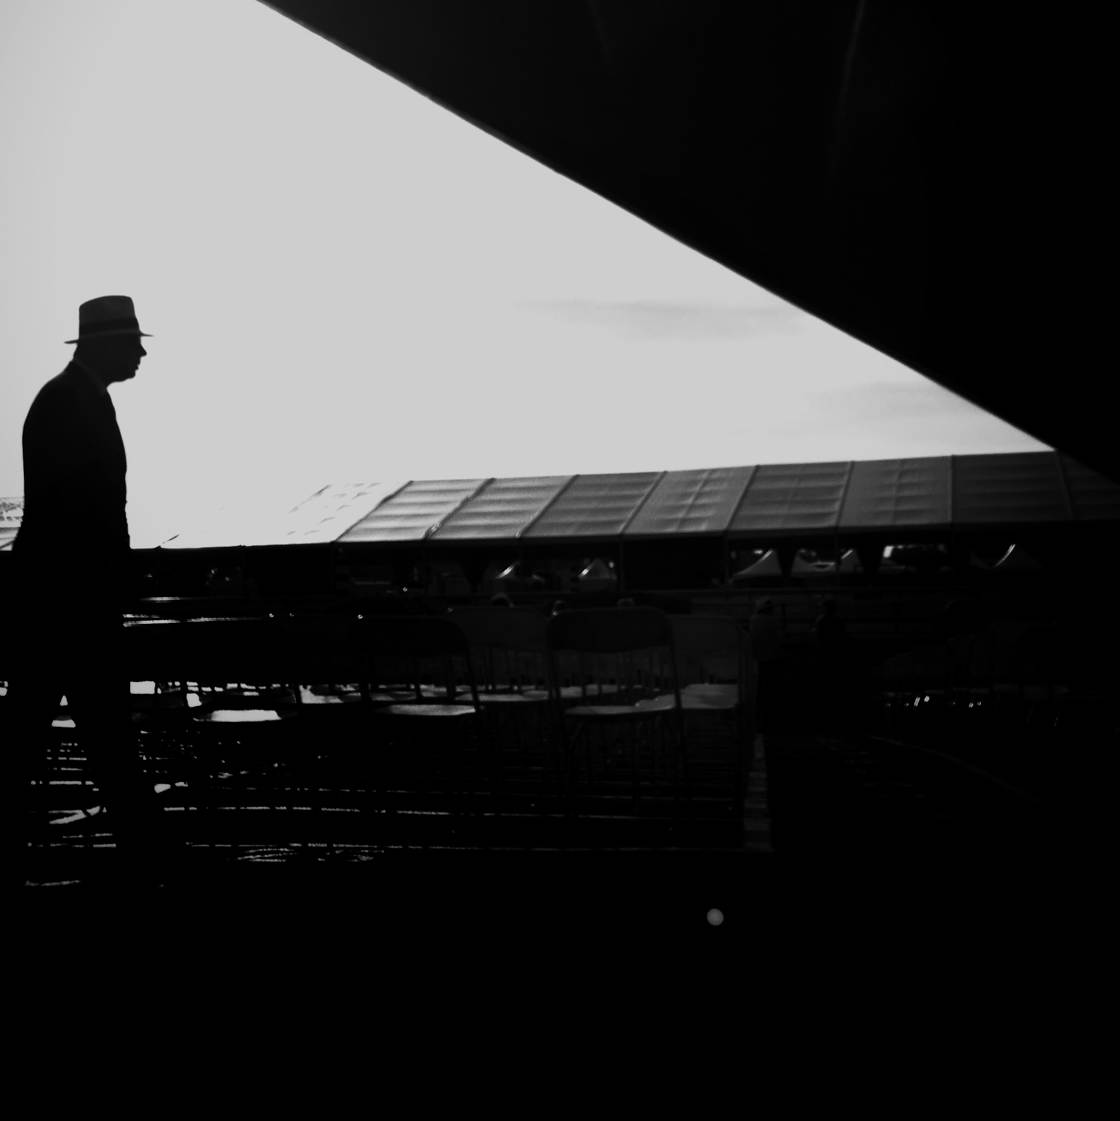
Why is this?
Groups of people make for messy silhouette photos–because the people tend to overlap in a chaotic way.
Whereas individual people draw the eye. They offer the viewer something to focus on, which is exactly what you want to do in your photography.
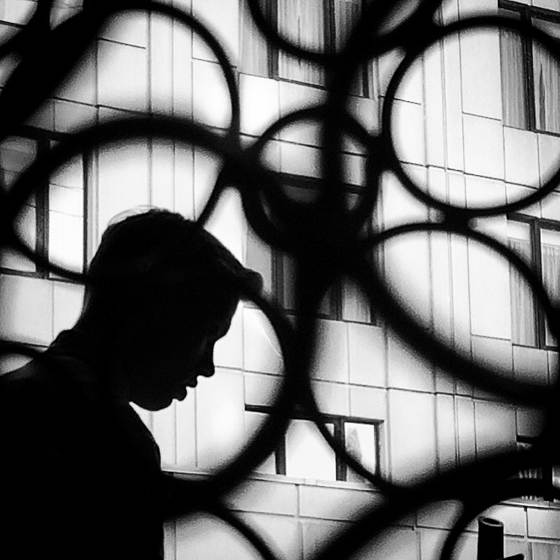
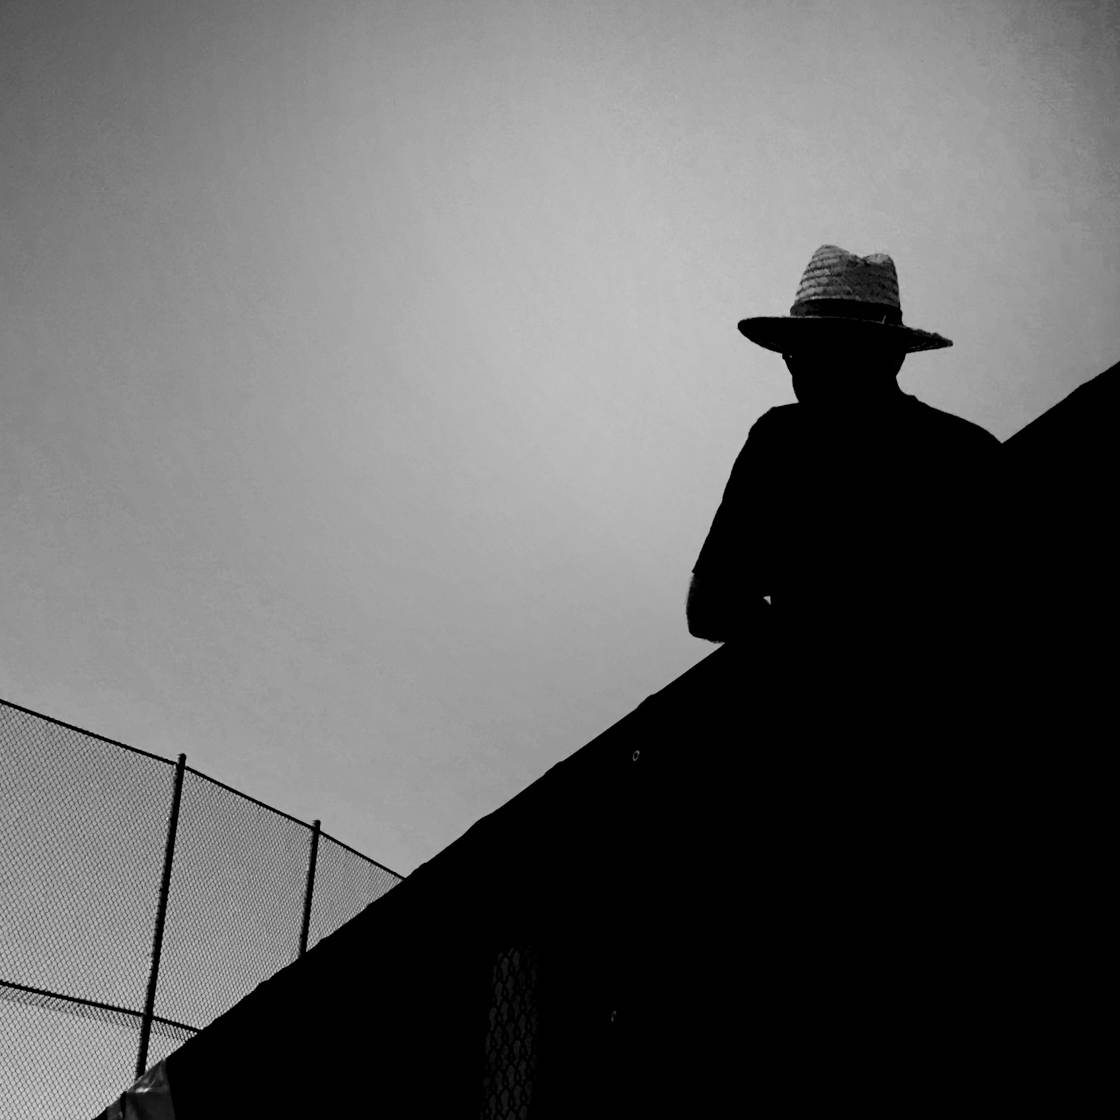
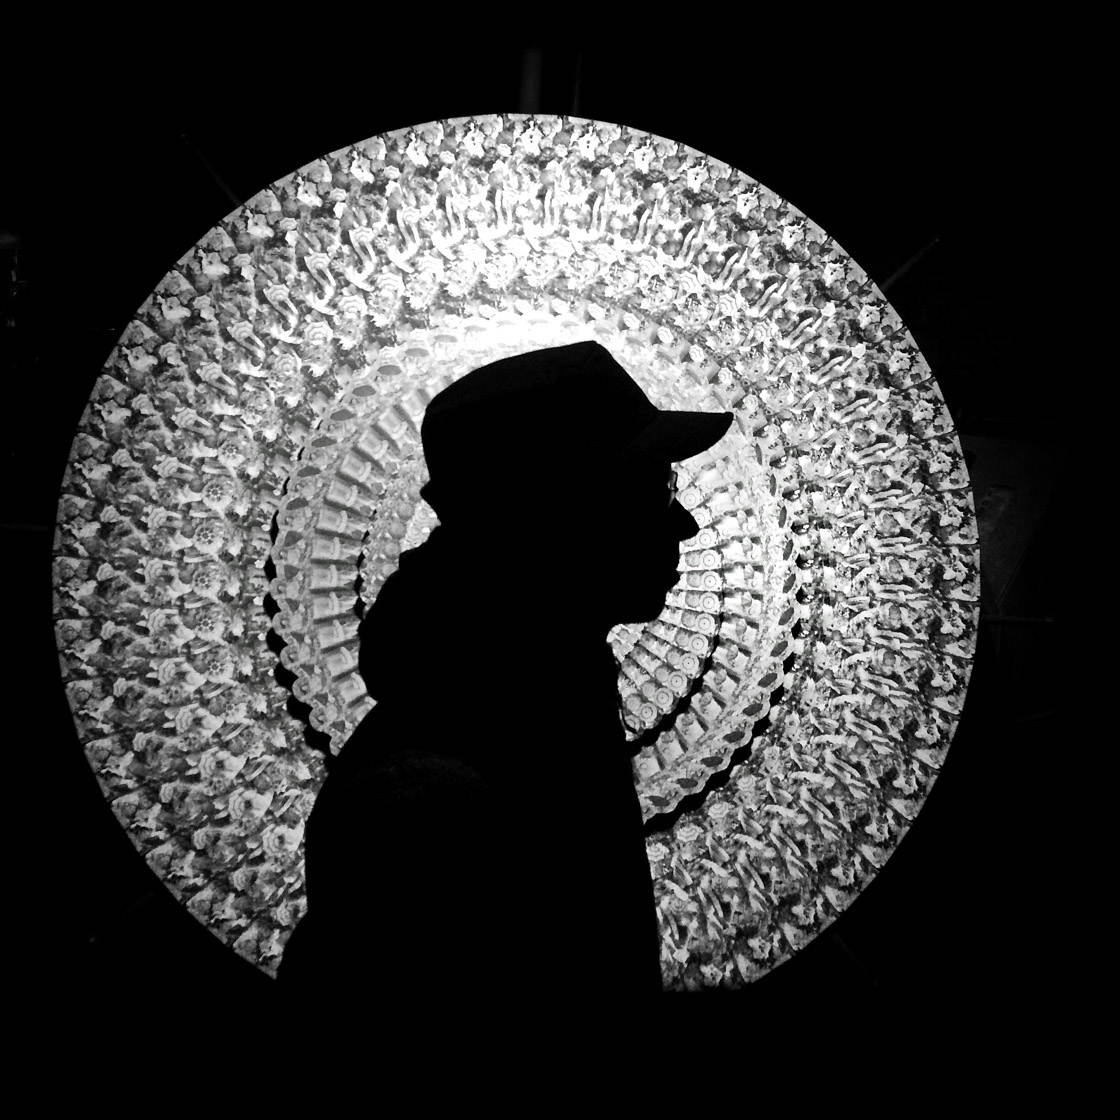
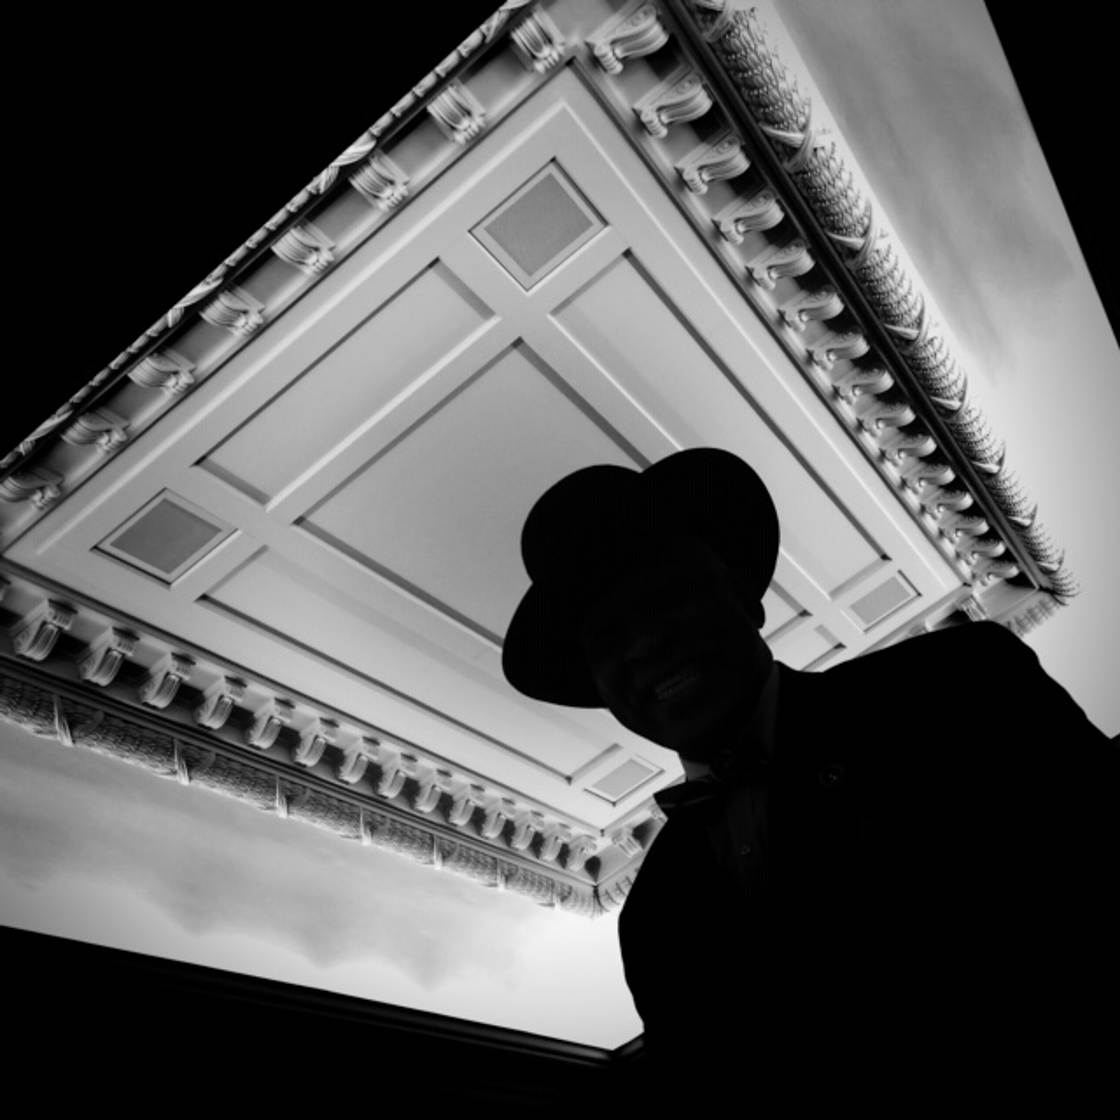
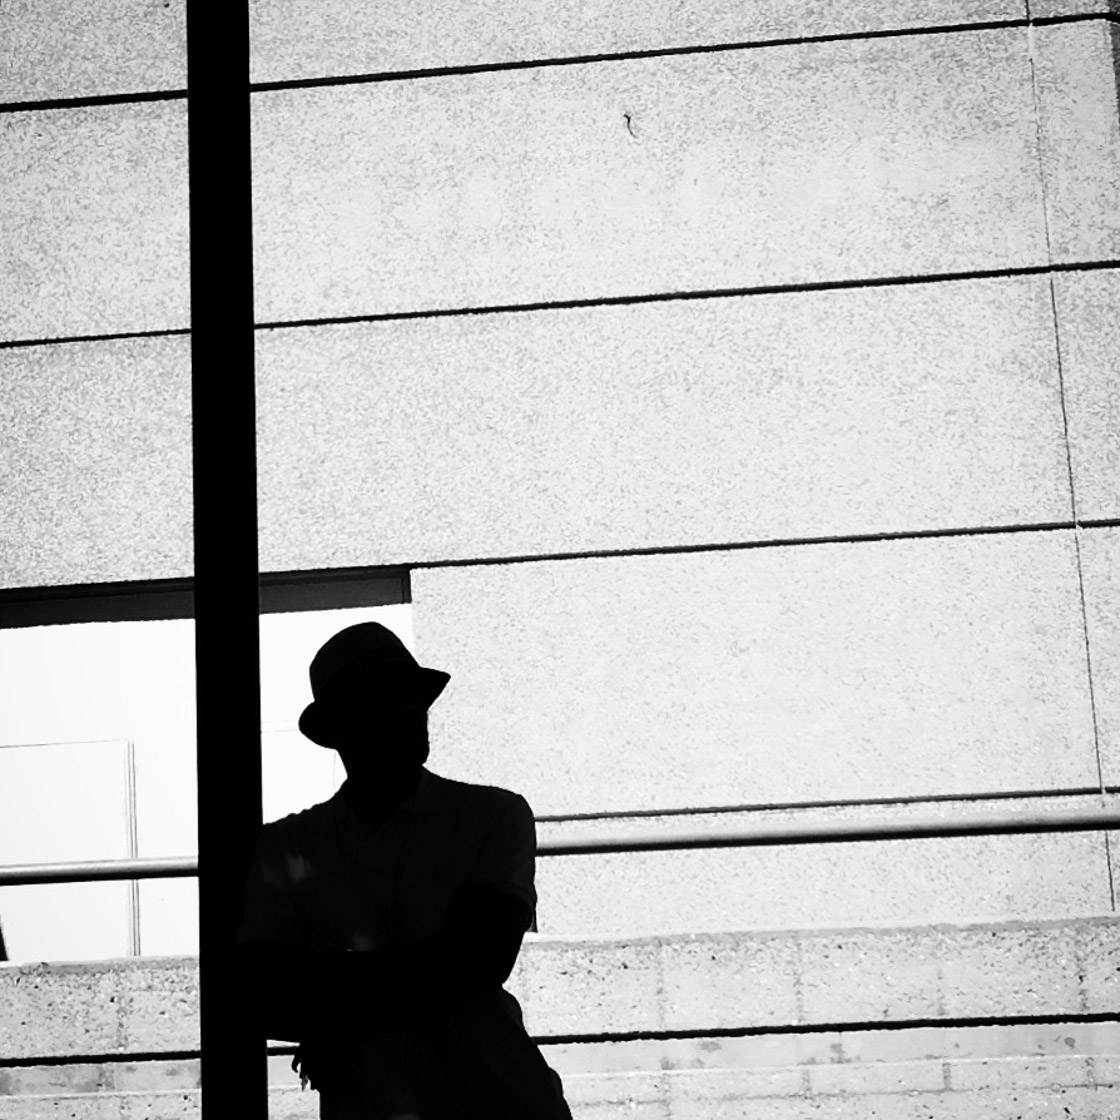
Here’s another trick: Shoot people wearing interesting hats. Hats create unique silhouettes. And these silhouettes are far more eye-catching than those of a normal person.
Note the interesting silhouette in the photo below. Would it be quite so powerful if the subject weren’t wearing a hat?
Remember: Shoot people as your black and white silhouette subjects.
They make for powerful focal points.
4. Look For Streaks Of Light For The Most Original Black And White Pictures
If you want to create silhouette photos that rise above the rest, then here’s a great trick:
Look for streaks of light.
And then incorporate them into your photos.
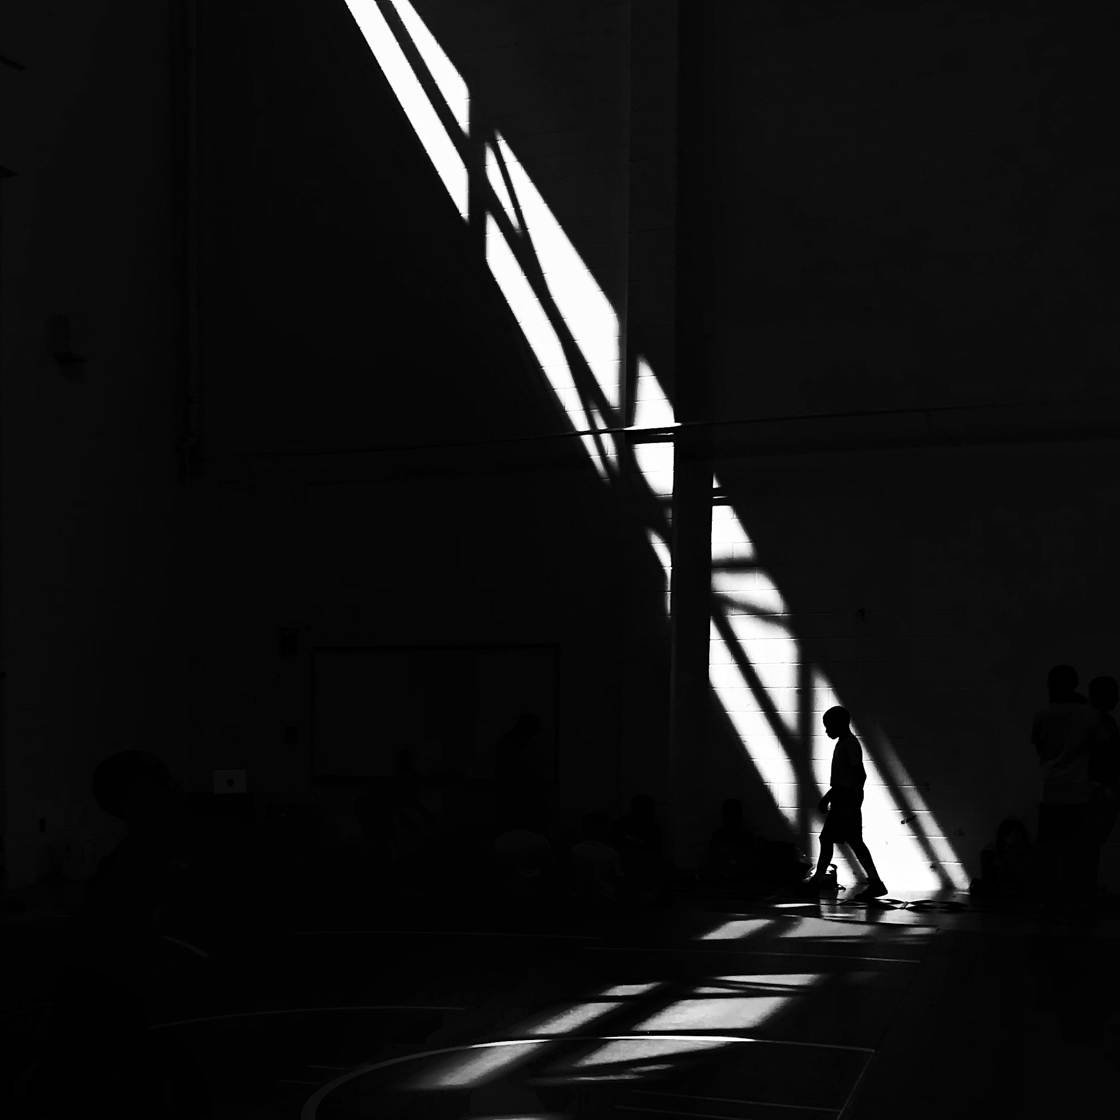
Let me explain: When the sun is setting, it drops down low. This means that it often shines through objects–for instance, tree trunks and buildings.
You’ve probably seen this effect while out walking in the evening: a single beam of sunlight falling between two trees.
Or maybe you’ve seen a single streak of sunlight resting on the wall of a building.
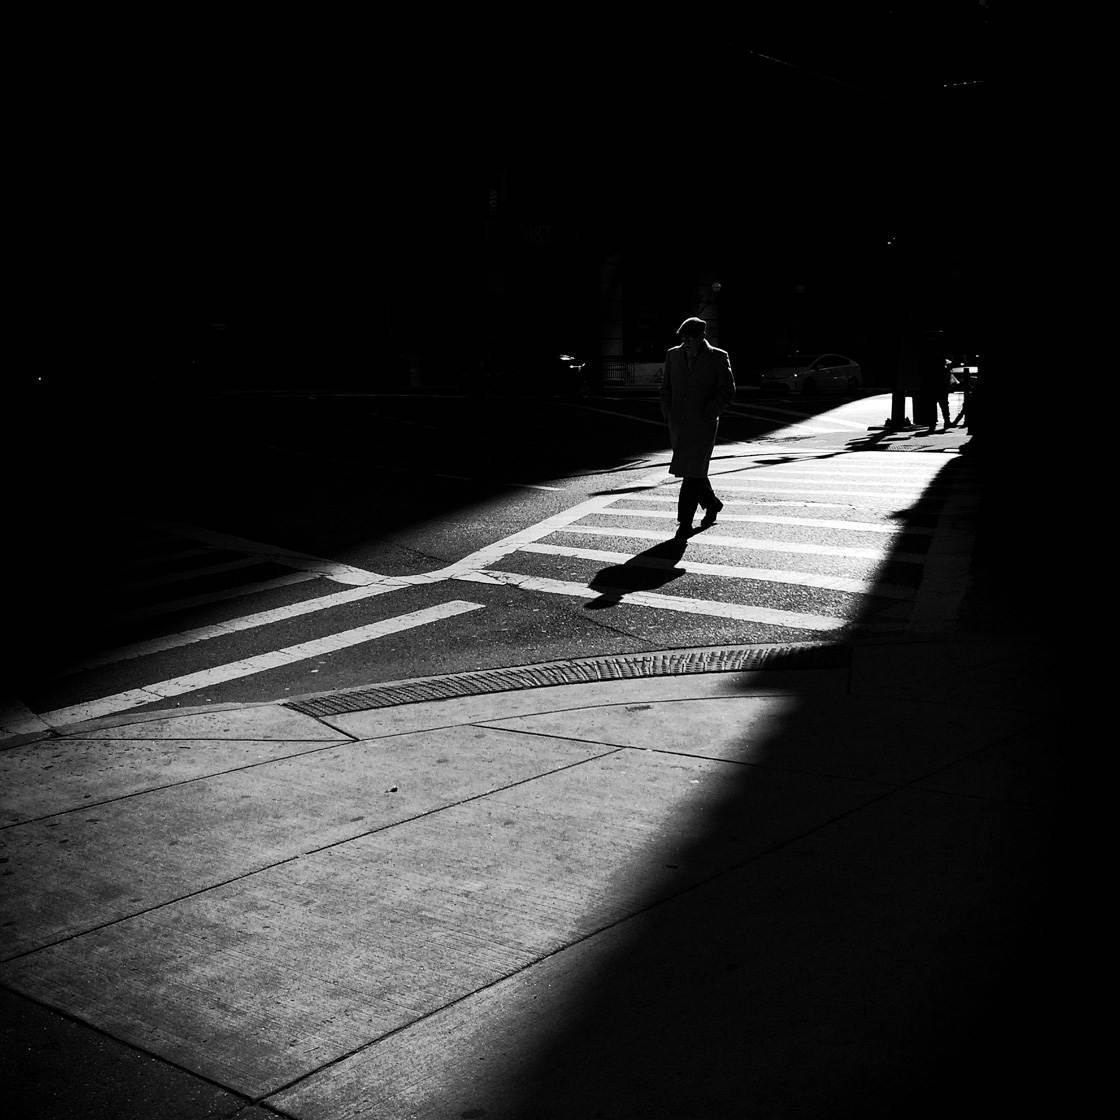
Now, when you’re out looking for silhouette subjects, actively look for these streaks of light.
As soon as you find one, stop. Carefully compose your image so as to include the streak of light.
Next, tap on the streak of light. Swipe down so as to darken the image.
Note where I’ve tapped in the image below: On the brightest part of the shot. Then I’ve swiped down to darken the entire photo.
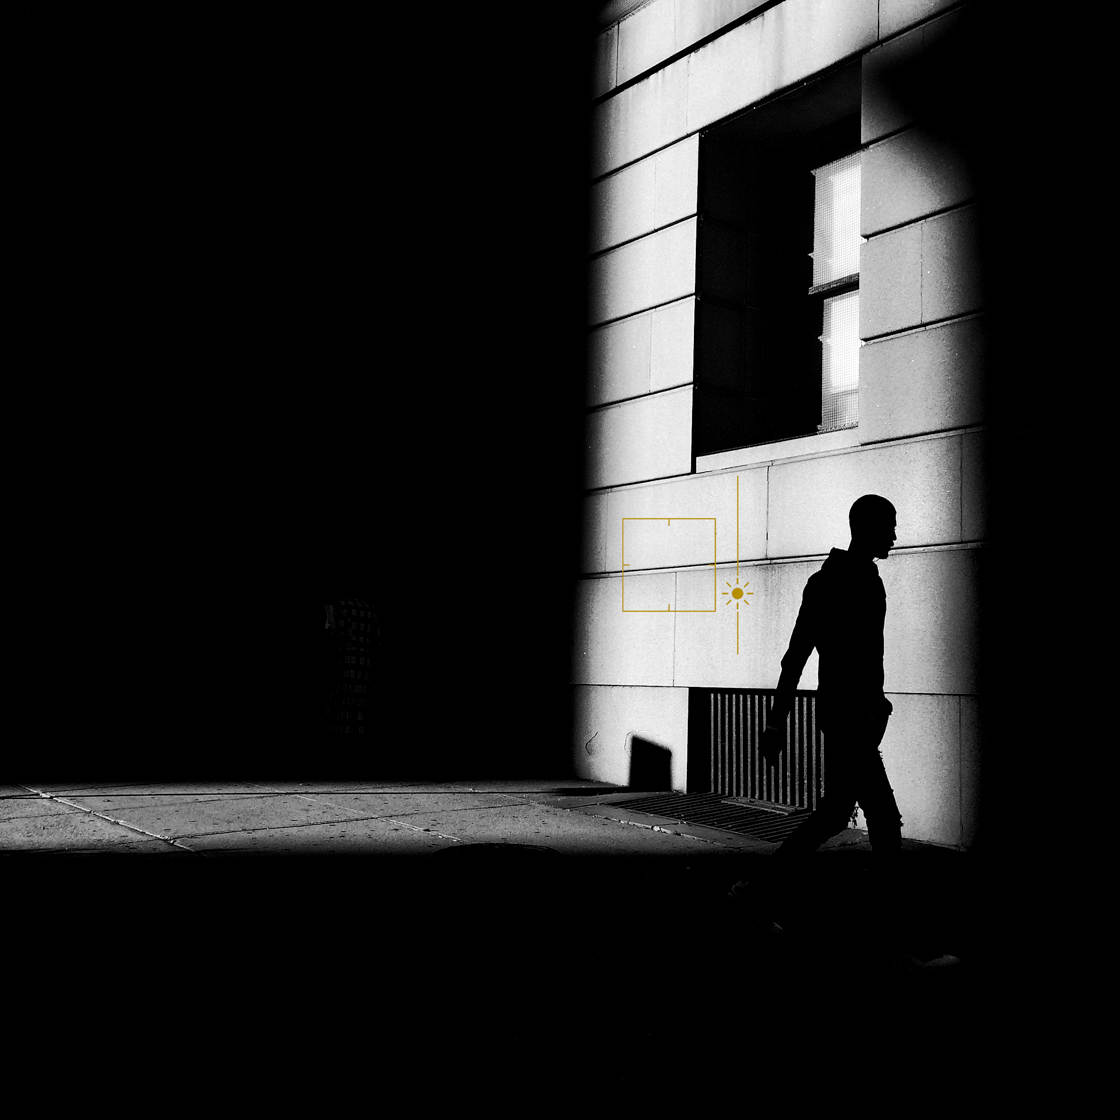
You want the whole photo to be black–except for that streak of light.
Then wait for a person to walk through. And take their photo.
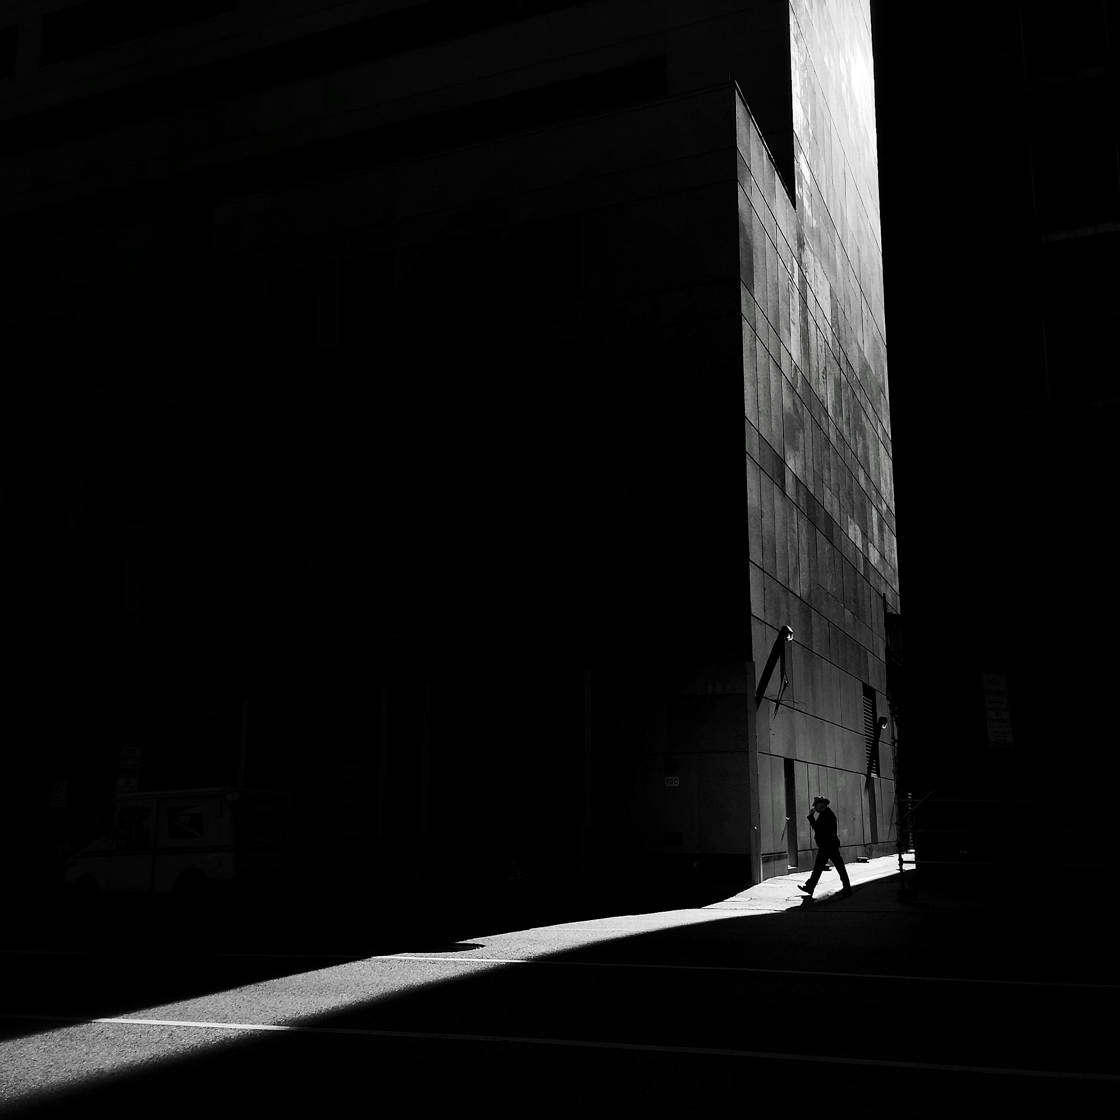
It’s important to note: A photo like this isn’t technically backlit. You’re not shooting into the sun.
However, you are shooting toward the light–the bright streak of light resting on a wall.
And it can make for truly striking silhouette compositions!
5. Look For Shapes To Create Stunning Black And White Compositions
Composition is all about shapes.
When you compose an image, you’re simply arranging shapes. Ideally, you try to arrange them in a pleasing way.
That’s what a gorgeous composition is: A pleasing arrangement of shapes.
This is especially true in black and white photography. After all, there are no colors to distract the viewer.
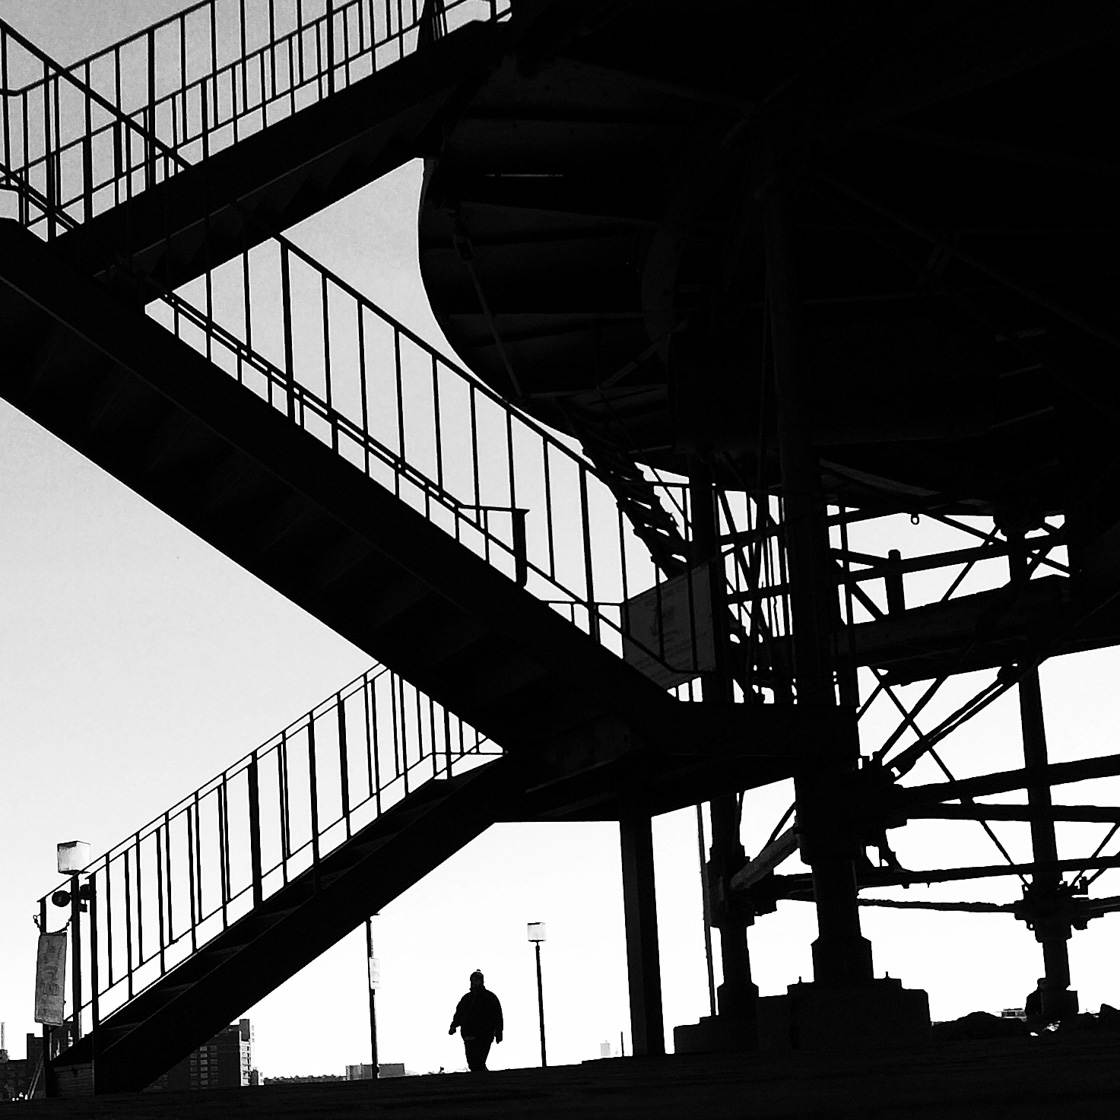
So if you want to do the most gorgeous black and white silhouette photography, you need to think in terms of shapes.
How do you do this?
Start by observing the world around you. Look for obvious shapes. Windows and doors are some of the easiest shapes to find, as they’re obvious rectangles.
But then try to go deeper. Look at the shadows. What shape are they? Are they triangles? Squares? Lines?
Once you’ve noticed the shapes around you, it’s time to arrange them in your composition.
Here’s what I recommend:
Only include a few shapes in your images. Too many shapes cause chaos.
Instead, one or two shapes should be just fine. Try to make one of the shapes the focal point of the photo. You can do this by making sure there are no surrounding distractions.
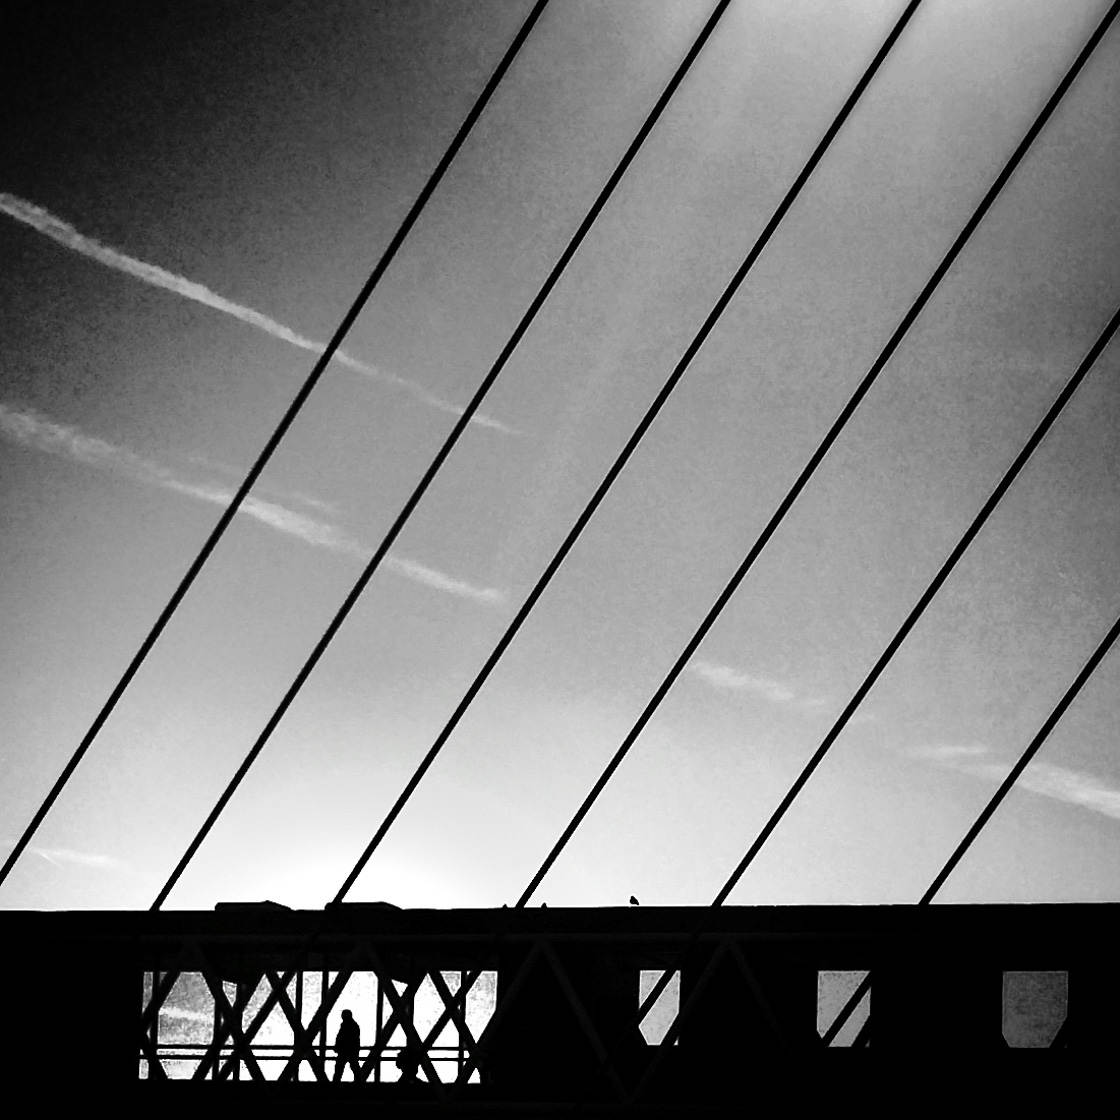
Look at the shapes in the photo below. Do you see the geometry? And can you see how simple the photo is? You only need a few shapes to take a great photo!
Hopefully, you’re starting to understand how to see in shapes.
But even if you’re not, don’t get discouraged. Because I have a tip that will really help you to see in shapes.
And it will help you compose better photos…
6. Shoot In Black And White For The Best Compositions
If you want to create unbelievable black and white photos, then you need to see in terms of shapes.
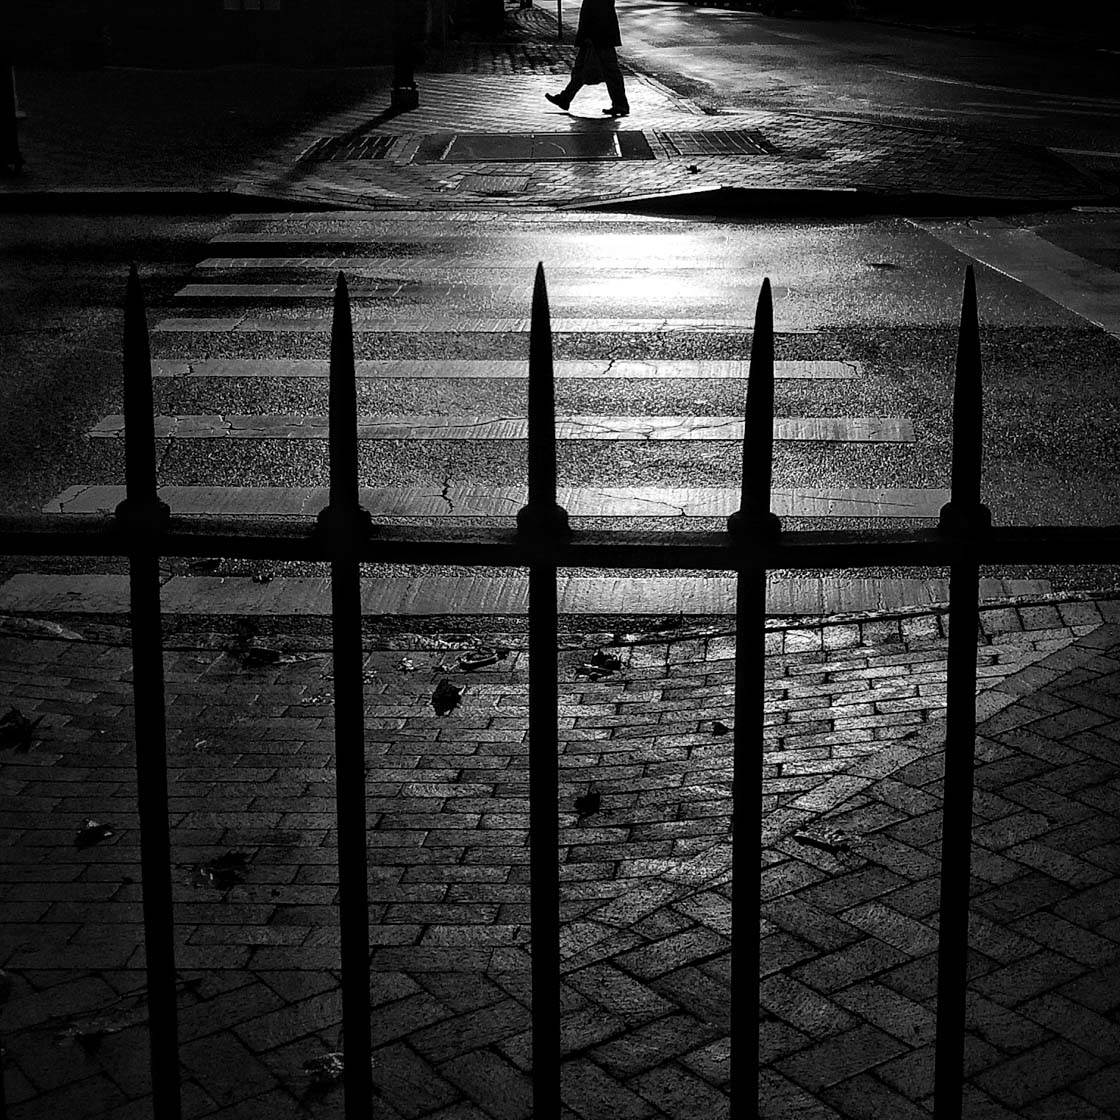
And if you’re struggling to see shapes, then you should try photographing in black and white.
That is, you should set the screen of your iPhone camera to display in black and white.
This will strip all color from the scene. It will allow you to focus on the fundamental components of the image: shapes!
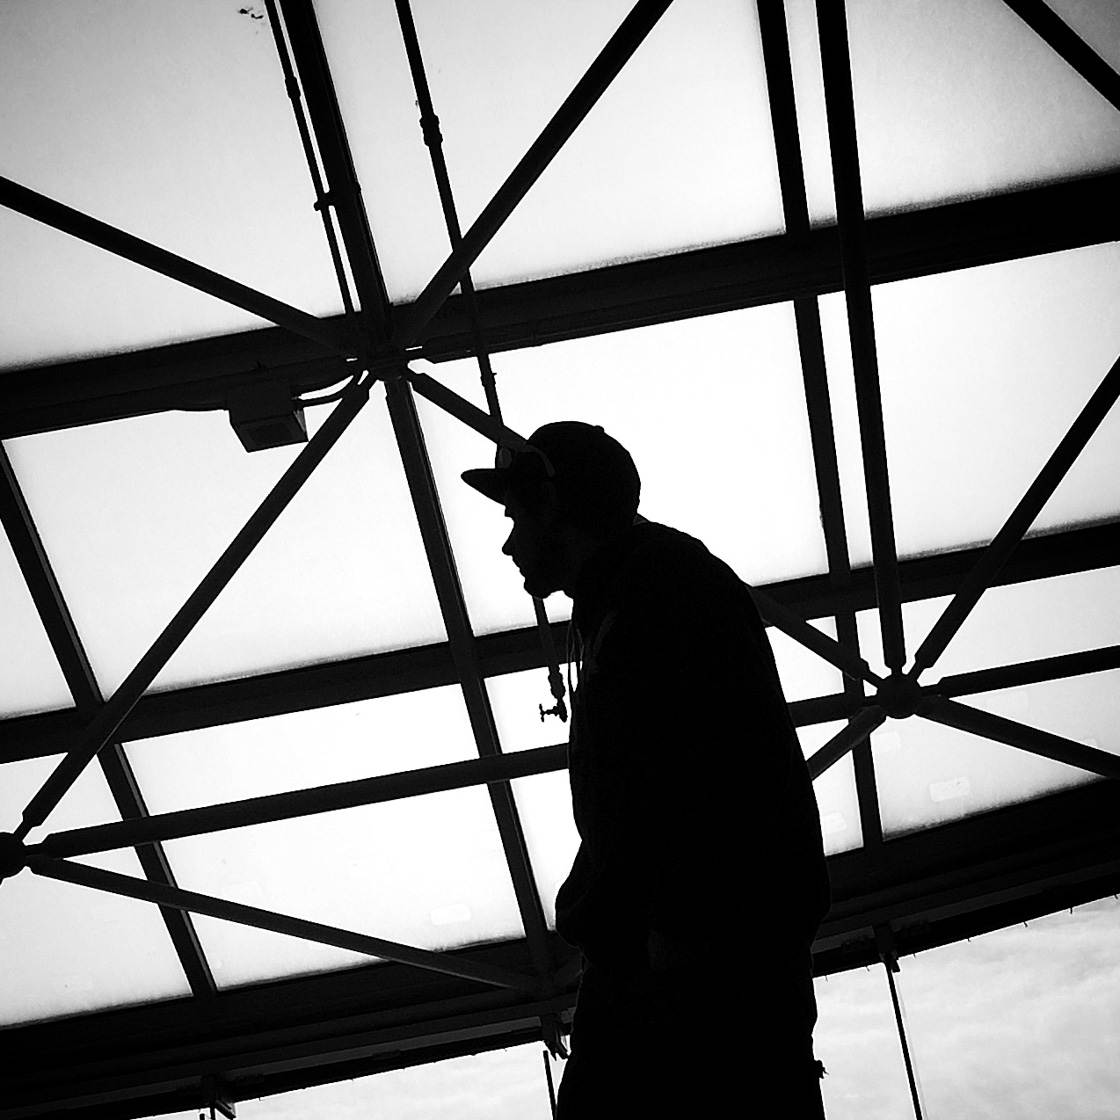
How do you set your iPhone to display the screen in black and white?
You have a couple of good options.
First, you could use a dedicated black and white camera app such as Blackie. This allows you to take photos in black and white. That way, you can compose with the black and white composition in mind.
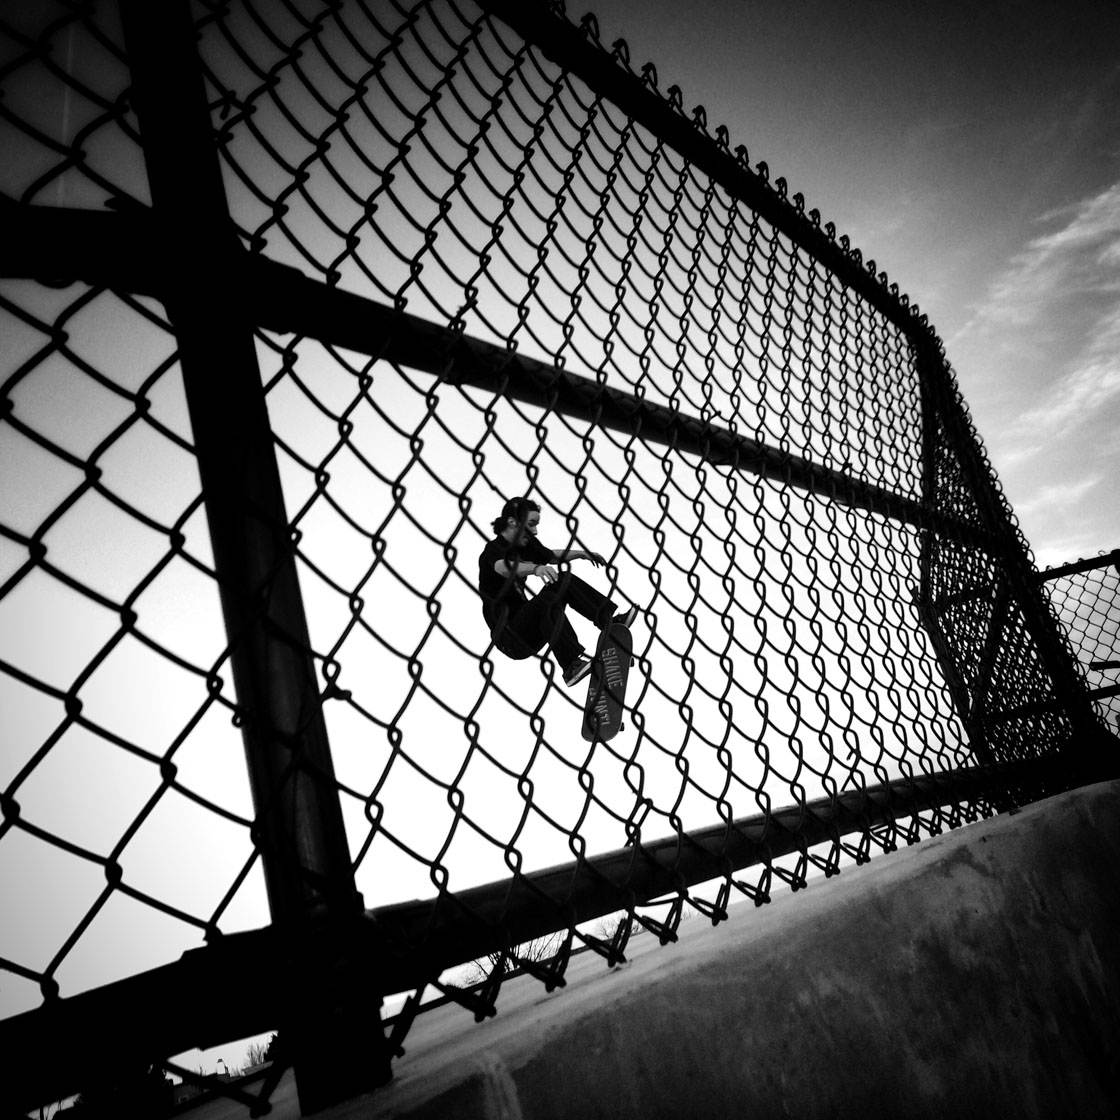
Second, you could simply use the built-in camera app.
Here’s how:
Go to your iPhone camera. Then tap on the filter icon (the three overlapping circles). This gives you access to all the built-in camera filters.
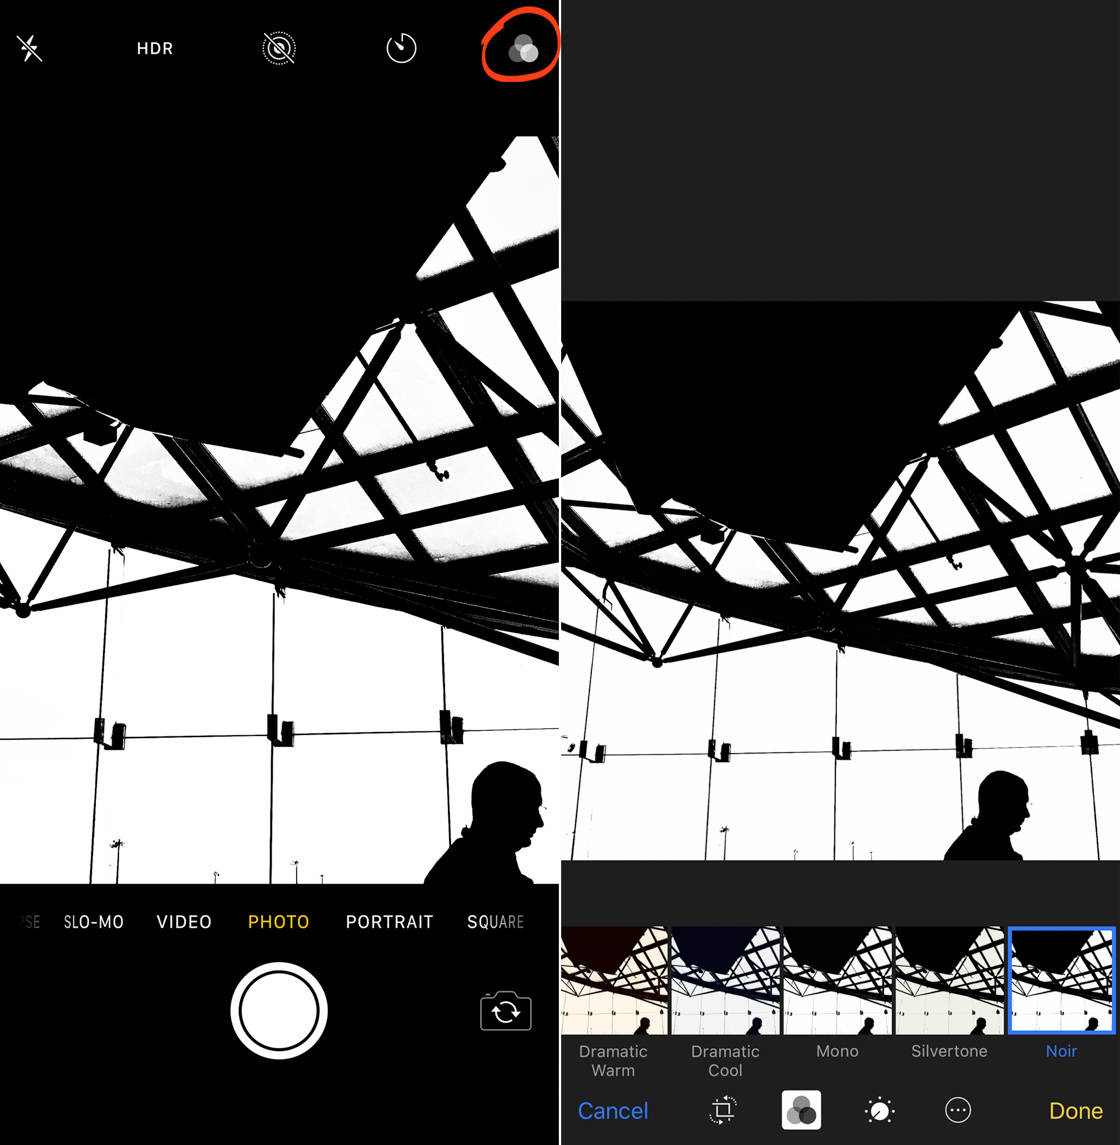
Finally, scroll to the end of the filter selection. Here you’ll find several black and white filters. Which filter you choose isn’t important.
Once you’ve selected a filter, the camera screen will display in black and white.
(Note: You’ll need to select the filter again each time you want to start a black and white photo outing.)
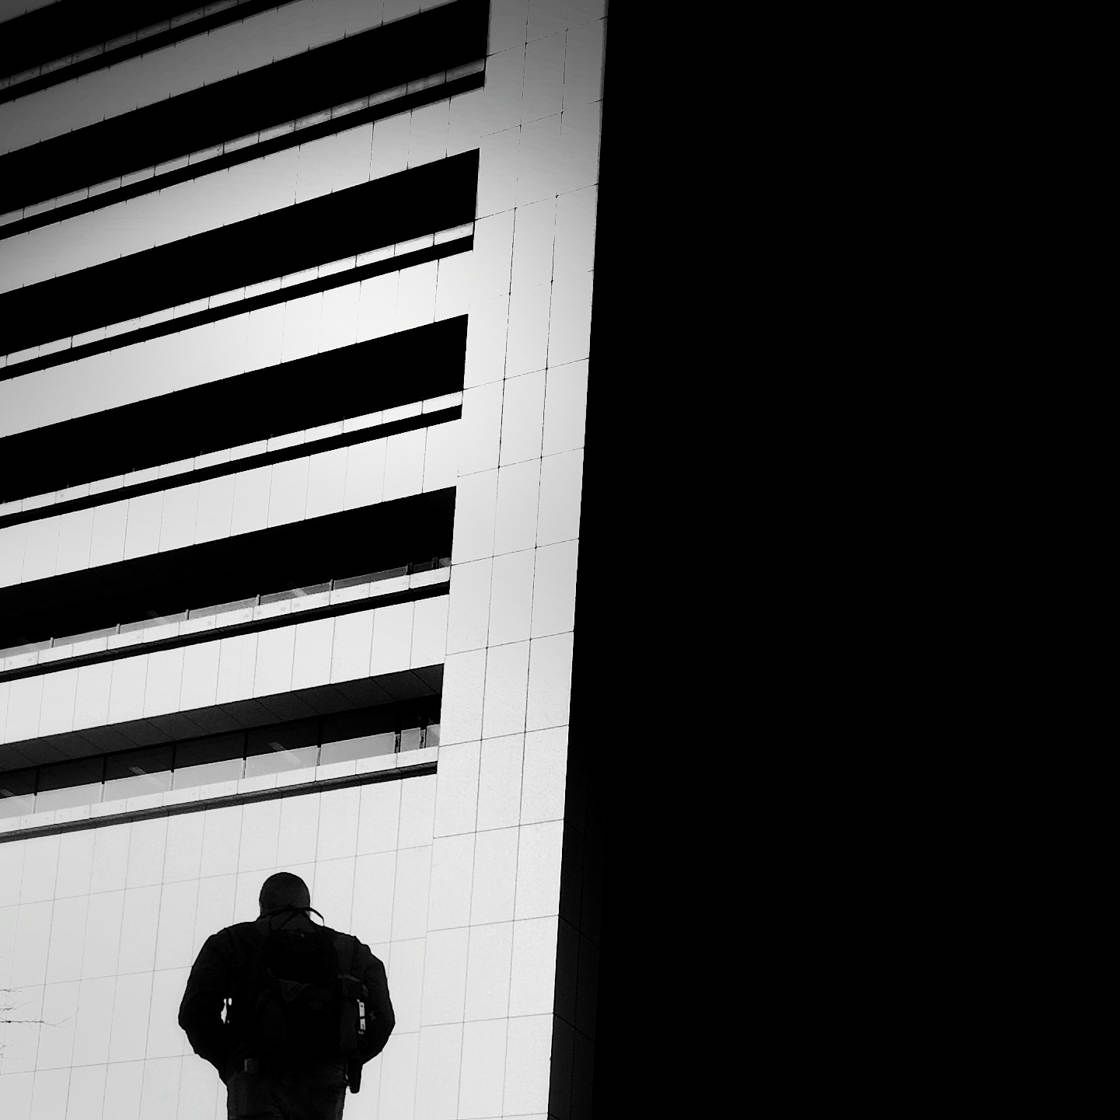
Once you start shooting in black and white, your ability to see in shapes will take off. And your photos will immediately improve.
7. Include Layers In Your Photos For Striking Black And White Photography
I have one more composition tip for you. When used correctly, it results in really stunning black and white silhouette images.
Here it is:
Include layers in your photos.
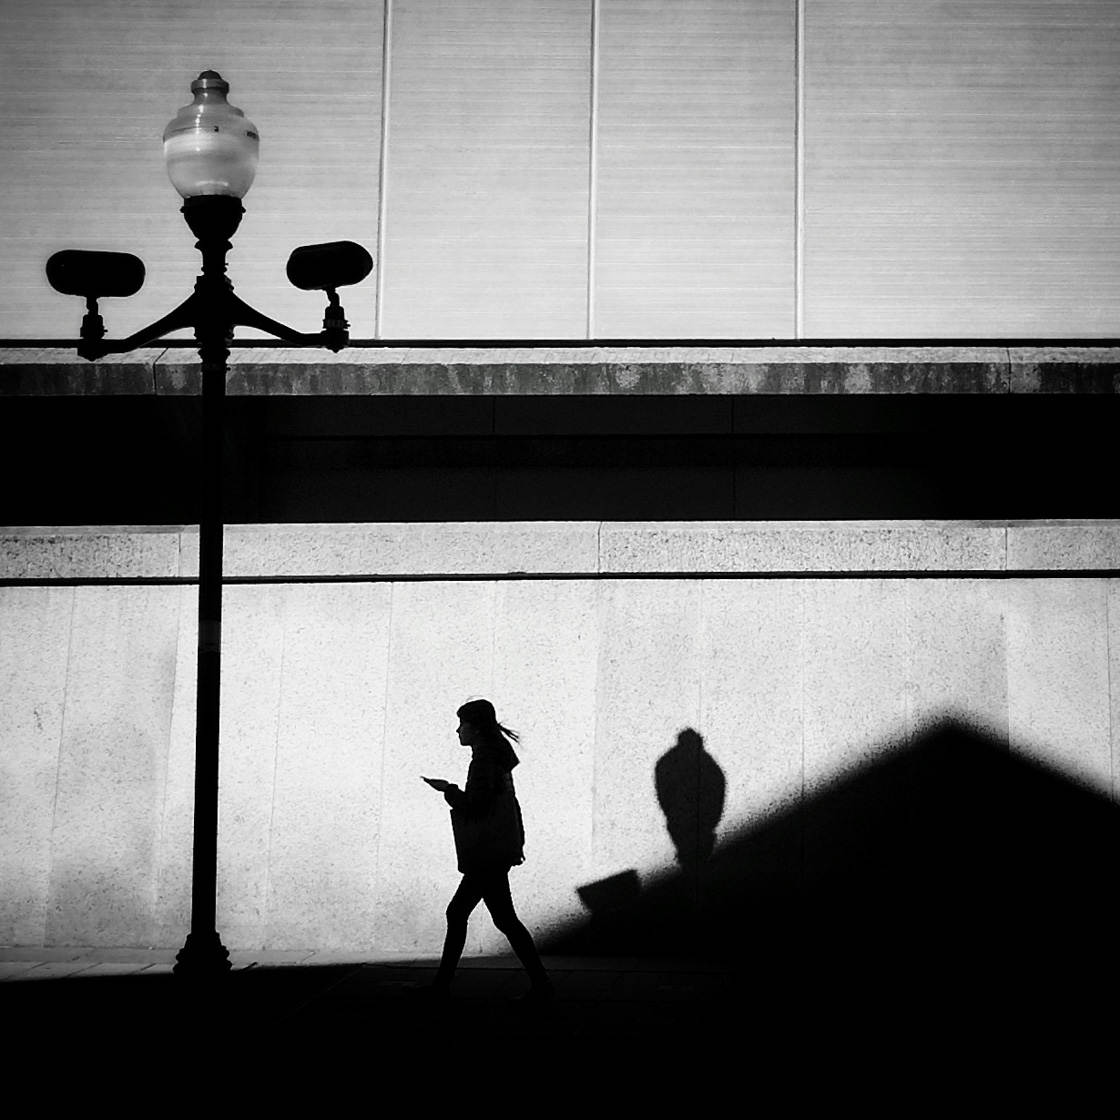
What do I mean by this? Simply that you should look for individual layers in a single scene. And try to compose with multiple layers.
For instance, I love to include at least two layers in a scene. I might have a background layer (for instance, the boat in the photo below).
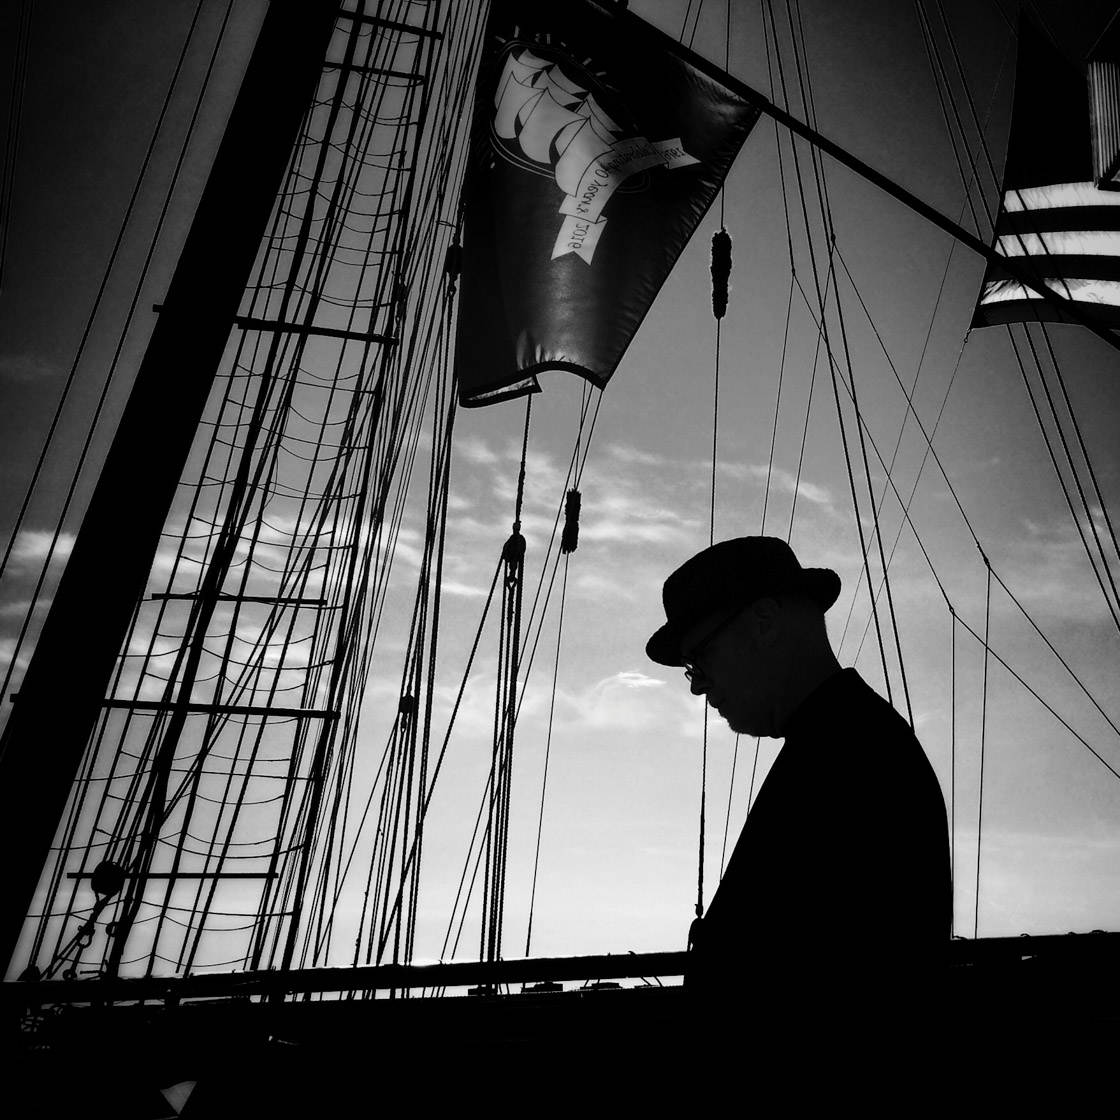
And then I’d have a foreground layer with a silhouetted person.
However, you have to be careful. It’s not always easy to isolate layers–and you want to make sure that none of them overlap with one another. The individual layers must remain separate.
Here’s the bottom line: Layers are extremely compelling.
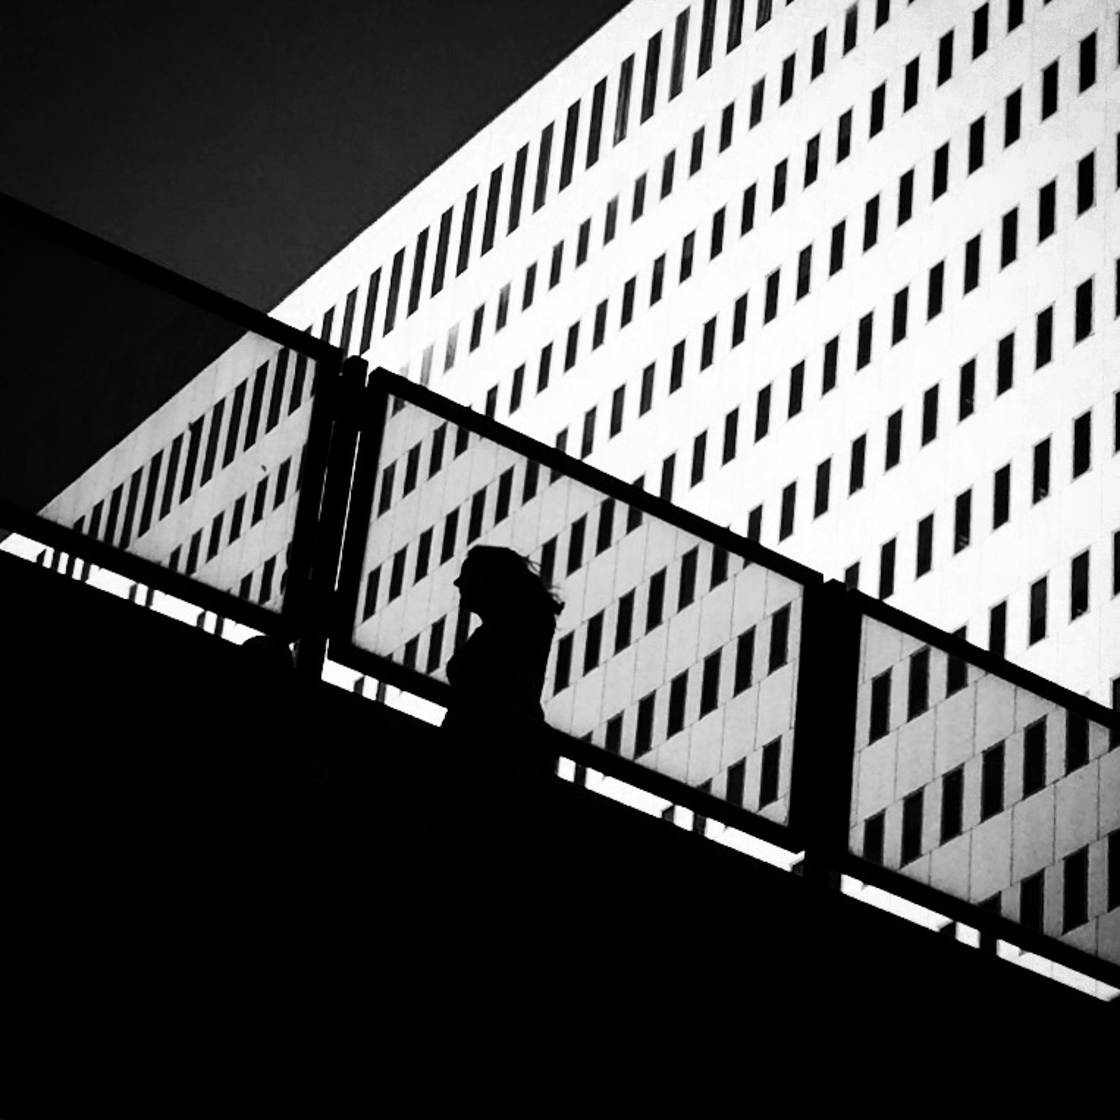
So include them in your black and white silhouettes for more powerful photos.
You won’t regret it.
8. Edit To Enhance Your Black And White Silhouette Photography
Do you want to create the best photos you possibly can?

Then there’s one last step you need to follow:
You need to edit your photos.
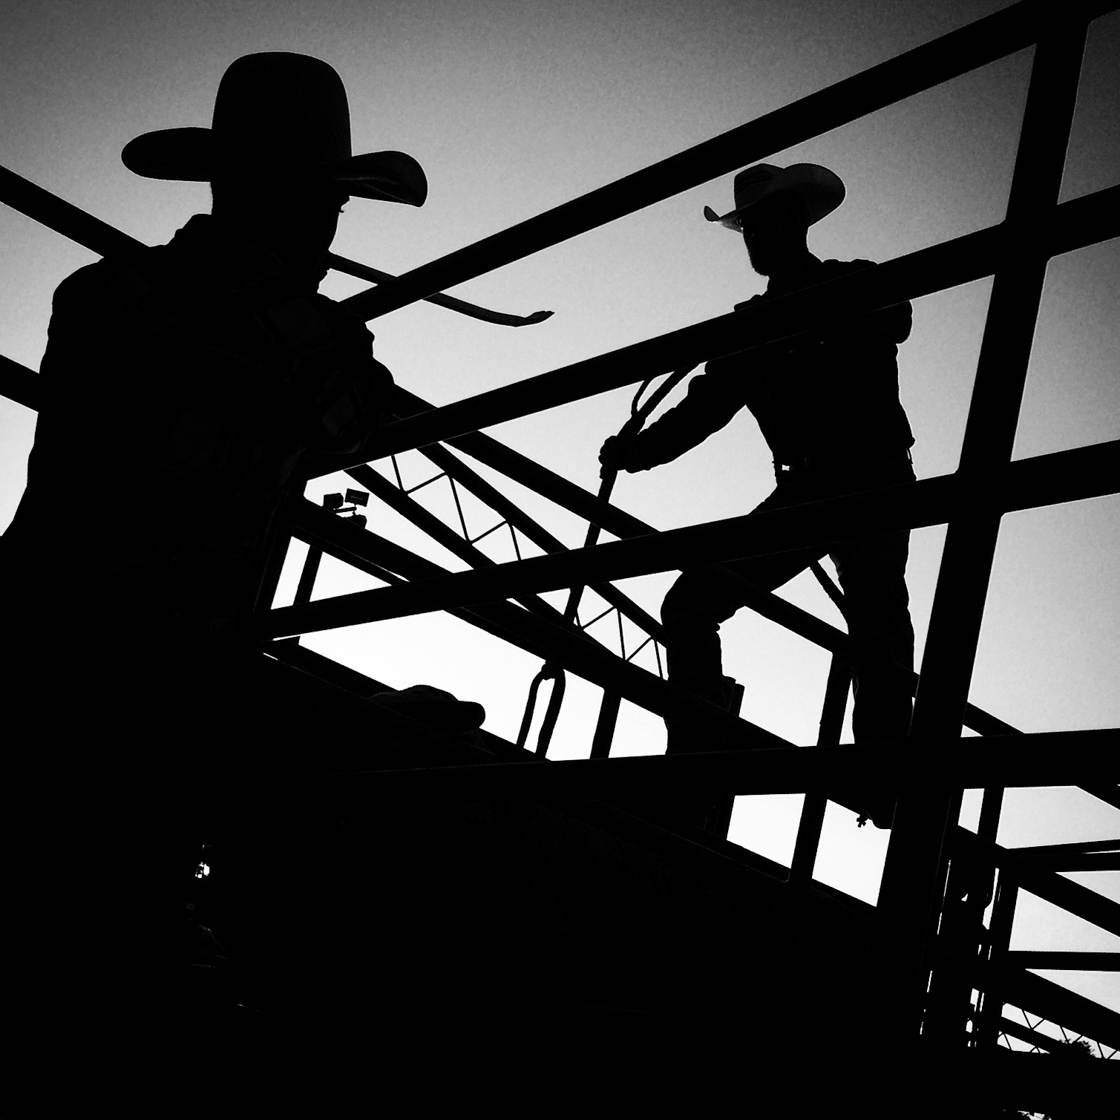
Fortunately, you don’t have to do much editing to make your black and white silhouettes pop.
And the editing you do need to focus on is quite easy! To do this, use an editing app such as Snapseed.
First, open your photo in Snapseed. You can do this by pressing Open, and selecting your photo.
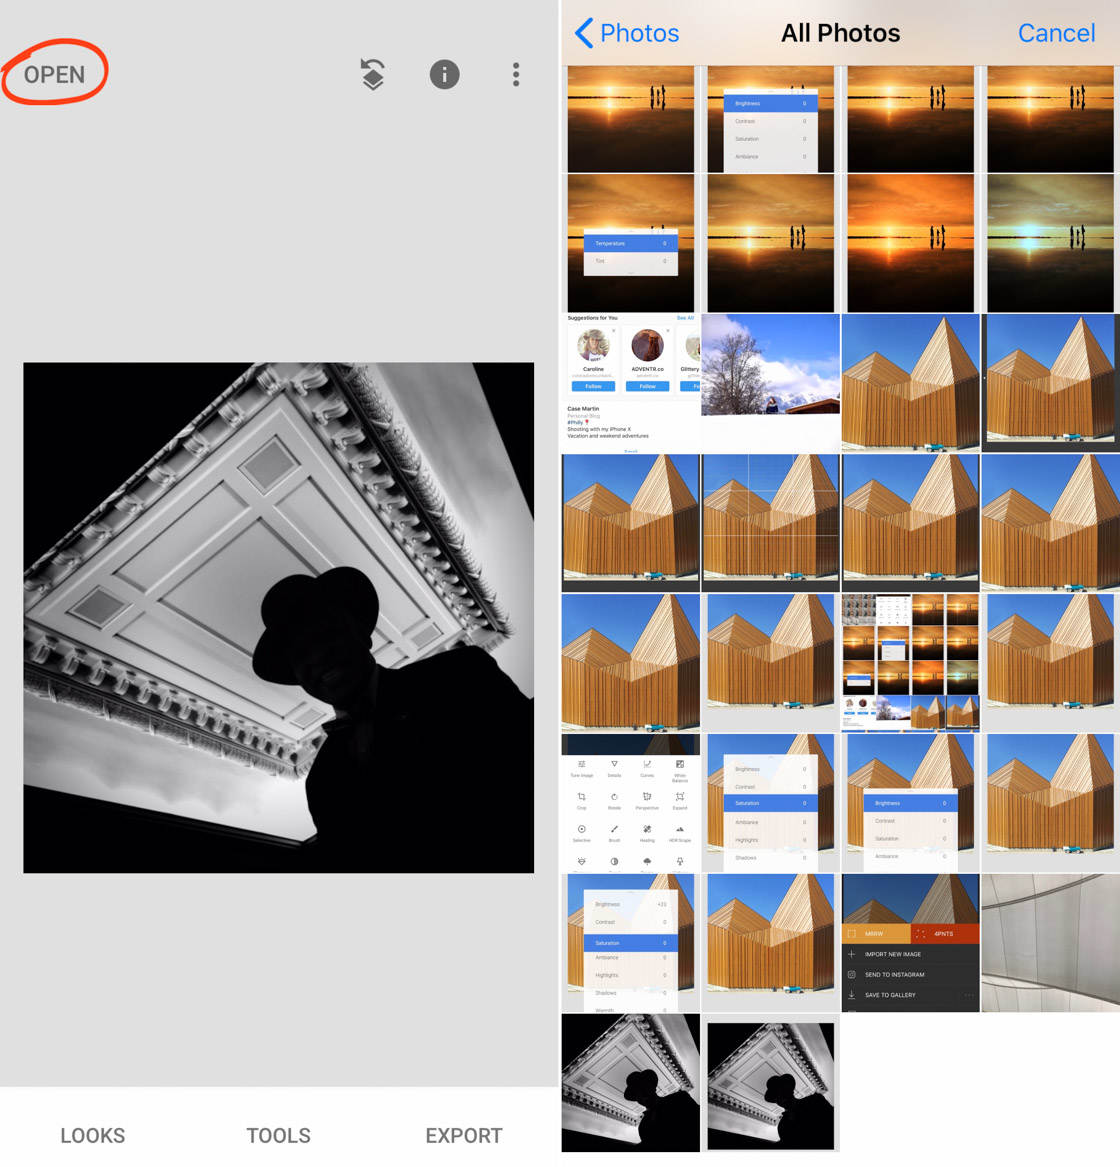
Next, tap Tools, then Tune Image.
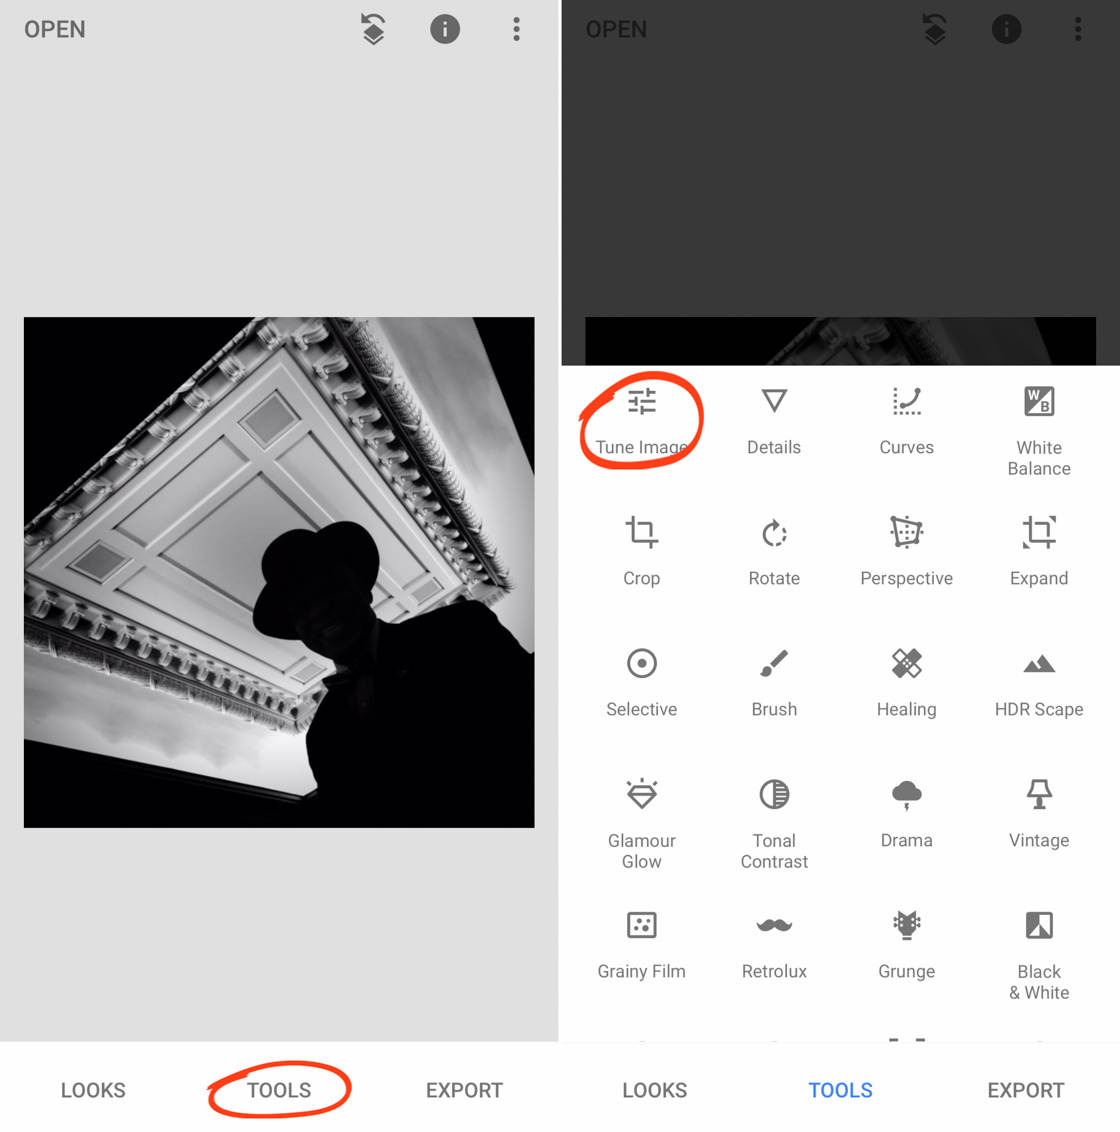
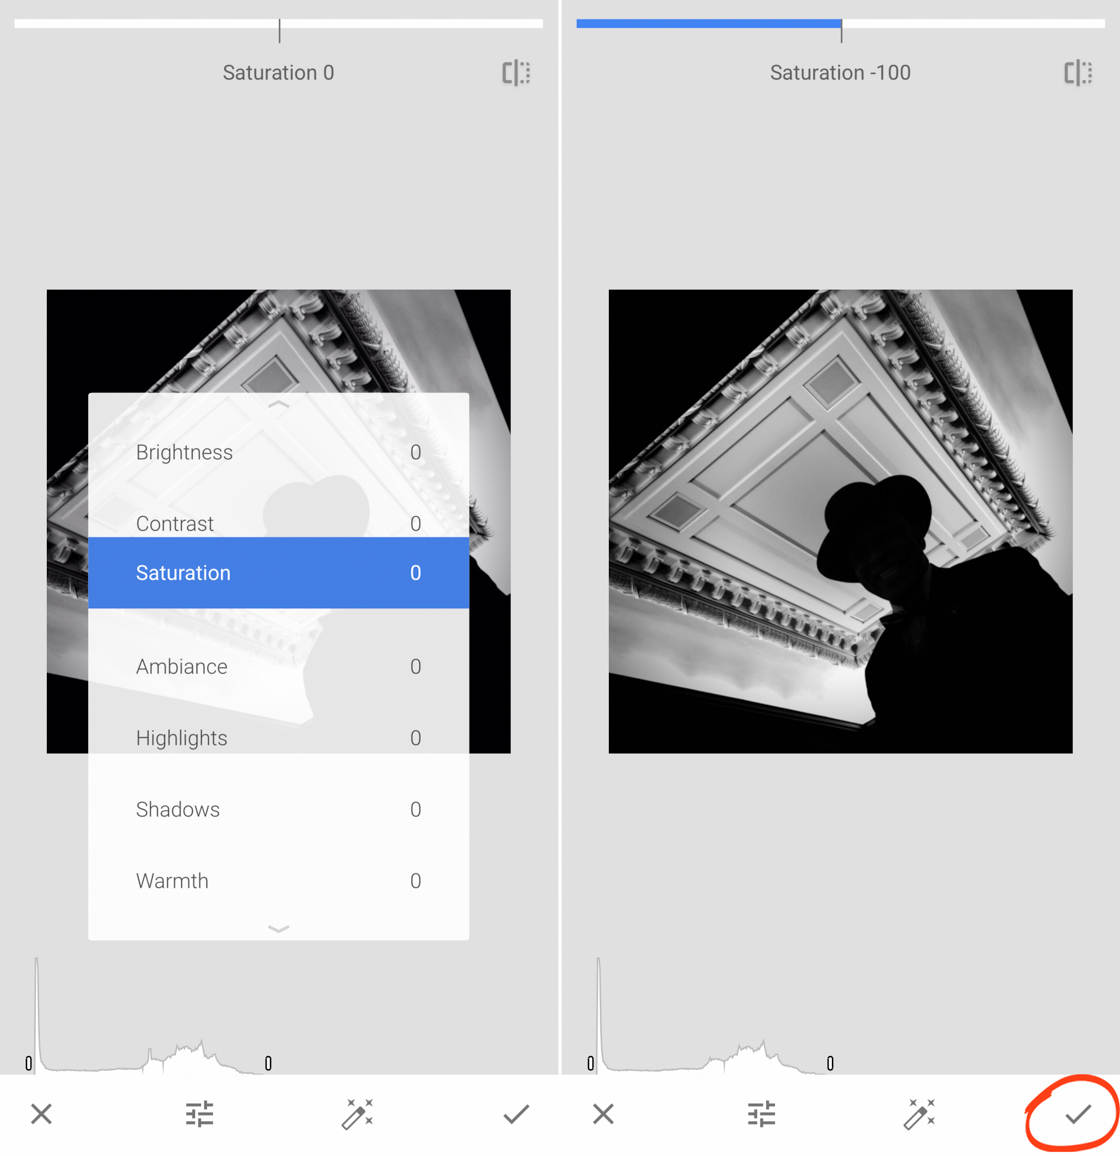
Swipe up to access the Adjustment menu.
If you’ve shot in color, scroll down to Saturation, and swipe left until the image is completely desaturated. This will remove the color from your image (and turn it black and white).
Then tap the checkmark to save the edit.
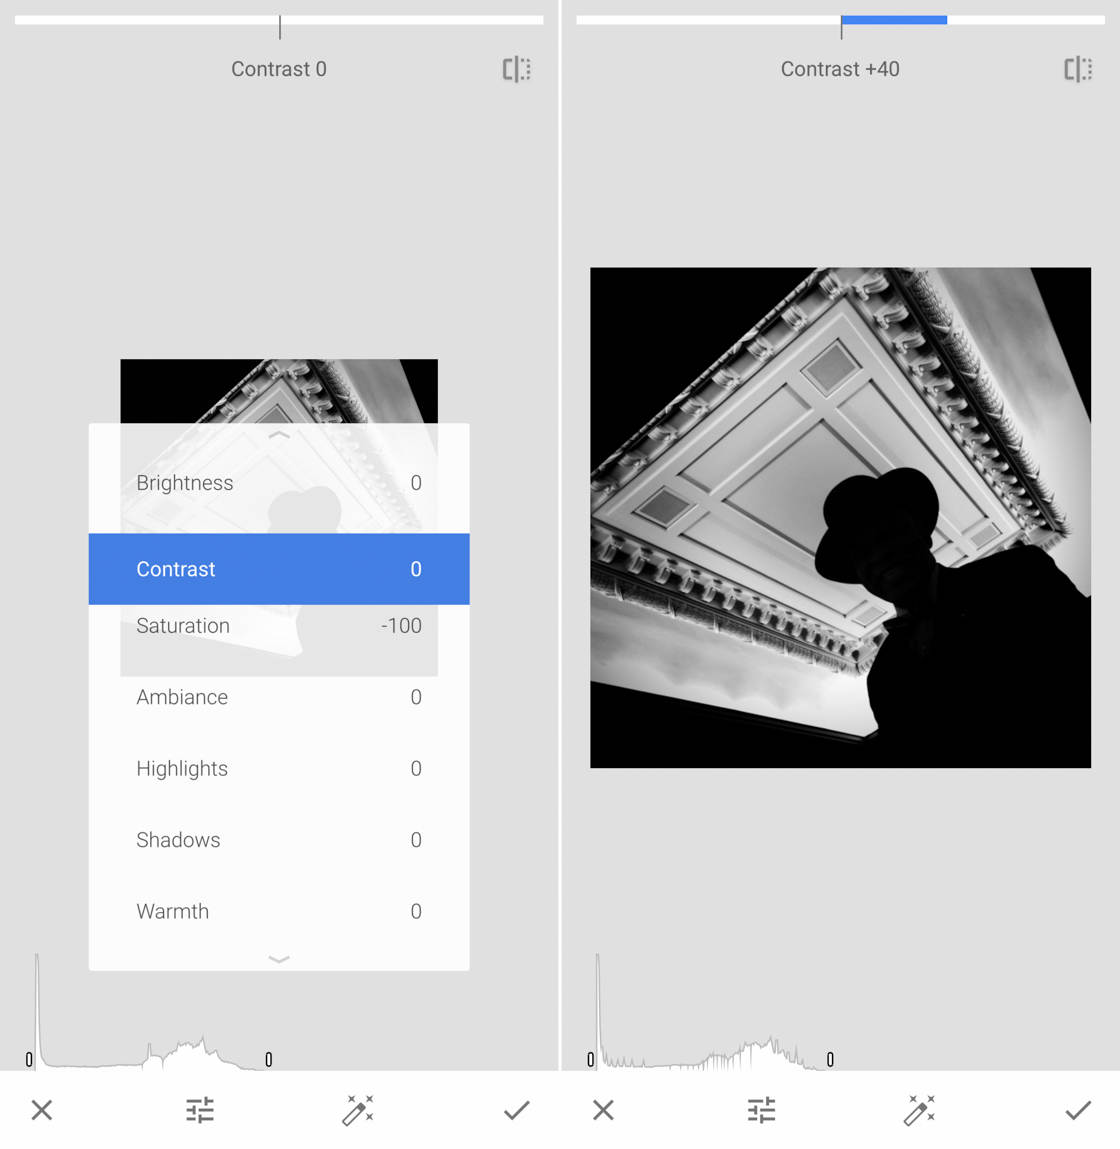
The next step is to raise the contrast. Silhouettes require a lot of contrast!
So swipe up to access the Adjustment menu. Scroll down to Contrast, and swipe right. This will add some drama and punch to your photo.
Finally, I like to add a bit of a vignette to my silhouette photos.
(A vignette is a dark circle around the edges of the frame.)
You can do this using Snapseed’s Vignette tool.
Tap on Tools, then scroll down until you find Vignette. Select this option.
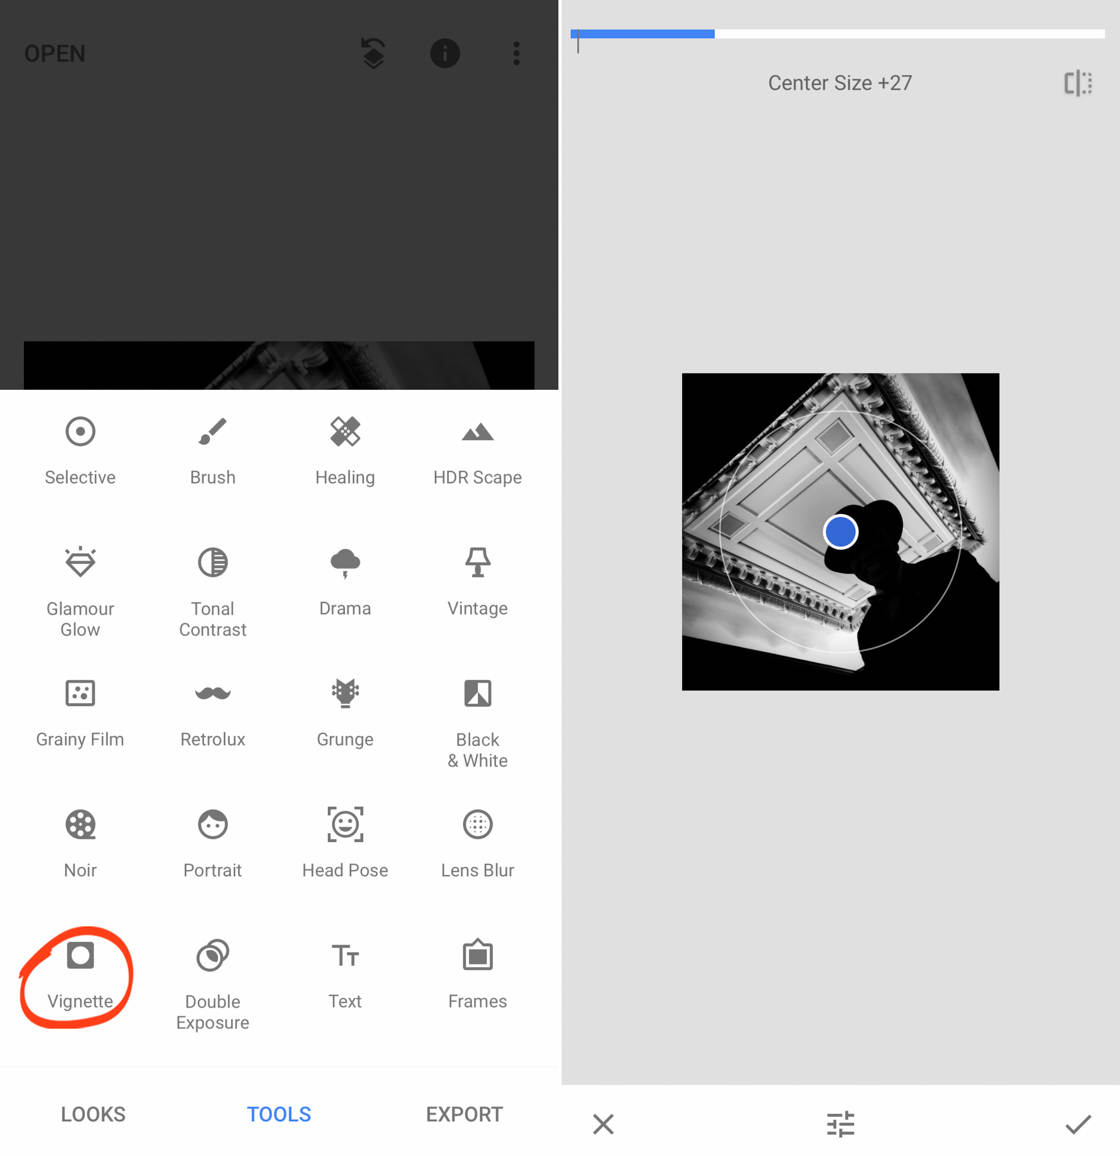
Now you can experiment with different vignetting effects. You can make the vignette larger (for a more dramatic effect), or smaller (for a more subtle effect).
No matter what you choose, the vignette will help create drama in your images.
And the careful editing will enhance them!
To conclude: Don’t forget to edit your photos.
Because a little editing can make a big difference.


Leave a Reply
You must be logged in to post a comment.