Do you want to know how to take stunning sunset pictures with your iPhone? Doing incredible sunset photography can seem tough, but it doesn’t have to be. In this article, you’ll discover 8 tips for brilliant iPhone sunset photography. Your sunset photos will never be the same again!
1. Pay Attention To The Clouds To Predict Beautiful Sunsets
What’s one thing all sunset photographers dream of doing?
They dream of knowing whether a sunset is going to be stunning…several hours before the sun actually sets.
Imagine what this would mean. If you could forecast beautiful sunsets, you could be at the right place at just the right time.

You could point your camera at that snow-capped mountain…just as the sky goes cotton candy pink.
You could be standing at the edge of the ocean…just as the sun turns a brilliant red.
How do you deal with this?
You can often predict whether a sunset will look beautiful…long before the sunset has begun.
It’s all in the clouds.
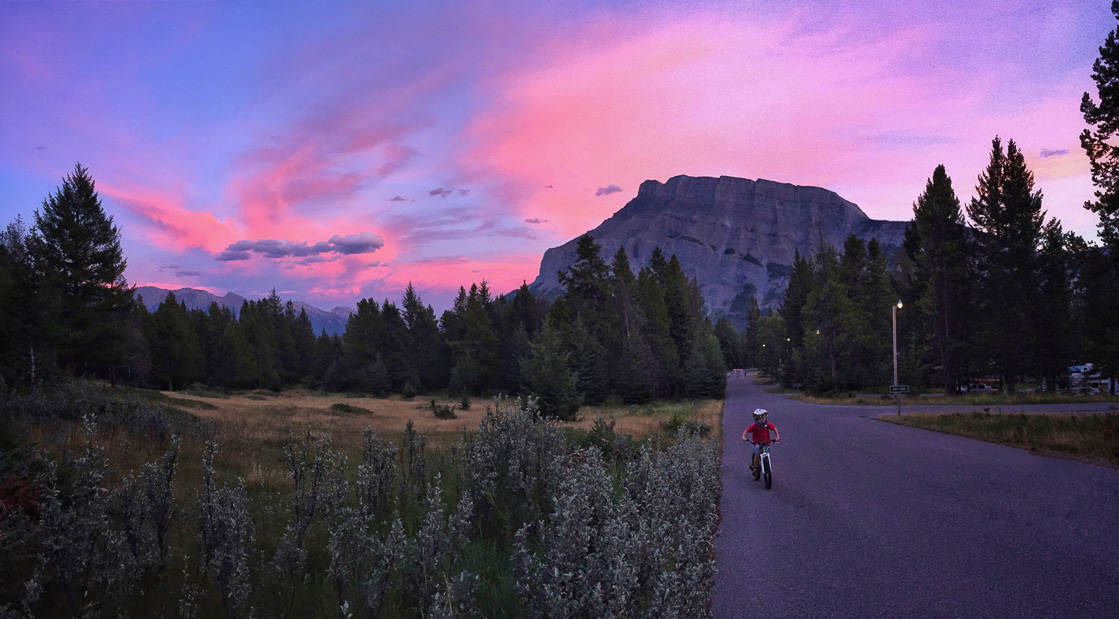
It’s simple: An hour or two before sunset, look at the sky. Observe the clouds. What do they look like?
First of all, the best sunsets require clouds. Clouds add texture and interest to the sky. Plus, clouds enhance sunset colors.
Say that there are clouds. Is that always good?
Not necessarily. Not all clouds are created equal. Thick, dark clouds are bad. The sun may be covered up by the time it actually sets.
So what do you want as a sunset photographer?
For one, you want clouds that are thin and wispy. They can also be puffy and scattered. You also want clouds that have cool textures.
If you see these in the sky before sunset, chances are you’re going to have a beautiful photo opportunity. That’s when you should commit to a sunset photo shoot.
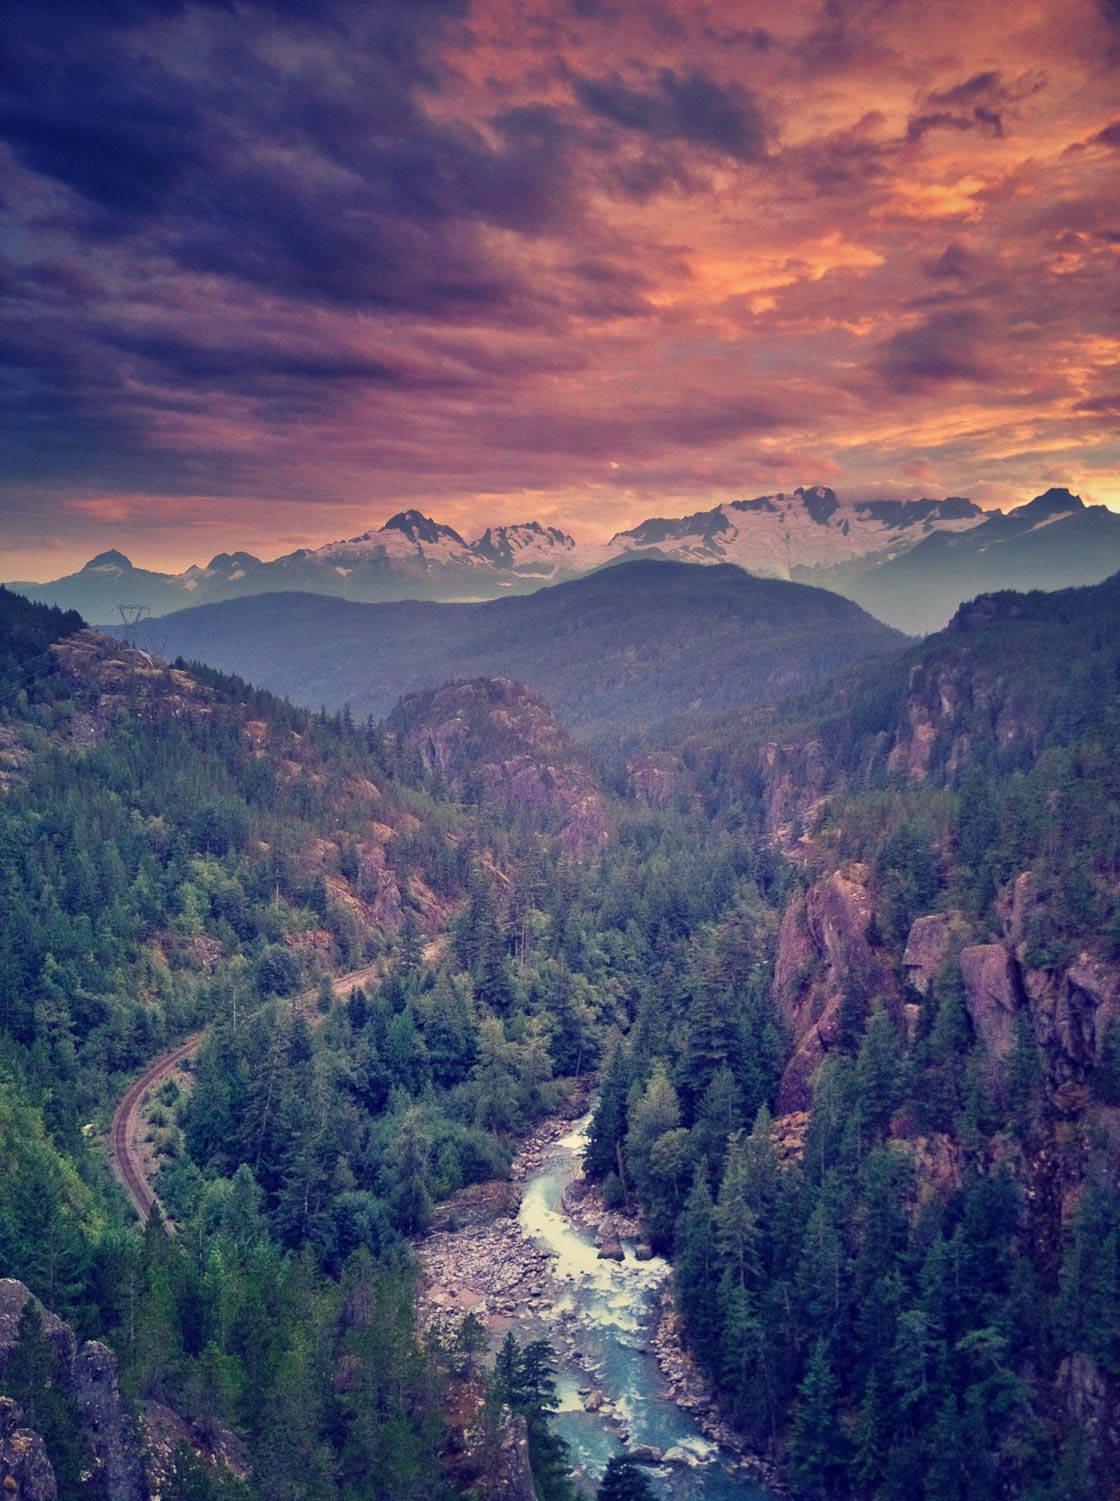
The photo below shows a brilliant sunset. Notice the wispy clouds. These help you to predict a great sunset in advance!
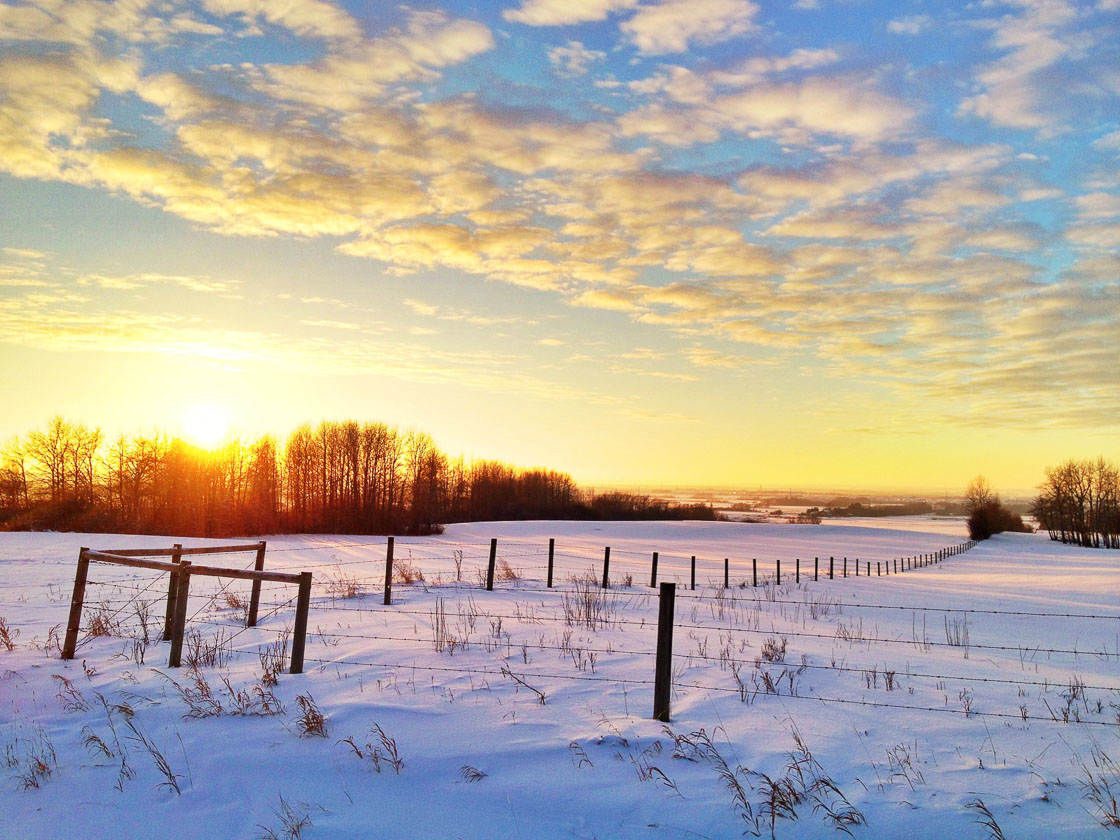
Another great opportunity is when you have thick clouds high in the sky—but a clear horizon. The sun can drop below the clouds, resulting in a beautiful sunset.
Therefore, if you’re looking to photograph beautiful sunsets, use the clouds. Predict whether the sunset is going to be stunning in advance.
Then get out and shoot.
2. Add Foreground Interest For Compelling Sunset Photography
Is a beautiful sunset enough for amazing photos? A beautiful sunset is nice. A beautiful sunset is necessary.
But unfortunately, a beautiful sunset isn’t enough.
If you want to create truly stunning sunset photography, you must go beyond a beautiful sunset. A beautiful sunset has limited interest…on its own.
What else do you need? You need a strong foreground.
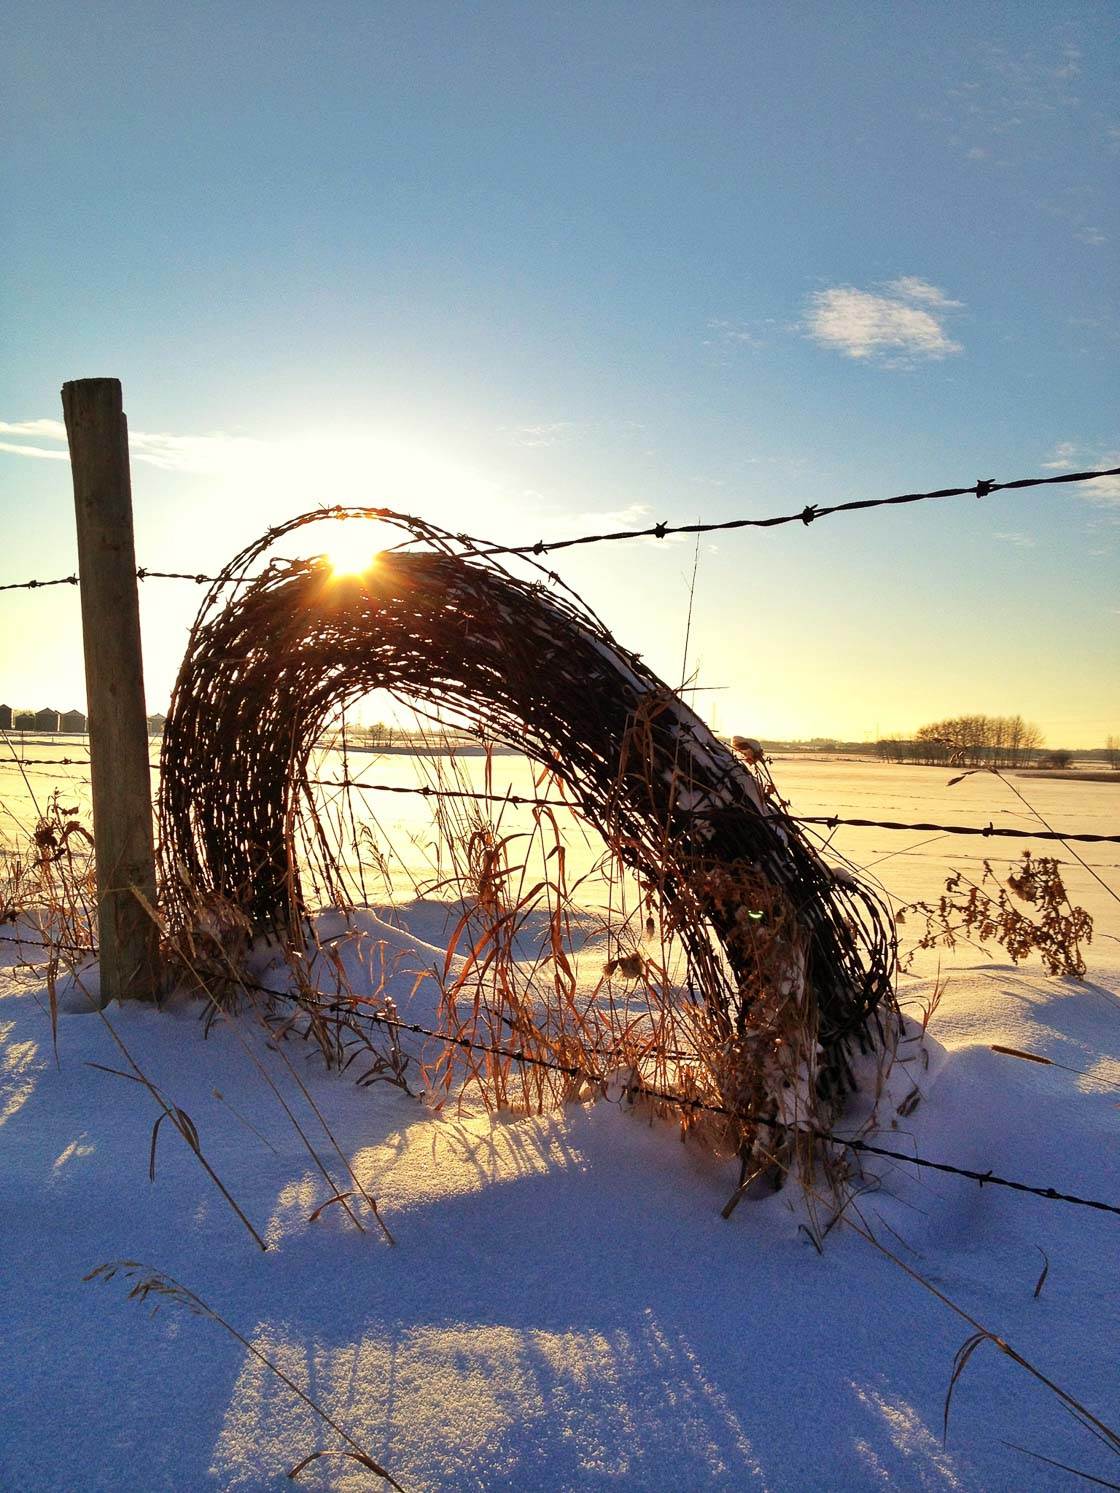
Let me explain.
An incredible sunset photo has at least two layers. It has a beautiful sunset background.
But it also has a clear subject in the foreground: A subject that captures the viewer’s attention.
And a clear subject is what will take your sunset photography to the next level.

To find a strong foreground element, look for something that complements the sunset. You don’t want to distract from the sunset.
At the same time, you want to offer the viewer something to focus on.
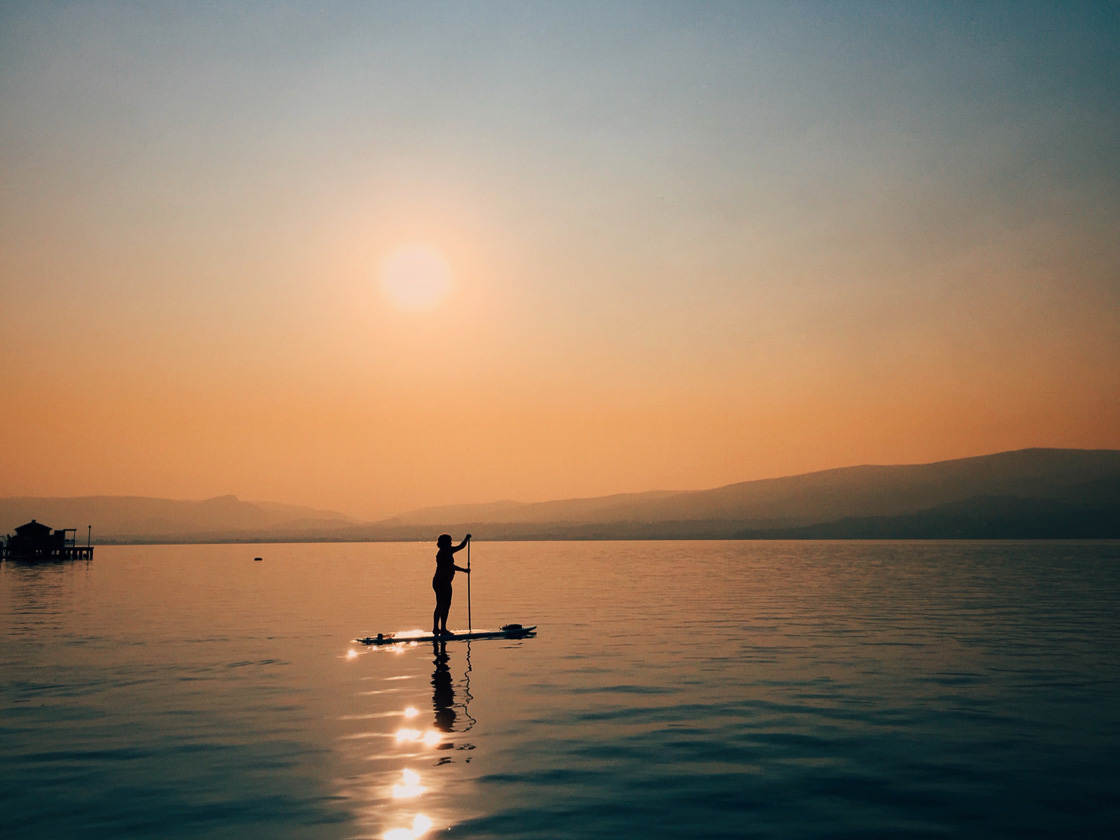
A silhouette can work great. I like to use silhouettes of people in my sunset photos. They add interest without being overpowering.
For instance, look at the photo below. There’s a beautiful sunset in the background. But the silhouette of a person jumping captures the viewer’s attention.
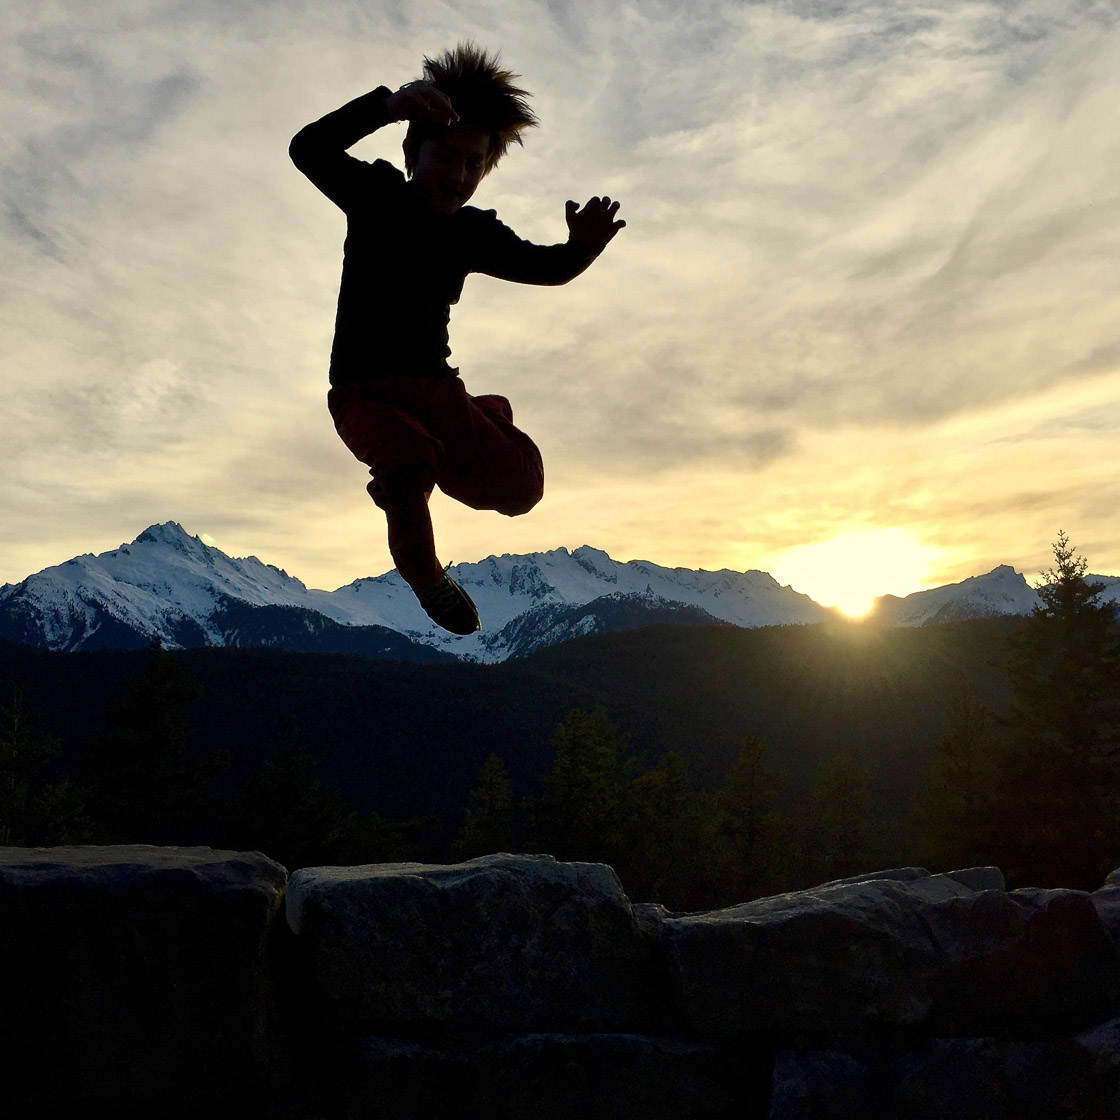
That’s what you want to include.
If you’d like to create exciting sunset photos, don’t just think about the sunset. Include a strong foreground element.
That’s how you’ll take compelling sunset photos.
3. Keep Your iPhone Stable For Sharp Sunset Images
Do your sunset photos keep turning out blurry?
If so, you’re not alone.
When the sun is on the horizon, the light is weak. Your iPhone will be forced to compensate for the low light. This results in blurrier photos.
However, you can get sharp sunset photos. You just have to keep your iPhone stable. Without a stable iPhone, I couldn’t have made this image so sharp:

How do you keep your iPhone stable?
There are a few simple ways of doing this.
First, you can change how you hold your iPhone. Don’t hold it away from your body. Instead, bring your arms close to your chest. Tuck in your elbows. Gently tap the shutter button.
Second, you can use a tripod for iPhone. A tripod will stabilize your iPhone. But the downside to a tripod is its inconvenience. It can be frustrating to carry a tripod around all the time.
I have one more tip for you.
Start by finding a solid object that you can prop your iPhone up against. A rock works great for this. If you’re in a pinch, you can even use your shoe.
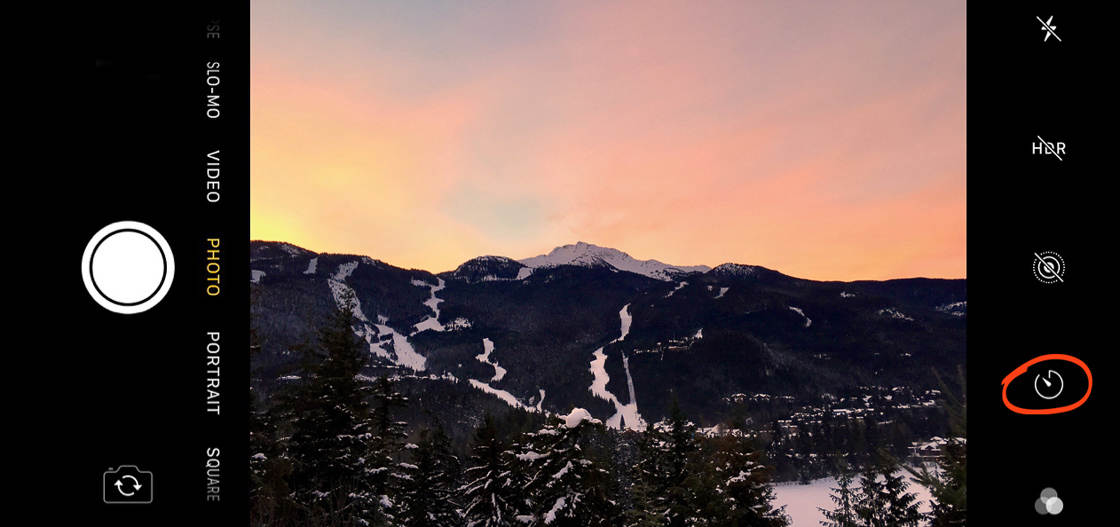
Then set the 3-second self-timer on your iPhone. You do this by tapping on the timer icon at the top of the camera screen. Then tap 3s.
Finally, step back, and let your camera take the picture!
If you want sharp sunset shots, make sure you keep your iPhone steady. Stabilize it with a tripod—or against an object!
4. Look Behind You For Brilliant Sunset Opportunities
You’re standing in front of a beautiful sunset. And you’re snapping incredible photos with your iPhone.
Everything seems right with the world. Except…there’s one more thing that I’d urge you to do.
Turn around.
Why is this?
As great as the sunset is in front of you…there’s often something amazing behind you. For instance, there might be an even pinker sky.
And you don’t want to miss such an opportunity.

Here’s a tip: Find a location with interesting foreground elements on all sides. That way, you can easily shoot in several directions. It’ll be like a sunset photography buffet!
Something else to note: The sky changes during a sunset.
When the sun begins to set, one part of the sky might be incredible. Focus on it. Take tons of good shots.
But don’t forget to check behind you while the sunset proceeds.
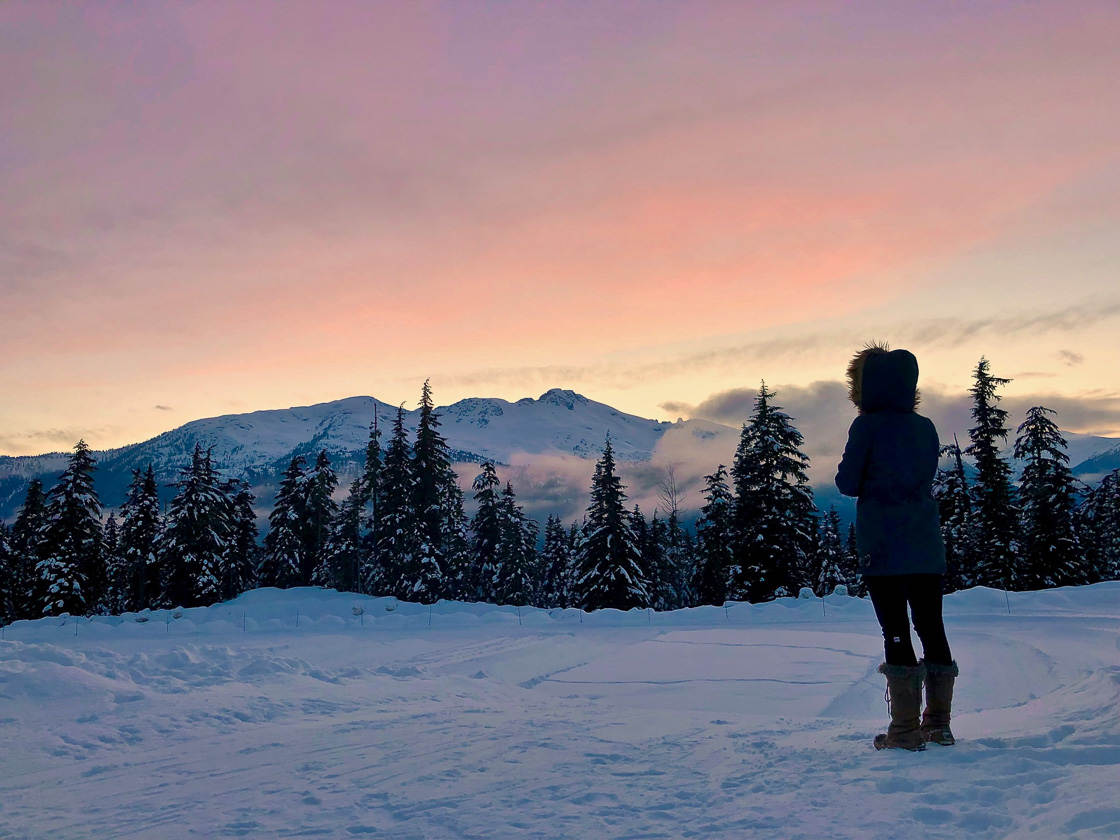
You’ll be surprised by the amazing opportunities that appear!
5. Use The Rule Of Thirds For Beautiful Sunset Compositions
How do you compose a sunset photo? Choosing a composition can be hard, especially for beginner photographers.
Fortunately, there’s one big tip that will really take your sunset compositions to the next level.
What’s the big tip?
Follow the rule of thirds.
The rule of thirds states that the most pleasing photos have their main subjects off-center. Specifically, the main subjects should be a third of the way into the frame.
Look at the gridlines below. This is a rule of thirds grid. To get strong sunset photos, put the main elements of your scene along these lines.
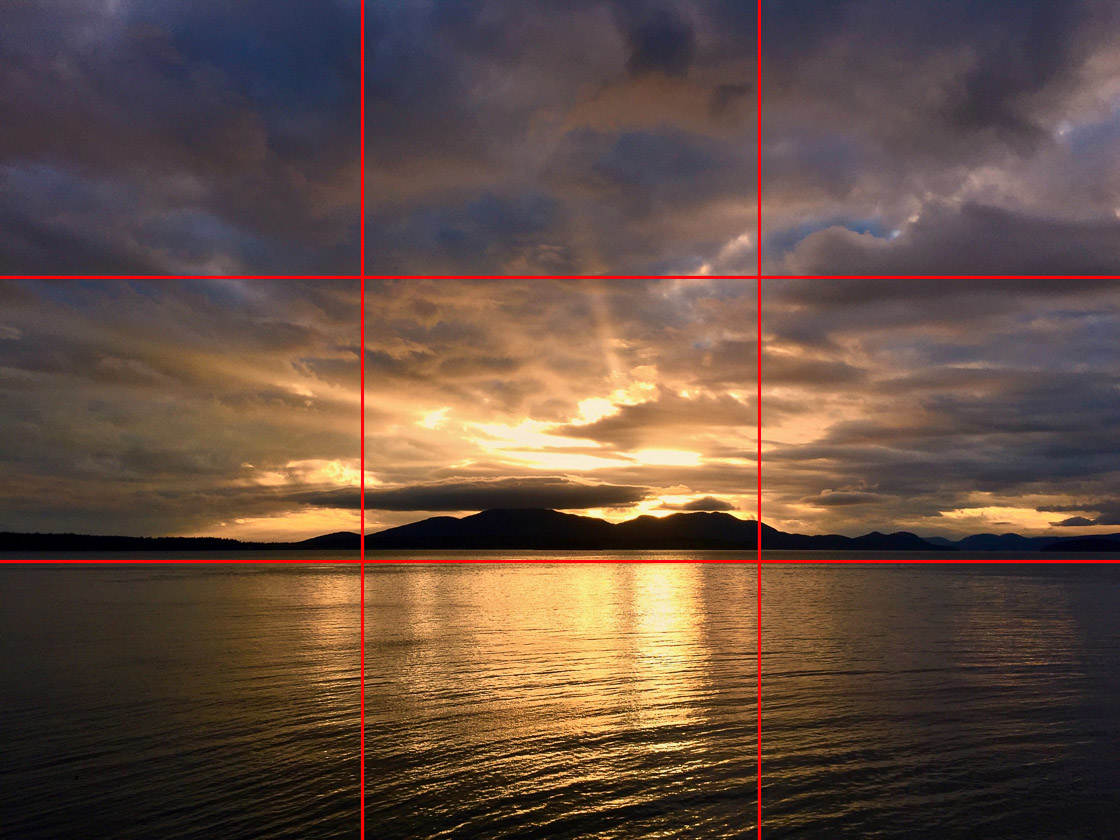
If you can place your subjects at the junction points (where two lines cross), even better.
For instance, it’s often a great idea to place the horizon of a sunset along one of the rule of thirds gridlines.
If you have a beautiful foreground, you might place the horizon along the top gridline. If you have a beautiful, cotton candy sky, you might place the horizon along the bottom gridline.
In the photo below, the horizon sits along the bottom gridline. The bird flies through a junction point.

You should also choose the placement of the sun based on the rule of thirds. Try to put it at one of the junction points. This will get you maximum impact.
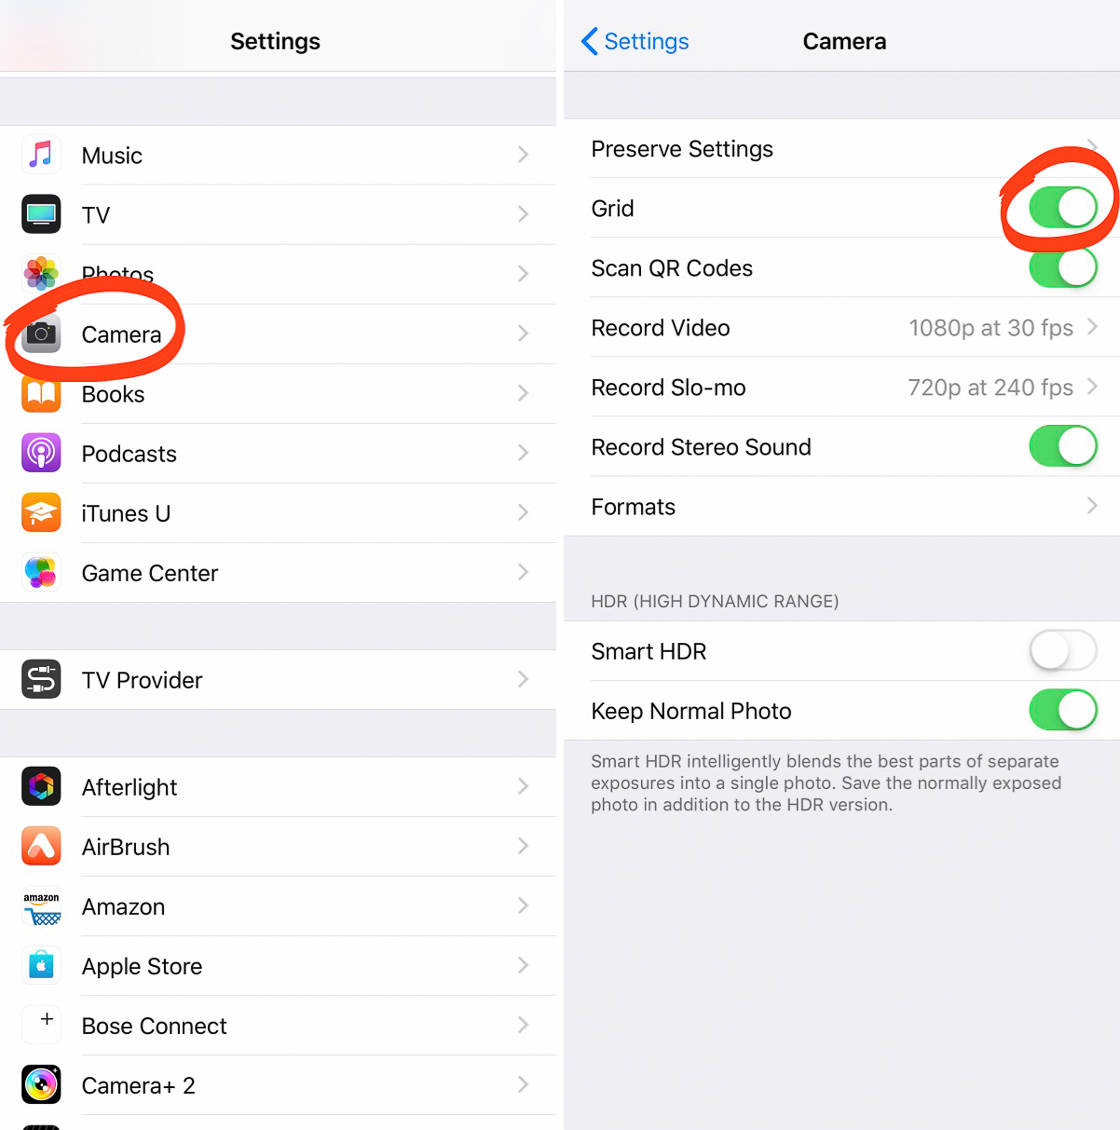
Do you want to know a great thing about iPhone sunset photography? You can actually see the rule of thirds grid while taking photos!
To activate the rule of thirds grid, go to the Home screen. Tap Settings, then Camera, then select Grid. Now, when you go back to your camera, you’ll see gridlines on the screen.
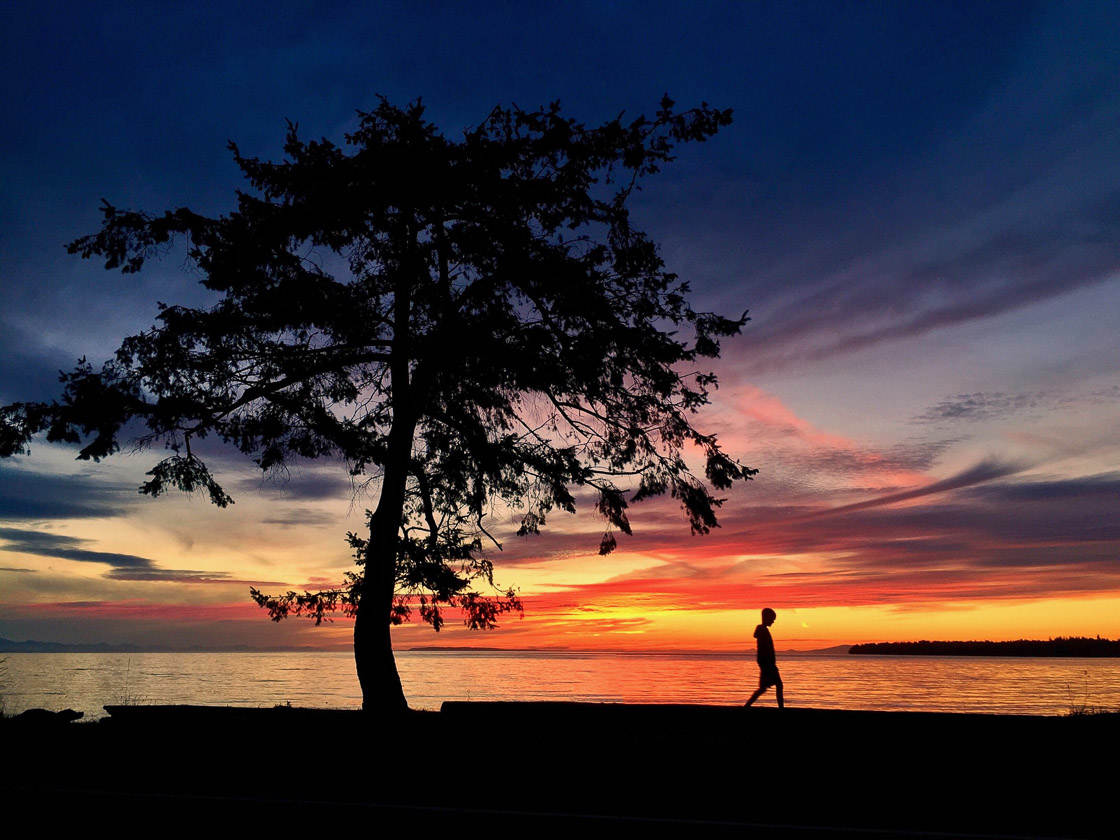
One thing to note about the rule of thirds: Rules are made to be broken. You don’t always have to follow it.

Once you become more familiar with composition, you can break the rule of thirds. Notice how the photo above doesn’t quite follow the rule of thirds. The horizon line is a bit lower than the rule of thirds gridline. The tree is positioned past the right gridline.
However, the composition still works.
The rule of thirds is still a good rule to follow. This is especially true if you’re less familiar with composition.

So here’s my recommendation: If you want immediately stunning sunset photos, start with the rule of thirds.
6. Manually Expose For Beautiful Sunset Colors
Exposure is a photo’s brightness level.
And proper exposure is critical to nailing a sunset photo.
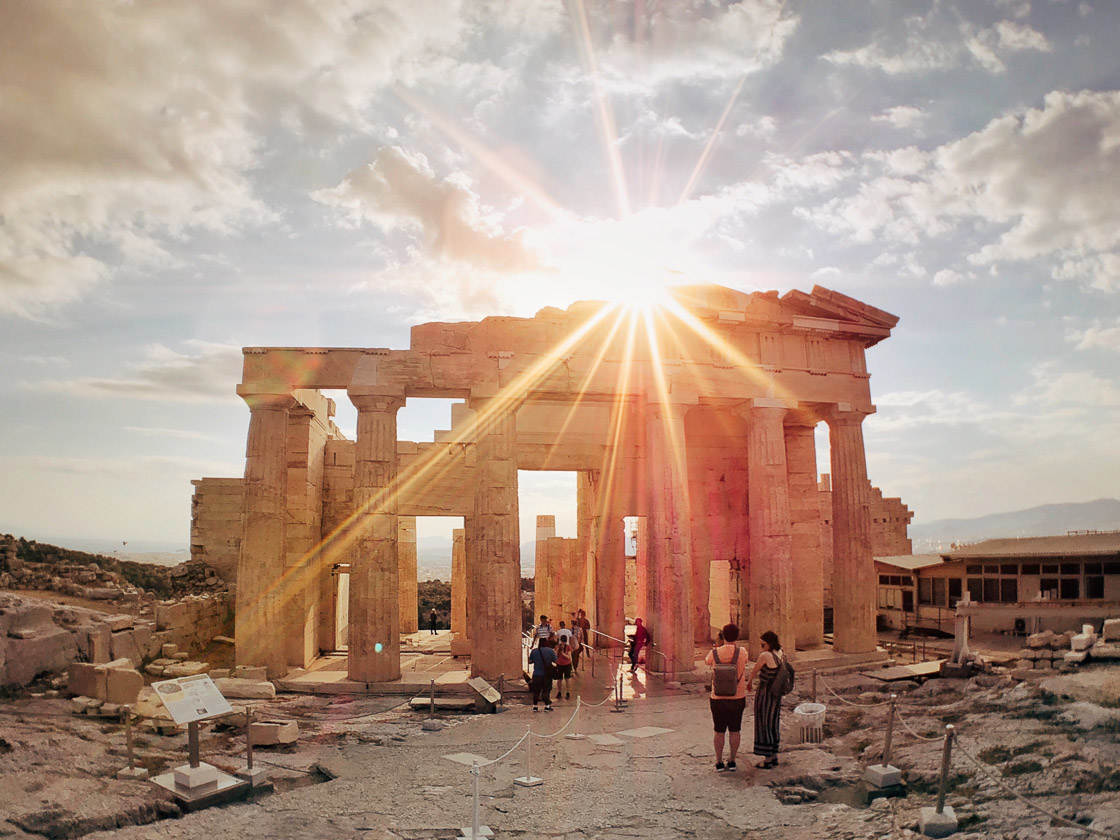
If your photo is too bright, you’ll lose detail in the sky. That doesn’t make for a pleasing image.
If your photo is too dark, you’ll have another issue: dark tones with no details.
You can edit to correct these problems. But editing can’t fix everything. That’s why it’s so important to expose properly while shooting.
So how should you expose for sunset photos?
You should expose manually.
Manual exposure is a quick way to get well-exposed iPhone images.
Tap on the part of your image that you want to be perfectly exposed. That is, tap on the part of your image that’s not too light and not too dark. Then take your shot.
Note: When you tap to set the exposure, it also sets the focus! Your iPhone will focus on the part of the image that you tapped.
Your iPhone camera will do the work for you. It will make sure that the part of the scene you tapped on is well-exposed.

But what if you don’t like how your iPhone exposes the shot?
That’s okay, too! Let’s look at part two of manual exposure.
Once you’ve tapped on a part of the scene, you can always adjust the exposure. Just swipe up or swipe down on the screen.
Swiping up lightens the image. Swiping down darkens the image. You can even watch the effects of manual exposure in real time. Then, when you press the shutter button, you can be sure that you’ll like what you get.

Can I share one last trick regarding manual exposure?
I know I talked about getting a perfect exposure. But try to slightly underexpose your sunset images.
The reason for this is simple: Underexposure enhances your colors. If you underexpose, you’ll get more vibrant, saturated colors. This is ideal for sunset photography.

If you’re looking to create perfectly exposed sunset photos, use manual exposure.
You won’t regret it.
7. Use Flash To Make Your Subjects Stand Out
iPhone photographers often avoid the built-in iPhone flash. And for good reason: It generally results in an unnatural looking photo.
However, don’t give up on the flash just yet. Because you can use it in your sunset photography!
How do you do this?
You can use the flash to add a bit of fill light to your foreground subject. That is, you can brighten up a subject in the foreground. You can make a subject stand out.

This technique can be especially useful if the sun is behind your subject. The flash will offset any shadows cast by the setting sun. For the photo above, I used a bit of flash to brighten up the foreground thistle.
How do you turn on the flash?
Turning on the flash is simple! First, tap the flash icon on the camera screen. Then tap On.
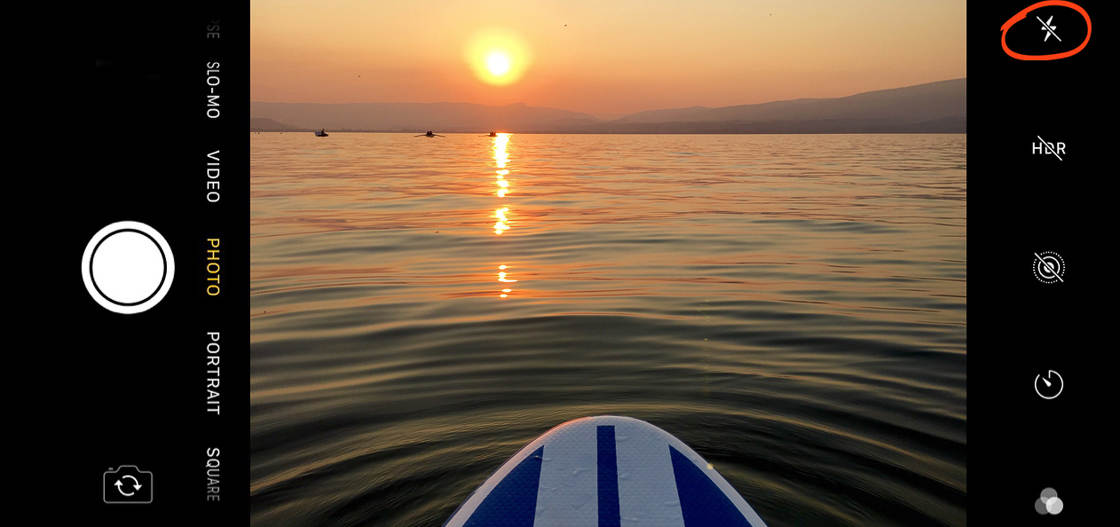
Finally, take your shot.
If you want to make your foreground subjects stand out, turn on the flash.
While a bit unconventional, this results in a better, brighter foreground.
8. Emulate Other Sunset Photographers To Get High-Quality Sunset Photography
Do you want to create professional level sunset photos? If so, then I have one more tip for you: Emulate other sunset photographers.
You can learn a ton from observing other sunset photography. You can learn even more by trying to replicate what other sunset photographers have done.

How do you do this?
If you see a beautiful sunset photo taken in a location near you, go to that location. Try to find the same composition. Take the photograph yourself. See how it turns out.
If your photograph turns out differently, try to figure out why. Was it because the clouds were different? Was it because you didn’t underexpose? Or was it because you need to do some editing?
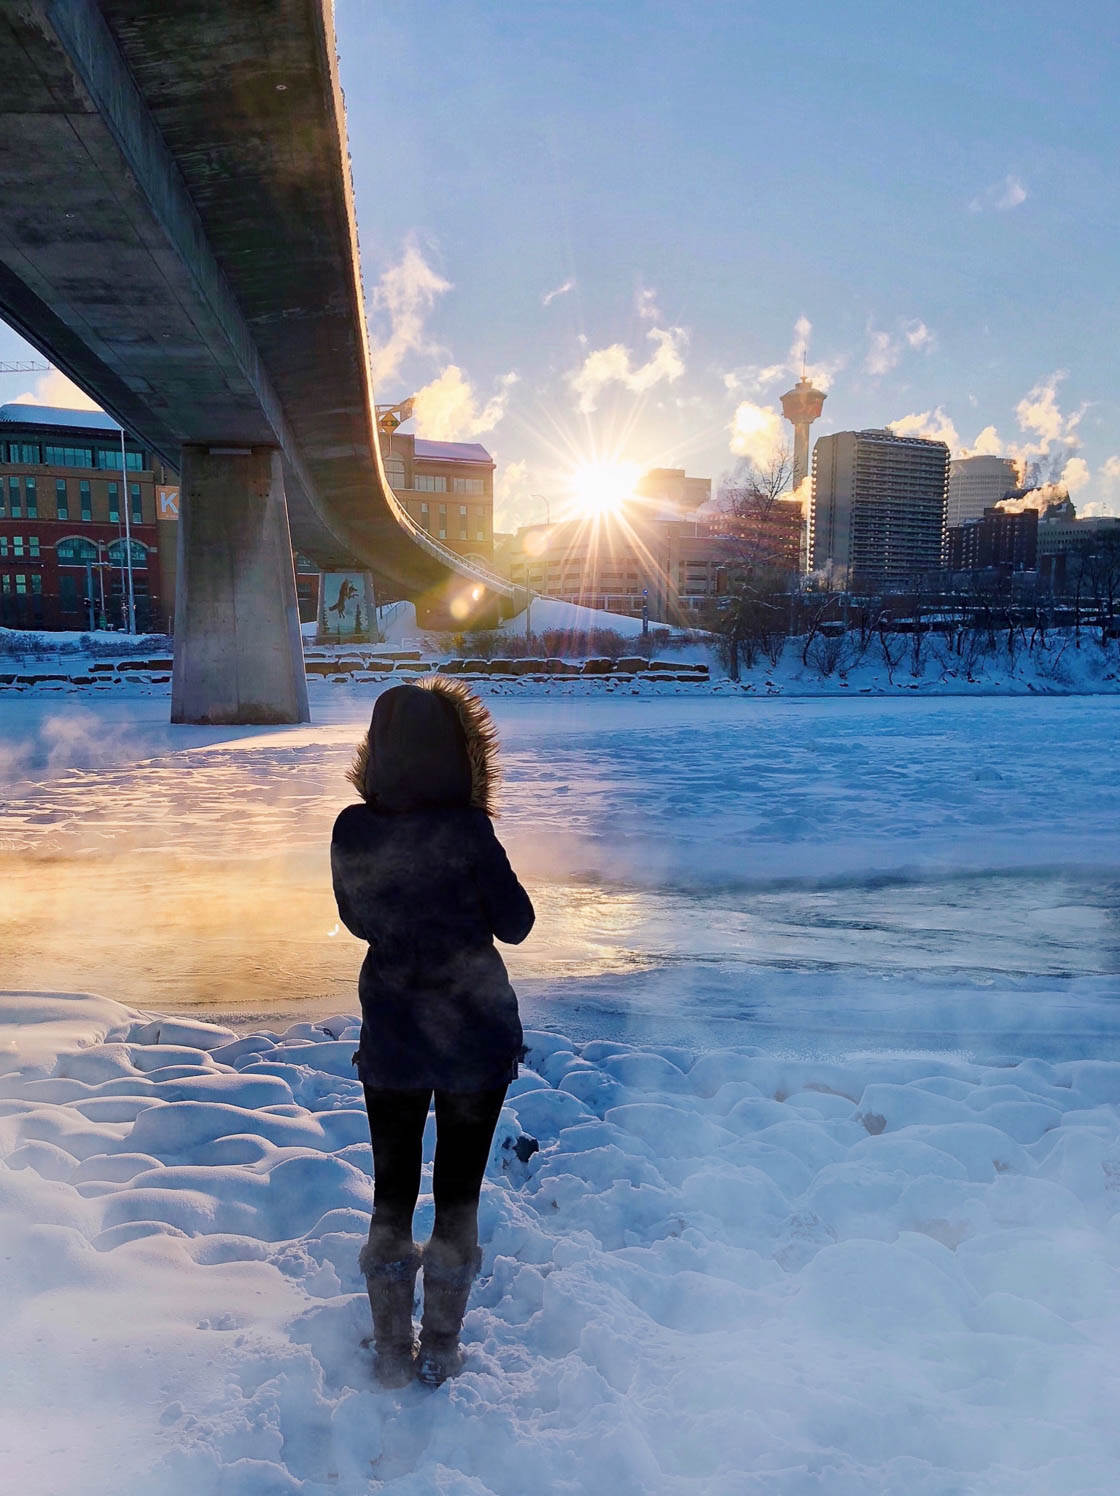
Speaking of editing, it can also pay to emulate another photographer’s editing style.
Find some sunset photographers you like. You can use Instagram for this. If you want, you can check out my account (@rorytucker).
Once you’ve found some stellar sunset photographers, figure out how they edit their photos. Do they have very bright sunset photos, very dark sunset photos, or very vivid sunset photos?
Try to apply that style to your own photos.

Don’t be discouraged if you struggle at first. It will get easier with time. And you’ll notice a marked improvement in your own editing.
If you want to take professional level sunset photos, then you need to emulate other photographers.
You’ll quickly apply what you’ve learned to your photography. And you’ll start to take the best styles and make them your own.


Leave a Reply
You must be logged in to post a comment.