Creating a sense of drama in your iPhone photos is a great way to catch and hold the viewer’s attention. Drama adds an air of moodiness and mystery to your image, evoking strong emotions in the viewer. One of the easiest ways to create more dramatic and eye-catching photos is to make the most of certain kinds of light. In this tutorial you’ll discover ten easy ways to use light to create a powerful sense of drama in your iPhone photos, including capturing silhouettes, shadows, lens flare, reflections and golden hour.

1. Create Dark Silhouettes
A simple yet incredibly powerful way to create a stunning photo with lots of drama is to capture a dark silhouette. A silhouette is where the subject and other objects appear very dark or completely black against a brighter background.
To create a silhouette you need to have a light source, such as the sun or a bright sky, behind the subject. The golden hours of sunrise and sunset are the perfect time for shooting silhouettes because the sun is low in the sky and the colors are stunning.
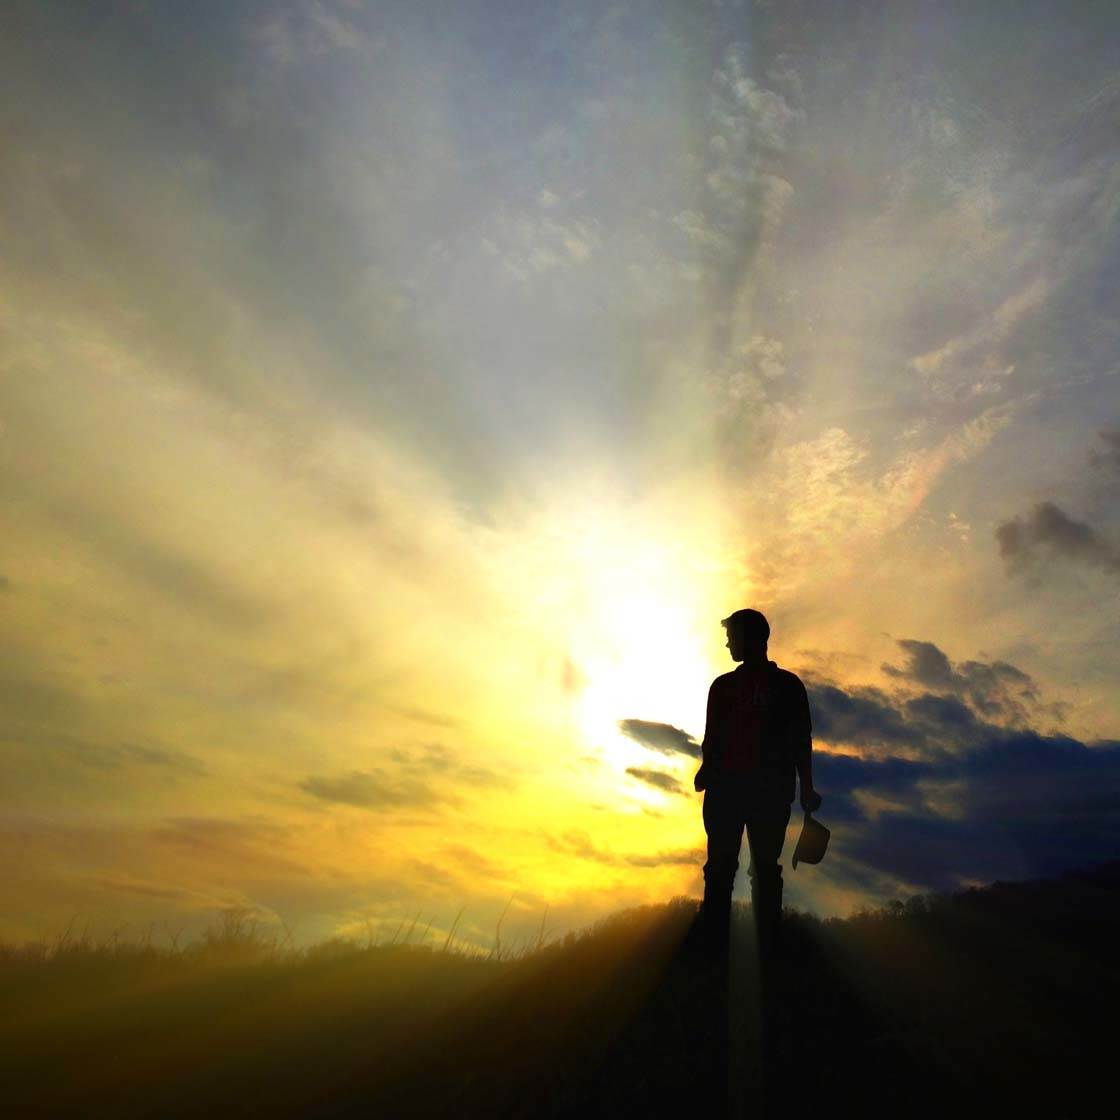
Make sure your subject is set apart from the darker background so that its shape is clearly visible against the light. Shooting from a low angle is an easy way to get more sky behind the subject.
Once you’ve composed the shot, tap the the screen to set focus, then adjust the exposure (image brightness) by sliding your finger up or down on the screen.
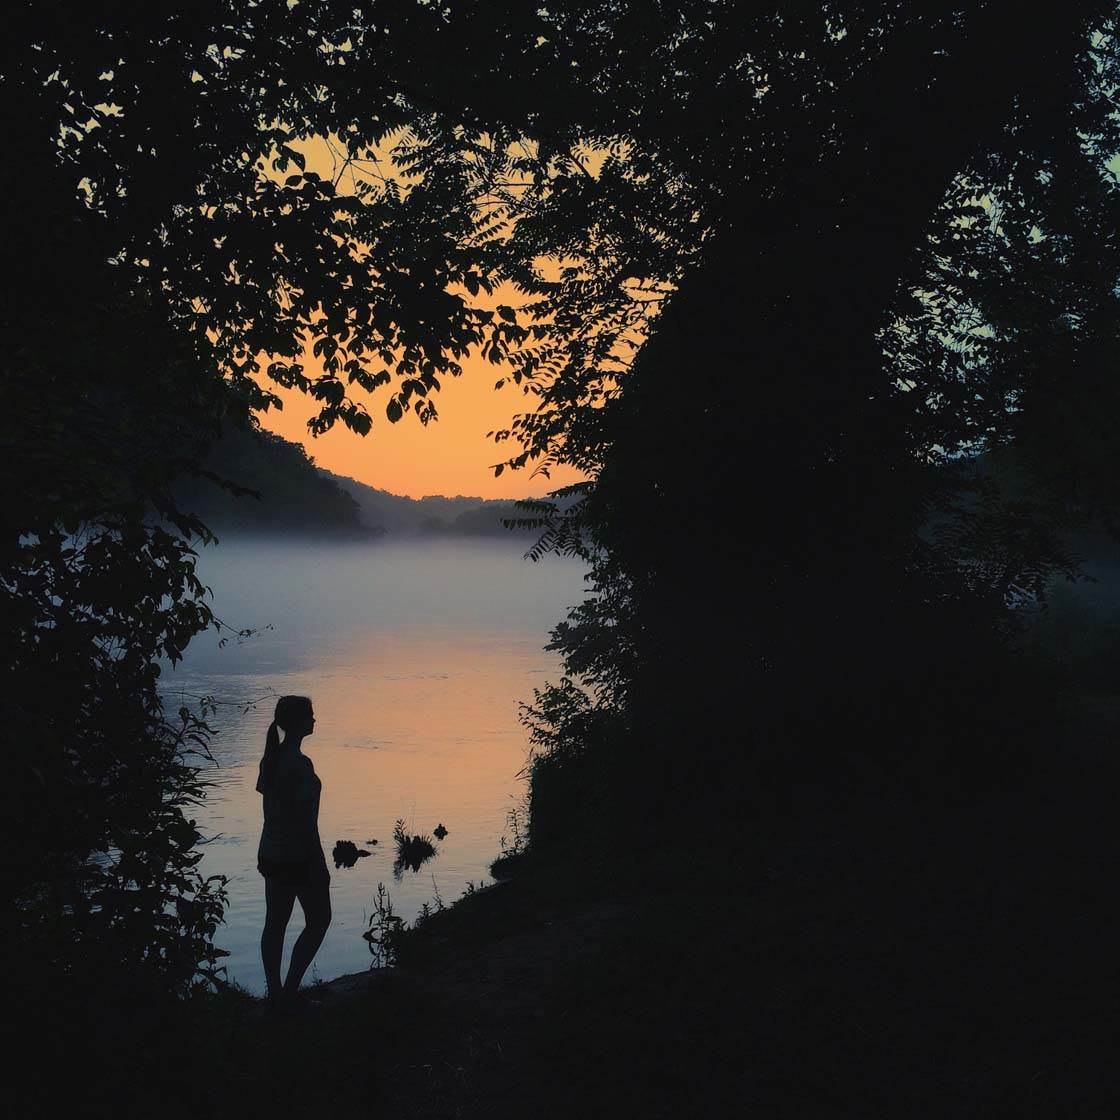
The aim is to have your subject appear very dark or completely black, while the sky and brighter background appear correctly exposed with plenty of color and detail.
If you want to capture a moving subject as a silhouette, use the burst mode feature for the best chance of capturing them in the perfect pose. Make sure you start shooting a couple of seconds before the subject enters the frame or starts moving.
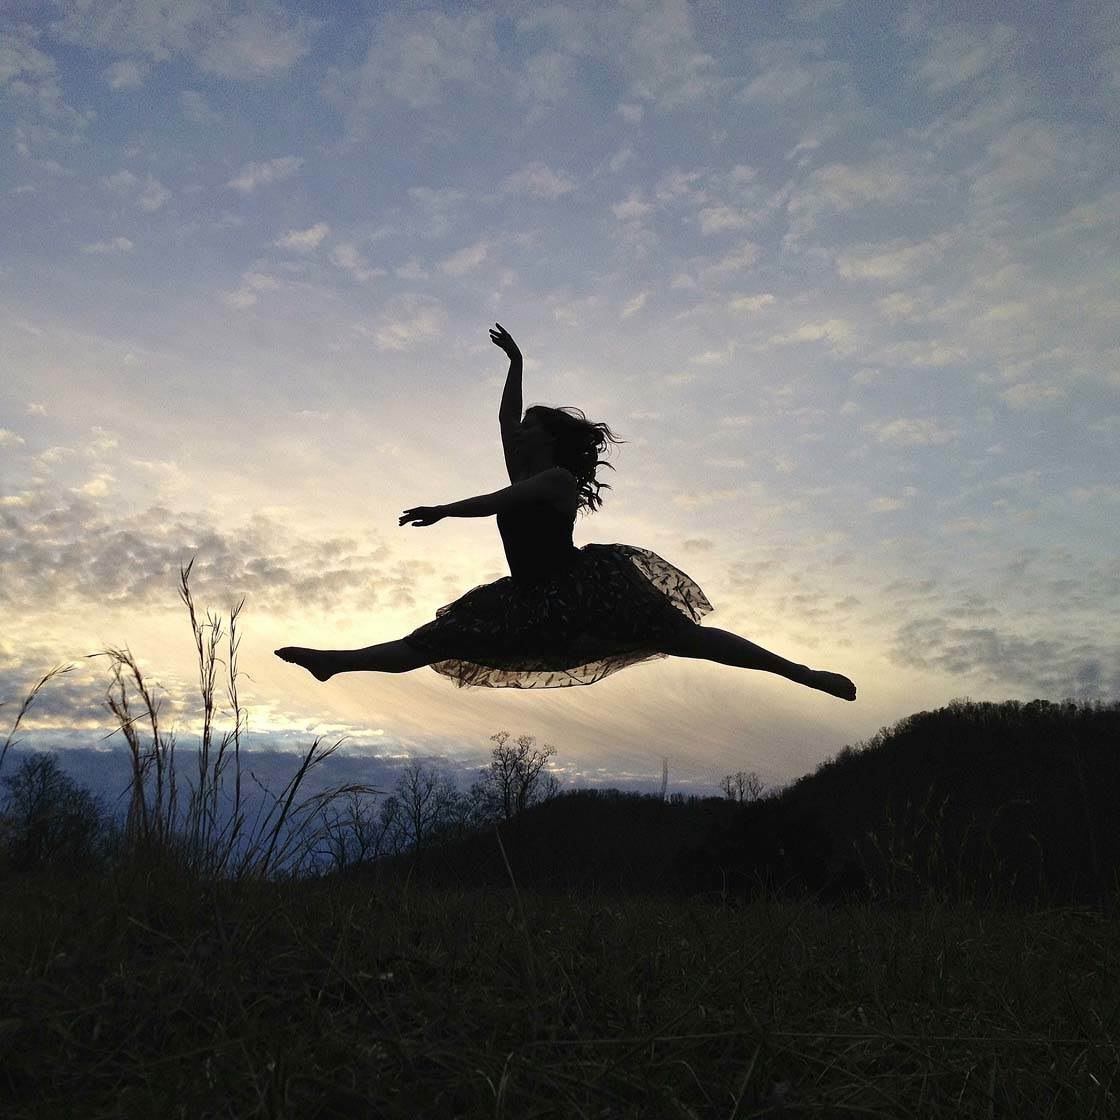
To use burst mode, simply hold the shutter button down and the camera will take a sequence of multiple shots. You can then select the best shot from the series of images.
While moving silhouettes can be more difficult to capture, they’ll create incredibly dramatic photos if you get them right. If it doesn’t work out the first time, just try a few more shots using burst mode.
2. Photograph Shadows
Shadows instantly create lots of drama because of the contrast between the light and dark areas. We tend to find contrast visually exciting, so using it in your photography is a great way to grab the viewer’s attention.
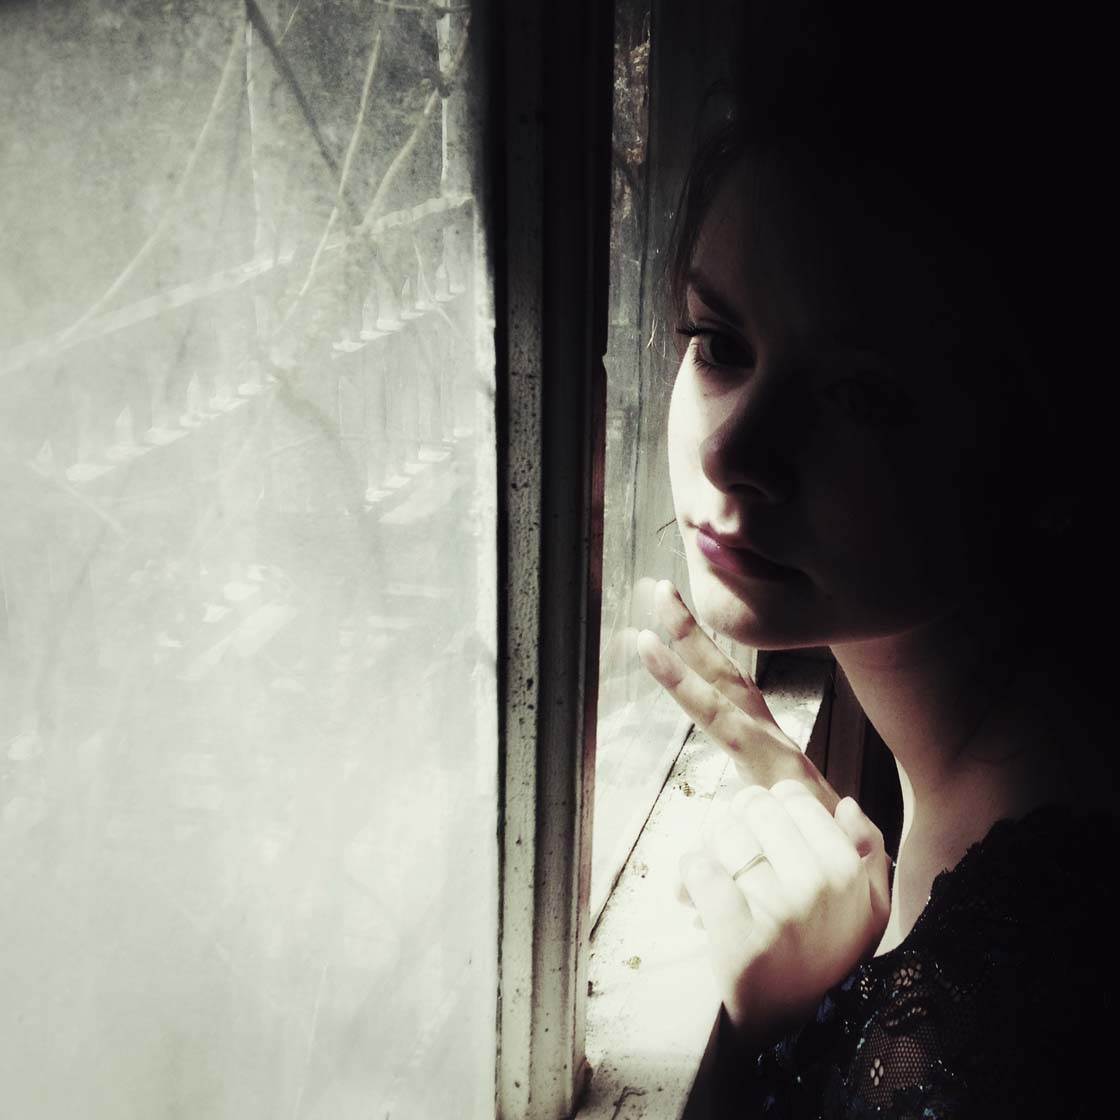
When part of the subject appears hidden in the shadows it creates a wonderful sense of mystery. The viewer will become intrigued with the image while they wonder what’s hiding in the shadows.
Shadows appear when you have a strong light source in the scene. We tend to avoid shooting in harsh sunlight, but this is often the best time of day to capture dramatic shadows.
When photographing scenes with shadows, make sure you adjust the exposure if necessary. The highlights (bright areas) should be correctly exposed with color and detail visible, and the shadows should appear dark.
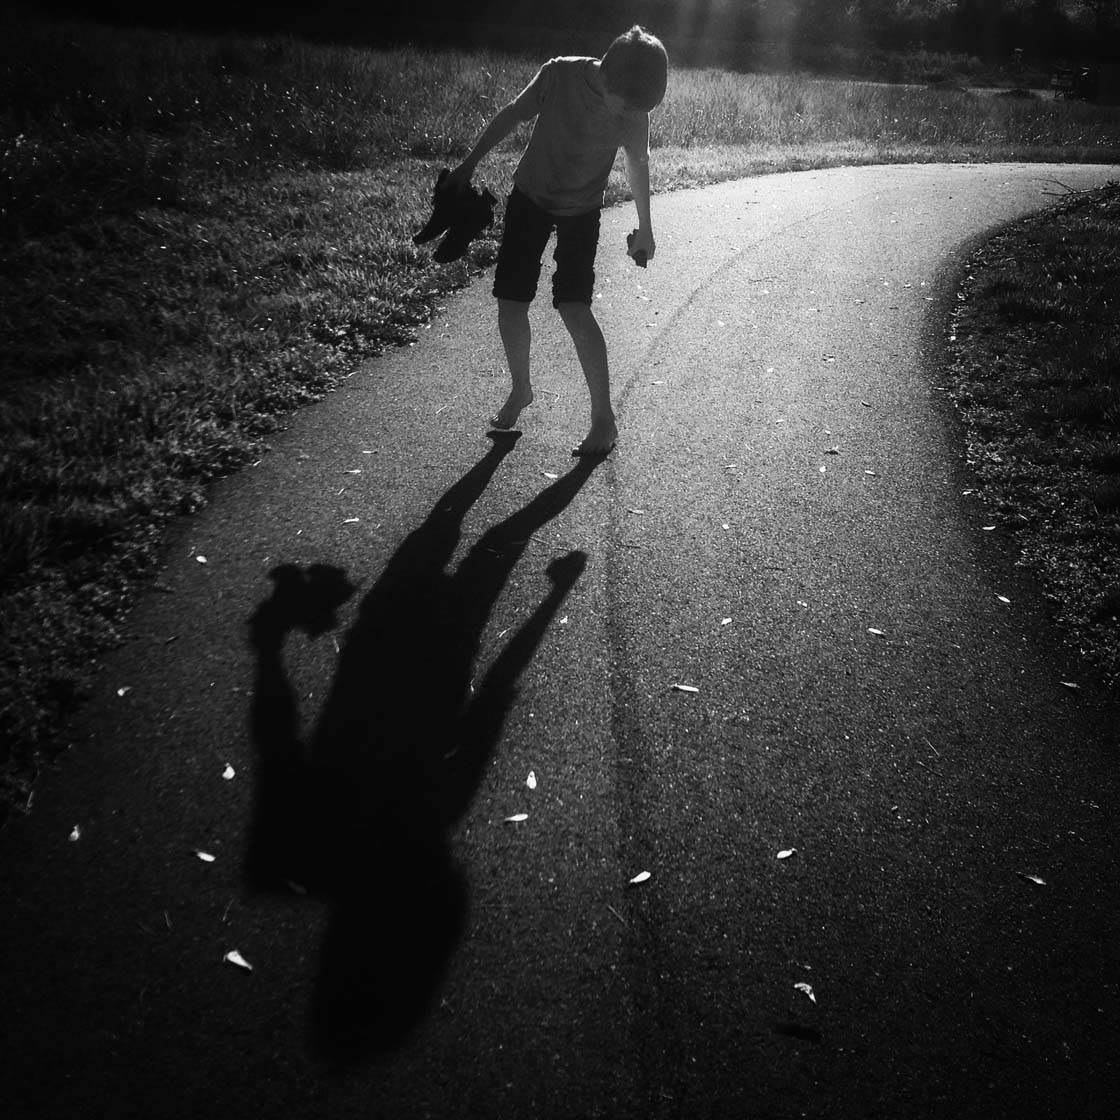
If you want to capture long shadows, shoot around the golden hours of sunrise and sunset when the sun is low in the sky.
For maximum impact and drama, compose your shot so that the shadows act as leading lines in the foreground. This will add a wonderful sense of depth to the scene.
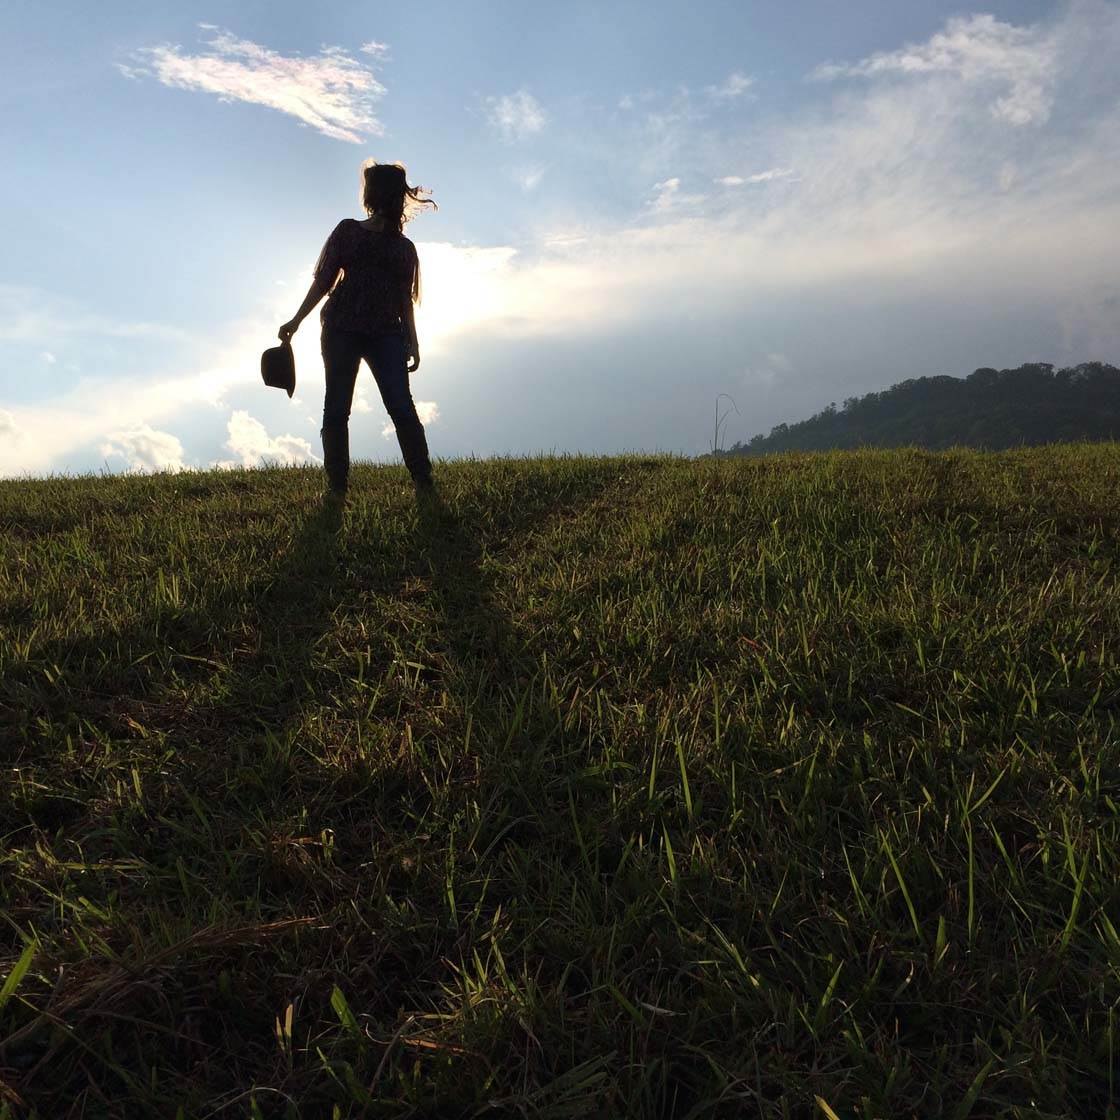
Whenever the sun is shining, search for interesting shadows being cast by people, trees, buildings, windows, etc. Look out for patterns created by shadows, and then think about how you could capture them in your photos.
In the picture below, the pattern on the wall from the sun streaming through a window created a wonderful shadow and frame for this portrait of my son.

It’s amazing how much visual impact you can add to your images by including interesting shadows in your shot. They really do create more thought-provoking shots.
3. Capture Lens Flare & Light Rays
Lens flare and light rays are great image enhancers. They add a magical quality to your photos, especially during golden hour when the light is beautifully warm.
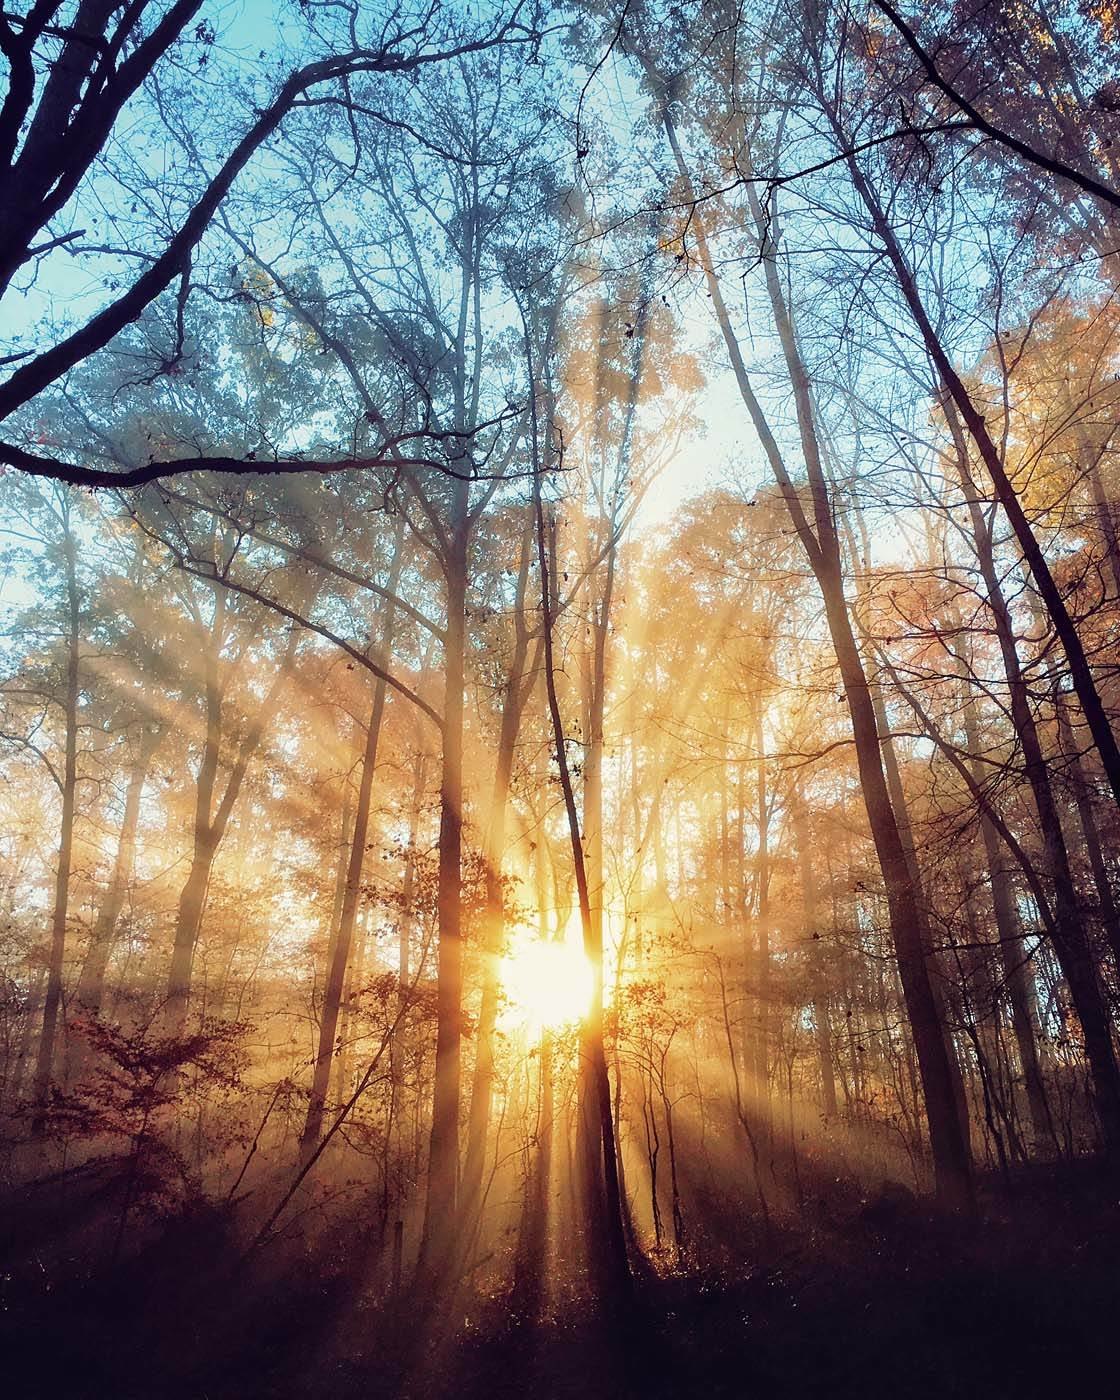
When the sun is shining, watch how the sun’s rays are reflected and dispersed through trees, cracks in buildings, window blinds and other objects.
To capture lens flare you need to shoot into the sun. Make subtle adjustments to the angle of your iPhone until you capture the beams of light in your picture. You’ll probably need to reduce the exposure to avoid the sun appearing too bright.
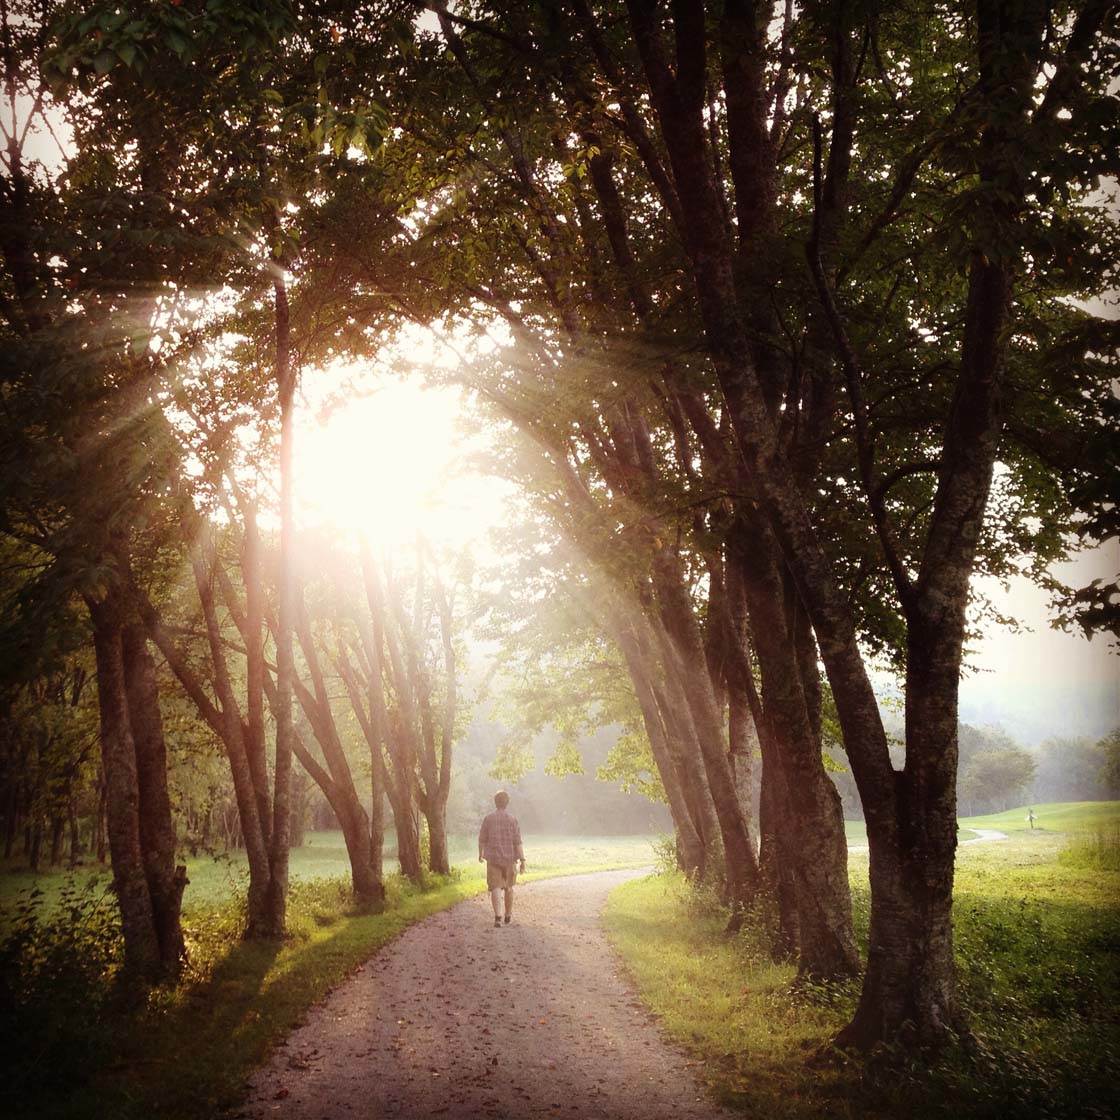
If you’re fortunate to have lots of fog in your area, you can capture beautiful rays of light as the sun passes through the fog.
In the photo below, the sunlight was reflected and engulfed by the fog. The flare was also reflected off the water for an added effect.
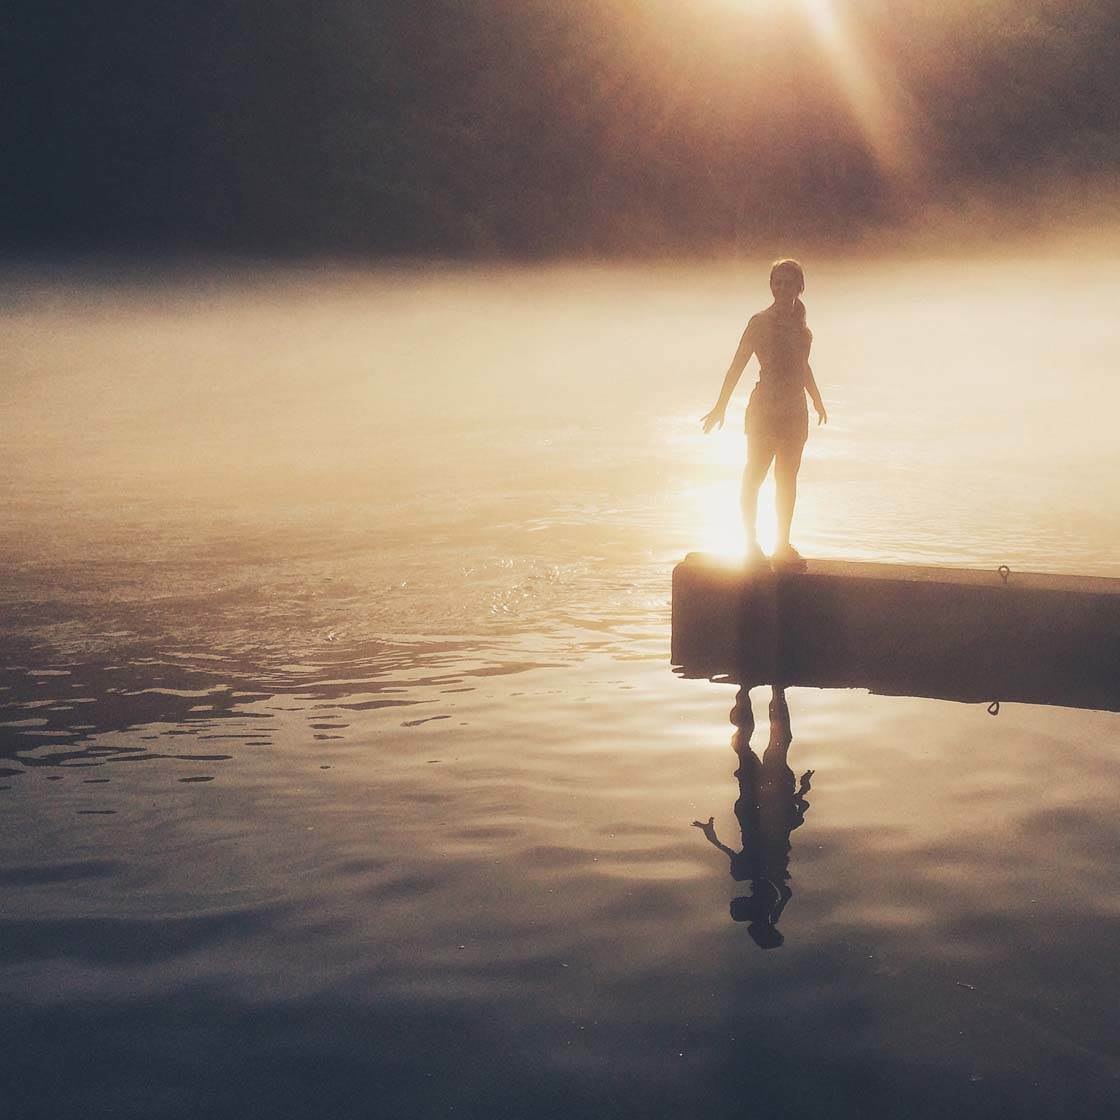
Sometimes having the sun just out of shot is a good option. You still get the beautiful rays of light, but you don’t have the overly bright sun dominating the scene.
When there are clouds in the sky, look out for rays of light as the sun peeks through them. They can add a dramatic element to an otherwise ordinary shot.
The photo below of the silhouetted clouds and trees is made even more interesting with the addition of the light rays. They tend to lead the viewer’s eyes to the patterns and colors on the water.
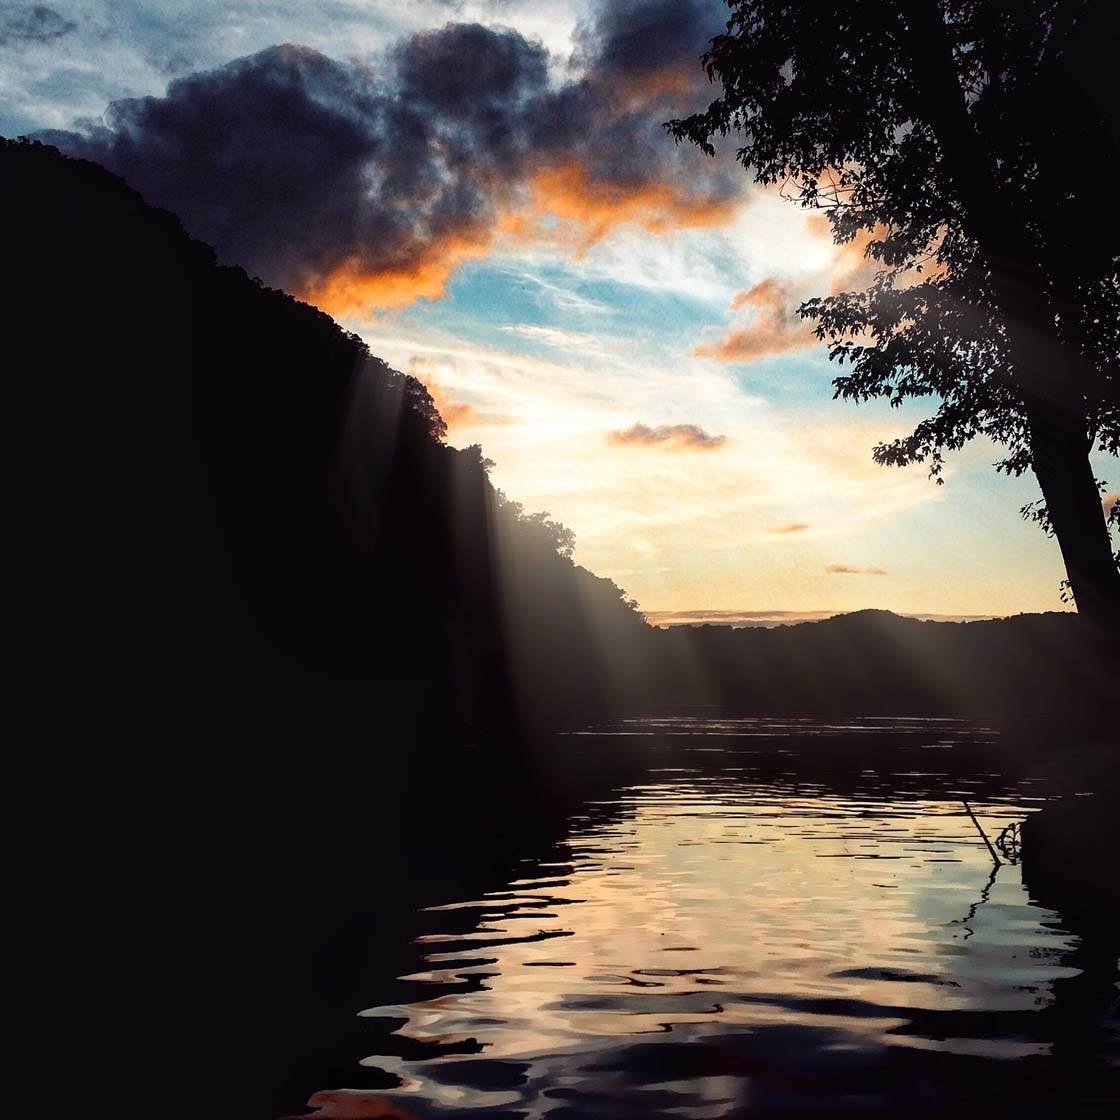
You can even add sun flares and light rays in post-processing, which is exactly how I created this shot. Use an app such as Rays or Lens Distortions to add beautiful beams of light and instant drama to an image.
4. Look For Reflected Light
Train your eyes to find reflected light on windows, water, puddles, buildings, mirrors, etc. Notice the patterns created by the reflections and experiment with ways to use them creatively in your photos.
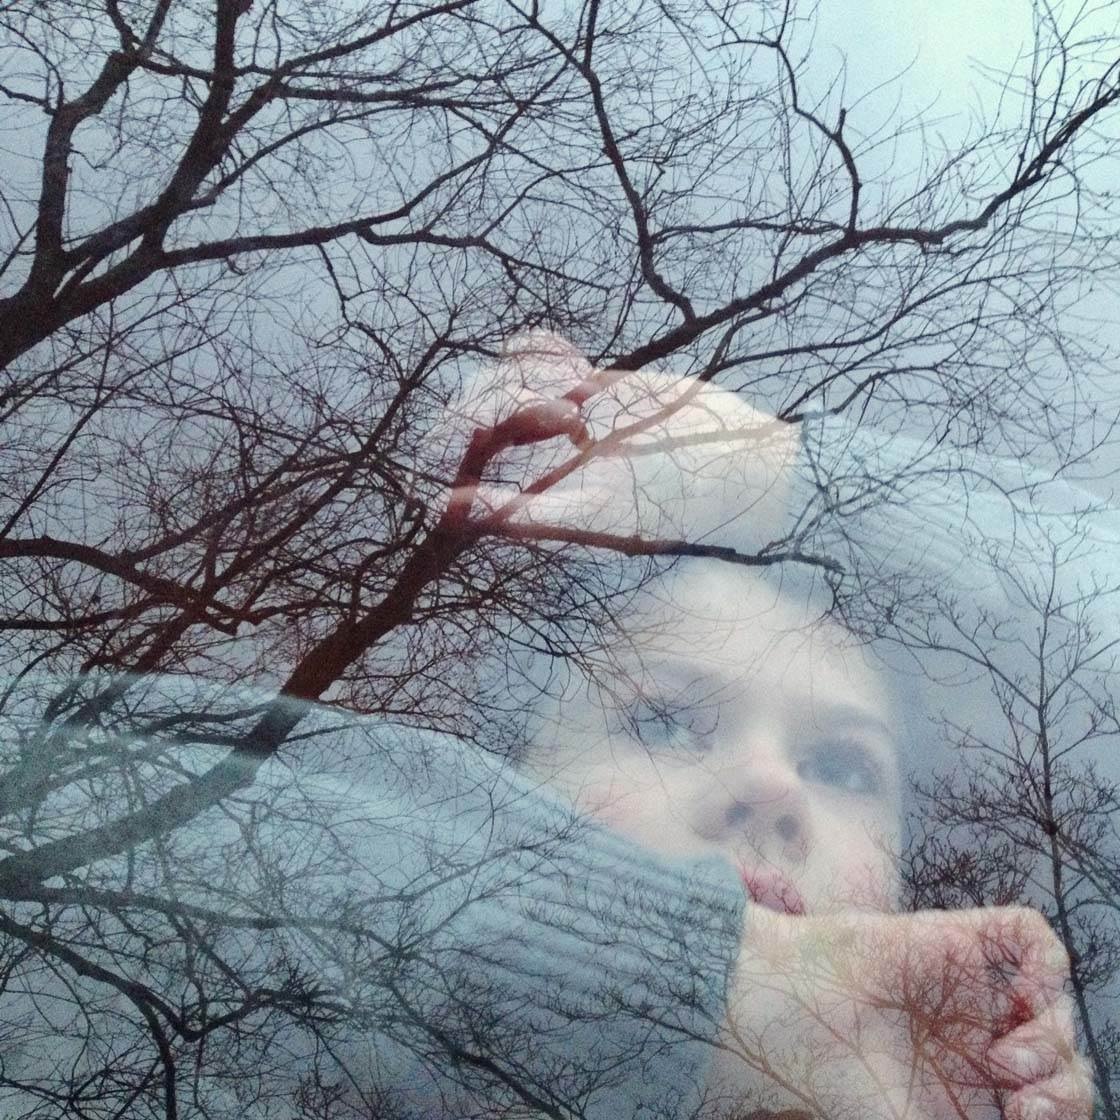
Reflections create a sense of mystery and drama in your photography as it can momentarily confuse the viewer. This makes your audience more likely to linger on your image while they work out what’s going on.
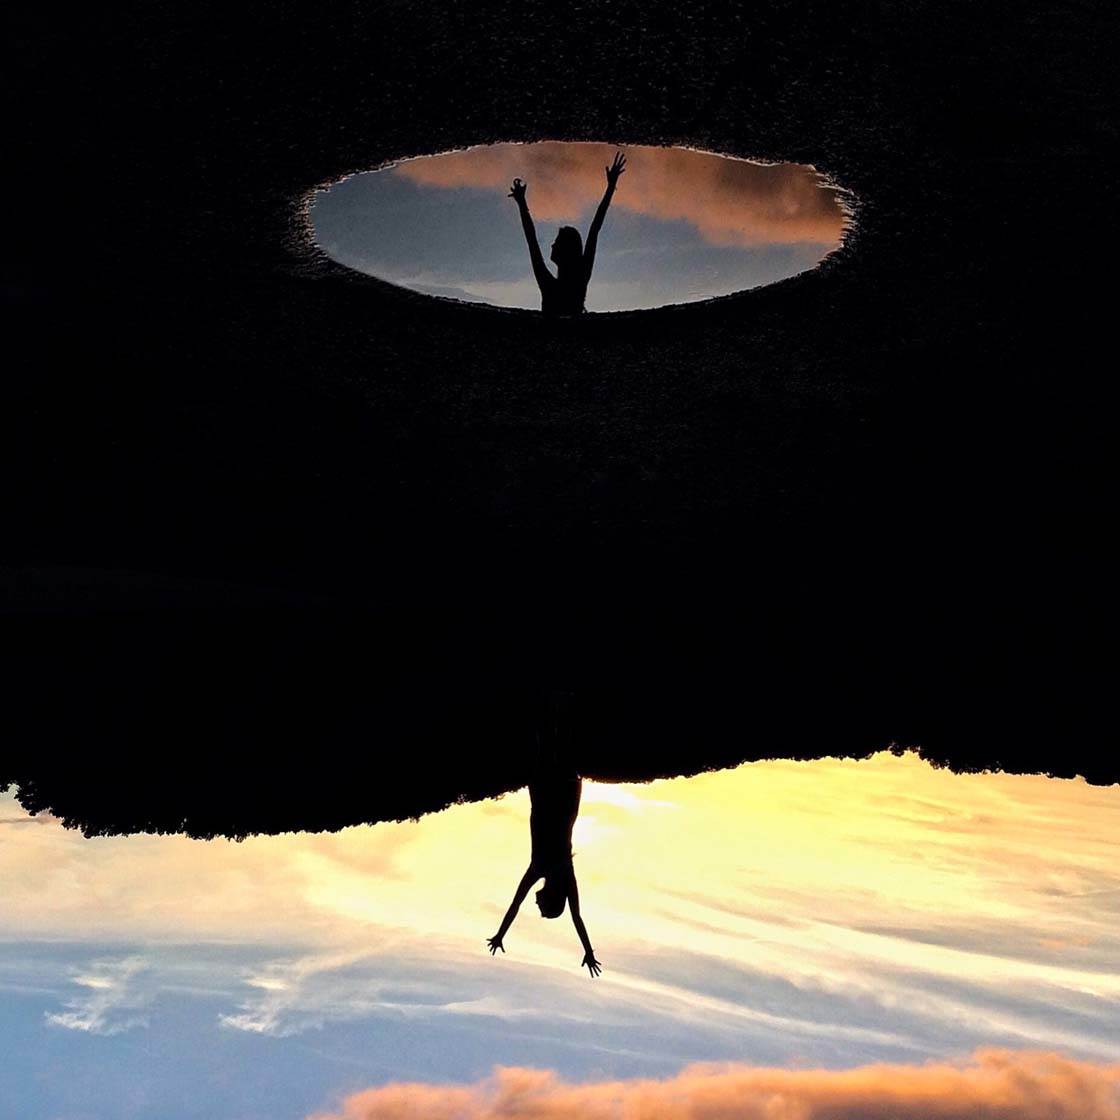
After the rain, look out for puddles that reflect a stunning sky or other interesting subject. In post-processing, try flipping the image upside down for a more unique shot.
If you’re shooting around large bodies of water such as lakes and rivers, notice how the light and clouds reflect on the water.
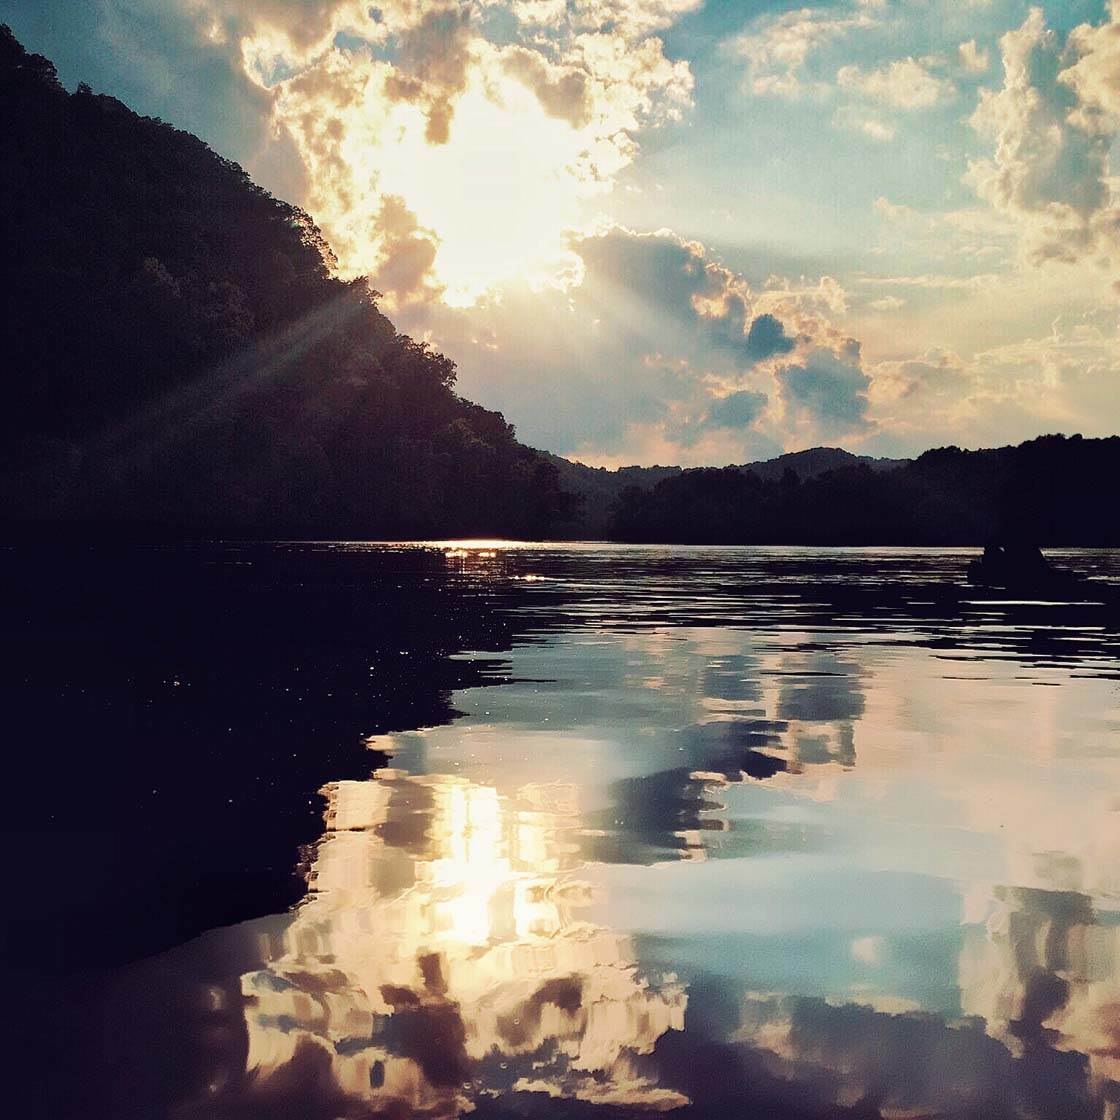
These reflections can make truly stunning photos, especially if you create a symmetrical composition.
Get close to the water to capture the dazzling jewel-like effects of the sunlight reflecting on the shiny surface.
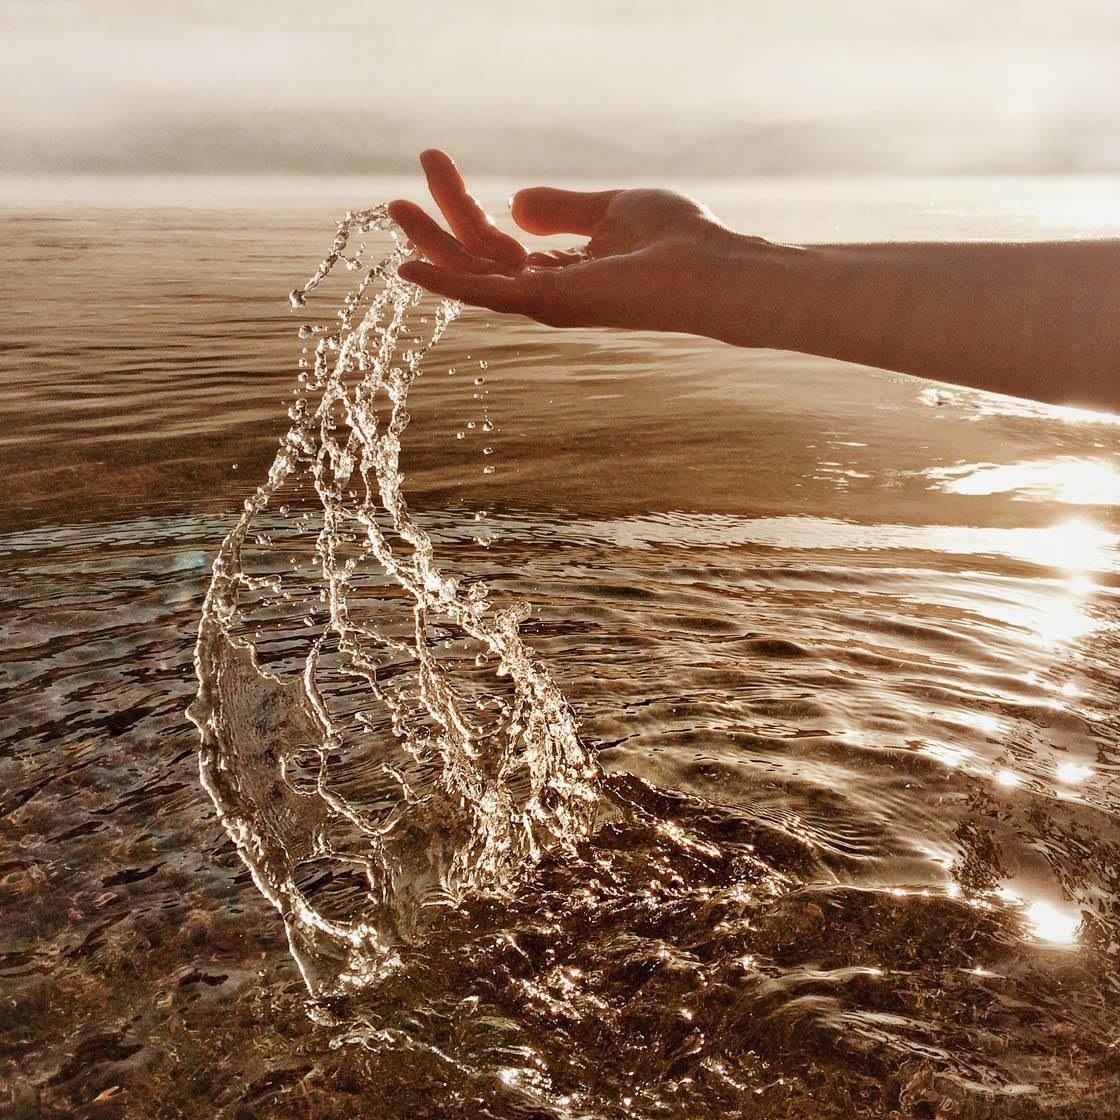
Try something unique such as filtering the water through someone’s hand or splashing the water using a stick or rock. It may take several tries, but in the end, it’ll be worth the effort.
5. Use Window Light
Window light is the most beautiful light to work with when capturing portraits or still life. Depending on the position and angle of your subject, you can vary the amount and intensity of shadows that fall upon them.
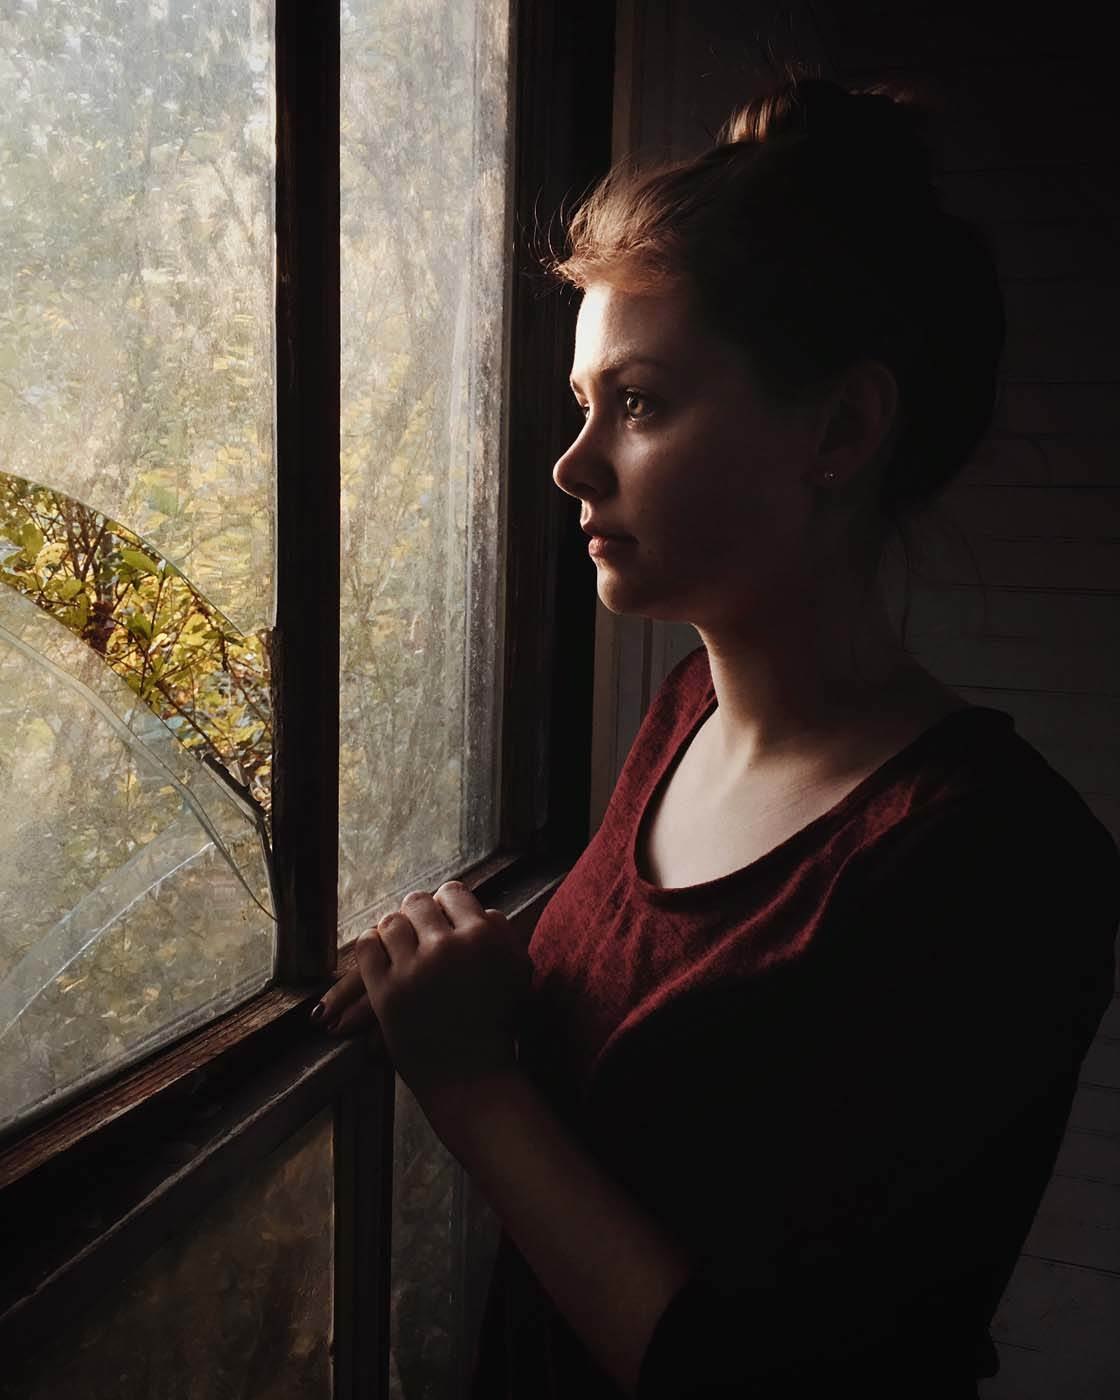
Find a window that has bright diffused light to cast a glow on your subject. The lovely filtered light will cast a soft light that enhances facial features and creates soft shadows.
Make sure there’s a small catch light in the subject’s eyes to make them seem more alive. Turn your subject if necessary so that the light falls only on the areas you want illuminated, while the rest of them appears in shadow.
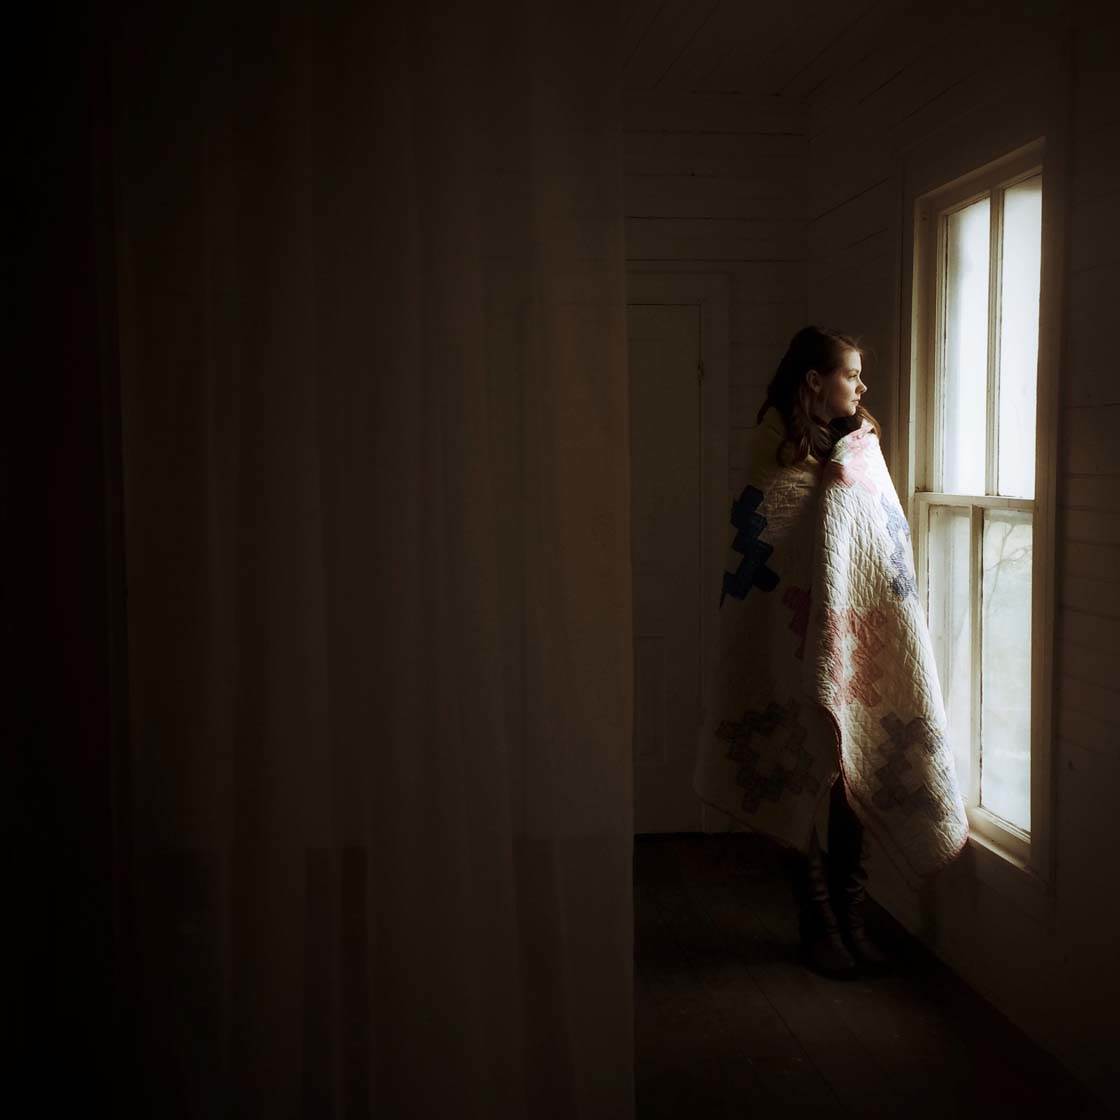
Tap to set the focus on your subject, then slide your finger up or down to adjust the exposure. Reducing the exposure for darker shadows will create more dramatic photography.
In the photo below I asked my subject to sit alongside the window to capture the light on just half of his face. I reduced the exposure so that the shadowed side of the scene appeared very dark.

Dark, shaded, or hidden parts in a photo create tension and drama, so this is a great technique to use for a moody portrait. The viewer is drawn in, wanting to see and understand more of the story.
6. Capture Golden Hour Light
Capturing the setting or rising sun is one of the most beautiful ways to create a dramatic image. The warm golden hour light will bathe the scene in the most stunning colors.
However, one problem that can occur when shooting directly into the sun is over-exposure. The bright sun often blows out (over-exposes) most of the details in the photo, leaving you with a large white blob where the sun is.
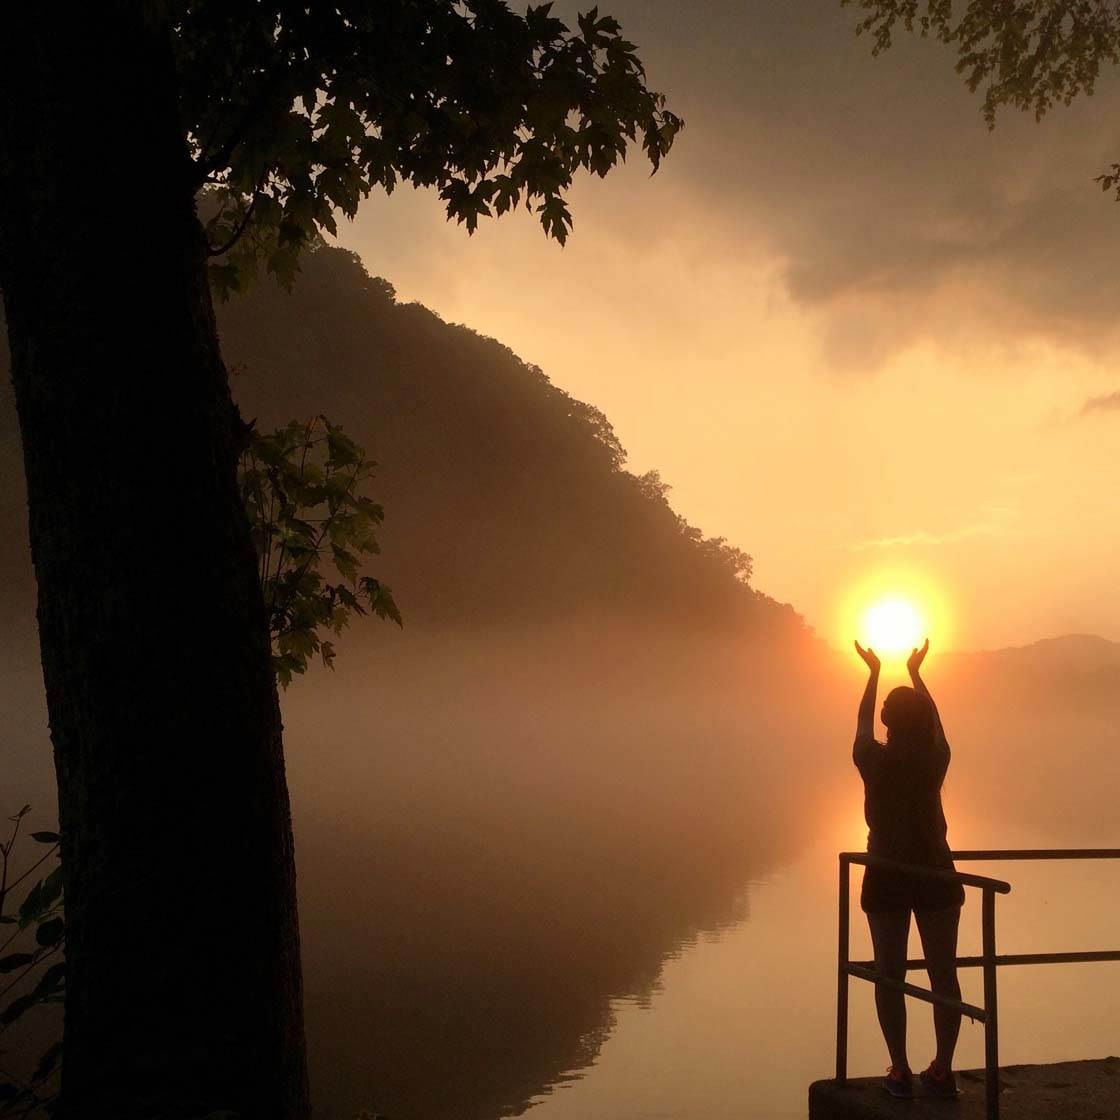
To counteract this problem, be sure to set the focus and then reduce the exposure so that the sun doesn’t appear too bright.

Fog makes a great natural diffuser that helps tame the blazing sun’s rays. You’ll often find fog around sunrise, so this is the perfect time to capture the sun without any over-exposure problems.
When photographing sunrises and sunsets, try including a silhouetted object in the foreground to act as a strong focal point.
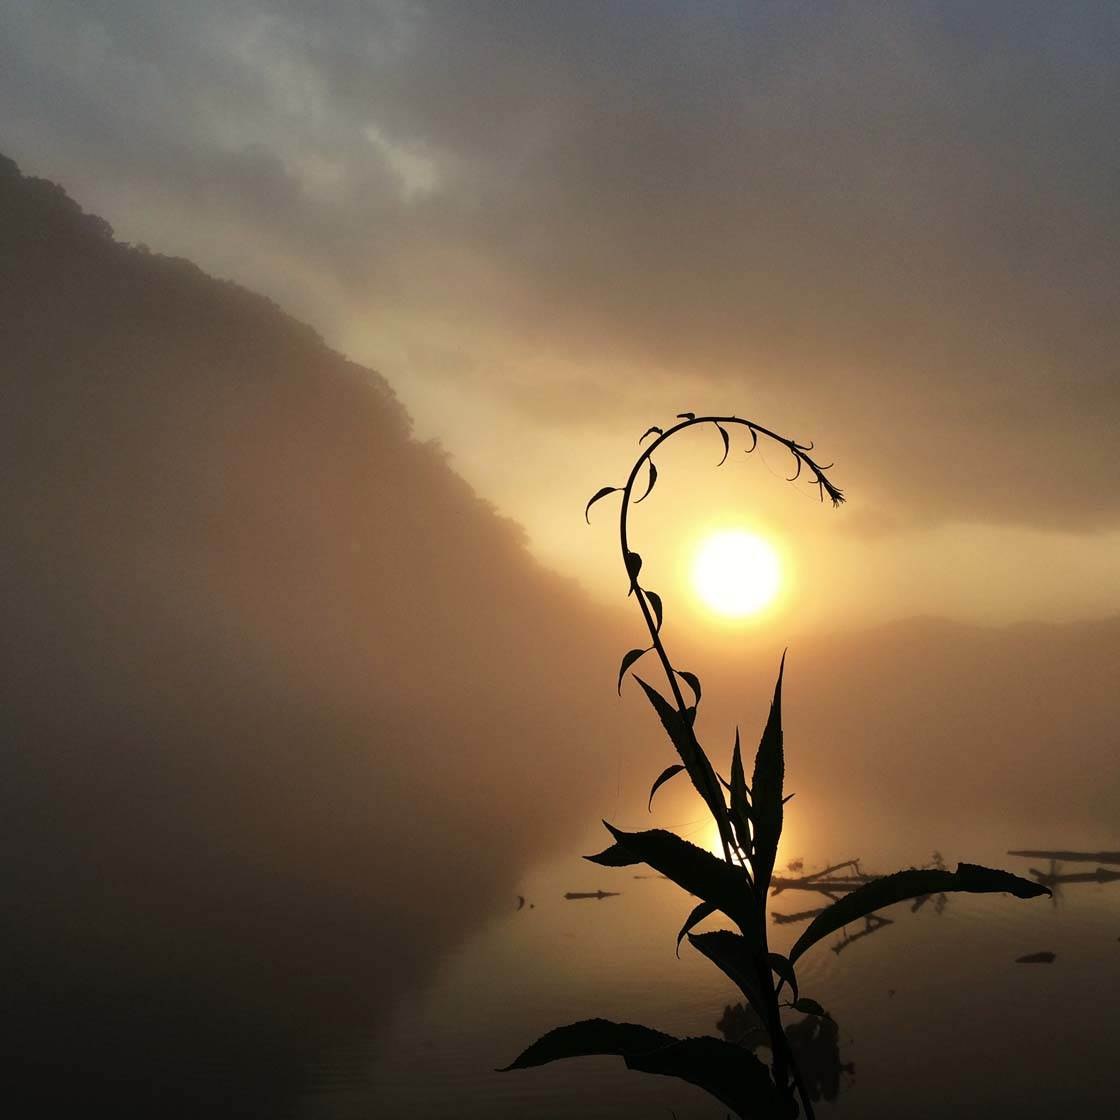
If the silhouetted subject can be used to frame the sun, like the plant in the photo above, it will create a stunning and powerful composition.
7. Reduce The Amount Of Light
Varying the amount of light in a scene can have a big impact on the final look and feel of your photo. An image will evoke different emotions depending on whether the scene is dark or bright.
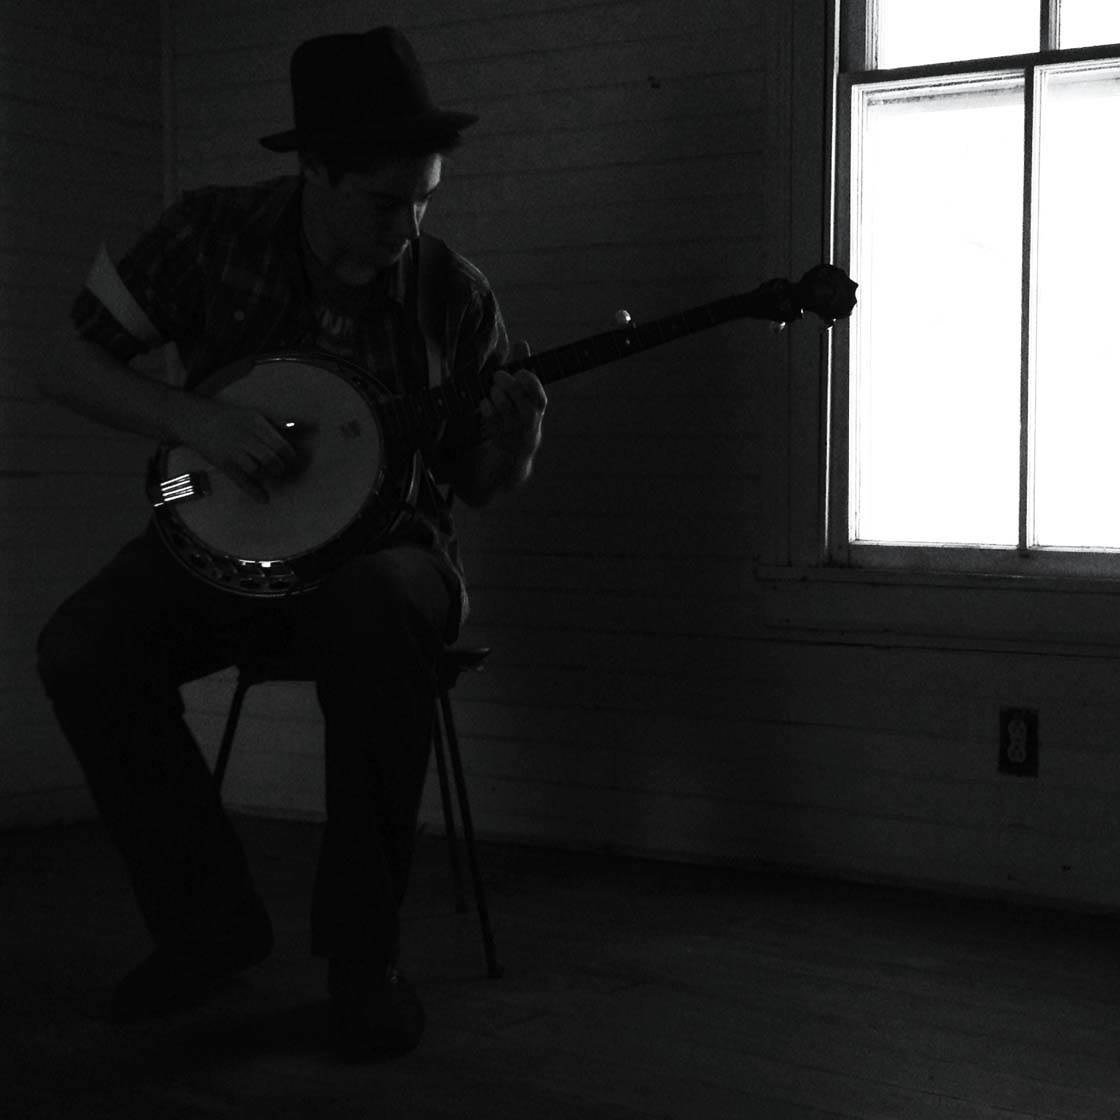
Reducing the amount of light emphasizes the dark tones which really gives the shadows the primary role. This creates a strong sense of mystery and drama, especially when part of the subject is hidden within the shadows.
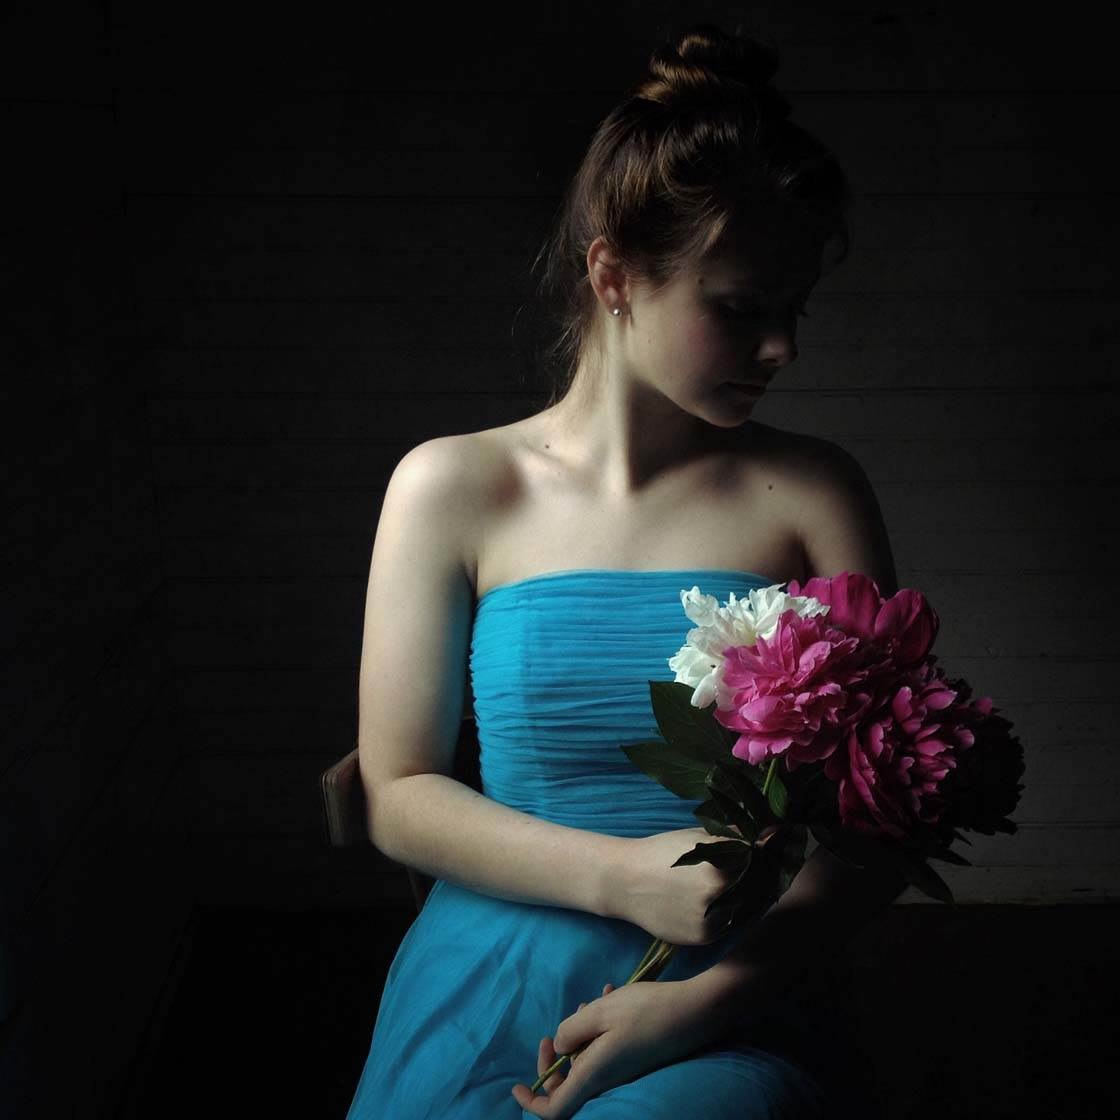
When creating this kind of image, it’s important to have some light in the scene so that your subject is partly illuminated. If you don’t have any light there’ll be no definition and detail in the photo.
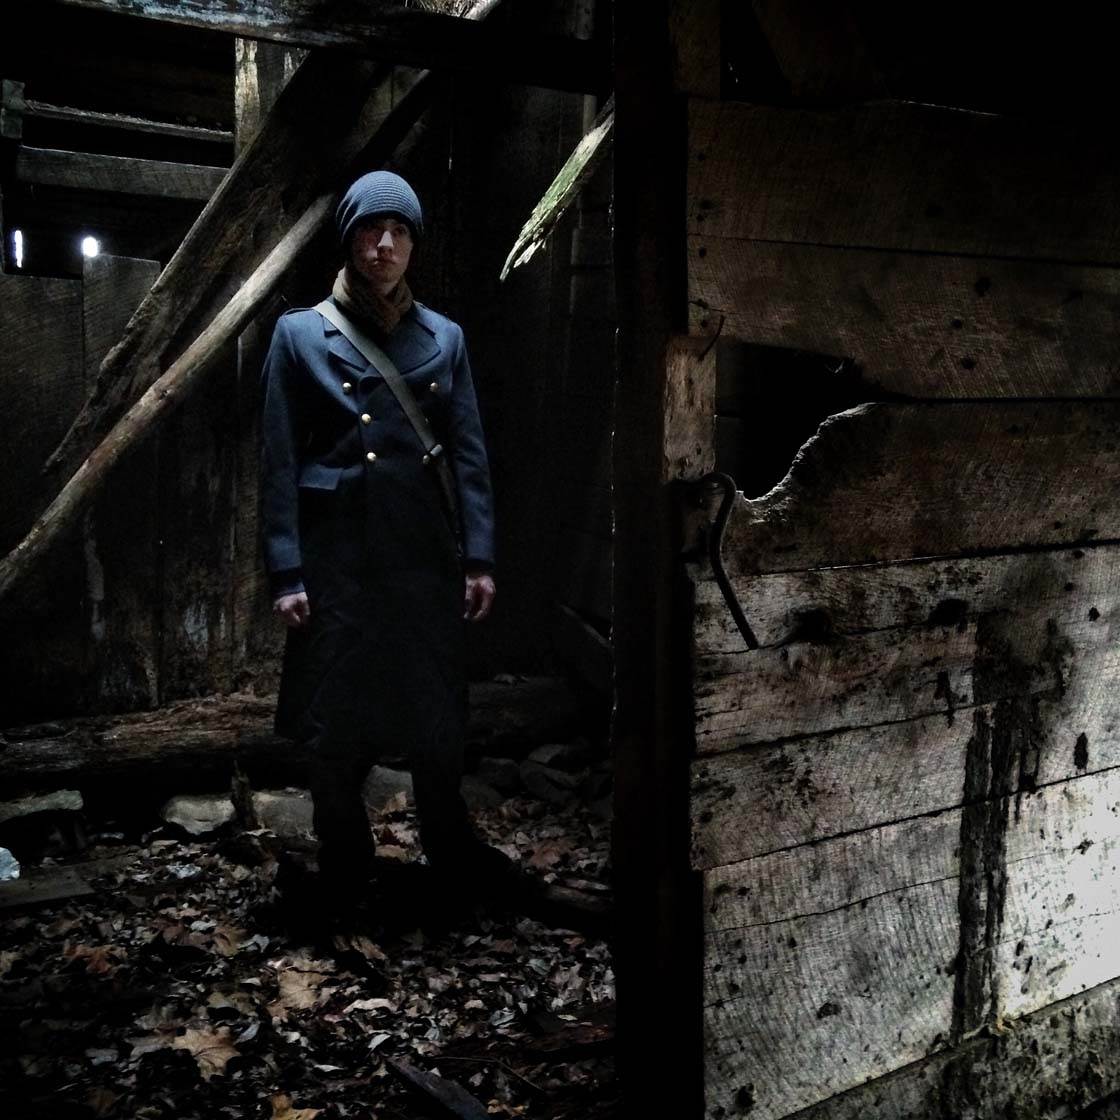
This kind of photography works really well when shooting indoors. You just need to find a light source such as a window, an open door, or a bright diffused lamp, and then position the subject so that they’re partly lit and partly in shadow.
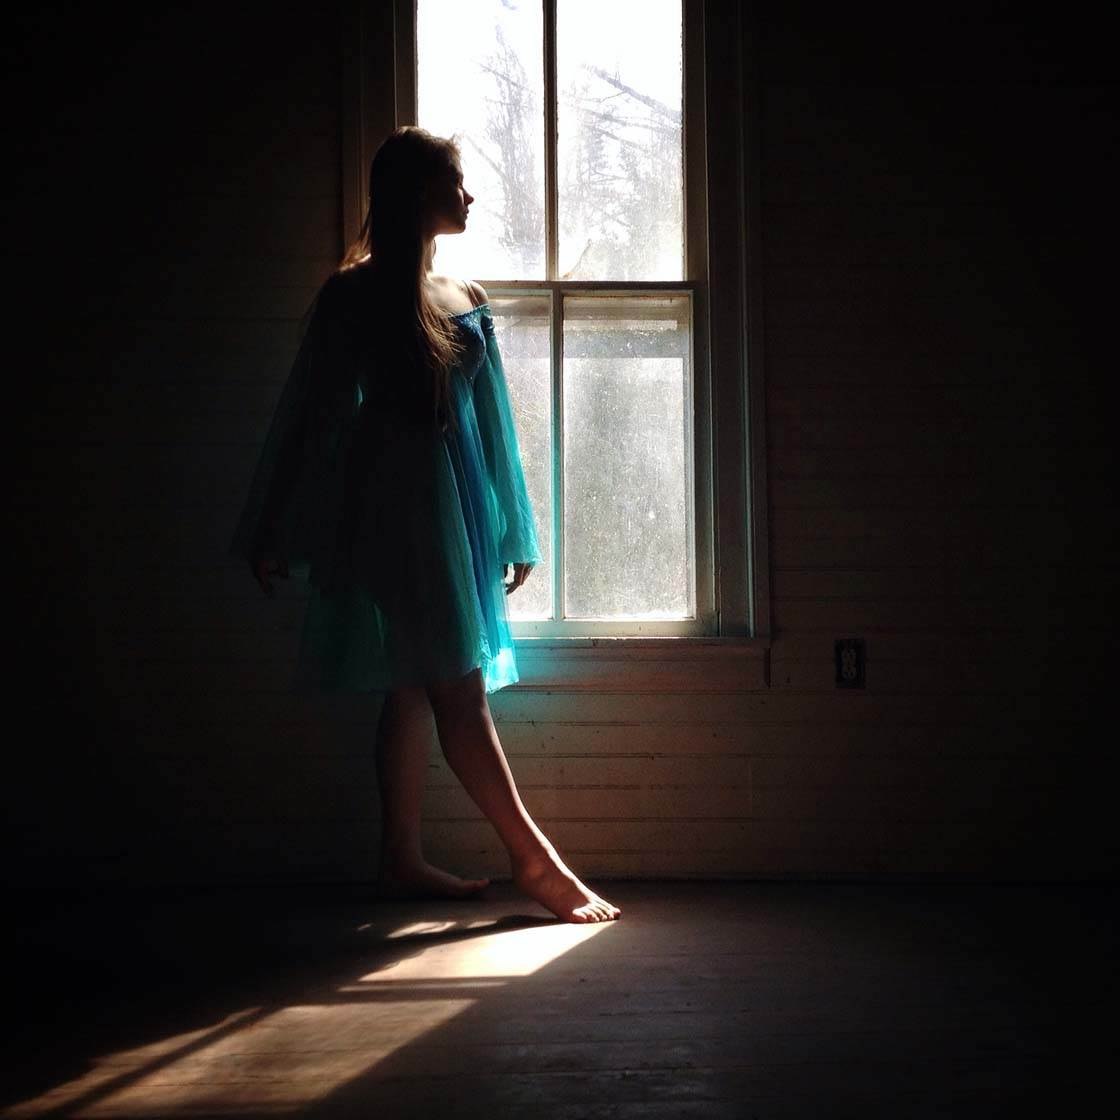
After tapping to set focus, adjust the exposure so that the subject is illuminated with a subtle glow and the shadows appear deep and dark.
8. Increase The Amount Of Light
Increasing the amount of light in a photo will create a completely different kind of atmosphere to dark shadowy images.
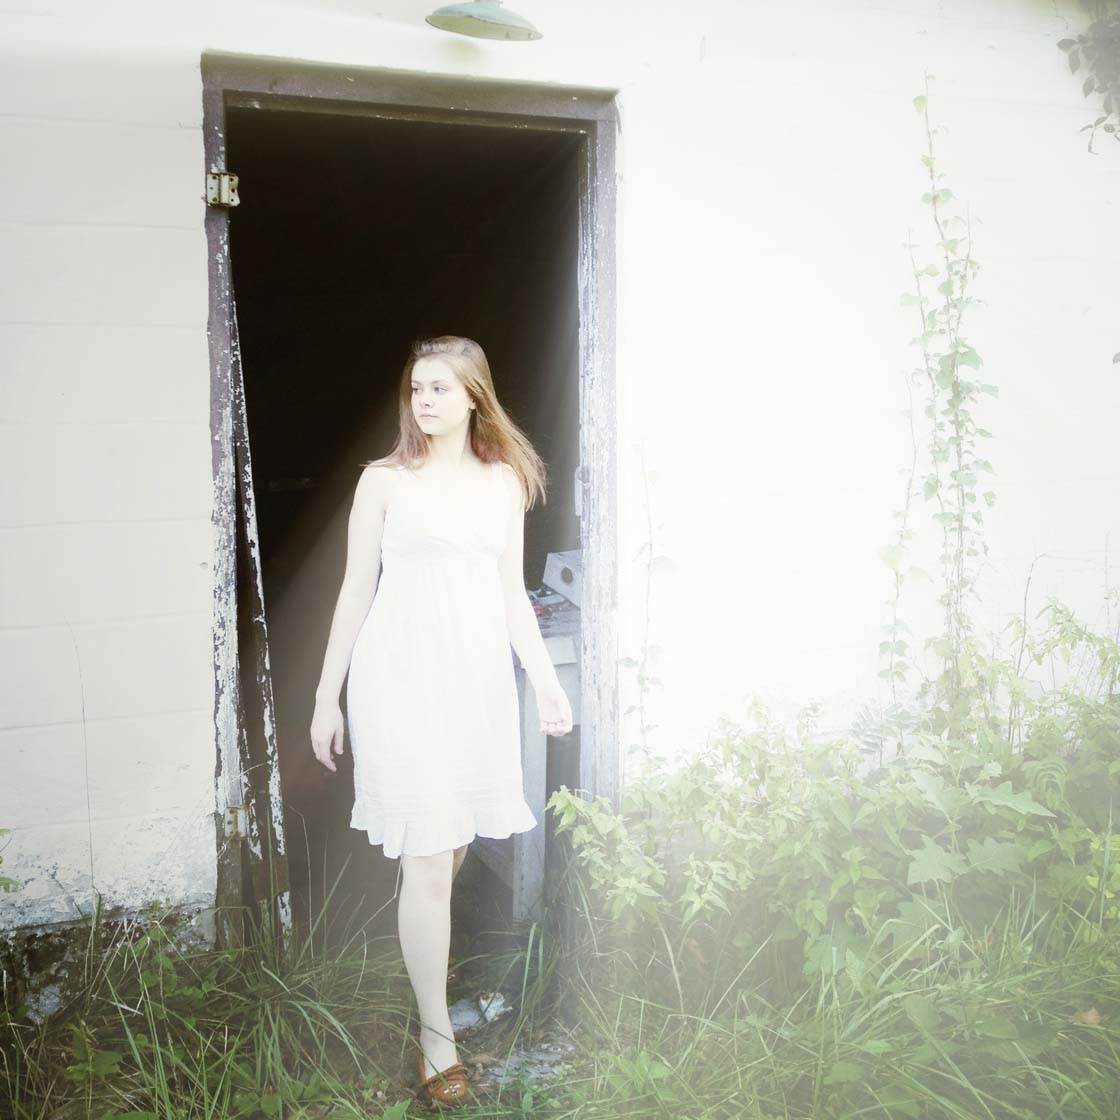
This kind of photography plays on the opposite end of the drama spectrum and produces a feeling happiness and lightness.
When you increase the light in a photo, the shadows are minimized and there’s an overall brightness to the scene.
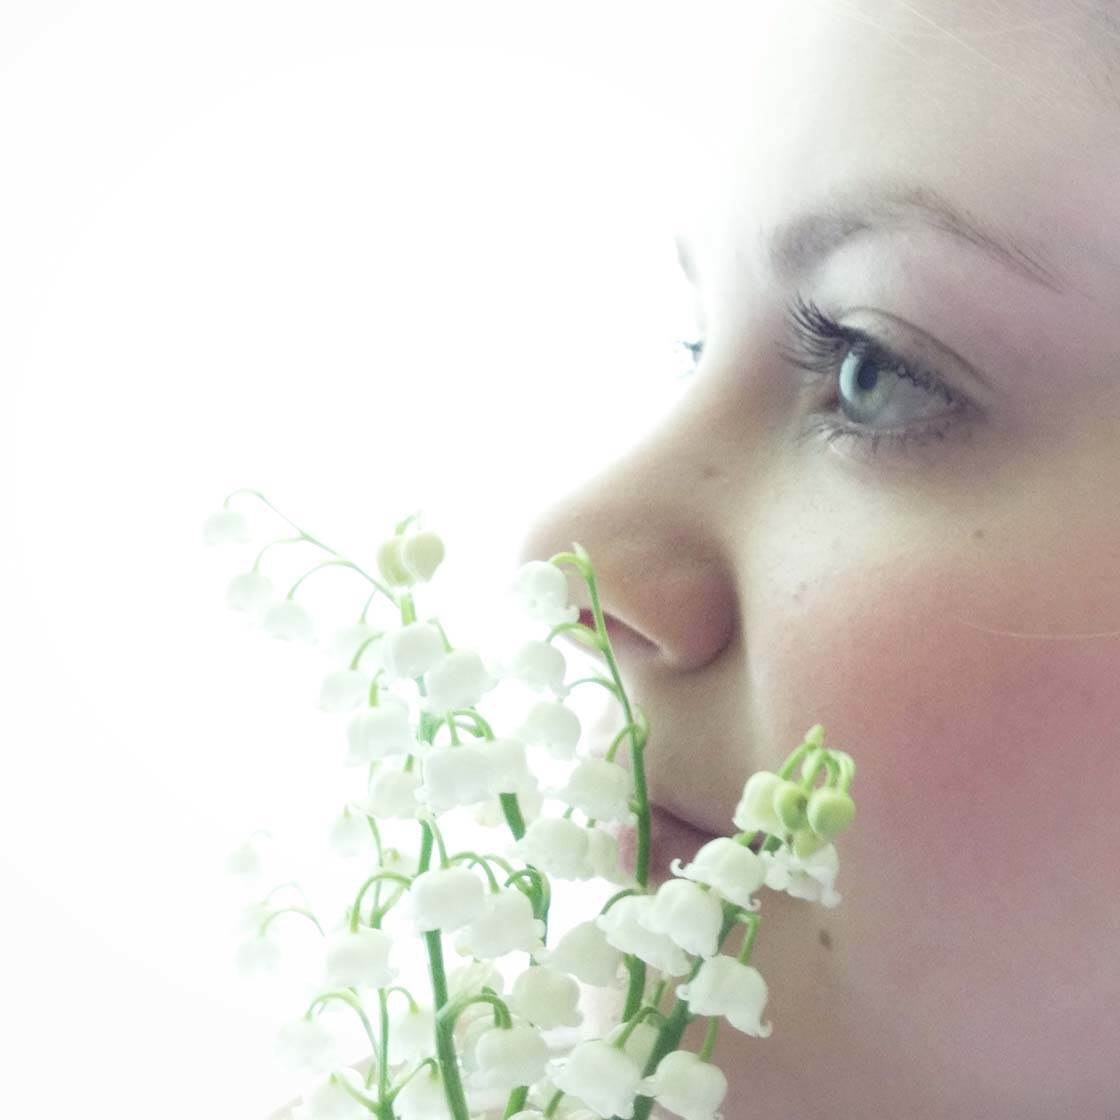
If you’re shooting indoors, use a window or large glass door with bright diffused light filtering through.
After framing the shot, tap to set focus on your subject, then adjust the exposure to increase the brightness if necessary. The aim is to minimize the shadows without blowing out (over-exposing) too much of the detail.
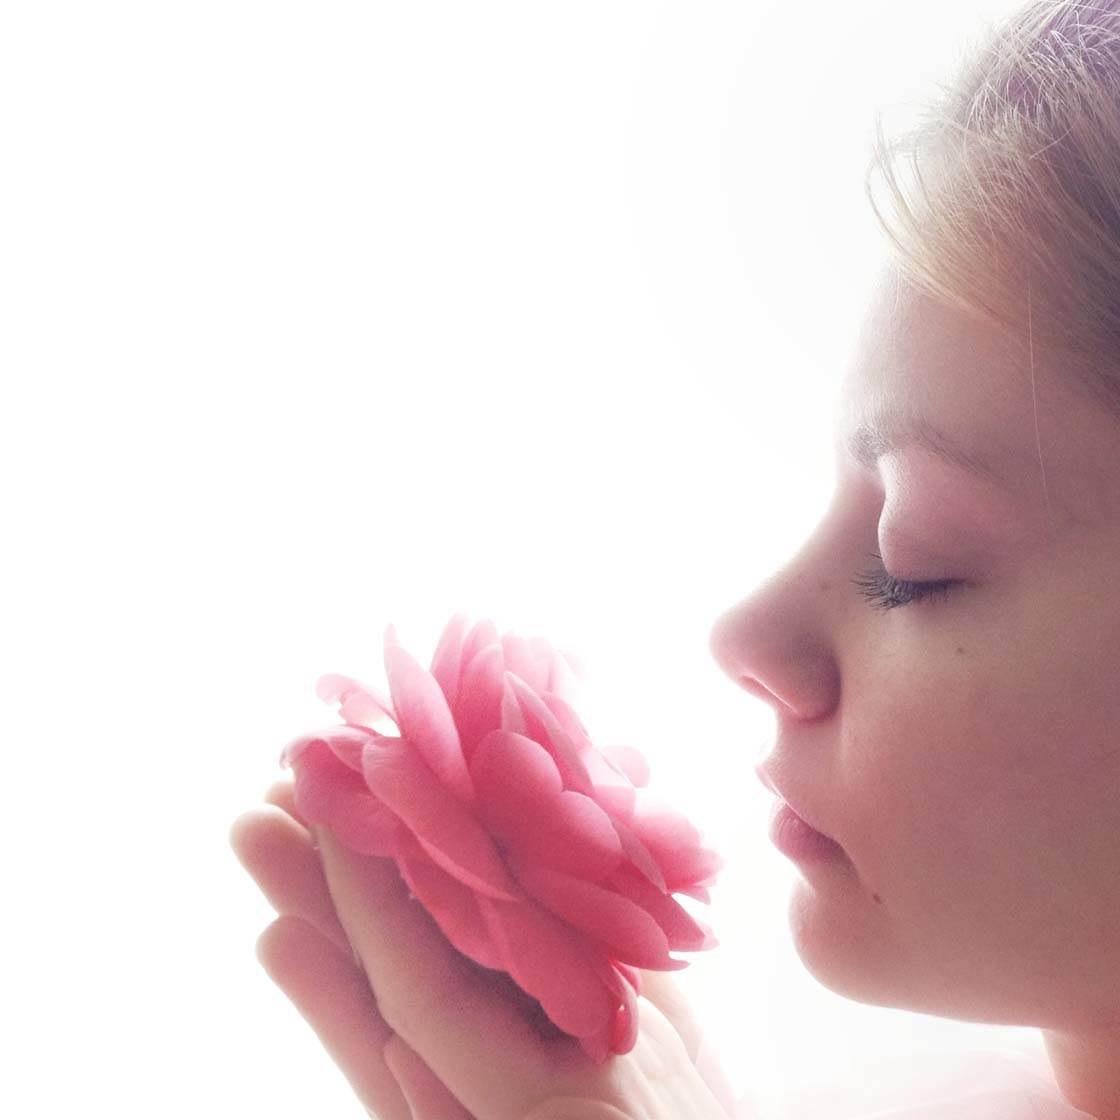
When shooting outdoors, try to find a white background such as a plain white wall, or use a large white sheet to increase the amount of bright light in the scene.
Make sure you’re not shooting in harsh sunlight as this kind of light can create dark shadows on your subject. If the sun is shining brightly, try to find a large shady spot so that you’re out of the direct sunlight.
9. Shoot In Harsh Light
We’re often taught not to shoot in harsh sunlight because it can cause problems with over-exposure, strong contrast and dark shadows. However, in certain circumstances these qualities can create bold and dramatic images.
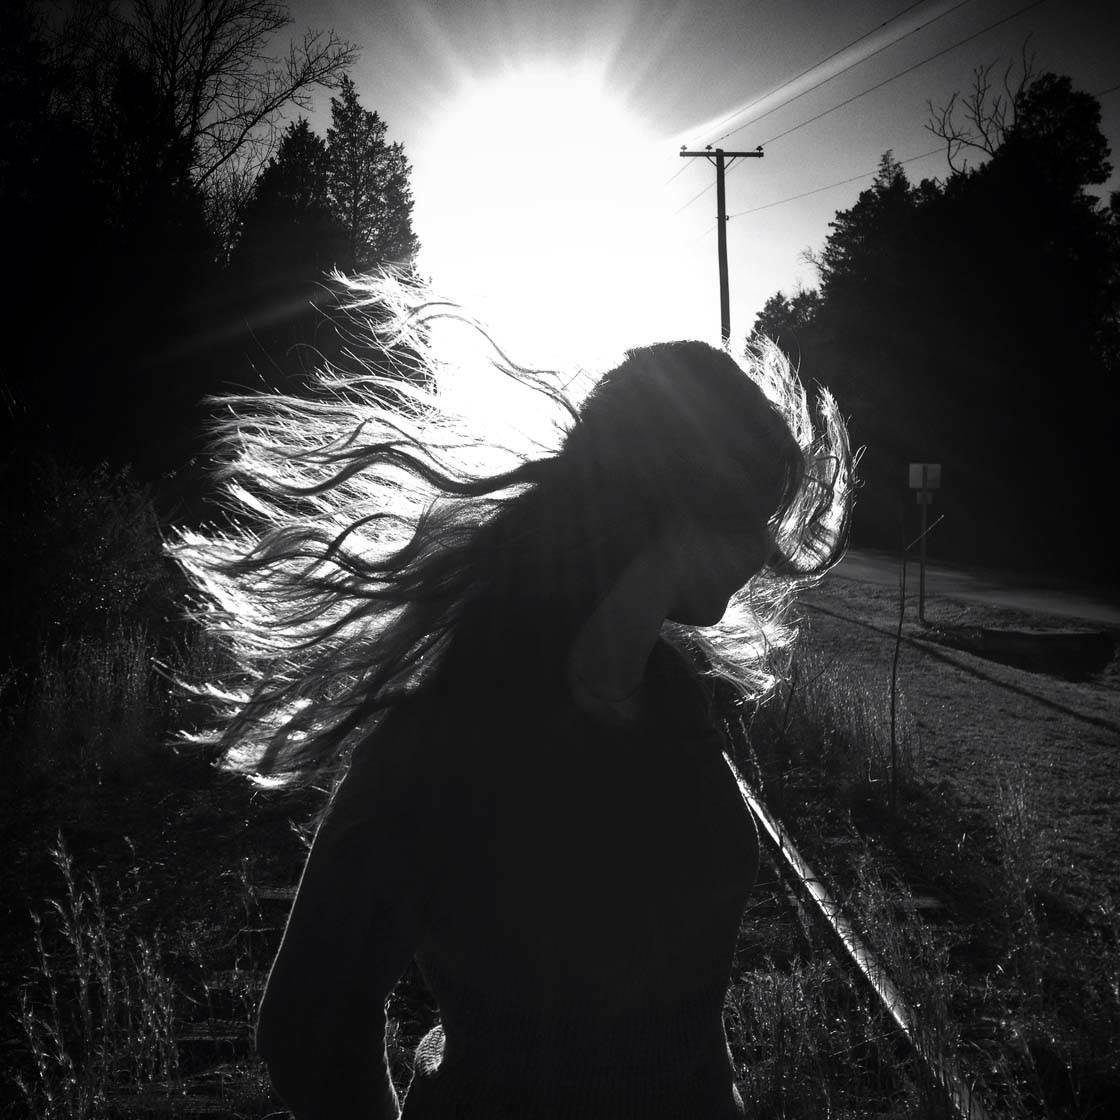
Allowing the sun to dominate the scene worked well in this photo. Even though the area of sun is completely over-exposed, and a lot of the image appears pure black, it’s actually a very striking and dramatic picture.
High contrast images like these often look better in black and white because it emphasizes the contrast between dark and light.
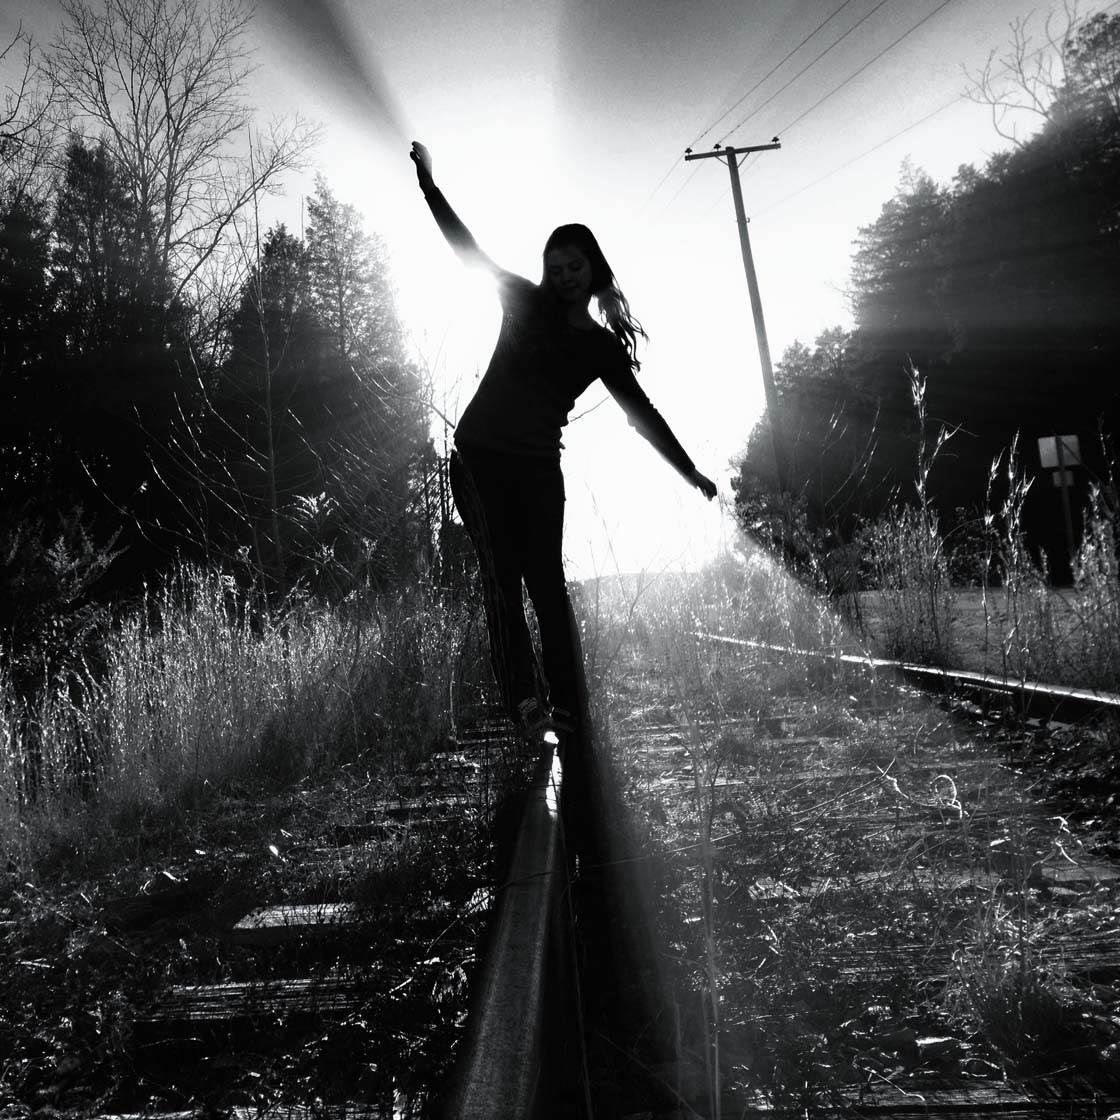
When shooting in harsh sunlight, look out for dark shadows, bright highlights, and bold patterns of light. If you live in a city, buildings and alleyways are a great place to explore for areas of bright light and very dark shadows.
Harsh light can be more difficult to deal with in landscape photography, but sometime you’ll spot interesting areas of light and shade, such as the bold line of shadow on this mountain ridge.
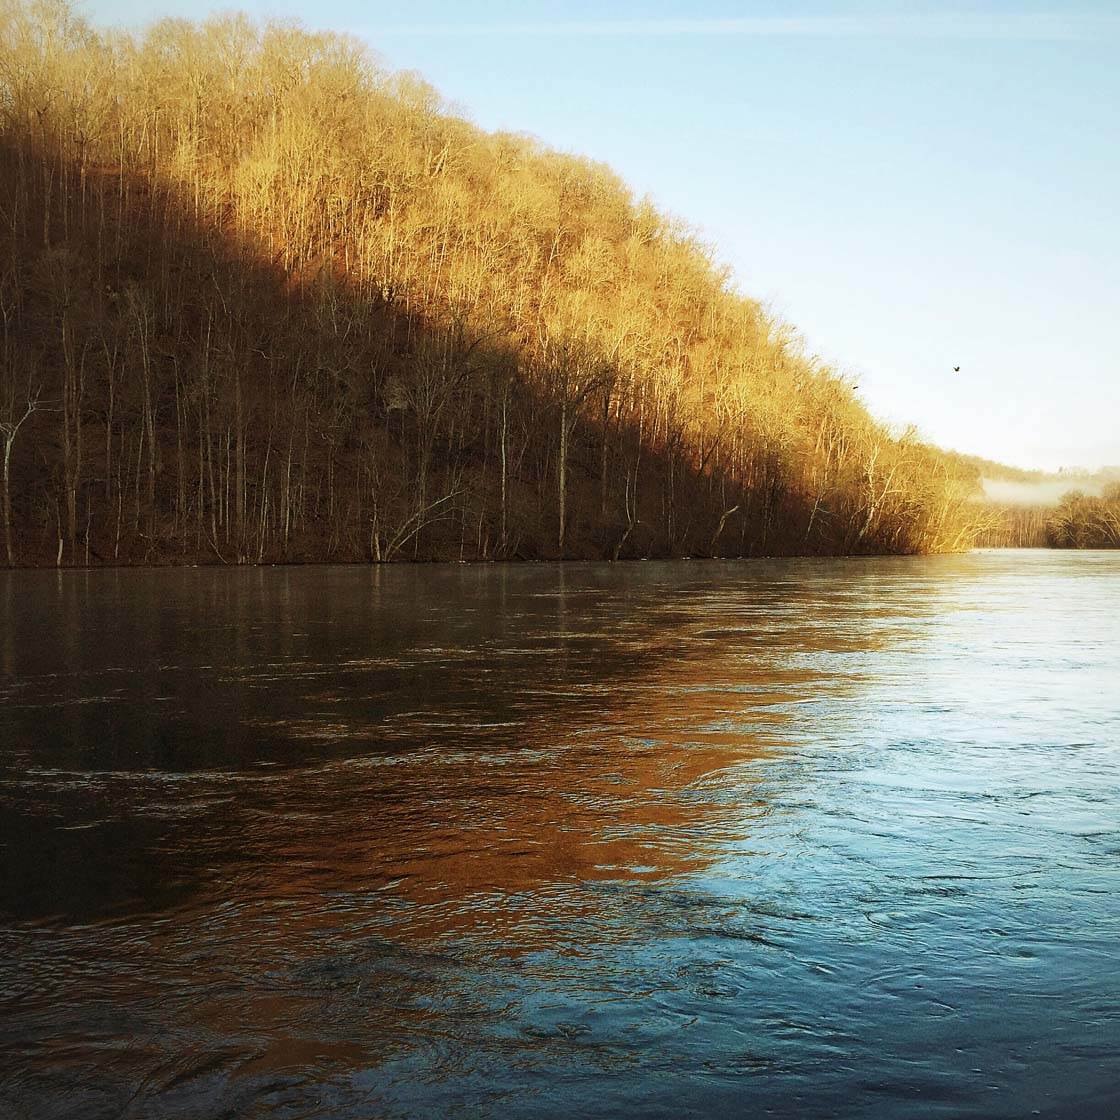
Shooting in harsh light can take some practice, and it doesn’t always work out. But if you experiment with your shooting angle and exposure settings, you’ll give yourself the best chance of creating some great shots.
10. Use Artificial Light
While you probably shoot most of your photos in natural light produced by the sun, you should also try using artificial light sources. This kind of directional light is perfect for creating a sense of drama in your images.
There are many sources of artificial light that you can use, including lamps, iPads, computer screens, street lights, candles, car headlights, etc.
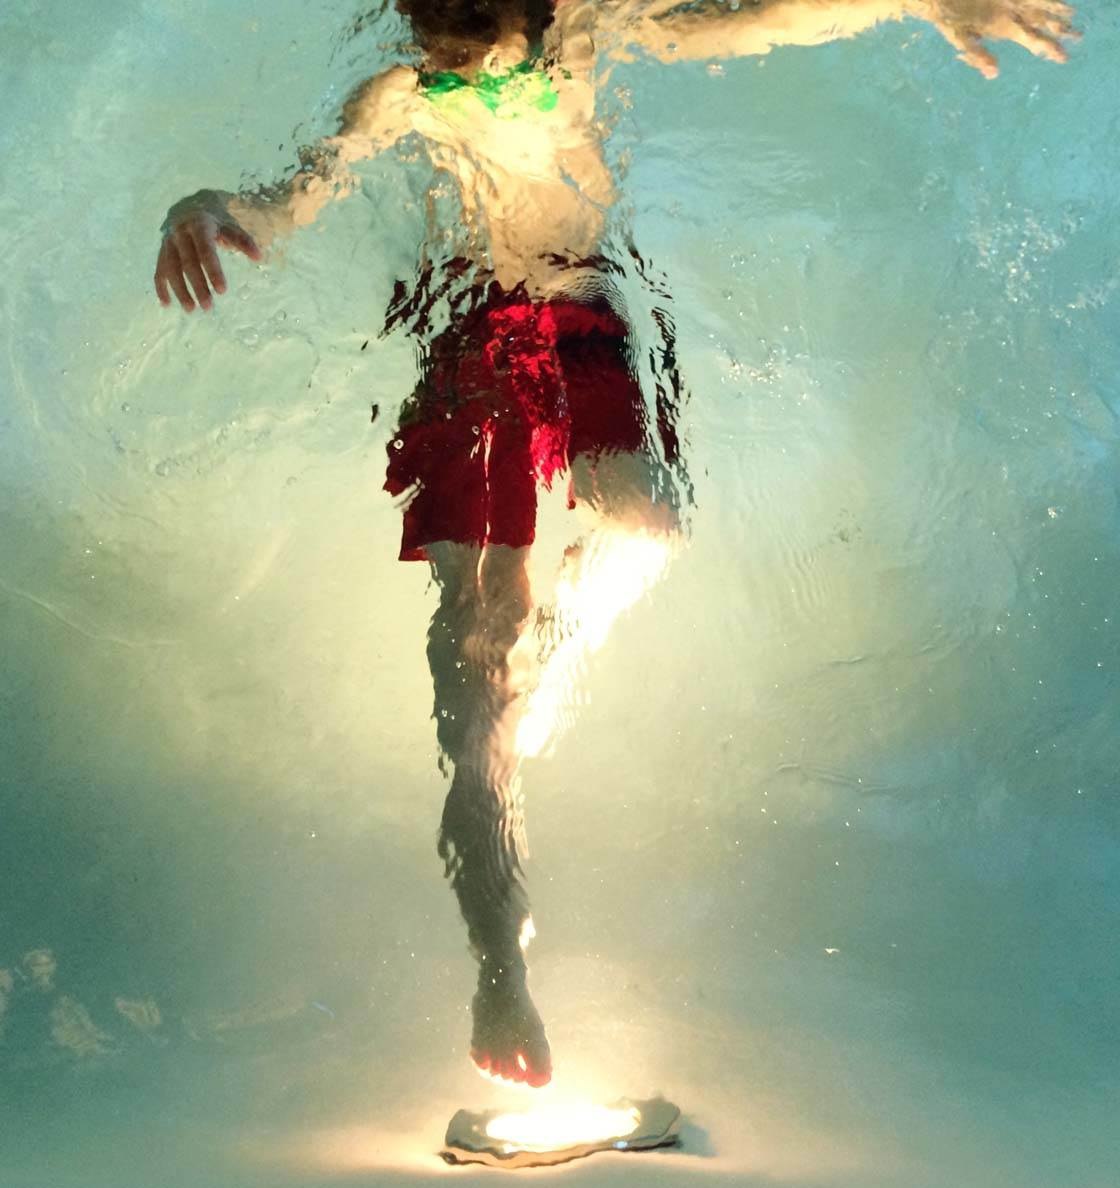
The swimming pool light in this photo enhanced the texture and color of the water, creating a surreal, painterly looking image.
Artificial light often creates a color cast in your image. Sometimes this can work well, and you might want to intensify the colors by increasing the saturation in post processing.
But if the color cast ruins the image, consider removing all color by converting the photo to black and white.
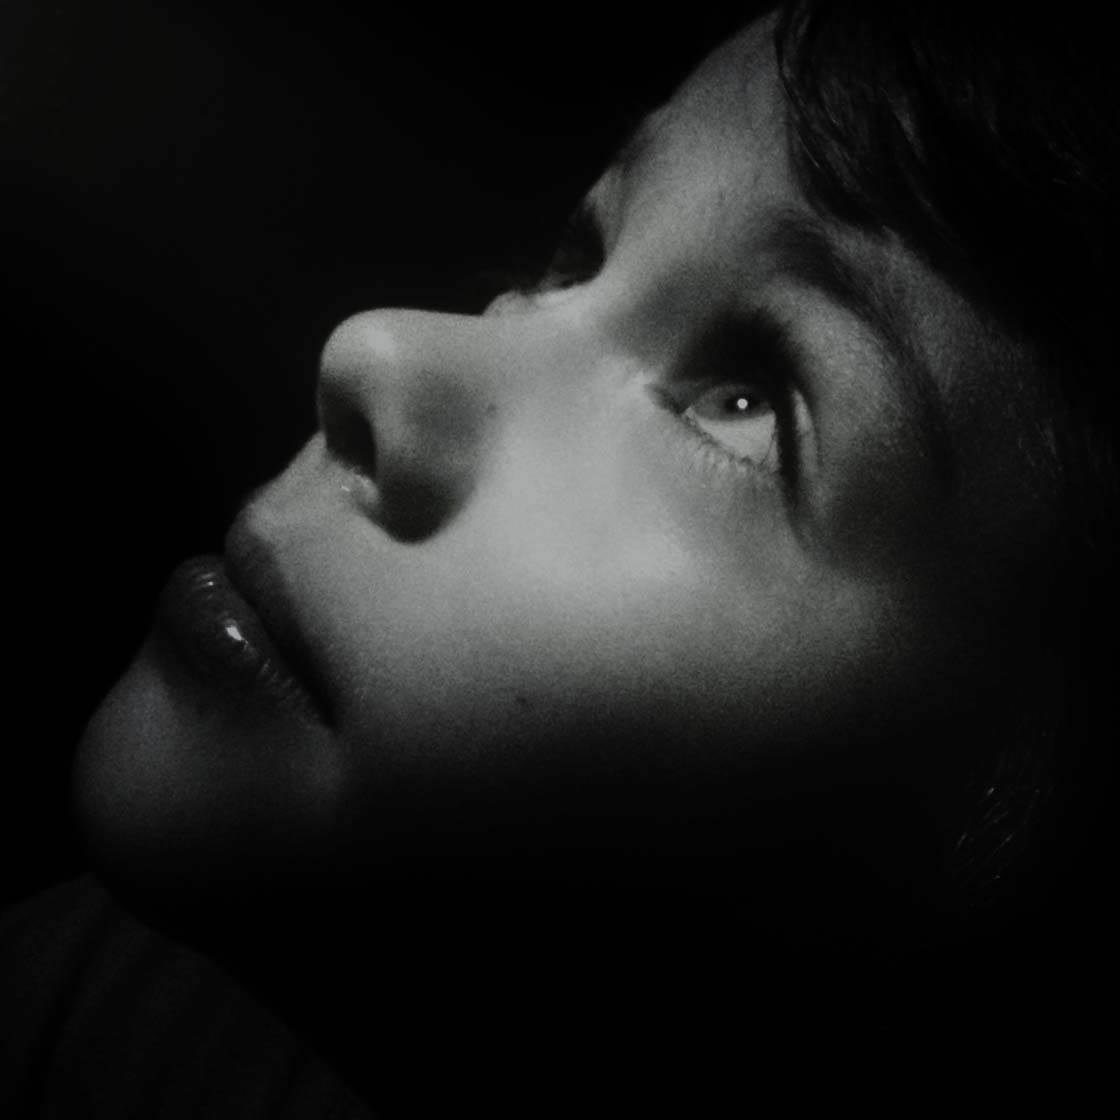
This portrait of my son was taken near a street lamp at nighttime. Since the orange glow of the light created a strange color on his face, I opted to convert the photo to black and white.
Not only does the black and white conversion remove the color cast problem, but it also emphasizes the light and shadow, helping to place focus on the main features of the subject’s face.
Conclusion
Having a good understanding of how to use different kinds of light in your photography will allow you to create amazing photos with lots of dramatic flair.
Be observant of light and the way it interacts with the objects and people around you. Notice how a scene changes throughout the day, depending on the position and strength of the sun.
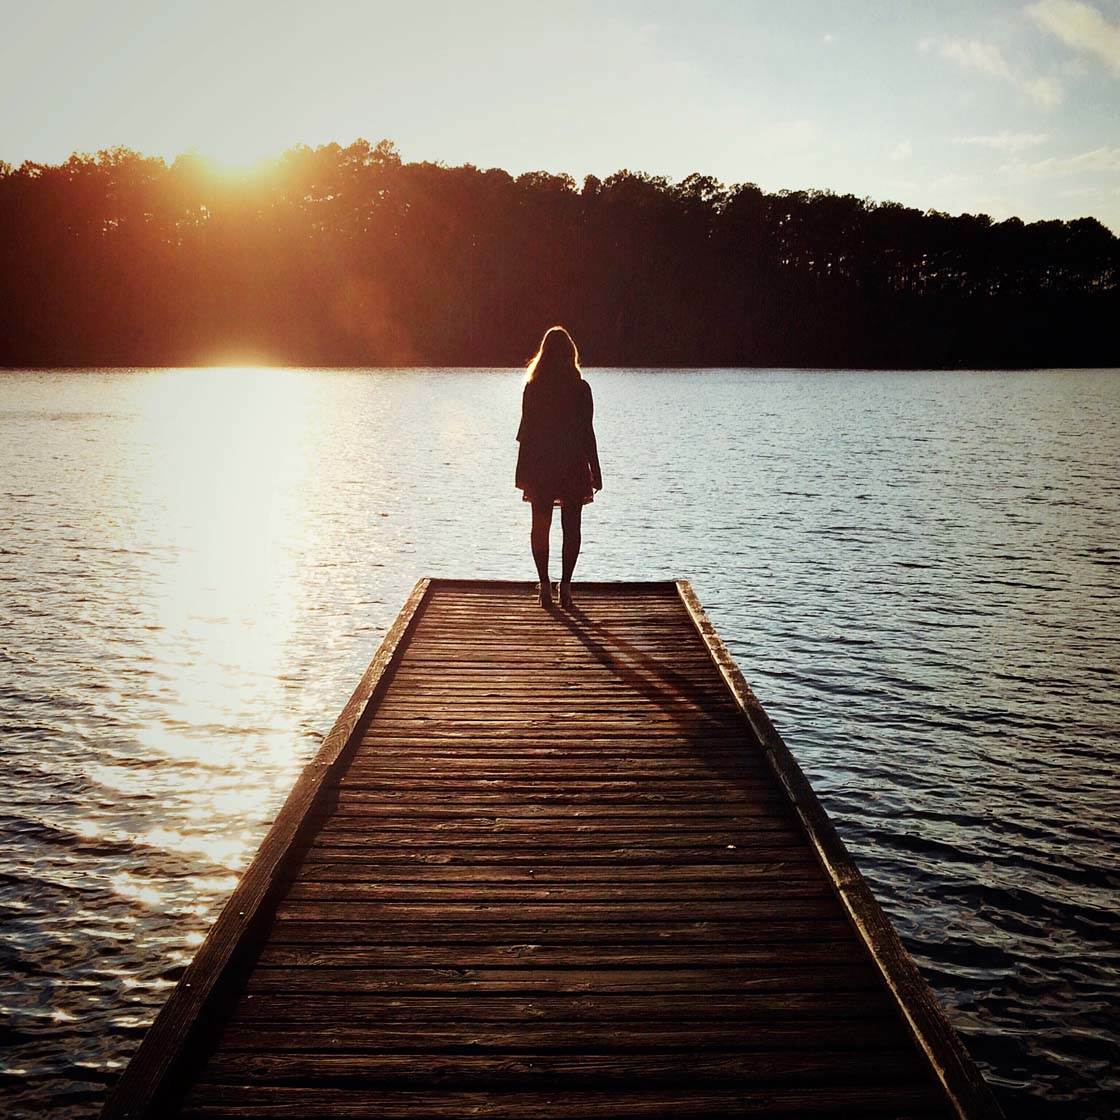
Experiment with adjusting the camera’s exposure in order to capture mysterious silhouettes and shadows.
Practice shooting in harsh light to make the most of the dramatic high contrast. And take advantage of artificial light sources when shooting at night or indoors.
The best way to learn how to use light to add drama to your photos is to shoot as much as you can in different kinds of light.
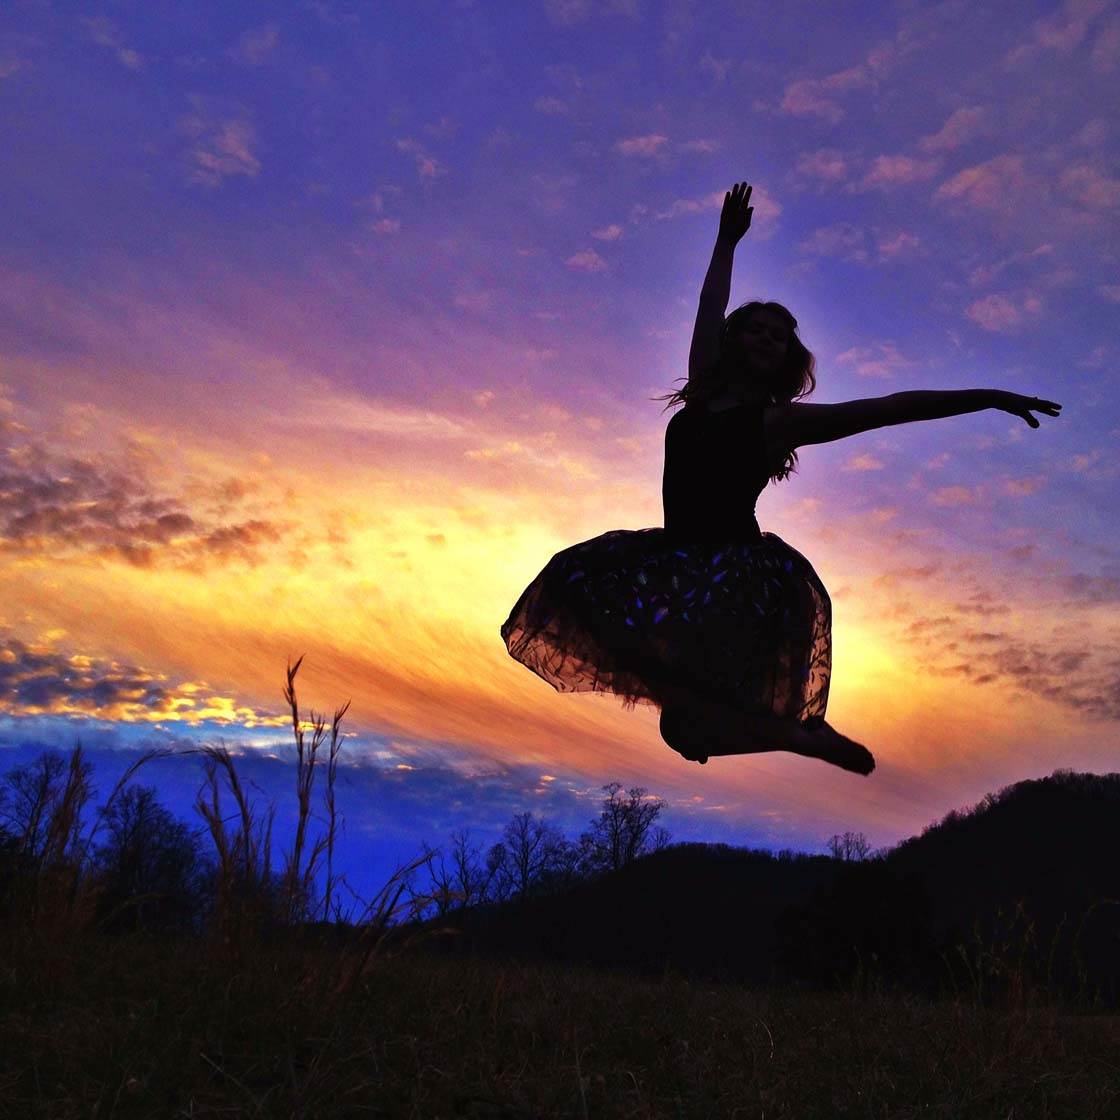
Practice using the tips covered in this tutorial and you’ll be well on your way to producing dramatic and creative photos with your iPhone.
To learn more about using light to create amazing iPhone photos, check out this great video tutorial by Eric Mueller: 7 Simple Tricks For Using Light To Create Beautiful iPhone Photos.


Leave a Reply
You must be logged in to post a comment.